

e46v12
-
Content Count
283 -
Joined
-
Last visited
-
Days Won
22
Posts posted by e46v12
-
-
@treone wouldn't mind a 8 series but too much money for me and e39 just not old enough sorry. 3 contenders currently e12, e28 or e30 i think.
-
-
Hey Team long time no post, Ive been looking at options to see what i can shoehorn my v10 into.
Was thinking something old school and this has caught my eye.
Im new to the e12 scene so just wanting to know if there are any pitfalls to look out for and if this car is a good base to use?
Thanks heaps team,
https://www.trademe.co.nz/a/motors/cars/bmw/525/listing/4615597609
-
-
@Kees if only i had a Mclaren motor
") but yeah they will be cool once ive finished building them. Im also keen to do another roadie up to Aucks at some point to stretch the legs of the e46 4.6is swap.
but yeah they will be cool once ive finished building them. Im also keen to do another roadie up to Aucks at some point to stretch the legs of the e46 4.6is swap.
-
 1
1
-
-
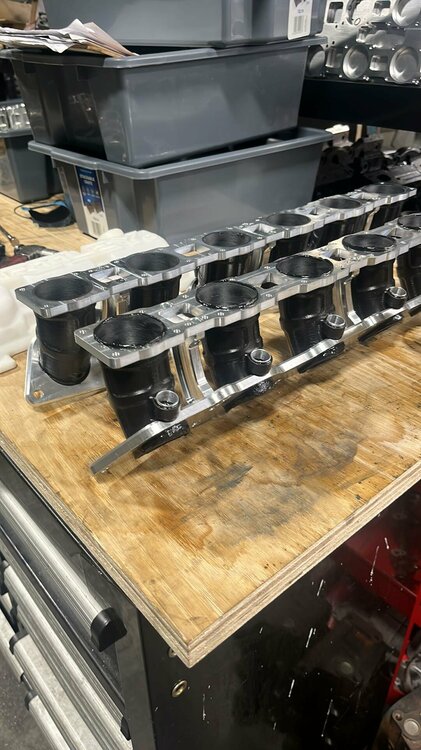
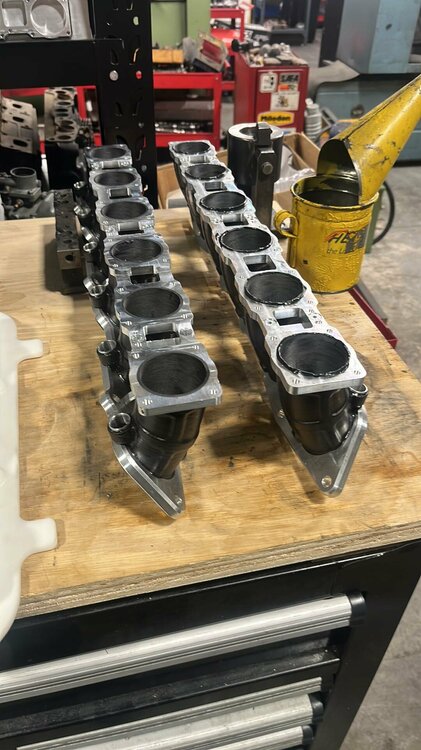
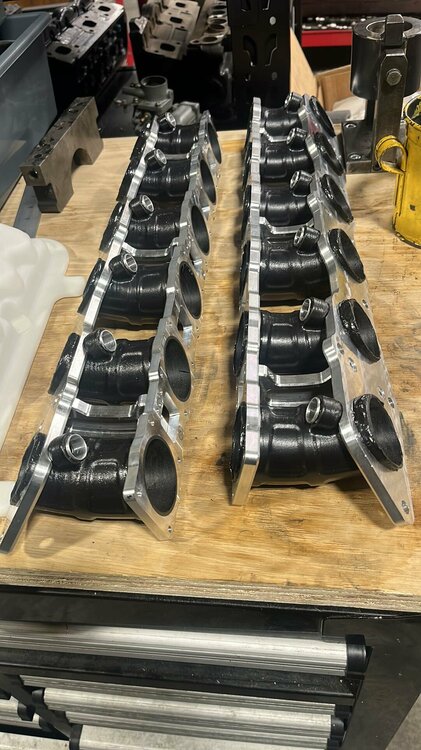
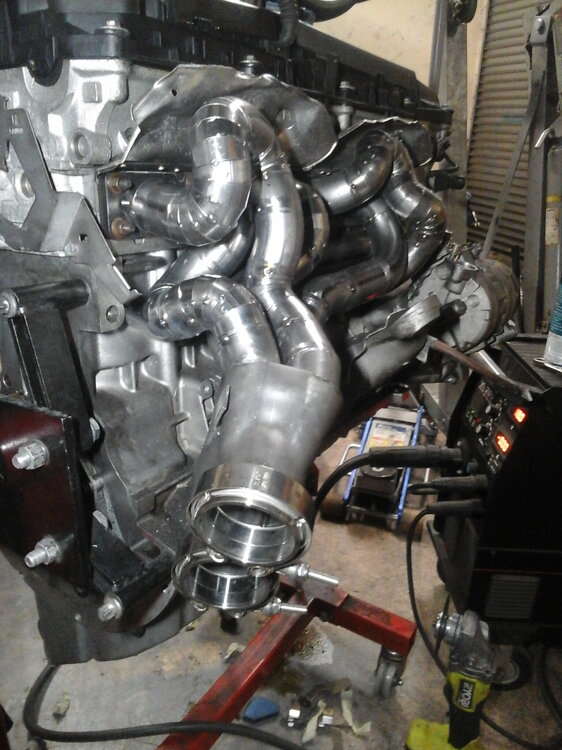
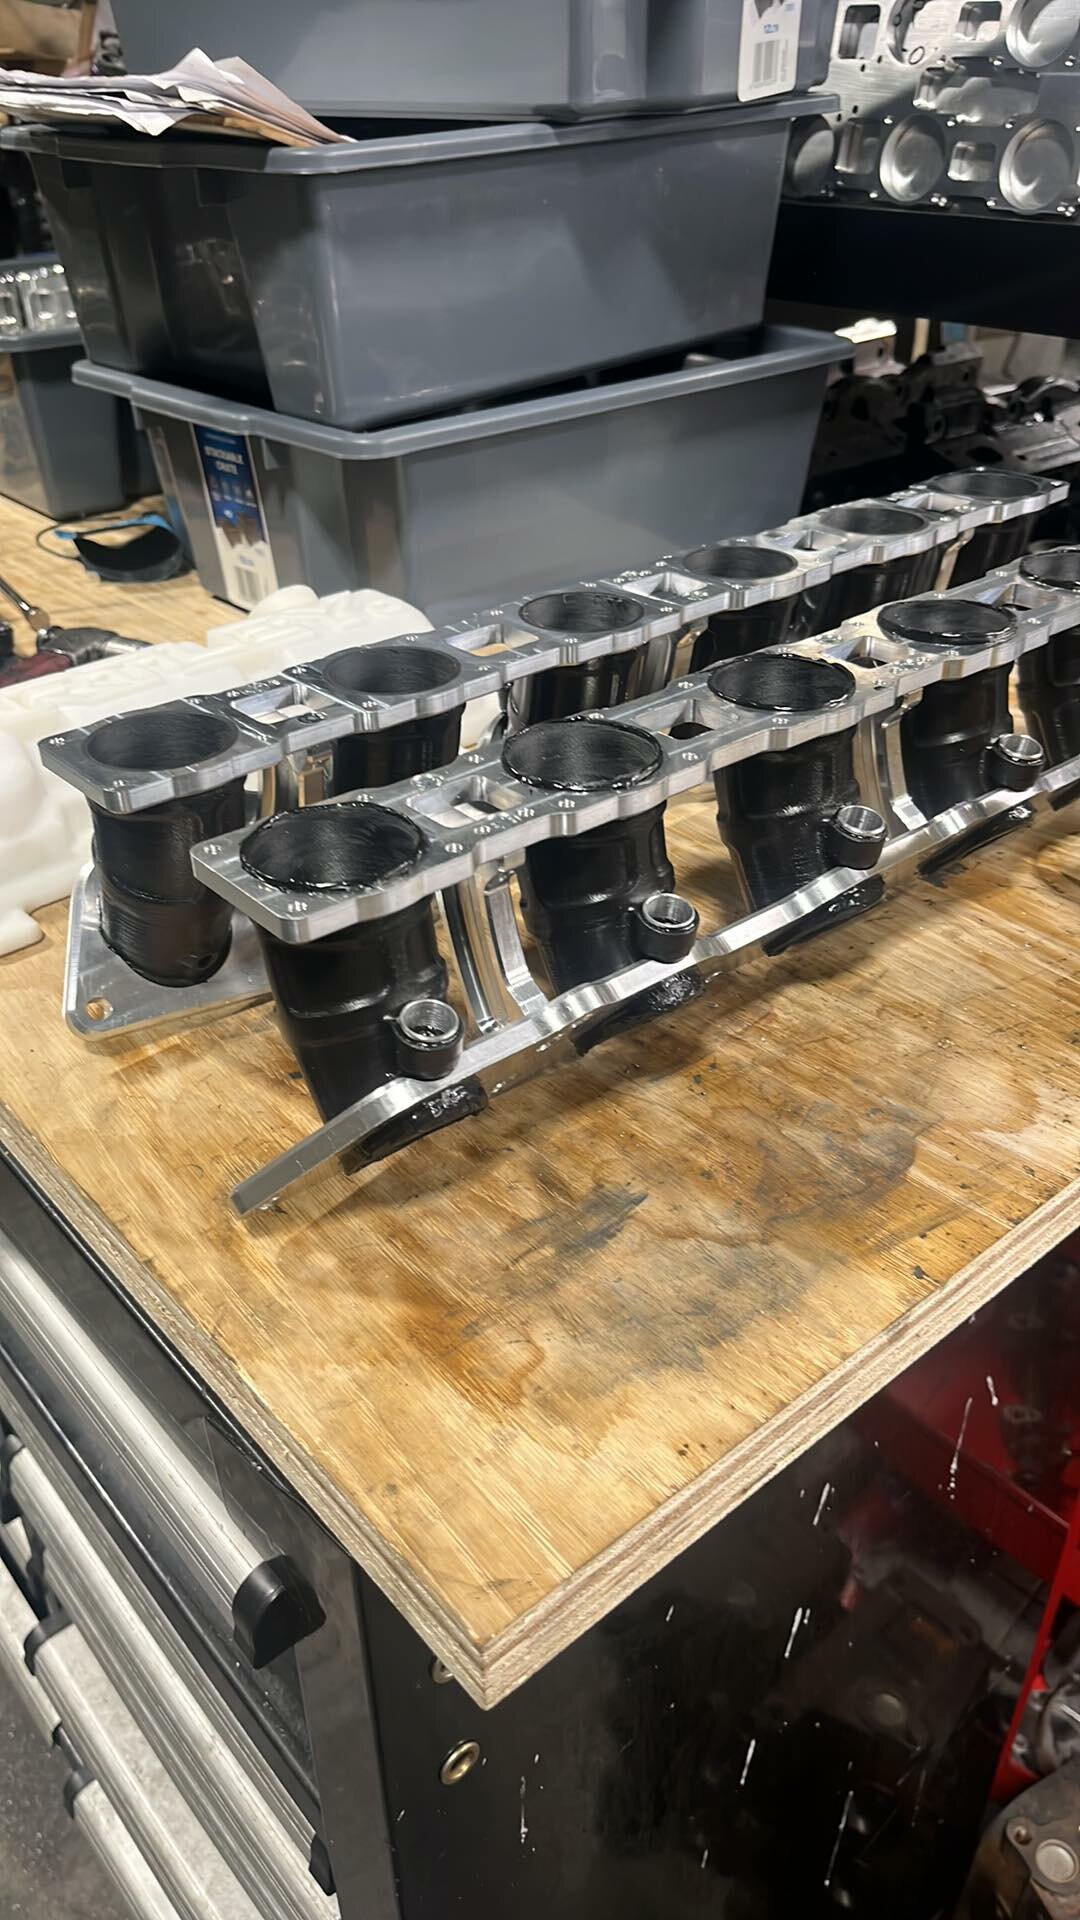
9 hours ago, zenwafle said:Any progress updates on the V12? I've been thinking about the V12 swap for a while and can't wait for more progress. Excellent thread. 😉
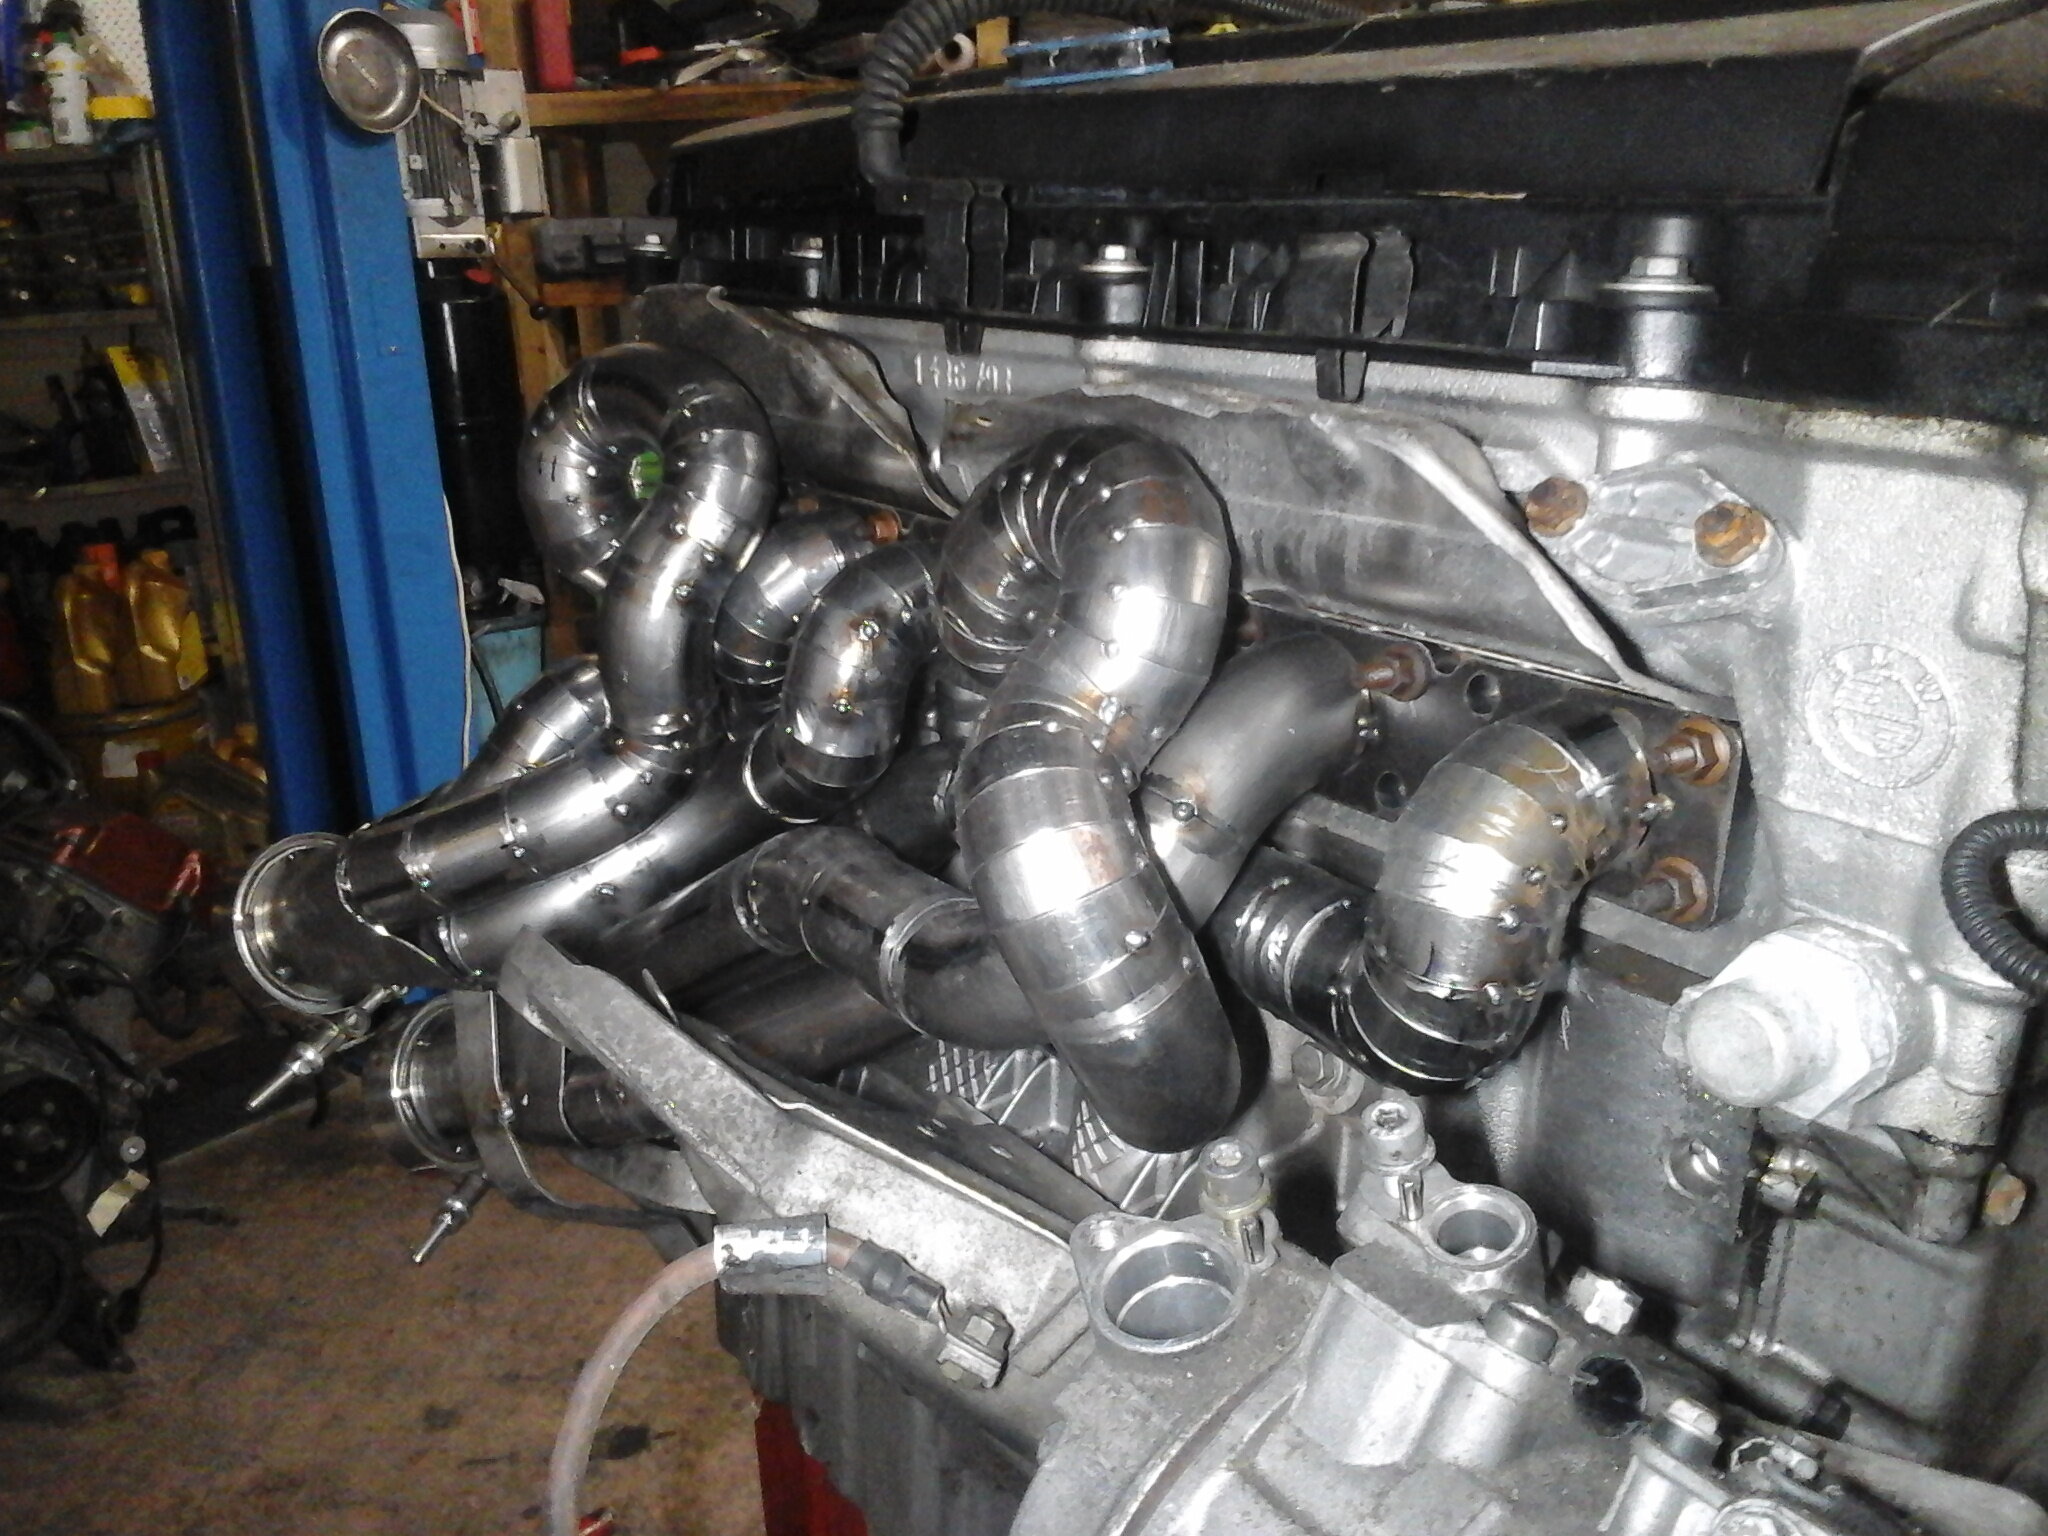
Hi @zenwafle no real updates but im not sure if your read the post as im putting the v12 into my e53 X5 4.6is and twin turboing it instead now. The v10 will be going into the M3 now.
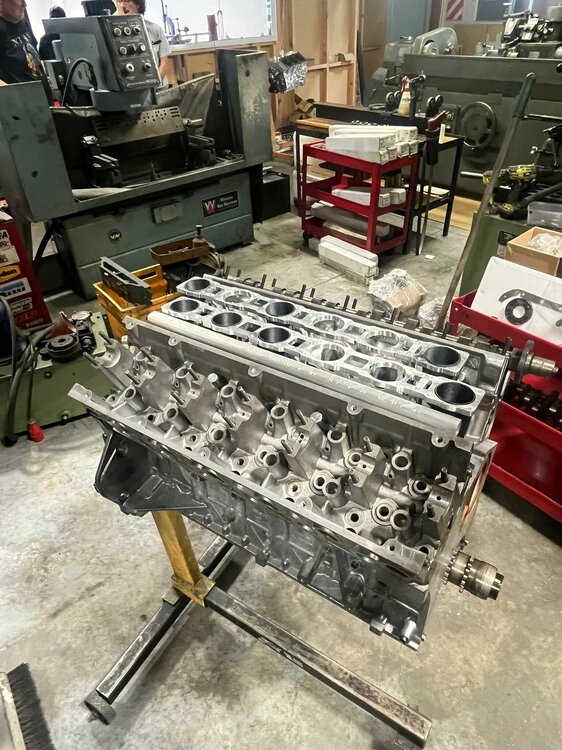
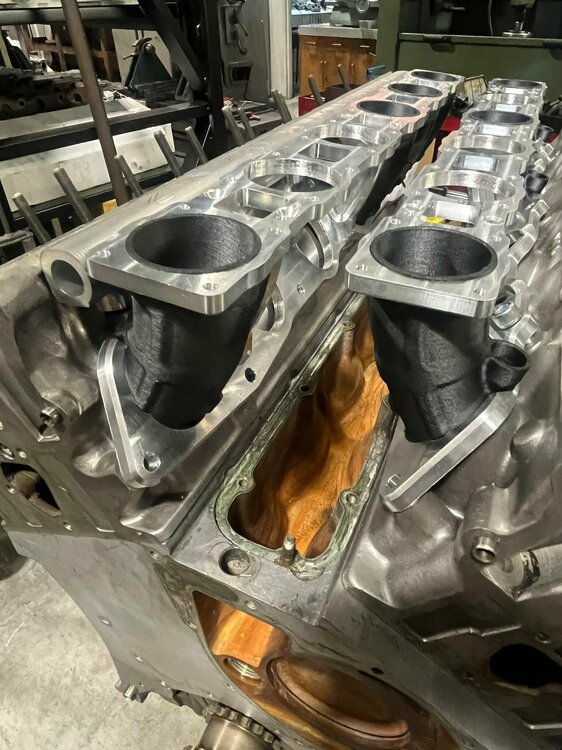
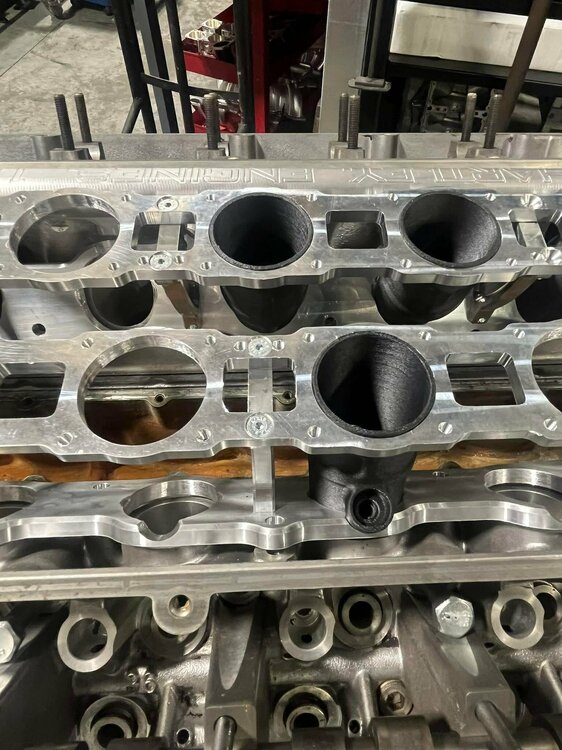
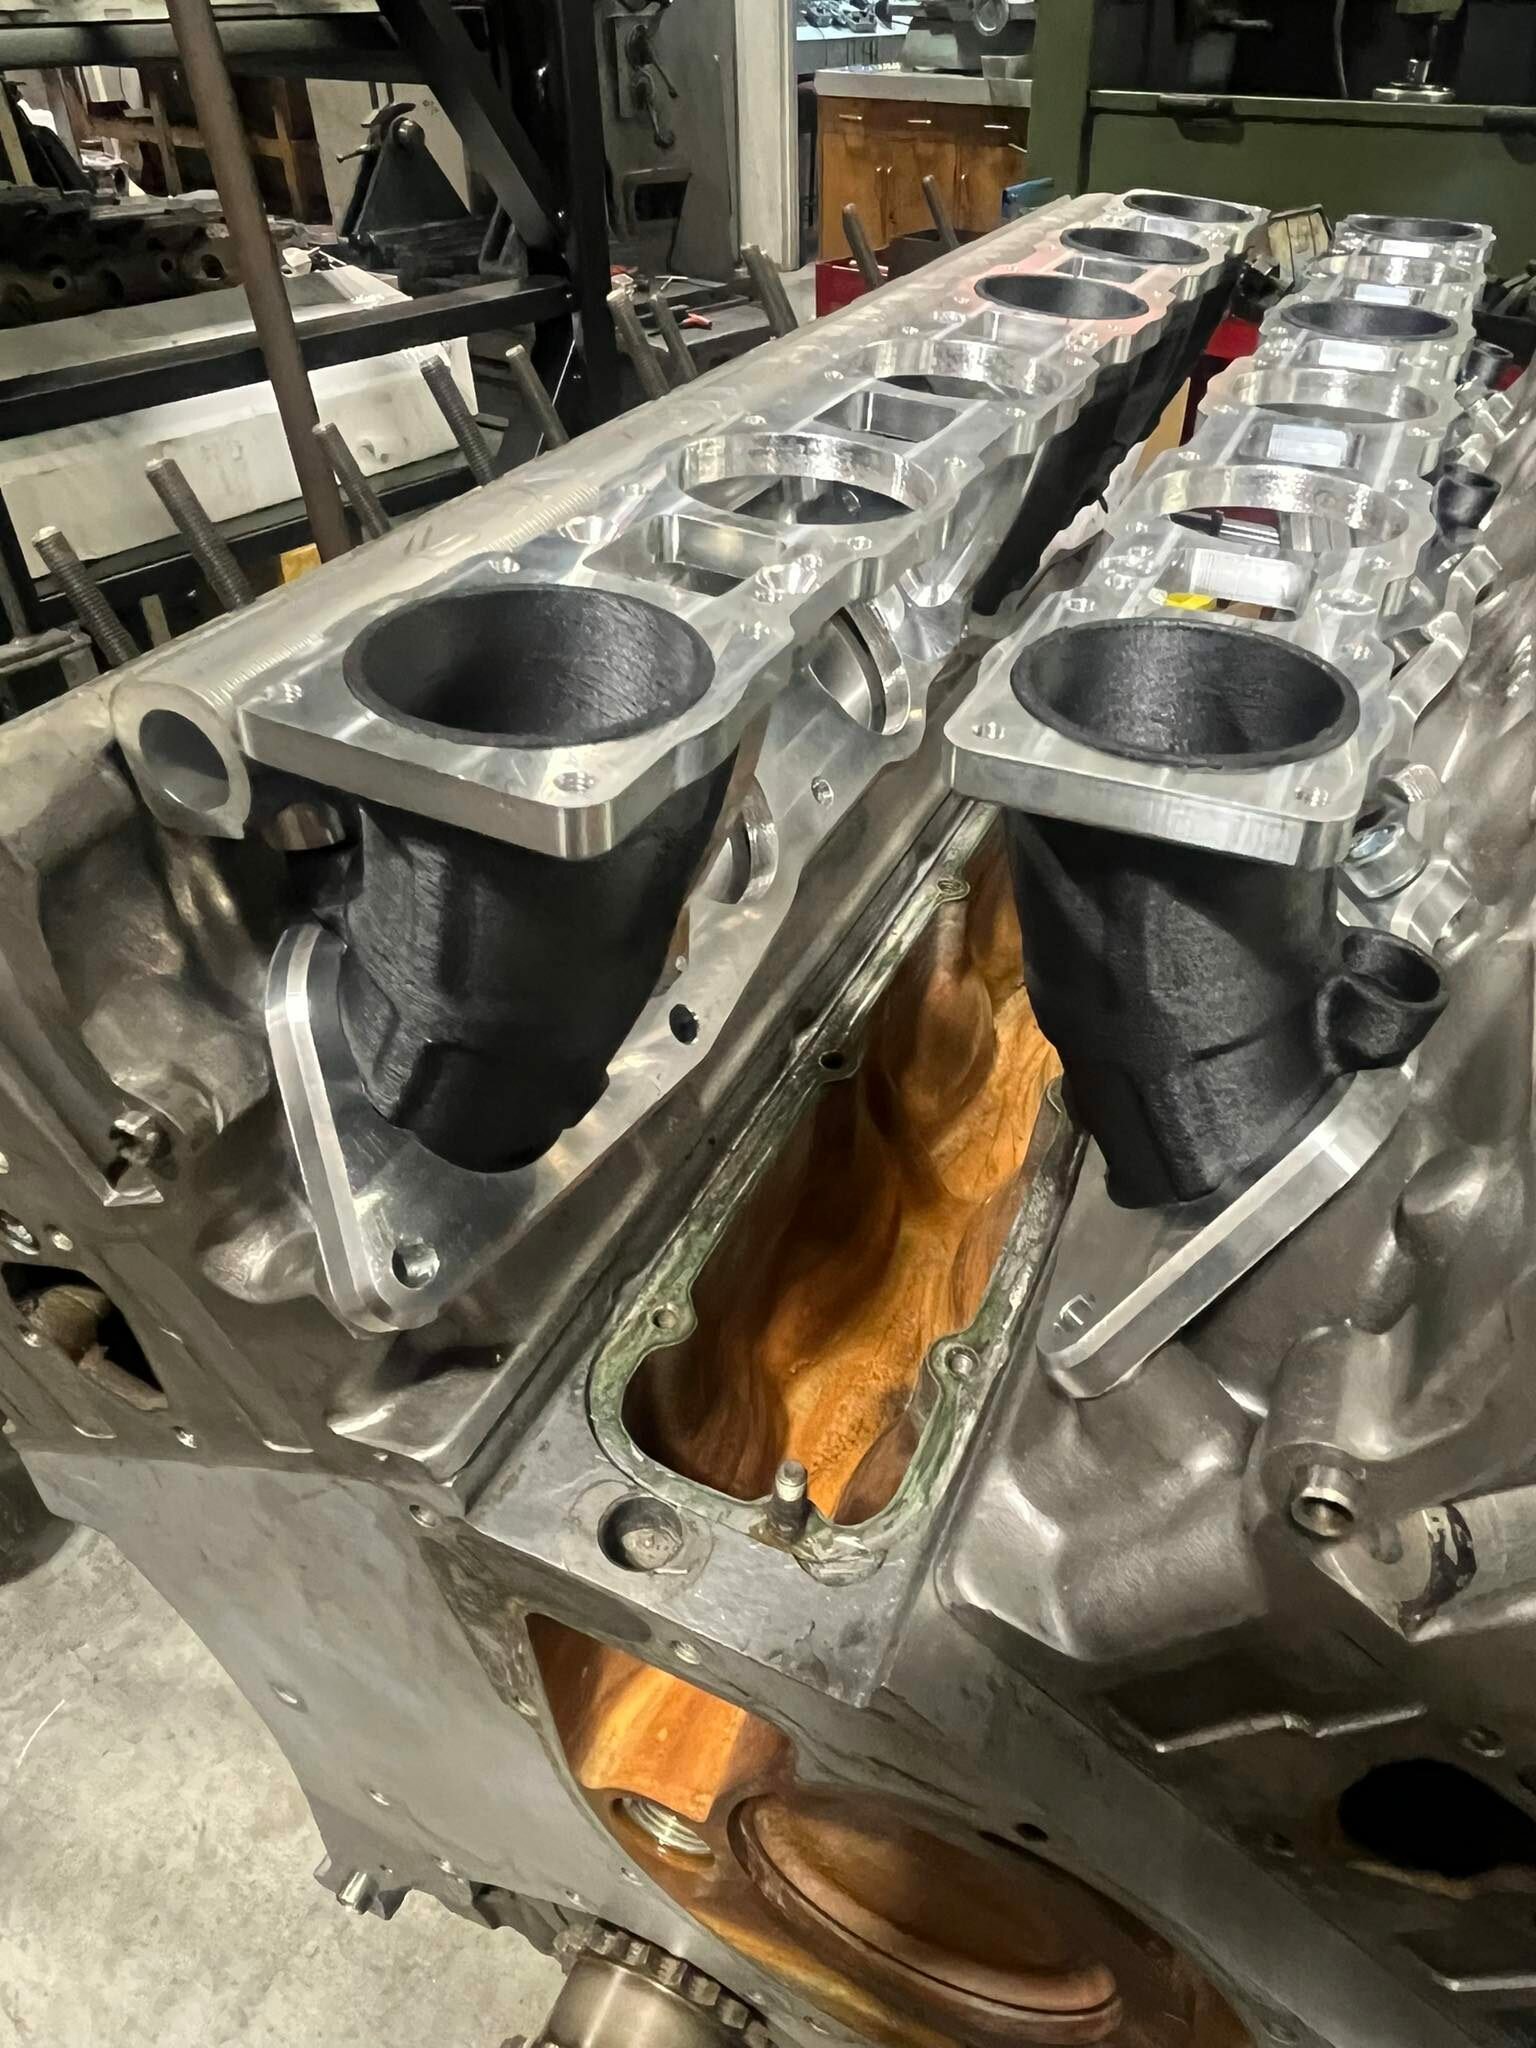
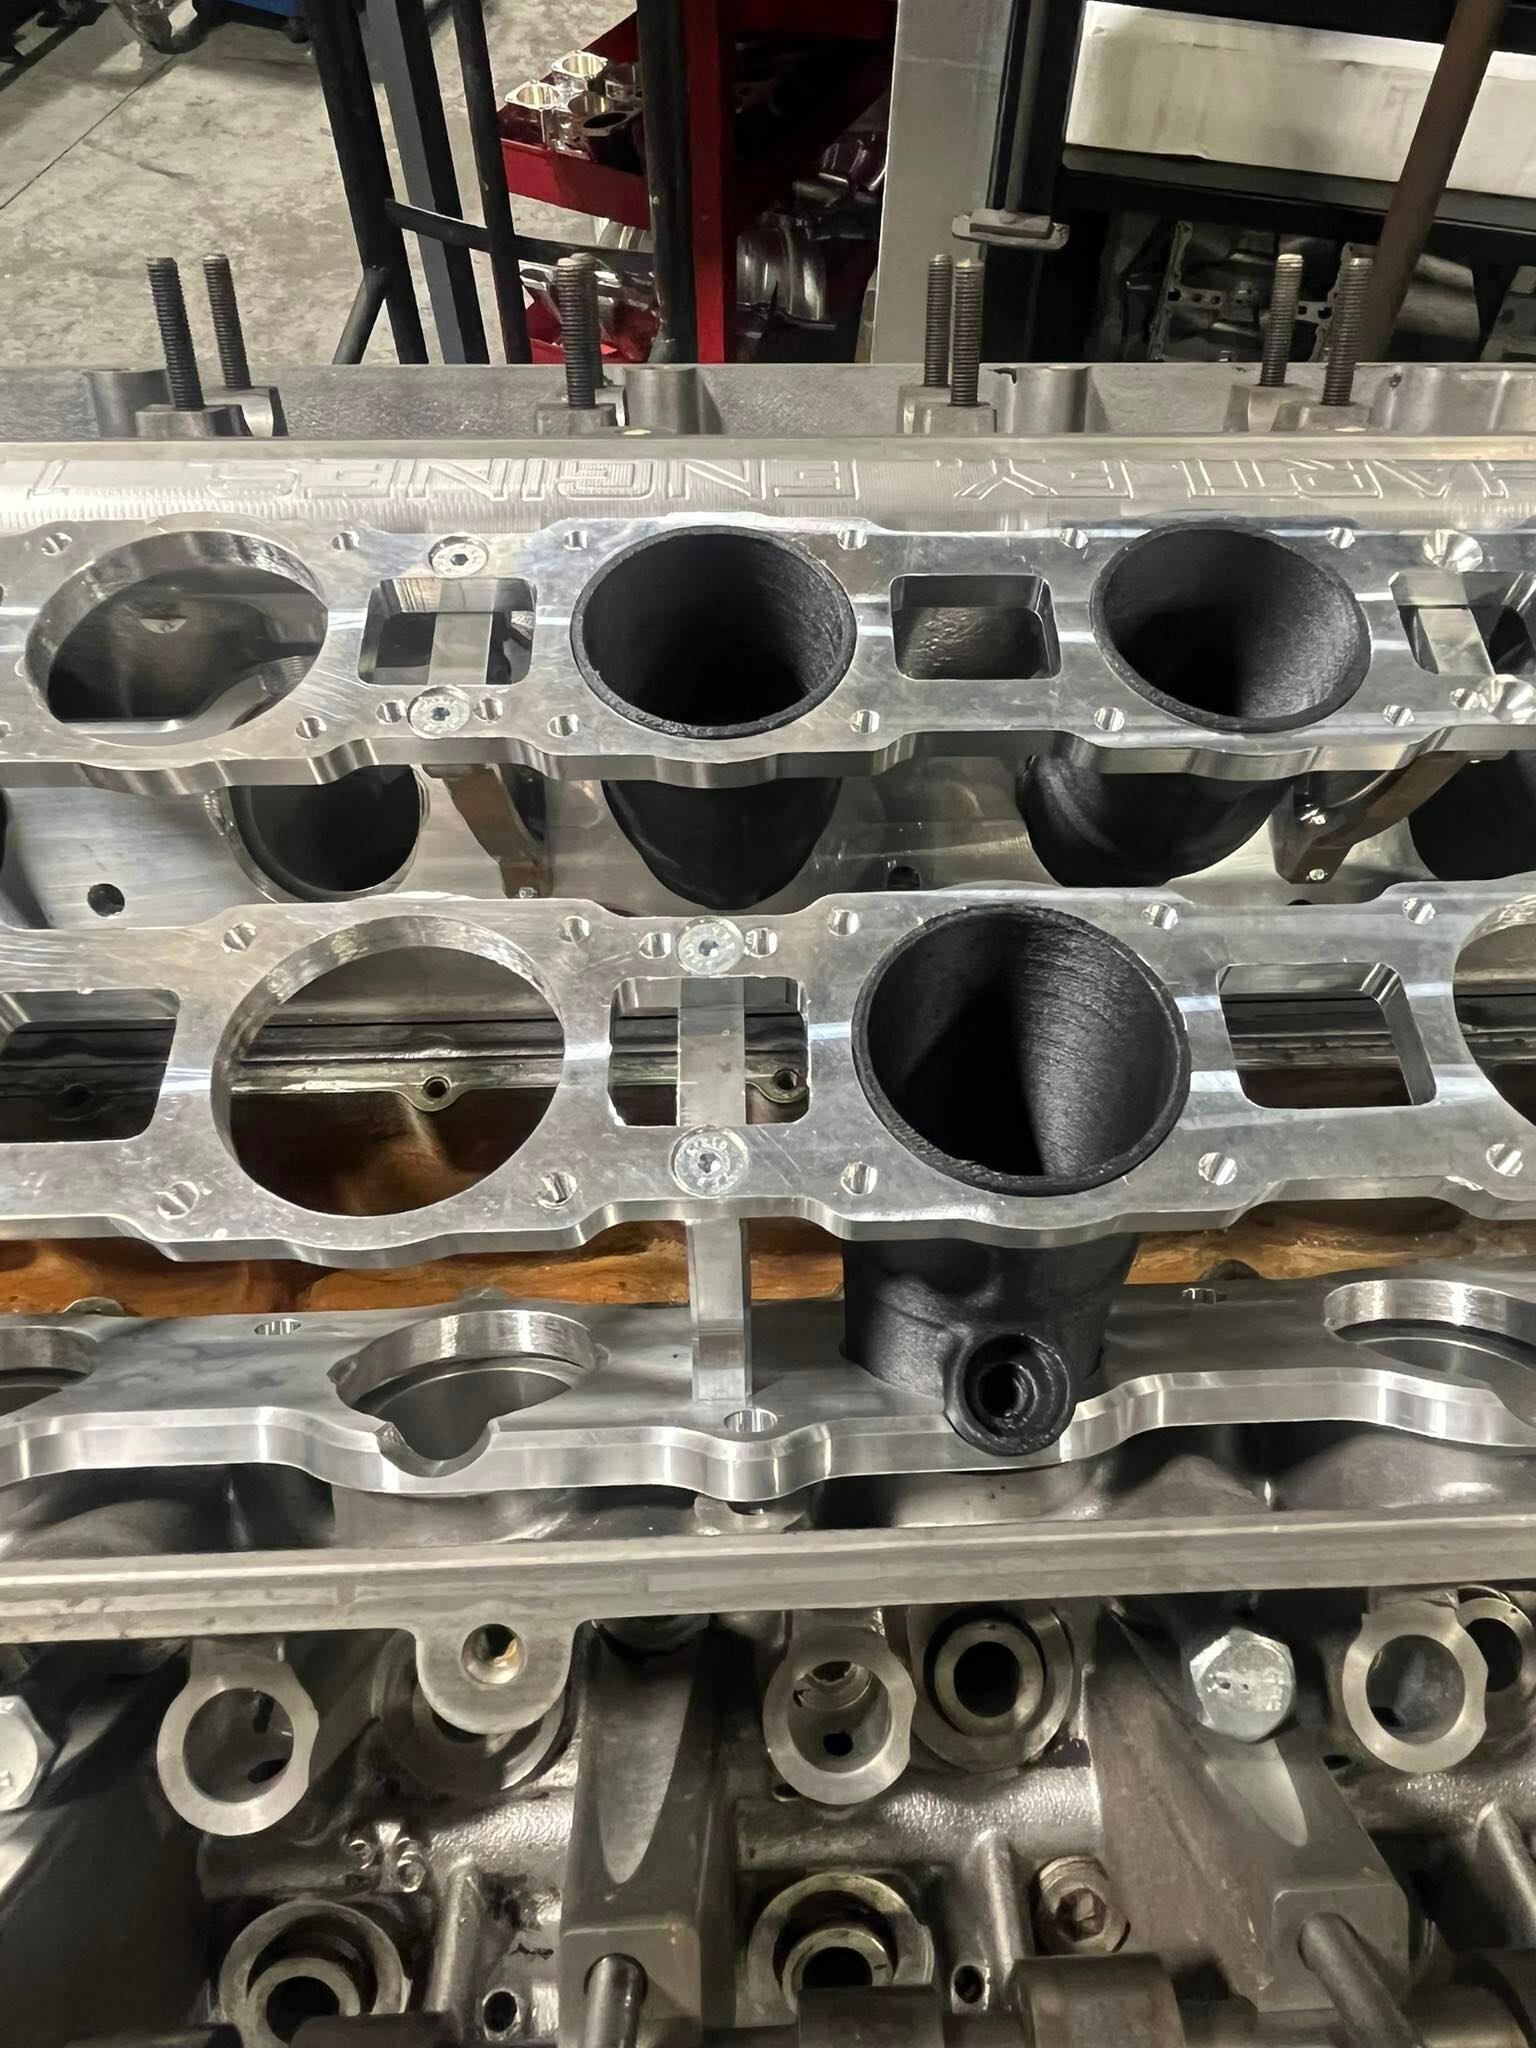
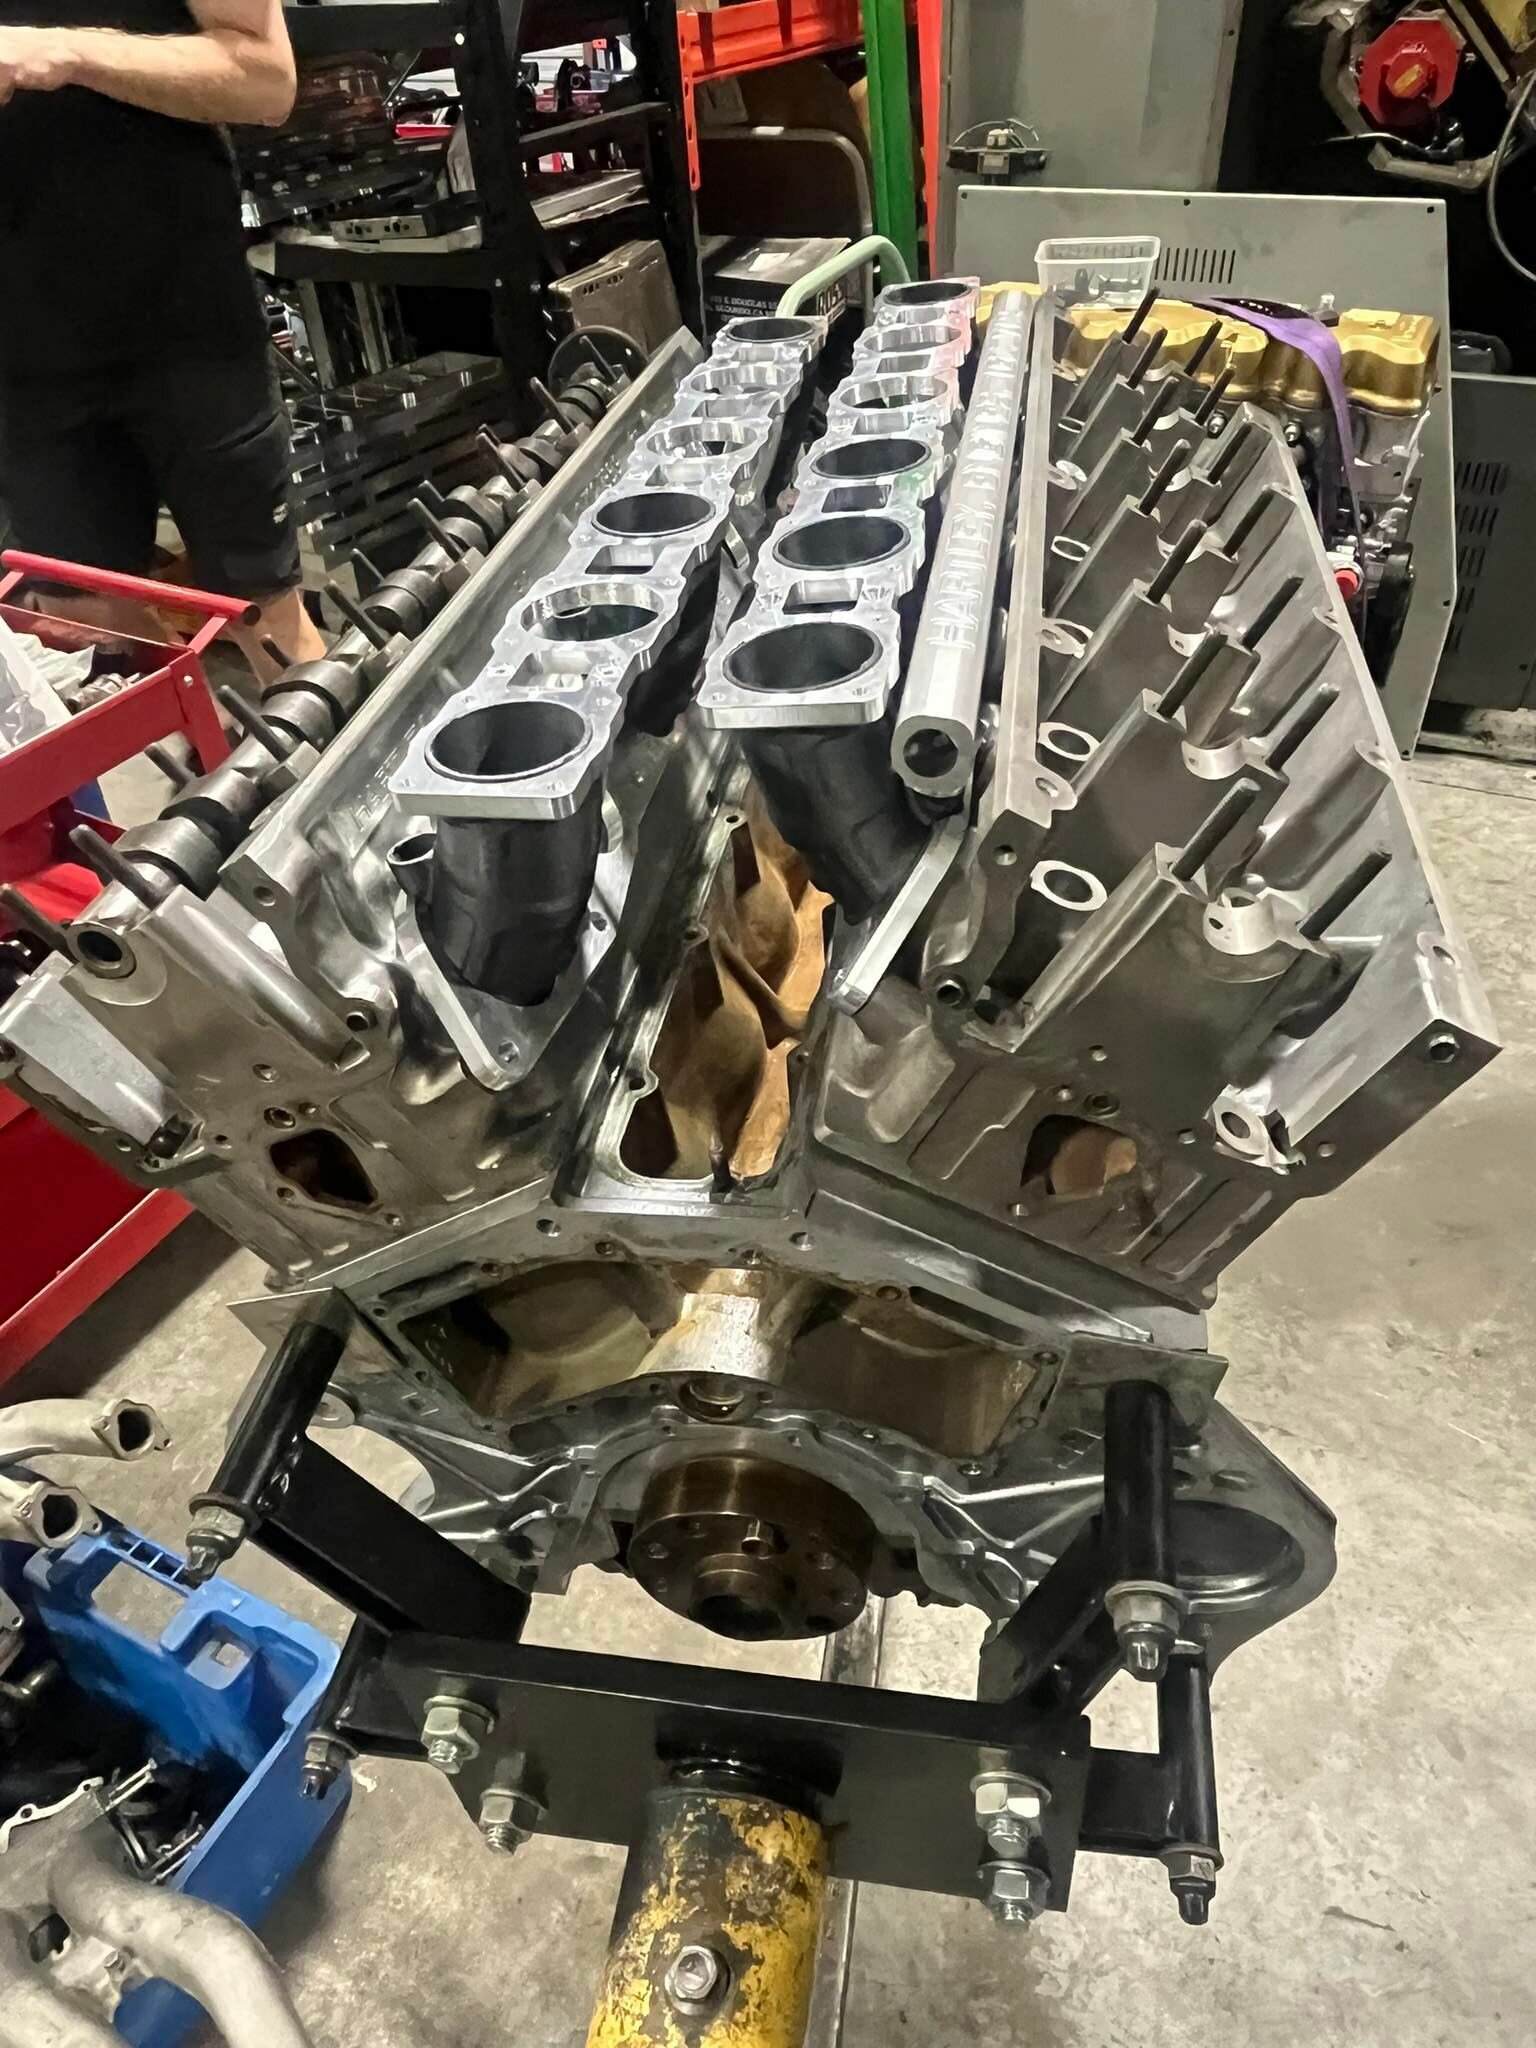
Here are some pictures of the v12 intake runners being made. which will then get a plenum over the top.
-
2
-
-
Hey Team
Can you believe we are already in April, so some of you may have seen it on trade me. The time has come to move the e34 wagon on, Its been such a pleasure to build but am looking forward to the X5 v12 twin turbo build. Just the interior left to put in and cert next week to go.
So here are some pictures of the wagon currently just for my own memory bank


-
3
-
-
@Gaz its a OTR (over the radiator) intake made by x-air for a holden commodore. If you google OTR intake you'll see heaps of different styles
-
 1
1
-
-
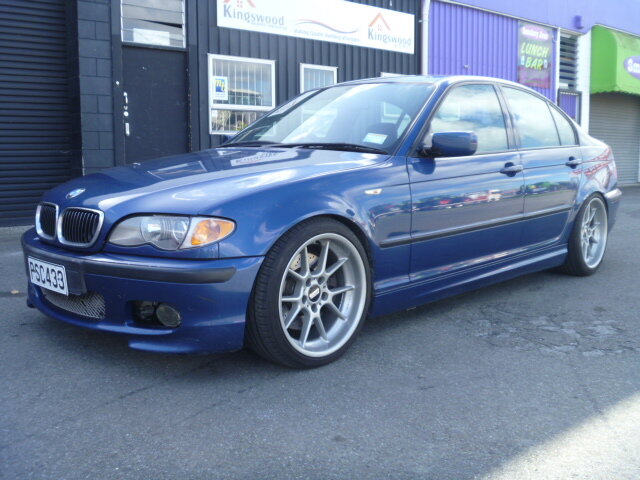
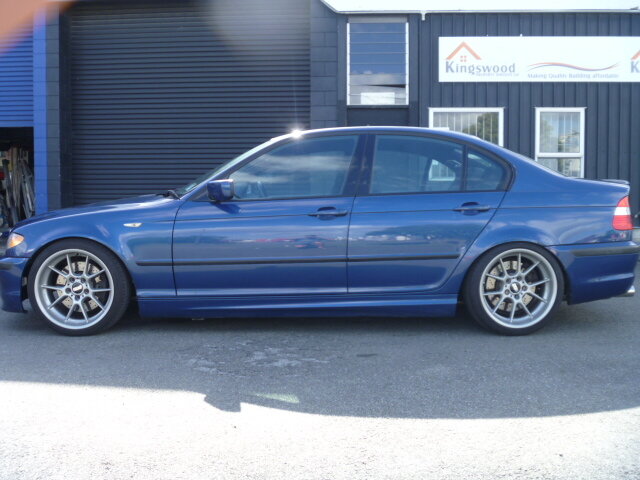
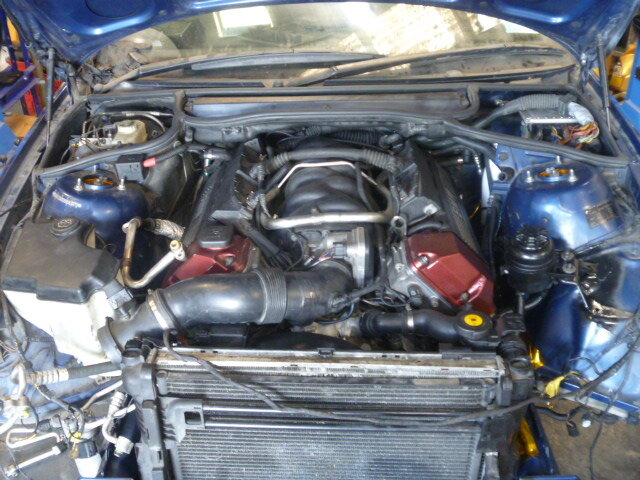
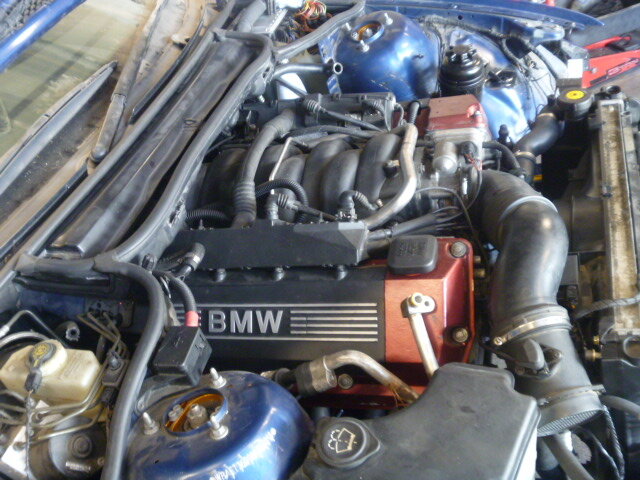
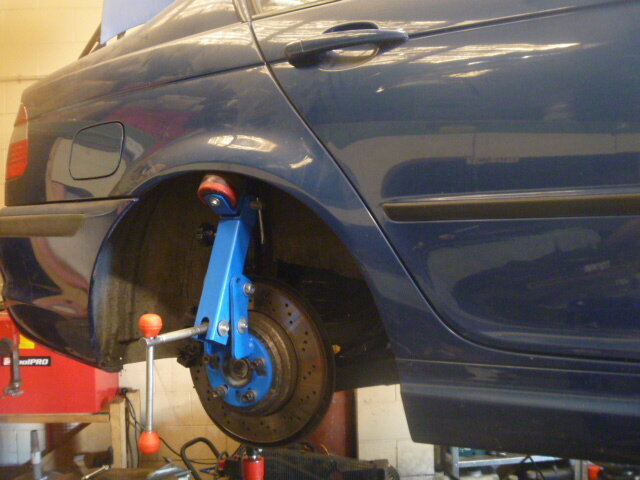
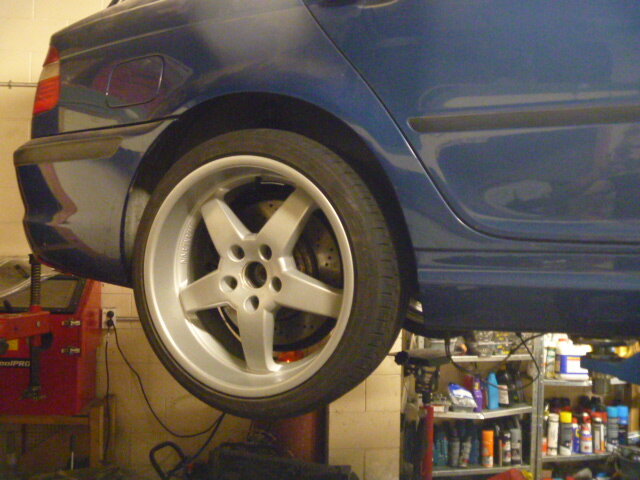
Hey Team
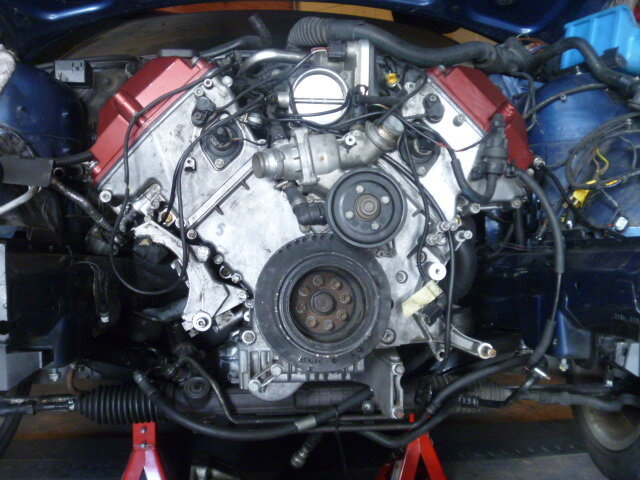
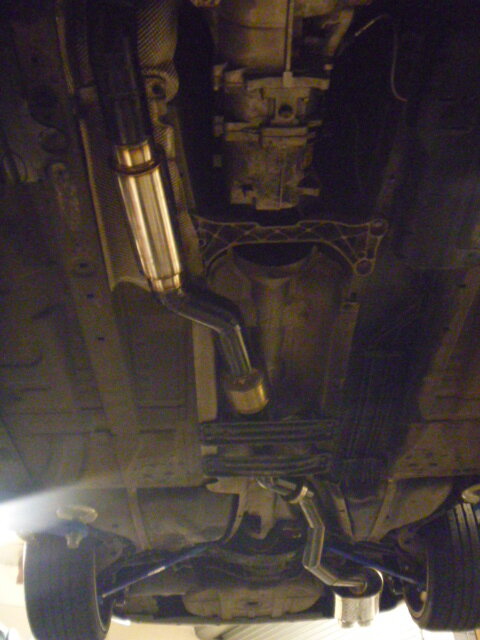
So finally got the e46 v8 swap up and running,
We had a small bimmer car meet over the weekend here in Palmy and I managed to get the car going and took it to the meet. It was great tester for the car and man was is it quick.
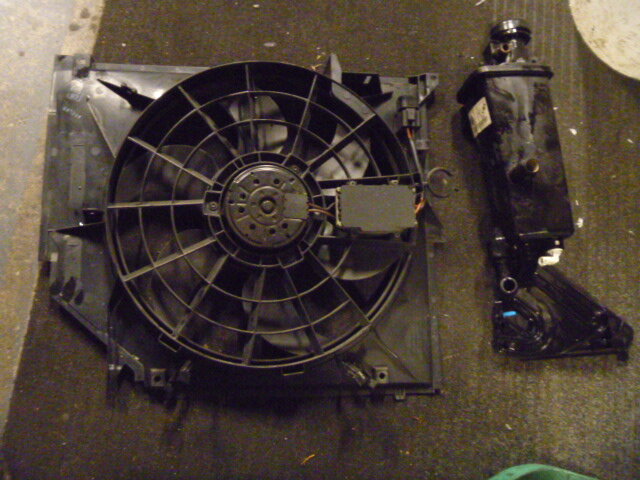
I did change the intake to an OTR setup, which meant I had to change the radiator which also meant i had to install a fan switch. It all actually turned out really good.
Booked in for a cert in late April too so hopefully get cracking onto the M3 v10 swap soon.

short vid of exhaust
-
8
-
-
-
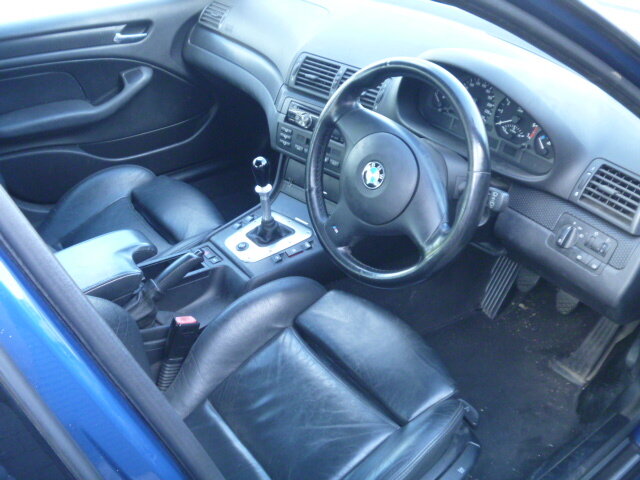
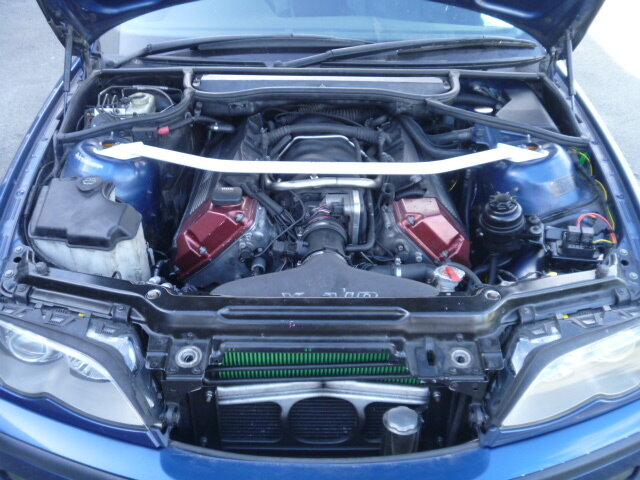
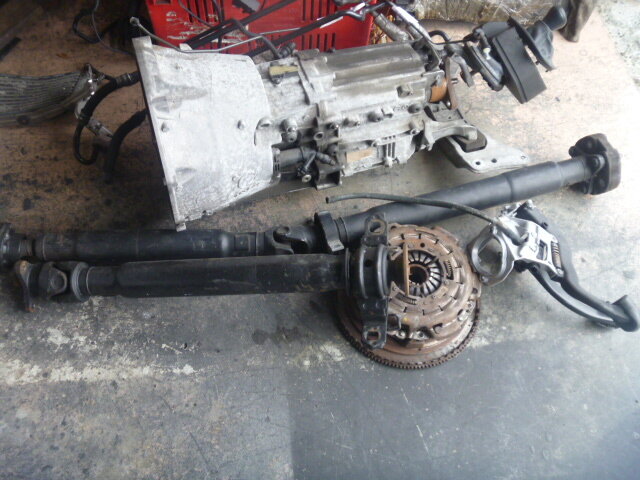
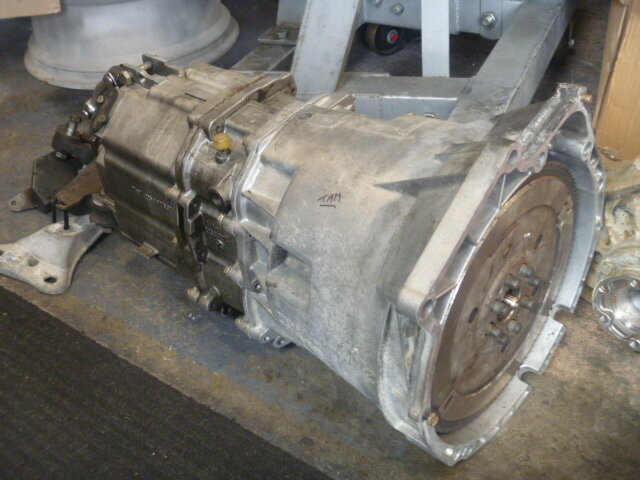
Hey Team
So Things are coming along nicely, Picked up a full manual swap from an e92 M3 and pretty much a complete S85 from a M6 ready for the E46 M3 project.
Cant wait to get this swap started.
-
8
-
-
Hey Team
Happy New Years
Its been a while since the last post, busy with other projects. But happy to say I managed to take the car on a nice road trip to Auckland for a small E34 meet. I wanted to give the old girl one last drive before i put her on the market. Not much left to do other than fit the Mtech bumpers i have repaired and painted, Redo the hood lining, Go for cert get WOf and rego then its good to go.

Also big plans for the X5 4.6is manual, Ive decided to use the v12 manual that was for another project, I will be swapping it in the X5 and twin turbo it.
Once the wagon is finished i can crack onto the new swap.
Thanks Team
-
1
-
-
Hey Team
Happy new years
Been a while but have got so much done and a few plan changes.
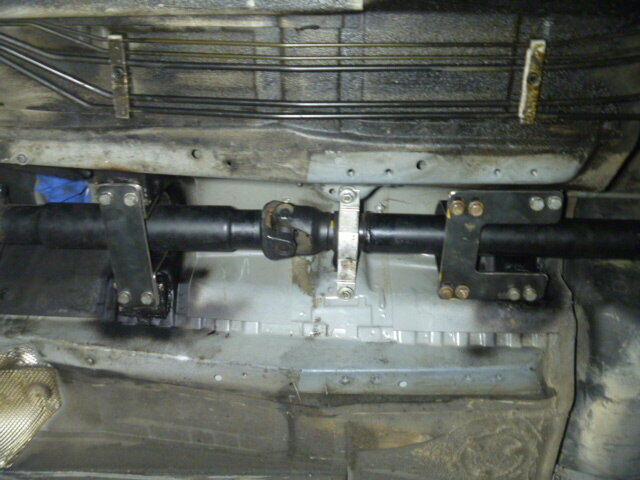
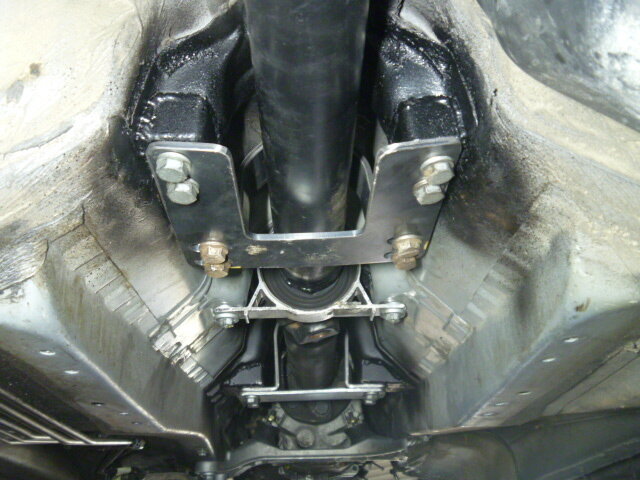
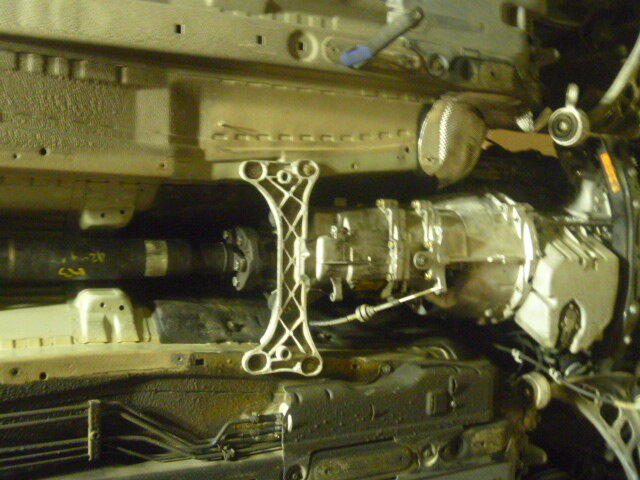
Certifier has popped in, seen the drive shaft hoops and he is happy with the outcome.
Heaps of little jobs done to get the motor finally running.
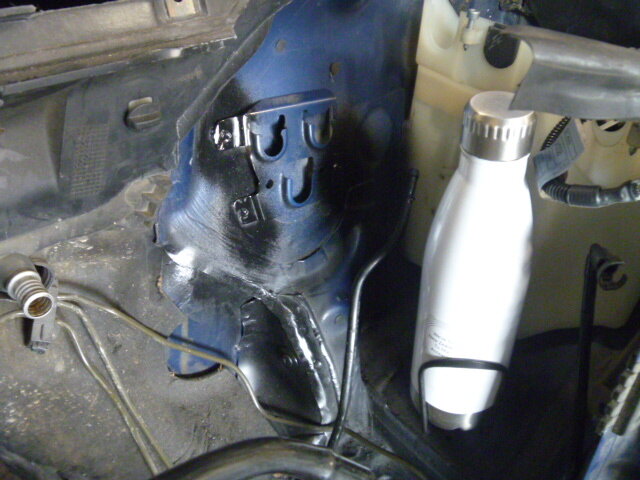
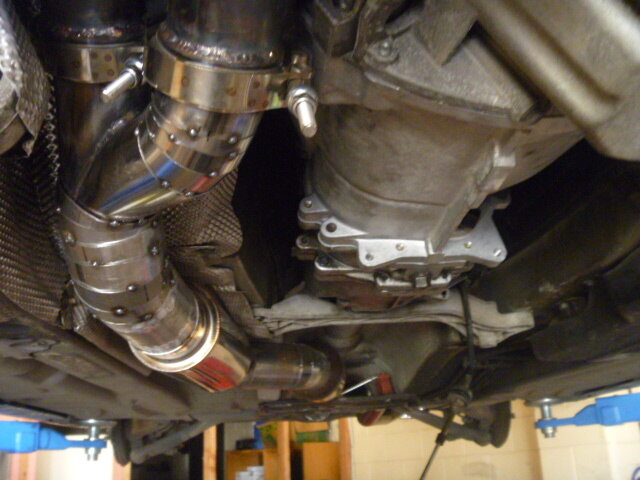
Relocated the heater water valve, DIY oil catch can, relocated dip stick, welded O2 sensor bungs in, coolant and heater hoses, finished off the rear end of the exhaust, AC lines and other small stuff.
So I have had the motor running on the hoist for a good 10- 15mins to bring up to temp checking for any leaks or issues.
But ran like a dream, custom oil pump has pressure so very happy it has worked out. Cant wait to take it for a drive.
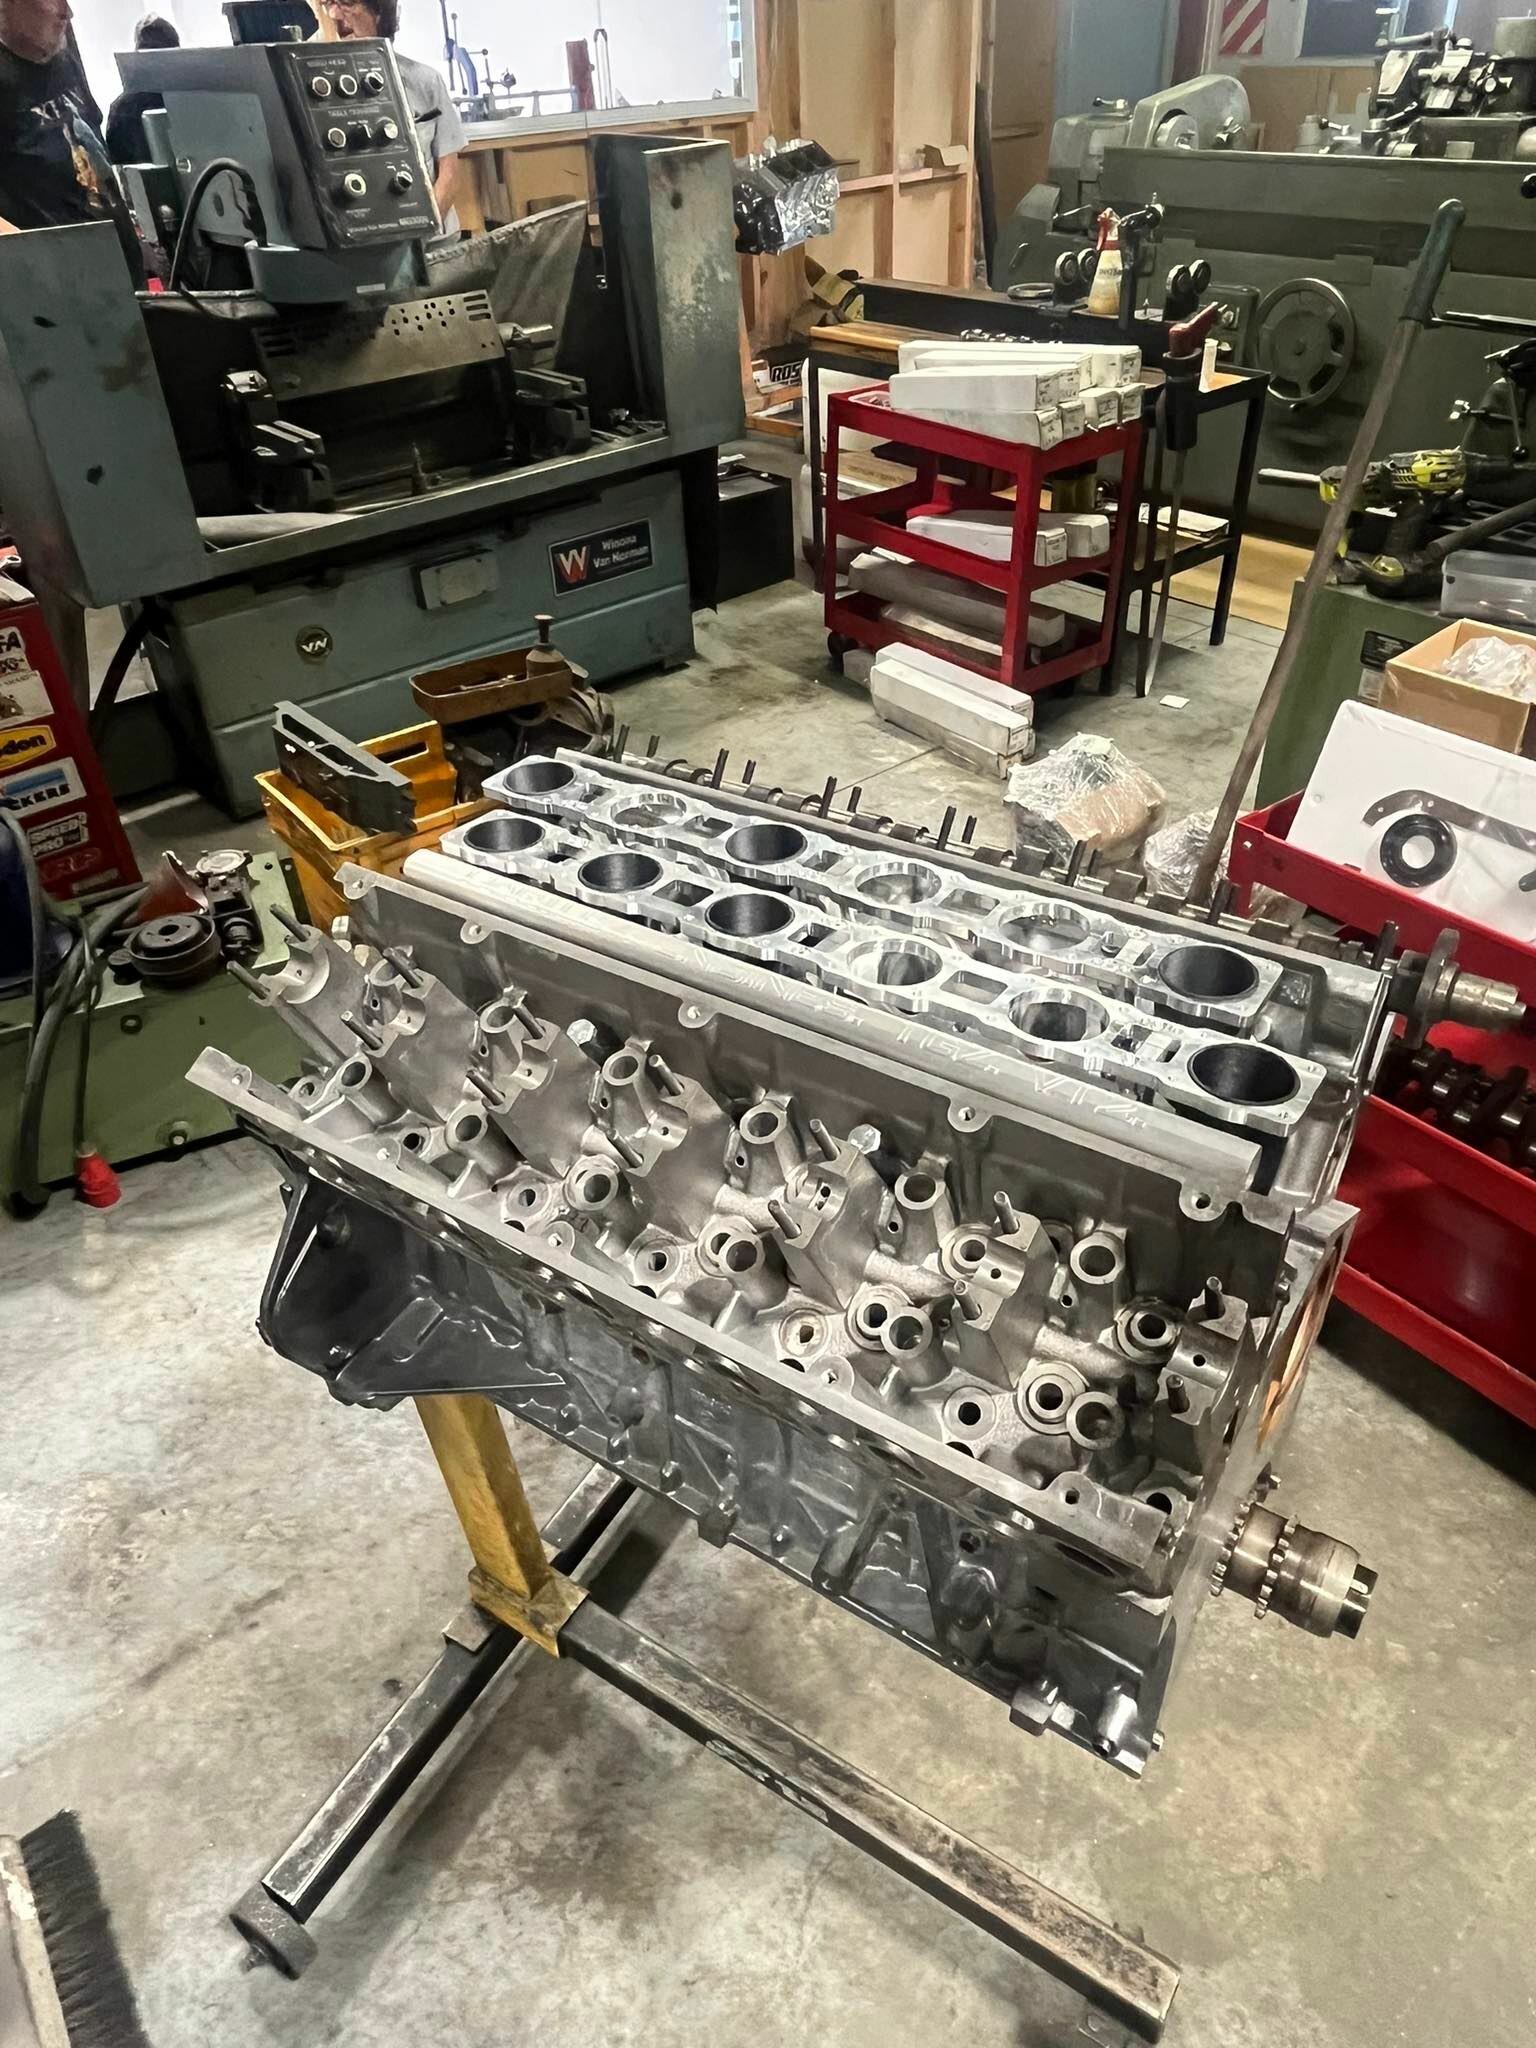
Also a massive update on the v12 swap, Nelson at Hartley Motors has started on the intakes using 3d printing to make the runners which will be glued to the alloy flanges, very light when I held them in my hands and look very cool.

But big changes in the direction with the builds now ( I know I change my mind quite often)
I'm going to twin turbo the v12 motor now instead of ITB's and I will be swapping the v12 in to my X5 4.6is manual.
The opportunity popped up which I thought would do more justice for the M3 rolling body.
I will be doing a S85 v10 manual swap into it
Cant wait to get a start on this swap.
Thanks Team.
-
3
-
-
@Gaz its noticeable slimmer, definitely helps for fitment of the headers as every mm counts.
I had to get the top U joint swapped over to the e46 one ( i think e36 are the same) and i had it shorten by 20mm i think.
Oh nice be nice to see one in a e36 too.
-
1
-
-
@Cement Thanks though i cant take the credit for the work as it was all done from my engineer.
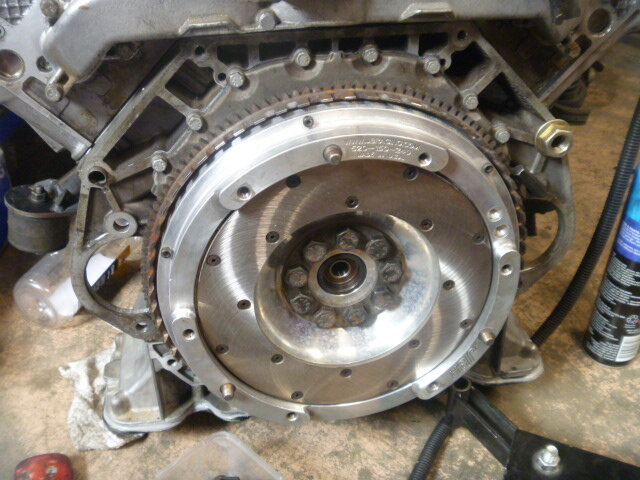
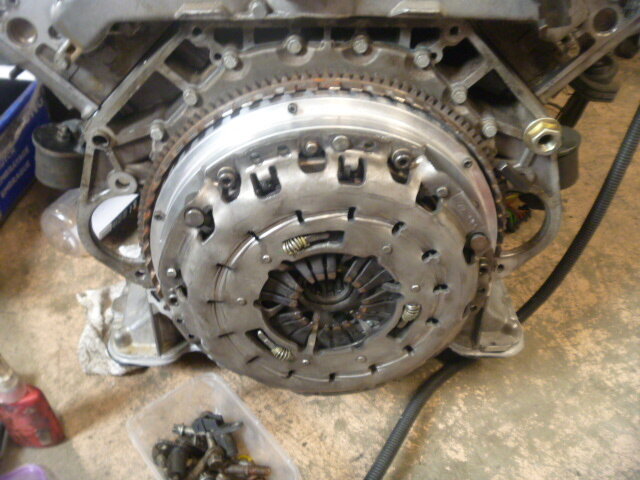
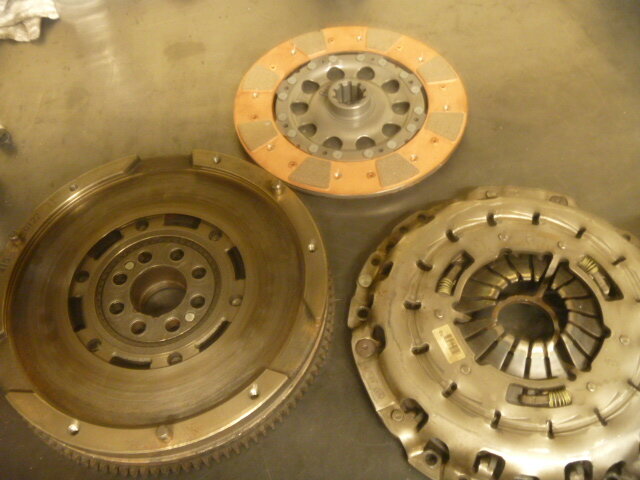
@Eagle I had the Jb racing flywheel lying around and it took factory a pressure plate. I also had both spare clutch disc and plate so figured i would used all the parts up.
@Gaz are you talking about the Cybul and Adamat ones? I did think about it but quite liked the rear sump idea and just wanted to try it really.
-
1
-
-
Hey Team
Another long break between post, so managed to sell the black 330ci to a nice gentlemen who drove all the way from te puke to pick it up.
Short vid made by my friend and exhaust sound near the end.
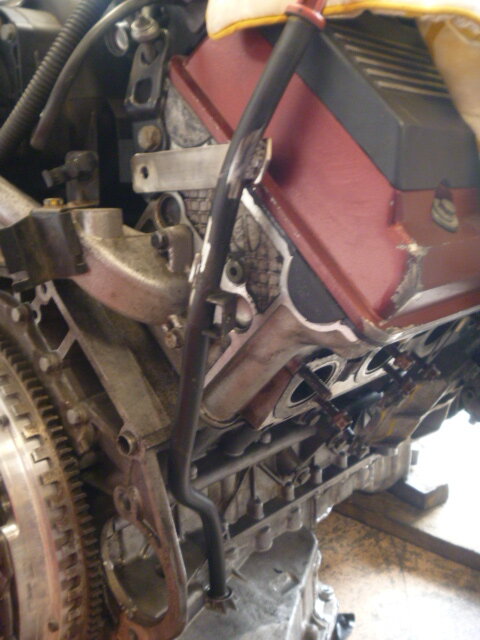
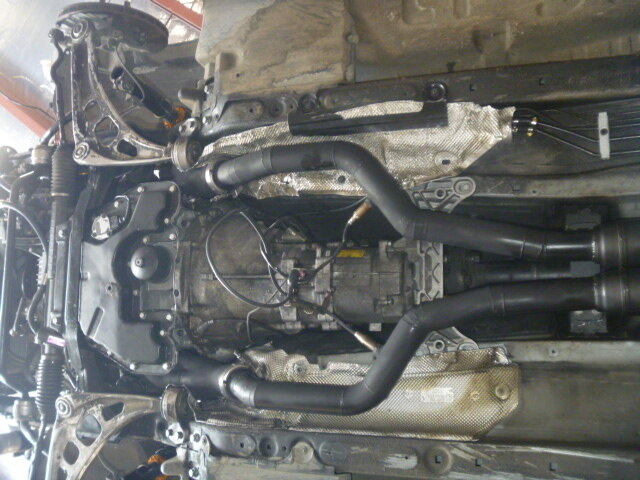
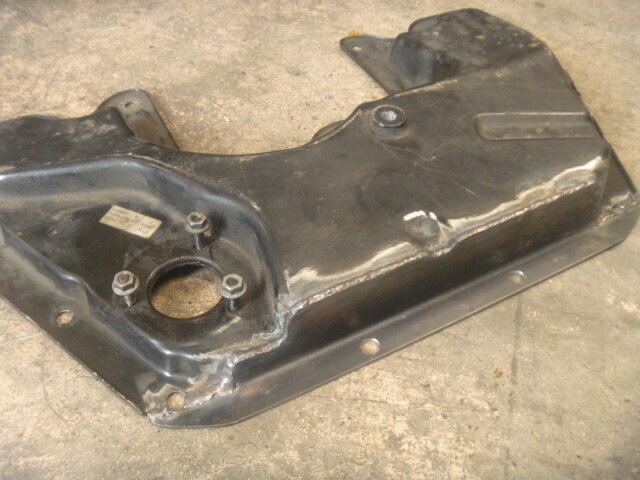
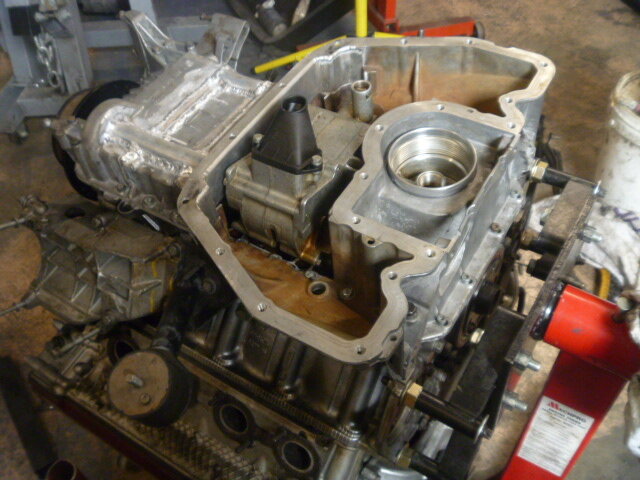
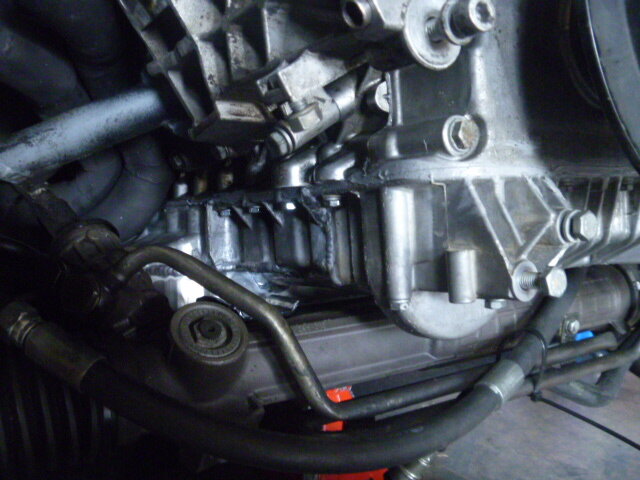
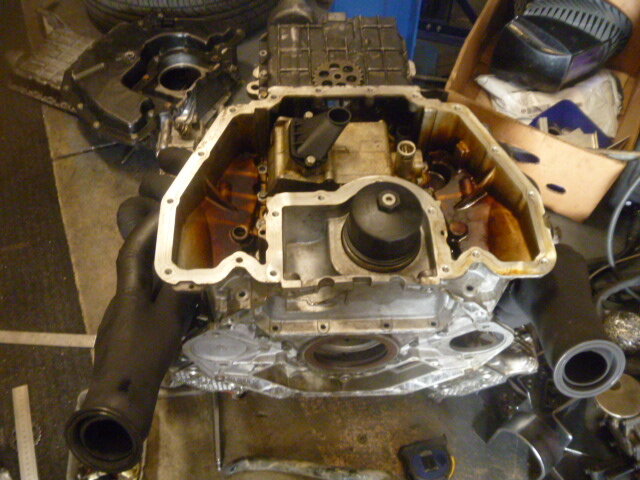
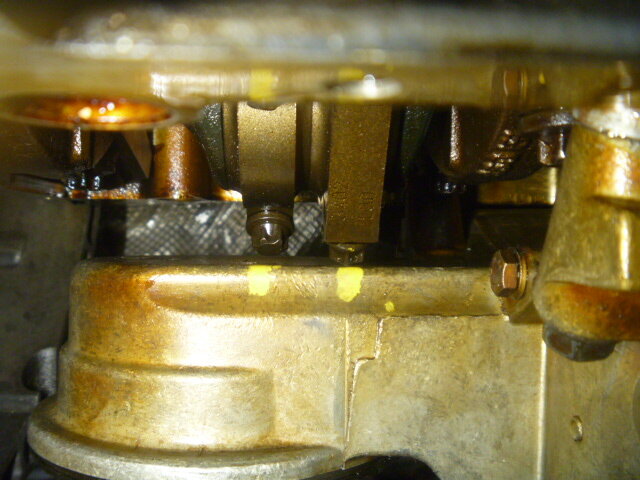
So have also managed to get the n62 oil pump stuff sorted for the m62tub46 motor. I had a few hiccups with the sump pan fitting correctly but we got there in the end.
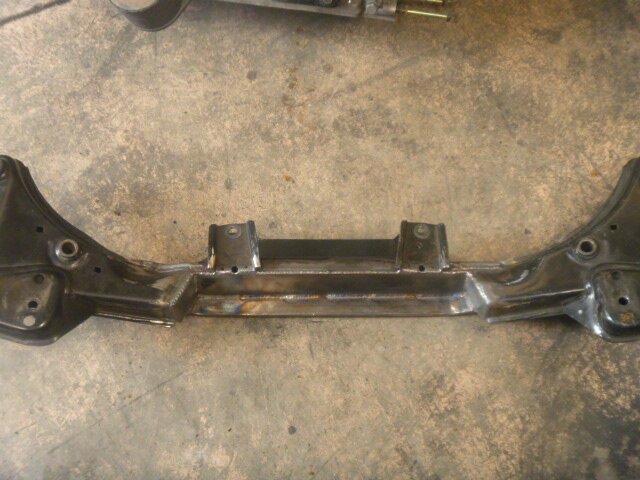
Also had to modify the cross member which the certifier was happy with.
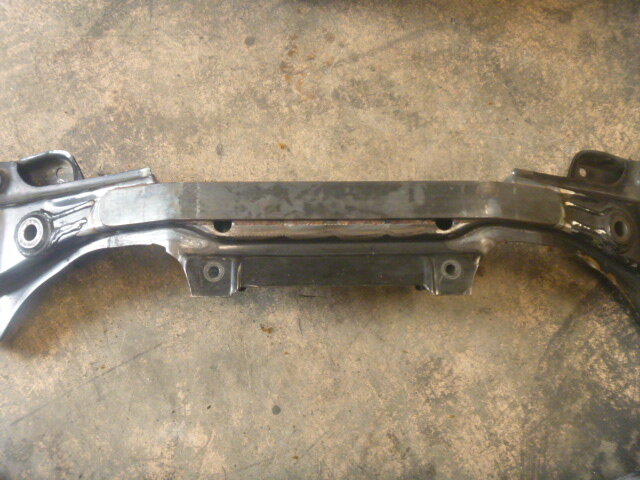
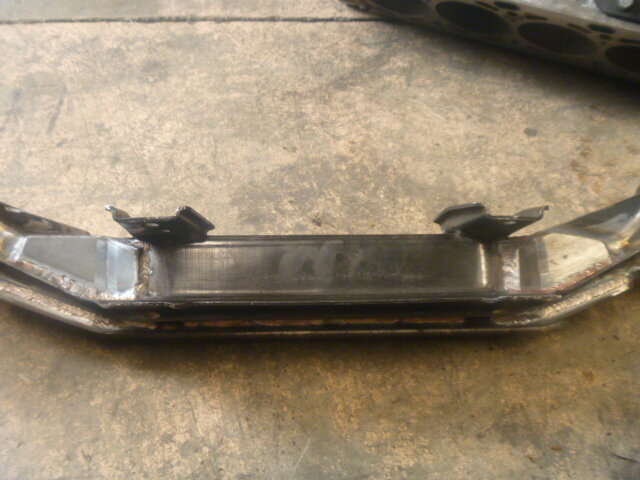
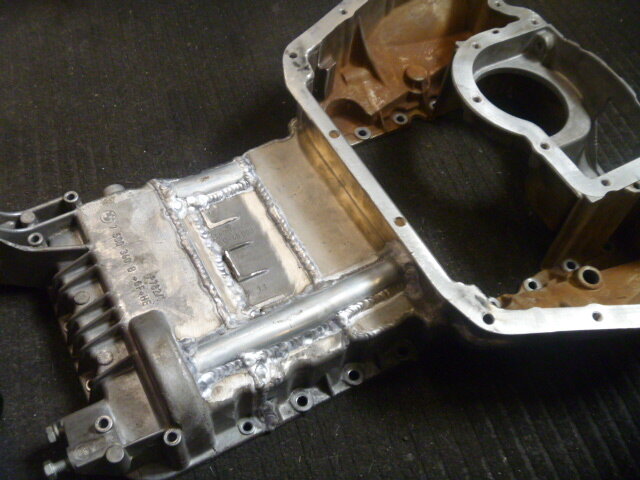
This was the 1st change to the n62 sump
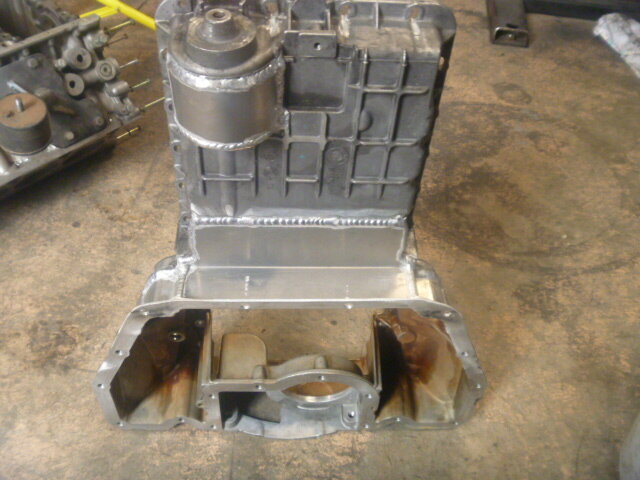
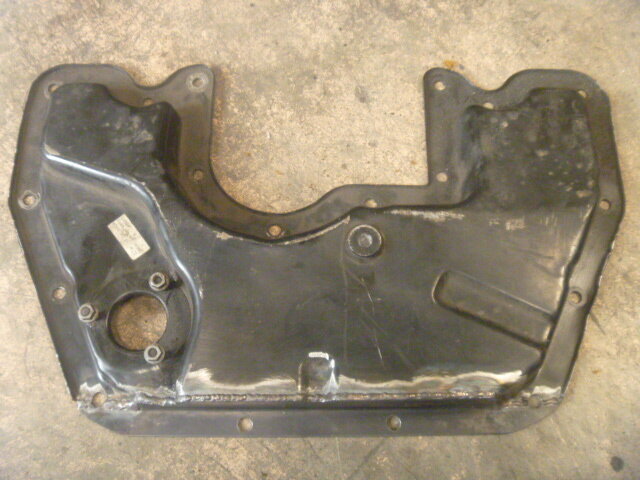
Shorten tubes and oil pump shaft
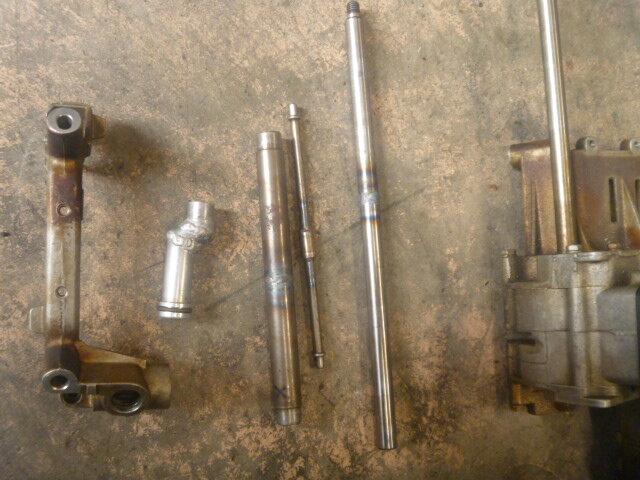
Had to make 6 new 10mm spacers to raise the pump up and slot the oil pump bolt holes to accommodate taller spacers.
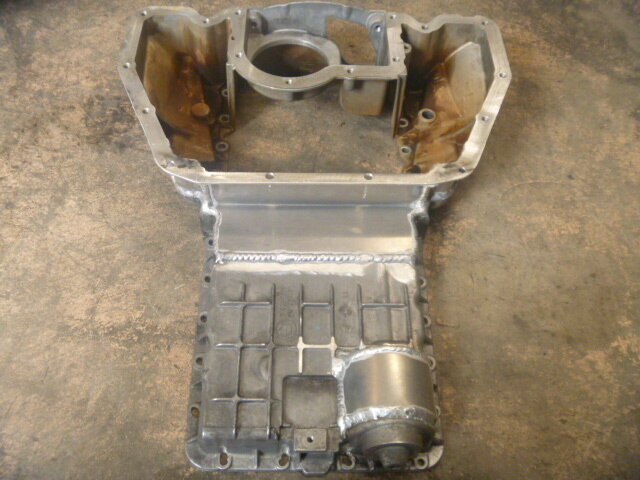
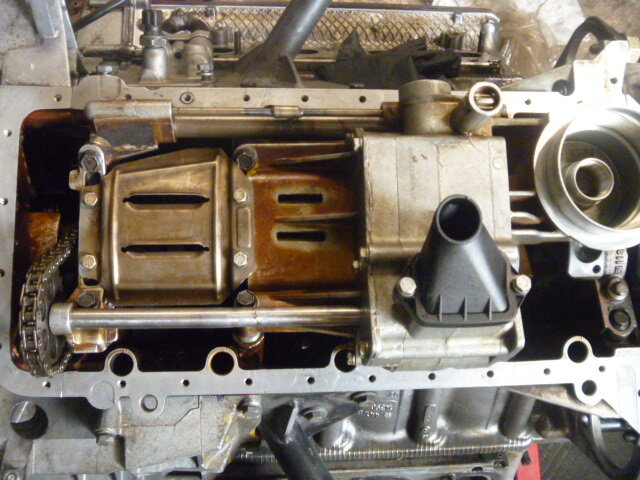
The final Sump pan we ended up cutting the front off the n62 pan and reusing the X5 front 1/4 due to needing the power steering and air con pump tensioner brackets.

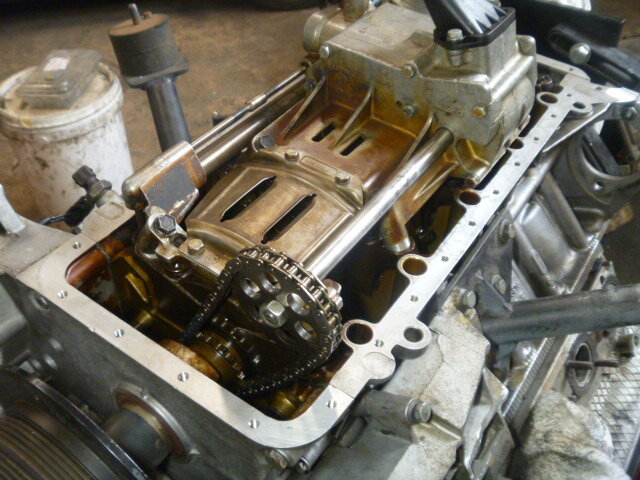
All bolted in on the motor now i reused the m62tu oil pump chain and sprocket.
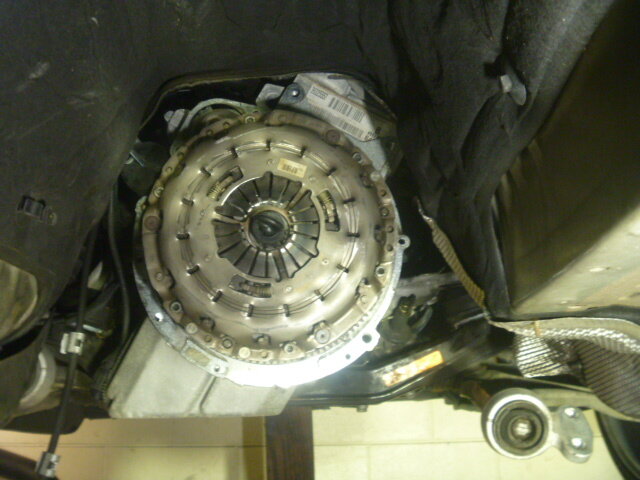
Bolted the Flywheel and clutch it on
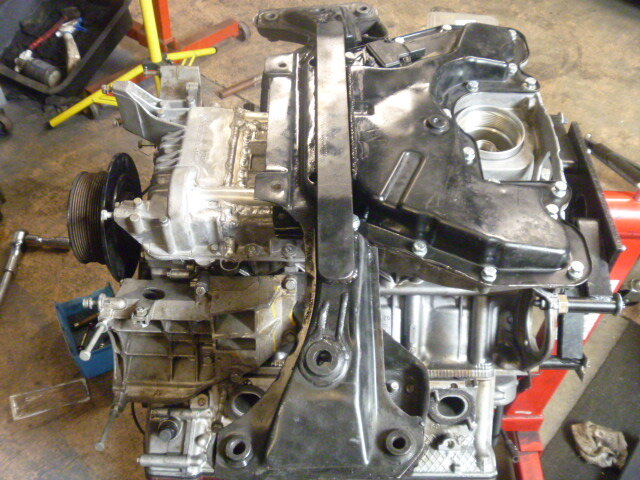
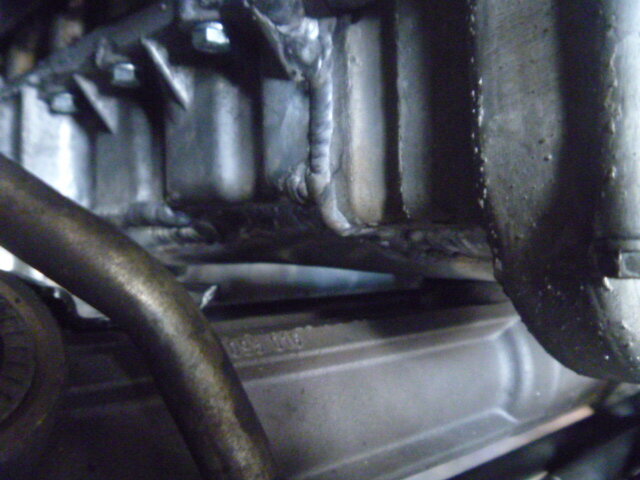
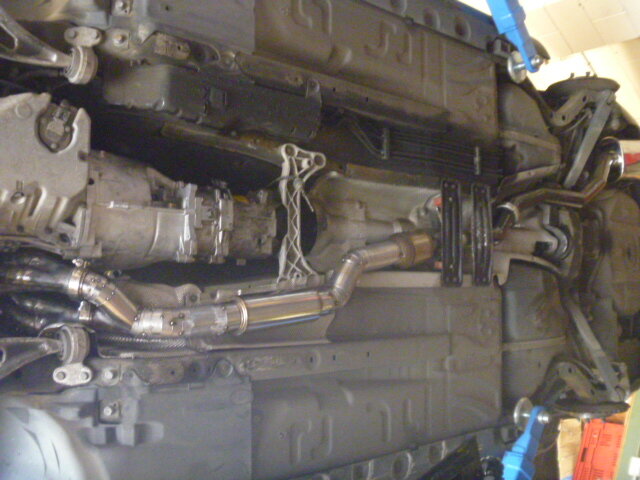
Tested fitted into the engine bay due to me needing to find if the n62 dip stick cleared which it does but needs to be shortened by 120mm
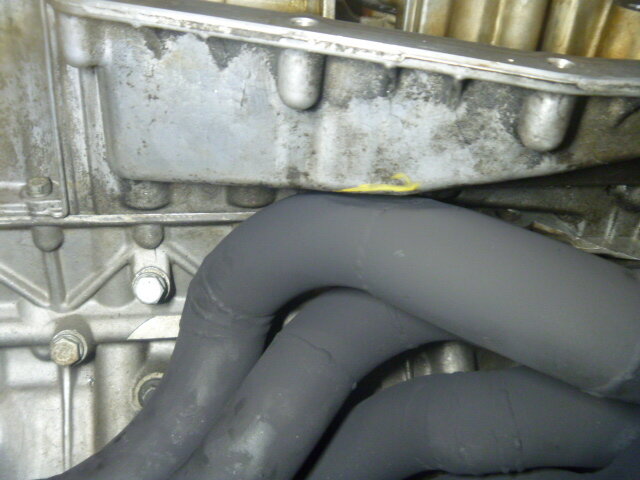
Plenty of clearance underneath too.
Not long to go.
Thanks Team
-
5
-
-
-
On 10/9/2022 at 1:33 AM, Lincoln said:Wow. Glad I stumbled on this thread. Great work. Where can I buy the headers?
Hi Lincoln give Austin a message on F.B look up Stirling Street Machines he made my ones
-
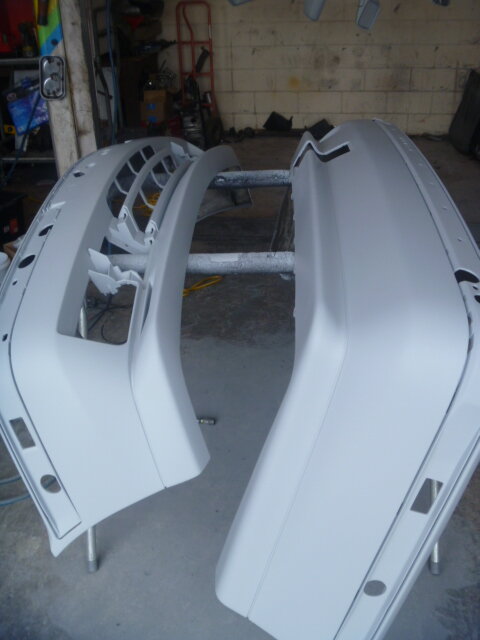
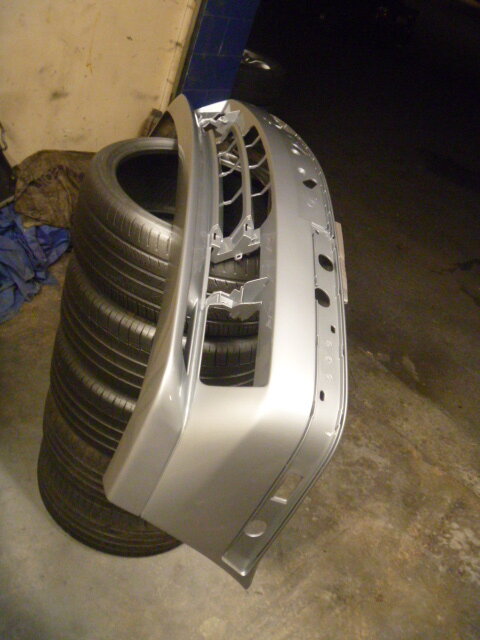
Hey Team
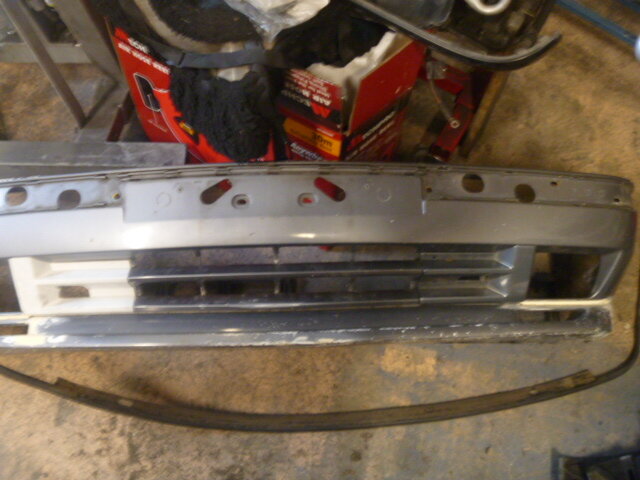
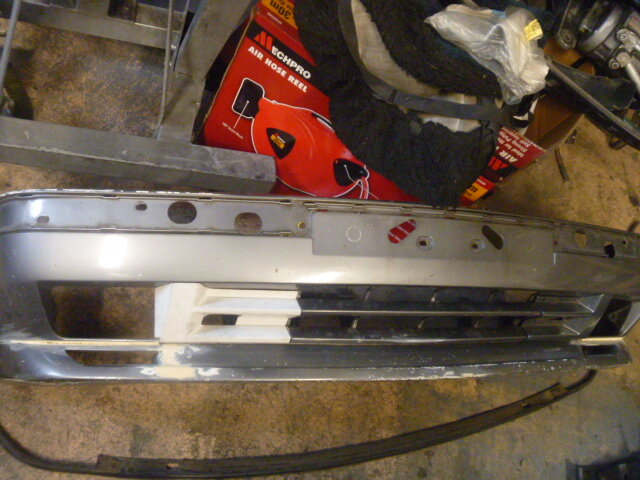
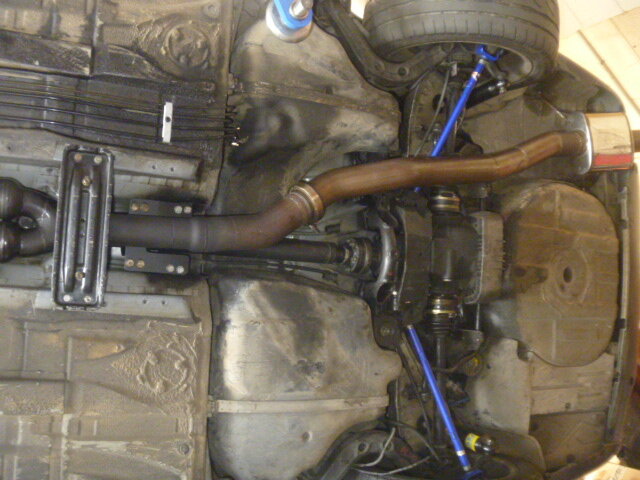
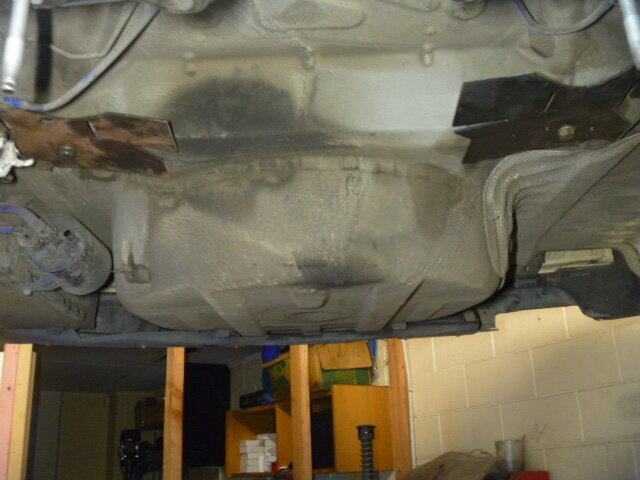
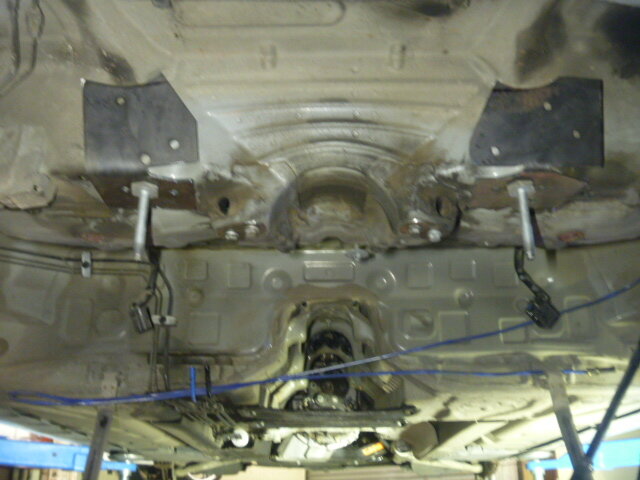
So further along the build with pretty much 2 more things to do before i put it up for sale. The front bumper to be resprayed then cert.
Subframe plates done
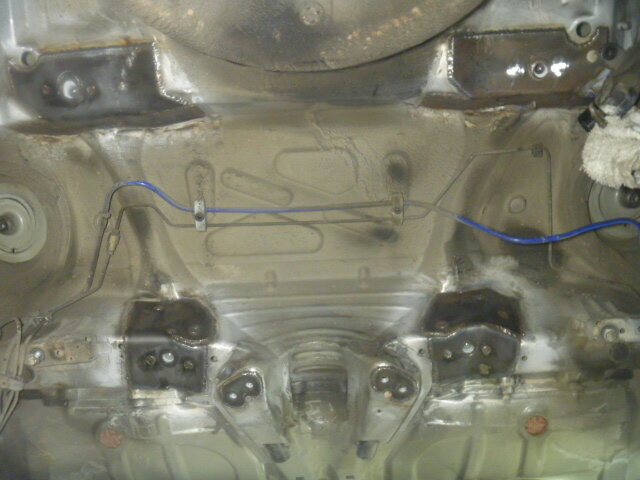
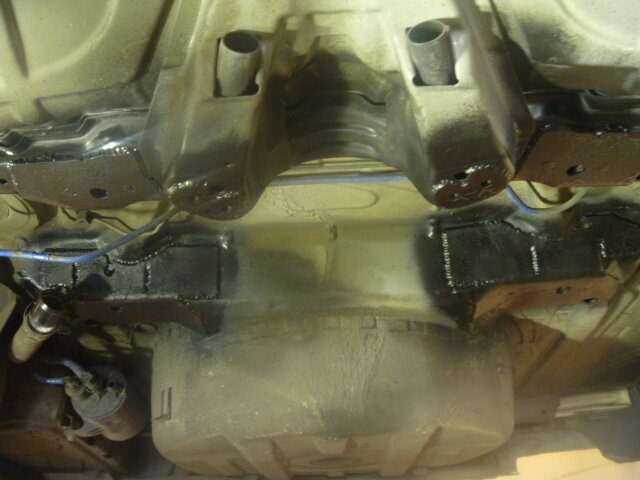
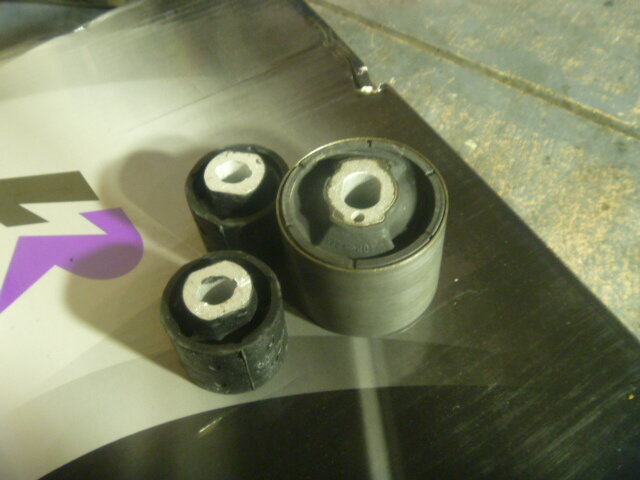
Diff mounts changed
O2 sensors covered with some heat reflective tape

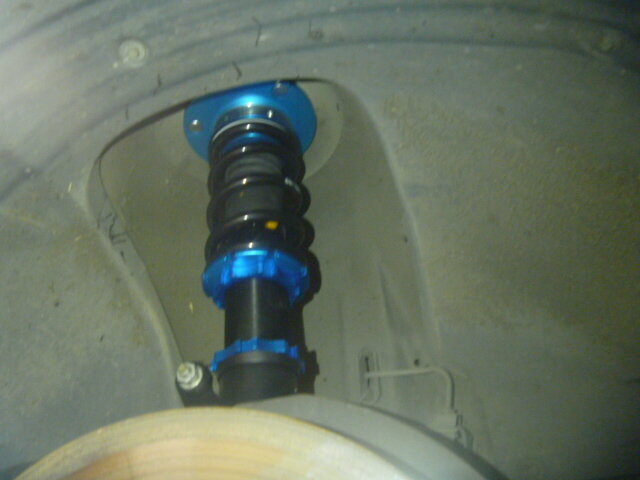
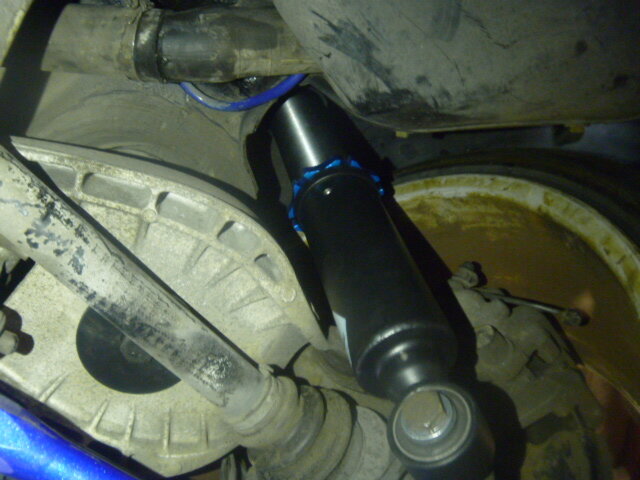
Coilovers installed
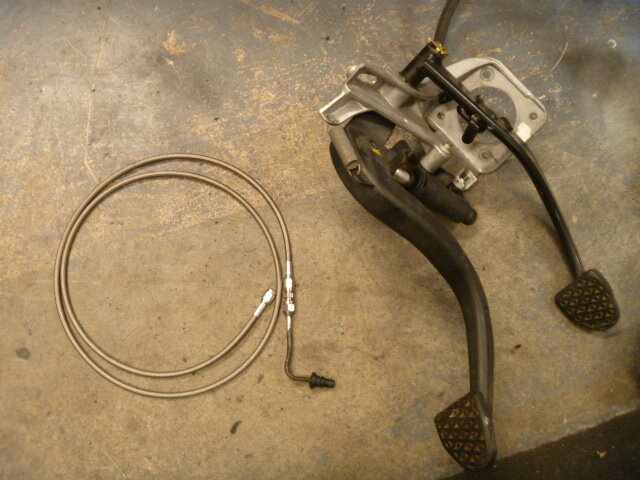
Braided clutch line and pedal box
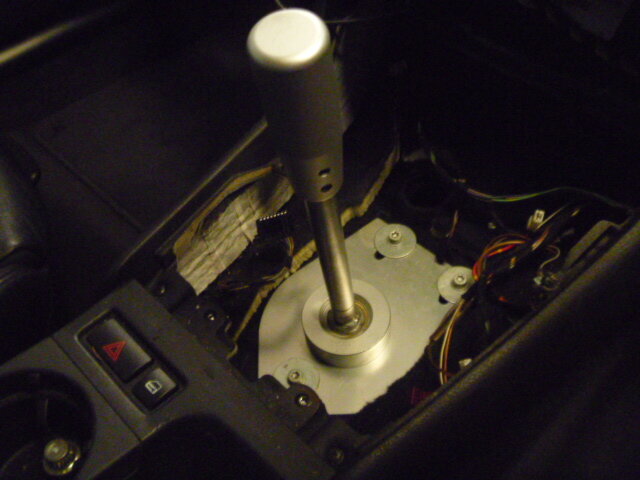
Solid mount shifter and dssr installed
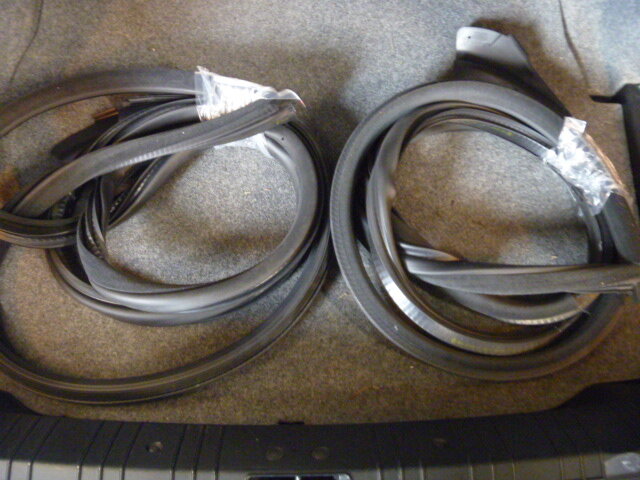
New door rubber seals install
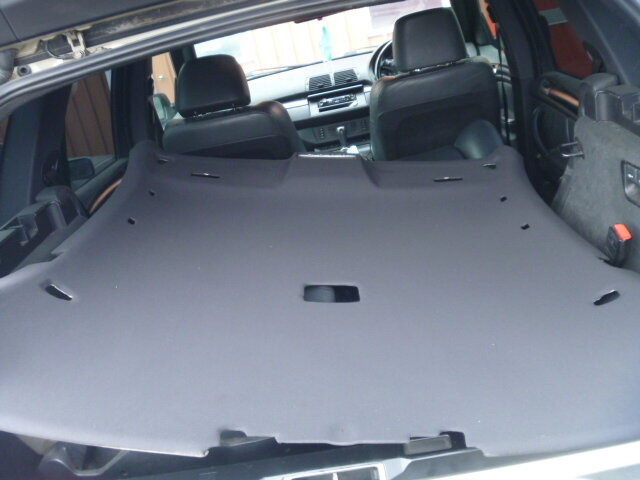
Hood lining redone
Full exhaust fully bolted up
Electric fan and manual radiator swap
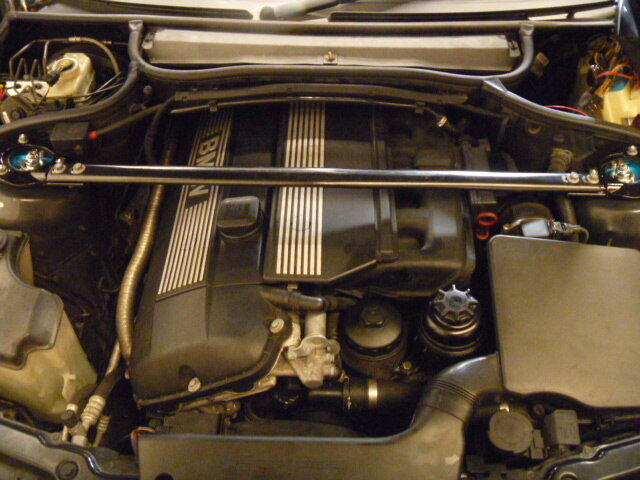
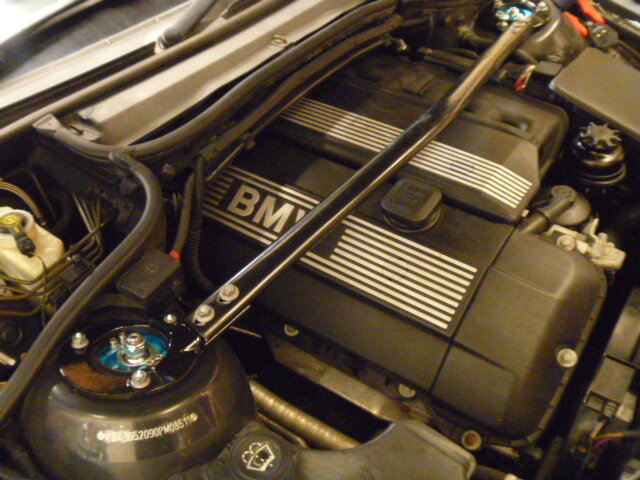
M3 strut brace
Will post a short video of cold start and drive by once the car is fully legal.
Thanks Team
-
2
-
-
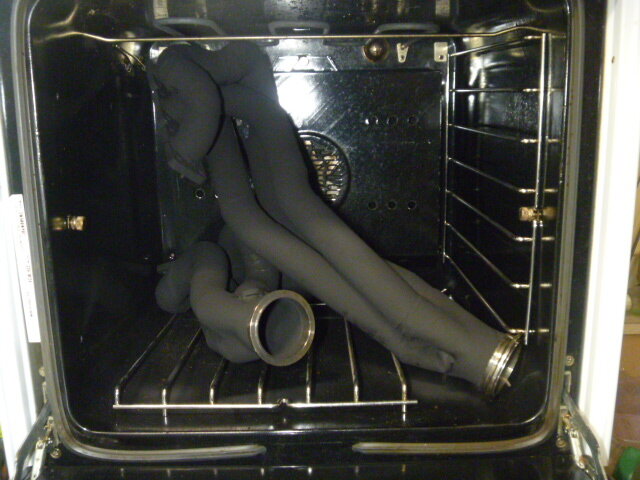
2 hours ago, MD13 said:Nice clean oven you have there 🤣
haha thanks Michael. I purposely brought that oven for baking parts in. cost me $50 off trade me.
-
1
-
-
Hey Team
So got a bit done over the weekend.
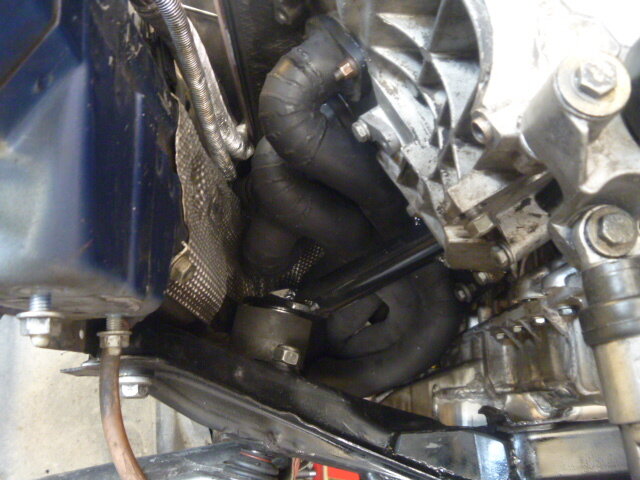
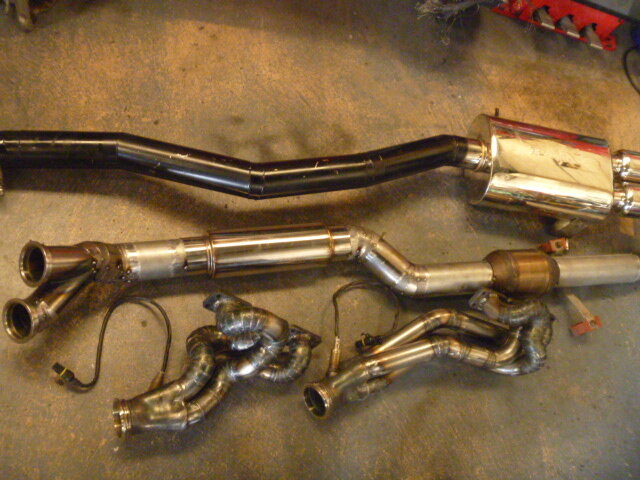
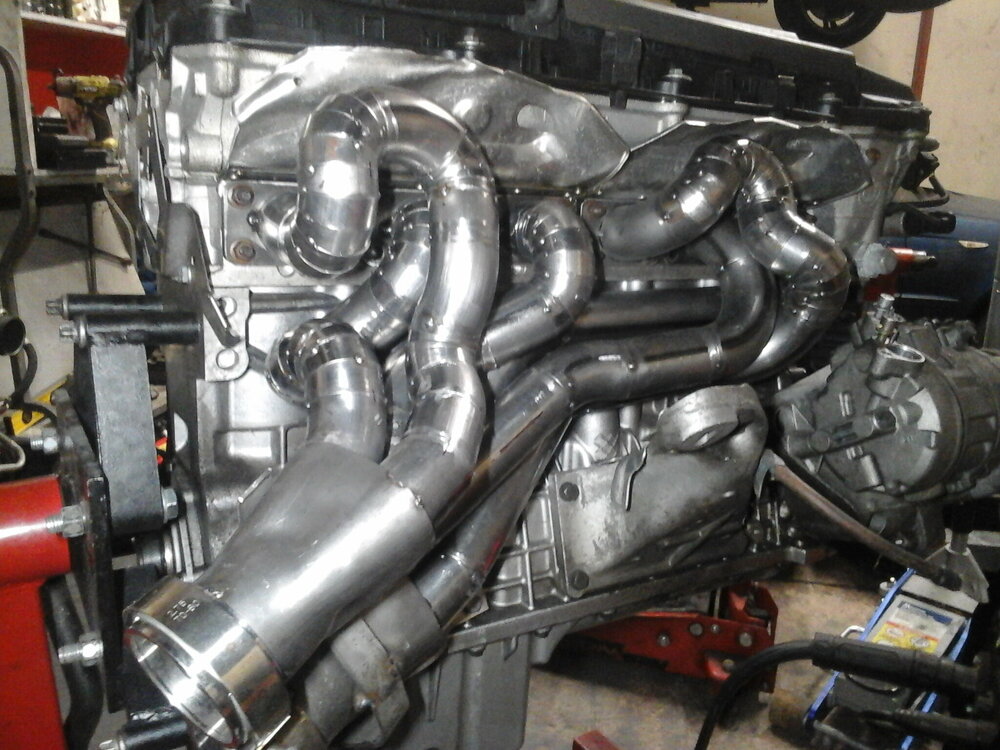
Finished welding the headers with O2 bungs, Full exhaust finished and tacked ( ran out of gas so couldn't finish it)
Spray painted the headers and oven baked and made a start on the subframe plates.
Thanks
-
1
-
-
@User Name yeah im more than happy to have a little catch up. I see your in Levin as i travel through to Otaki often to visit my parents so could pop on in and check out your projects. In all honesty the headers are a lot of work but these ones took me two days to tack up which was way faster than i was expecting. Maybe having done the v8 ones help me find some short cuts like using the spare block to mock etc.
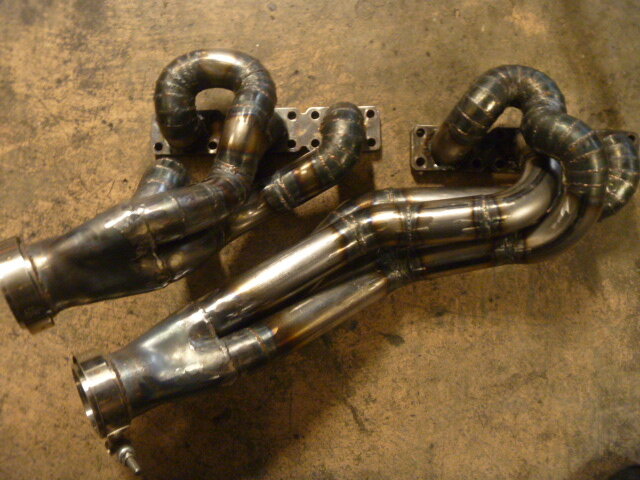
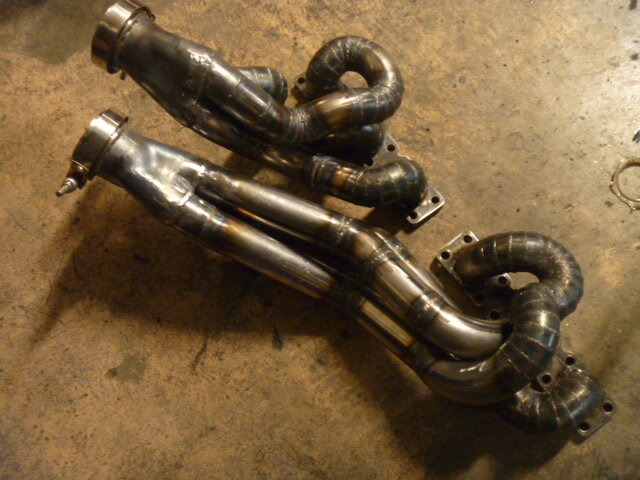
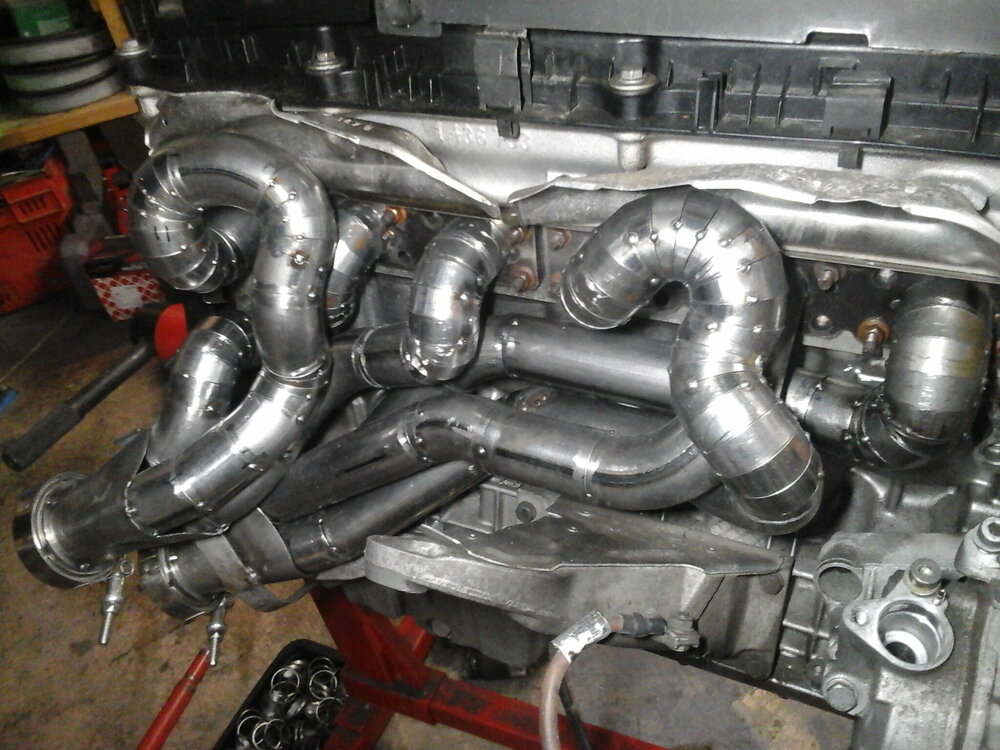
@Cement So the primaries tubes are just tacked on the flange and the collectors aren't welded on yet, I've made a bracket jig to hold the collectors where I need them and the primaries are just sitting in them. I have separated the tubes away from the flanges and spent a couple hours a night welding them up with only one more to go before I can weld it fully up which hopefully will be this weekend. I really want to try and get the whole exhaust done this weekend as I'm very curious to see what a home made full exhaust system sounds like.
-
Hey Team
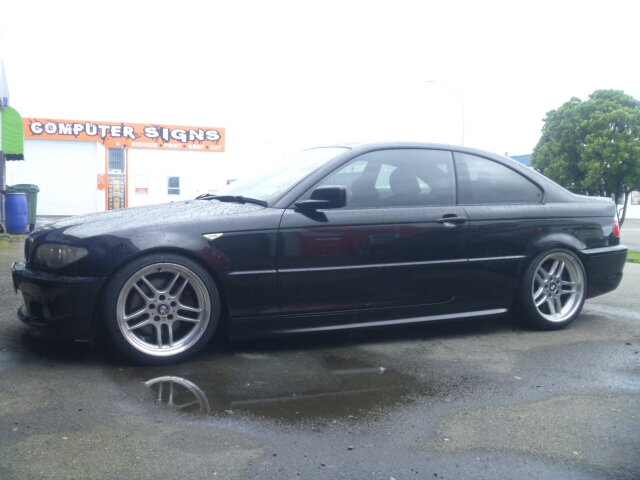
Long time no post, Still waiting on the two engineers to get the v12 motor and the n62 sump sorted so in the mean time I thought I would share as this is also e46 related.
Picked up this pretty clean 2004 330ci earlier this year.
Over the past couple weekends i have done the 420g manual swap which is a converted smg box from Kayne Barrie and finished tacking up the custom headers.
Still to go subframe plates, install coil overs and adjustable lower control arms, rest of the exhaust, pedal box and few other small little things.
Hopefully the other project stuff will be ready by the time I've finished with this car.
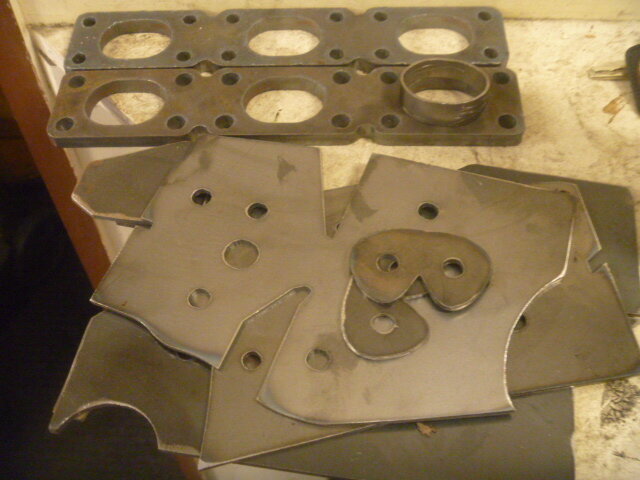
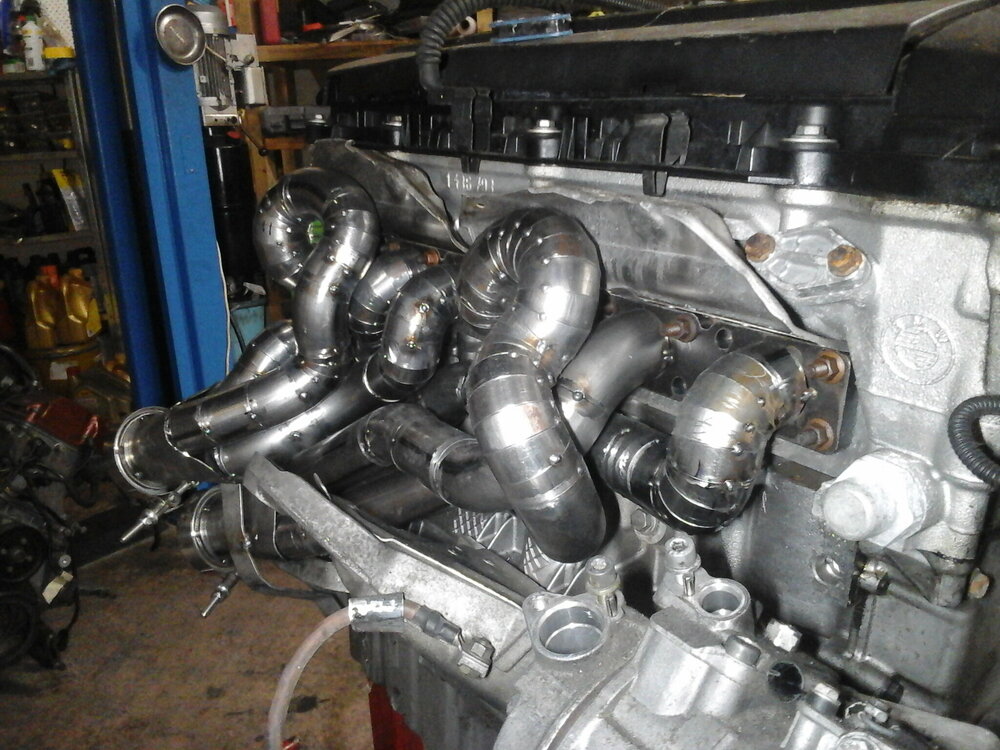
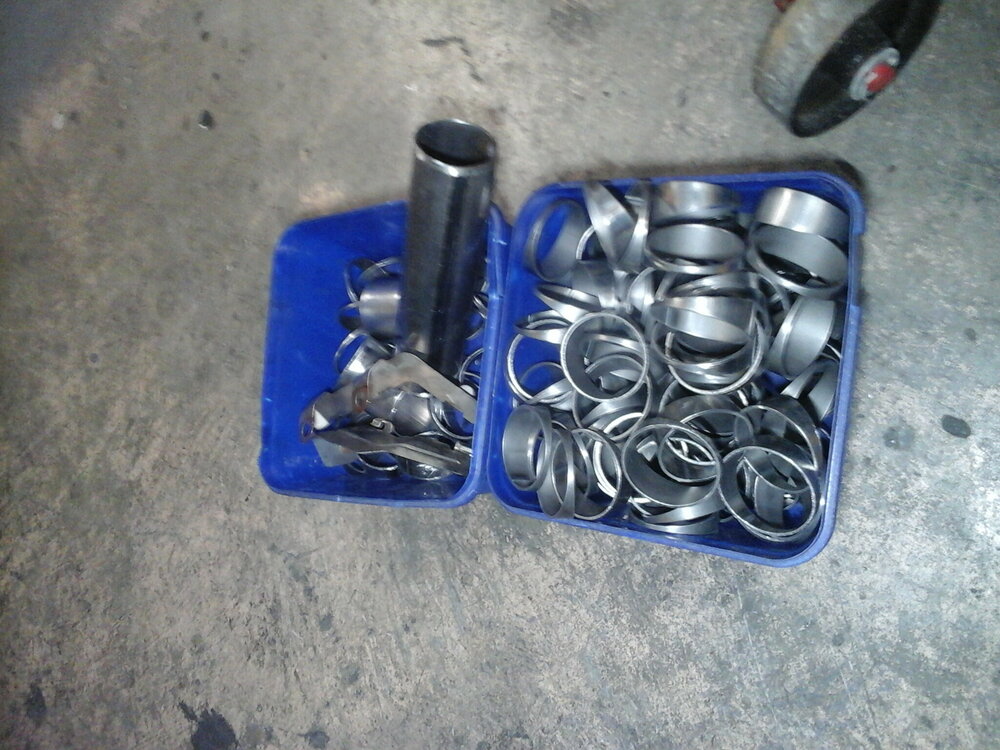
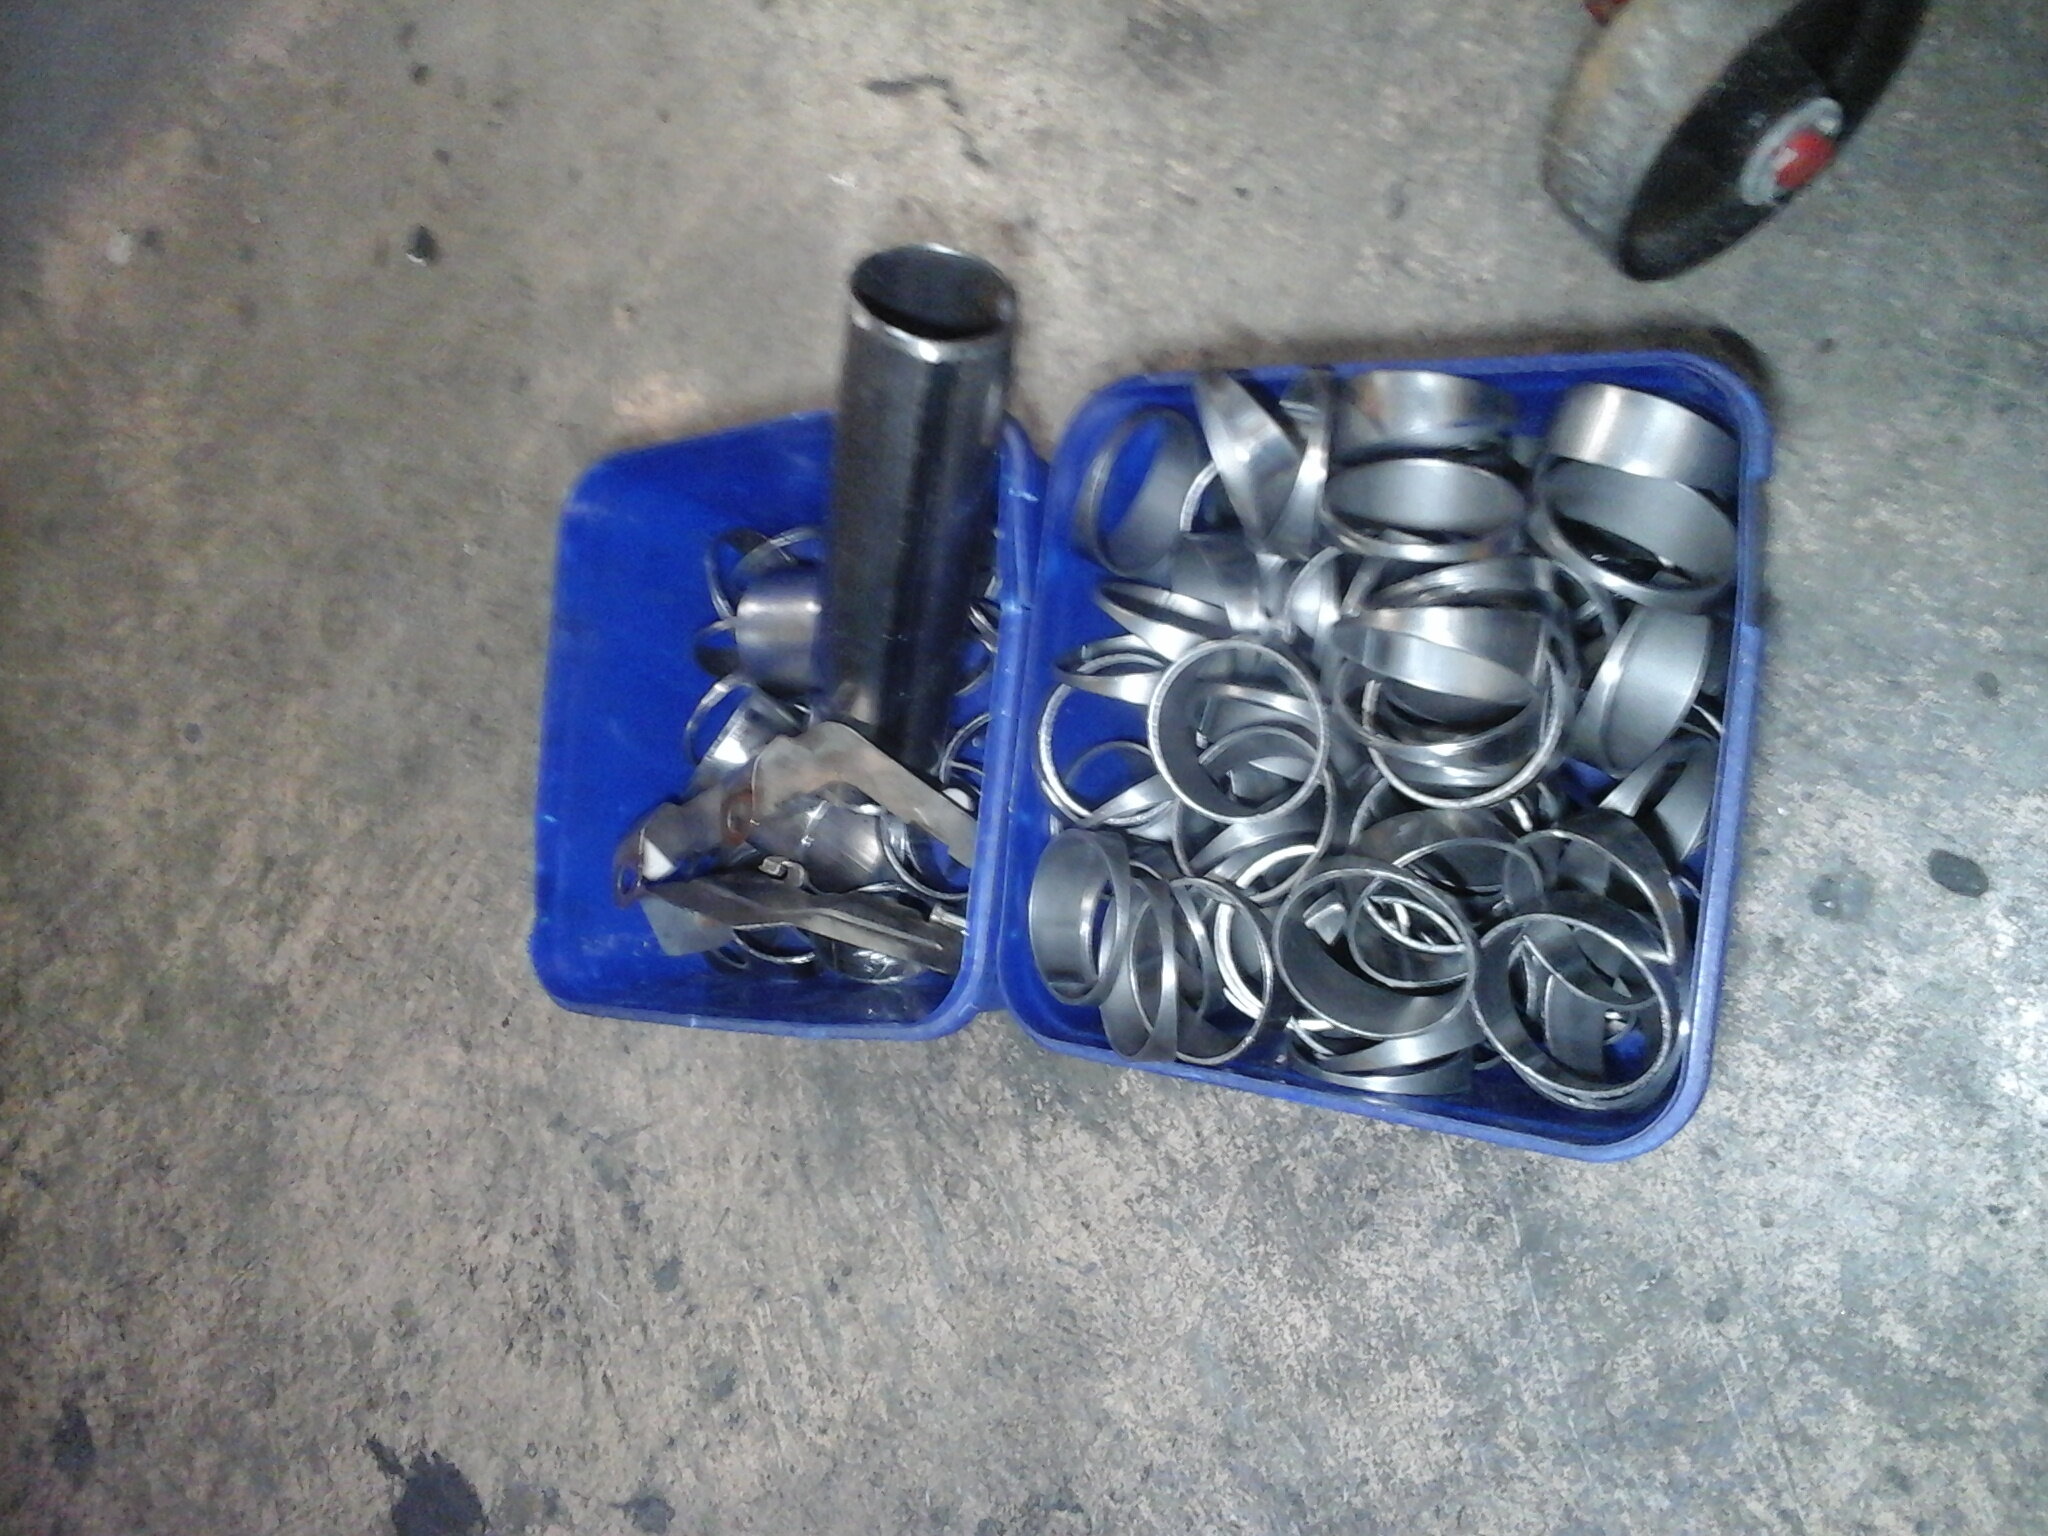
So glad i had a spare motor to build these headers out of the car. It also took me a solid 4hrs to cut 2x ice cream containers worth of pie cuts and deburr them too.
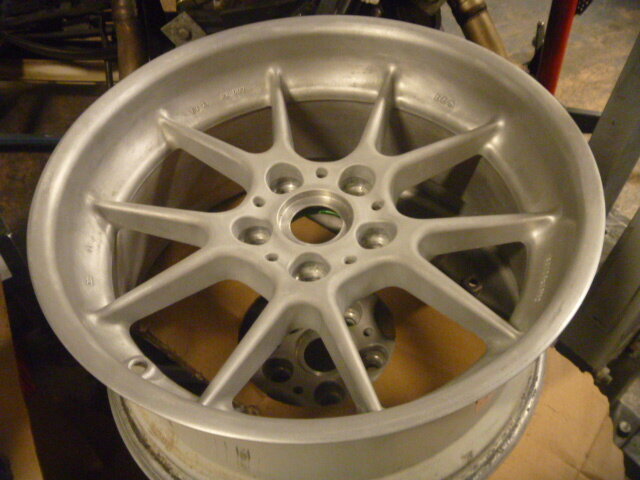
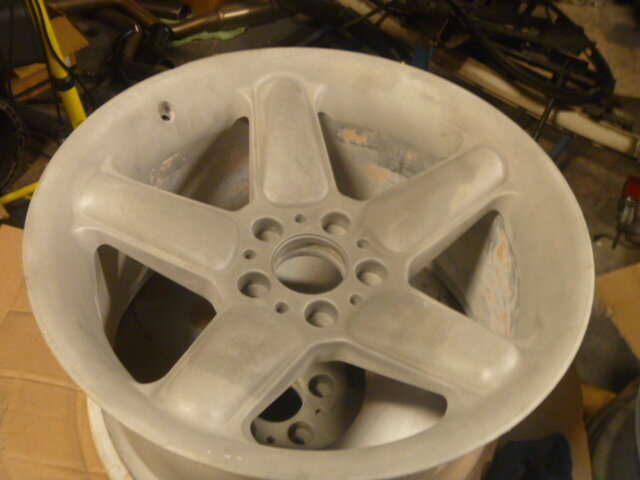
I also swapped the Hamann wheels for some BBS rk to go one the 4.6 v8 sedan and finally pulled out my ACS wheels that will be for the M3. Both sets will be powder coated at some point.
Thanks Team
-
4
-
-
Hi Team
Long time no post, just been a bit slack with the updates but still trucking along with the projects.
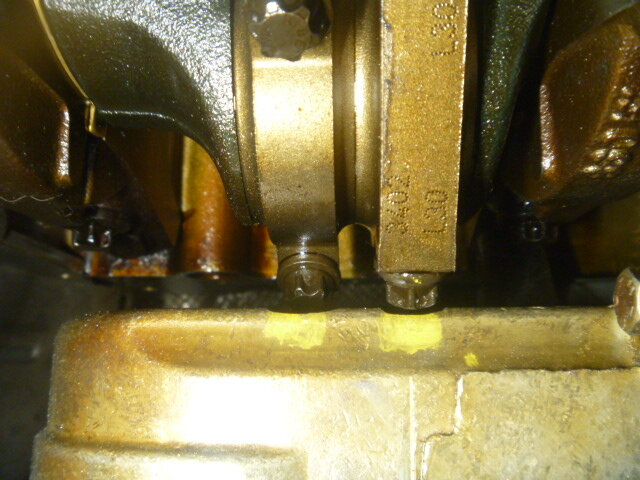
So bit of a big change in plans with the oil pump. When i bolted the X5 pump for a test fit the pick up was going to be way to low and clearance was going to be a massive issue.
So back to plan A which is to use the n62 pump which im pretty much 80% through.
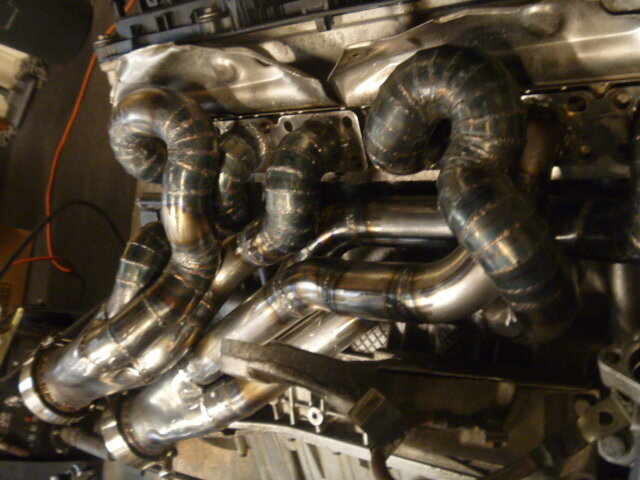
Lucky for me the headers just needed one runner slightly hammered in.

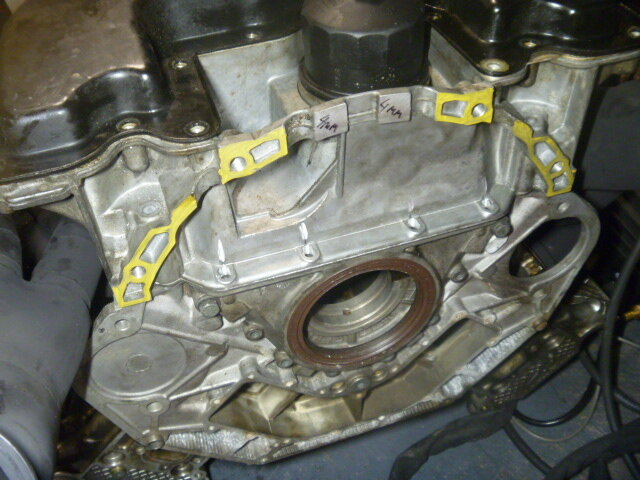
The sump itself had to be machined 3-4mm

Bolt hole had to be slotted 5mm inwards to line up the hole.
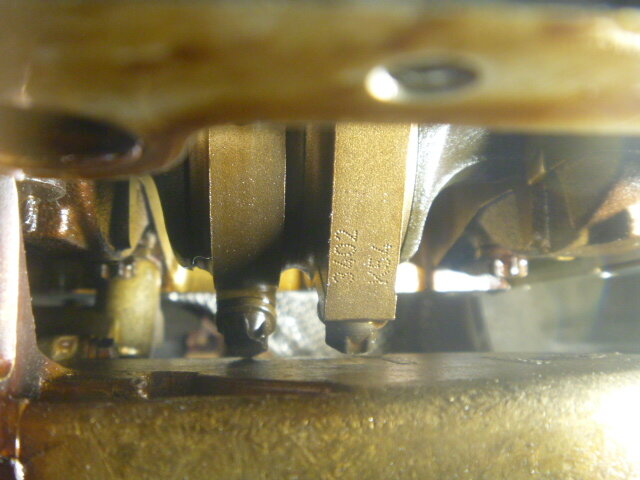
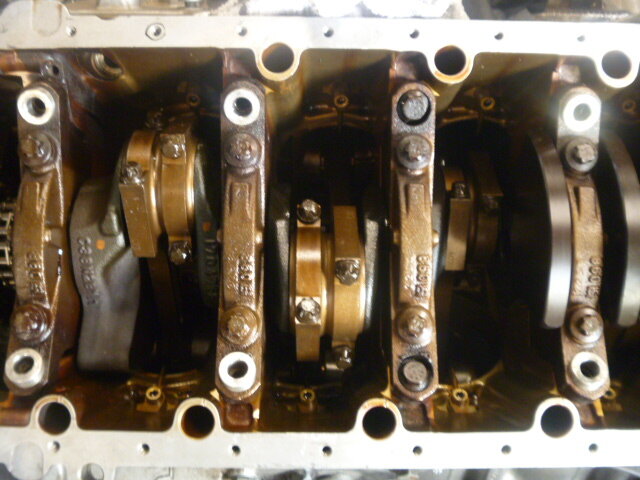
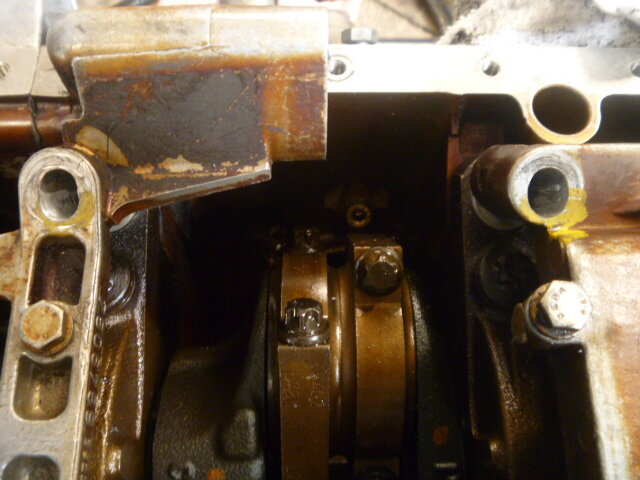
Found that 4 connecting rod bolts were fouling on the oil pump.
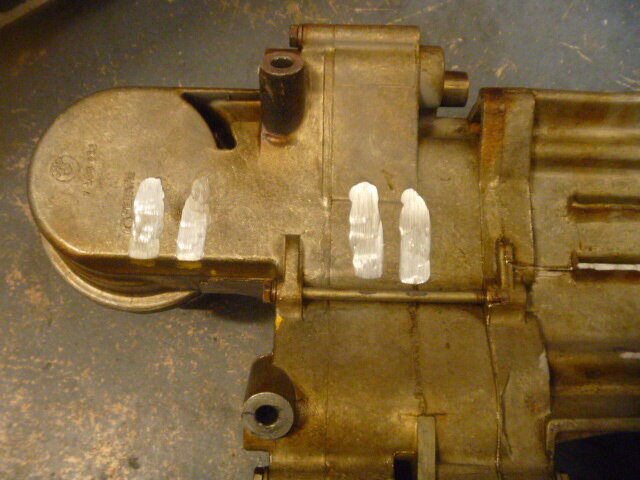
got the angle grinder out and took off about 2mm of material.
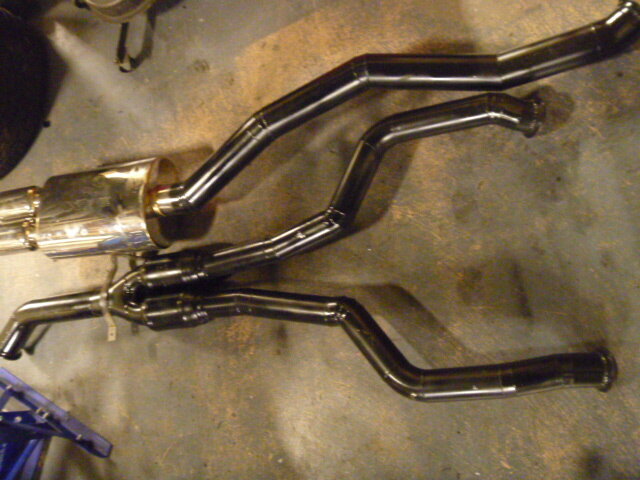
Exhaust painted
Rolled the guards to fit the 18x8.5 square set hamann wheels
Really can wait to get this car going.
Thanks Team
-
3
-


My E46 V12 6speed swap
in Projects
Posted · Report reply
Hi Team long time no post.
Sorry been busy with business move, other side projects and abit lazy in the posting.
So plans have changed a bit, The v10 will be saved for a nice oldschool bimmer, not sure which one yet.
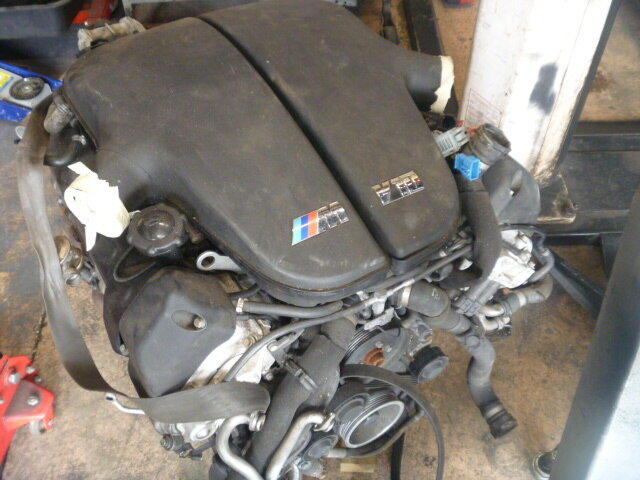
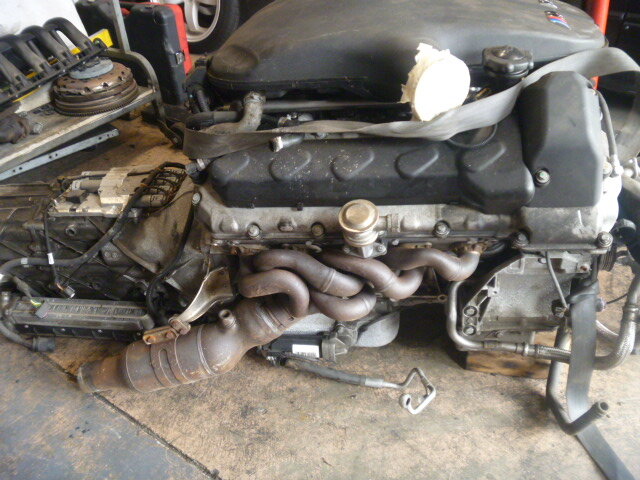
E46 M3 will be getting a N73 v12 motor from this beast.
I will be on selling the m73 stuff to fund this swap.
Also in the pipe line have this e46 330ci coupe.
Looking at dropping my last 4.6 motor into it. Have an Elate supercharger adapter plate, water to air cooled.
Modified AMG supercharger and 420g 6 speed box with my spare M3 rear end.
Rear subframe plates and driveshaft hoops welded in. Stainless headers, engine mounts and gearbox x member.
Just sorting out the oiling by modifying the x5 one.
Cant wait to get this thing running.
Thanks