

Arma
-
Content Count
748 -
Joined
-
Last visited
-
Days Won
2
Posts posted by Arma
-
-
Looks spotless. Good work!

-
So much goodness on one page...
Might want your link

- https://www.flickr.com/photos/99009112@N07/sets/72157649247324009/
Whoops fixed. For some reason it removed my link after I hit post.
-
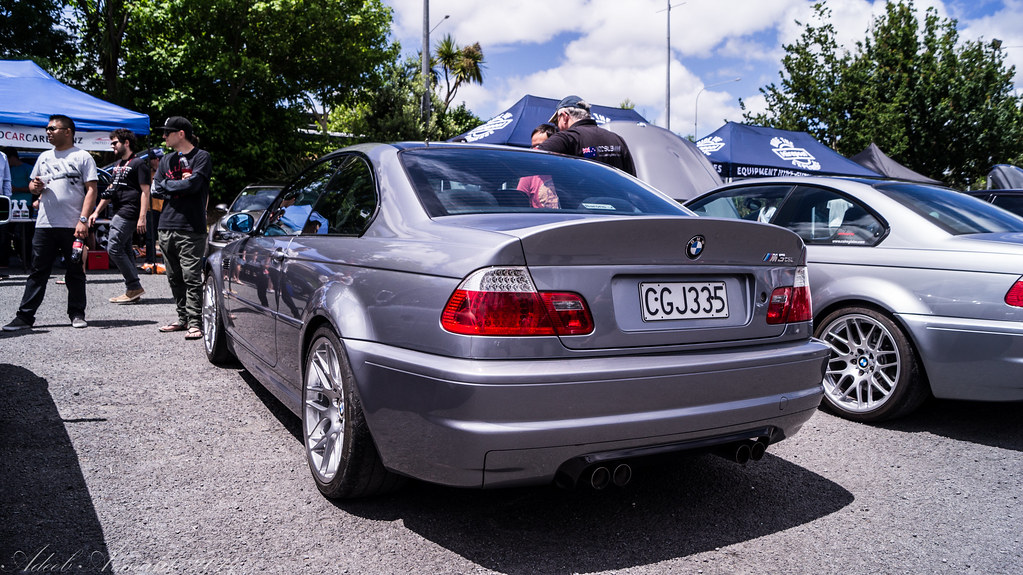
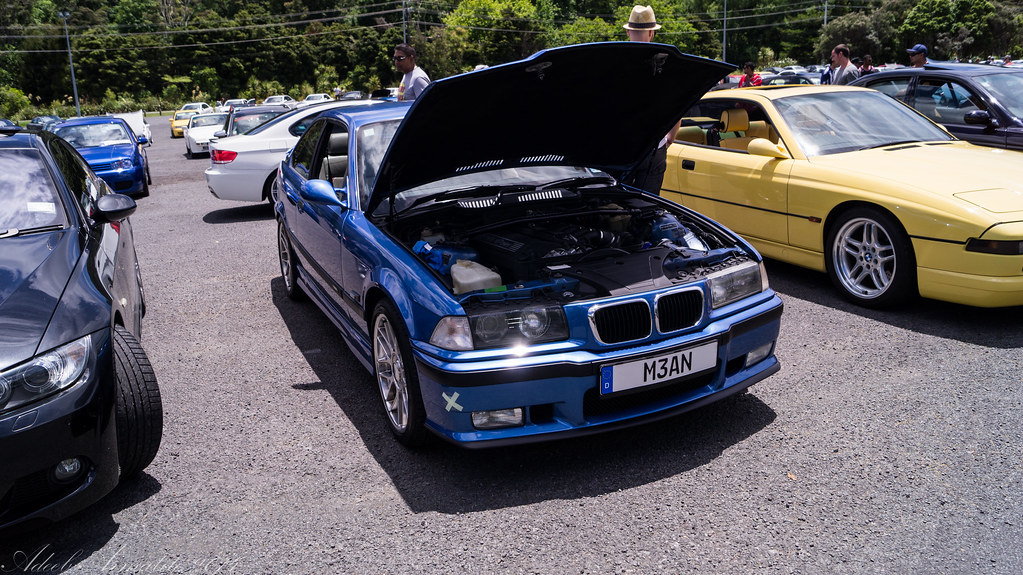
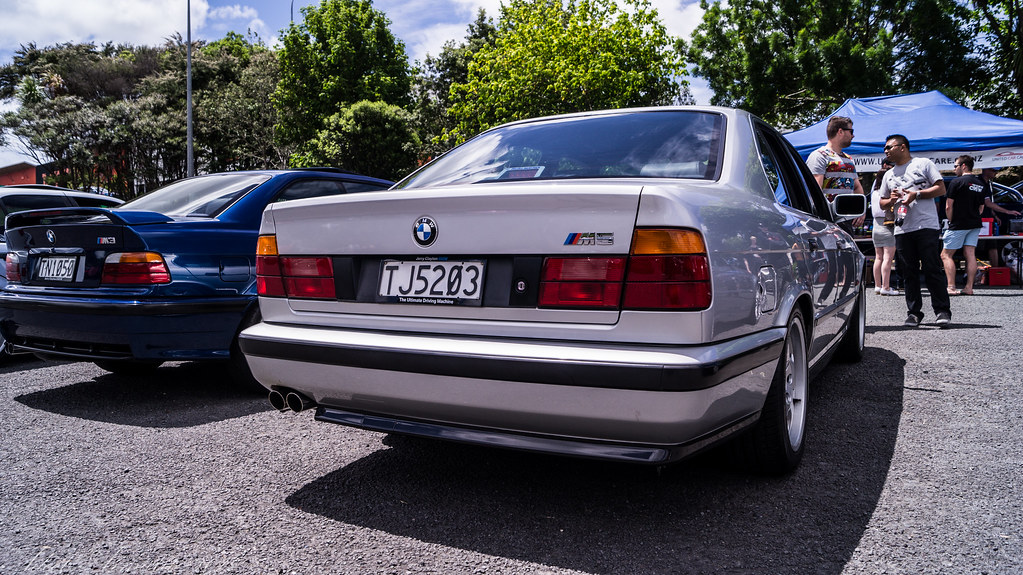
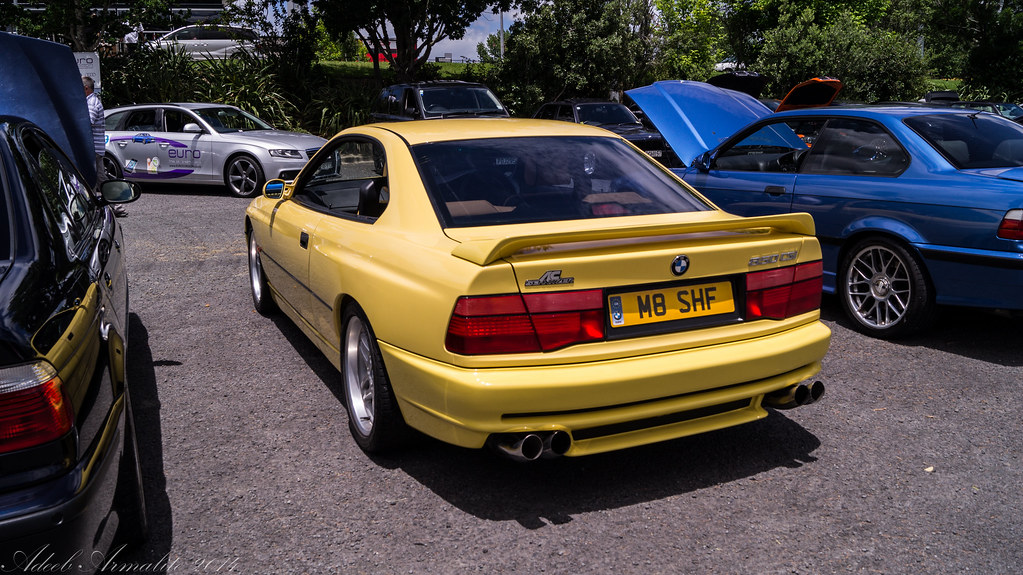
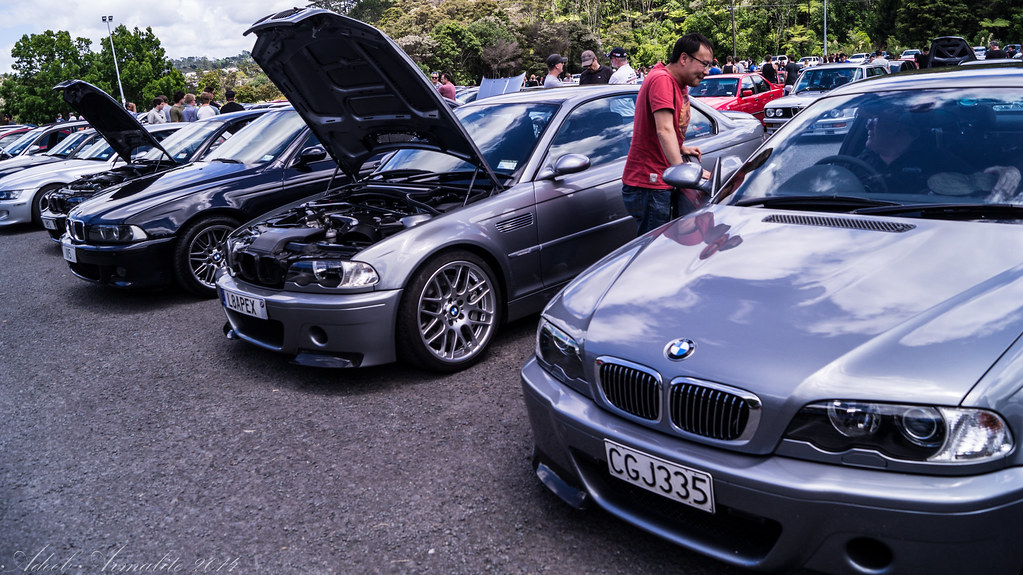
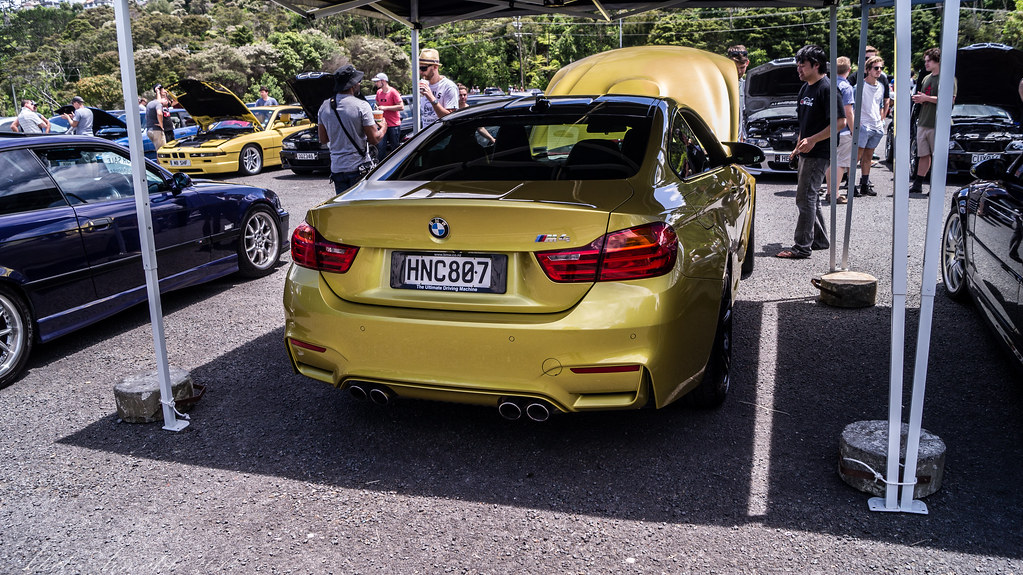
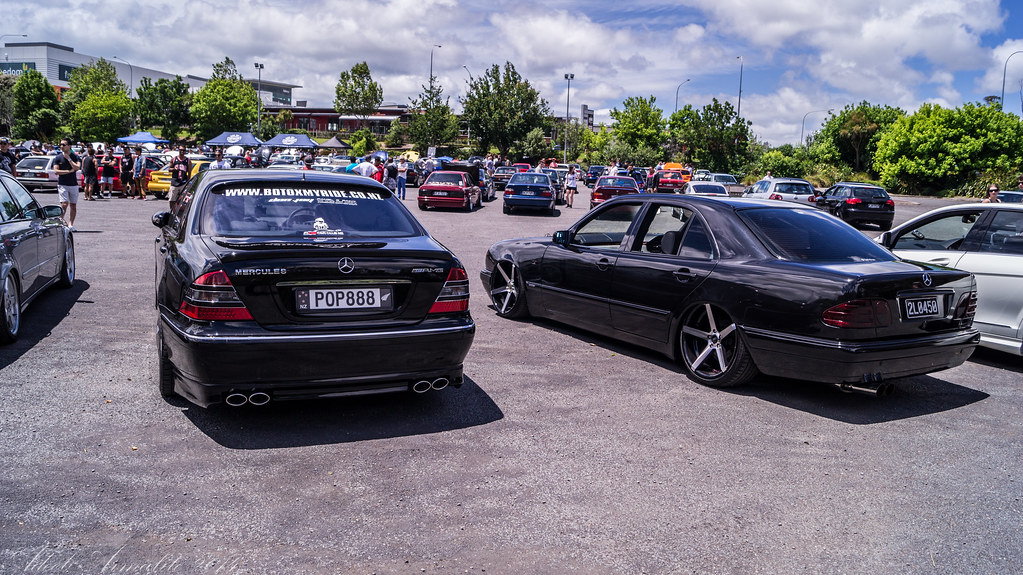
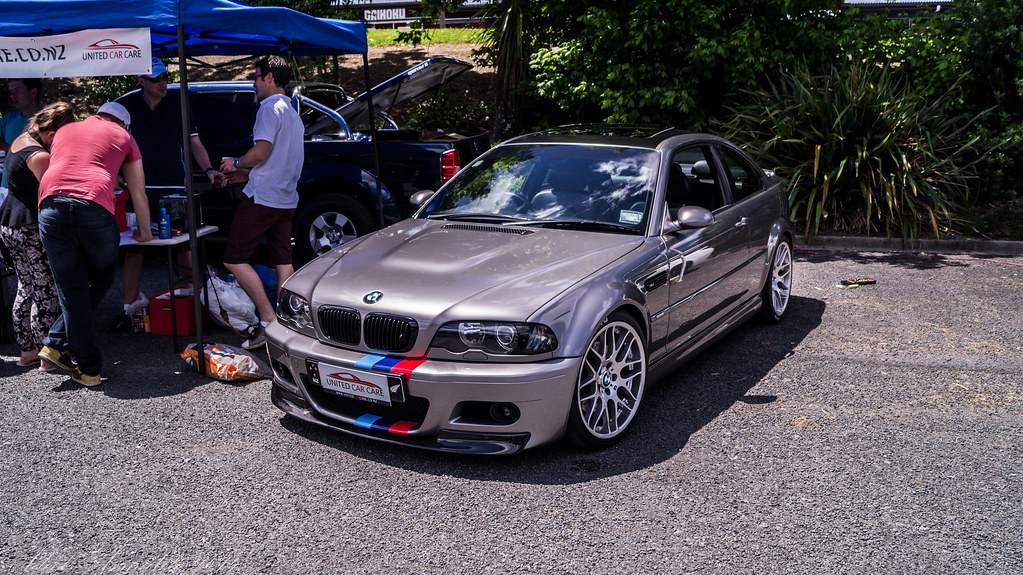
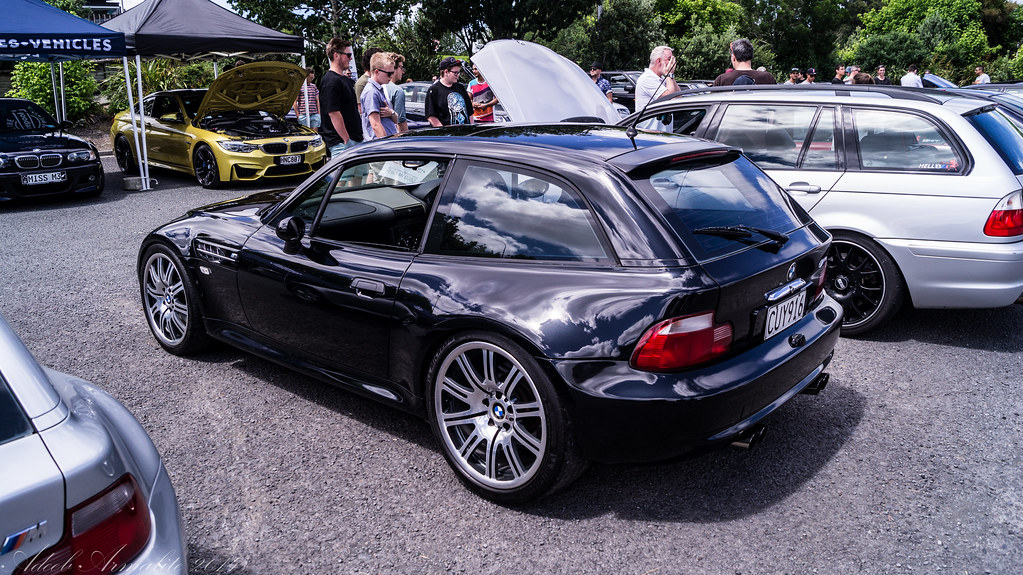
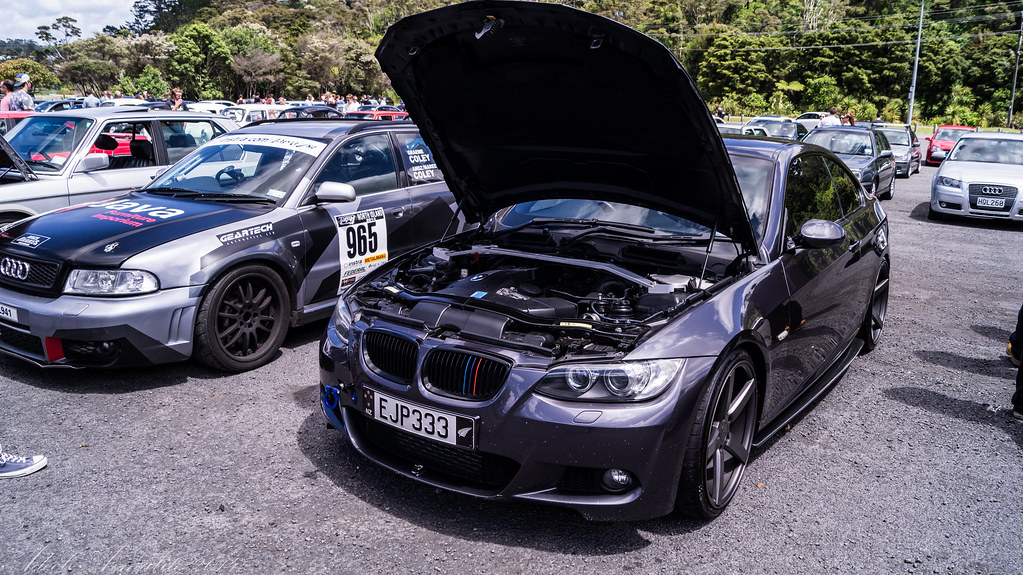
Ok below are some of my pics (the bmw ones), didn't want to post all 100 of them here.
To see the full album of photos in full quality, visit my flickr album here: Euro Car Club Meet - December 2014


-
 2
2
-
-
Yea good day indeed. Amber and the team did a great job. They should look at doing Bimmerfest next here...
I tried keeping an eye out for you, but couldn't see you. Then again ive only met like 4 people from here, so don't know how anyone else looks
Ah yeah bummer. Didn't know you were coming, or what you were driving in, or what you look like either
 . Else would have come say hi. Next time!
 -
Meet was great, good job Amber & team!
I'll use this thread to post up my photos as well, once I find the time to get them off the camera. :-)-
1
-
-
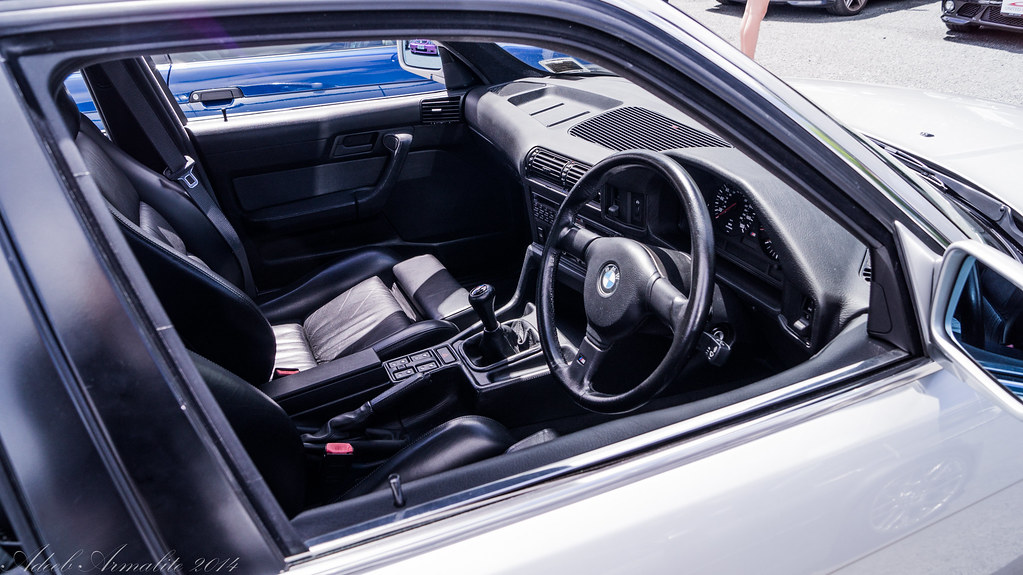
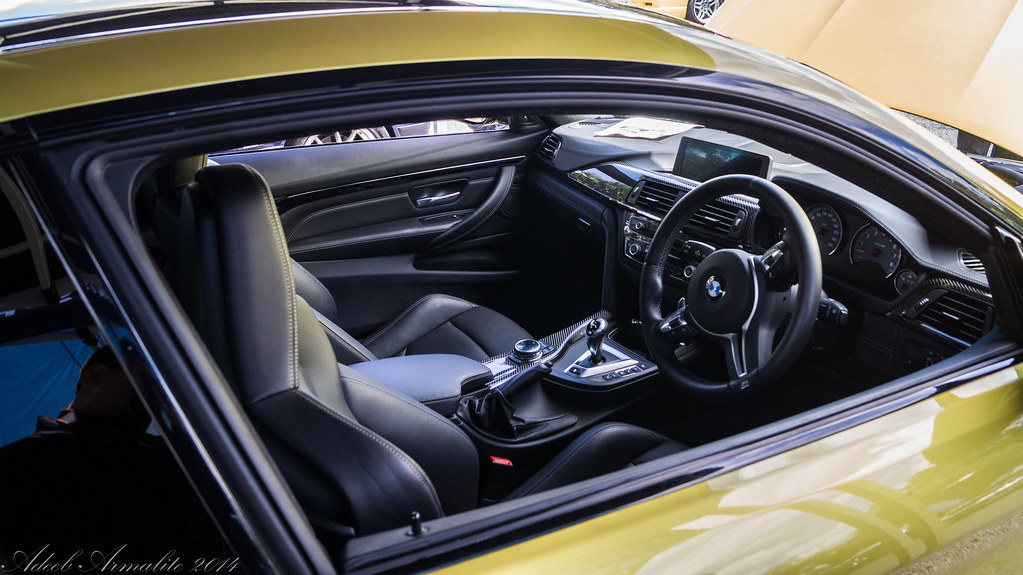
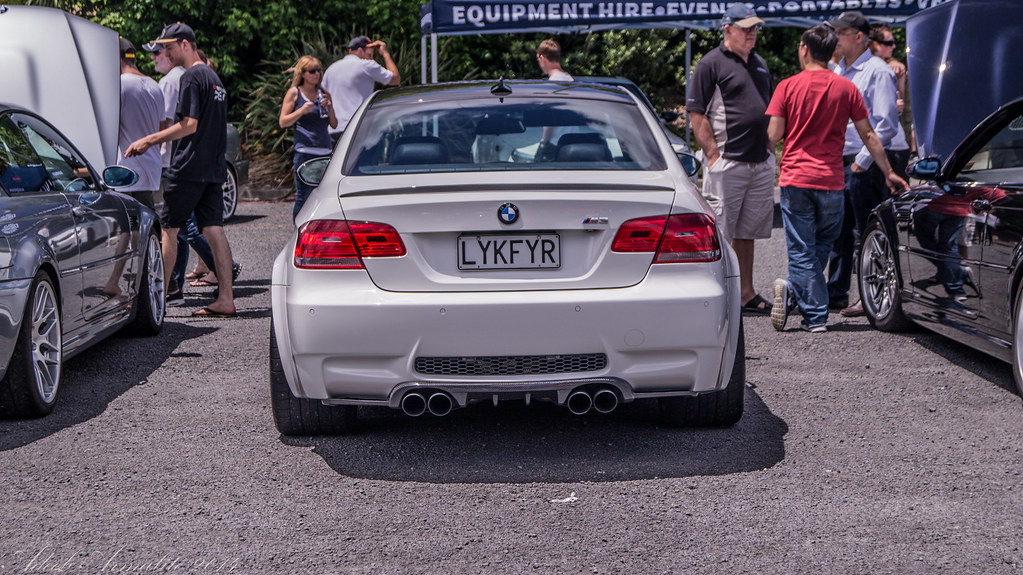
Congrats! Sure must feel like a whole different machine compared to the 323 :-). Got any interior shots?
-
1
-
-
Have you had a look at the CCV valve? Some symptoms seem to align with that going bad from what I've read, but don't take my word for it I'm not a mechanic.
Another silly suggestion: by accident some oil couldn't have gone into the plugs during the RCG change right? -
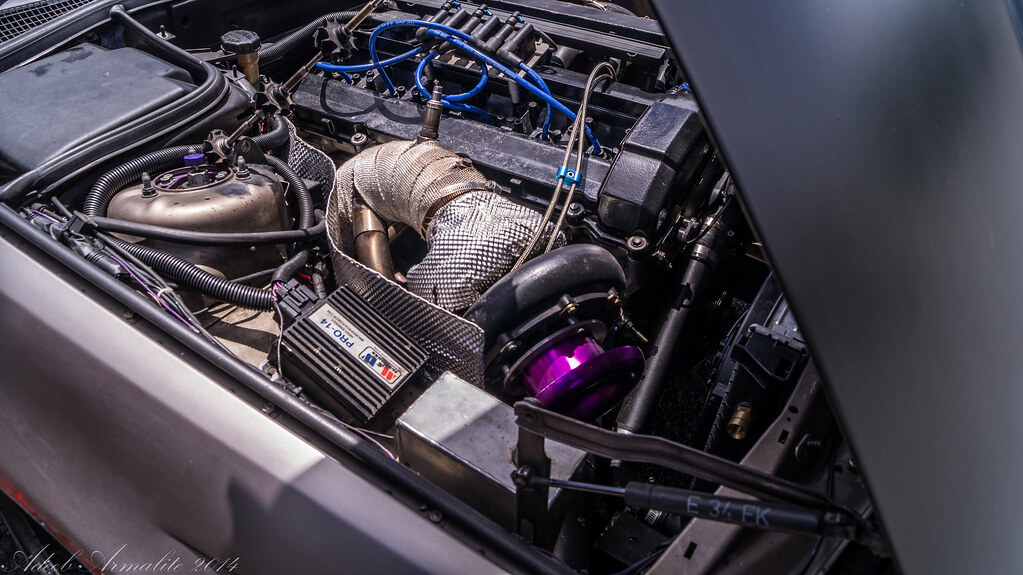
Awesome progress. I want to see this in person!
-
^ It is.
I work there too. I think I saw your 530i (like your sig?) - Was thinking that is a very tidy 5er - wonder if he is on the forum?
Oh cool. Yeah I work at Xero, which is in the same building as the Paddington, and also on the opposite side of the building (Watt st). Where abouts do you work? Should come say hi
Bit off topic, so on topic:
Added a missing screw on my air intake box, not sure why i wasn't there. Obvious +5hp.
-
1
-
-
How to Ruin a Bentley...
M*A*S*H

haha yep saw that yesterday, and my thoughts exactly. Though there is something interesting about the camo, seeing as that car weighs as much as a tank. Actually belongs to a friend of mine (Paul) - used to be white. Not sure why he did that, but has got some logos of Gloria jeans etc. for promotion (he's the managing director in nz)
-
this looks like a helpful guide too (for the M54)
http://www.bimmerfest.com/forums/showthread.php?t=660007
I think i used the bmwtips one, but im sure i removed the fan and shroud too.
Beisan (as much as i dislike them) seem to have a good guide on the fan and shroud removal
http://www.beisansystems.com/procedures/e39_fan_procedure.htm
fake edit: oh, i think i might have done it at the same time as the vanos, which does need the fan and shroud removed. i guess start without removing them, see if you can complete the task, if not, remove it?
Oh yeah, forgot about the hoses attached to the bottom of the shroud. I think last time I just reached down to detach them (after lifting the shroud up slightly). But yeah I'll try do it without removing first and see how far I get.
-
Went to a function tonight. on display was an immaculately presented nut and bolt restored M635 csi.
Stunning !
That looks so awesome. Random question (for anyone) - where do they sell those BMW nz euro plates now anyway? Plates.co.nz no longer has them in the 'brand' euro format. Has for every other make though...
-
1
-
-
What a f*ck up. I would've expected more from them (if it's who I think it is) as I've used them before with good results. Starts with "H"?
I would've used 3M tape
Yep, that's the one. 3M tape, shouldn've done that I guess
The front doesn't look that bad, they painted the screws black and placed them over the black areas. It's just having extra holes in the bumper makes me feel ai34rjfakl3ra234.
I have a blank pair here spare if you need them. would say the damage is done at this point though!
It's alright. Damage is done so will survive with how it is for now - which isn't too bad apart from the faded stickers, which can be fixed hopefully.
They offered to do a cut/polish of my bootlid which had badly fading paint (up close), but I'm having 2nd thoughts of doing that with them now, even for free. Don't want to show up Friday afternoon to see a bootlid with no paint on it.
But you don't drill these plates at all, you use a proper mount. And you *certainly* don't pay someone to do (read: ruin) it for you.
To the OP, I feel bad that your plates have silly holes in them now but if you want some plate holders I have some new BMW ones you can buy (at least your plates will be straight). If you're in Auckland and pick them up from my place I'll fit them for you (straight) for free.
Thanks, I might get in contact with you. I'm pretty tied up for a few weeks so if you still have them then, then will possibly buy off you if my OCD starts eating me inside.
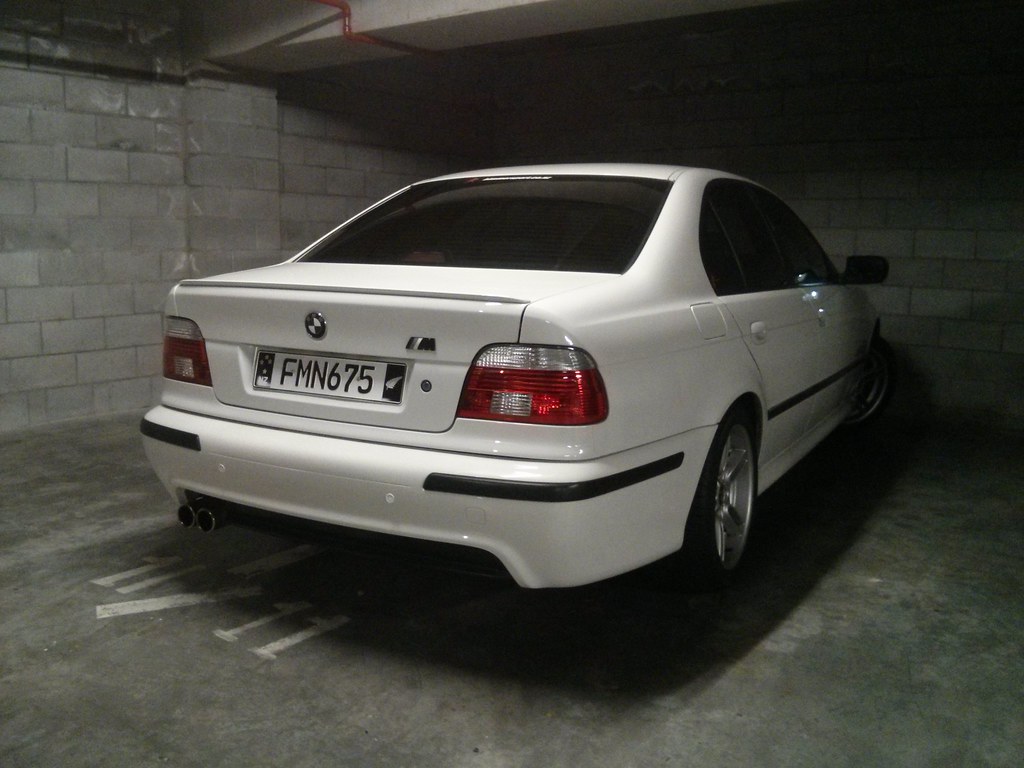
Here's a pic of the rear:
-
Mine was an M52 but the basics should be the same.
i didnt jack my E39 up when i did it. If you remove the fan and shroud there is an aux pump attached to the shroud at the bottom iirc, you will need to pull under the front to pop this off. I didnt have any under tray.
Always disconnect a negative terminal first when dealing with car batteries.
fan and shroud take 2 mins to remove, best to do it so you have space for the belt and tensioners.
Mine has an undertray, which is the main reason why I was asking about whether I can do everything from up top. Otherwise I'll have to jack the car up and remove the tray.
Re: aux pump on the shroud. Are you talking about the auxiliary water pump (electric one)? I *think* mine is located on the passenger side of the radiator a bit below where the upper radiator hose connects to radiator? Will have to check.
I was reading this:
Which suggests removing the the 3 bolts for the ps pulley from under the car. But I figured I might just be able to do from top. Correct me if I'm wrong. Some other guides don't even seem to touch the ps pulley. They just take out the alternator belt and idler pulley. (http://www.bmwtips.com/tipsntricks/oil/housing.htm)
And yeah most of the stuff compared to the m52 looks the same to me. Don't have to deal with leaks from the freeze plugs in the m54 o.f.h. though it seems.
I would take it in to get it done but figured I wouldn't learn much that way, which is my mission at the moment. Of course there's more risk with me doing it, but hey.. no risk, no reward.
-
That is is very very sloppy work. Should have been measured with a straight edge and worked out where the holes should go etc, or they could have even overlaid your old plate over it and drilled through the old holes onto this.
I hope you didn't pay them a cent for that. wrecked a new set of plates!
yes got some stickers here, and I am feeling charitable, send me a text tomorrow, tell me to put some in a satchel for you, no charge on this occasion.
0273079322
The stickers stick pretty well, but as soon as they peel a tiny bit and dust and/or water gets in its game over for them.
And yes, I highly recommend plate frames for mounting them, they have holes to suit almost every application, I only say almost because i had to drill two holes into the frames to fit to my Volvo, seem to recall doing the same on my E30, but a lot tidier. Both my E30 and E34 have genuine plates.co.nz plates in these frames.
Thanks a lot man, that will be a saver! Will send you a text tomorrow.
Might order some frames if you ever do an order again. Otherwise I'll try source some myself (if you can let me know where to look).
-
Got my plates today. Thanks for that Andy!
Was happy with them after I unwrapped them. That all changed when I decided to drive up to a certain popular panel shop @ Parnell (walking distance from my office) to quickly put them on. Not sure how such an easy job can get f***ed up...Rear plates: Somehow they destroyed the stickers for them (see pic velow). The black colour faded right off. Also, looking at the rear plate, I don't know if it's just me but it doesn't look fully aligned. The left seems ever so slightly lower than the right side. They have already drilled more than 1 hole to fix alignment once and now you can see the drill hole there.
Front plates: Plates turned out fine, except they decided to drill new holes into my bumper rather than using the old ones. And they drilled them at the far top left and top right corners of the plates. And, just like the rear plates, they drilled more than one hole to fix alignment issue or whatever. So now I have 4 new holes in my front bumper that will show up if I ever decide/have to switch back to regular sized plates. Is there a quick way to fill these holes and paint it white, or is that a fully panel beating job?
Kind of wish I had 'supervised' them, even though they asked me nicely to go sit in the office.
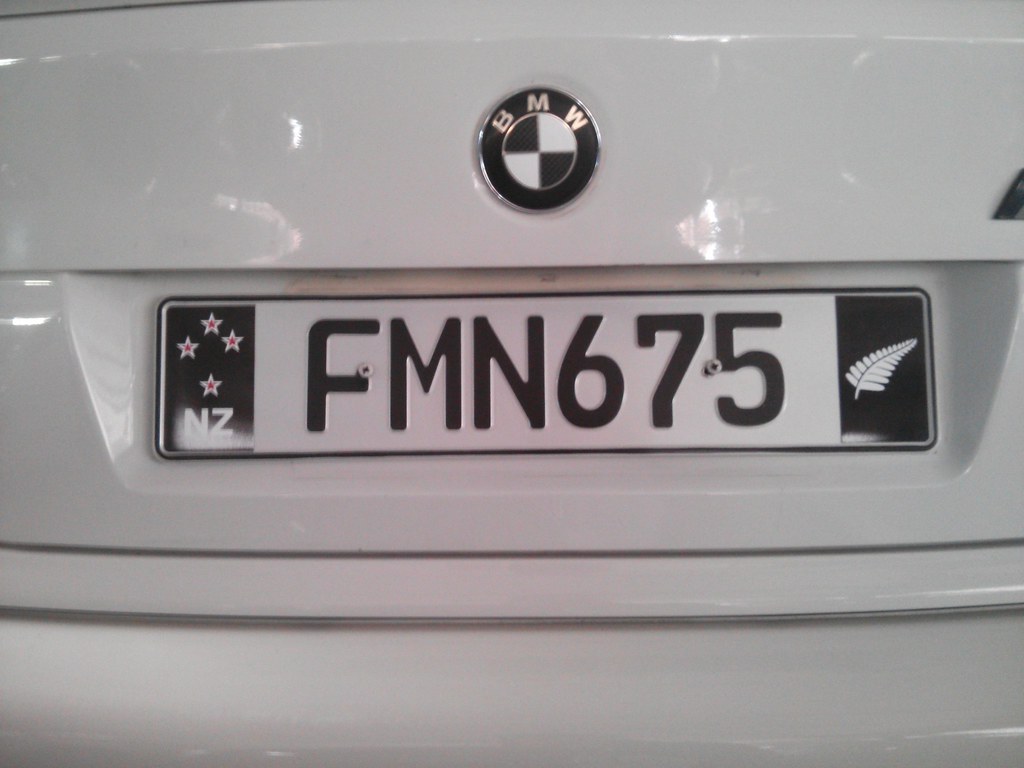
They asked me to come back on Friday so they can spray paint over the ruined stickers to try to fix it. If not, a sign-writer can apparently knock something together.
I should have waited and just done it at home - idiot Adeeb. Maybe I'll have to order some new ones.
/endrantOn a positive note: The plates are actually really good quality. I can't tell them from the originals. Thanks again Andy.
-
Lowered my non-BMW down by adjusting the height control rods. Back actually sits a touch lower than that, except I reversed in the park which tends to lift the rear etc.

Is this in Parnell? Looks exactly same place opposite to my work
-
1
-
-
Got a few questions regarding this job if anyone can help.
- Does the car need to be jacked up at all? e.g. to do anything required from under the car. Or can this be reached easily from the top. Some guides do it on a hoist but I'd like to know if this is necessary.
- A lot of guides say to unplug the positive terminal of the battery (since alternator will be removed). Does it have to be the positive terminal or can it just be the negative too?
- Is it necessary to remove the fan shroud + fan? I suppose it will give more space for the job.
- Is the power steering pump only attached by the two bolts that go into the oil filter housing bracket? If yes, do I need to support it on something after those bolts are removed?
Might have more questions later.
Thanks in advance
-
I probably am already running a 'sub optimal' match then. Currently running:
FL: RE001
FR: RE002
RL: RE002
RR: RE050A
Runs and feels fine to me. Maybe I'm not picky or just haven't experienced an awesome setup yet. :shrug:
I thought the S001's were just the next step up the line in Bridgestone tyres, from the RE002. Didn't think it would make a massive difference if i split them front/rears. -
Thanks guys
Does mean a lot!And this order is on its way out to all of you that have given me address already, Fastway guy picked it up 10 mins ago,
Just two of you I dont have your address, i have sent you PM's
Sweet!
-
My neighbour has just fitted them to his R32 golf and is really impressed with them , I was keen on them but they are not available in the sizes I want
Yeah they are only available for my rear tyre size. So thought I'd just run re002's up front and s001's rear.
-
Cheers mate that'd be me.
I was out at a client in Eden Crescent this week hence why it was parked on the street!
I'm just about to install my Camber Arms this week and roll the guards so the rear matches the fronts offset
Aha, good stuff.
Yea I was seeing it like everyday when I'd come home. There was an e92 m3 parked in the same area for like a week or two as well. -
yeah itll be week 46 year 2010. In terms of age theres some general consensus that 5-6 years is about the limit before the performance degrades too much.
Some info here from a quick google http://www.bridgestone.com.au/tyres/passenger/care/age.aspx
You should be OK for another year or two provided you dont have sidewall cracking etc.
Sweet. They seem to be fine at the moment. Guys at bridgestone seemed to agree too. Will keep an eye.
Maybe if my OCD kicks in, I'll just end up replacing it when I do my rear tyres.
-
Did an oil and oil filter change today. Put in new Castrol Edge Titanium 5w30
Long life oil
in General Discussion
Posted · Report reply
25000km sounds way too high.
I do my oil + filter every 8000-10000km, and I have a non-turbo (M54).