
_BRS_
-
Content Count
1788 -
Joined
-
Last visited
-
Days Won
6
Posts posted by _BRS_
-
-
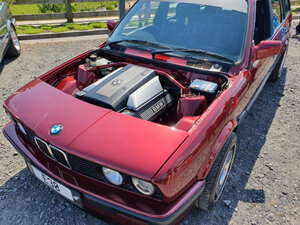
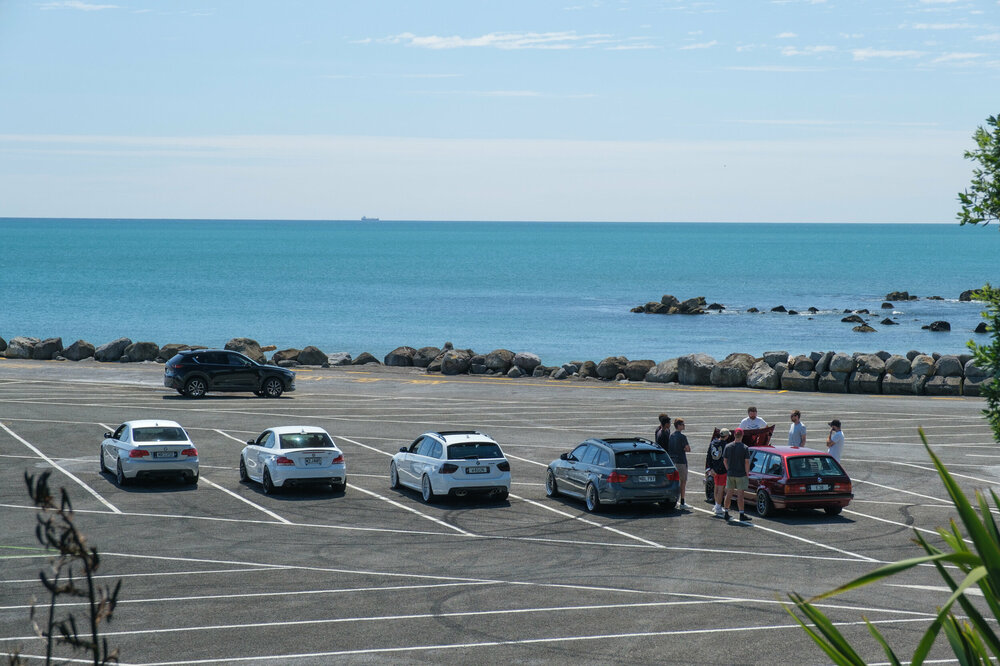
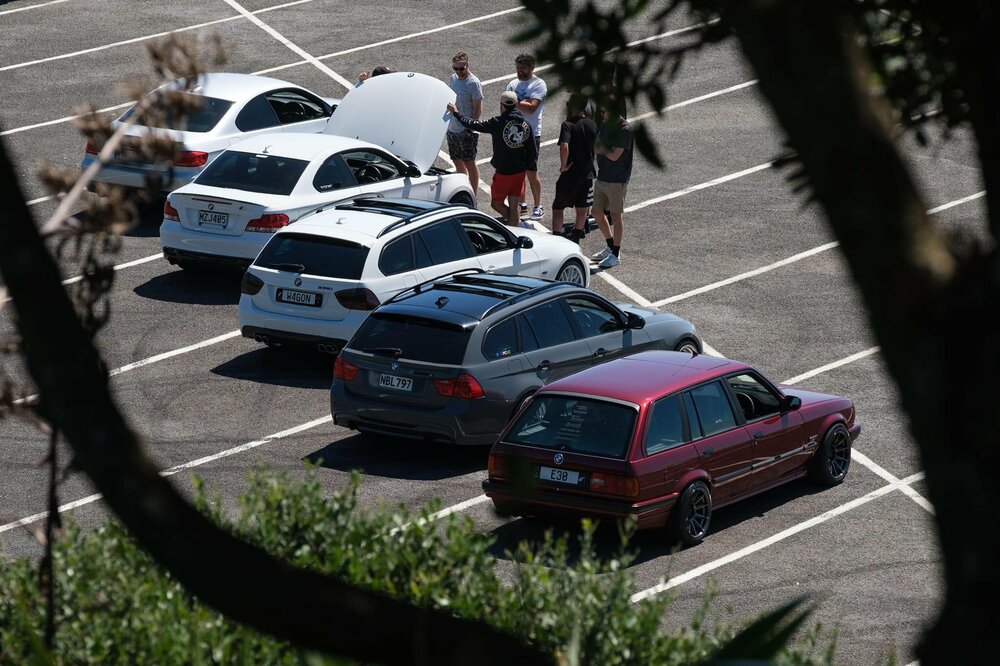
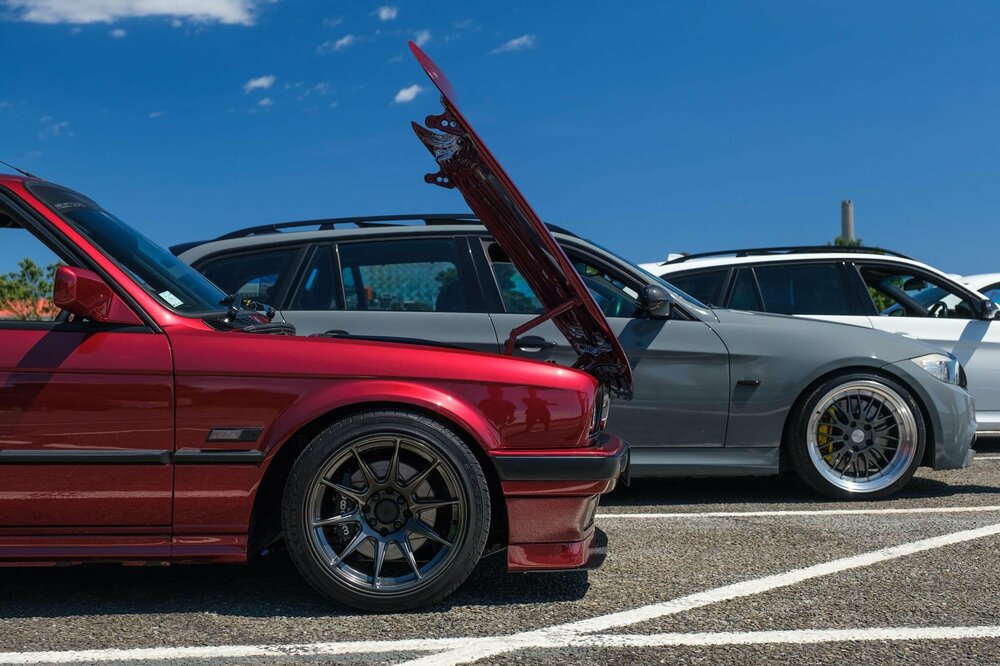
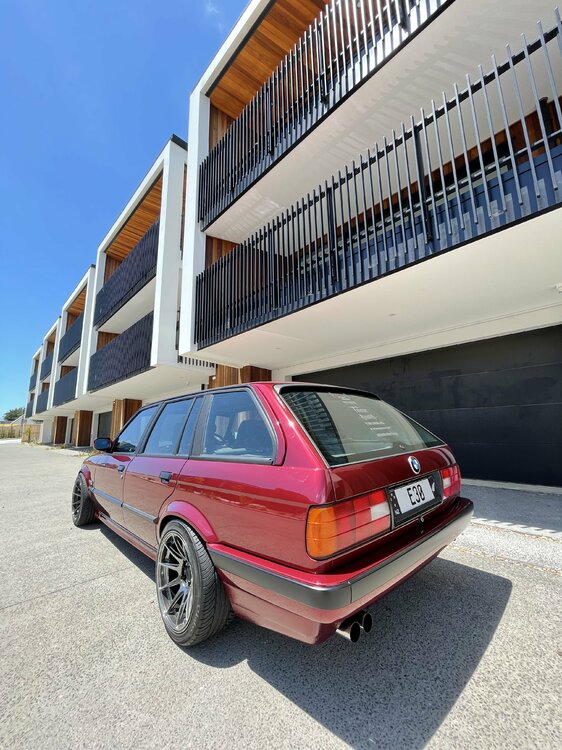
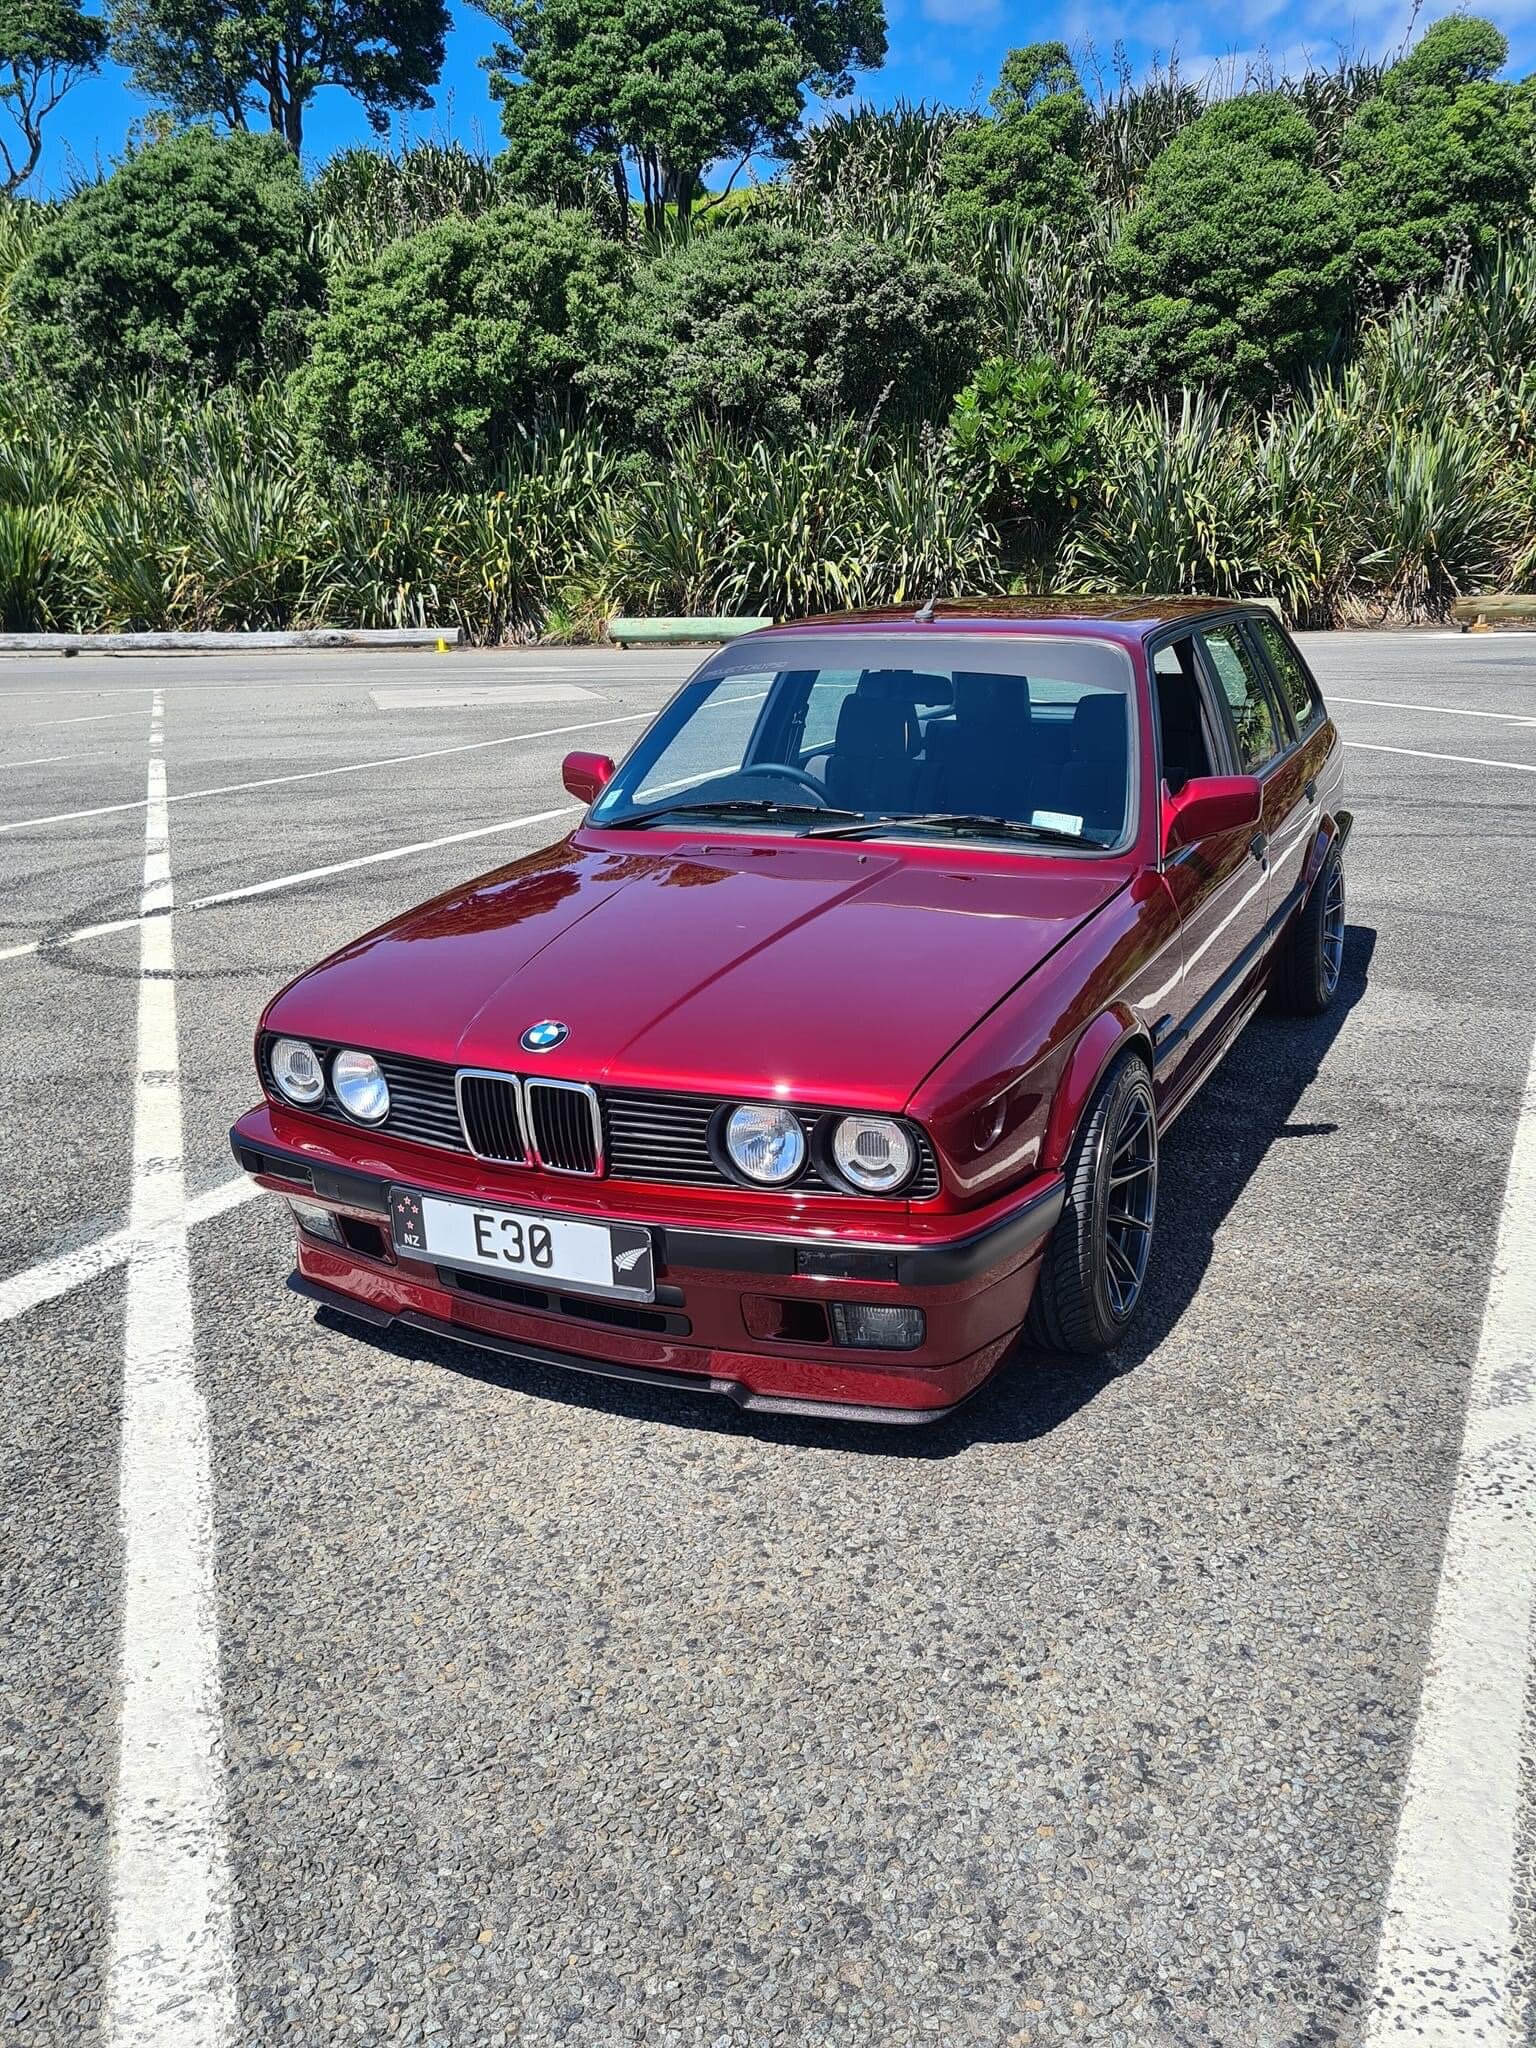
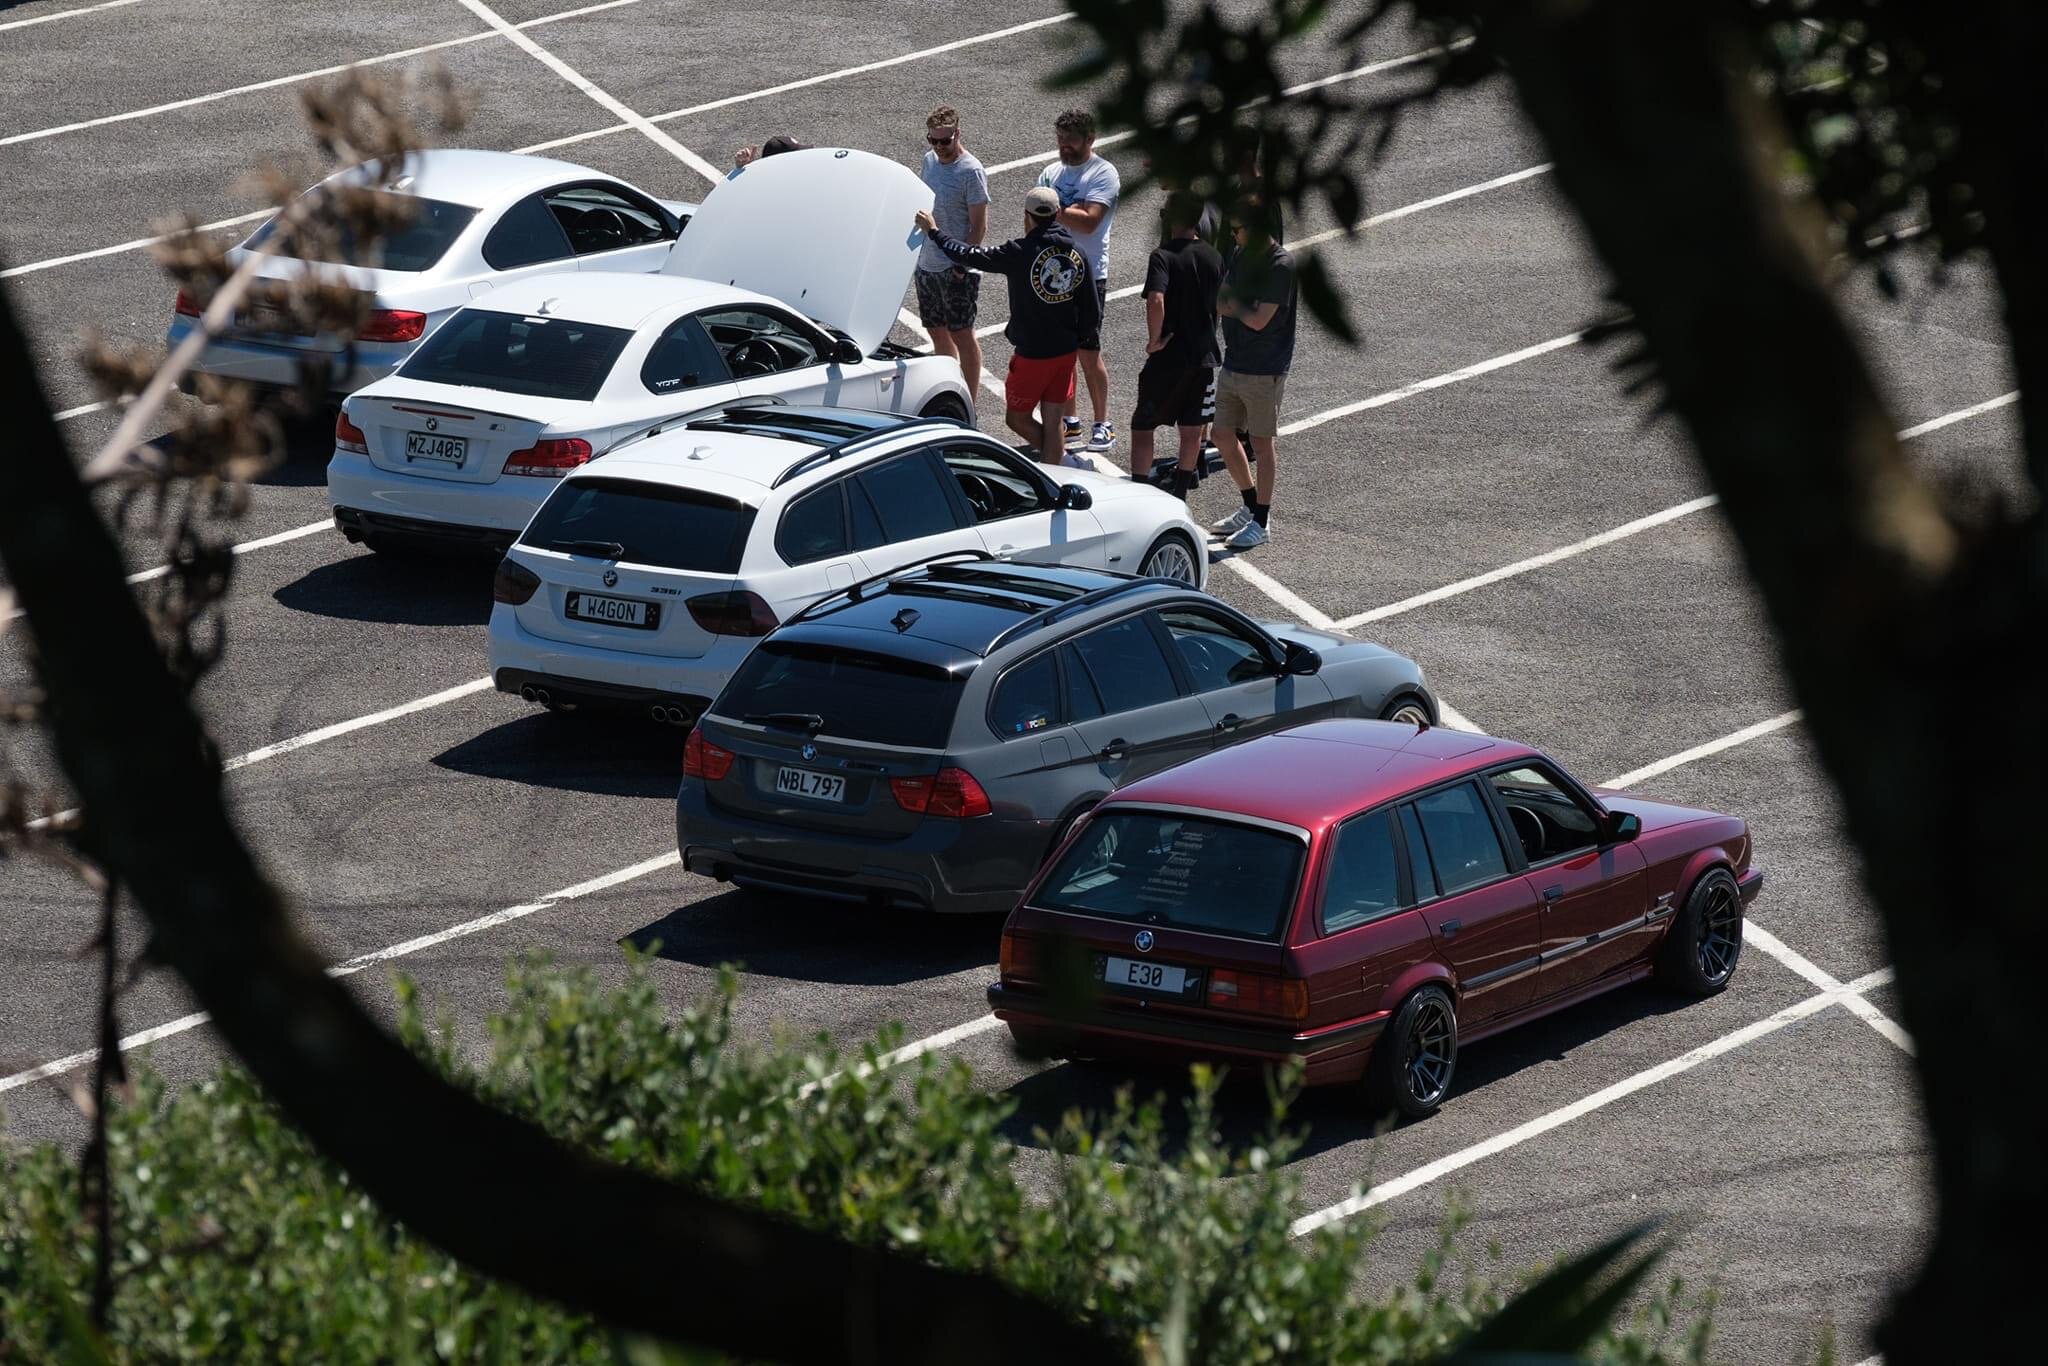
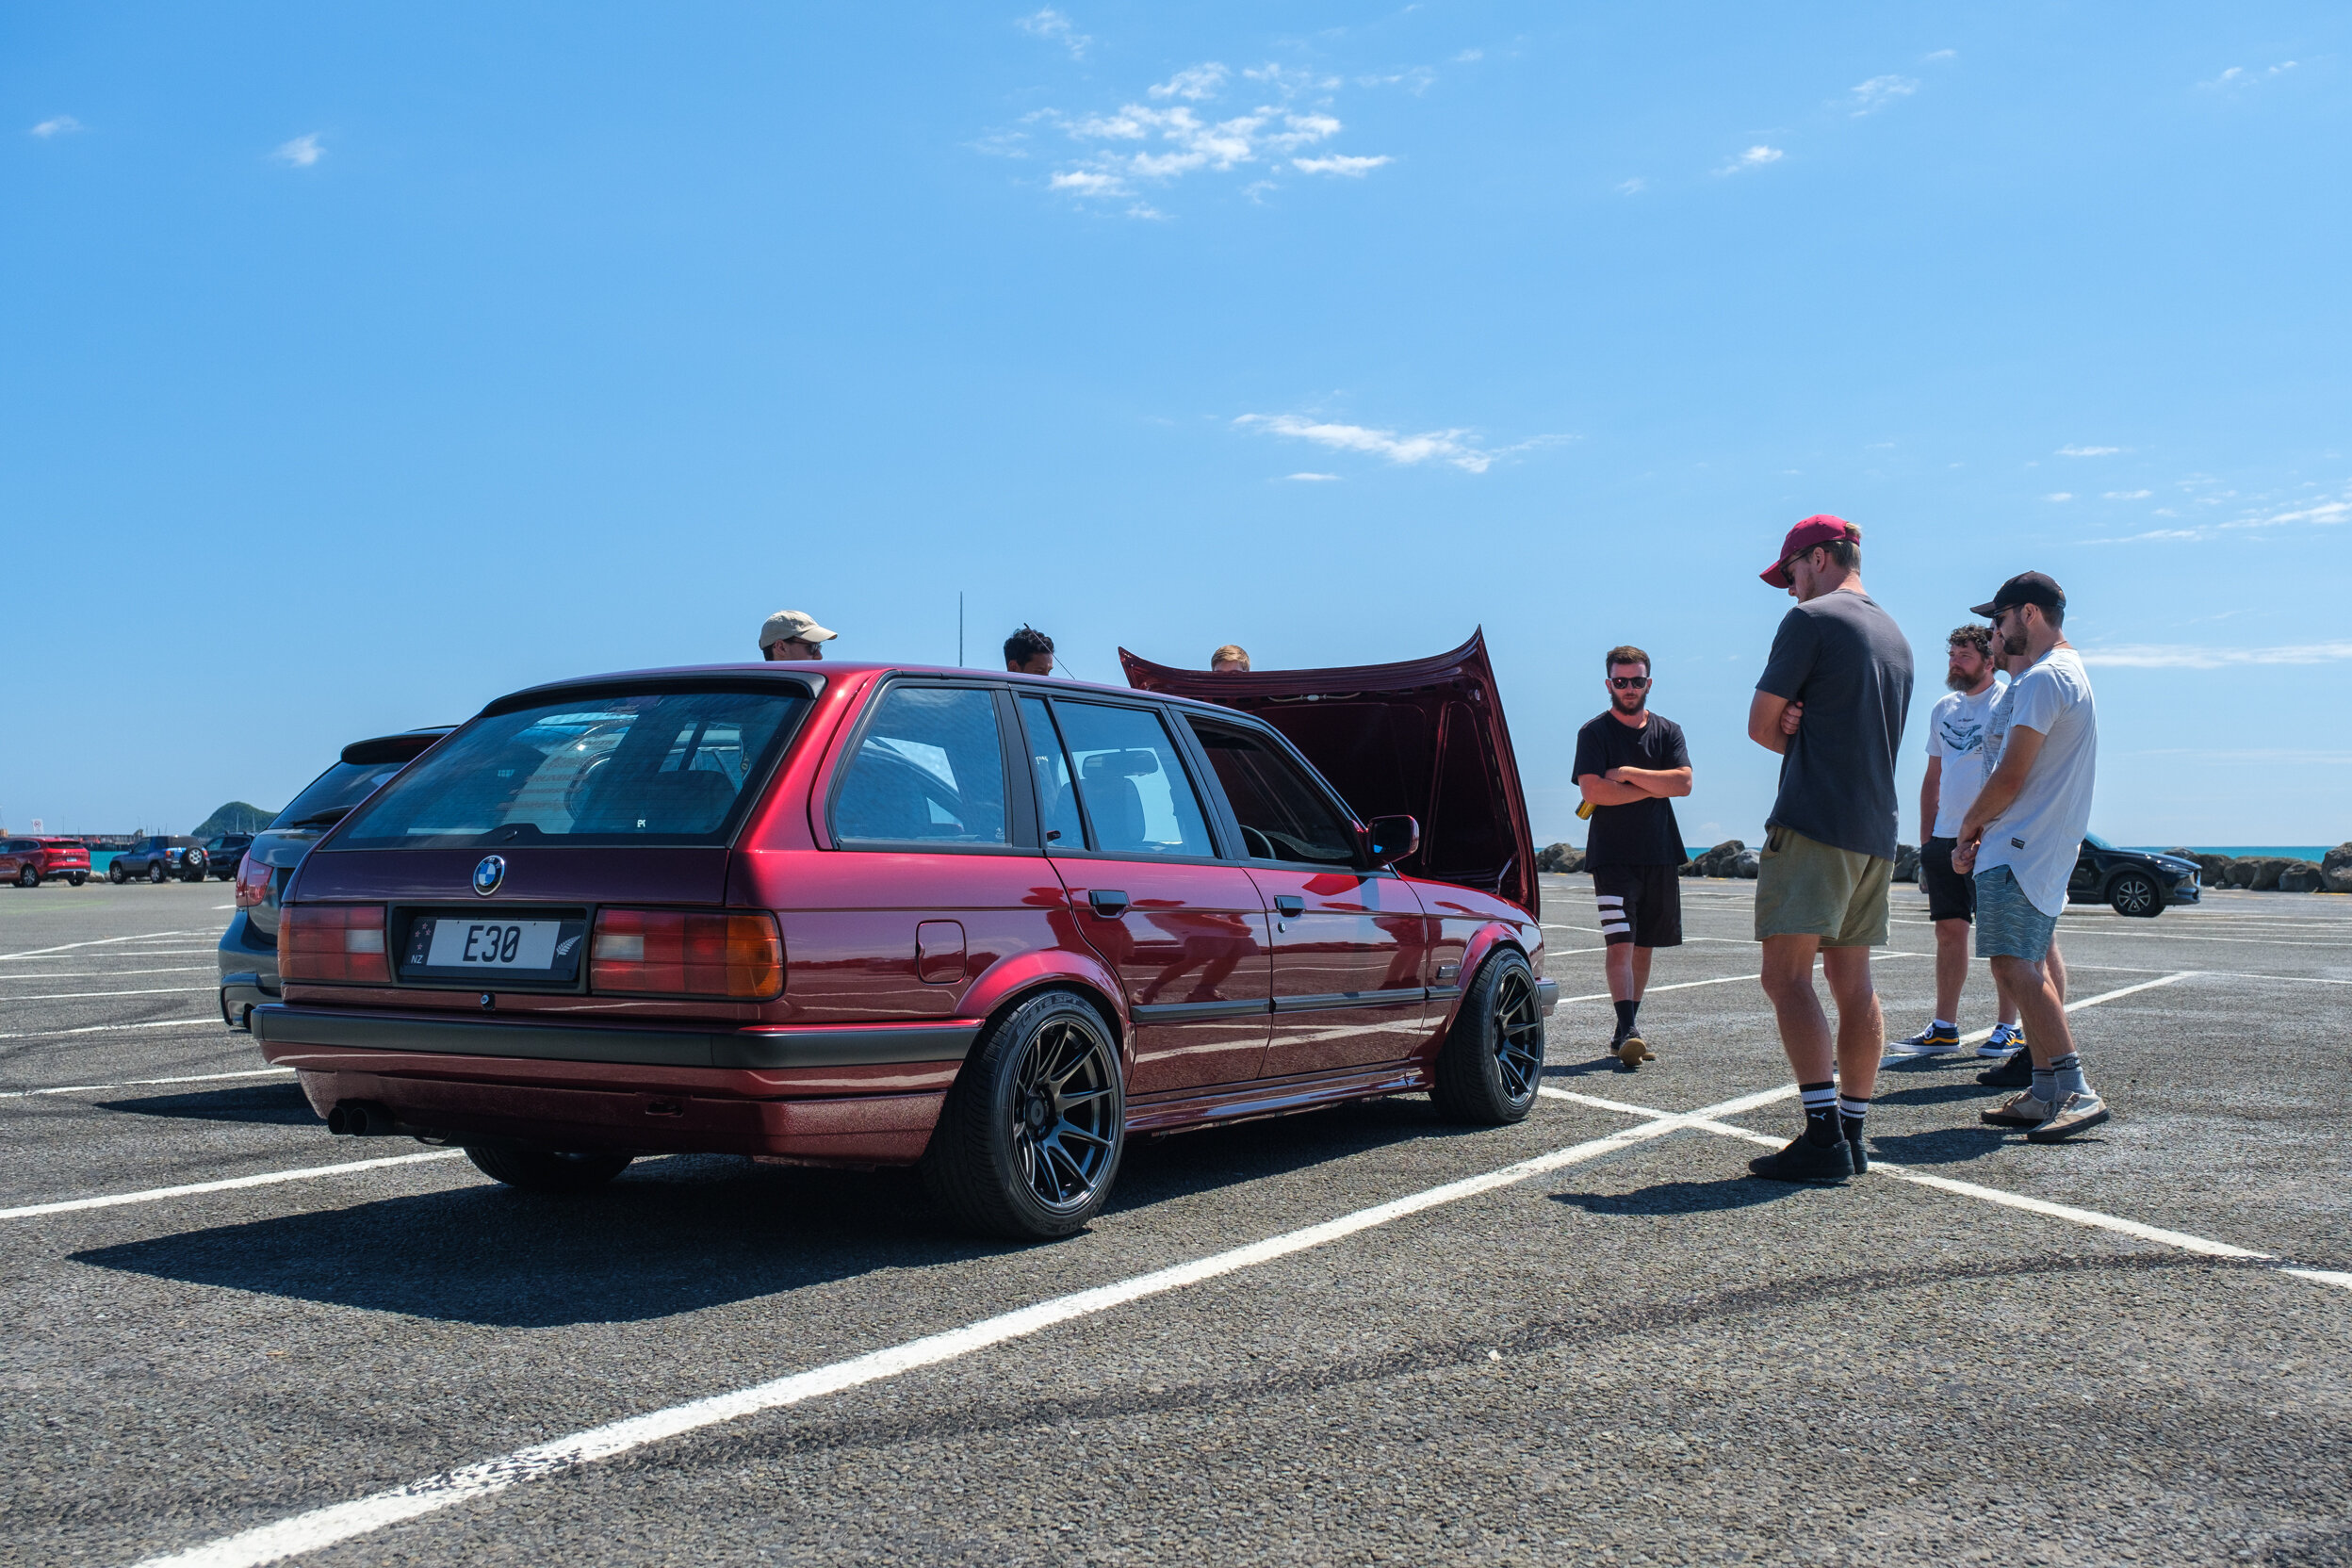
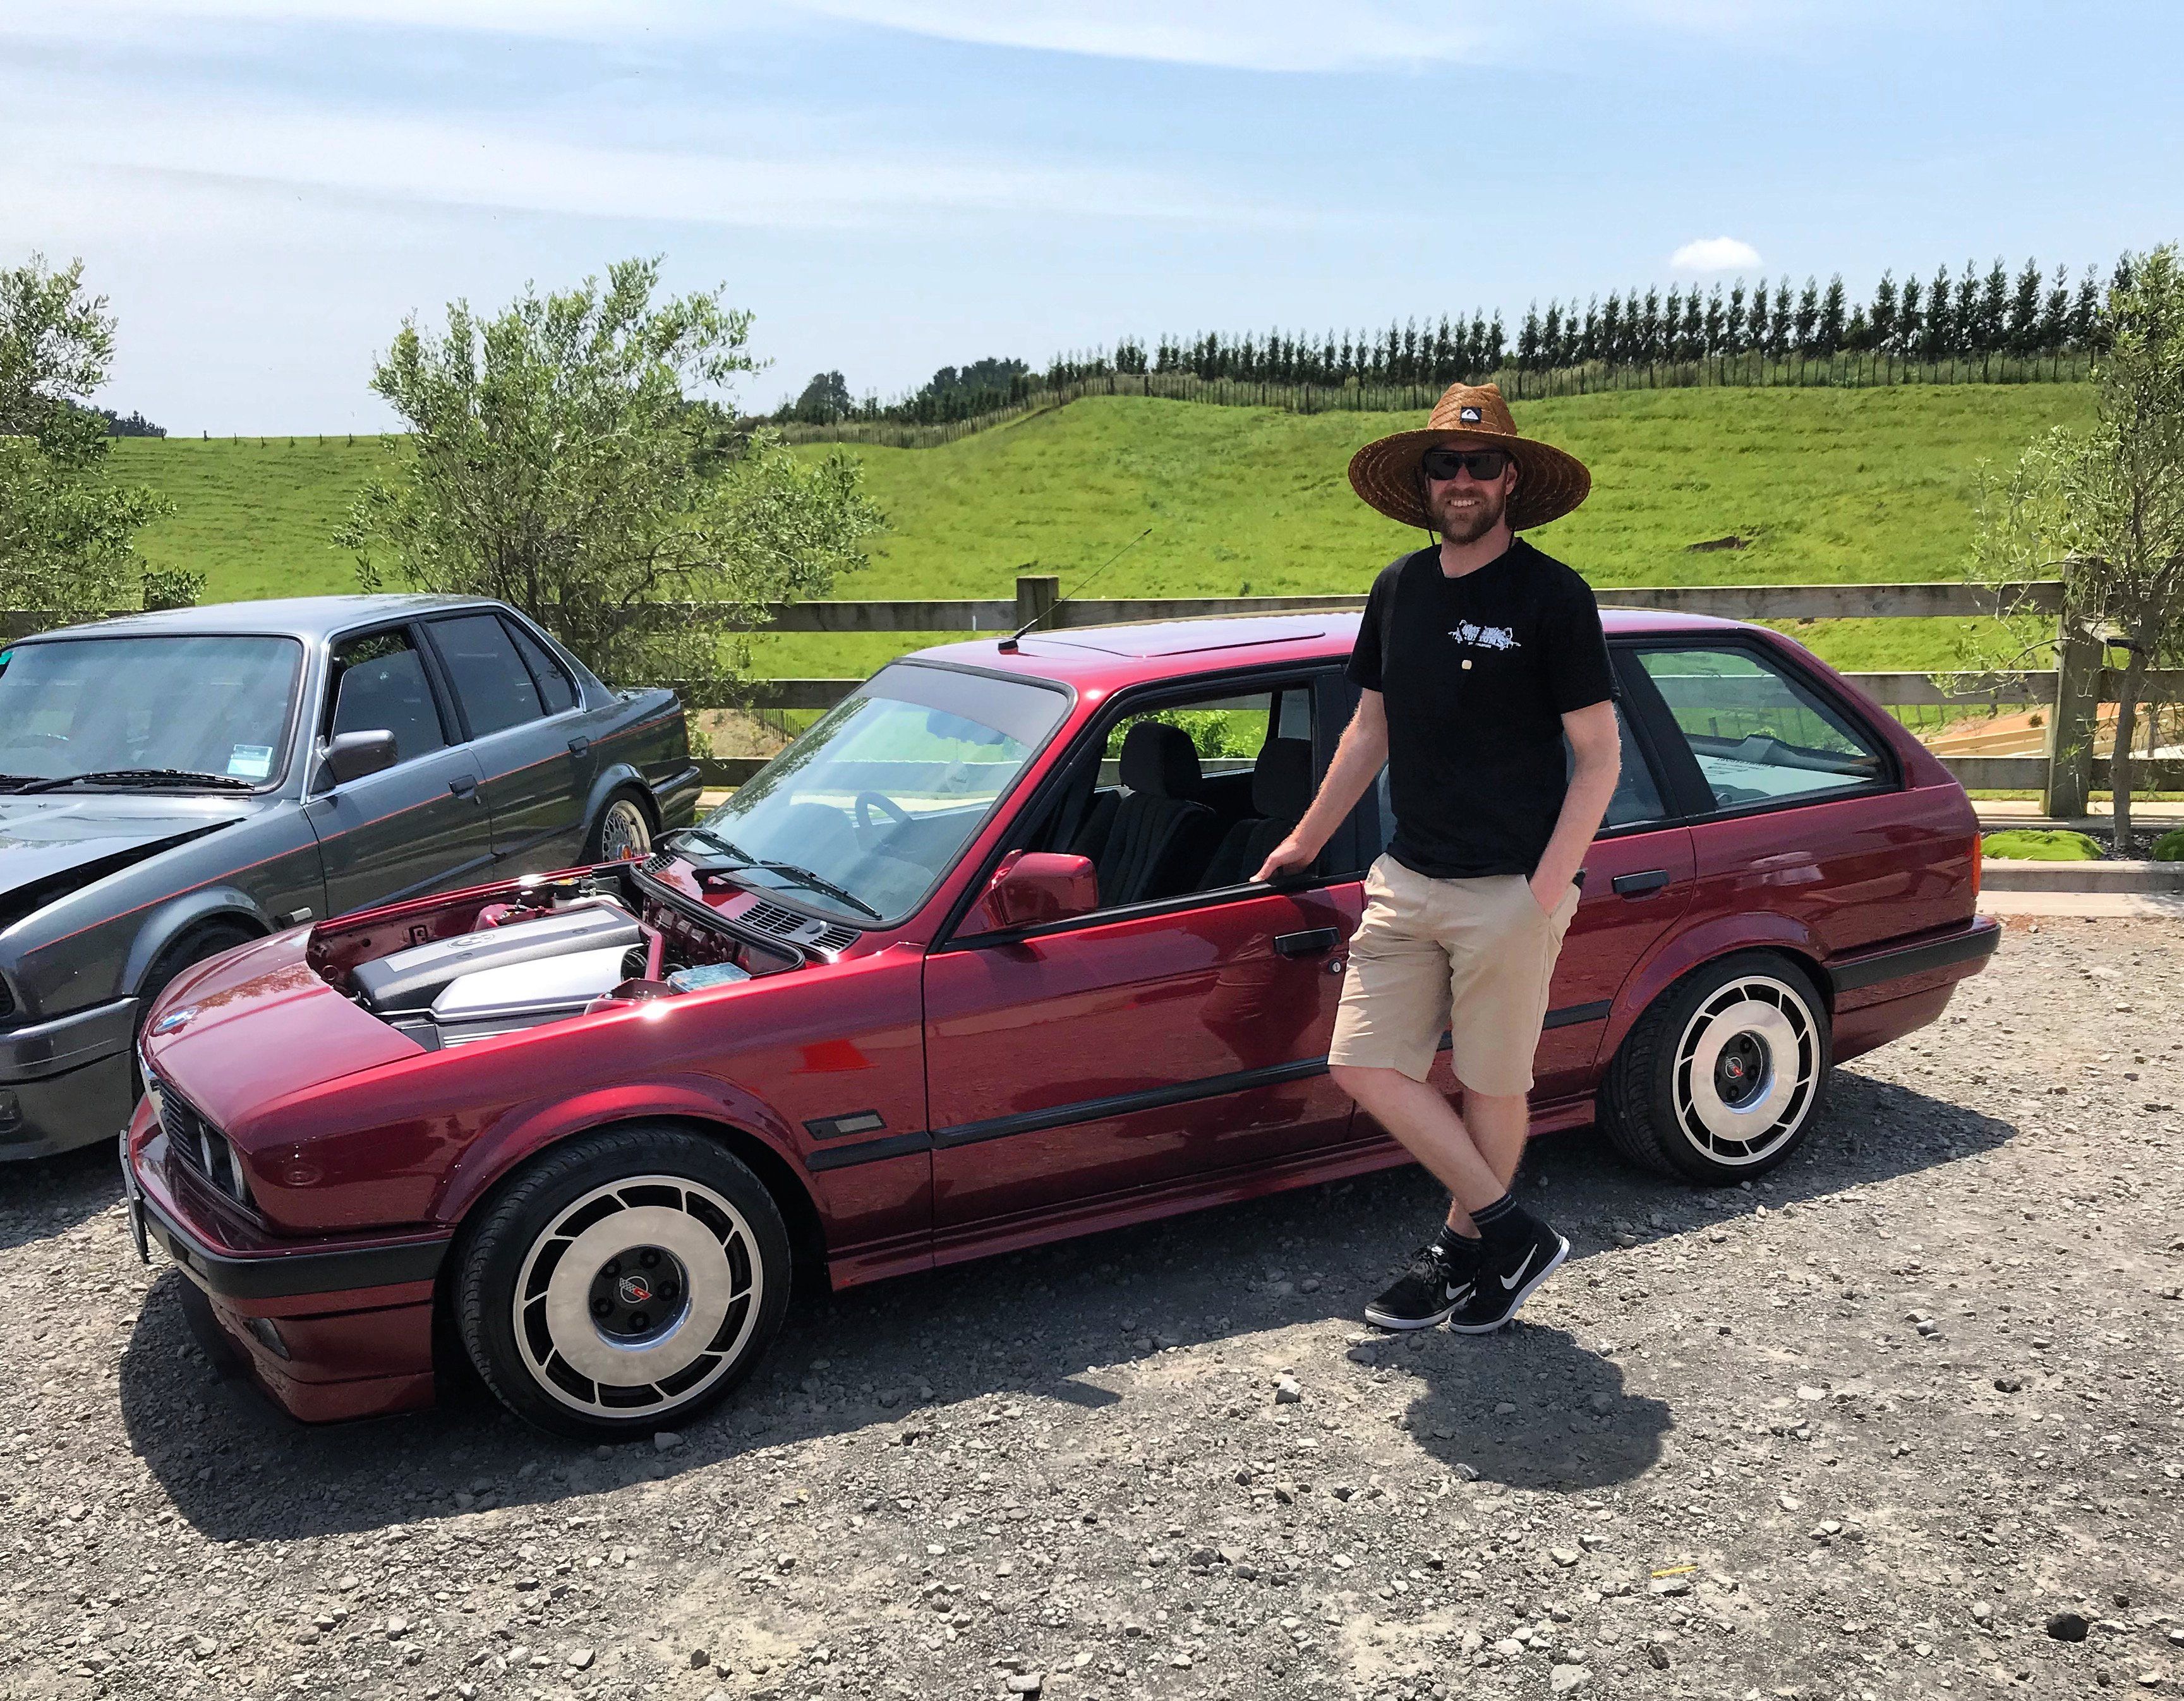
A small meet up and cruise last weekend with some local fellow BMW enthusiasts.


-
 6
6
-
-
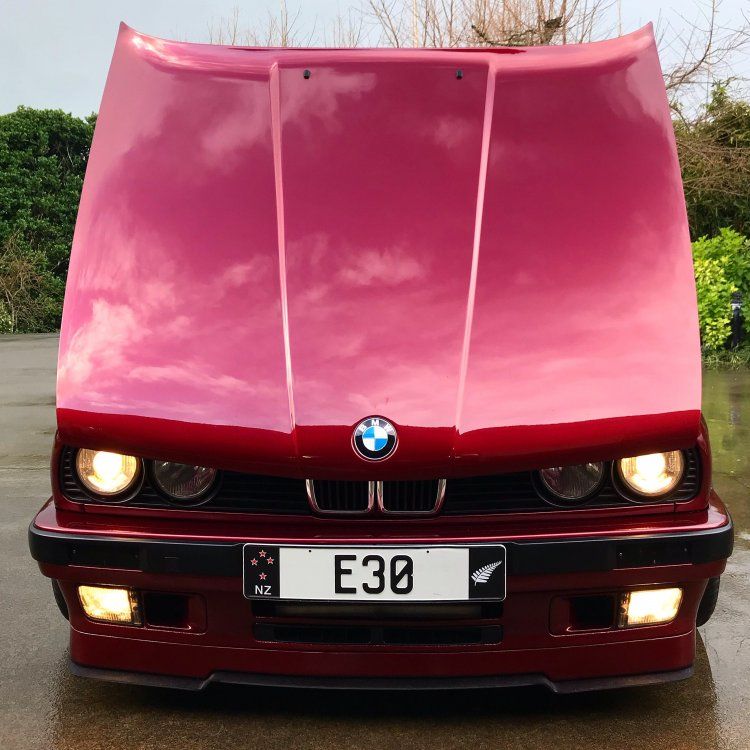
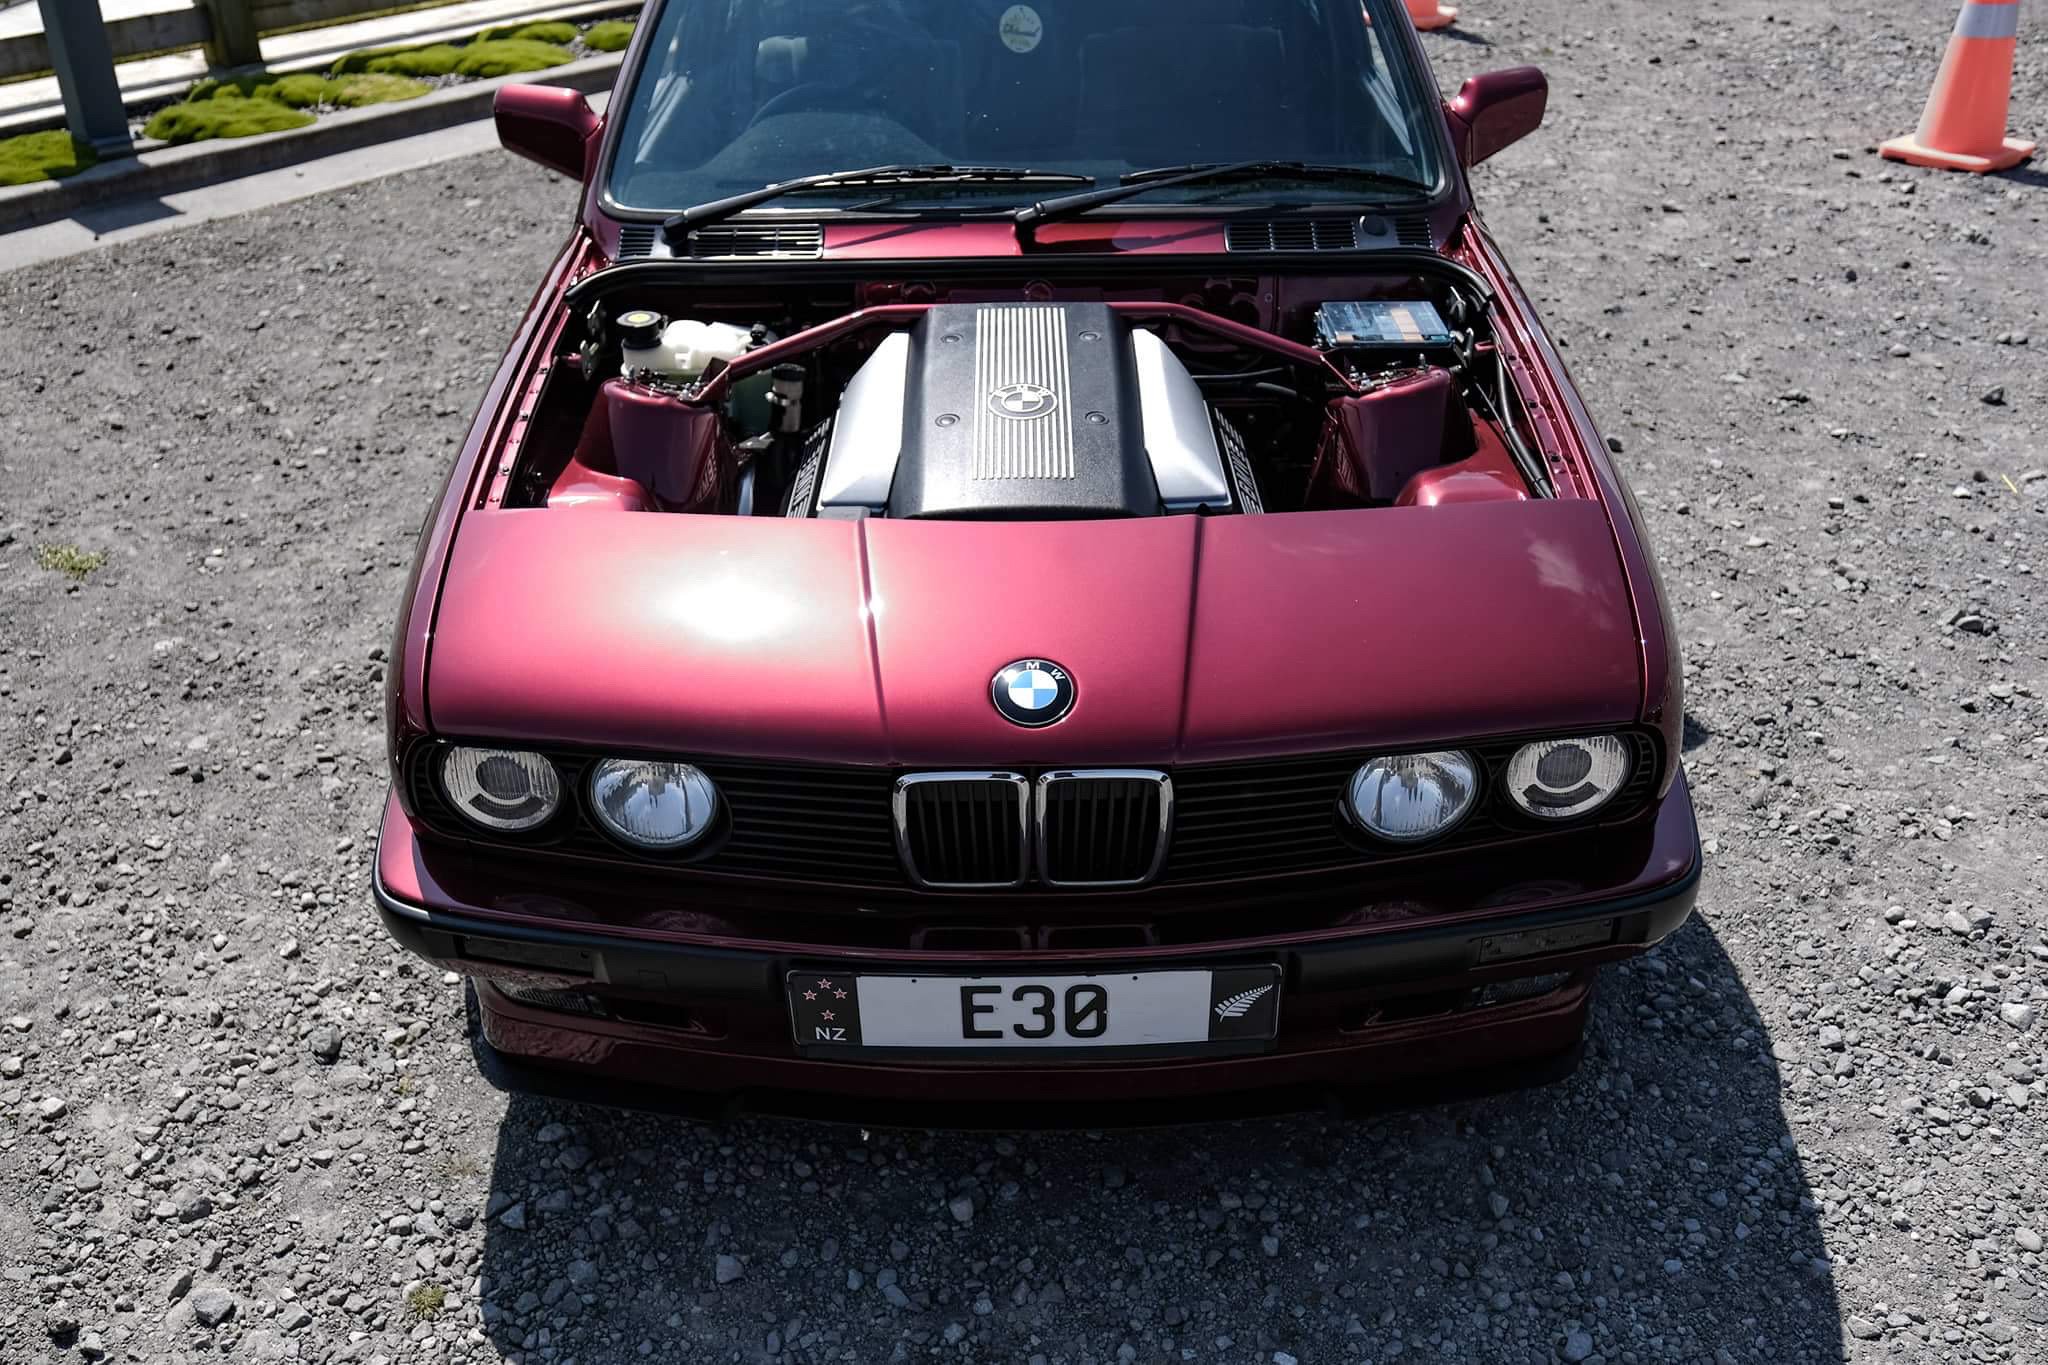
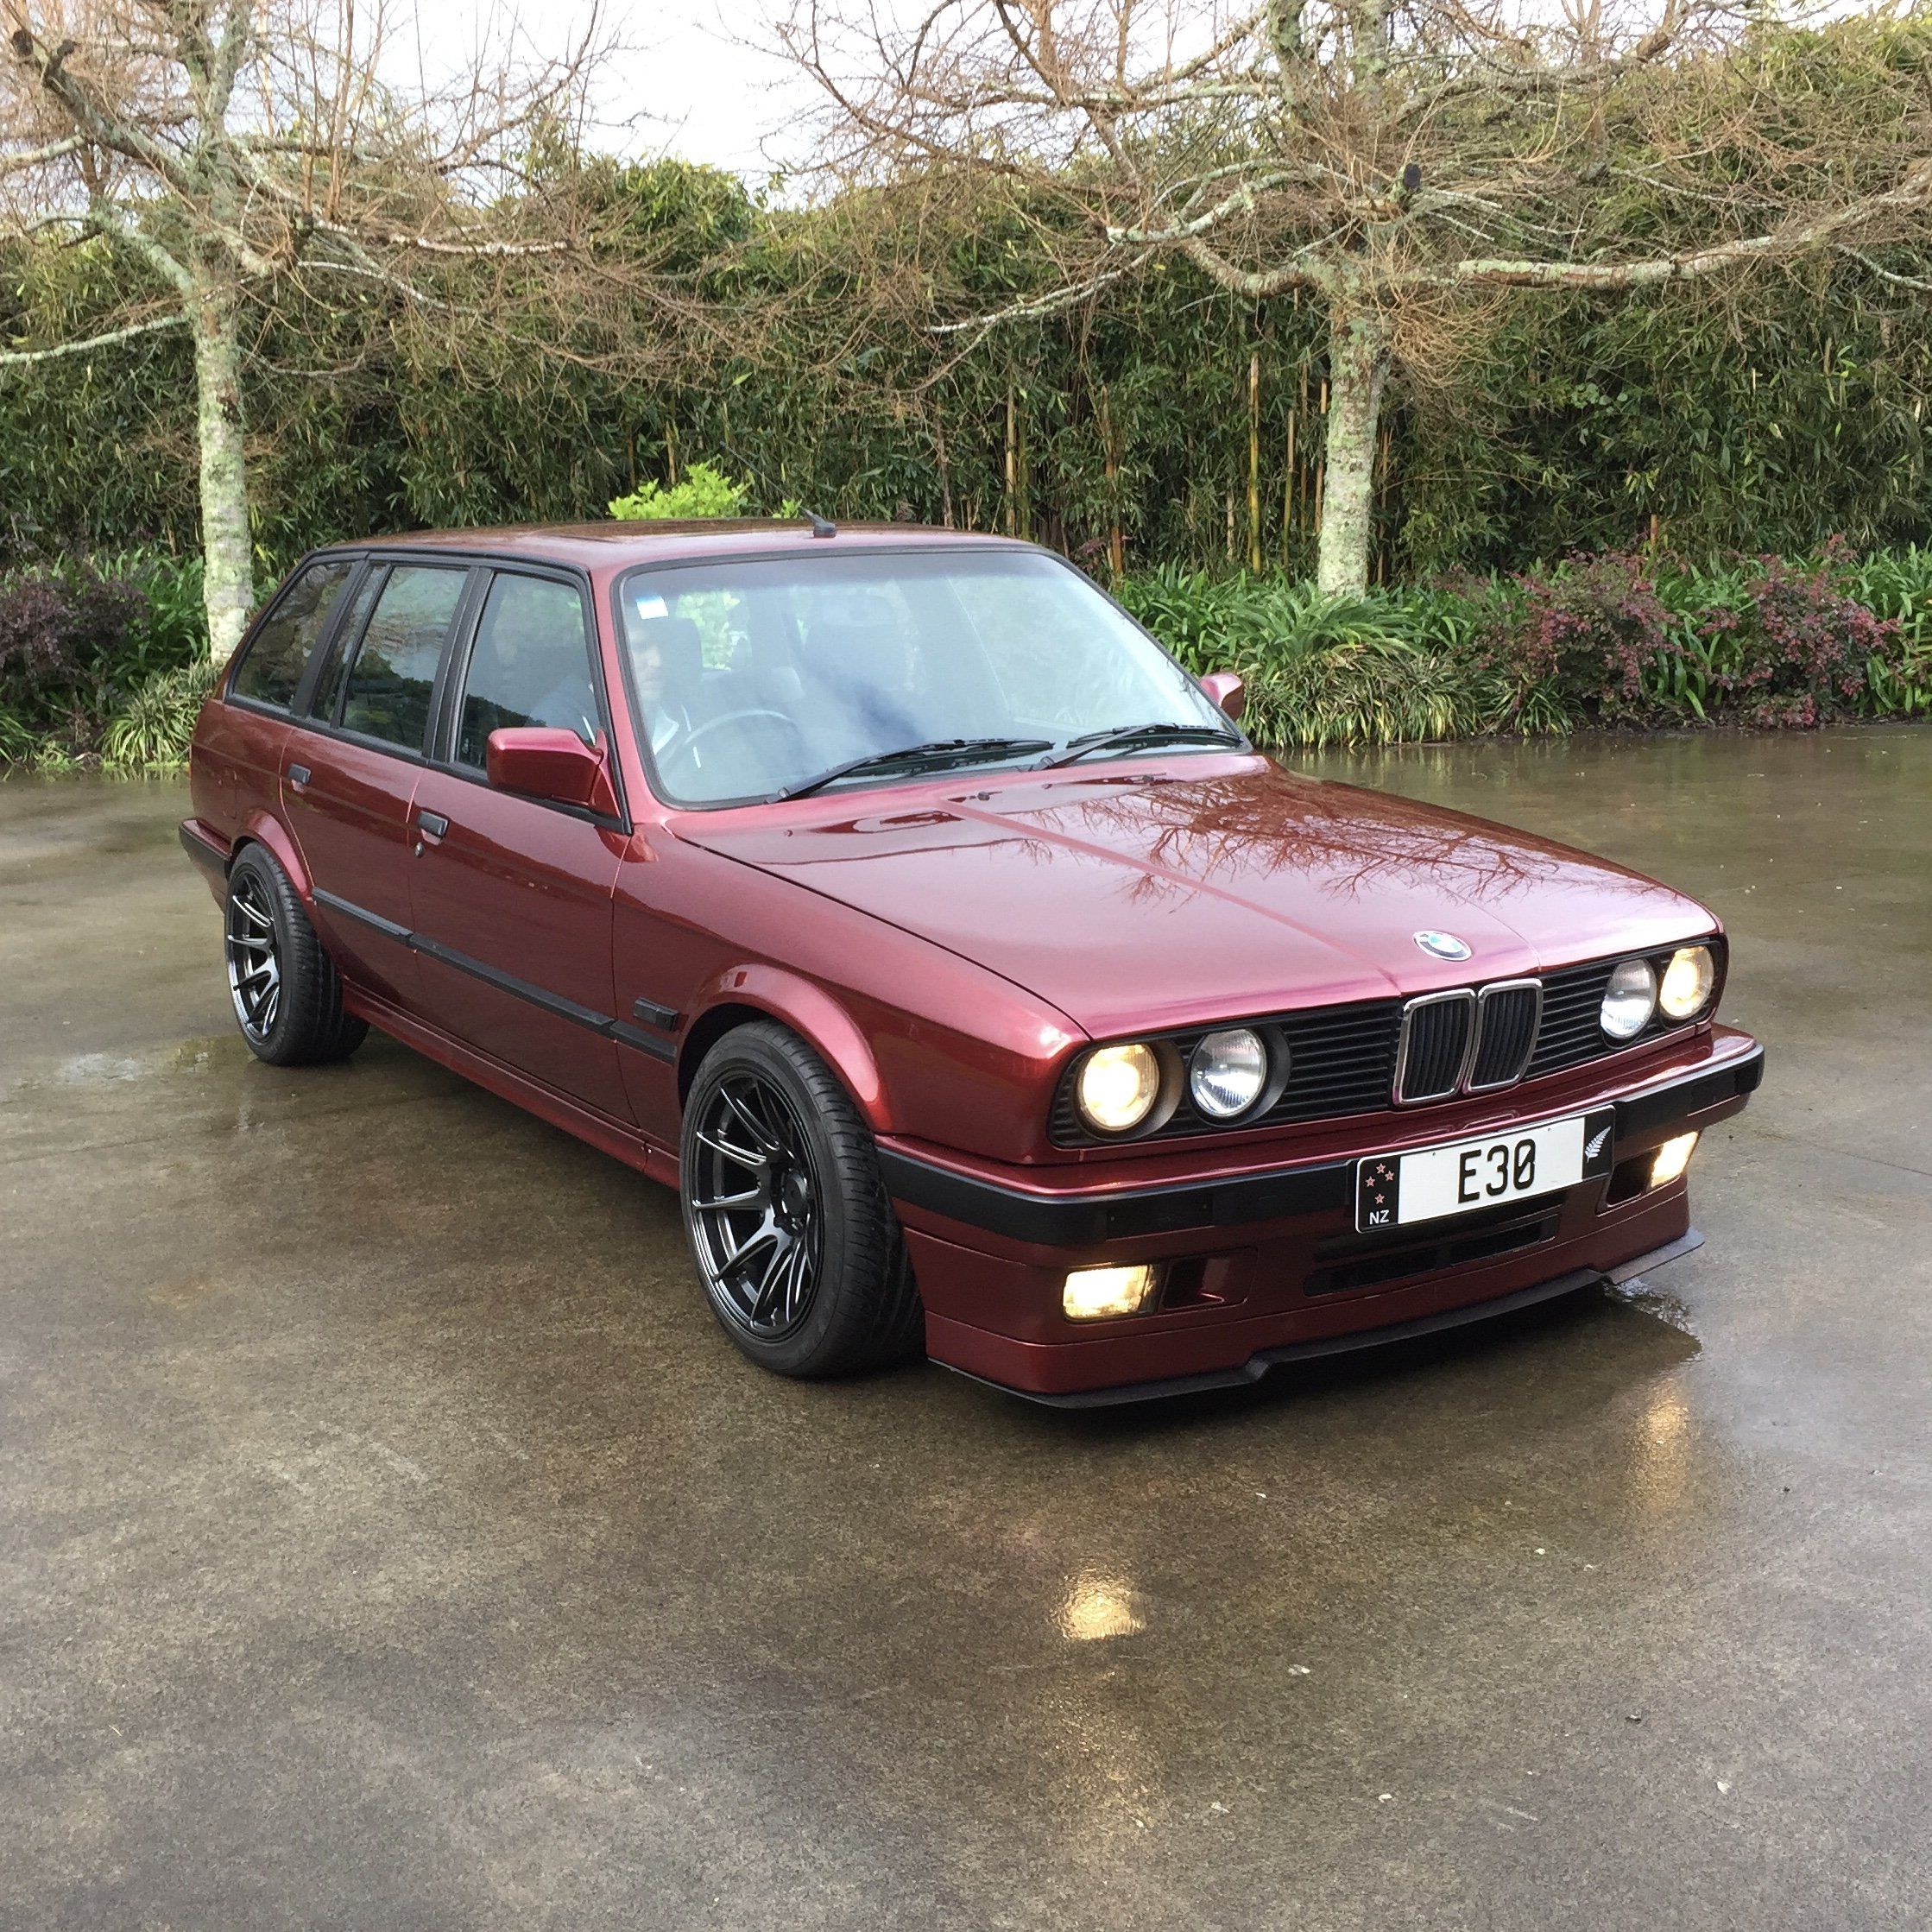
7 minutes ago, E28E30 said:Wow looks awesome @_BRS_ Blair. So THAT is where the coveted “E30” plate resides
")
Cheers! Have owned the plate for nearly 12 years now, ran it on my old 4 door also.
-
1
-
-
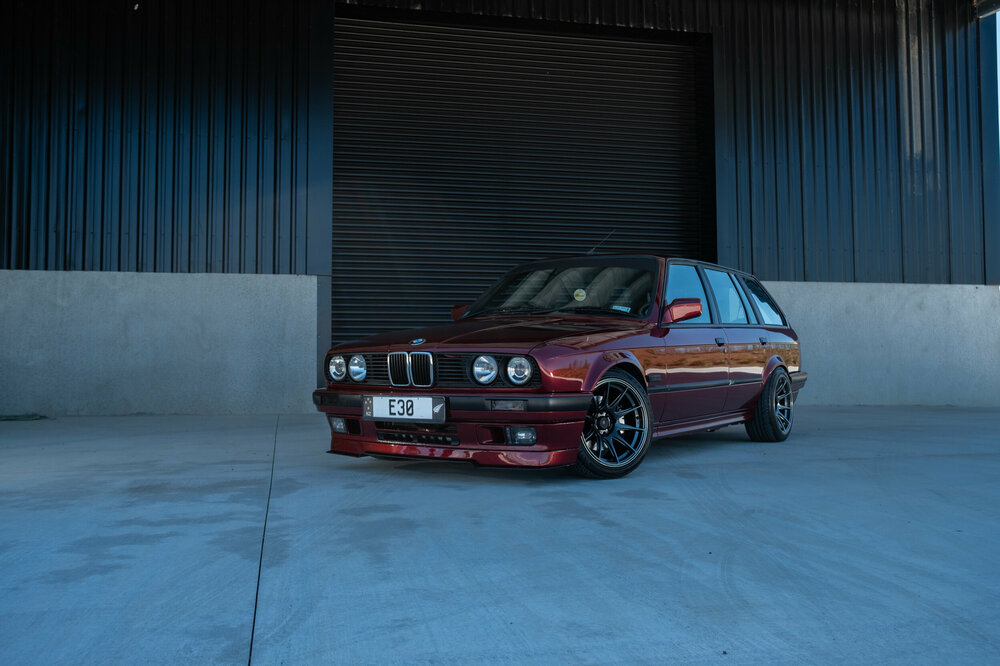
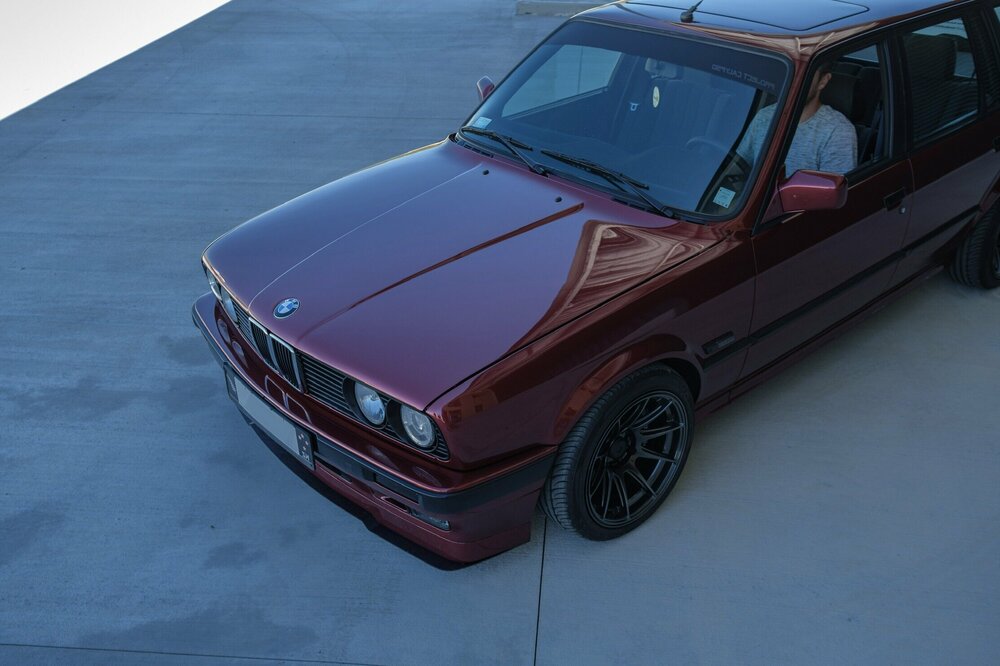
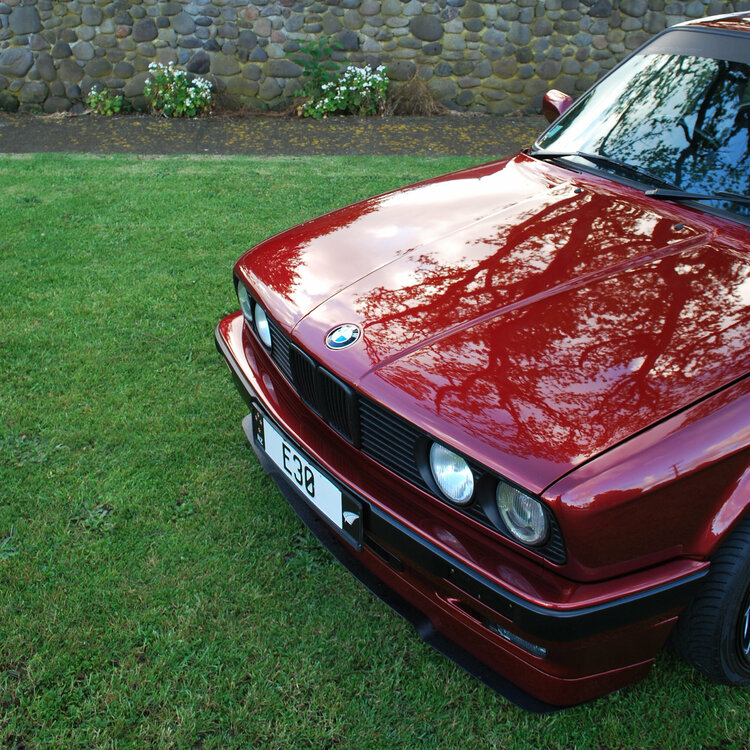
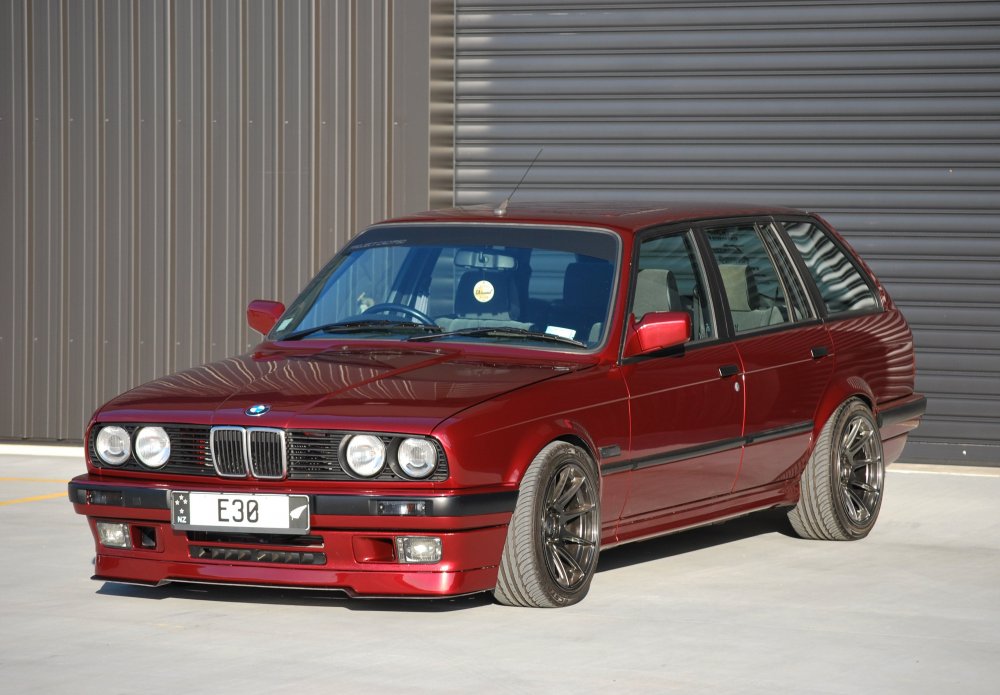
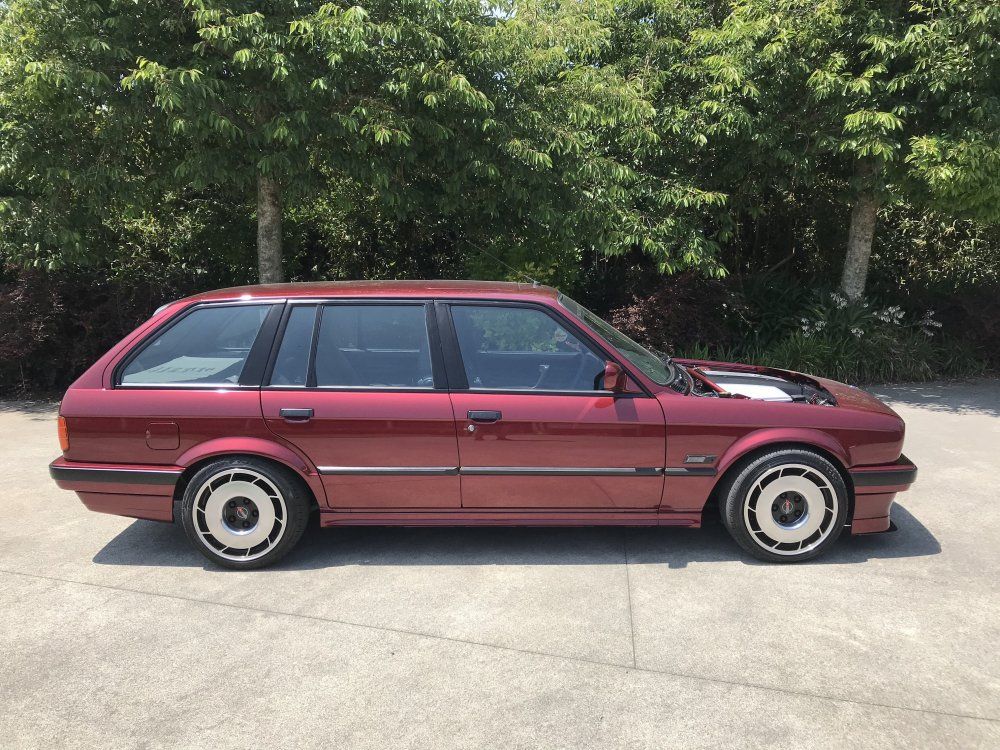
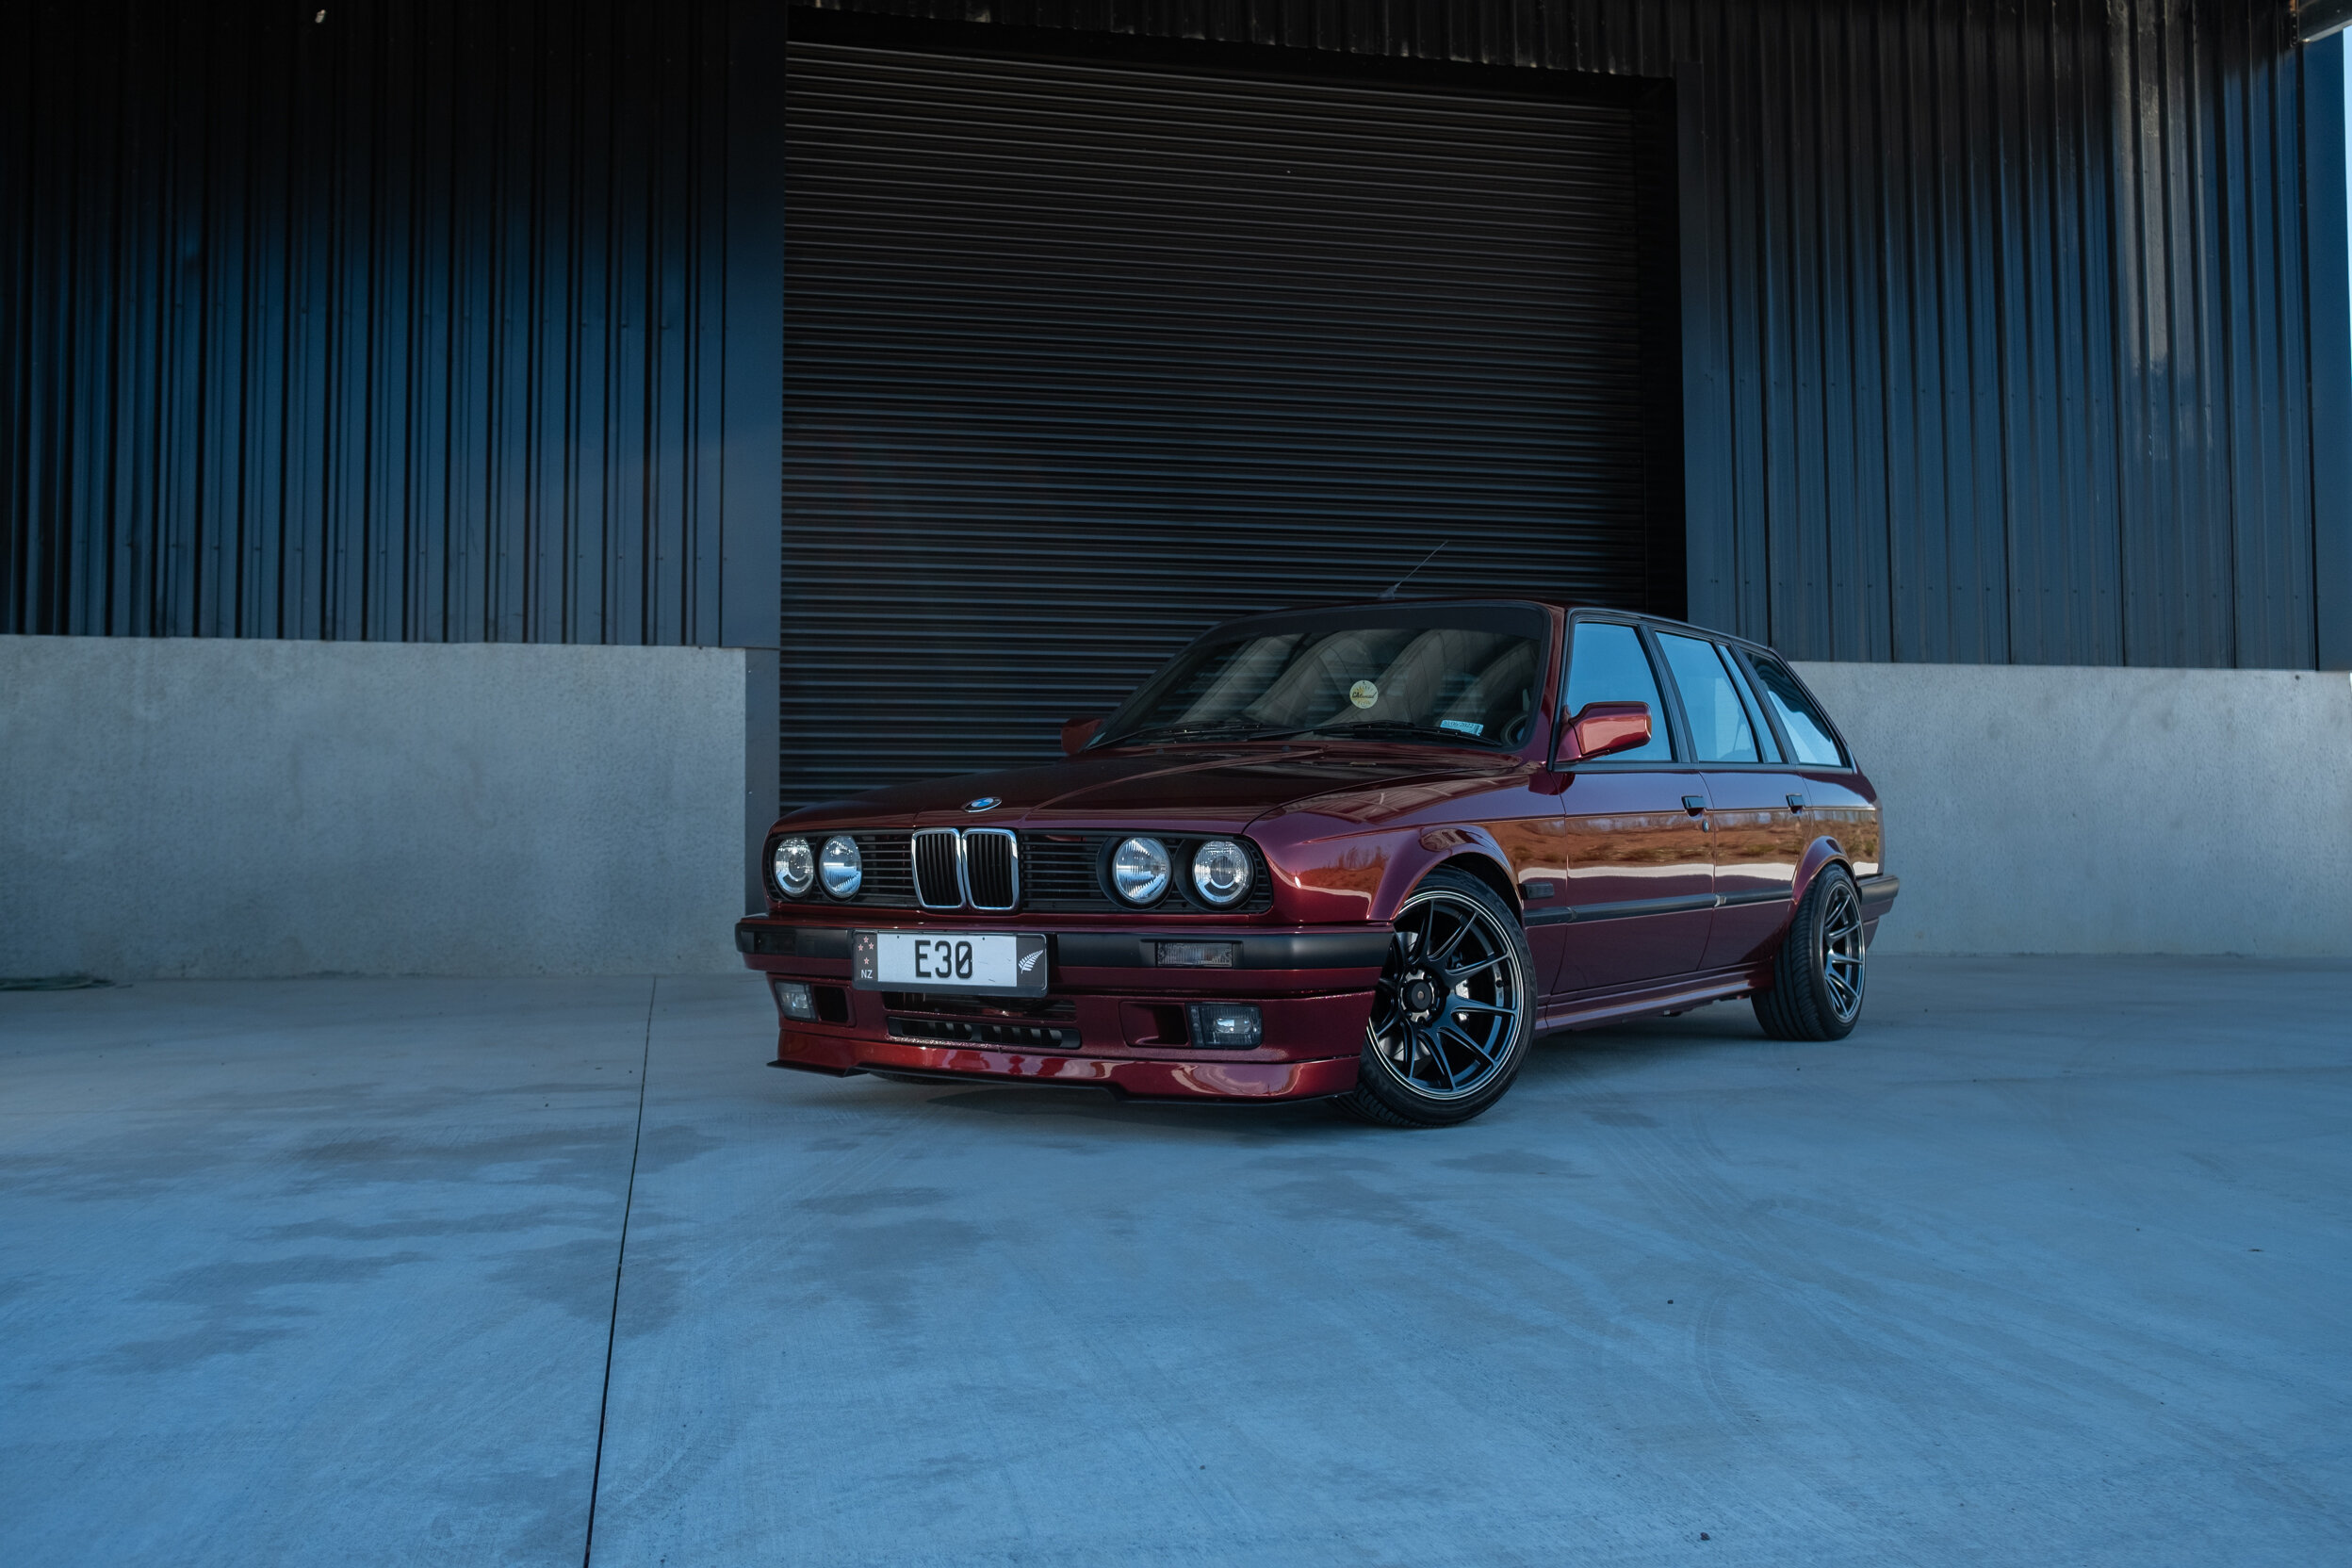
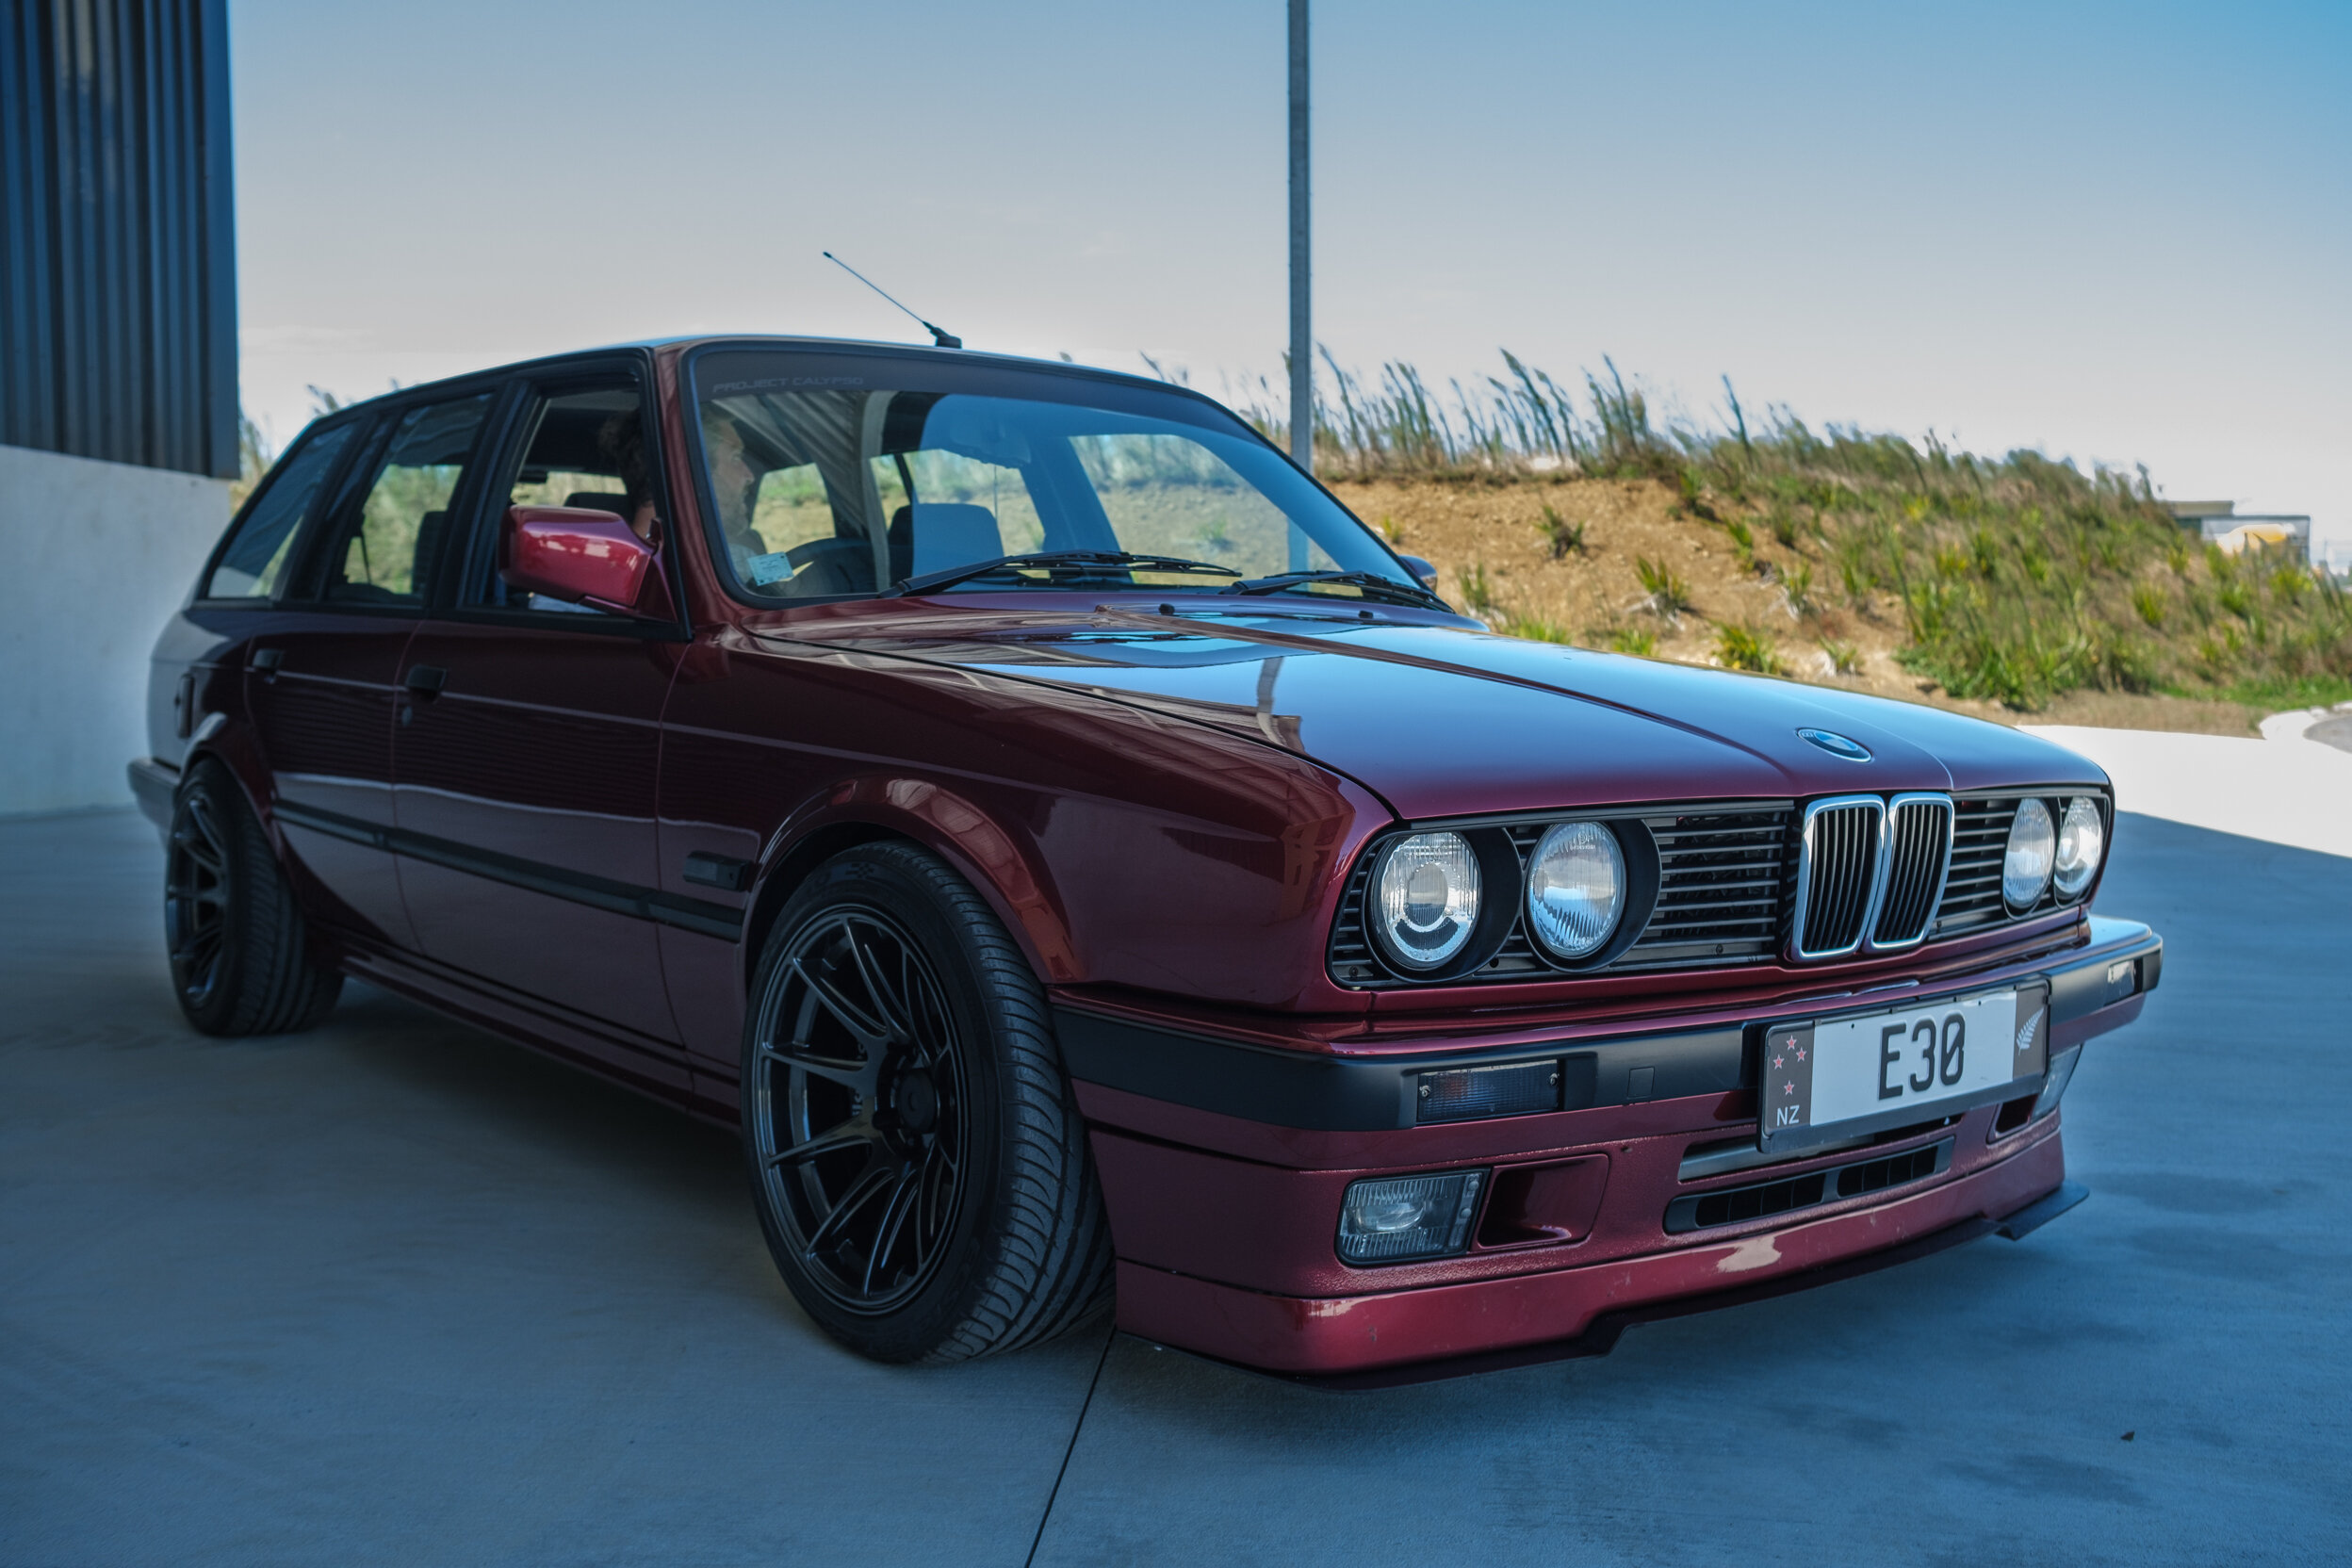
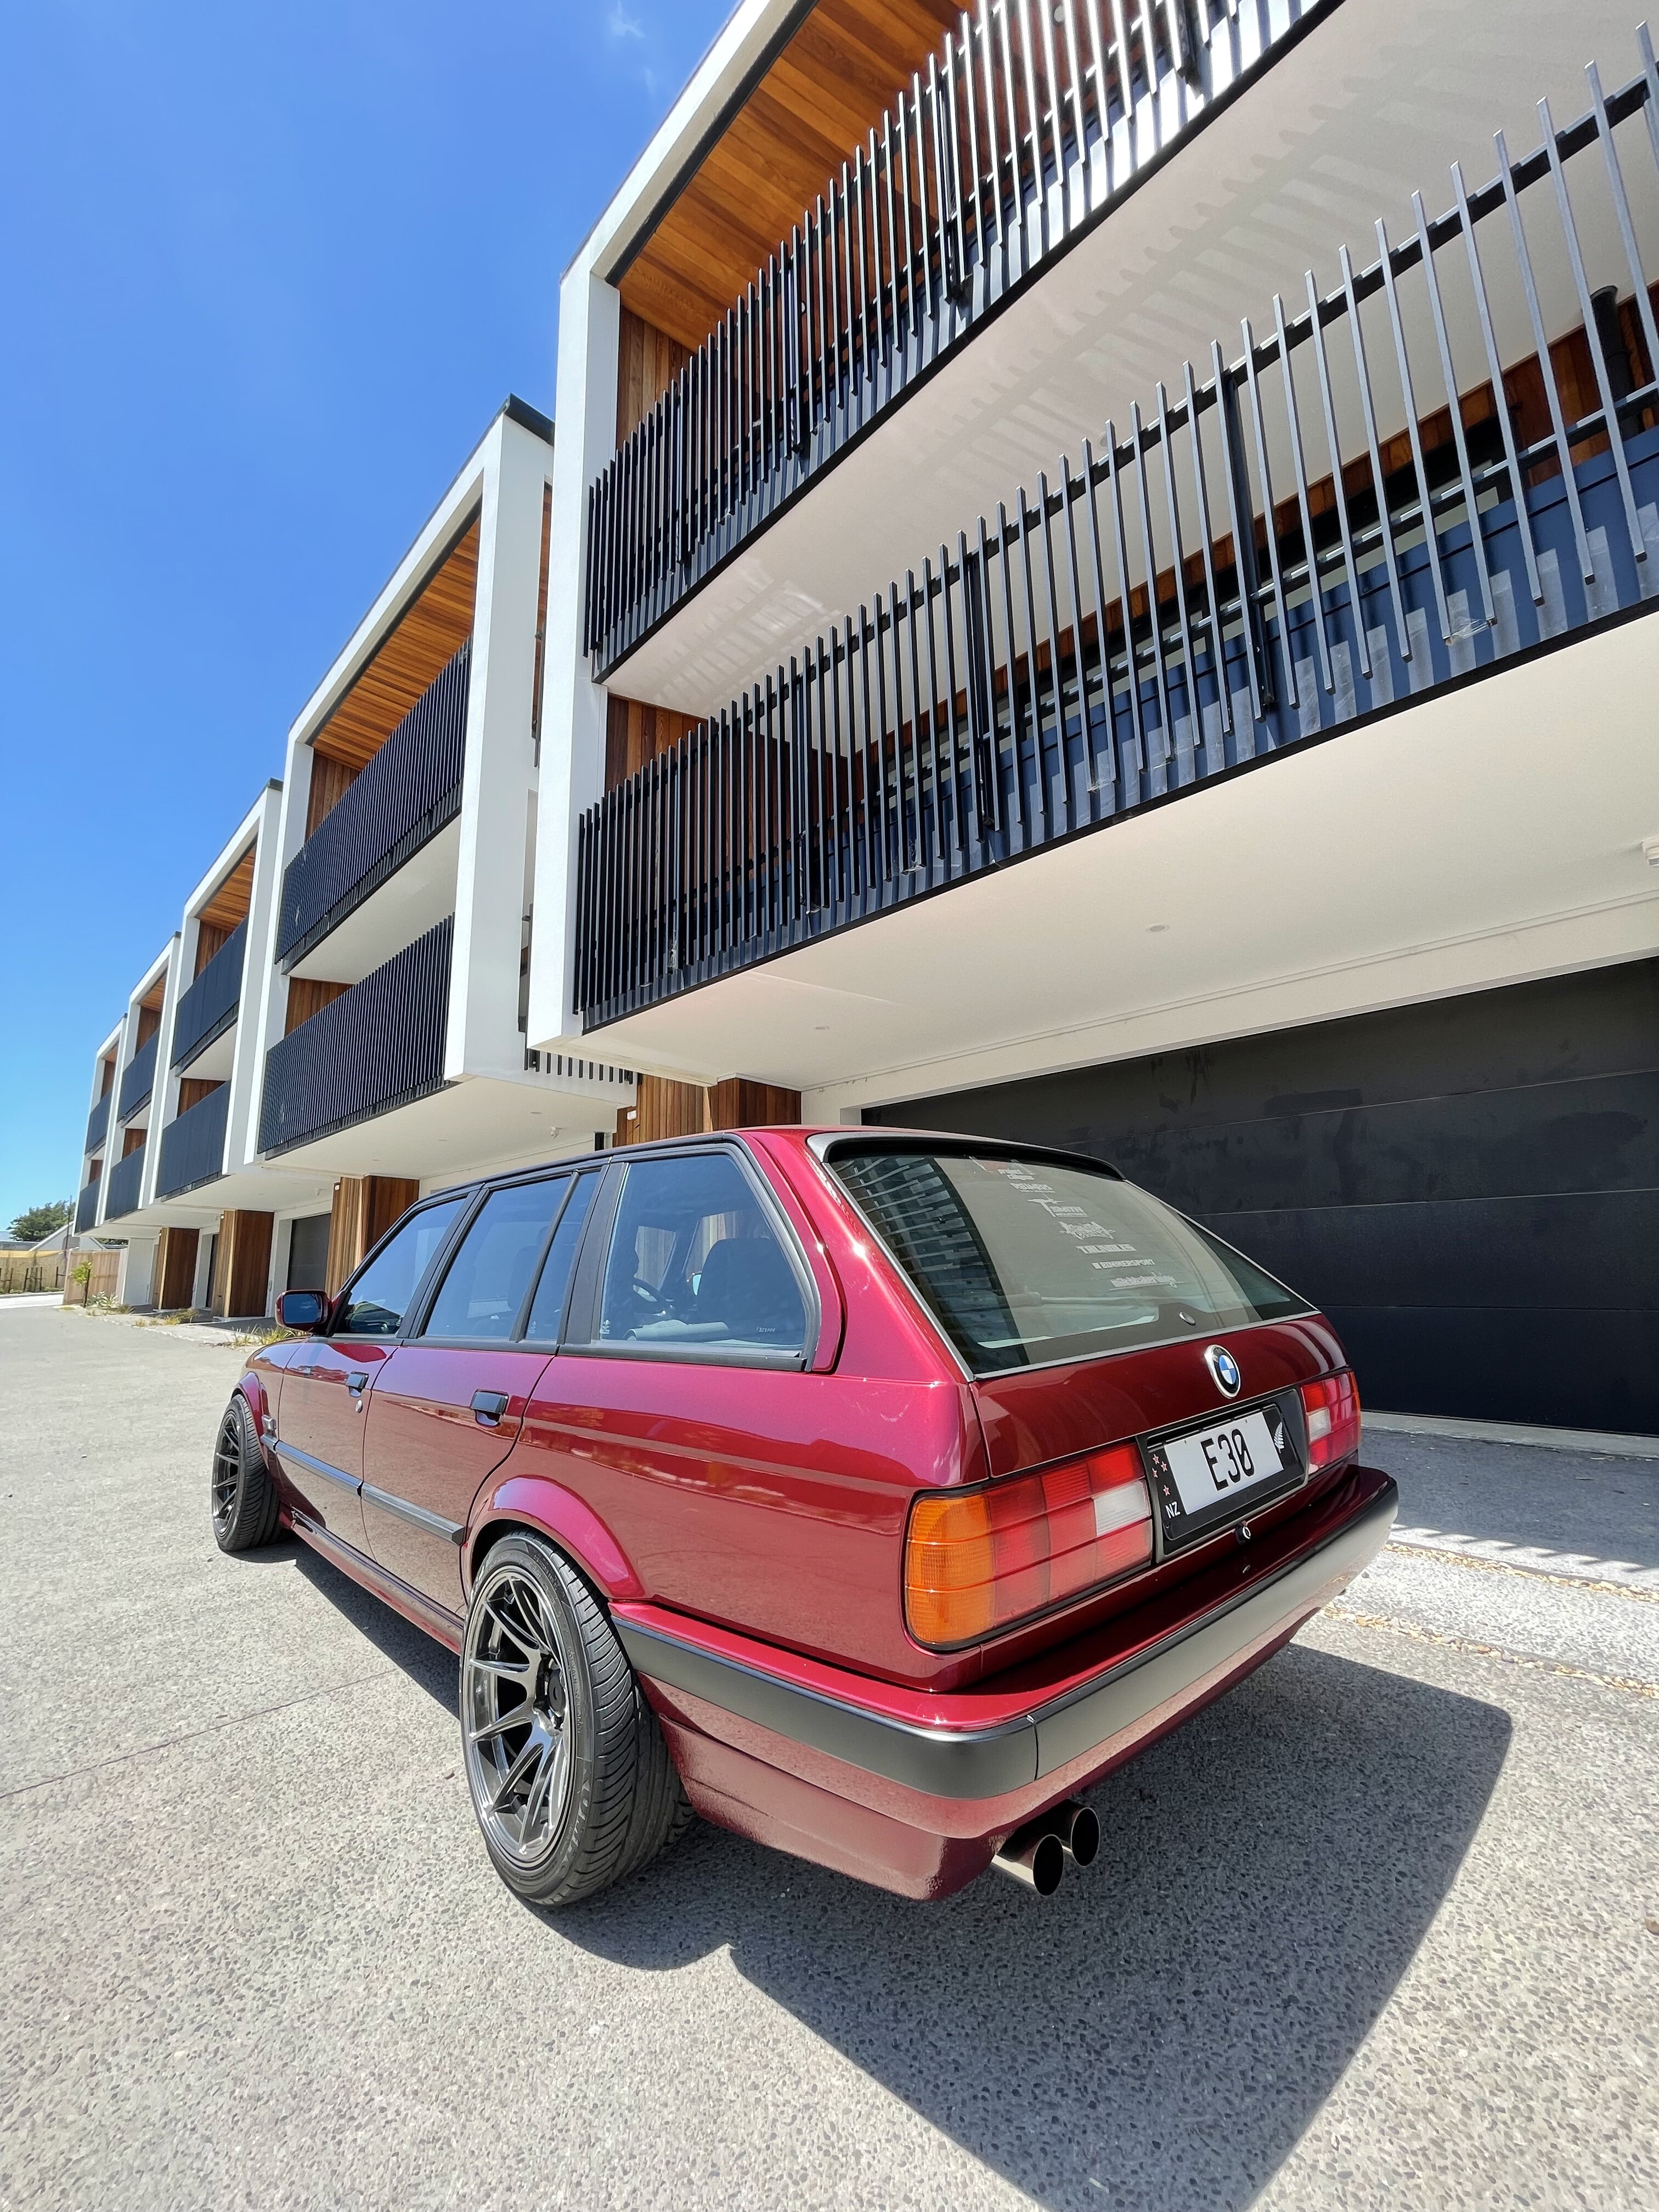
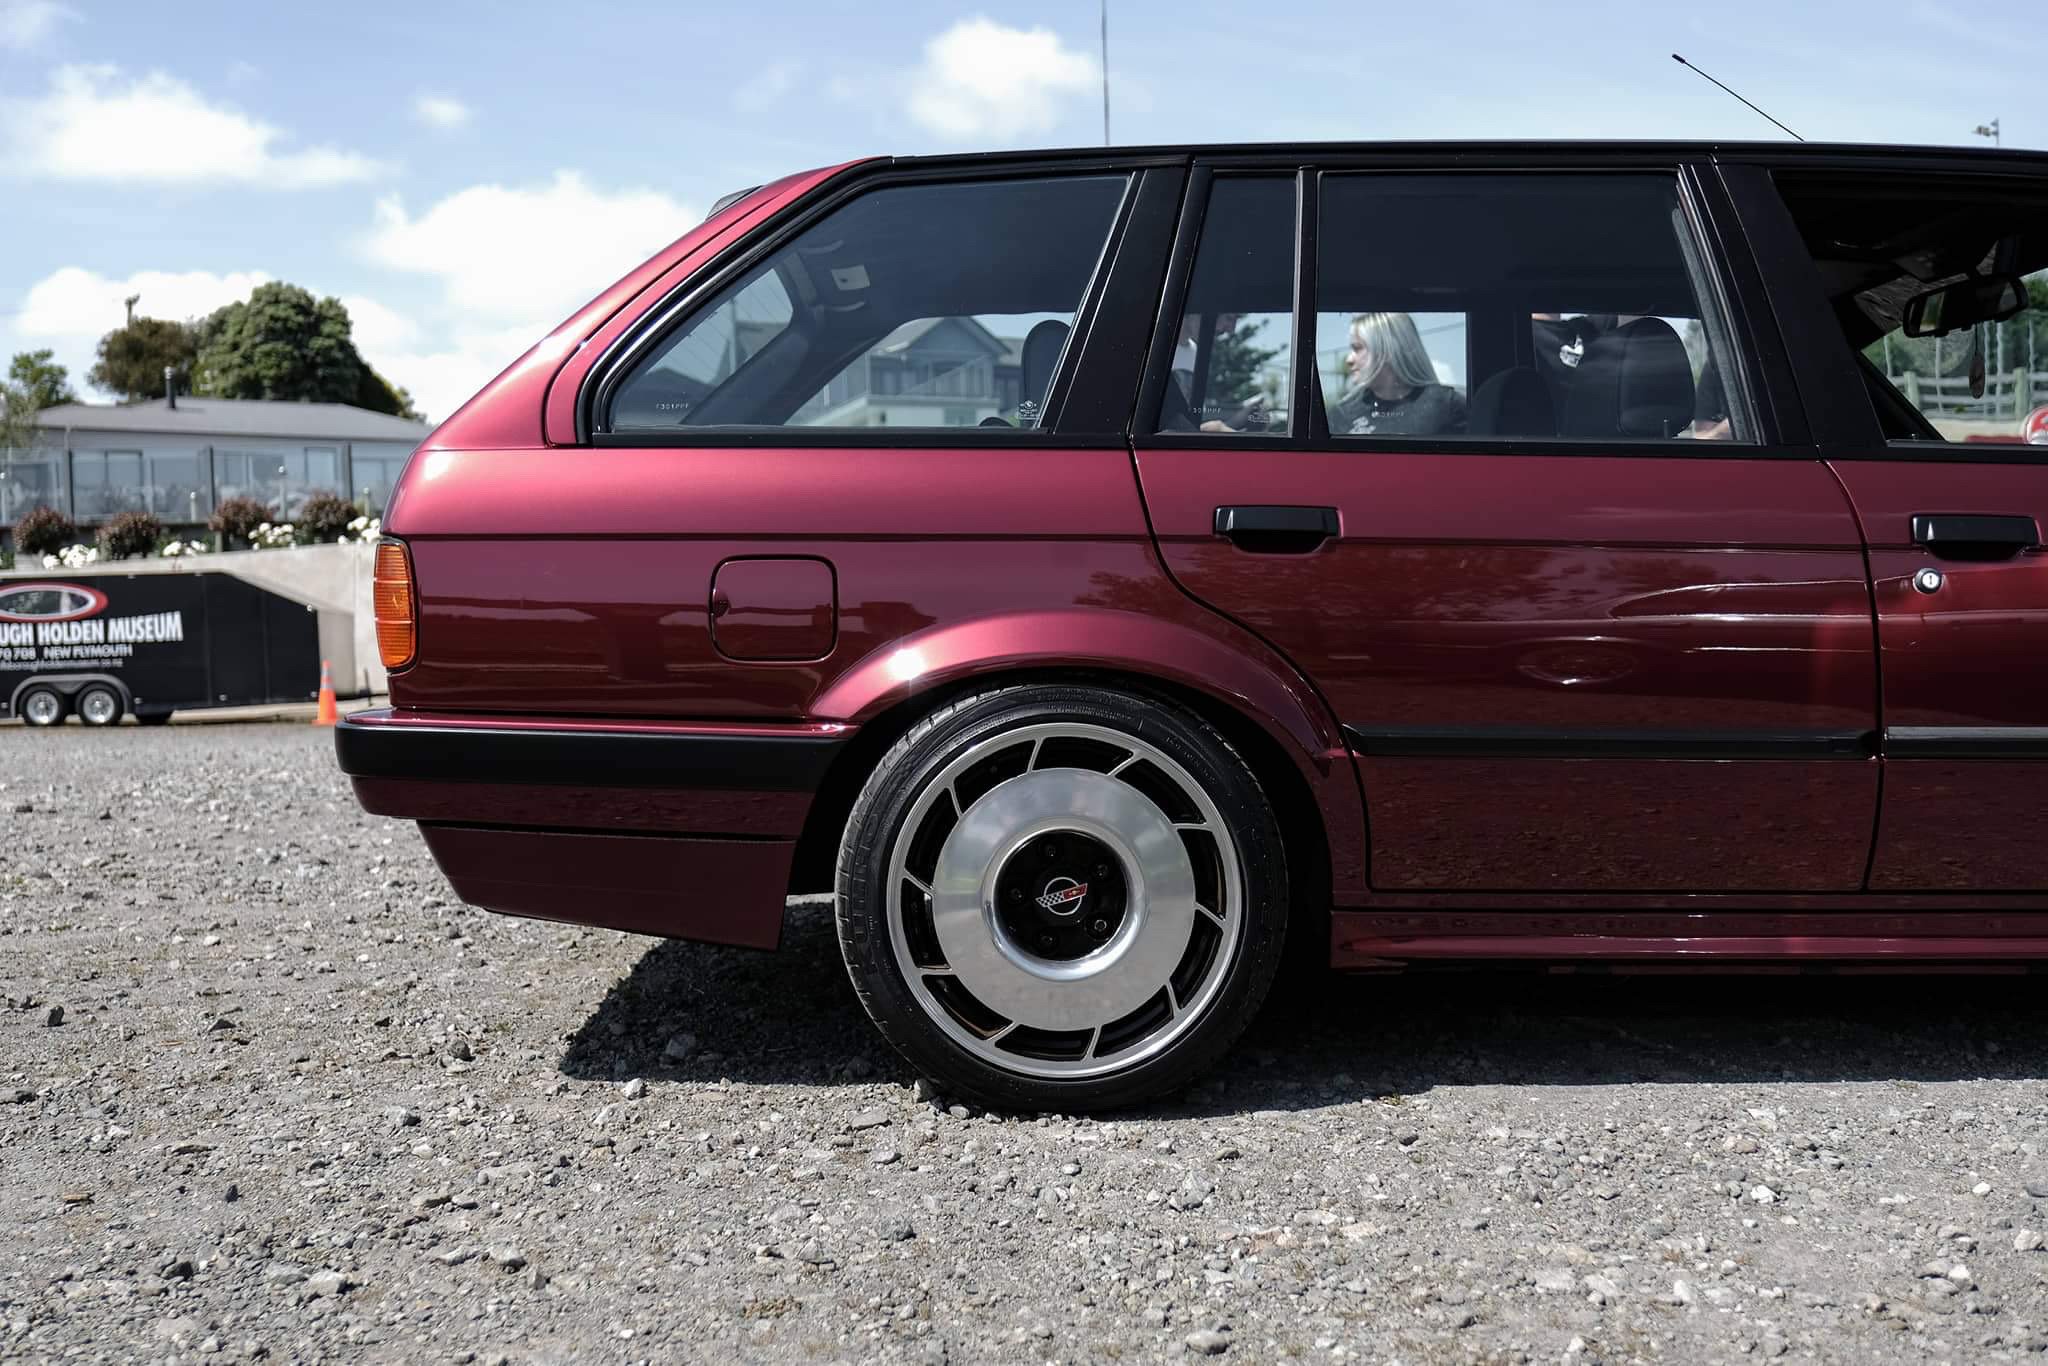
Went for a nice little cruise around the coast a couple of weekends ago, stopped off in Oakura to snap these pics.
Just got a fresh WOF this week, so good to go for another 6 months.
Same old story, need to drive it more!
-
2
-
-
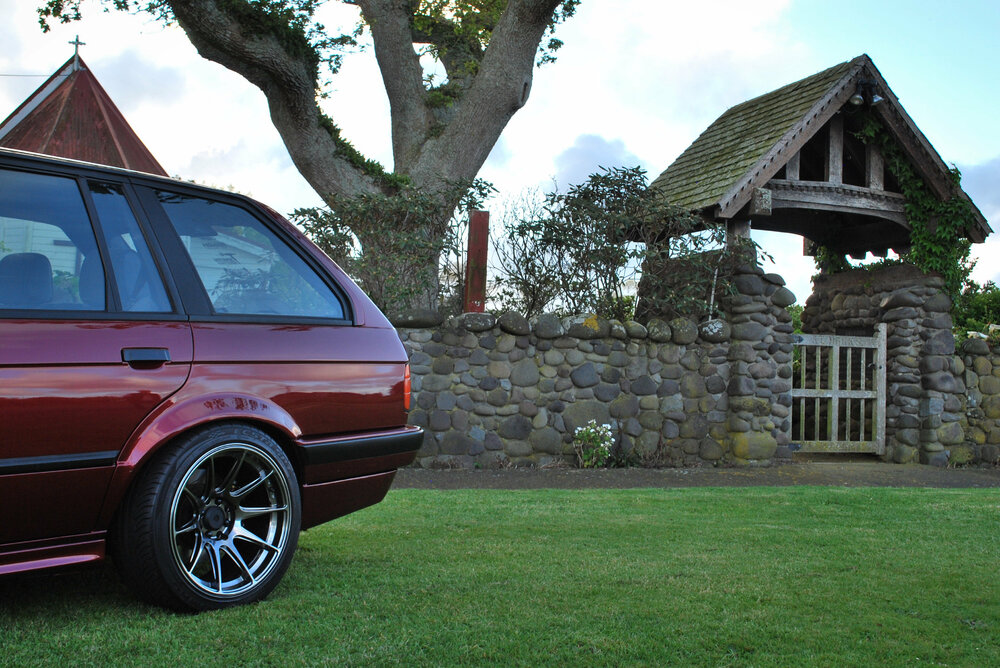
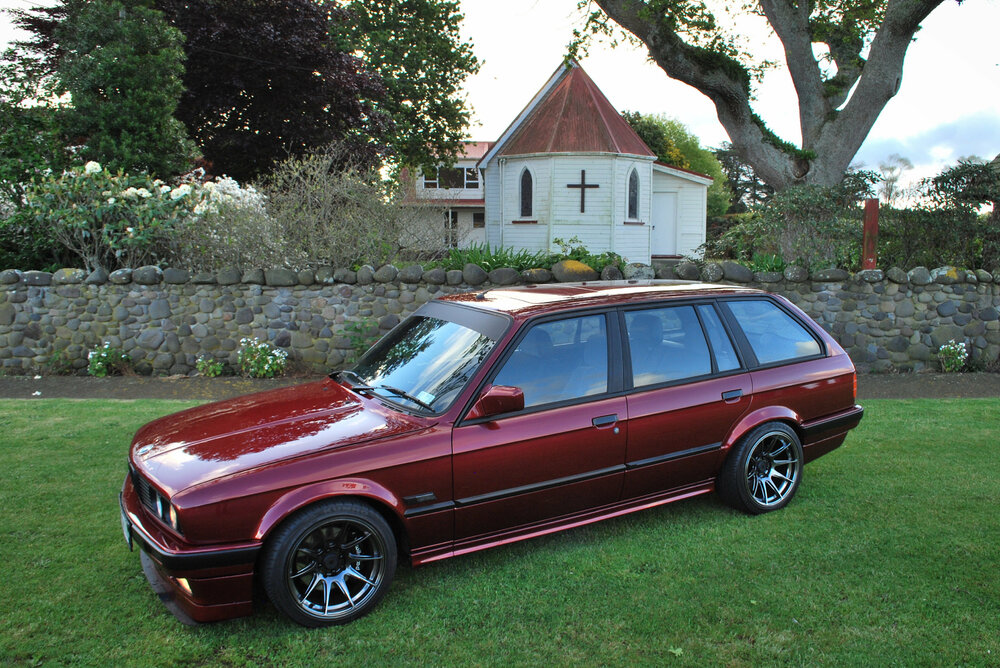
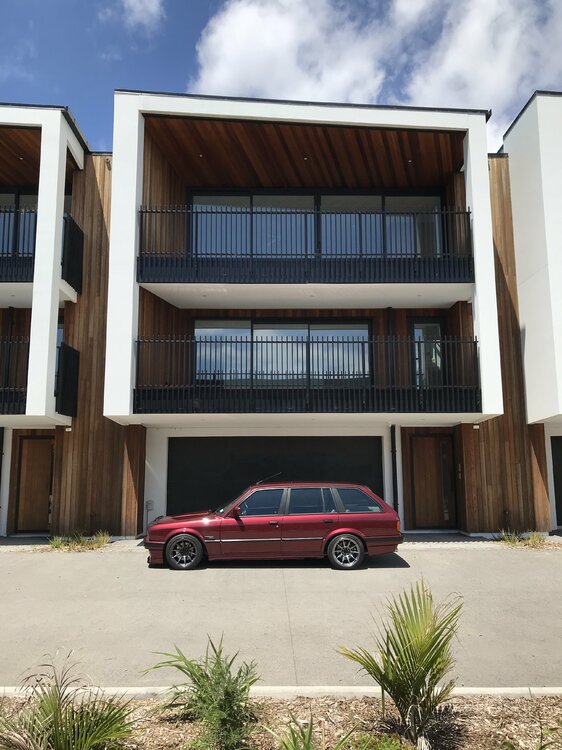
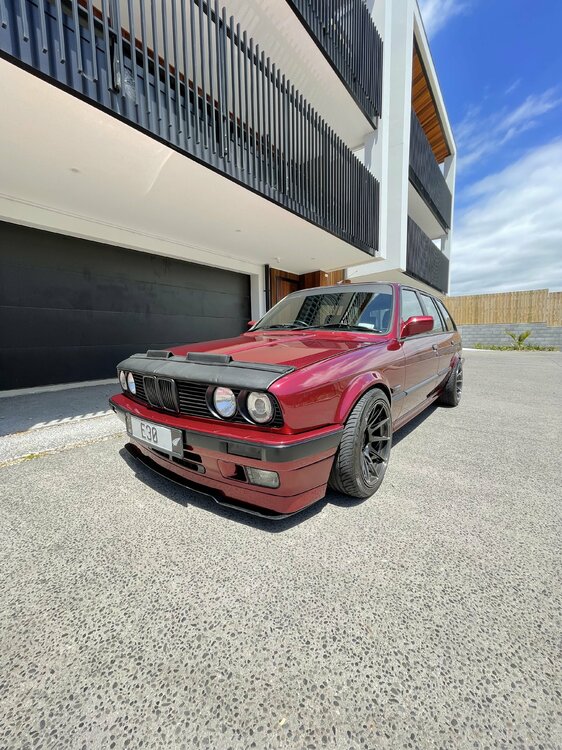
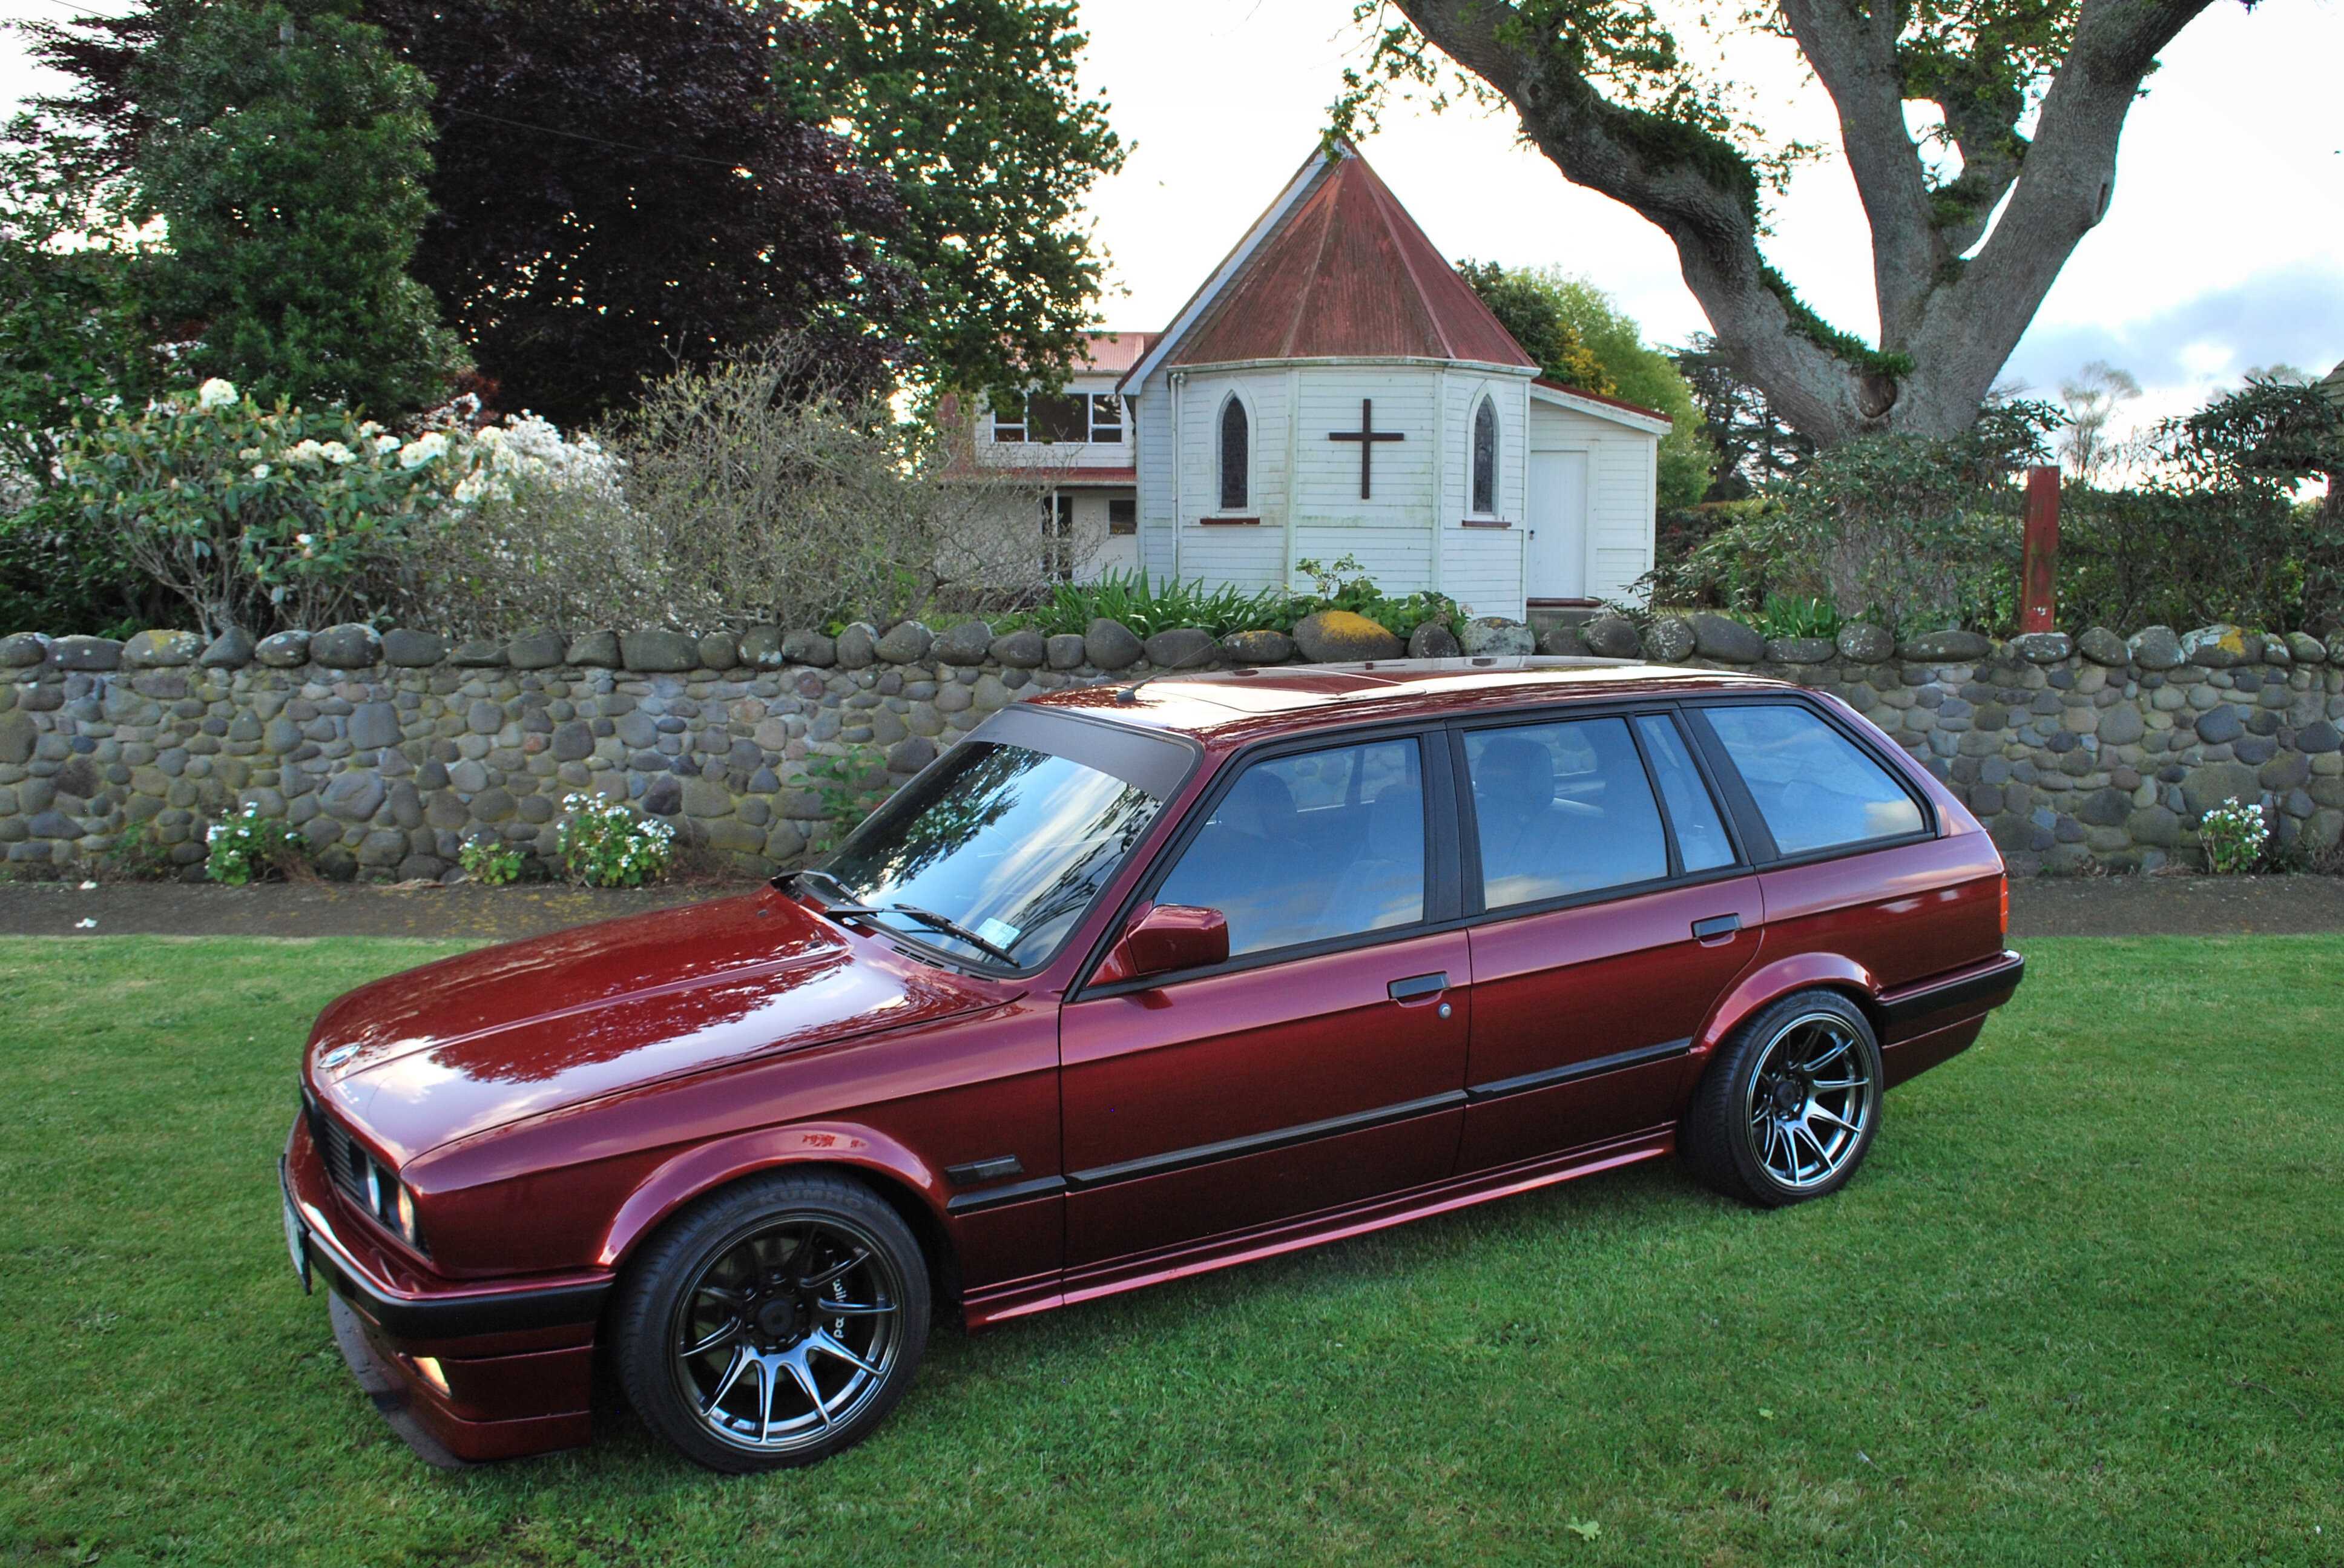
Nice little evening cruise last Friday along the rural countryside. Need to get it out and enjoy it more!
-
3
-
-
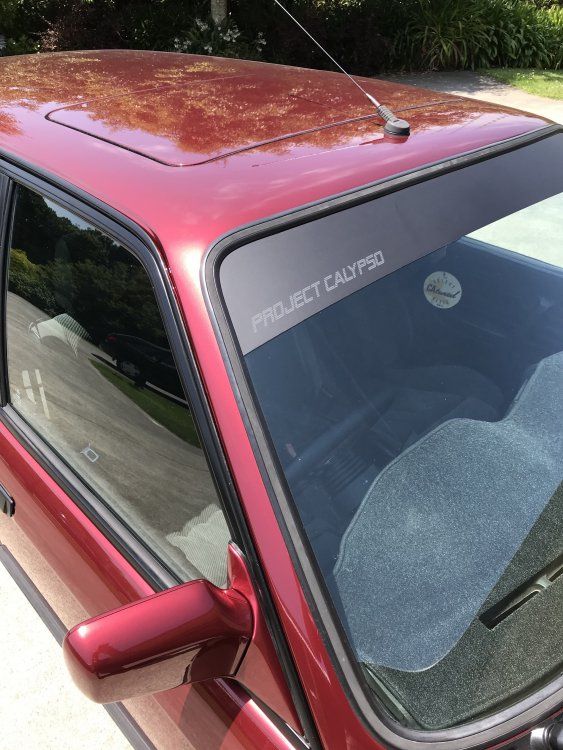
@project_calypso
Hopefully will be updated more regularly over summer and beyond!
Full build stories are located there also.
-
1
-
-
Awesome, can't wait to see the progress! Such a badass combination!
-
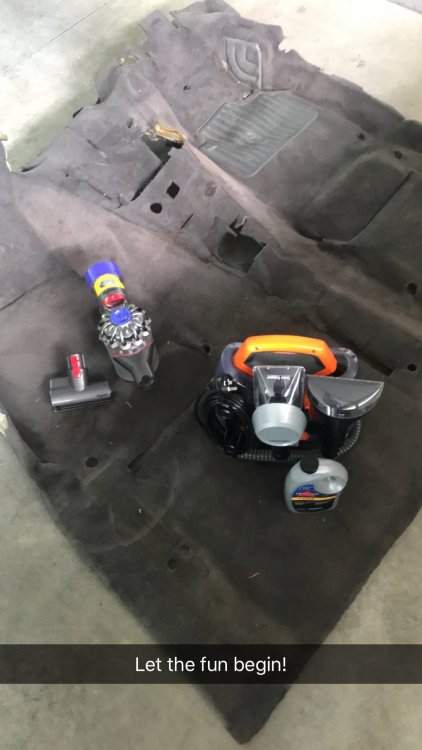
Karcher K3 and PA Italy snow foam lance from UCC does the trick for me. Like you, i wanted one for years and finally got one about 3 months ago. Best investment ever.
-
Have you tried getting in contact with Le Mans Auto Fabrics in Wellington? Thats where i sourced my 2 types of e30 fabric from.
-
1
-
-
On 8/12/2020 at 2:38 AM, 09asm said:Car is looking mint!!
I have that same relocation kit but my e30 booster waaay too big for under there!! Hunting around for a more compact version. You didn't have a photo of the model sticker they have on it by chance?
Thanks!
No sorry, the kit didn't come with any stickers on the booster, it was just stated as a reconditioned miniature one, all freshly painted black.
-
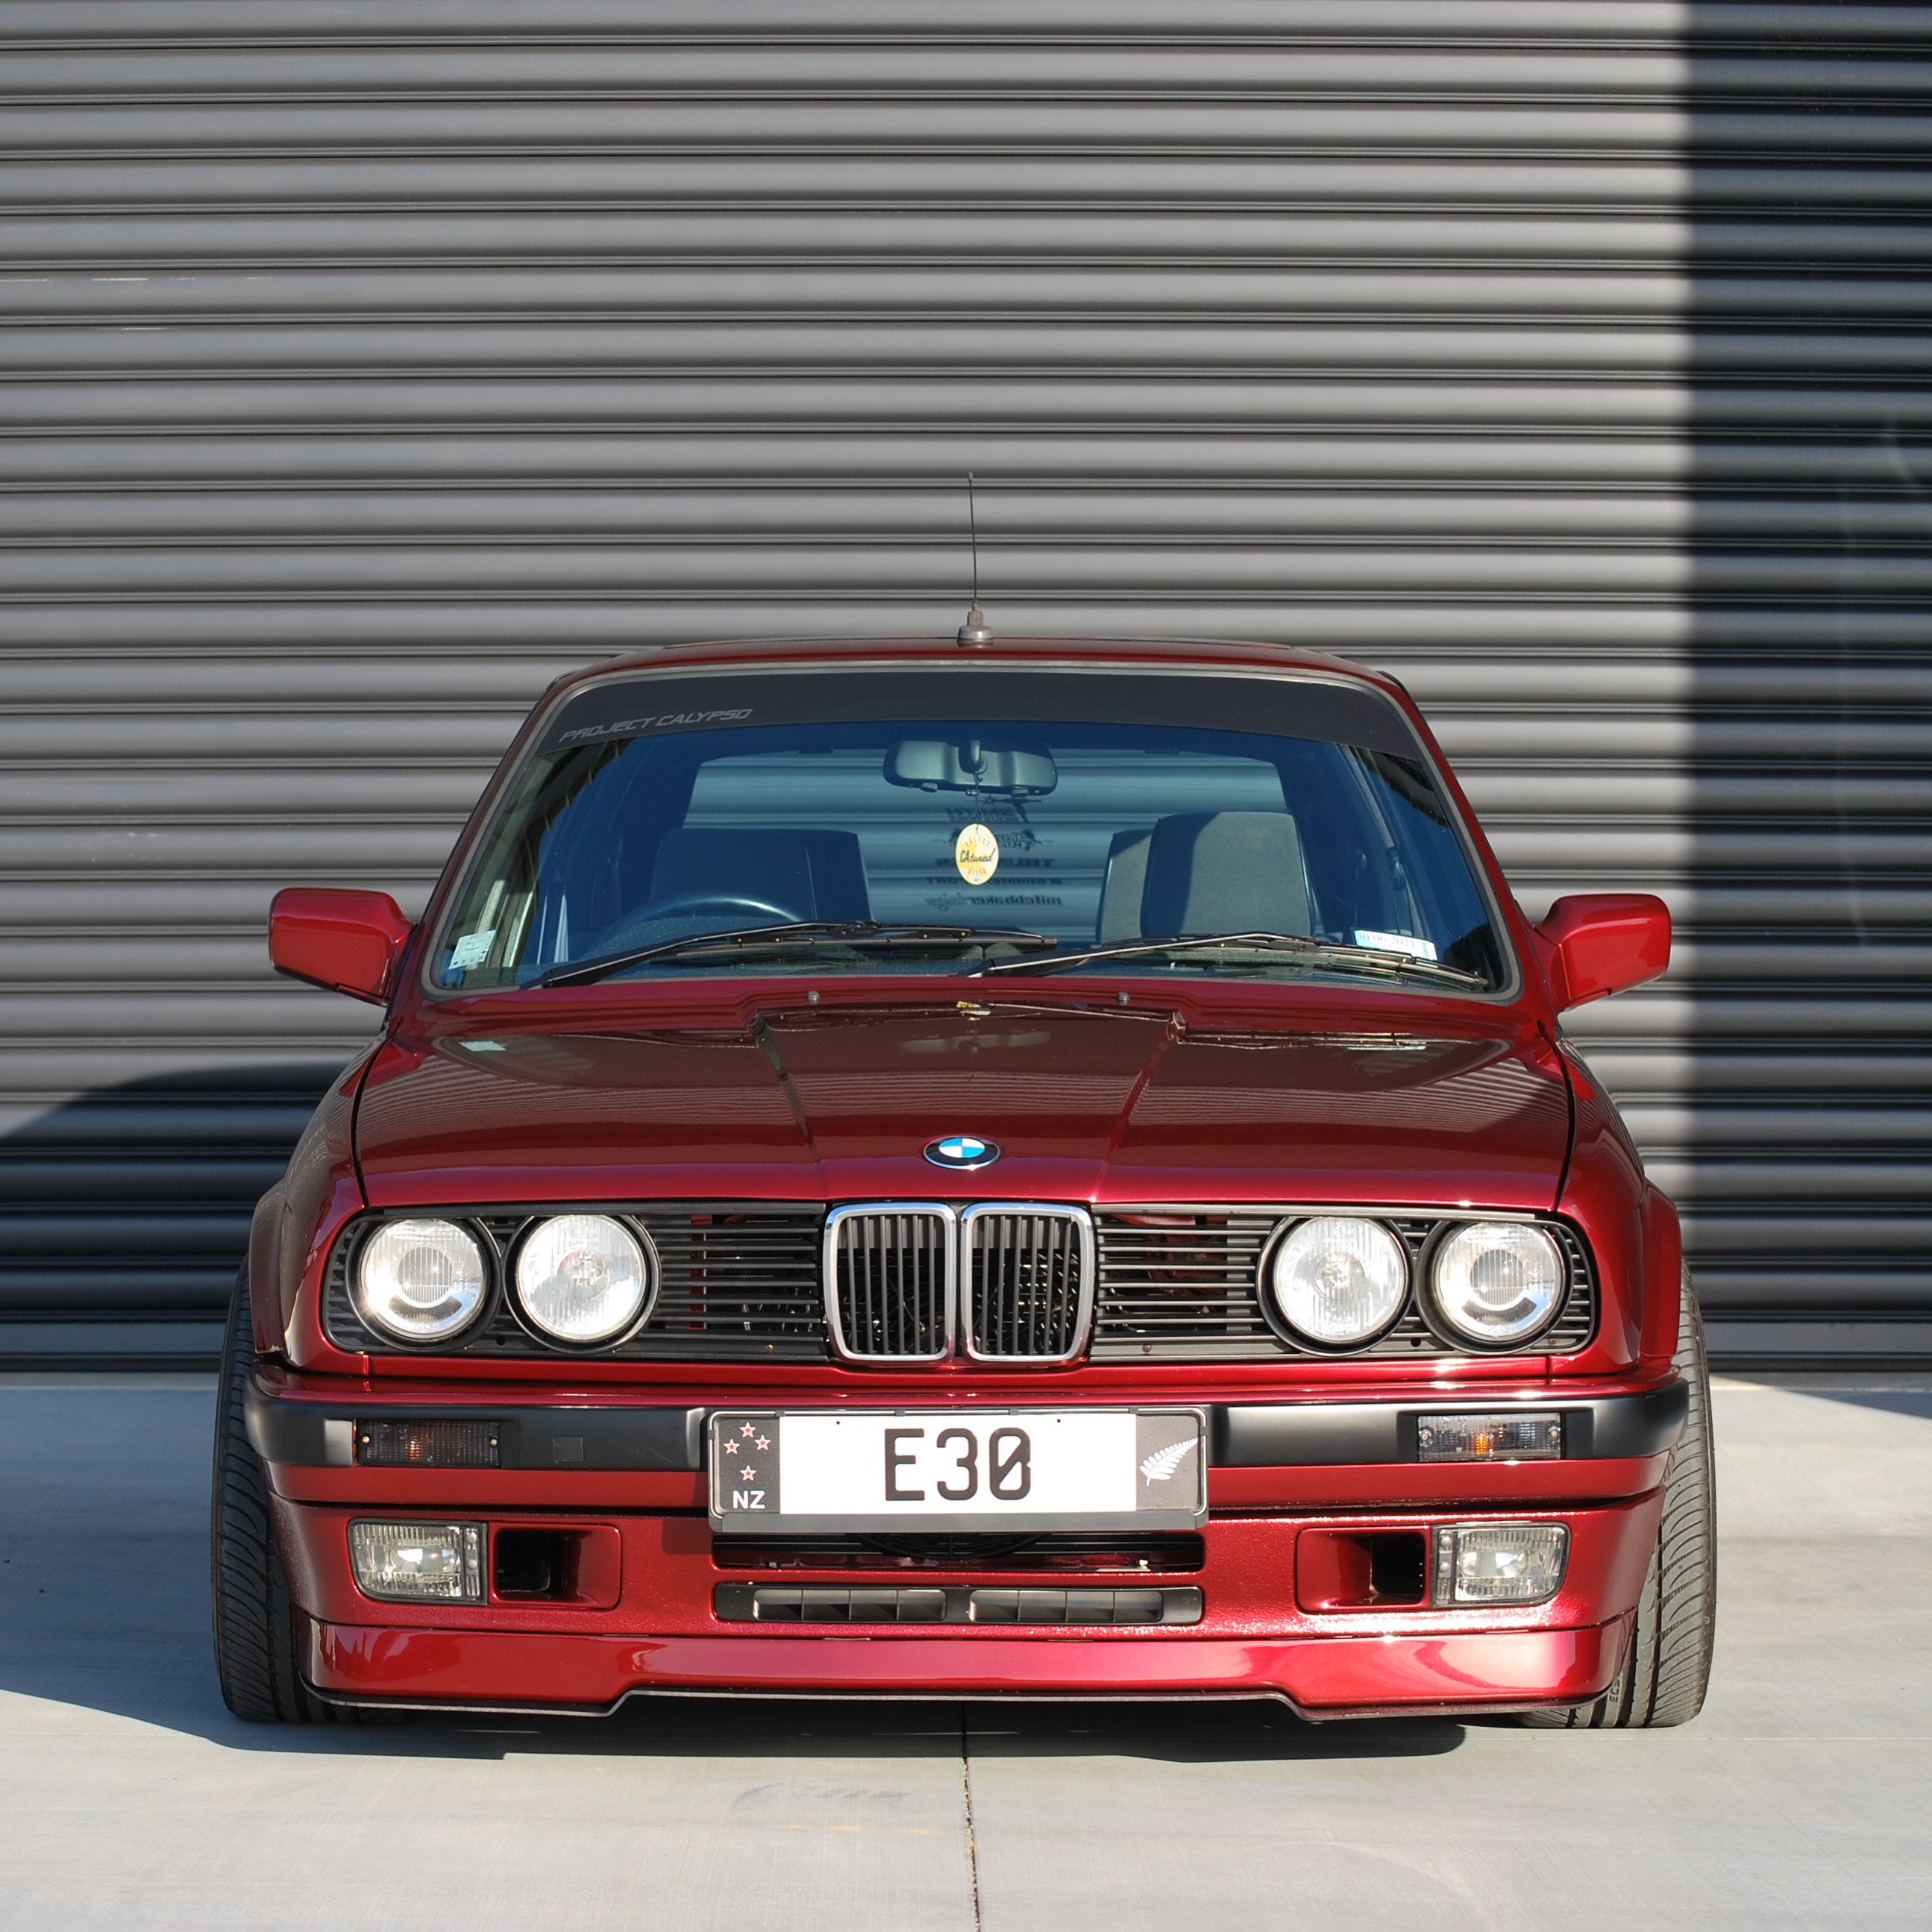
A couple of weekends ago I finally got to take the car out for a proper Sunday drive!


-
5
-
-
On 7/28/2020 at 5:11 PM, 09asm said:What booster is that?? So compact!
Not sure sorry mate, it came with the kit from Ergen.
-
Sick! Such a good feeling. Nice work.
-
Thanks for the photo! Haven’t seen that before!
-
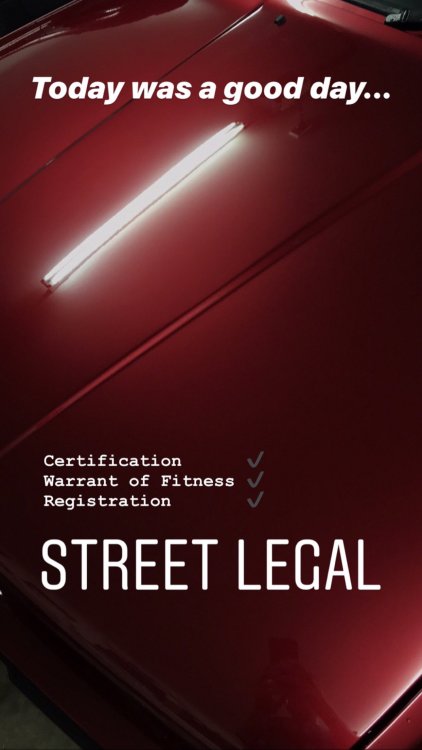
Friday 5th June 2020
Time after purchase date:6 years, 1 month, 3 days.
73 months, 3 days.
318 weeks.
2226 days...
FINALLY
-
4
-
-
Iv got 2 Borla mufflers in my V8 system with the cross overs inside of them. Love it.
-
1
-
-
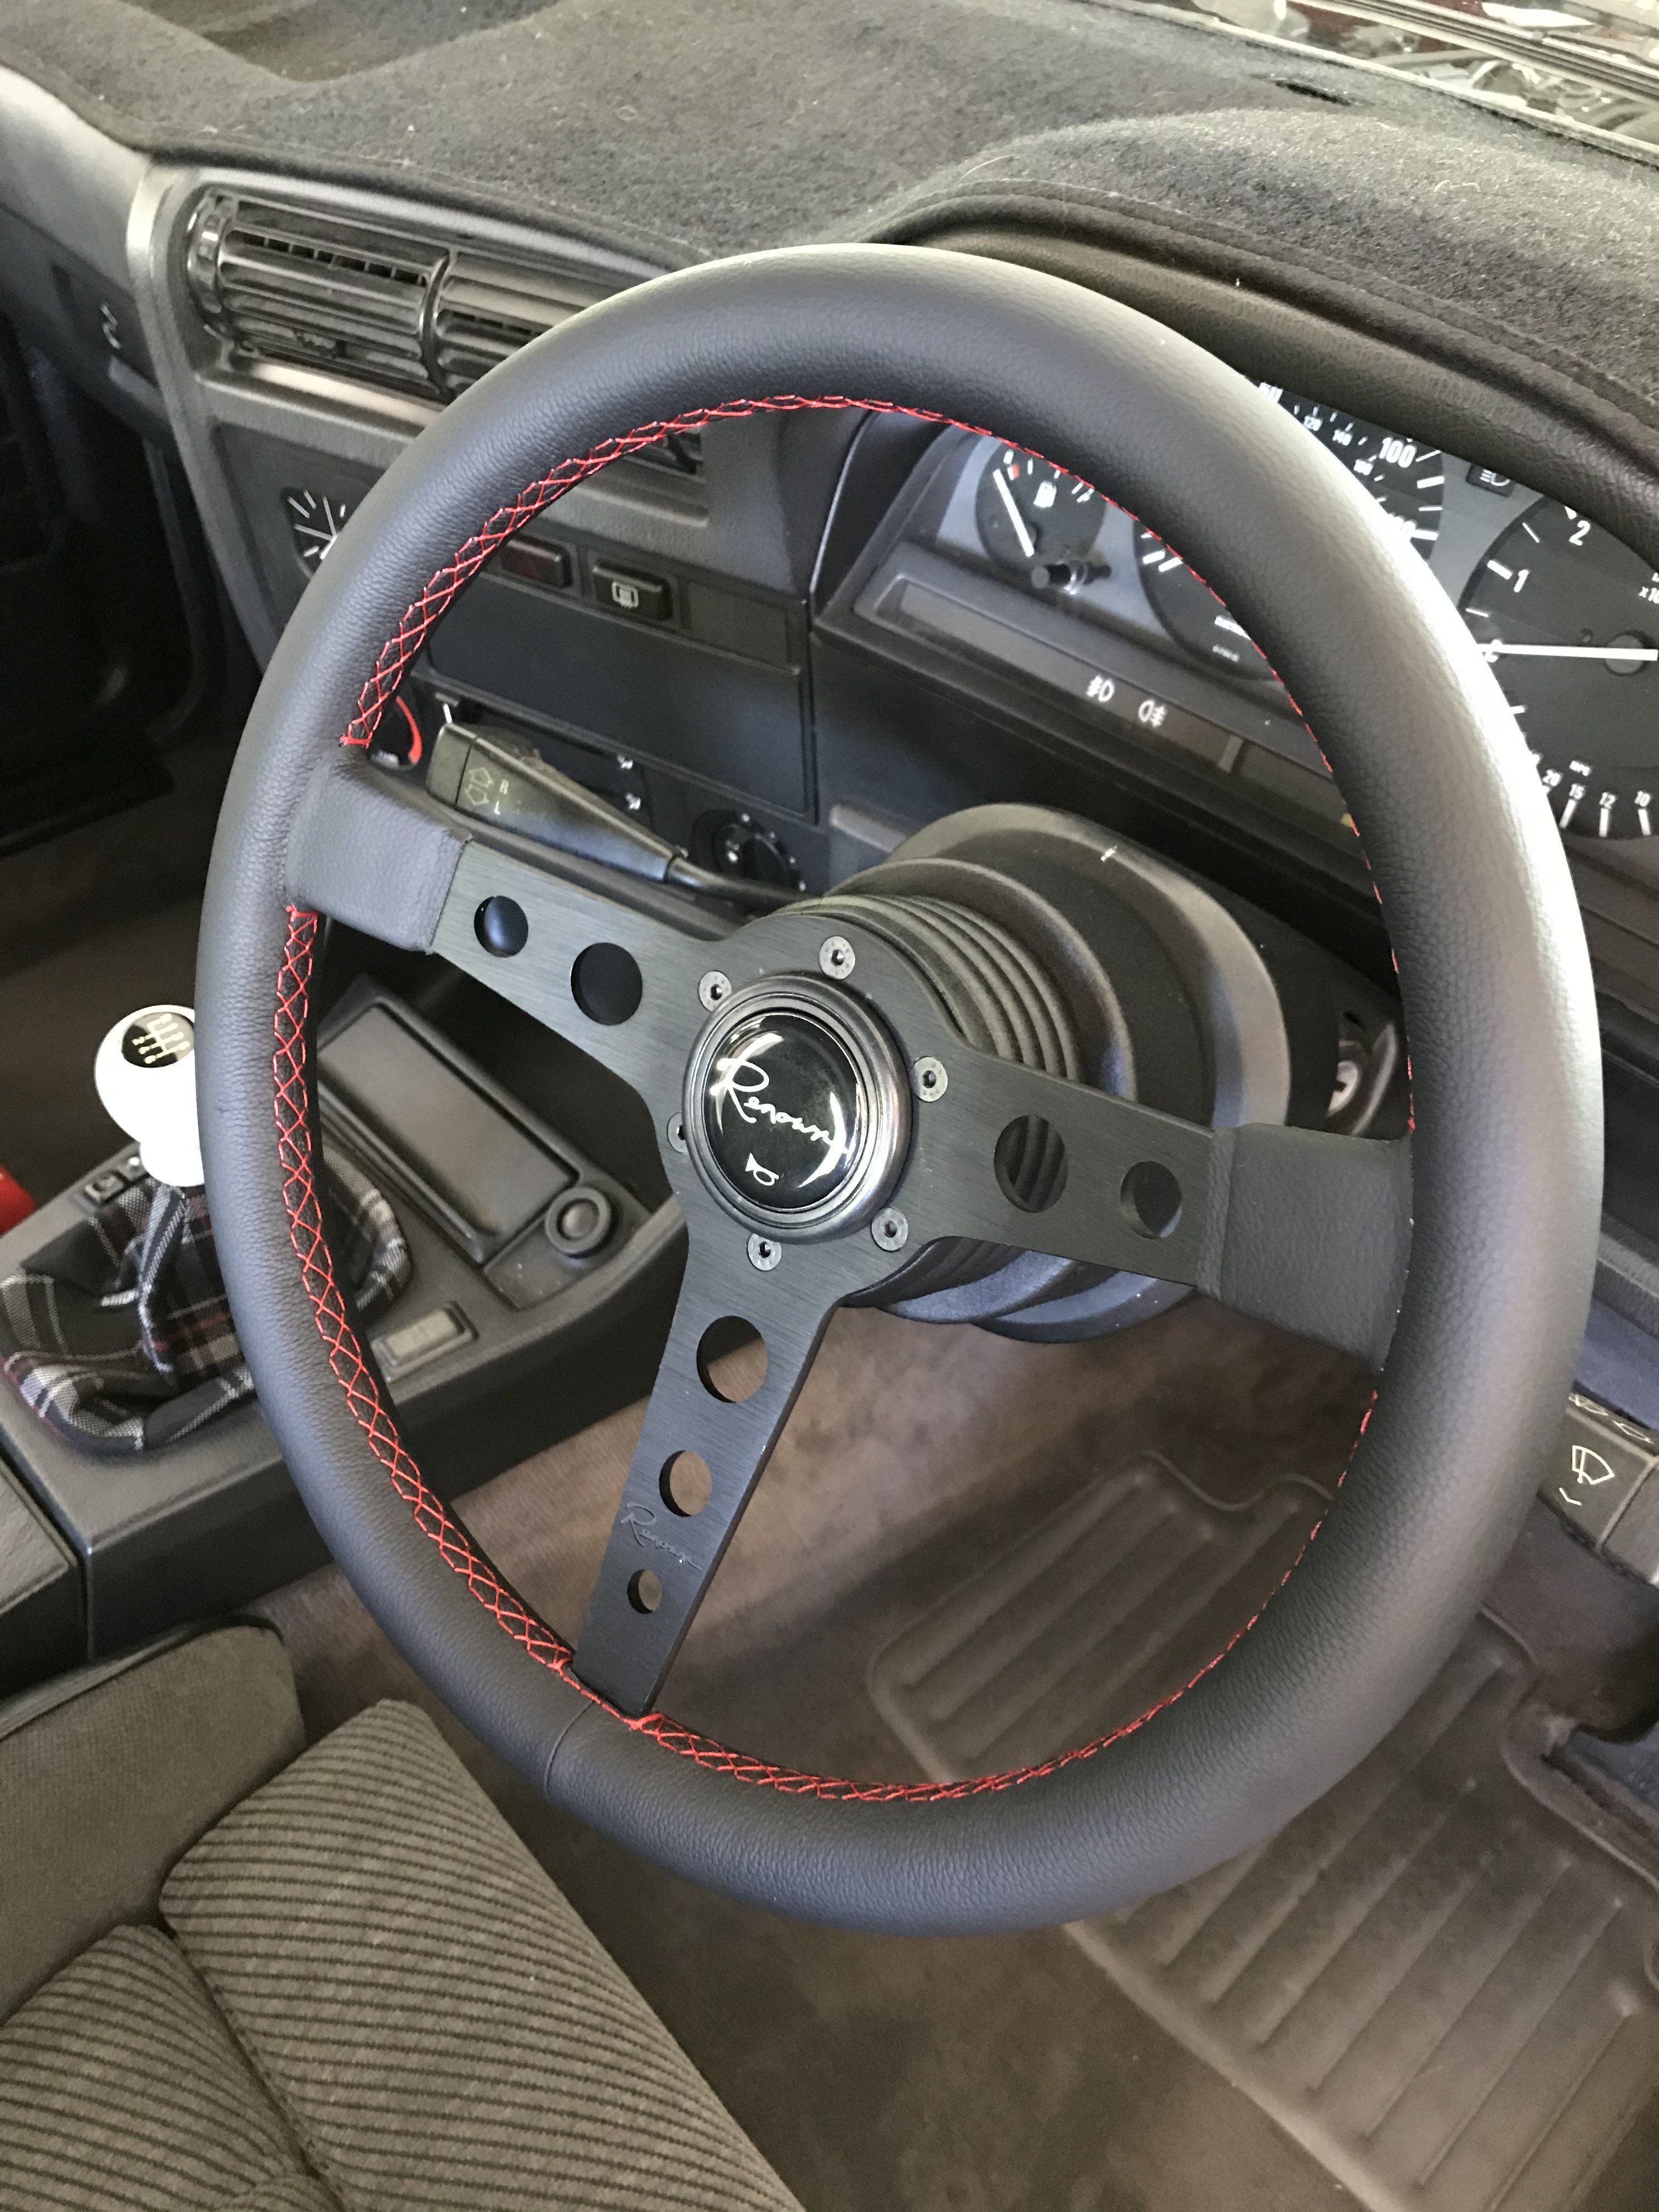
To finish the interior off I finally got my new wheel from Renown in the USA. The 350mm Renown Monaco in genuine black leather with the subtle addition of red stitching to tie it all together. Super happy with the overall look of the interior now.

-
2
-
-
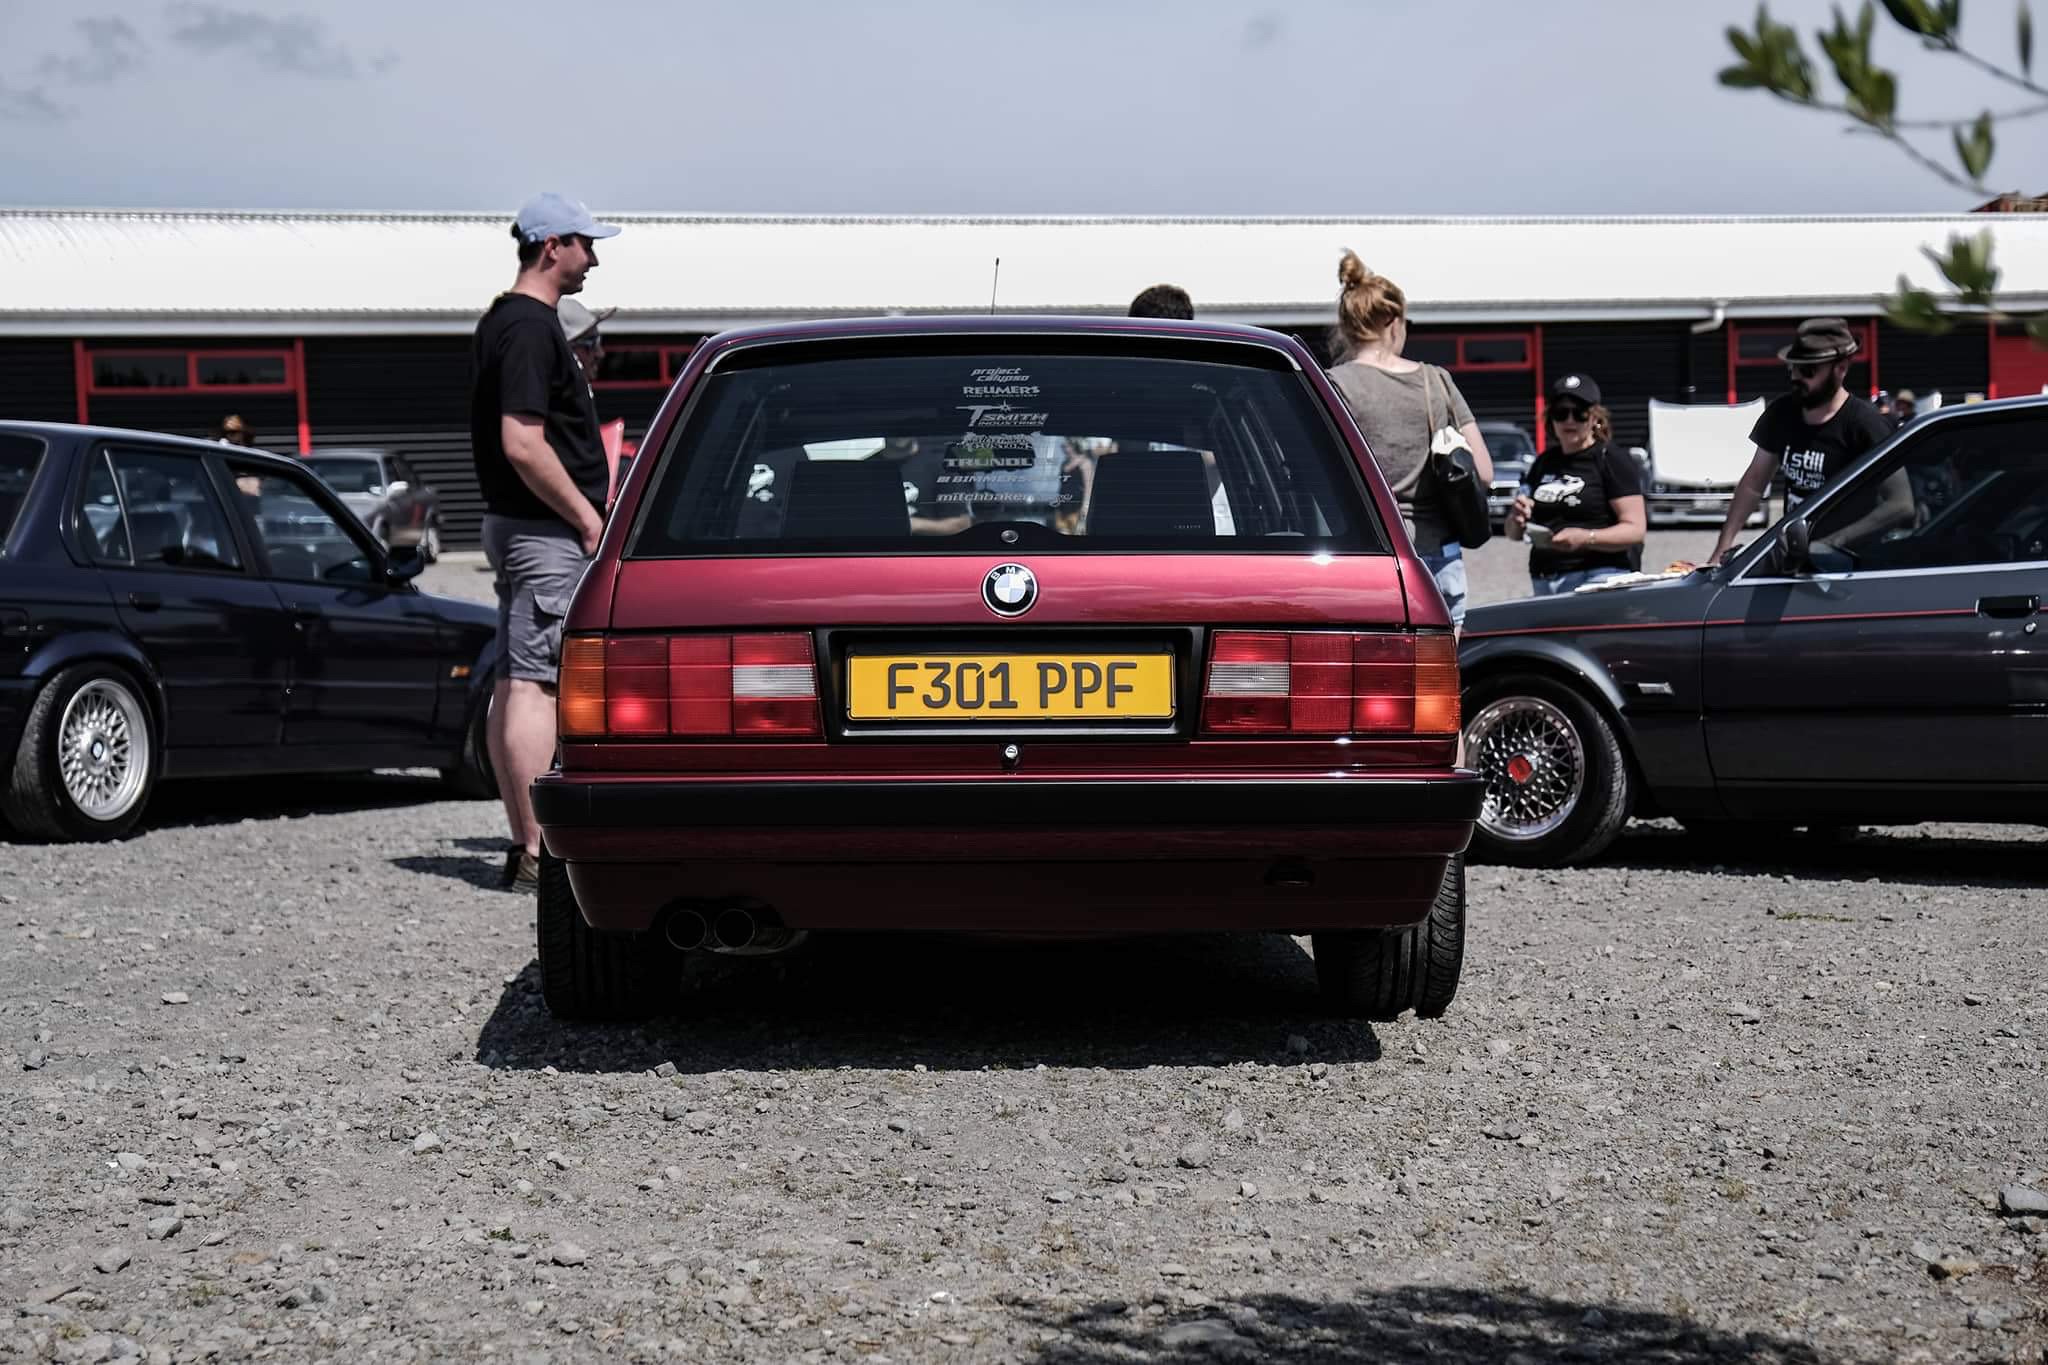
While the wait for the cert plate was between 4-8 weeks, i would be cutting it fine to reach my goal of the mega meet. This wouldn’t stop me from revealing it for the first time. Taking out most modified at the 2019 New Zealand E30 Mega Meet.
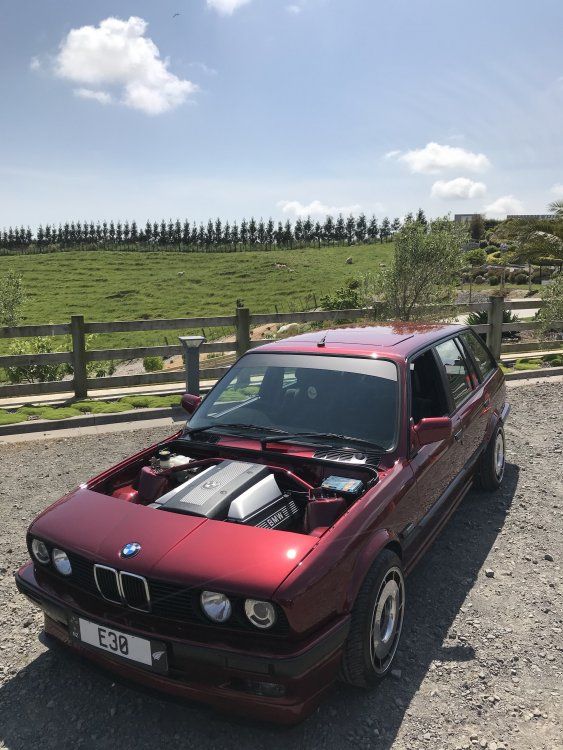

 Photo credit: Hugo Greenwood
 Photo credit: Hugo Greenwood
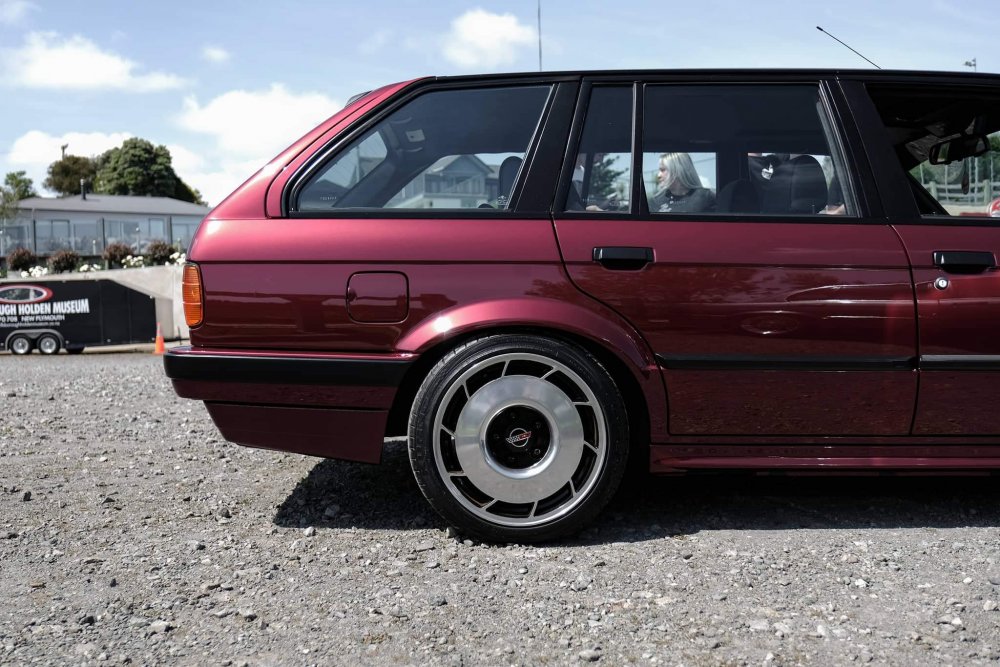 Photo credit: Hugo Greenwood
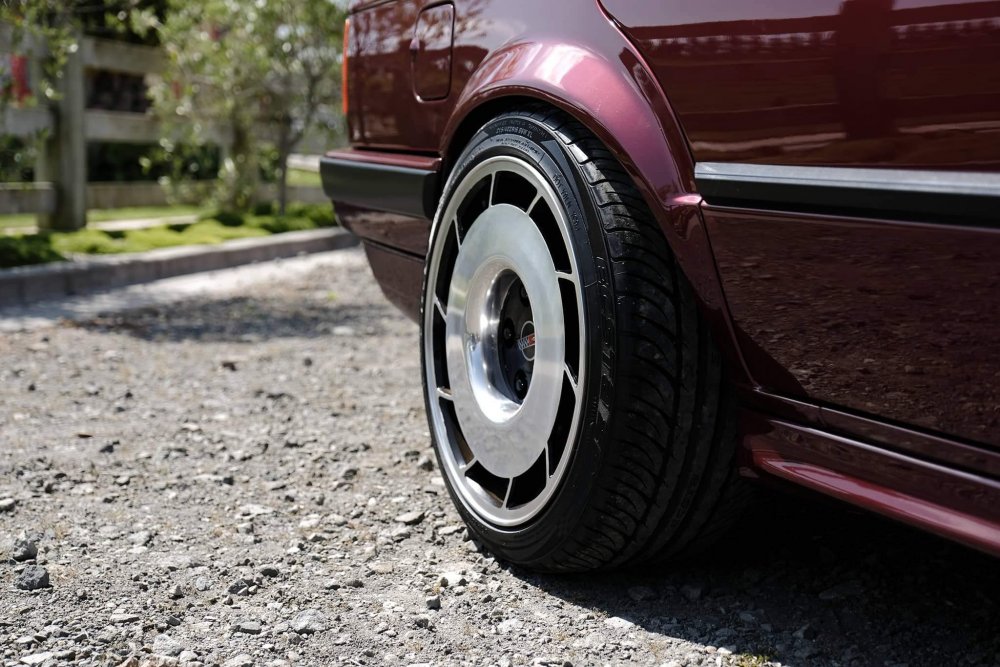 Photo credit: Hugo Greenwood
Massive thanks to those that have been involved or helped out in one way or another to get the car to this point.
Couple of small things to sort then i can finally enjoy it!
-
14
-
-
With the interior sorted it was time to really step it up with the end of the year fast approaching, so i decided to book in for a pre cert check and a date for certification was sorted! I had just over 4 weeks!
This time was spent getting the rest of the body panels and mouldings fitted and aligned nicely and getting it back down on the ground, something that hadn't happened for about 9 months! A short drive up the road and a quick rinse off and the car was ready for the pre cert check (which included a wof check and alignment).


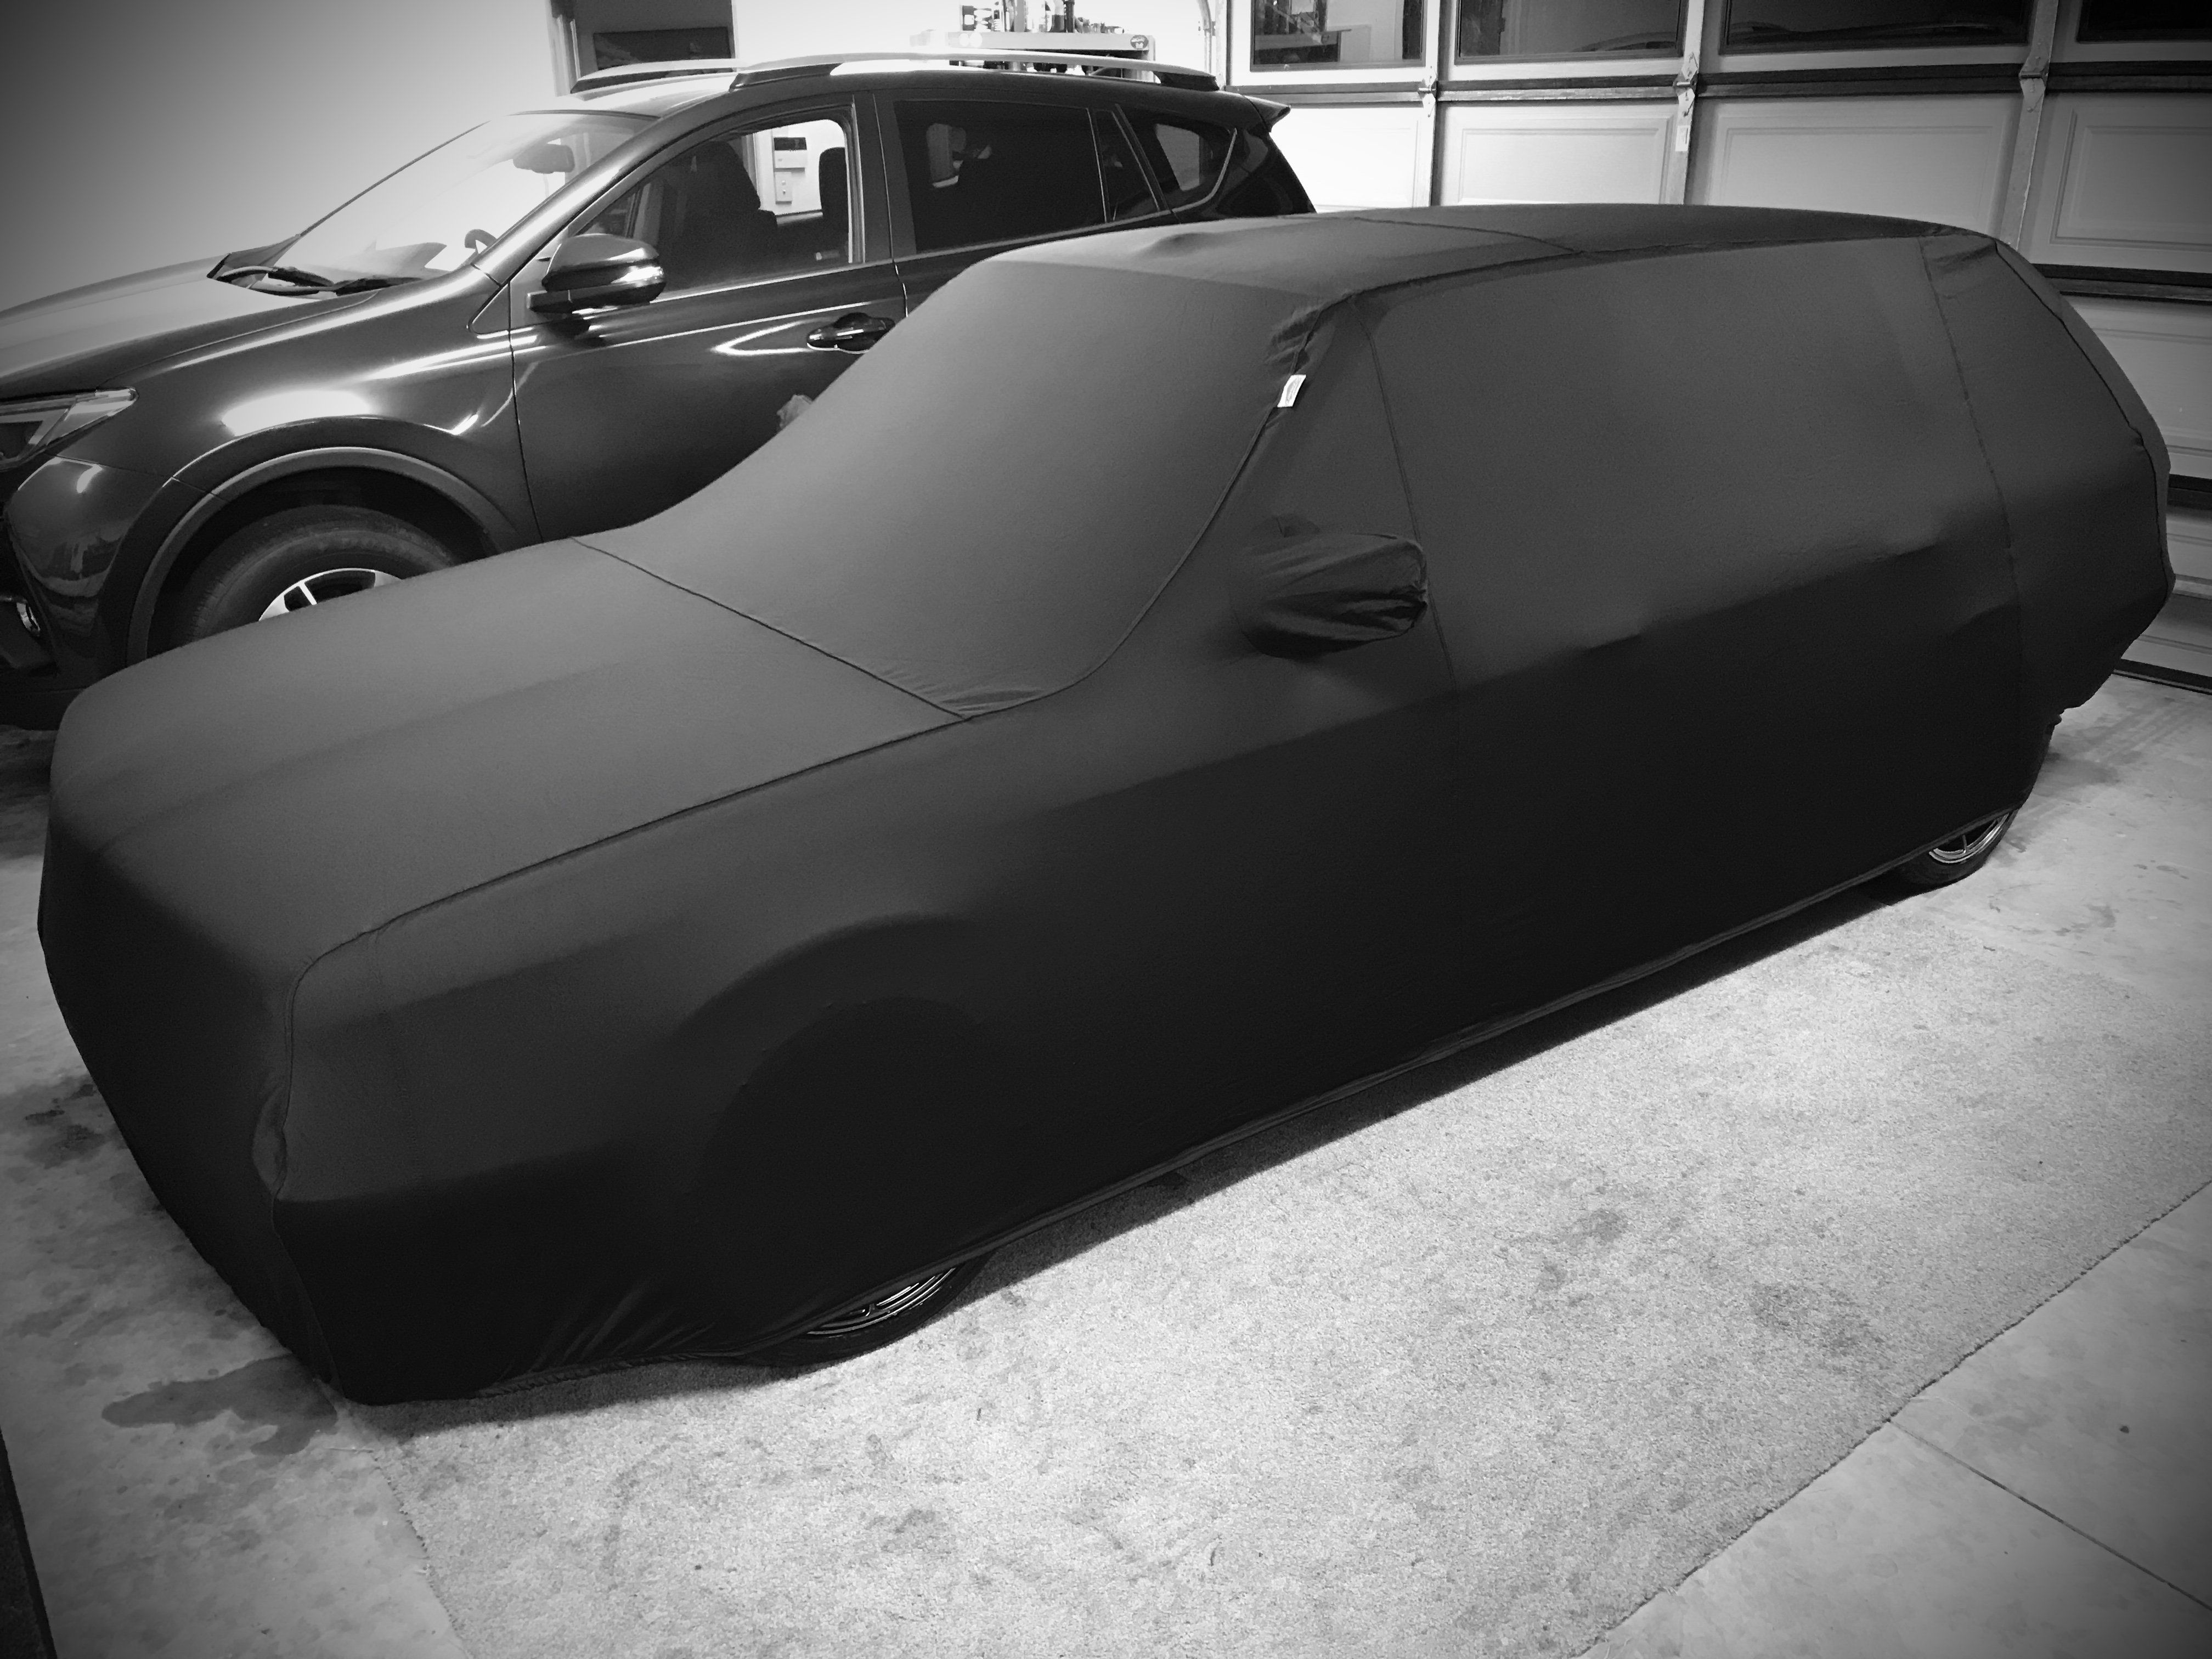
And finally time to get the new custom car cover on.

With a couple of things sorted from the pre check, the car was off for certification a week later.
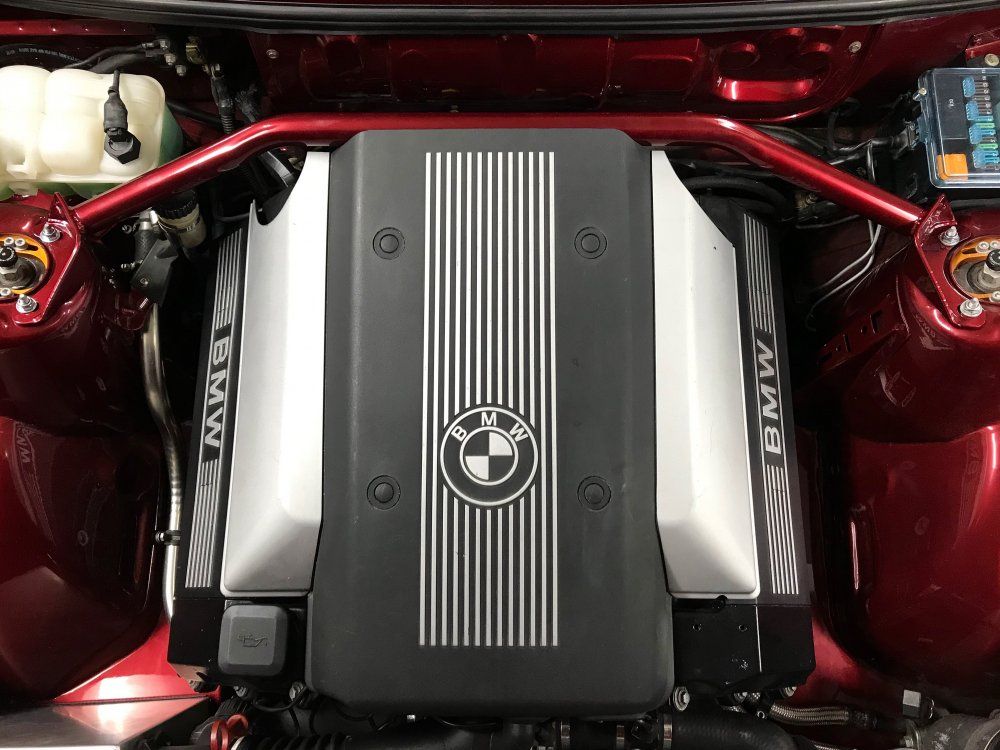
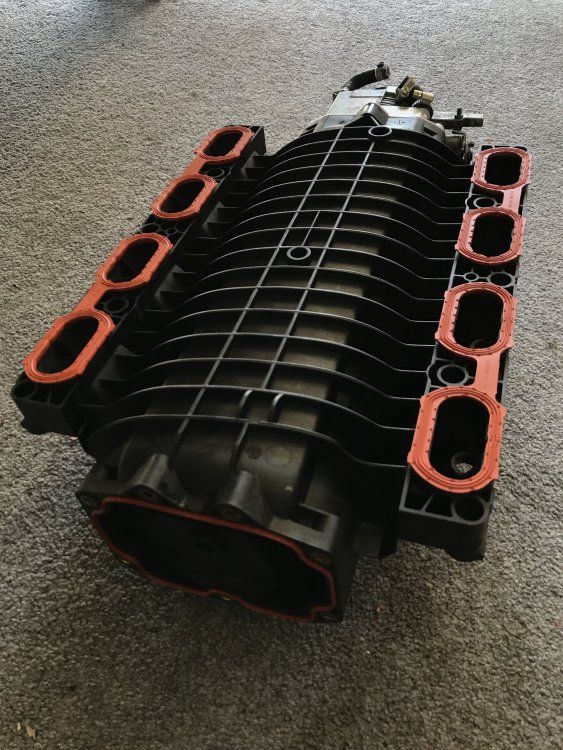
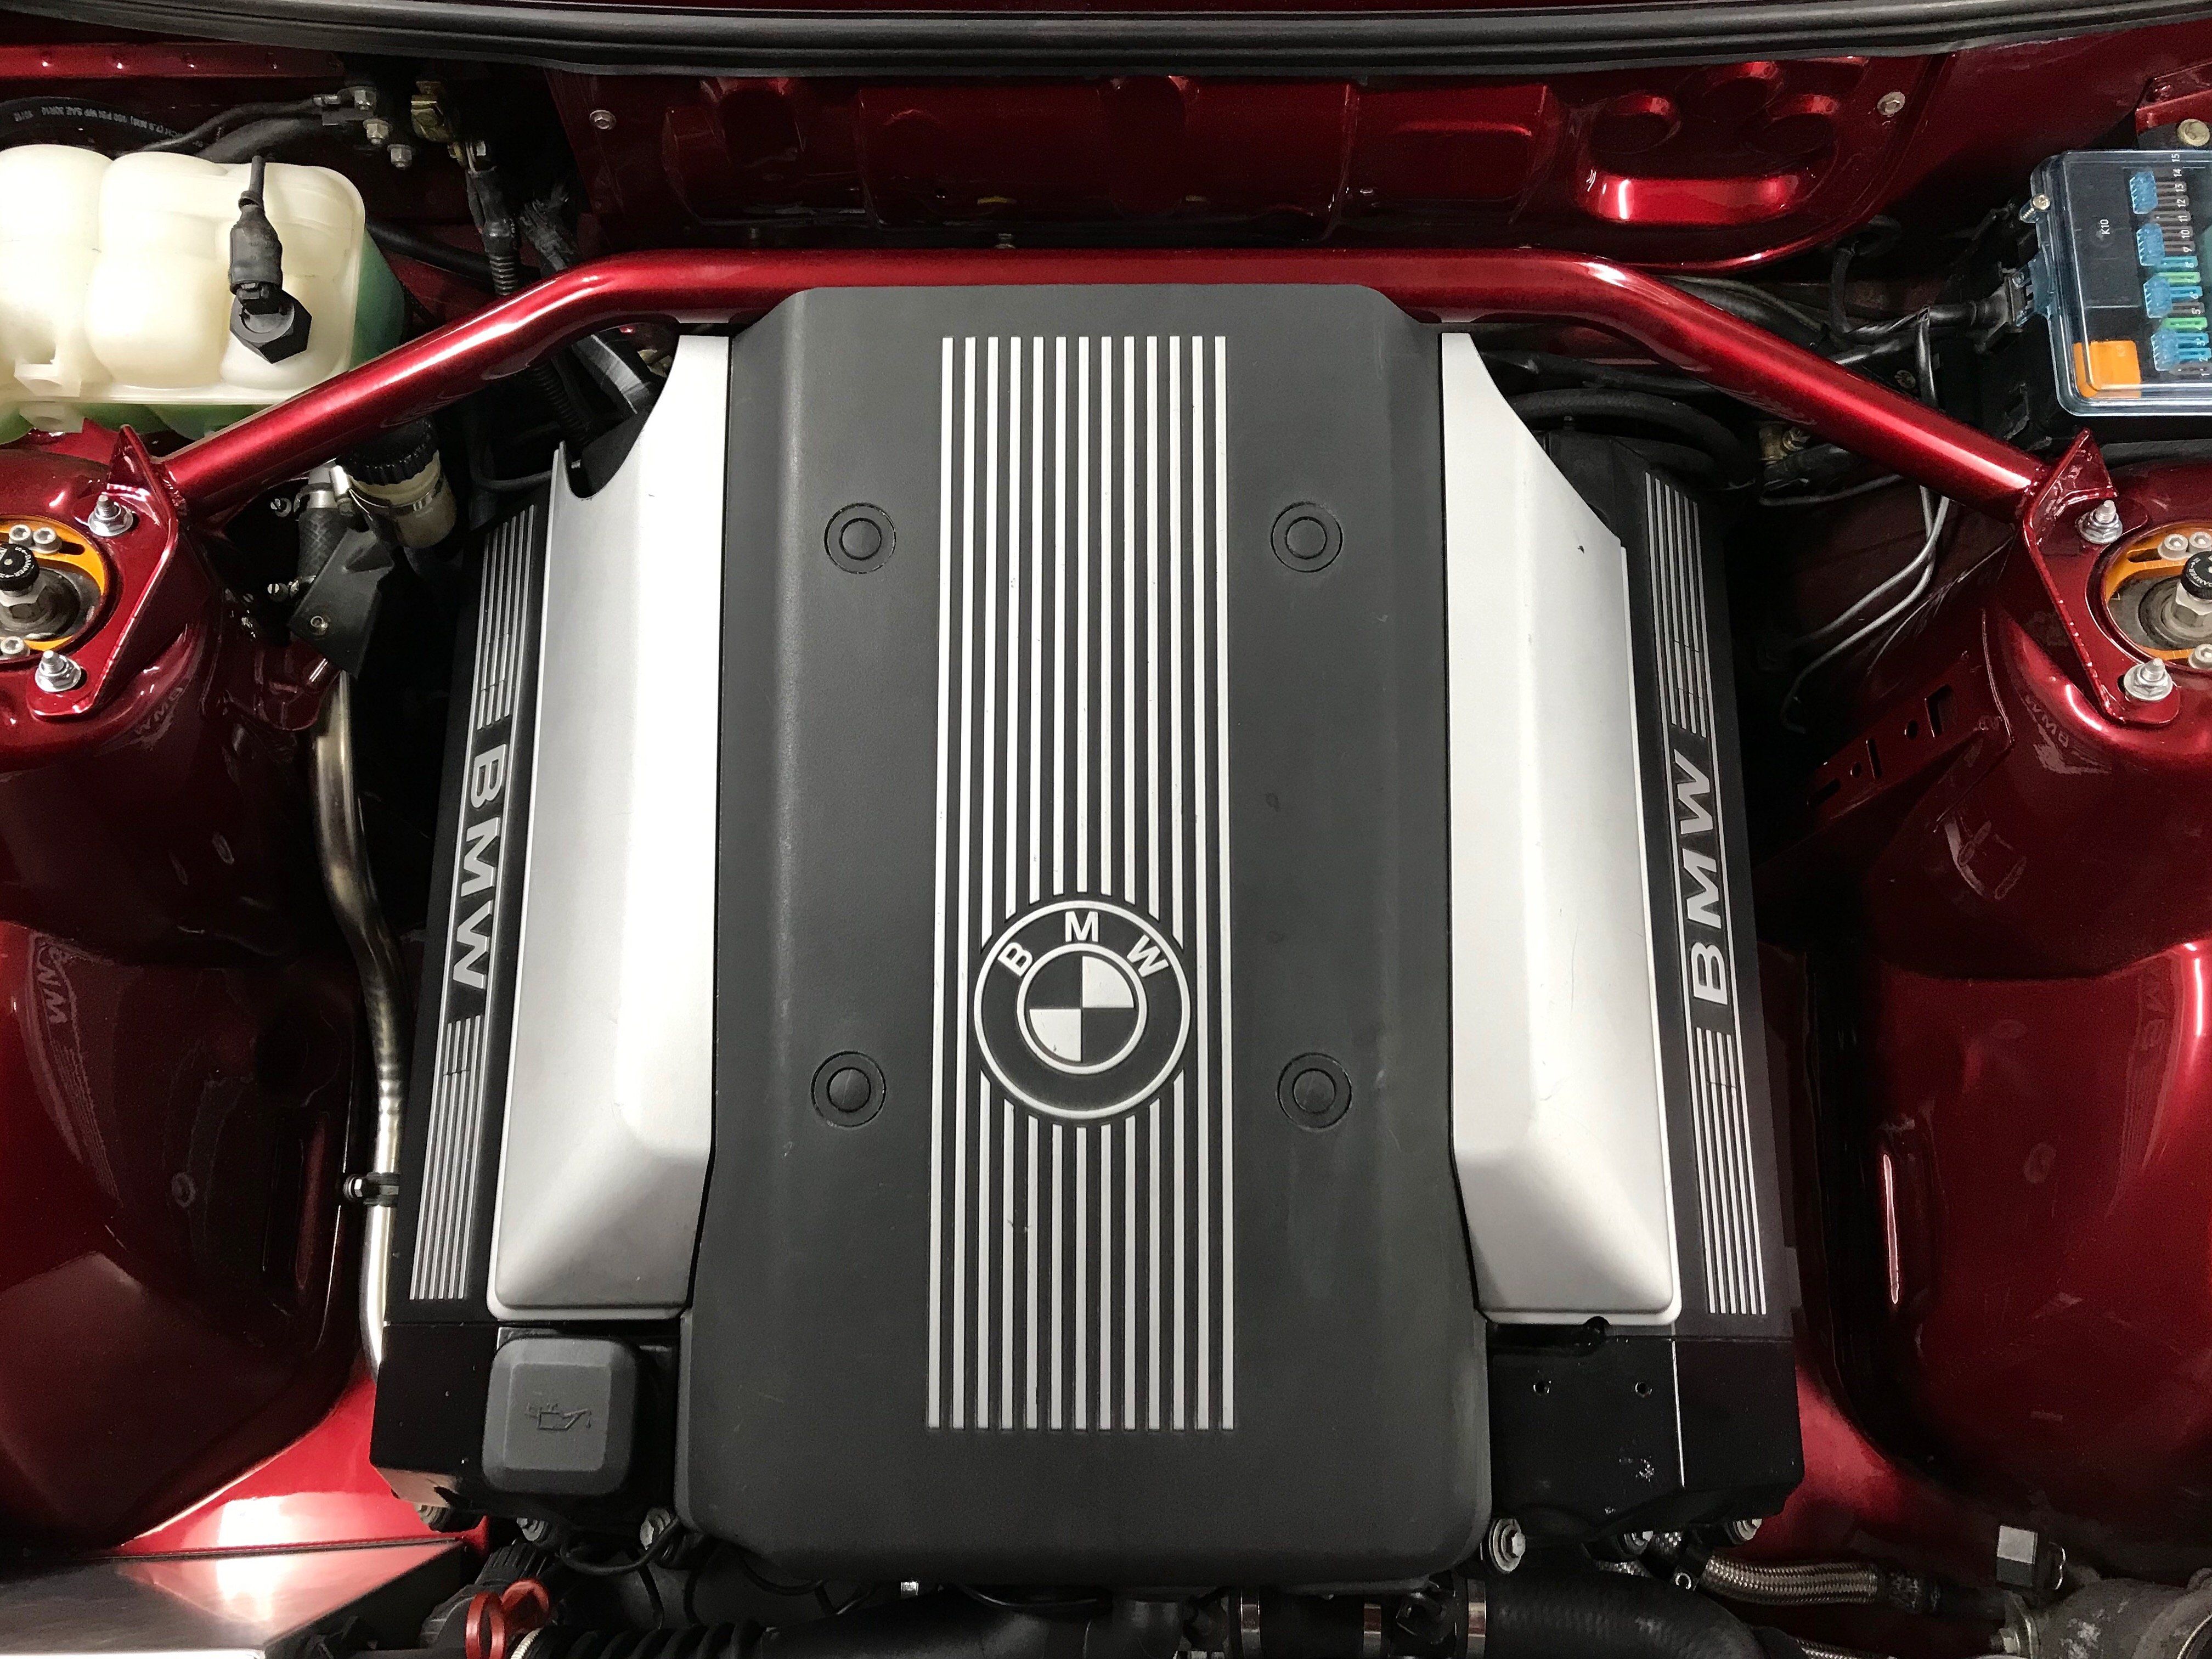
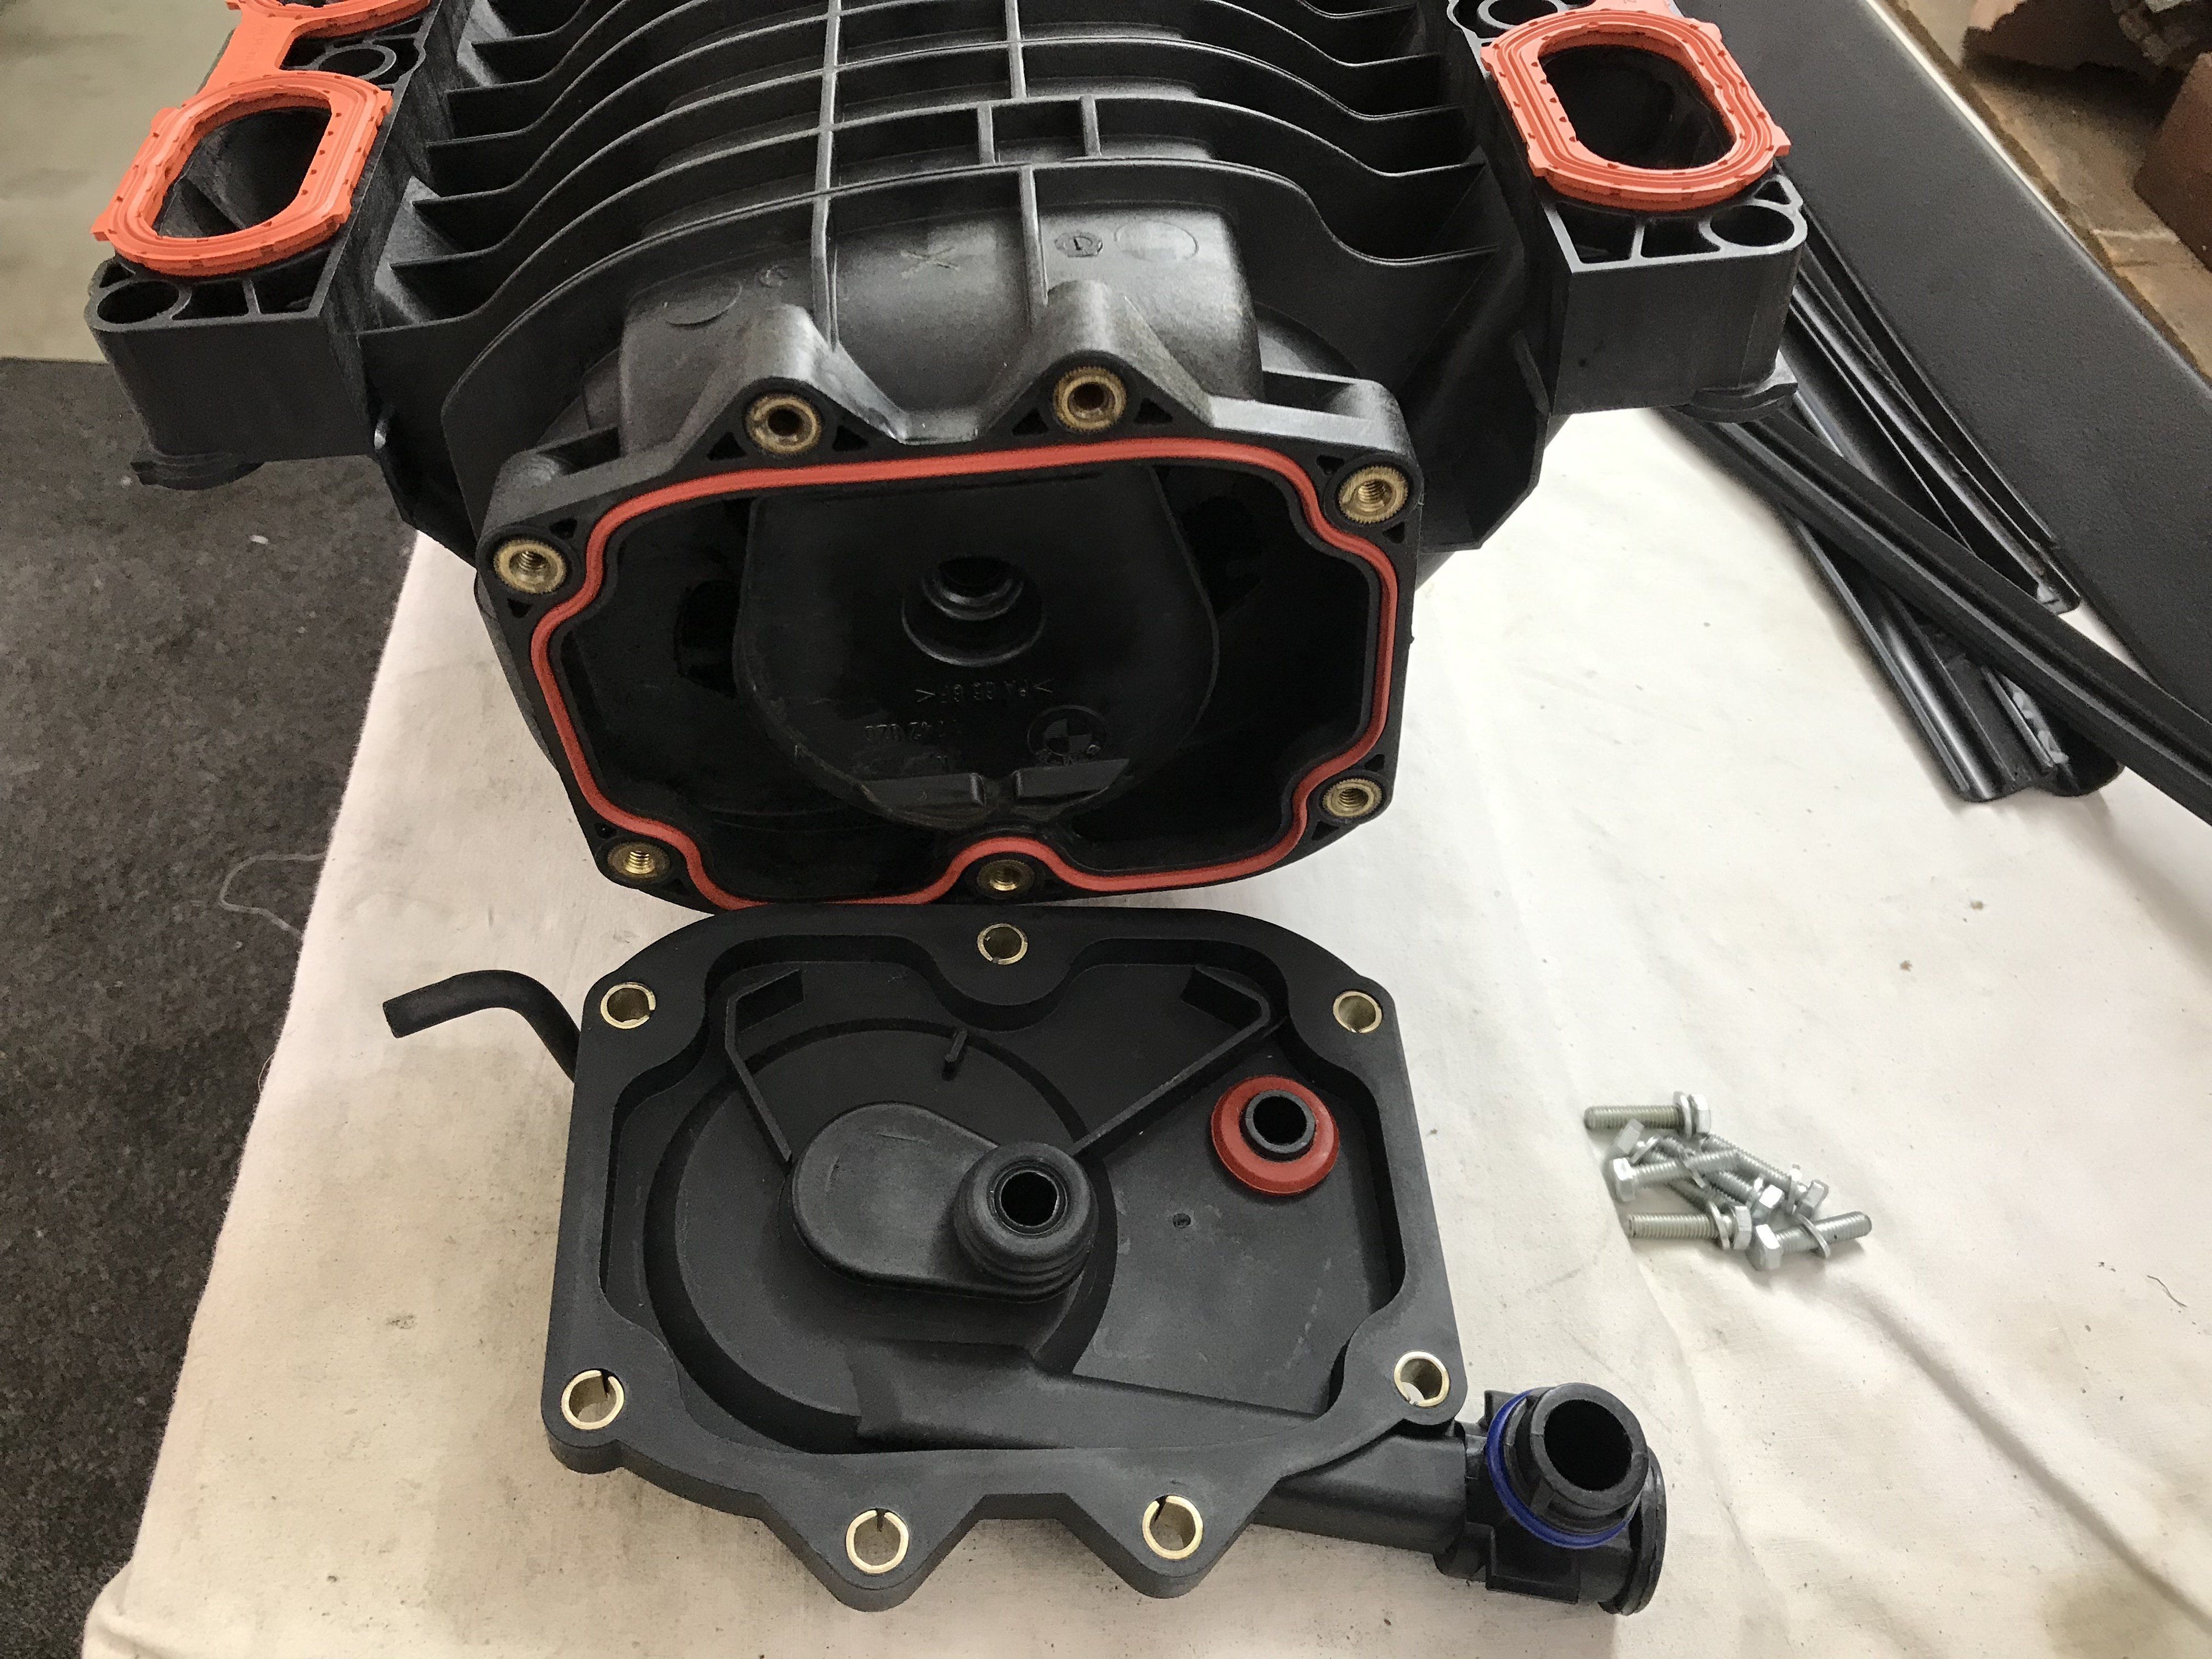
The list came back with about 20 things to rectify. At least i had a point to work with to get it over the line. Back onto the axel stands its lived on for most of the year, with the main issue being a vacuum leak causing a variety of issues that needed to be sorted. A new pcv valve and intake gaskets sorted this, and gave me the chance to clean the engine up a little more.


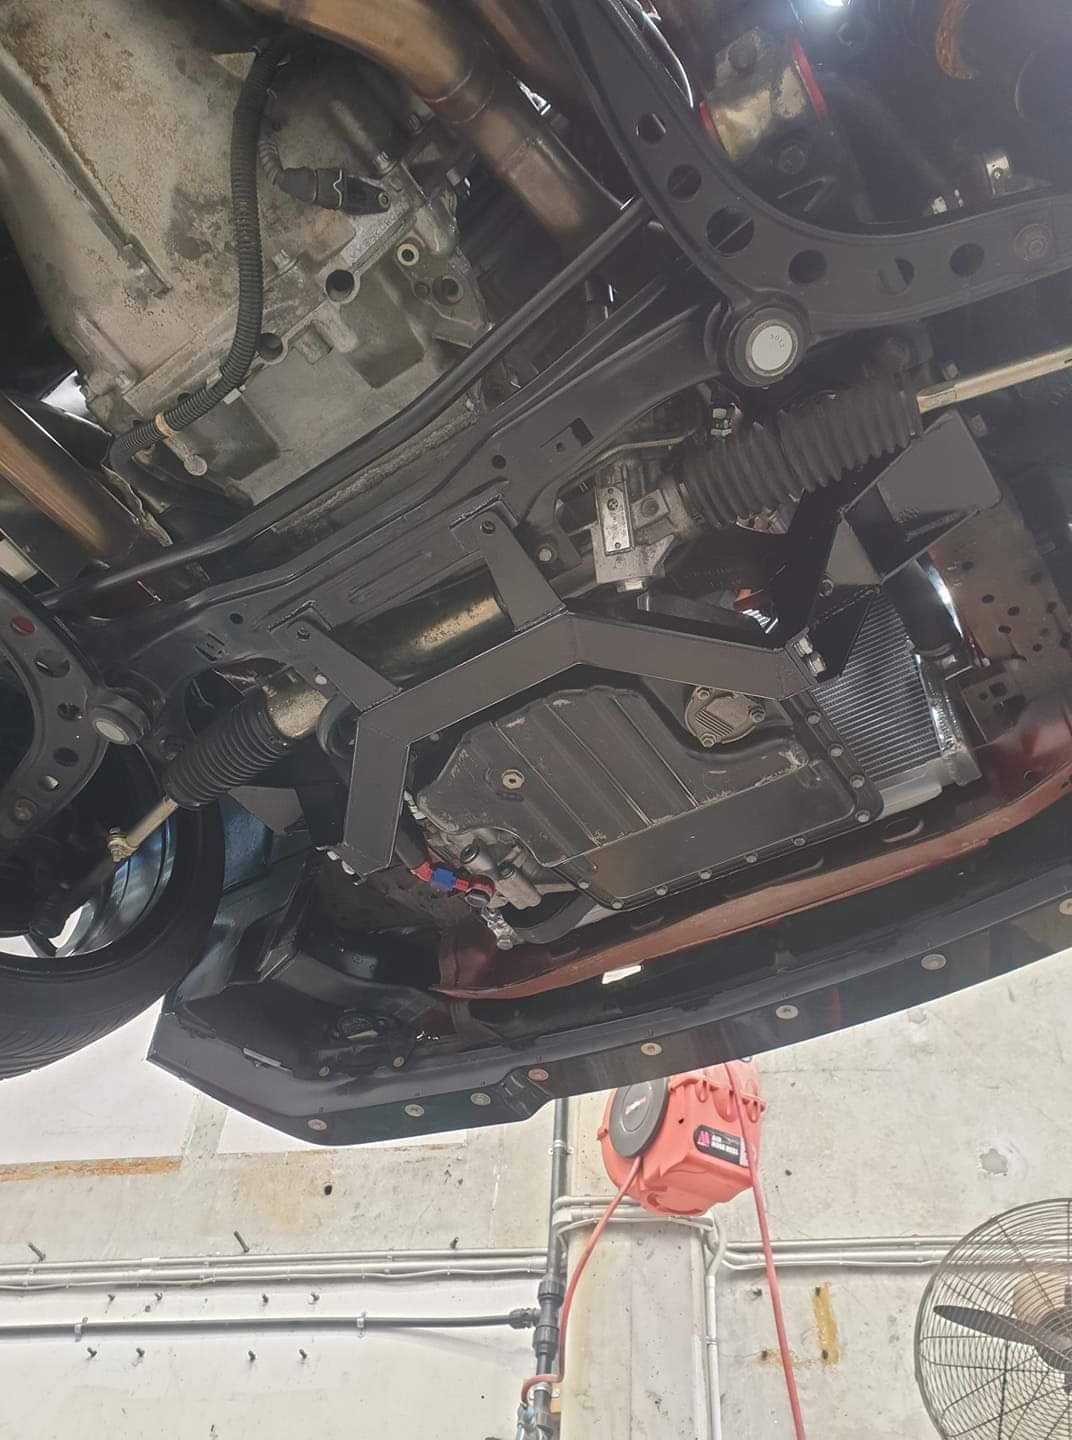
As my engine was mounted off the chassis rail the certifier wanted to see a cross brace between the 2 mounts, this work was carried out by local workshop Trundles Automotive, very happy with the results.

Back for the cert recheck and we're good to go!
-
4
-
-
http://hdr.co.nz check these guys out, the owner is a european specialist. I have never been there personally.
-
1
-
-
Nice e36 m3! Im a local also.
-
1
-
-
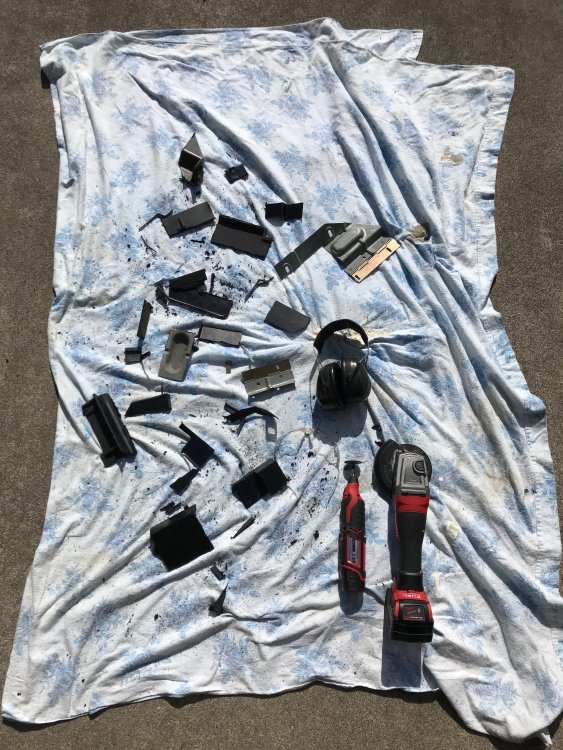
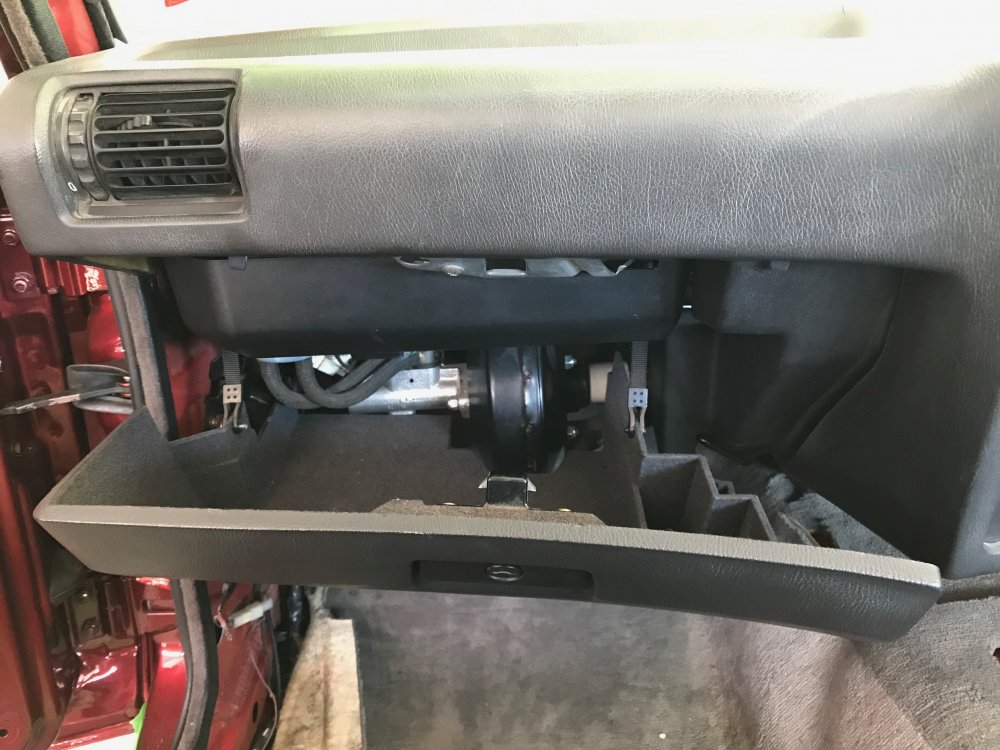
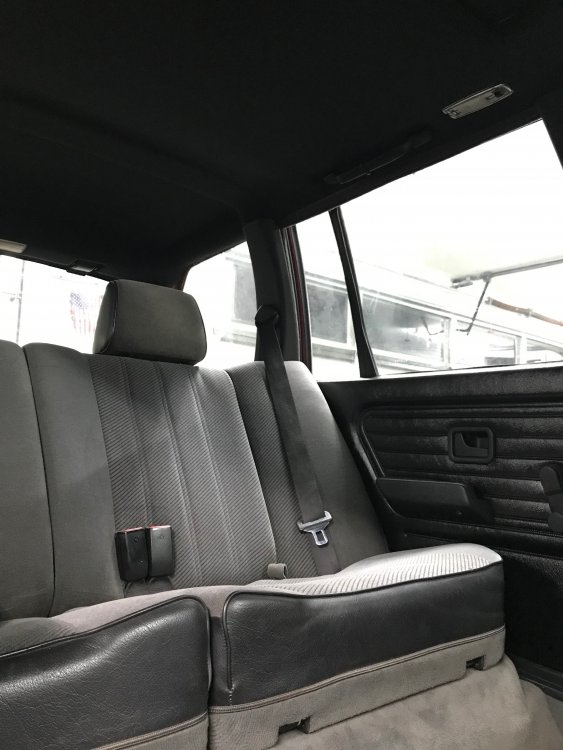
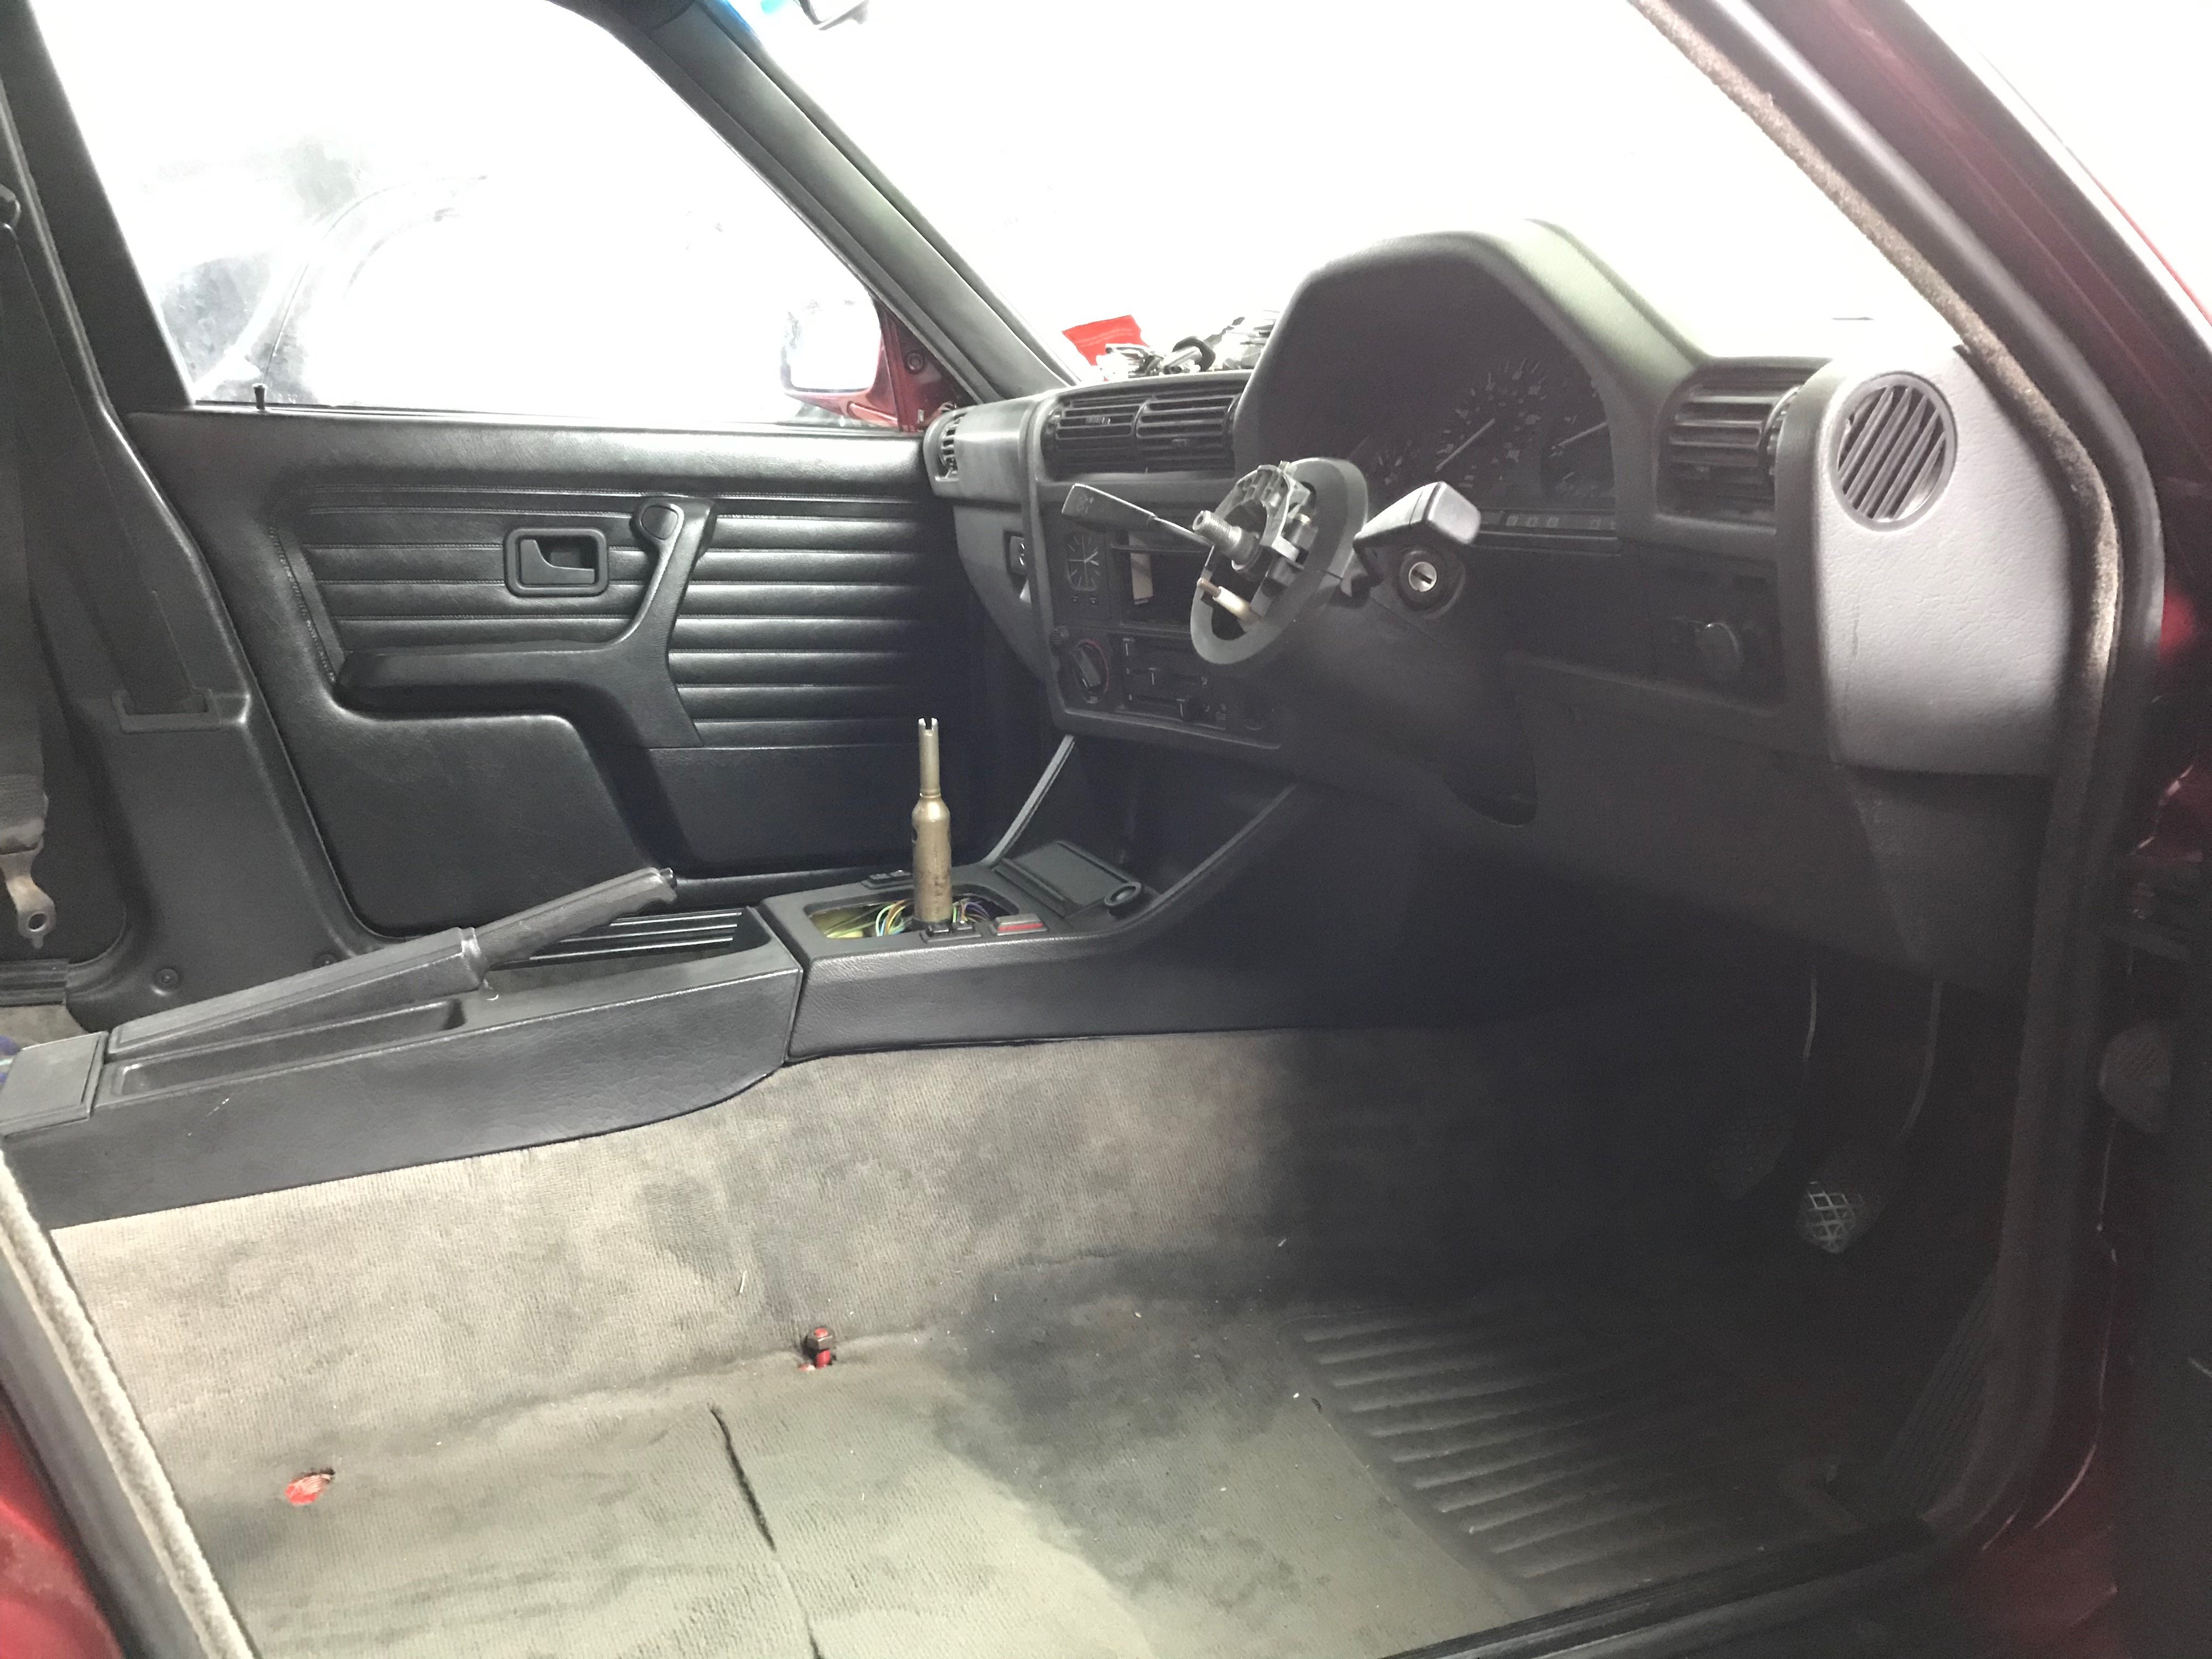
Interior Update!
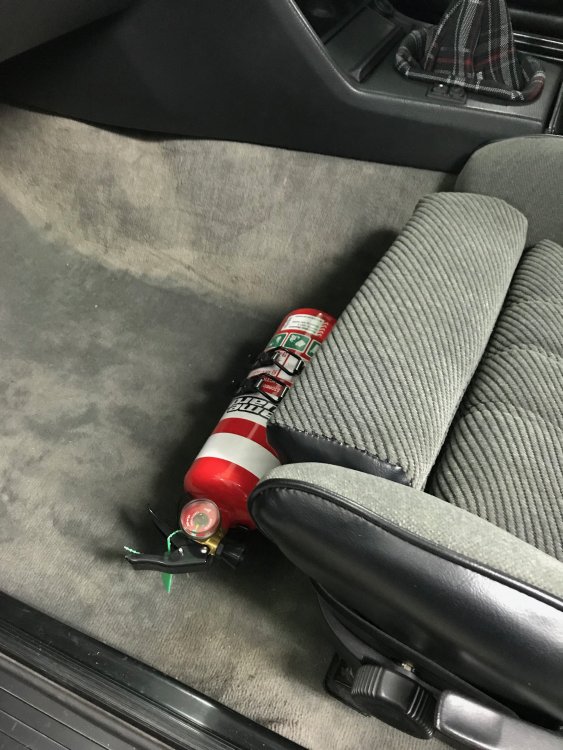
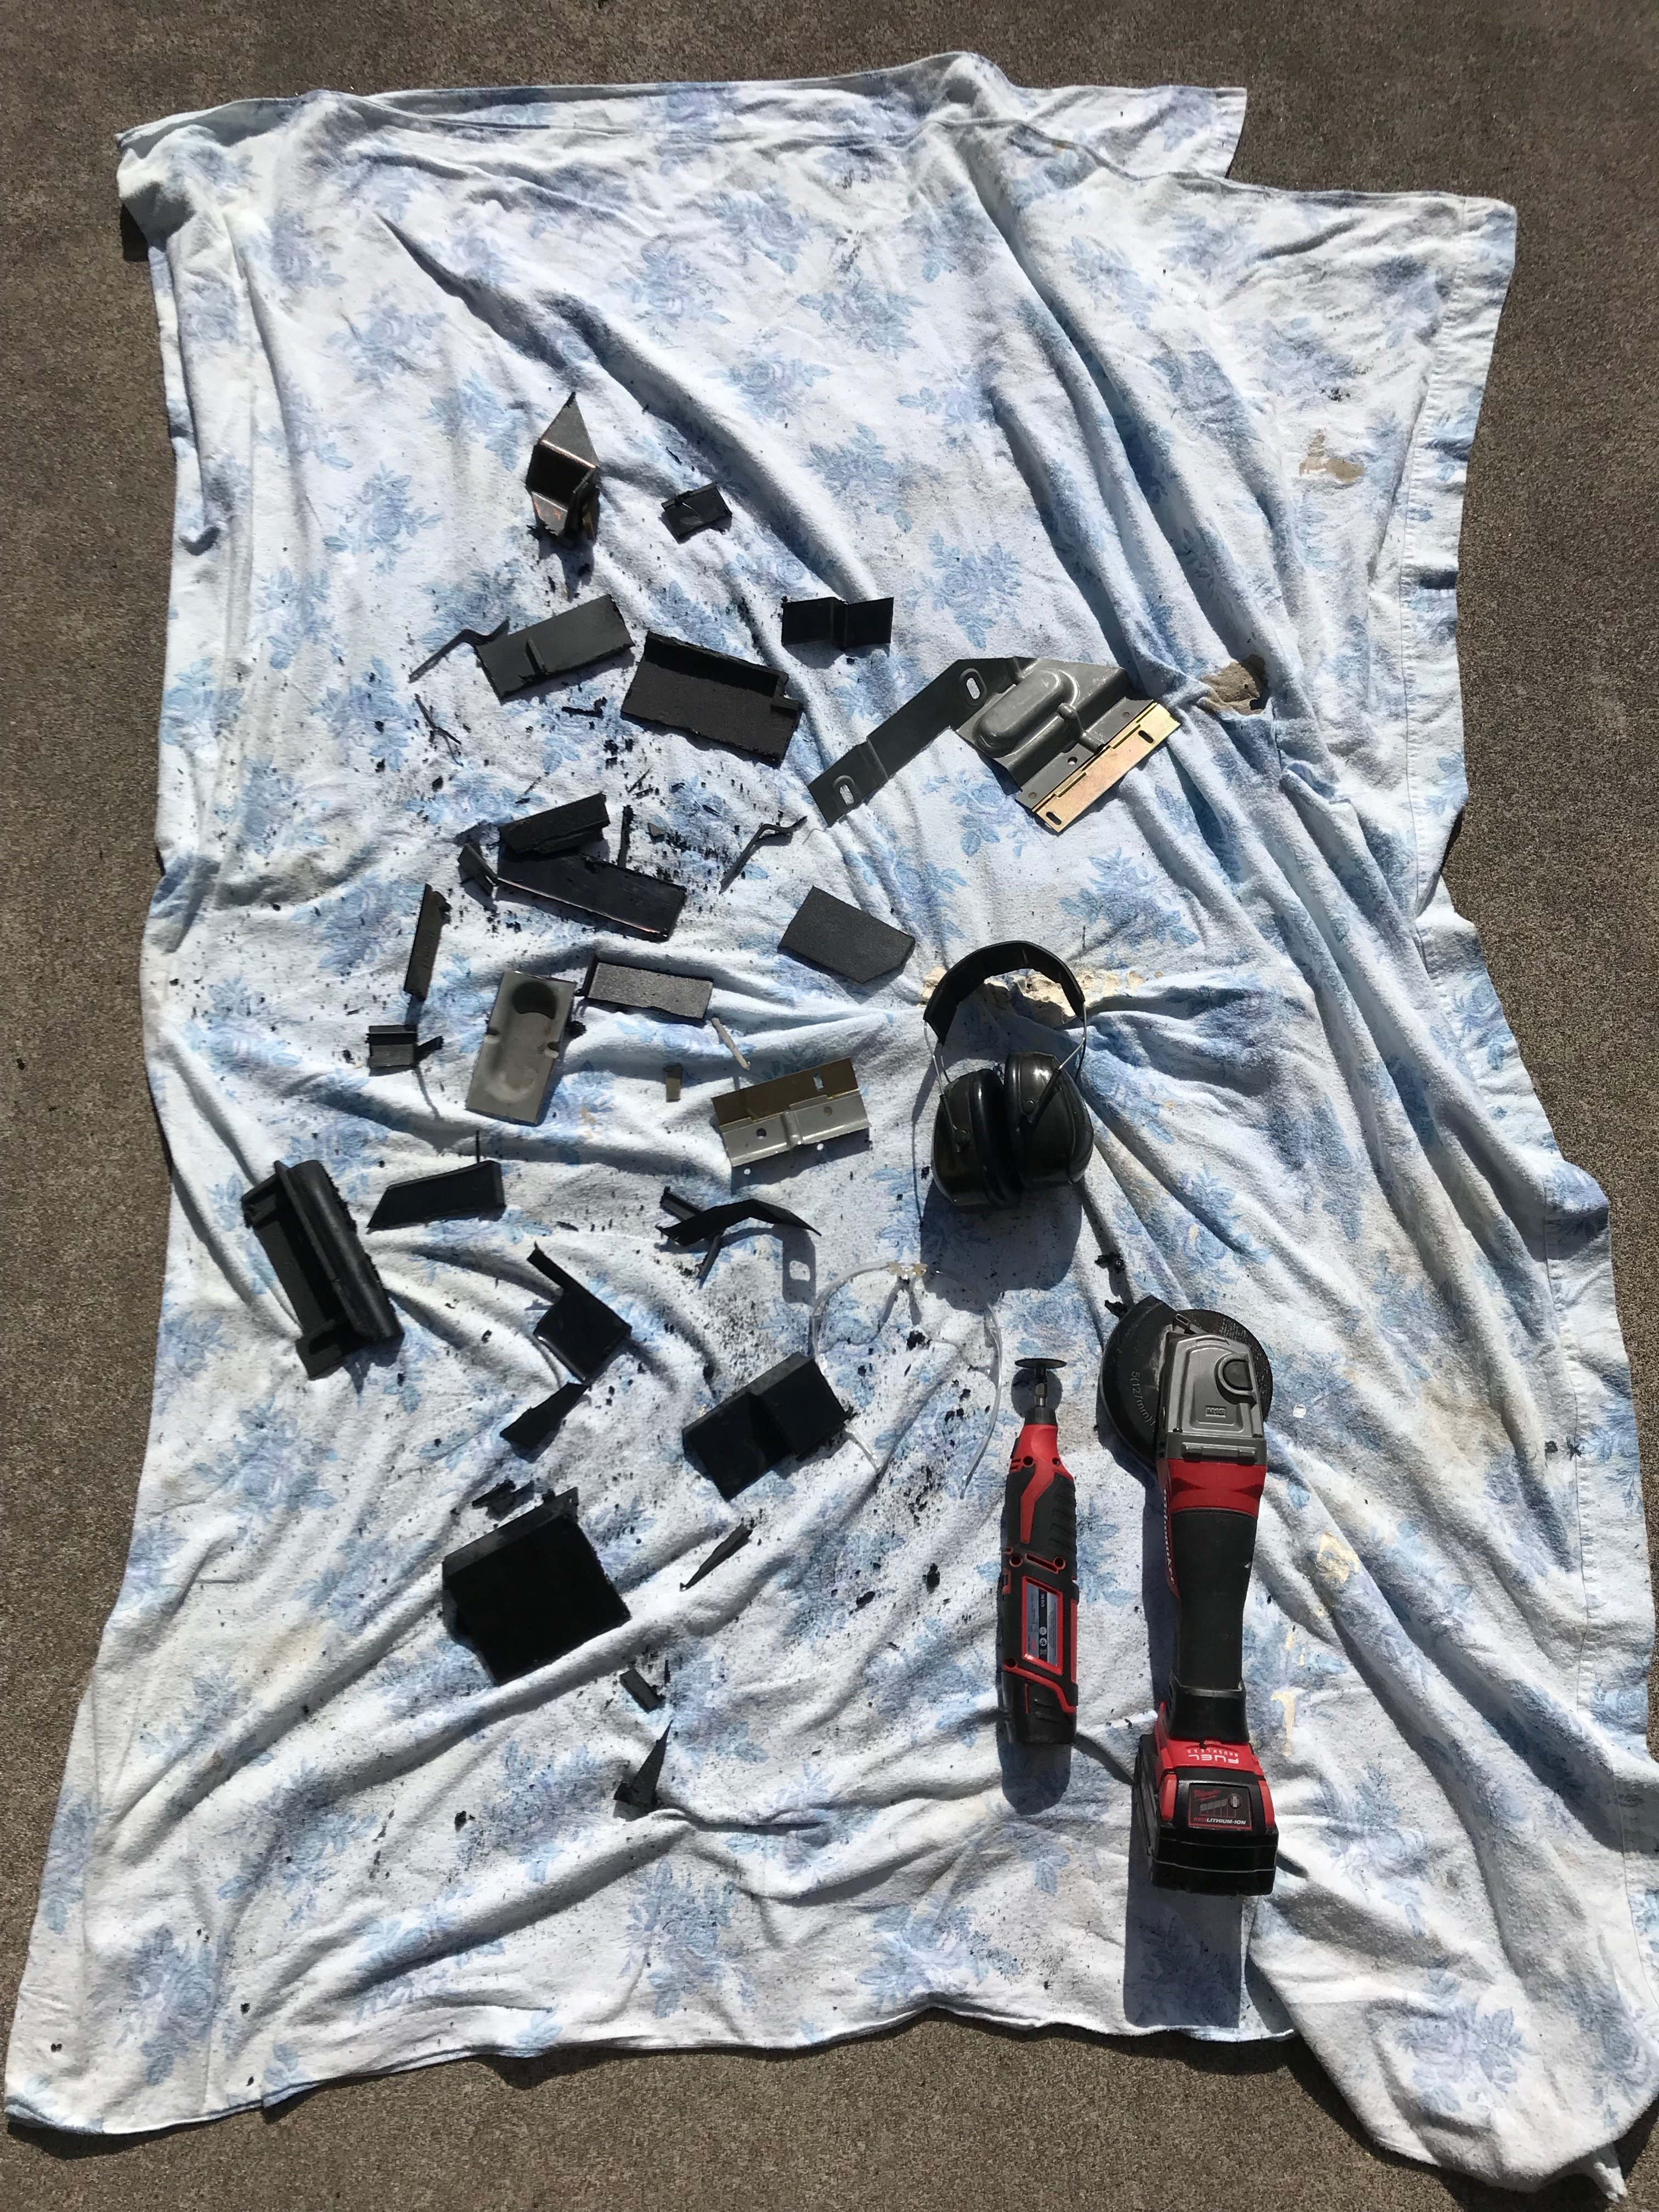
With my brake booster now in the old glovebox location, i still wanted it to look as factory as possible, after a lot of cutting and grinding, i achieved just that.
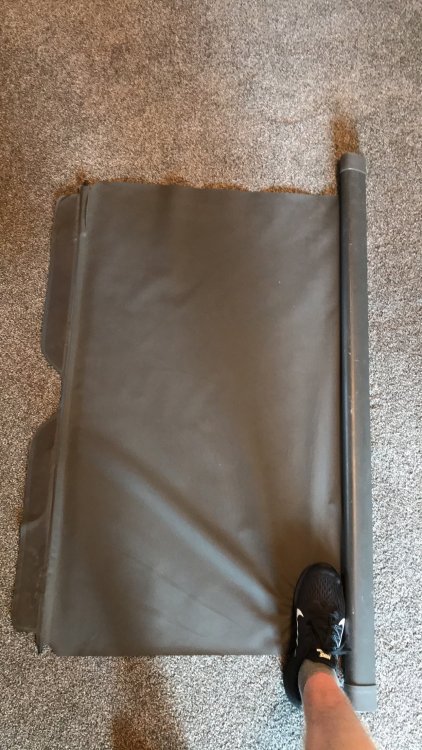
Rear cargo blind sourced from Mike Witheford
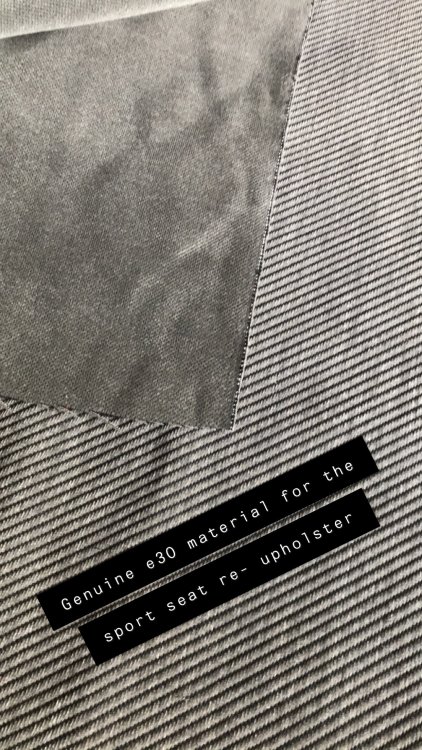
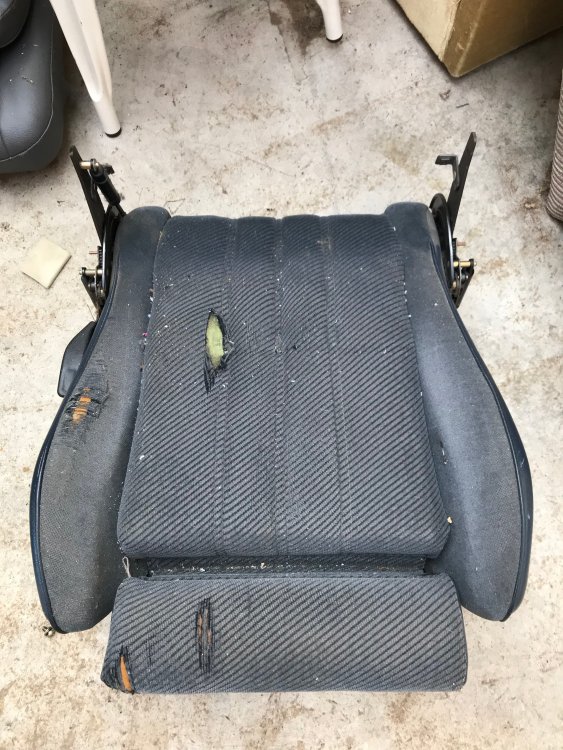
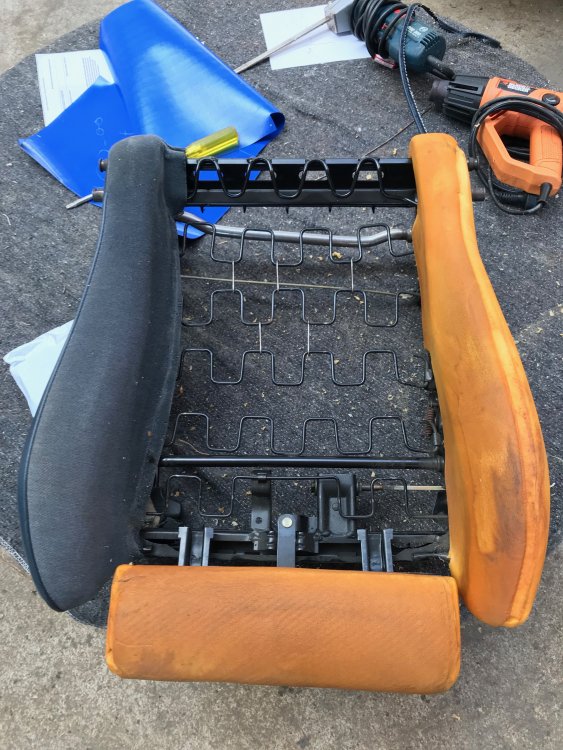
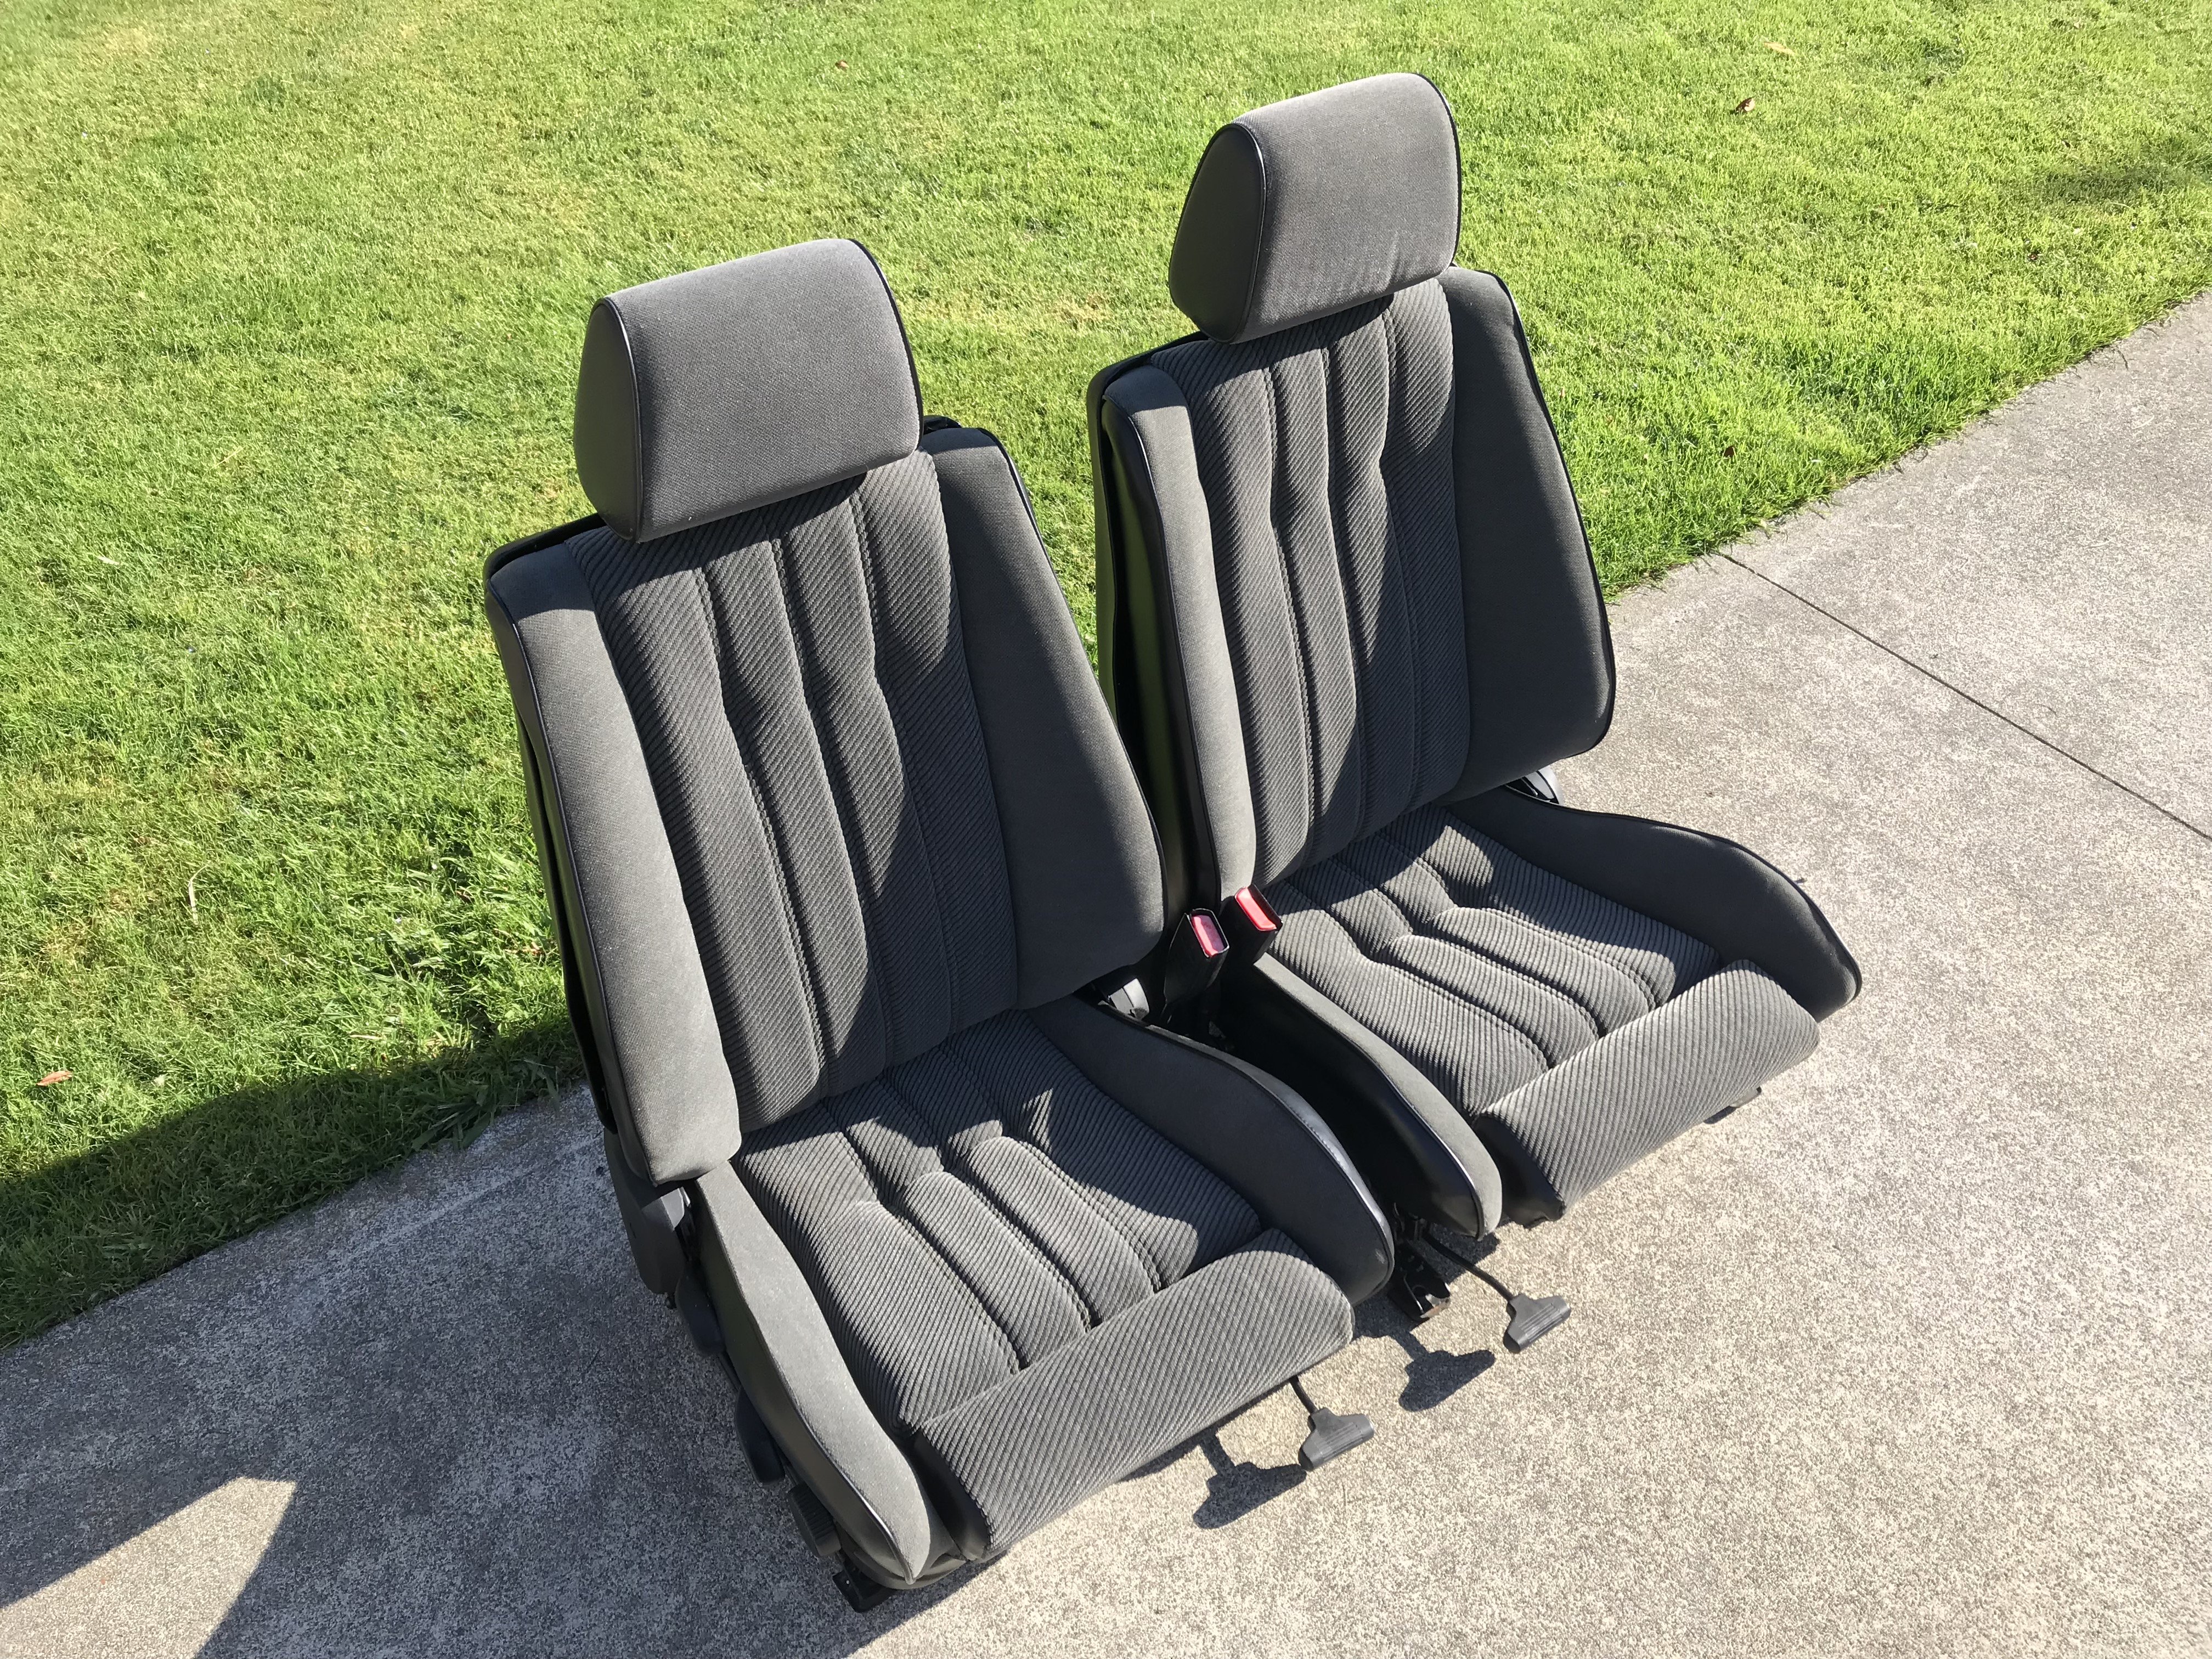
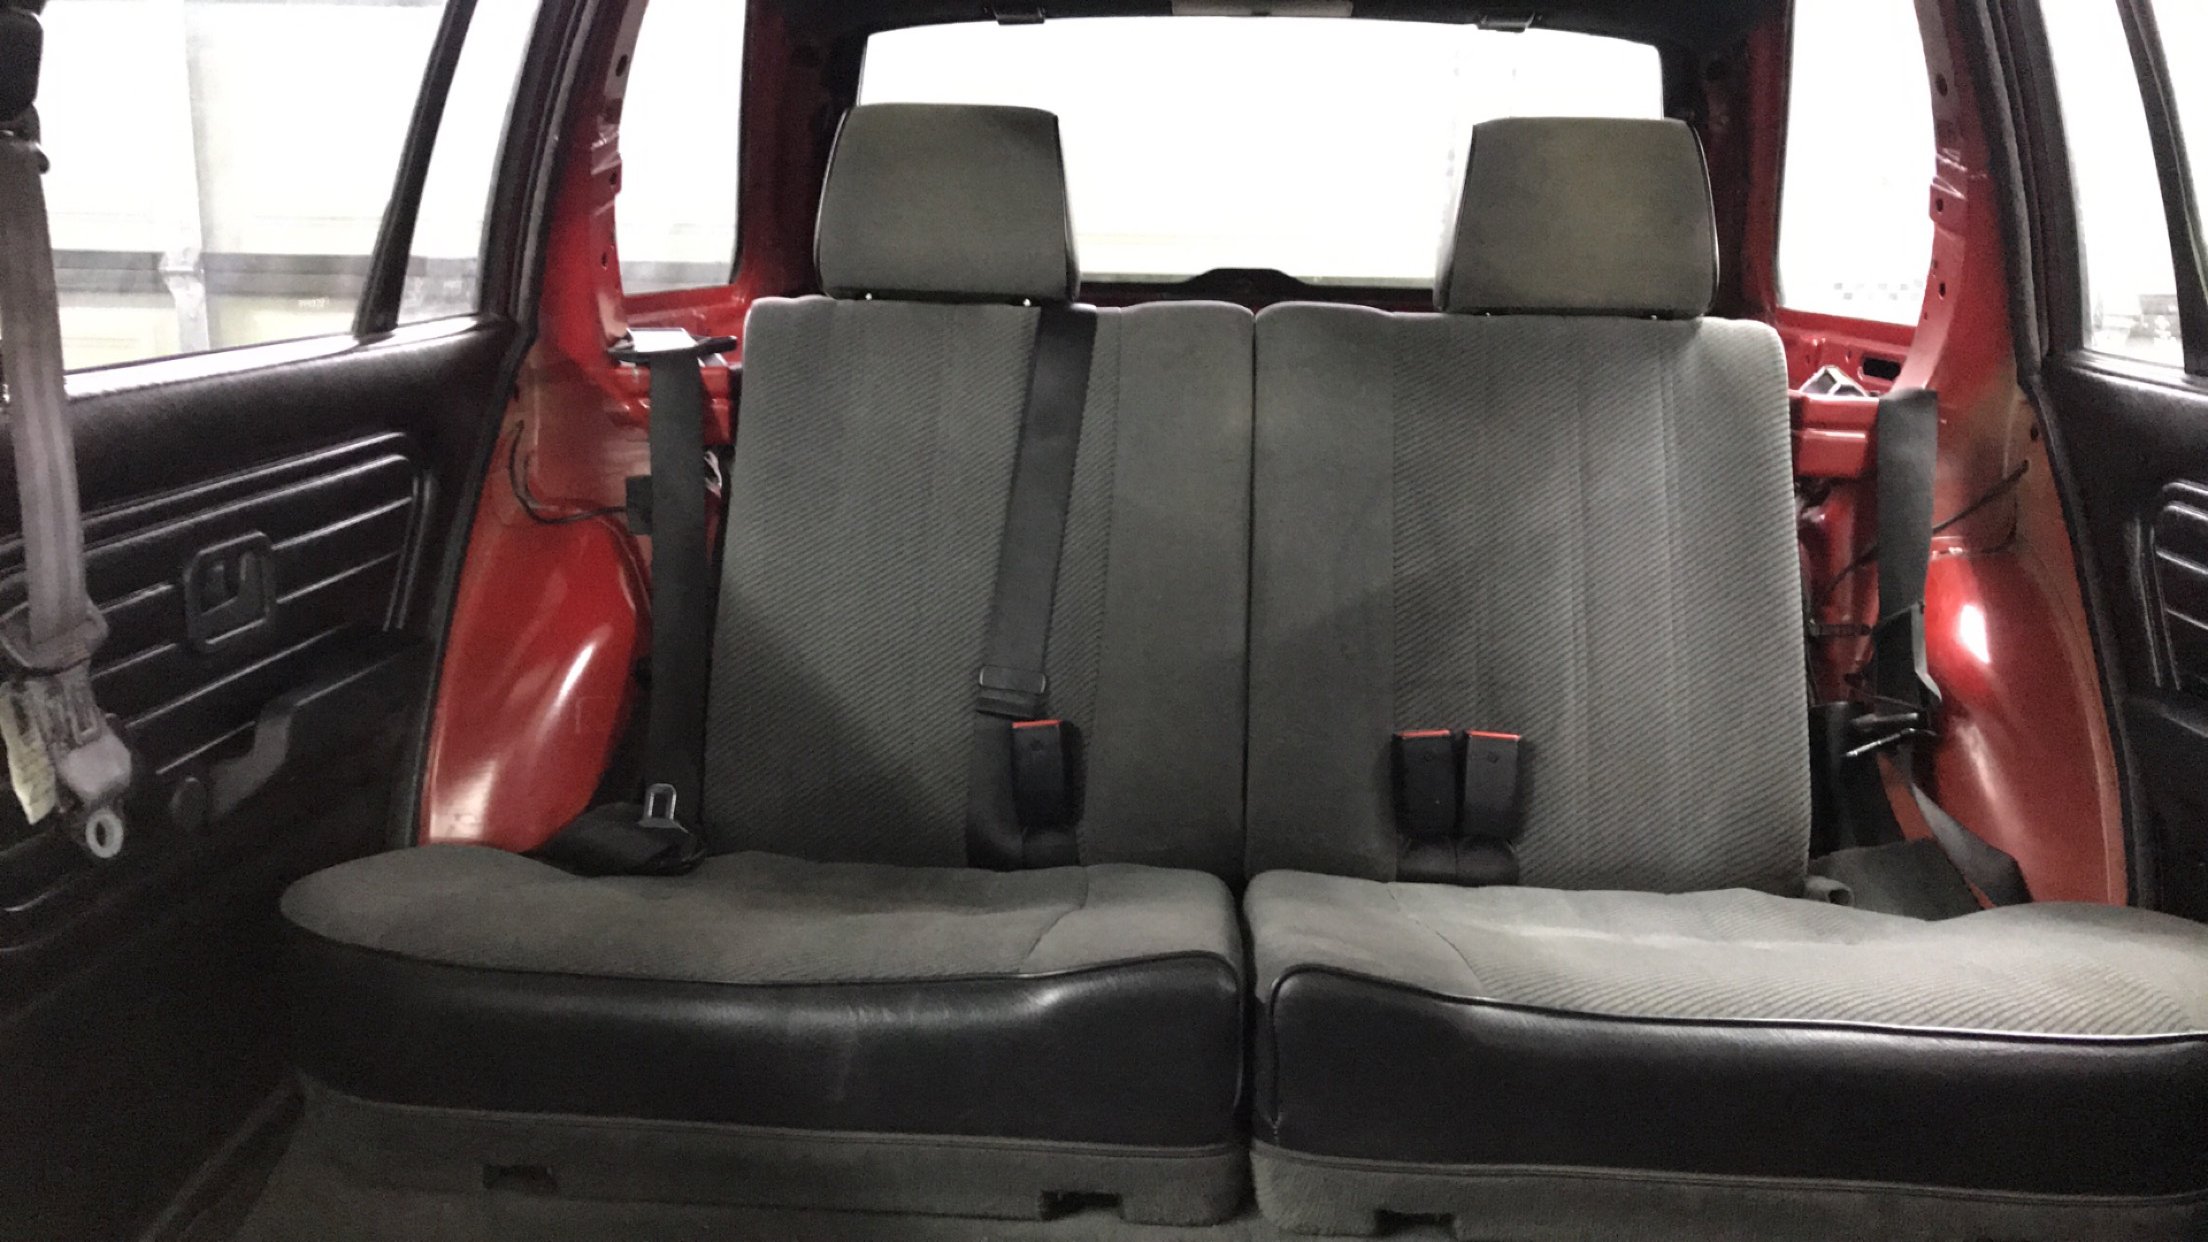
With wanting to keep the front seats factory looking, and not wanting to change the back seats as well, i decided to keep things simple.
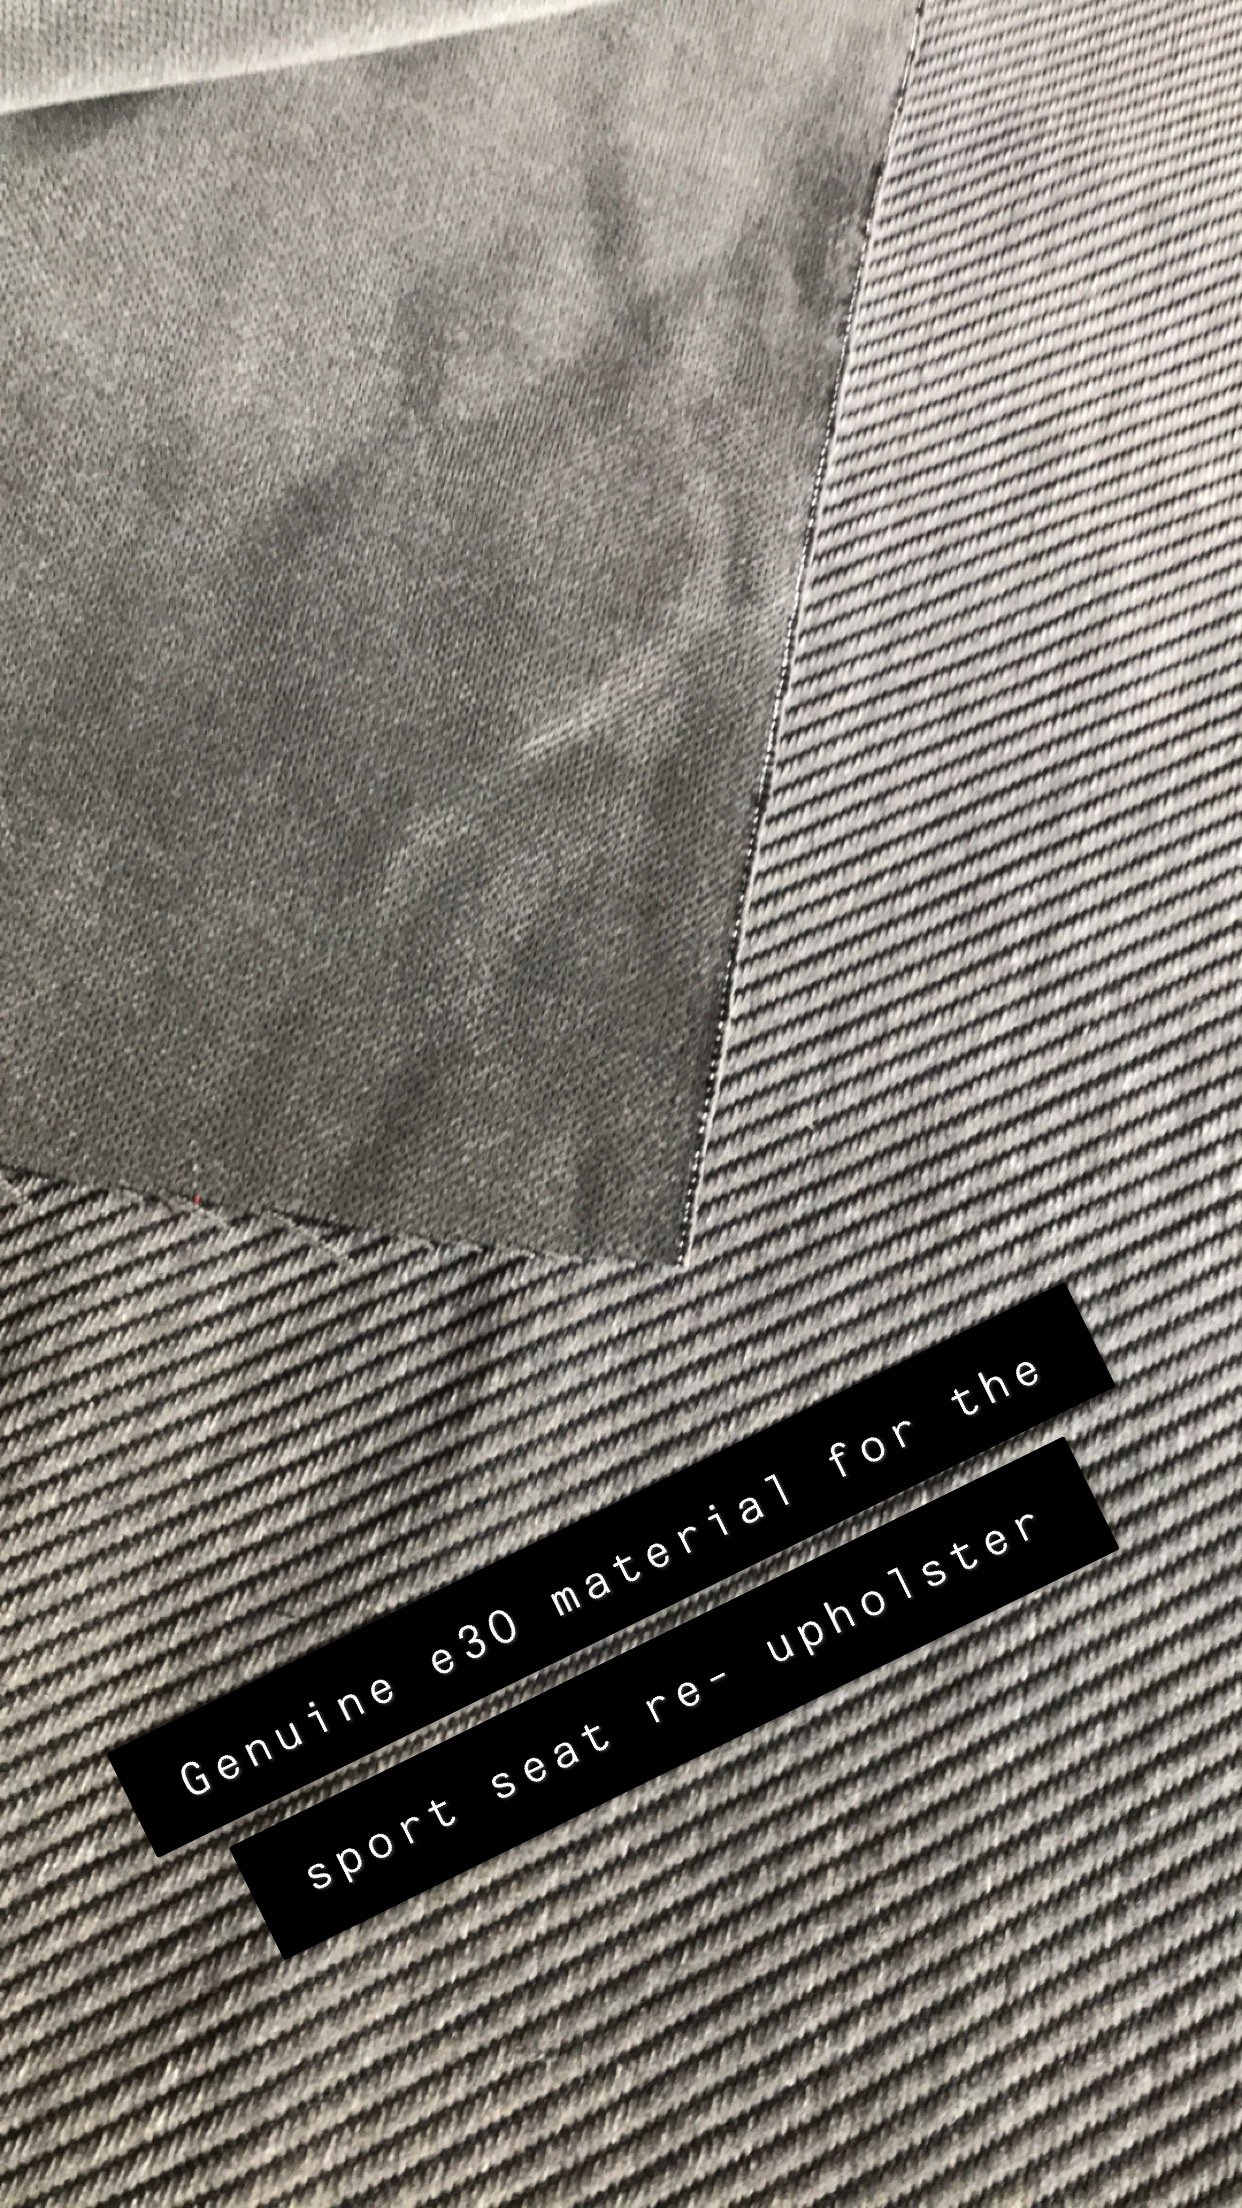
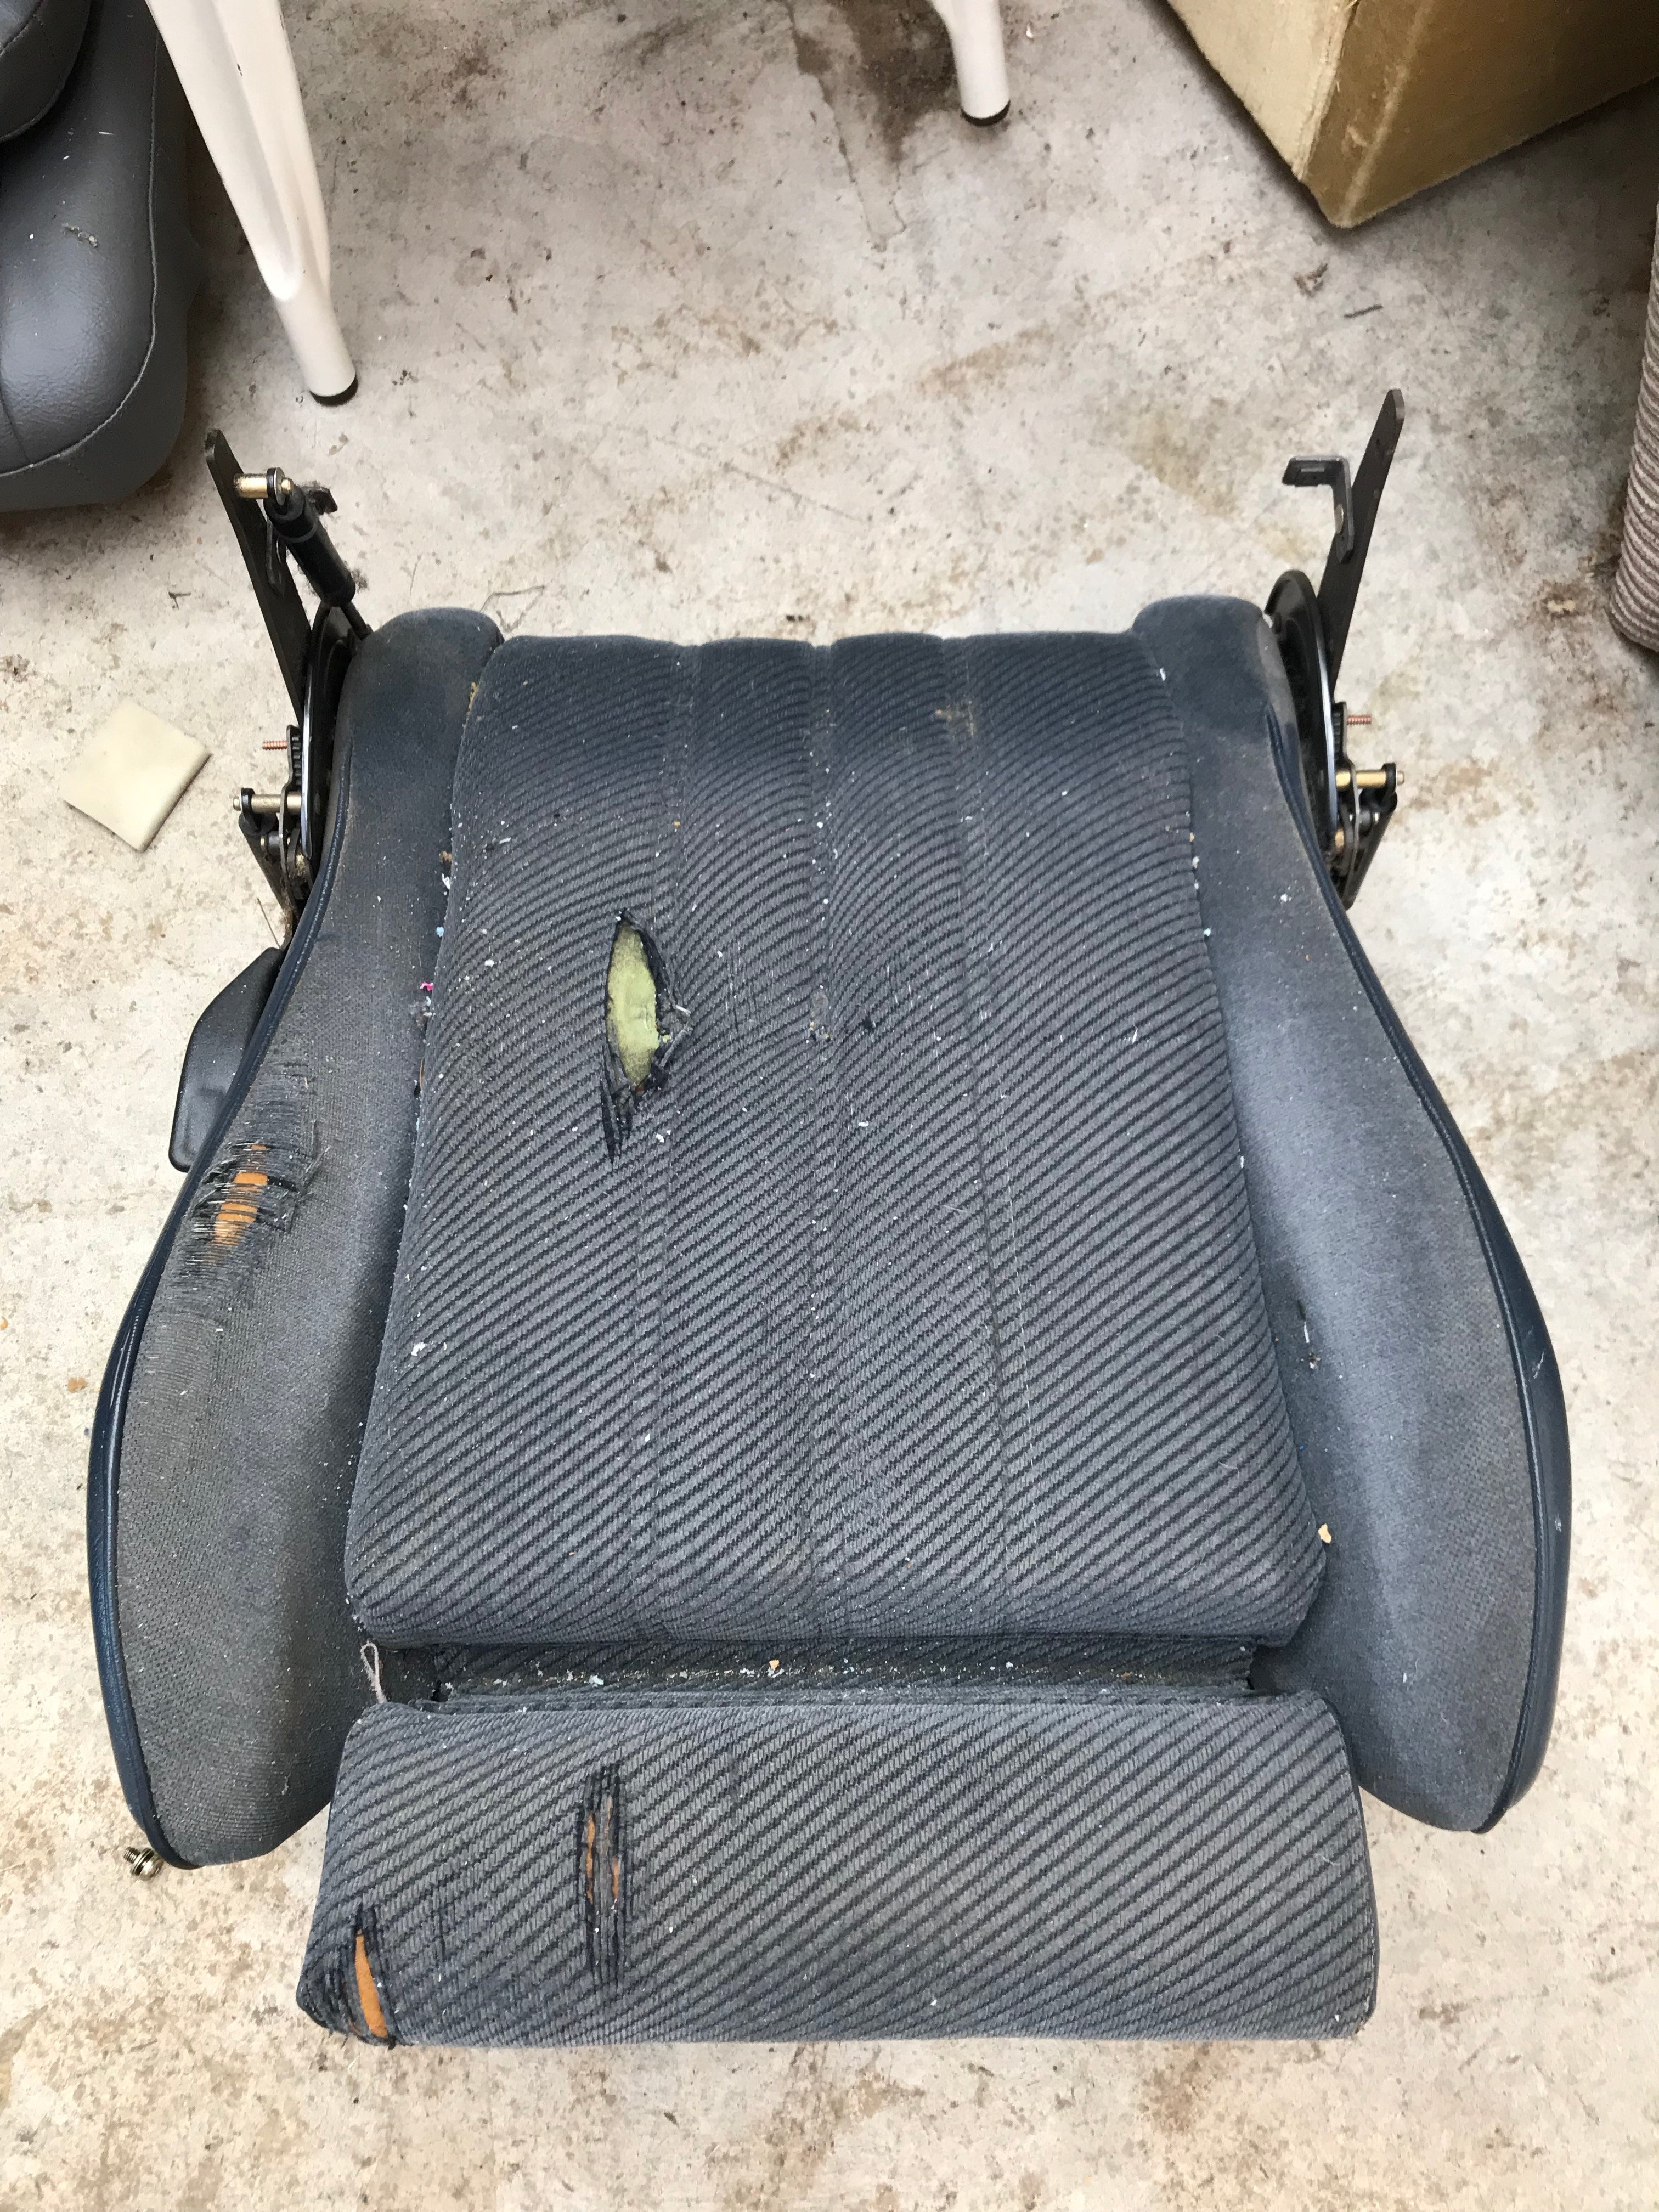
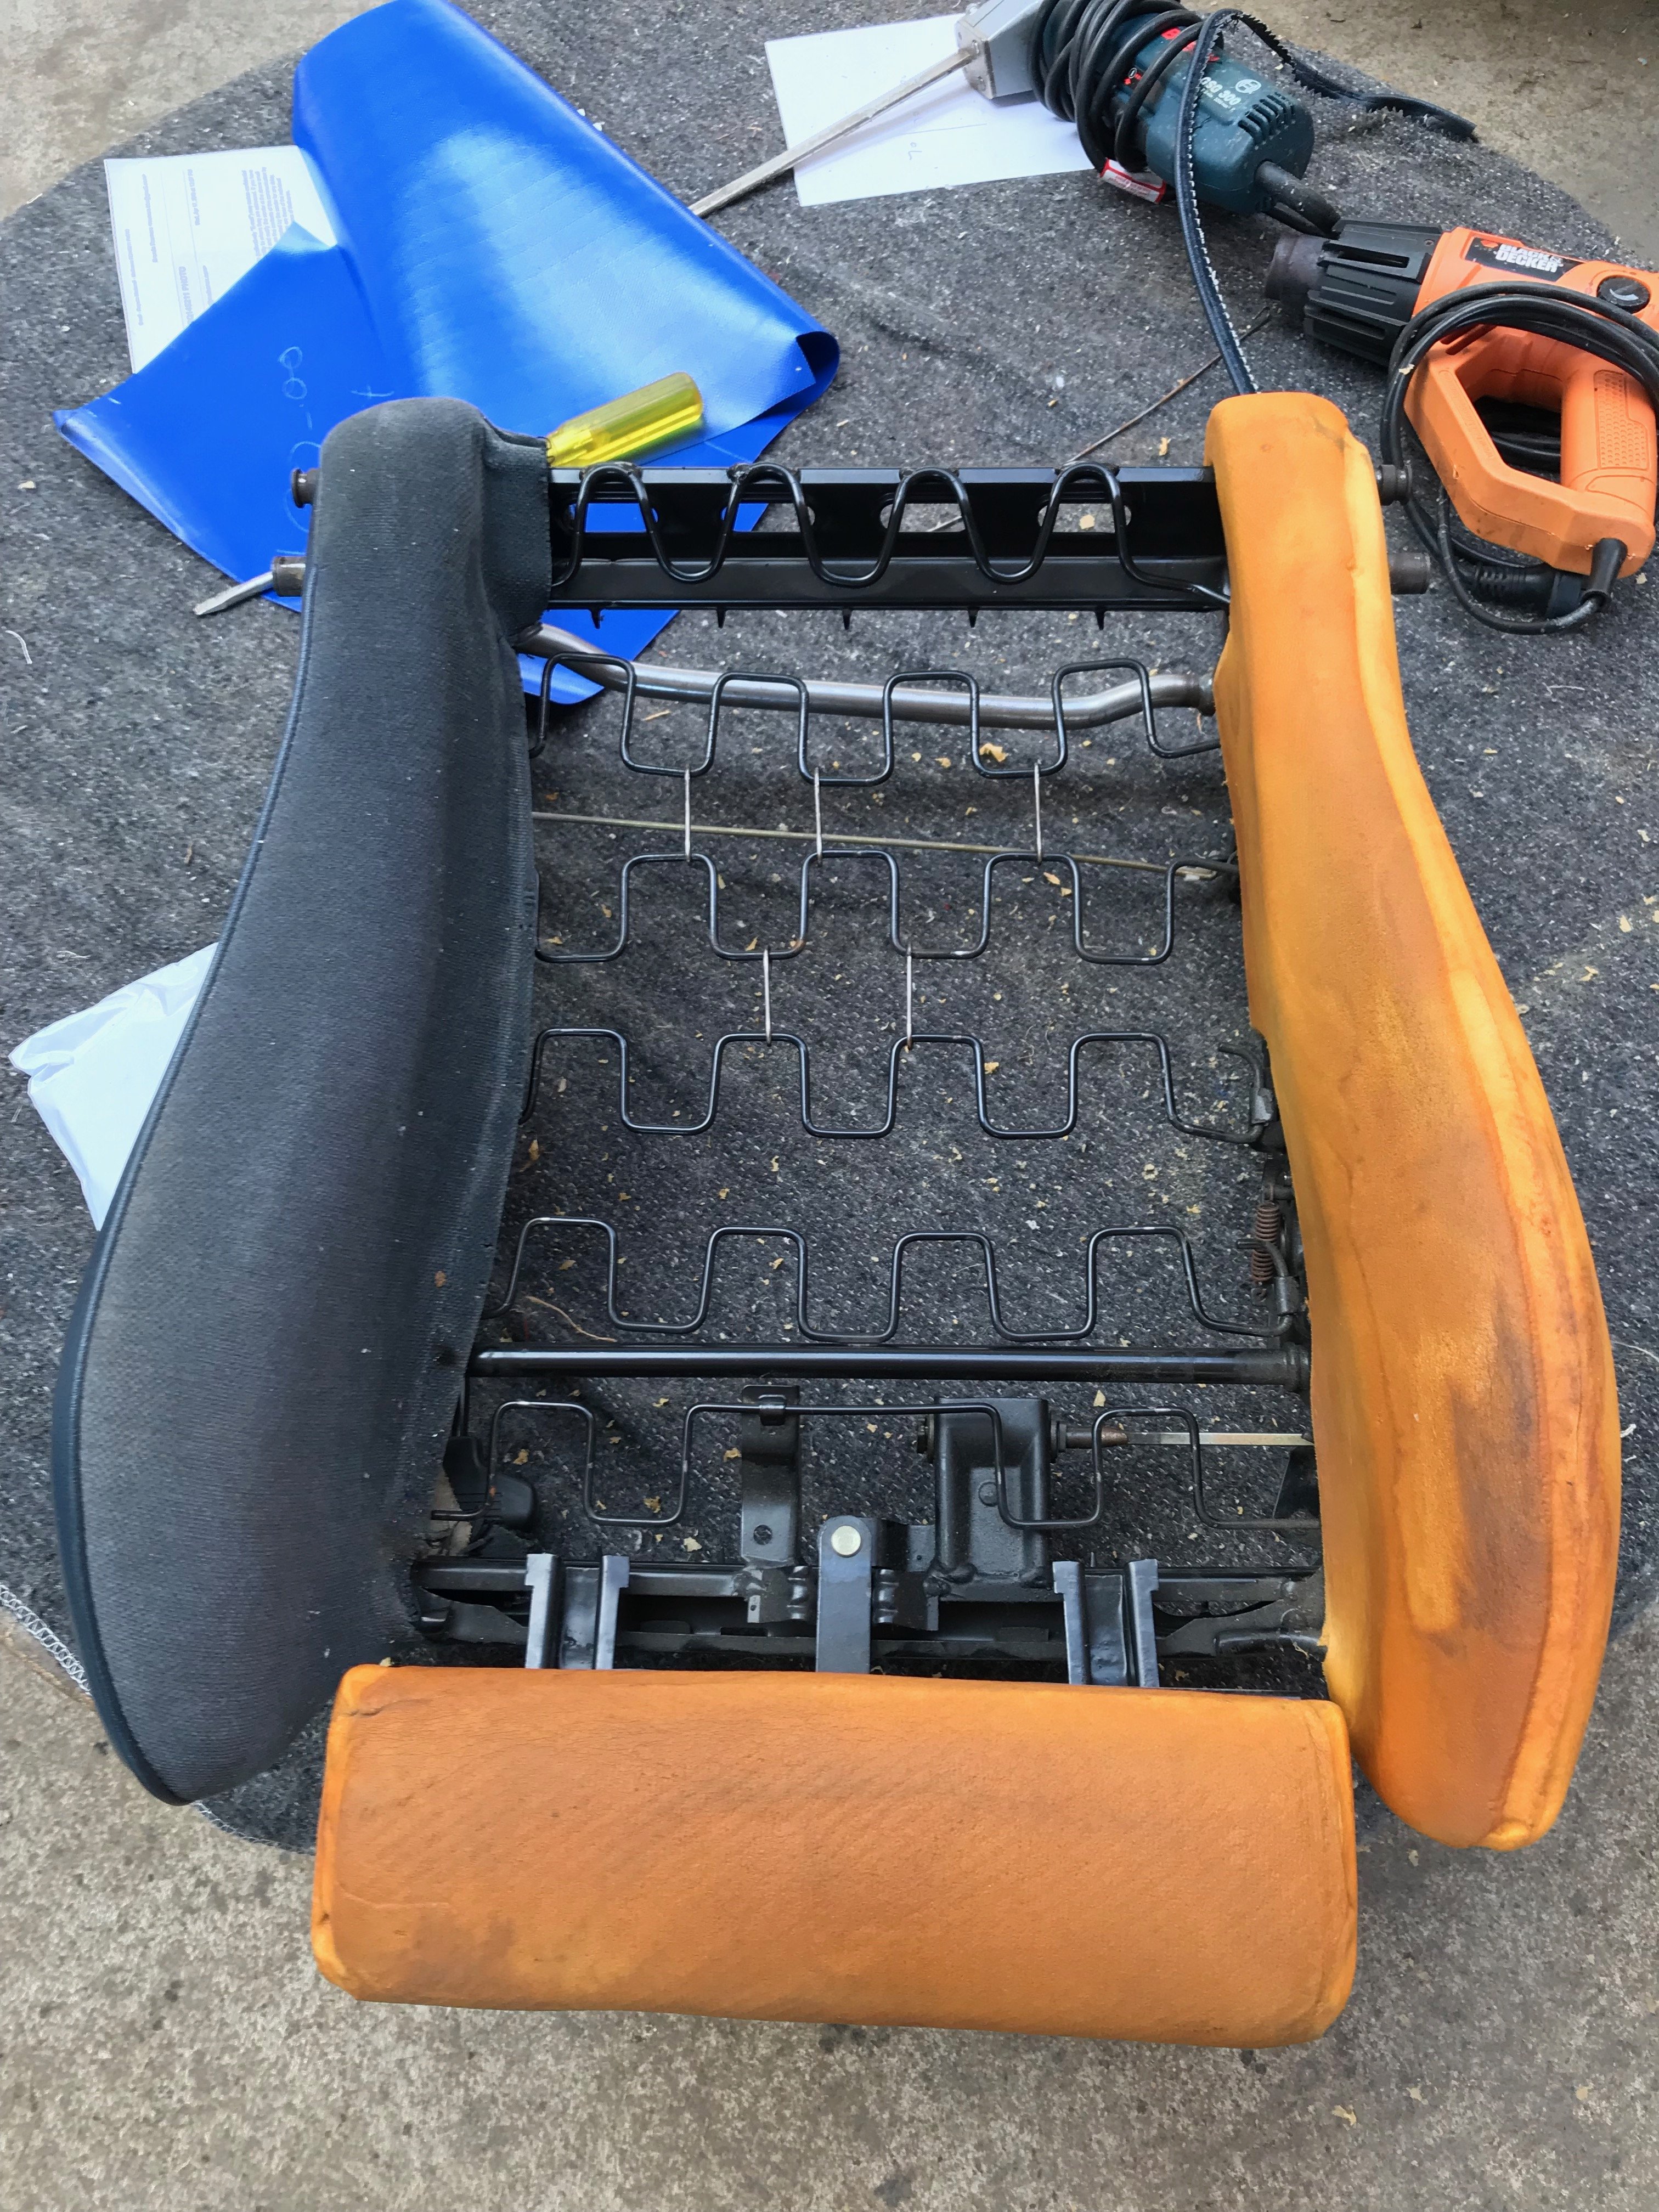
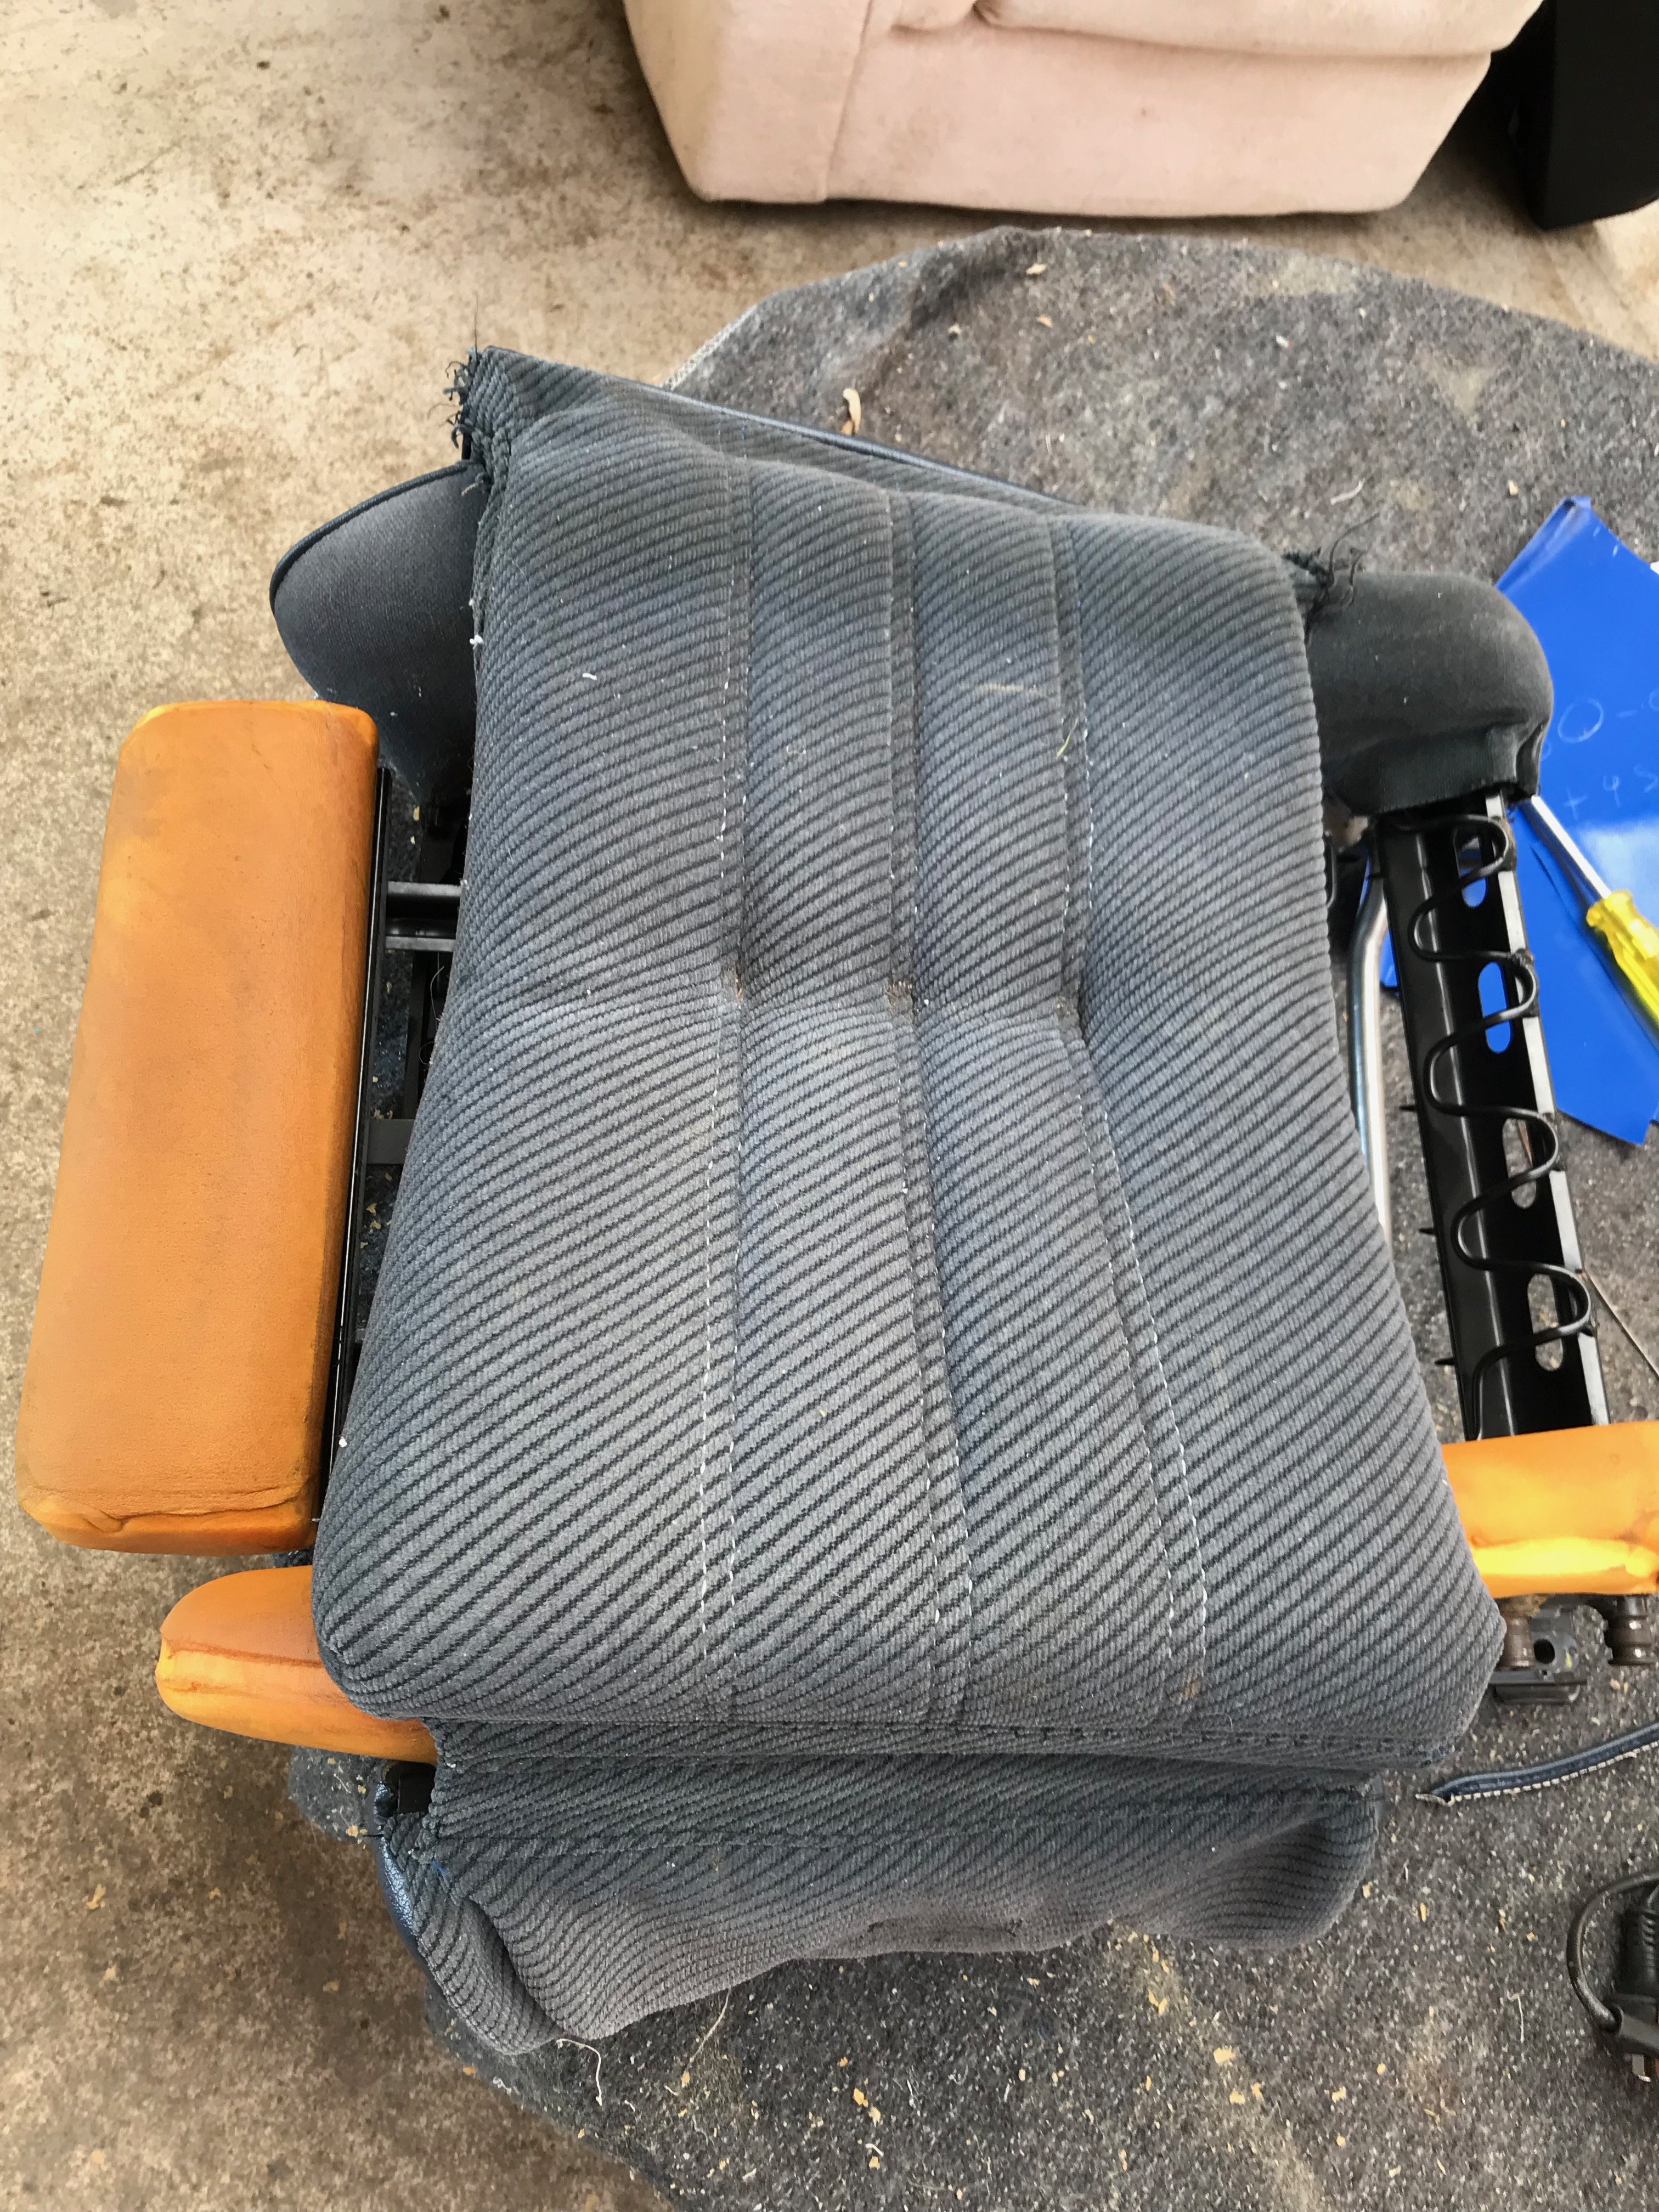
I acquired a set of blue cloth sports seats a couple of years ago and decided to get them recovered in the factory black and grey fabric, sourced from Le Mans in wellington. The re trim was carried out by Reumers Trim and Upholstery here in New Plymouth
.

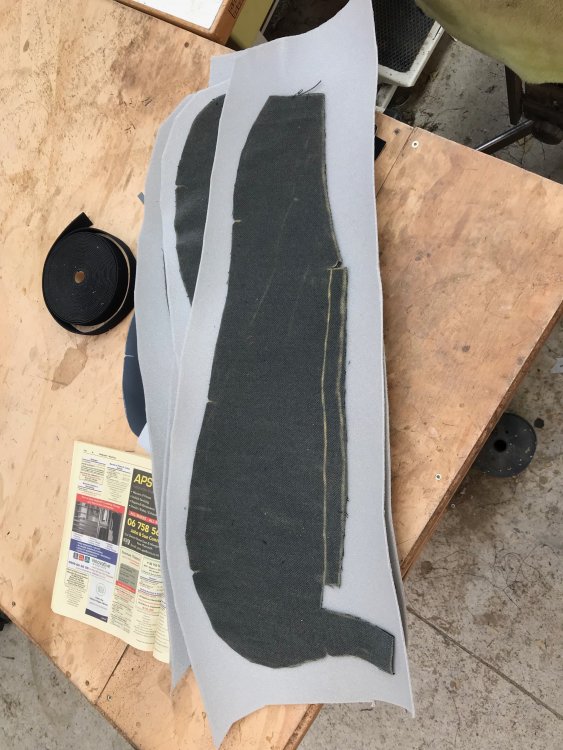

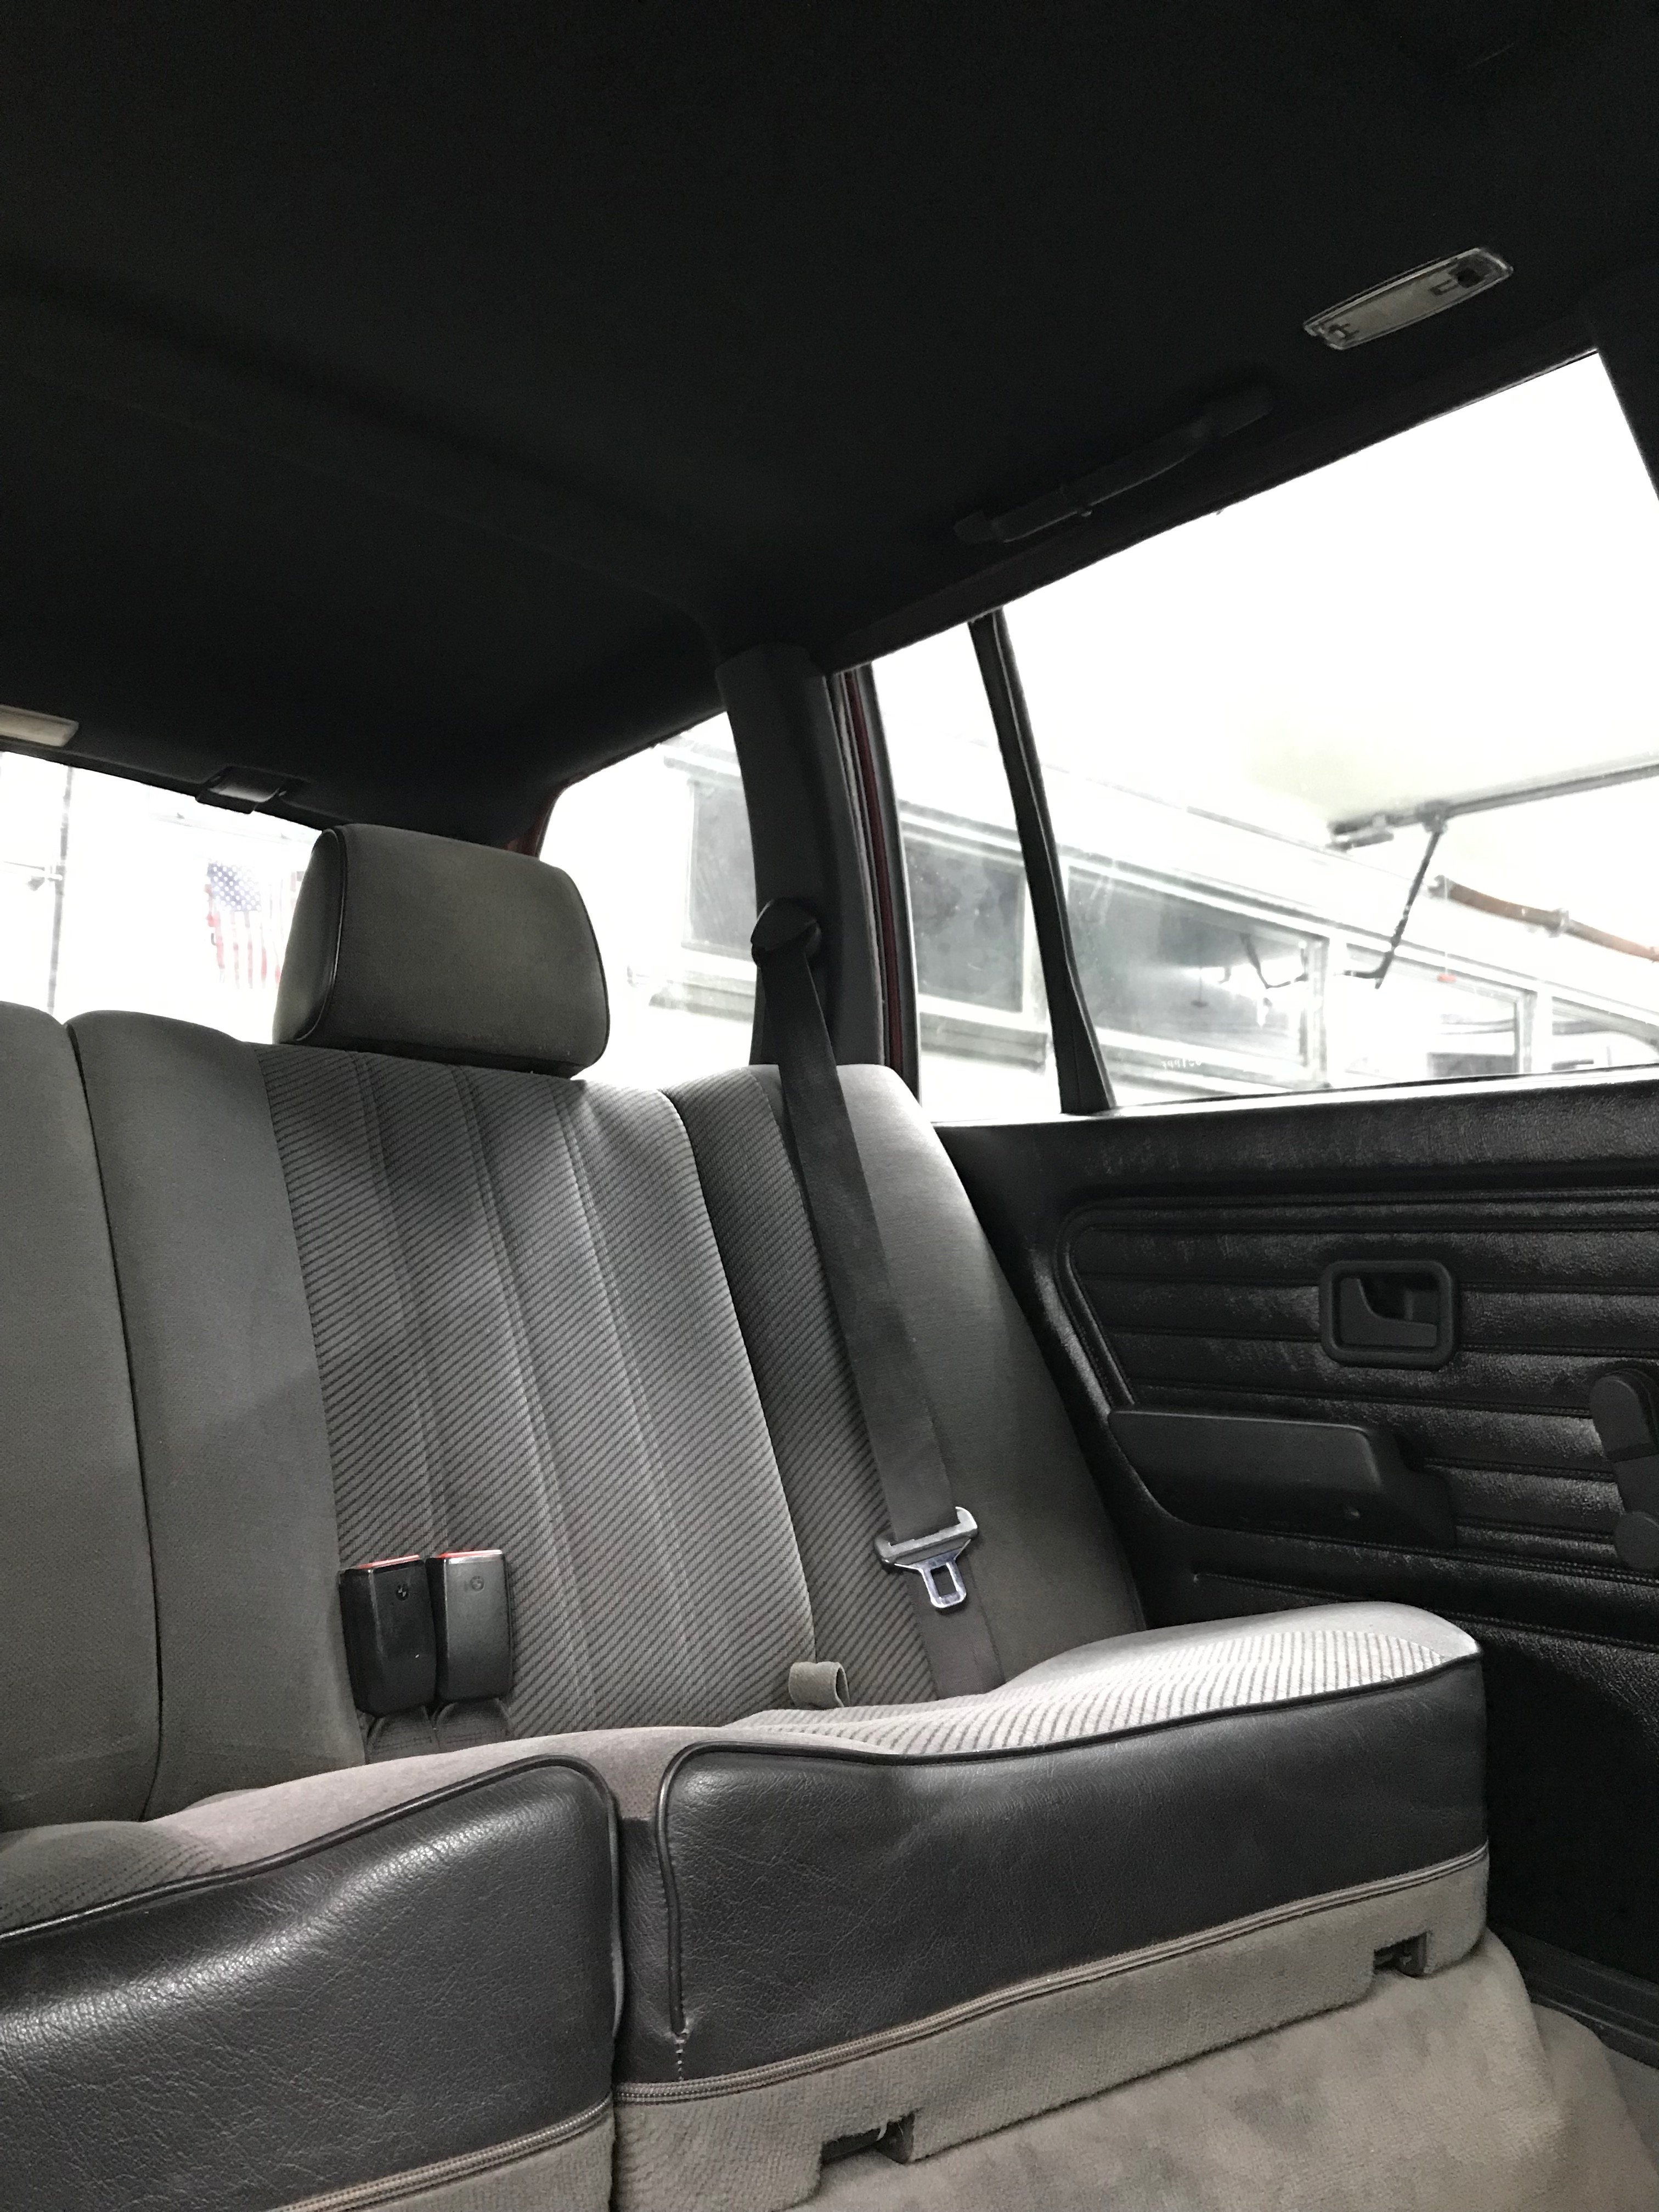
Reumers also recovered my headlining and sunroof panel in Black fabric and fixed up the tired and well used cargo blind.
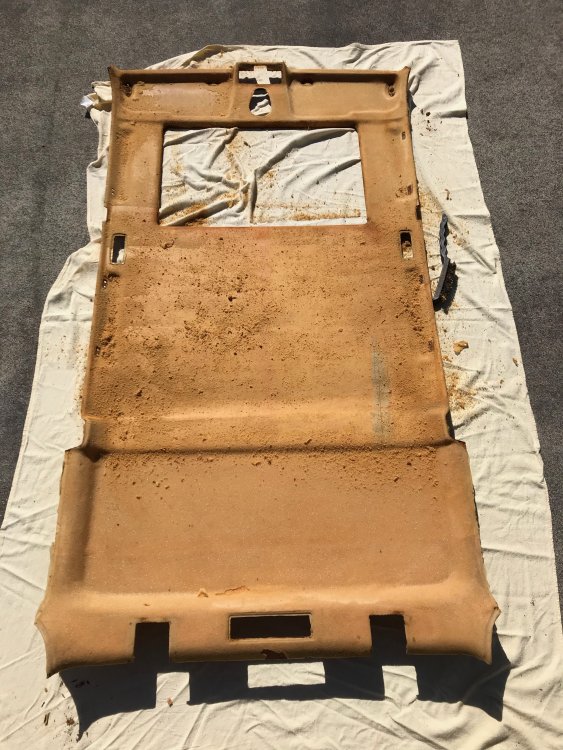
Removing the old heading and glue was not fun.
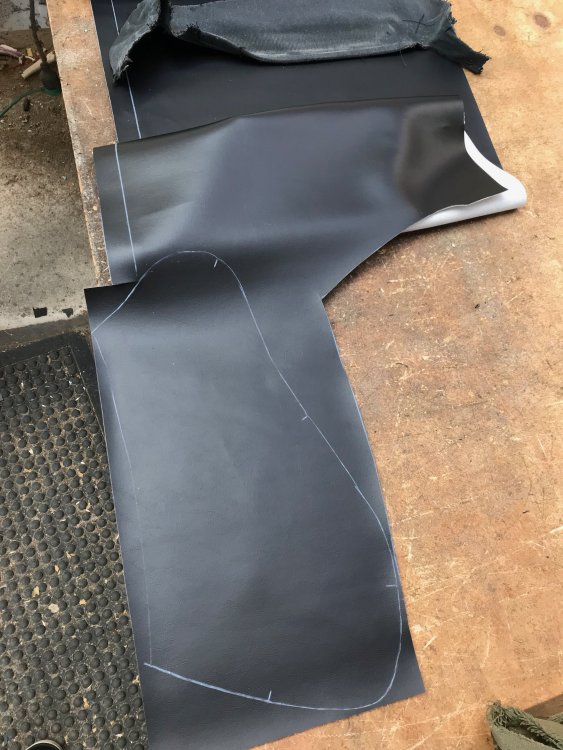
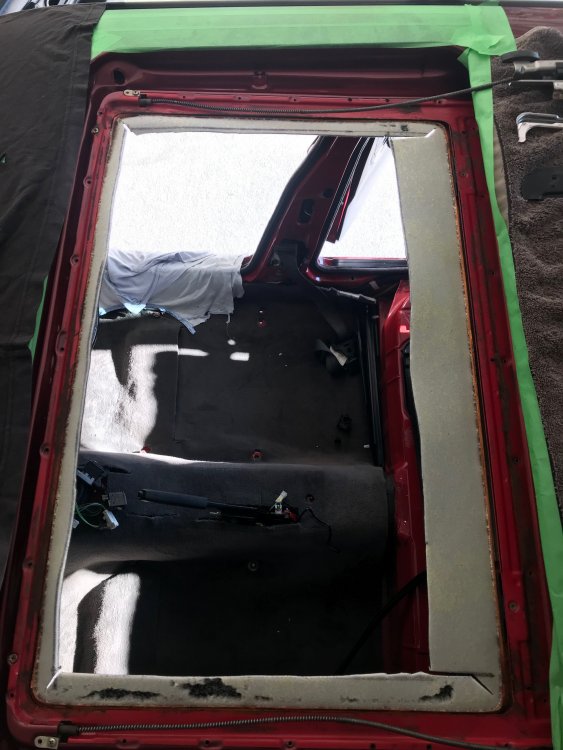
Cutting and gluing the new headlining around the sunroof myself.
I wanted to keep the grey interior carpet to match the boot lining, so just gave the old one a bloody good clean.
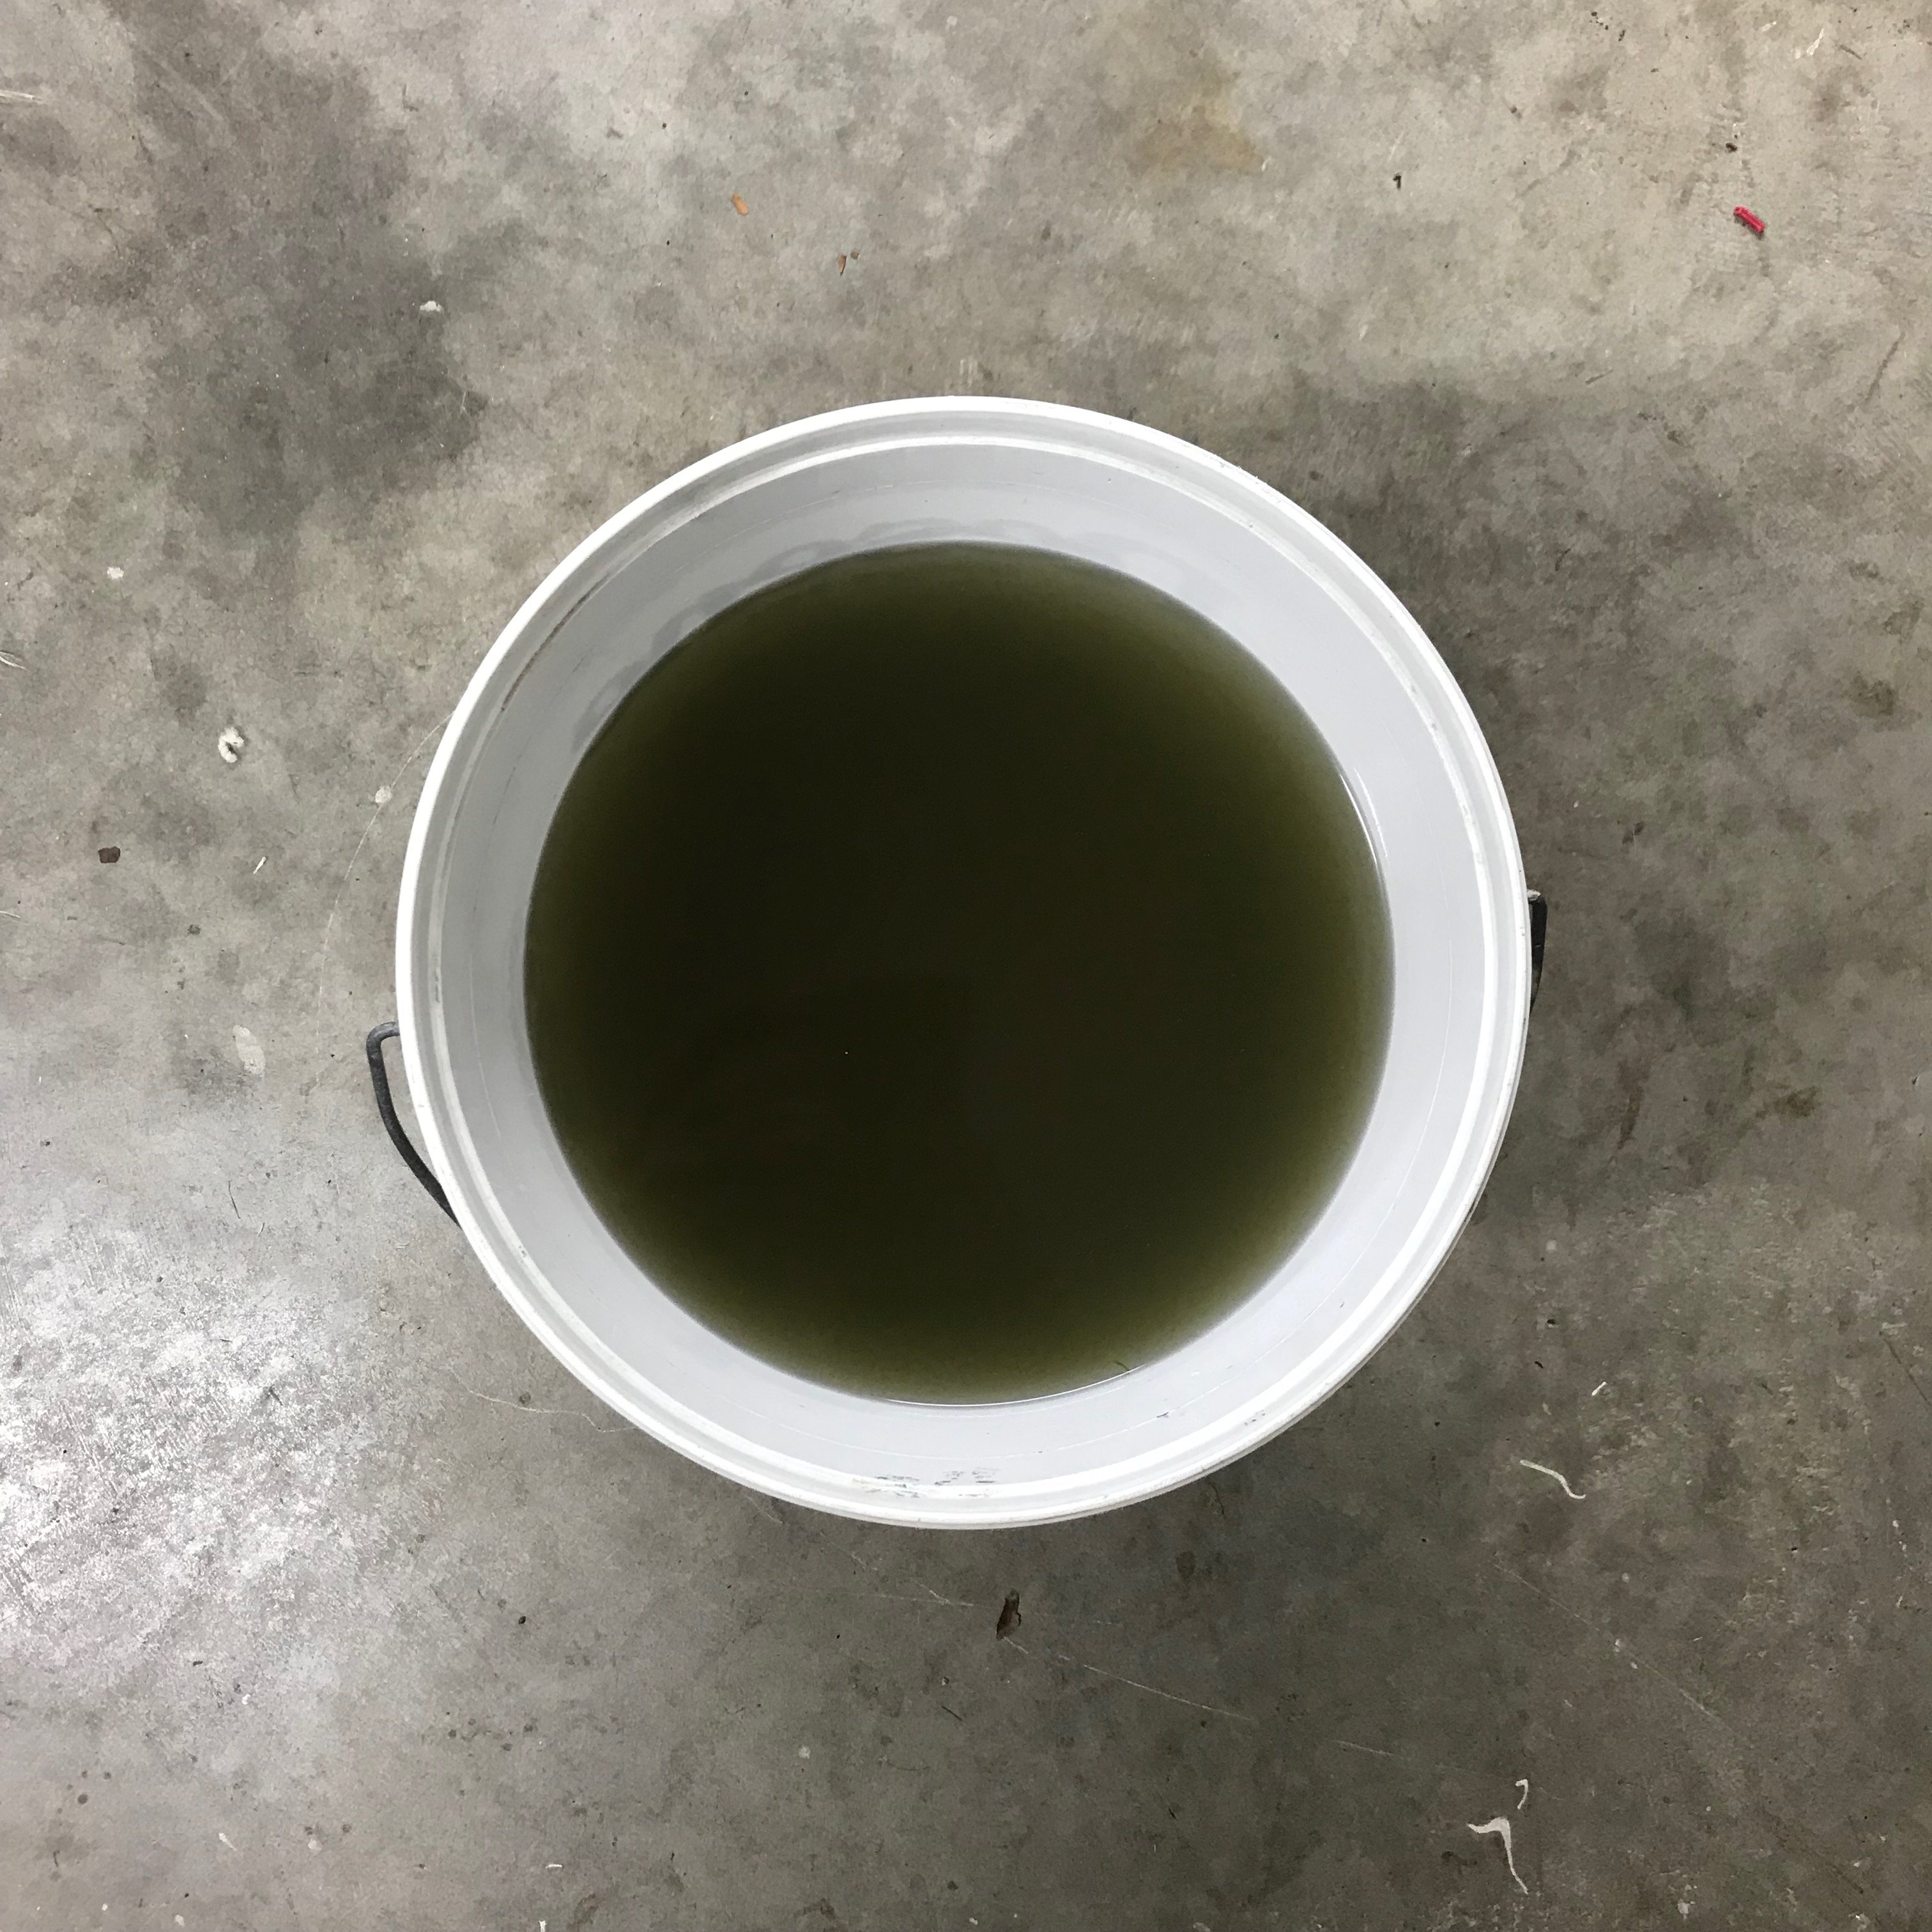
The seatbelts also needed a good clean, this was the result of an overnight soak in warm water and sugar soap...

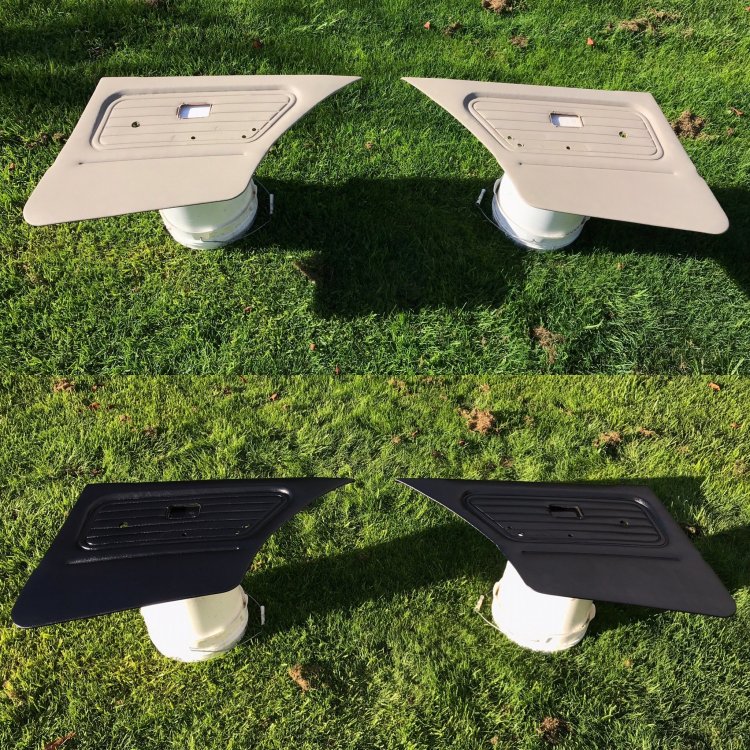
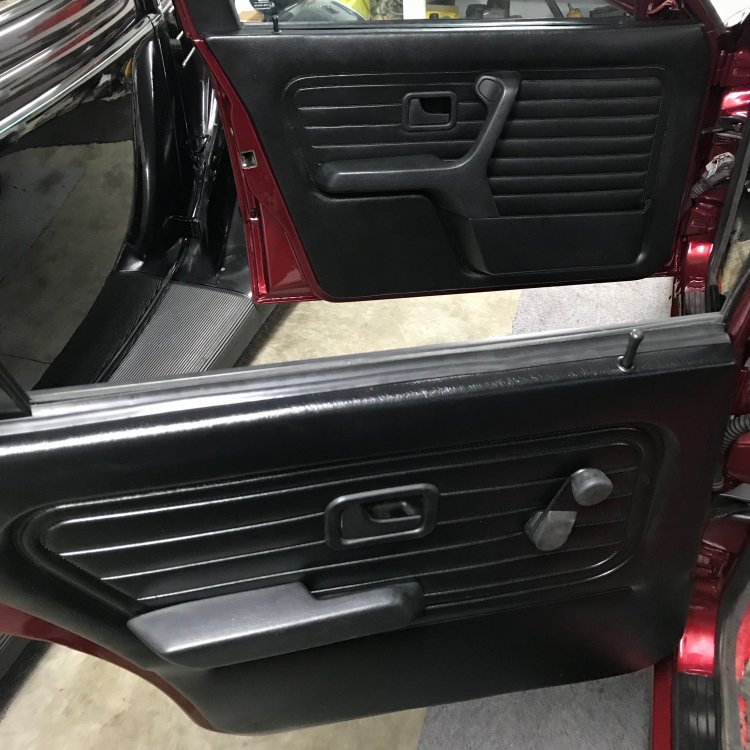
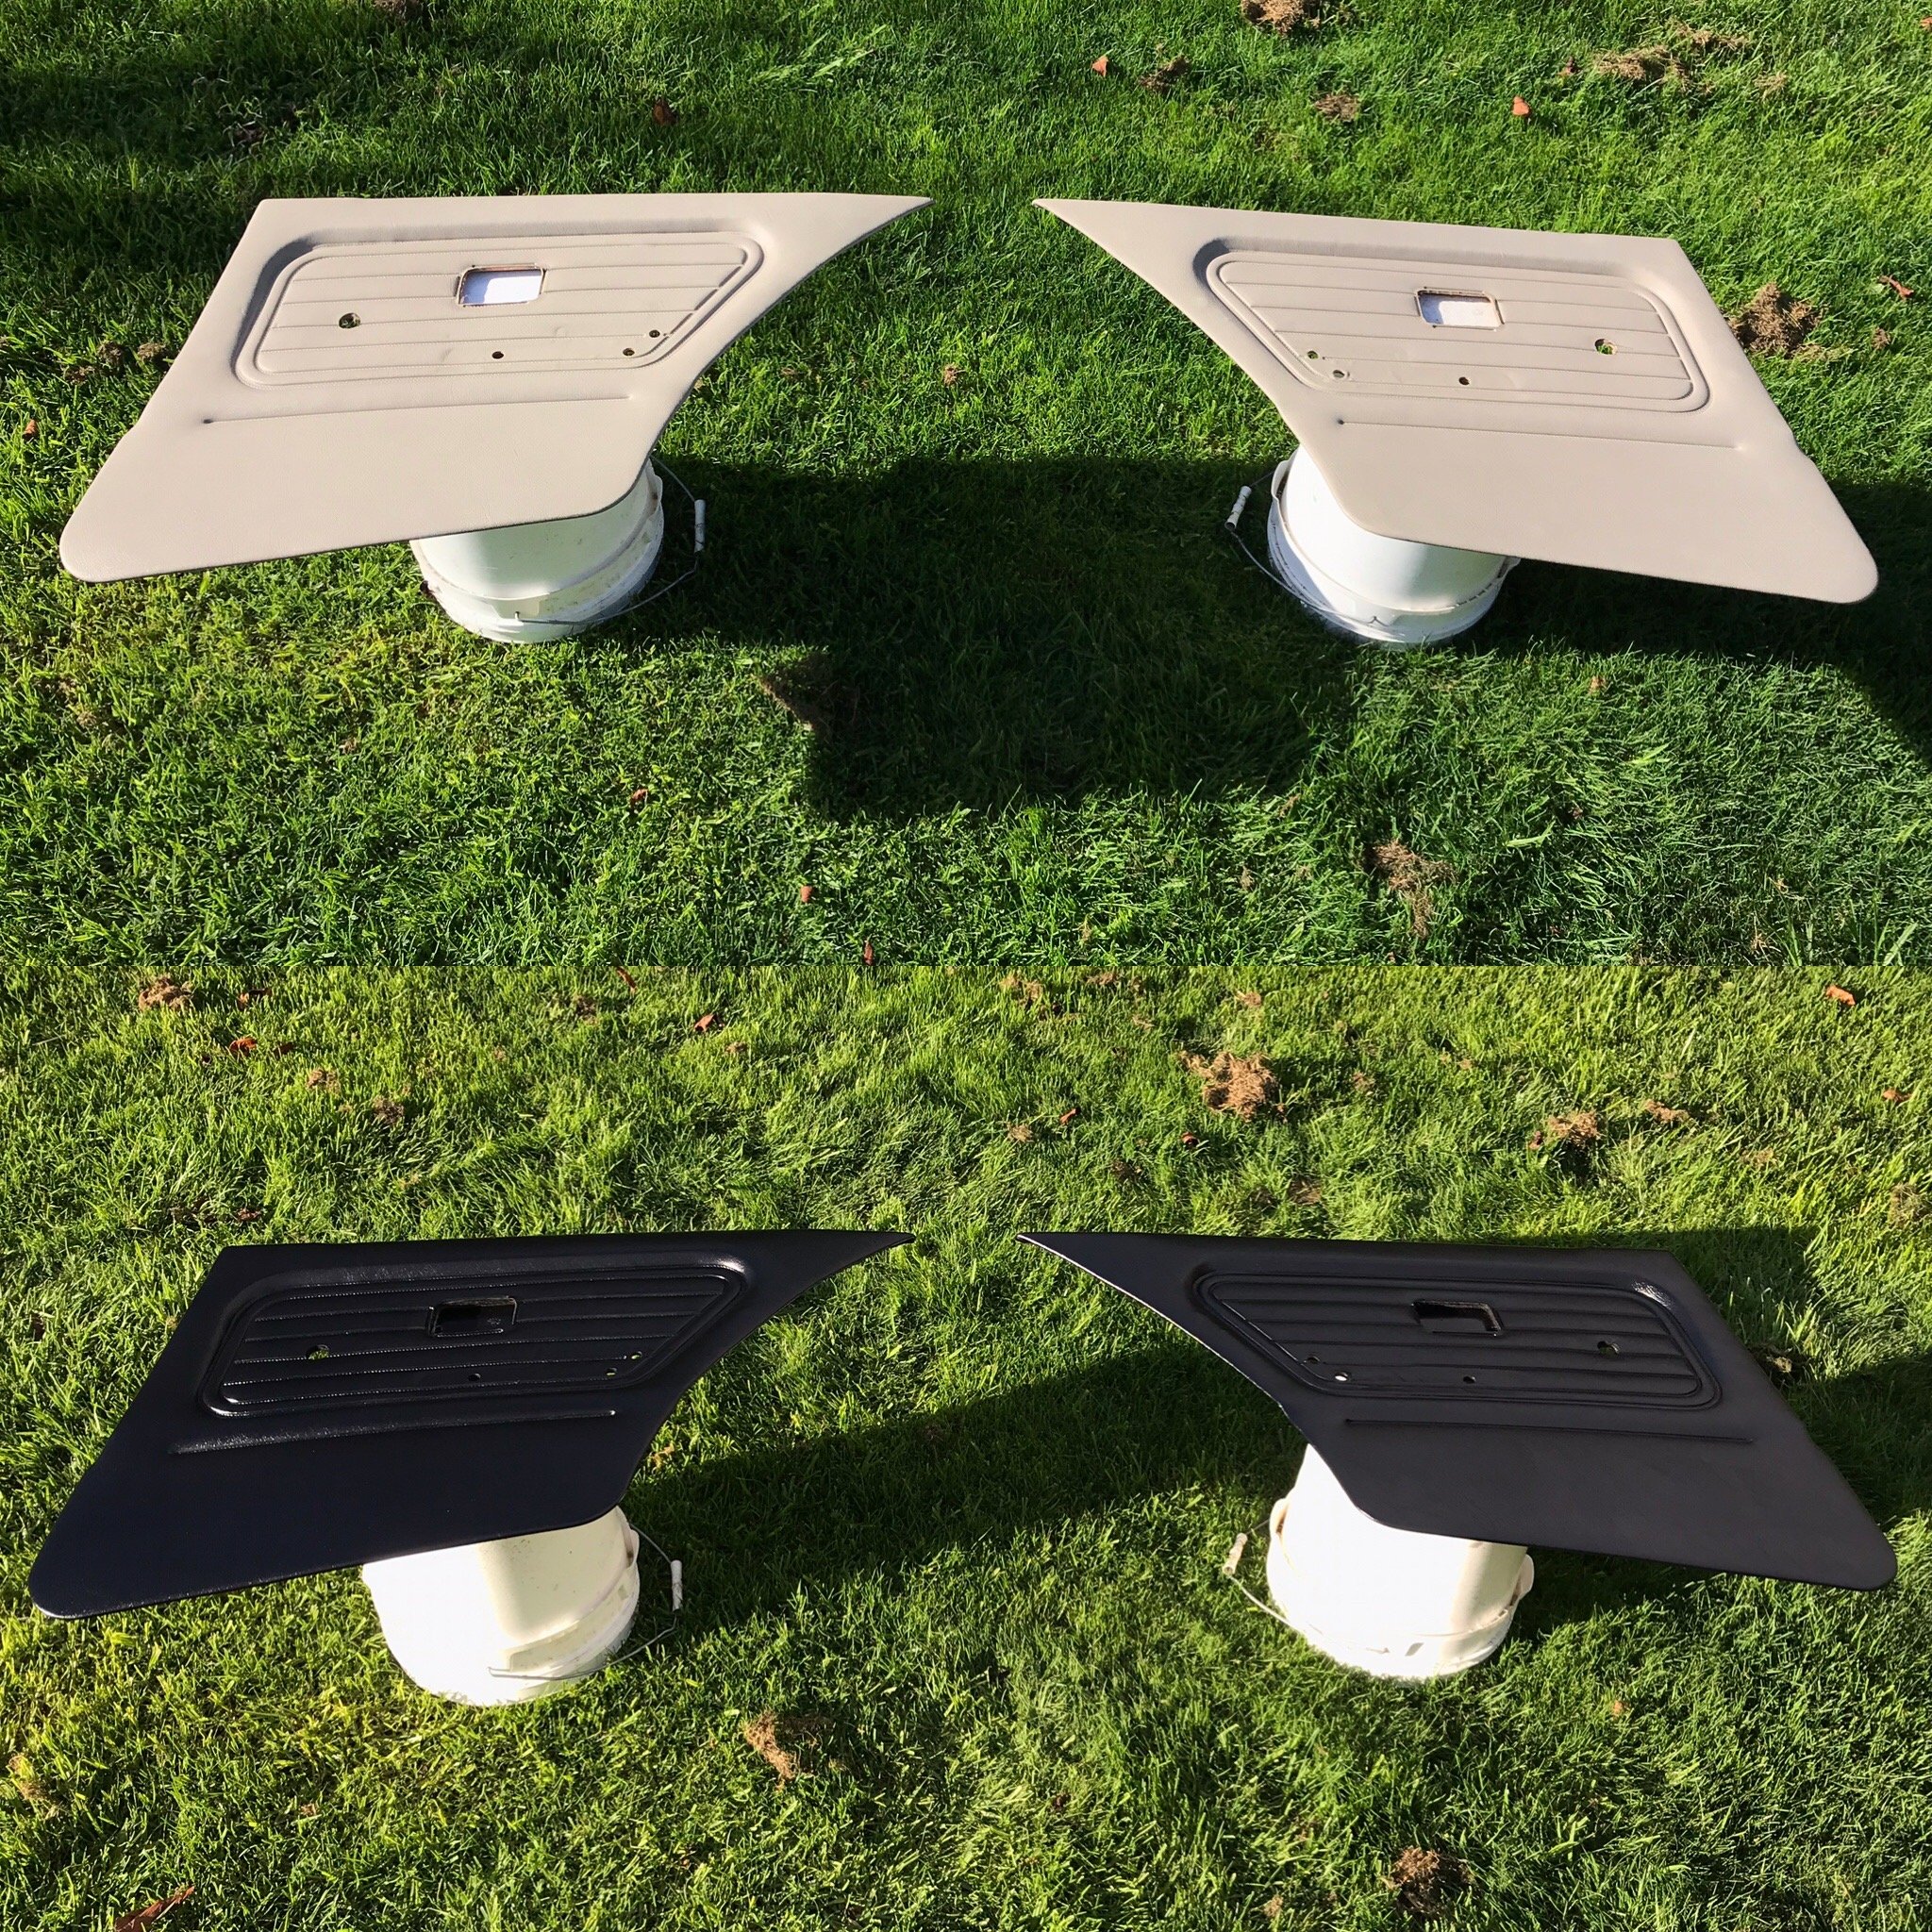
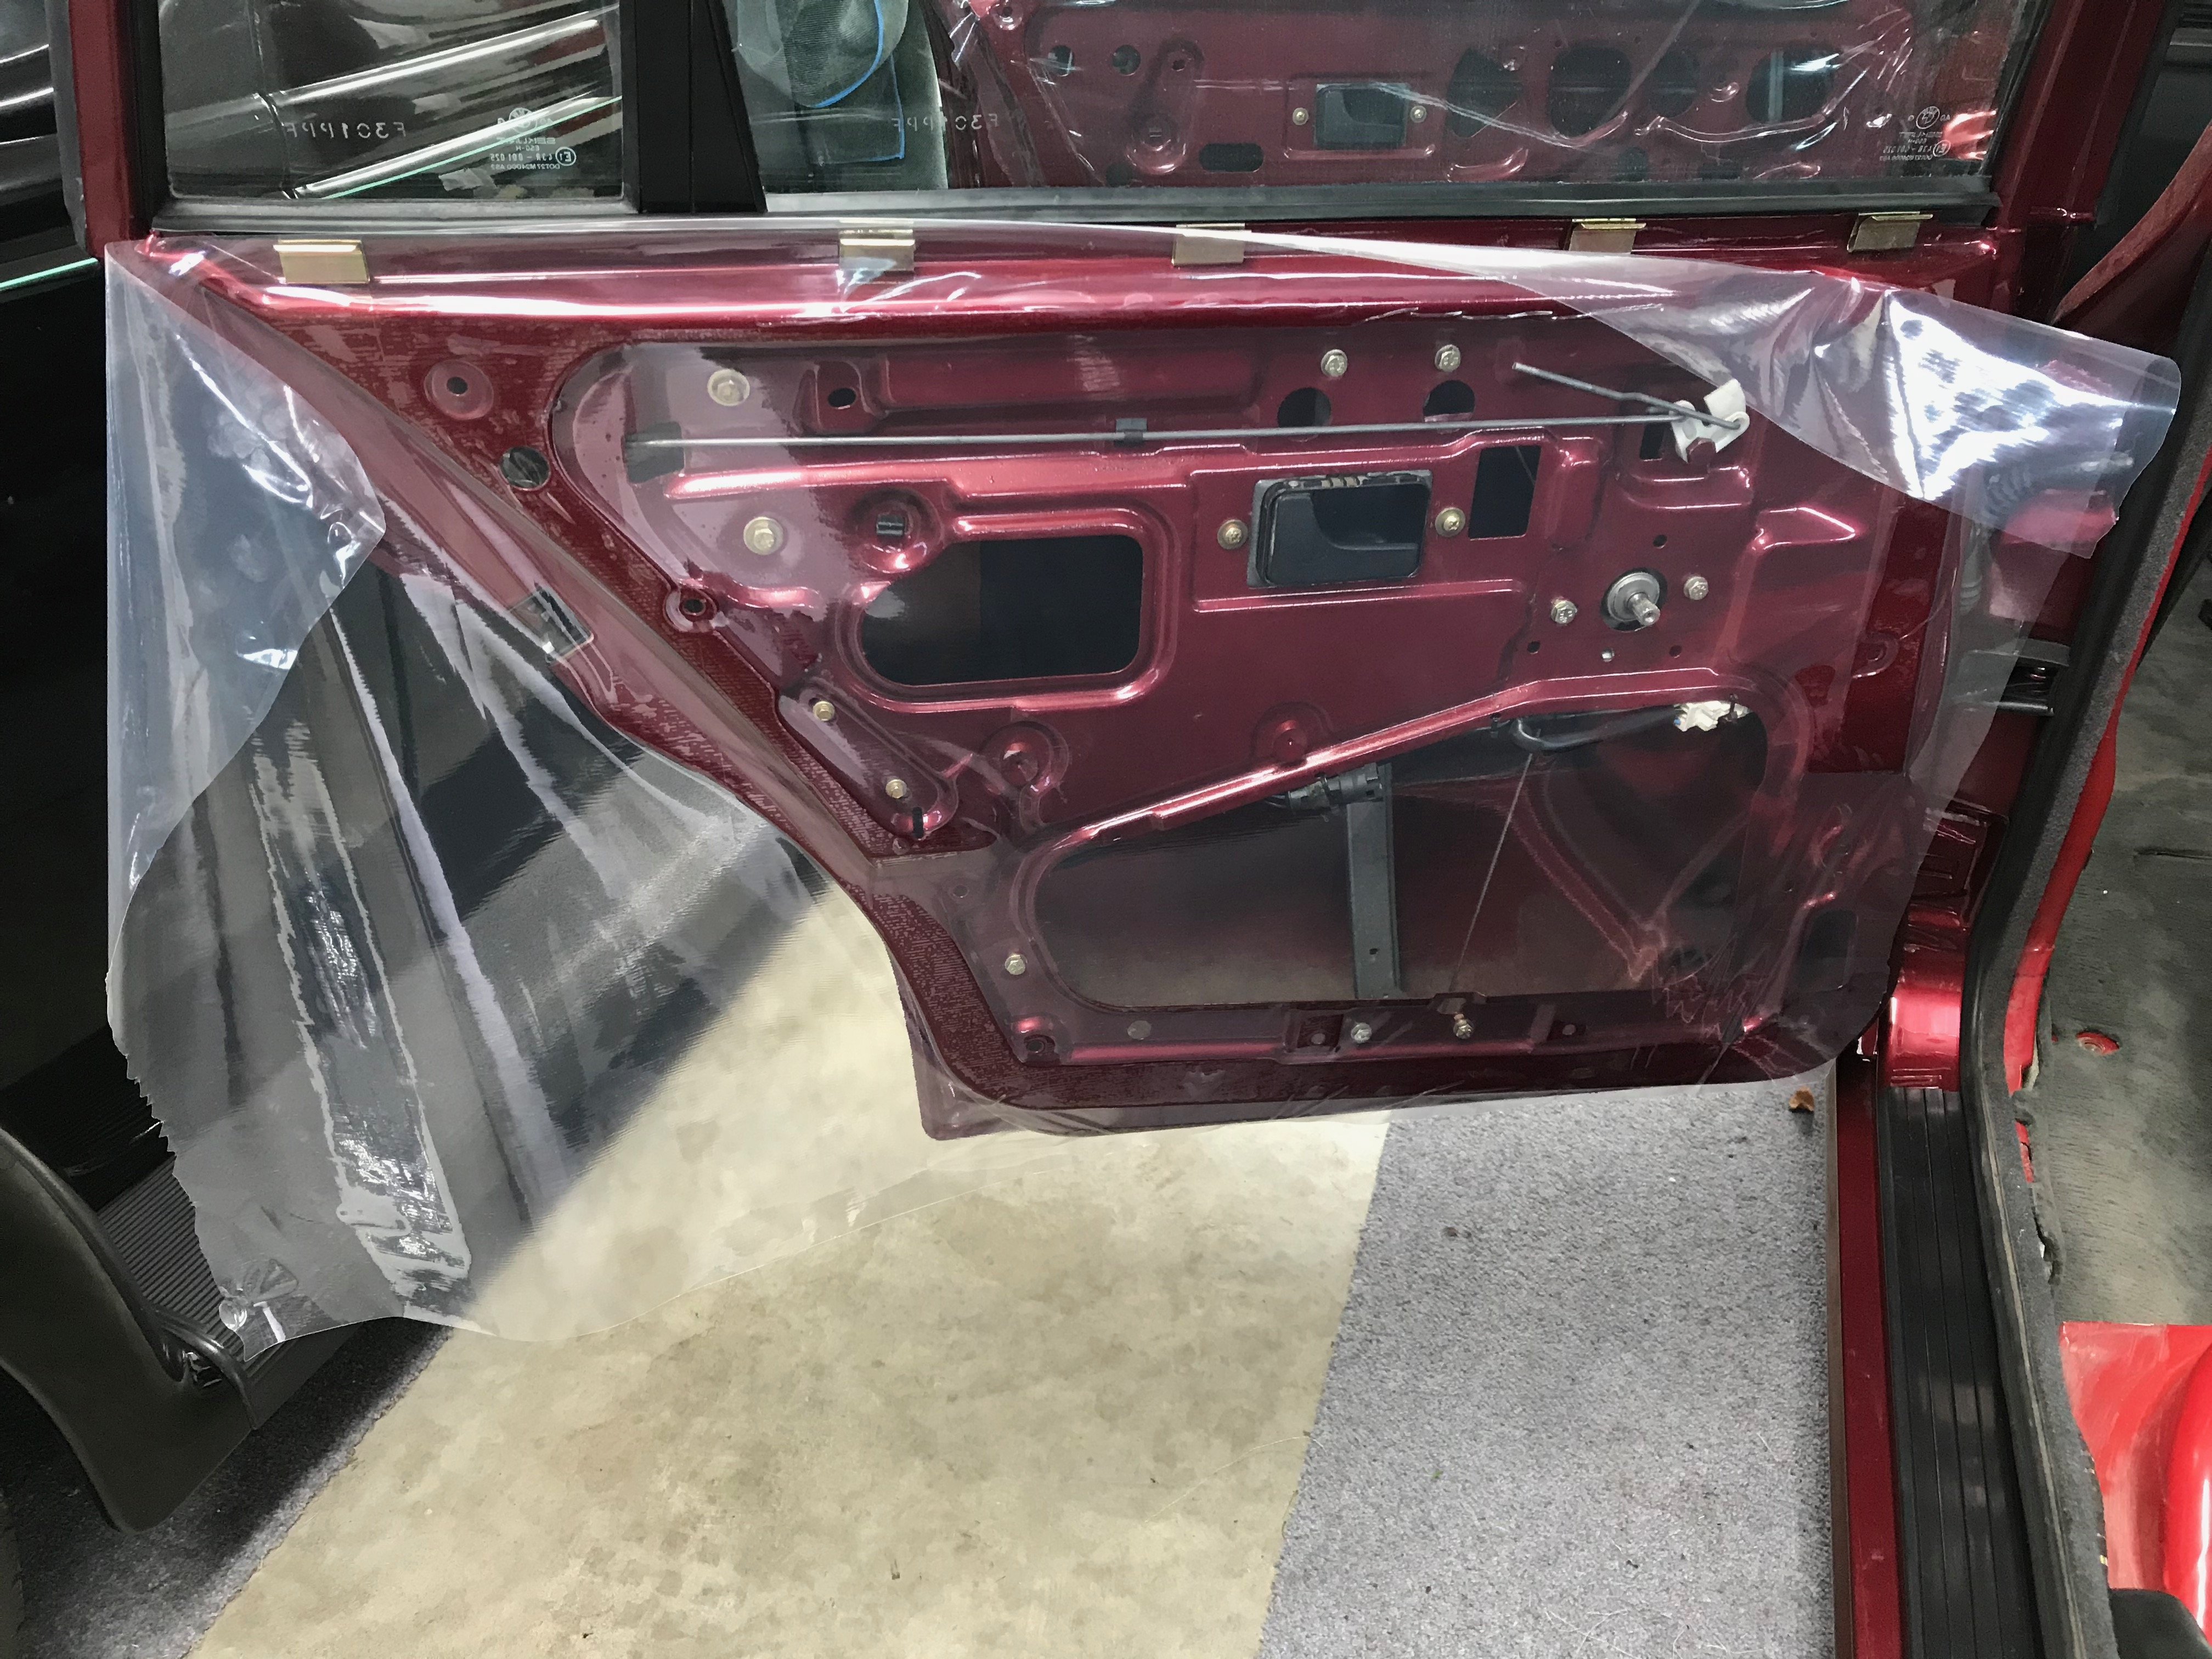
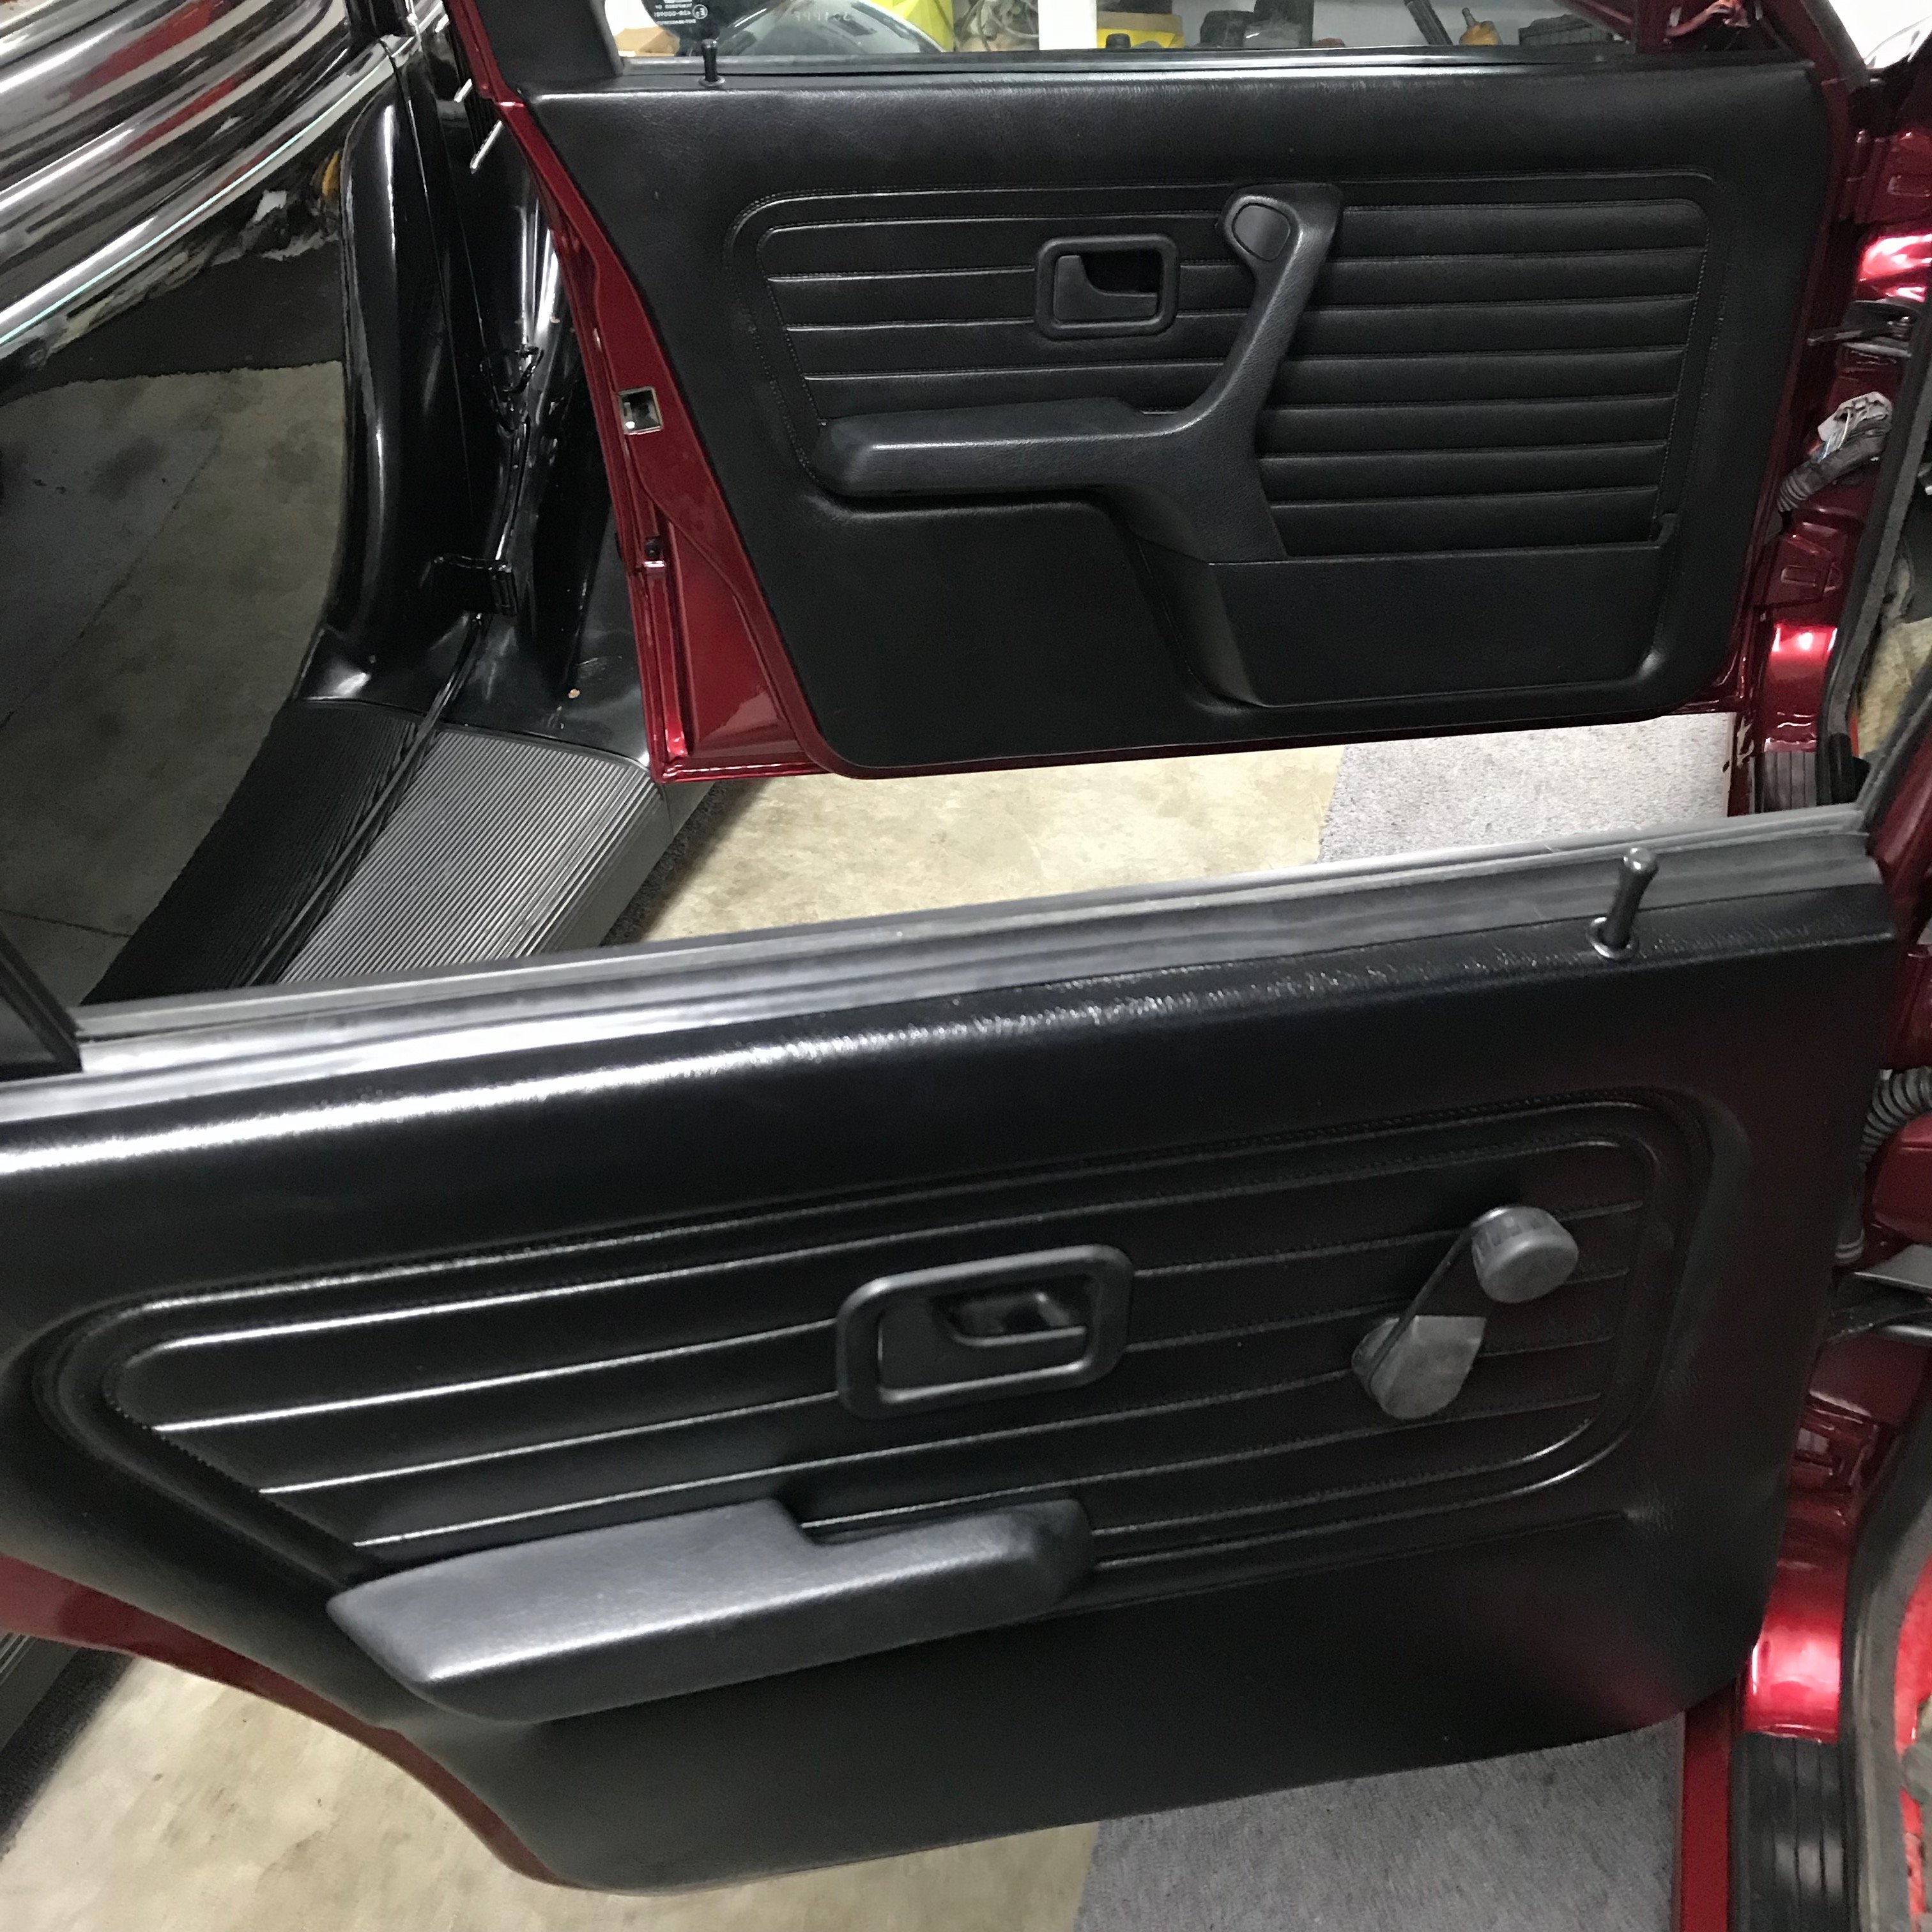
I kept my black door cards from my old car, and was going to convert my rear manual windows to electric in the touring, but that hasn't happened yet. so a pair of rear door cards were sourced, unfortunately not in black. A quick DIY solved that. The plastic door body seals were also replaced with some adhesive carpet protector from Mitre10, Perfect!

Starting to take shape!

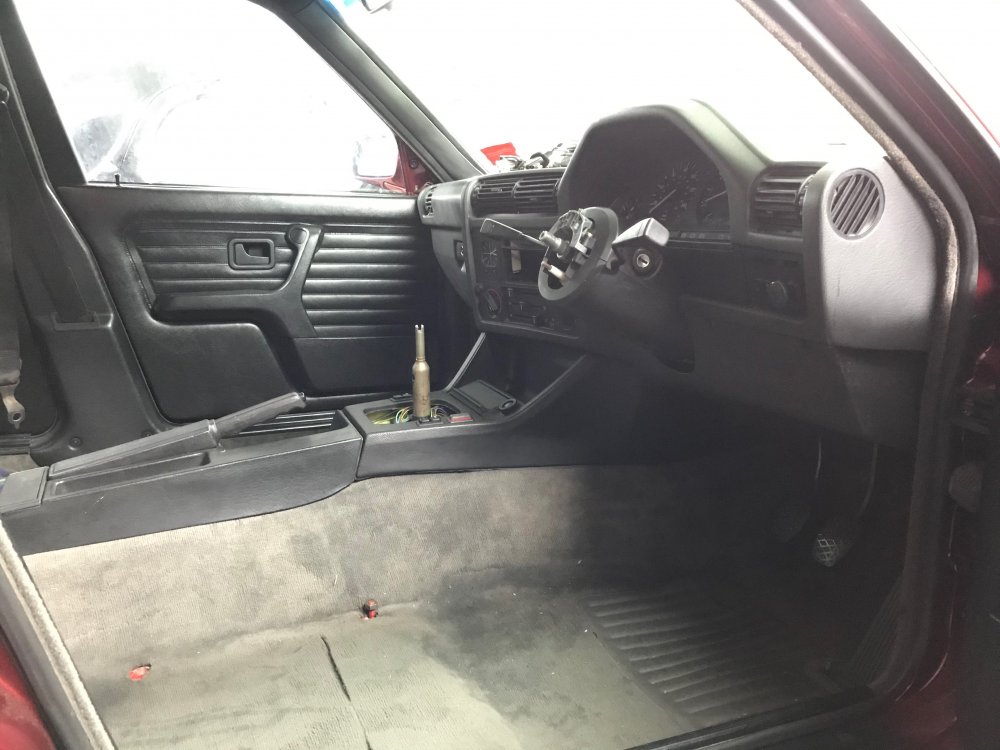
Finished off with my white gear knob from my old car (Now with 6 speed) and my Golf GTI plaid shift boot from StitchBoots in the USA.

The interior is pretty much complete now, I'm running my old tweeter pods for looks, and my old map light mirror i kept from my previous car also. Just waiting on a radio blanking panel for the dash and also need to install my voltmeter.
The rear battery setup in the boot has just finished being revised, the big old battery has been replaced by a much smaller one that allows the rear opening panels in the side wheel wells to now shut correctly.
-
4
-
-
I got mine from eBay in the states after going through half a dozen or so auctions to pick out the best one, then got it delivered to the kiwi shipping warehouse then they shipped it over for me with another members gearbox as well, probably the easiest, fastest and cheapest way to do it. Although the US dollar isn't the best right now.
-
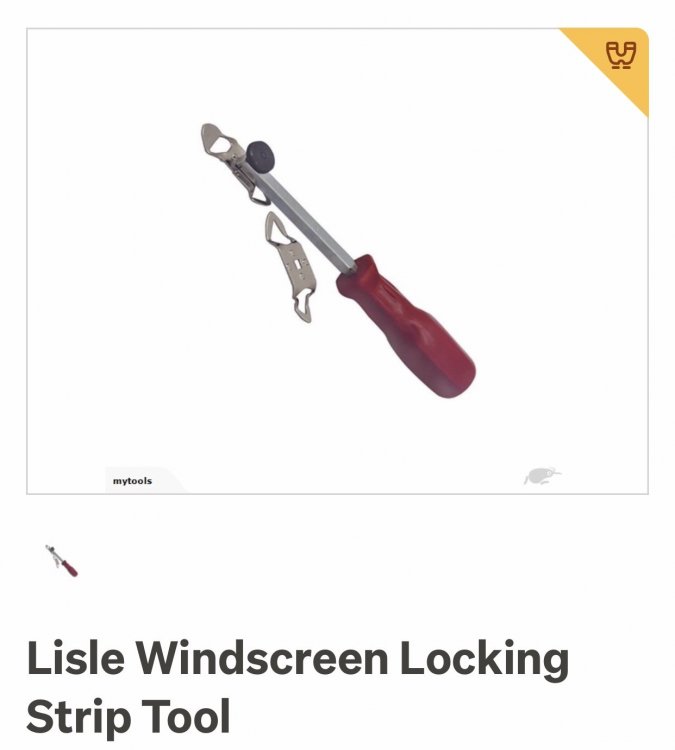
Hey guys does anyone have a tool like this or similar? Looking to borrow for one windscreen install rather than buy. Cheers
-
bump


[ E30 ] VERSION 2
in Projects
Posted · Report reply
Cheers mate, was a very long and slow process, but I never let go of the end goal and vision! It was definitely all worth it and so rewarding.