
_BRS_
-
Content Count
1793 -
Joined
-
Last visited
-
Days Won
7
Posts posted by _BRS_
-
-
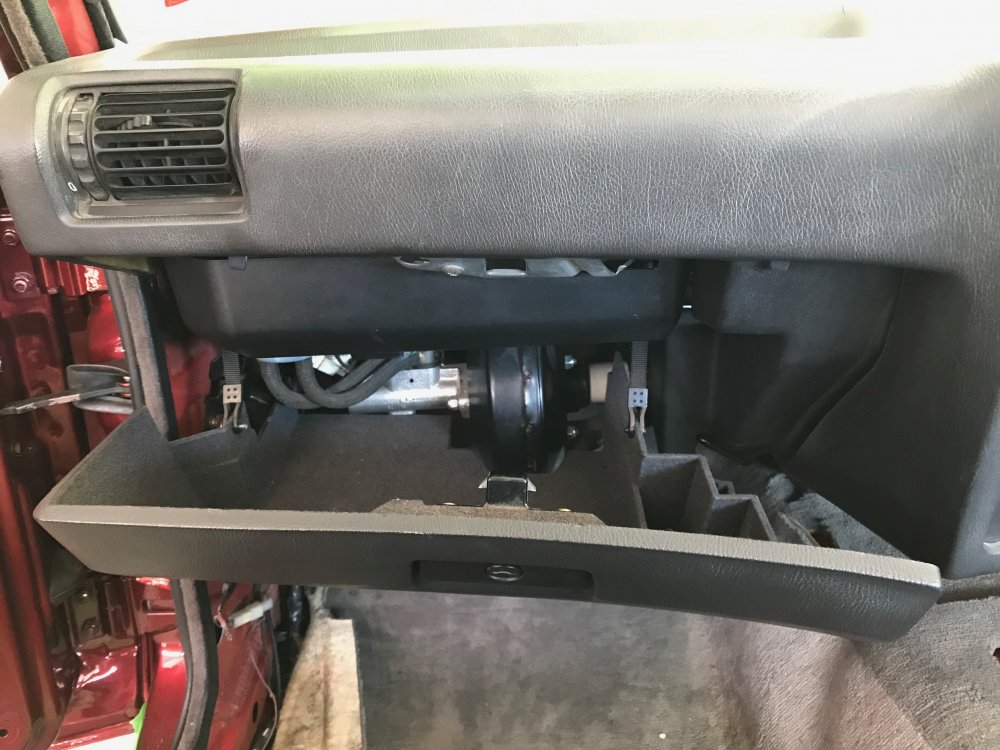
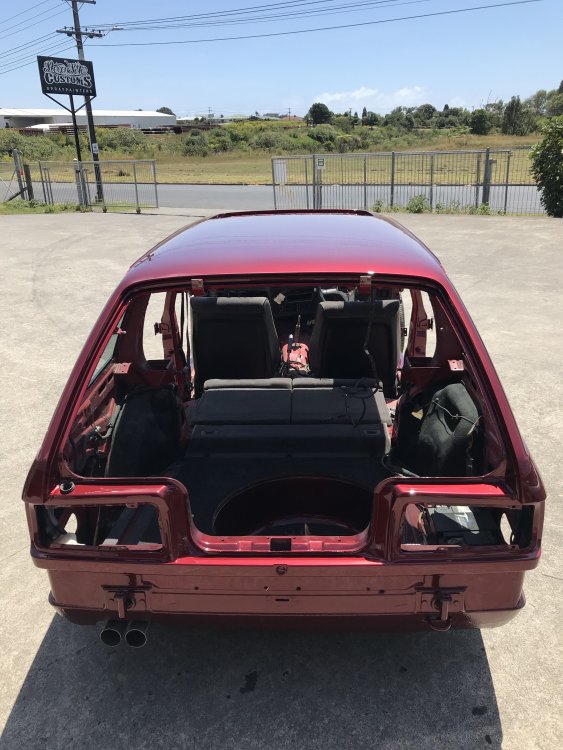
Interior Update!
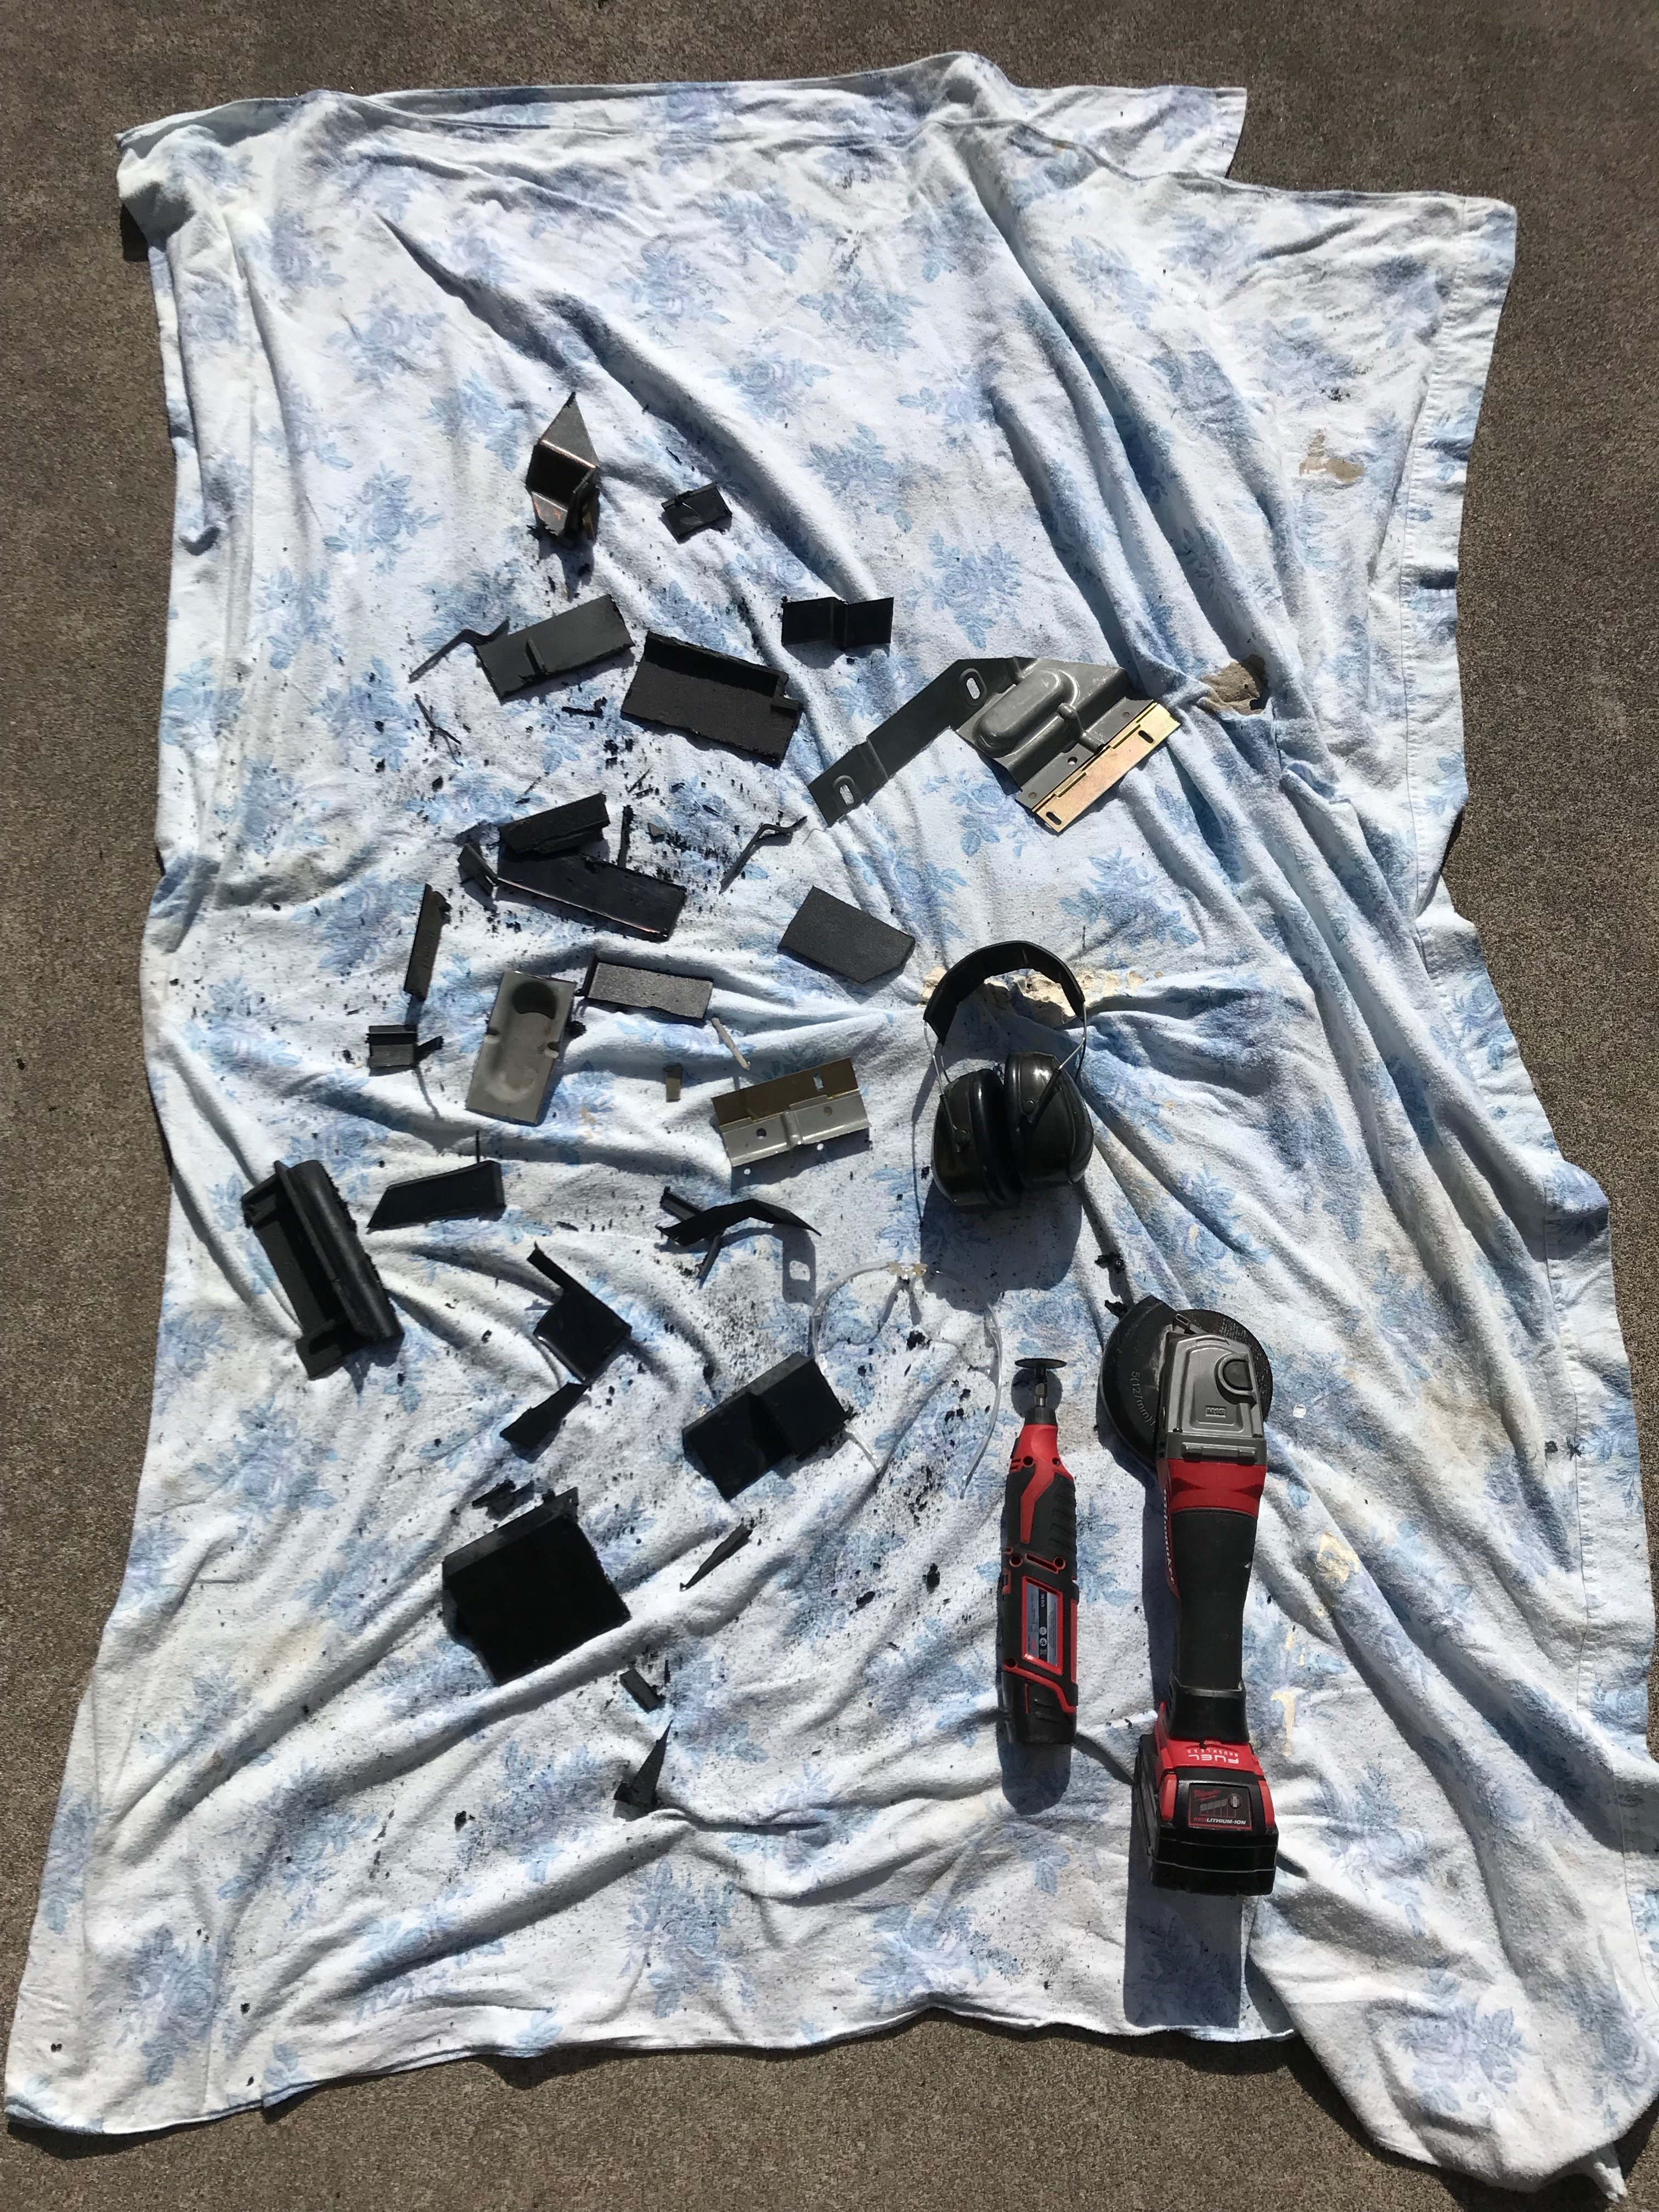
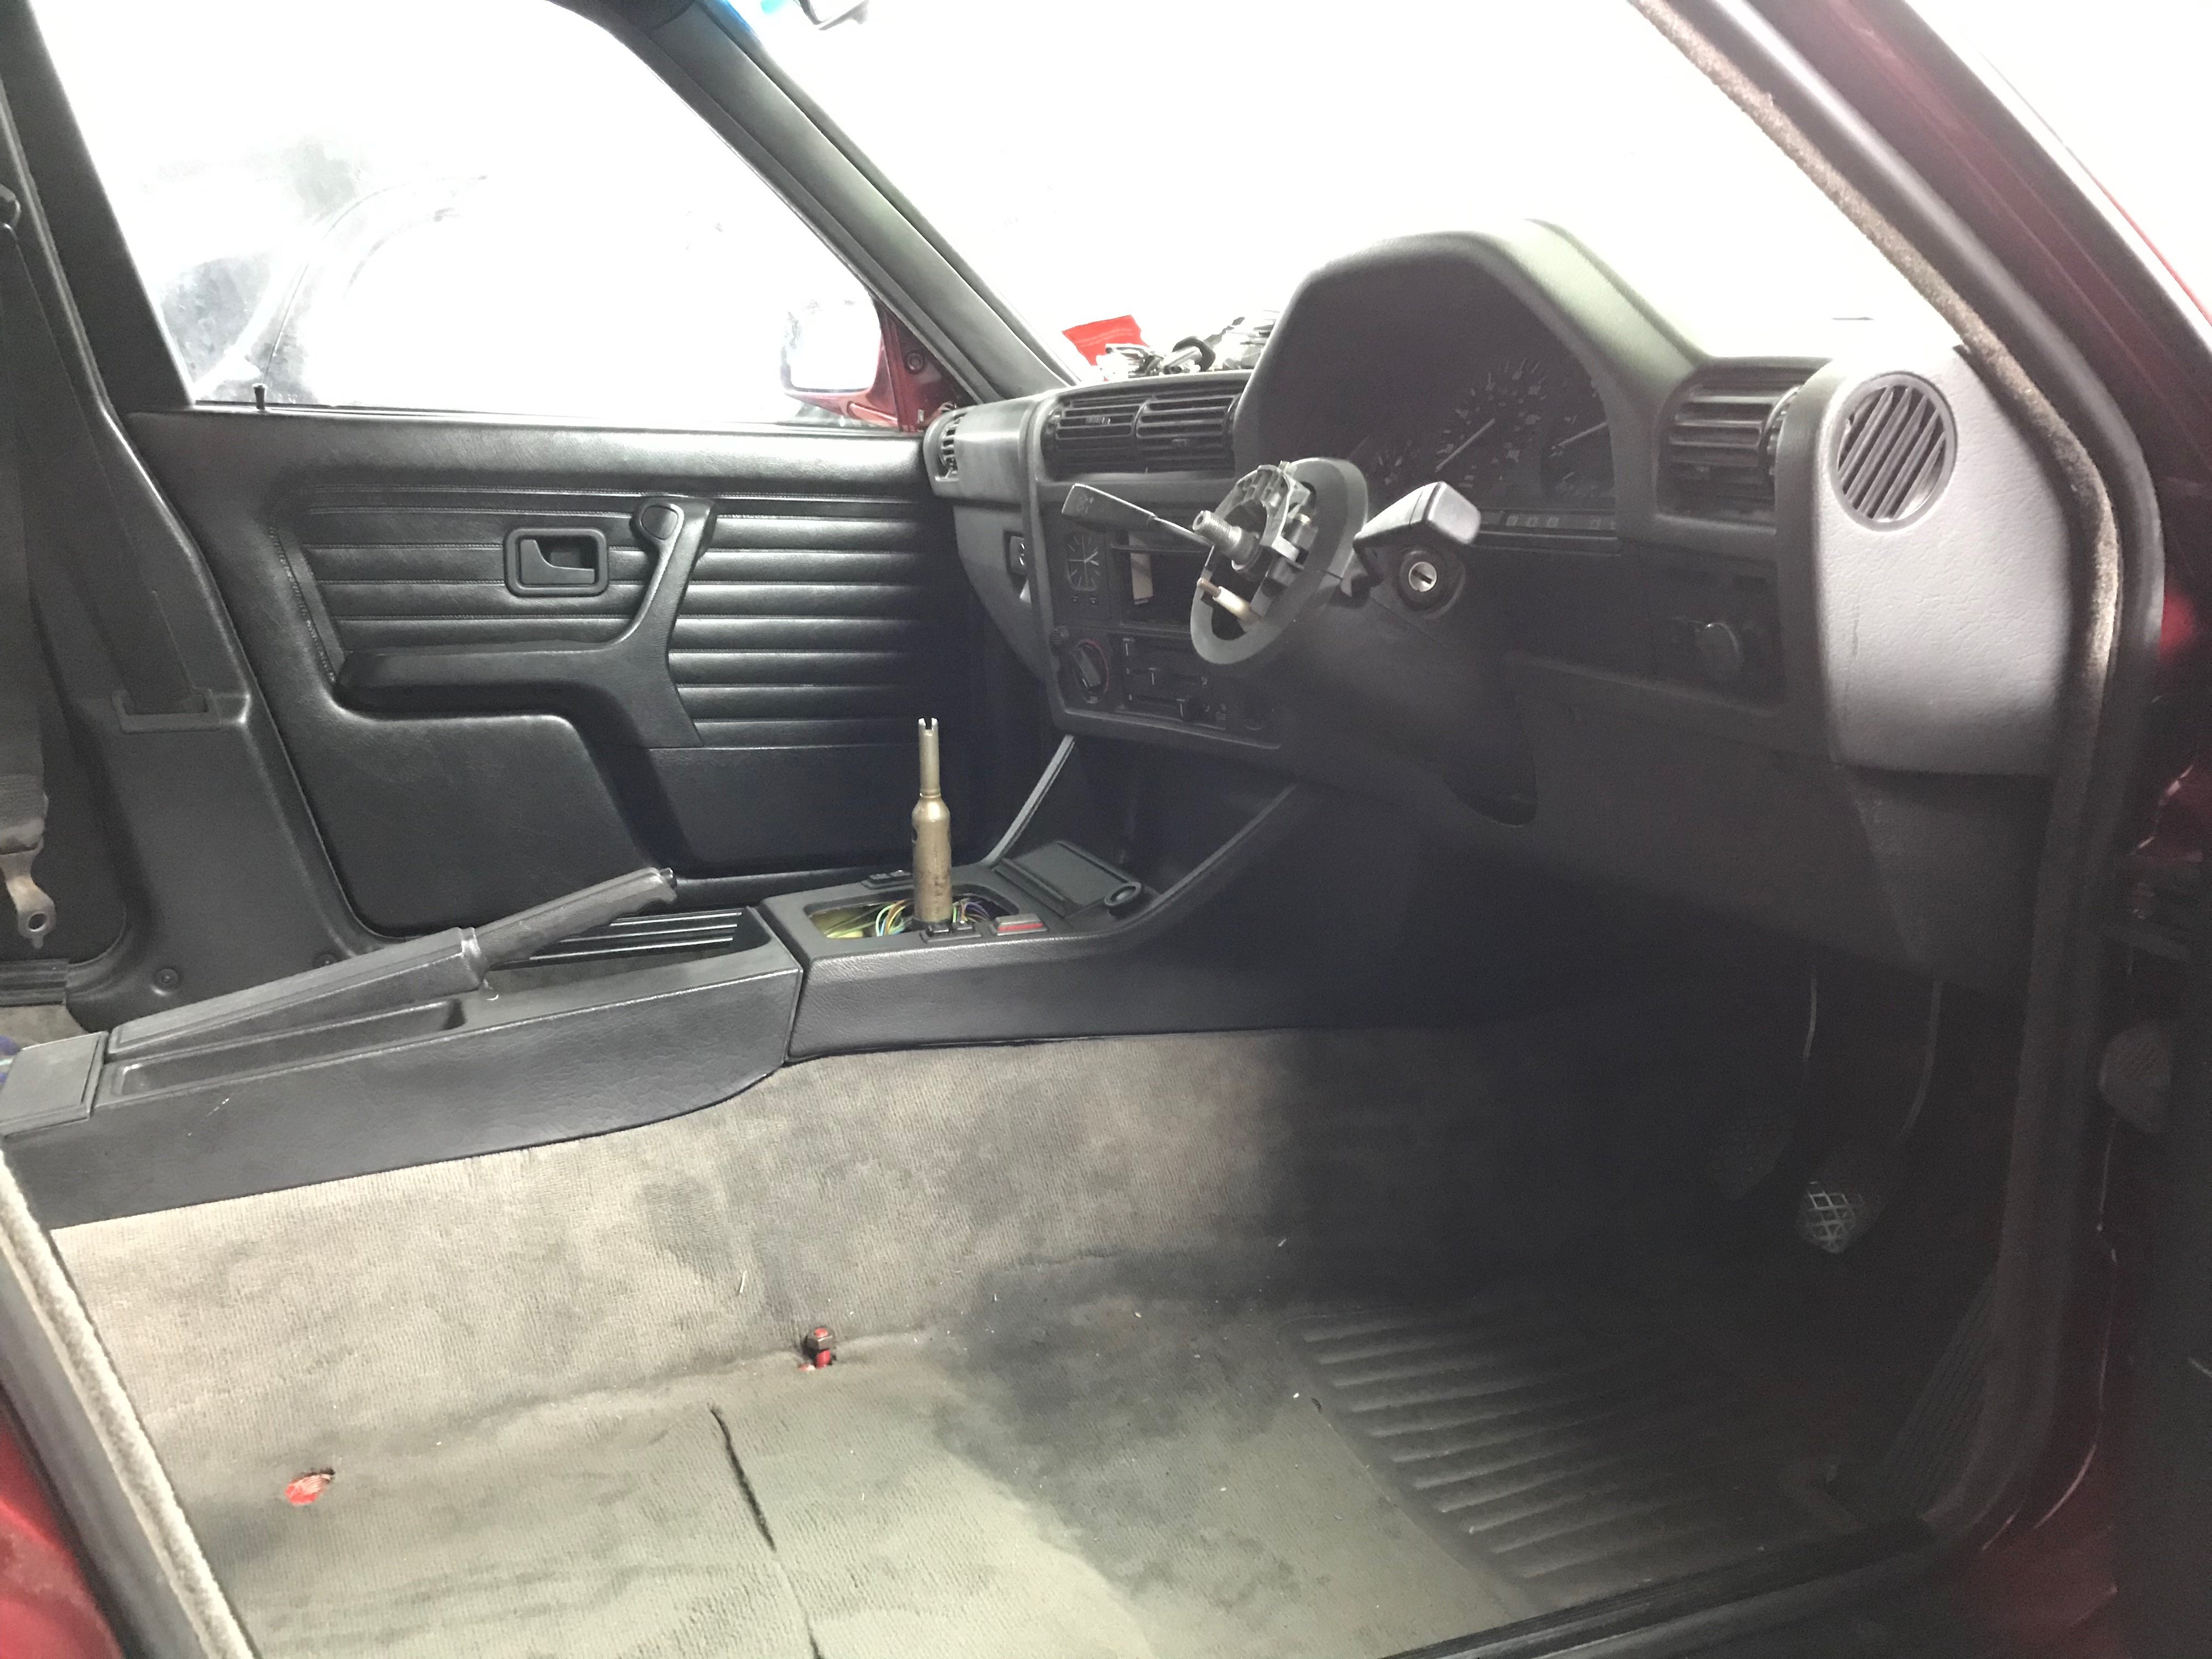
With my brake booster now in the old glovebox location, i still wanted it to look as factory as possible, after a lot of cutting and grinding, i achieved just that.
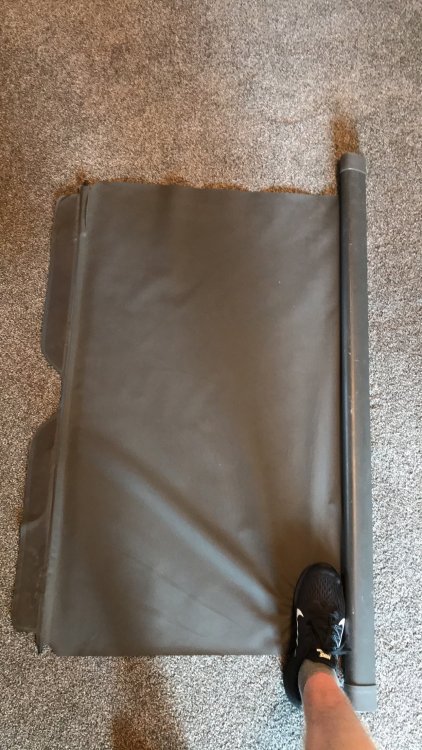
Rear cargo blind sourced from Mike Witheford
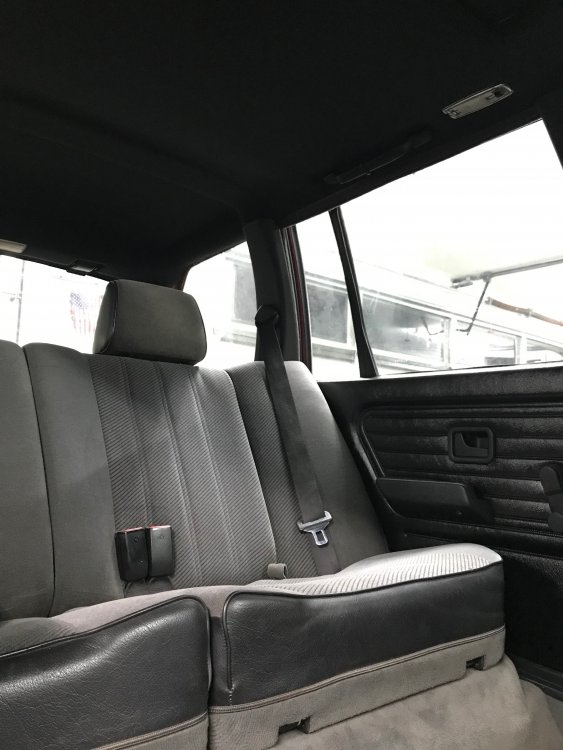
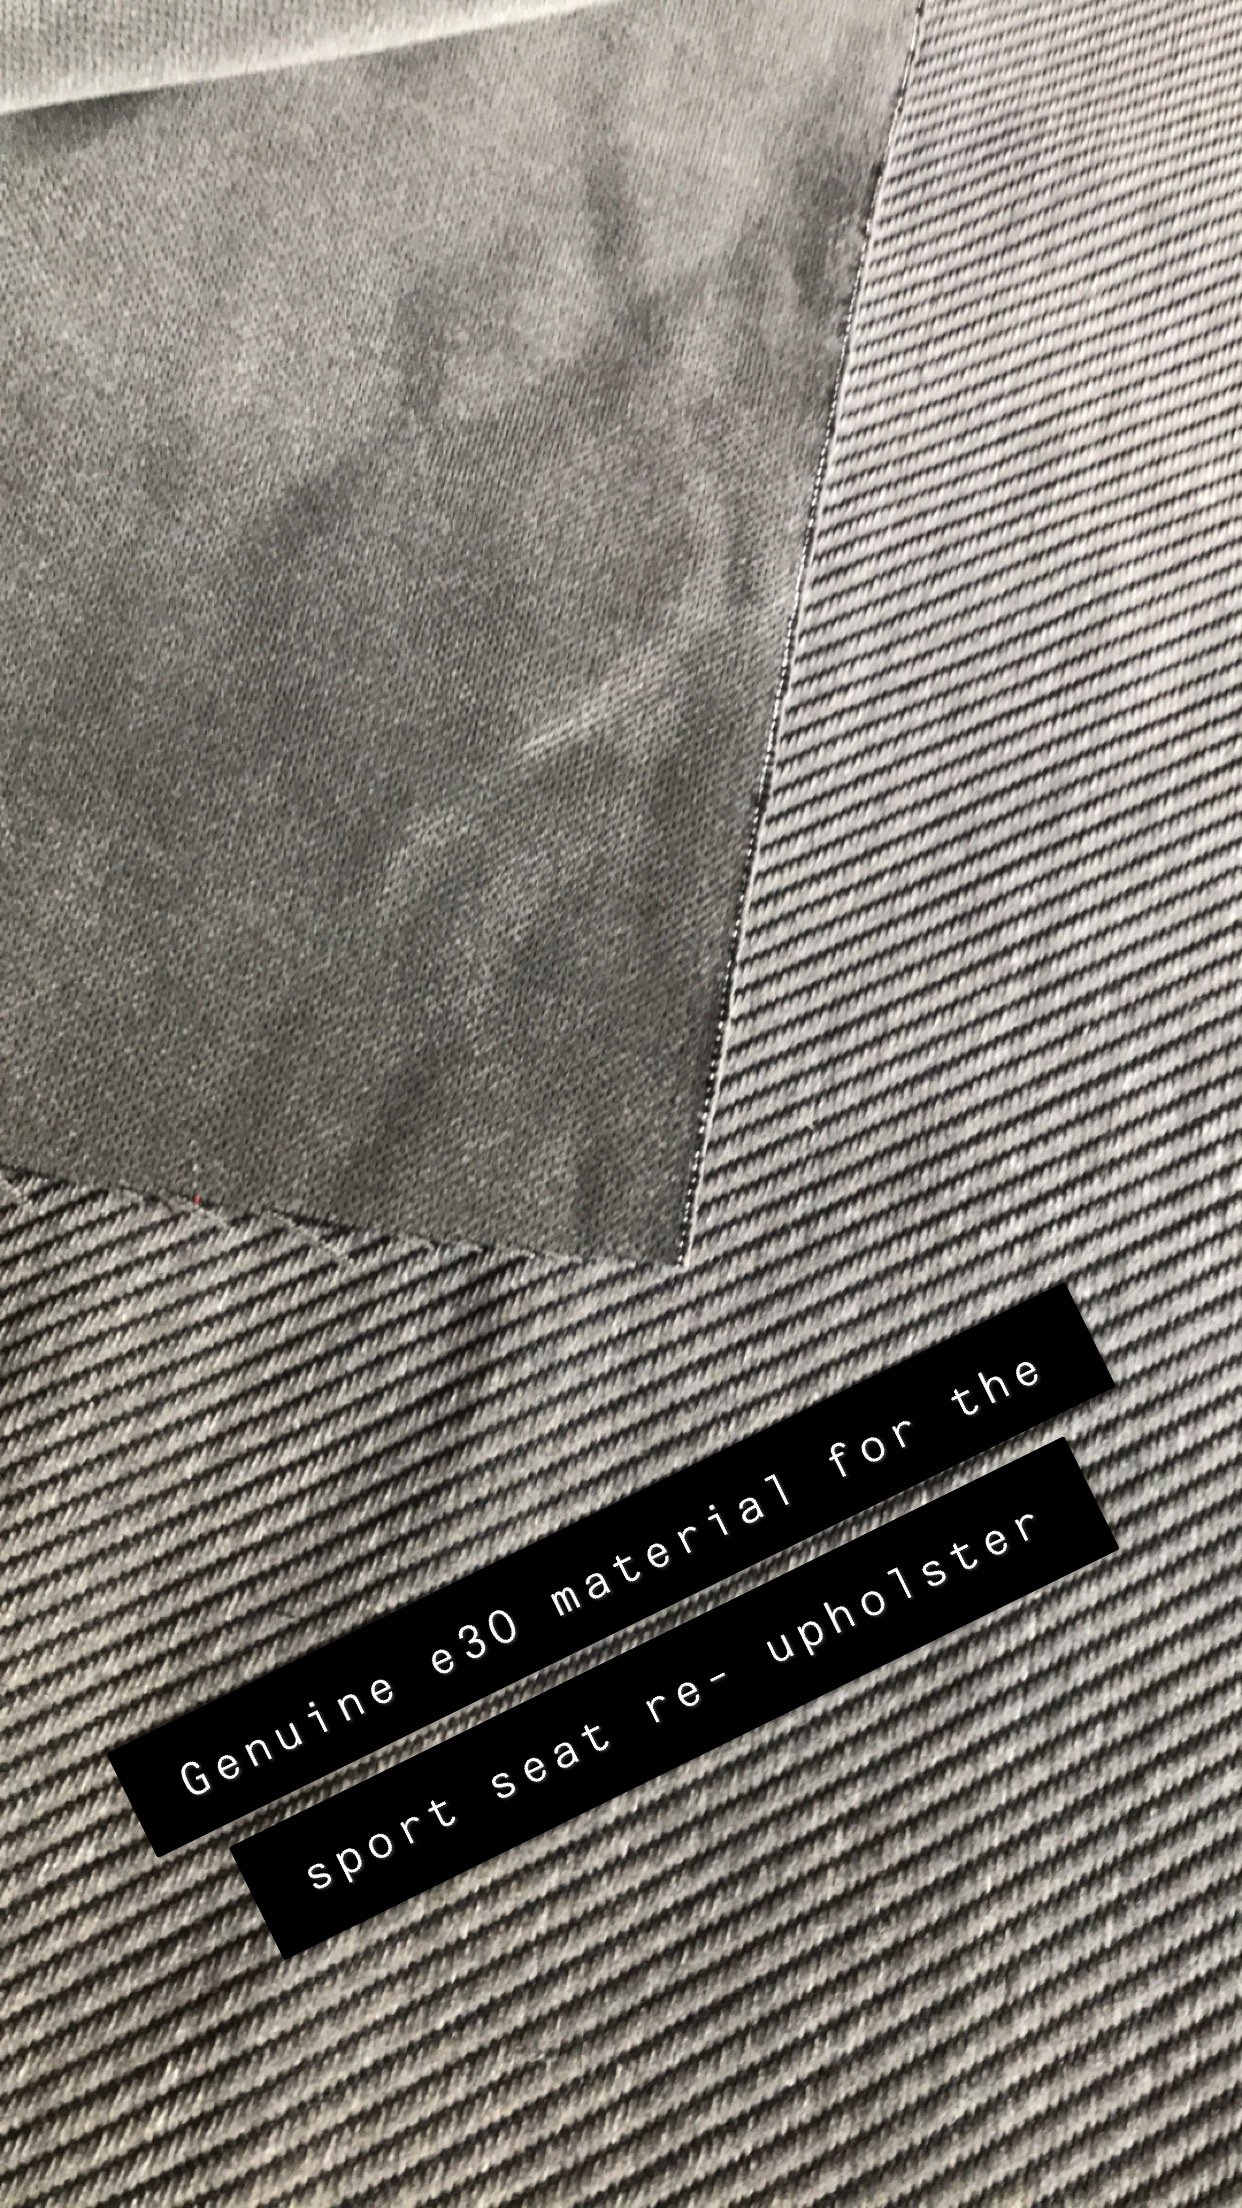
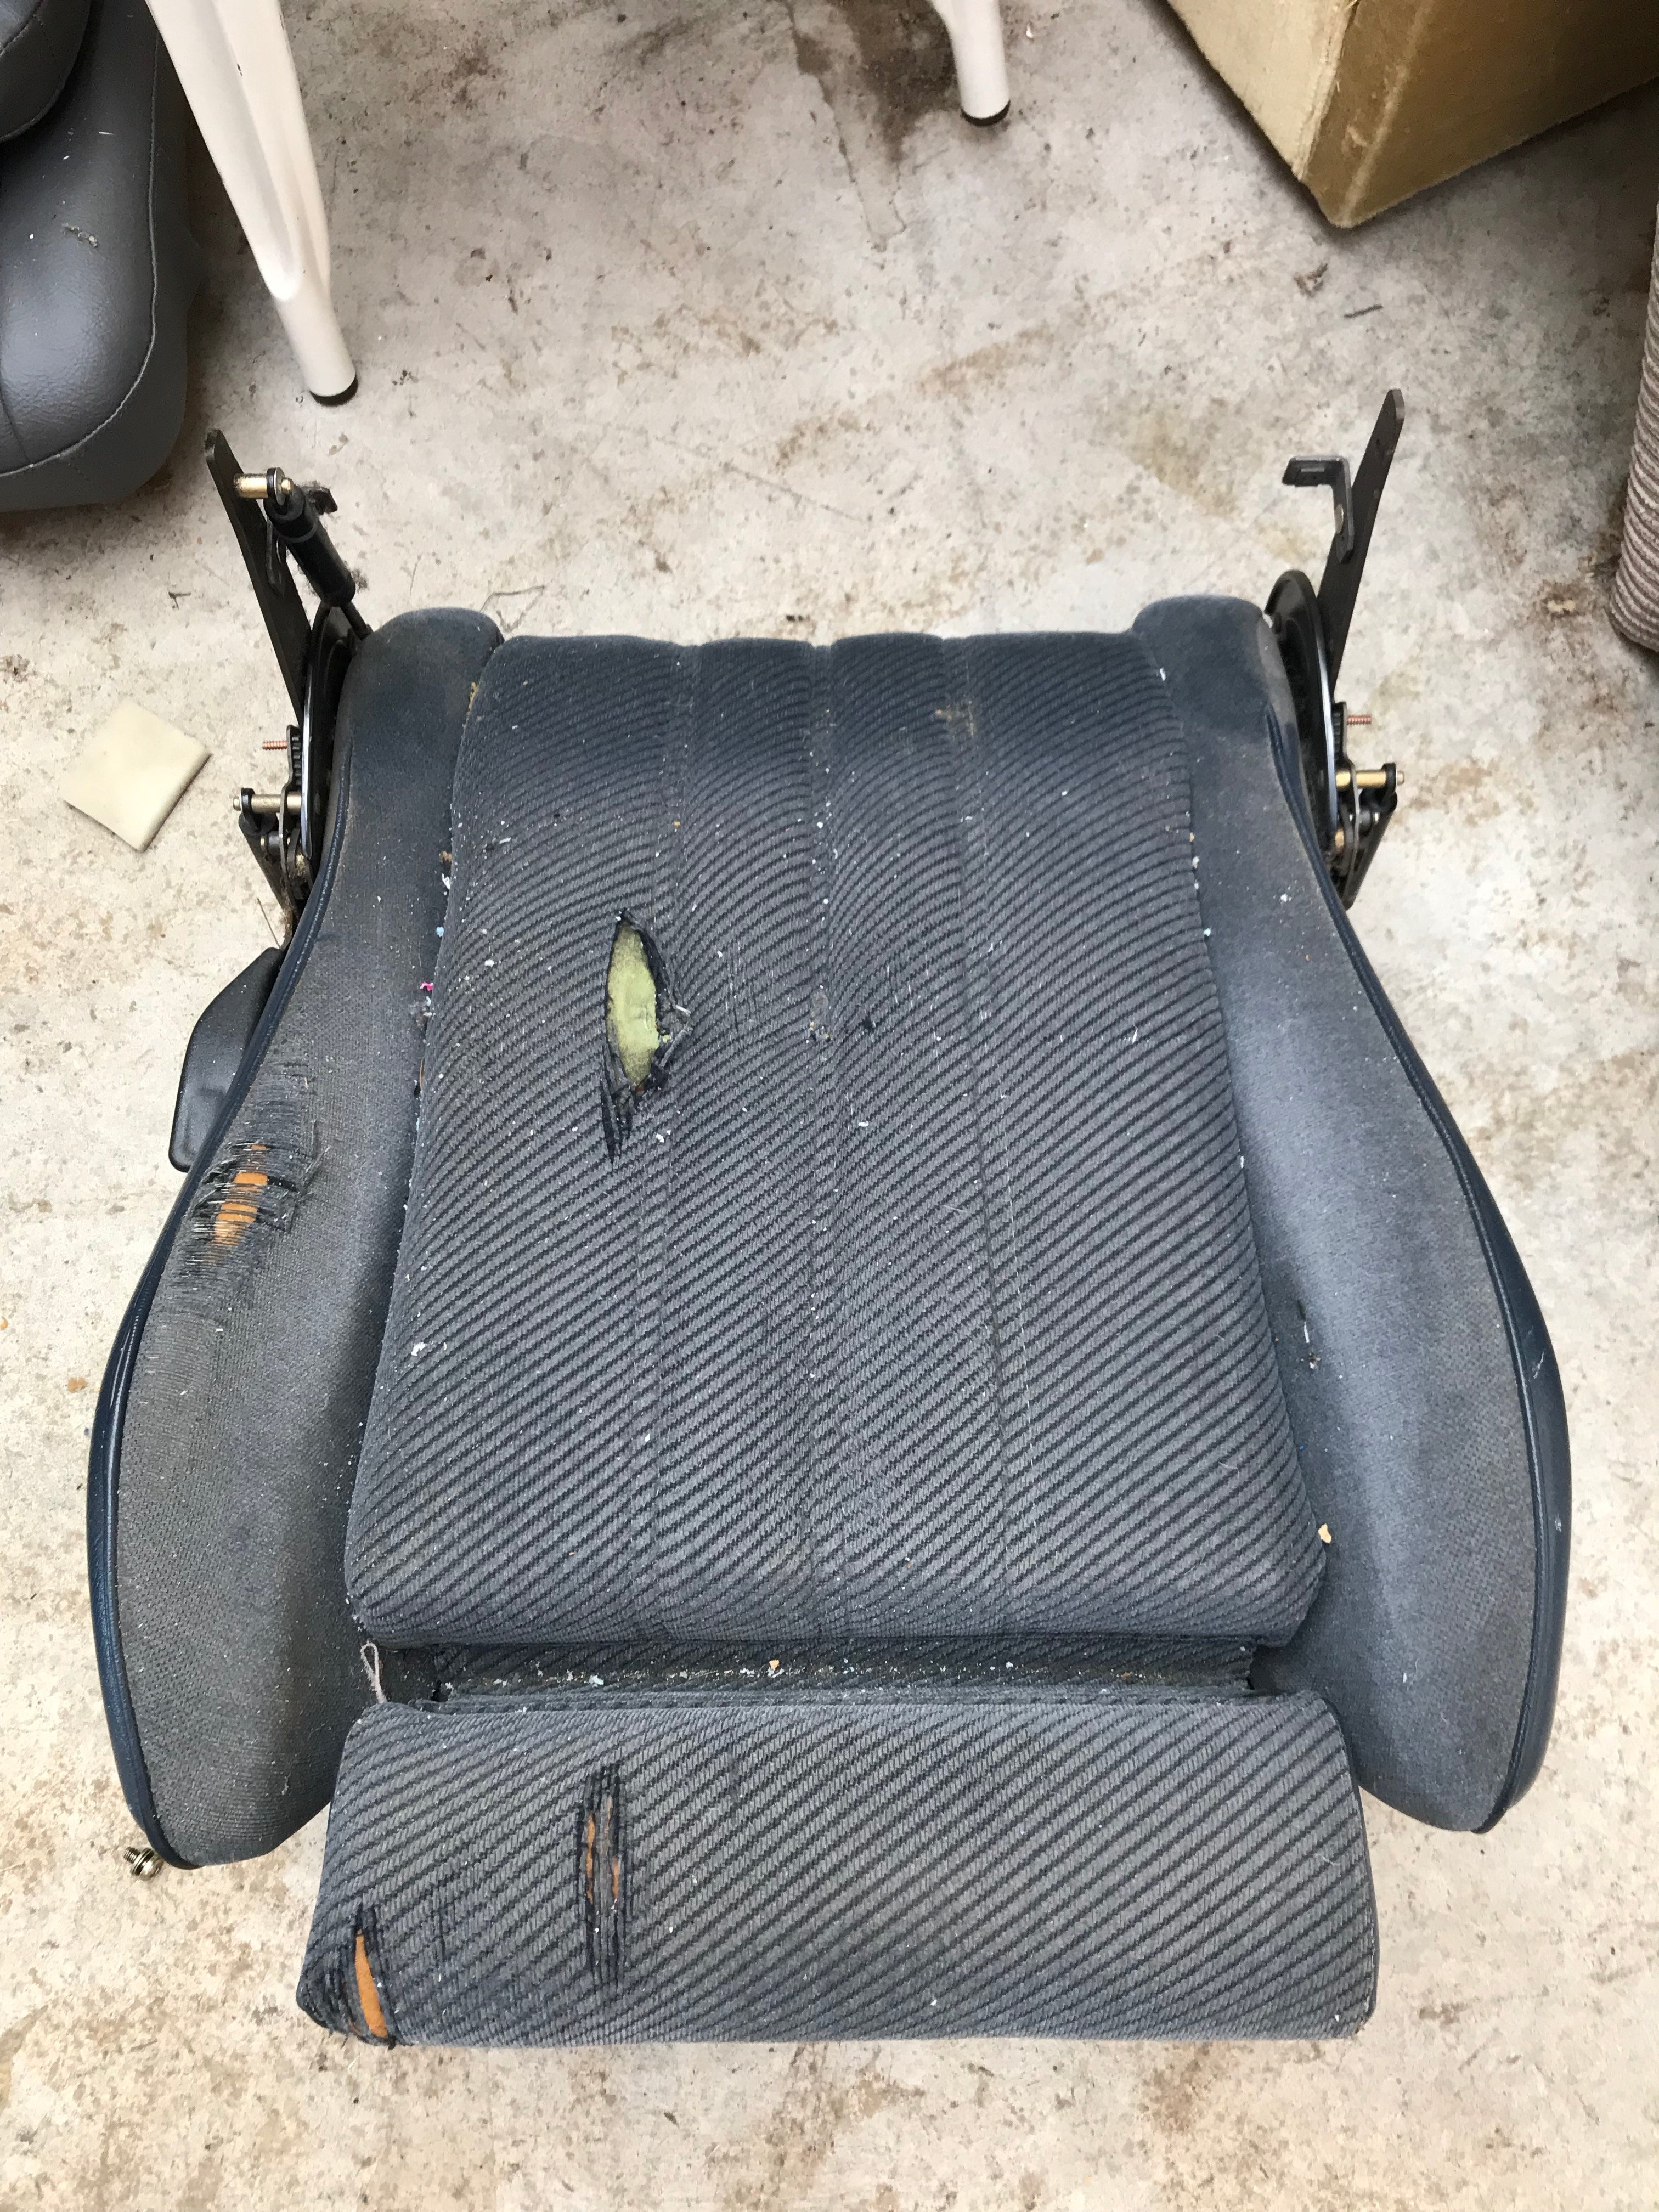
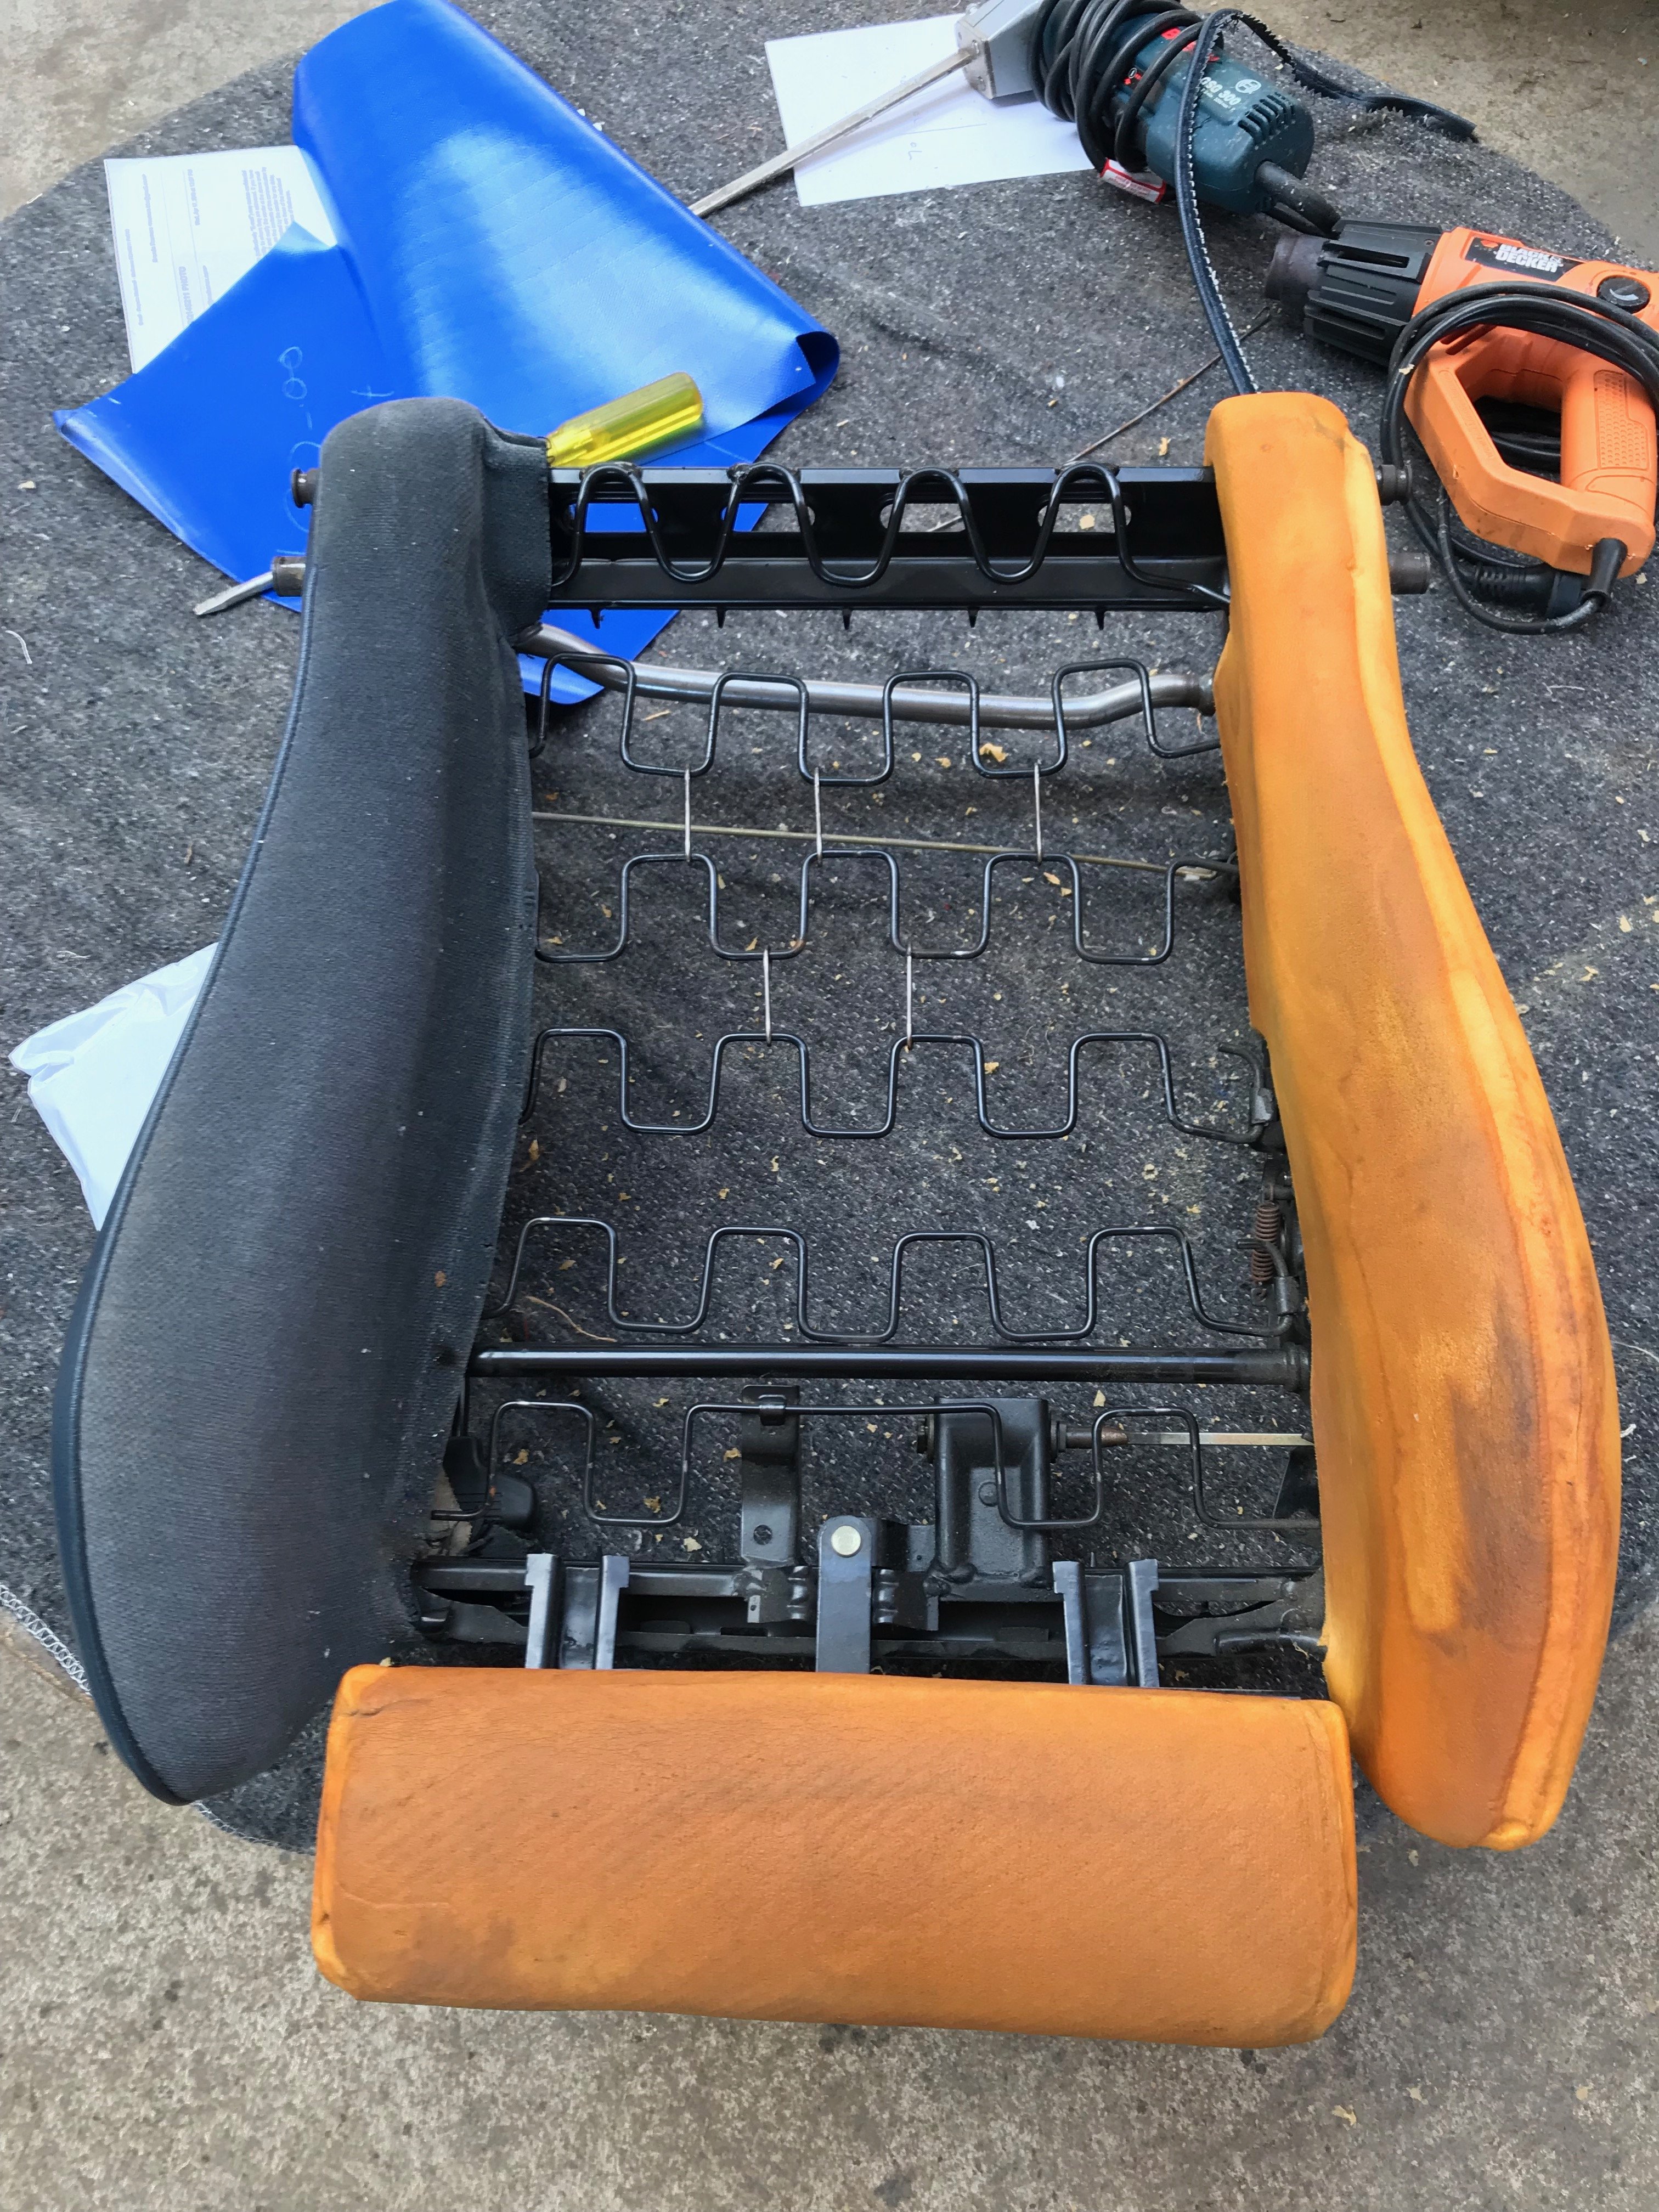
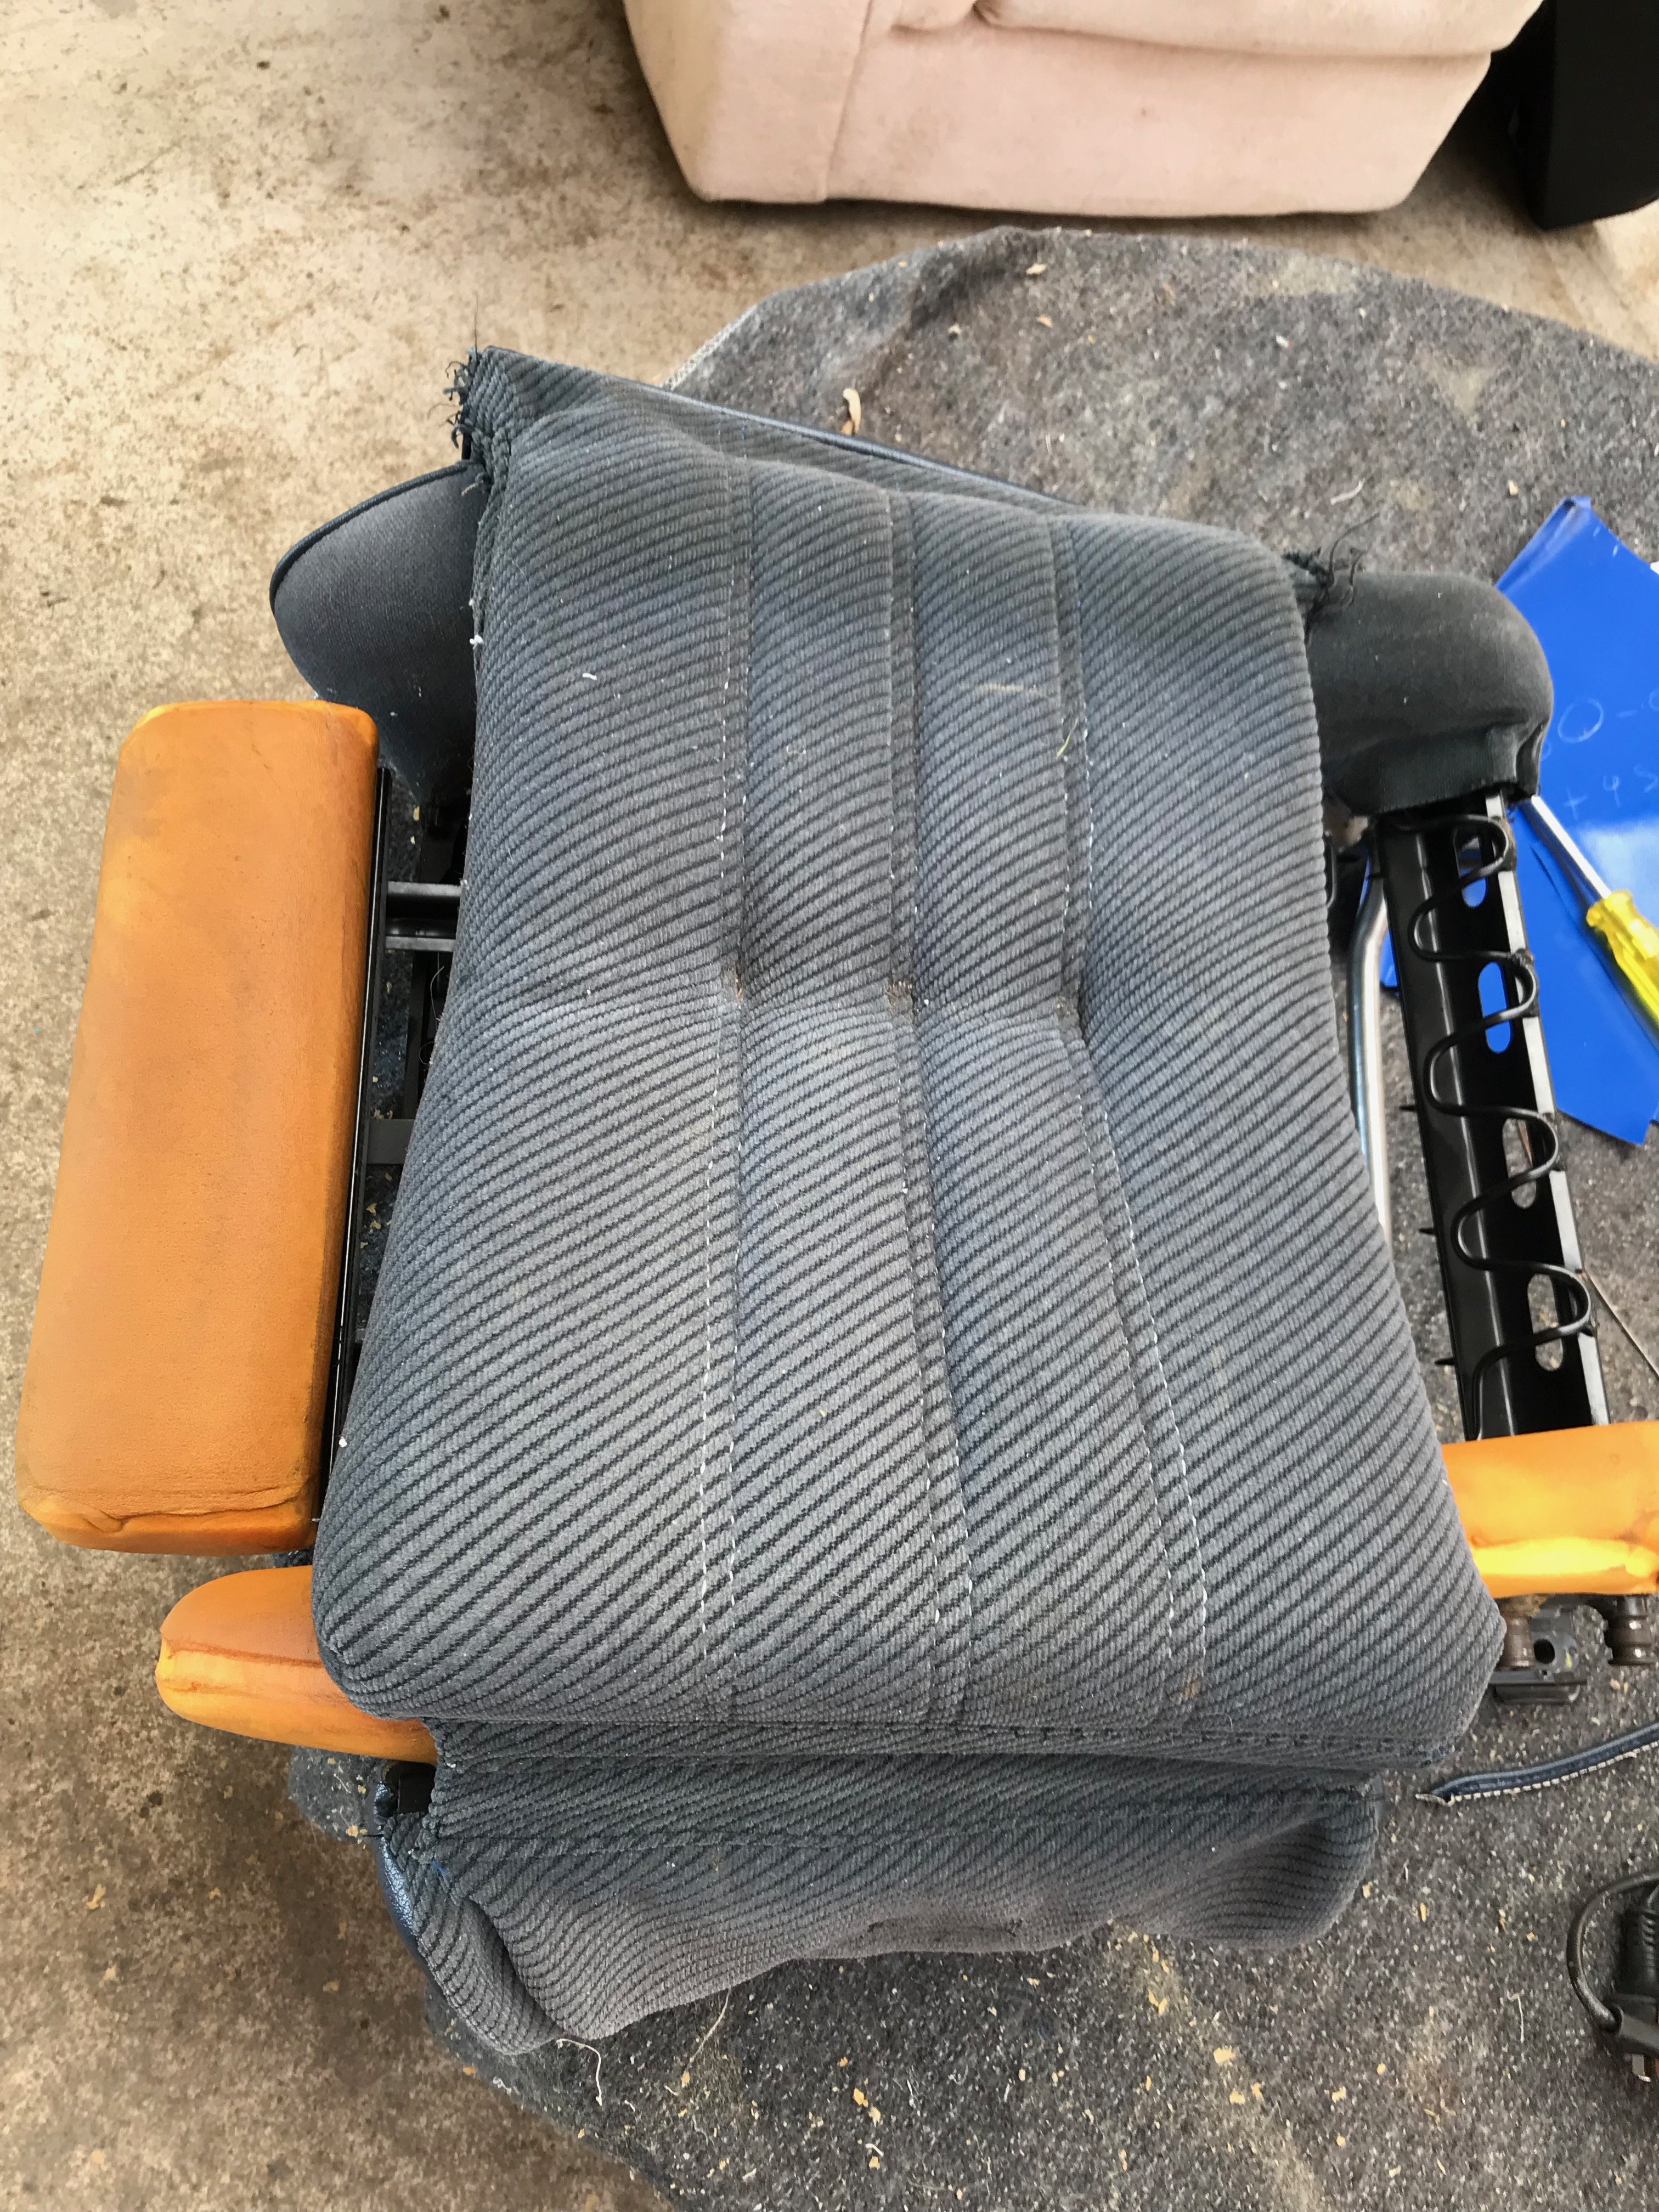
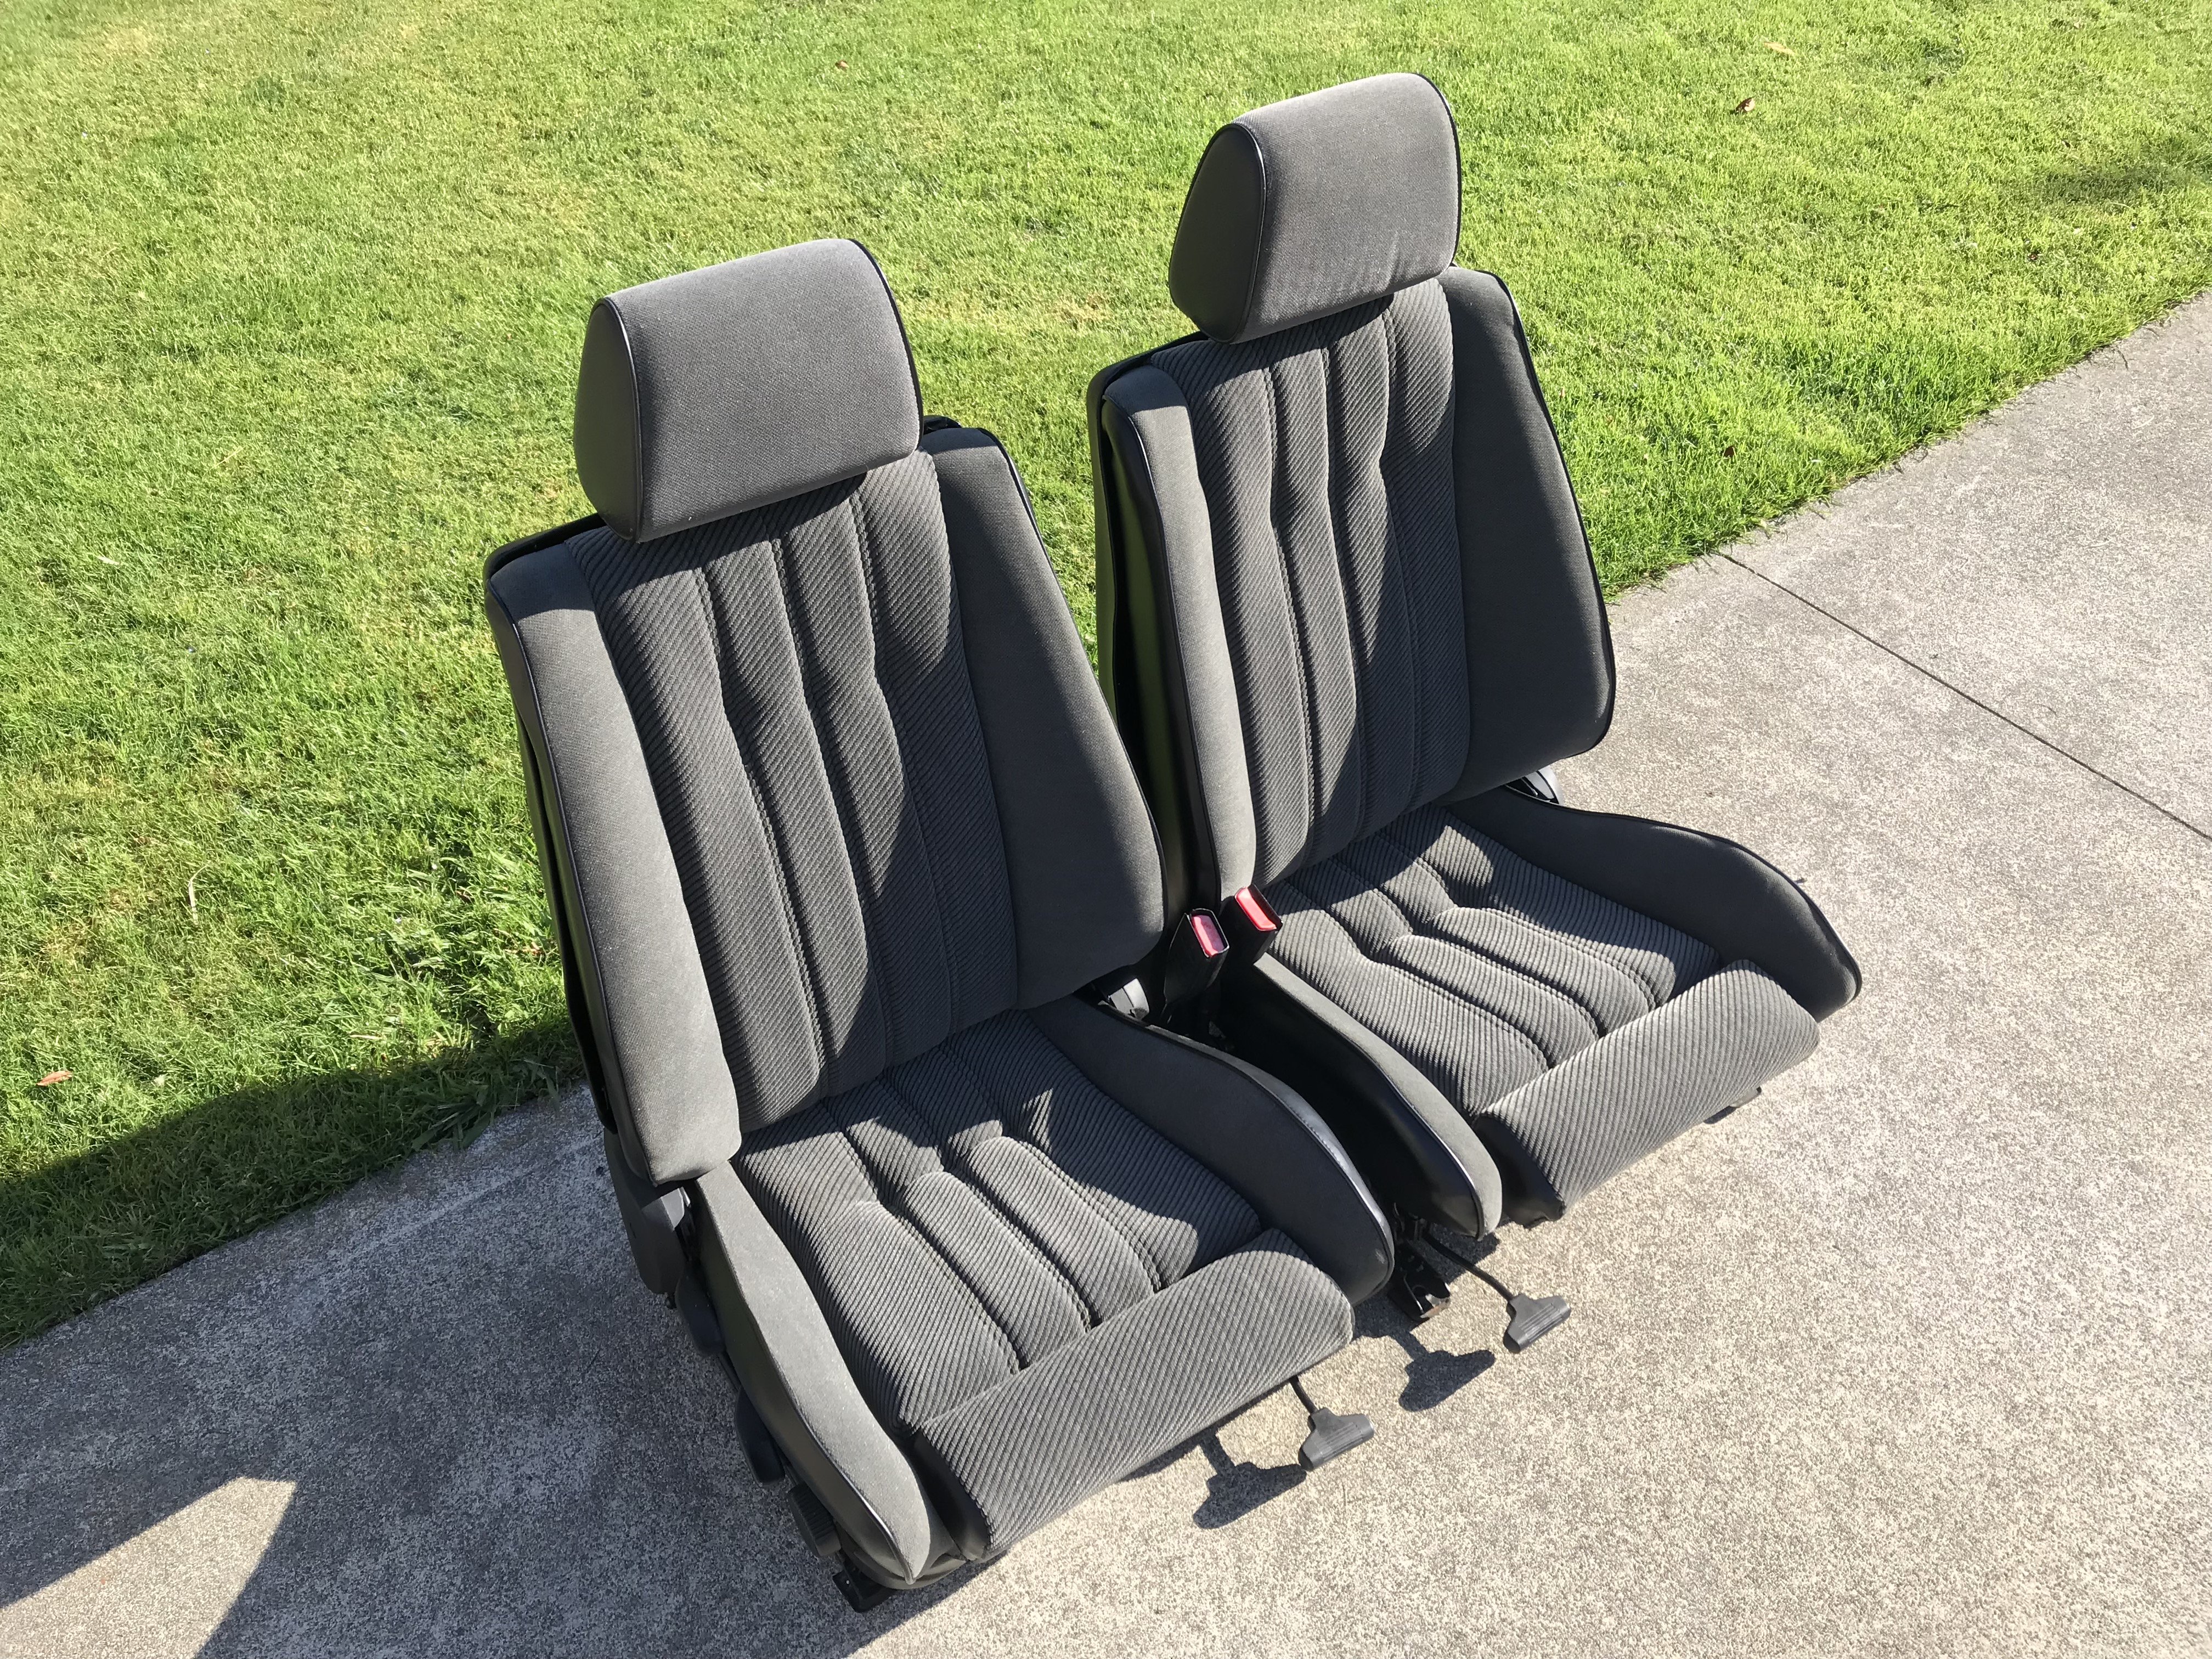
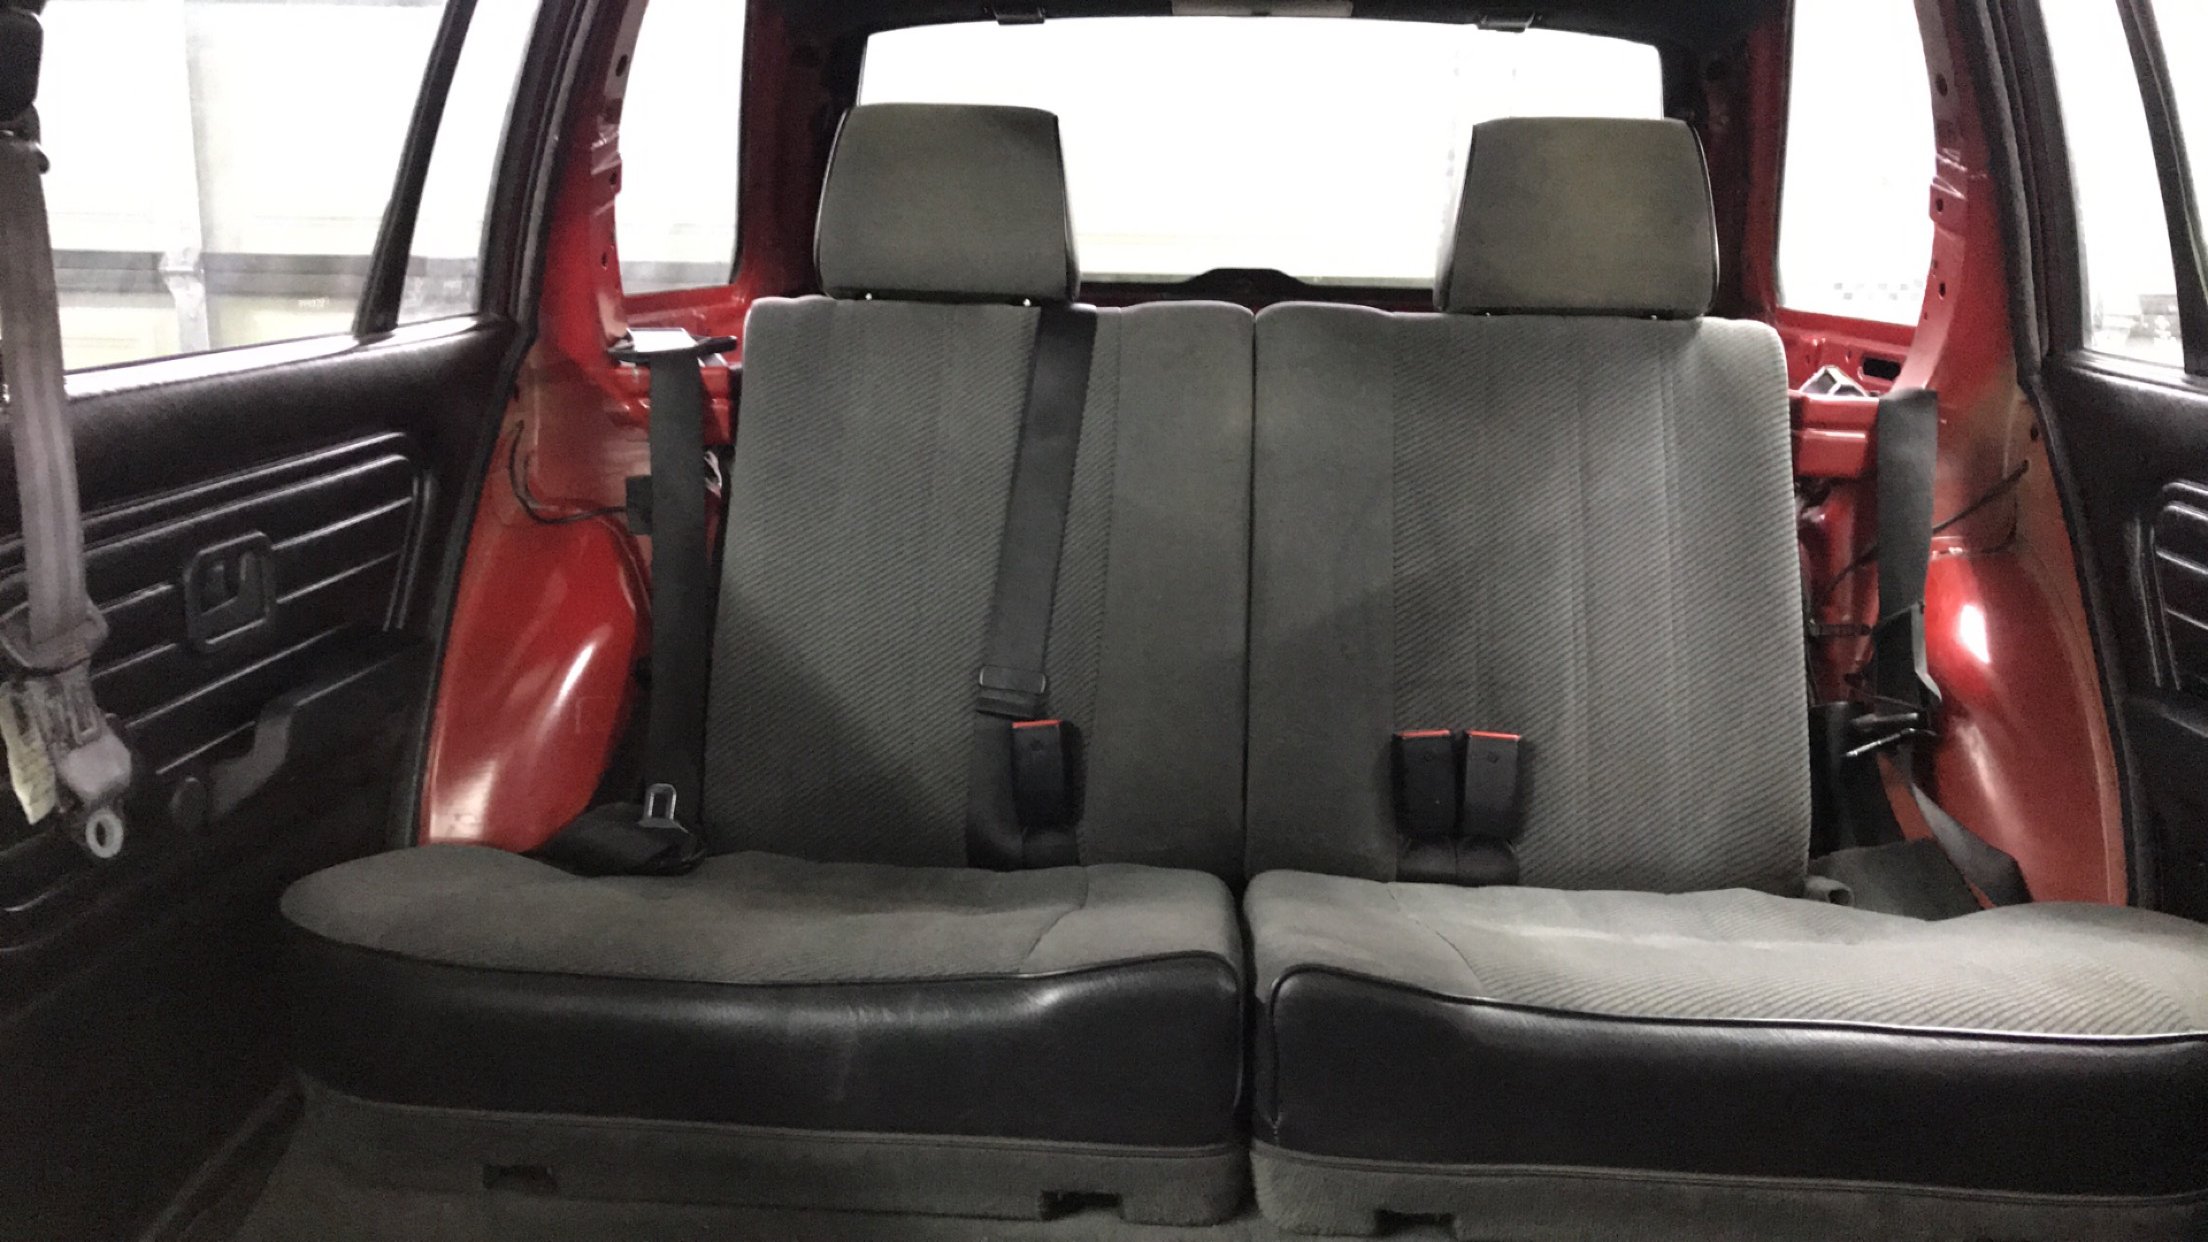
With wanting to keep the front seats factory looking, and not wanting to change the back seats as well, i decided to keep things simple.
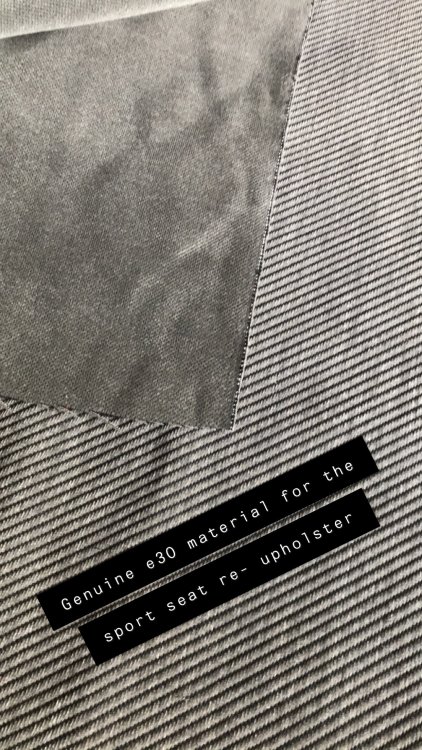
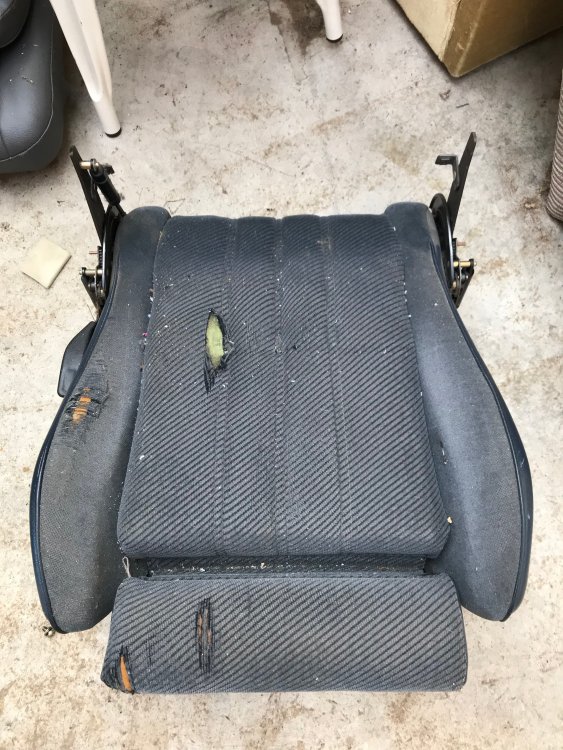
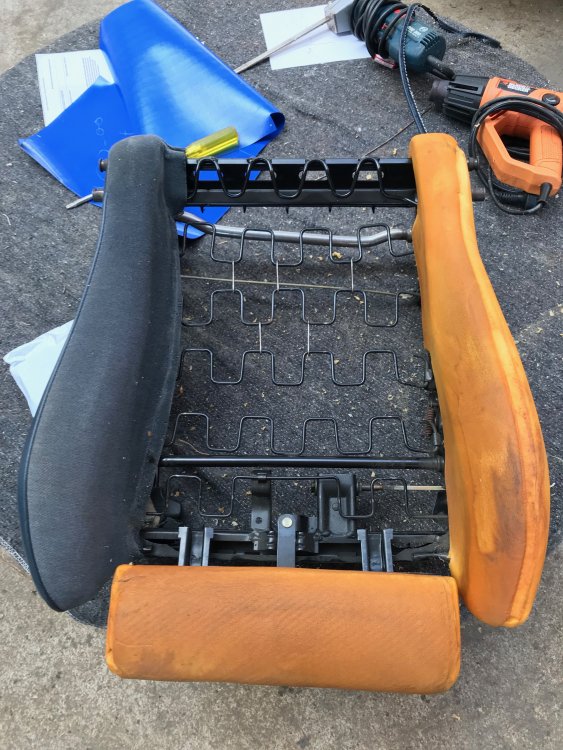
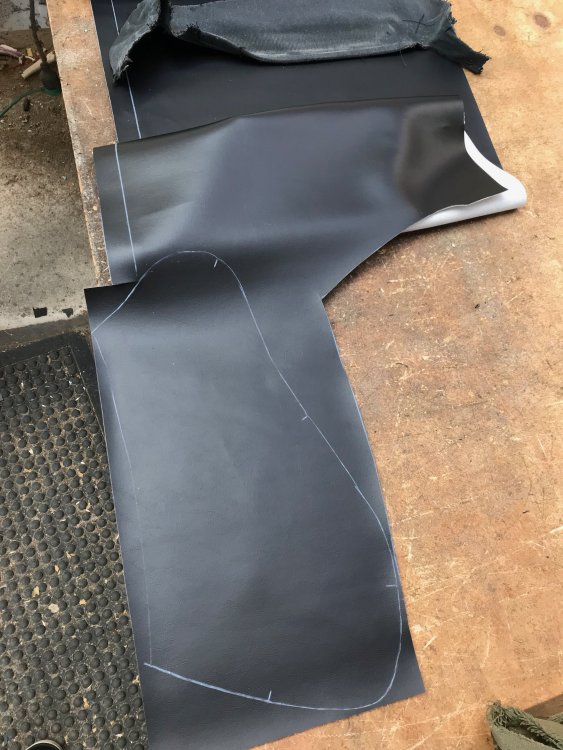
I acquired a set of blue cloth sports seats a couple of years ago and decided to get them recovered in the factory black and grey fabric, sourced from Le Mans in wellington. The re trim was carried out by Reumers Trim and Upholstery here in New Plymouth
.

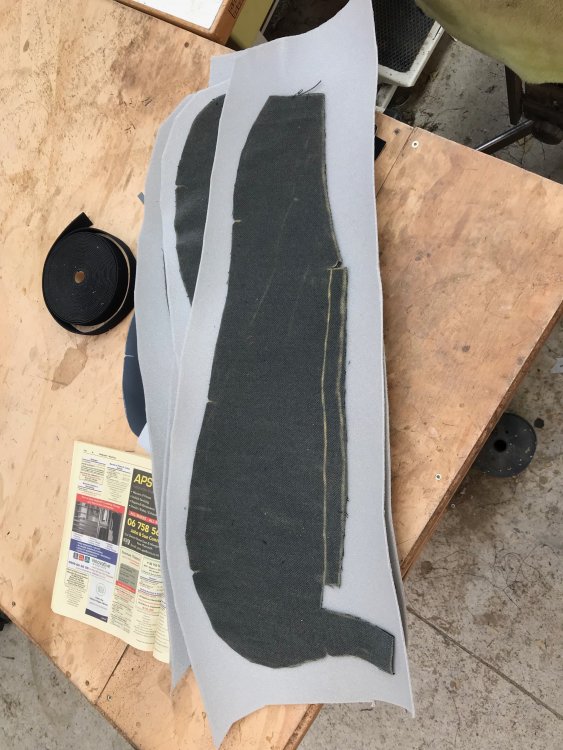

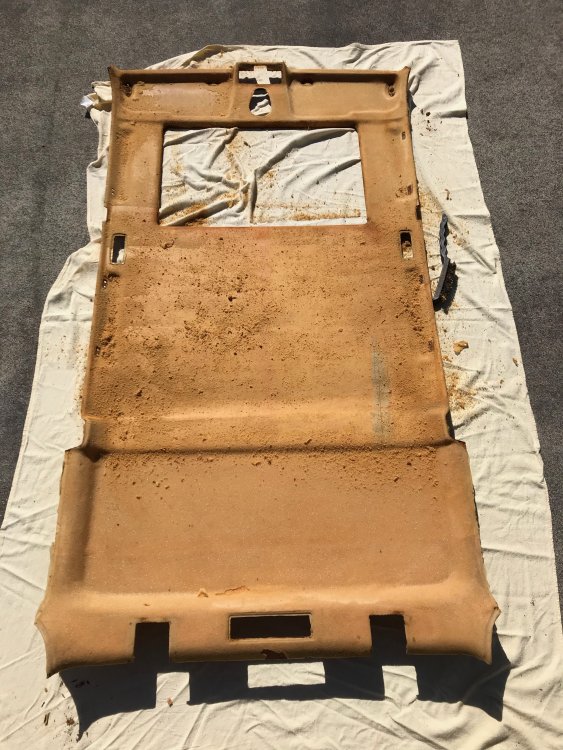
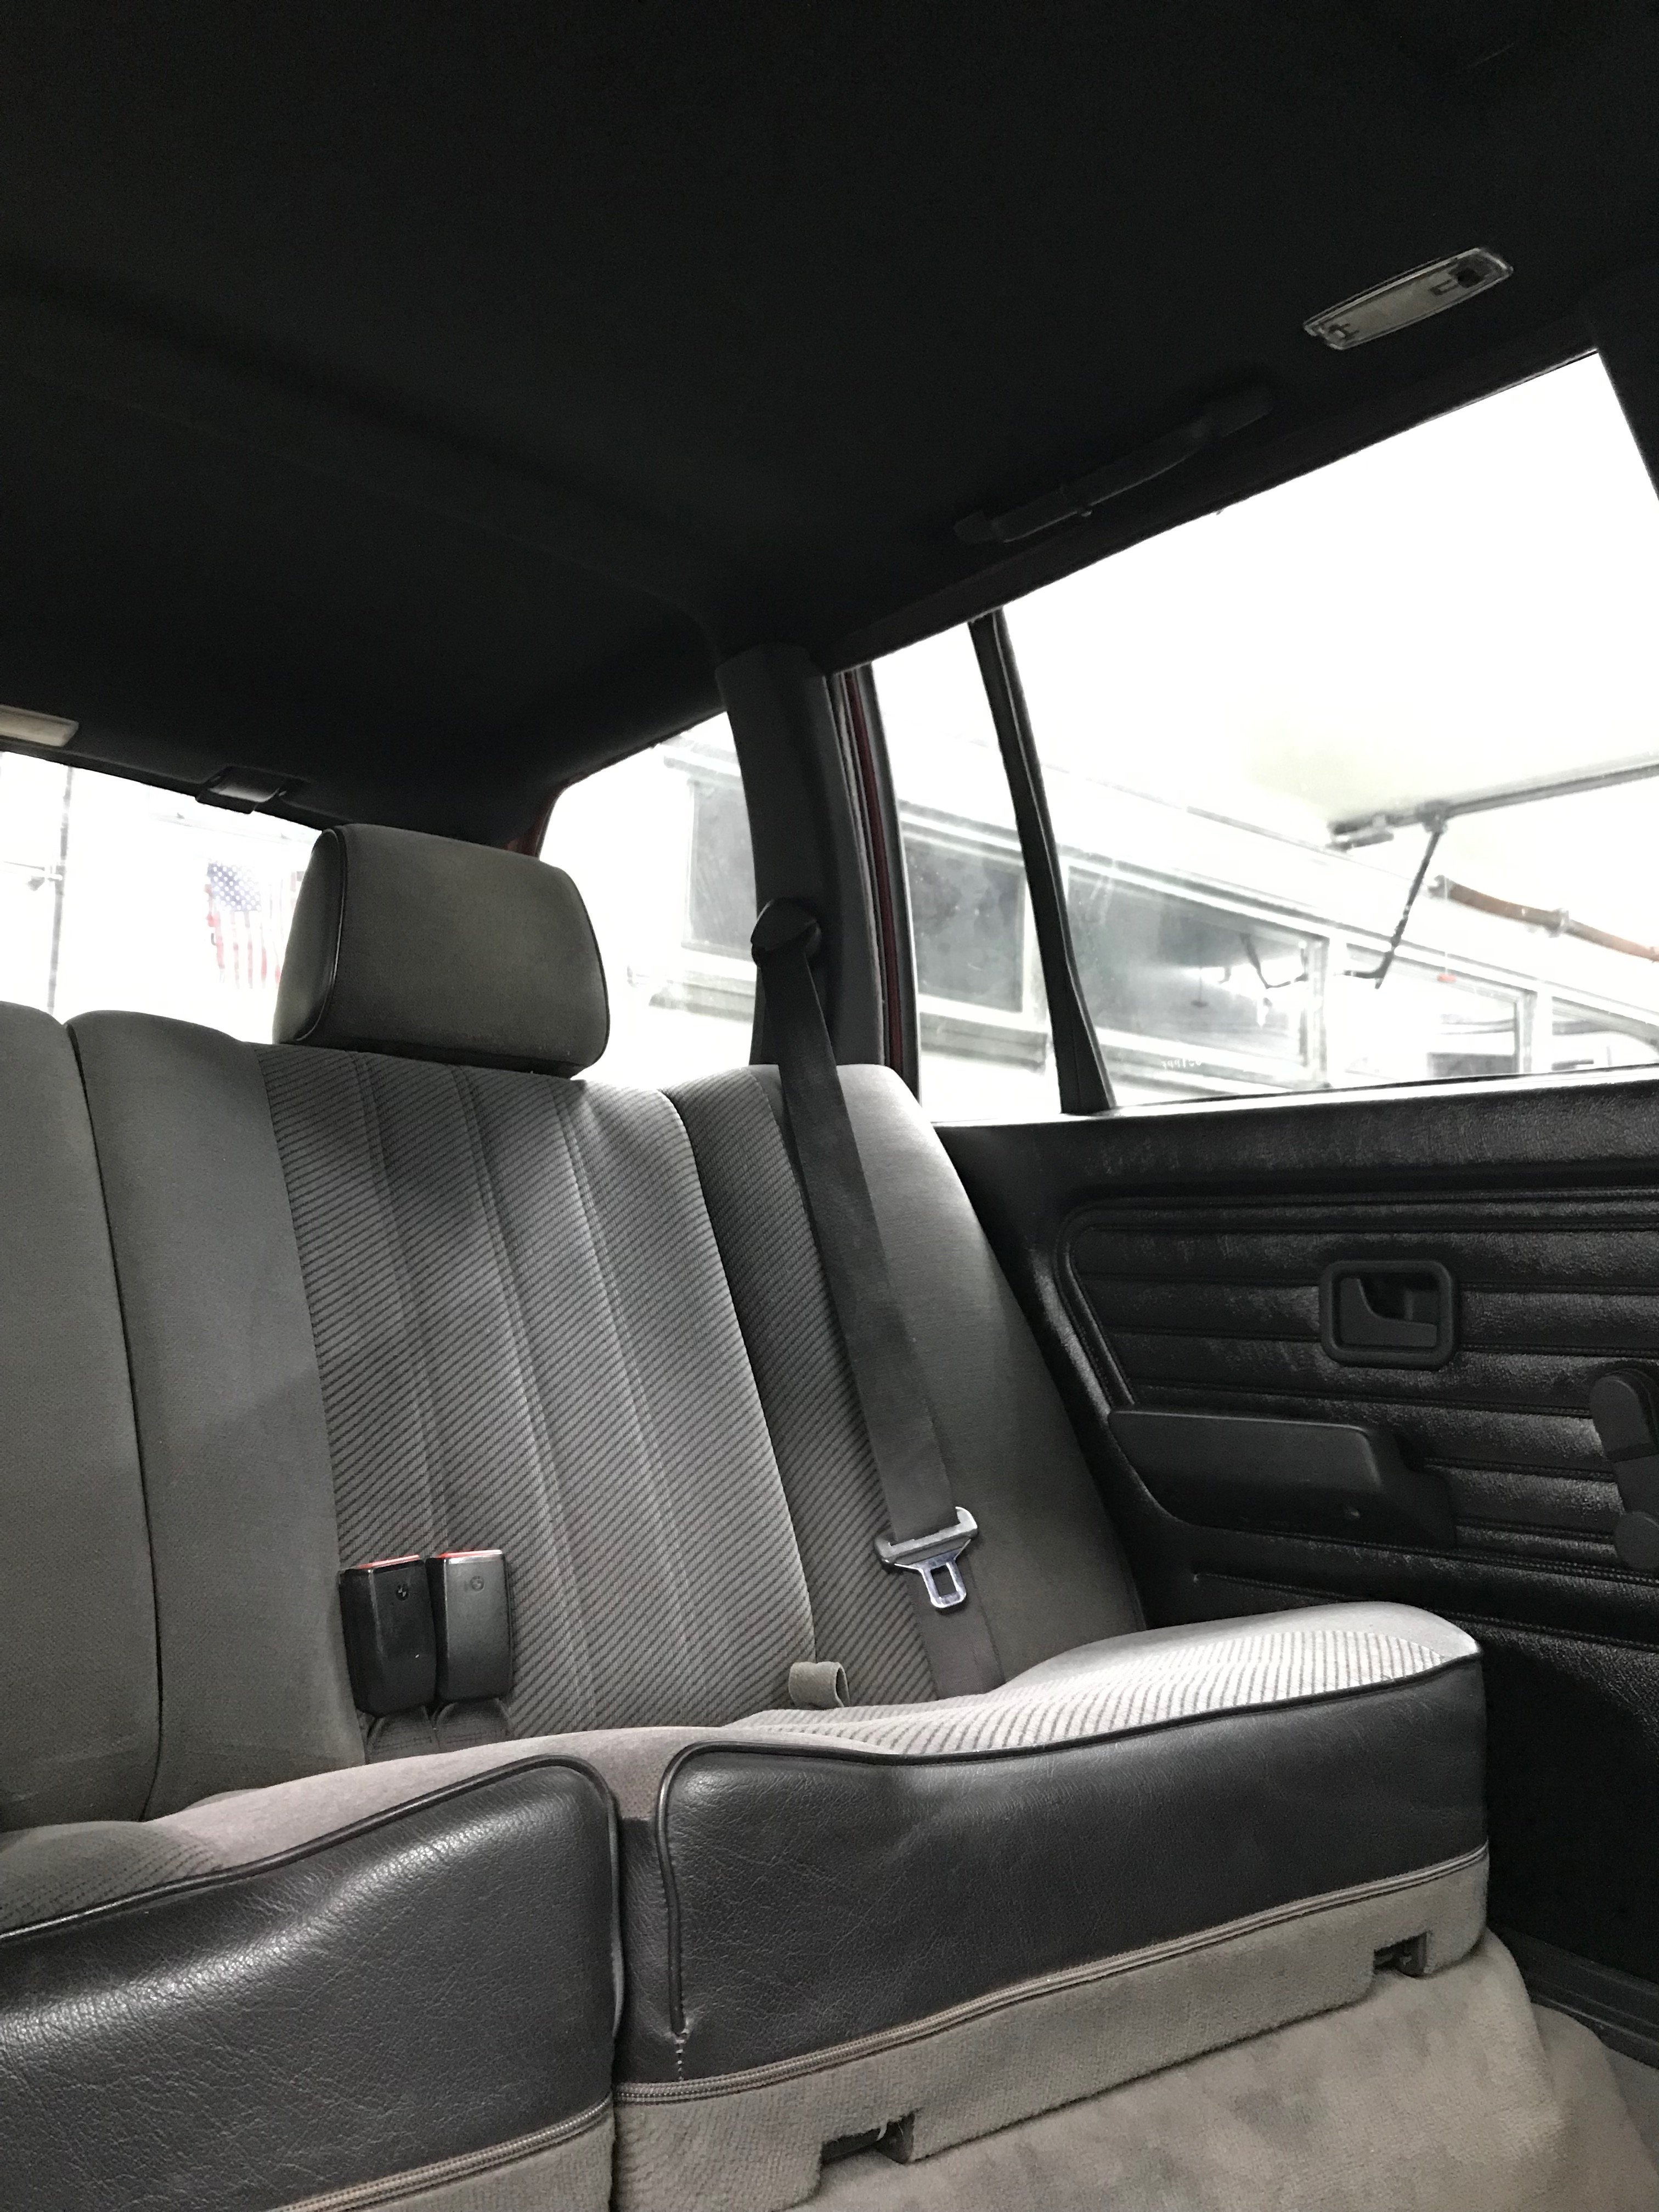
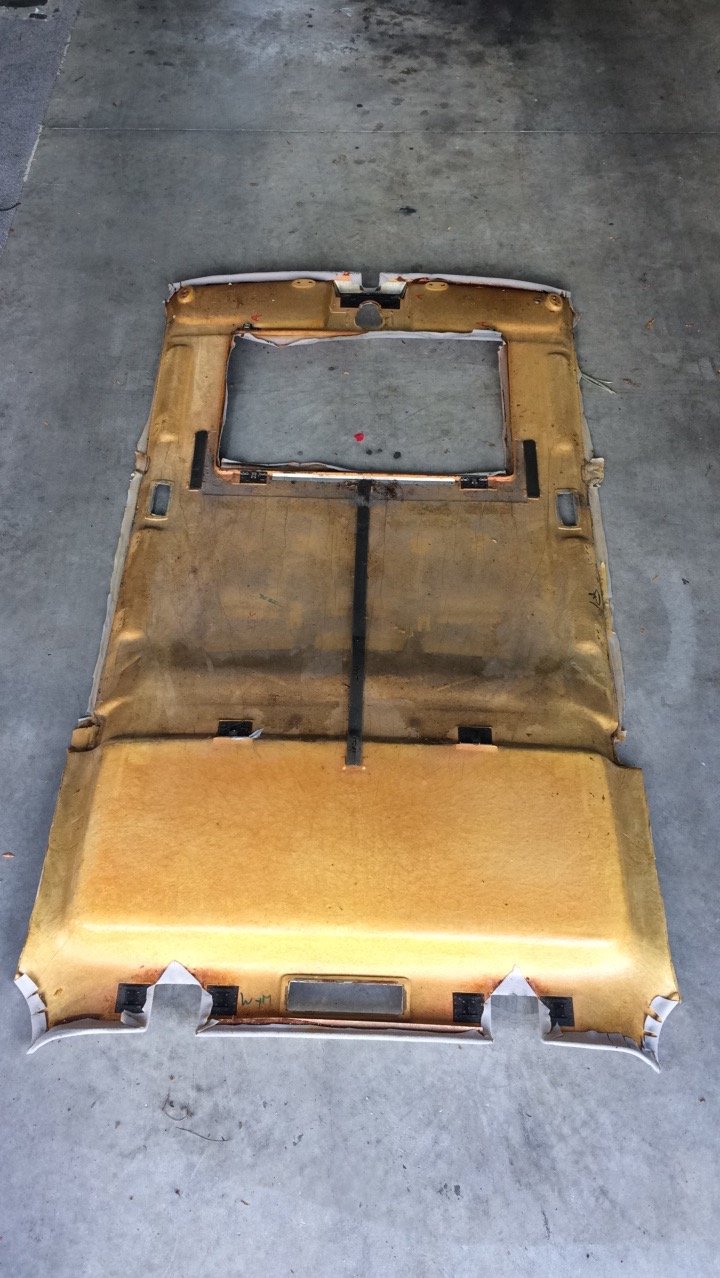
Reumers also recovered my headlining and sunroof panel in Black fabric and fixed up the tired and well used cargo blind.
Removing the old heading and glue was not fun.
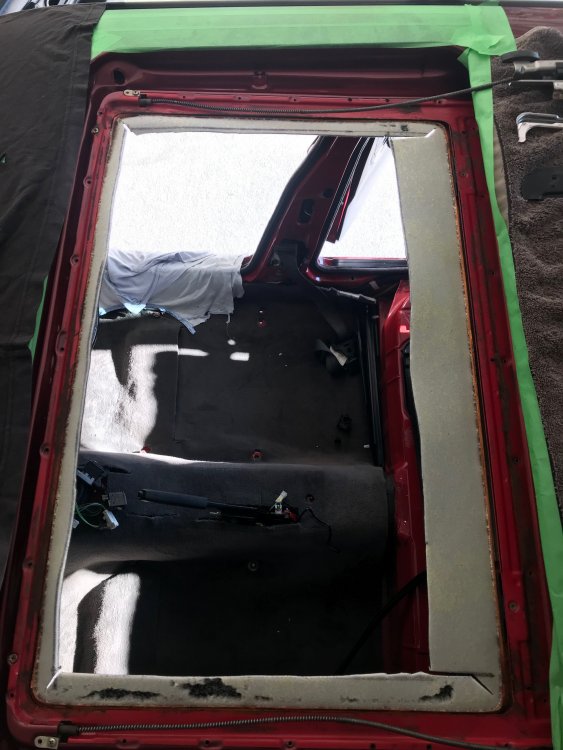
Cutting and gluing the new headlining around the sunroof myself.
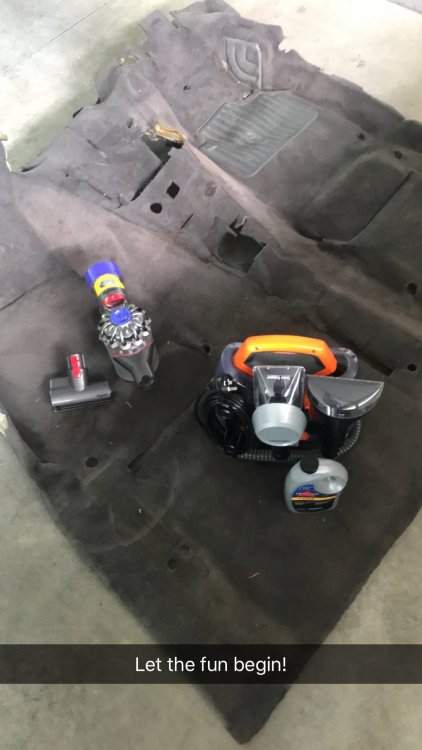
I wanted to keep the grey interior carpet to match the boot lining, so just gave the old one a bloody good clean.
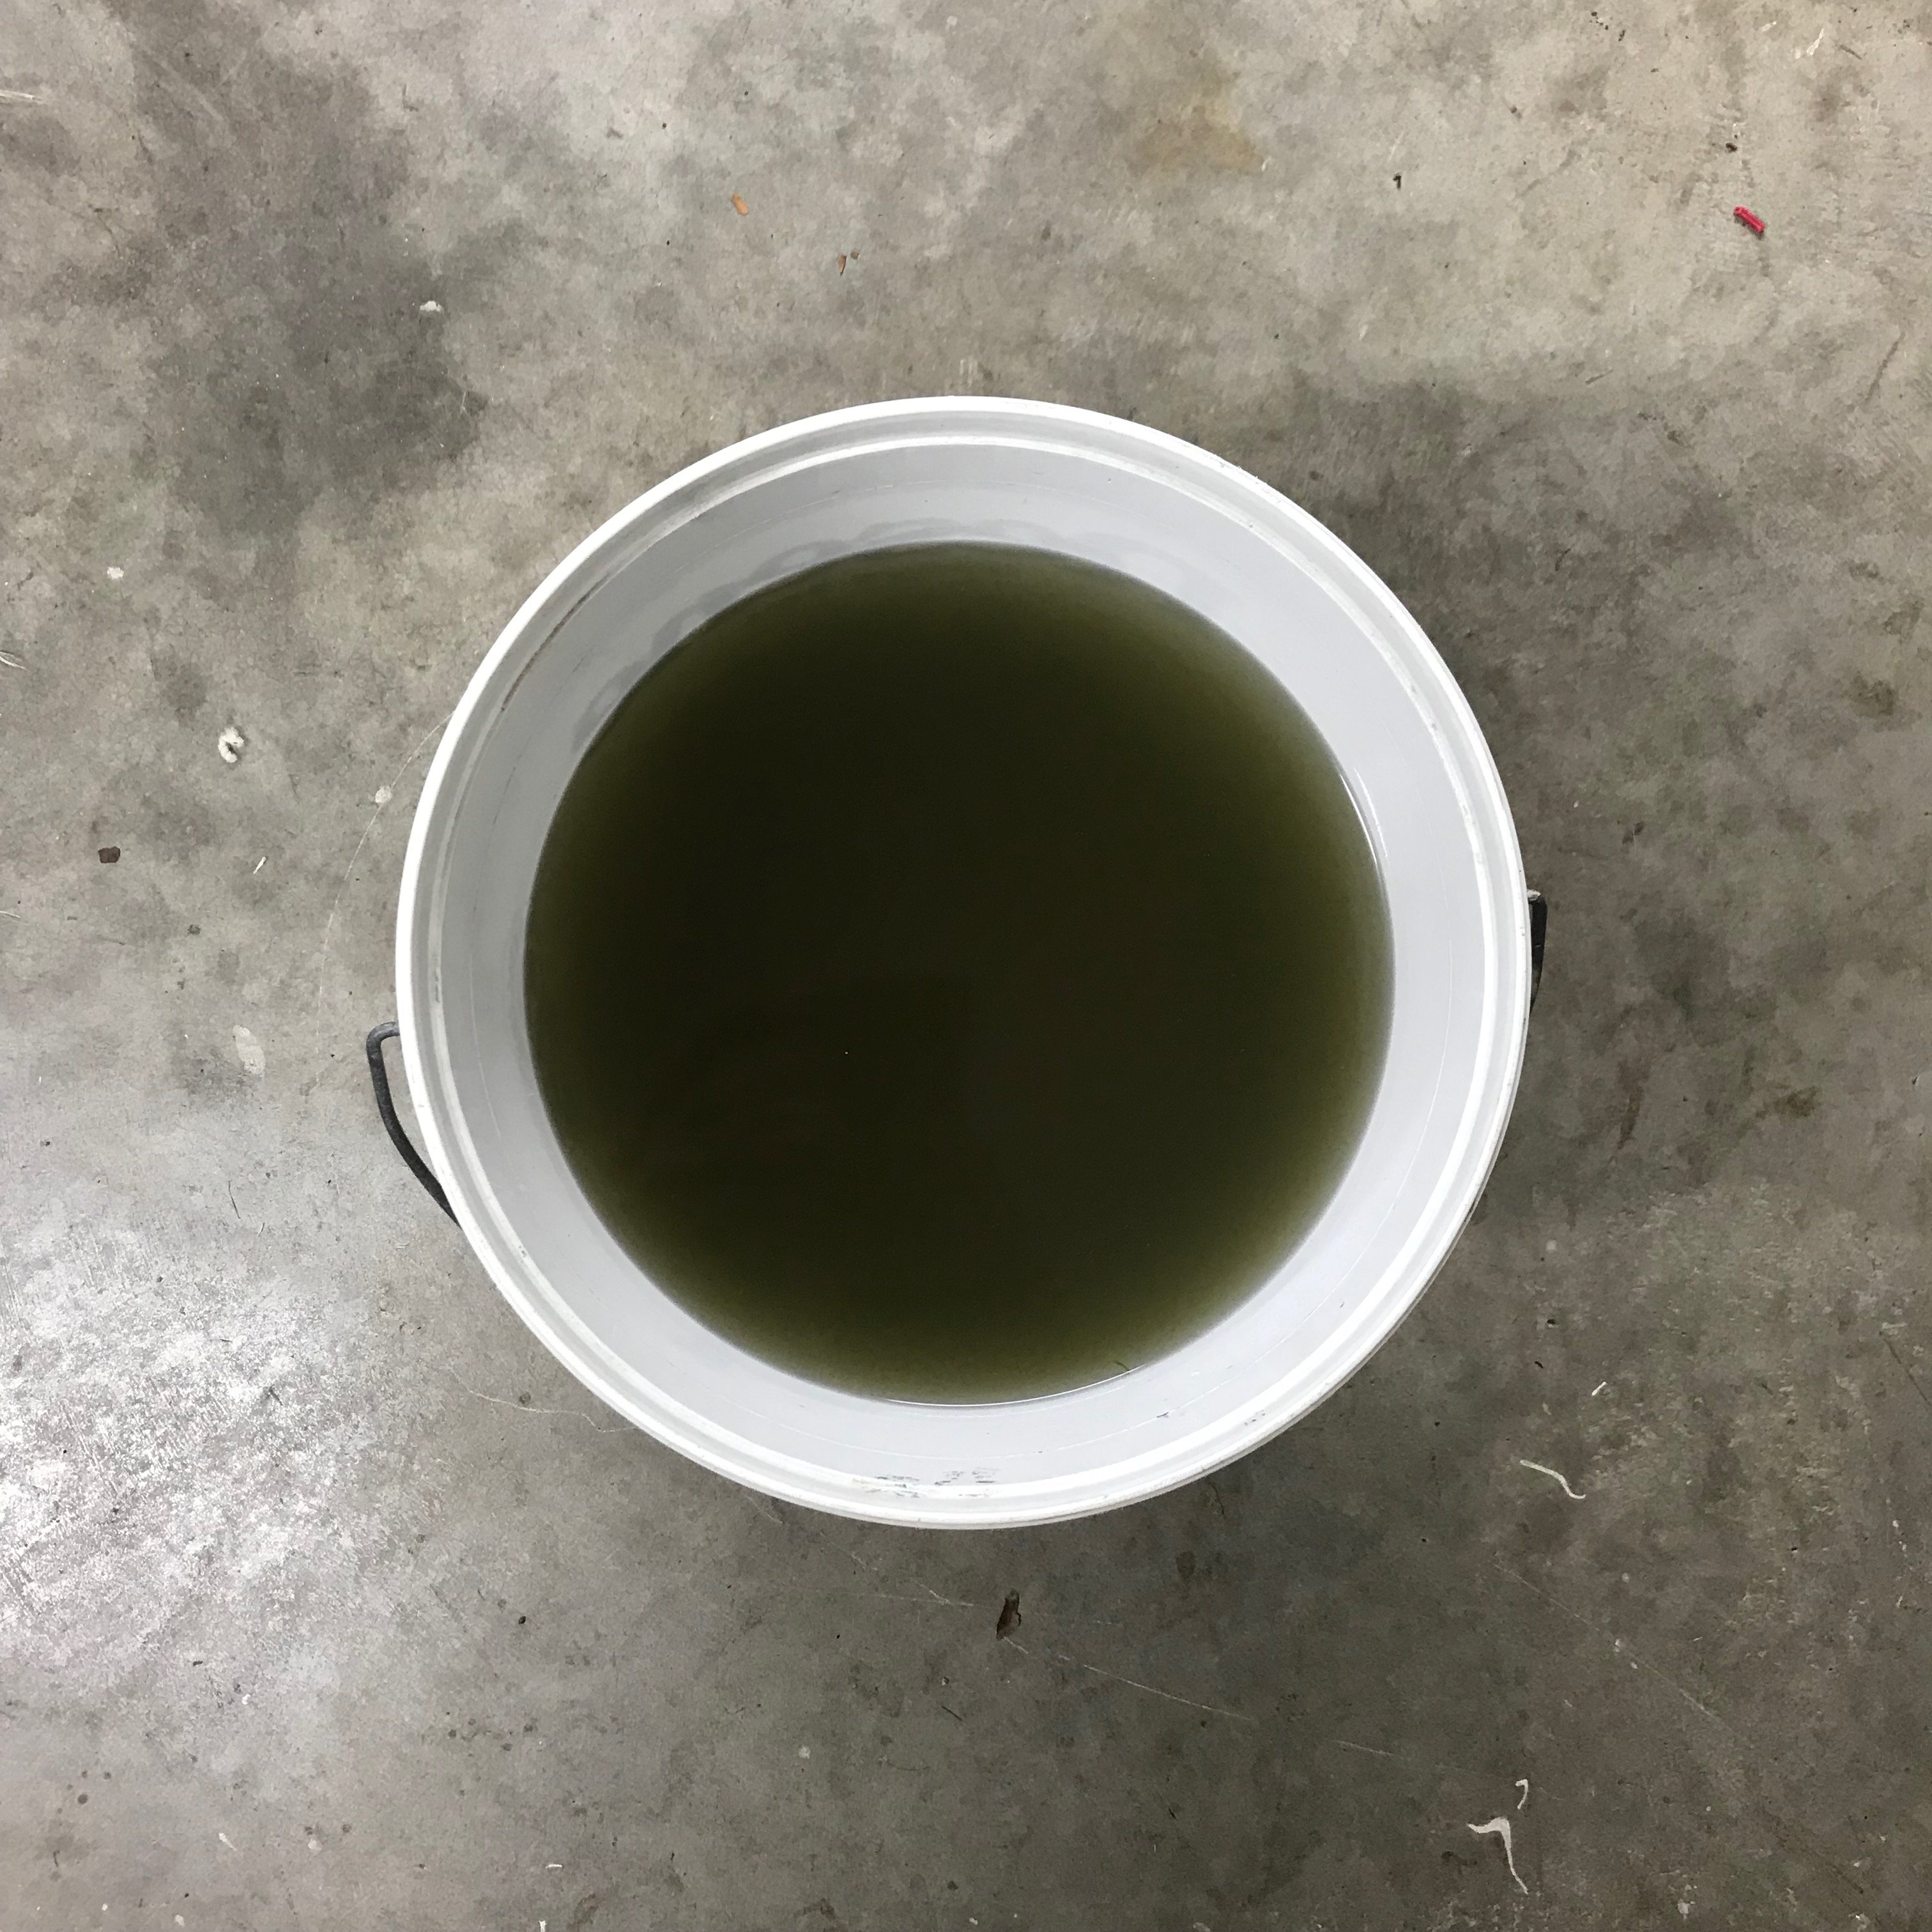
The seatbelts also needed a good clean, this was the result of an overnight soak in warm water and sugar soap...

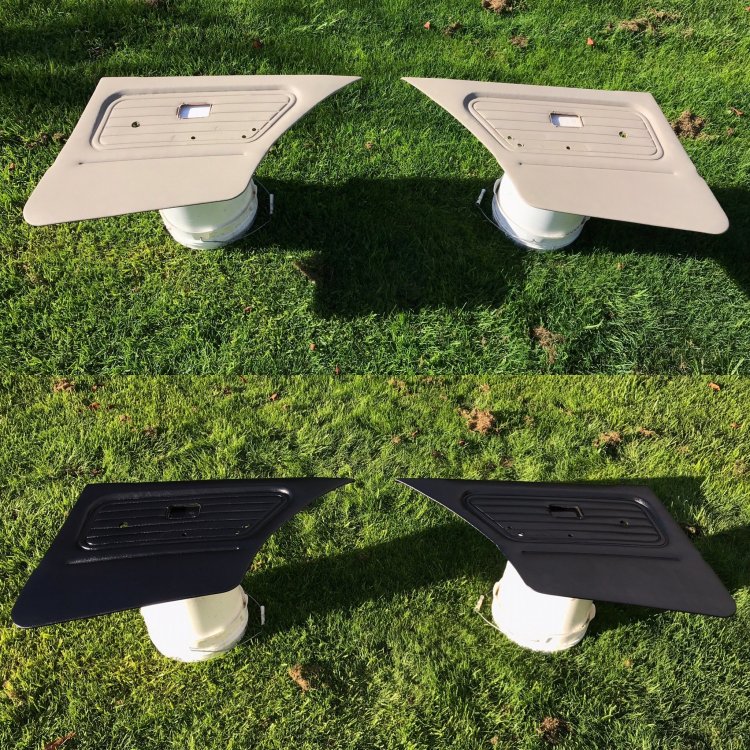
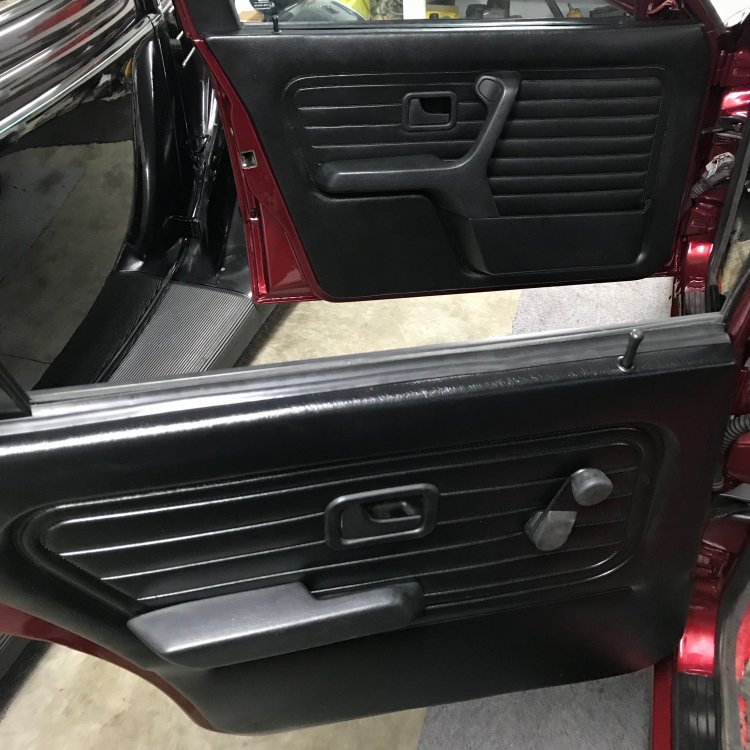
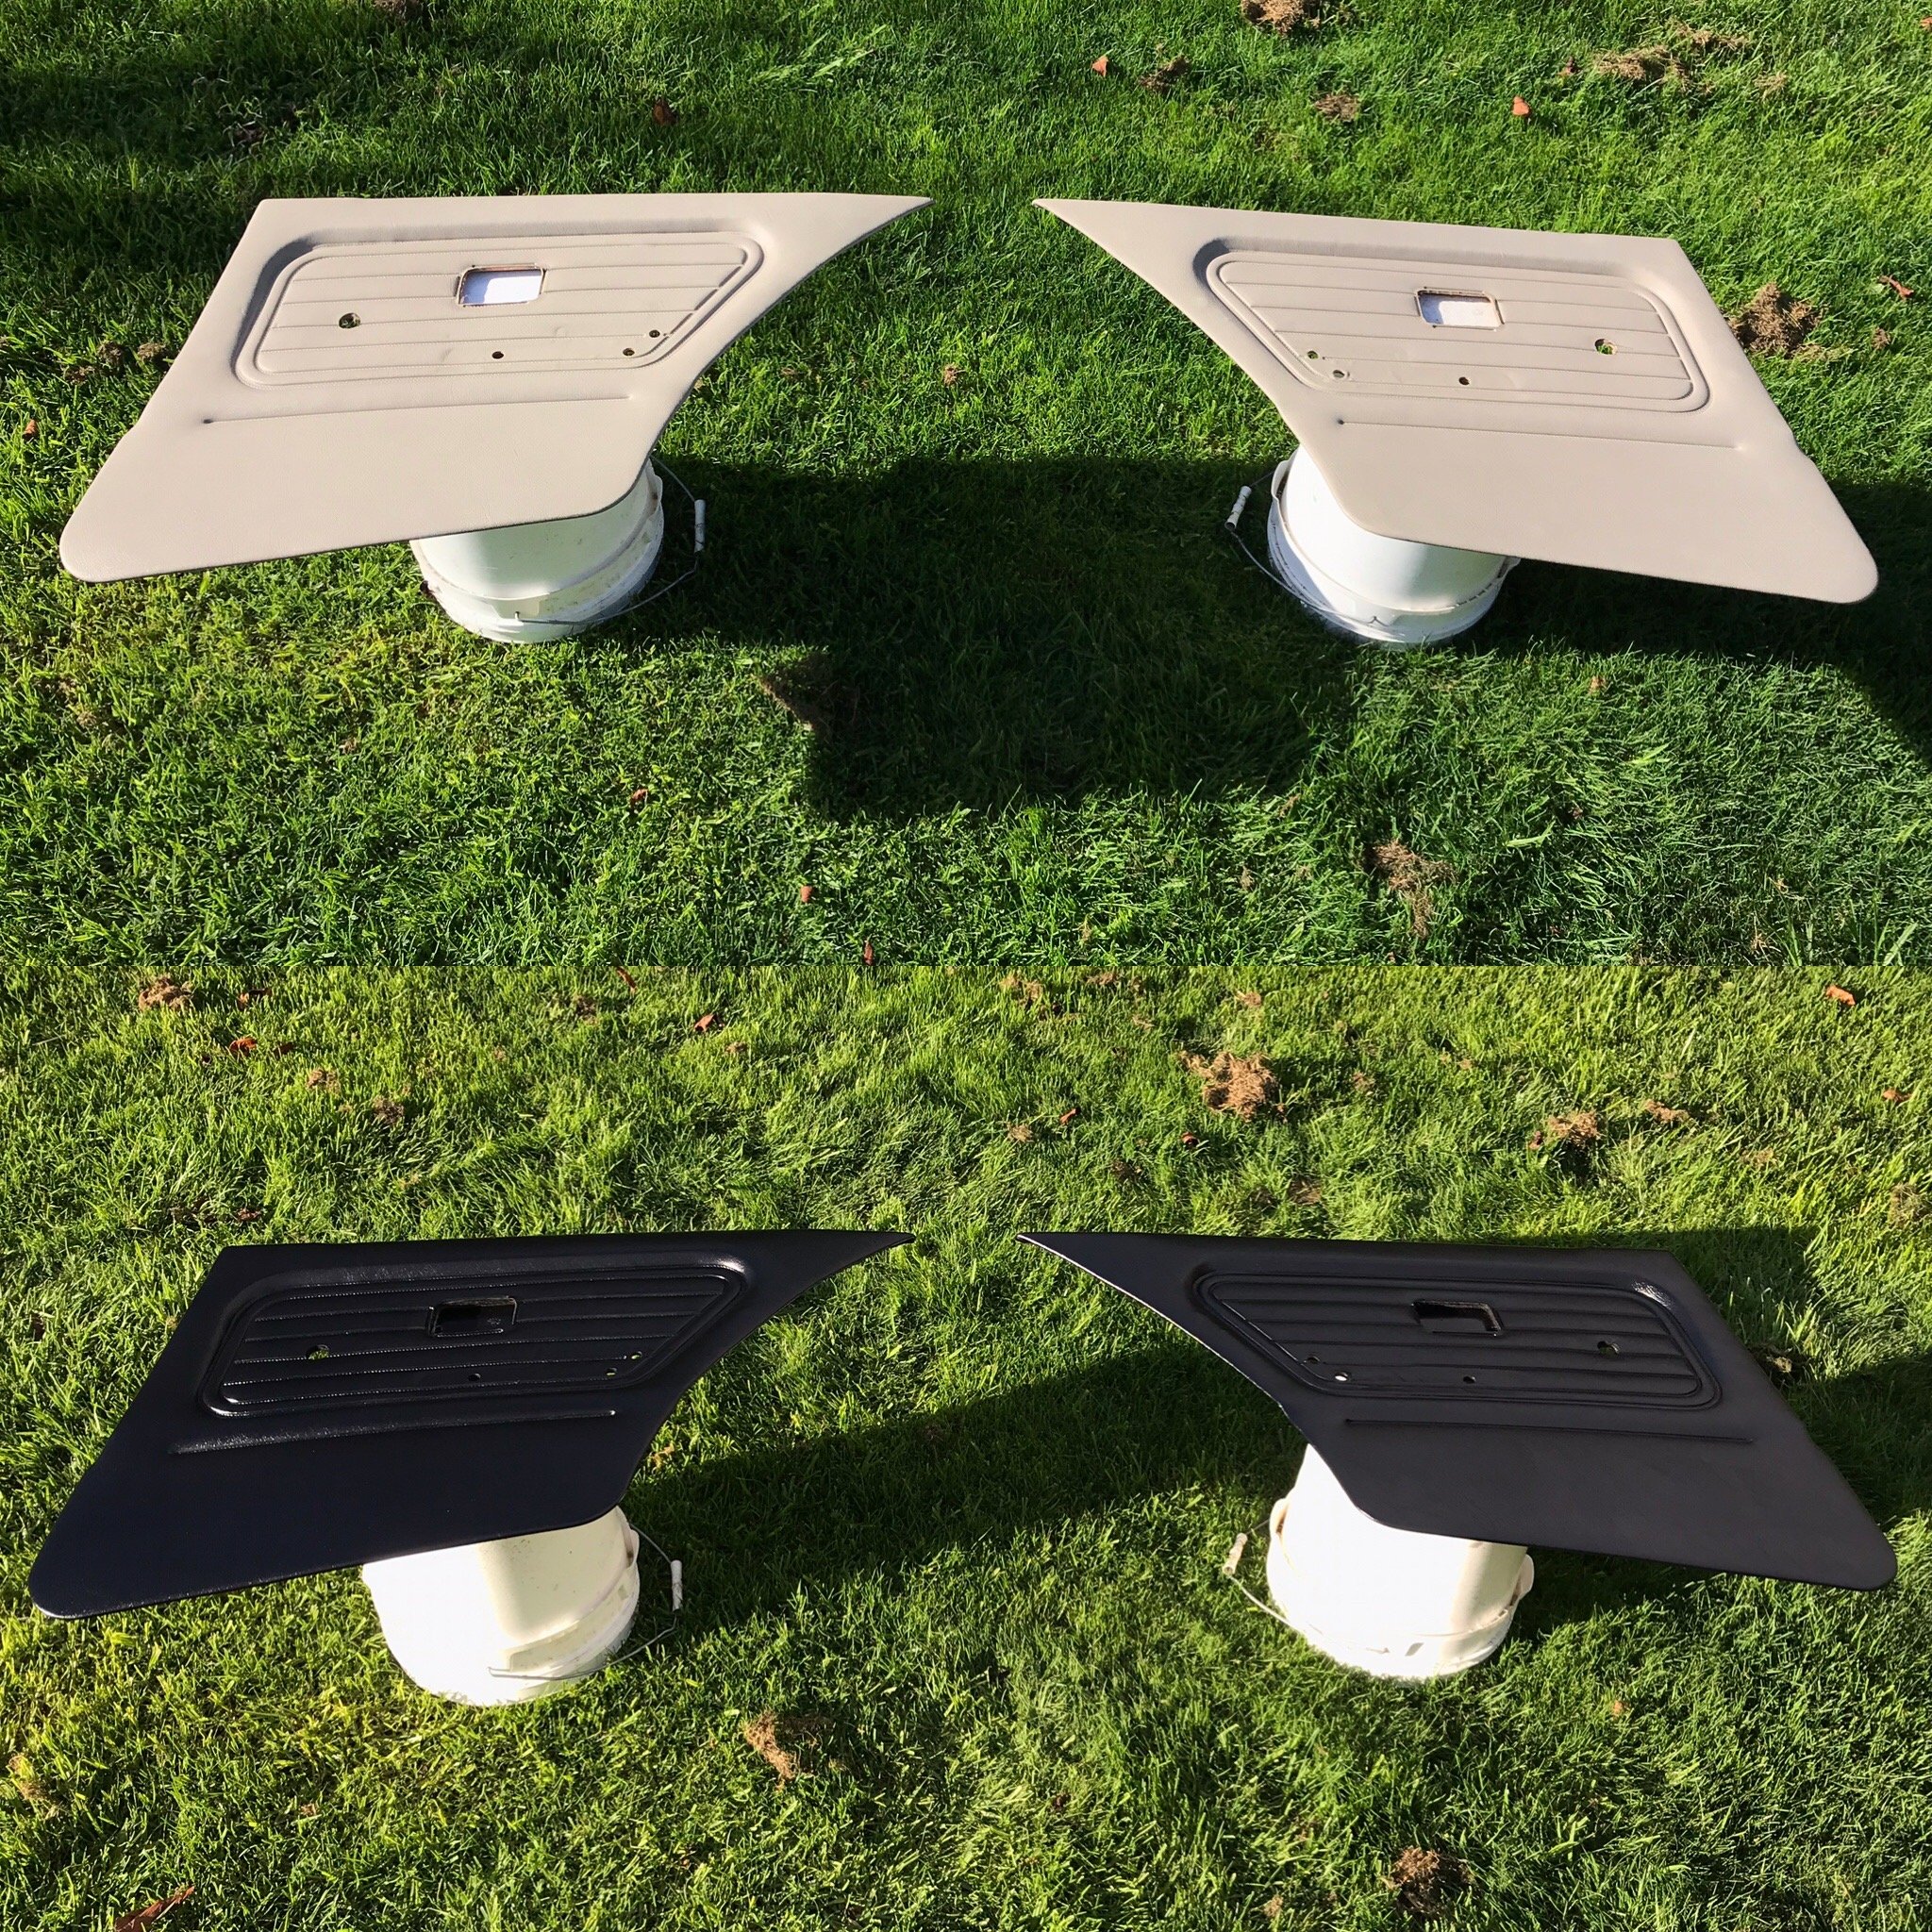
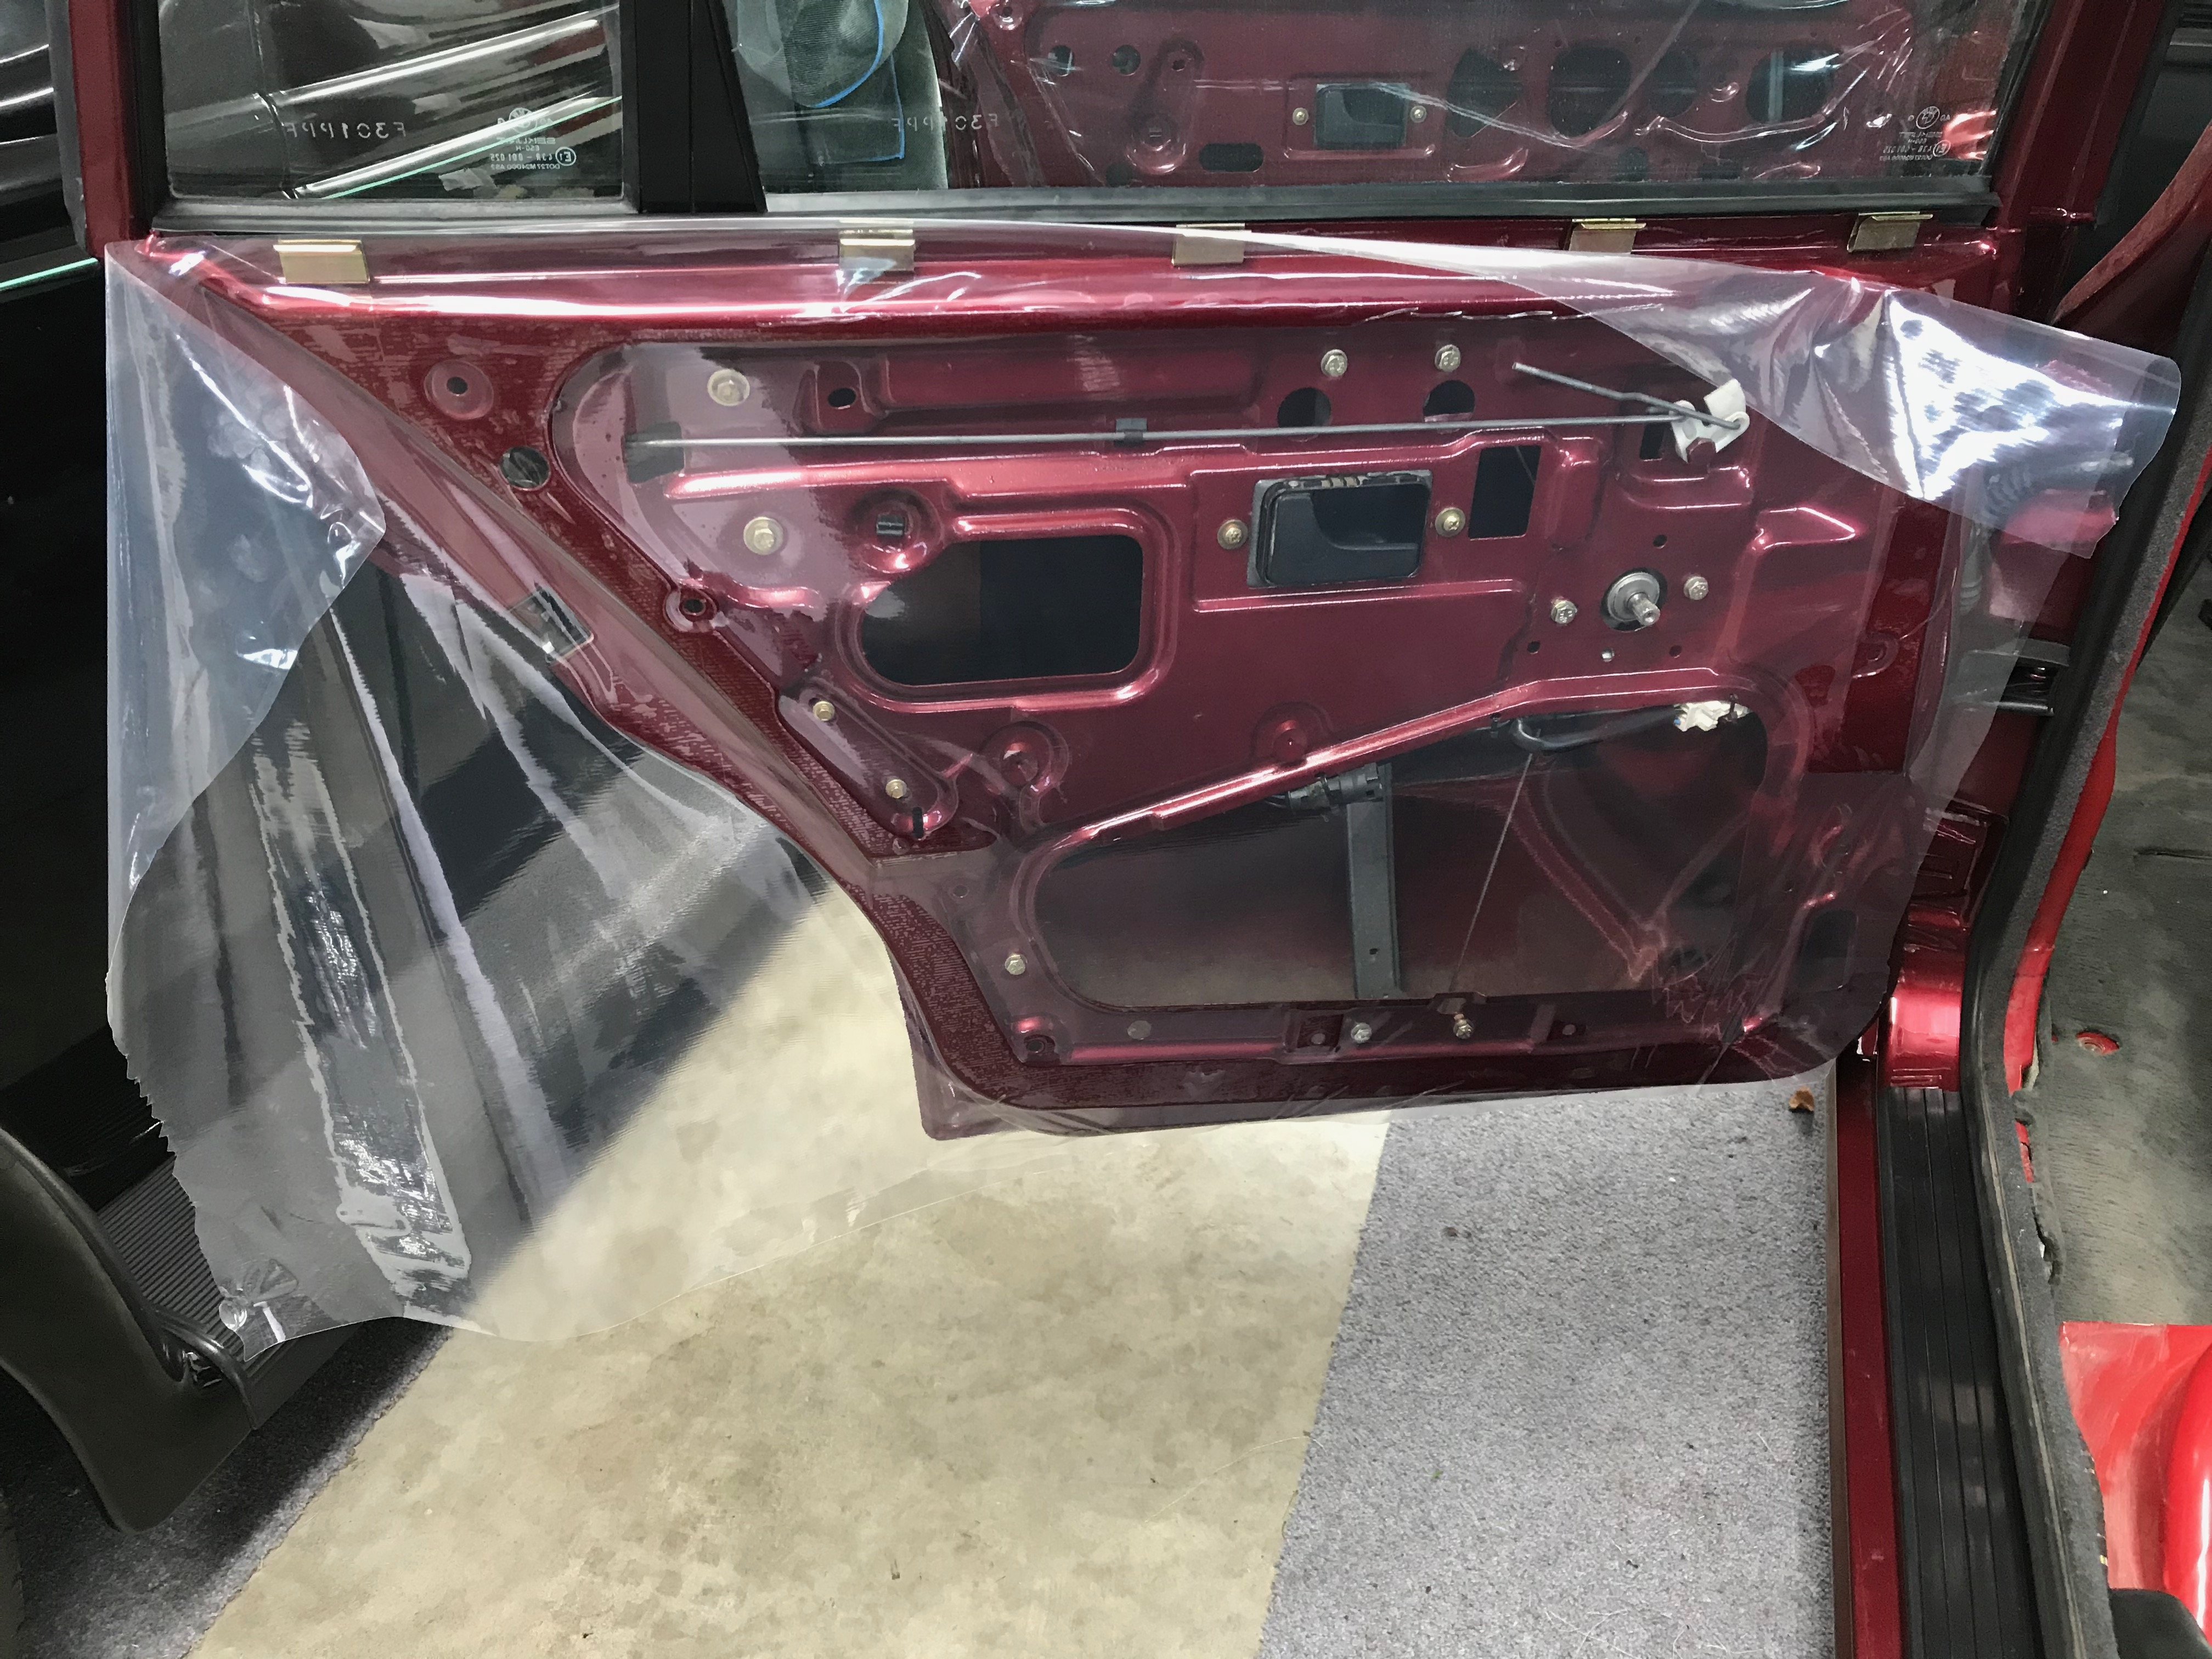
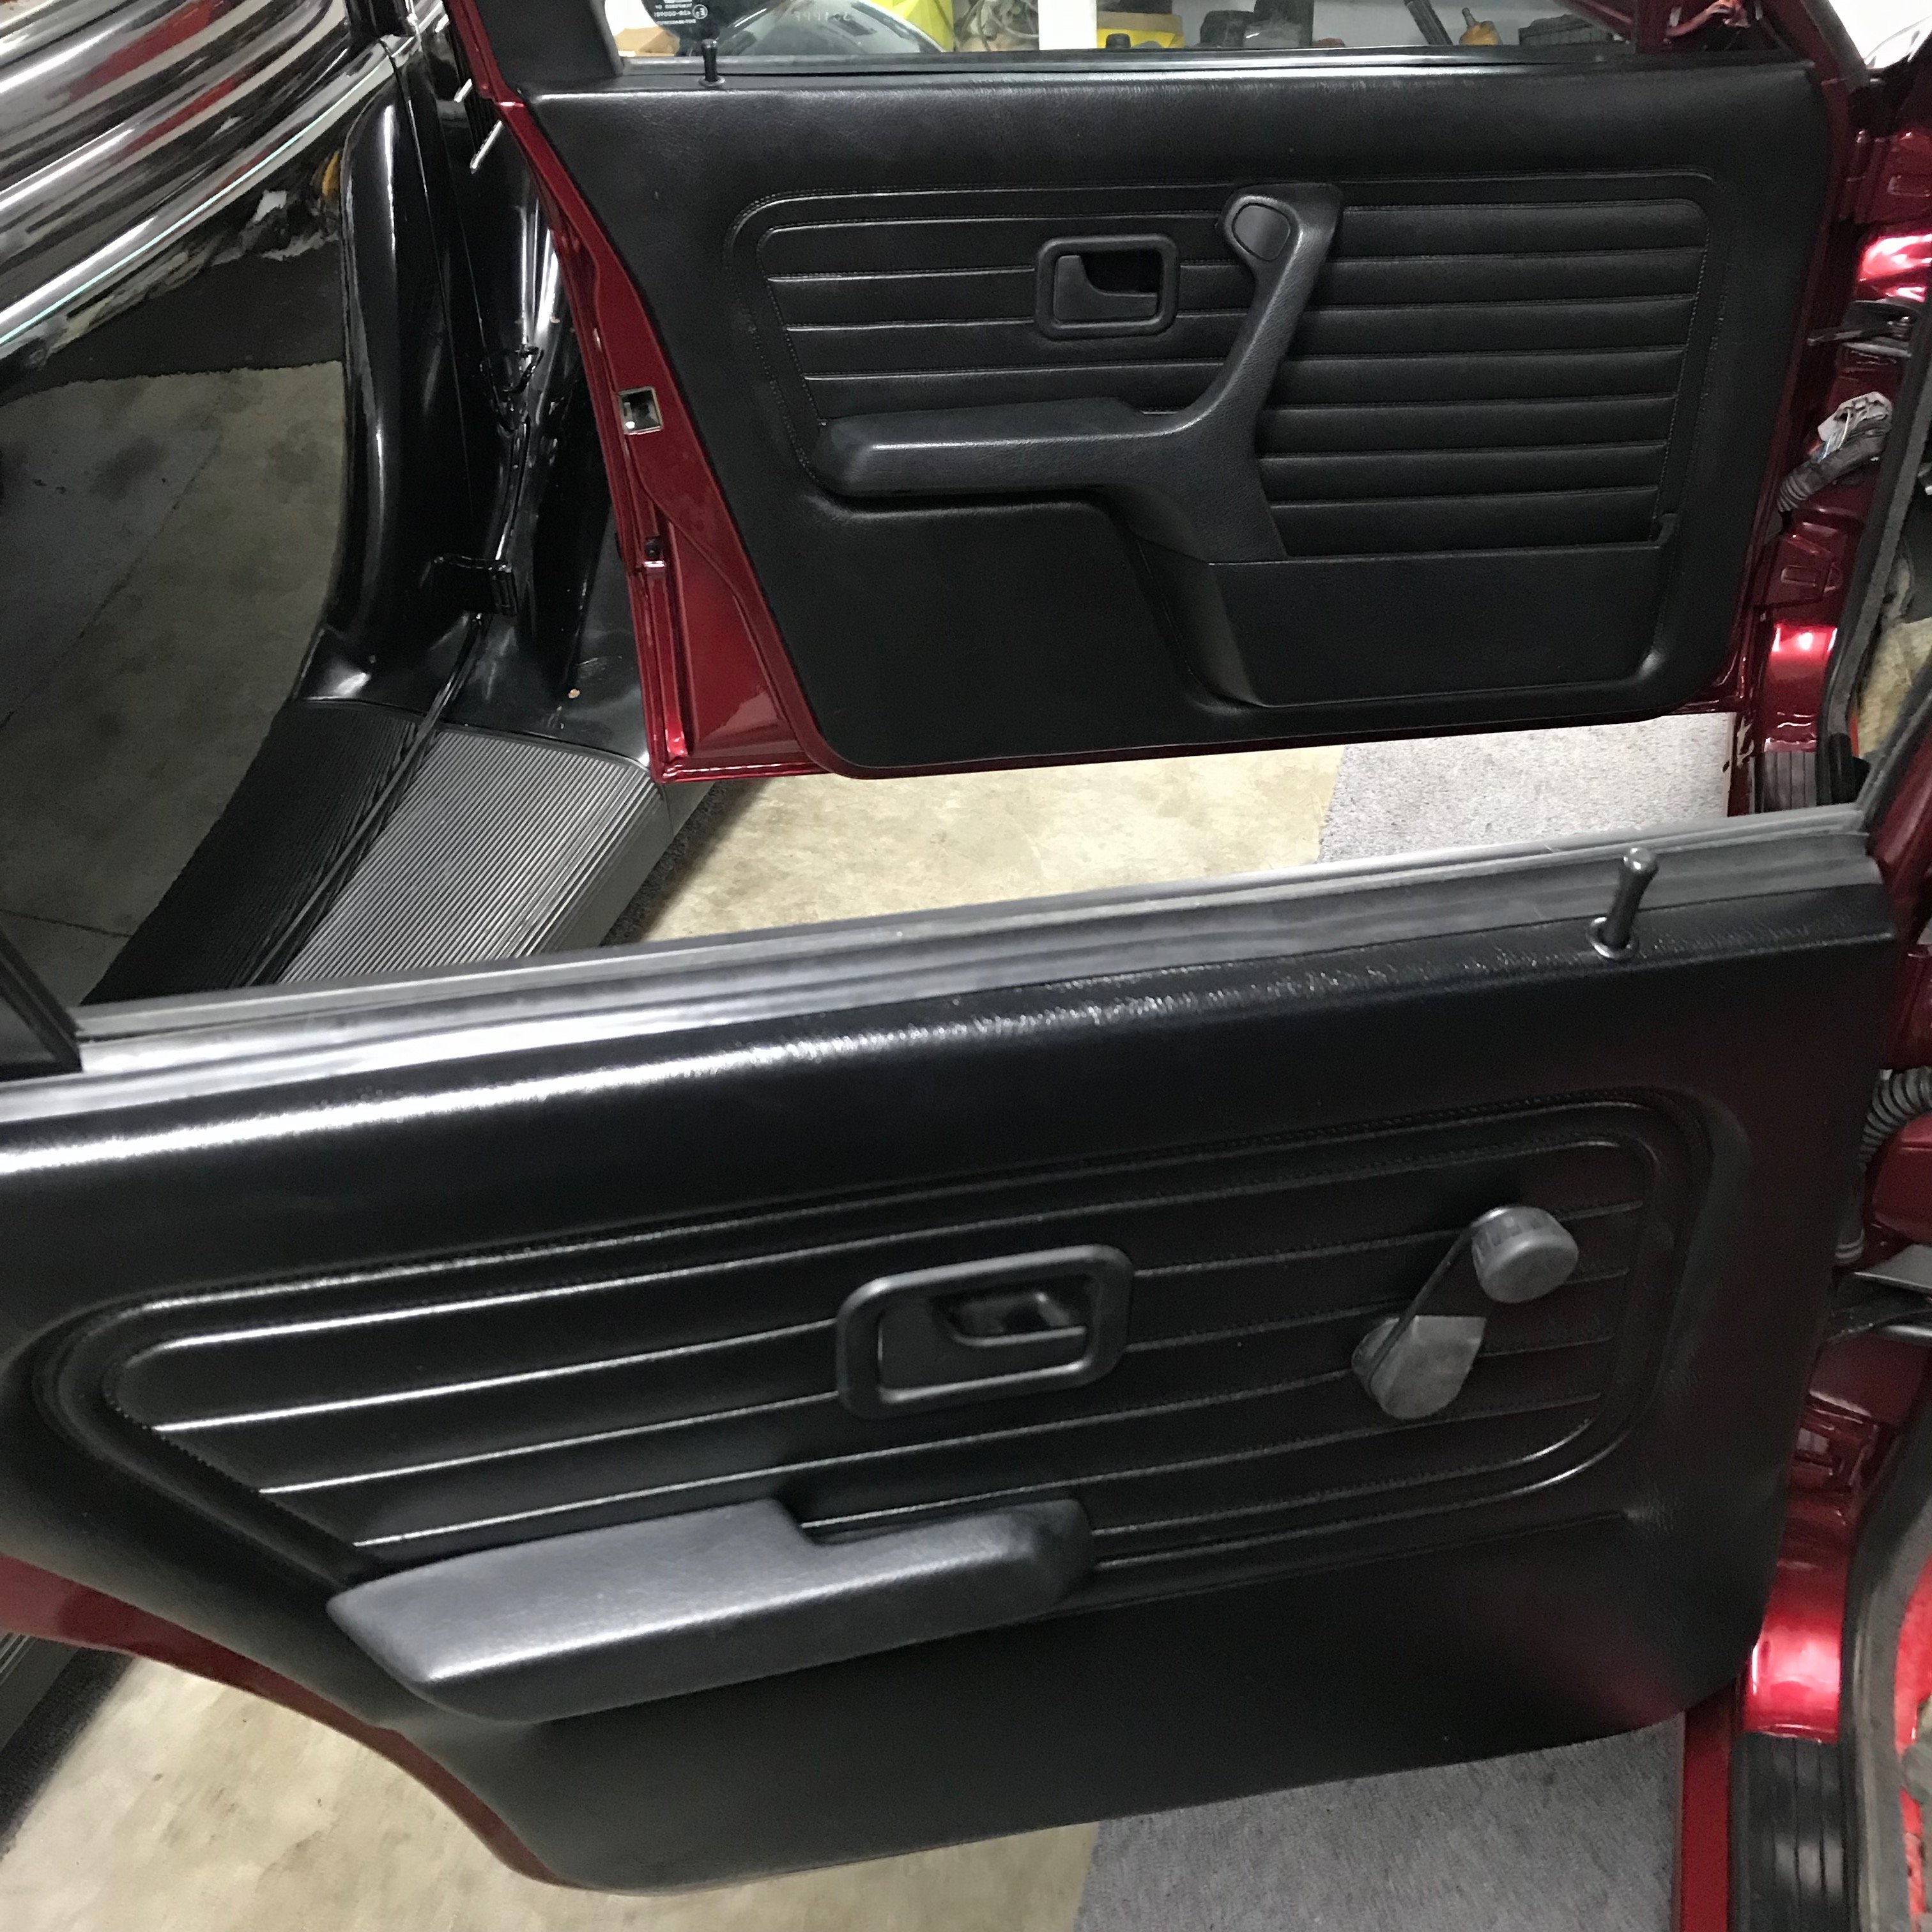
I kept my black door cards from my old car, and was going to convert my rear manual windows to electric in the touring, but that hasn't happened yet. so a pair of rear door cards were sourced, unfortunately not in black. A quick DIY solved that. The plastic door body seals were also replaced with some adhesive carpet protector from Mitre10, Perfect!

Starting to take shape!

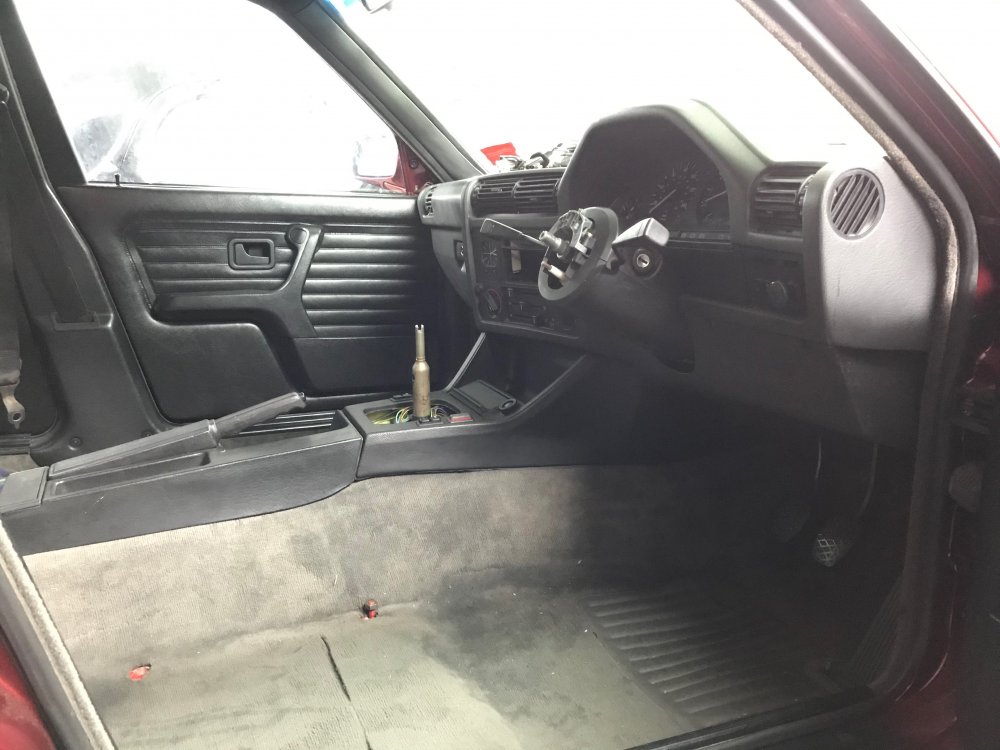
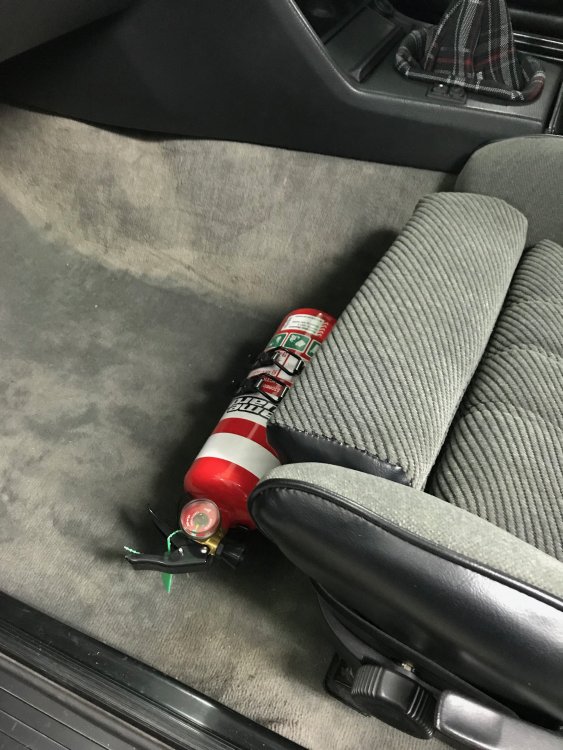
Finished off with my white gear knob from my old car (Now with 6 speed) and my Golf GTI plaid shift boot from StitchBoots in the USA.

The interior is pretty much complete now, I'm running my old tweeter pods for looks, and my old map light mirror i kept from my previous car also. Just waiting on a radio blanking panel for the dash and also need to install my voltmeter.
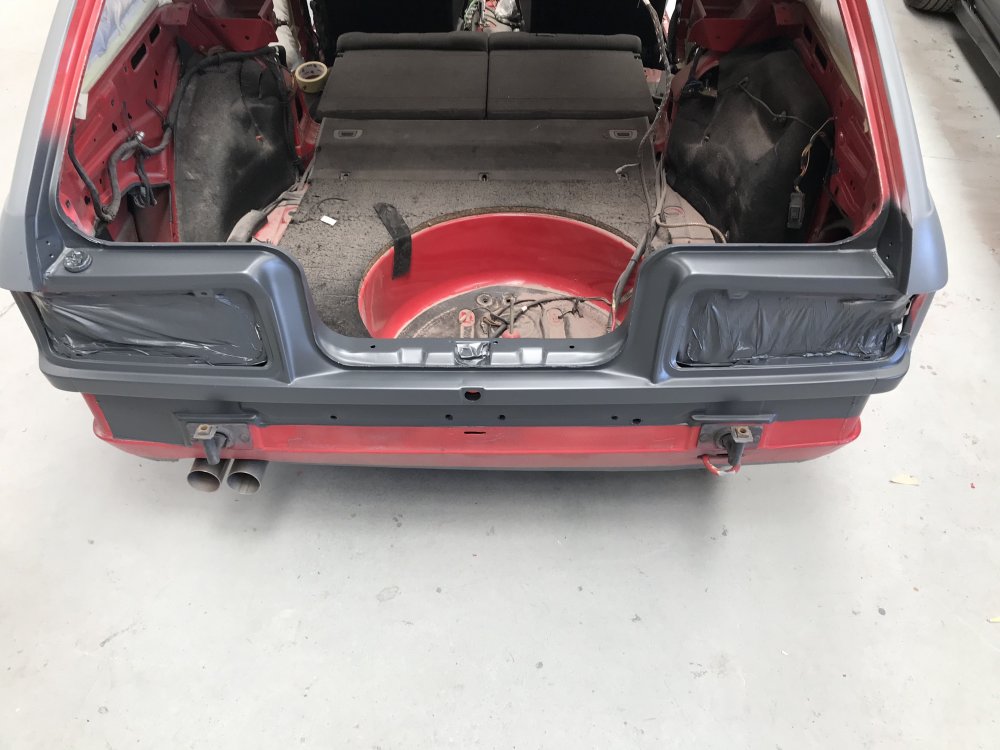
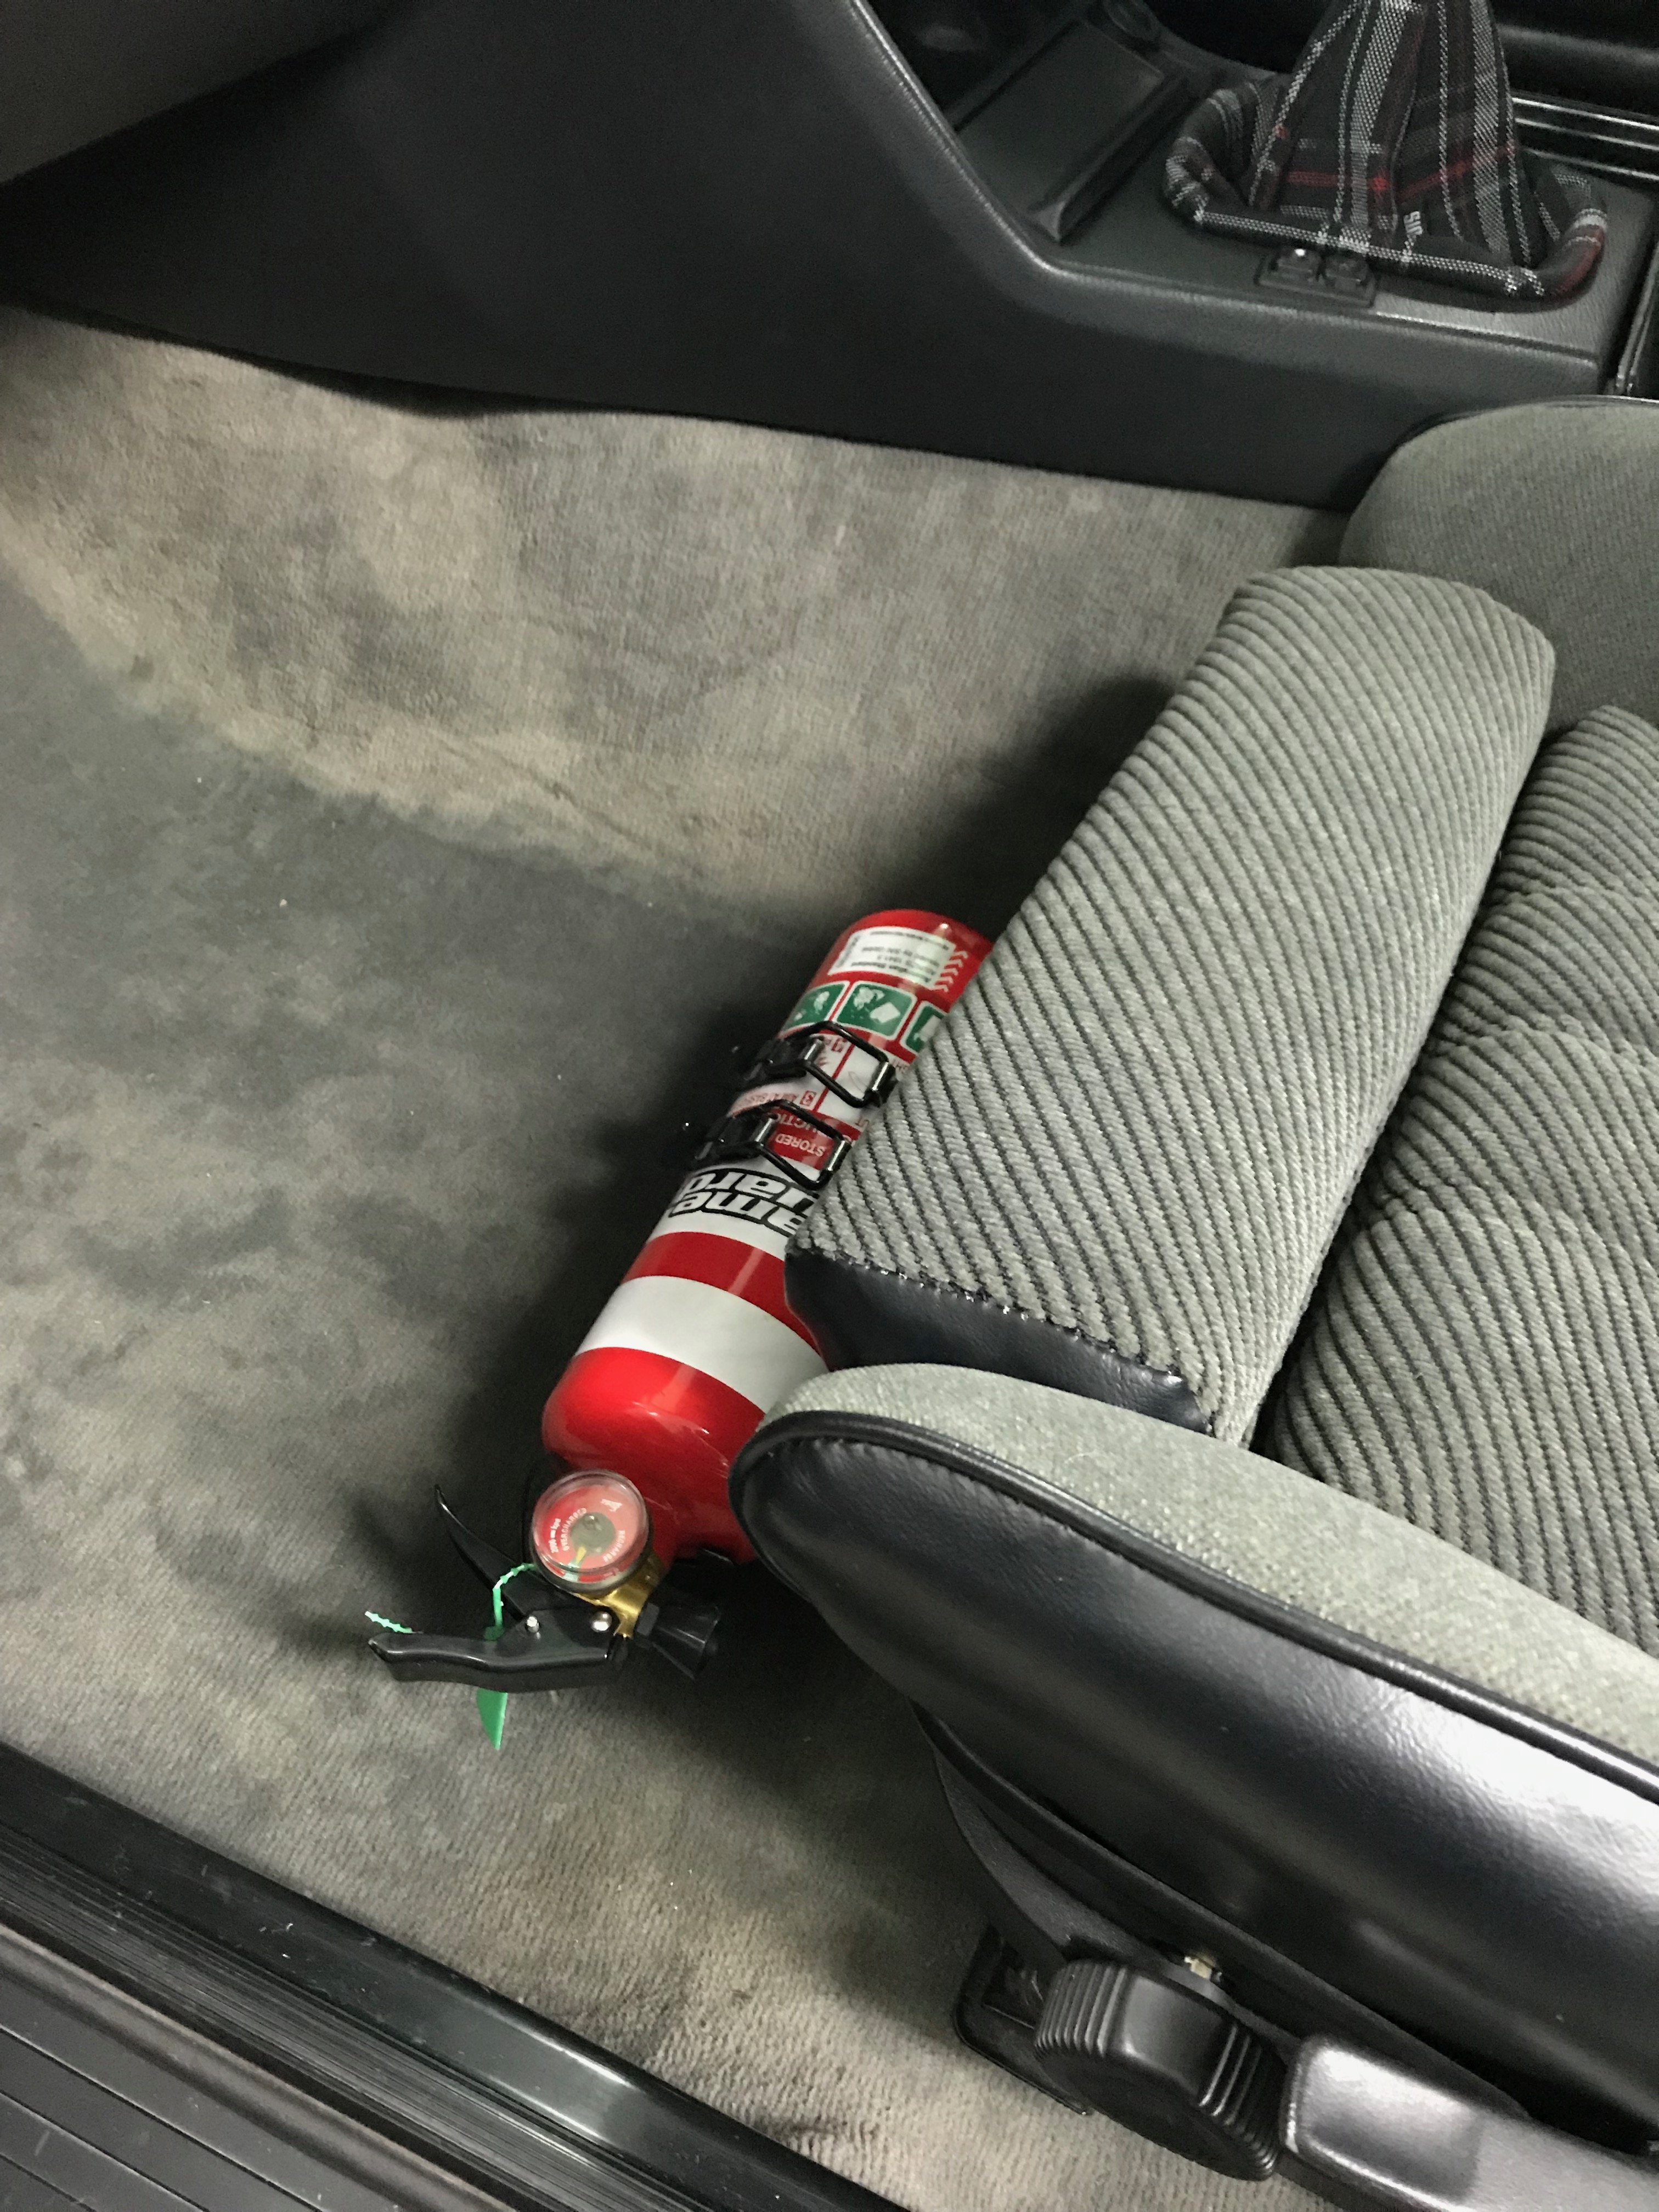
The rear battery setup in the boot has just finished being revised, the big old battery has been replaced by a much smaller one that allows the rear opening panels in the side wheel wells to now shut correctly.
-
 4
4
-
-
I got mine from eBay in the states after going through half a dozen or so auctions to pick out the best one, then got it delivered to the kiwi shipping warehouse then they shipped it over for me with another members gearbox as well, probably the easiest, fastest and cheapest way to do it. Although the US dollar isn't the best right now.
-
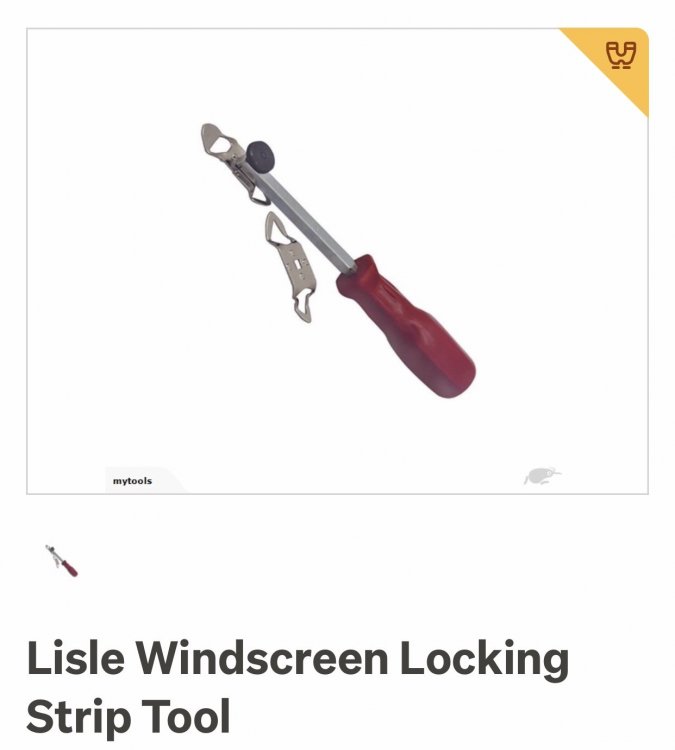
Hey guys does anyone have a tool like this or similar? Looking to borrow for one windscreen install rather than buy. Cheers
-
bump
-
Been following on Instagram. Love Claudia! Keen to see more progress.
-
 1
1
-
-
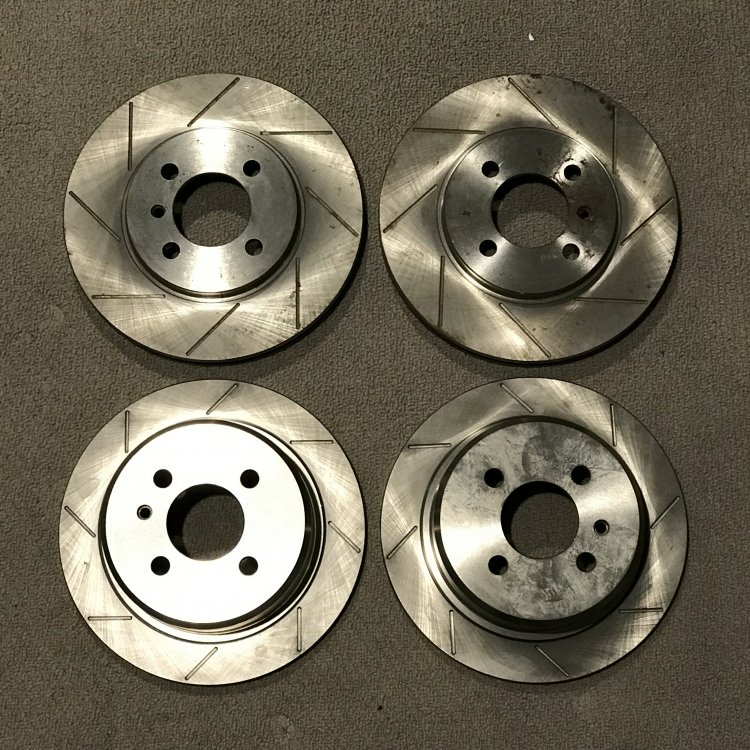
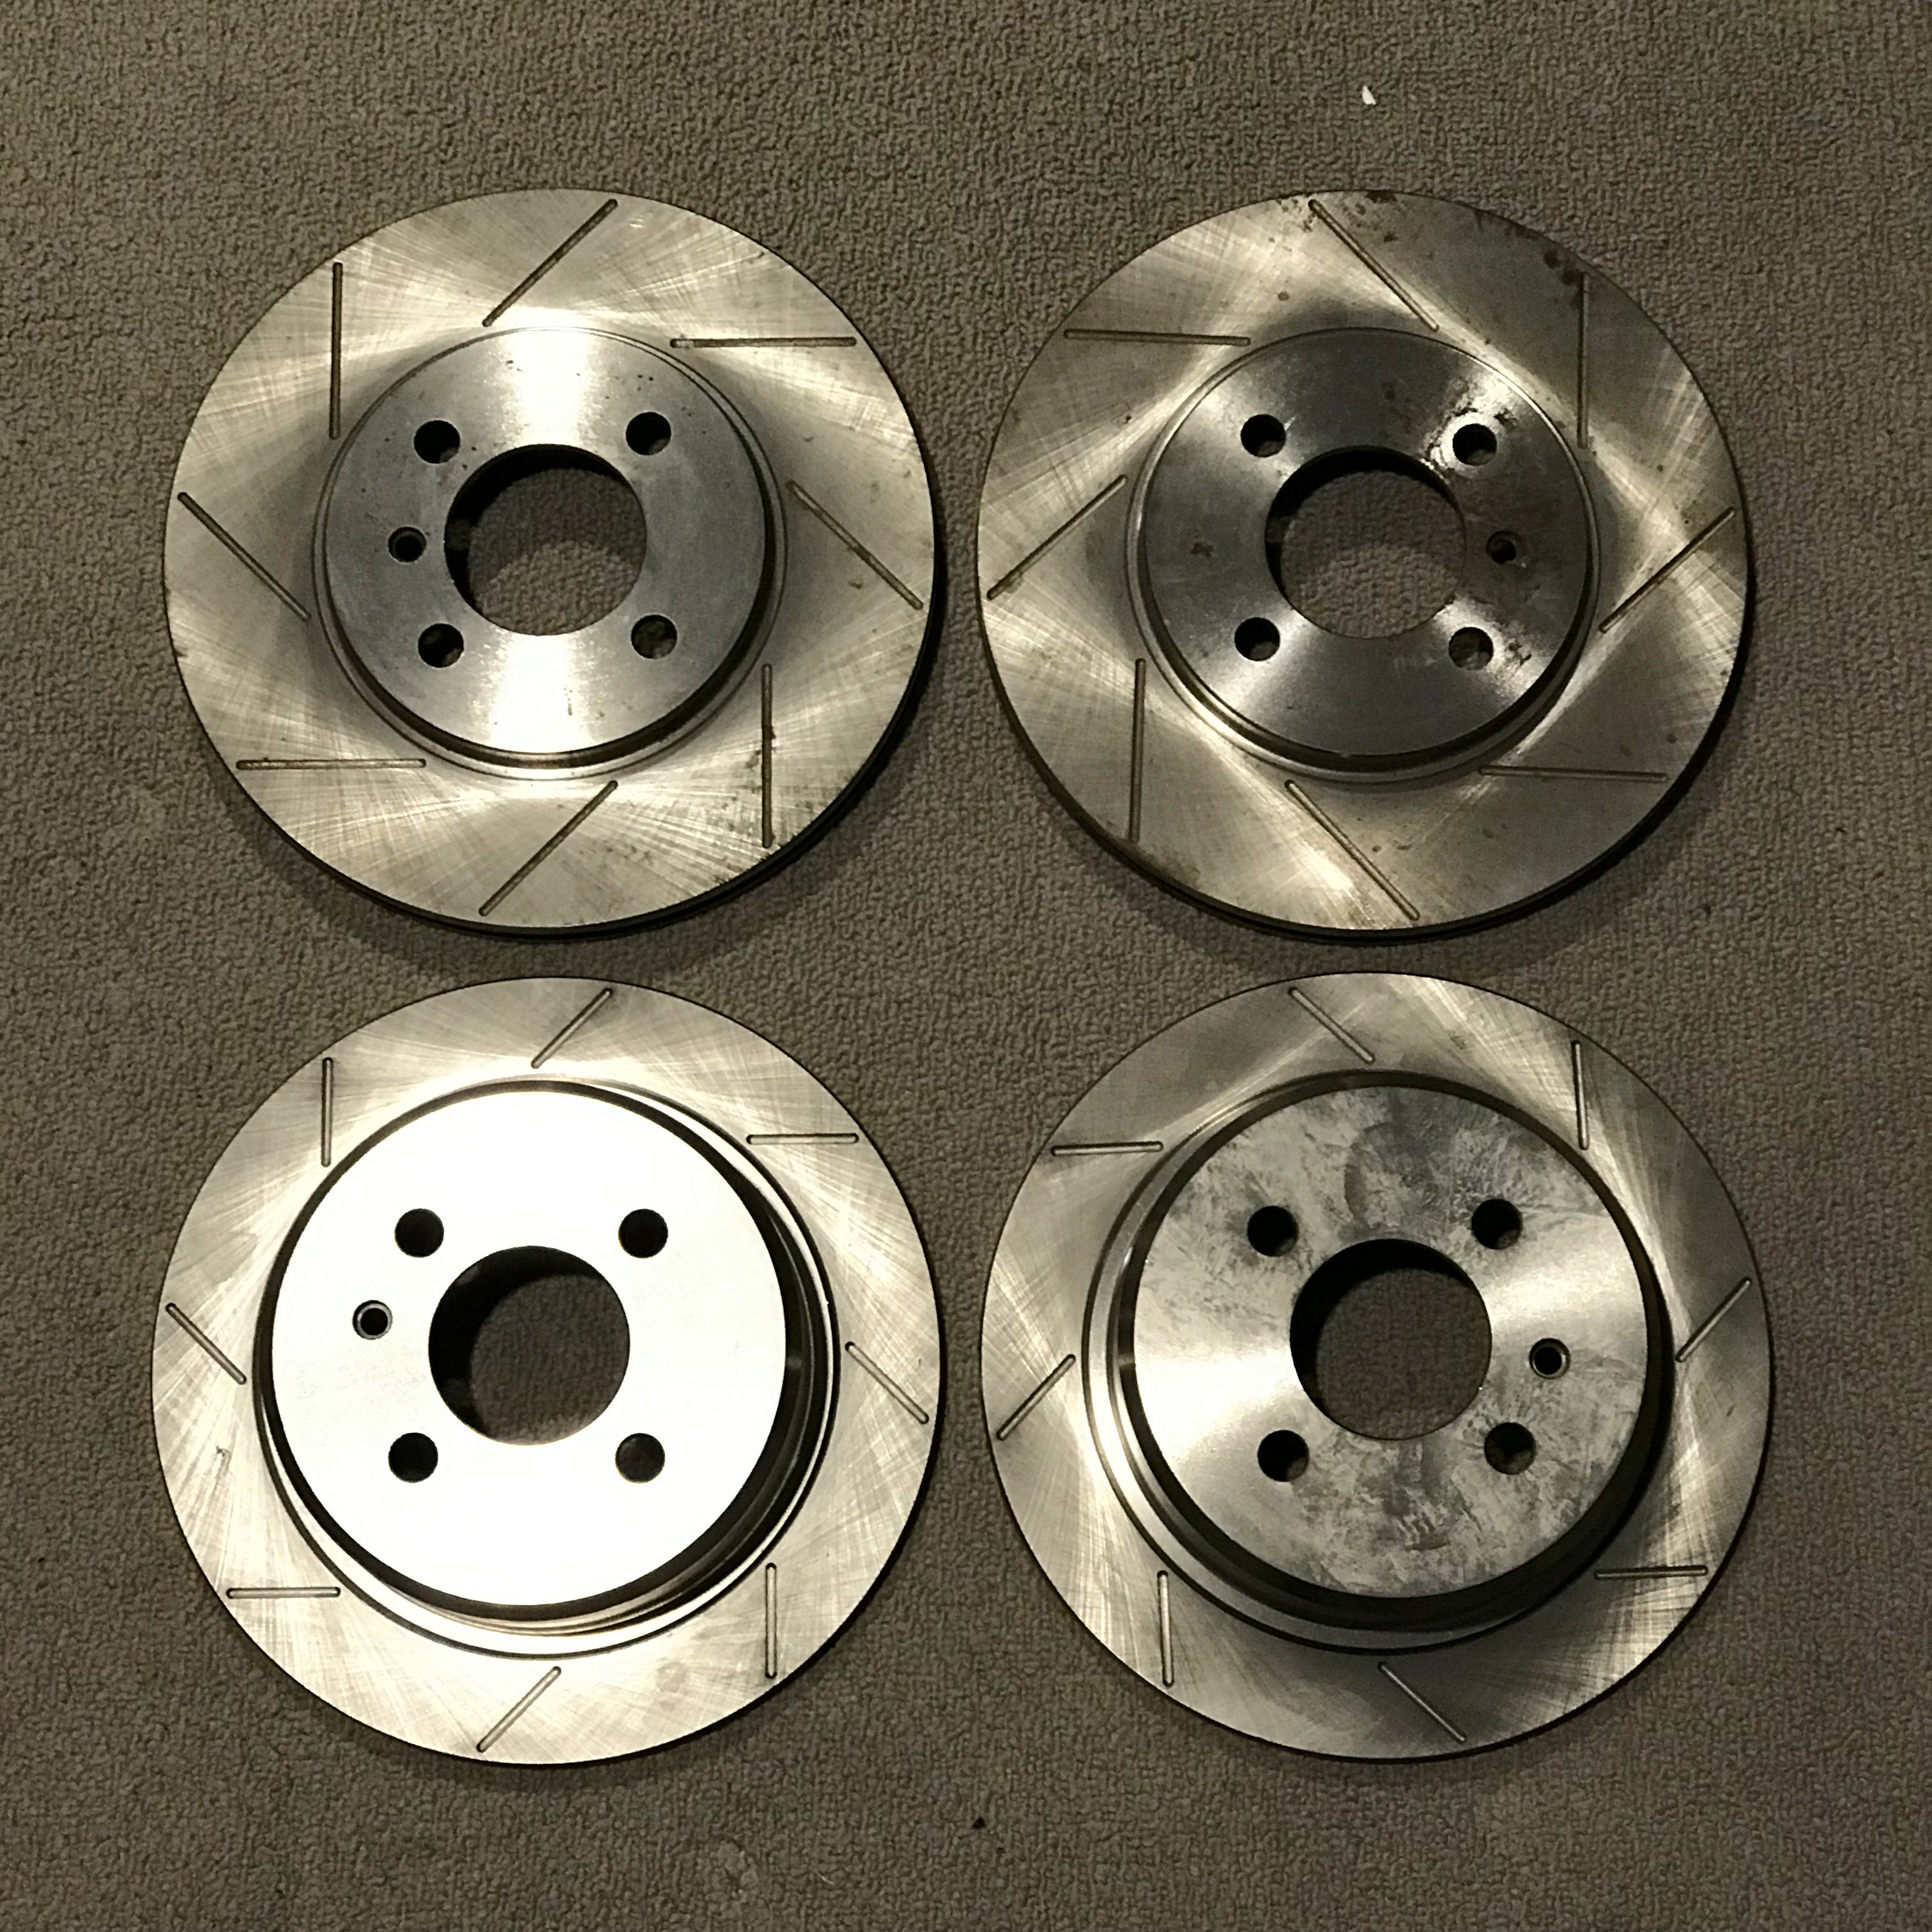
Direct bolt on
260mm fronts and 258mm rears
D1 Racing and Roadhouse brandedFronts have been bolted to car without calipers and never driven on, Rears are brand new still in plastic and box.
$425
Shipping to be negotiated, online quote came back at approx $60 from New Plymouth to Auckland
-
1
-
-
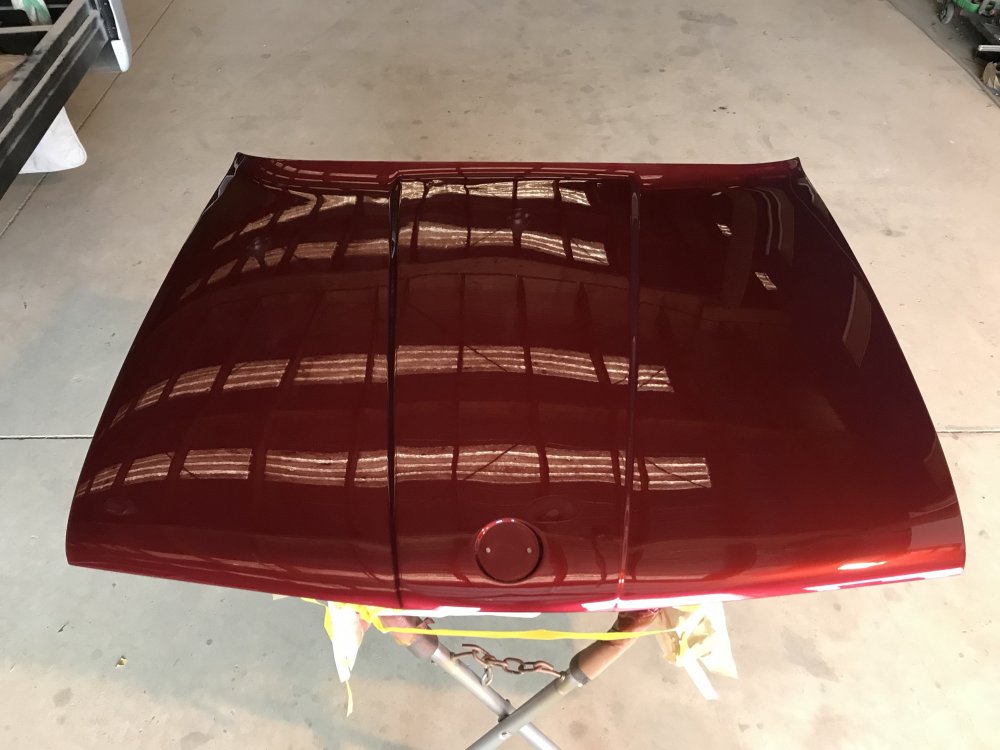
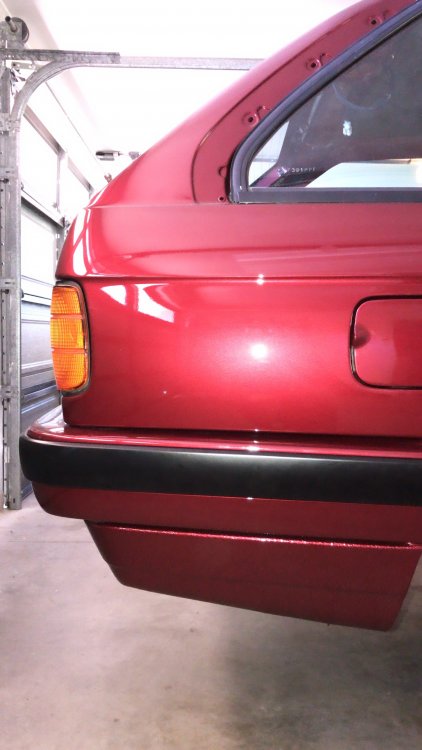
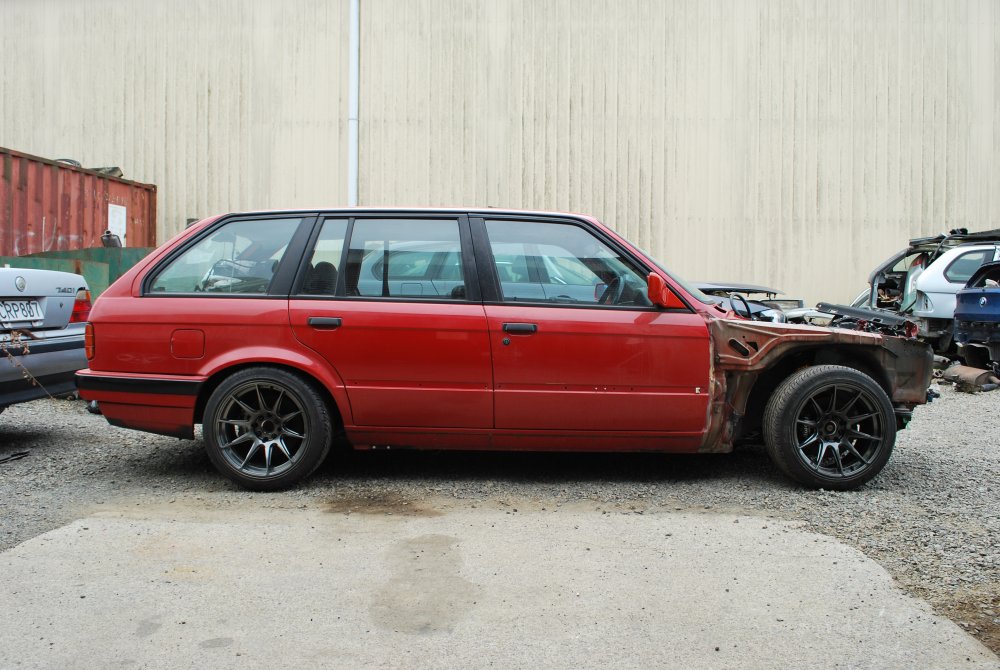
Nice car, but maybe i expected more. Its a bit rough these days, all that work and they can't even paint the inside of the fuel flap!
-
 1
1
-
-
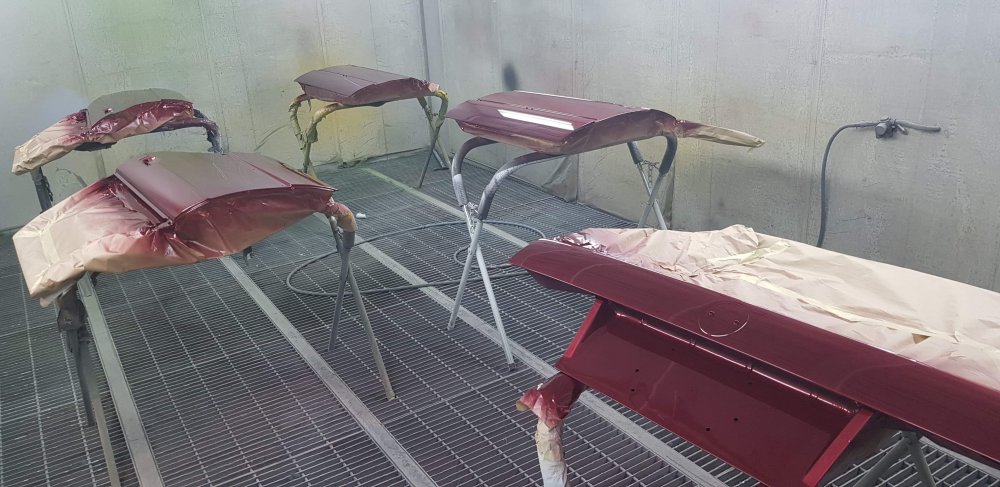
7 hours ago, E30 325i Rag-Top said:that's a great colour Blair, can't wait to see it all back together and finished.
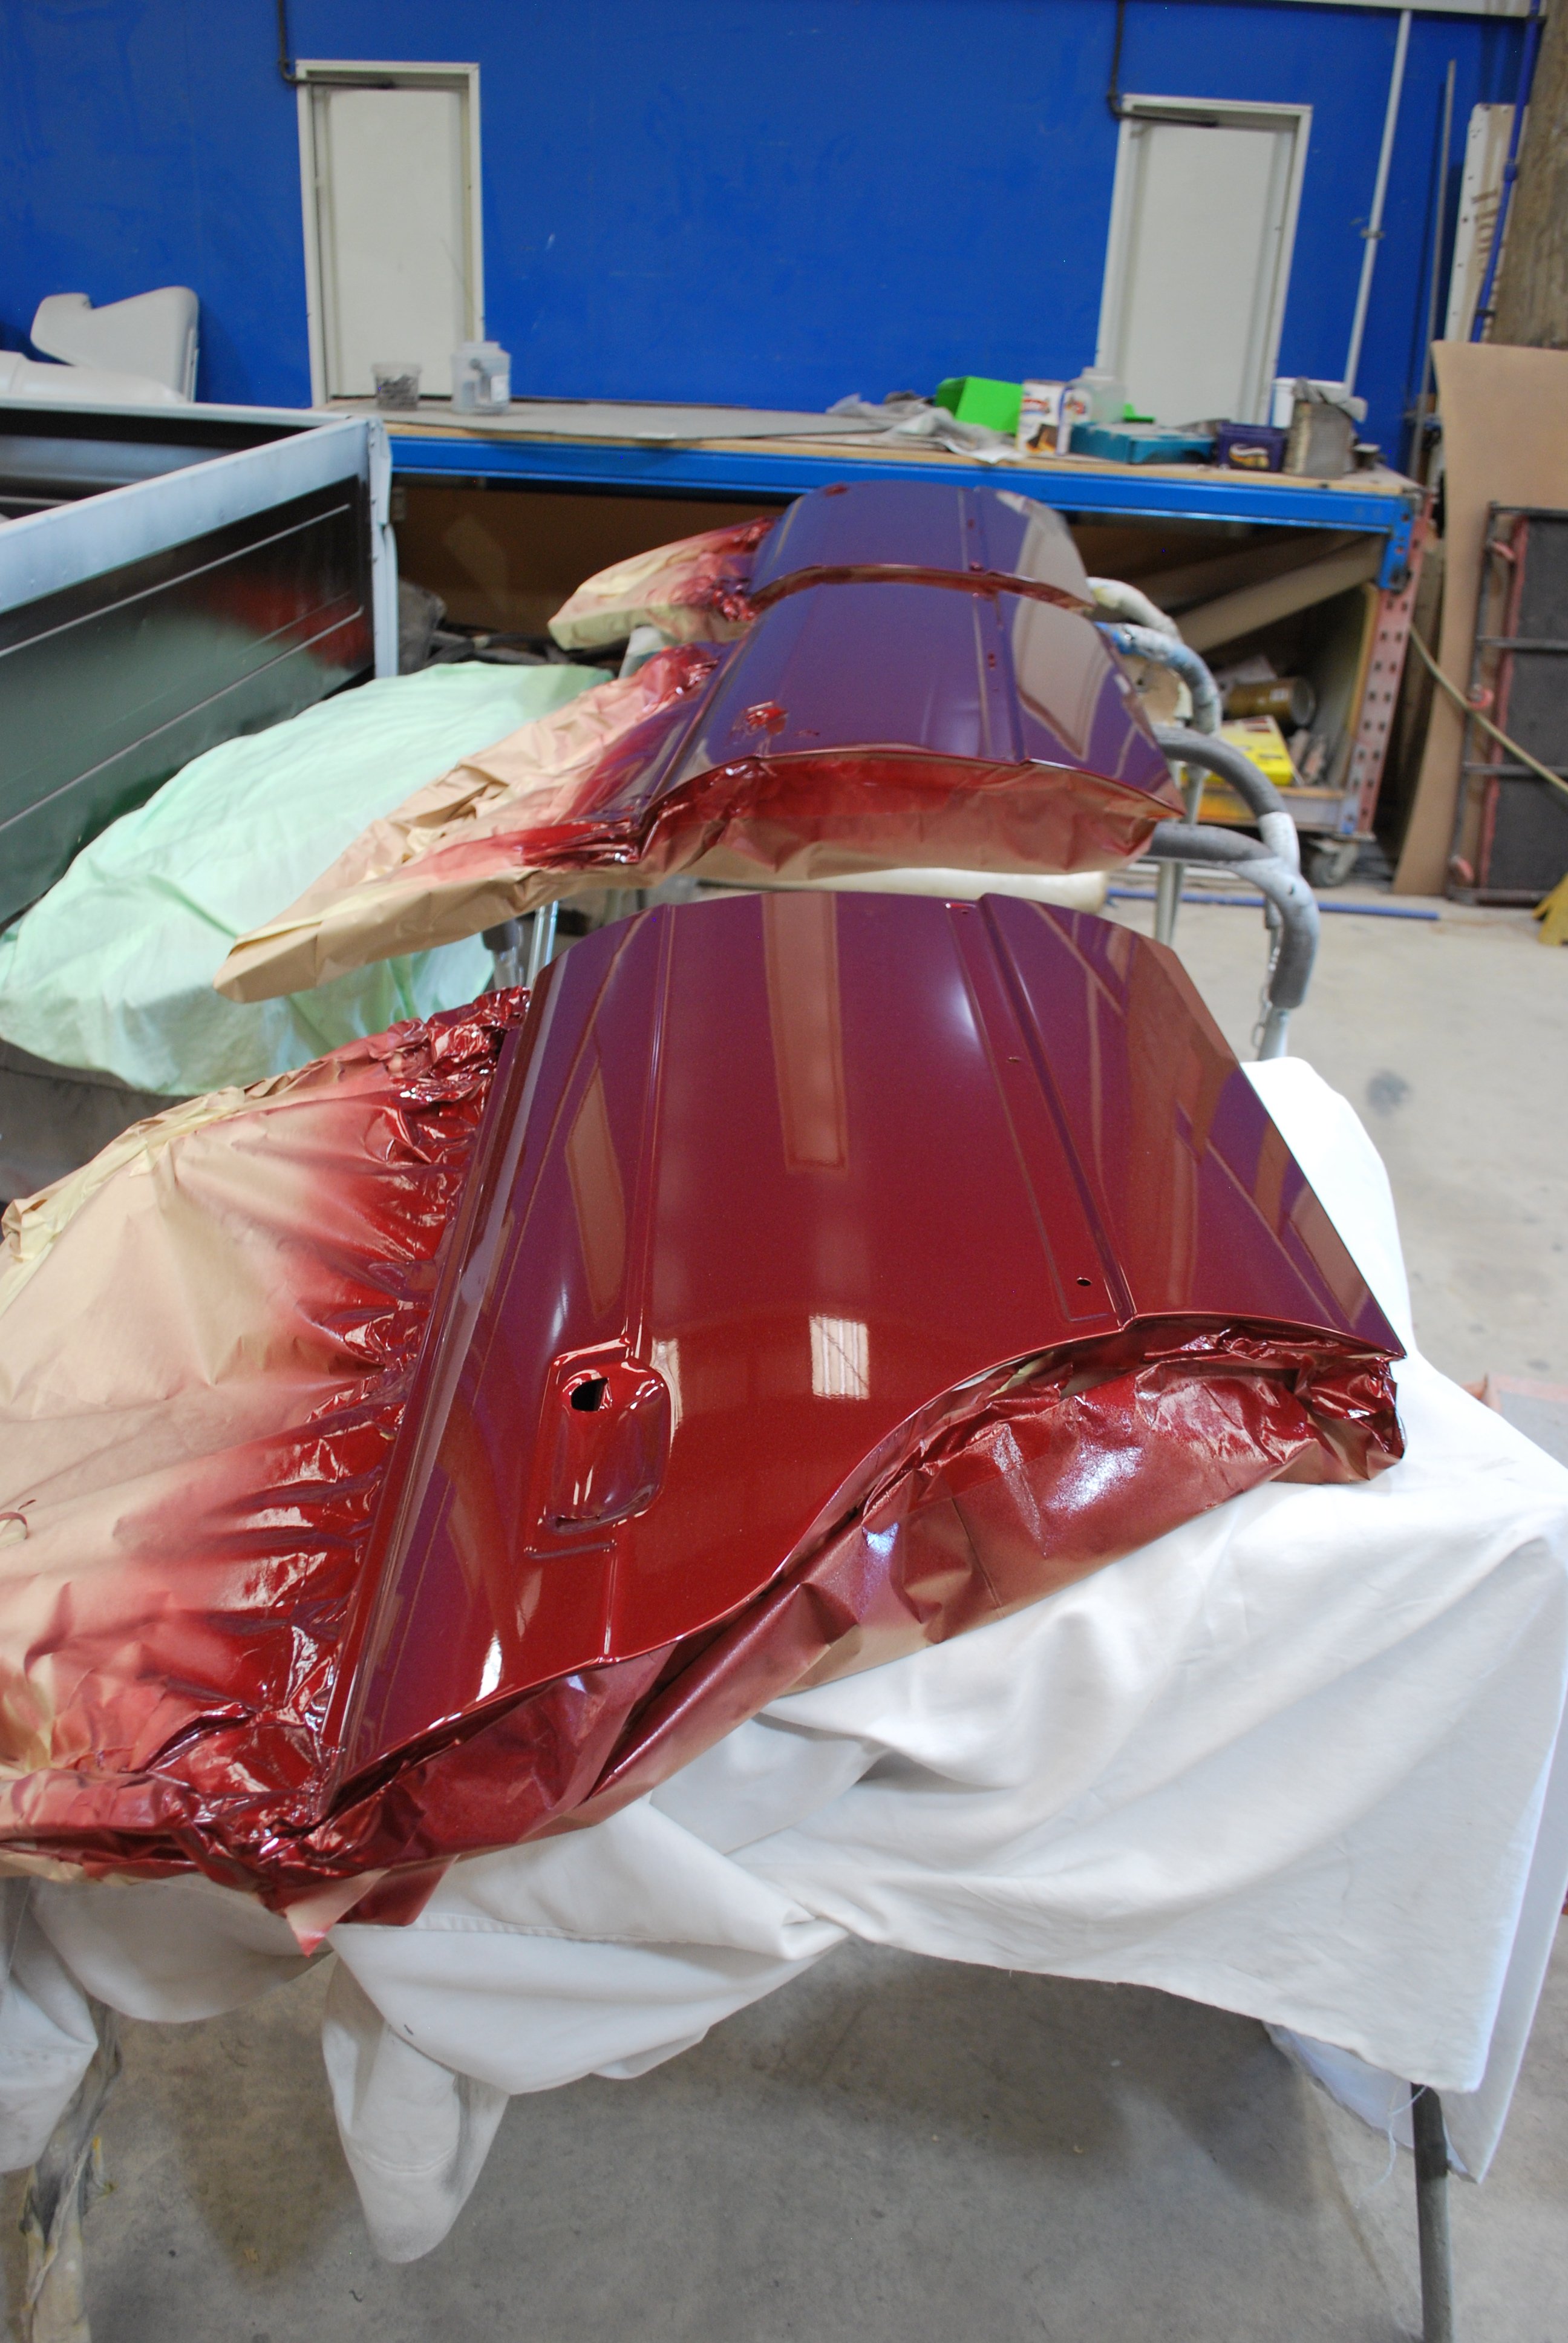
Cheers Jon! The Zinnoberrot shell was a good base for the final Calypsorot vision, and a thought that did go through my head when purchasing the car.
-
6 hours ago, Olaf said:brilliant. Looking forward to seeing this in the flesh. e30 Mega Meet 2019 yeah?
Definitely! That is the plan/ goal, as i can't miss it in my own back yard!
-
1
-
-
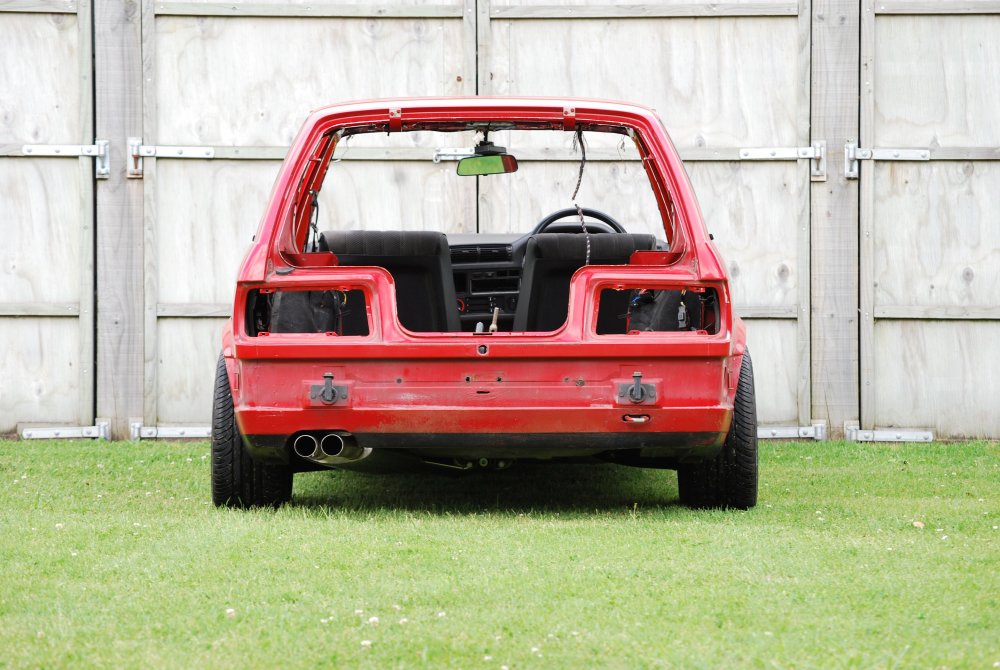
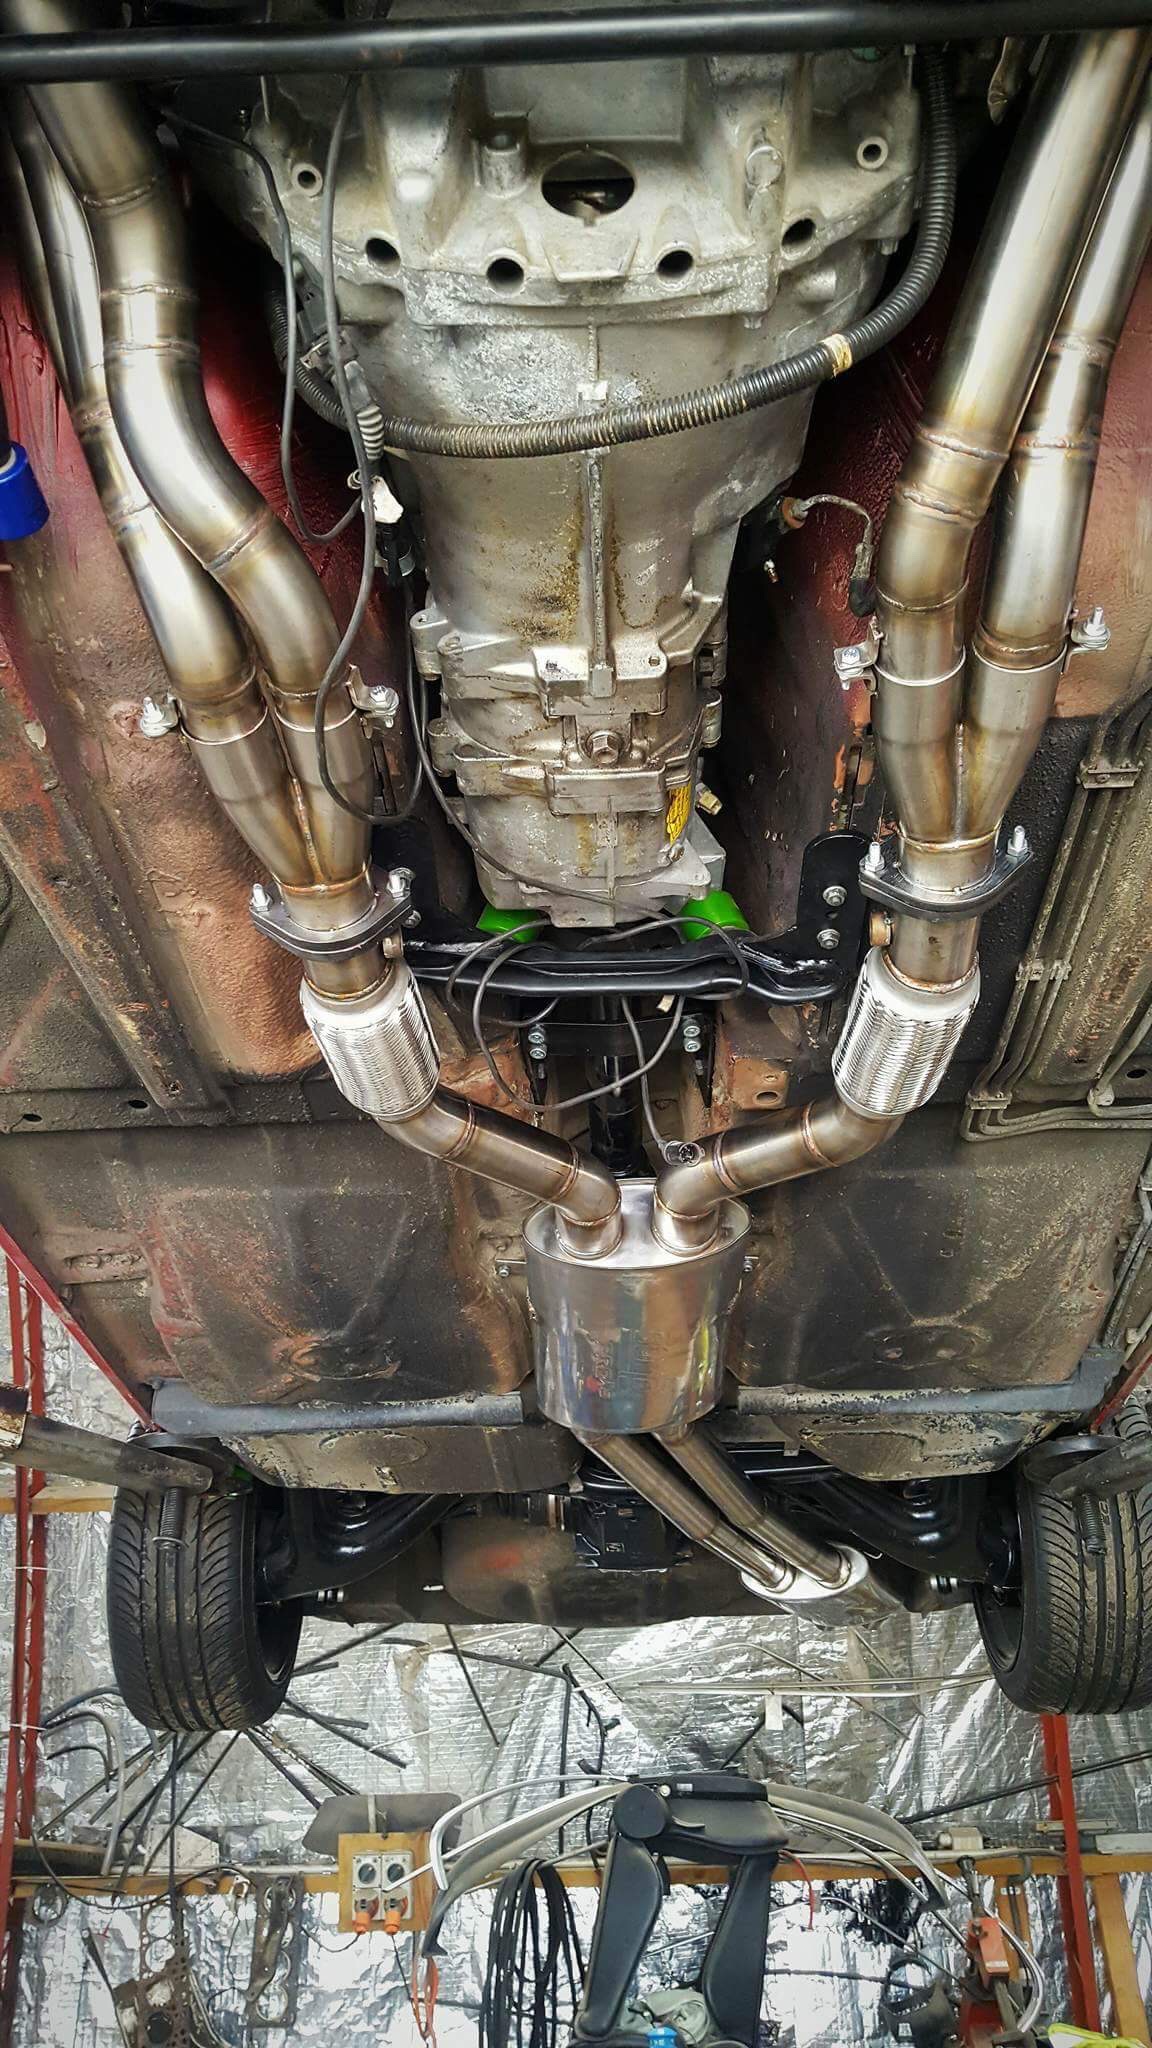
59 minutes ago, qube said:maaaaaate! that looks and sounds amazing!!!
what kind of exhaust set up is that?
Cheers. slowly coming back to life.
Its a full custom stainless system, i went with 2.5" piping and 2 Borla mufflers which have the crossovers inside of them, pics are on the previous page.
-
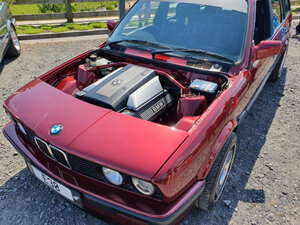
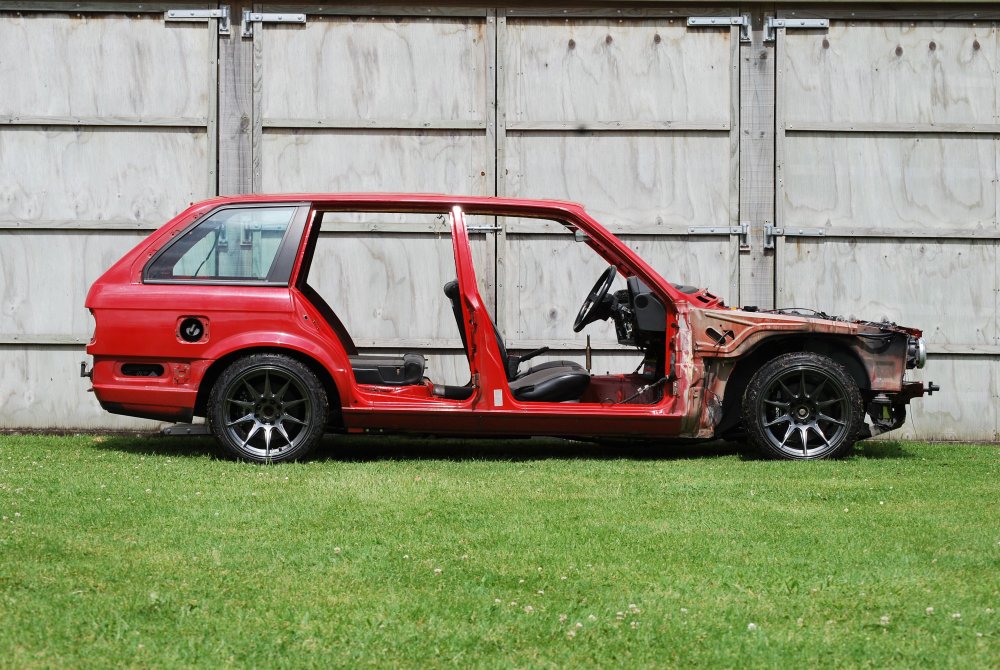
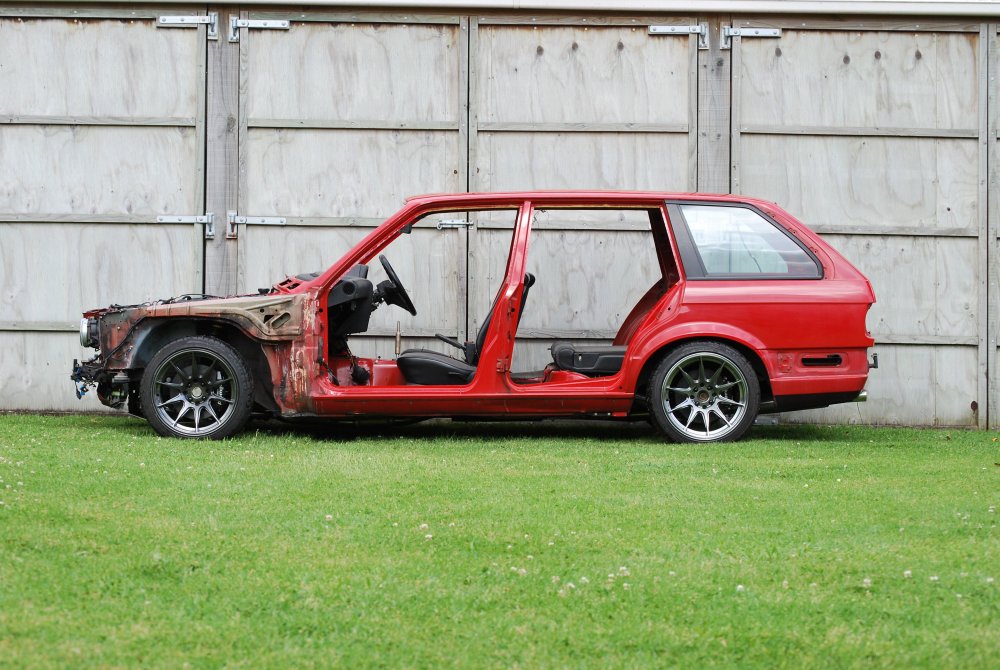
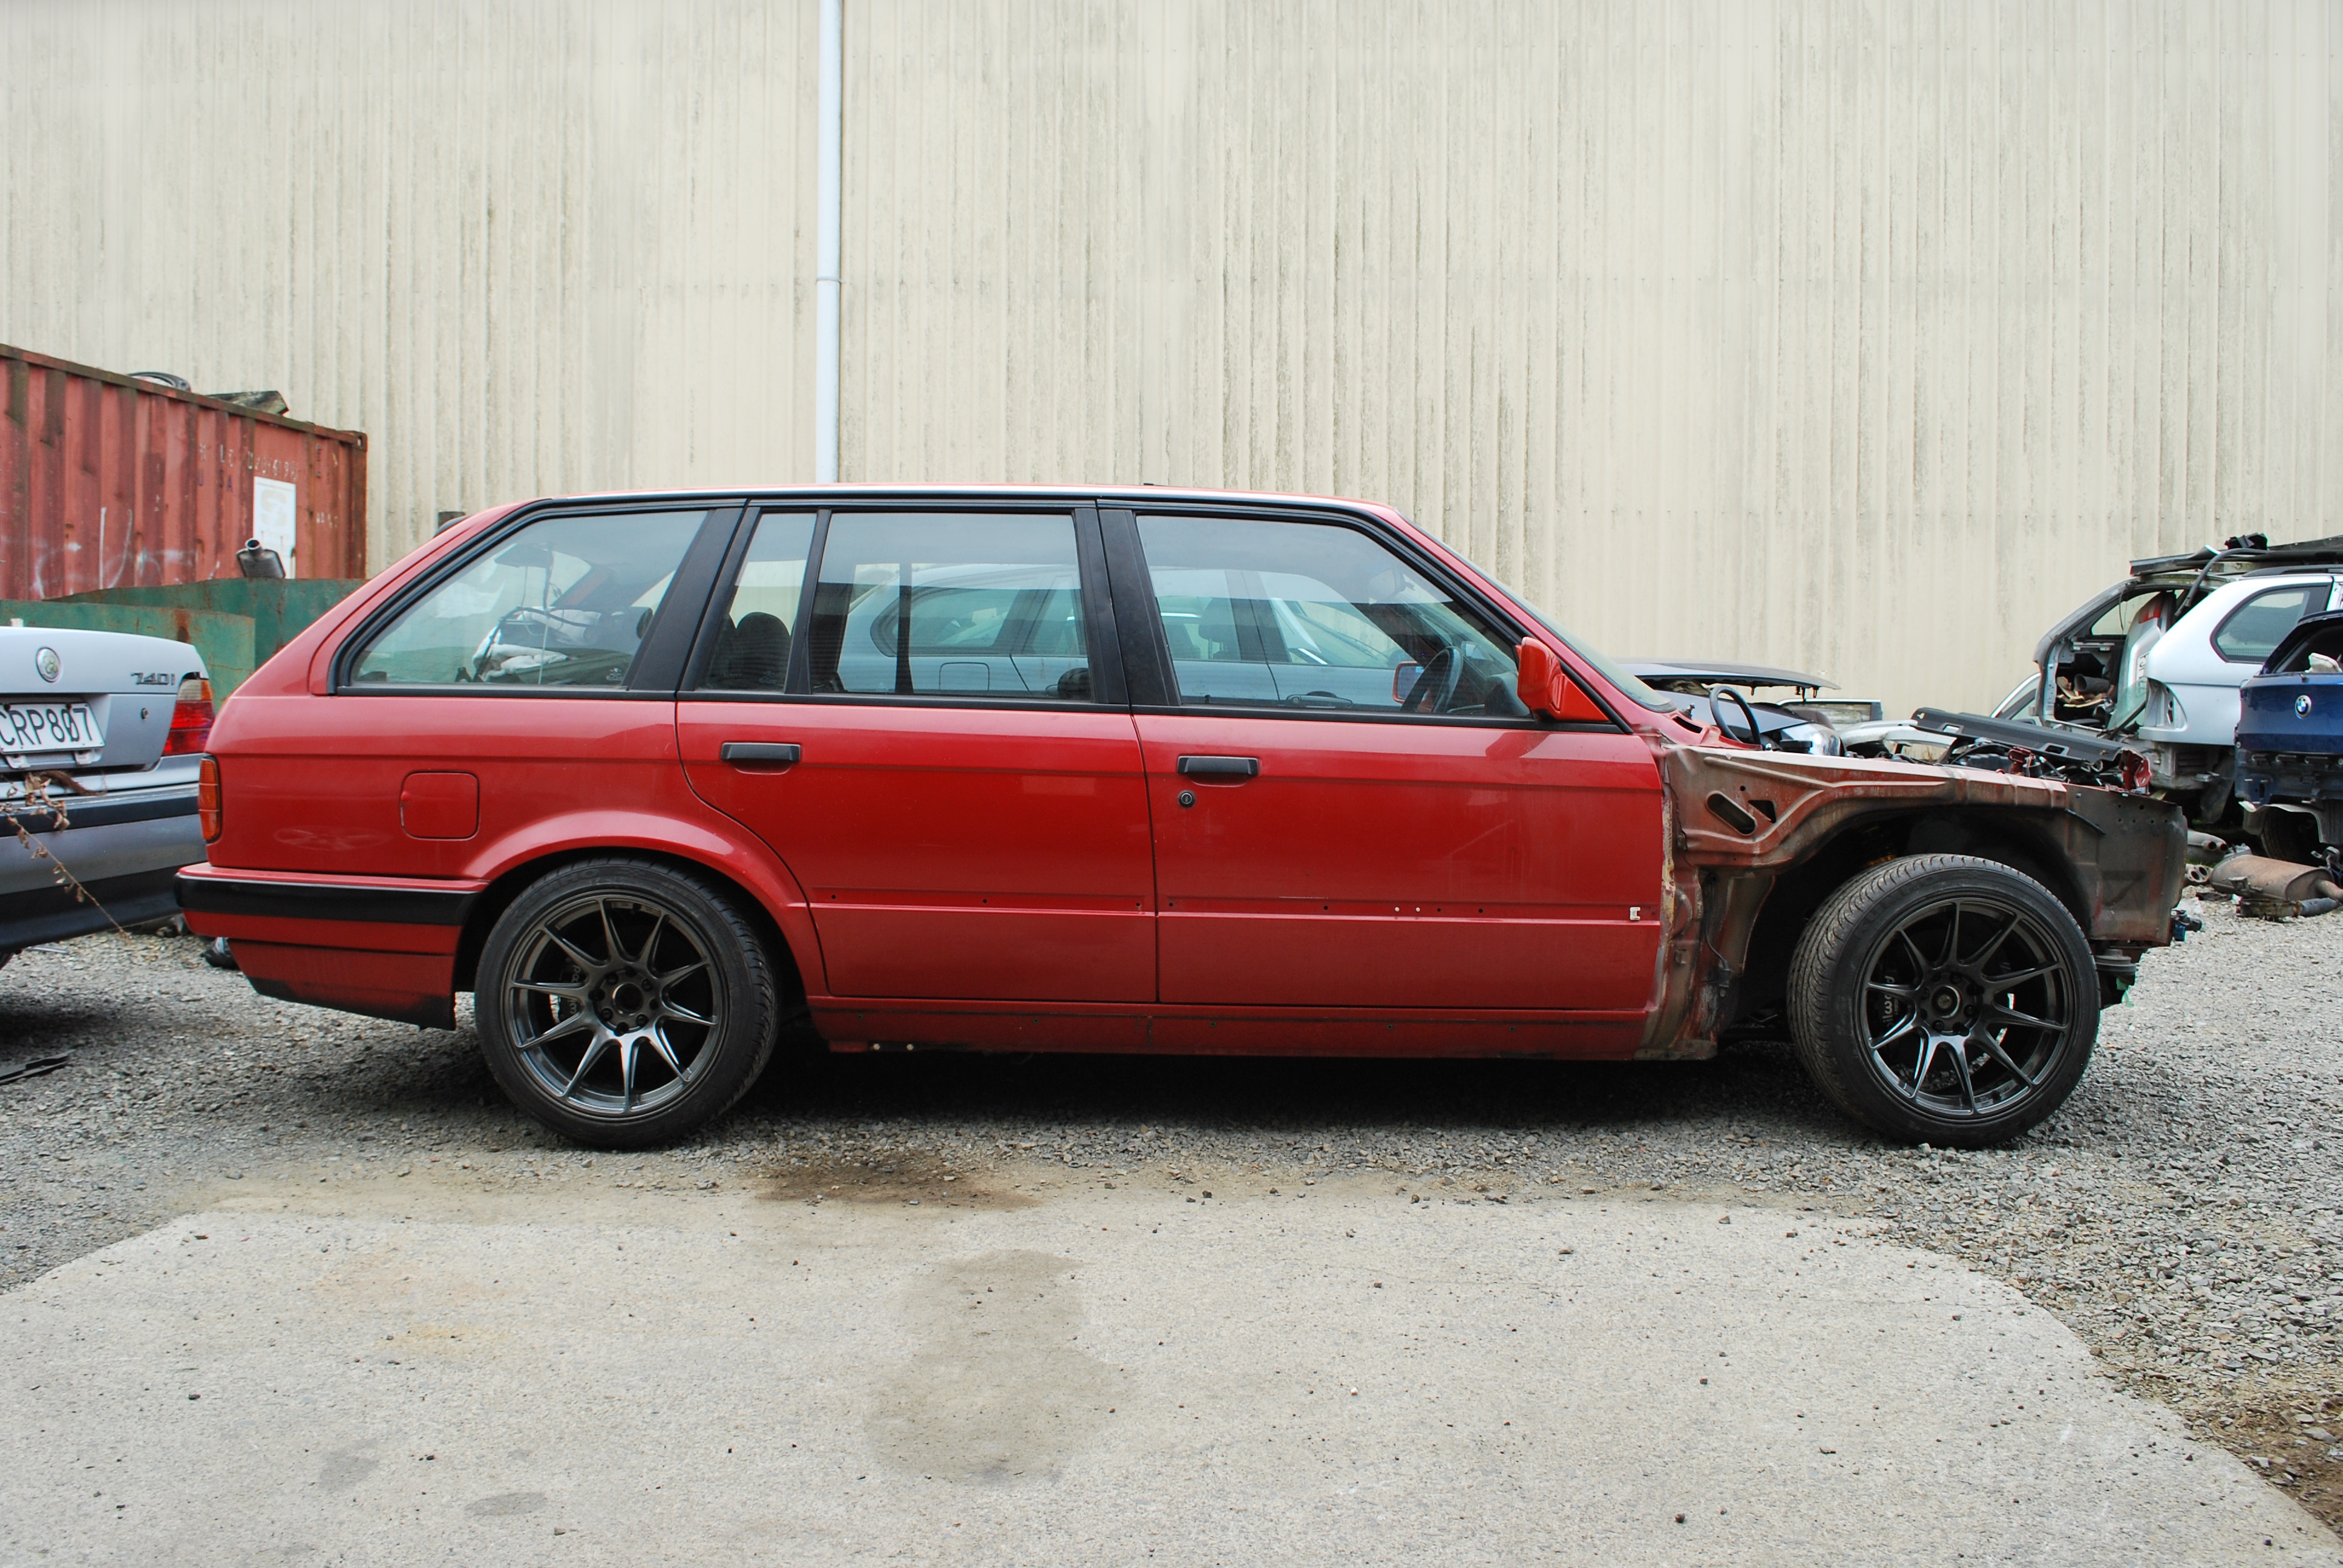
Well 2019 is looking promising so far!
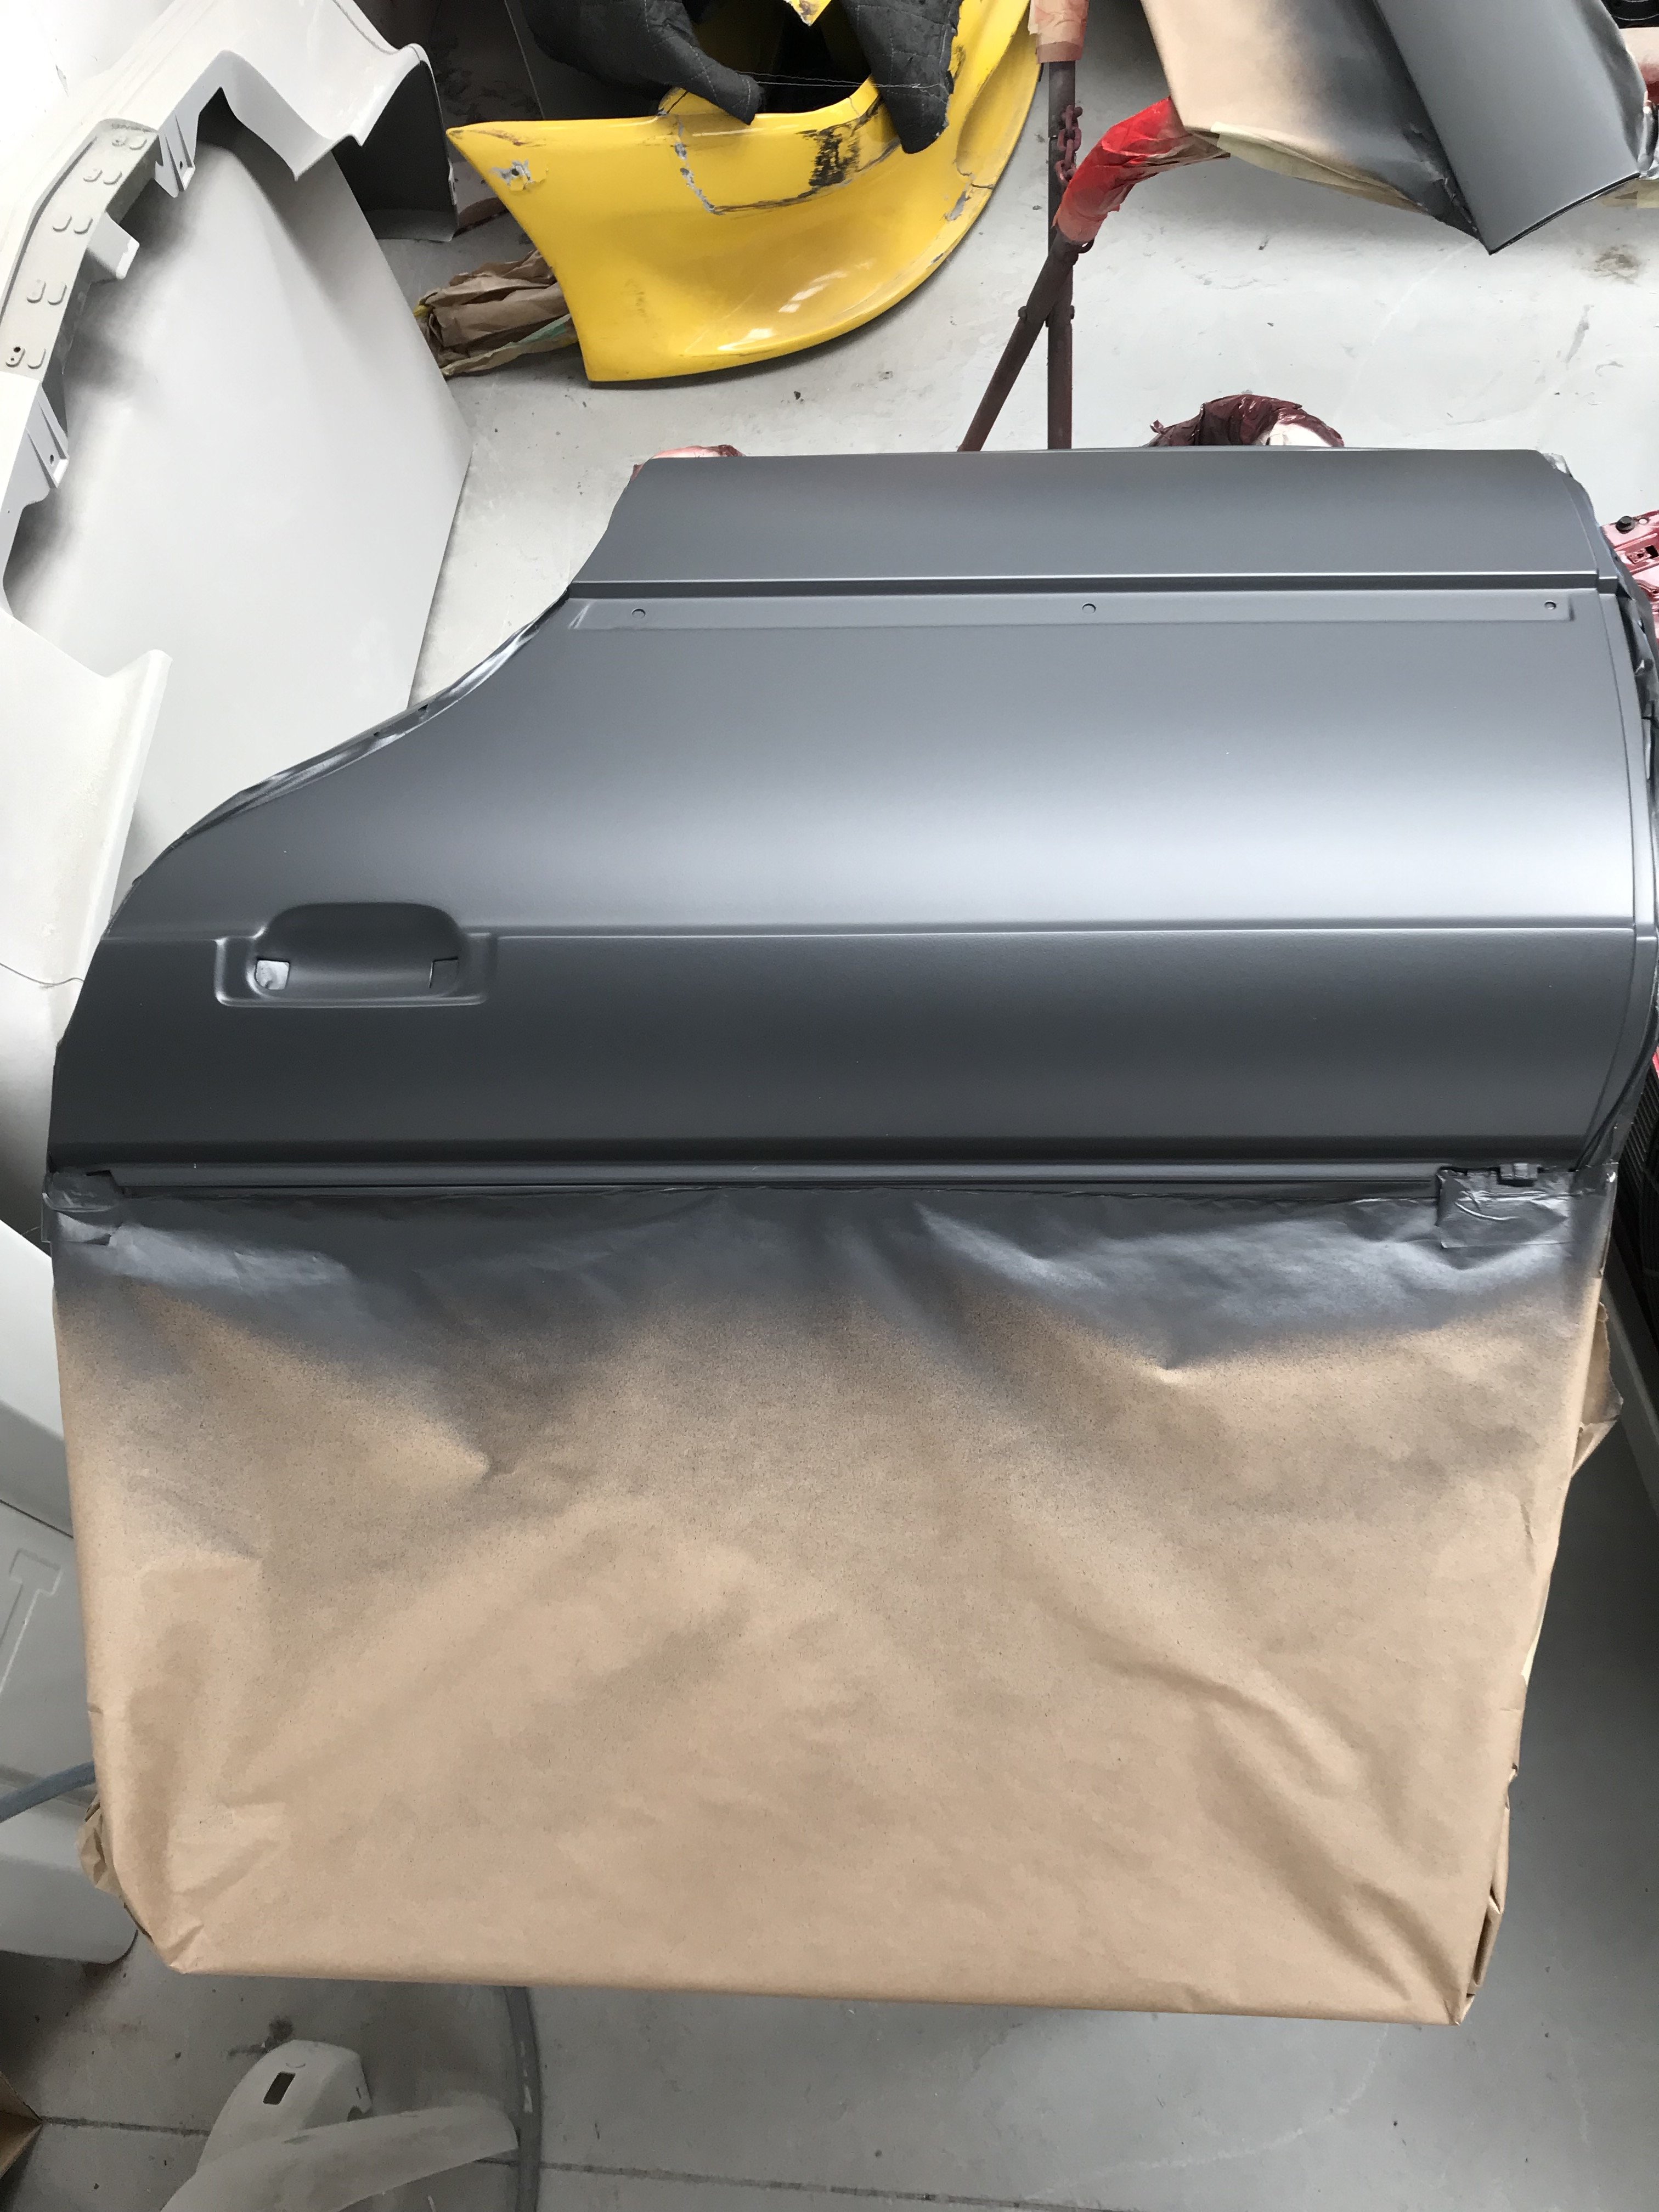
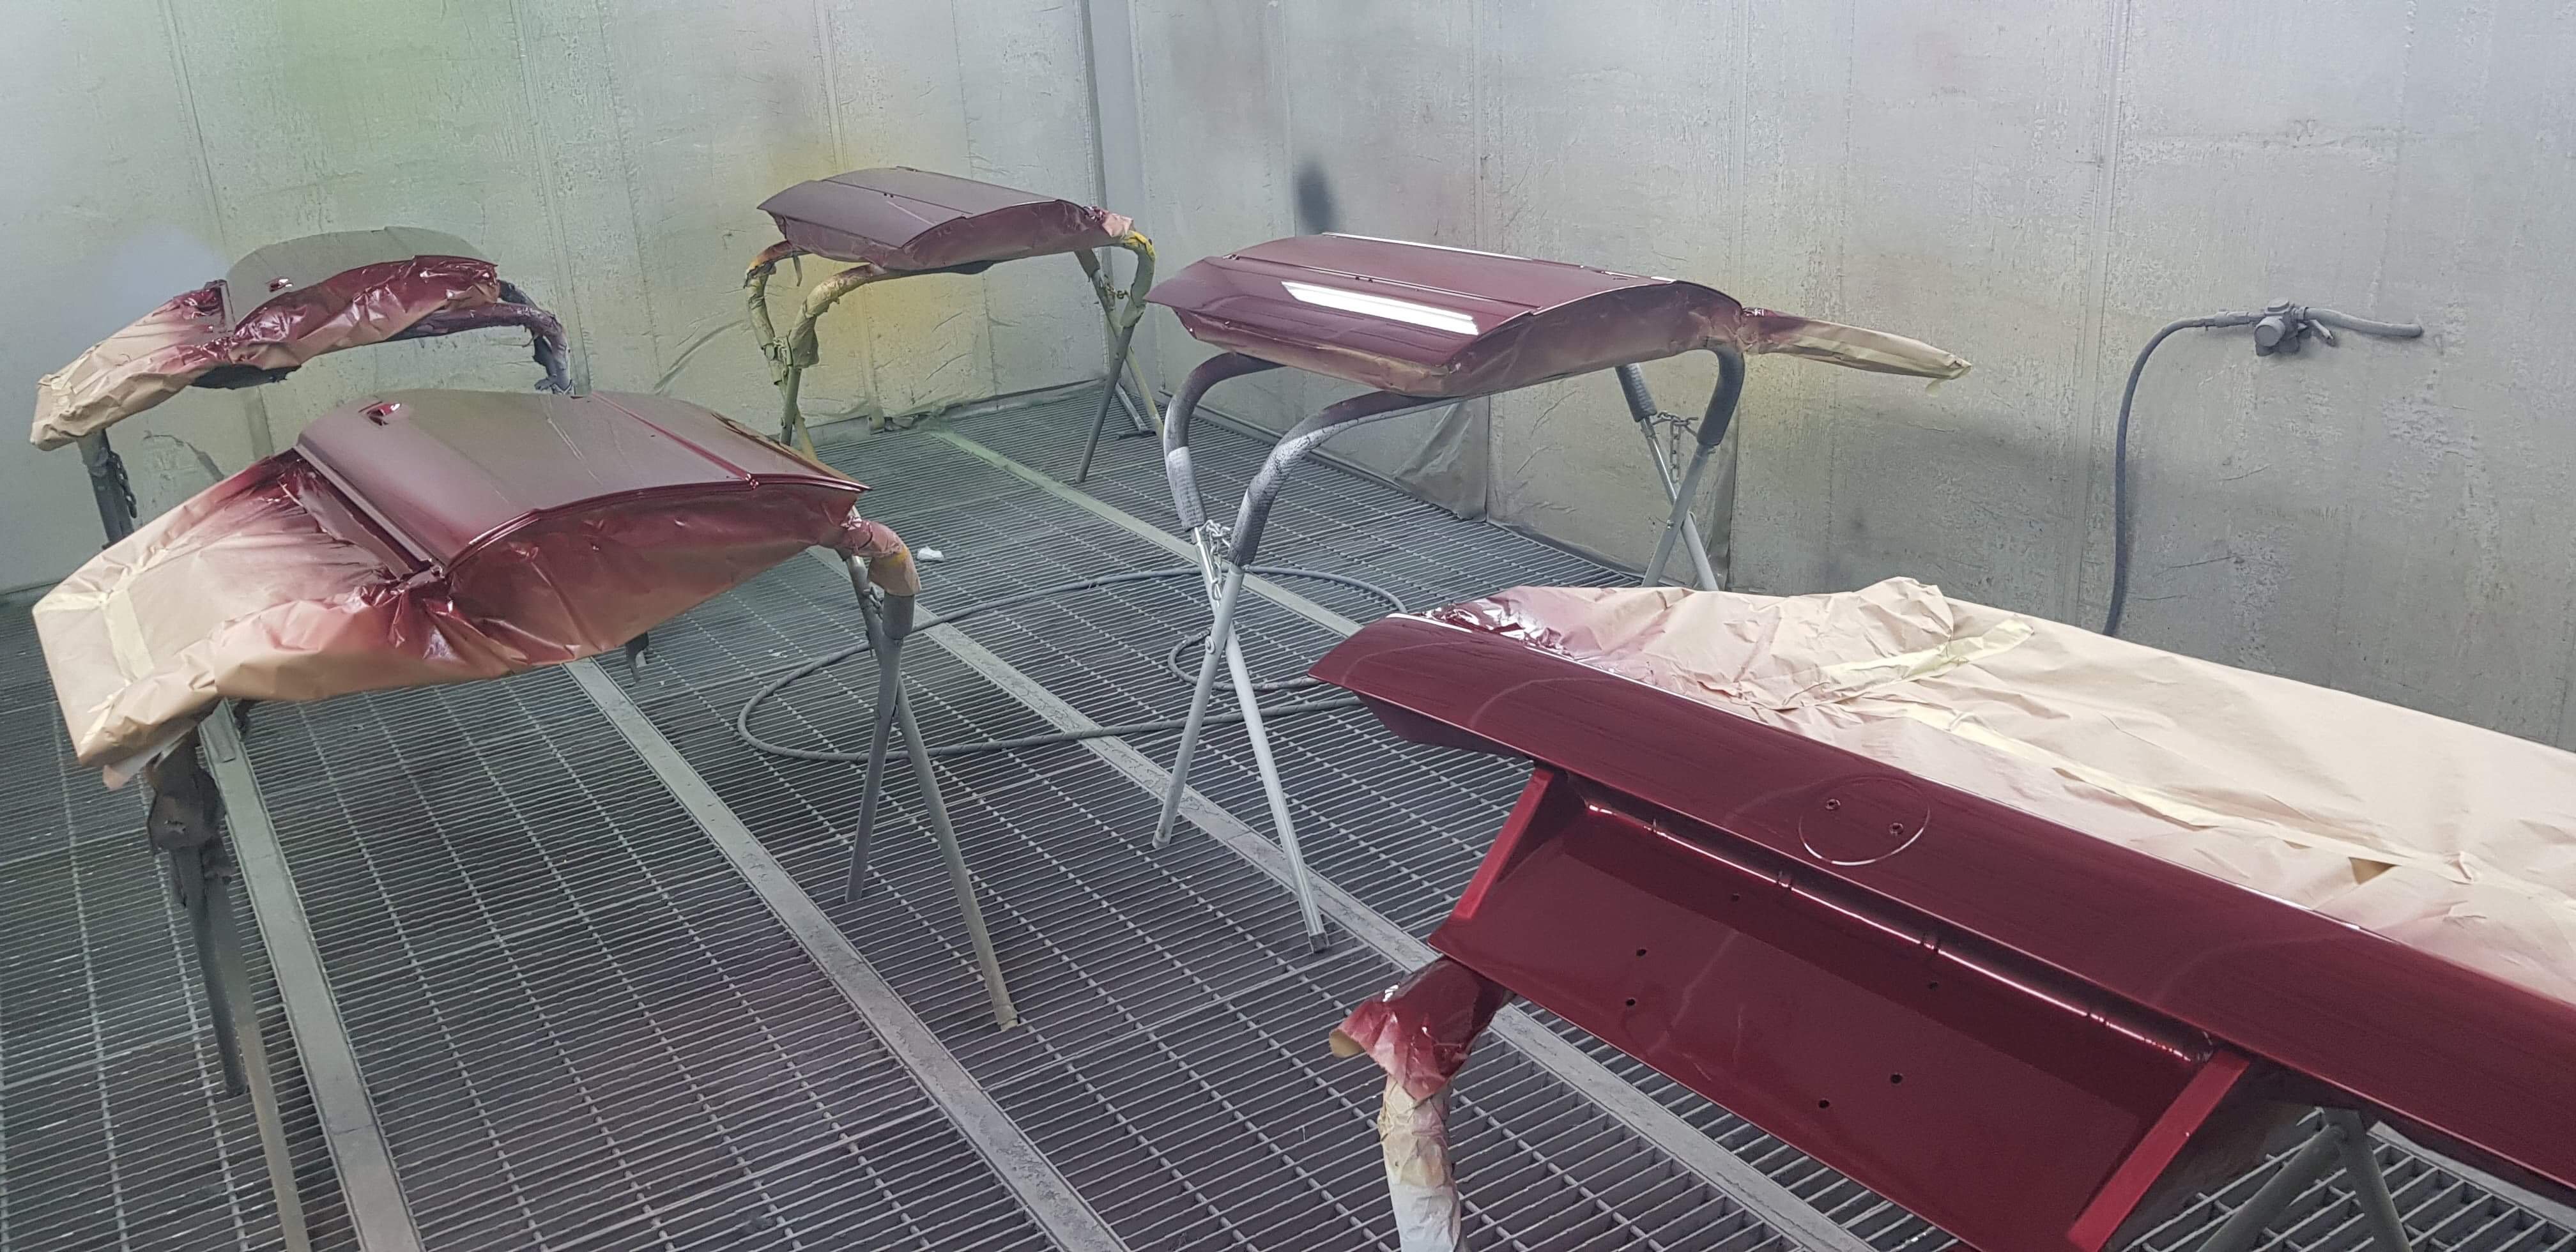
Late 2018 I dropped the car off to Steven Sole Customs here in New Plymouth for a full panel and paint.
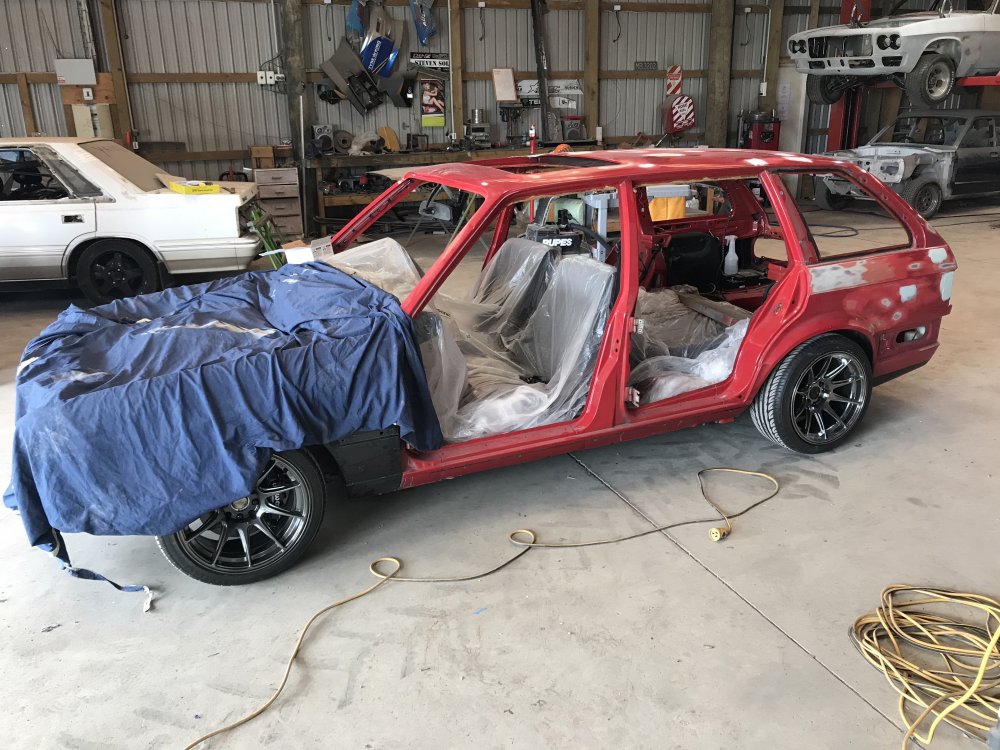

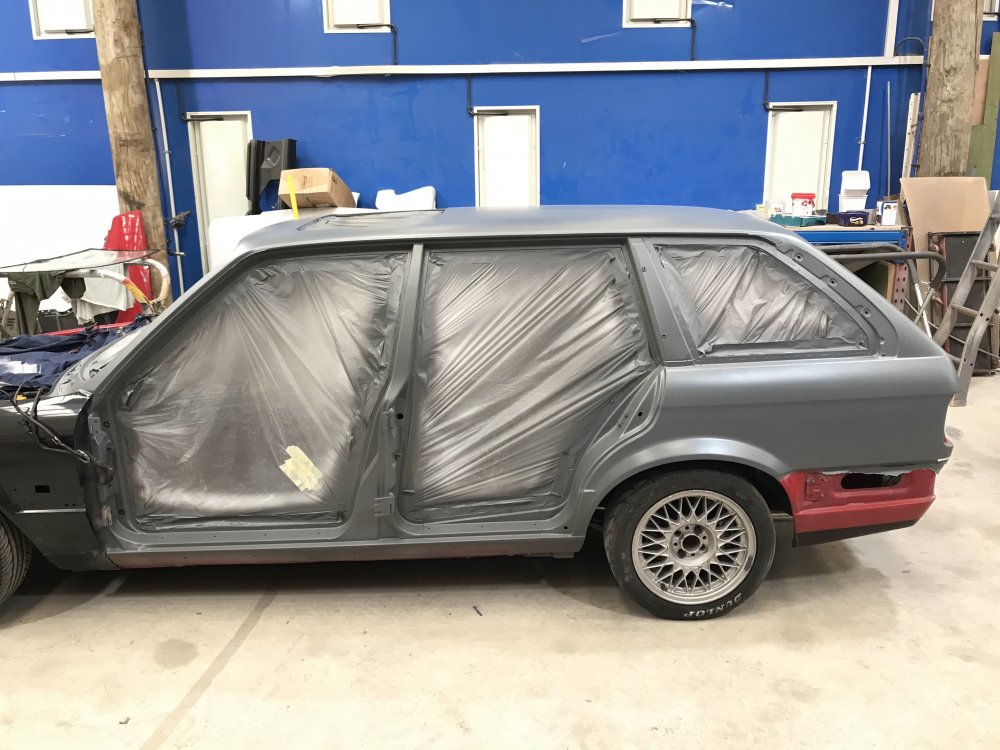


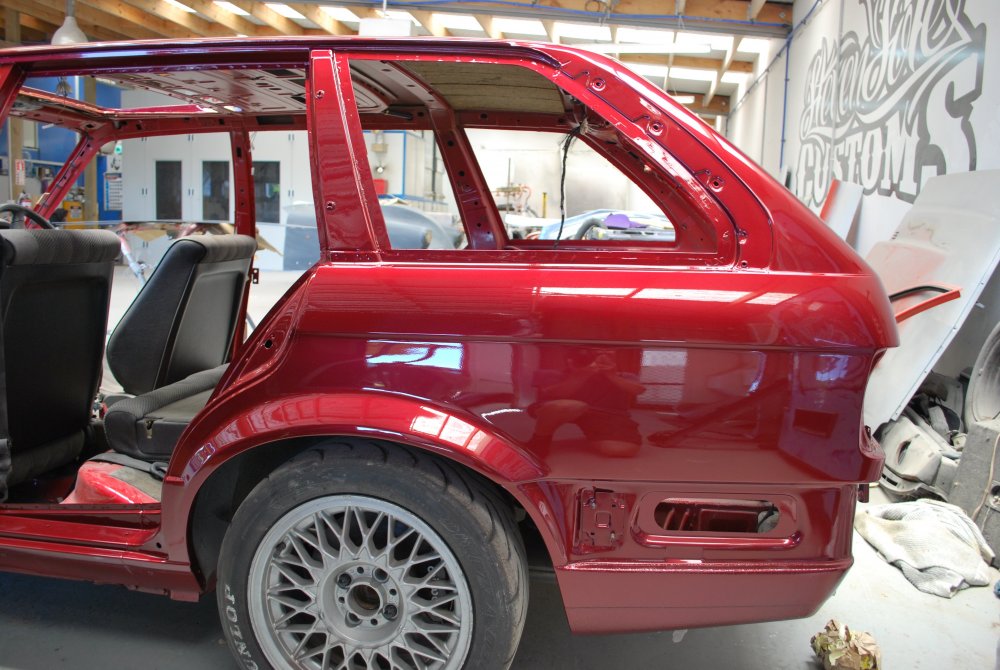

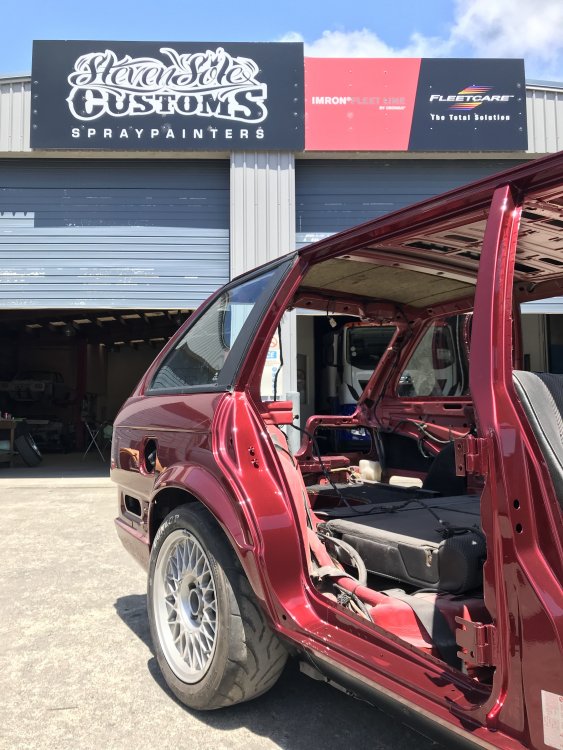
With the car back home now I'm still slowly piecing it all back together.
Next on the list is the interior, Stay Tuned.
-
10
-
-
Although we never crossed paths in person Attas contributions to the forum and my previous car was always very positive and humbling.
RIP Atta [ CRZARB ]
-
11 hours ago, _ethrty-Andy_ said:you are very welcome mate. not sure when ill see you next but hopefully next time wont be so brief!
youve said that before!!!!!!! Megameet 2019 ???
Haha i know eh, will aim for that, again. You won't be disappointed!
-
1
-
-
5 hours ago, WYZEUP said:Cant wait to see this finished and go for a roll with you
Like wise! This year!
-
1
-
-
9 hours ago, zero said:Loving the pics and the videos - very creative.
Can you tell us more about the m62b44 - is it just a junkyard motor or was it rebuilt? Any preventative maintenance done on it like chain guides? Any mods? If its 100% stock it sounds pretty amazing for a stocker.
I guess it is just a junk yard motor, out of an automatic e39 with 160km on it, was driven into the yard from Tauranga to Hamilton by Kerry at Mosen Euro Parts.
Its all stock, only maintenance was a couple of gaskets, O rings and the water pump.
-
1
-
-
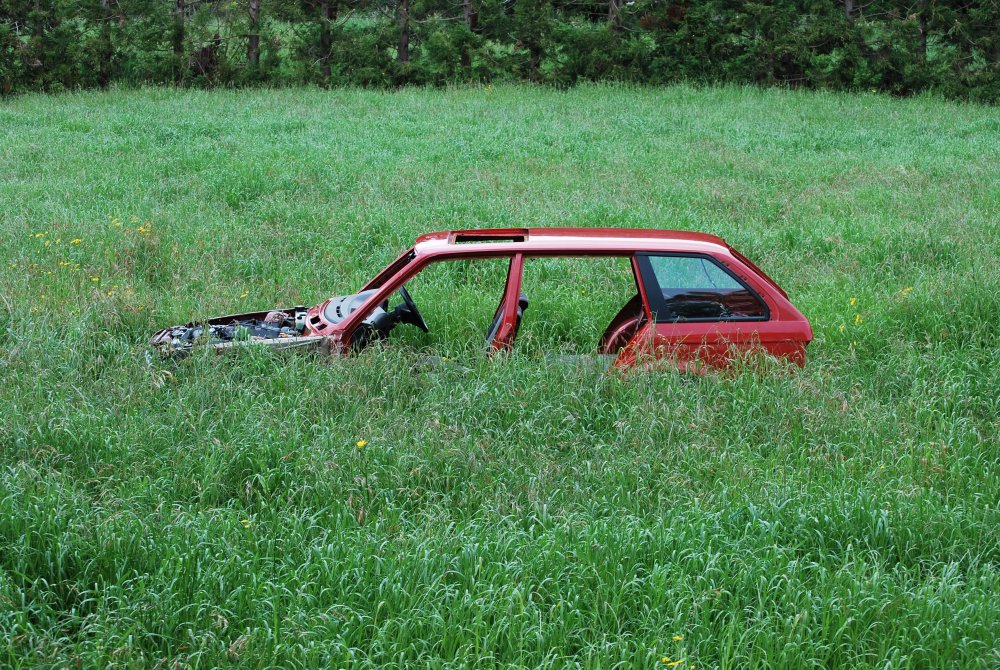
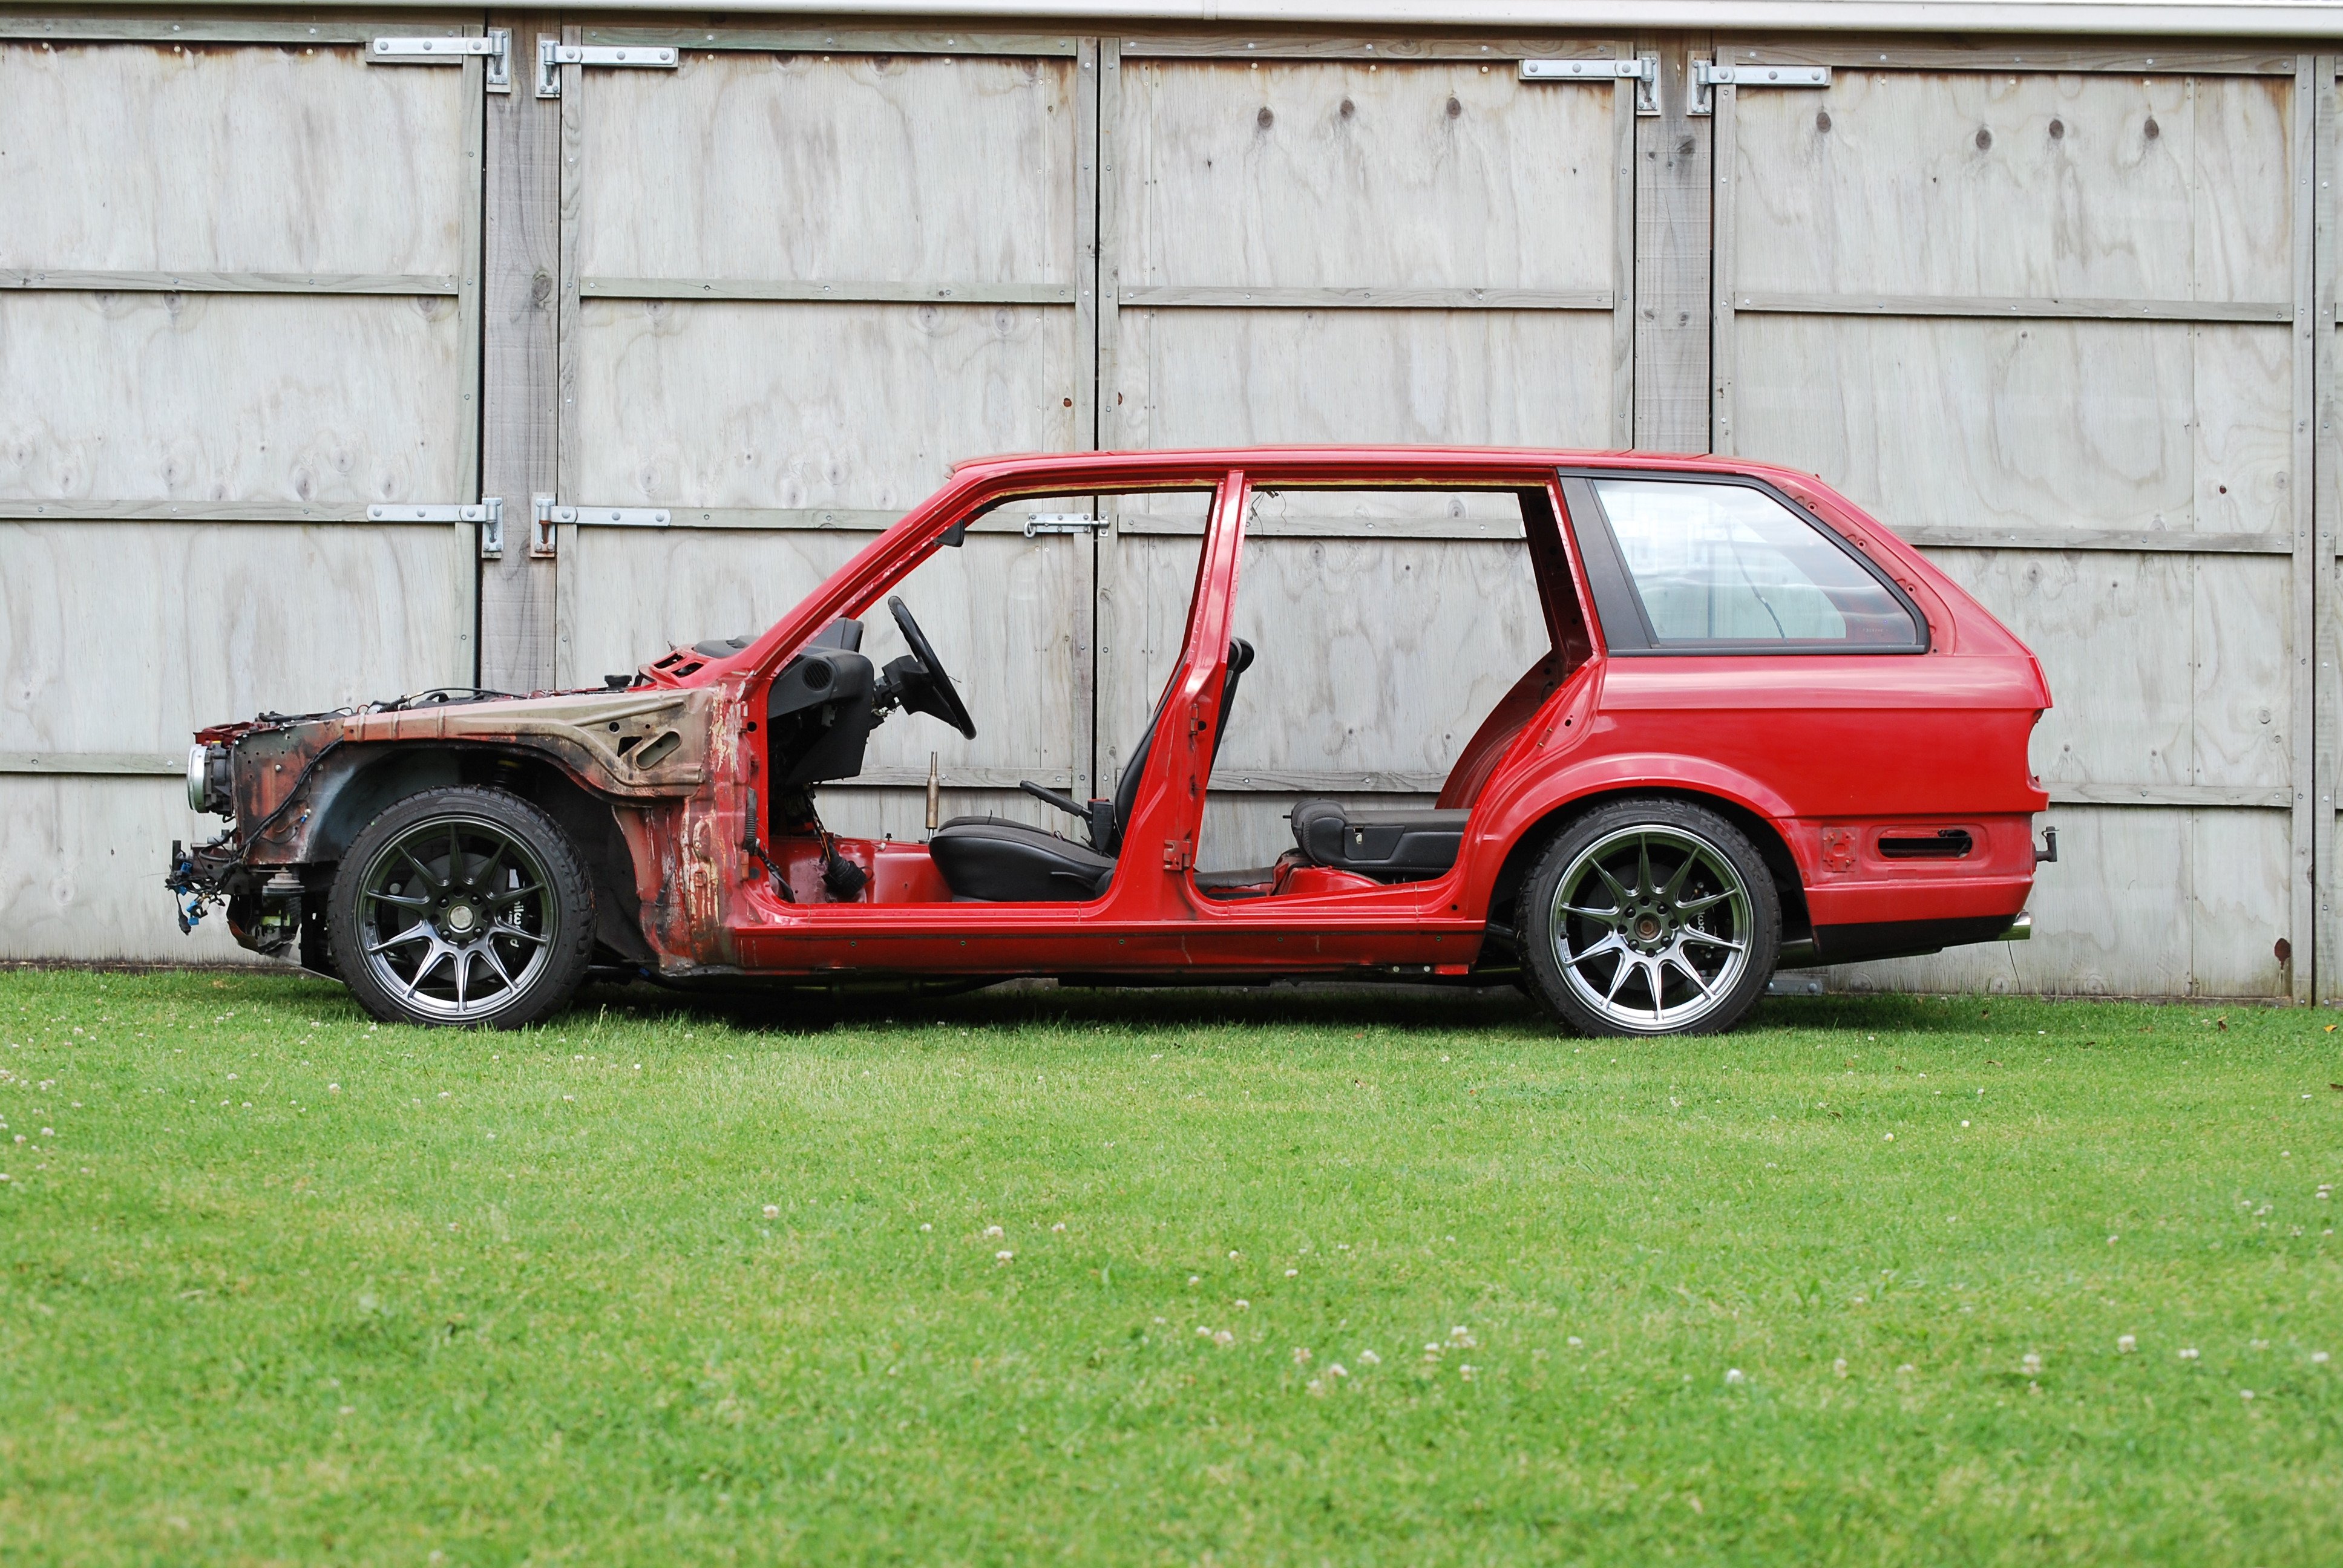
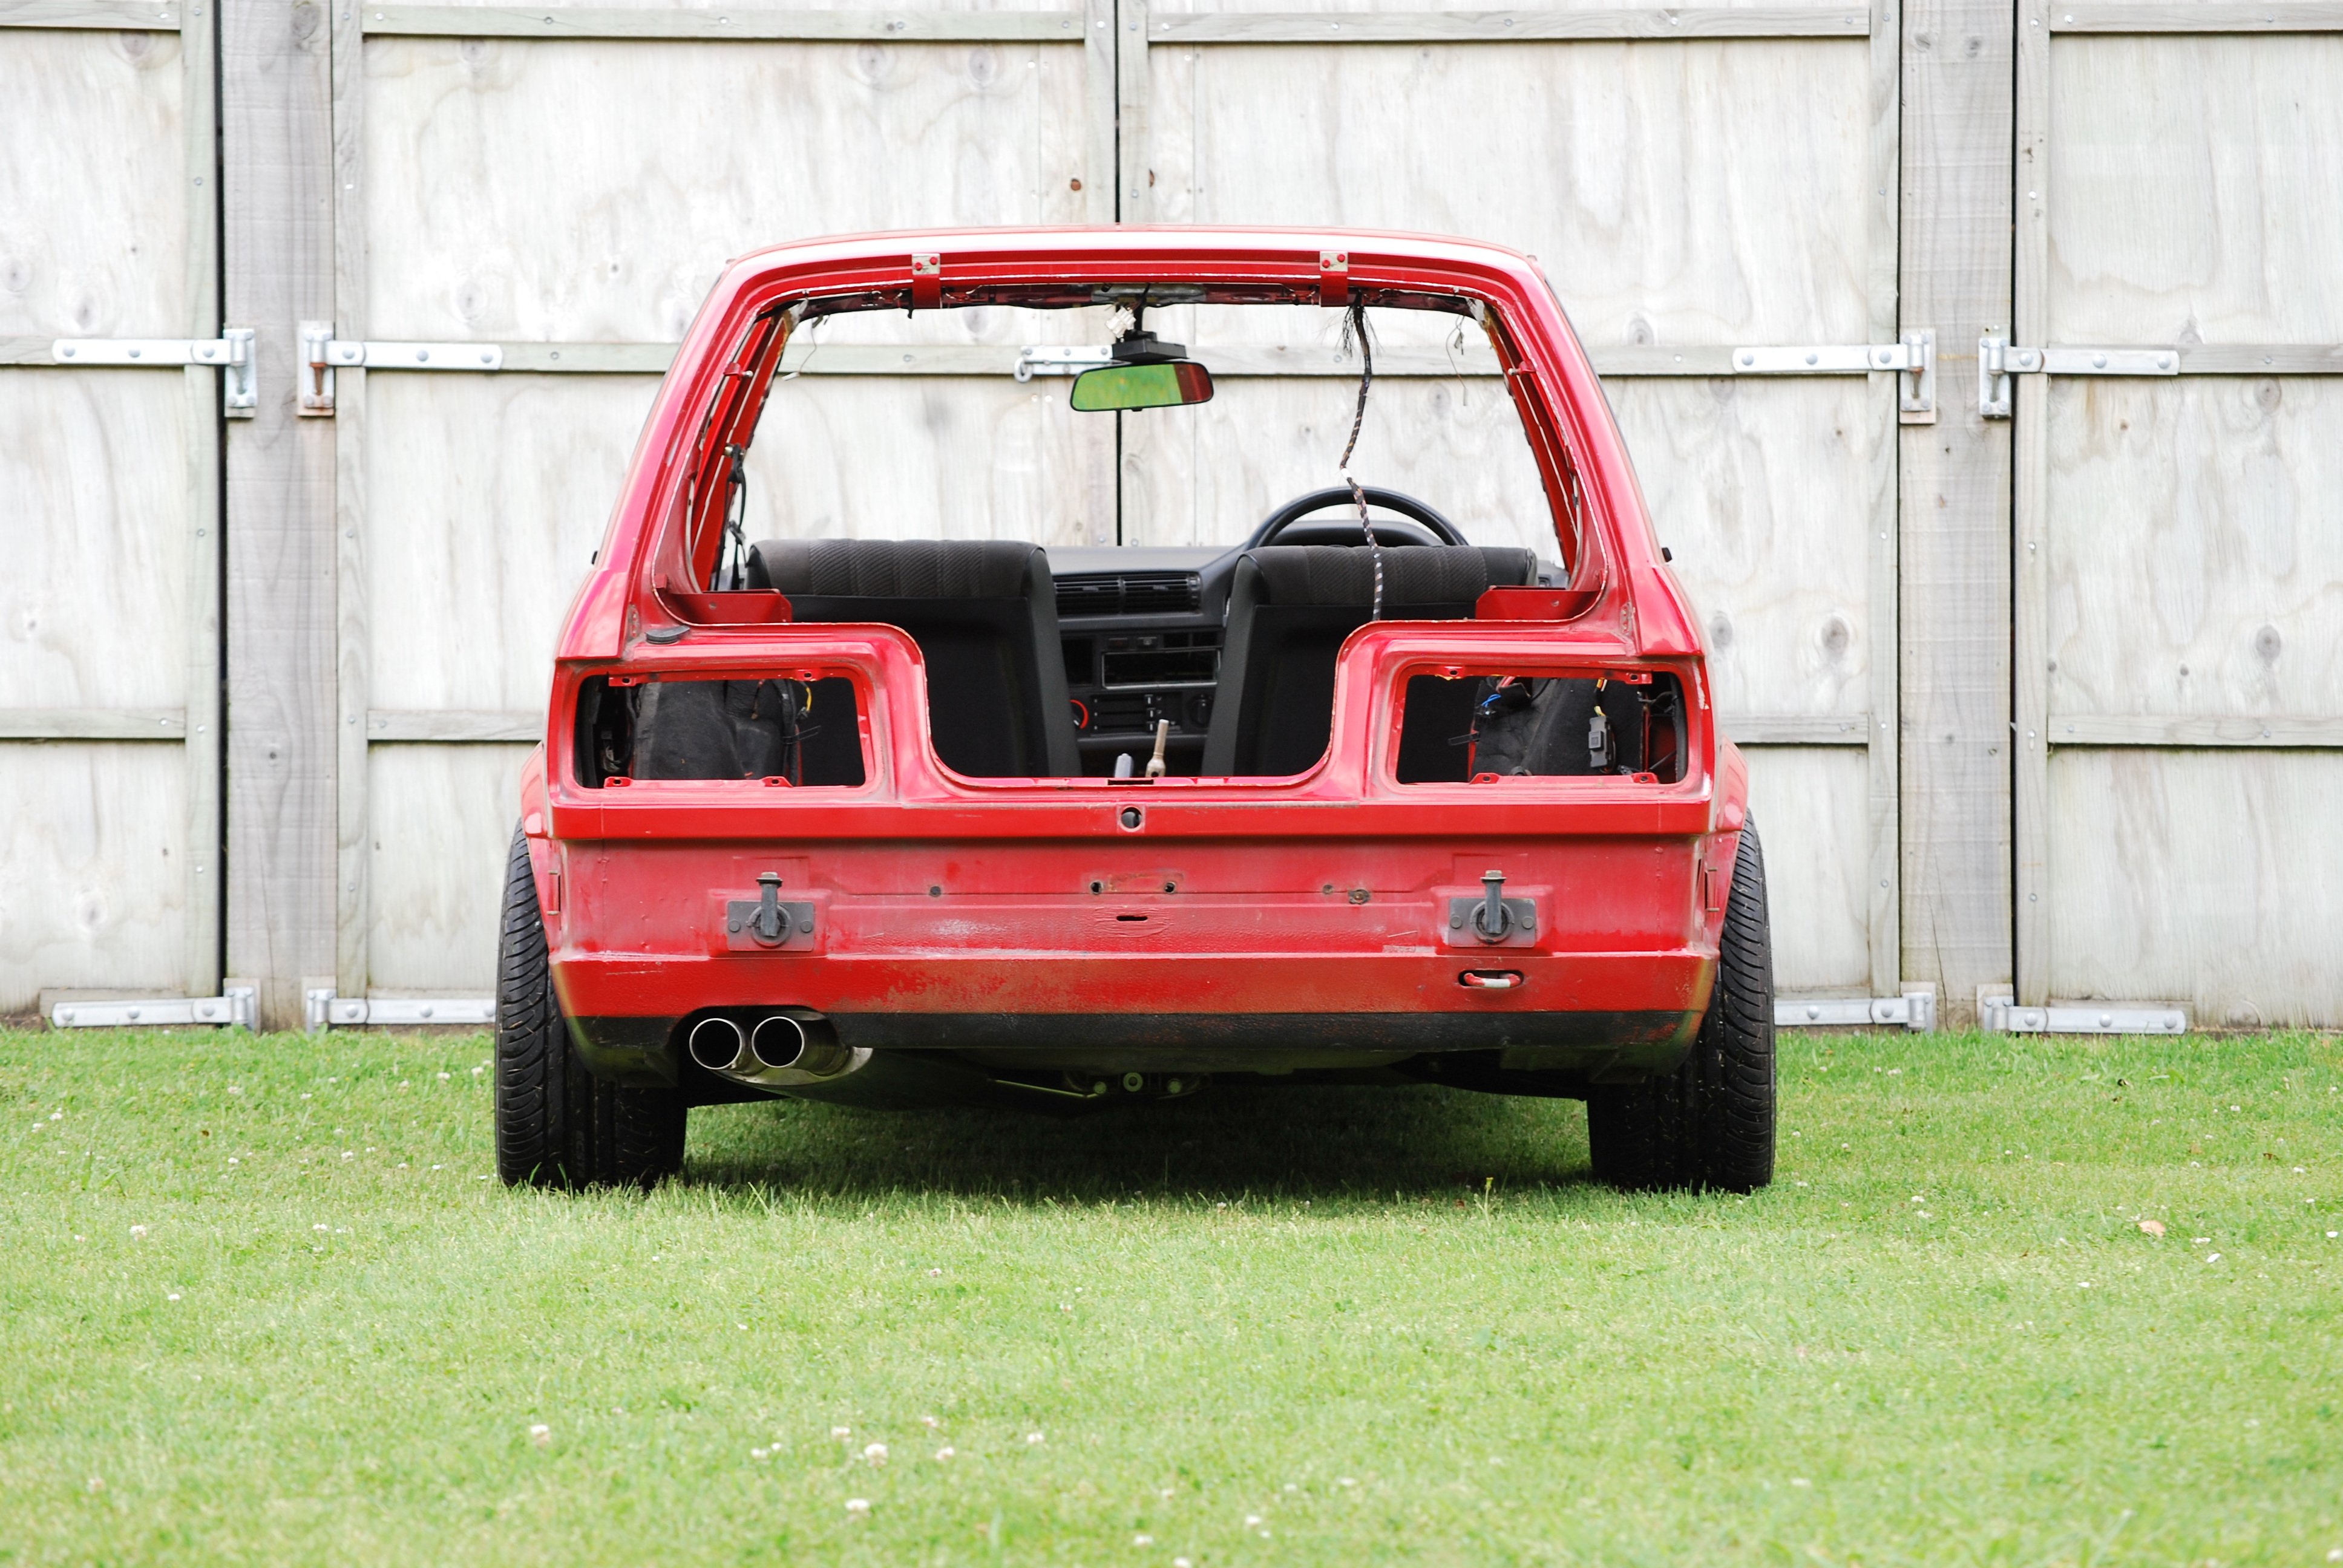
7 hours ago, E30 325i Rag-Top said:The photo in the long grass is awesome!!
4 hours ago, E30 325i Rag-Top said:Just seen the zoom in from above, over the "exploded parts" view - that also is awesome. How did you do that one, using a drone or hanging off the roof of the house and using the camera zoom? Either way it looks brilliant.
The imagination and or the vision to imagine those shots is also pretty impressive, before you even start talking about the execution.
Cheers Jon, always looking for something new and different, the exploded view was shot using a drone.
-
1
-
-
New Year. New Update!
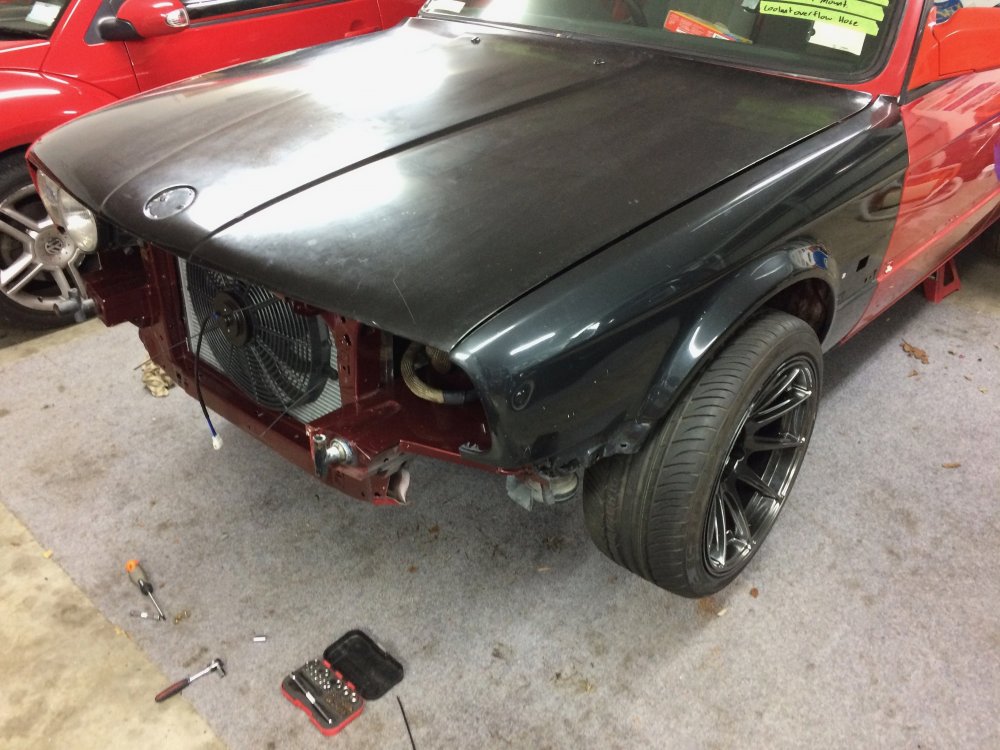
After getting the car back home it was time to start fresh and sort out what needed to be done.
First off i knew that the sump had a pinhole leak in it that needed to be sorted so the front end, suspension, subframe and cooling system was stripped back again to remove that to be re-welded, while i was at it i replaced the waterpump that was also leaking.
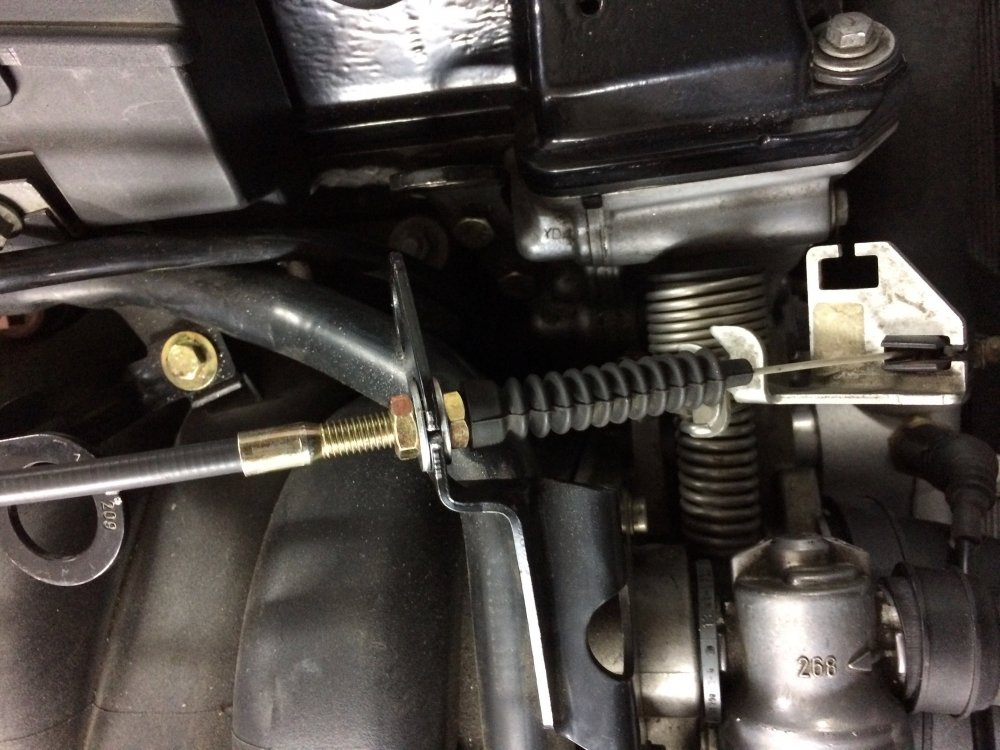
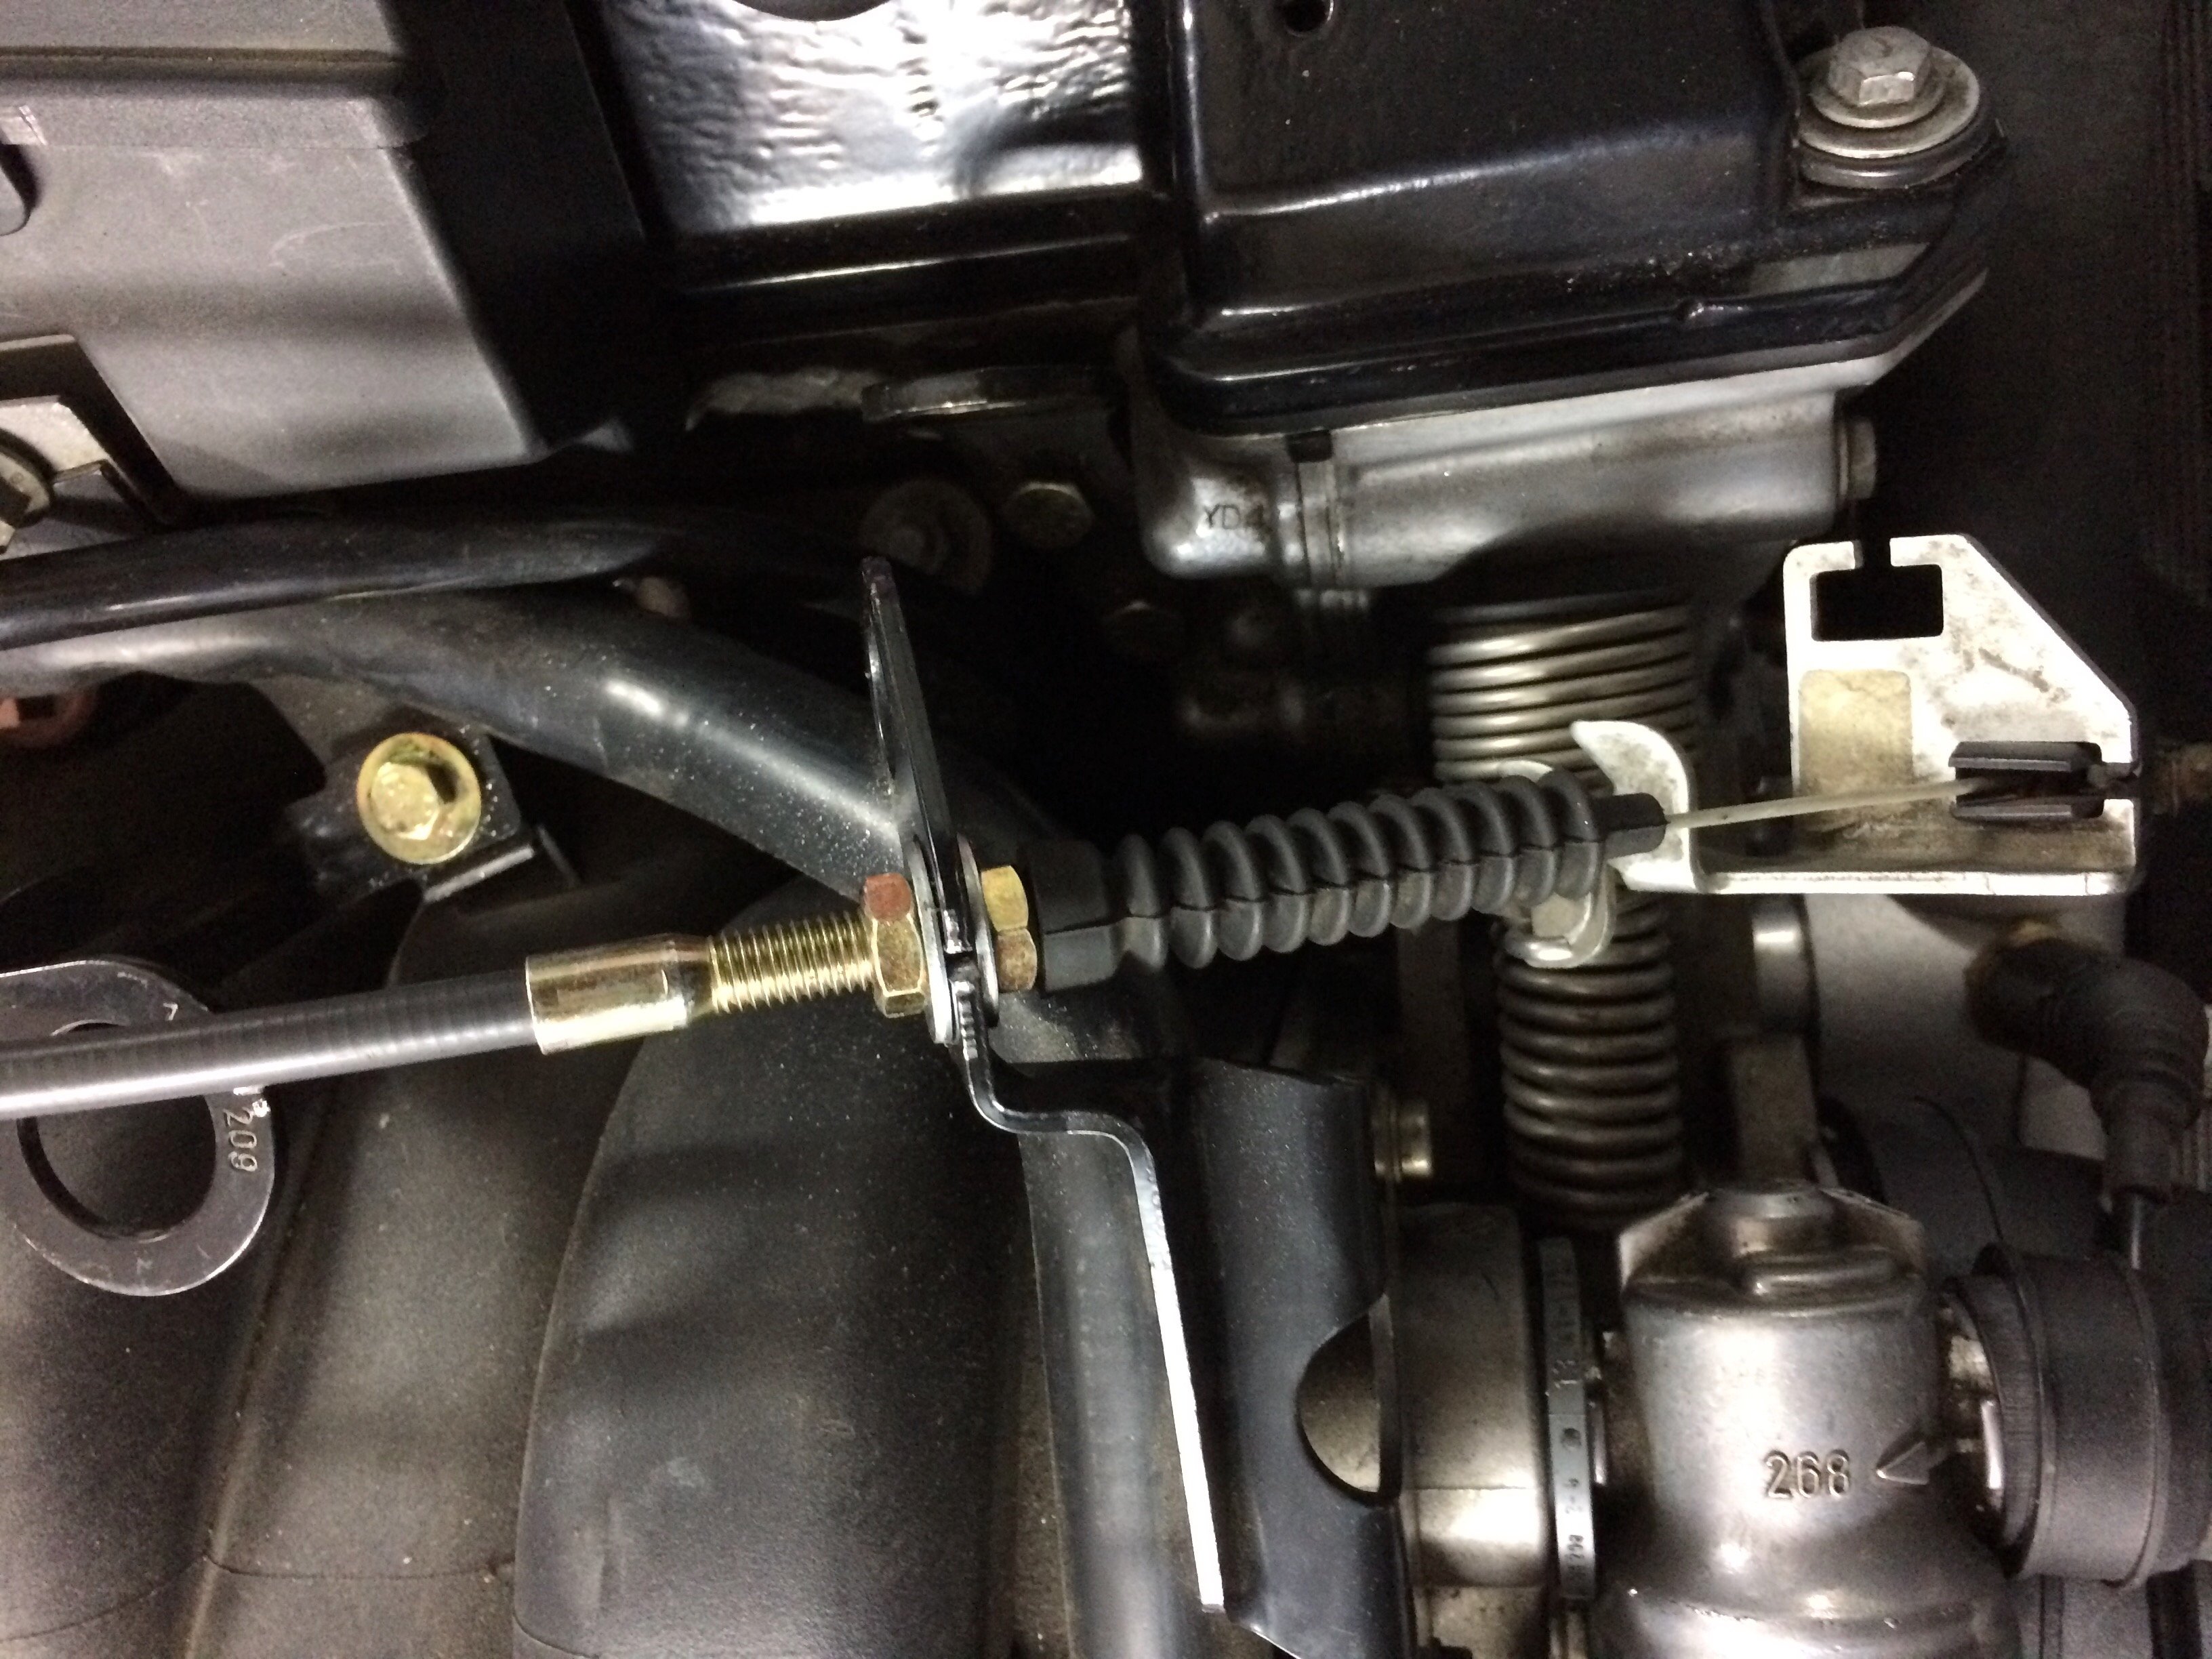
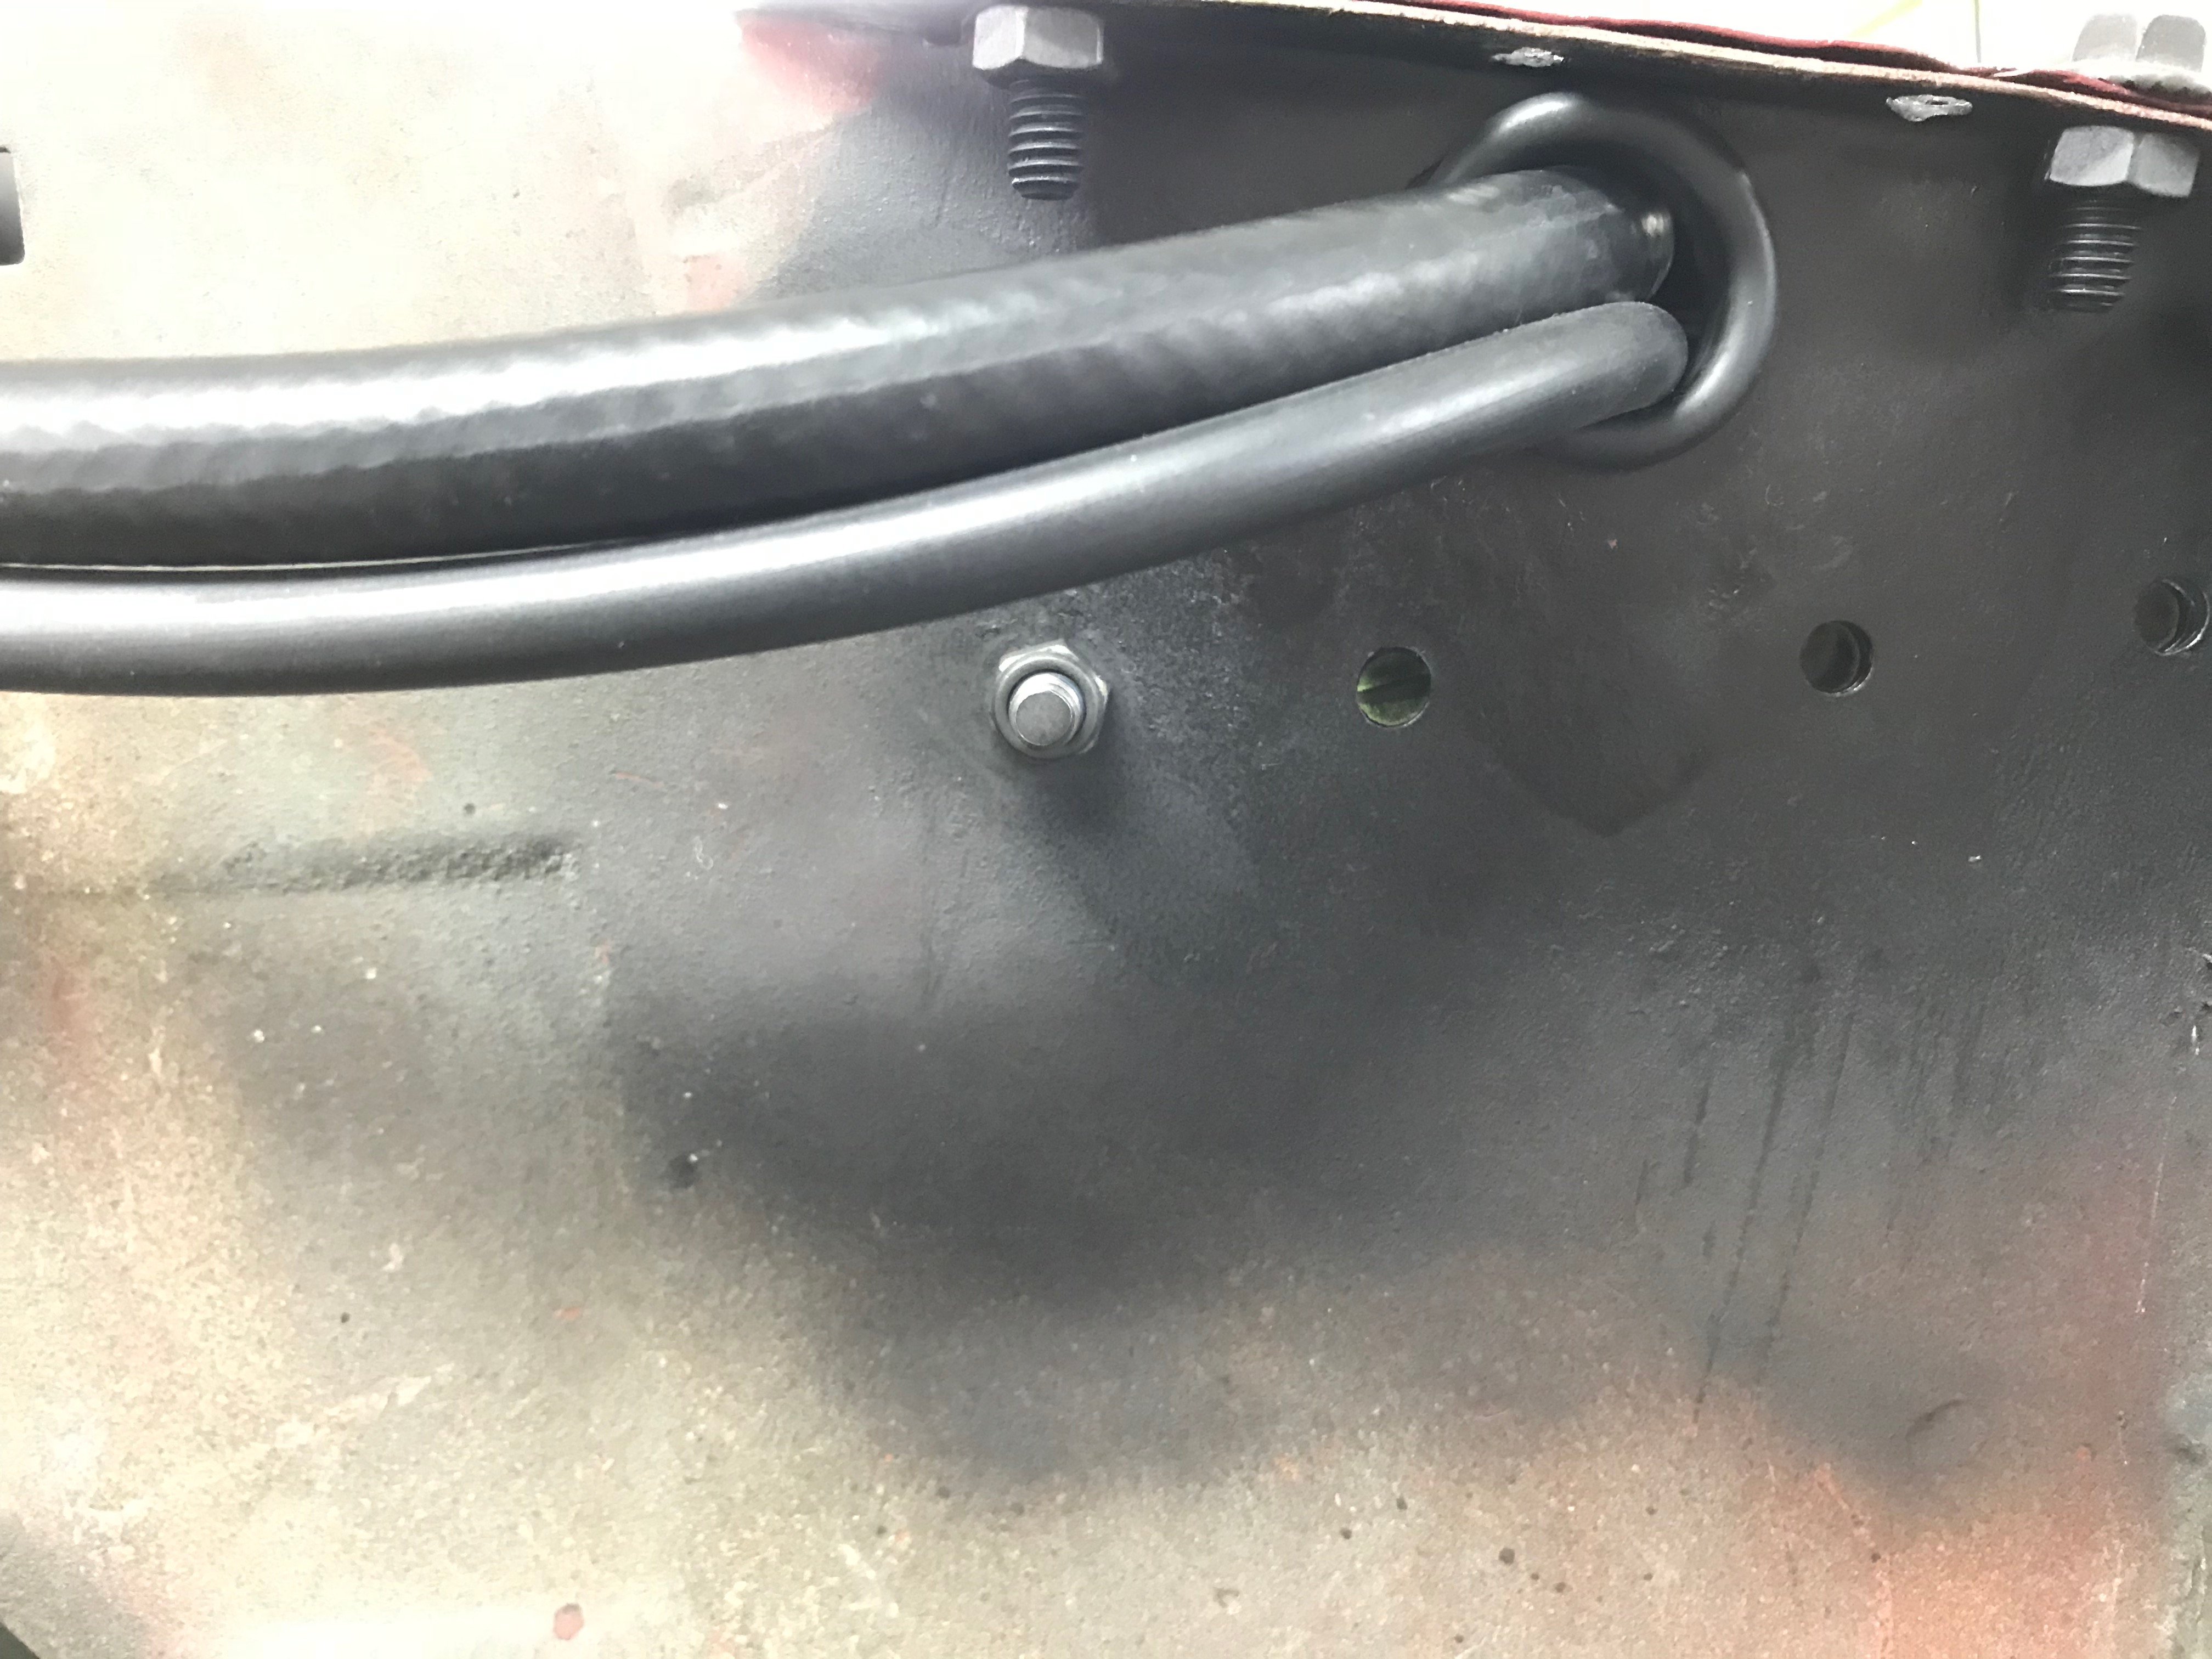
A new clutch line was also routed up and over the gearbox, to keep it away from the headers, and the accelerator cable shortened and finished up with all the correct clips and grommets.
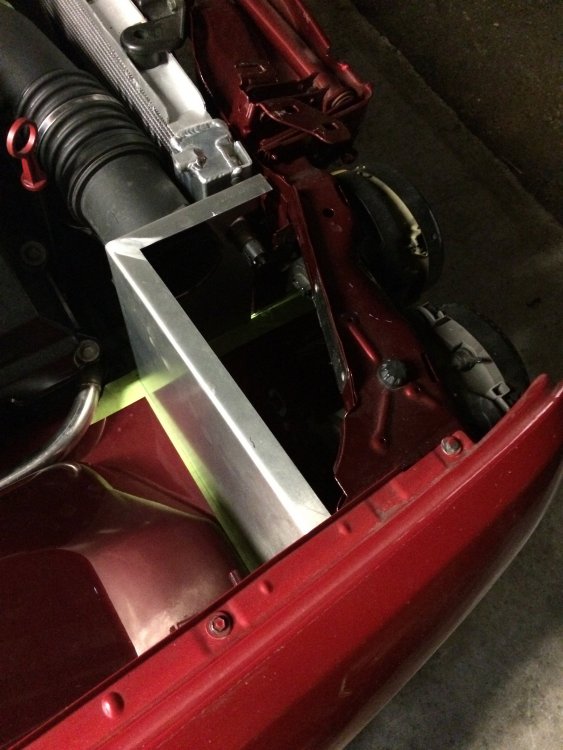
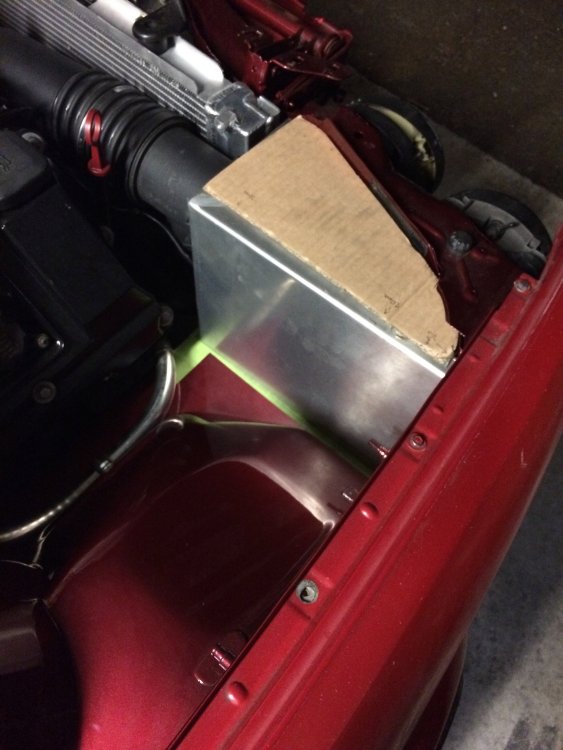
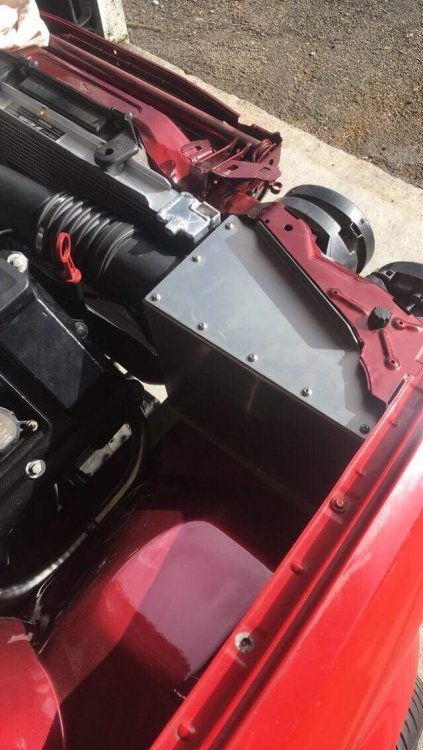
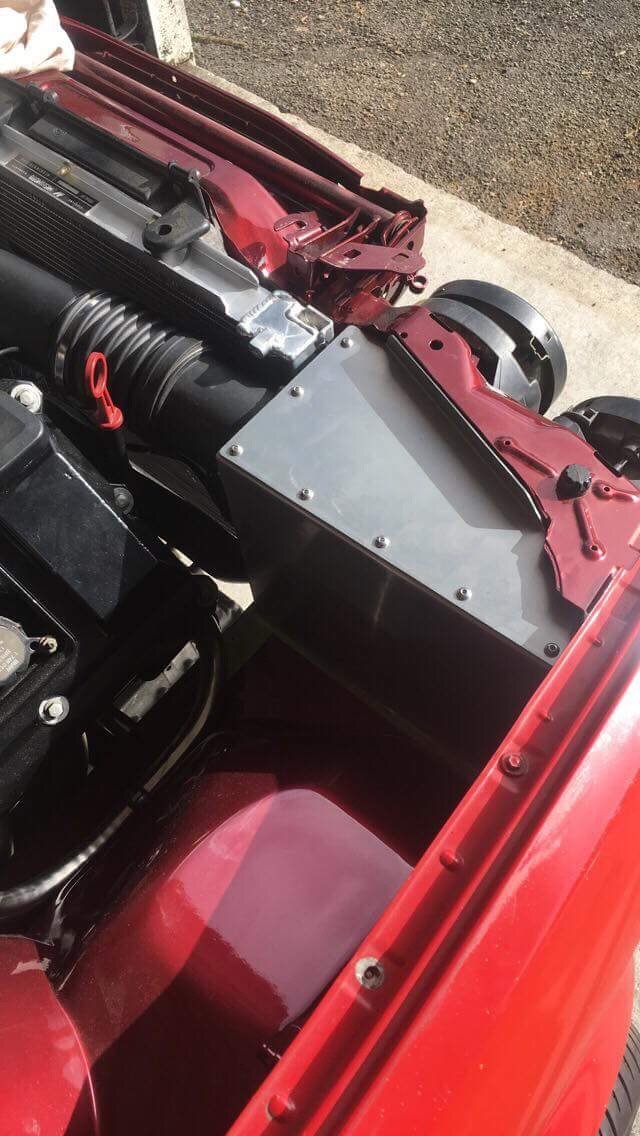
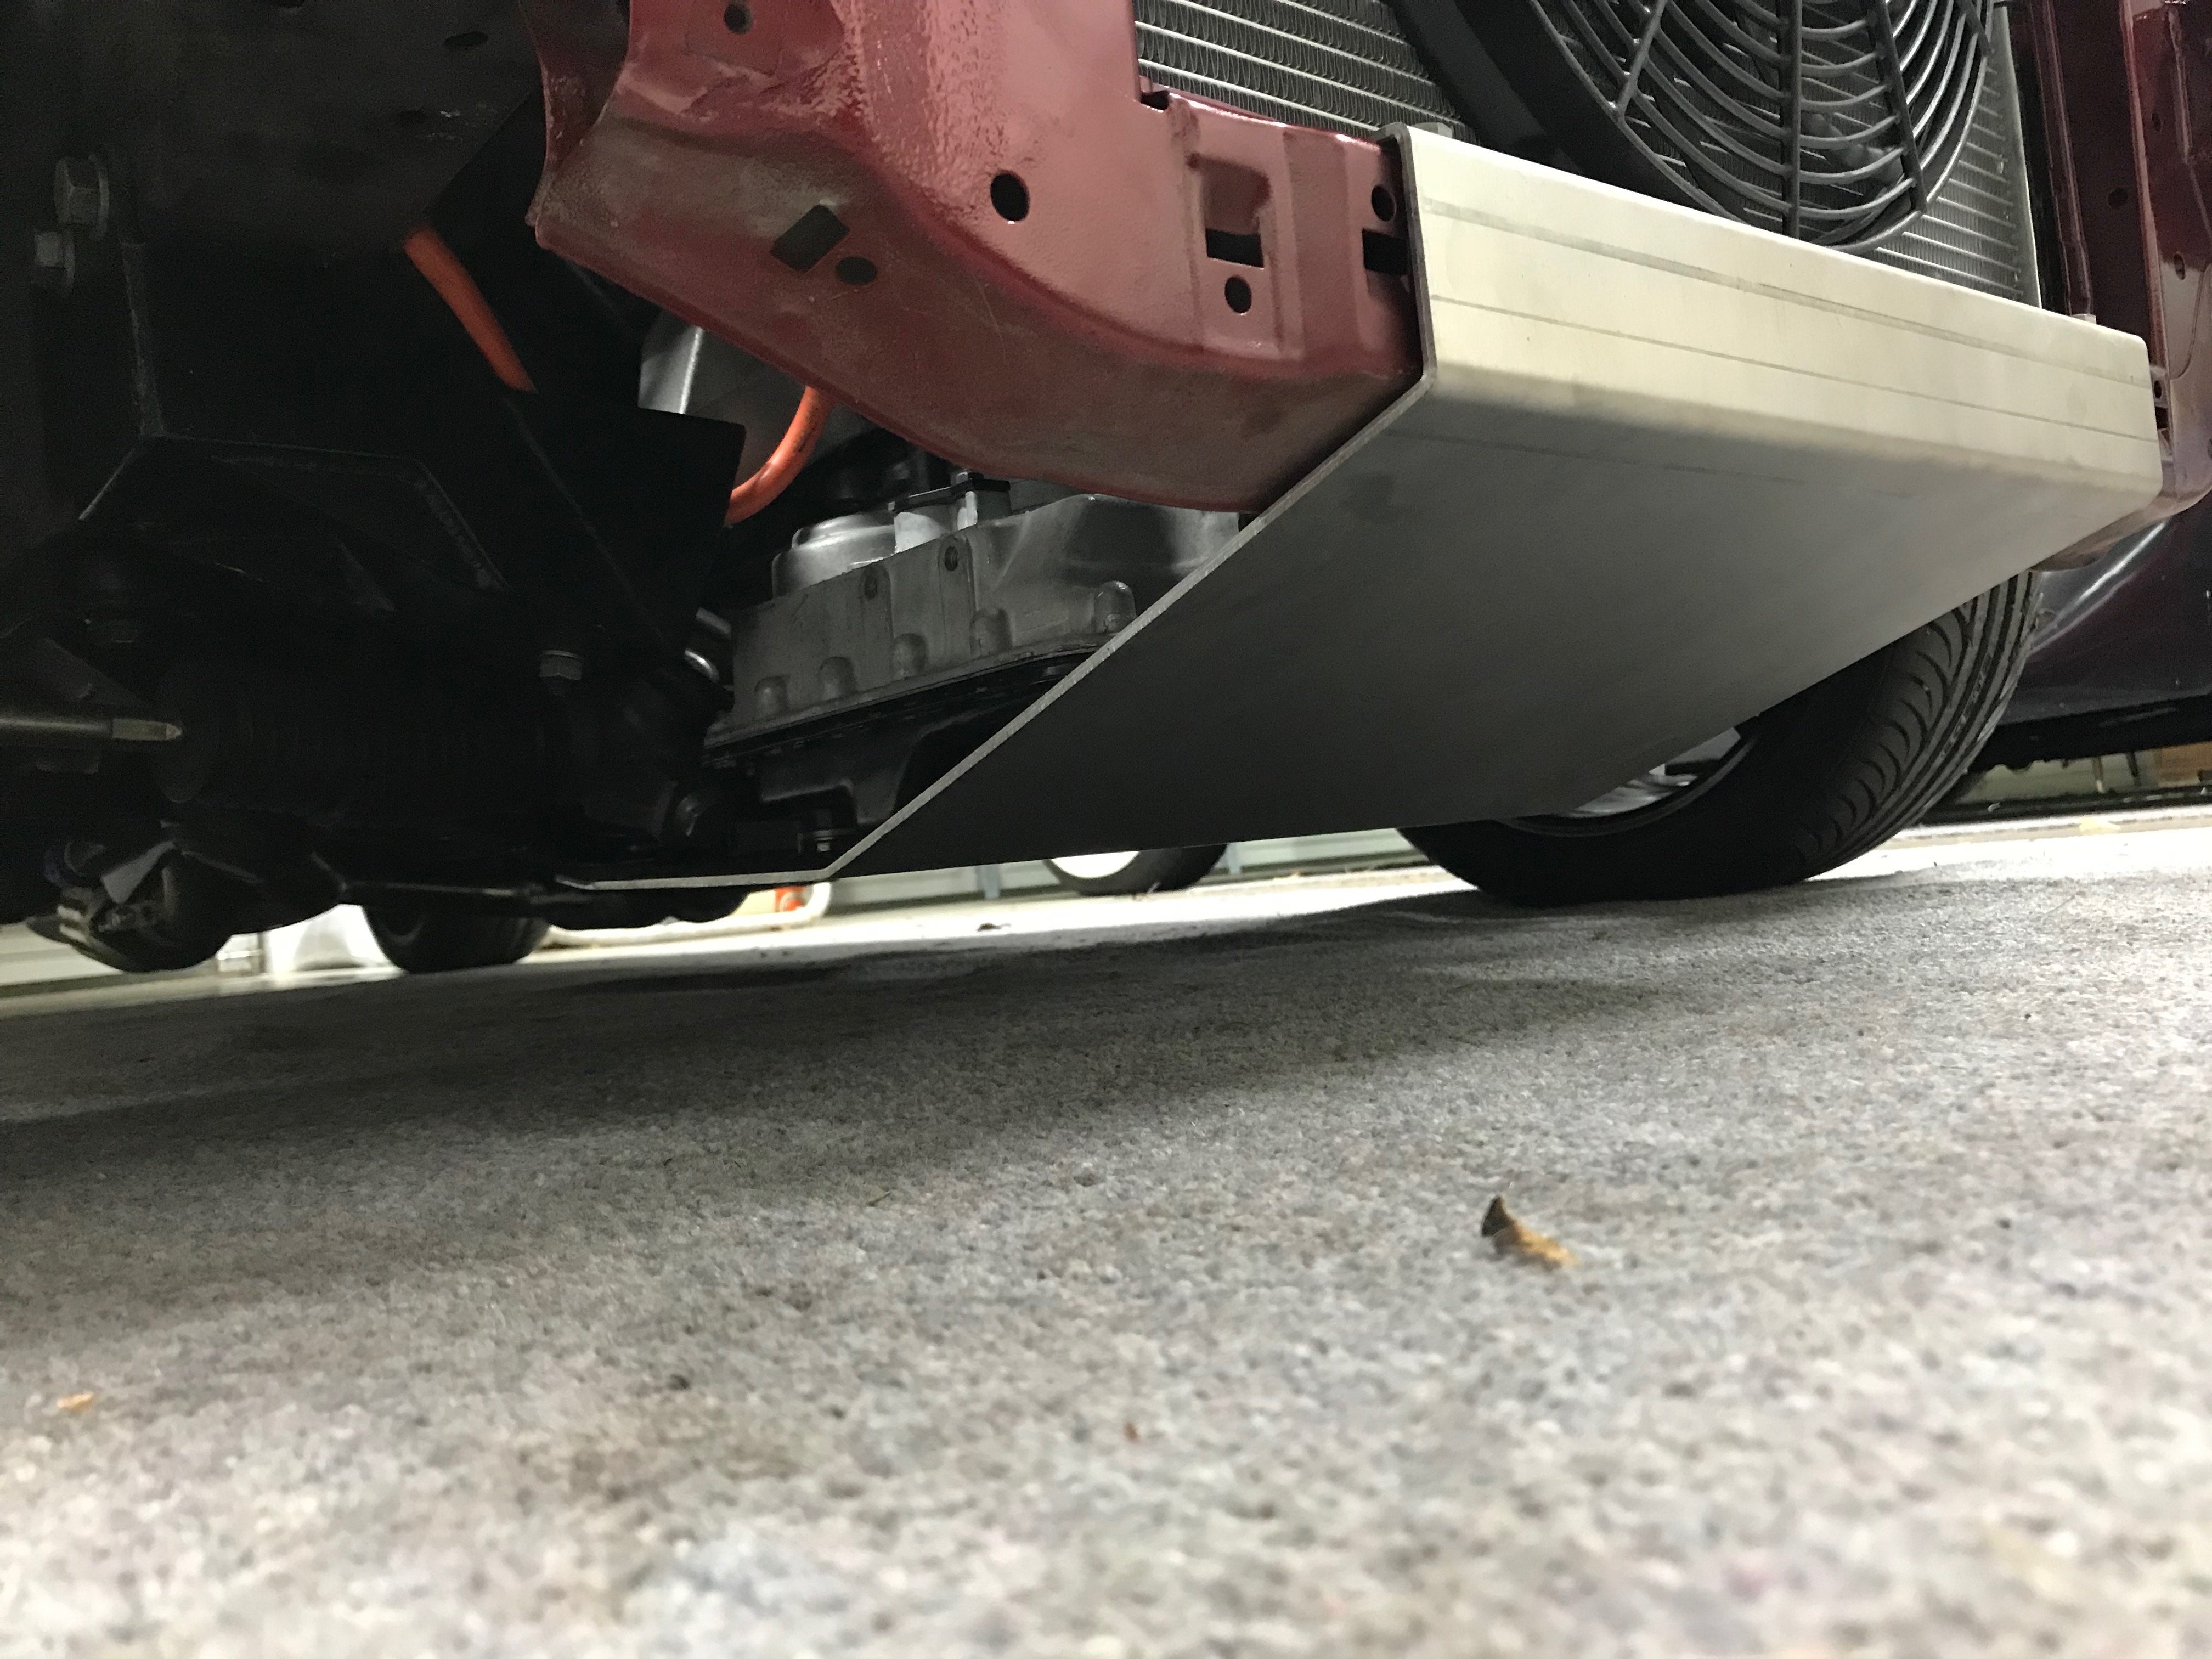
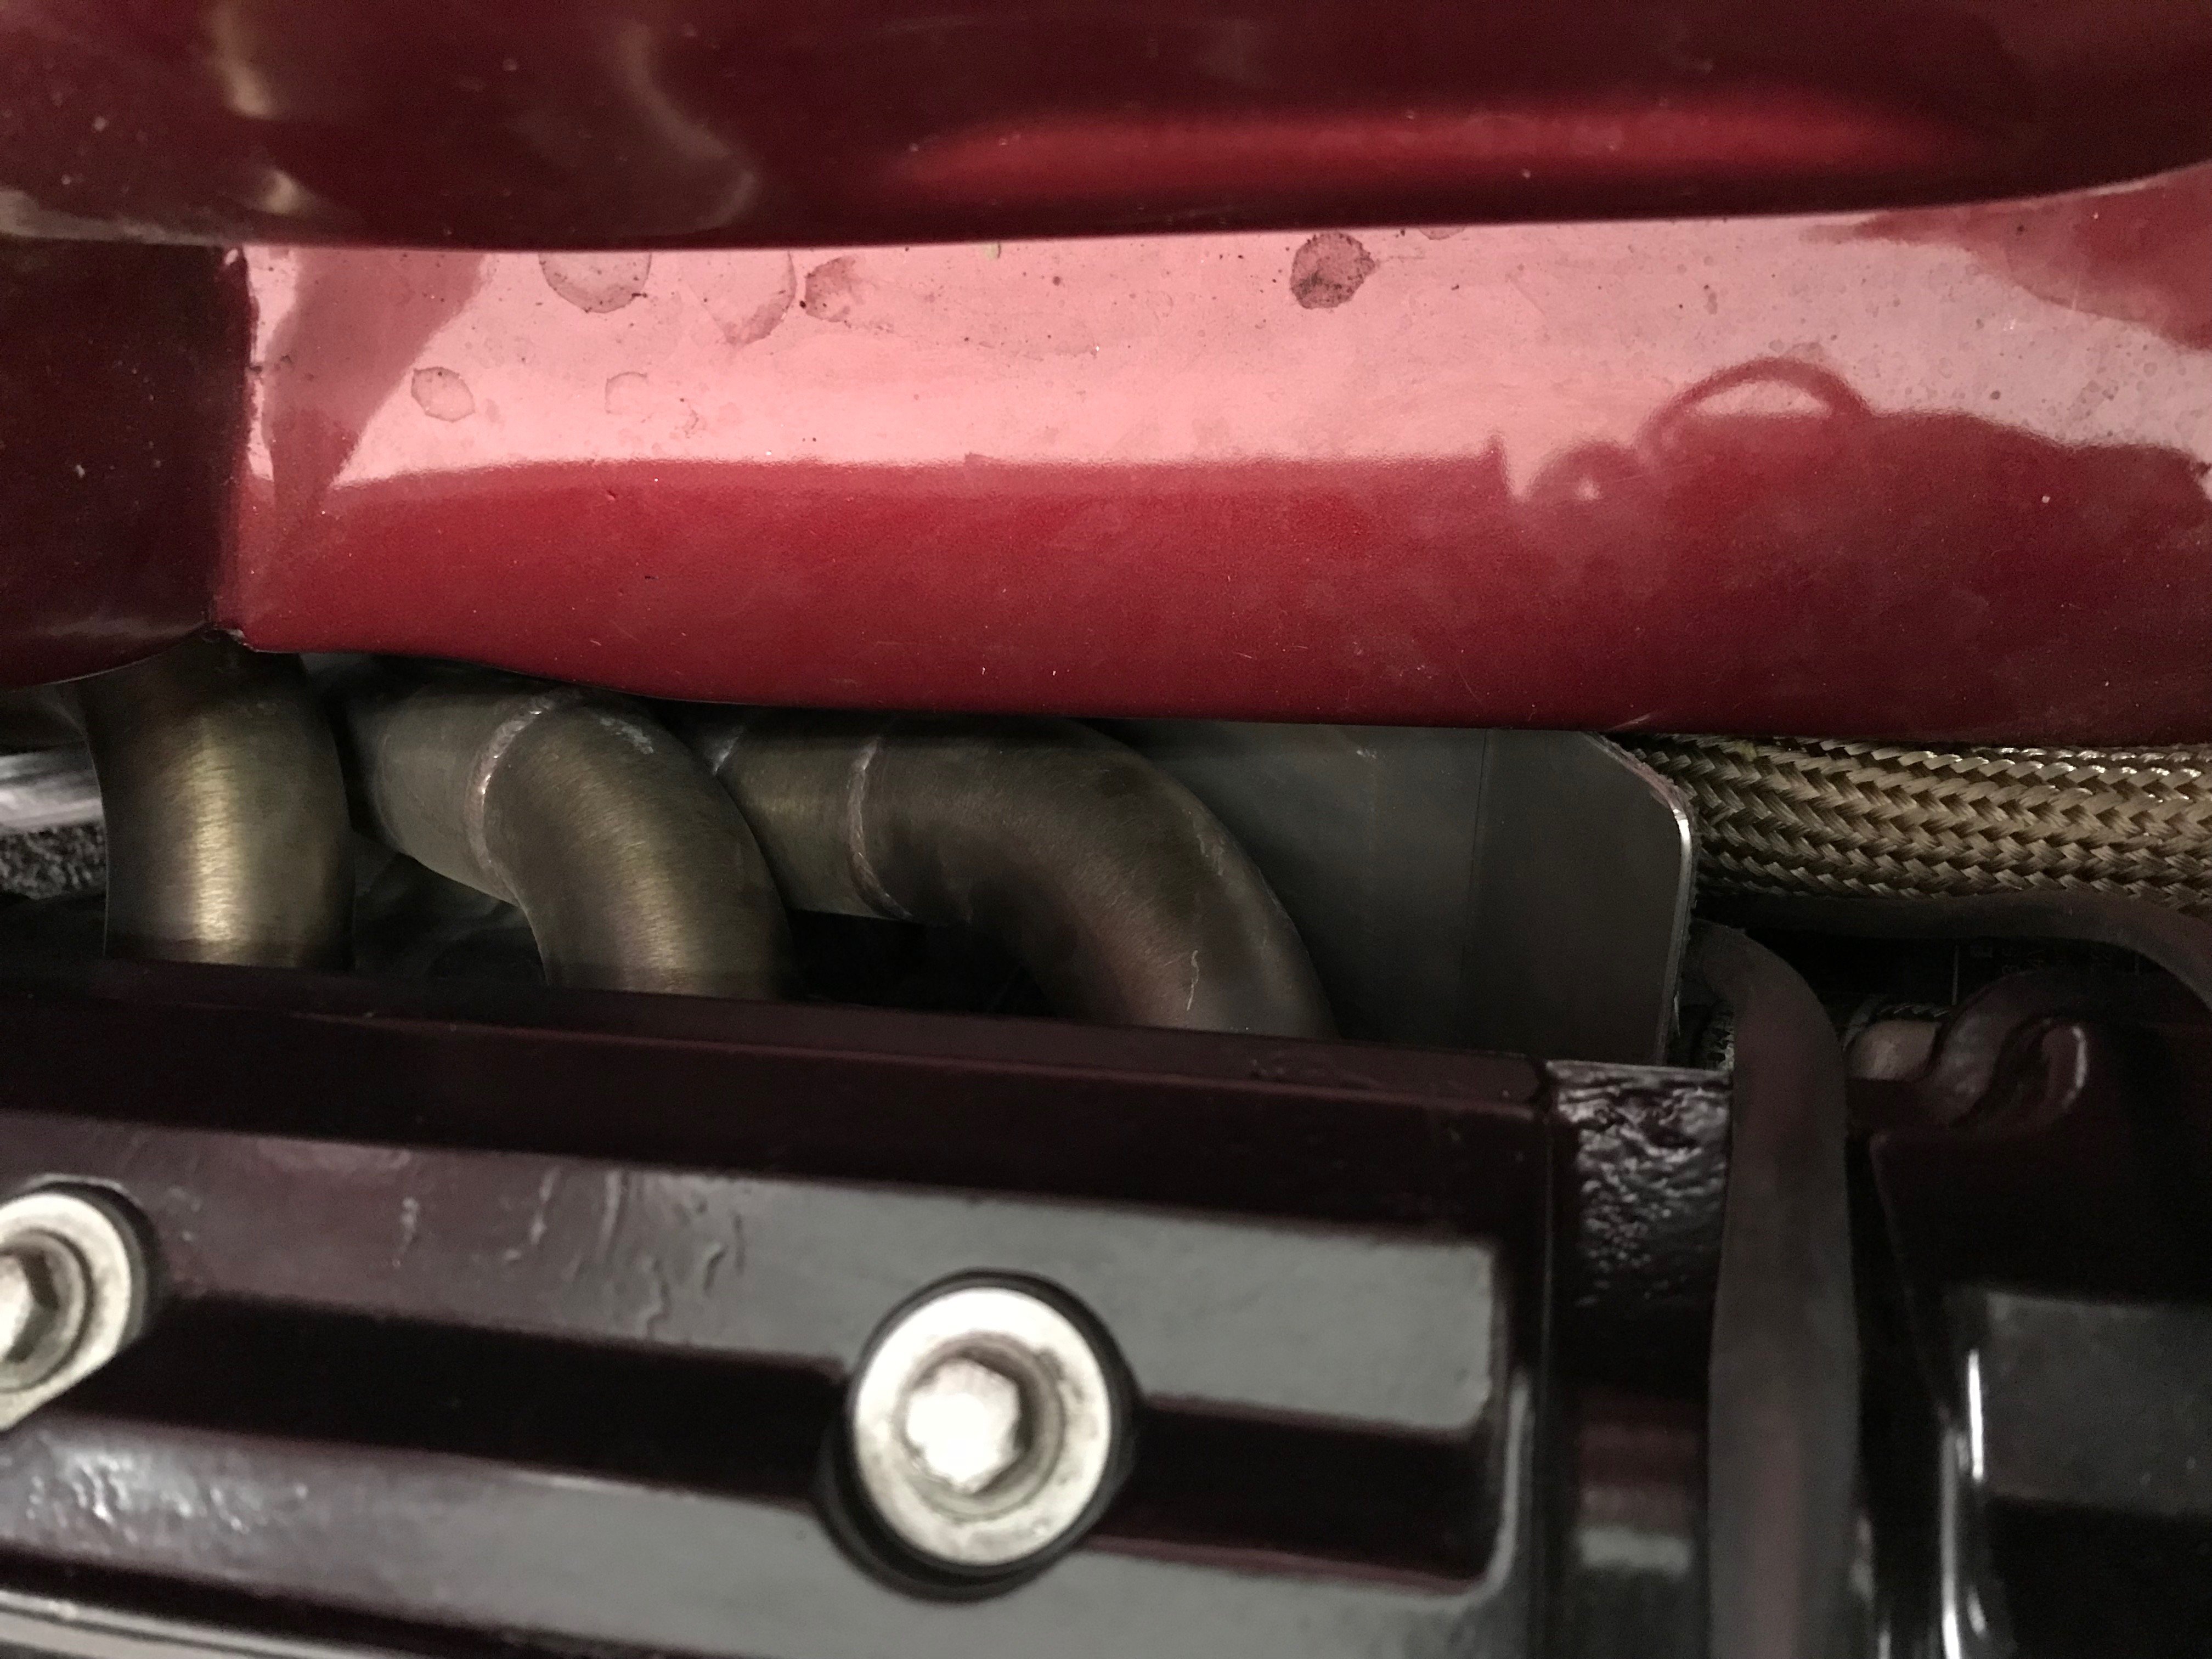
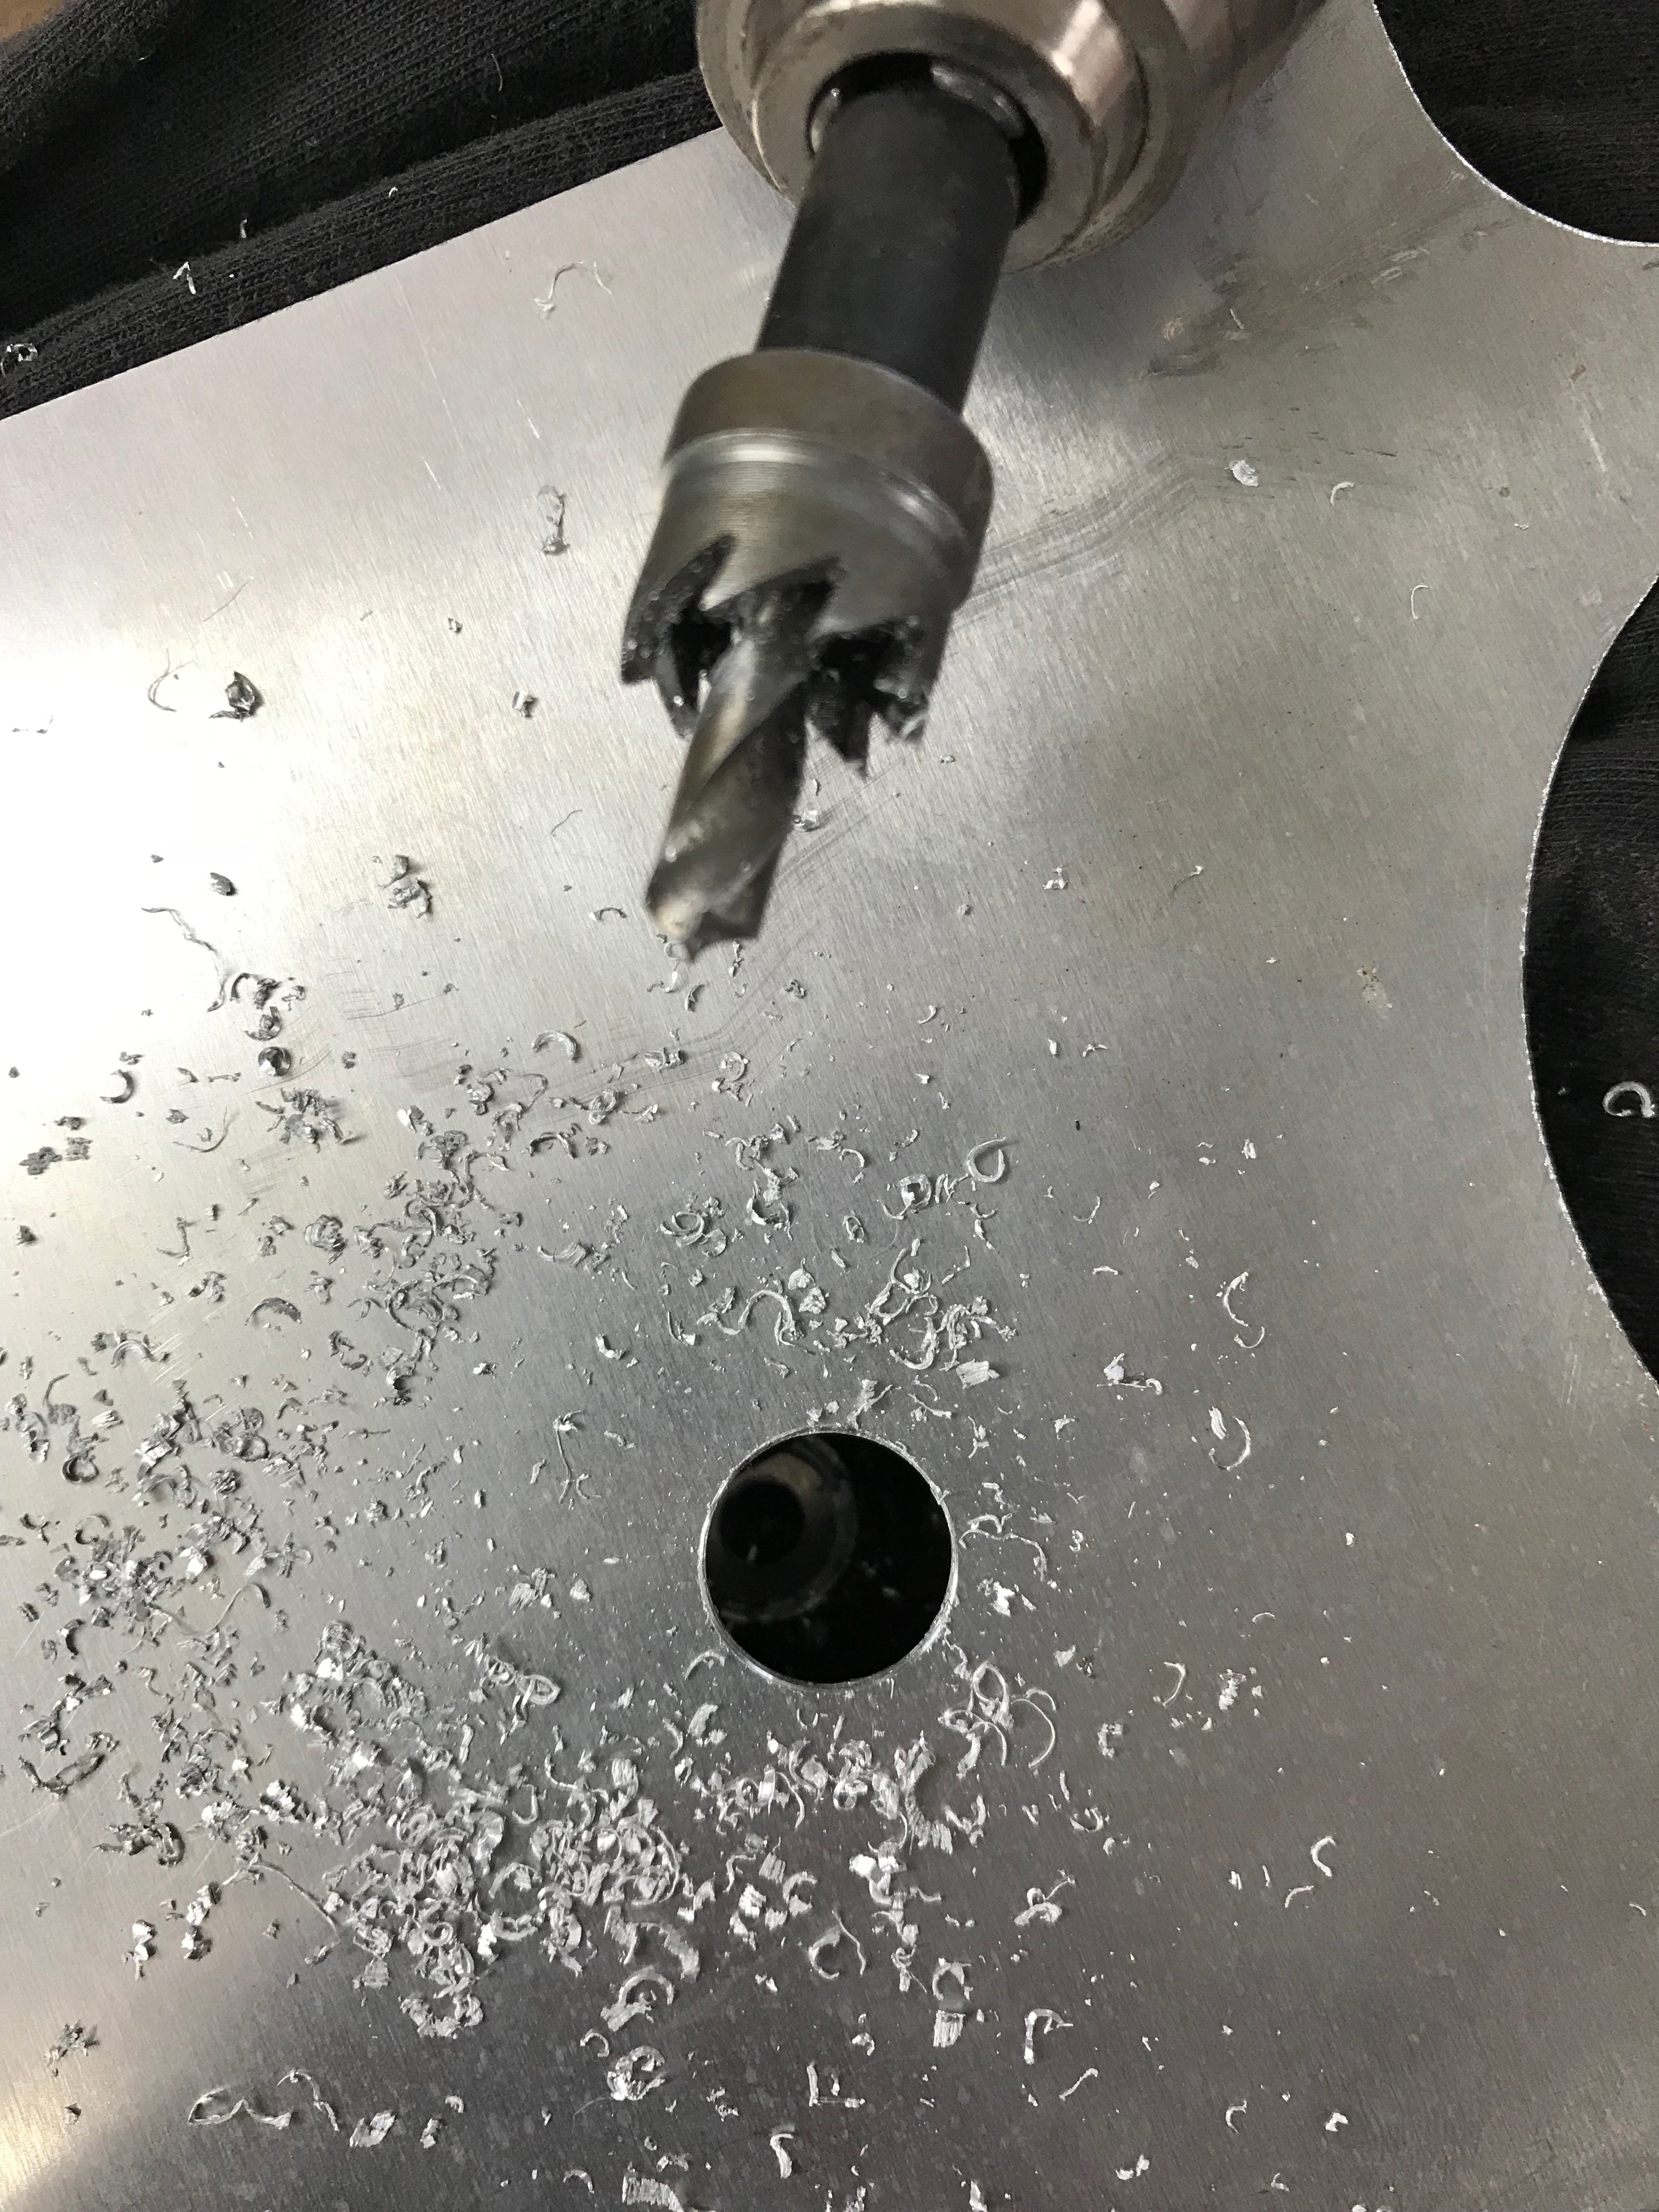
After a couple of months everything was bolted back up and the car was taken to Sam Smith, of Smith Industries, to get a couple things tided up and fabricated, this included a slight change to the rear exhaust tips, a cold air box, a sump bash plate, heat shielding around the headers and a battery hold down in the boot. His work is amazing and id definitely recommend anyone who needs some fabrication done of any kind, for a good deal, to contact him.


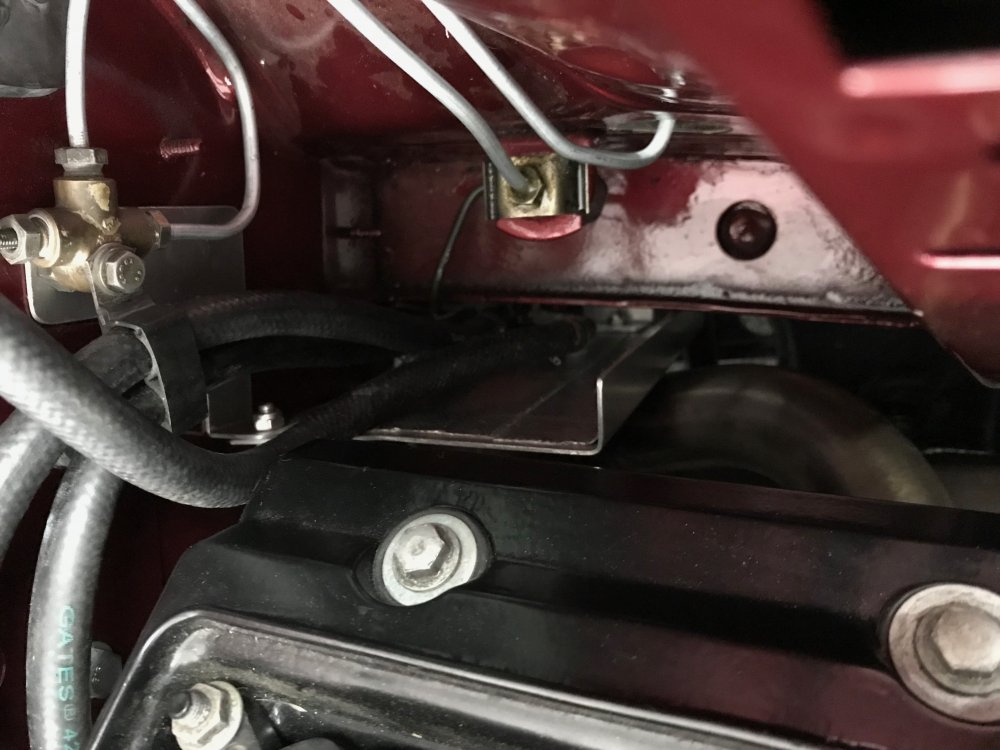

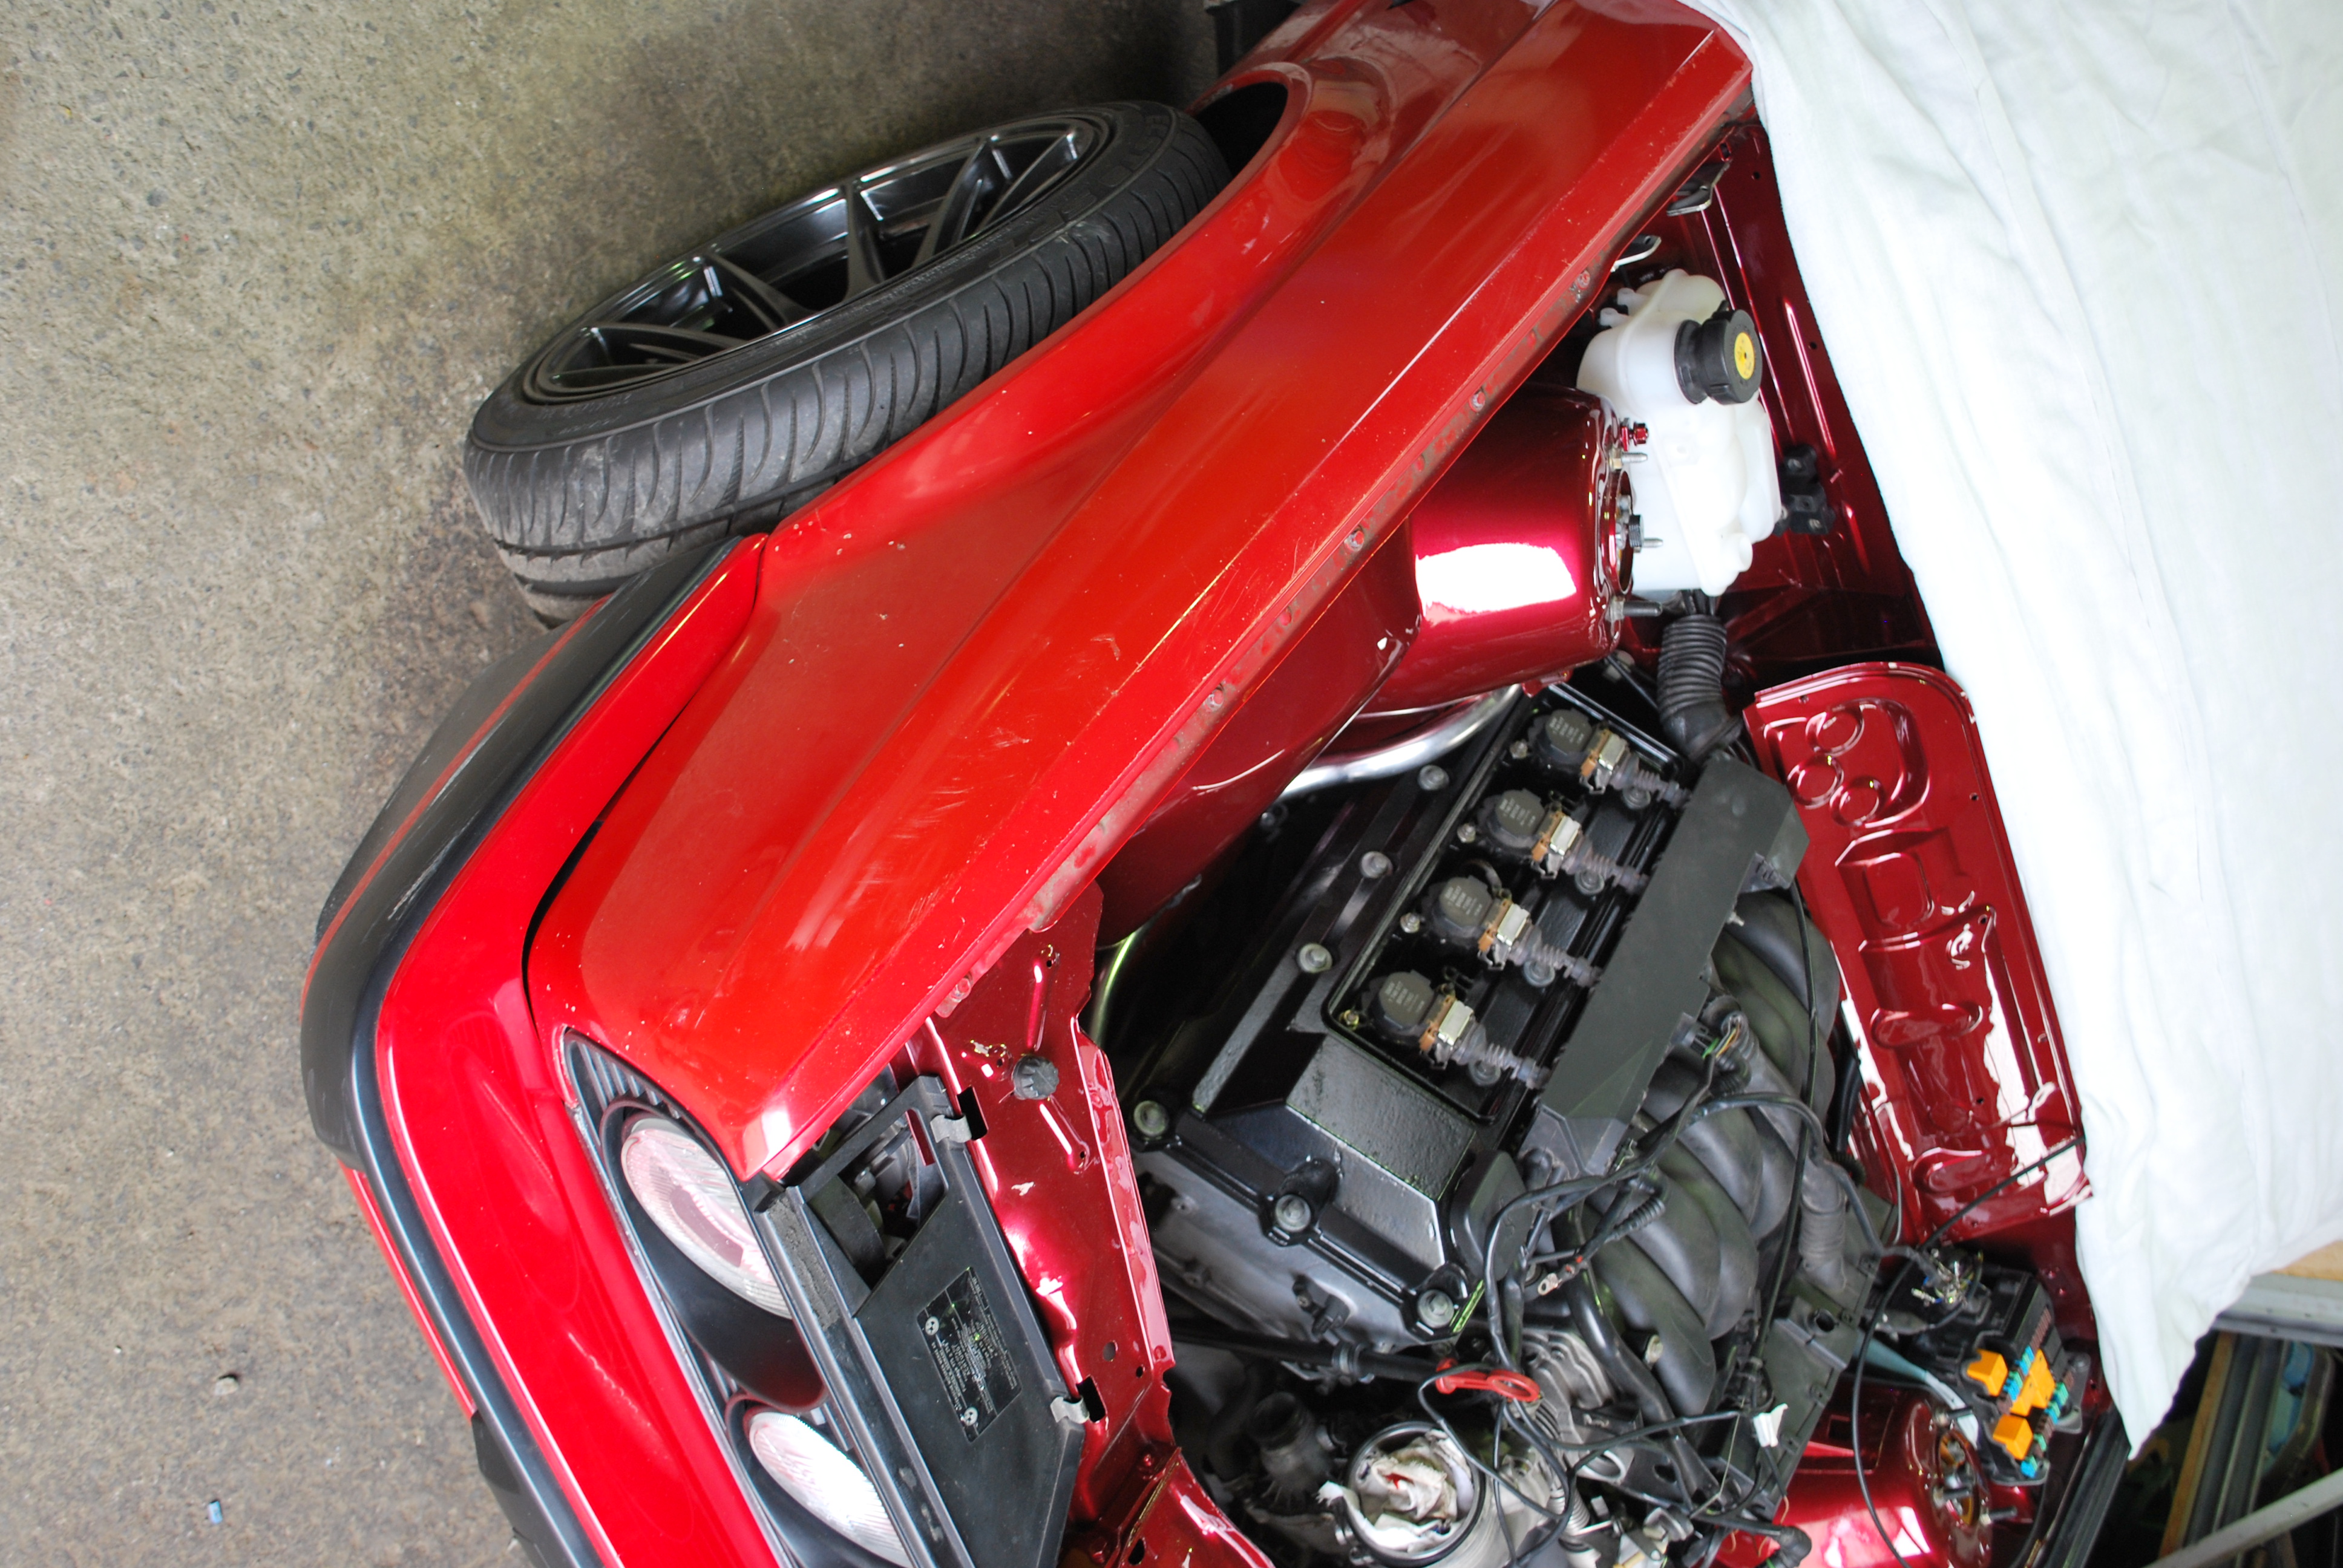
Once the car was back home it was time to tidy up the wiring side of things, as this had been worked on by a couple of others over the last few years. Local guru Nigel from Ignition Autosport was enlisted to undertake this job. While this was being done, the cooling system and necessary sensors were also completed and fluids checked before it was fired back up and ready for its first drive under its own power! A crack in the power steering reservoir was discovered, so a new one was ordered before this could happen.

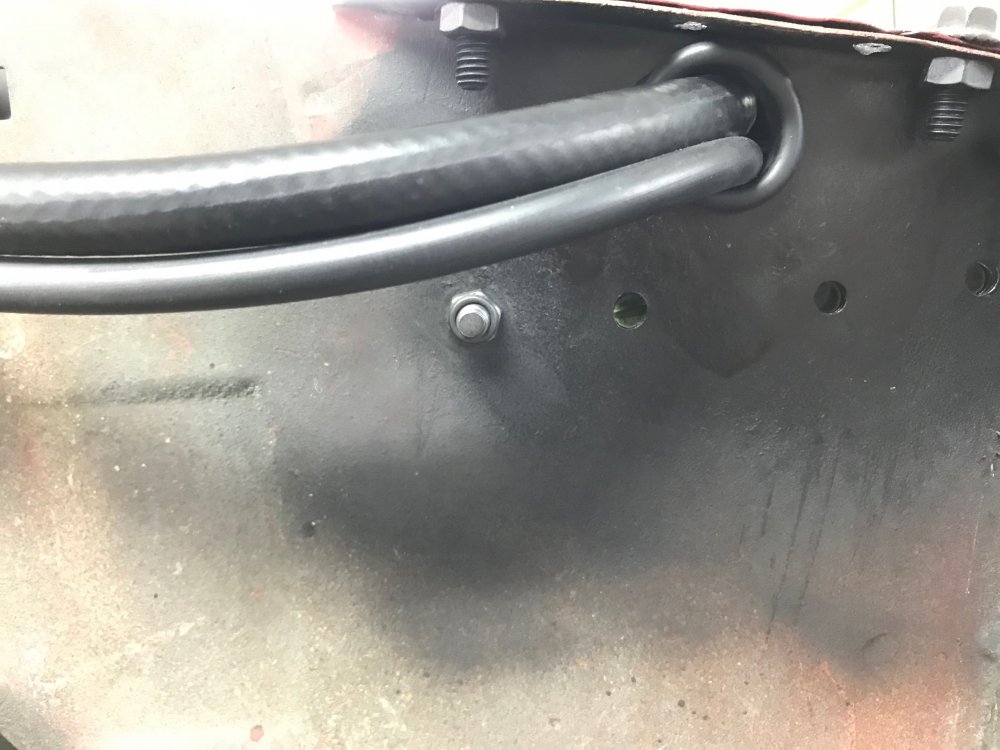
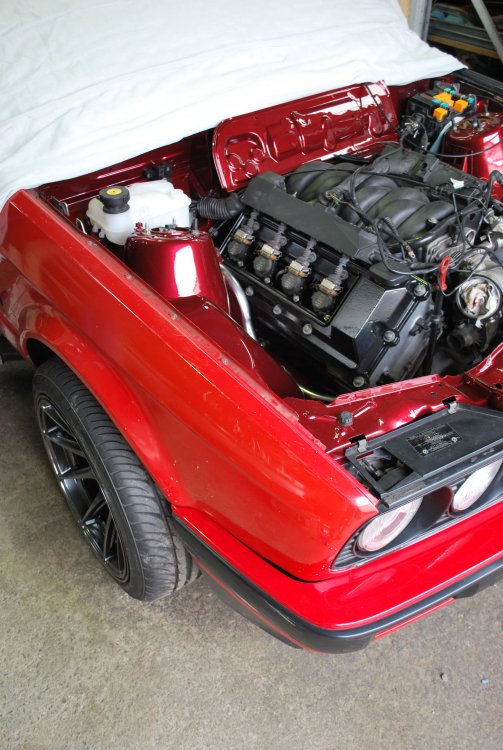
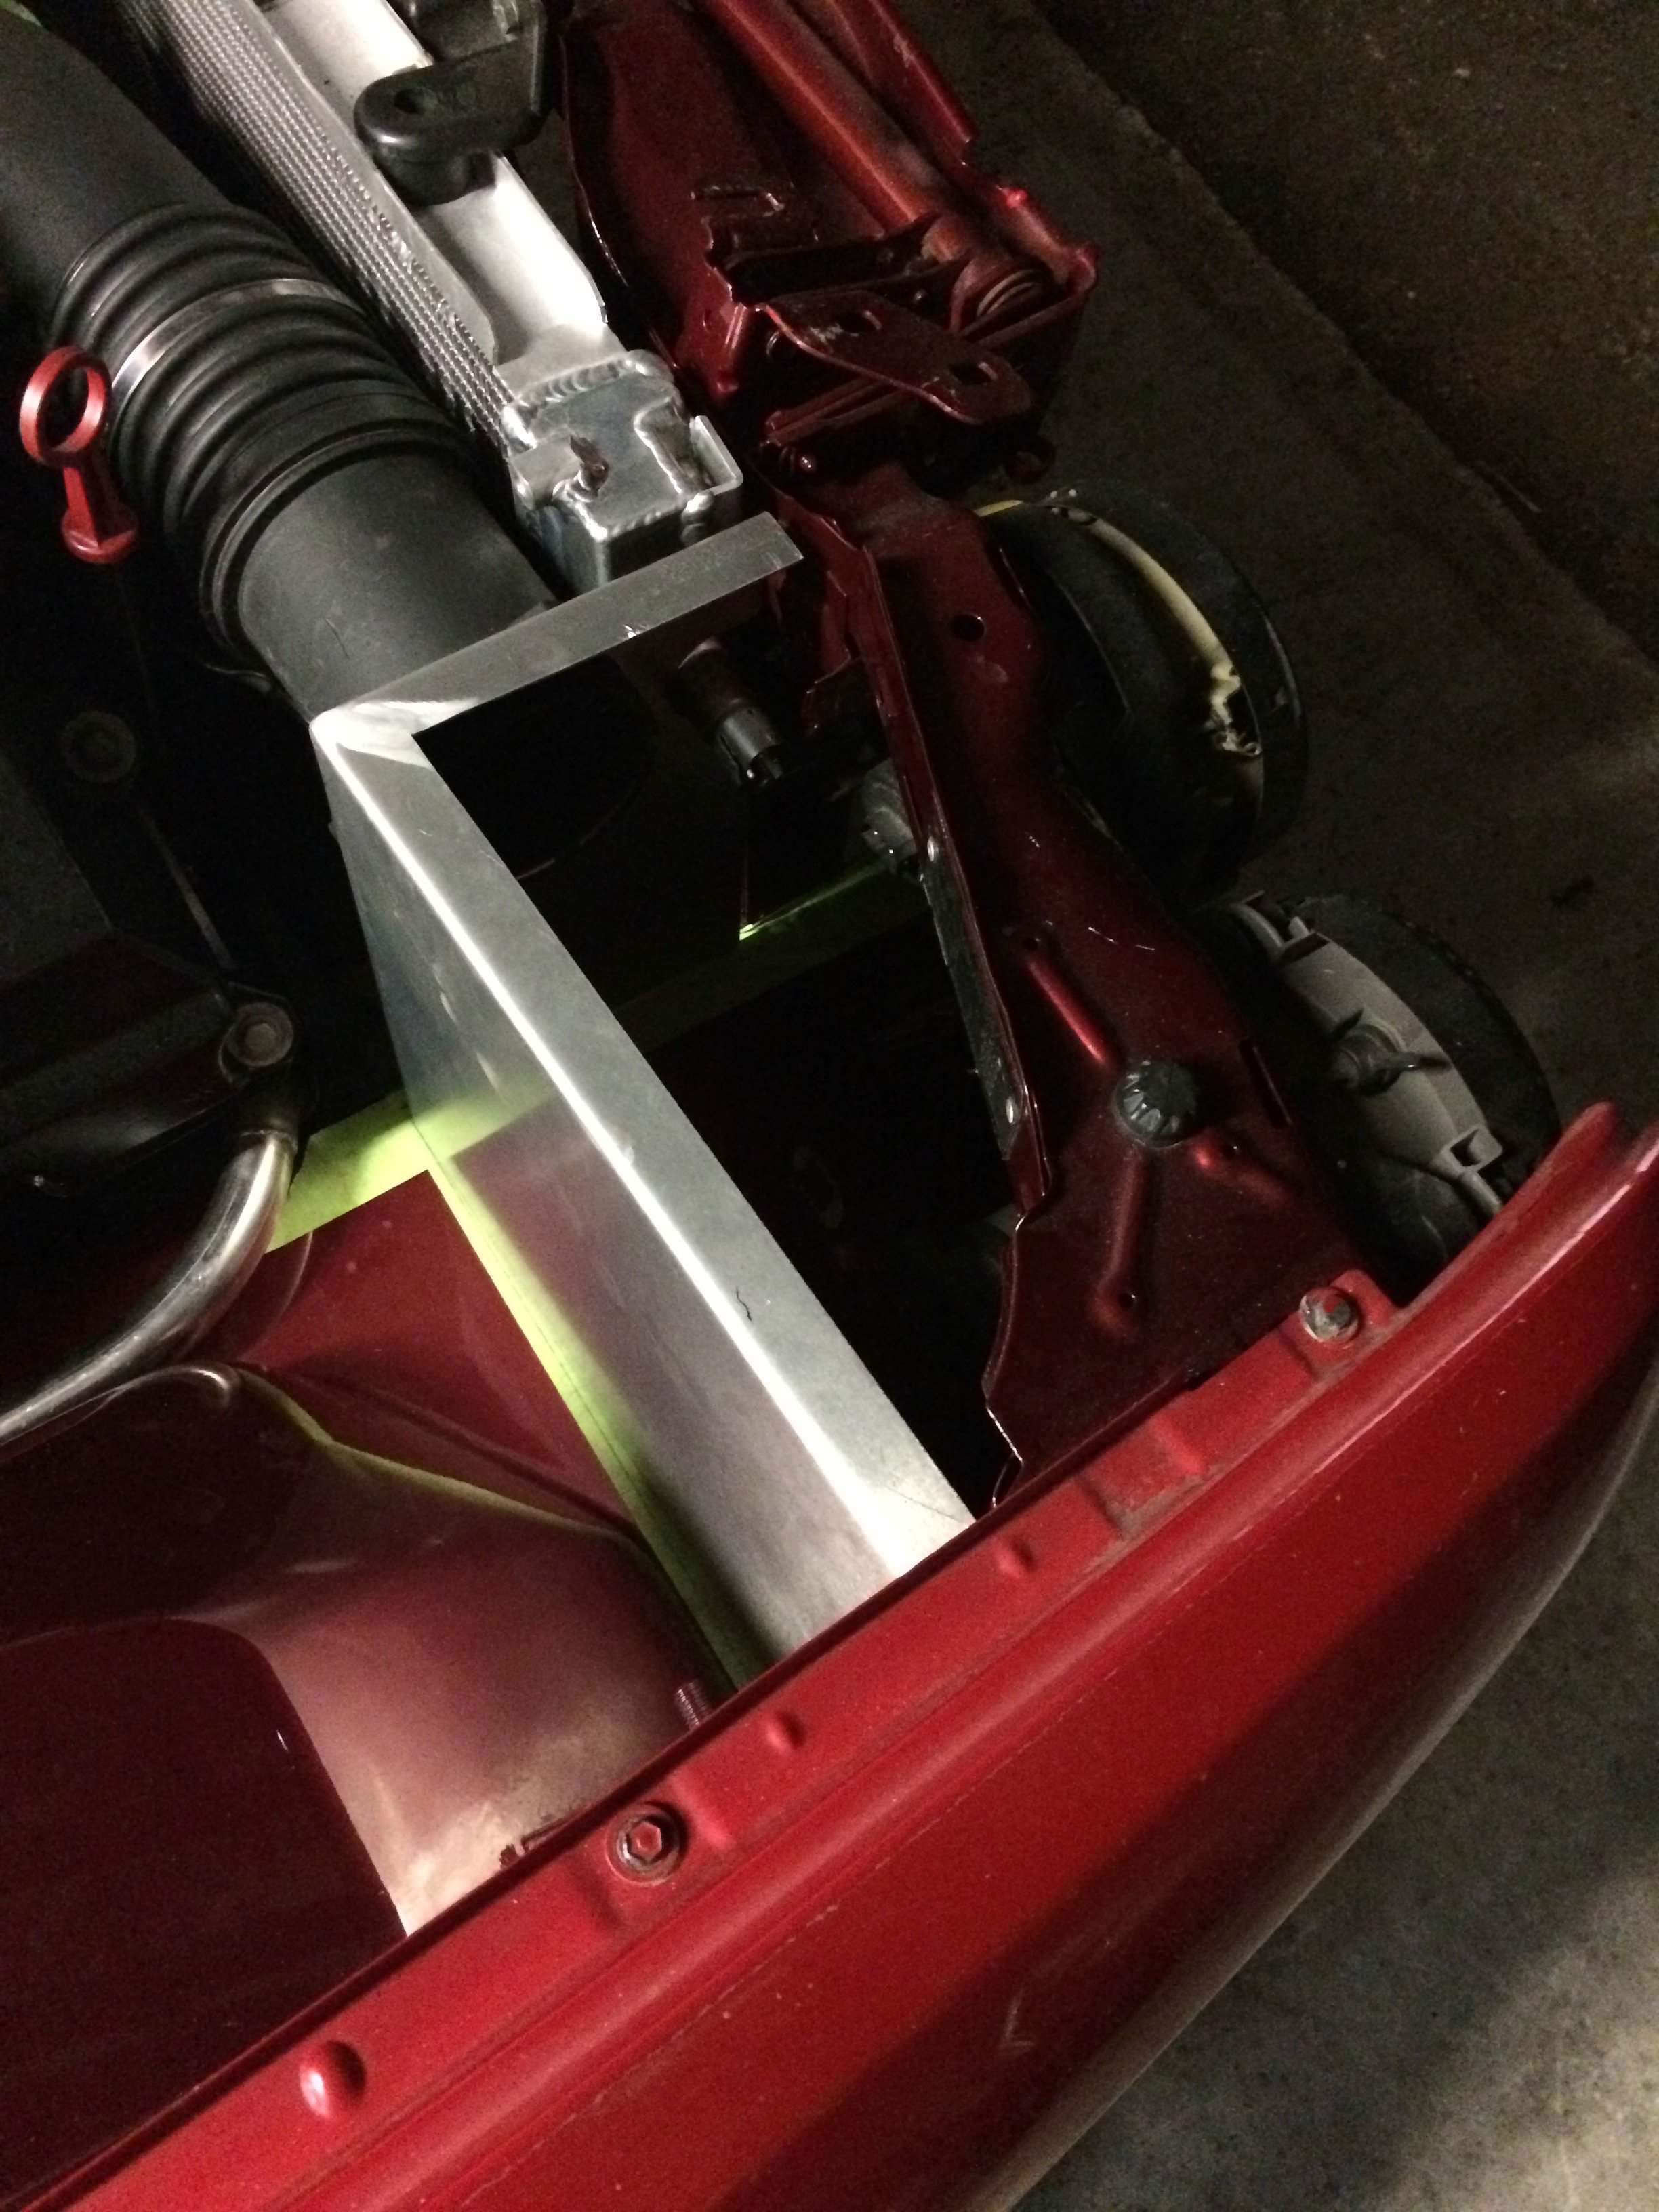
Coolant return hose and washer fluid hose from the rear bottle are neatly hidden away inside the front guard.
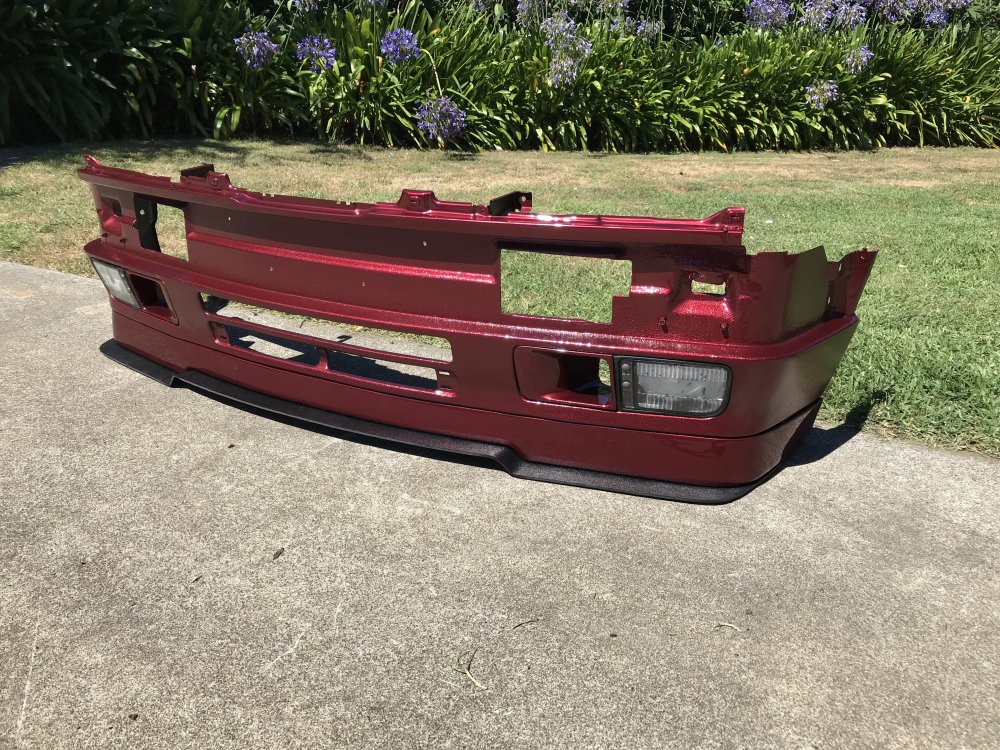
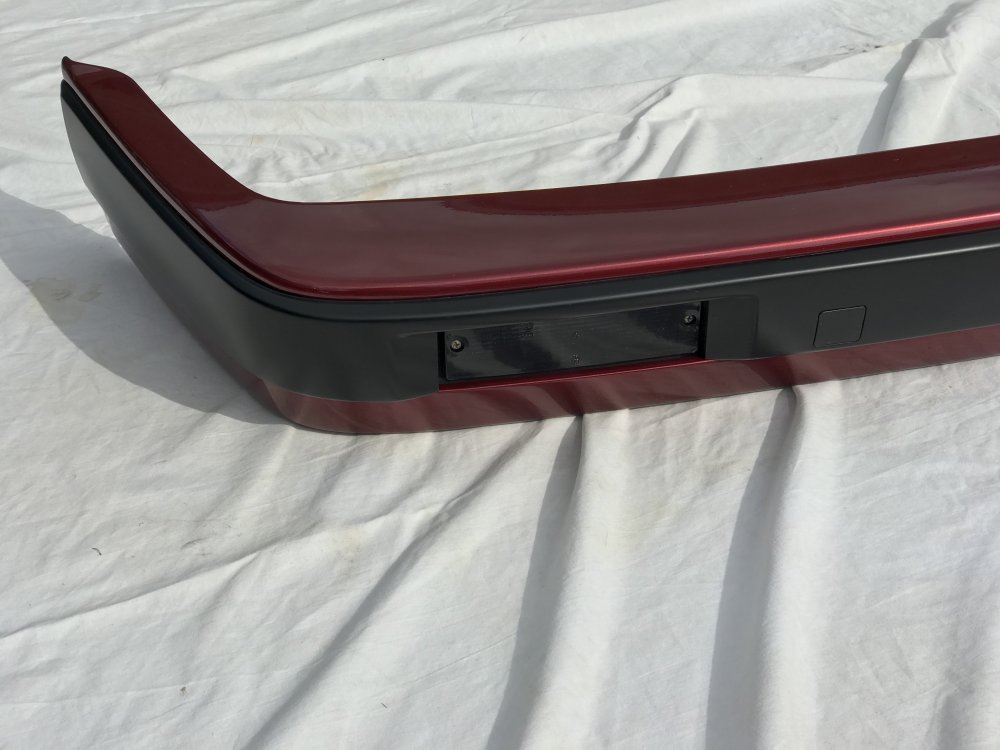
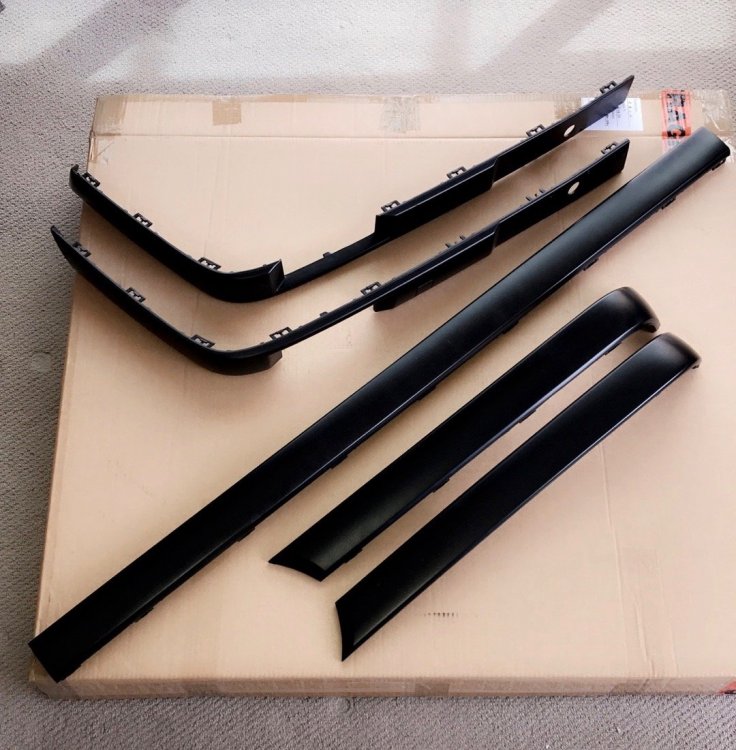
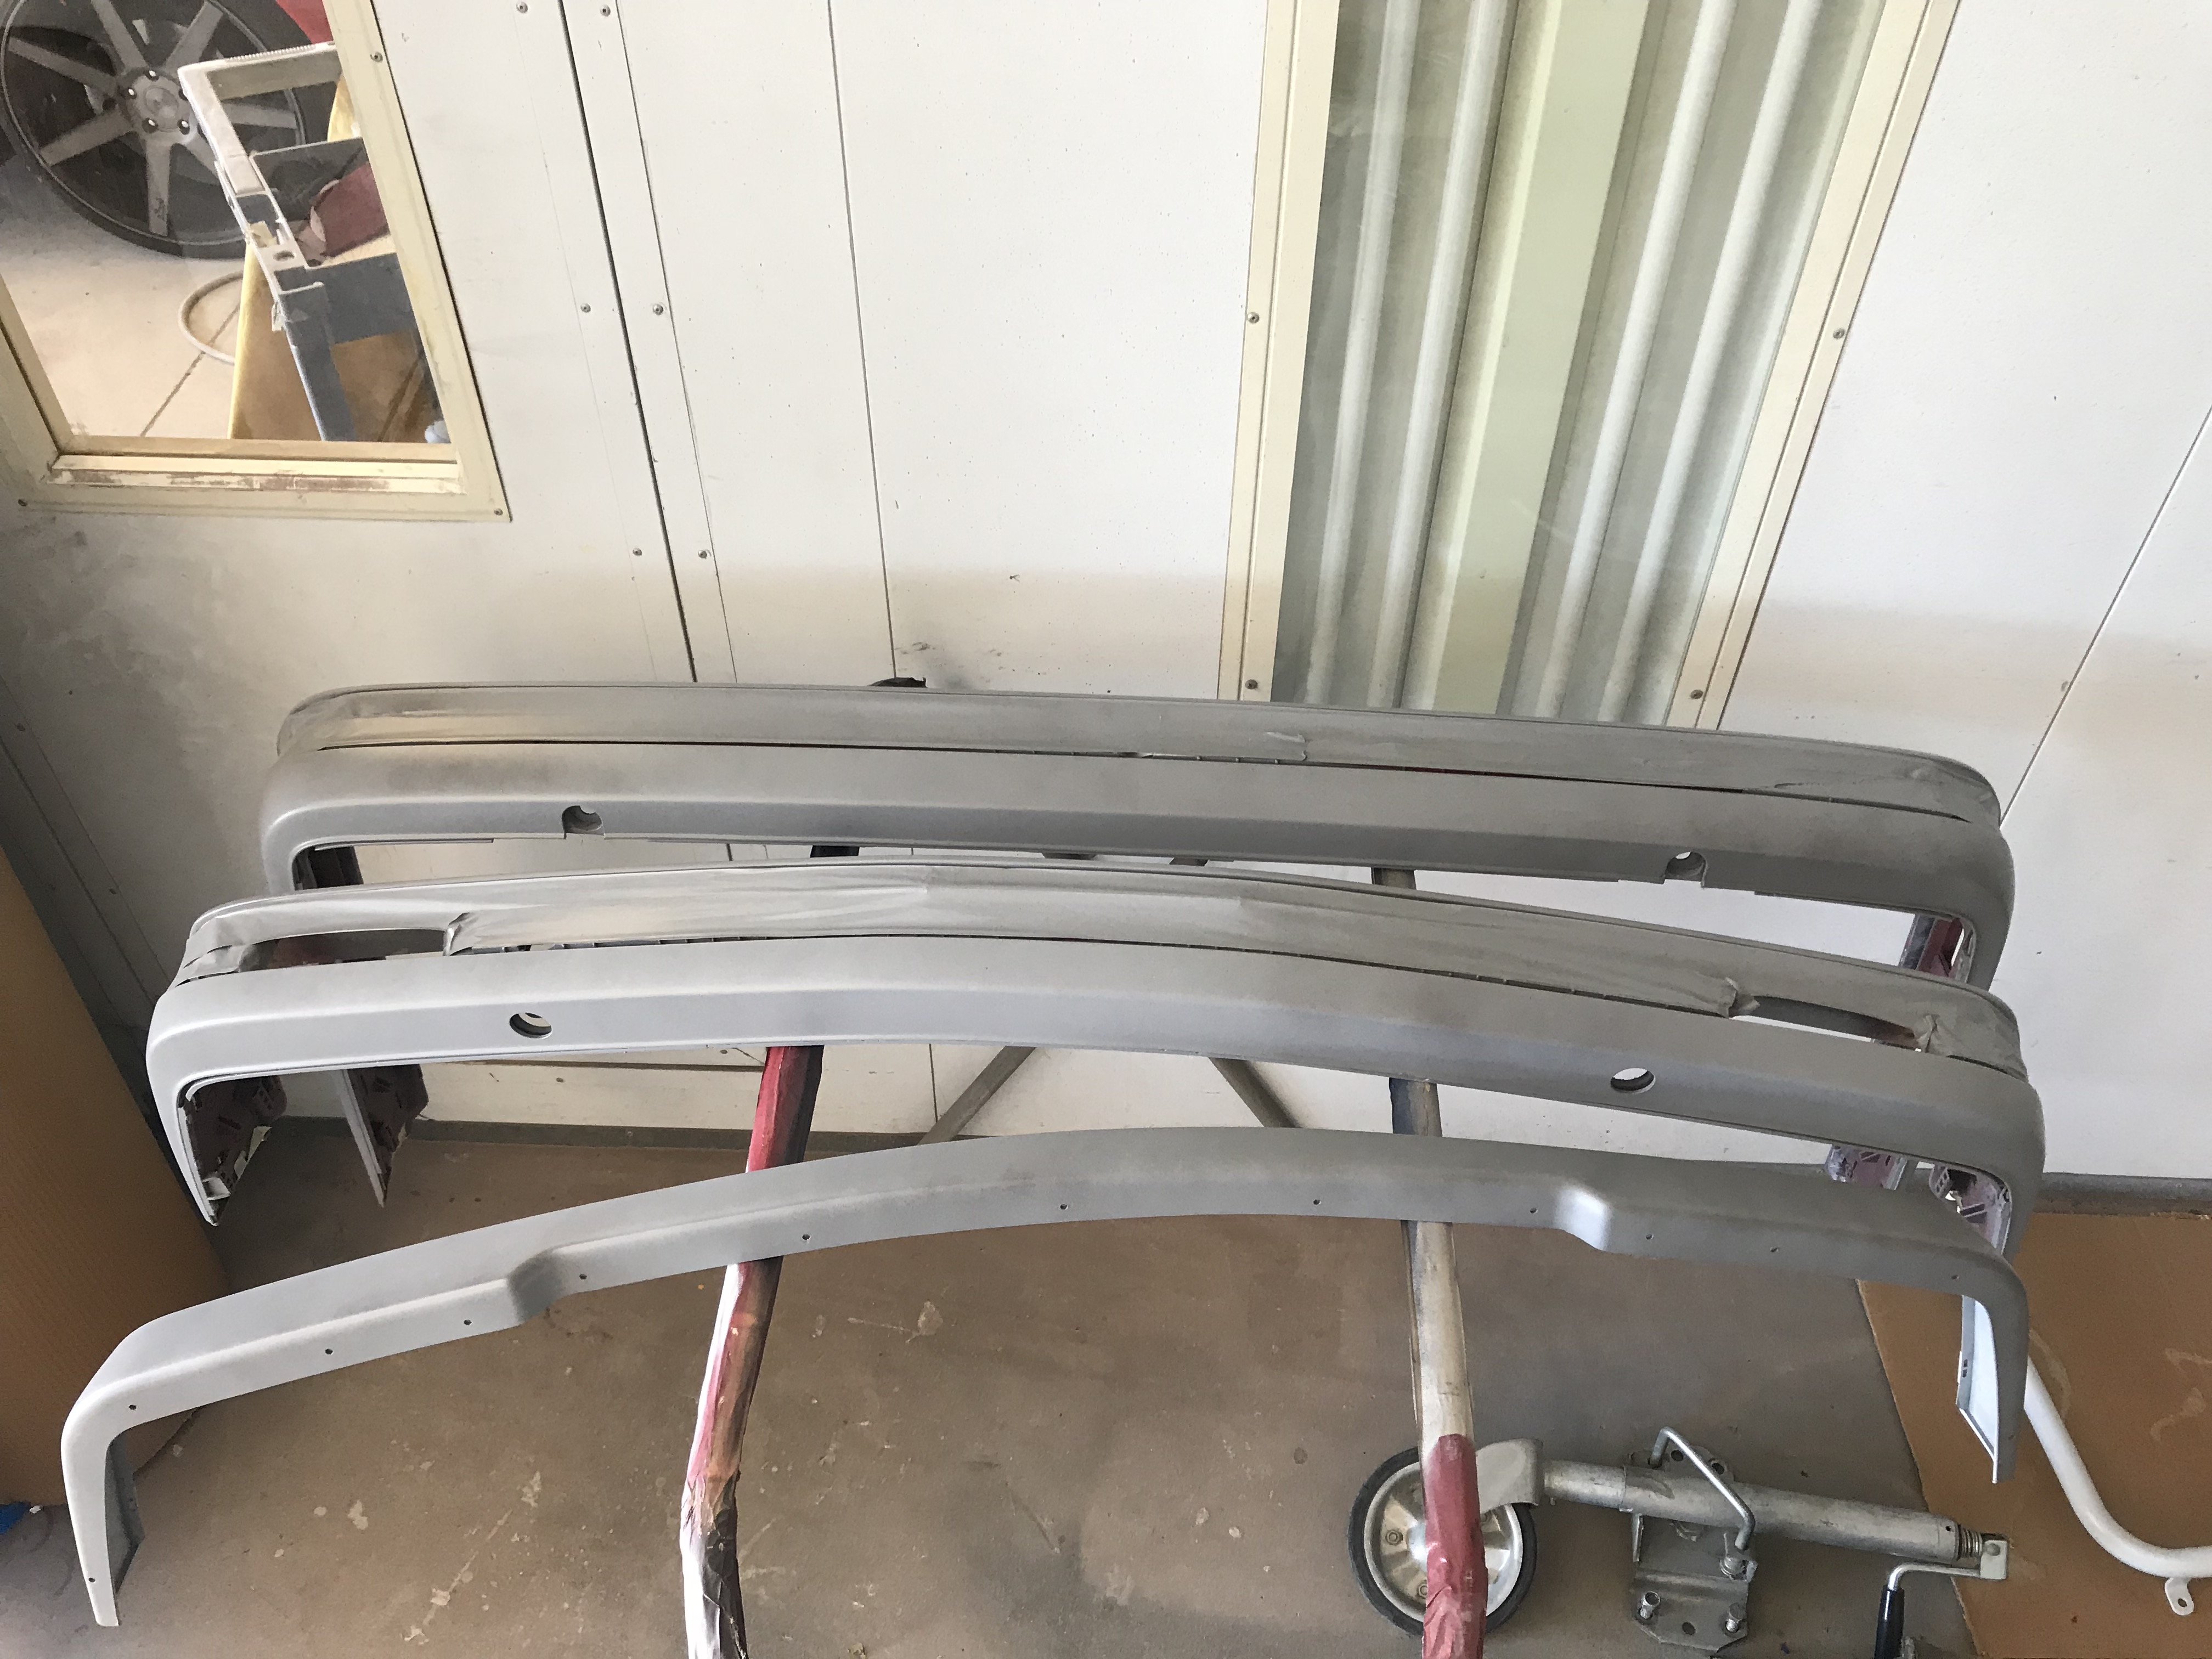
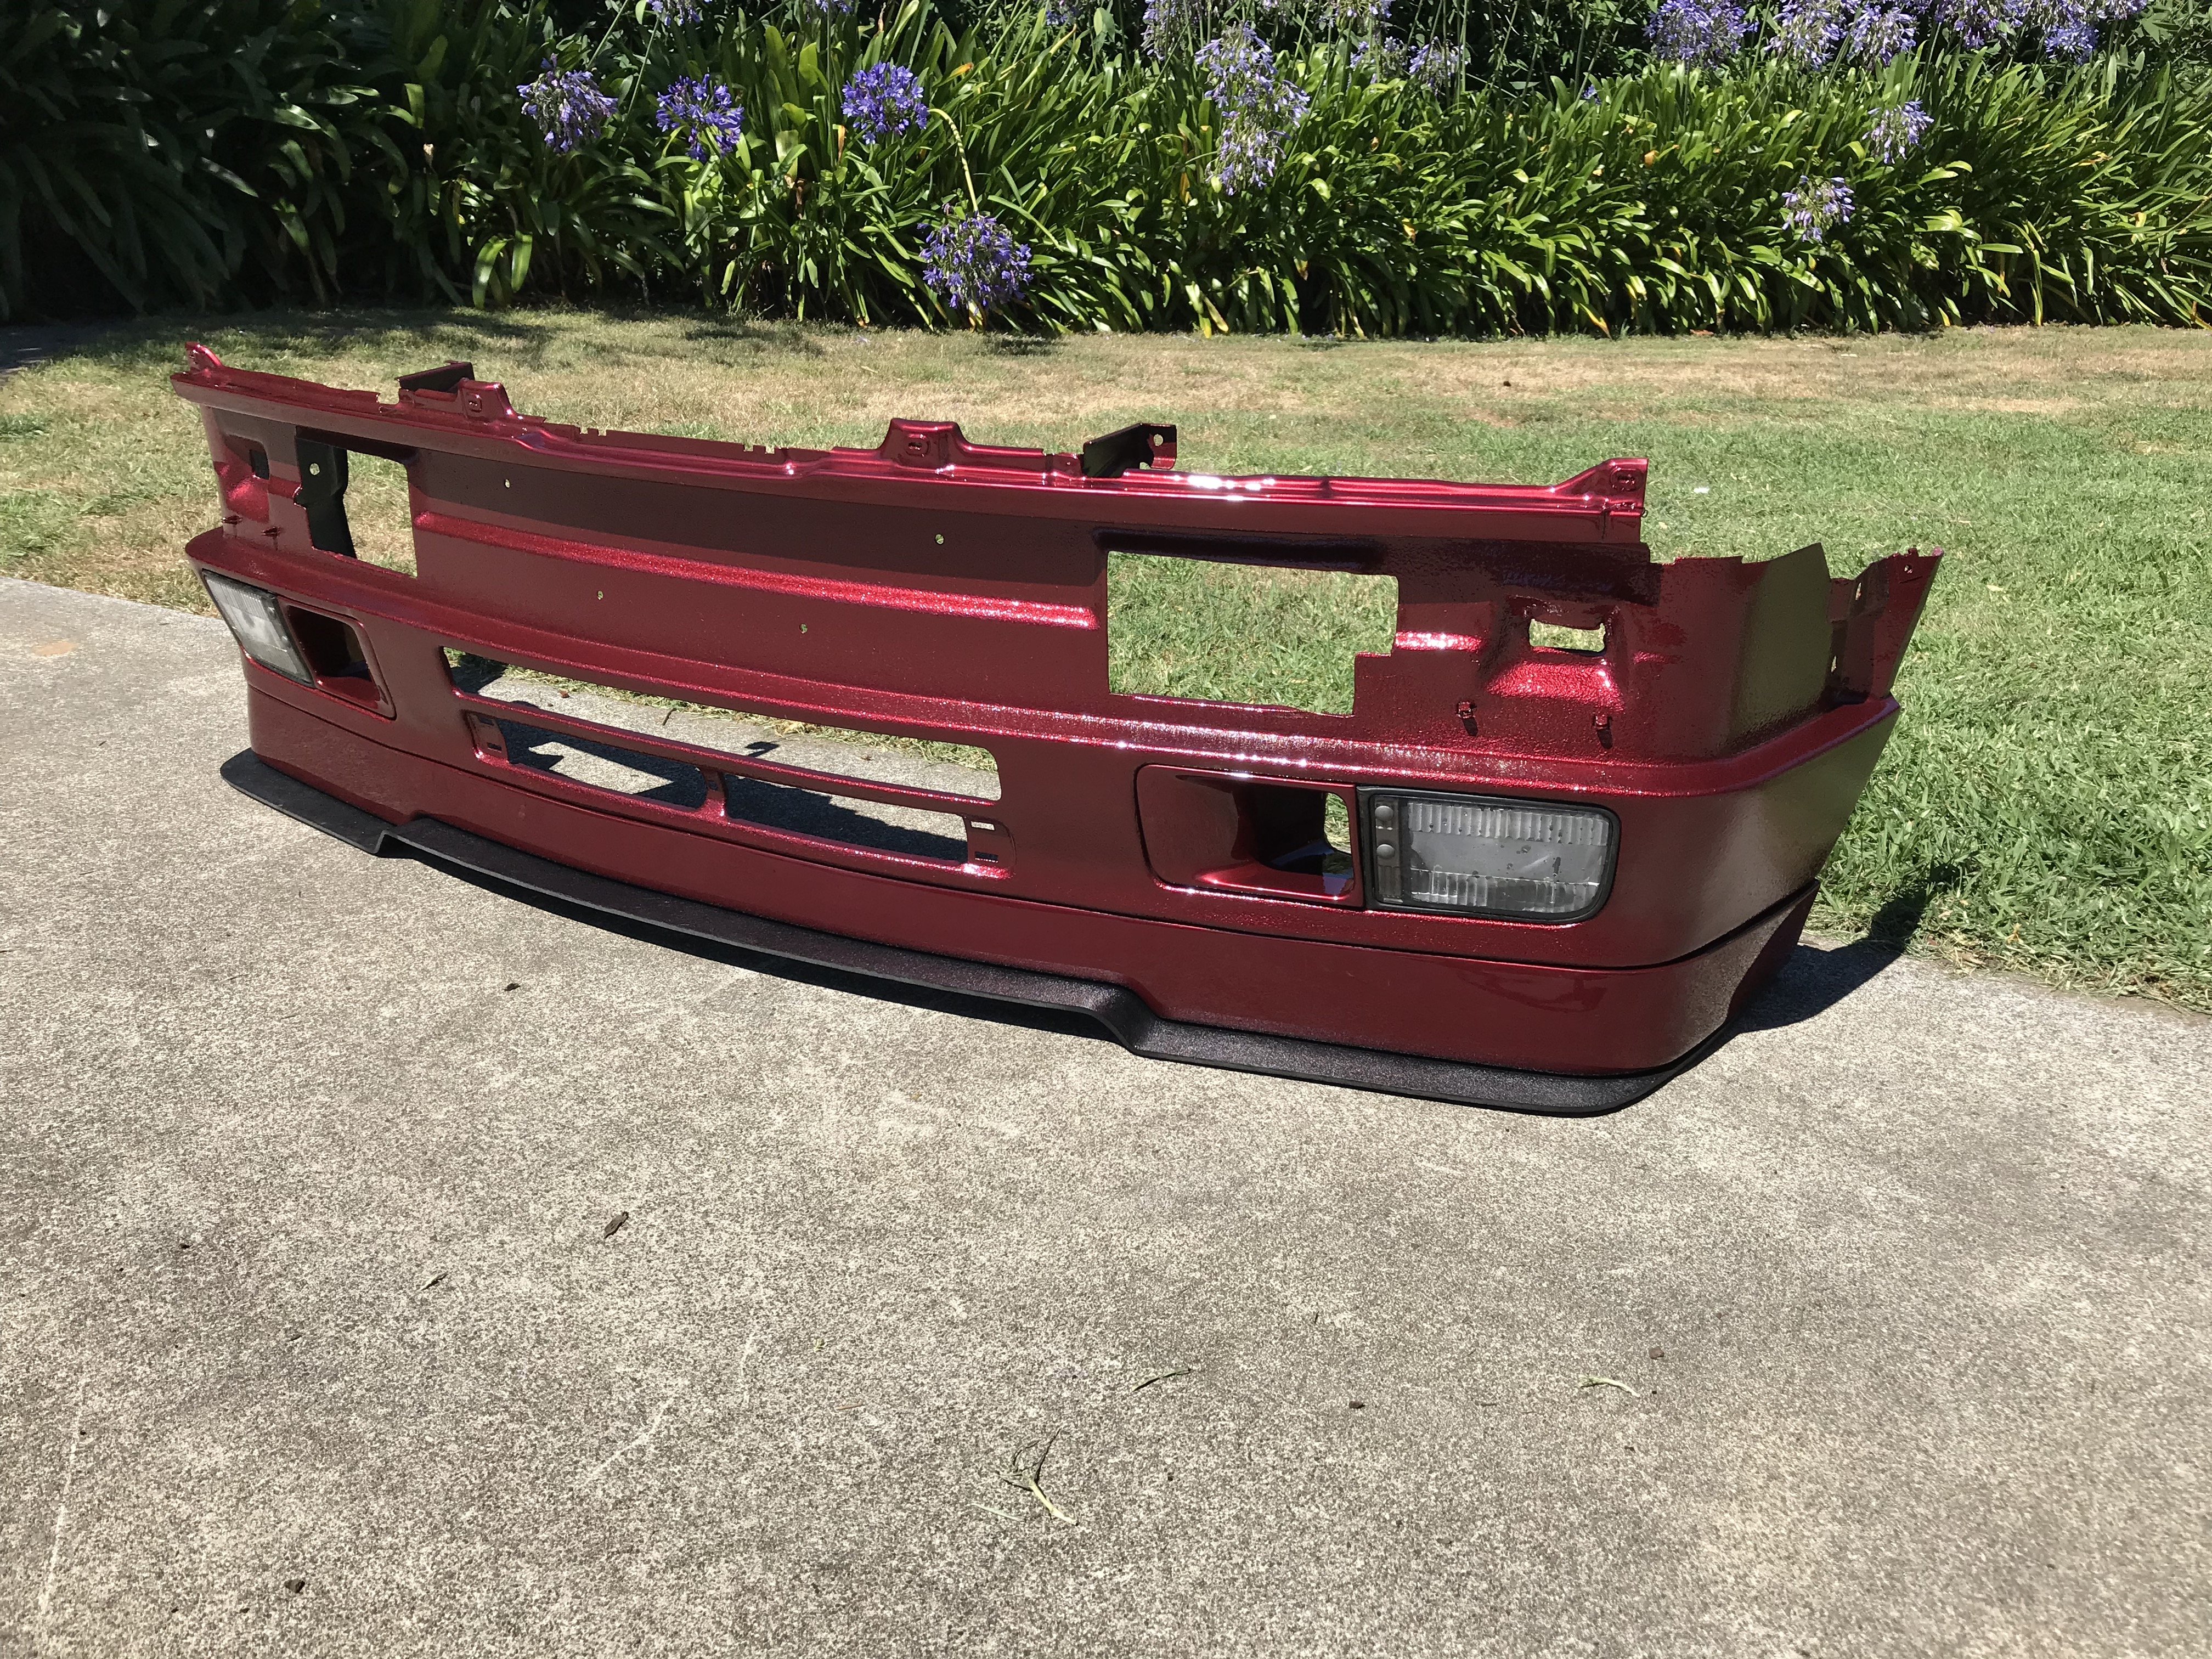
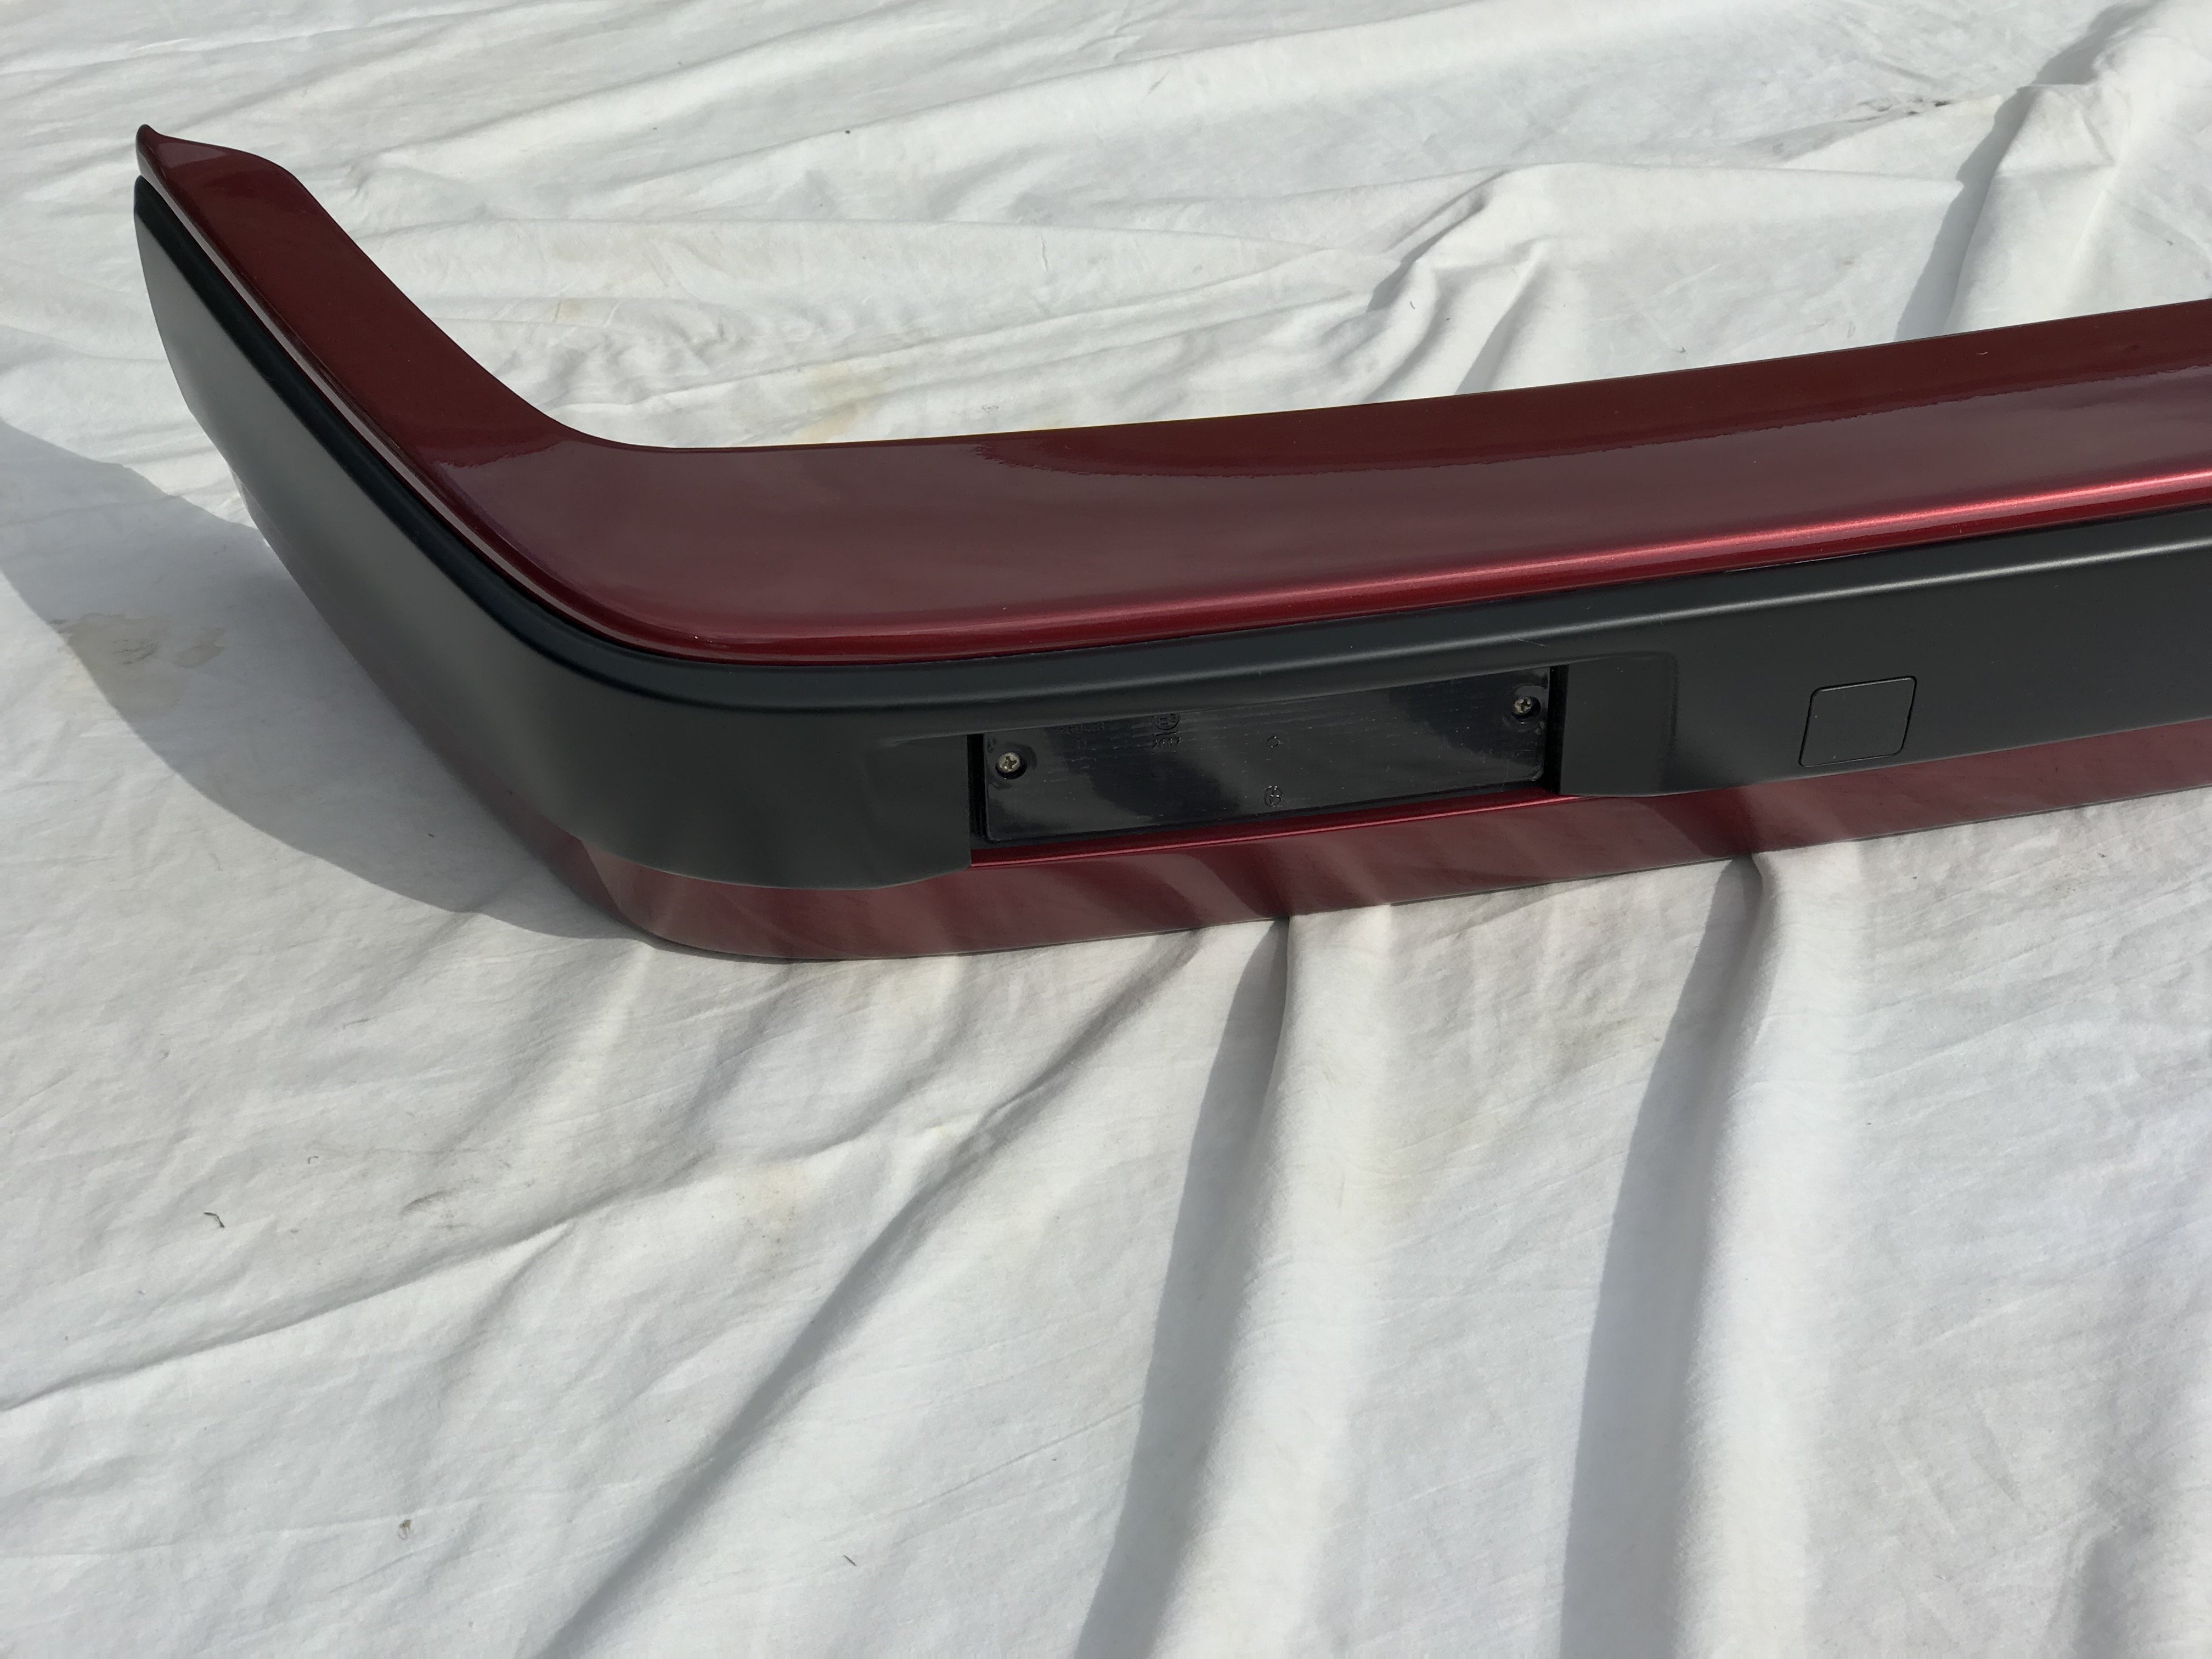
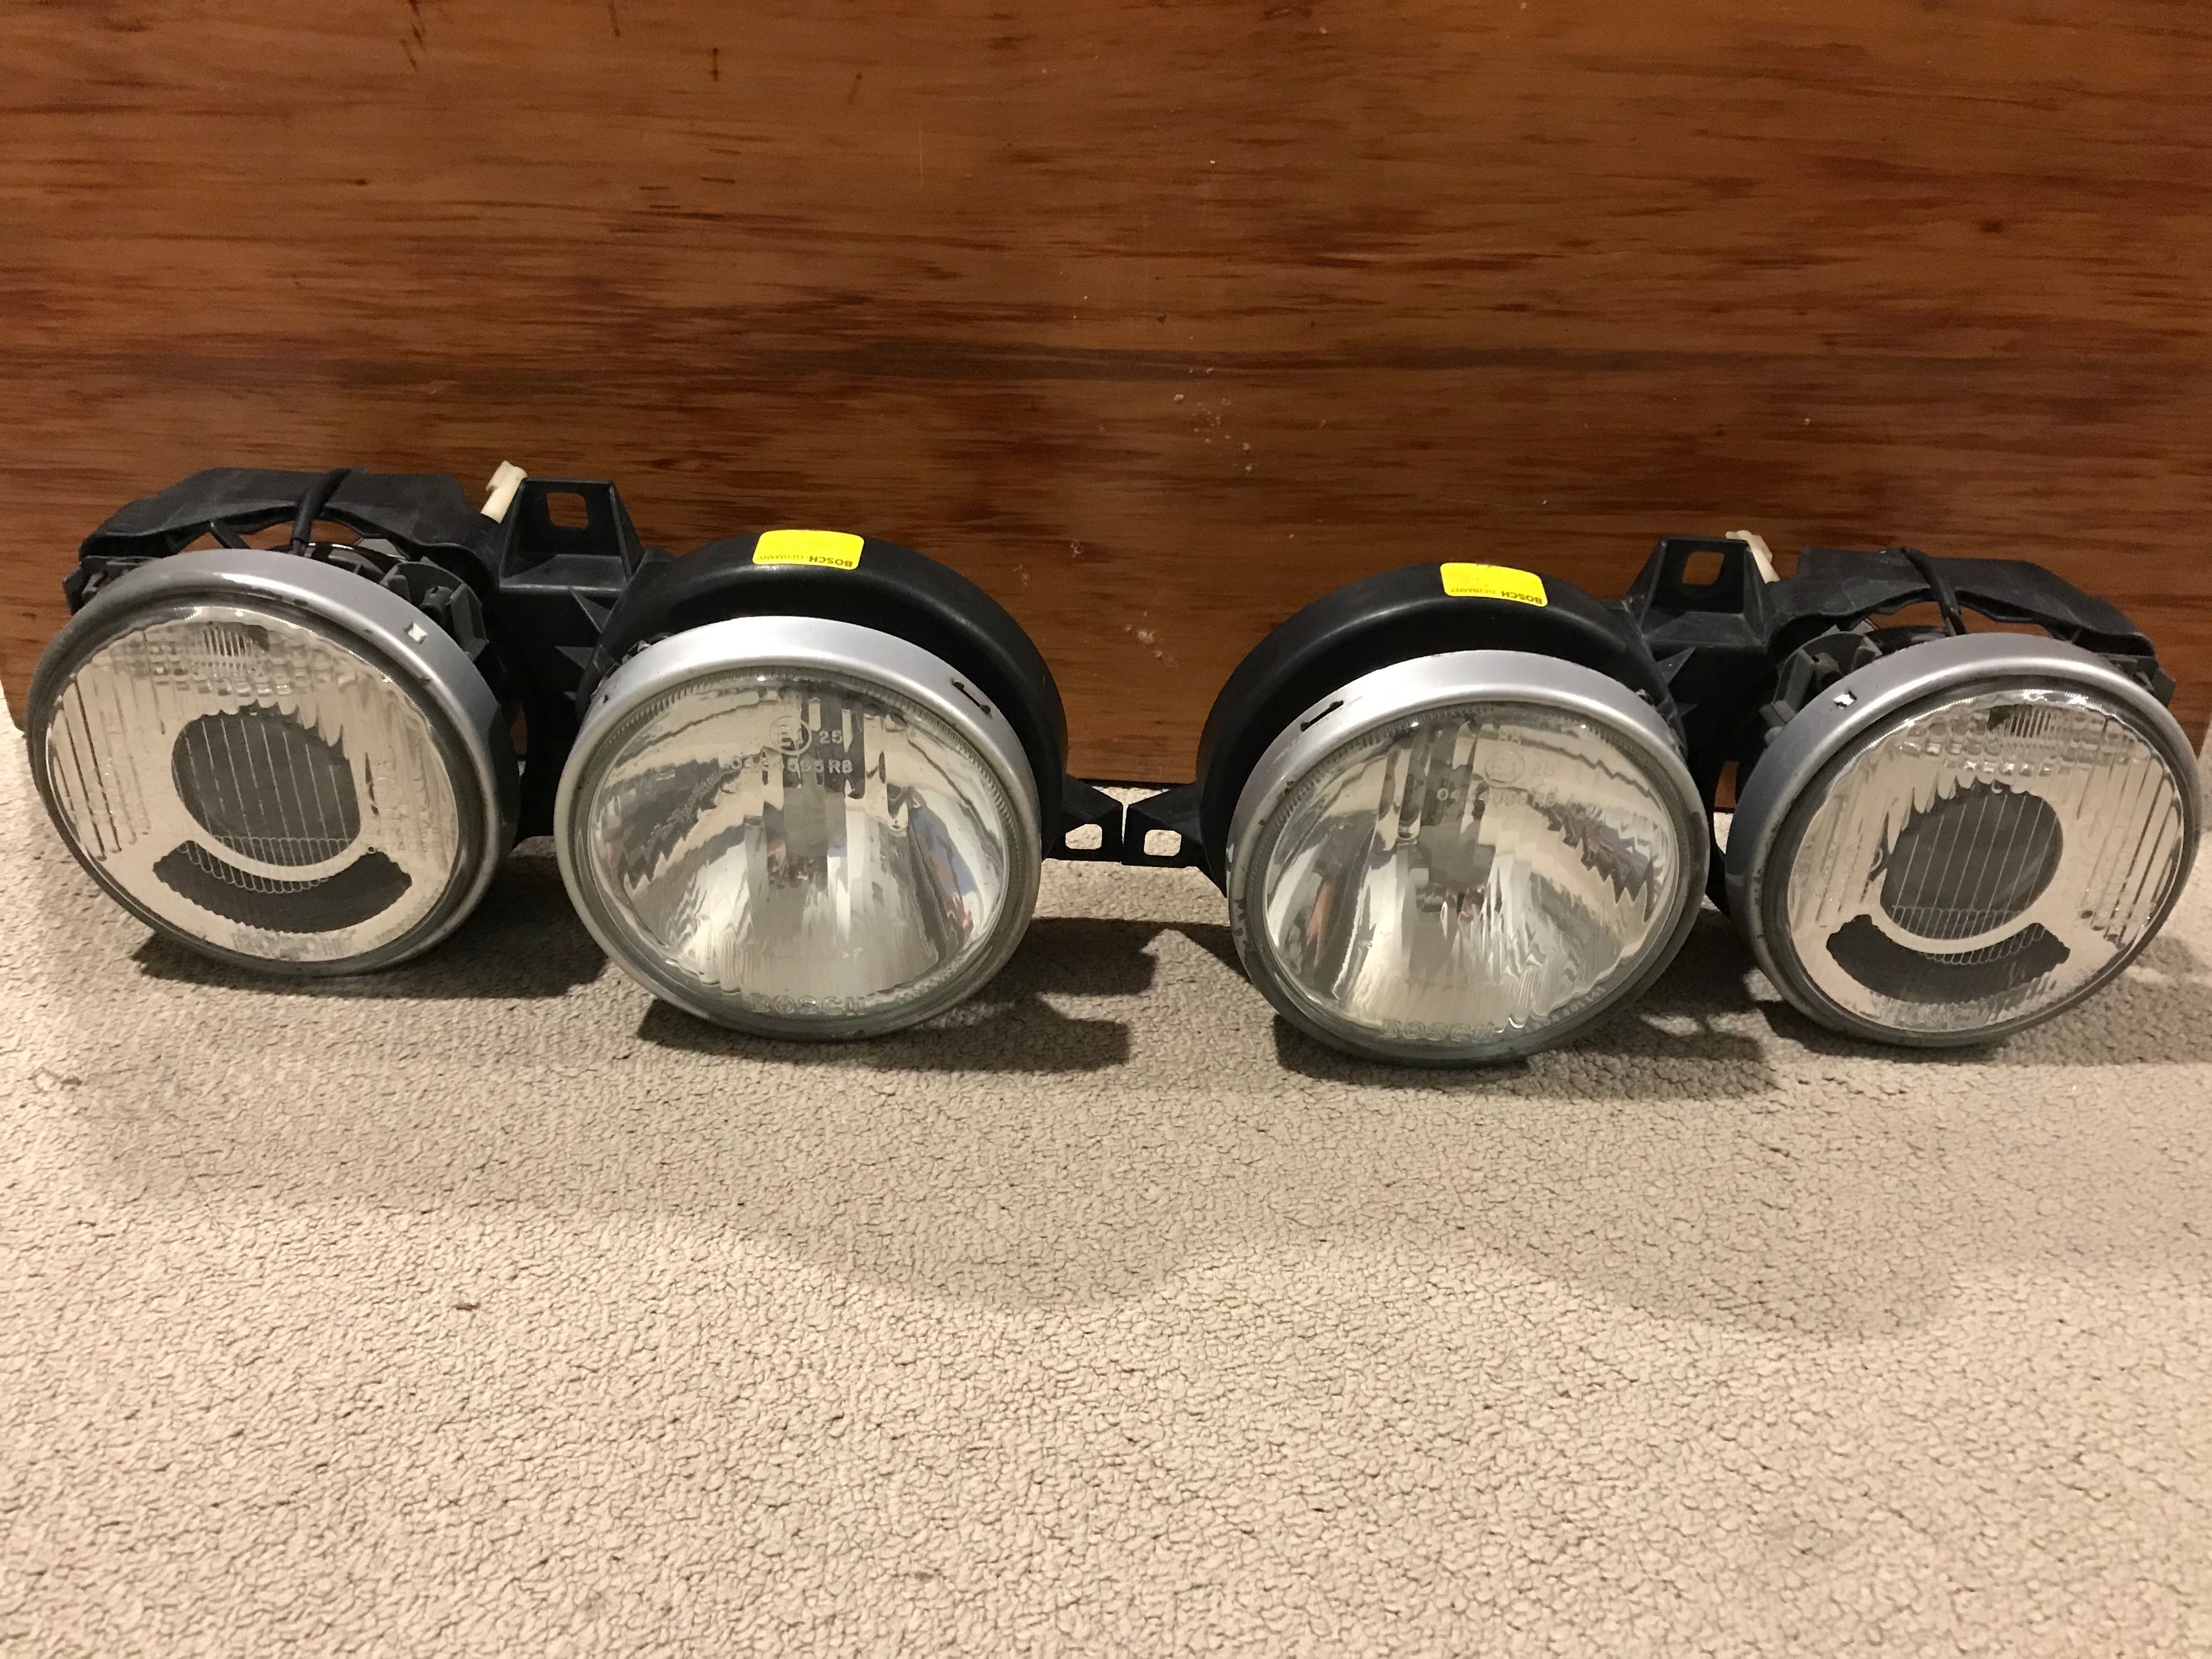
A few parts were starting to accumulate over time, like the fresh bumper trims, thanks to fellow touring owner Dylan HJ, some small goodies from overseas and another set of perfect smileys from a local guy who didn't know the value of them, also thanks to Andy, Lucan, Richard (e46v12), Mike from EuroTurbo for the help over the last 9 Months sourcing small things.

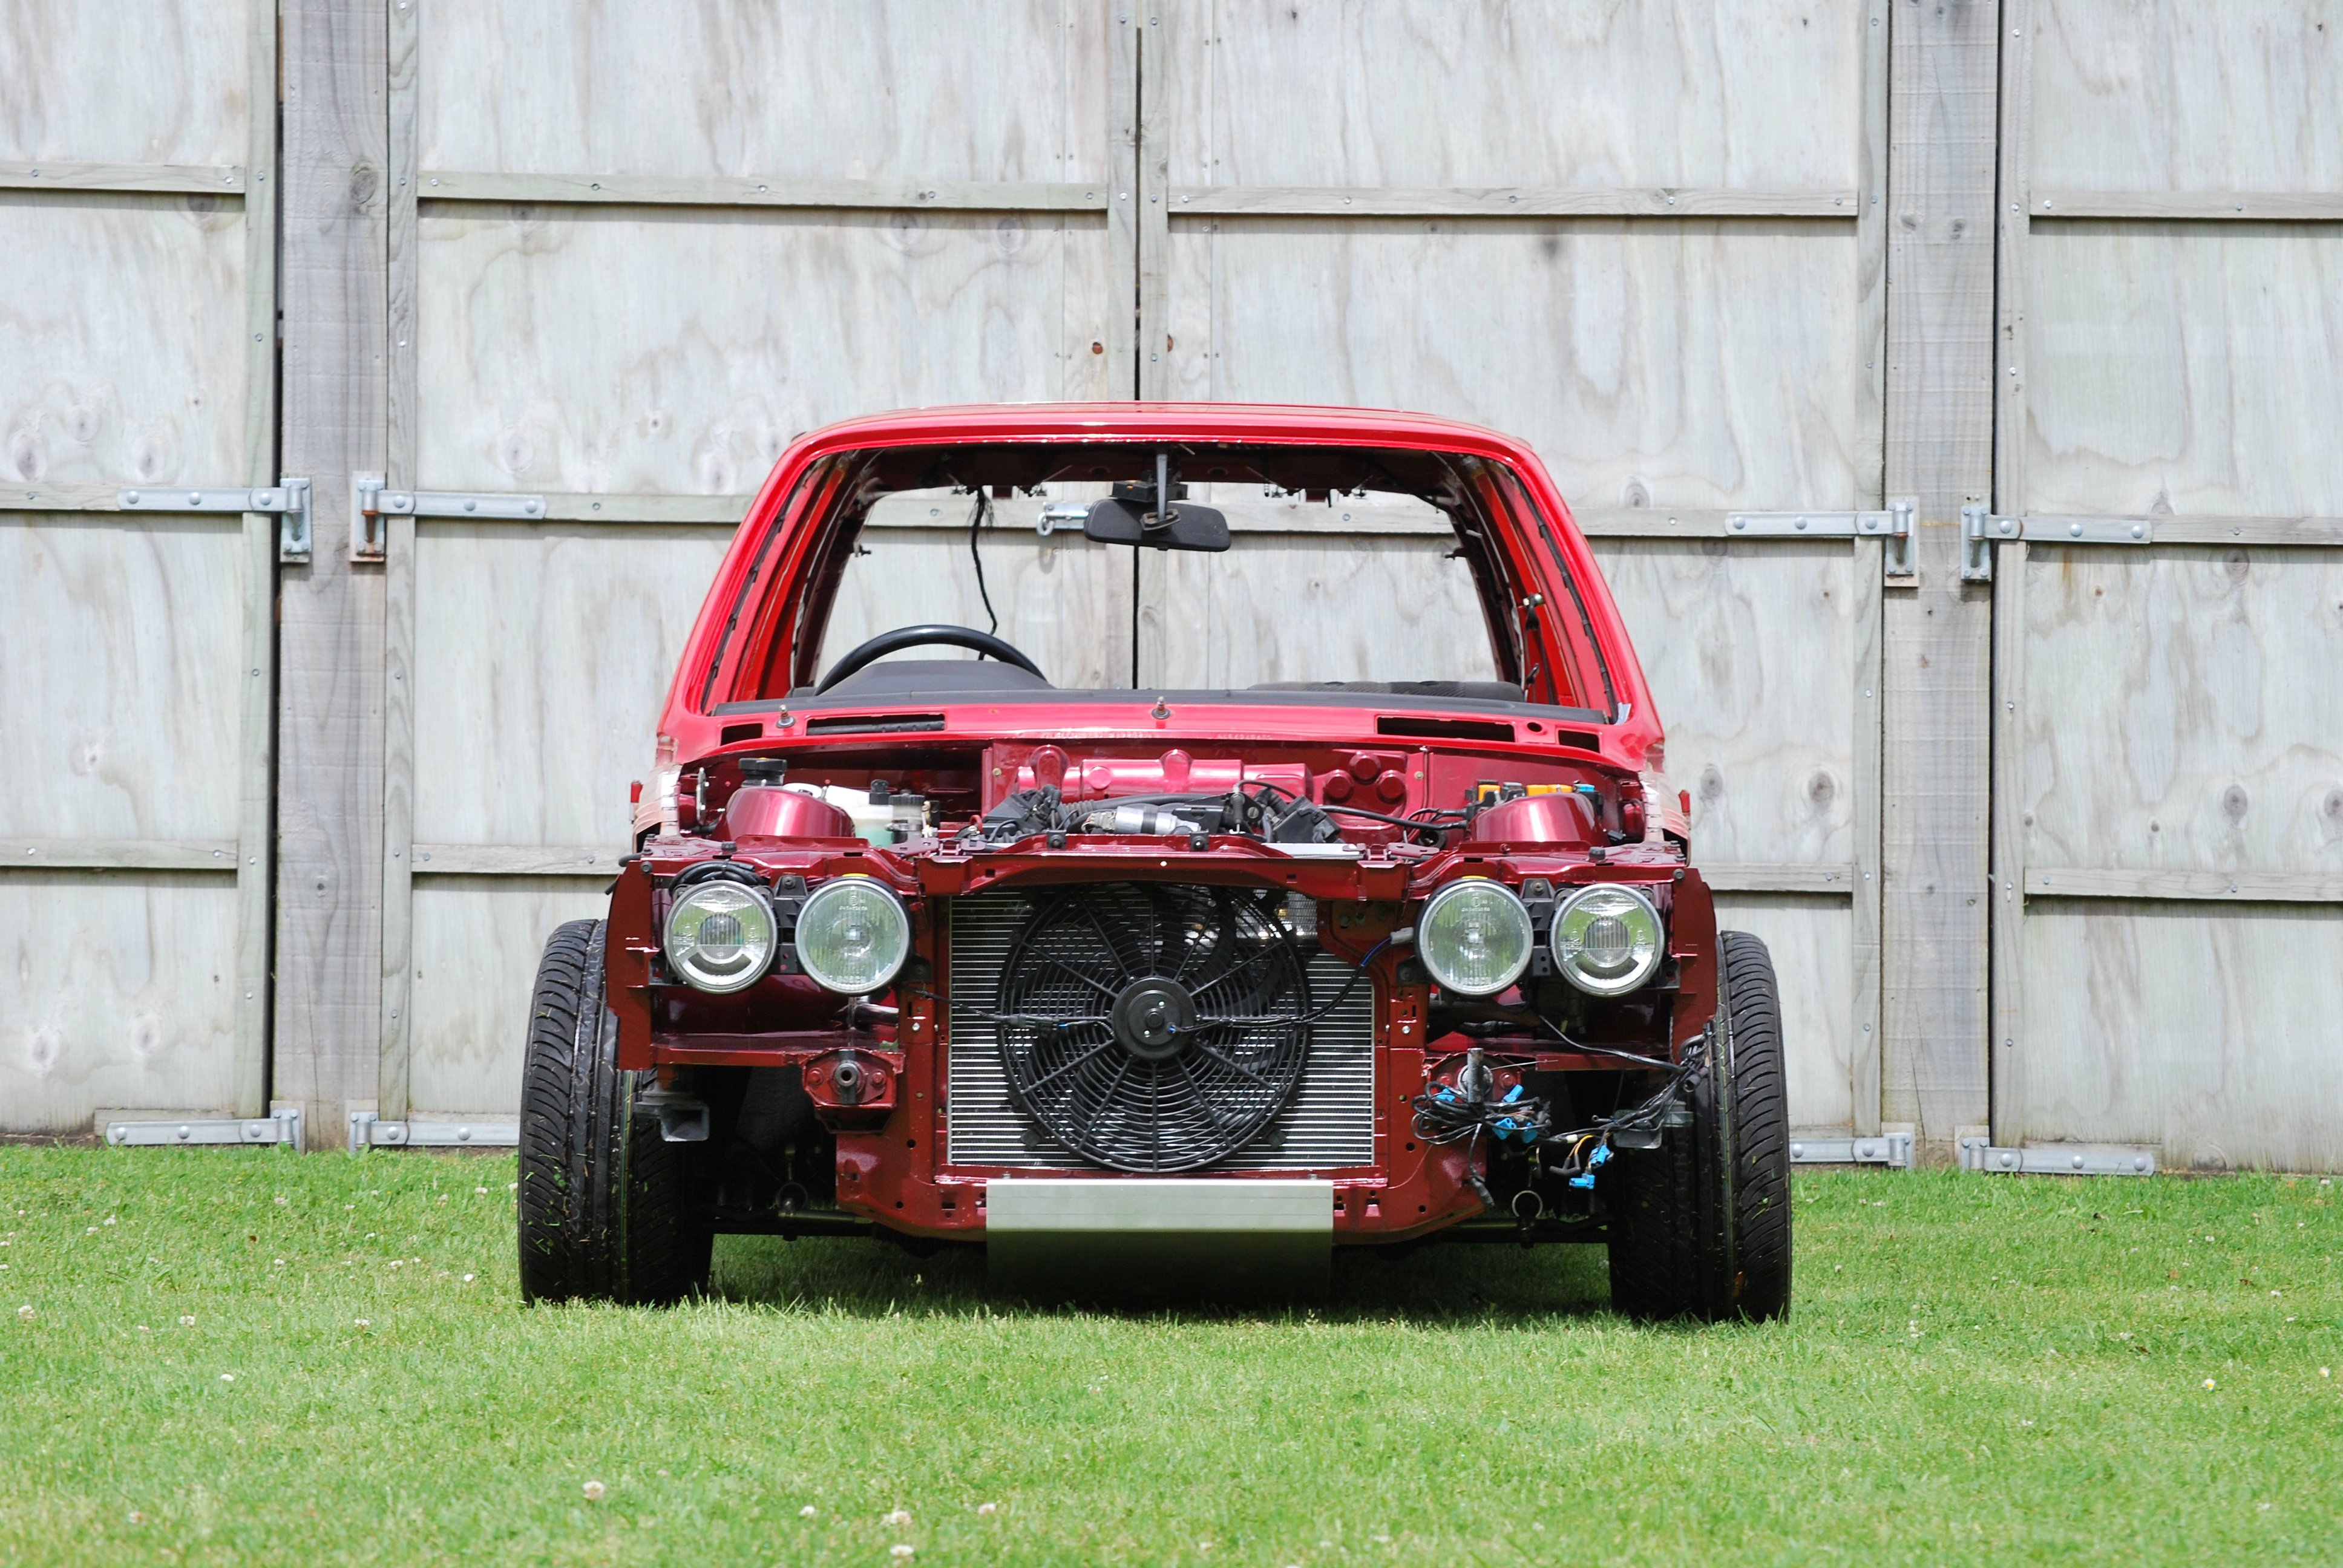
With things not going smoothly at times, photos like this just remind me how far things have come, and how it will all be worth it!
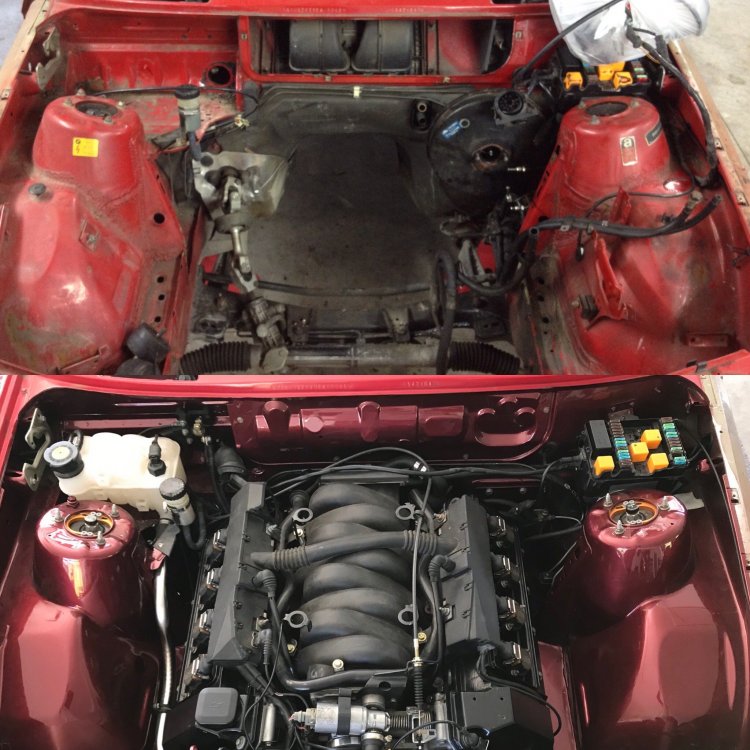
First drive under its own power!
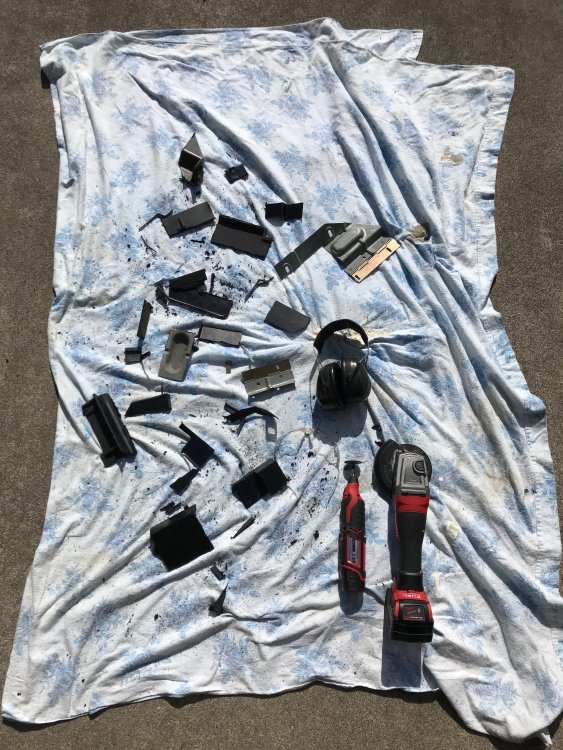
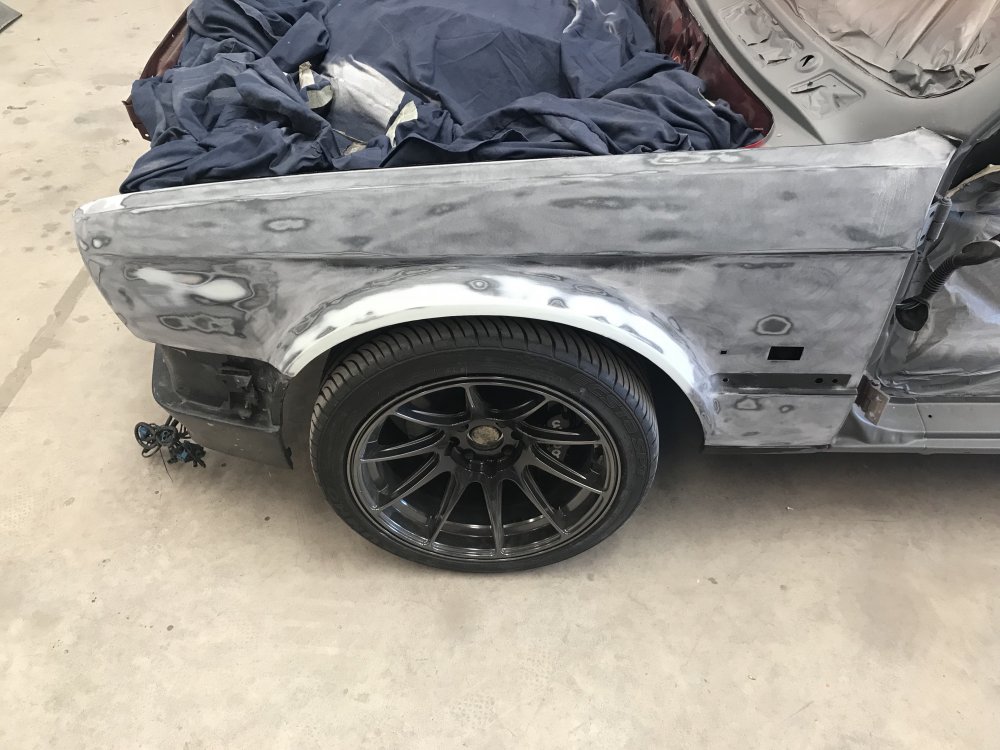
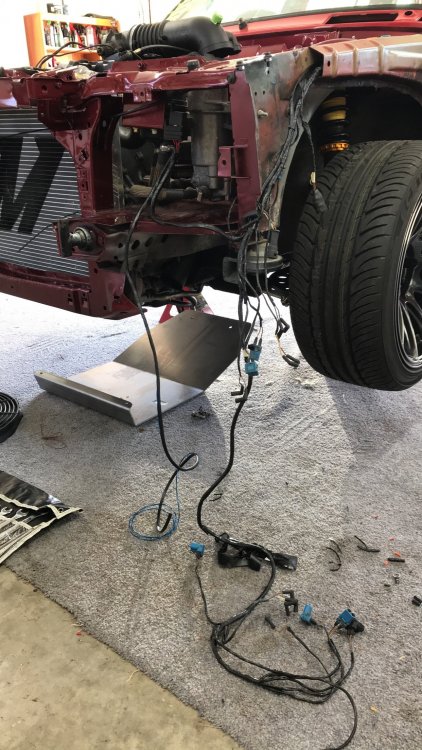
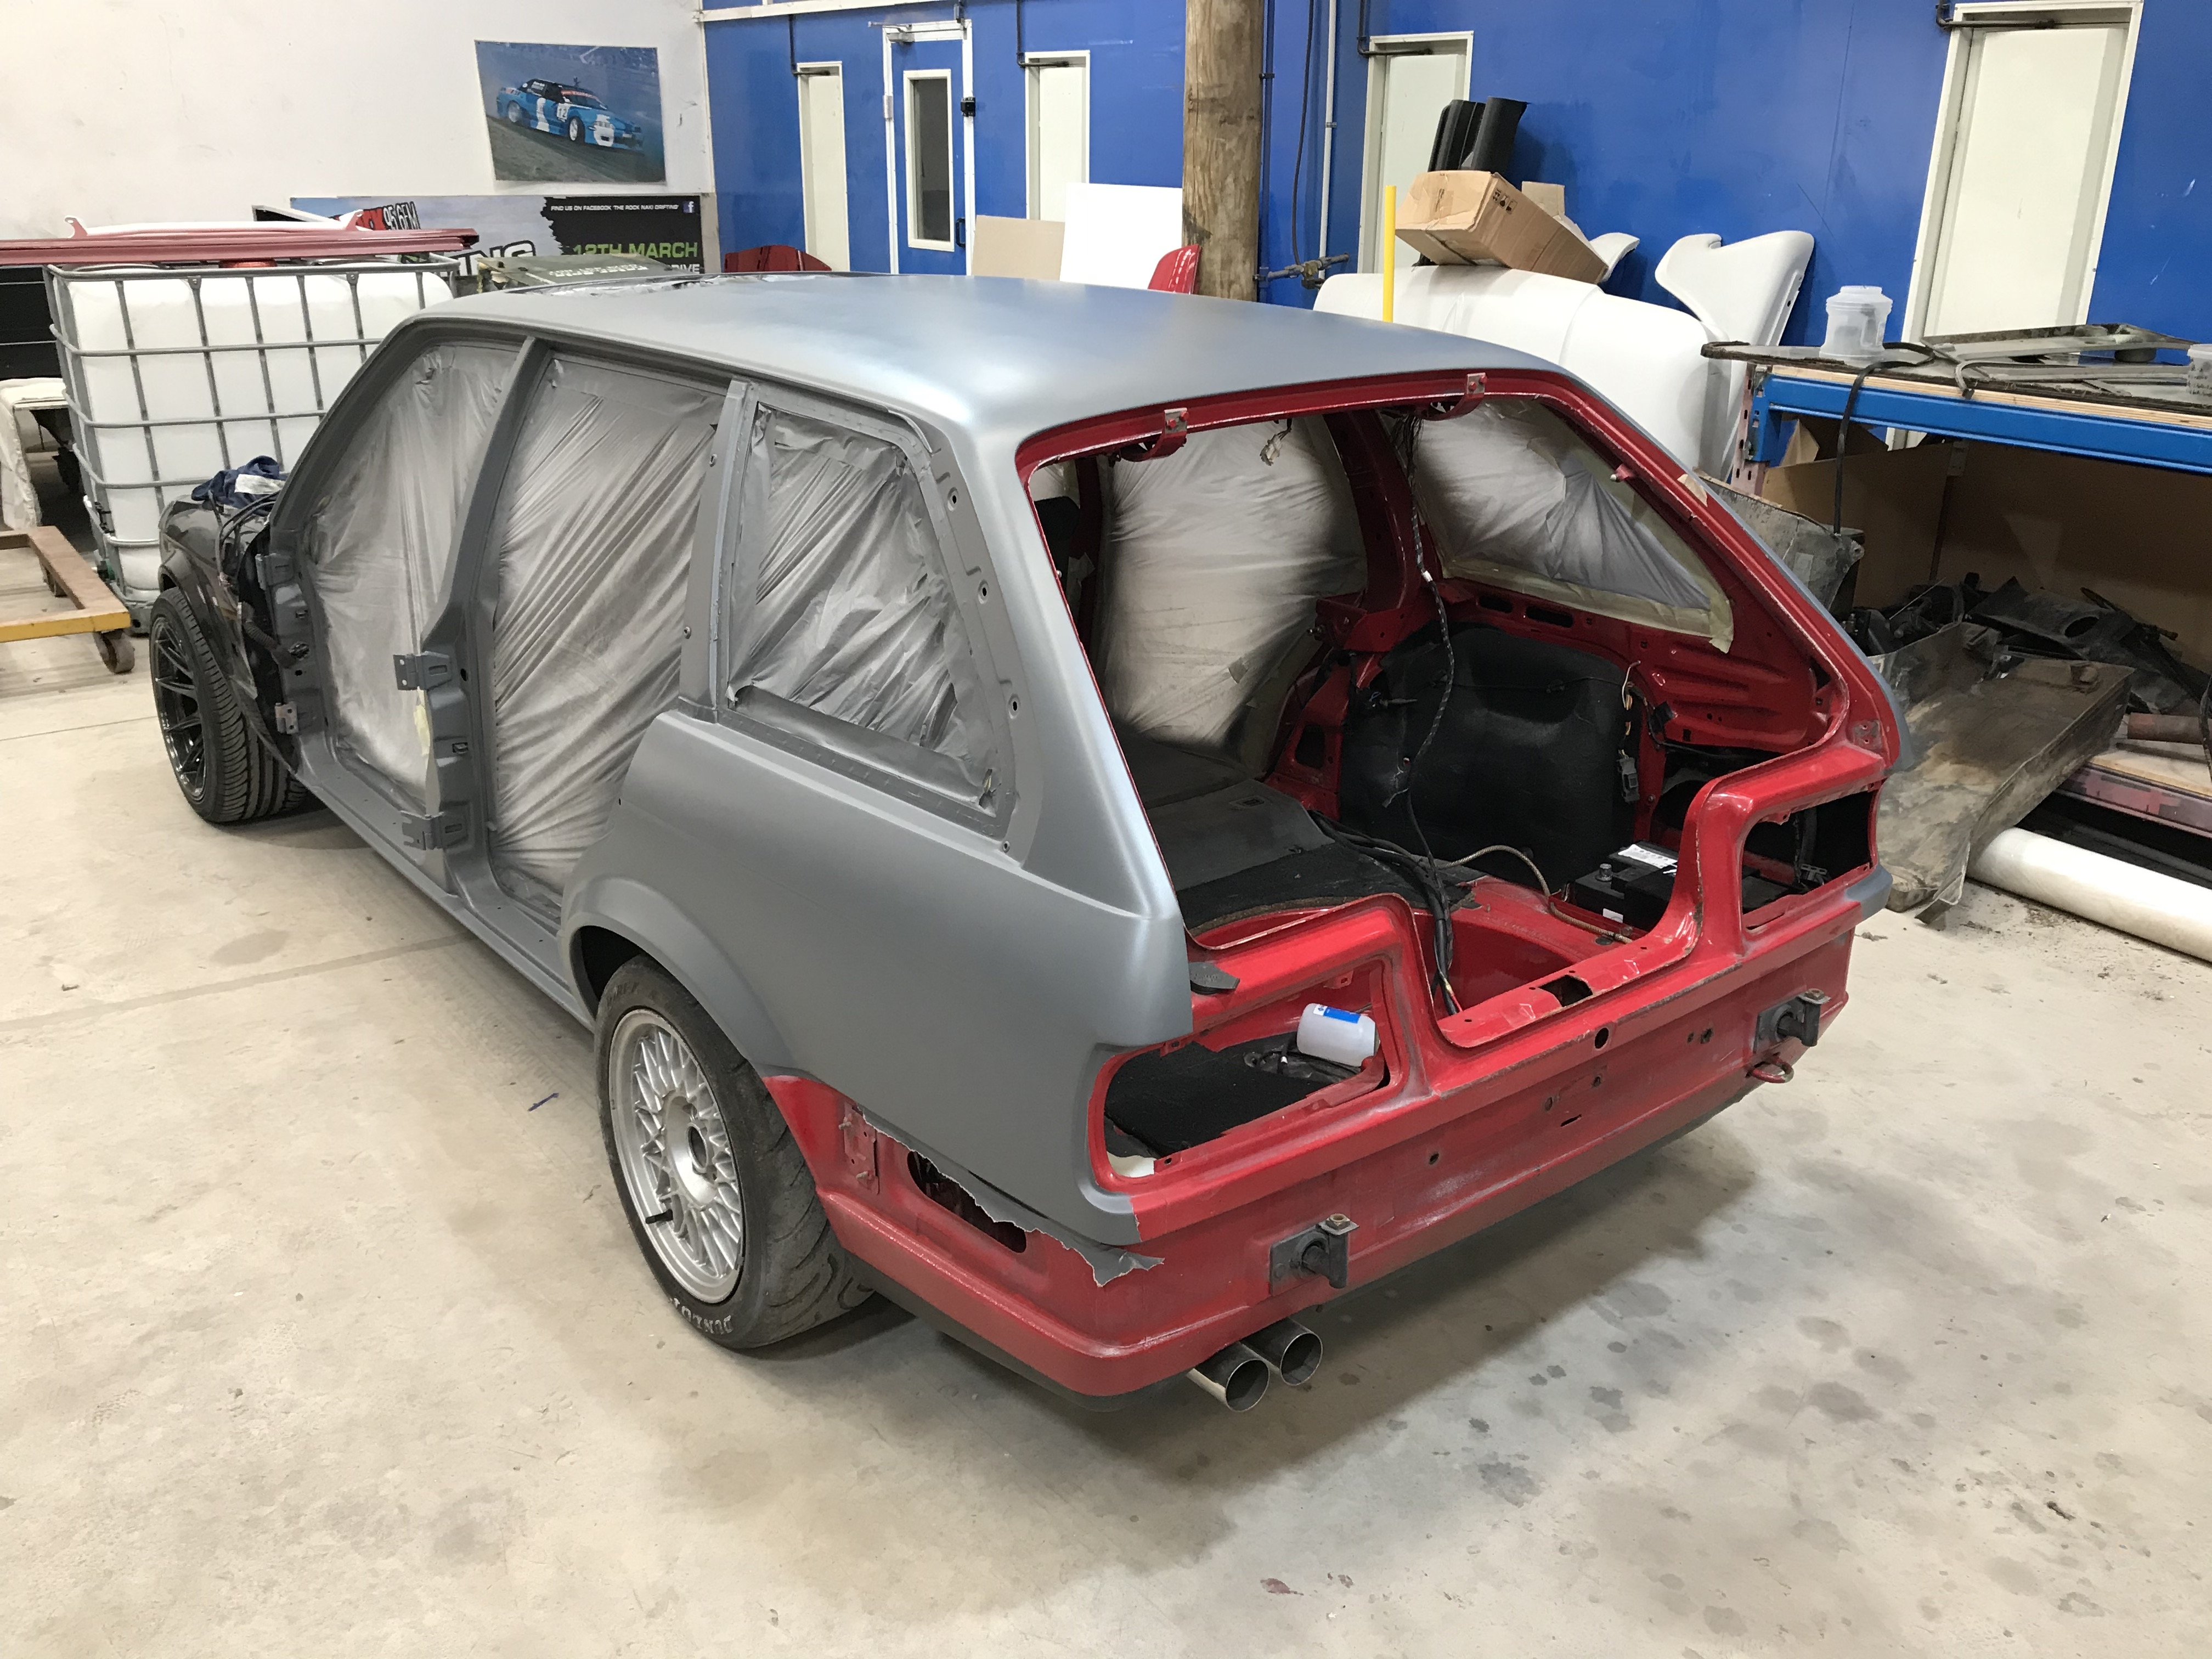
With the car running and no issues so far, panel and paint was on the list to get ticked off. So a few long weekends were spent striping it all and documenting, labelling etc so i knew how to put it all back together!

Watch this Space....
-
12
-
-
I got mine through these guys, http://www.fortyone.co.nz/parts/show/2936/Mishimoto/Performance Radiator.html#
-
Welcome!
I'm another local, hopefully over summer there will be a bit of a catchup and cruise somewhere, usually with the likes of the guys from iDrive!
-
So good! RIP Georg Plasa
-
Some light reading for you from Lukes project 10 years ago now.
http://bimmersport.co.nz/topic/15684-boost-junky-2nd-saga-m50-t-project/
-
1
-
-
On 4/29/2018 at 12:17 PM, zero said:Amazing work on the engine bay!
How close does the engine sit in relation to the firewall?
Don't have a photo of it sorry, but far enough away to still run the heater hoses and access them easily and also didn't want to bash up the tunnel for the gearbox.
12 minutes ago, _ethrty-Andy_ said:Awesome work mate!
I used his hoops in my conversion, they required different bolts and spring washers as the ones provided weren't up to standard, also remember to leave the carpet out before presenting the car.
Cheers Andy, slowly getting there, Good to know about the bolts and washers also.
-
Oh yeah, it runs!
Thanks to Will for his time and knowledge at the start and also massive thanks to Troy for finishing off the rest of the wiring recently.
Turn your volume up or use headphones for the full effect!
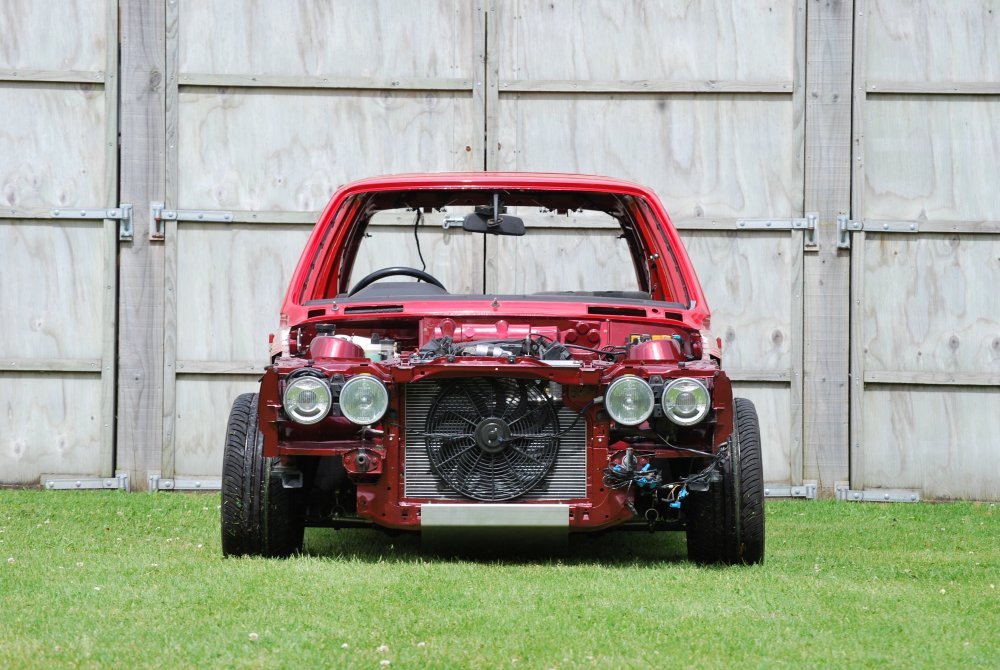
Current State:
Home time!
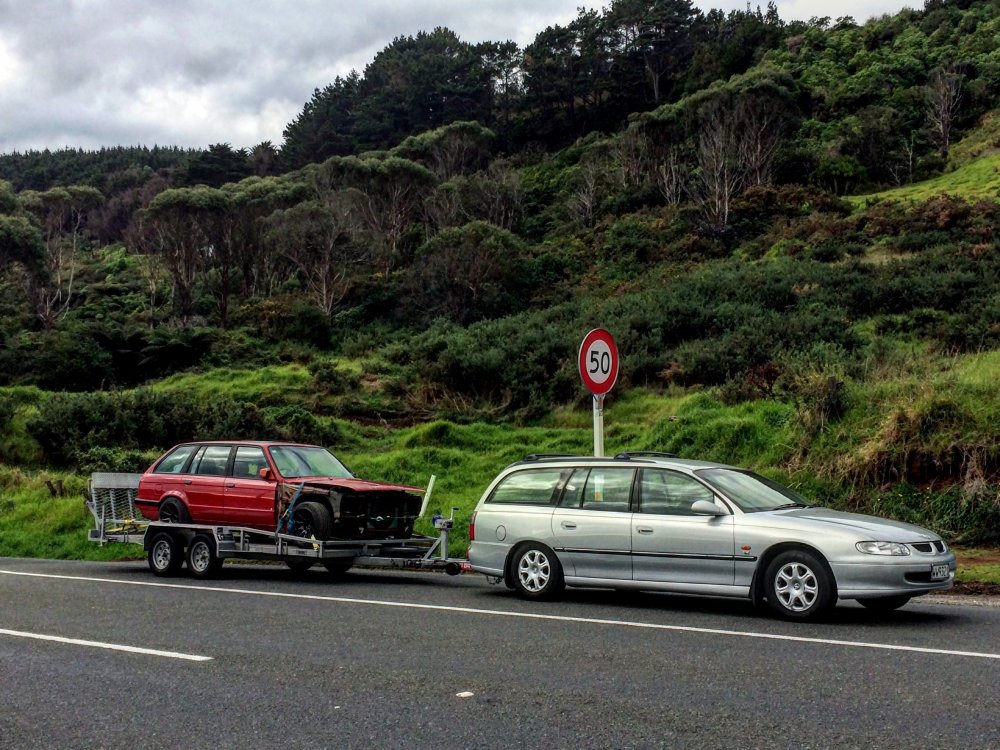
And time for me to get stuck into a list of small things to be complete before certification and hopefully a full panel and paint this year too.
Lastly a huge thanks to Kerry and his team at Mosen Euro Parts in Hamilton, can't thank that man enough for his countless hours and knowledge to help me get to where the car is today.
-
4
-
-
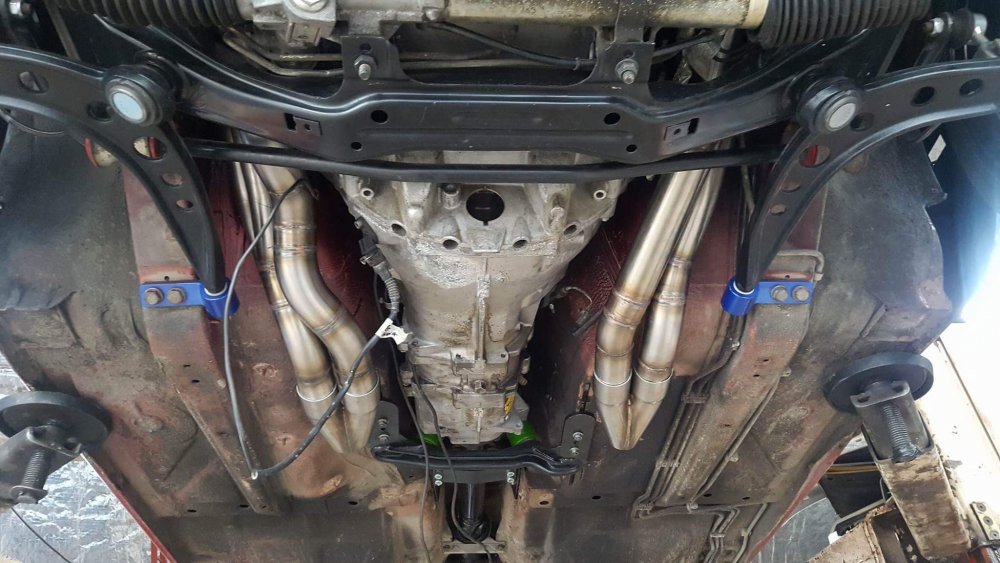
With the previous headers from Ergen Motorsport in the UK not fitting as planned after we changed the mounting configuration, they were onsold and a full set of custom stainless headers and exhaust was completed by Gaz from LDS Fabrication, i went with a 2.5" system with 2 Borla buffers which have the crossovers inside of them, it is a little loud so will see if i have to quieten it down for cert closer to the time.
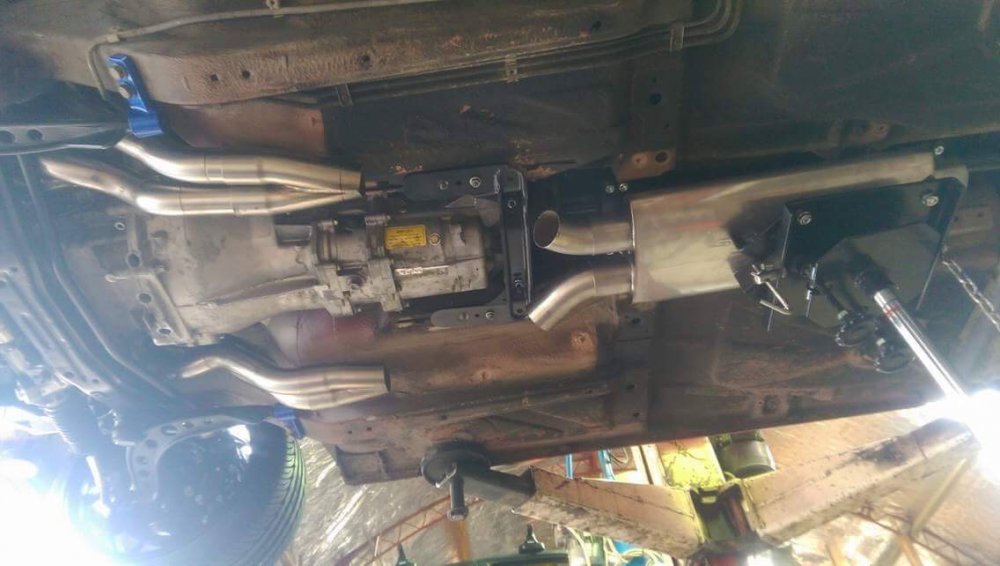

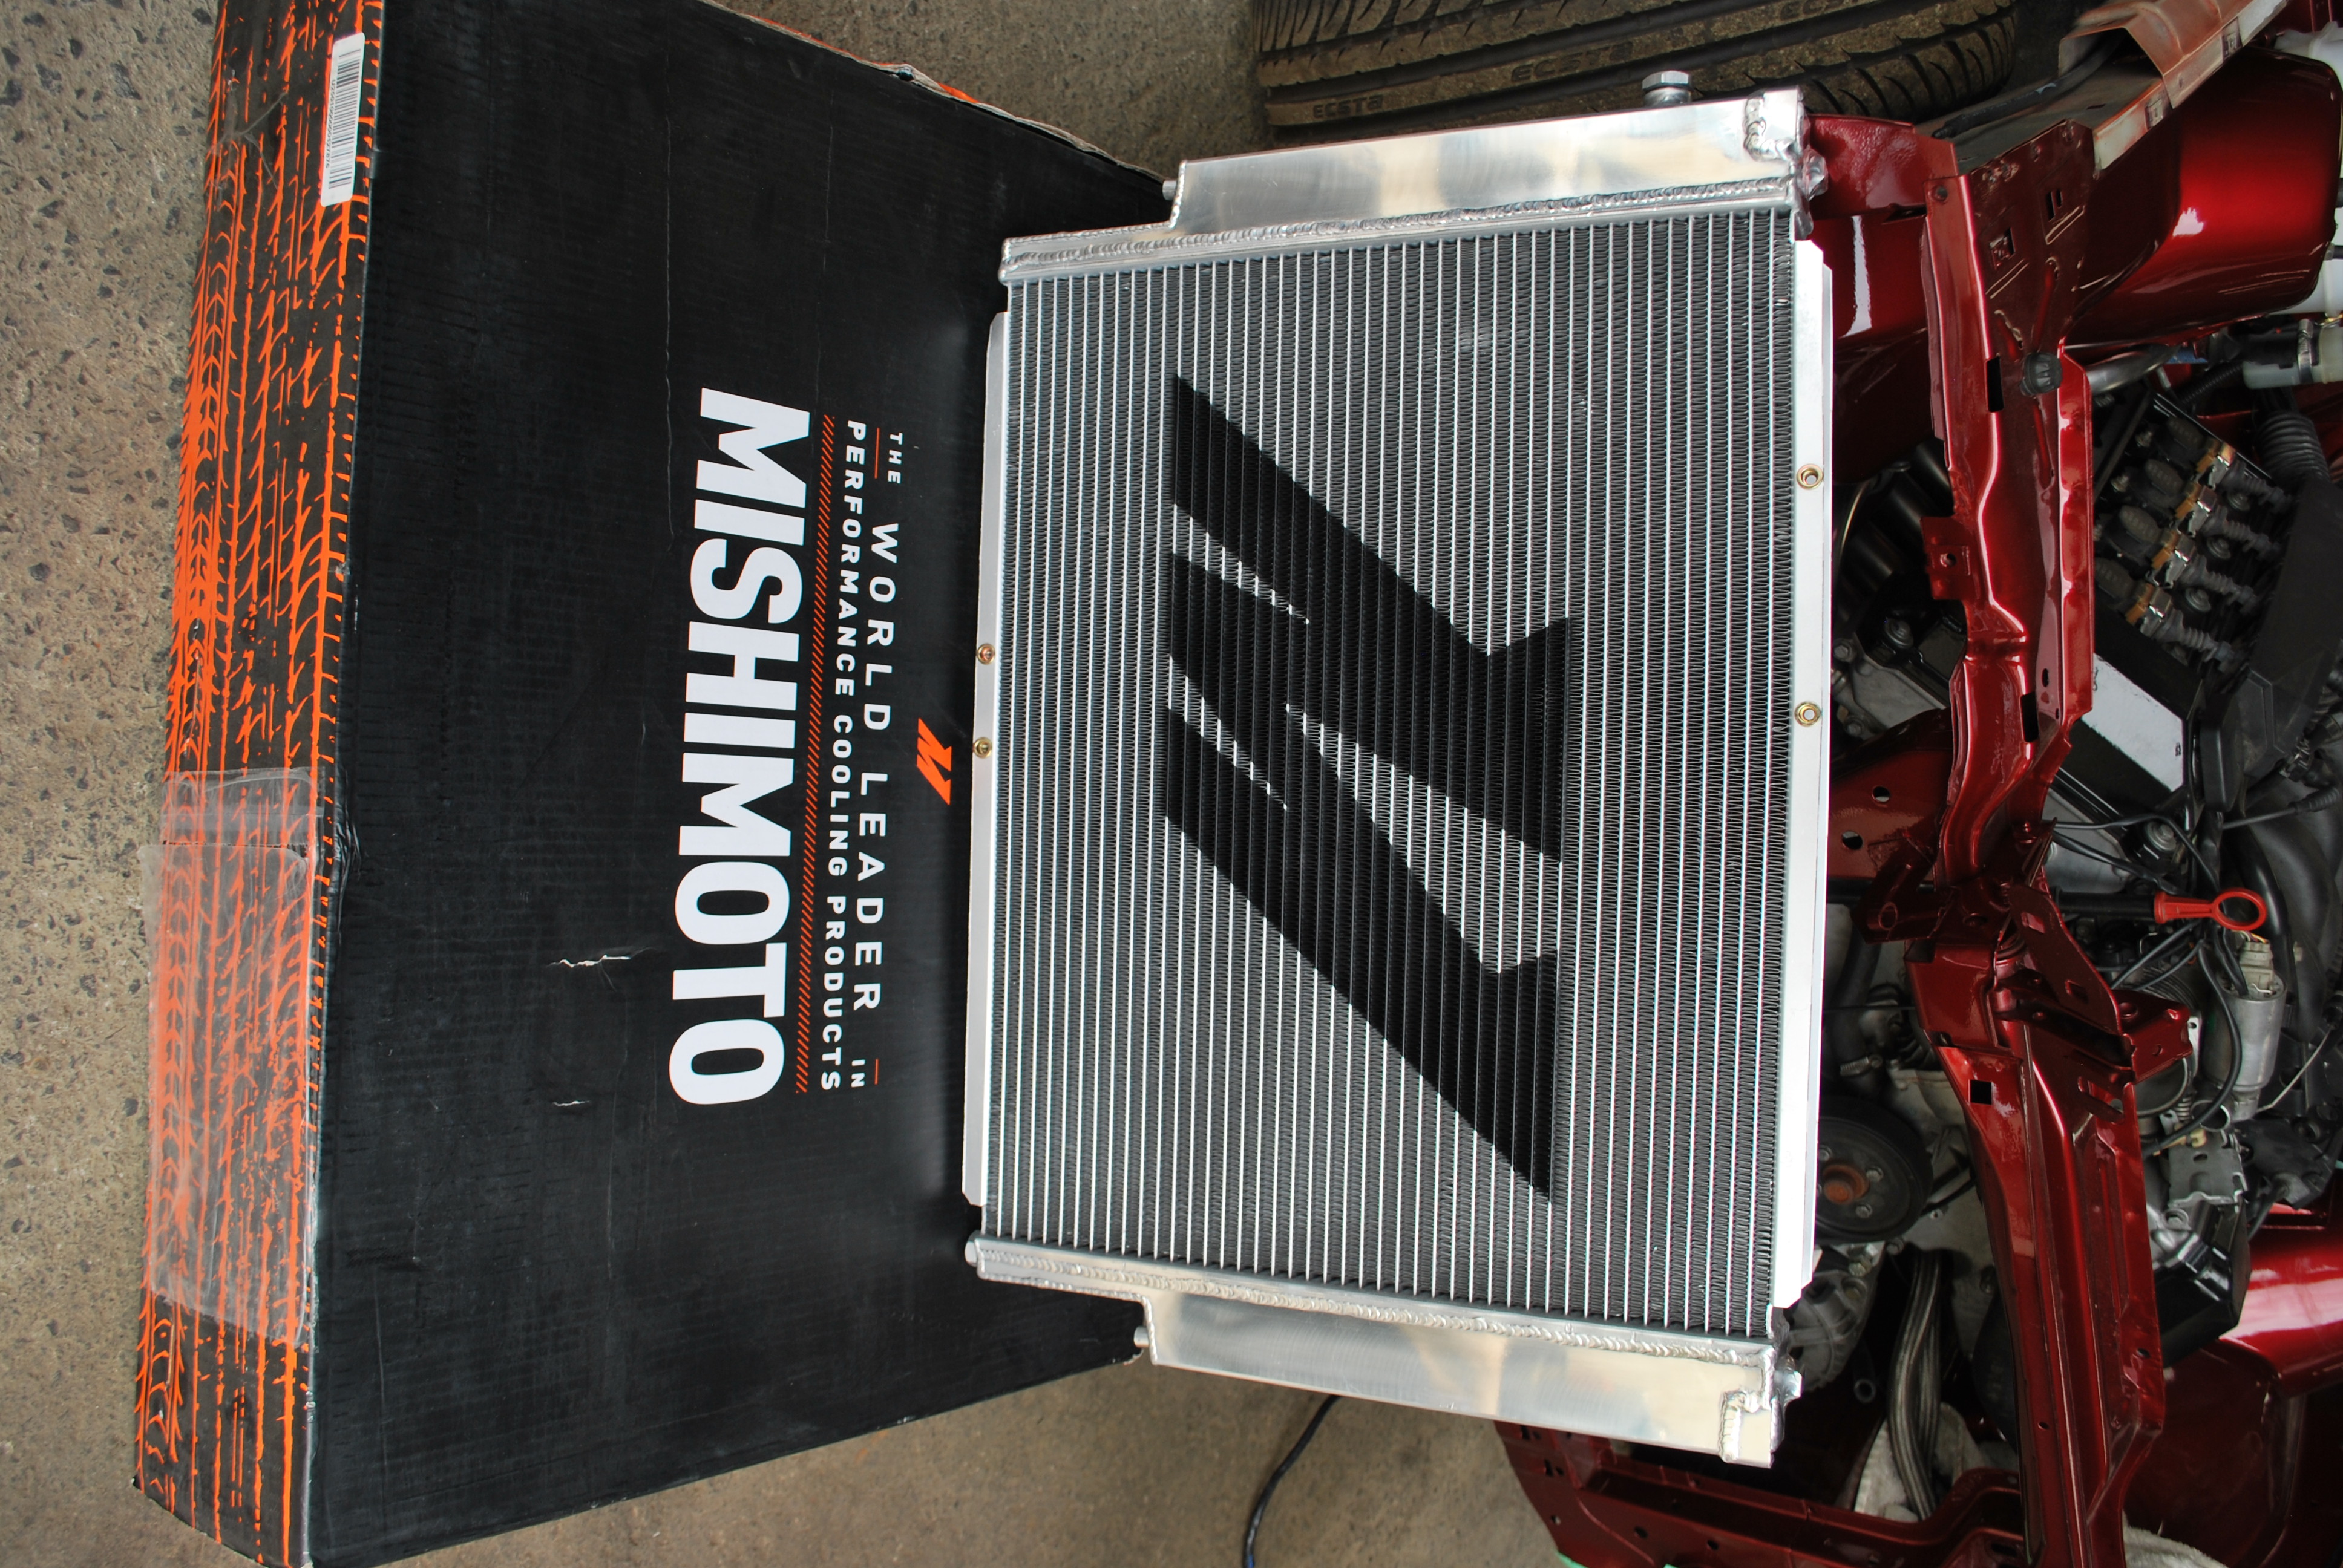
To keep things cool I'm running the Mishimoto e36 Aluminium radiator, cheers to Neil from 41 Automotive for sourcing this for me.
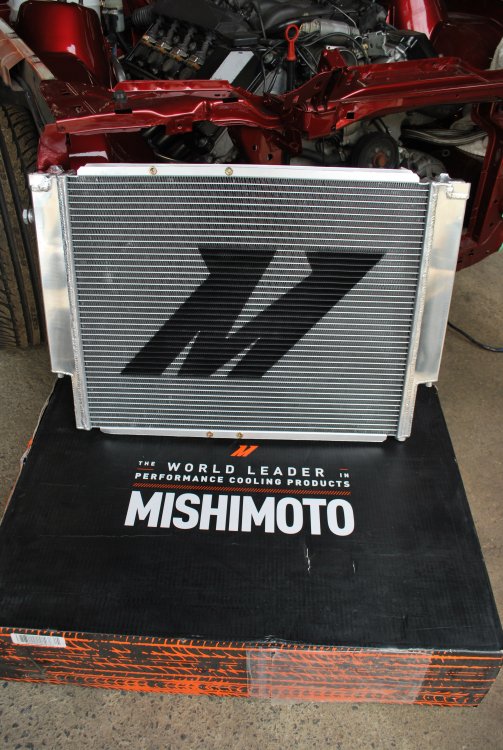
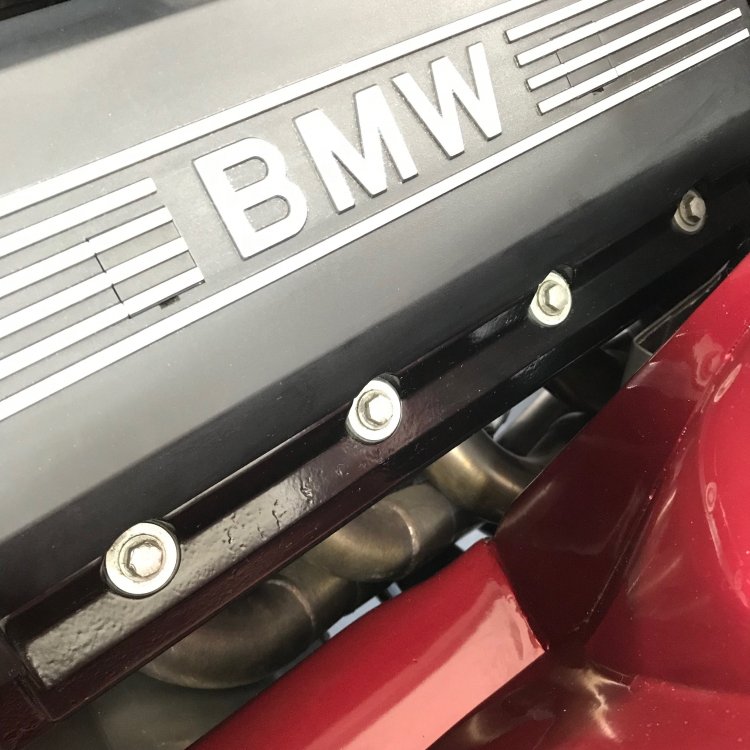
I just couldnt resist a quick bolt up to see what the finished product will look like!

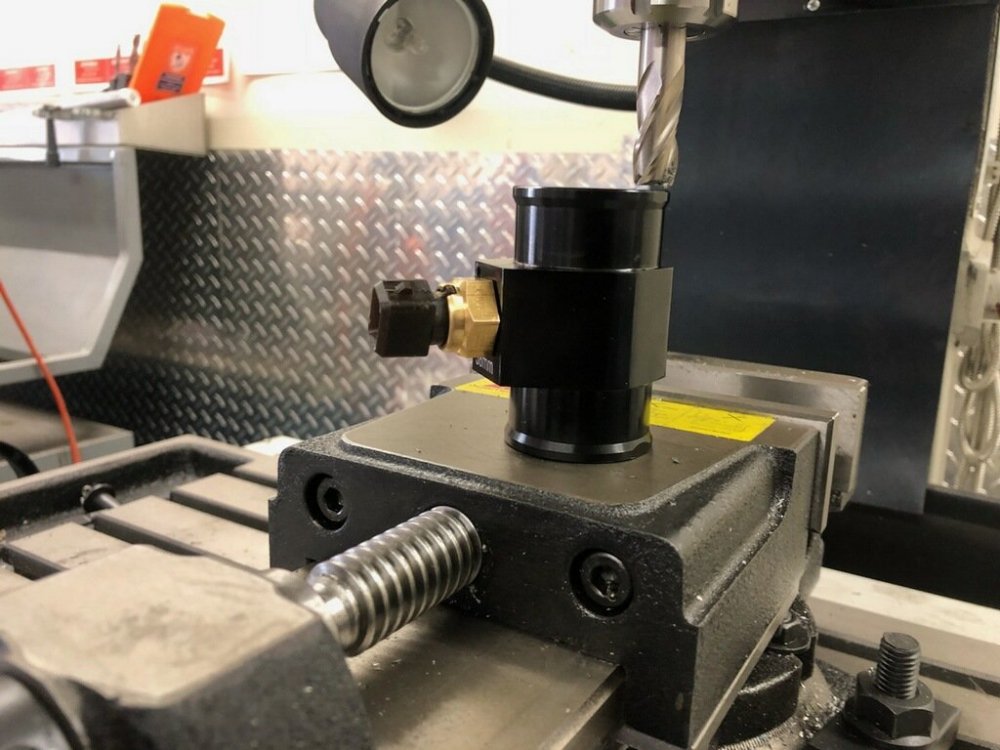
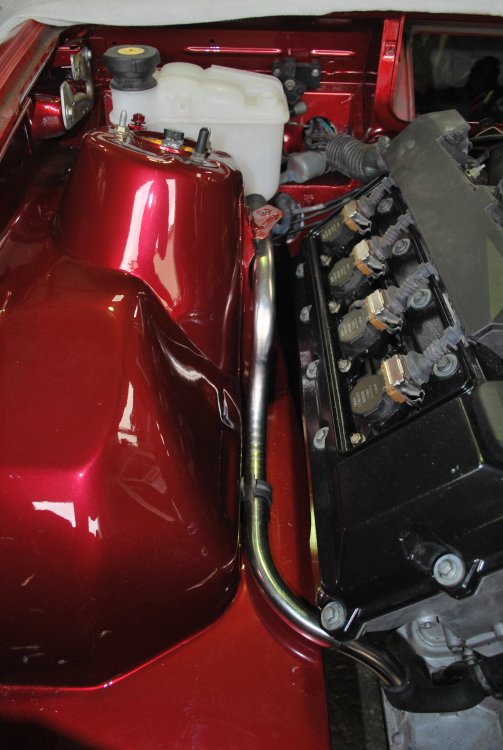
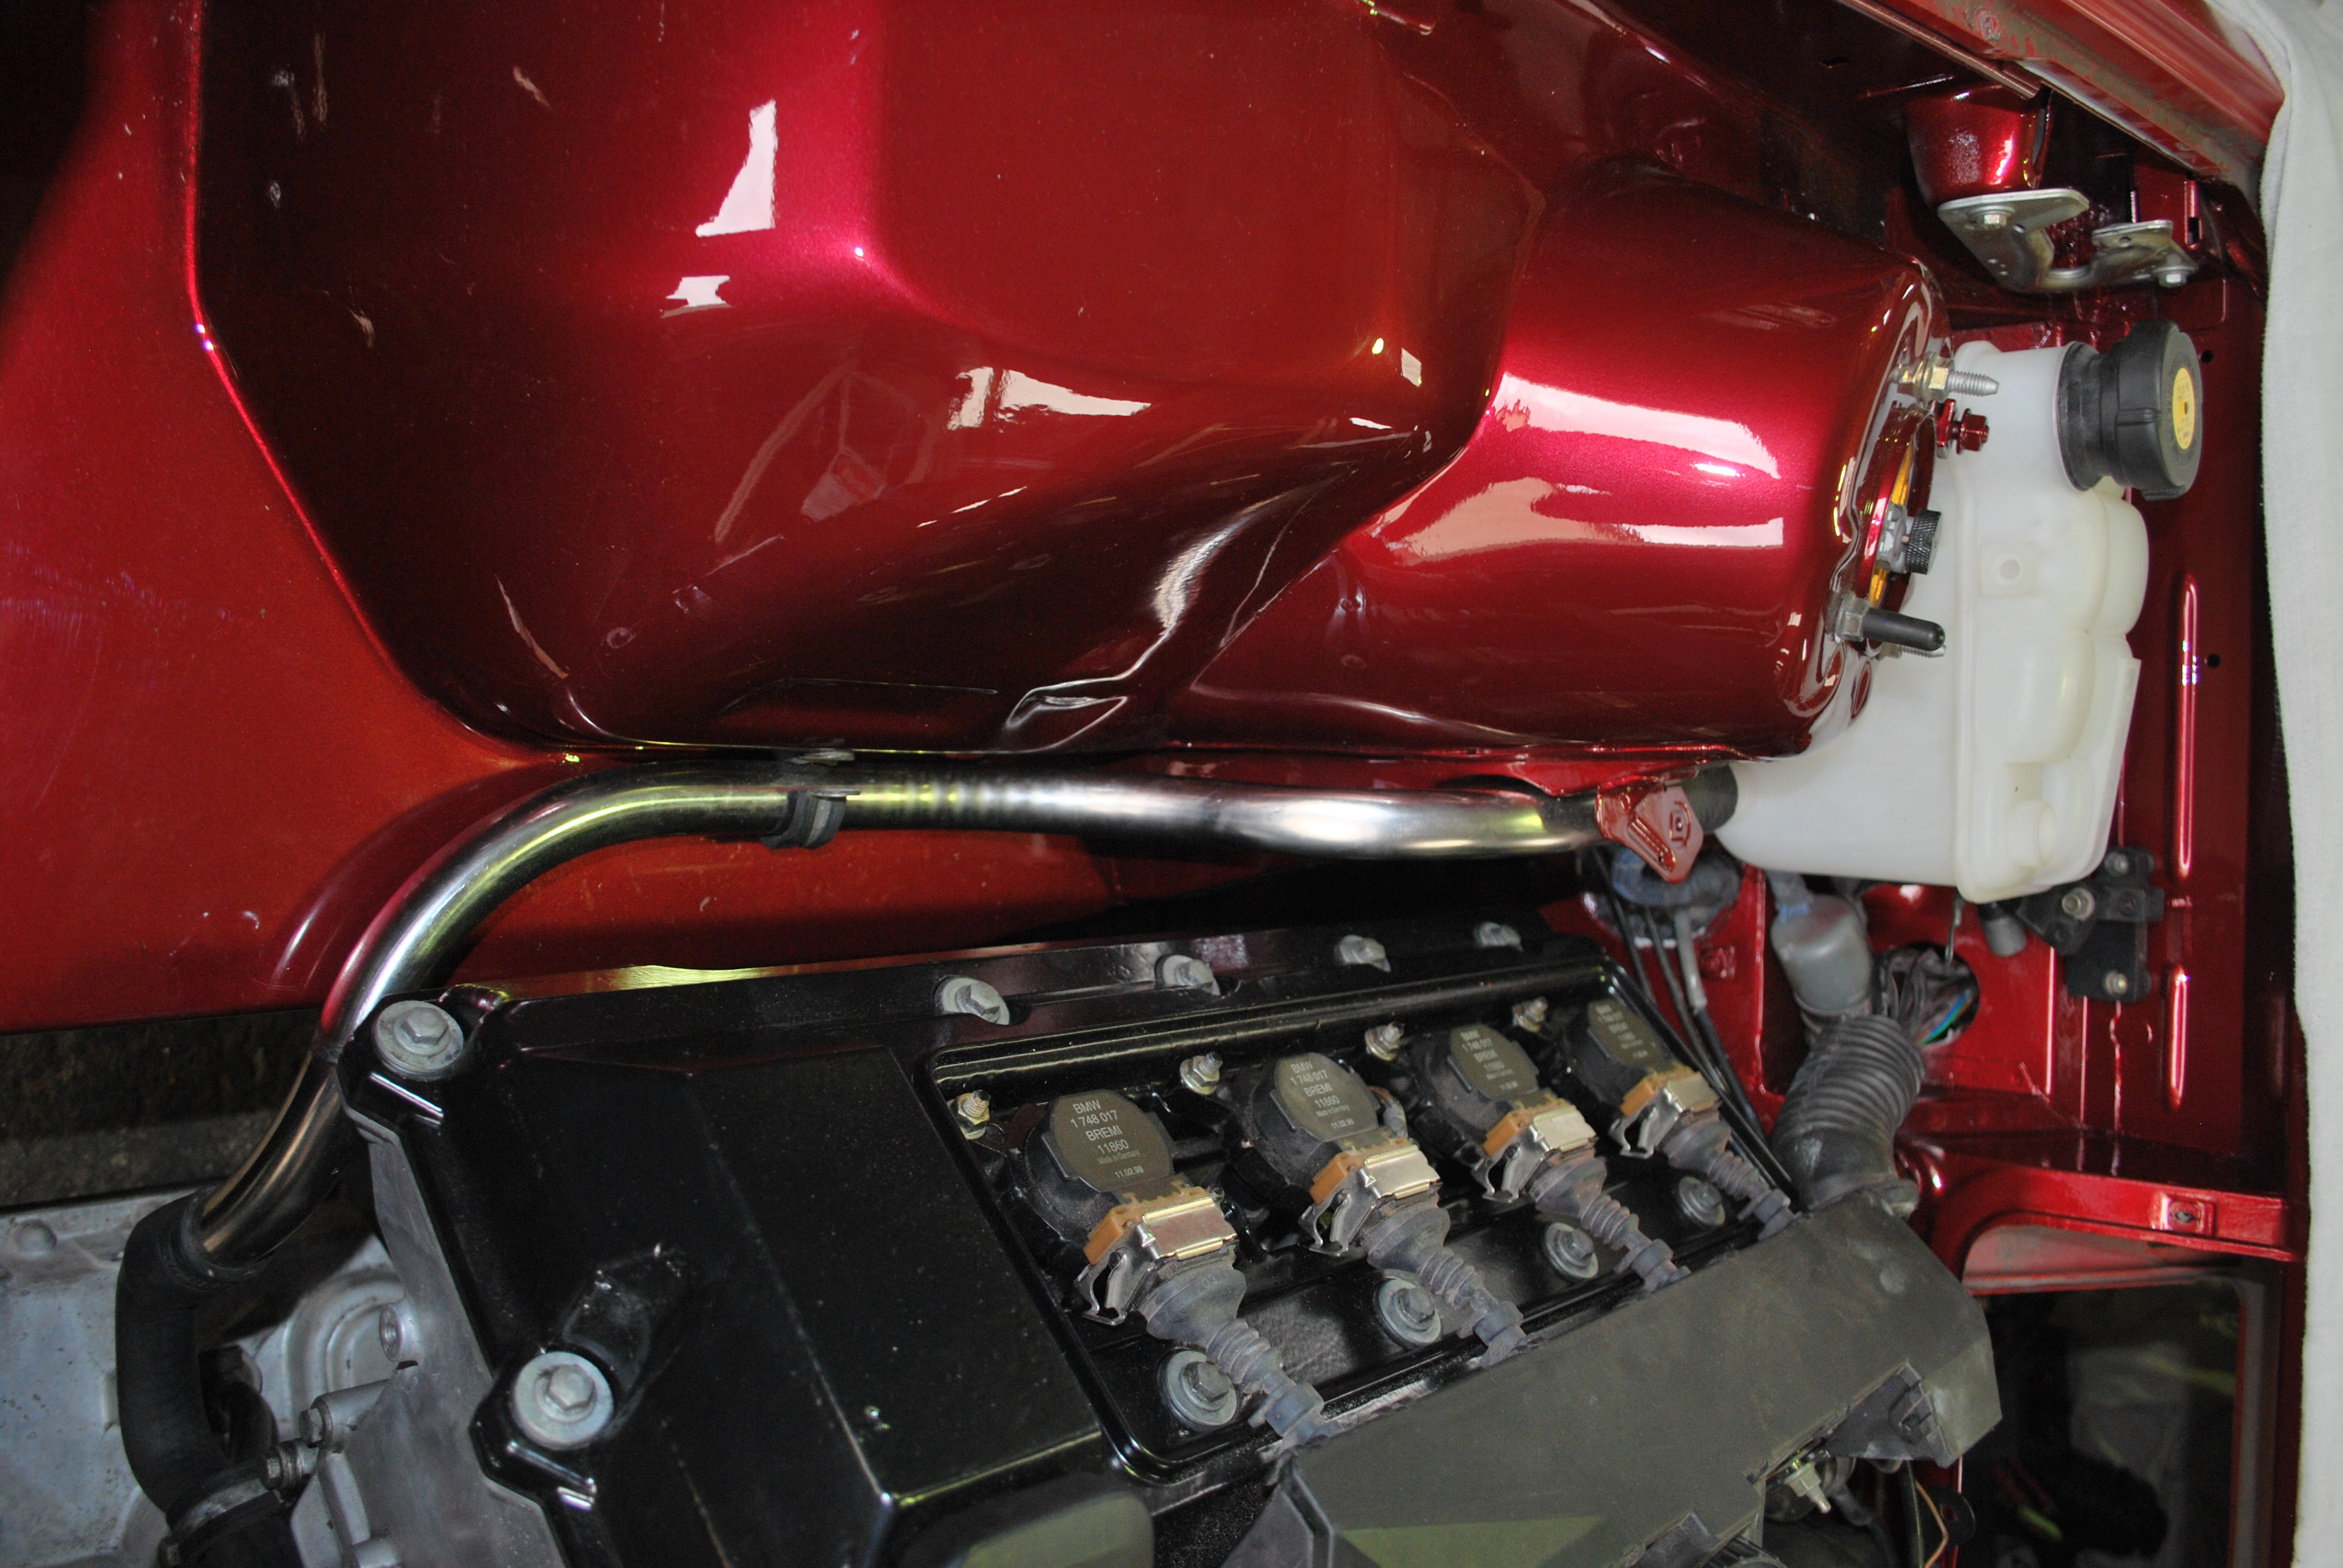
The small details, like notching the strut tower support for the stainless line from the coolant expansion tank adds to the overall tidiness of the install and Kerrys attention to detail.
-
2
-


Cheeky Naki BMWs
in New Member Introductions
Posted · Report reply
Nice e36 m3! Im a local also.