
_BRS_
-
Content Count
1793 -
Joined
-
Last visited
-
Days Won
7
Posts posted by _BRS_
-
-
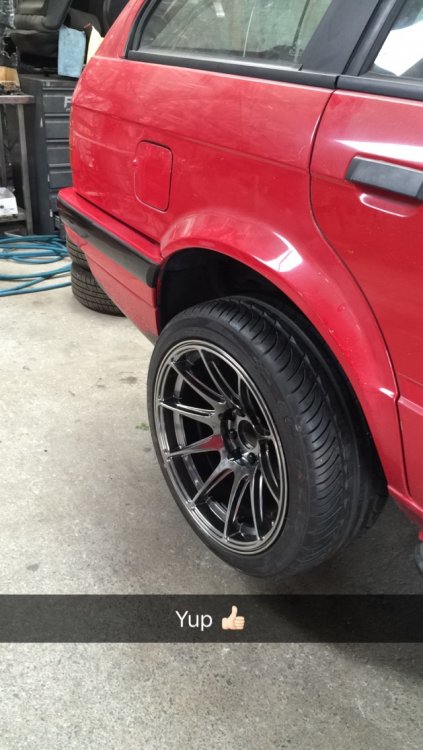
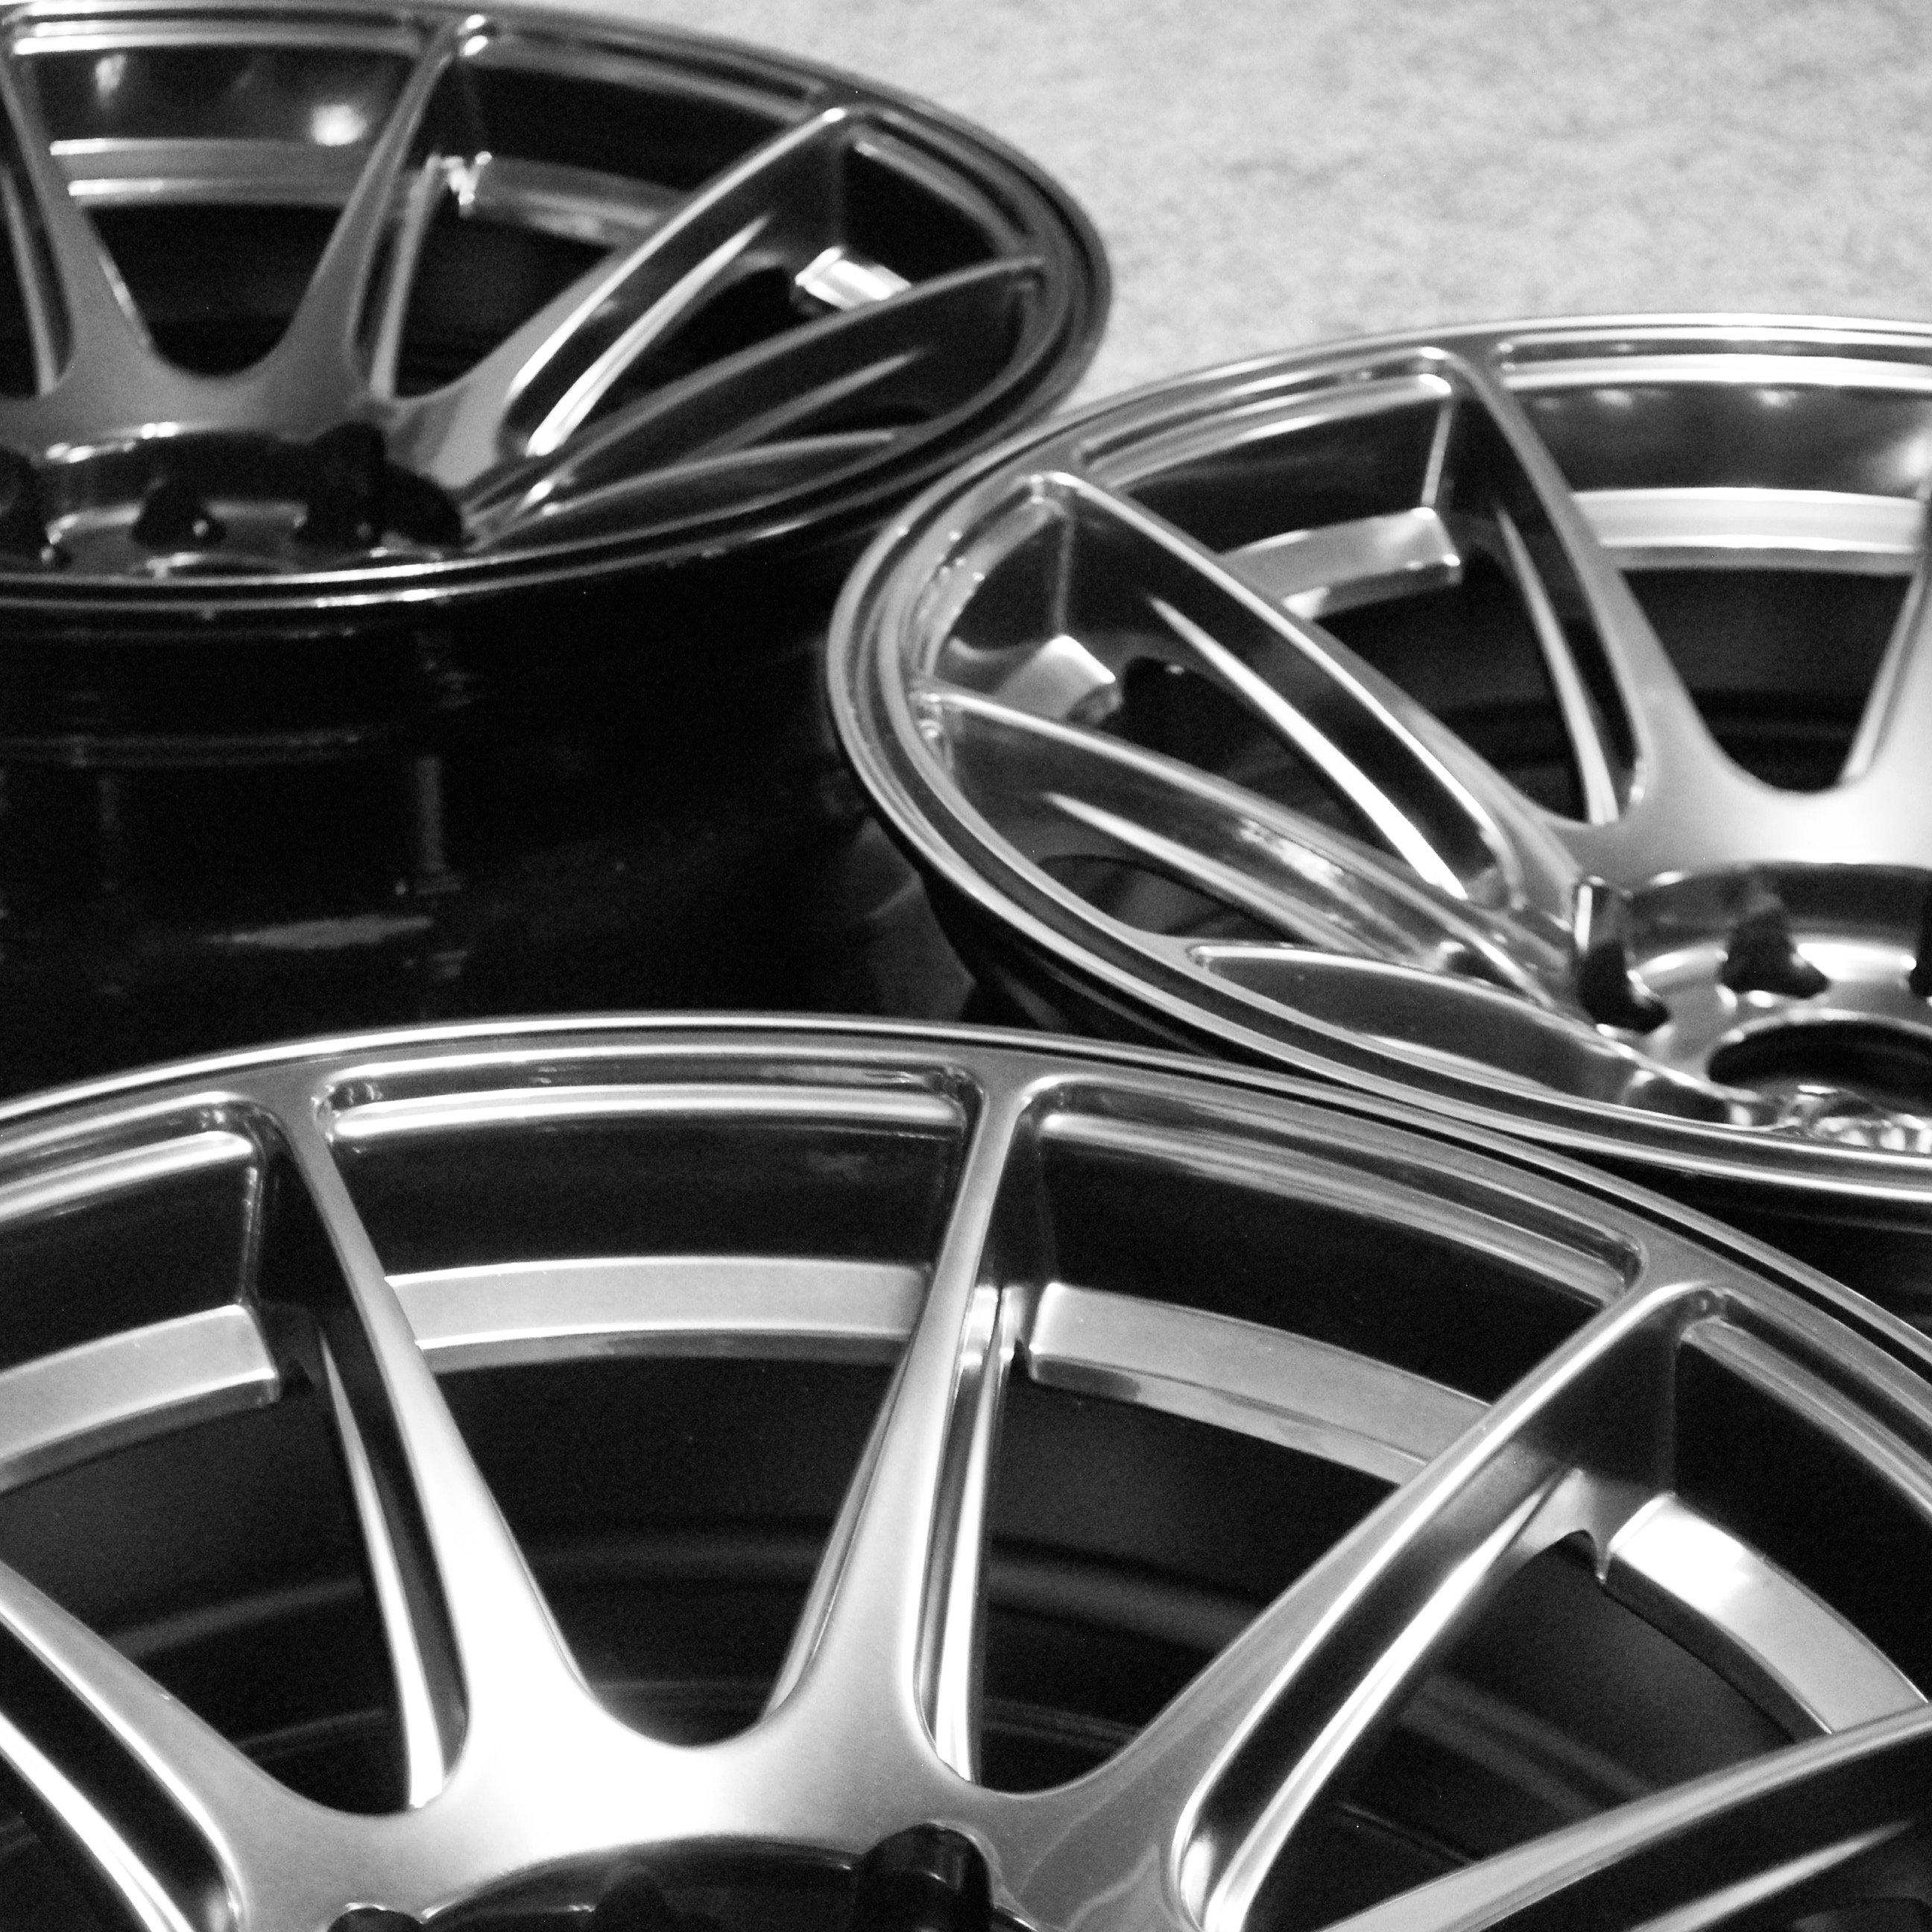
After discovering a set of wheels in 2011 on R3V Limited that i absolutely loved, i knew these had to be added to the Touring, not everyones taste, but i think they will look great on the finished product. 16x8.25 et0 wrapped in Kumho KU31 that i had on my old car and liked the performance of.

Test fit
-
In between stages theres always other small things that cannot be overlooked if i want to achieve the vision i have in mind so these jobs weren't missed.
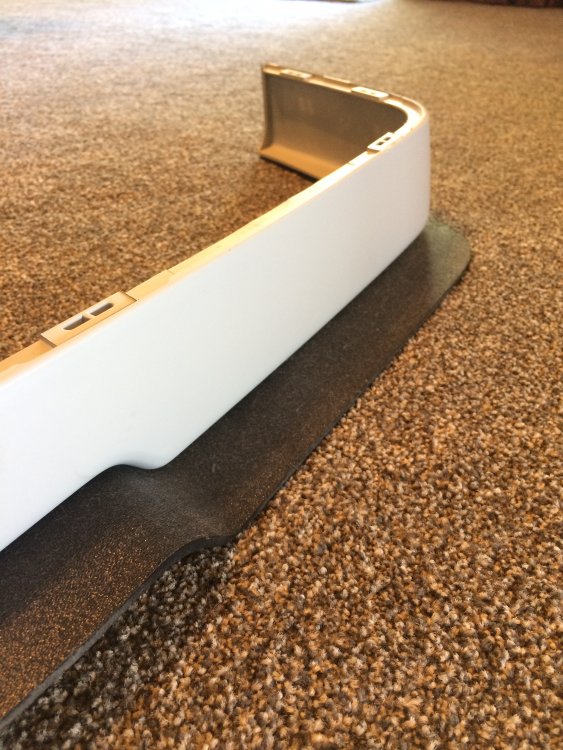
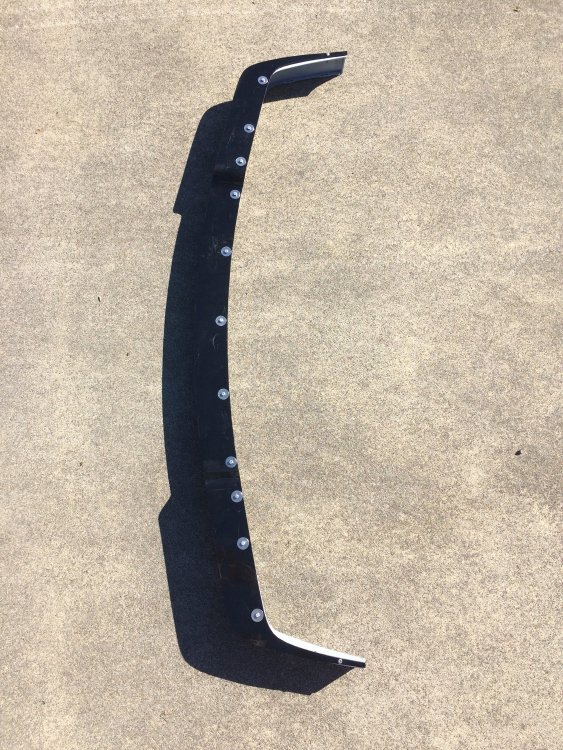
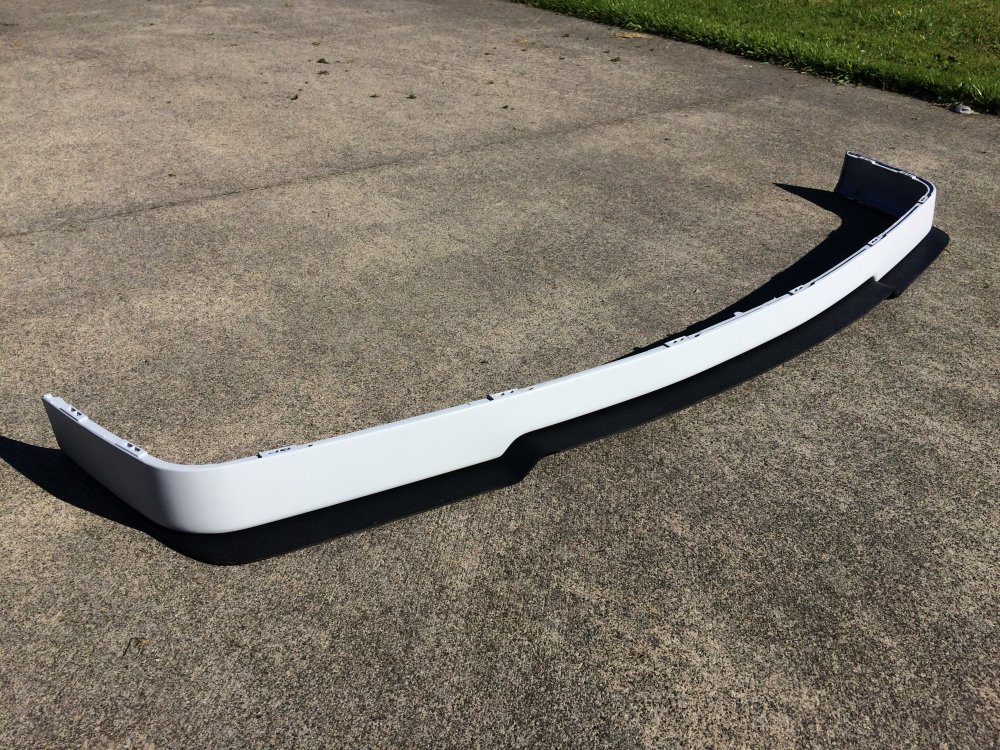
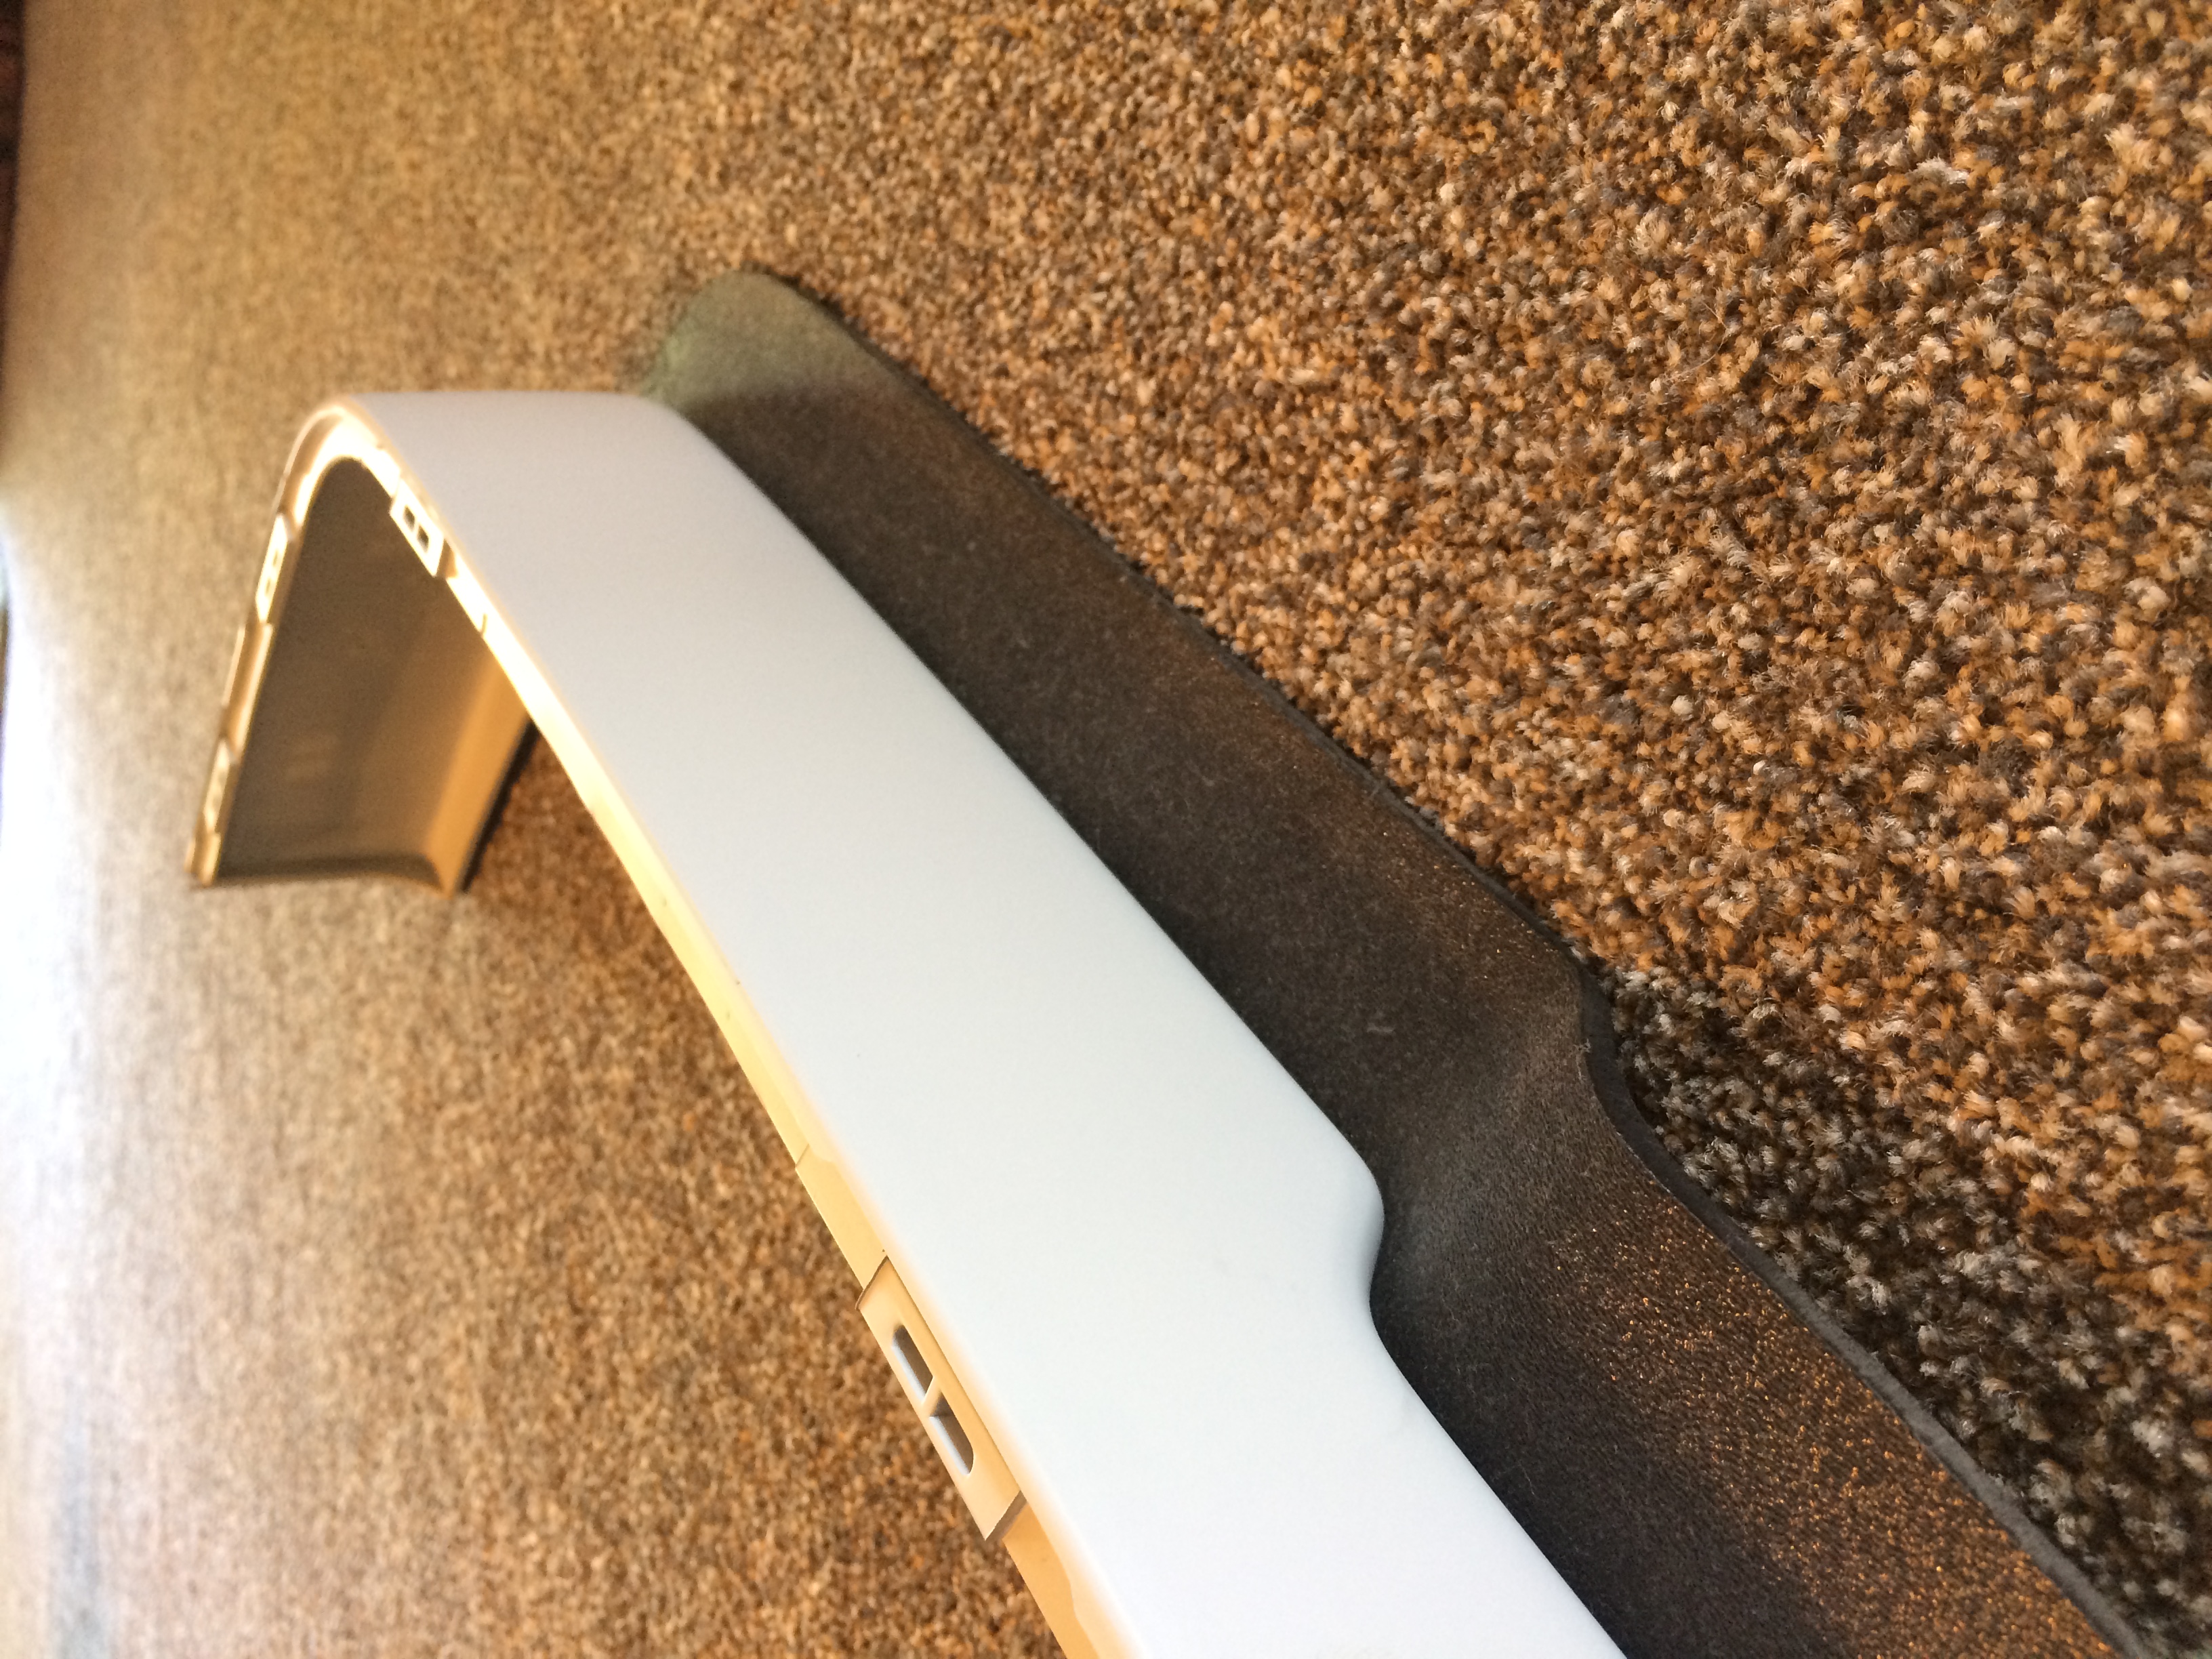
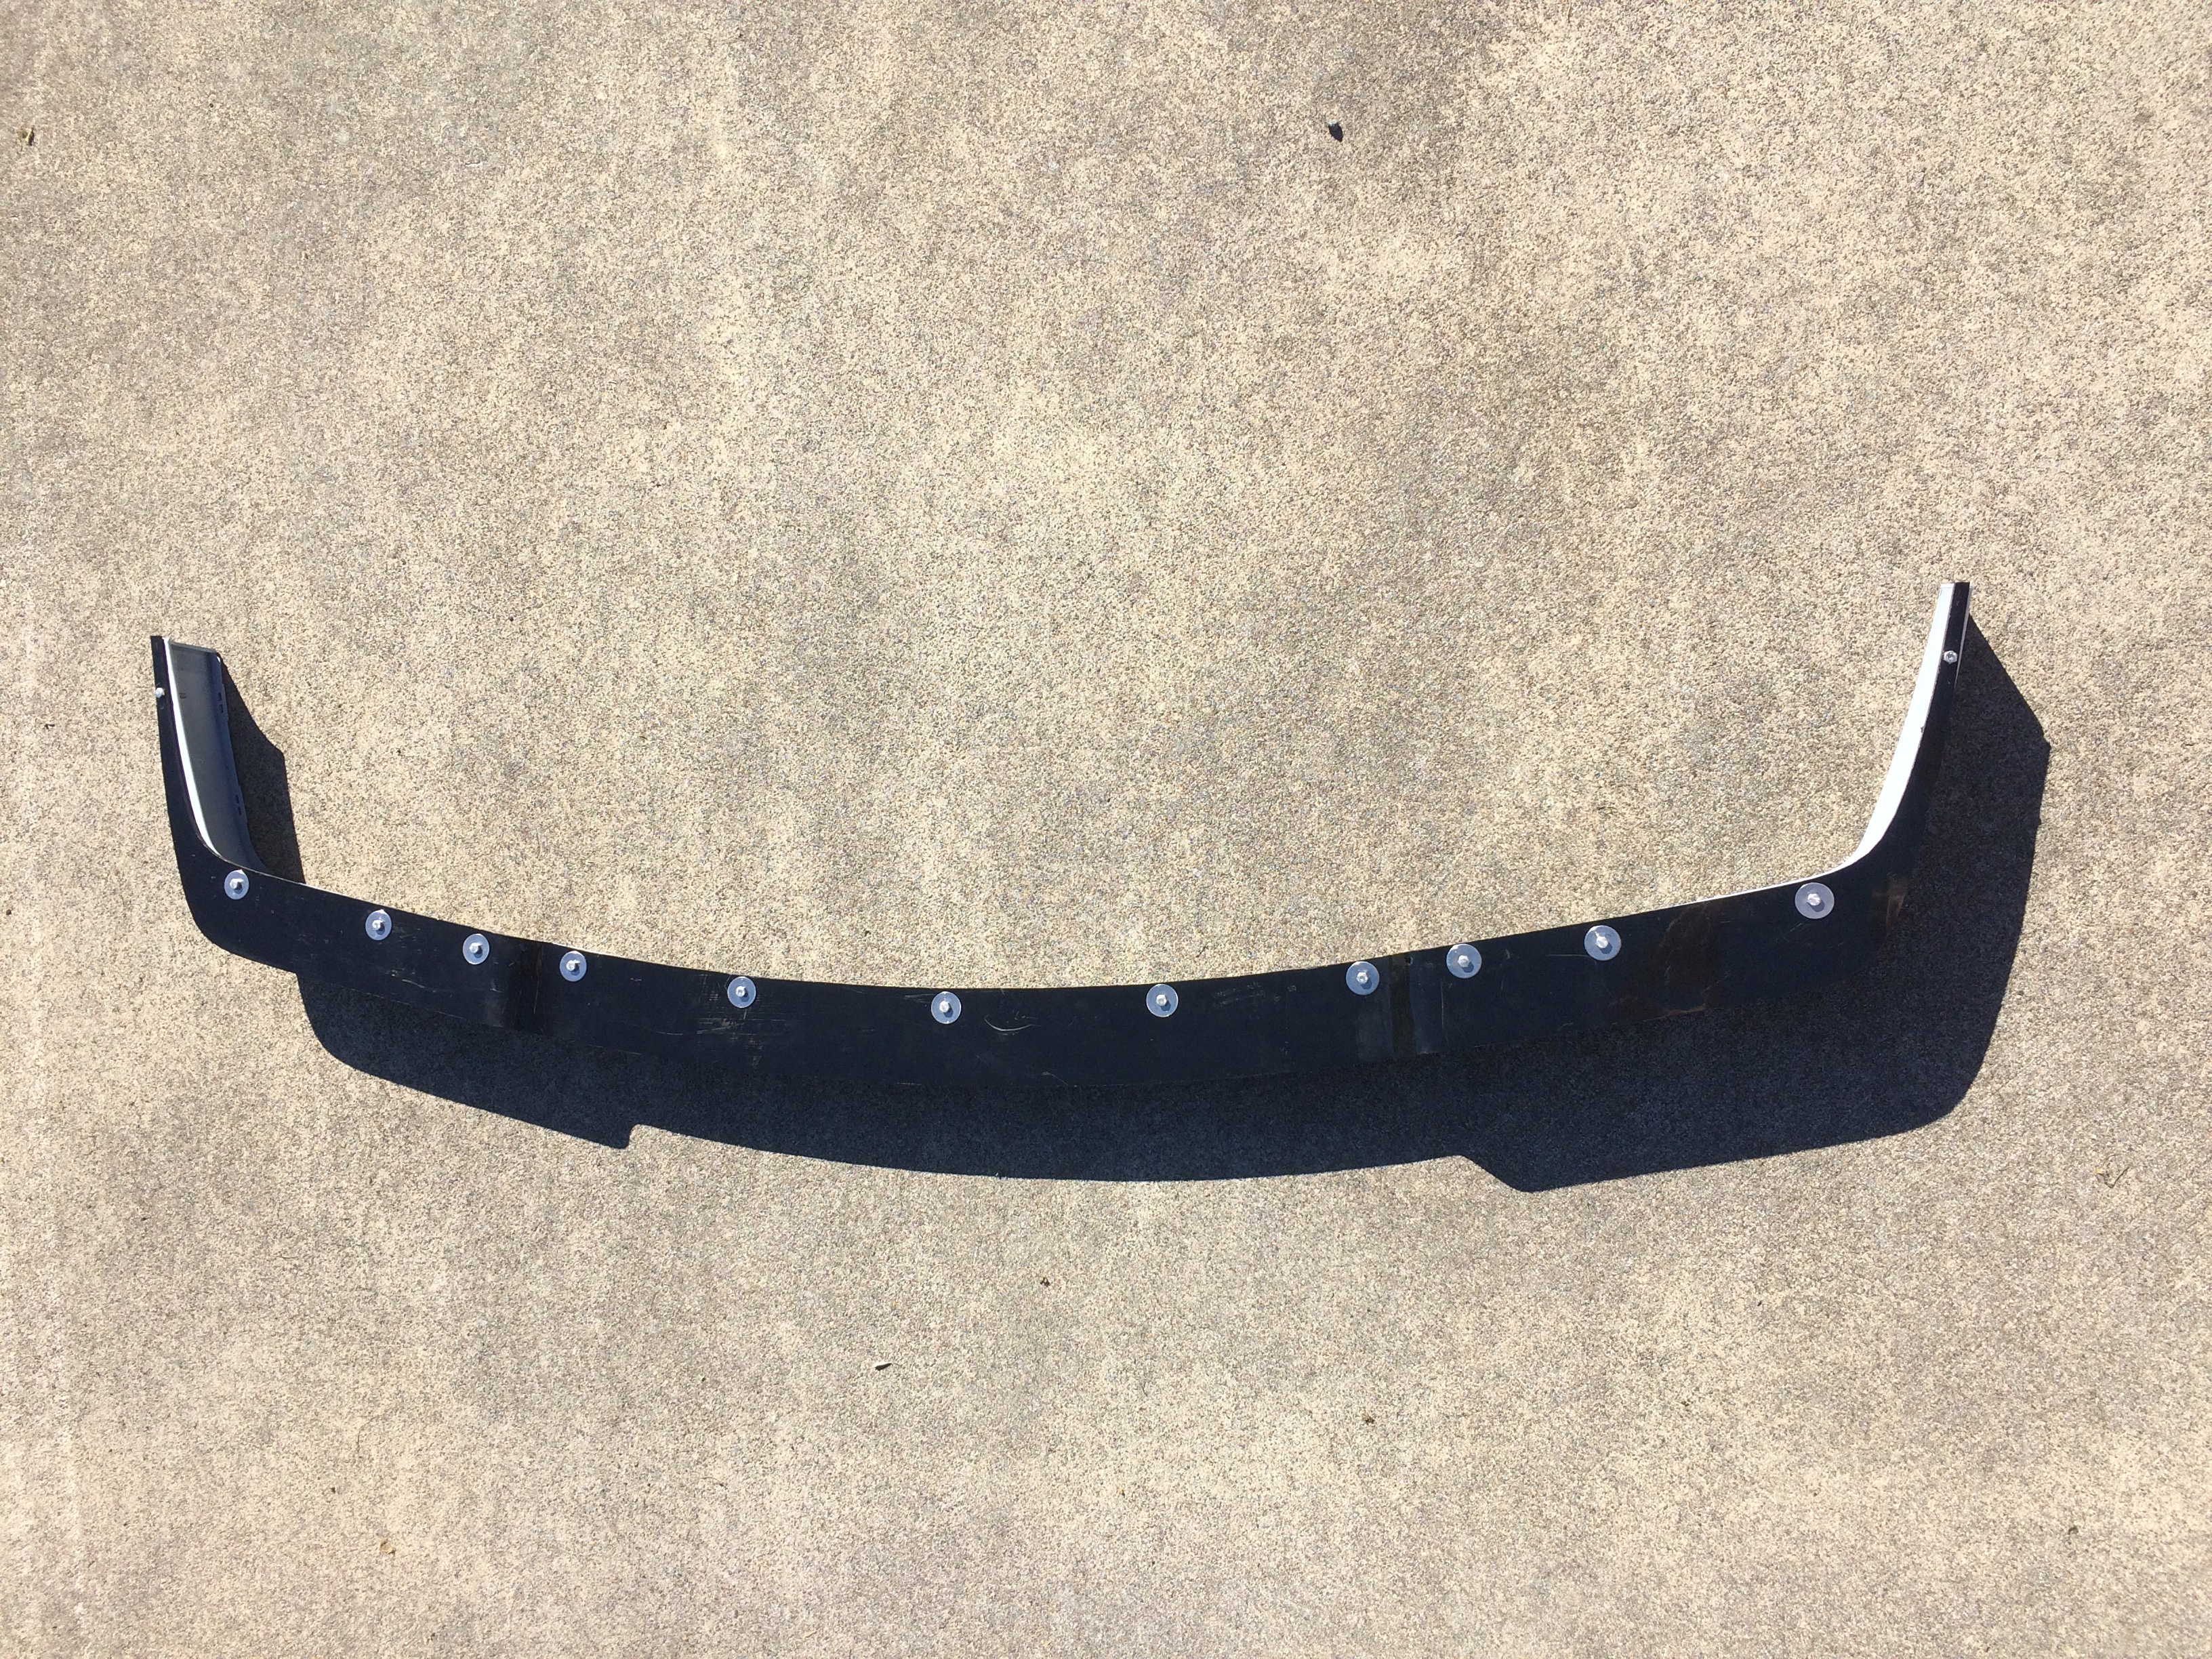
Genuine iS front lip and Splitter
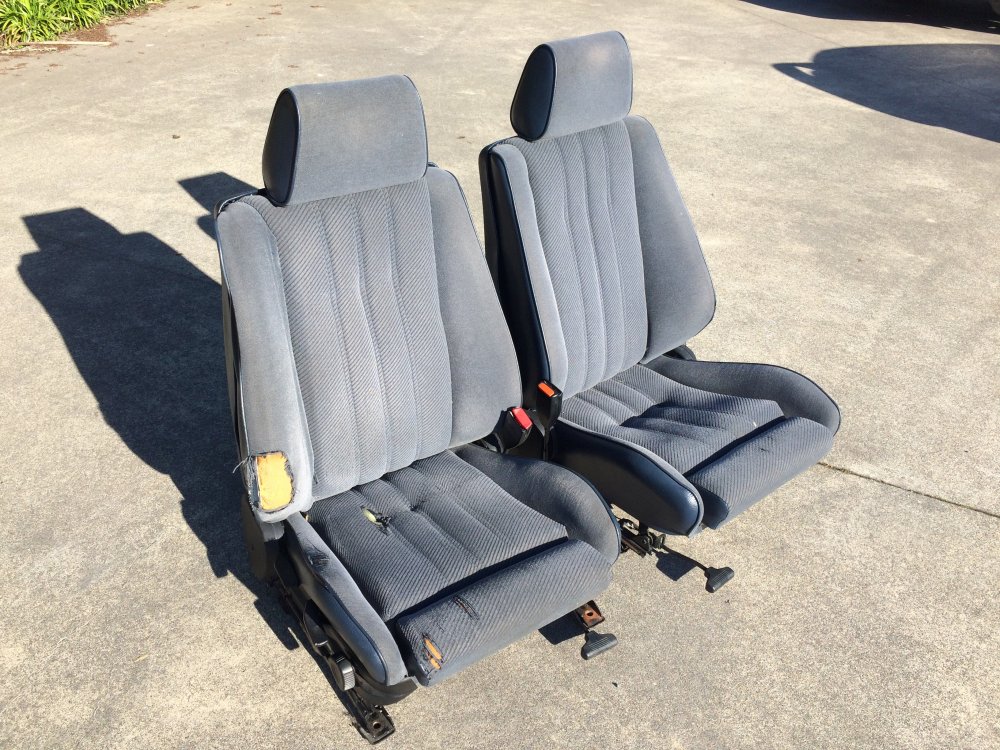
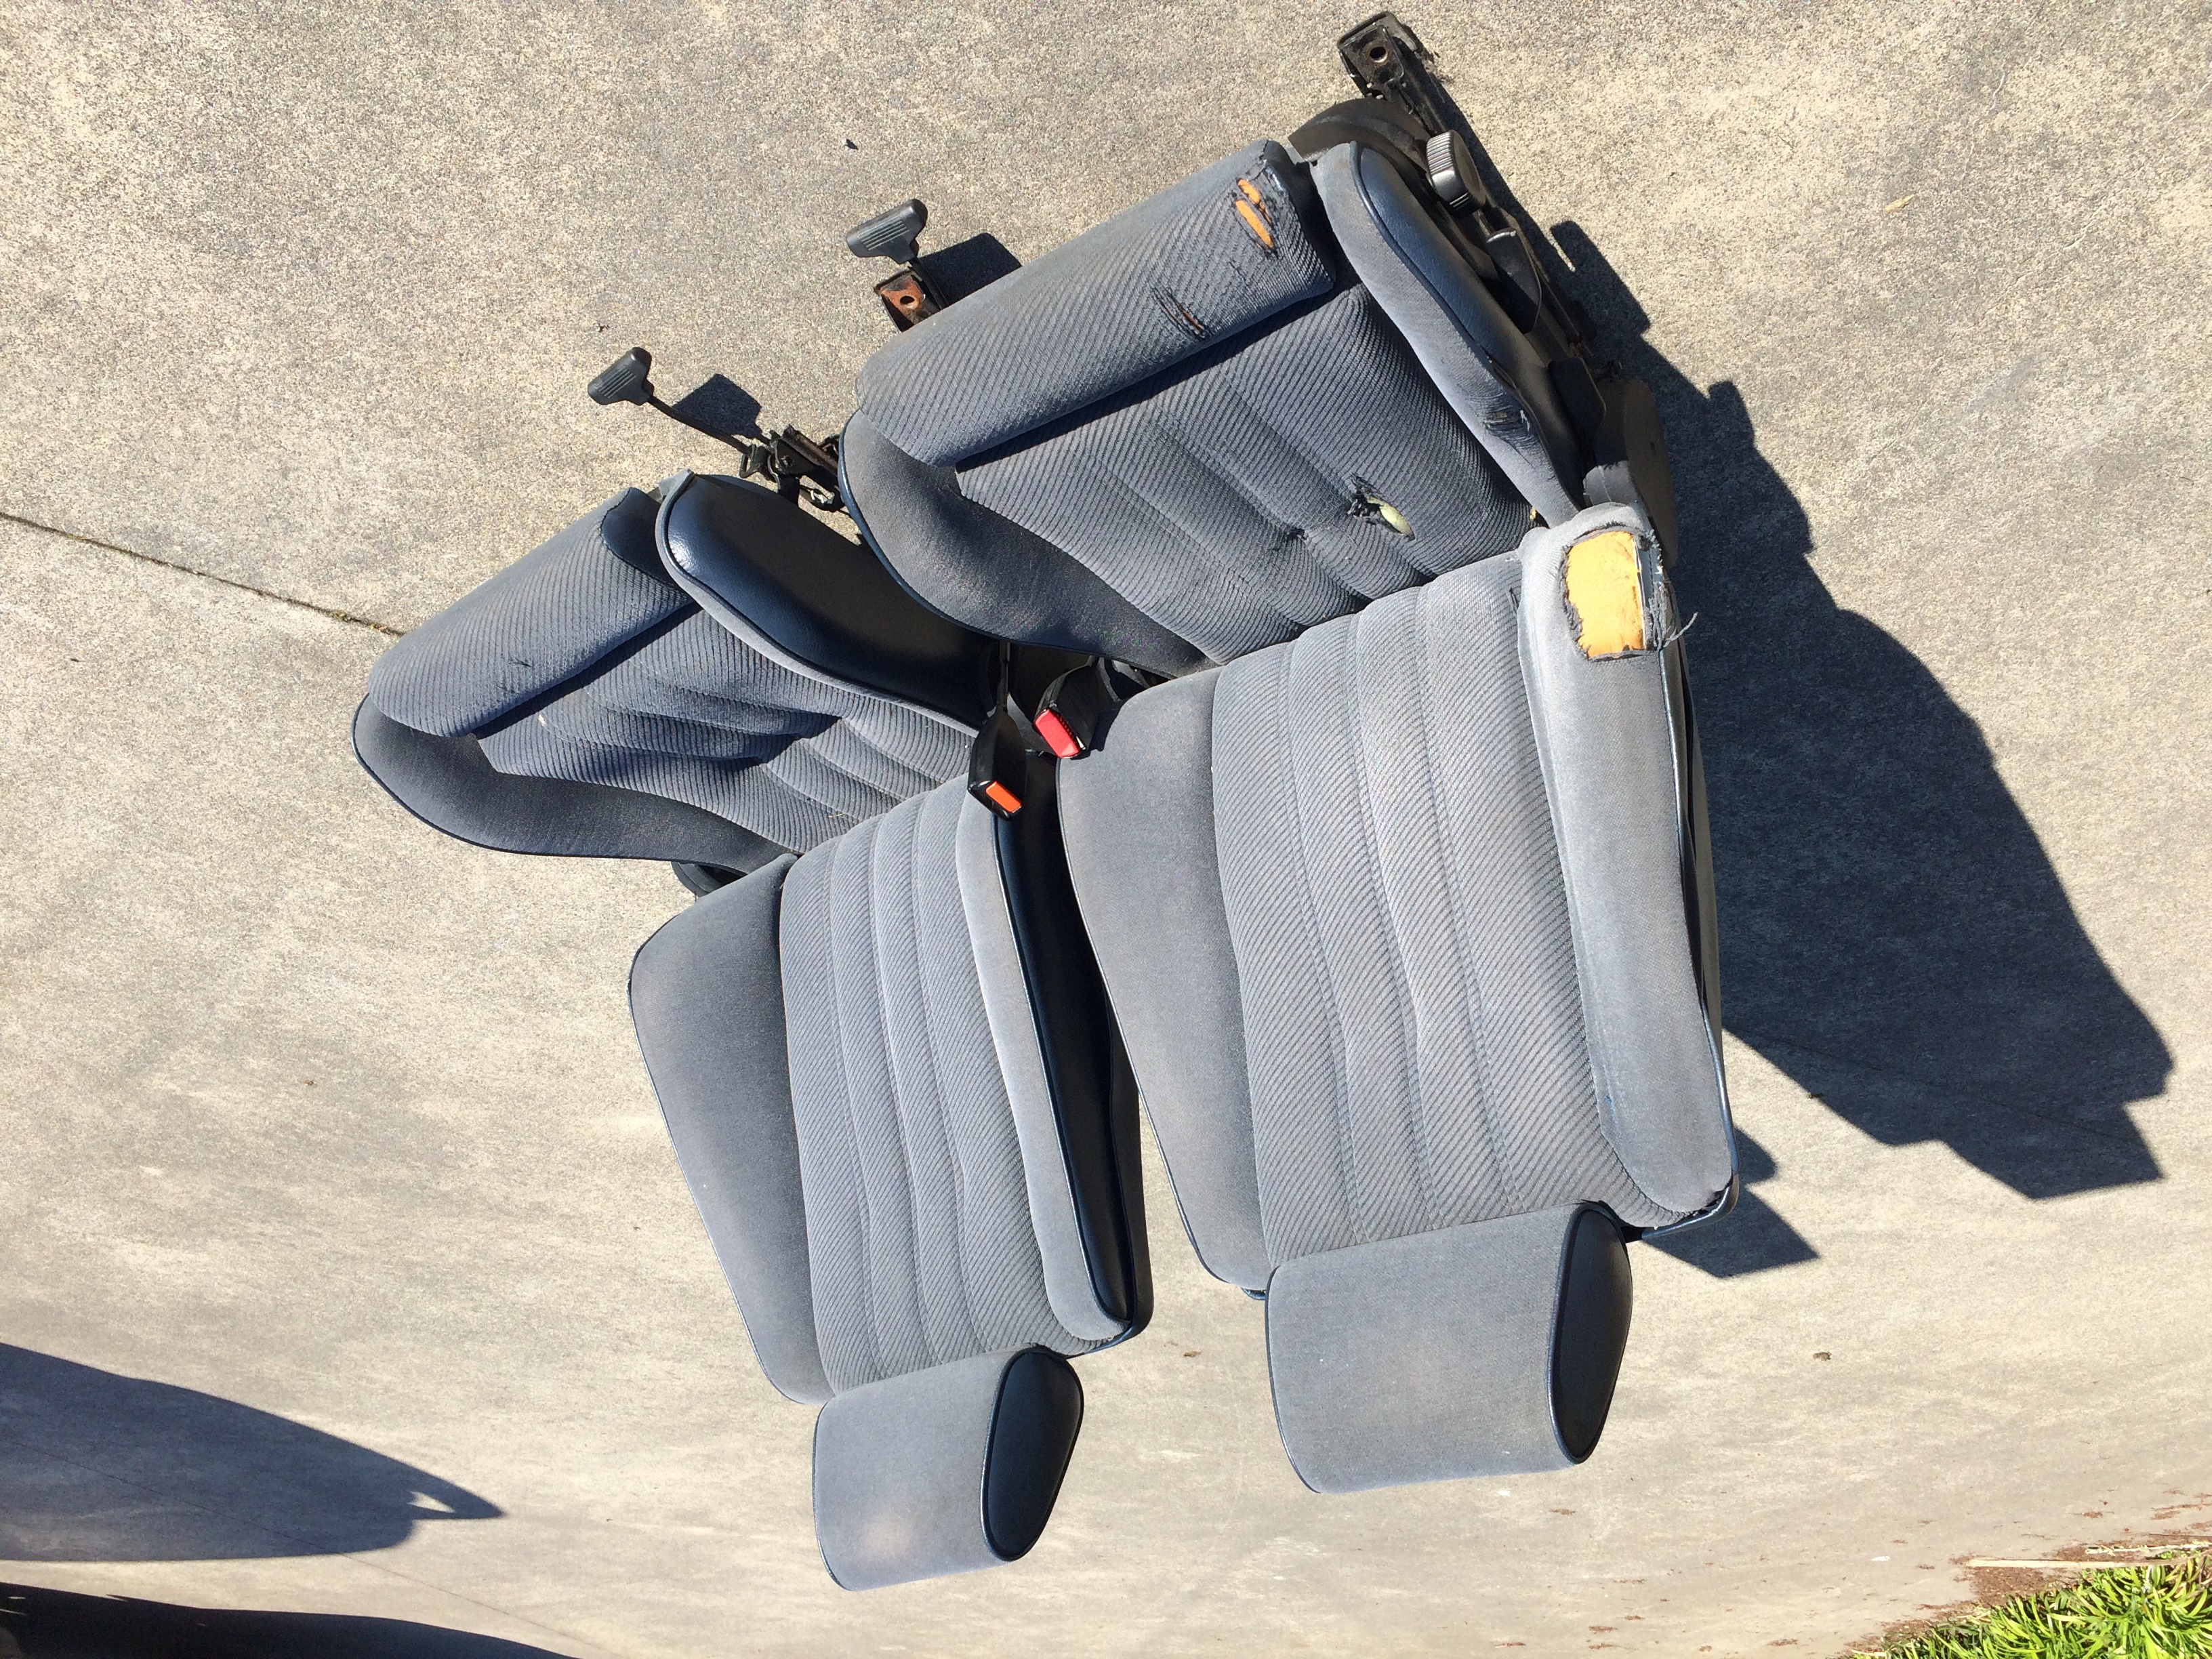
Blue Cloth Recaro sport seats that i picked up locally for a good deal that will eventually be recovered
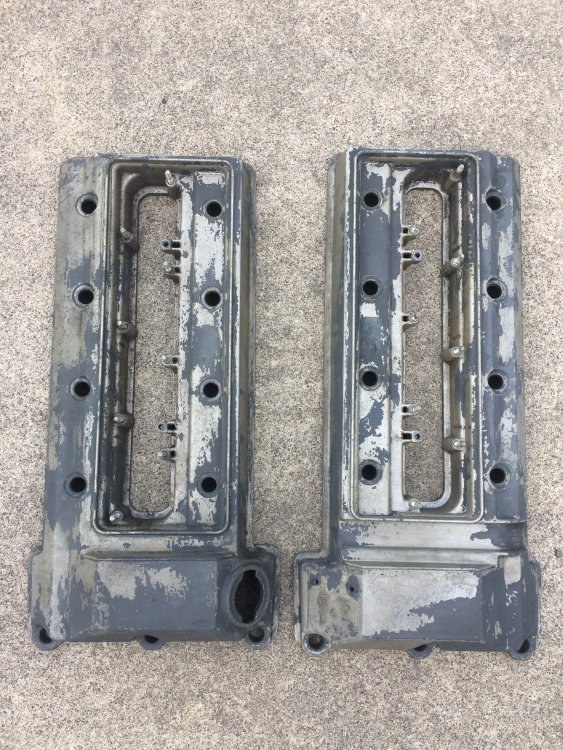
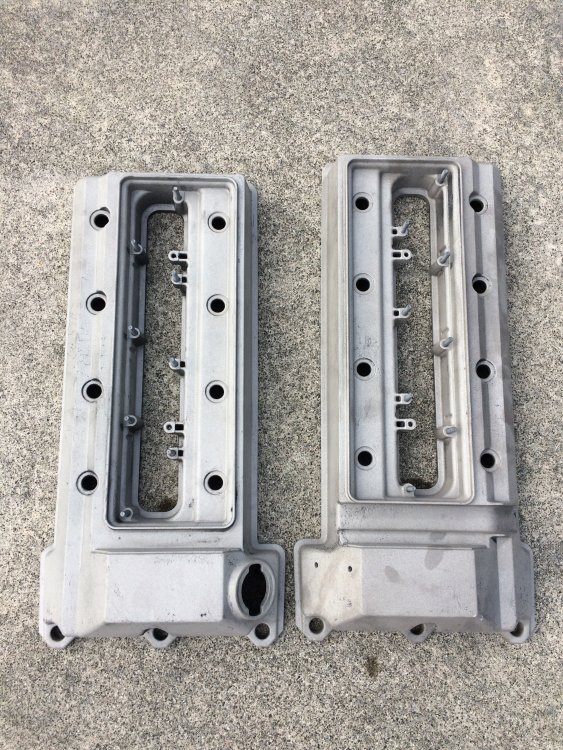
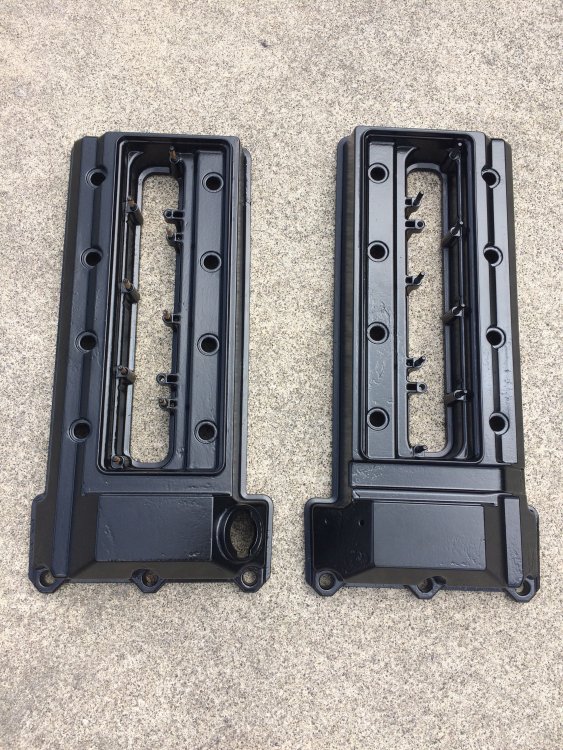
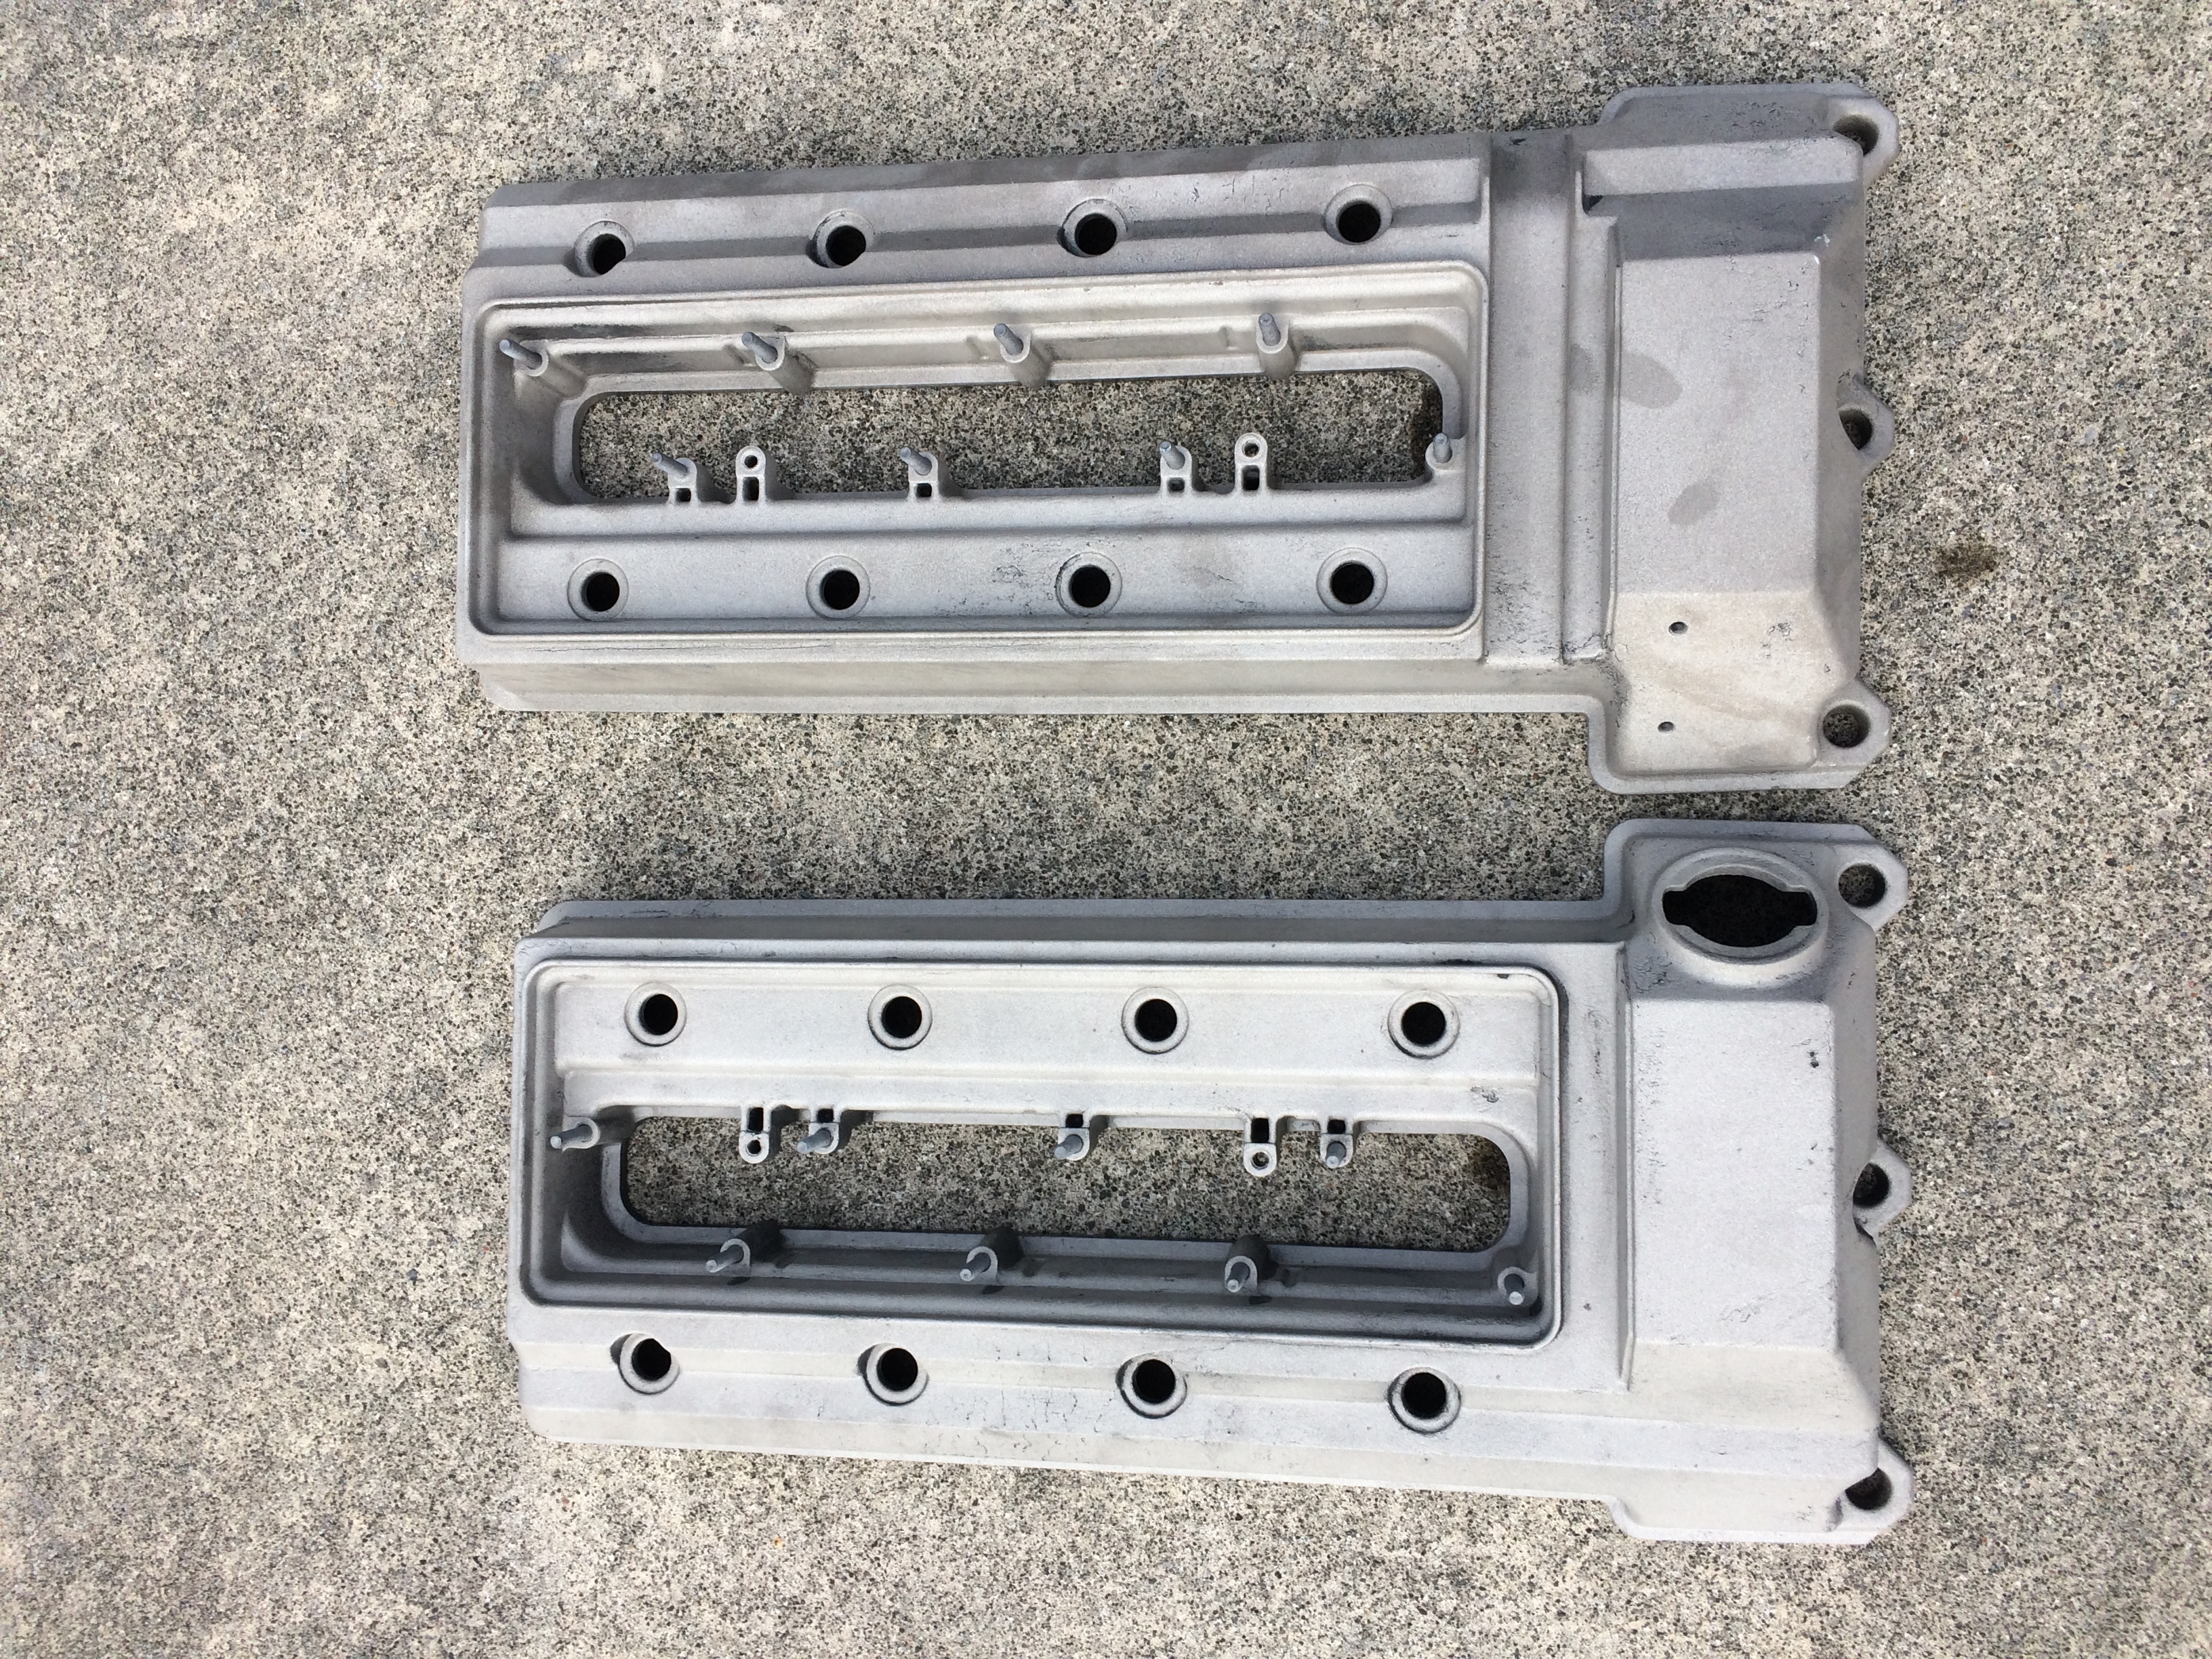
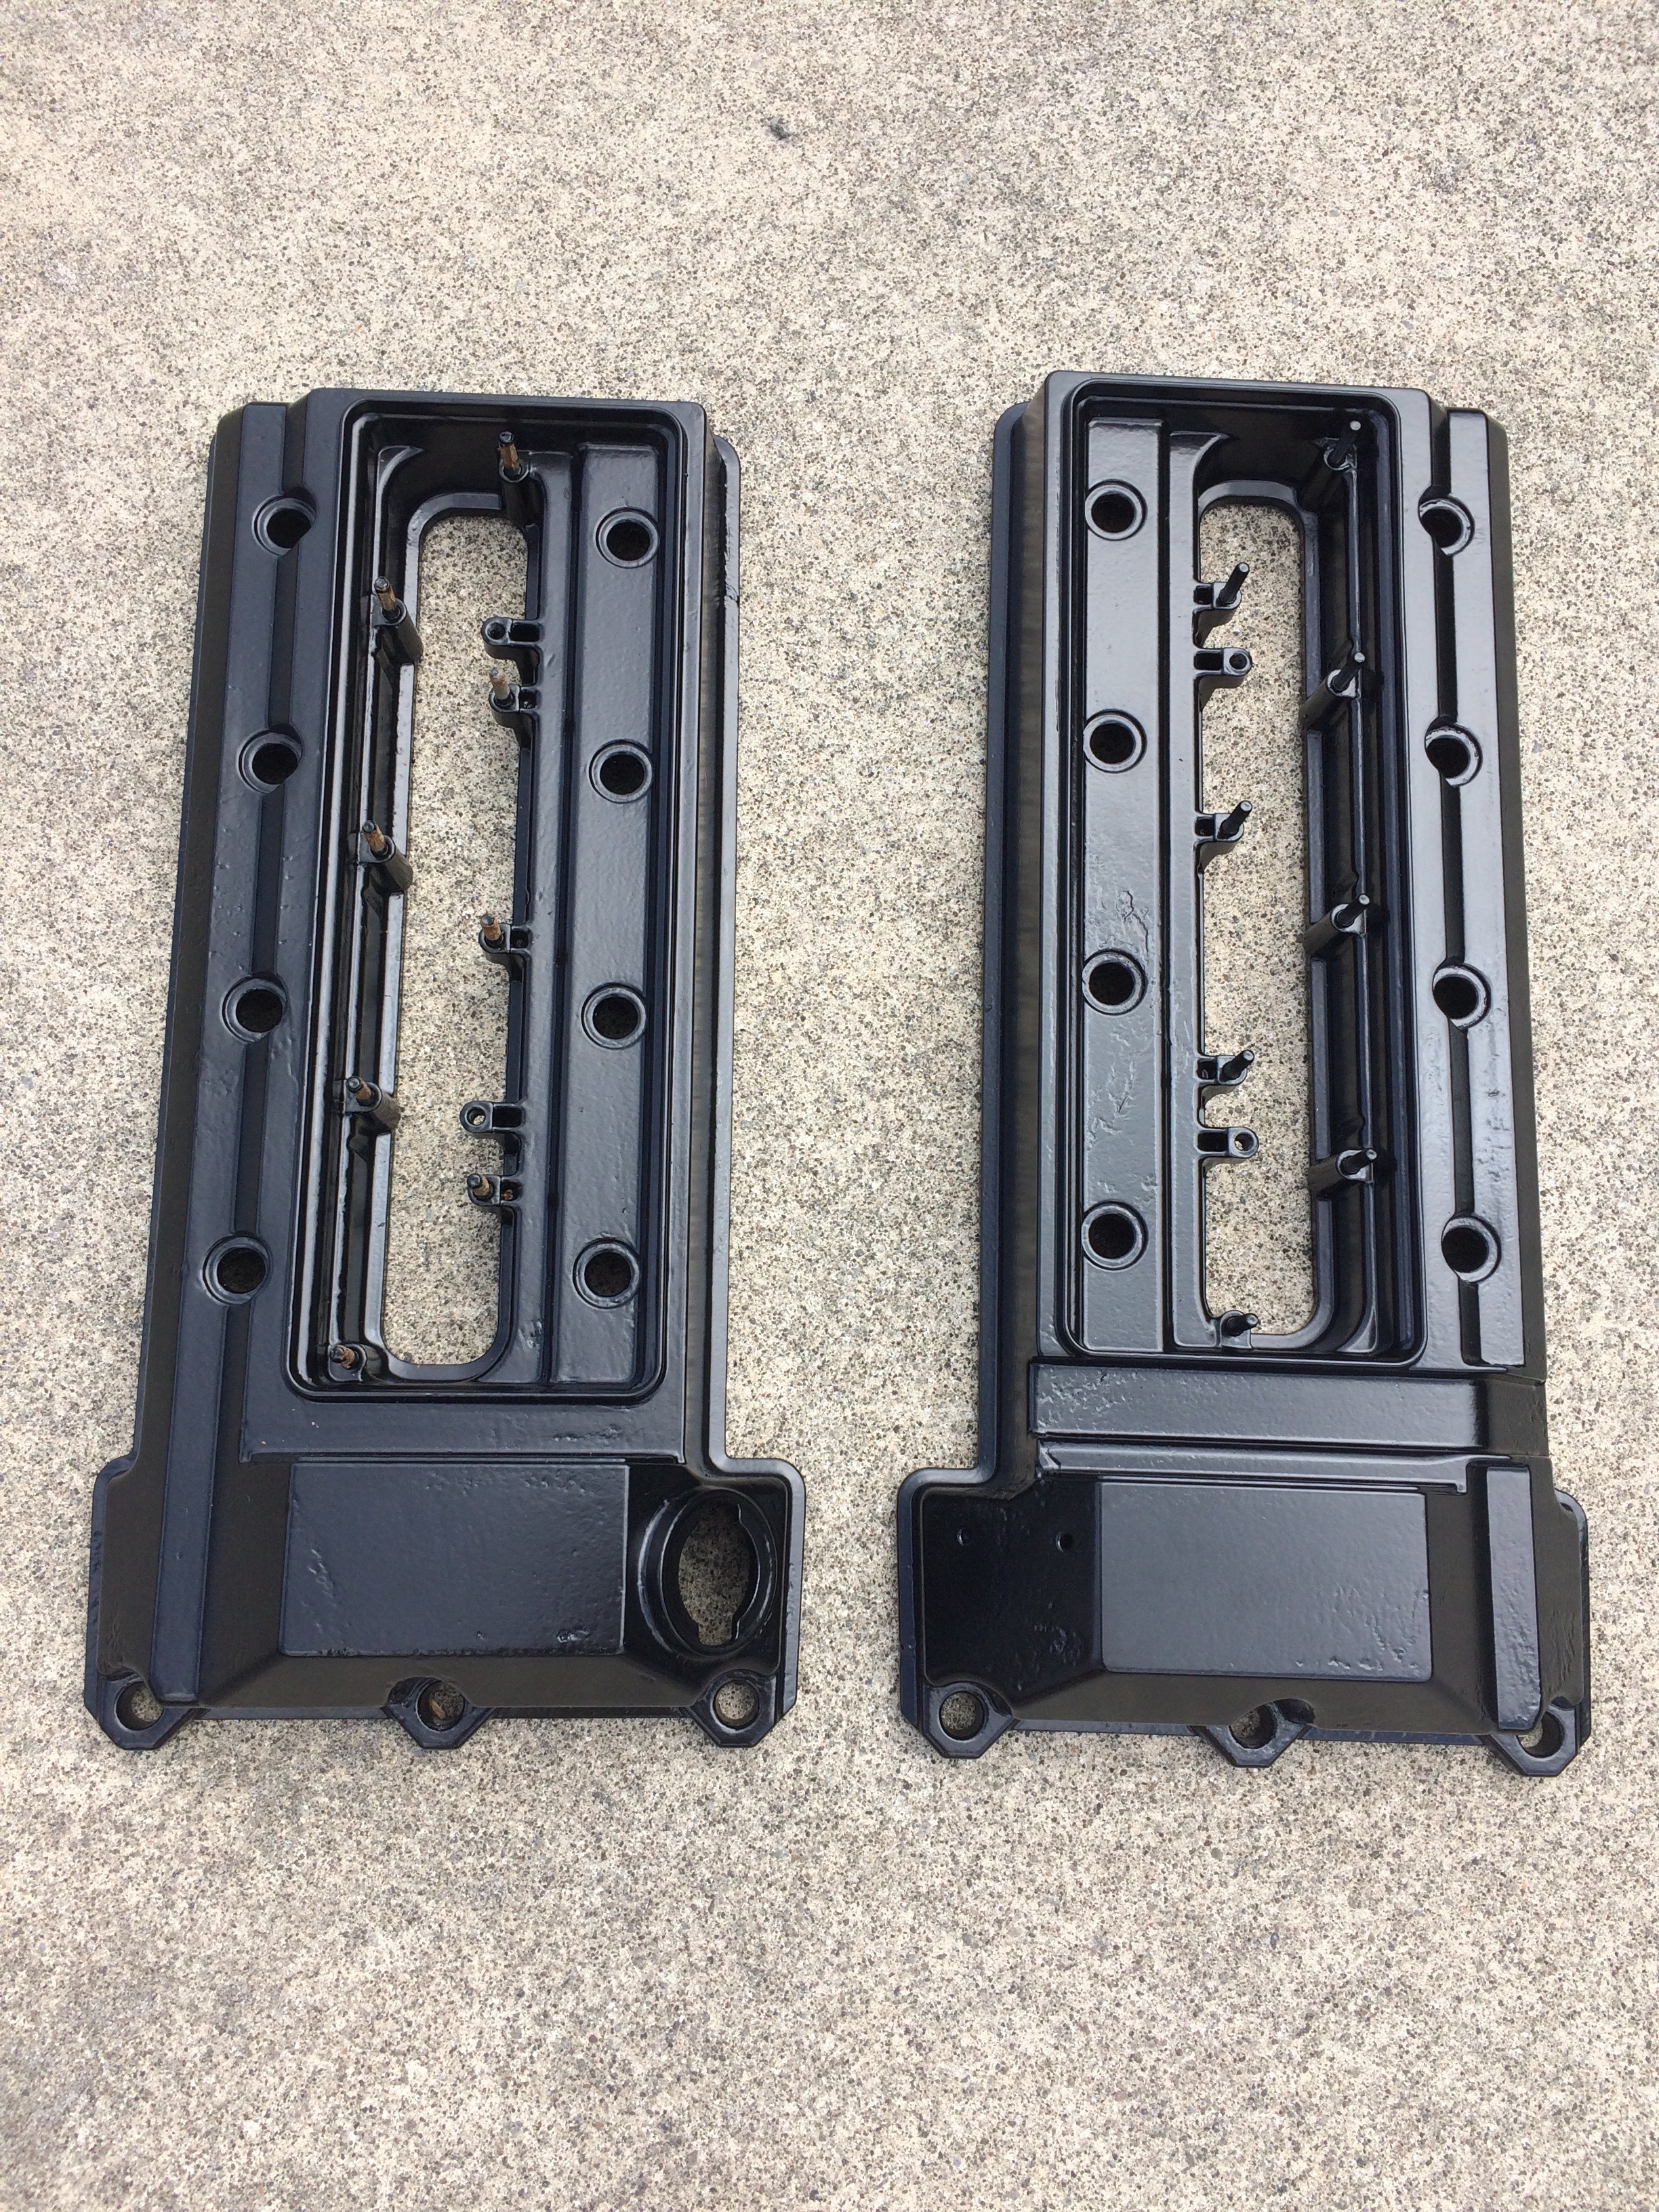
Rocker covers removed, blasted and powder coated black for that clean and tidy engine bay look
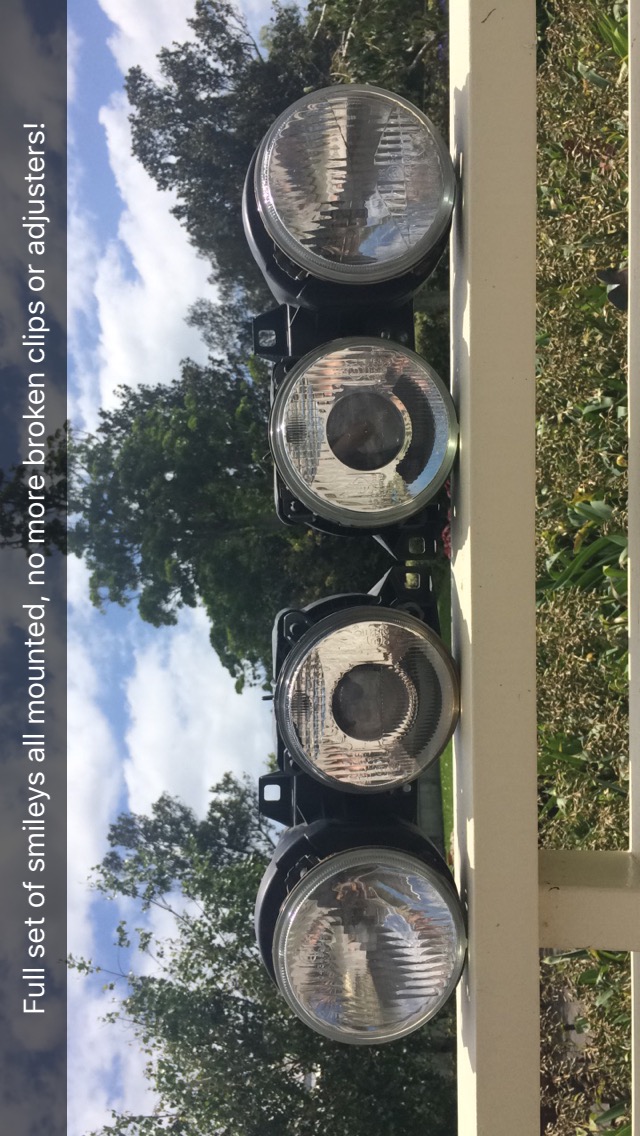
Got around to fixing up my headlights, as my car only had one smiley light when purchased.

-
 1
1
-
-
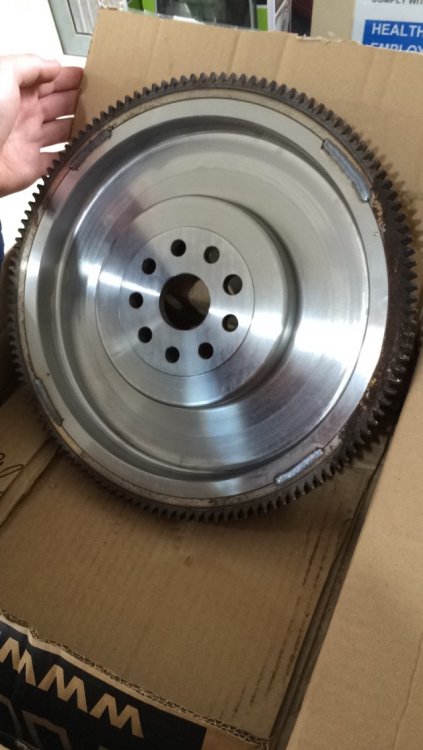
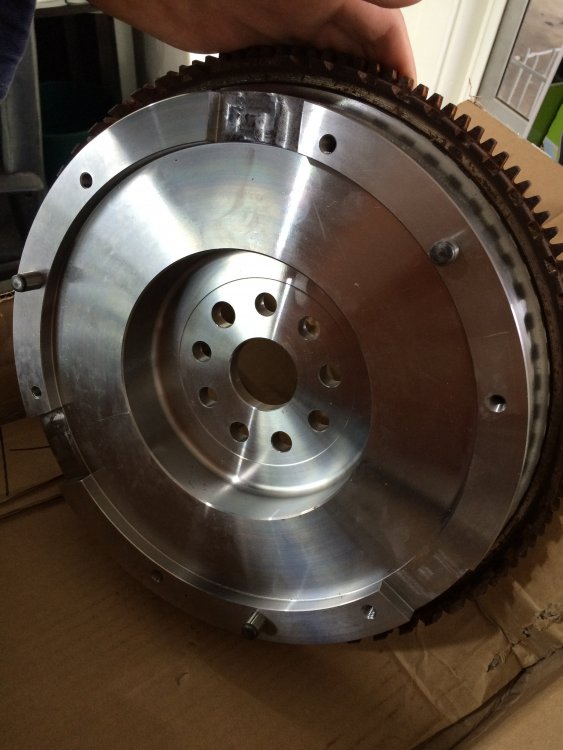
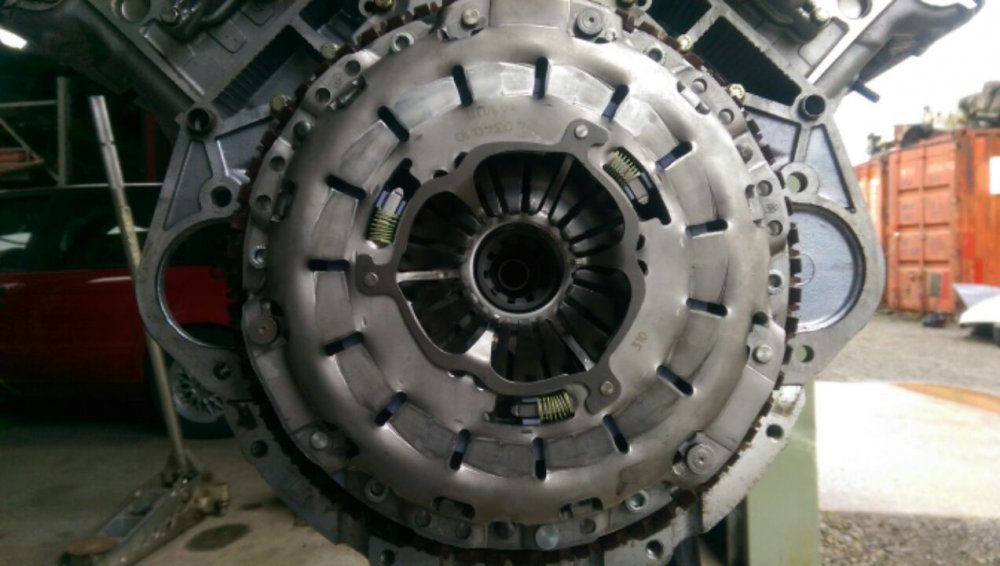
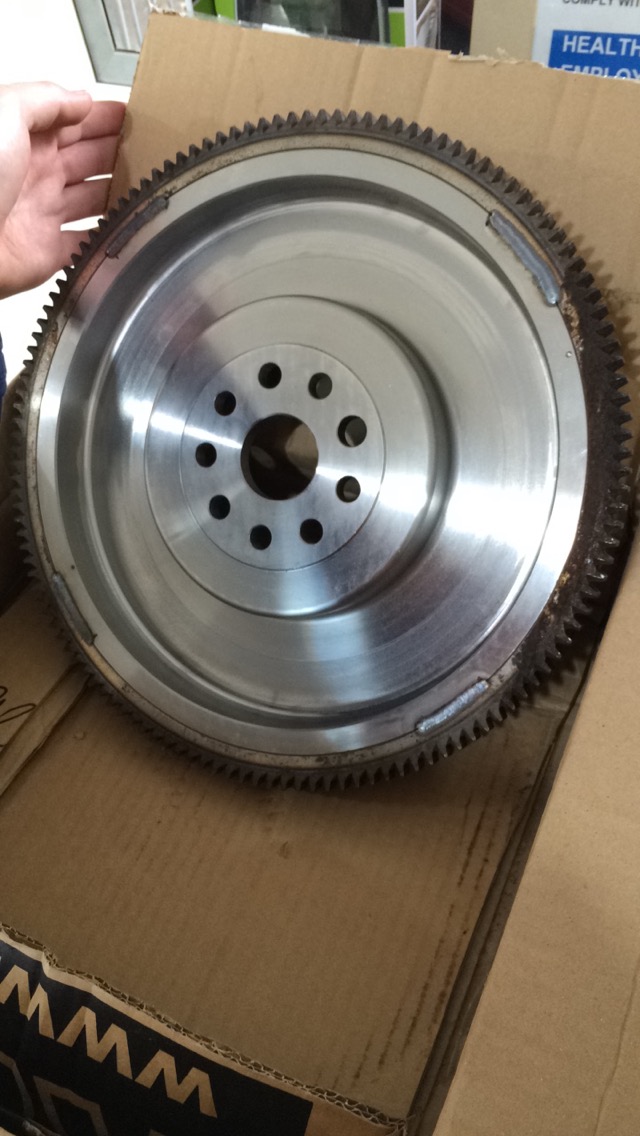
To finish off the running gear i stuck with a standard flywheel with the ring gear pressed on and a standard clutch and pressure plate setup, just to keep it easy and cost effective to replace if needed.
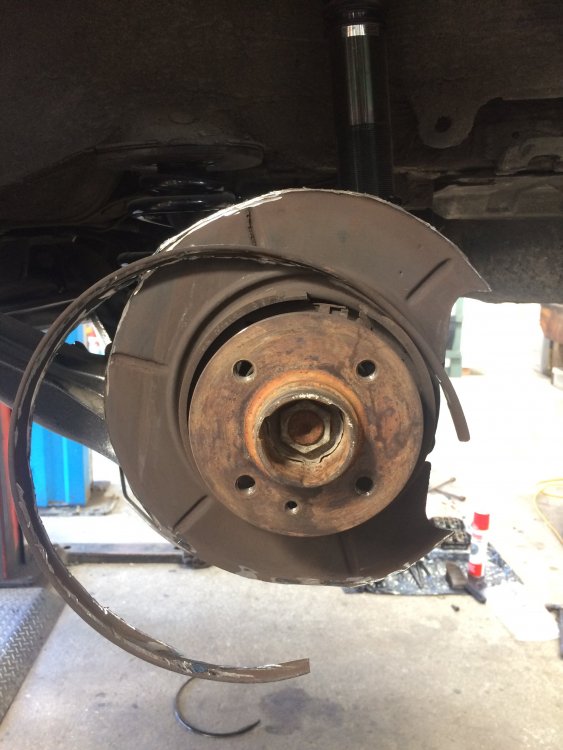
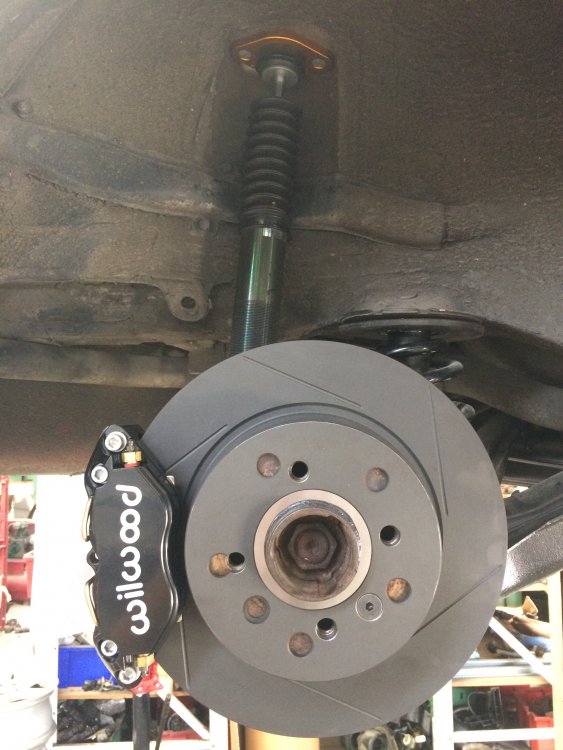
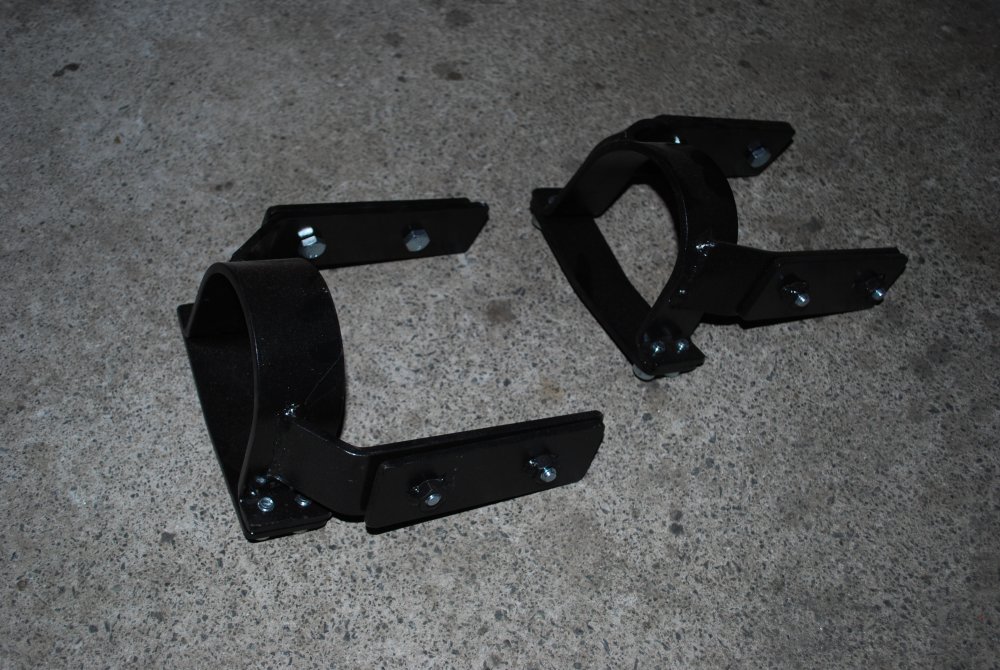
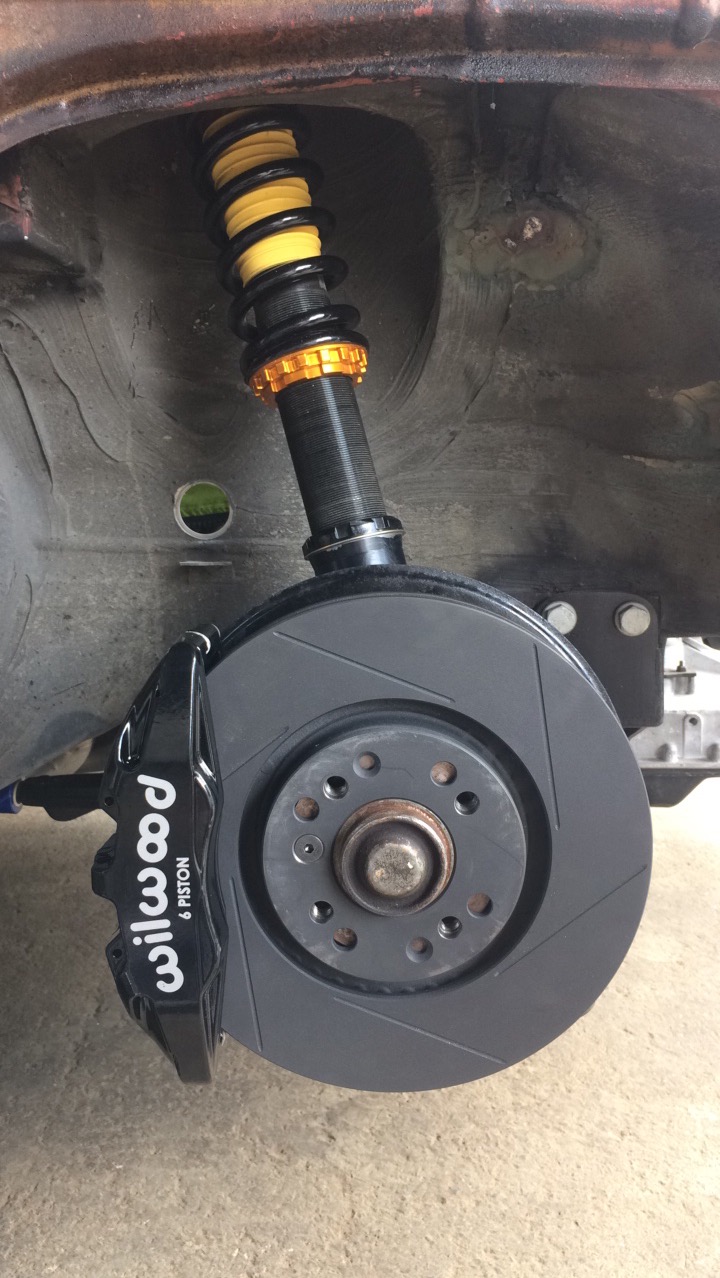
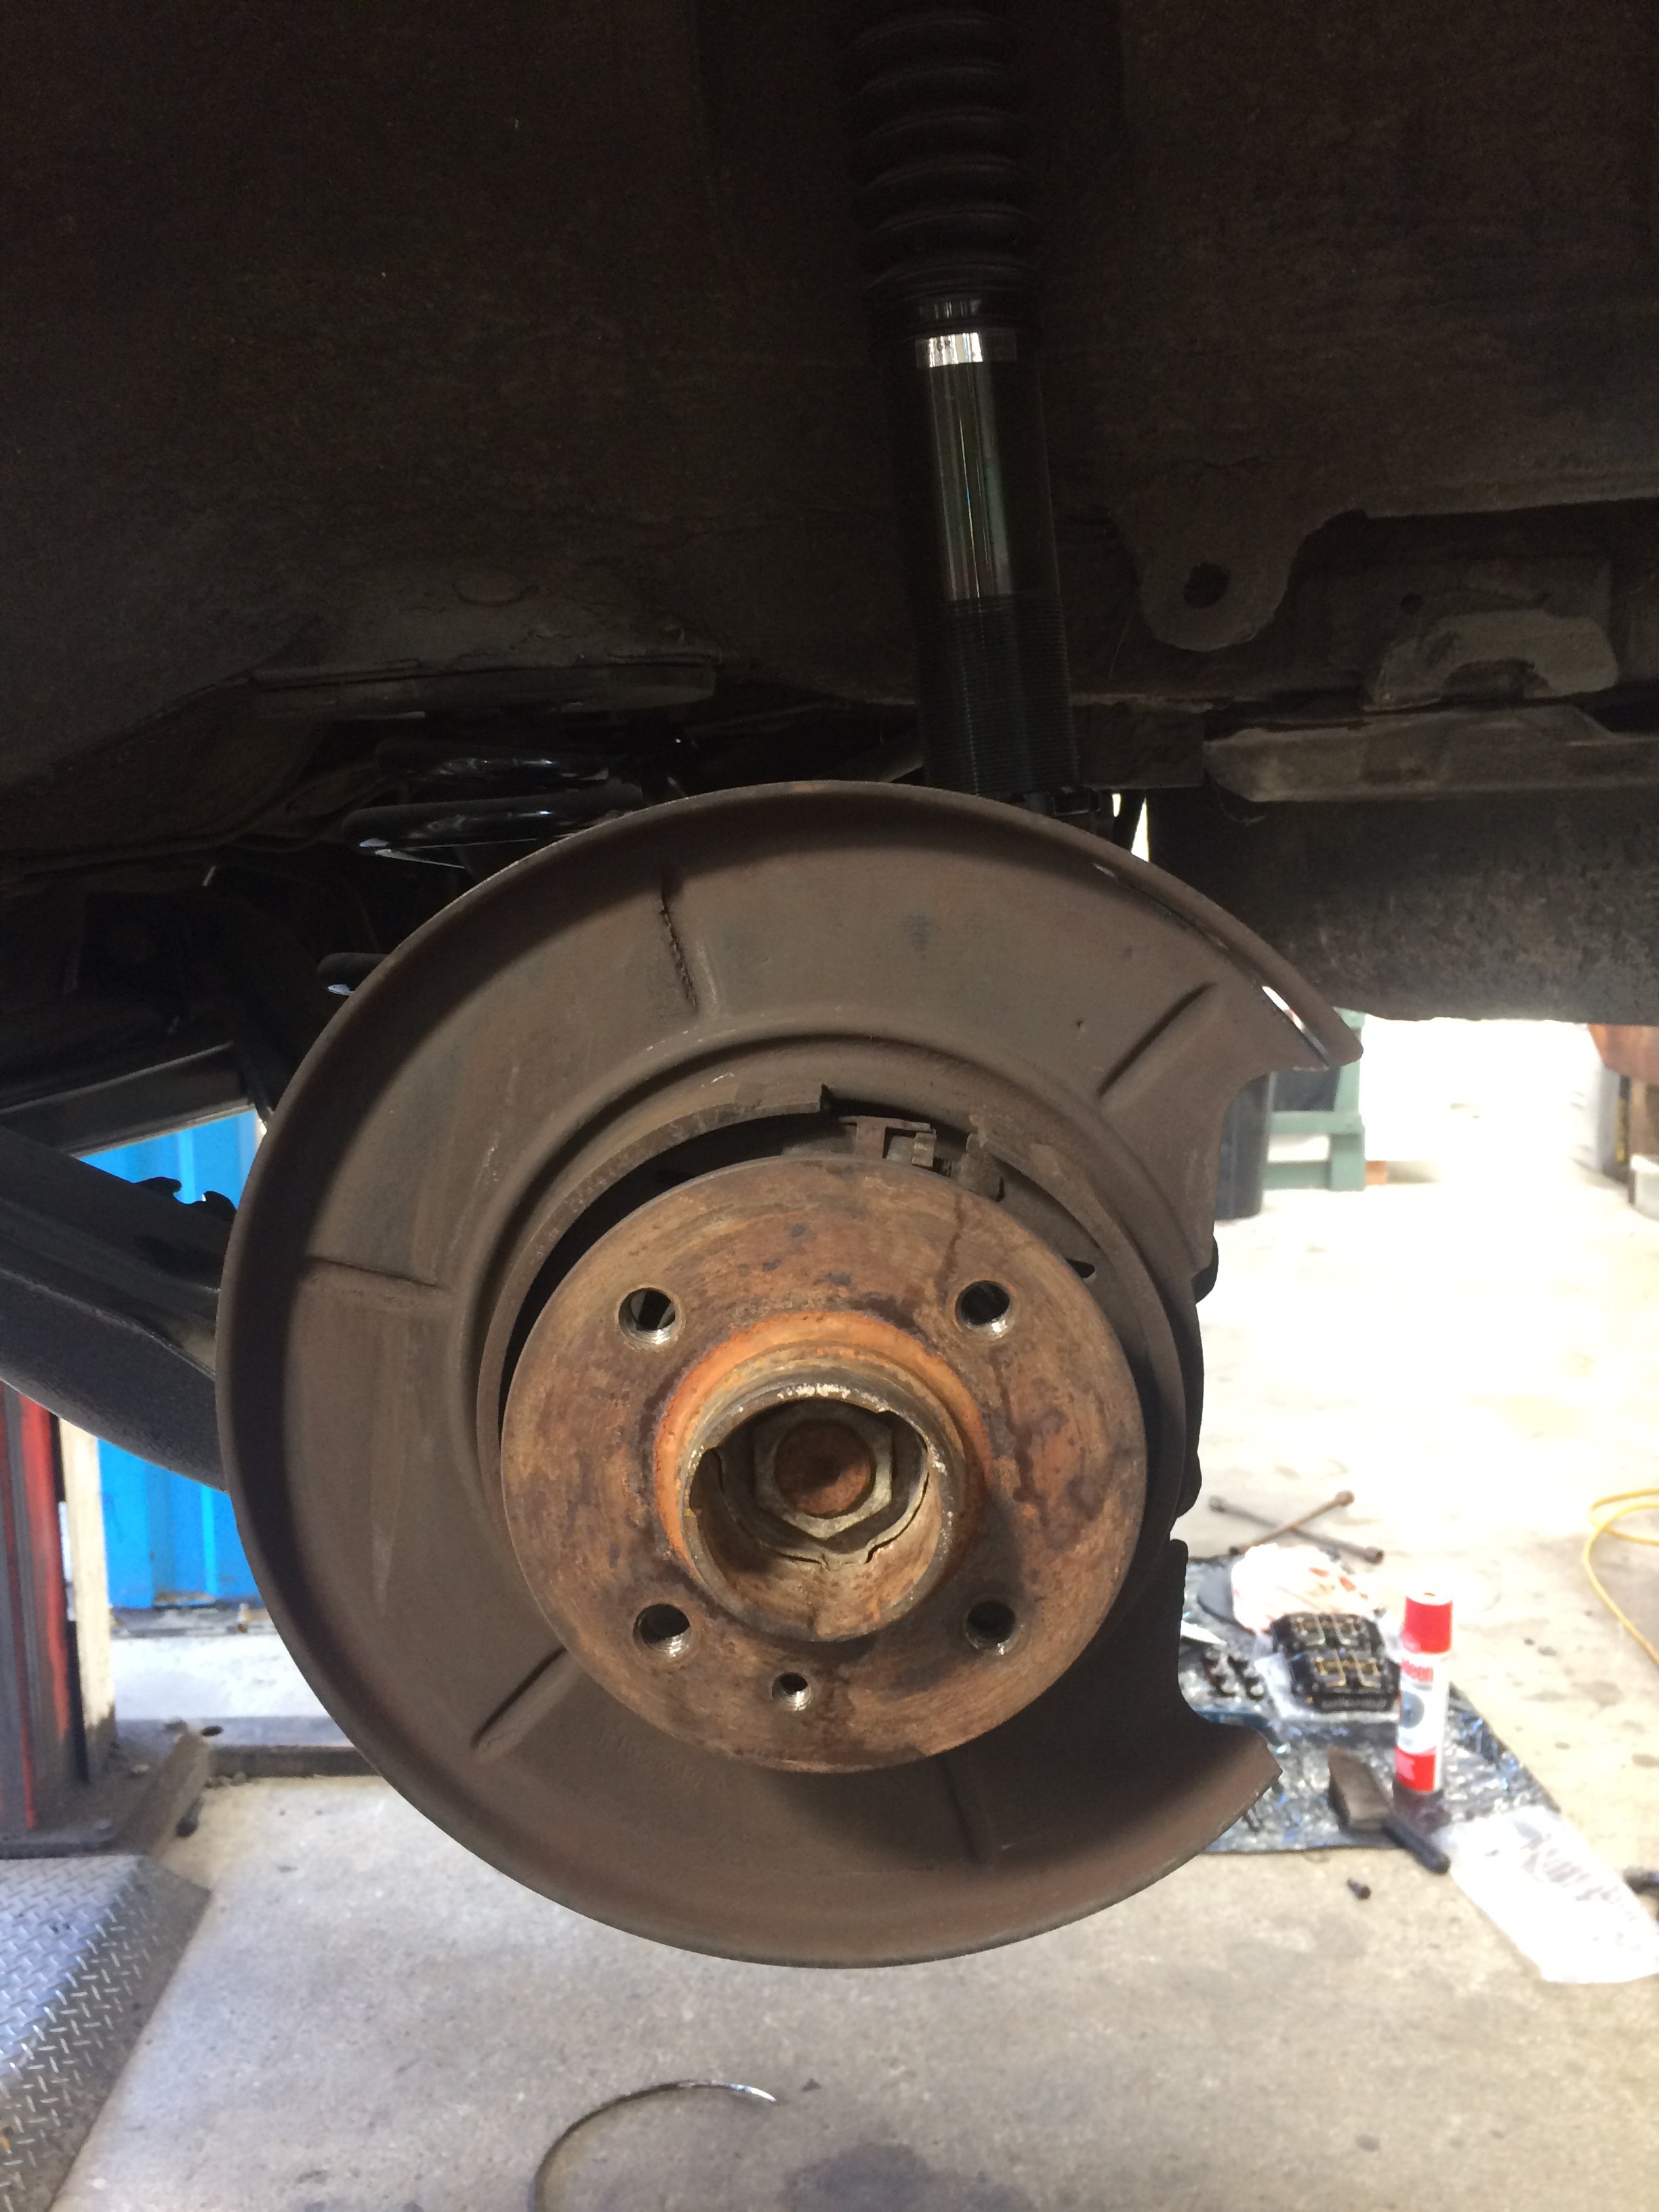
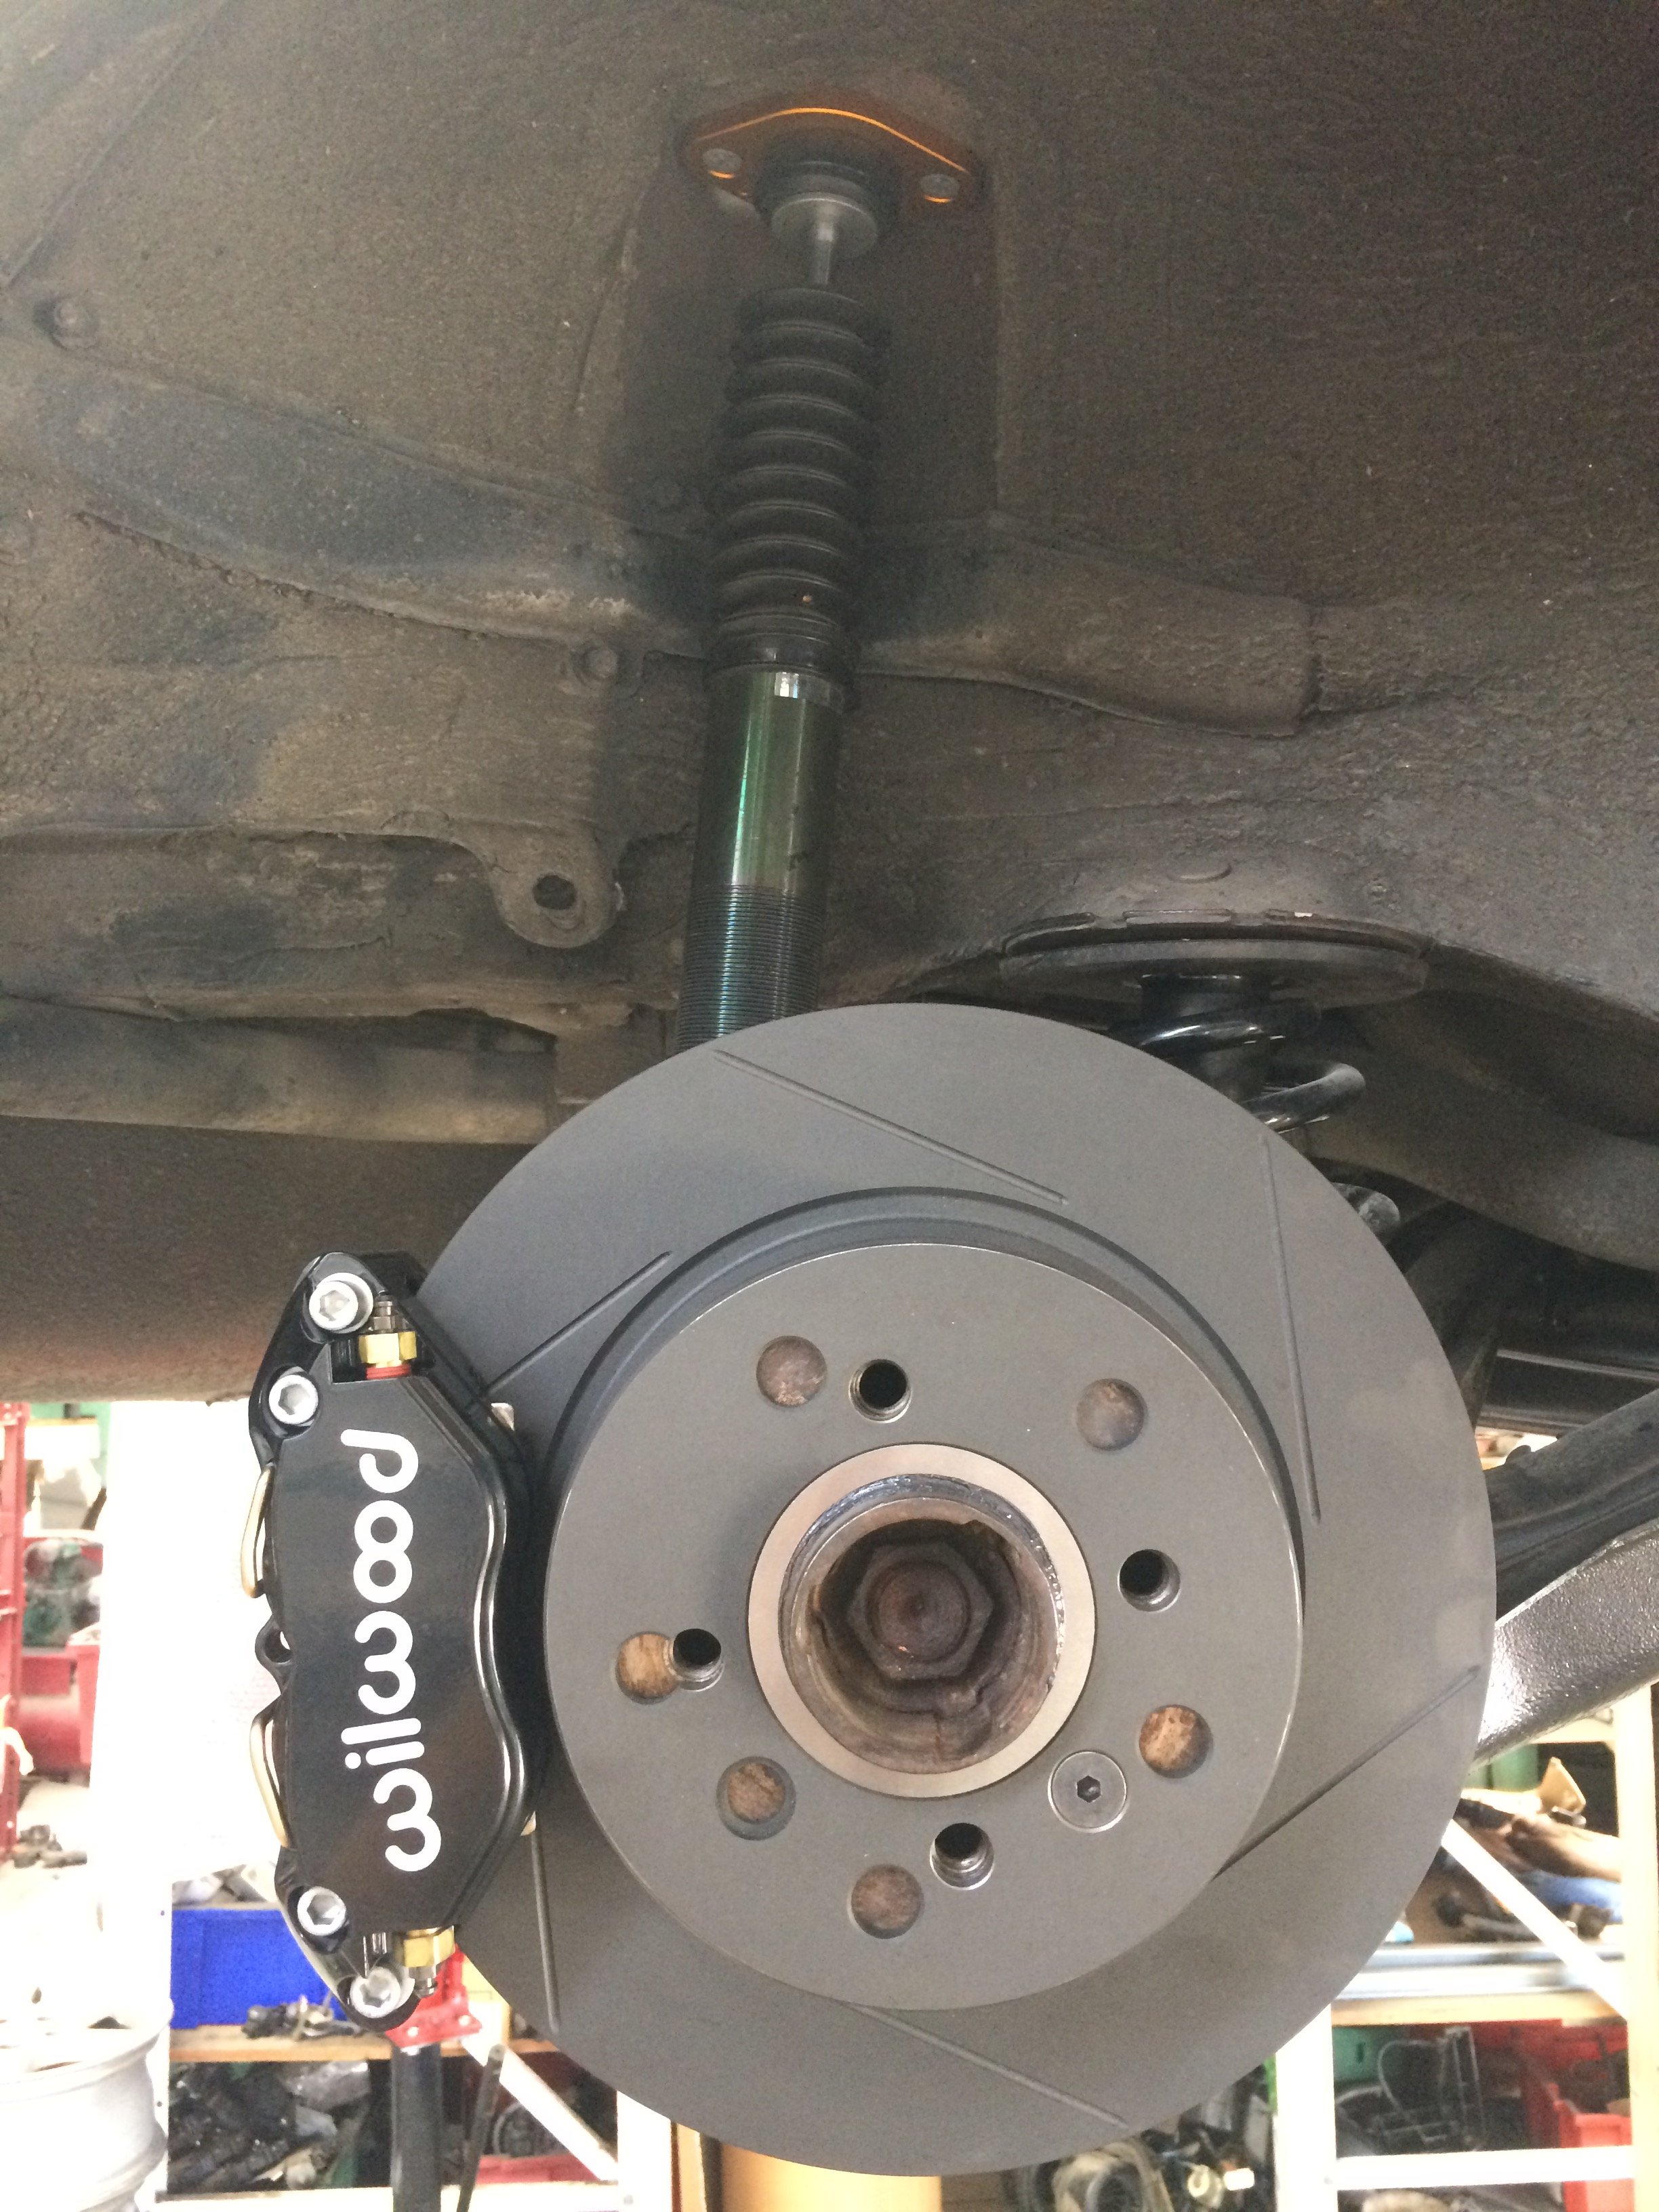
I decided to revisit my original brake set up plan and came across MRP's kit advertised on trademe so did some emailing and finalised a full kit consisting of: 280mm slotted Zinoelli Rotors front and rear with Dynapro 6piston callipers on the front and 4 piston callipers on the rear with the necessary adaptor plates along with braided lines all round.

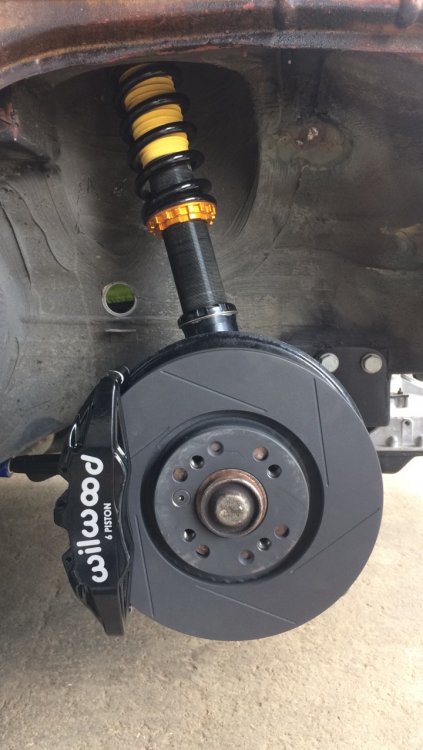

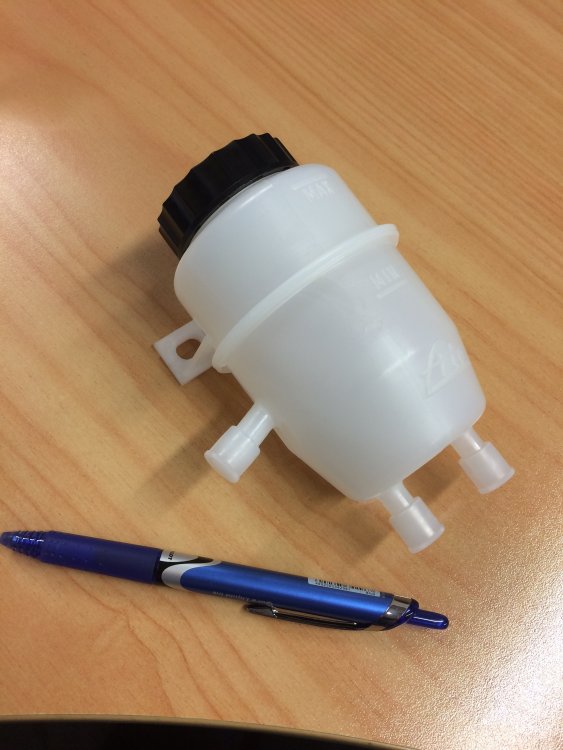
Custom lines were made to plumb in the brake booster and reservoir now located in the existing glove box location using Ergen Motorsports kit from the UK, which also had to be weld crack tested before fitted.
-
1
-
-
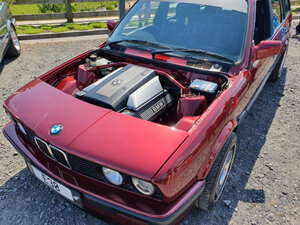
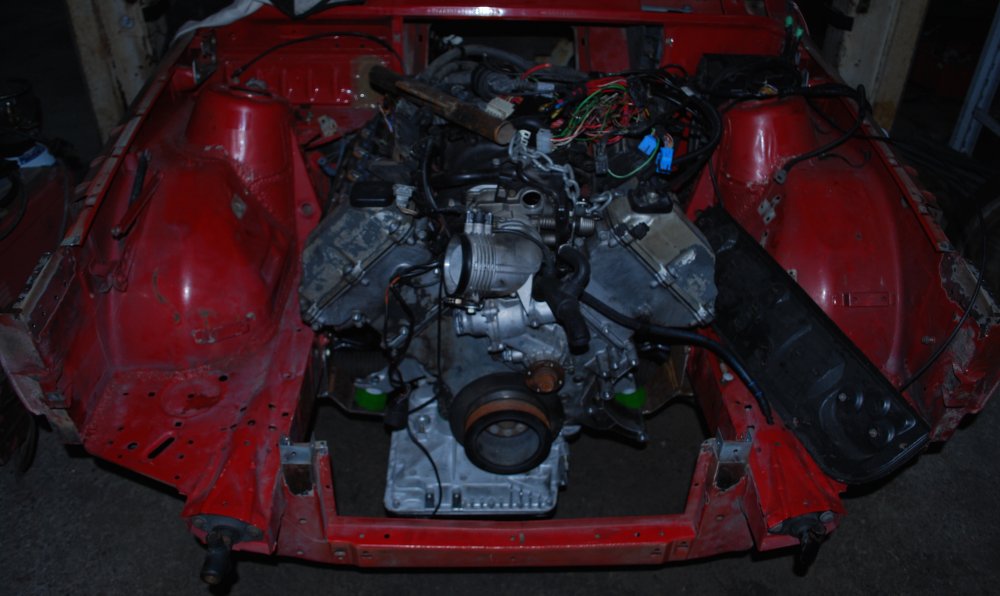
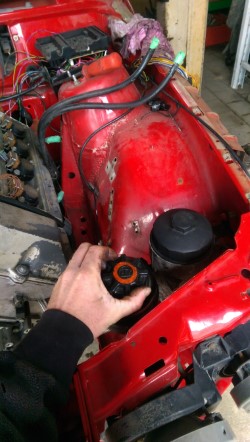
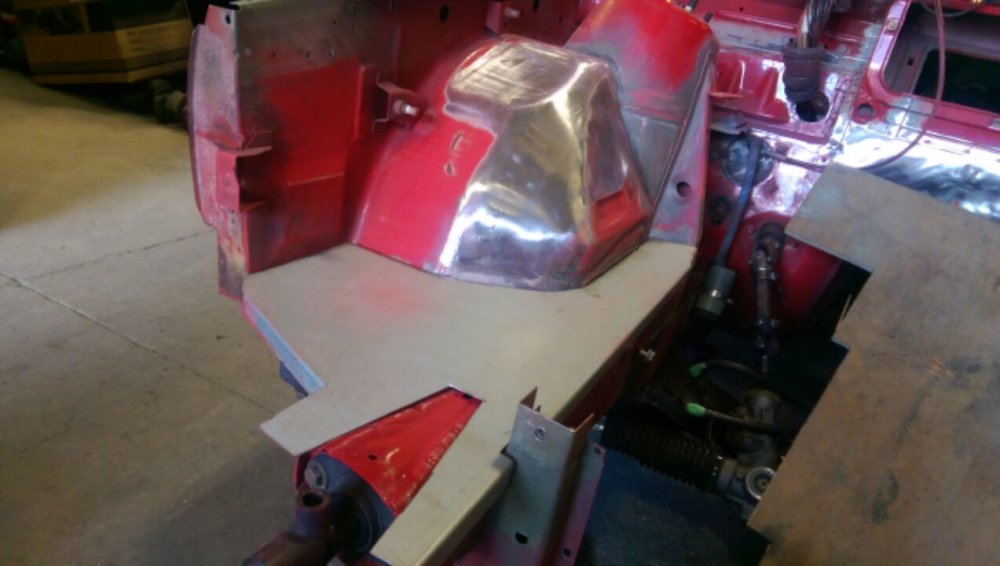
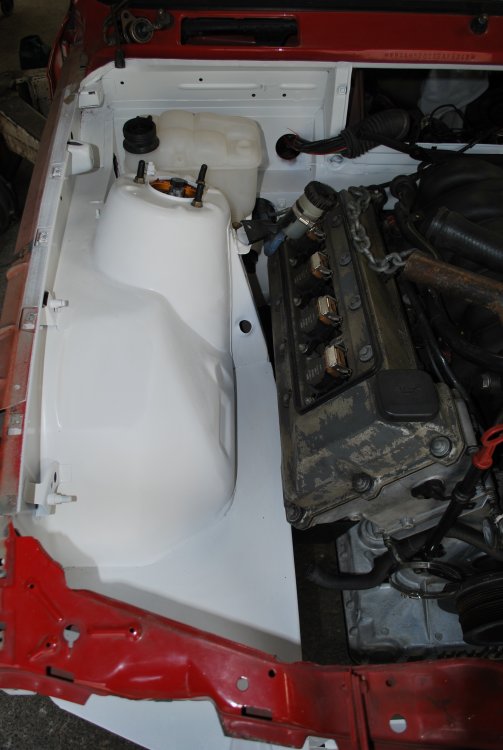
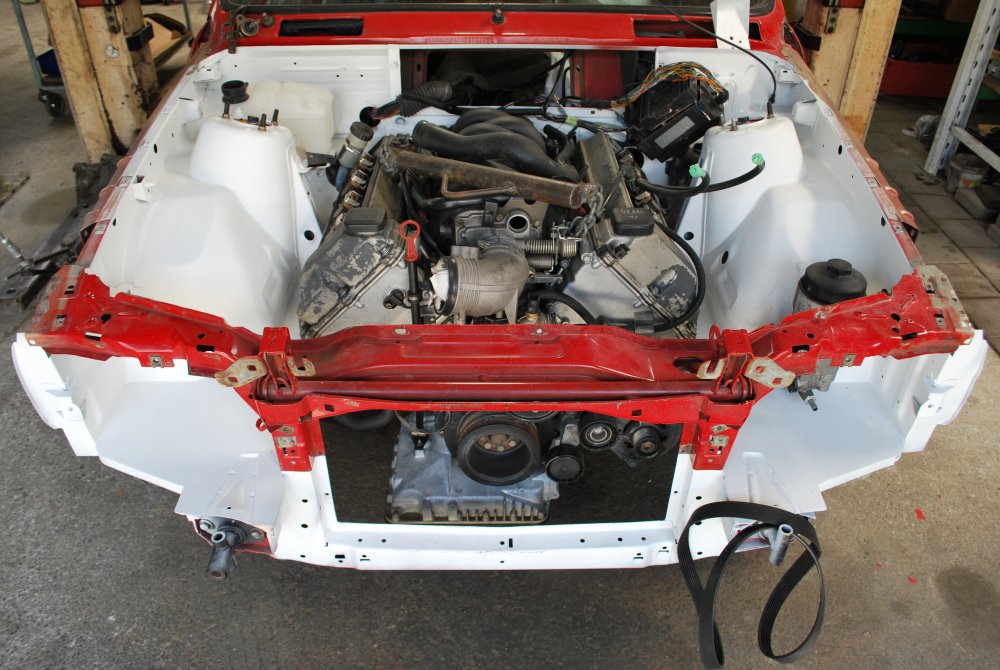
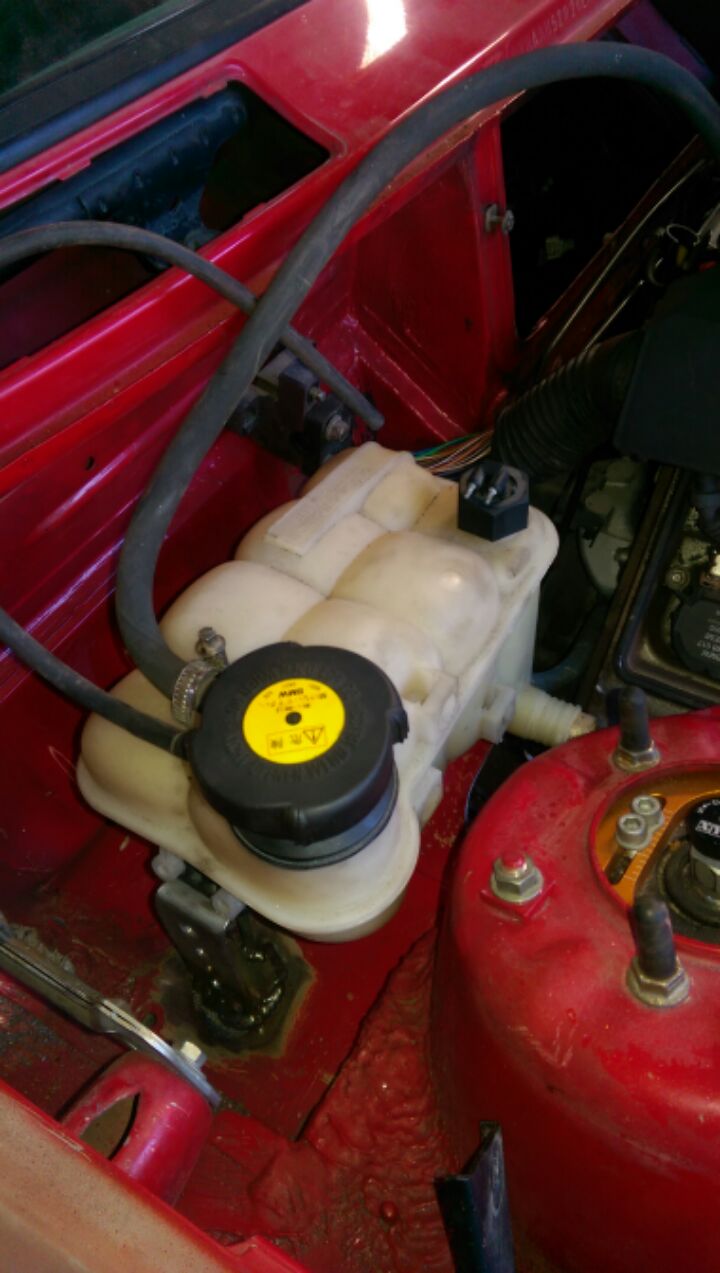
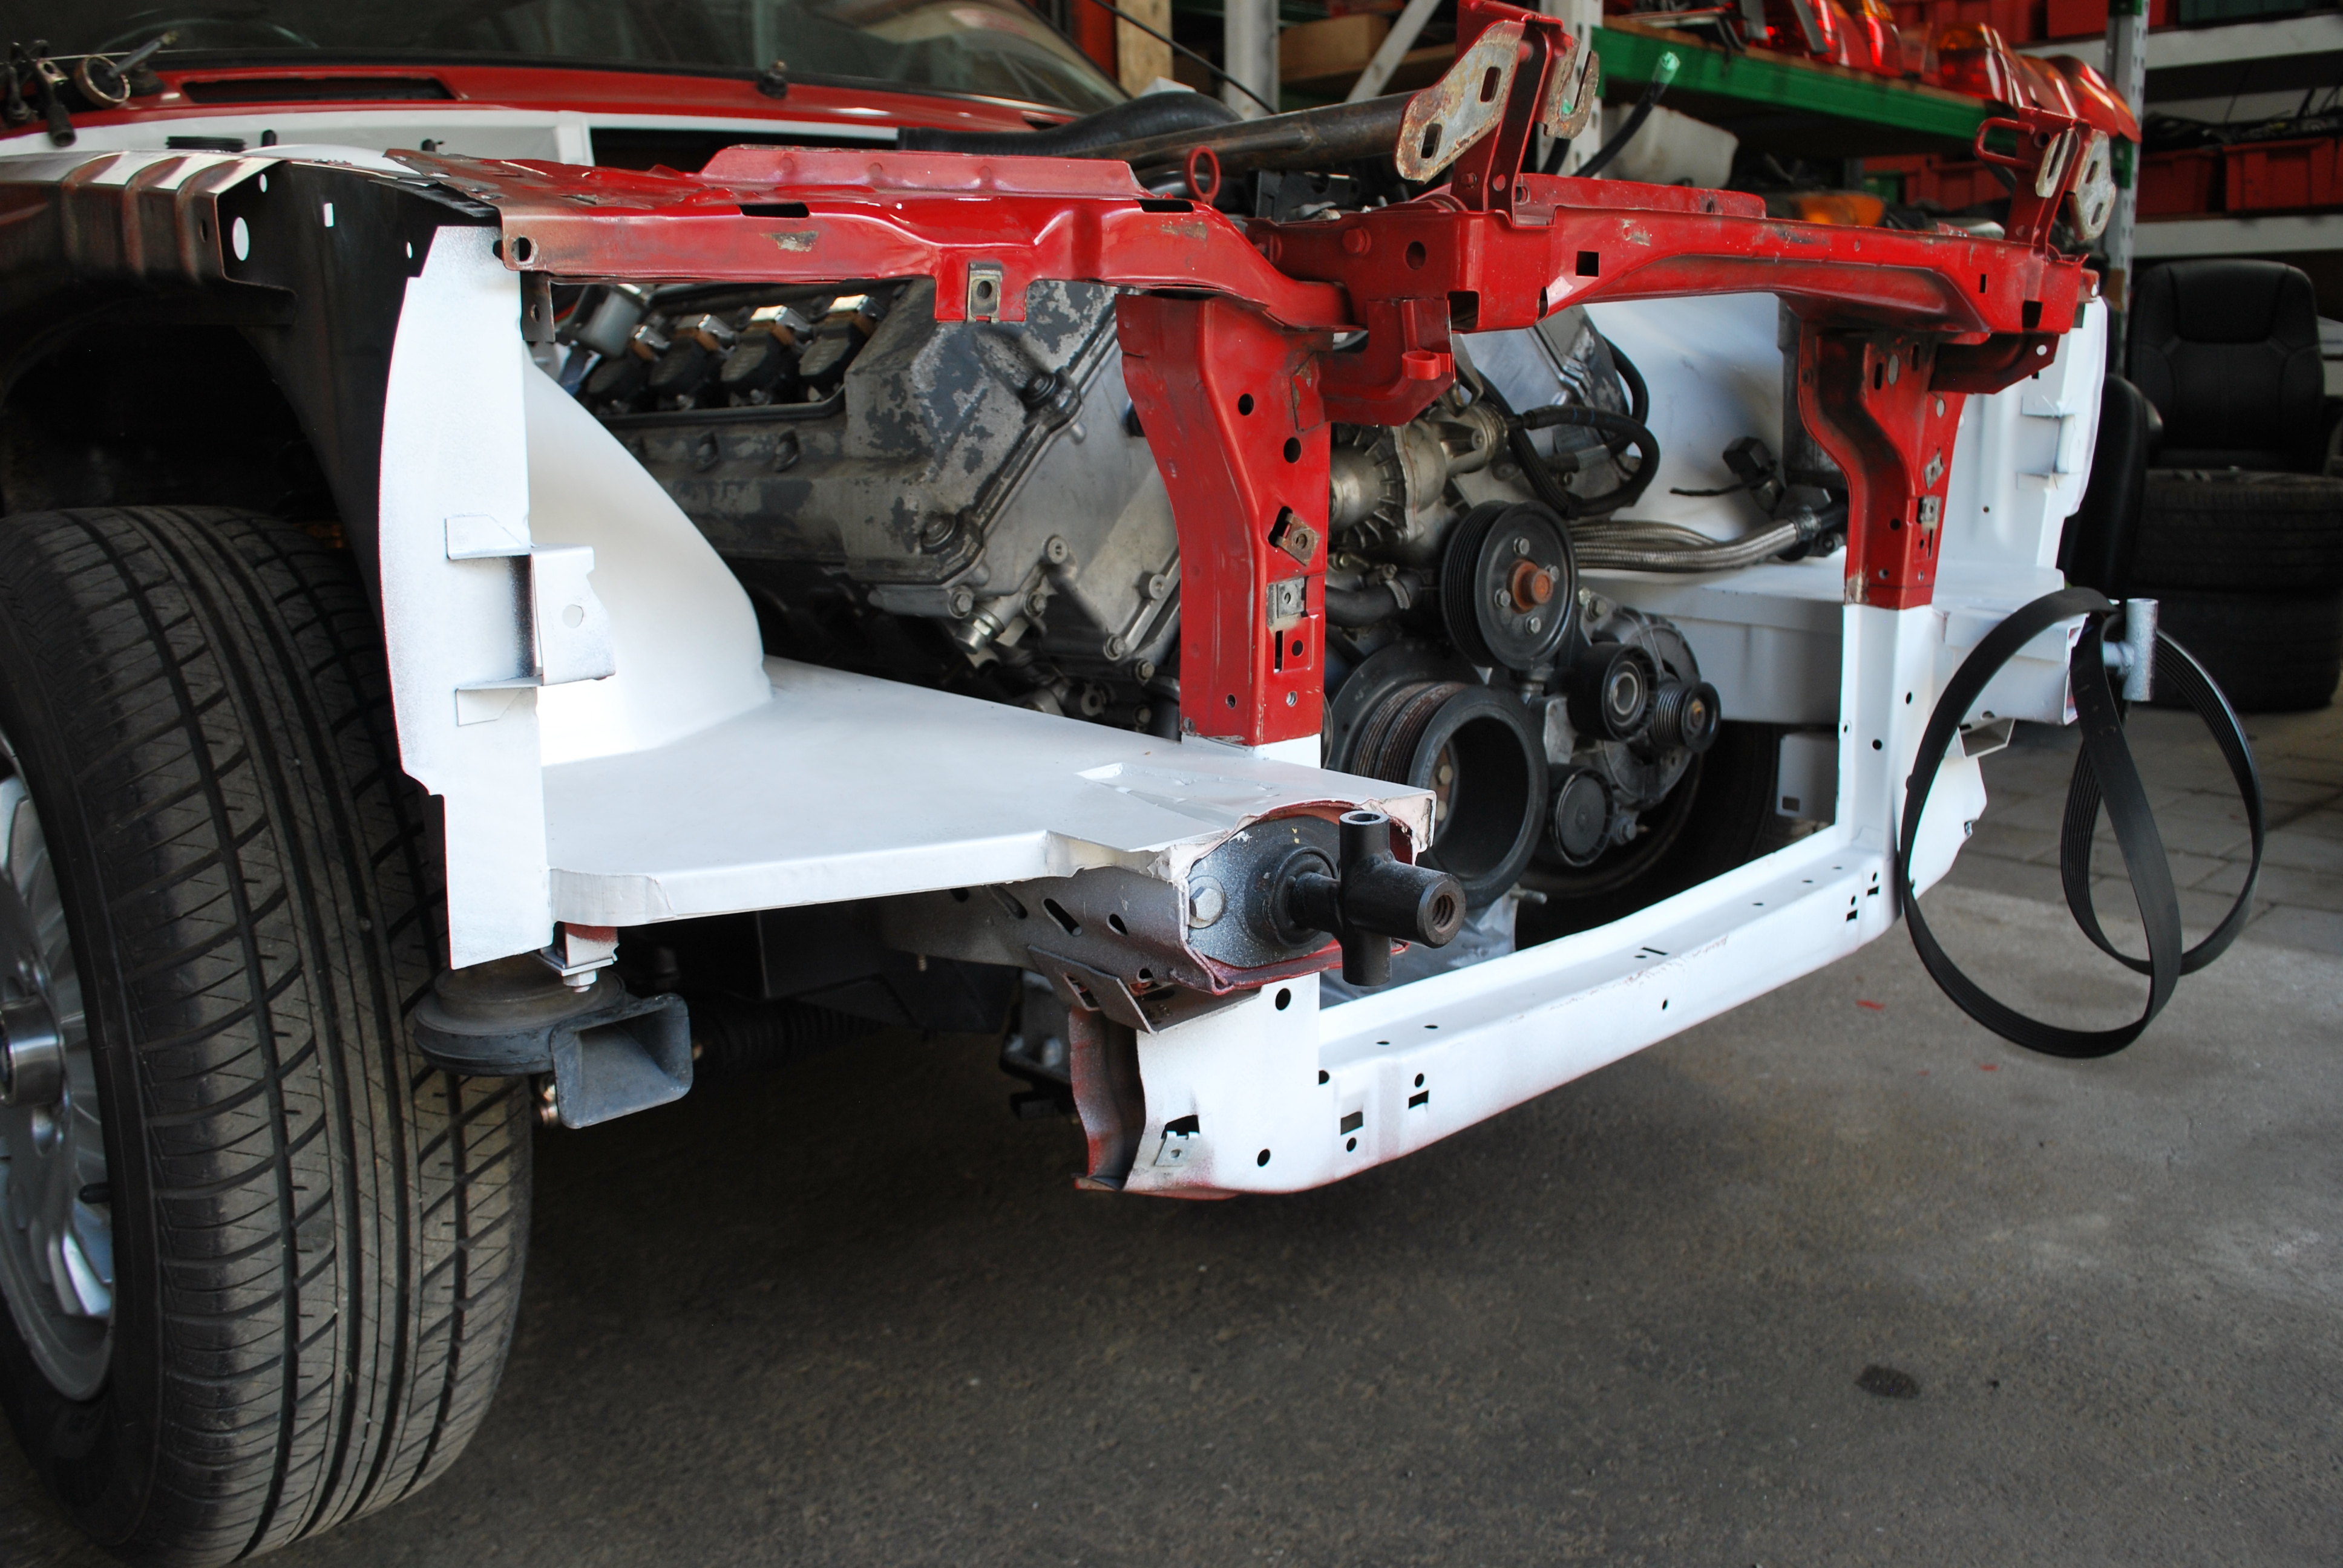
With the engine mounted it was time to focus on the engine bay and the location of the remote oil filter, power steering reservoir and coolant expansion tank, keeping in mind i wanted an uncluttered, smooth and clean bay. Cheers to Kerry for his time, efforts and communication at this point, where he nailed exactly what i had a vision for in this stage.


Im running a Mishimoto e36 aluminium radiator, so this was mocked up to check clearances
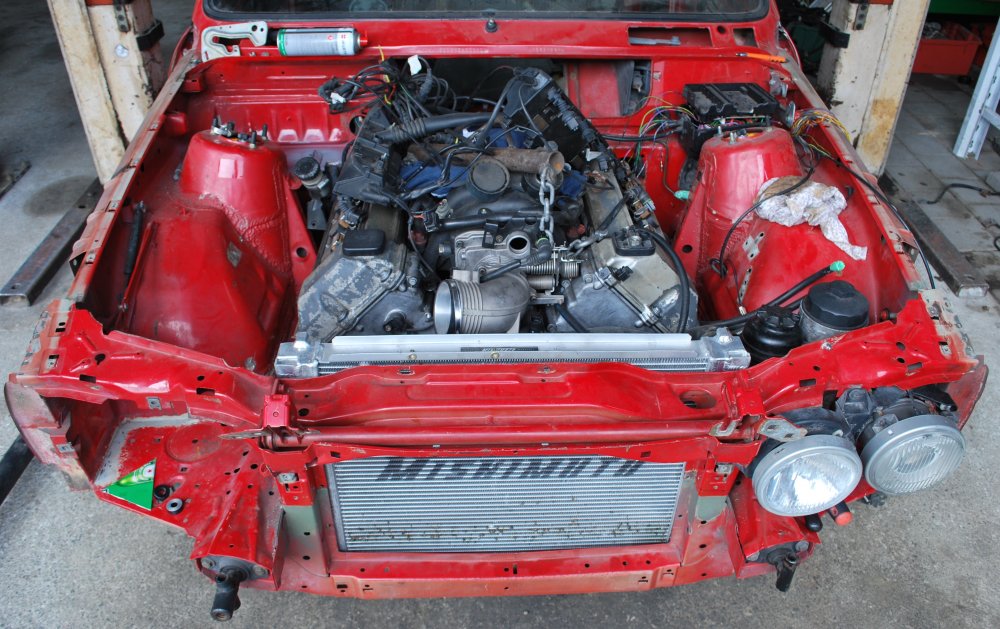
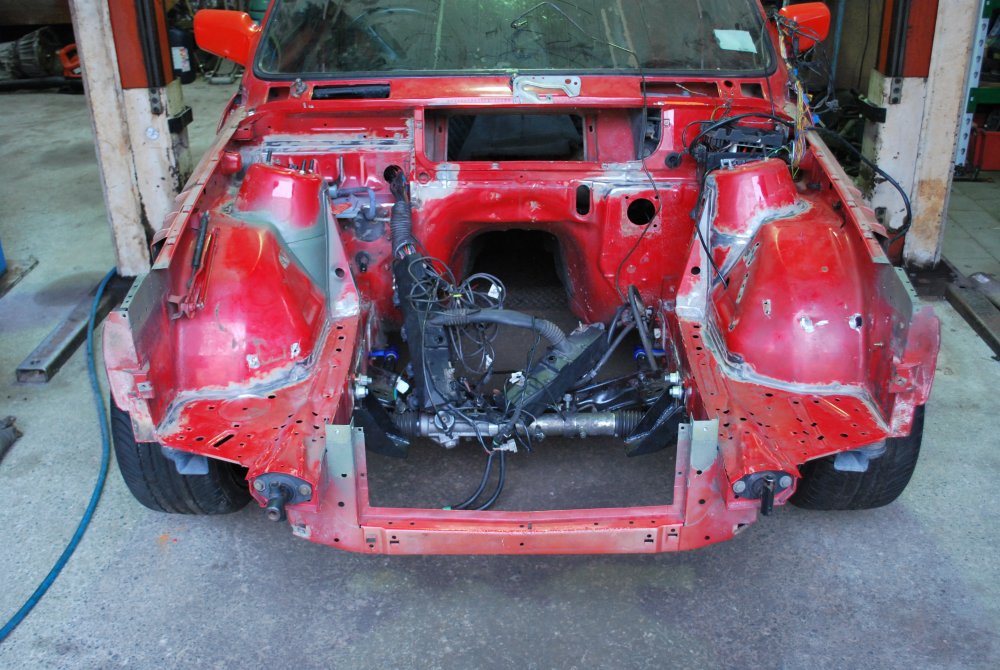
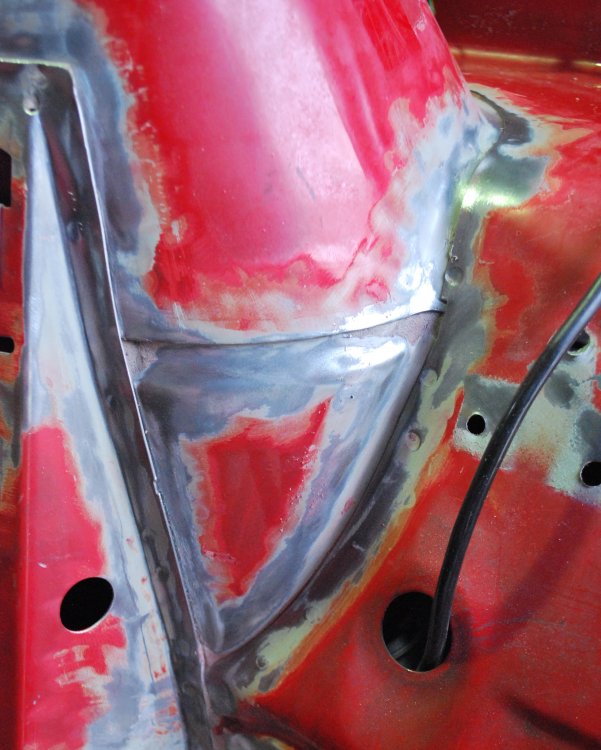
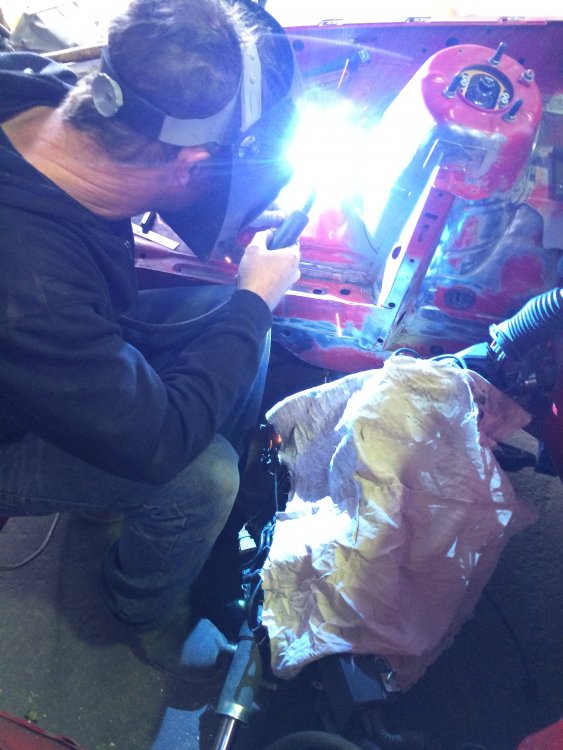
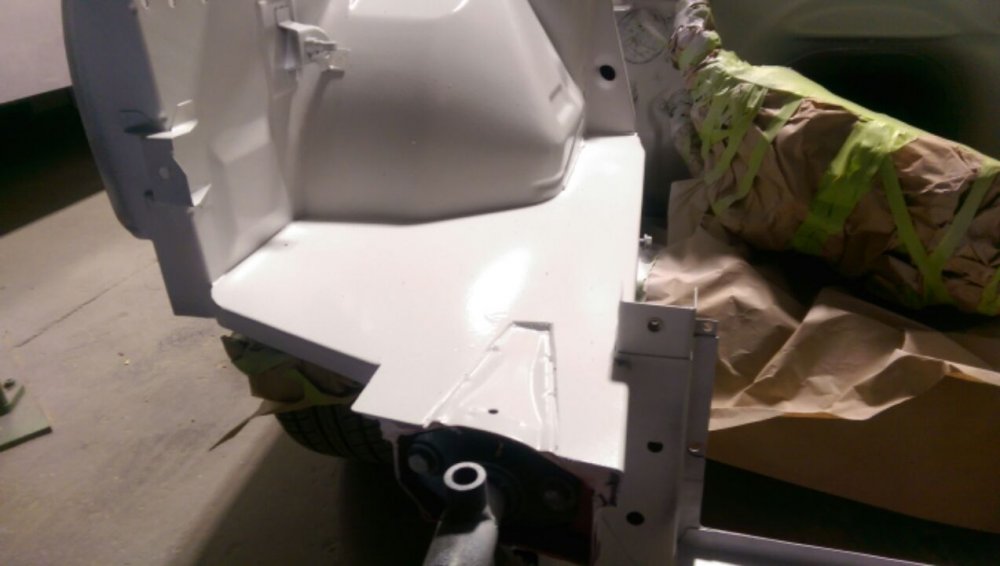
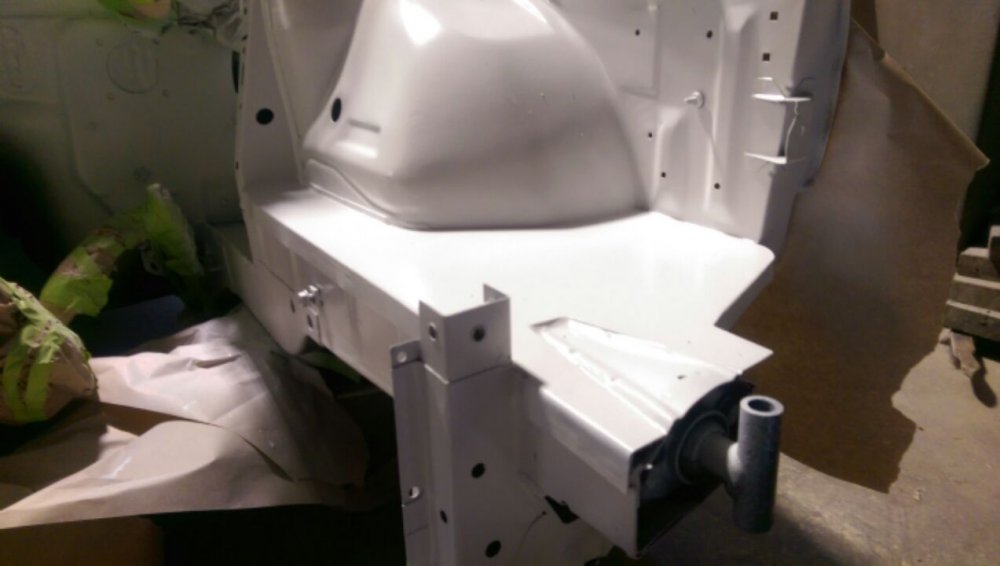
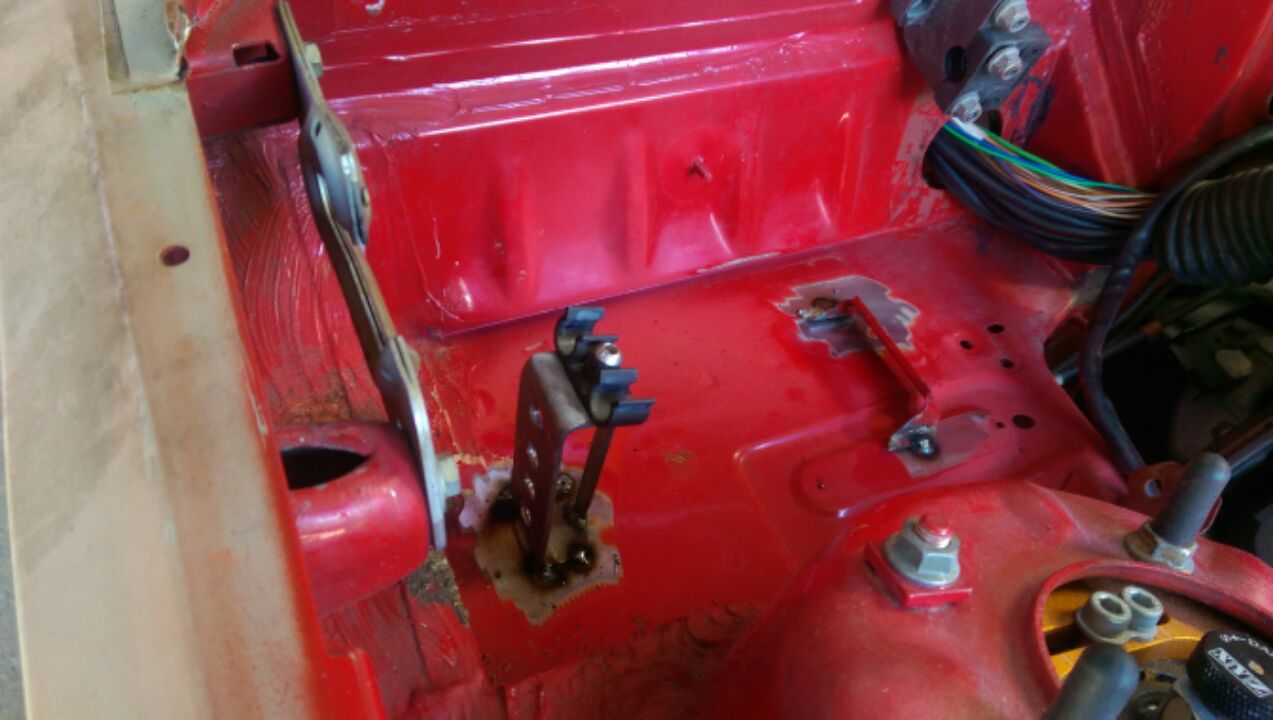
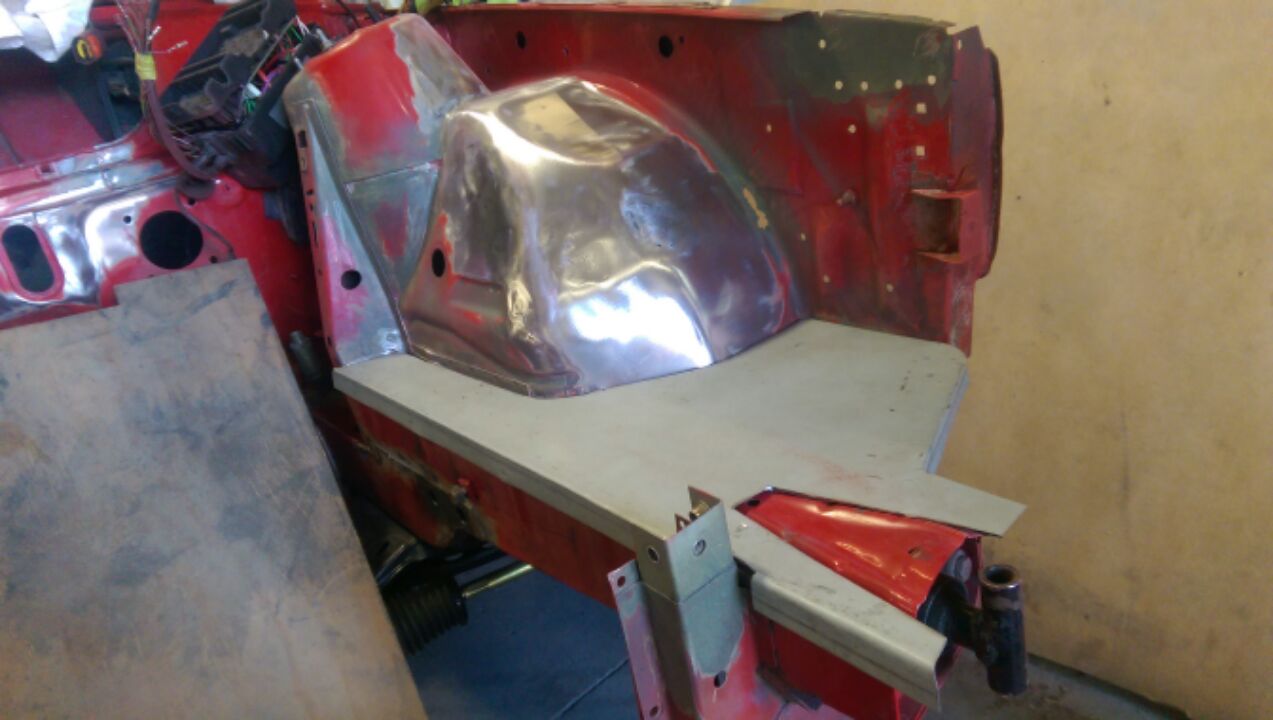
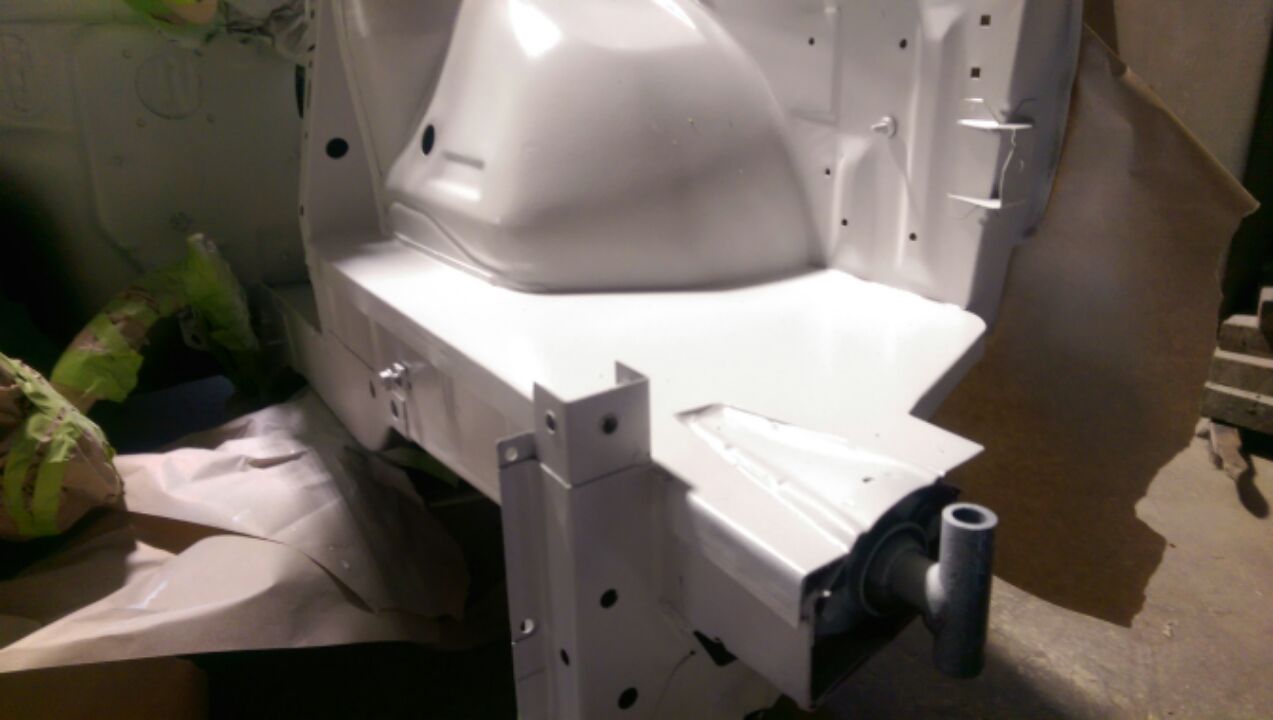
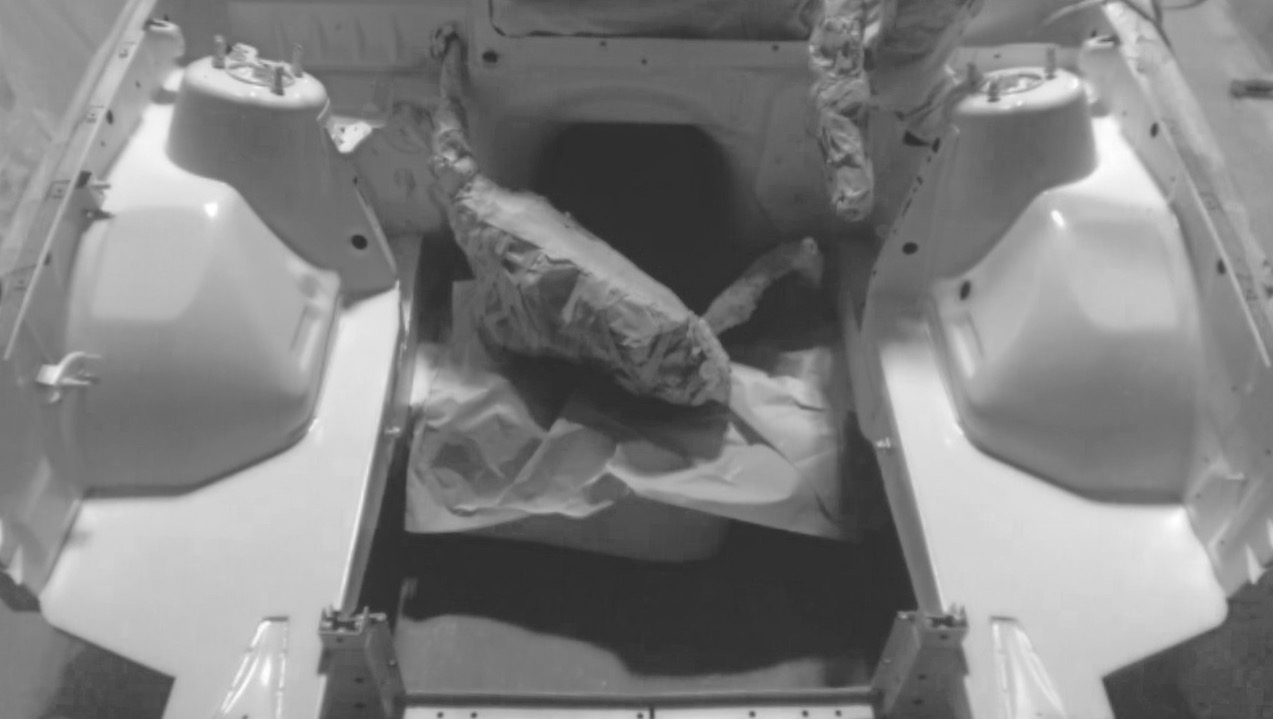
With everything starting to come together, the vision was becoming a reality so it was time for me to prep the bay to keep things moving forward. The messy job of removing all the ugly factory seam sealer for that smooth and shaved bay, filling in holes and getting some flat plate installed was a must for my vision. Jonseys Garage carried out the fabrication of the flat plates and getting the bay sprayed in primer, how good did that white look! Bringing back memories!
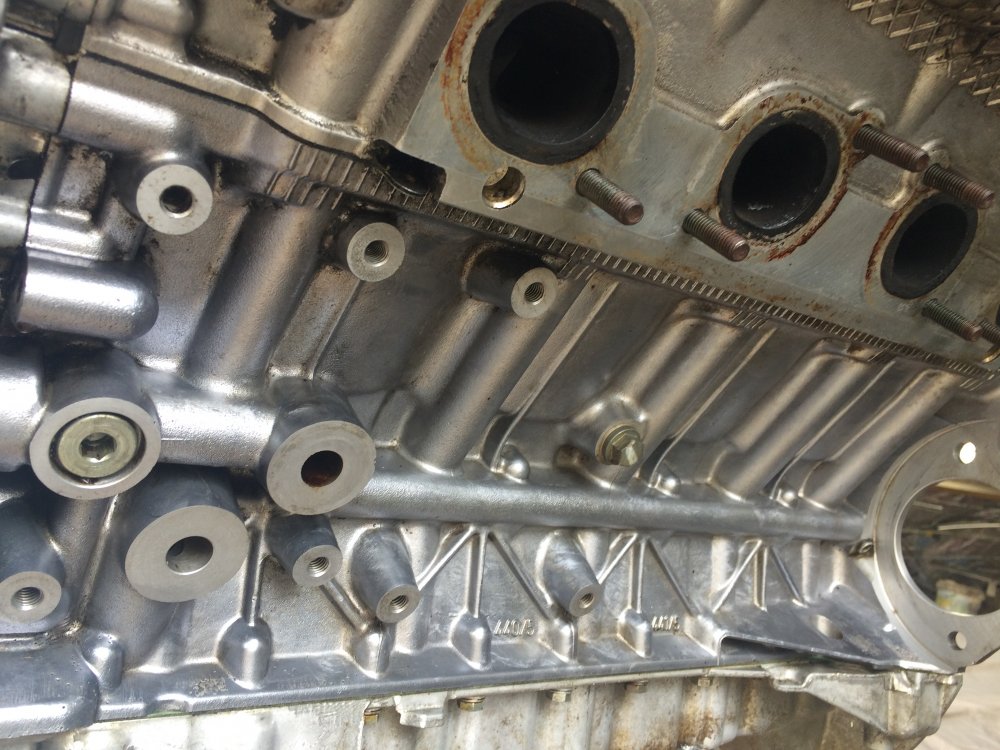
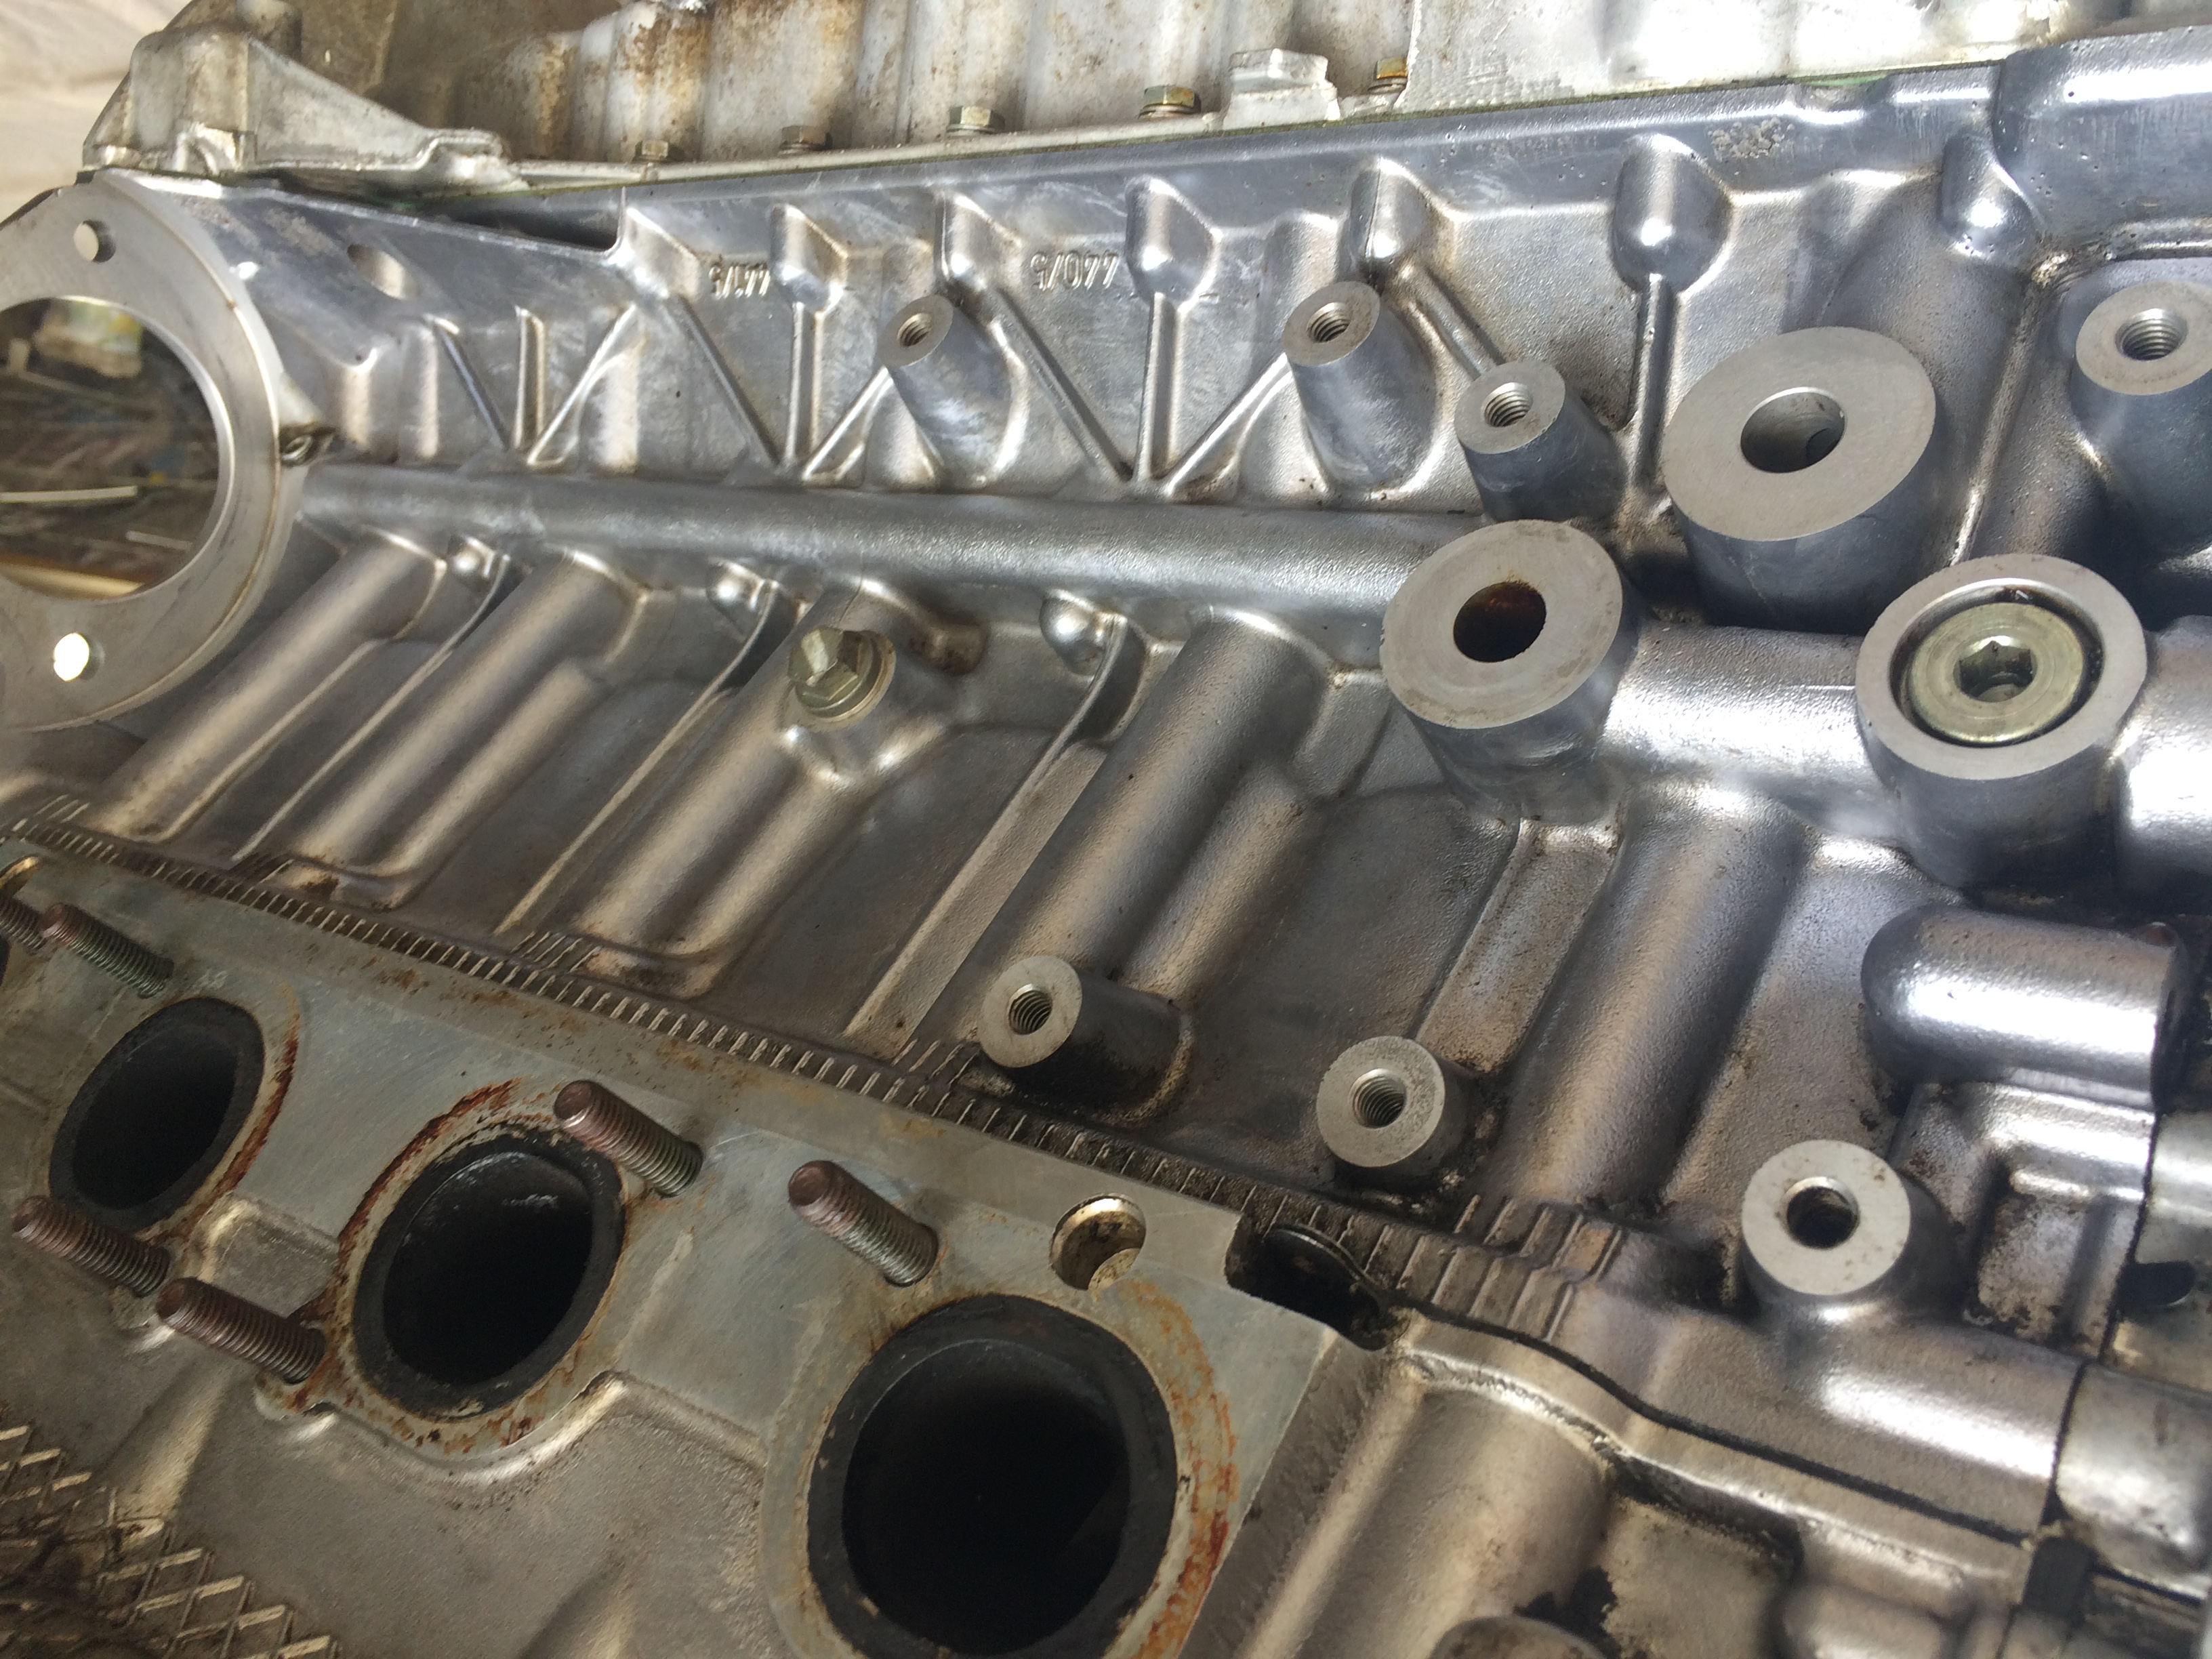
while the engine was out i couldn't resist getting stuck into cleaning the block up, so with a tooth brush and 3-4 hours later, this was the result


-
4
-
-
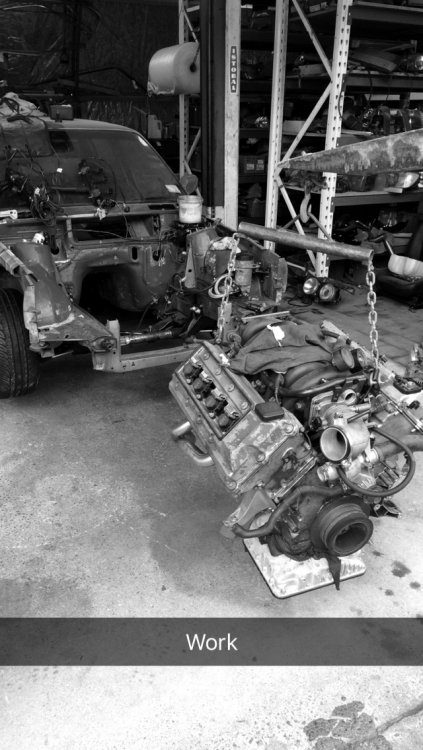
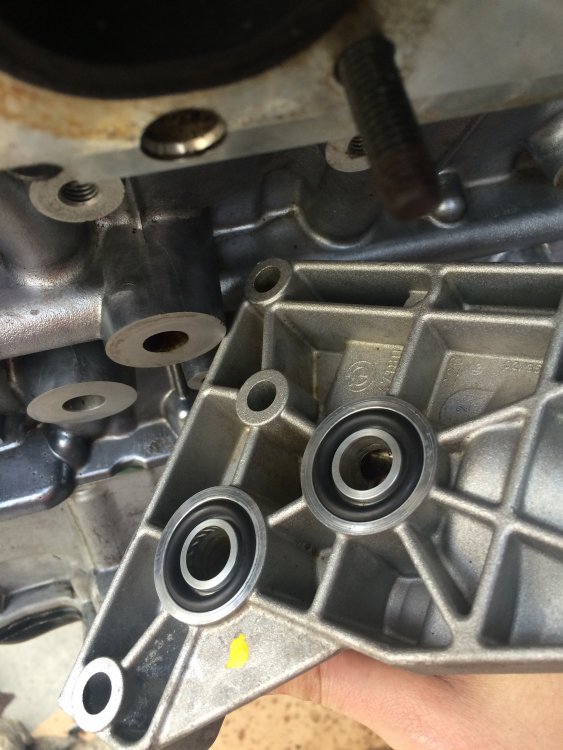
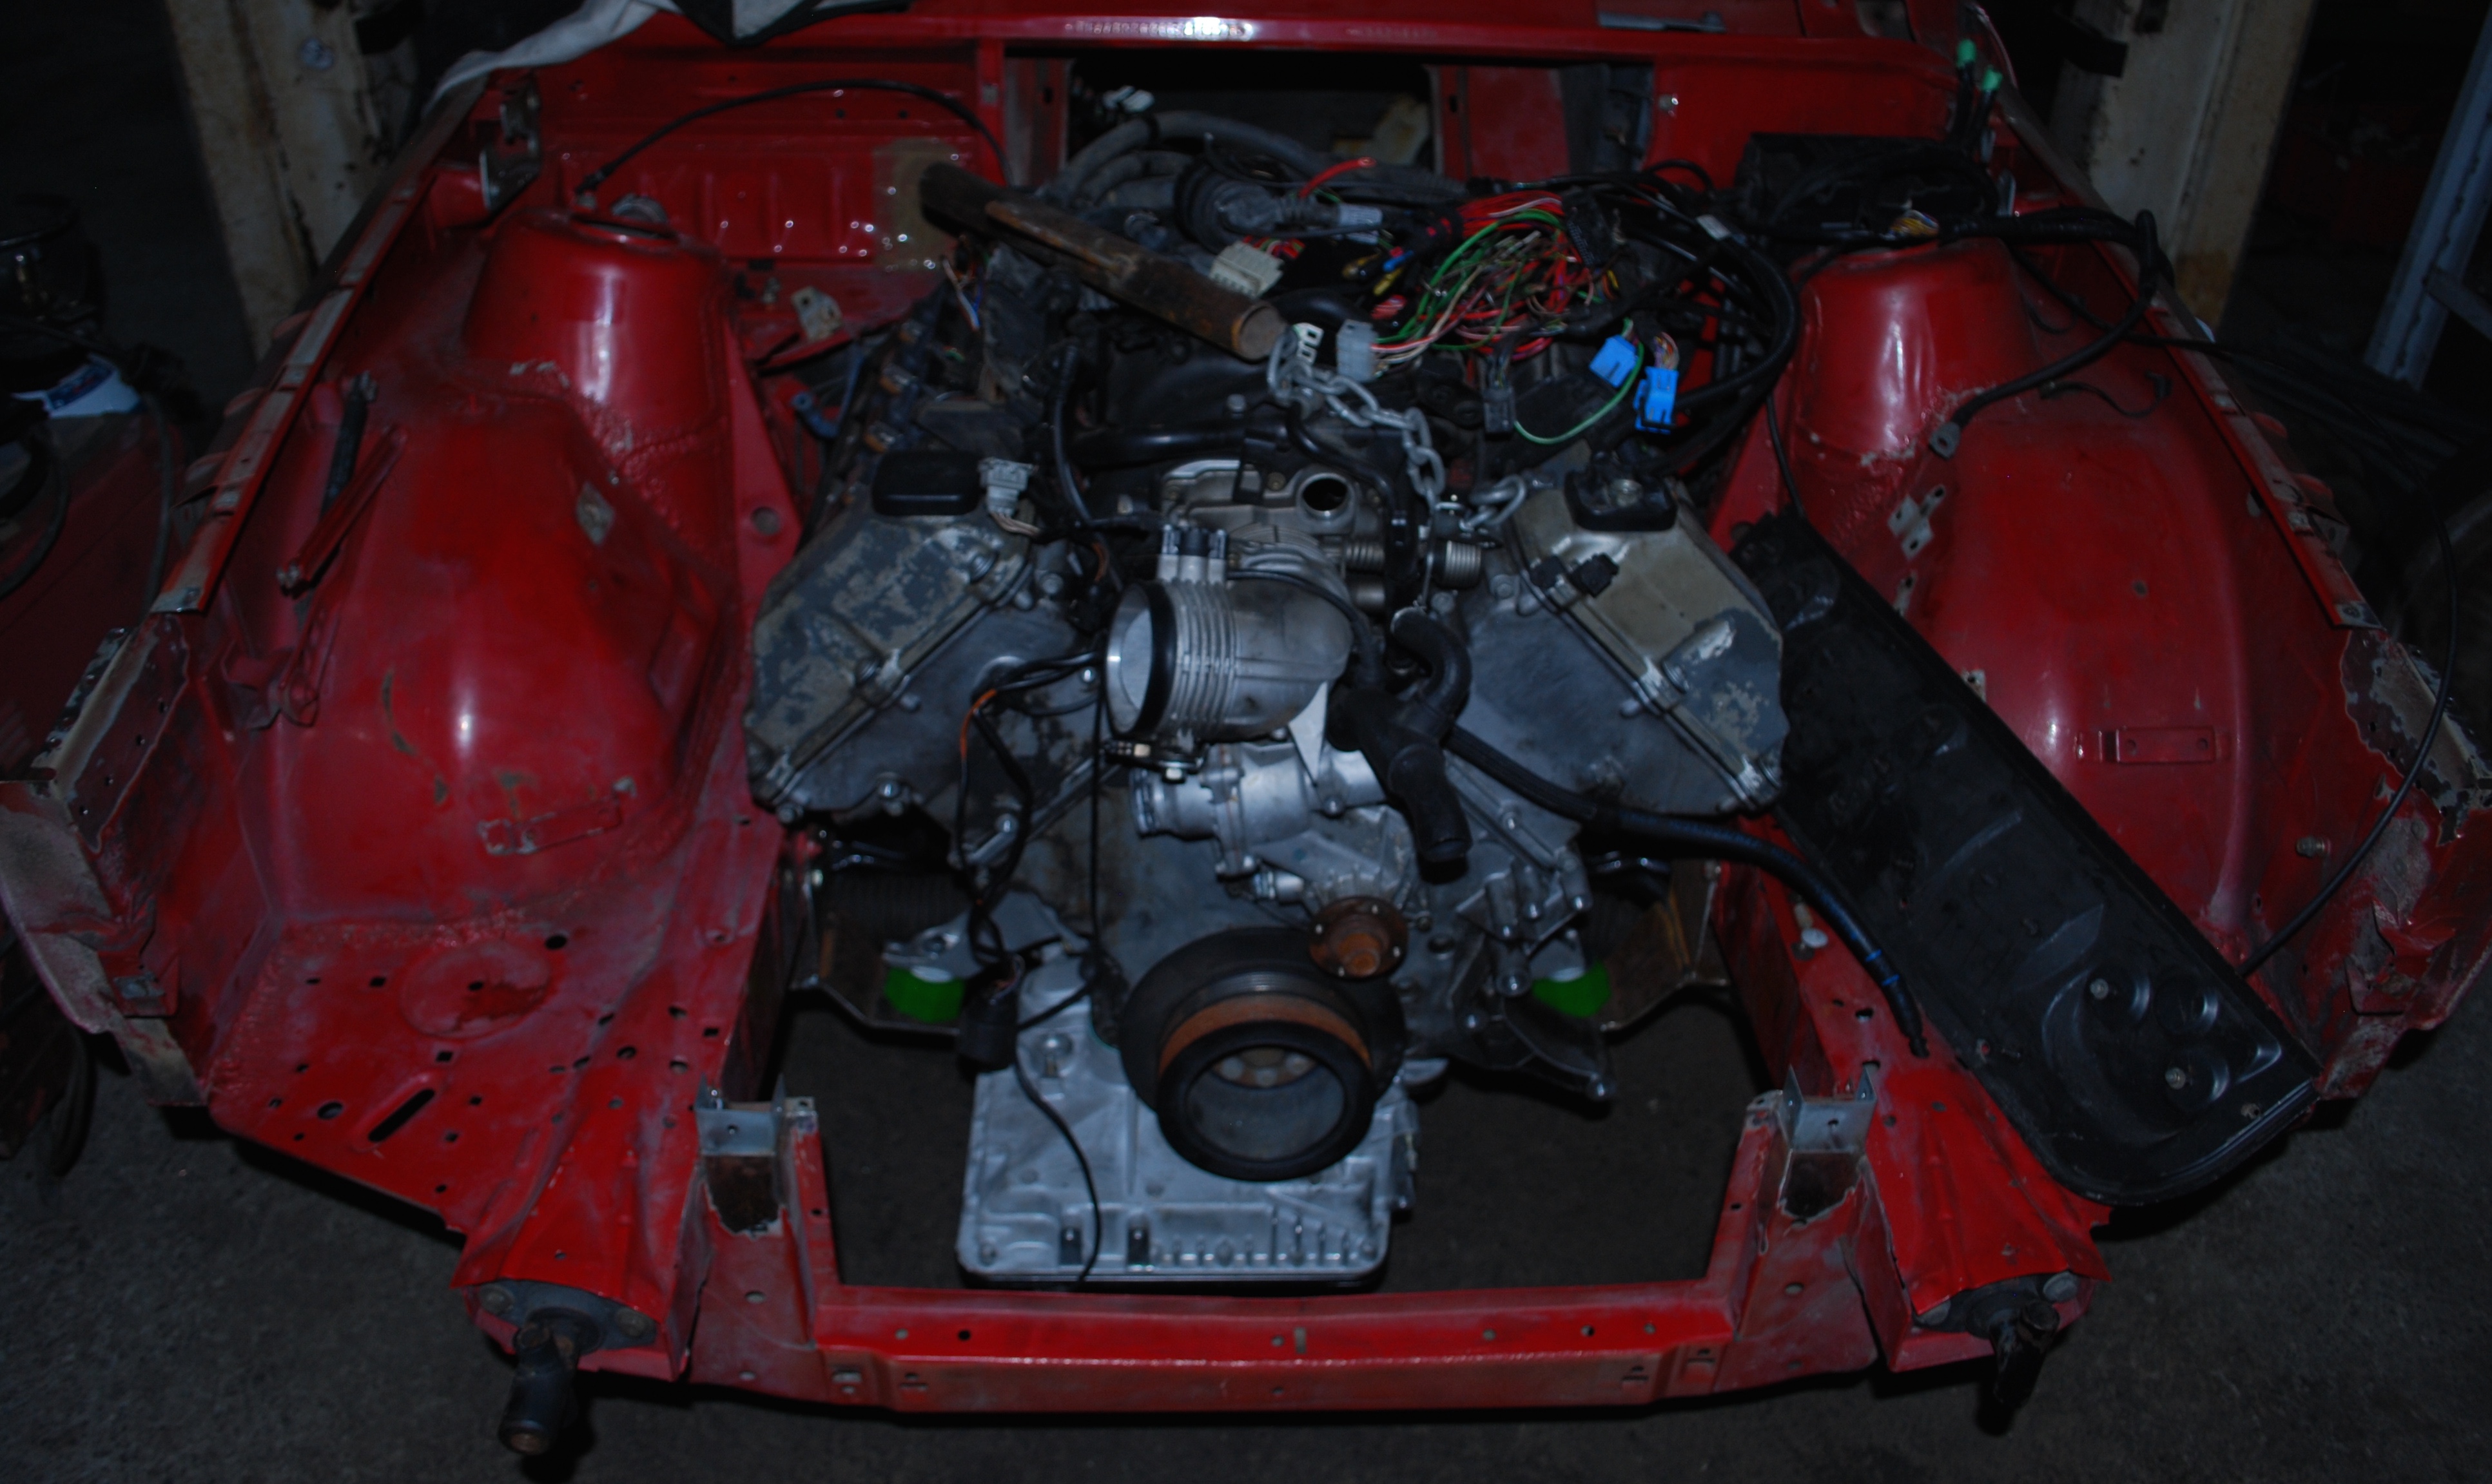
Next came time to test fit the engine with the Garagistic engine mounts and subframe spacers i had purchased for the ease of a bolt in application. I got fellow member will to help out with this side of things.
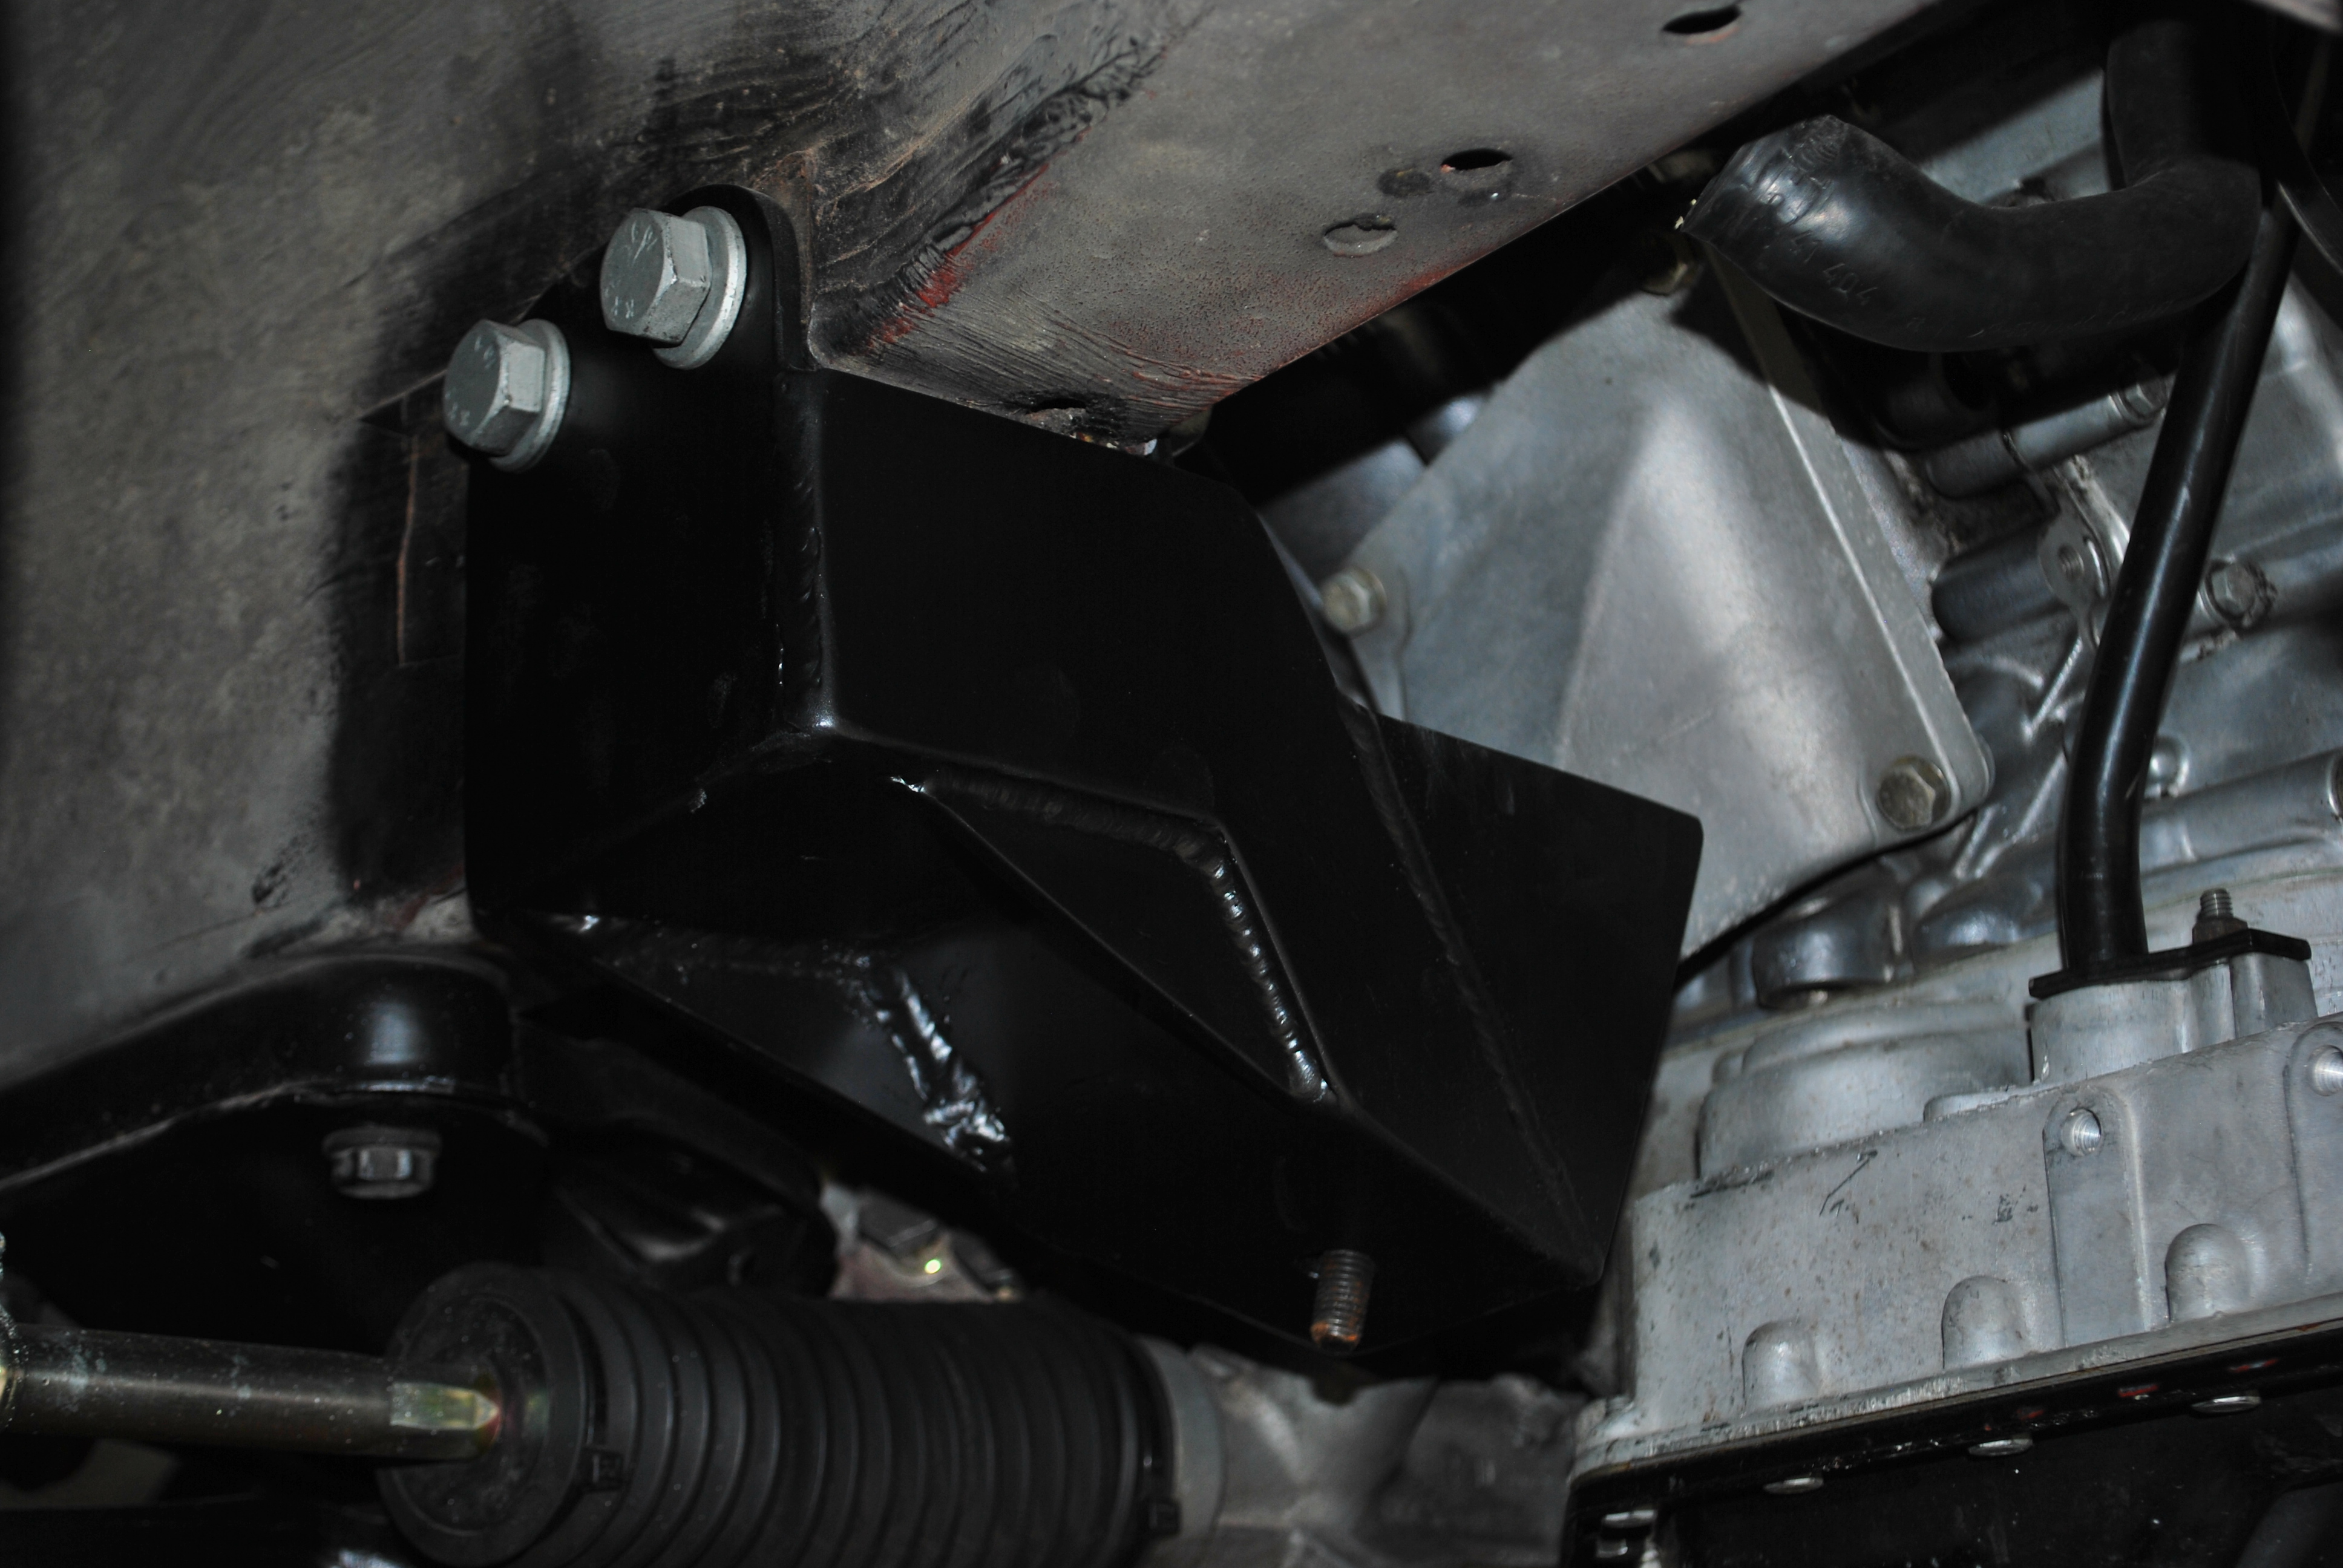
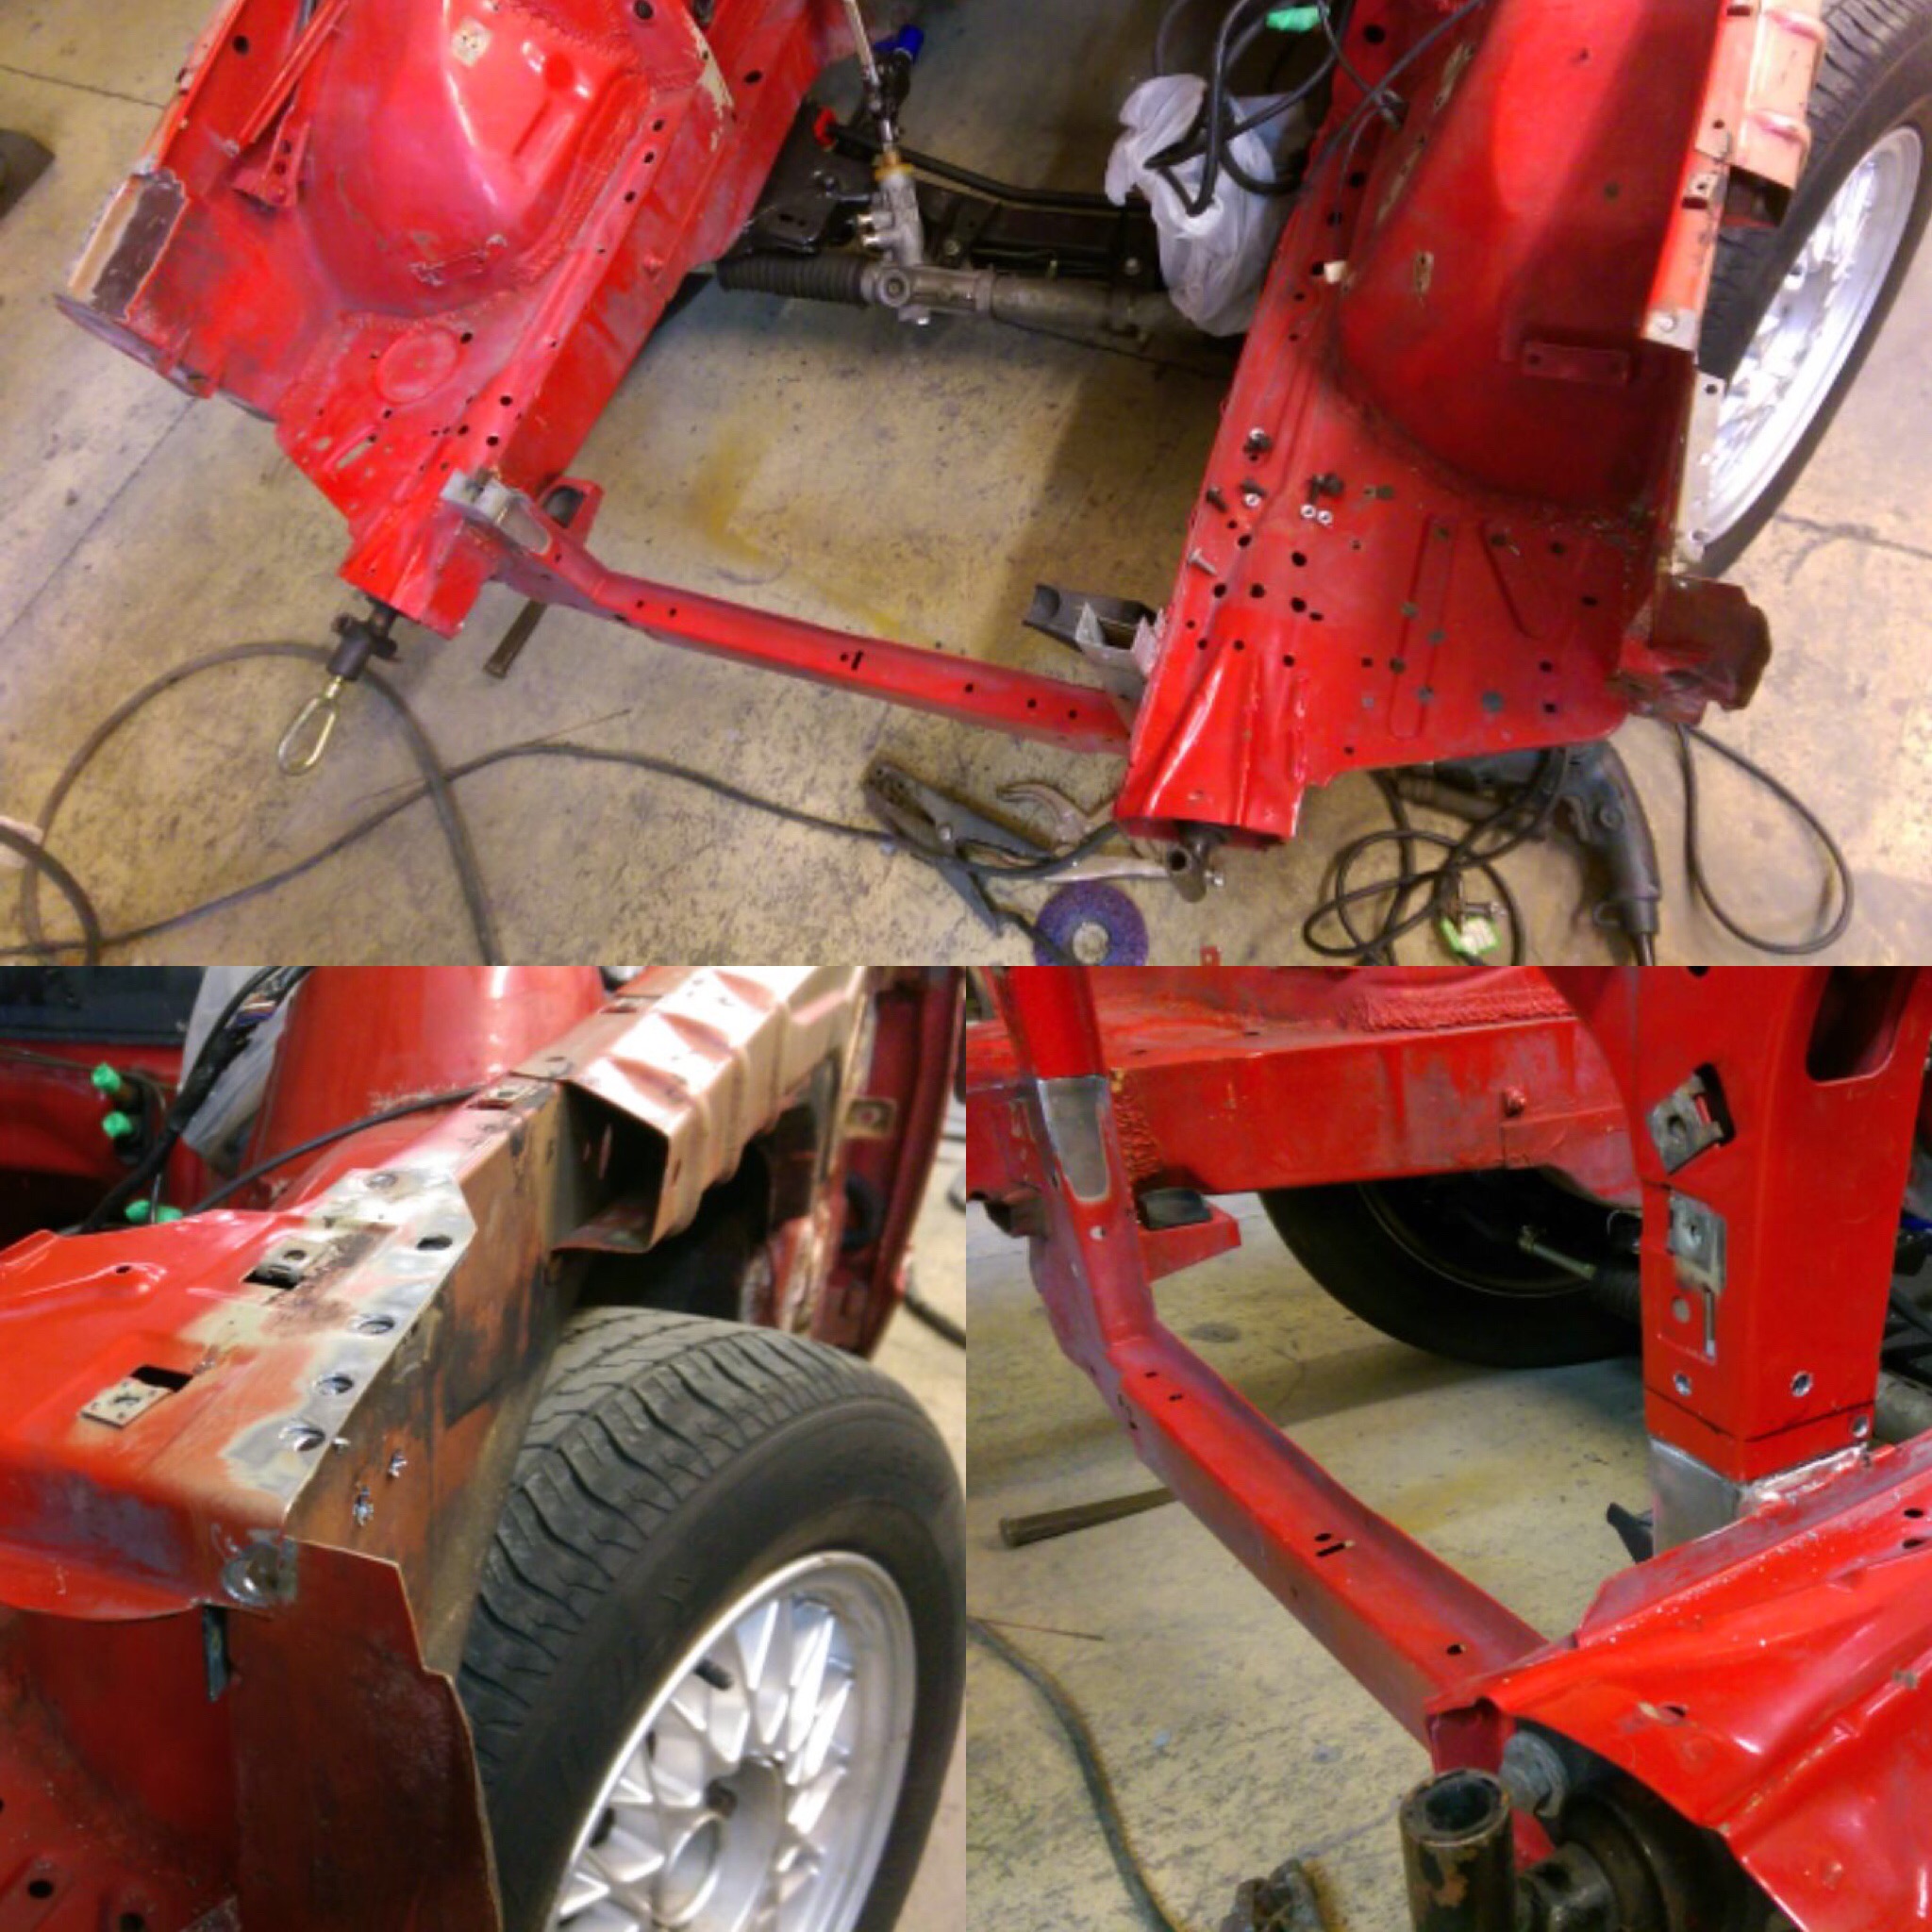
This discovered the kit design to have a few flaws, mainly the angle of the mount to the subframe, the fact that the steering geometry gets messed up by spacing the subframe down 20mm and there is no provision for the oil lines that run through the factory mounting arms and into the block. The decision was made to move on from the kit and custom fabricate some engine mounts and mount them off the chassis rails as will has done in the past, and also allowing the entire front subframe, steering rack and suspension to be removed while the engine can remain in the car.
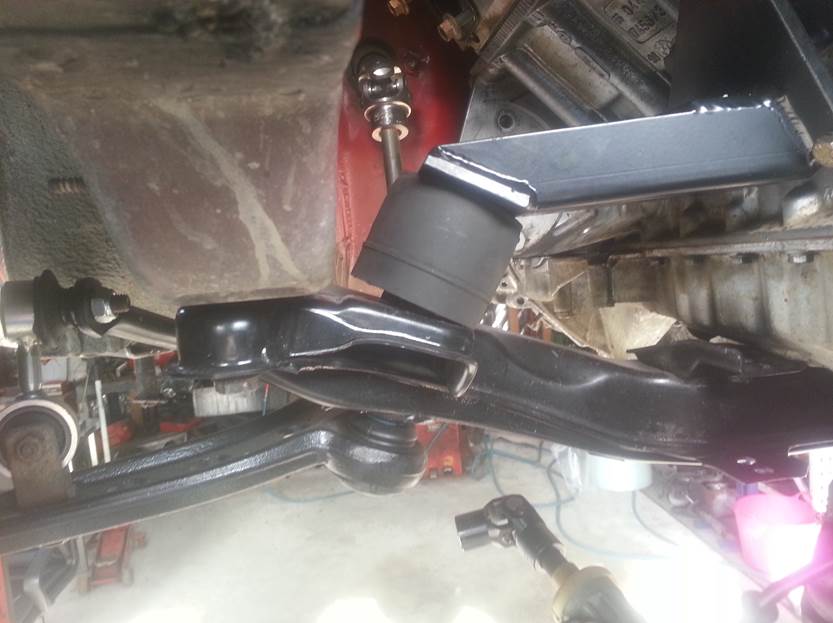
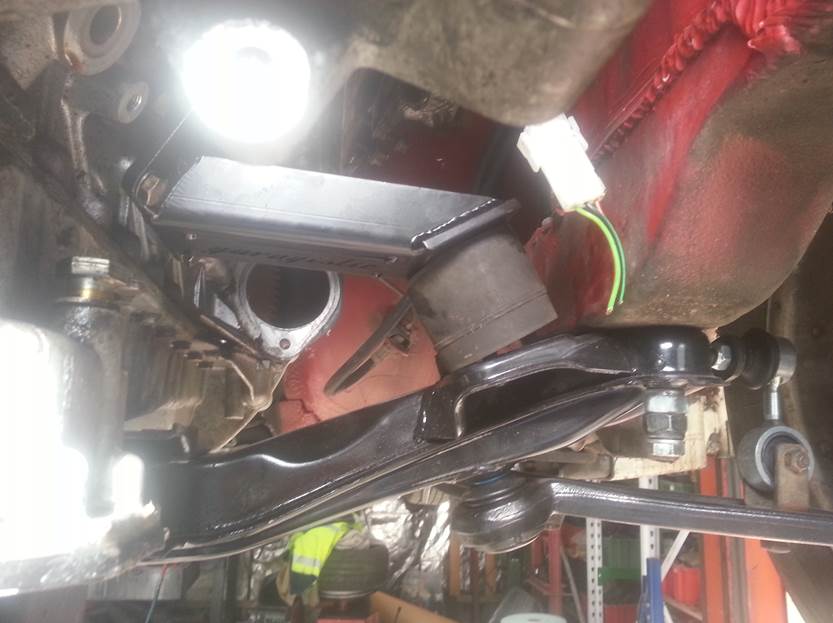
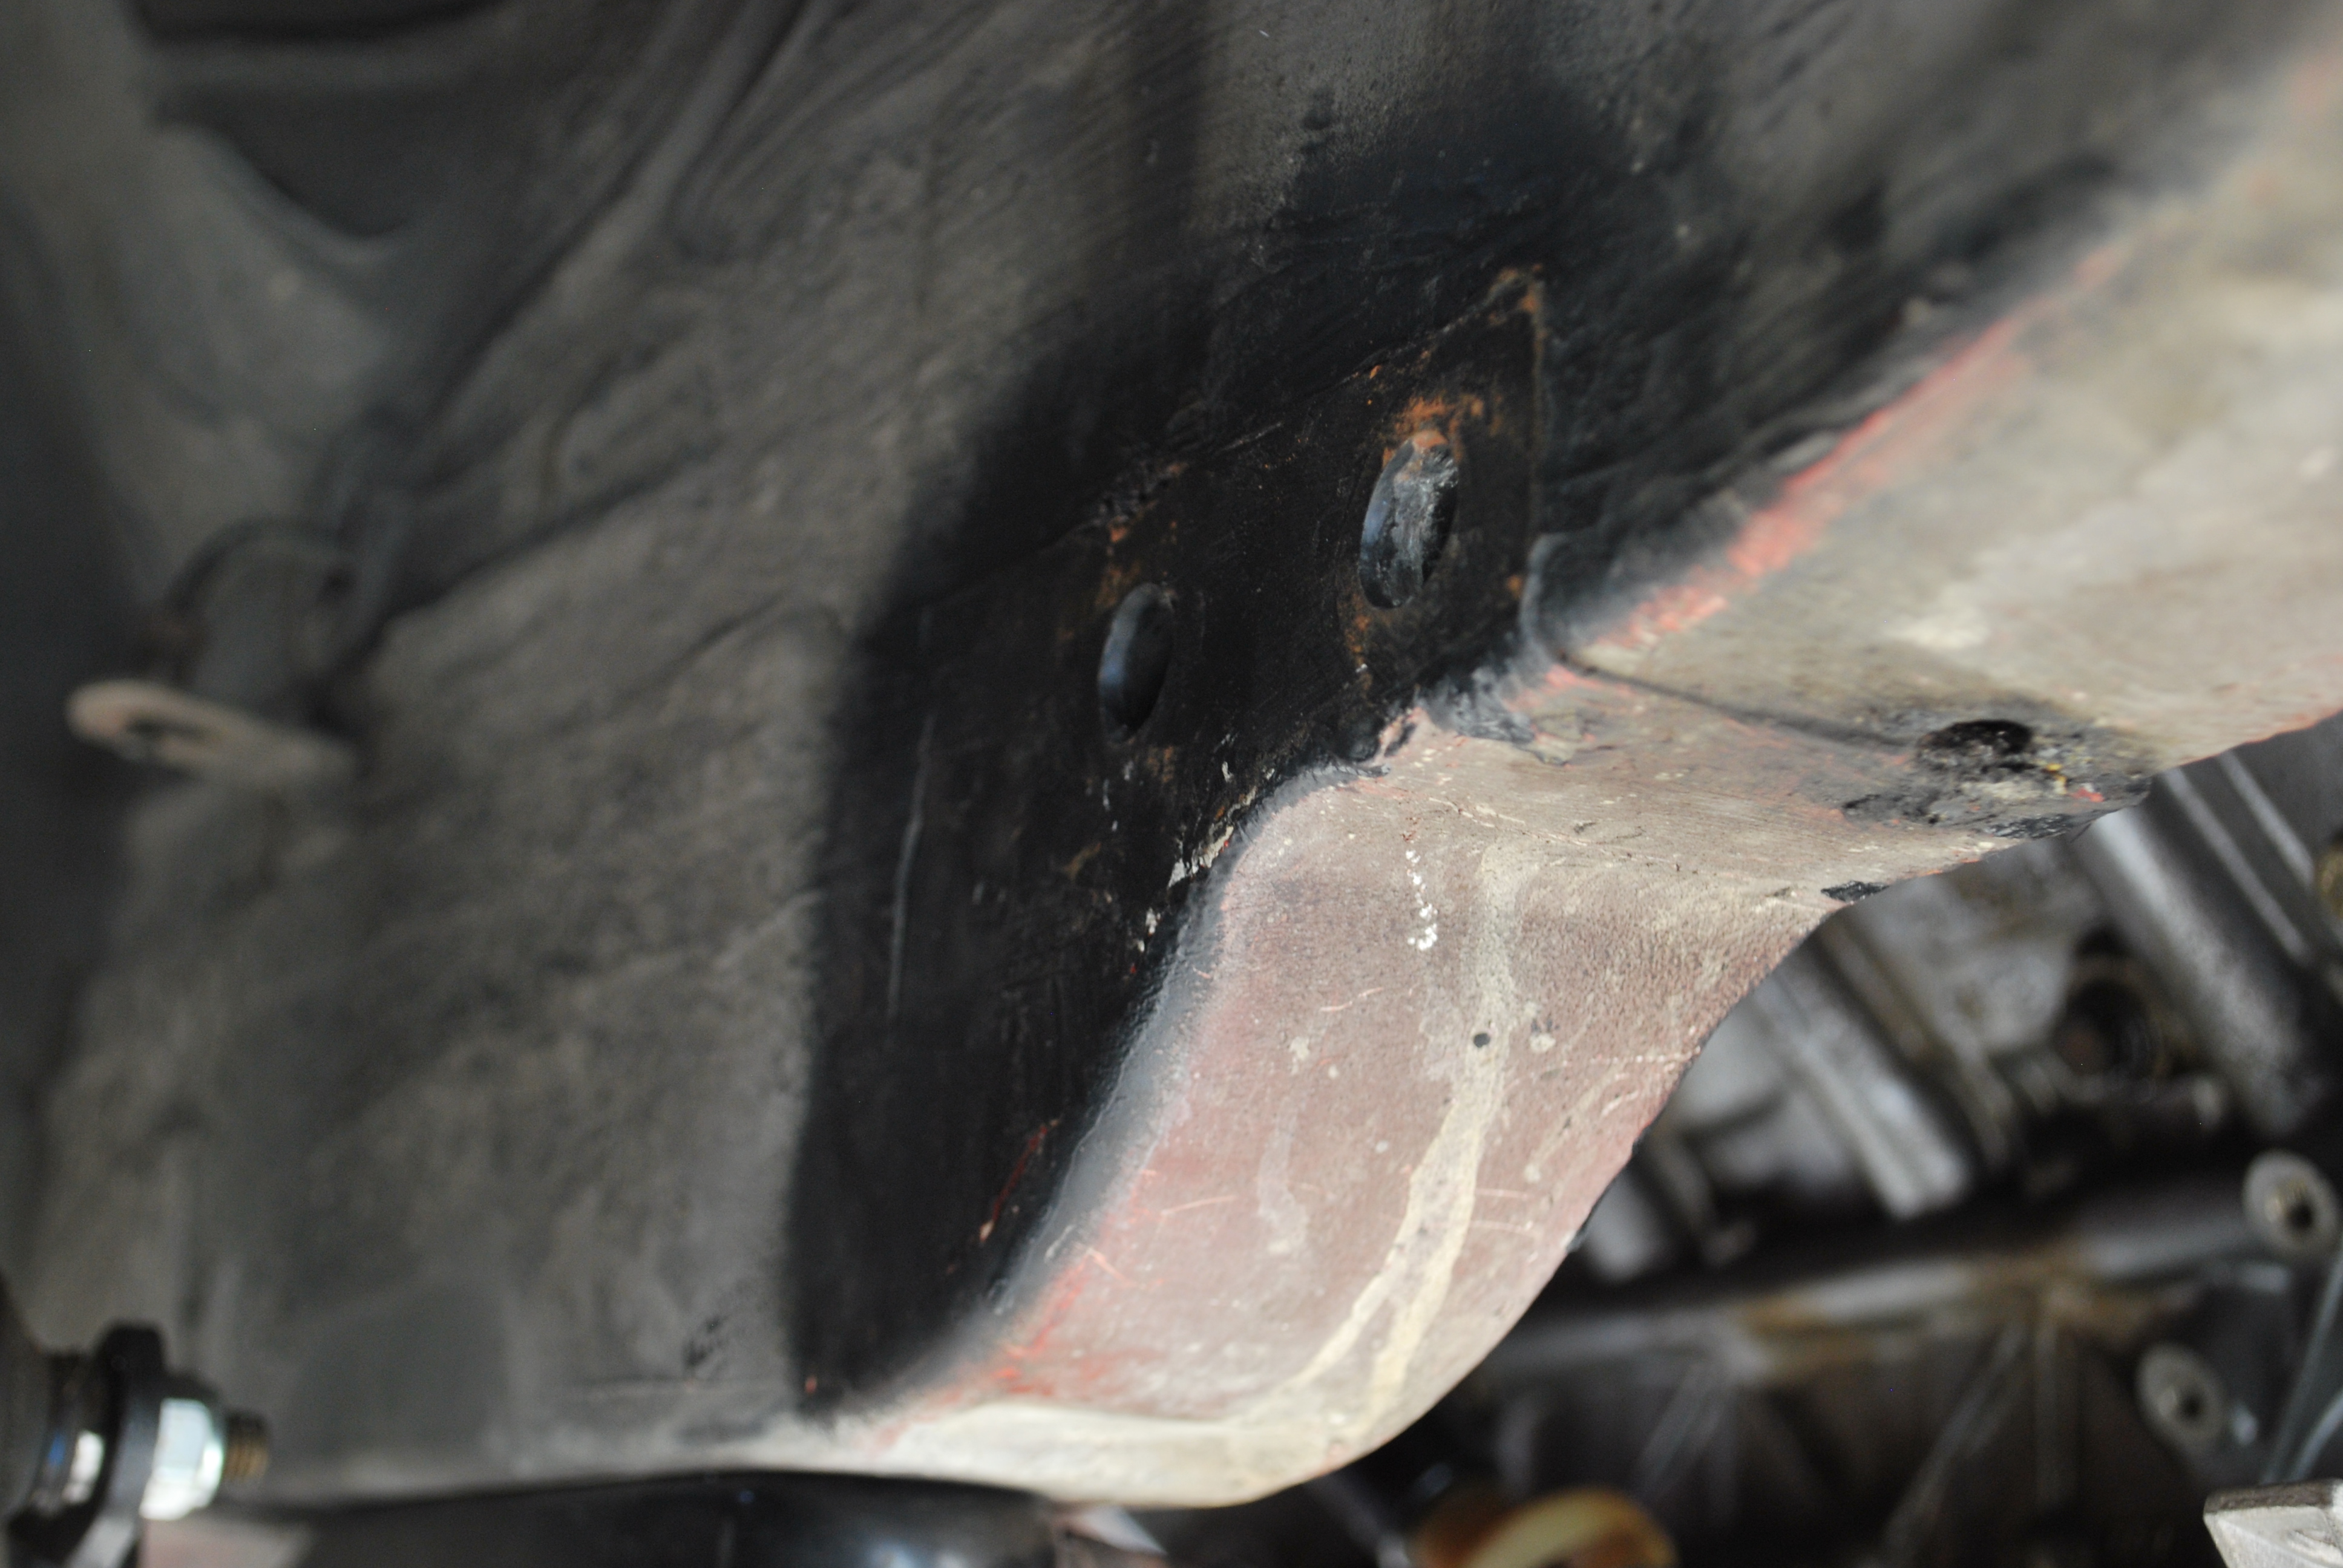
Finished mounts installed, with crush tubes located within the middle of the chassis and gussets to prevent the engine moving forward in a frontal impact, as requested by the certifier upon inspection. This allowed us to locate the engine where we thought was best to give us enough room behind and infront, and as low as possible, and also allowed us to run the factory m62 engine arms with the oil lines running through them and into the block.
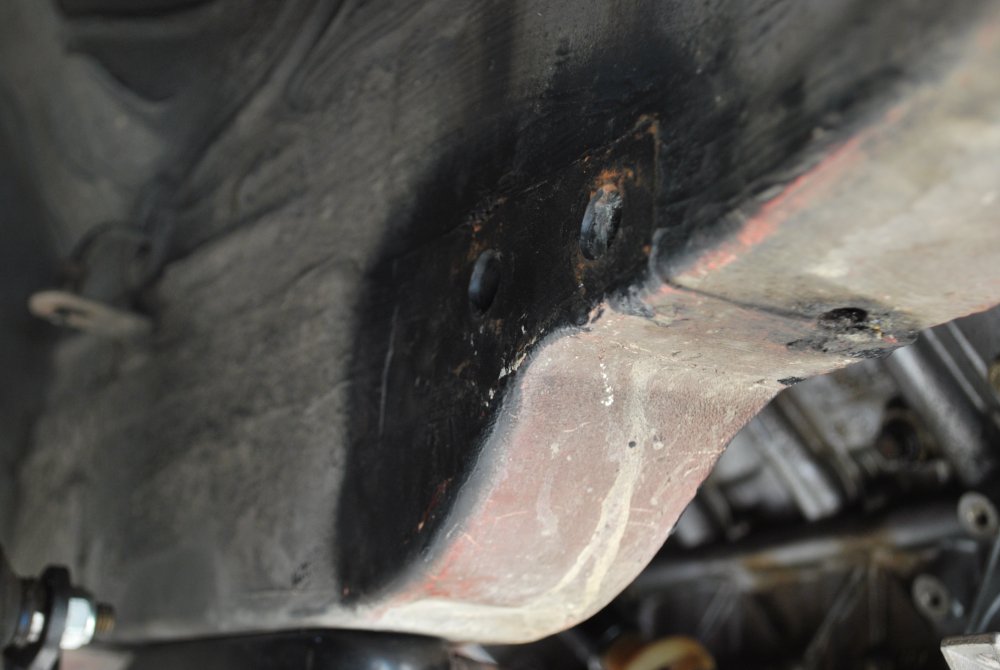
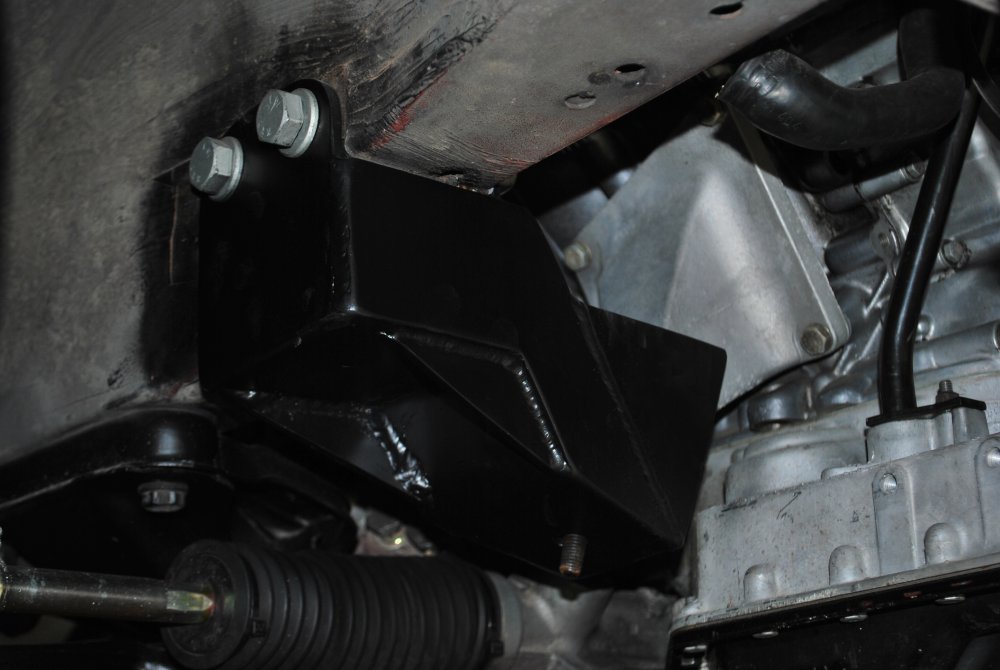
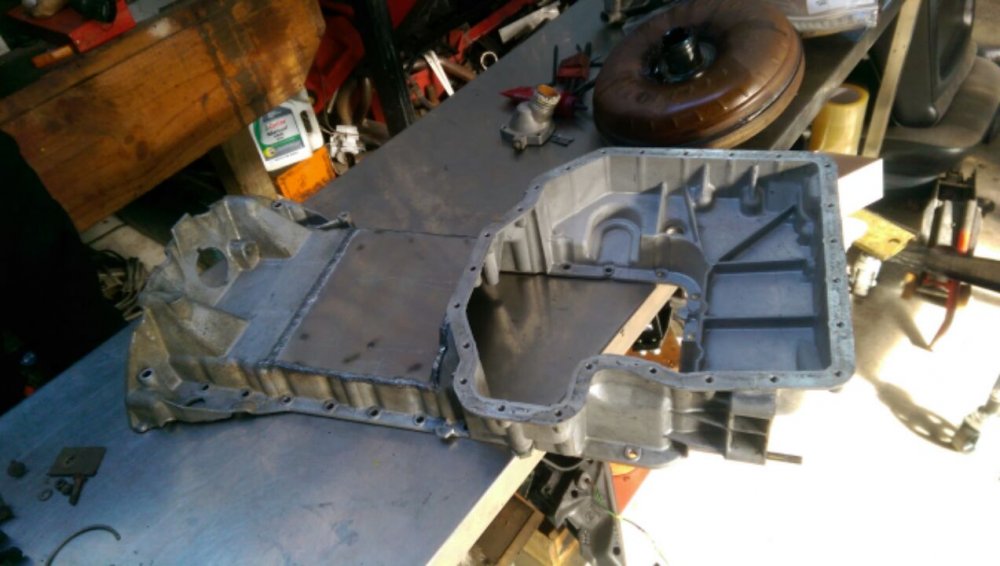
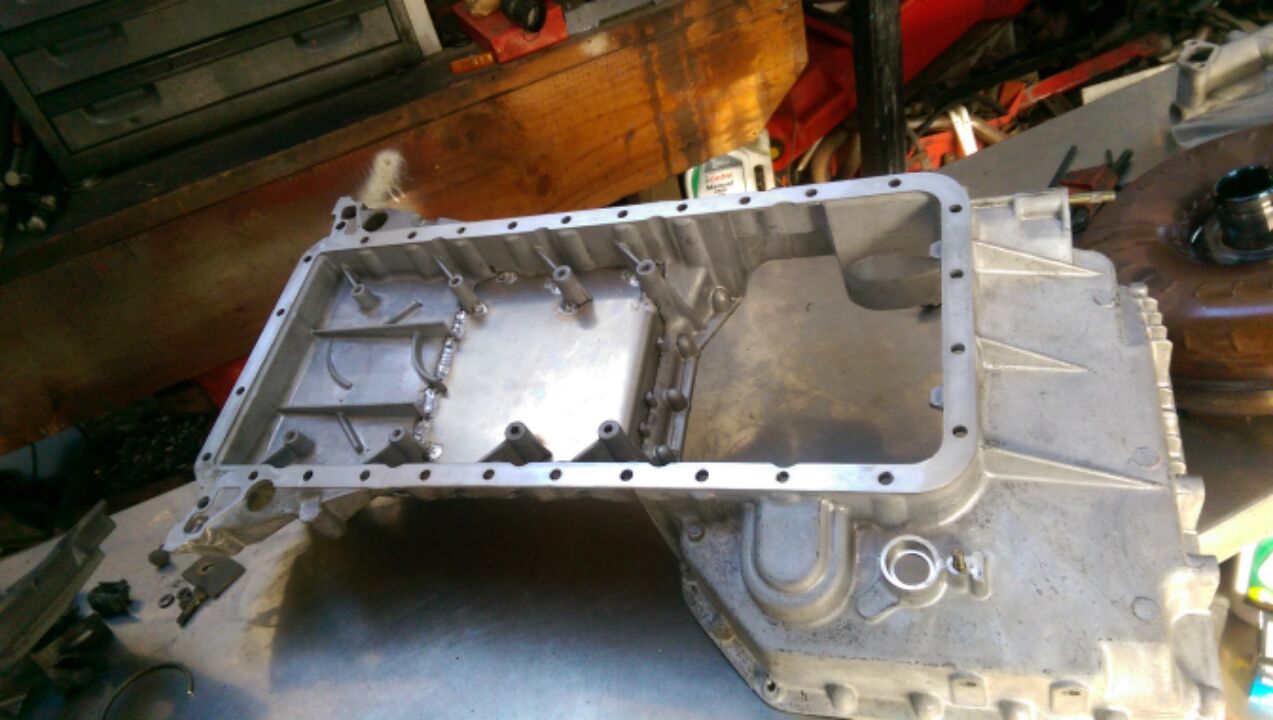
With the engine sitting so low, we had to notch the sump for clearance of the Z3 steering rack, work was carried out by Aero Machinists & Engineers in Hamilton

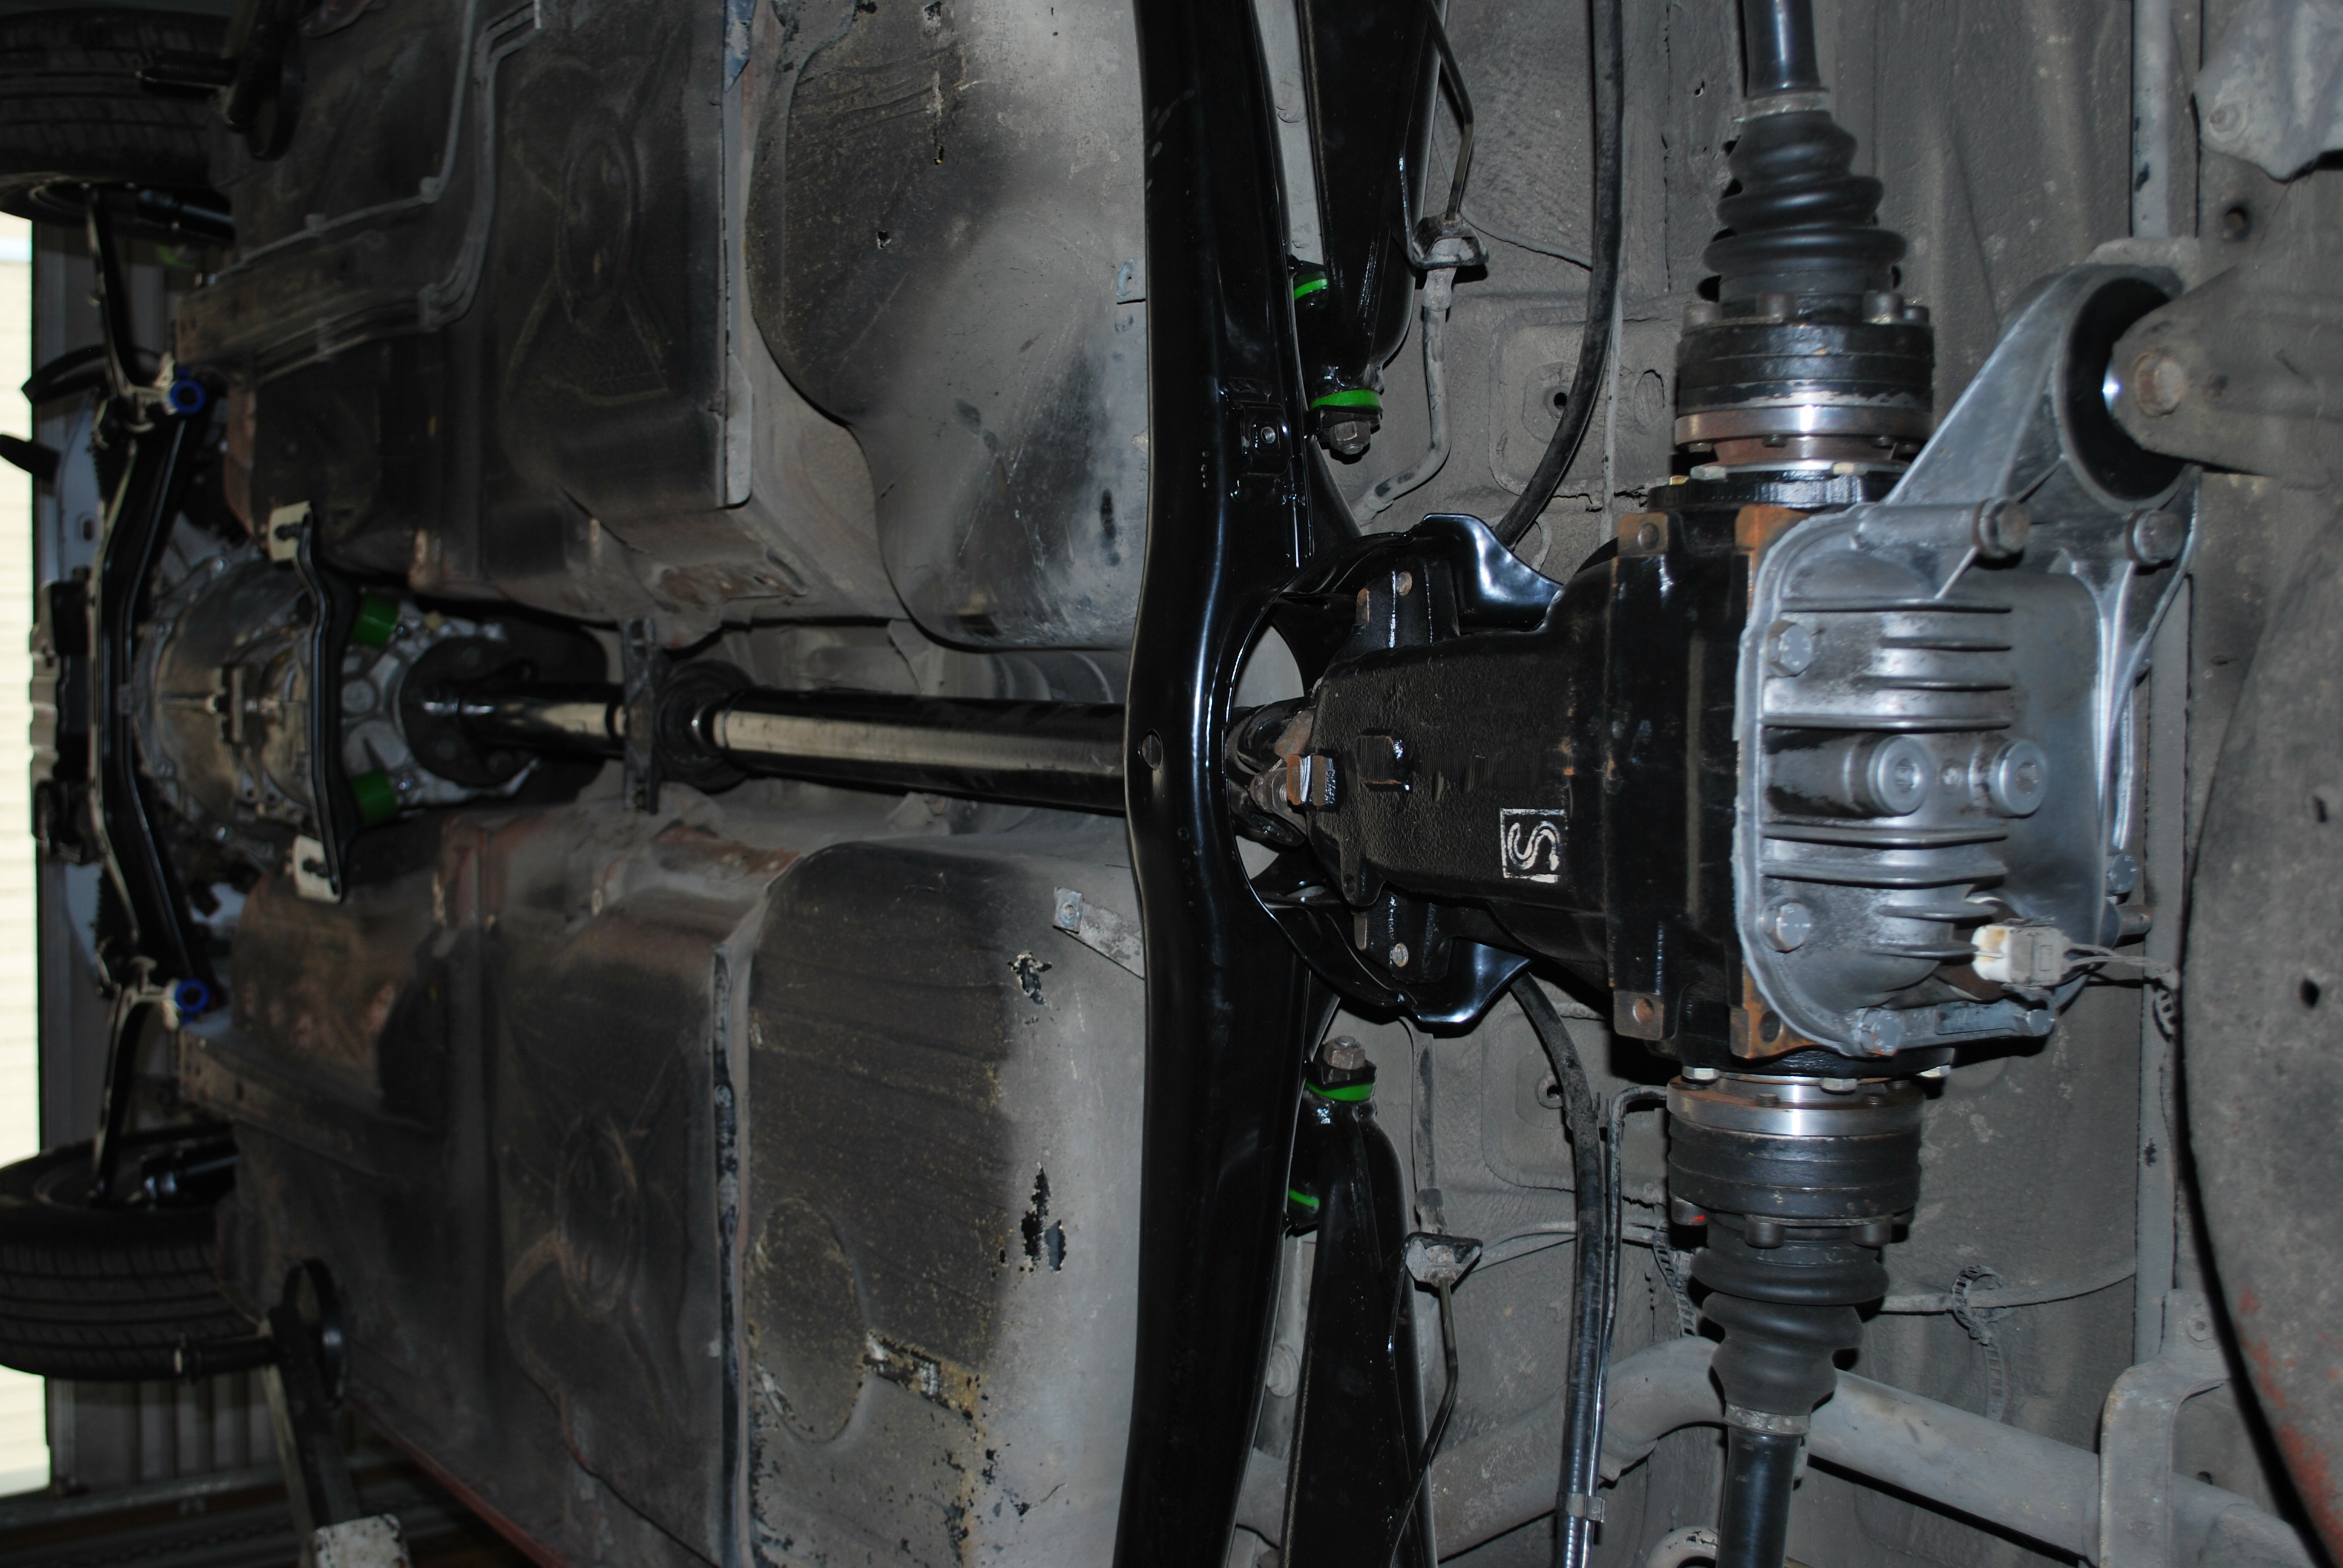
With that done it was time to move on to mounting the driveline and 6 speed Getrag 420G gearbox and getting the alignment sorted with the driveshaft, an issue that many people run into, this was sorted when the engine mounting position was decided on without having to run and rear diff risers/ spacers in the rear.

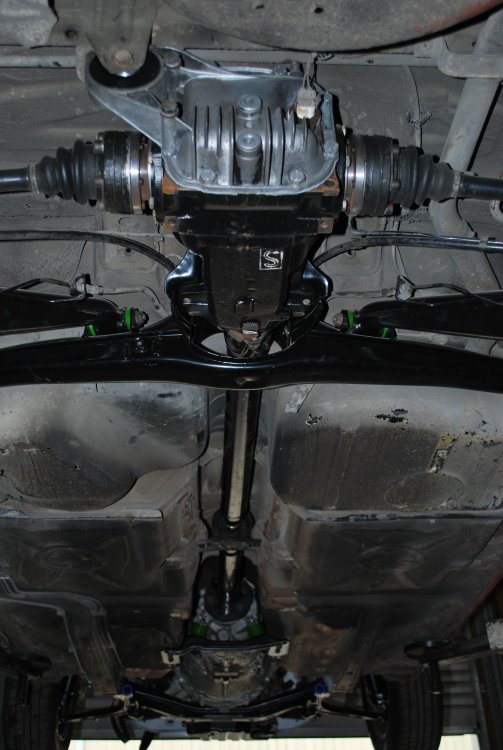
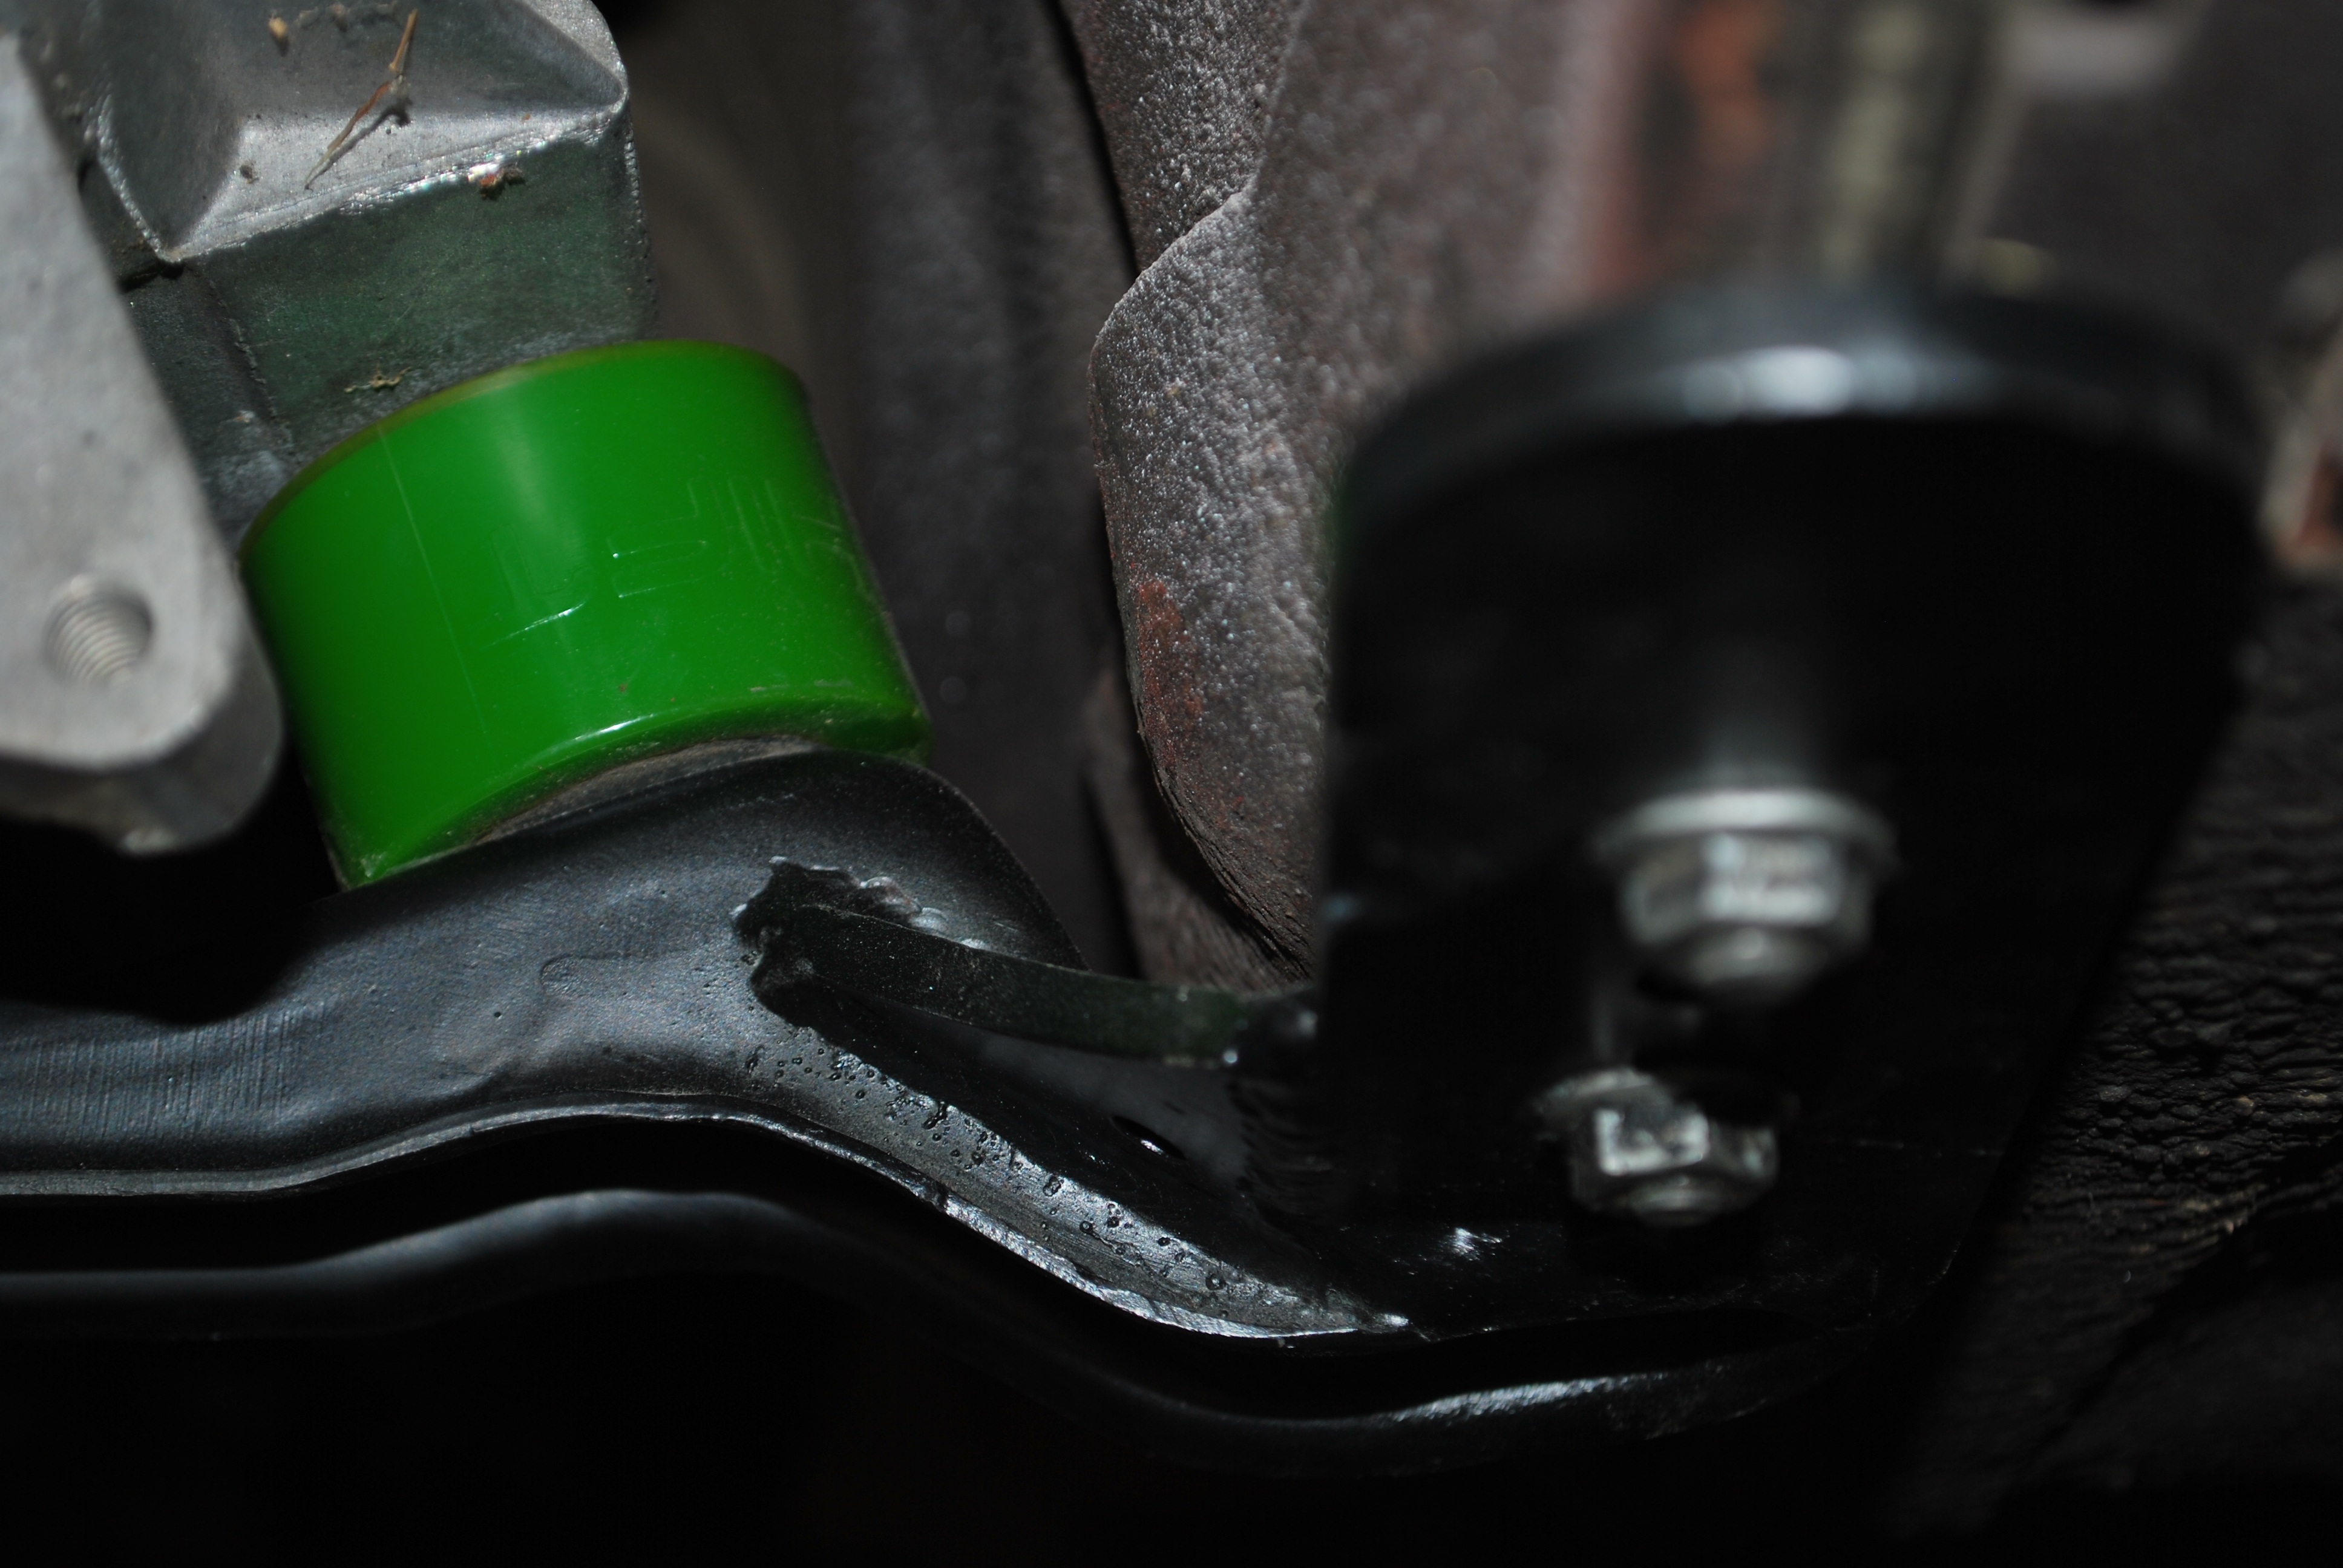
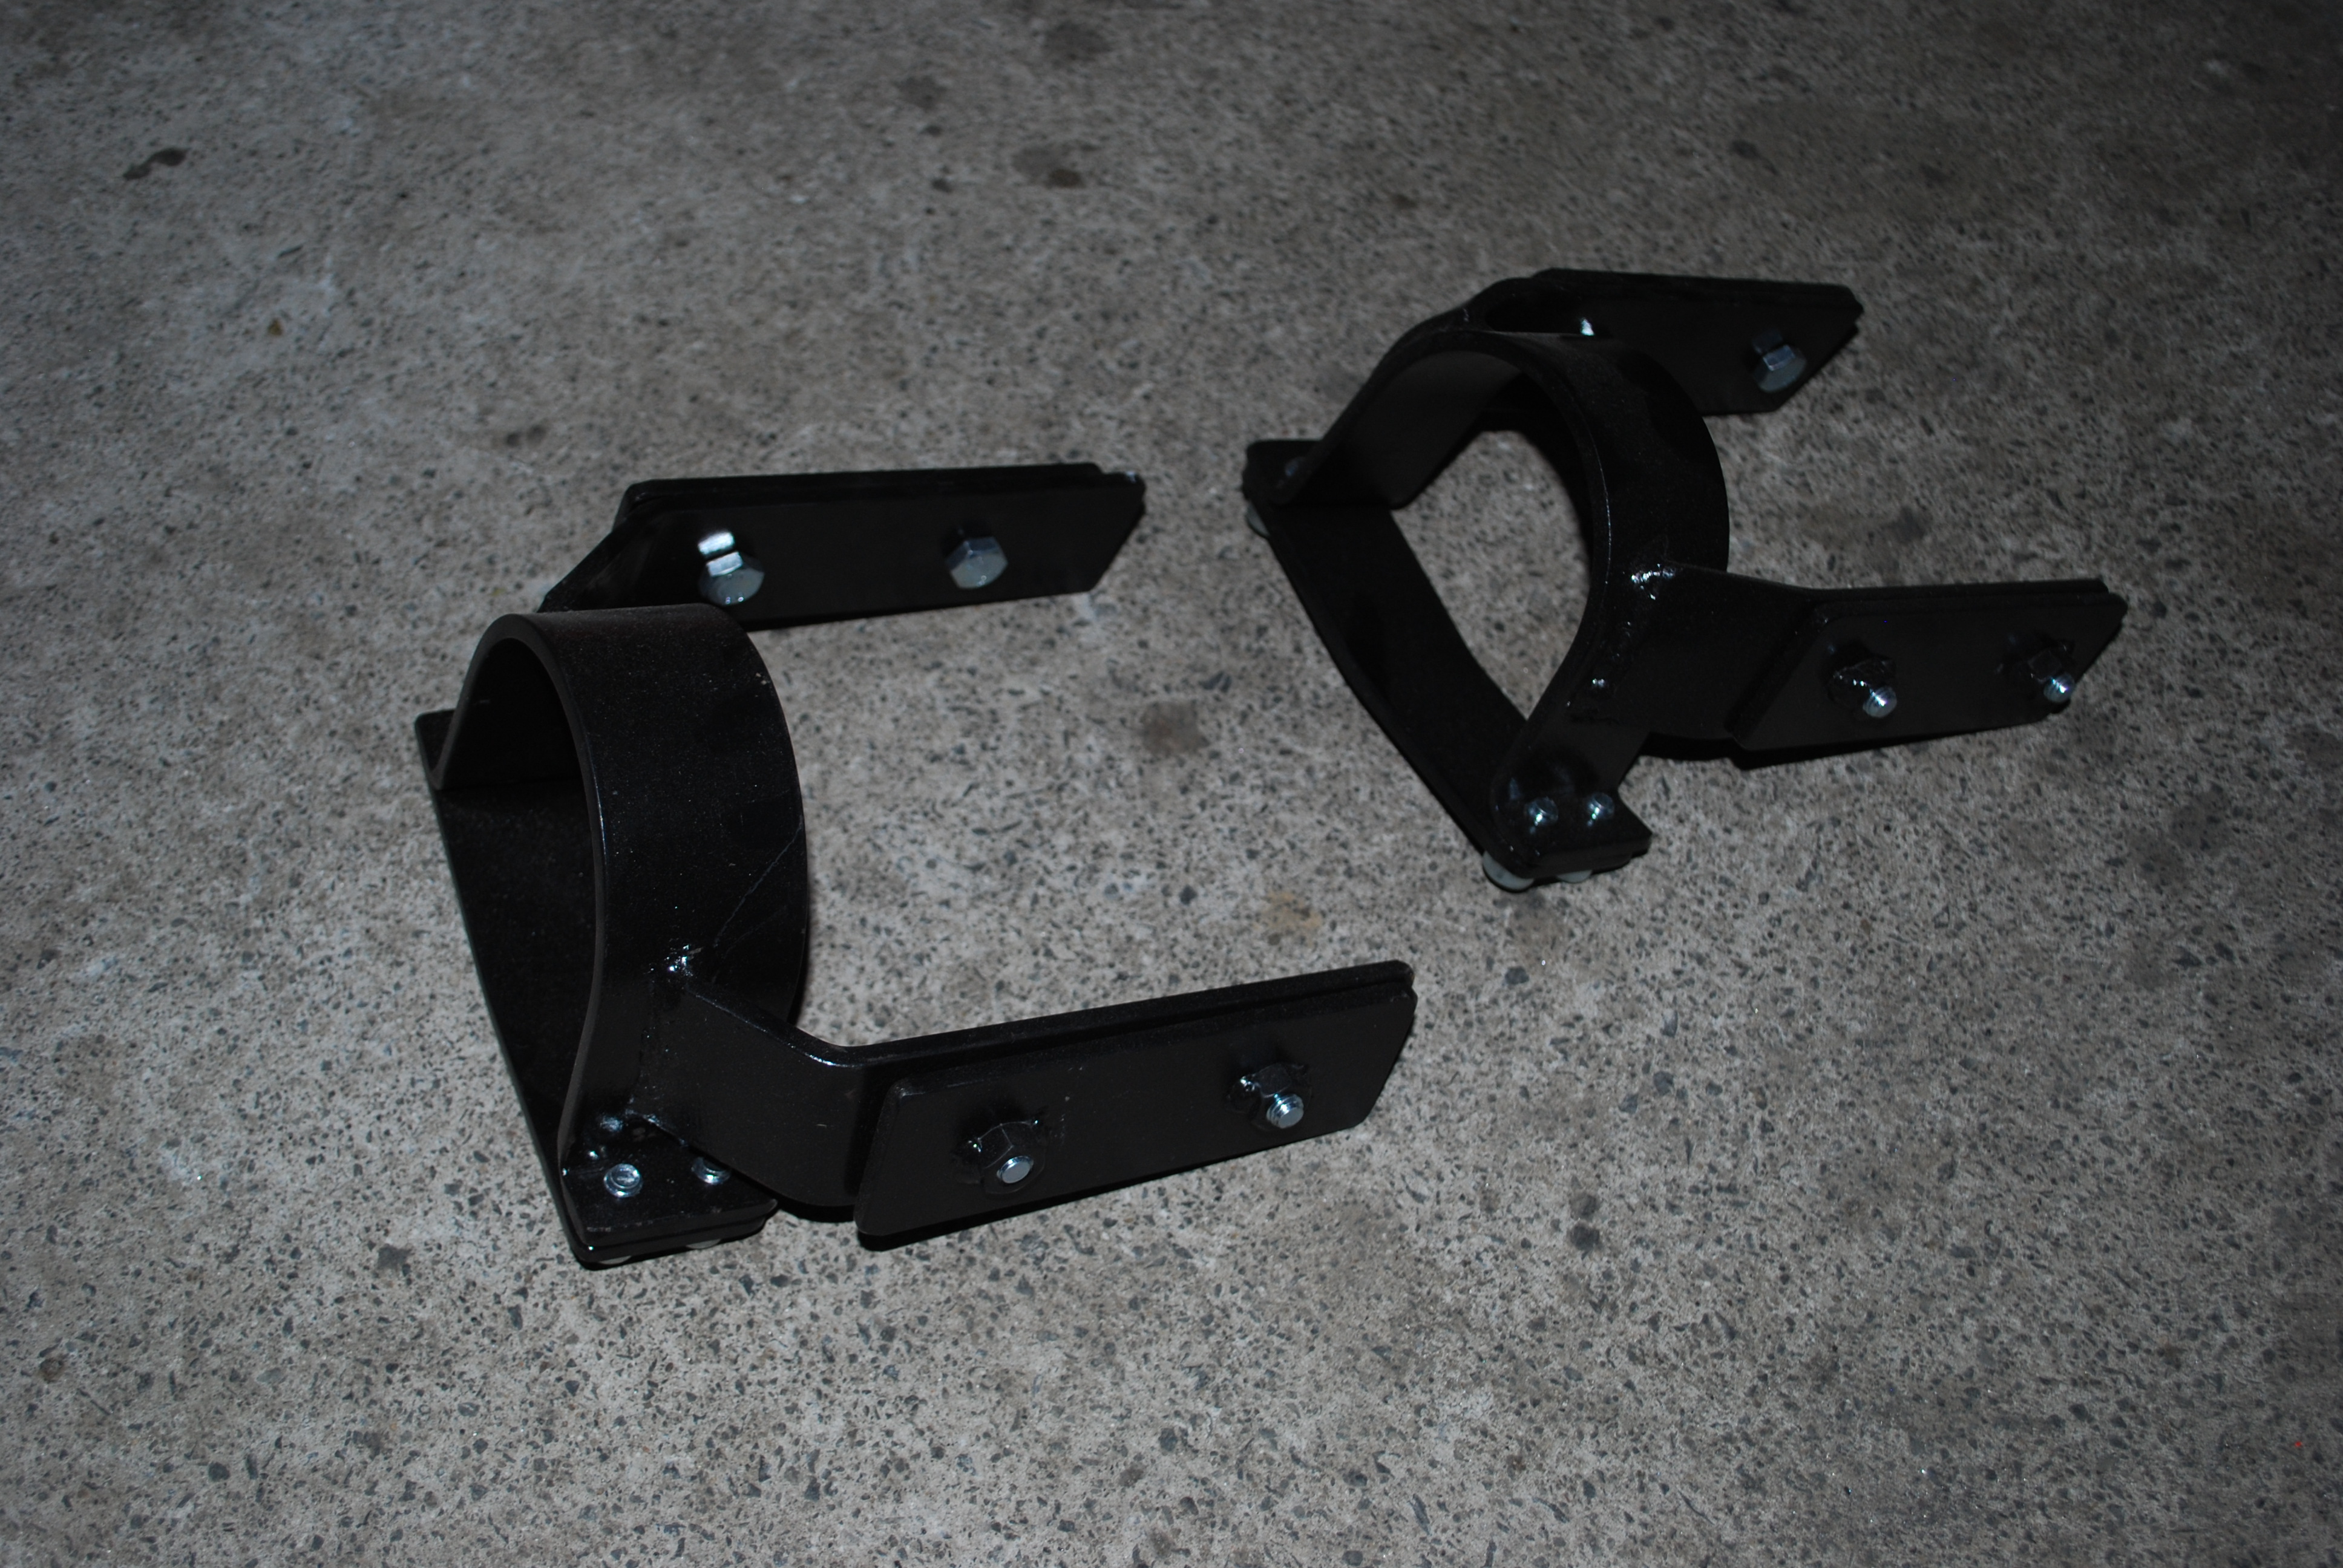
Im running Revshift 95A hard, street/track mounts throughout sourced from Mike at Euroturbo along with his driveshaft hoops that meet all certification specifications and are designed and made by his business here in NZ.
-
3
-
-
About time i updated this!
The project is still alive and going well.
With some extra help and knowledge needed i decided to send the car up to Kerry at Mosen Euro Parts in Hamilton.

First off we wanted to make a clean and tidy removable front rad support to make the engine install and removal as easy as possible, so Jonseys Garage undertook the fabrication work.

-
1
-
-
Is anyone ordering from the likes on Turner Motorsport, ECS tuning, UUC or Pelican Parts in the next week or so? Just after a single $25 clutch line, and shipping is $50+. Not too keen to get ripped off.
Cheers
-
Spotted ANTZV8 in the McDonalds carpark in New Plymouth yesterday morning 31/12/17. Always good seeing other E30s locally, not many around here.
-
1
-
-
Finally saw the light after all those years eh Phillip! Will be nice for a few summer cruises, see you around once my cars back on the road!
-
7 hours ago, kortz83 said:That e30 turned out to be one of the worst deals of my life that car had major issues one after another. hows the seats looking? did you end up restoring them?
Not ideal that car had been through a few owners.
They are still in storage but will get them done at some point
-
1
-
-
Welcome! Nice e34, white always looks good! I bought some e30 seats off you a while back.
-
Welcome!
-
Hey Josh good to see it still going well for you.
-
3 hours ago, Funkyflynz said:Didn't know it was on, what time is it? we are over that side of town so might be able to pop in for a look.
-
1
-
-
Looking good! Are you going to the Show and Shine at the Valley this Saturday evening as part of the Taranaki Car Clubs Night street sprint?
-
Looking good team! Glad I could help out.
-
1 hour ago, Breaker said:Ruemers on the way to Brixton, John out there is a good bugger as well. $380 the lot
Awesome i have been recommended them by someone else too. Will get my Recaros done as well! Thanks
-
1
-
-
On 5/20/2017 at 6:23 PM, Breaker said:Got the headliner back for the 38.
Who did the upholstery work? Keen to get mine done
-
1
-
-
Spotted this at the Valley in the weekend! Looks good and definitely a head turner! Hopefully in the future when we have more meets we will catch up.
-
1
-
-
Hell yeah! What an amazing achievement! One more small hurdle to go then its all on!
-
1
-
-
23 hours ago, WYZEUP said:Its been a bit of a bumpy ride aye blair

That it has! Will all be worth it though!
-
haha a lot since my last update! Will update this in a few months when its nearly road legal.
-
i have one, $65 shipped to you.
-
So good to see the revival! Looking forward to following the progress!


[ E30 ] VERSION 2
in Projects
Posted · Report reply
Time to throw some colour at the bay!
Scott from Scooters Customs in Hamilton did an amazing job, the photos speak for themselves!