

modz
-
Content Count
311 -
Joined
-
Last visited
-
Days Won
4
Posts posted by modz
-
-
Congrats on a massive milestone!
love the corvette wheels, great choice
-
 1
1
-
-
If anyone needs the following I have them for hire at reasonable rates:
- Engine brace (sits across your engine bay) to do sump, subframe etc work
- Engine stand
- Panel stand with foam tops usually have 1-2 of these available
Pick up in Howick and bond required
-
1
-
-
Cheers! Looking forward to hearing it start up after all this time.
Yeah I've had my cert guy check out my trans tunnel seat belt anchors and they're up to spec so no problem there; the job itself was the painful part, they're tricky to install.
Tip for anyone else doing it, the hole for the seat belt anchor lines up with the adjuster bolts on the handbrake. Trace that down on the tunnel and you get about mid-point on the seat. Too much further back and it hits the flip forward mechanism on the seat. -
57 minutes ago, polley said:Interested to know where you got your gearbox mounts from.
https://www.bbmgarage.com.au/products/transmission-mounts-90a-polyurethane
Great supplier, would highly recommend his stuff.
-
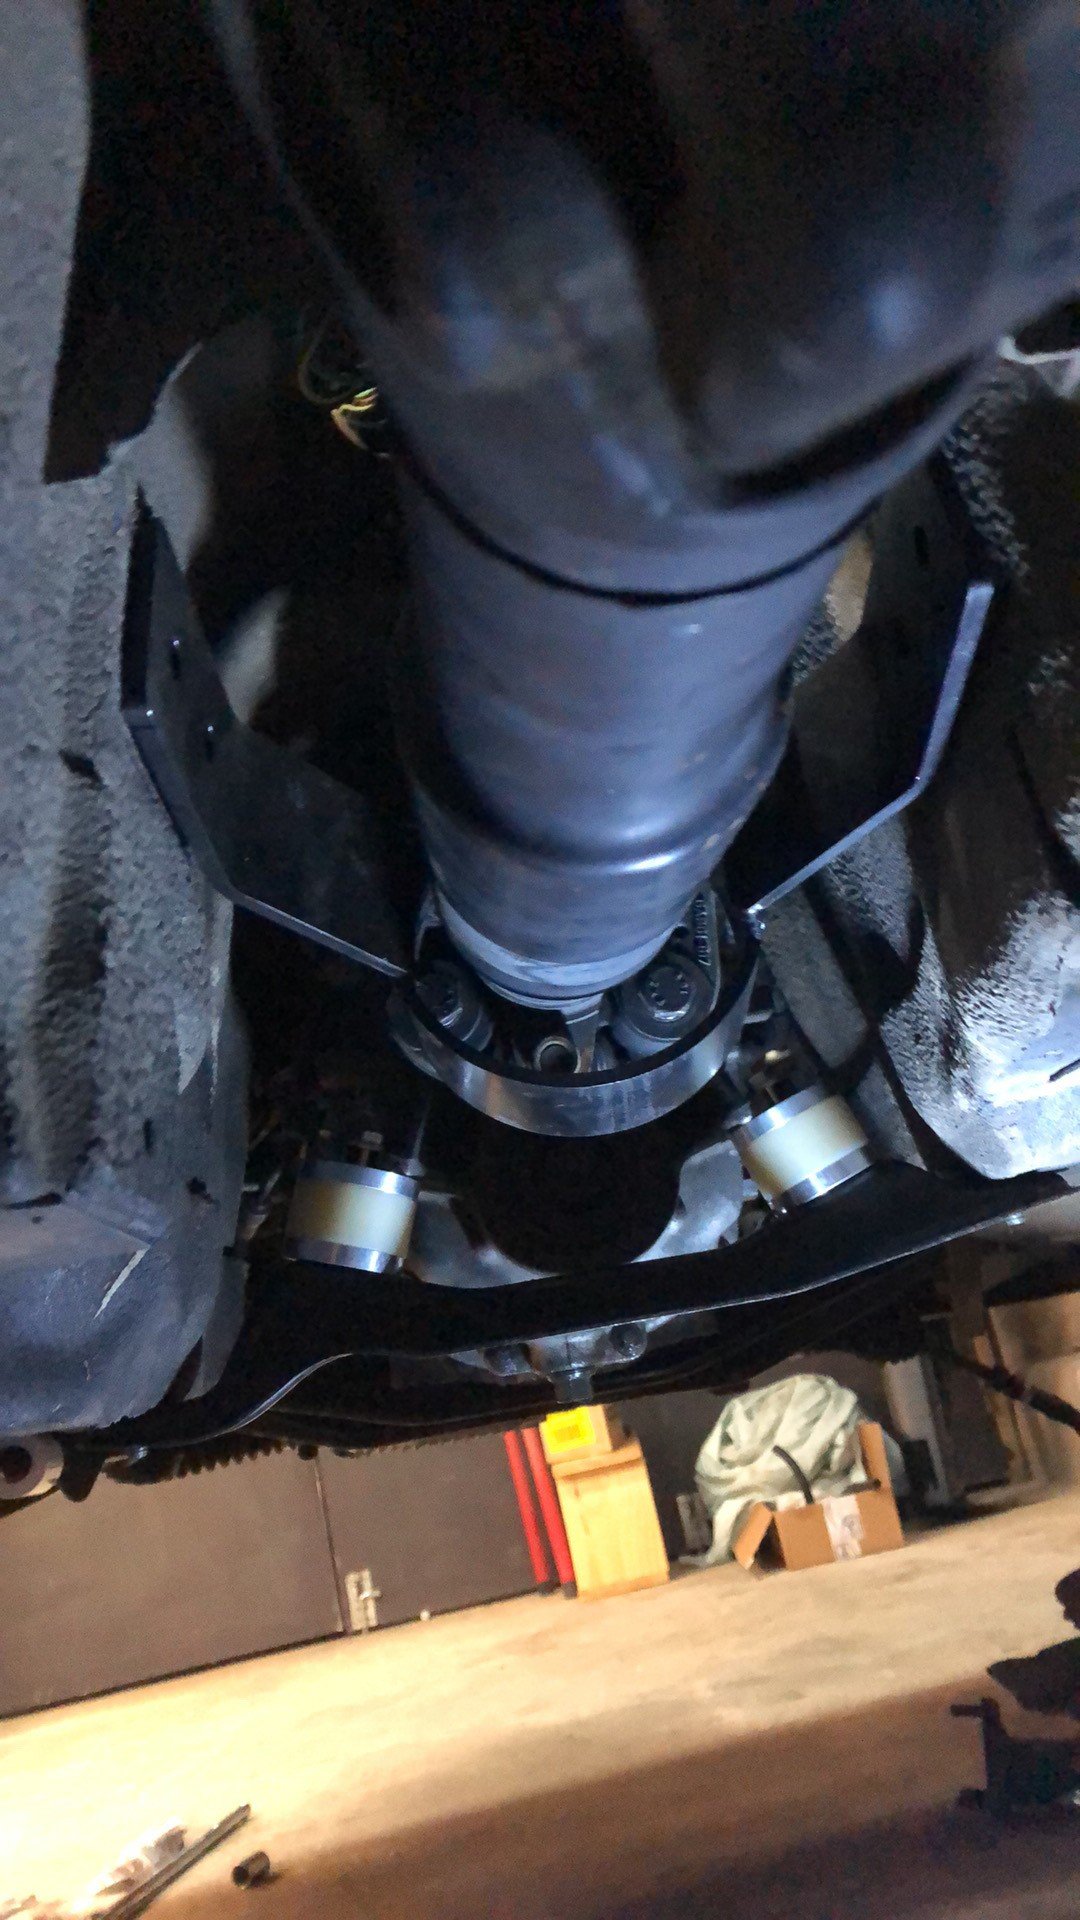
To make the short shifter work, solid trans mounts are key so there is no movement in the gearbox to falter shifts.
I did have blue / 85a poly bushings in there, so swapped them out for solid delrin on E21 style cups.
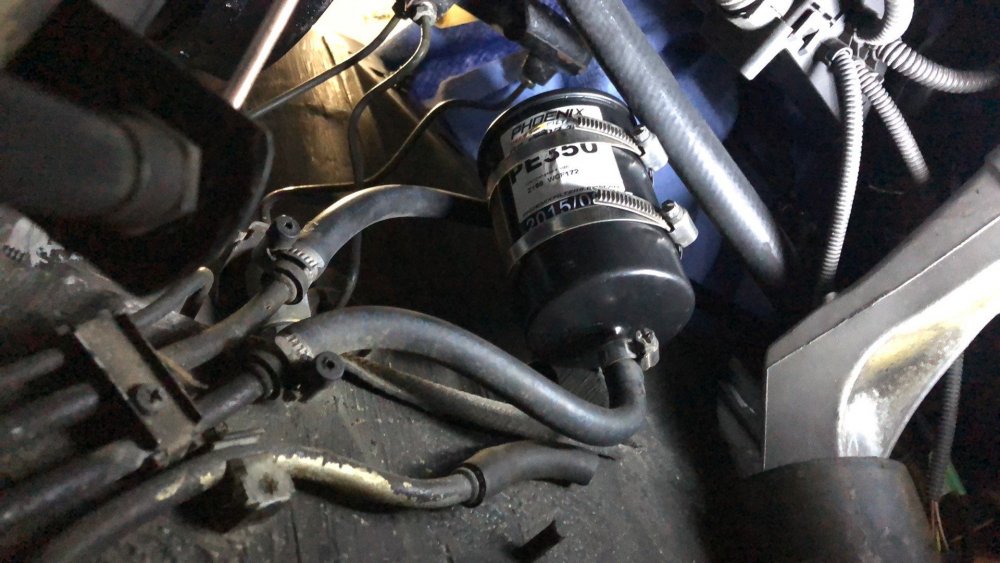
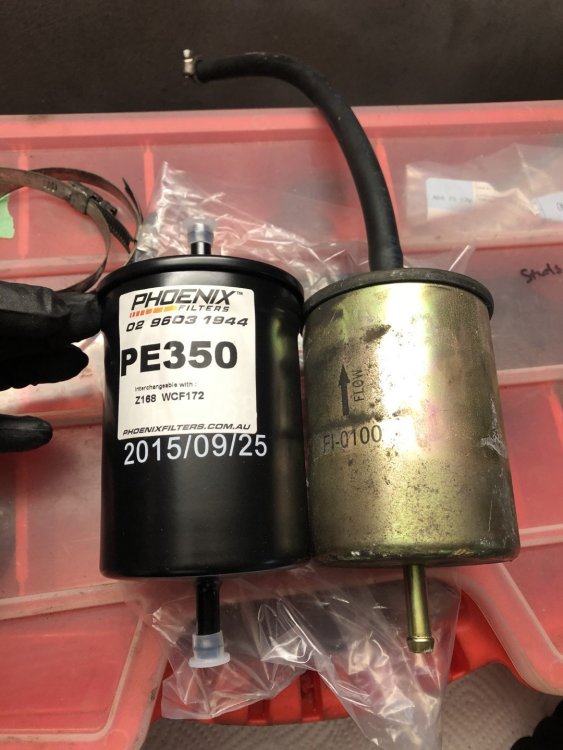
Chucked in a new fuel filter while I was under there.
-
1
-
-
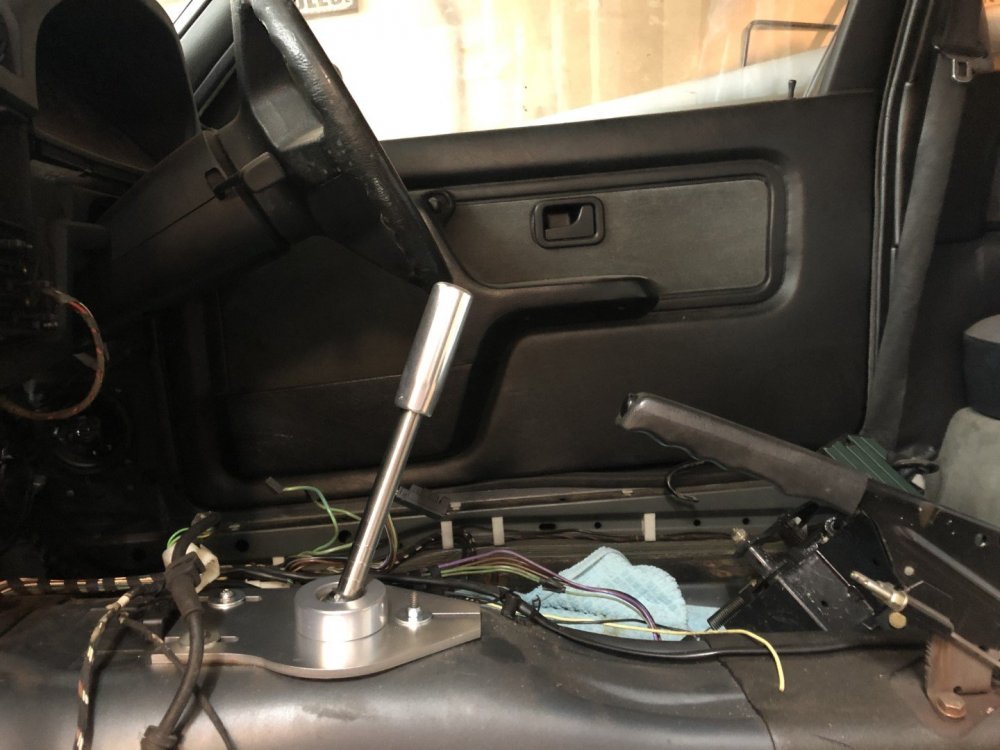
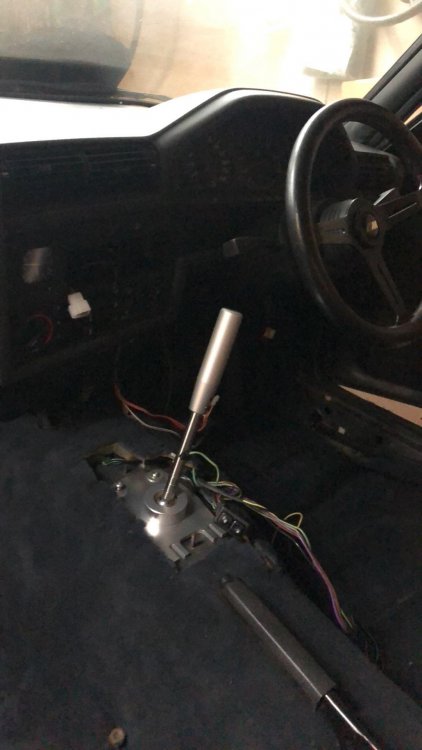
Short shifter
I bought one of Aaron's short shifters ages back - this was his first E30 version. Played around with an E36 style mount then later changed to an E30 specific one which fits much nicer.
Also opted for the taller shifter which I'm stoked with.
Working out how to get a shift boot onto it without ruining the look. Watch this space.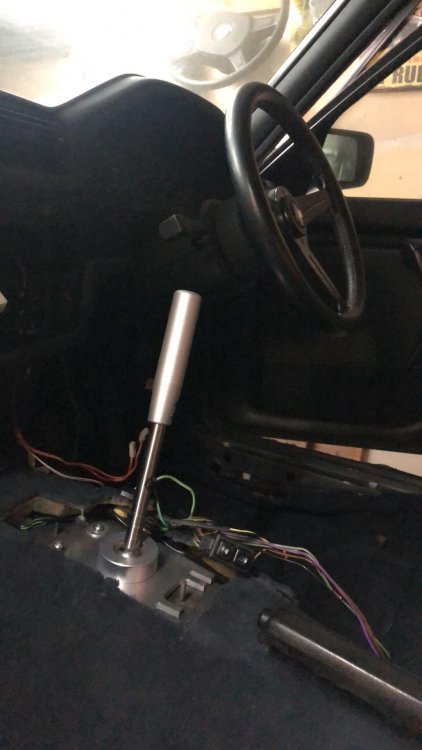
-
I'll come back to Radiator hoses as they're a work in progress, along with the fan.
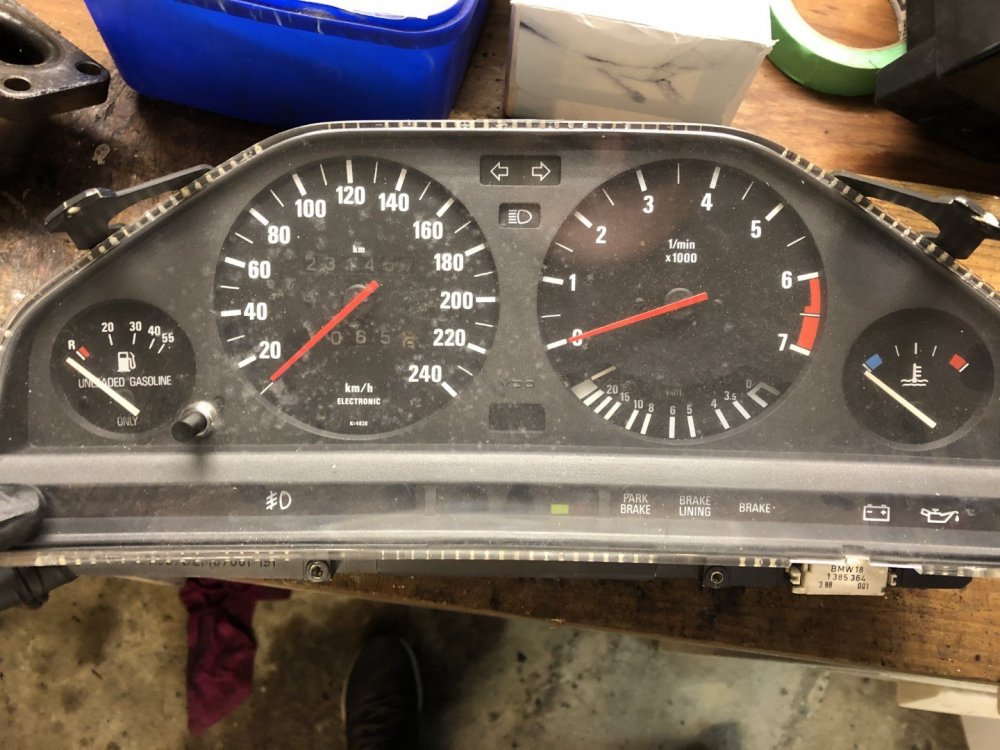
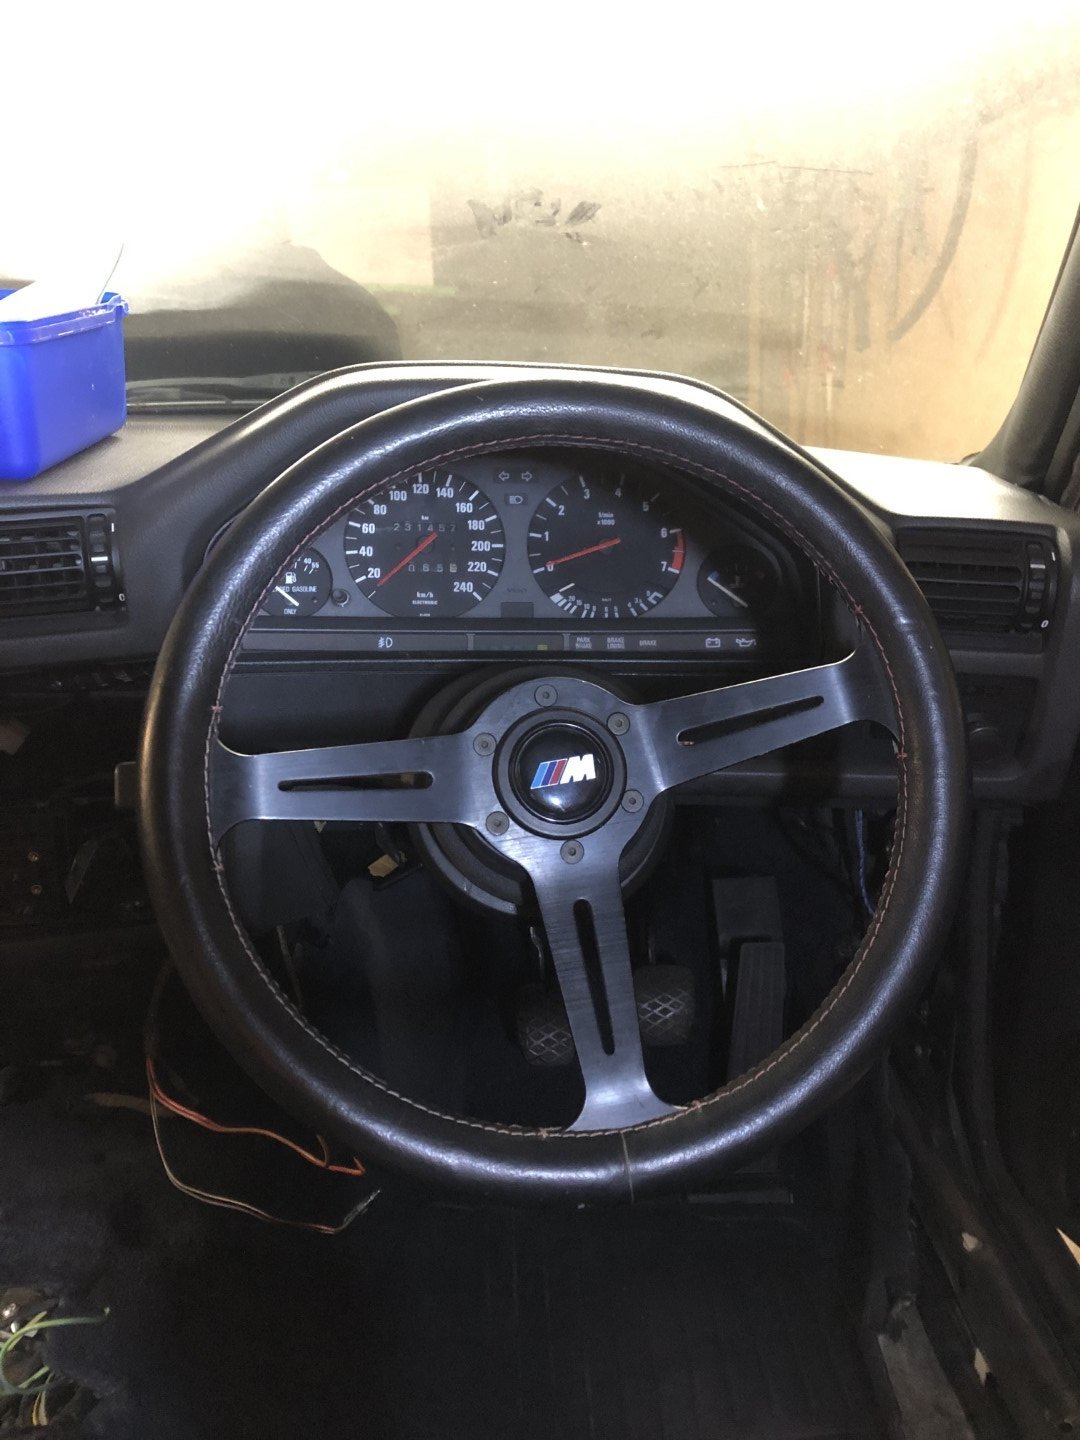
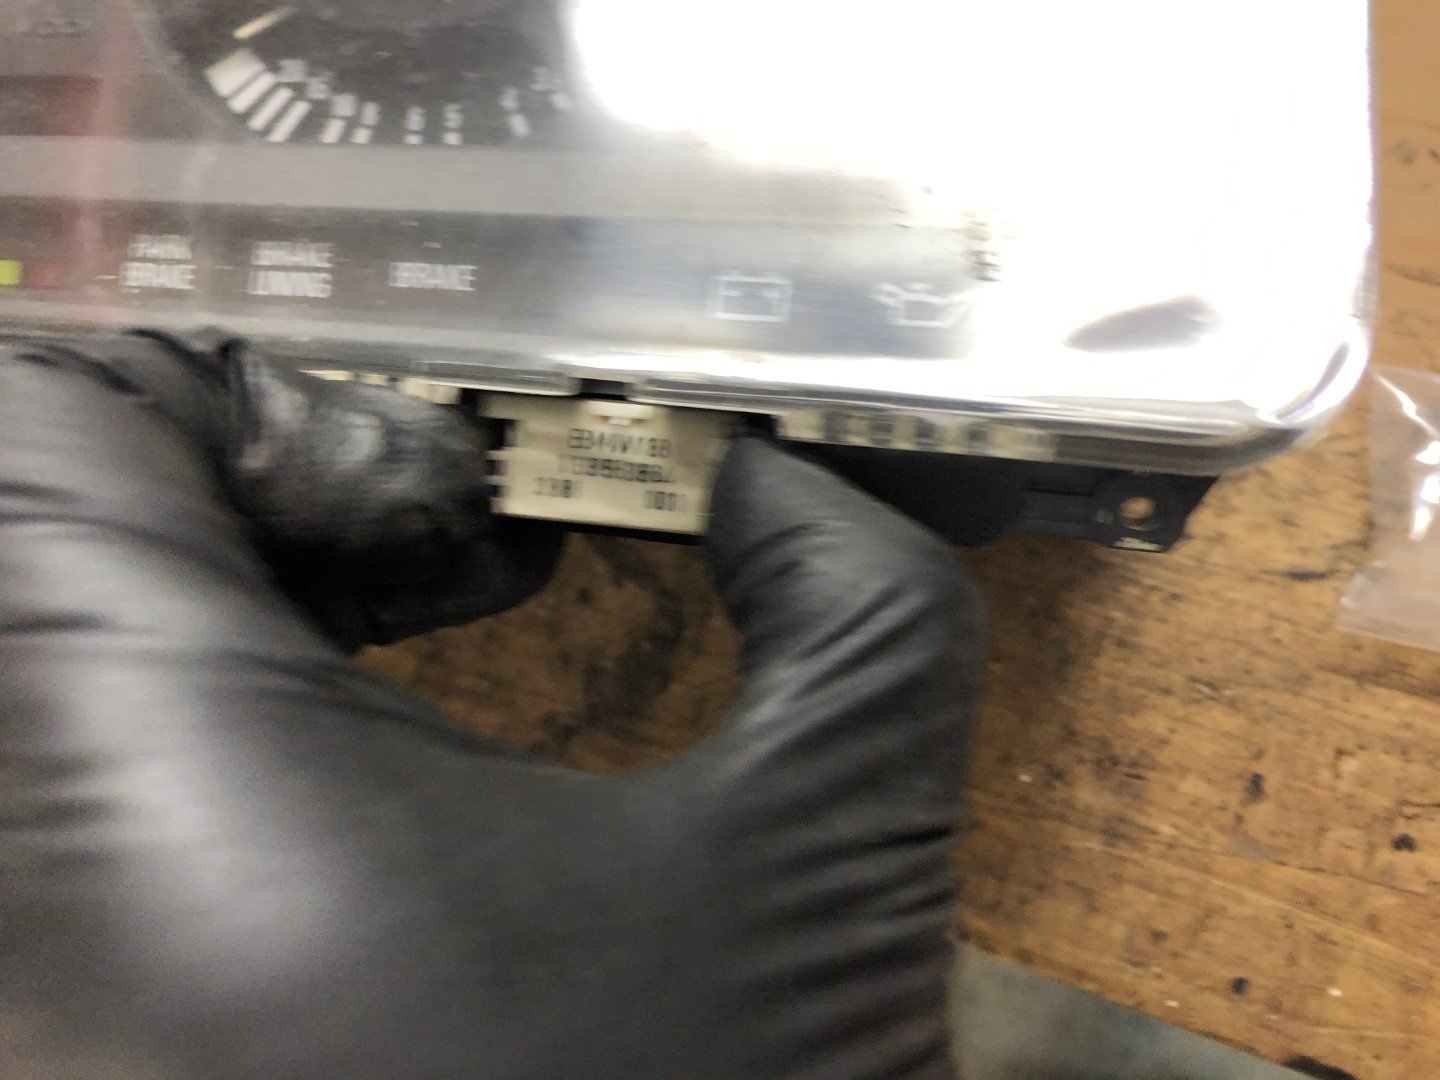
I did get the steering wheel on, boss kit on and the 6 cyl gauge cluster chip installed also. Much nicer than stock!


.thumb.jpg.e5388ddfbe9e8f40f6b8cfdcb1929f3a.jpg)
-
1
-
-
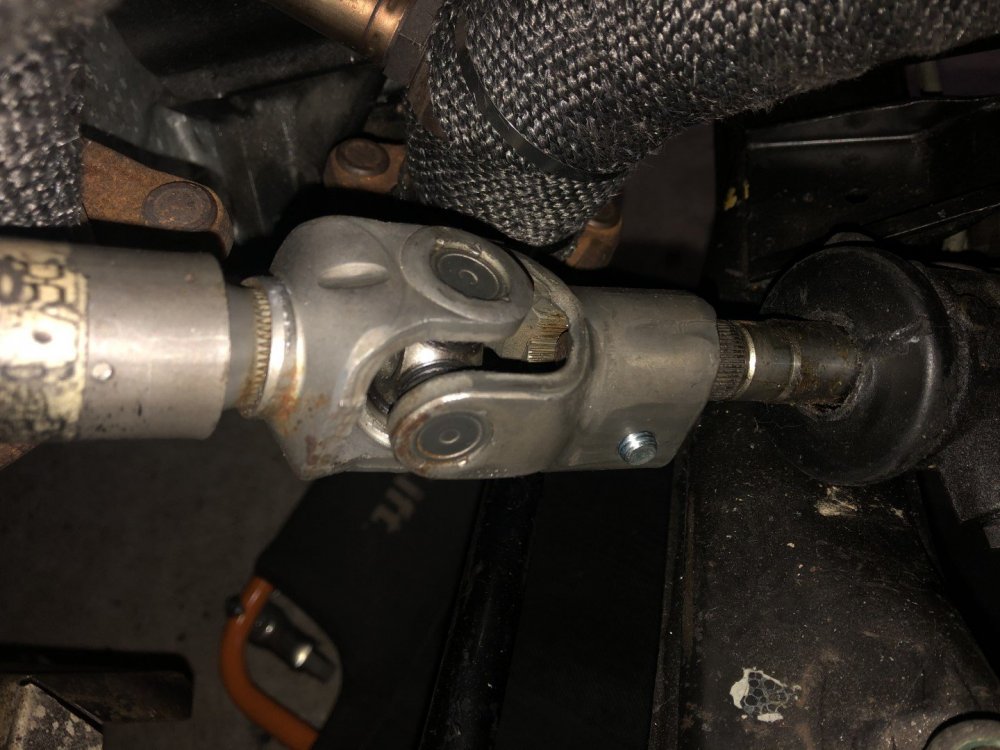
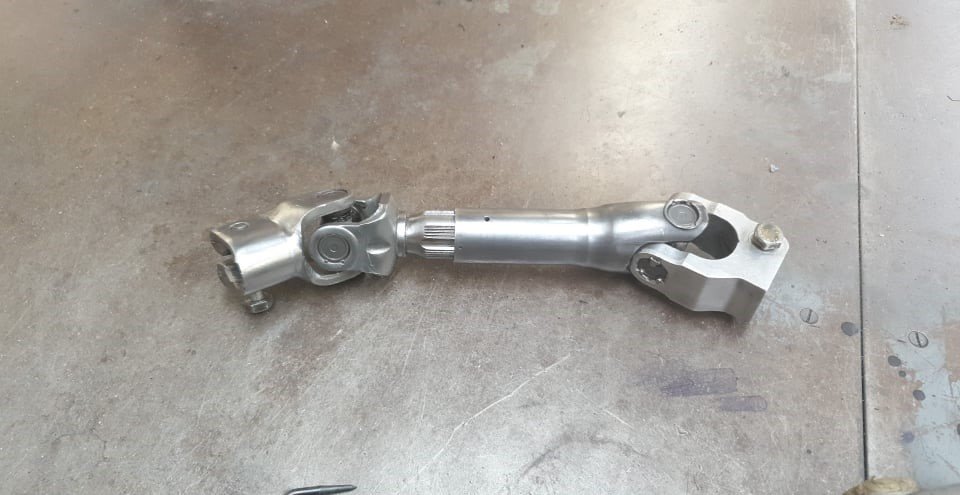
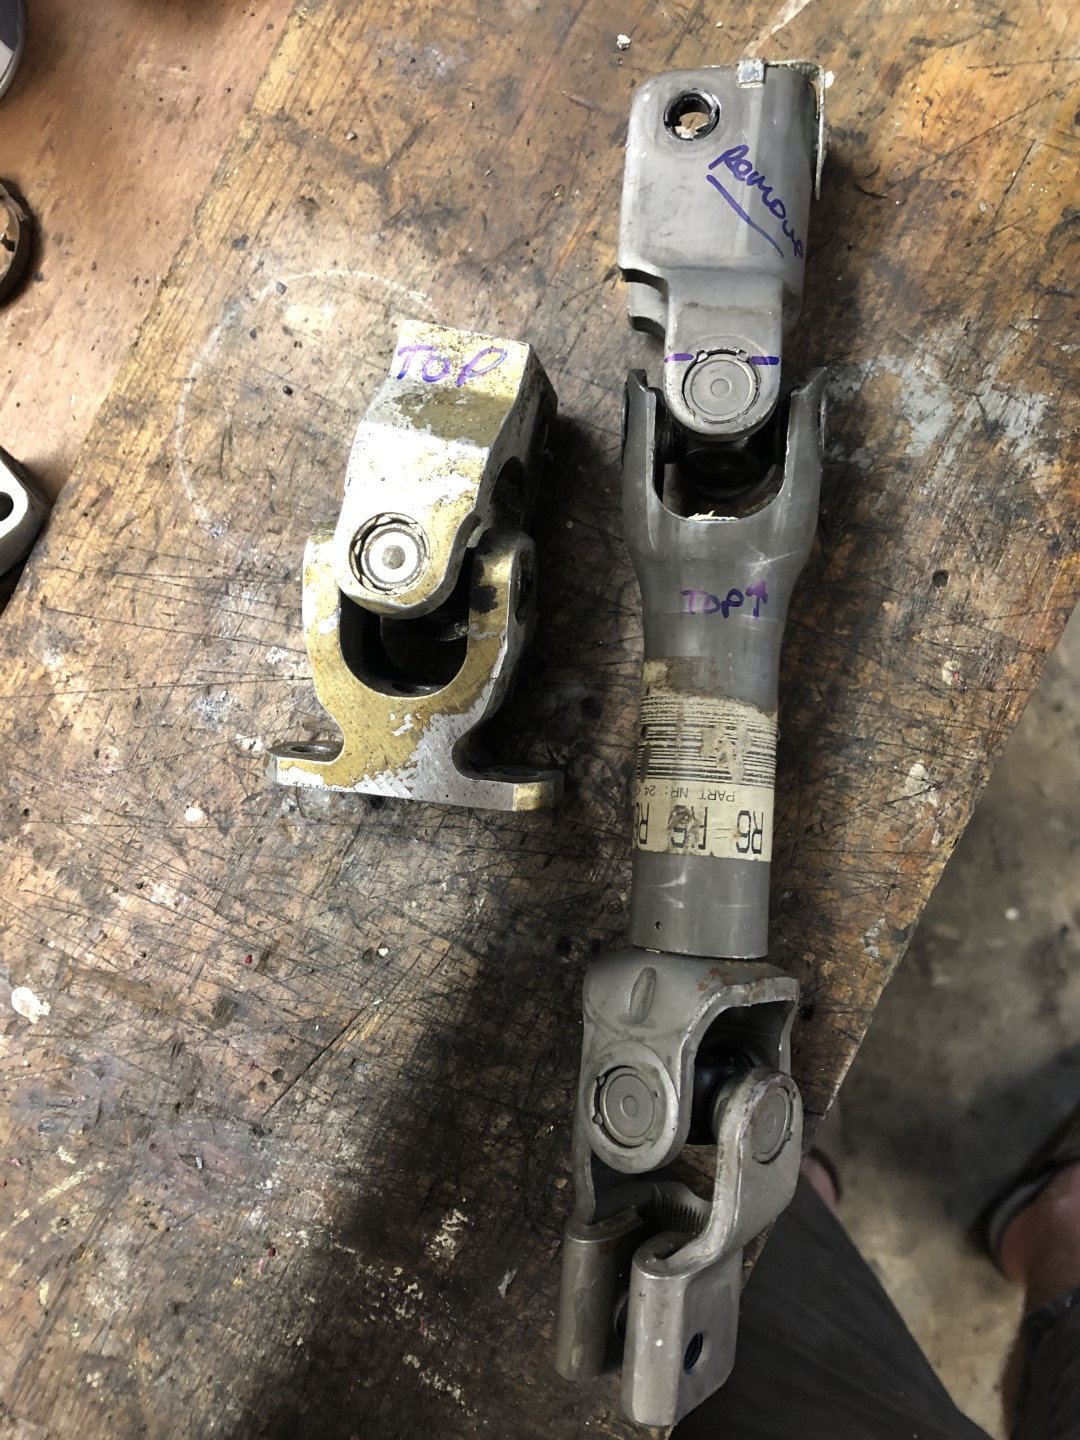
Steering linkage
I've done a fair few of these in the last few months. Basically grafting the E30 top onto a Holden Barina XC base. I have the process down pat now which is good, it's a very fiddly job.
I do offer this as a service, so if interested PM me.


-
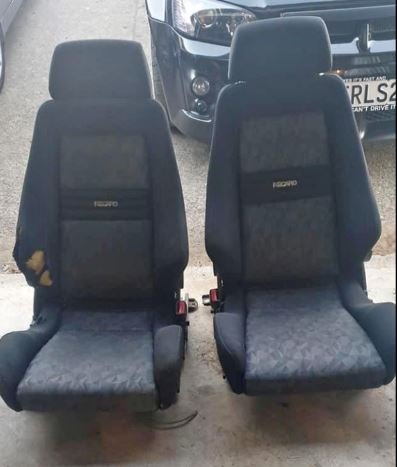
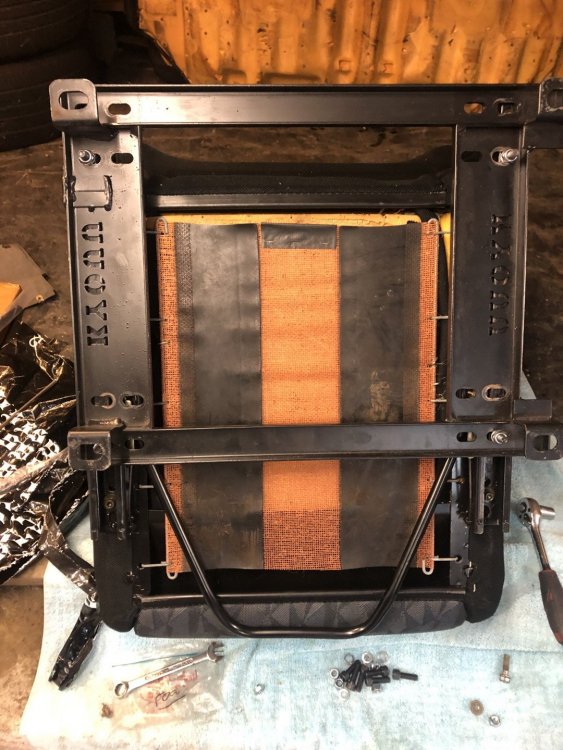
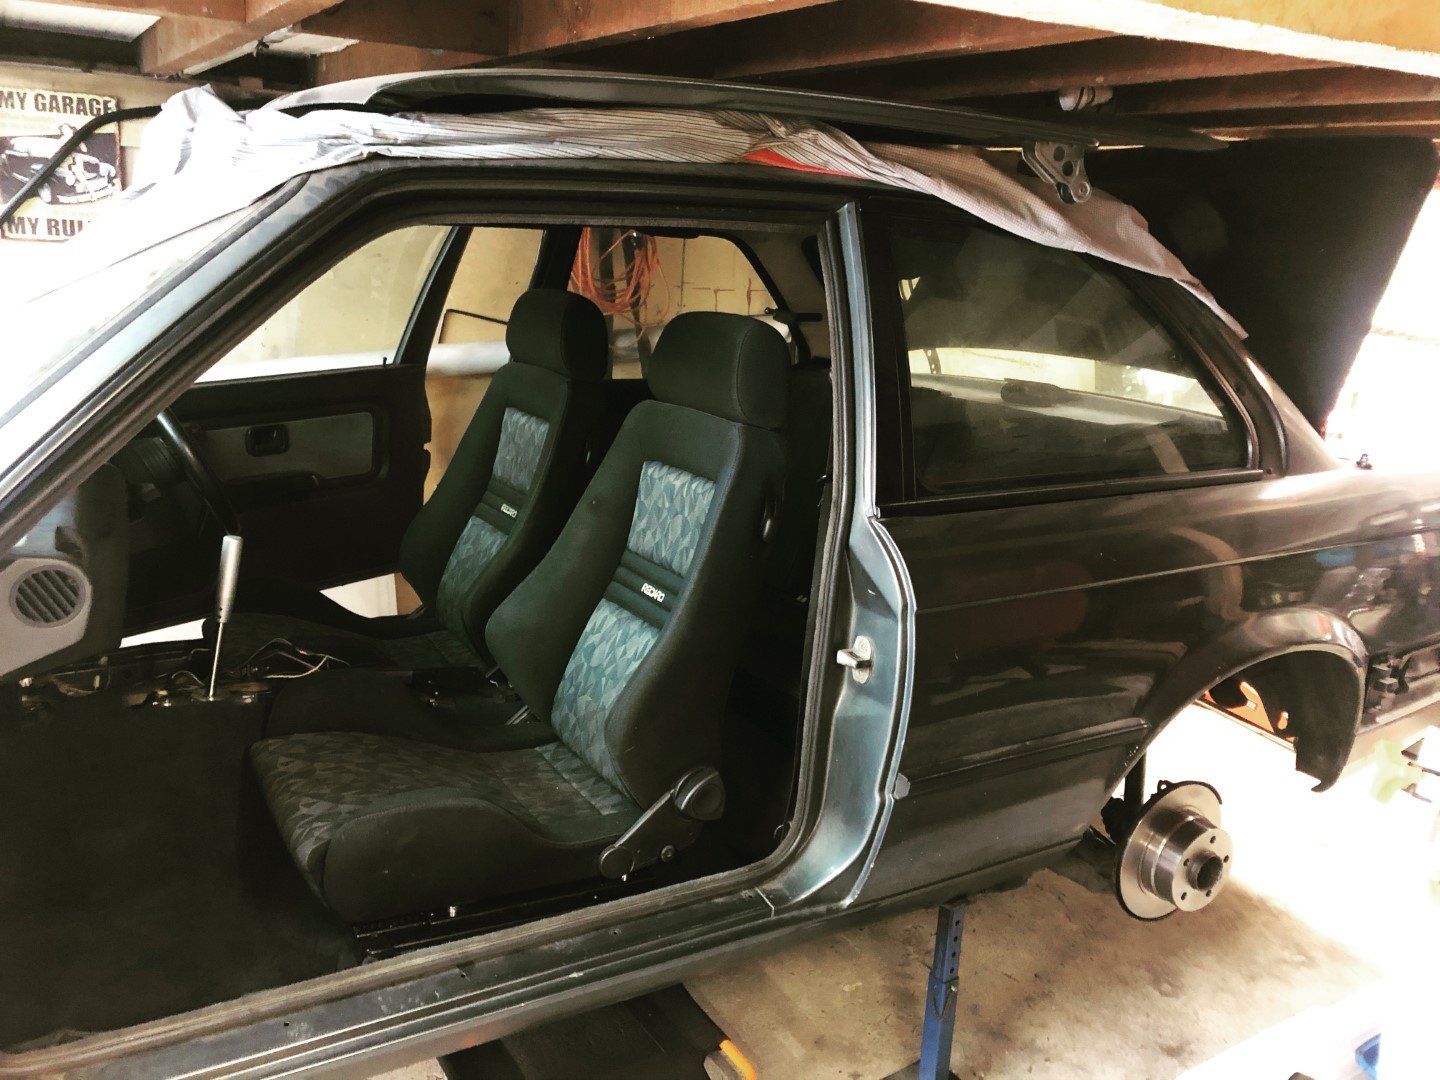
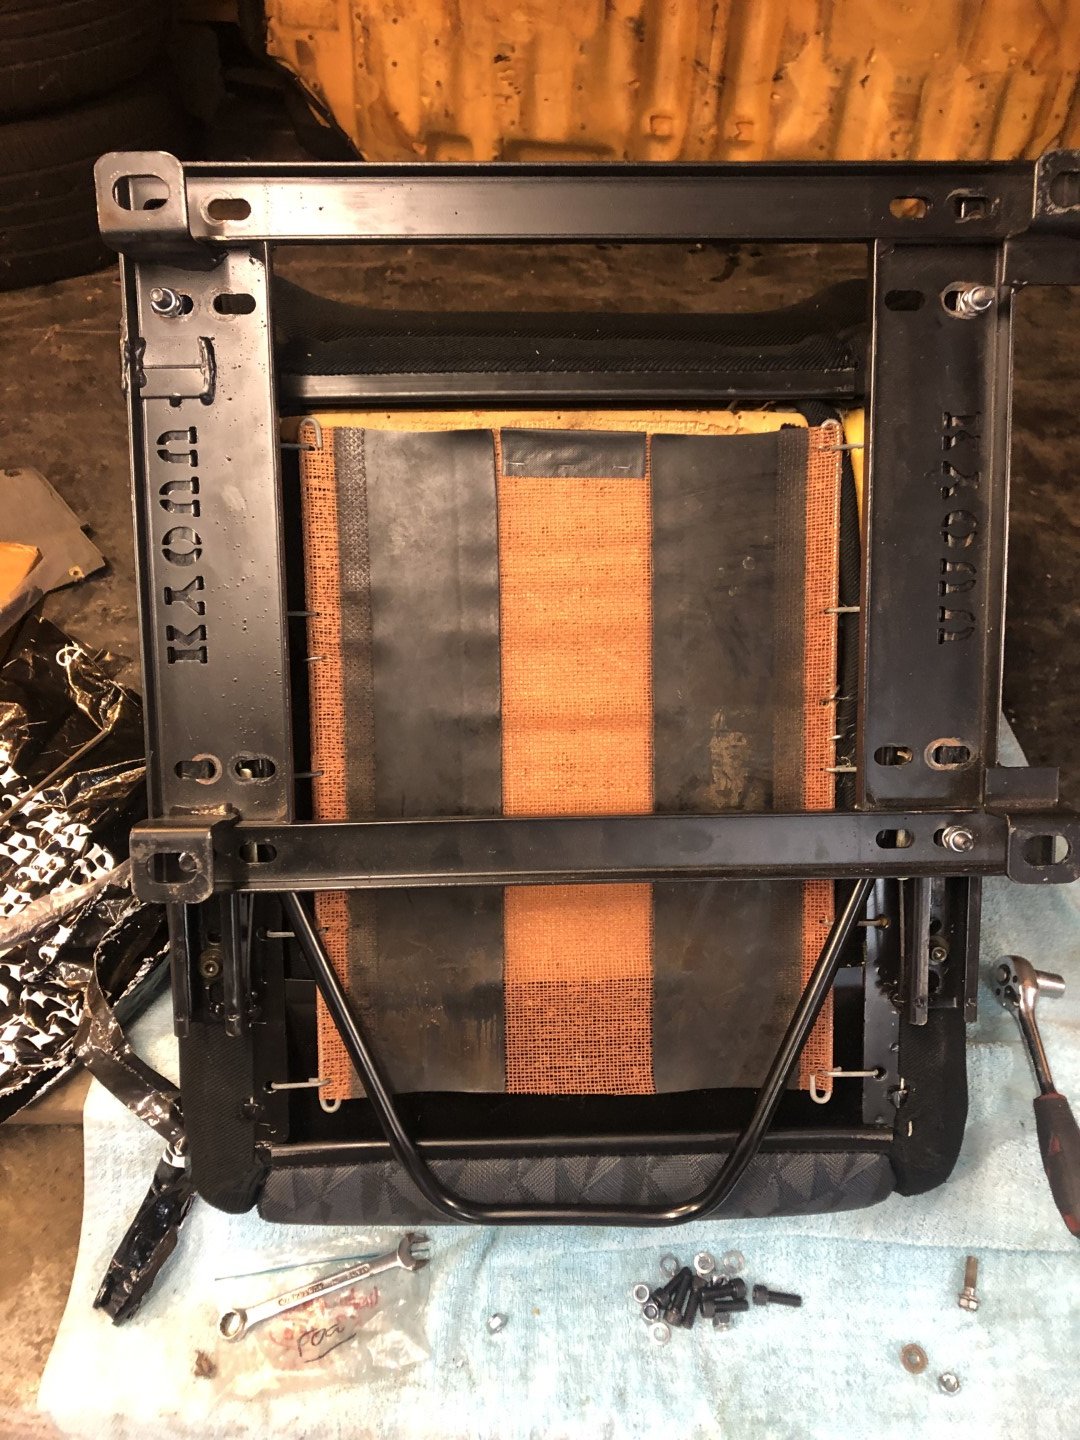
Recaro's were next up. I picked up a set of Mitsi GSR (evo 4 shape) recaro's a while back. Pulled them out of storage, gave them a hell of a wet vac then had the driver's seat repaired also using fabric from the donor car's rear seat.
To install them, I used SCARLES sliders (took the NZKW ones back, they were absolute rubbish), and some floor brackets I'd picked up a while ago.
3 hours later I had them in the car. To be honest, I'm still not happy with how they fit in the car as it's very tight up by the centre console. They could sit slightly further out toward the door; even though they are on their mounts as far over as possible.
I may take them out again once the car is running and see what I can do to remediate.
If I were to do this again I'd just use the EuroTurbo / recaro adapters to E30 seat rails as this would also mean not having to fart around with tunnel mounted seatbelts (see later post).

-
1
-
-
A couple of jobs really took HOURS longer than they should've so I'll cover them to save others the ballache.
1) Recaro seats
2) Radiator hoses
3) Power steering pump
4) LCA's
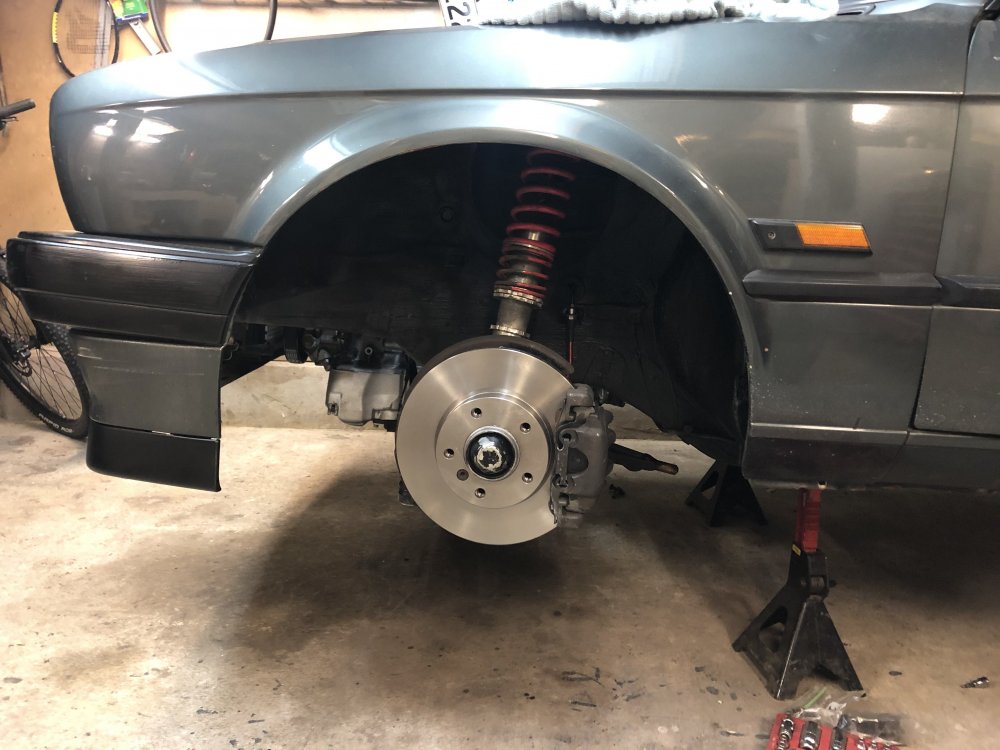
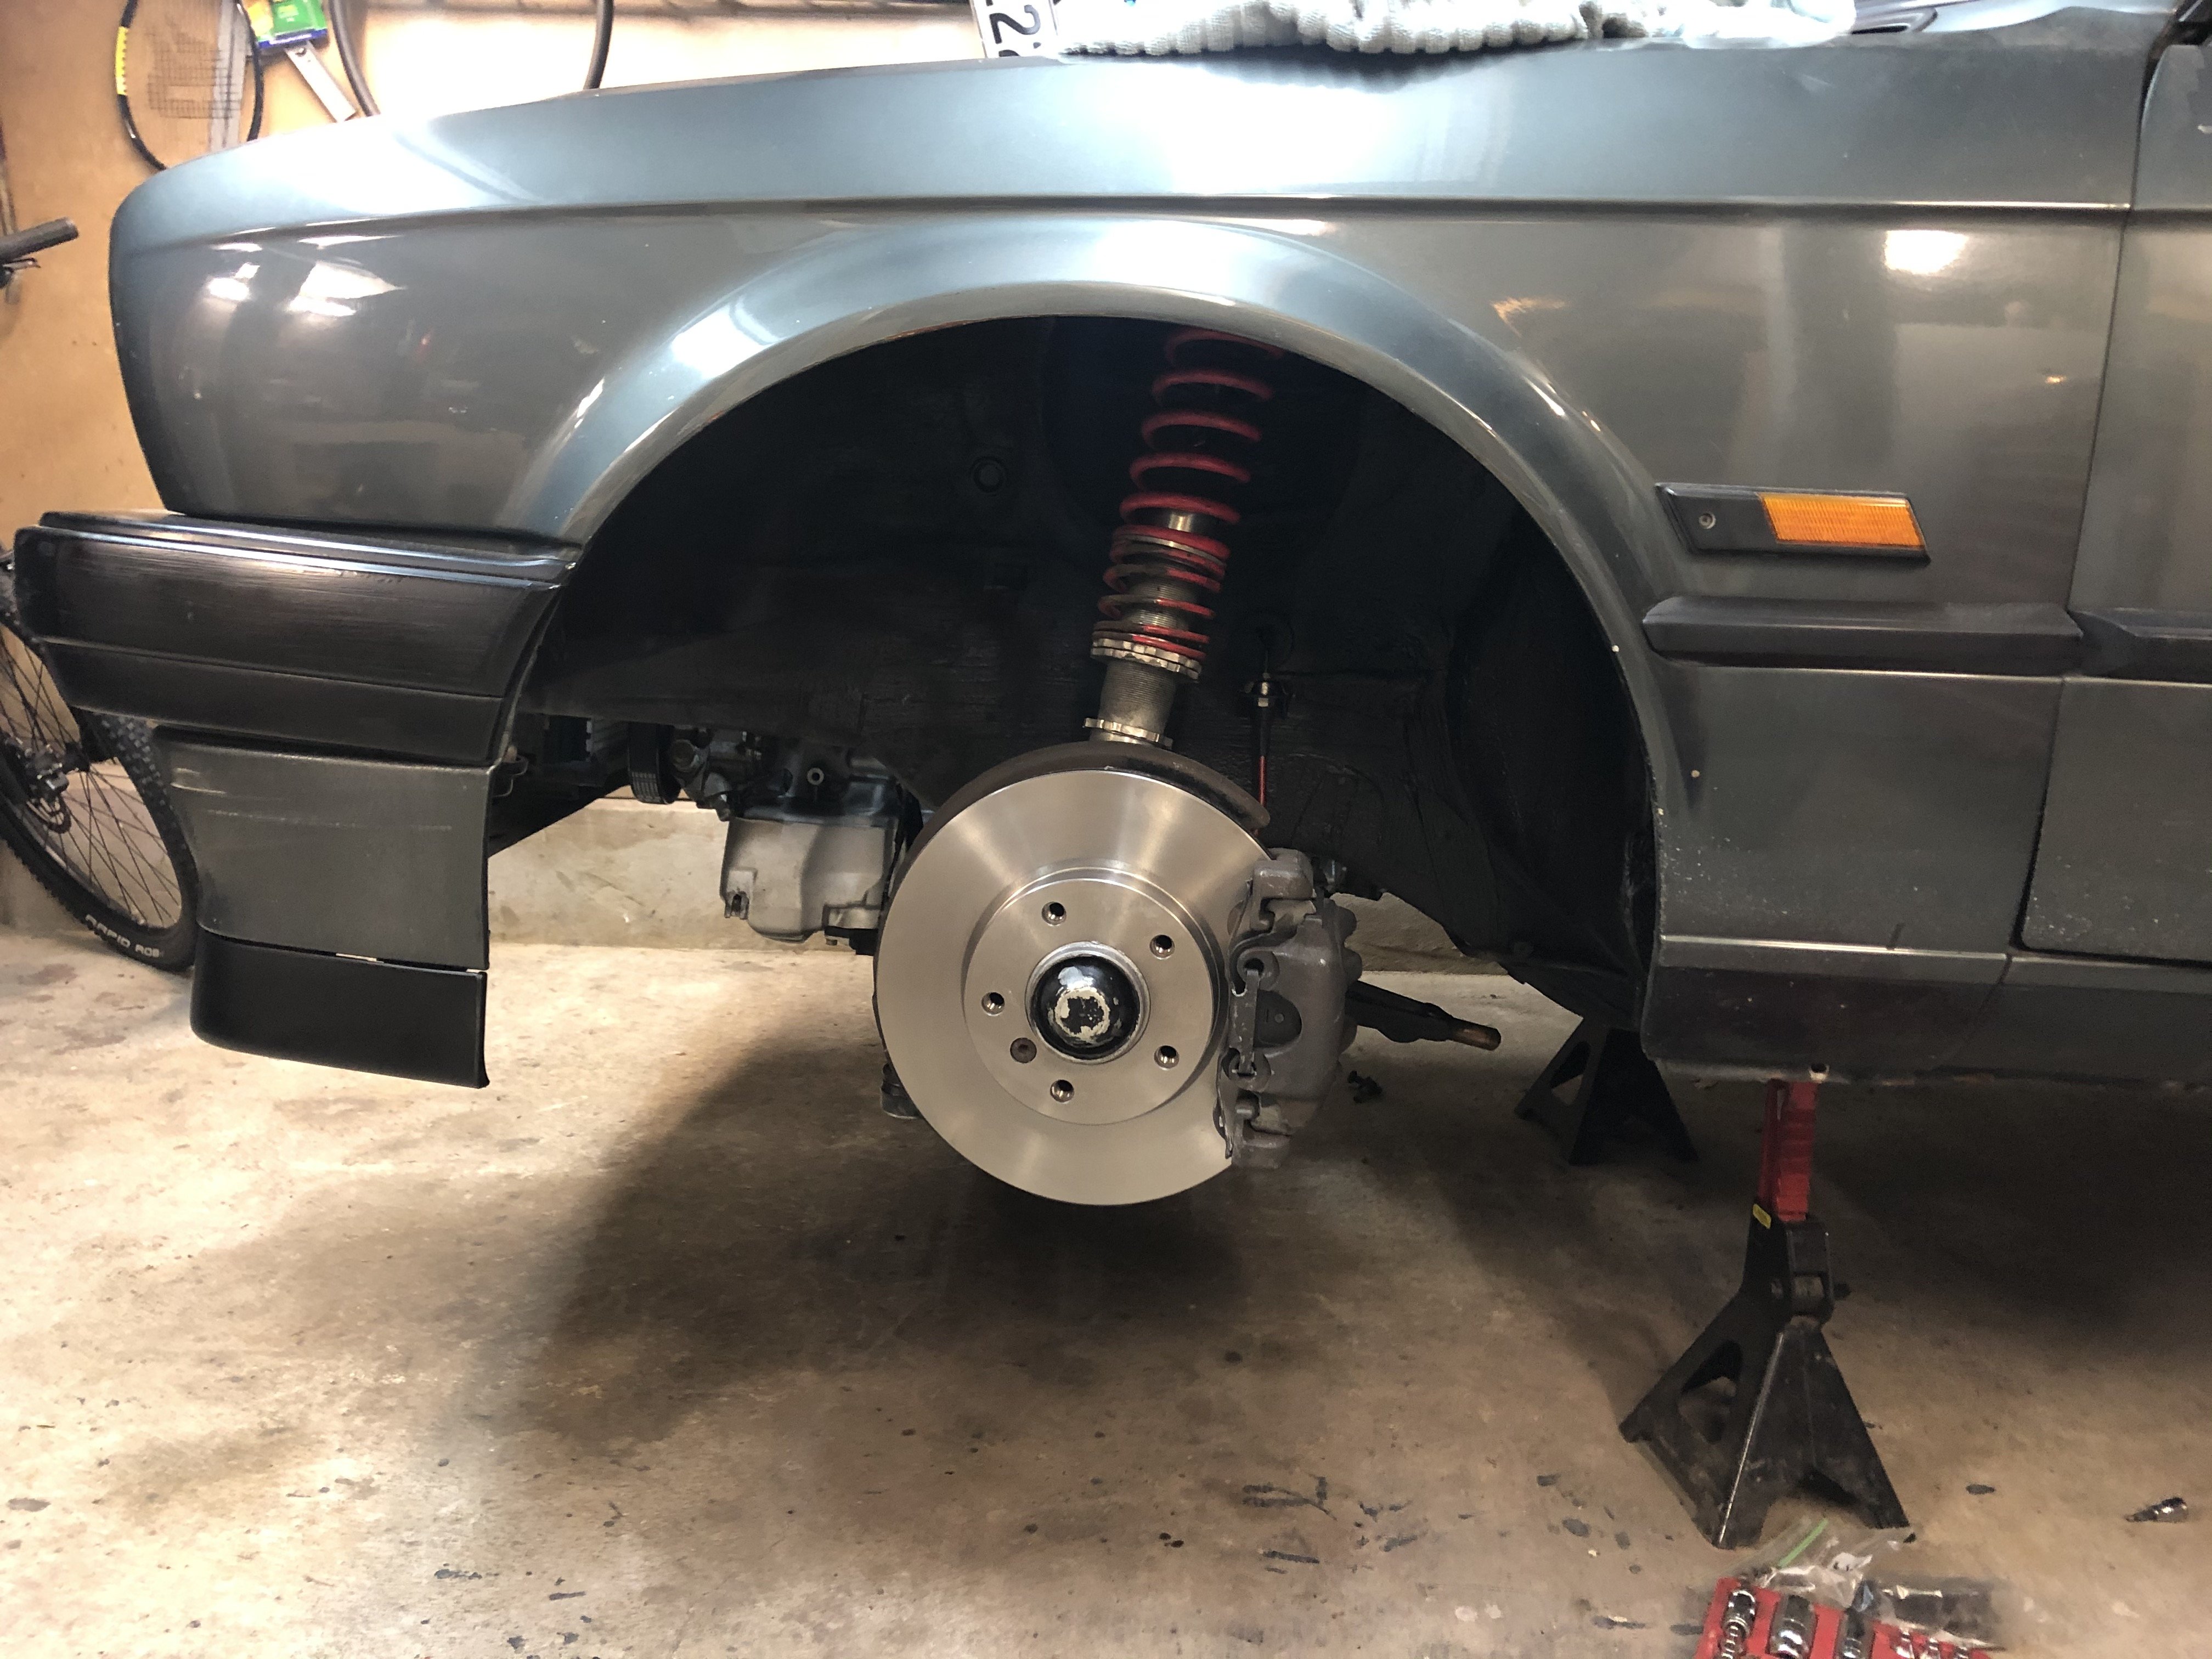
I'll start at the bottom, LCA's.
I know there is a tonne of rumour and mis-information quoted as gospel online now, so I tried it myself as part of the 5 stud conversion.
I'm running:
E36 lower arms, new ball joints all round
E36 adjustable suspension, E30 top hats (for now)
E36 Hubs (328i)
E36 290mm brakes and callipers
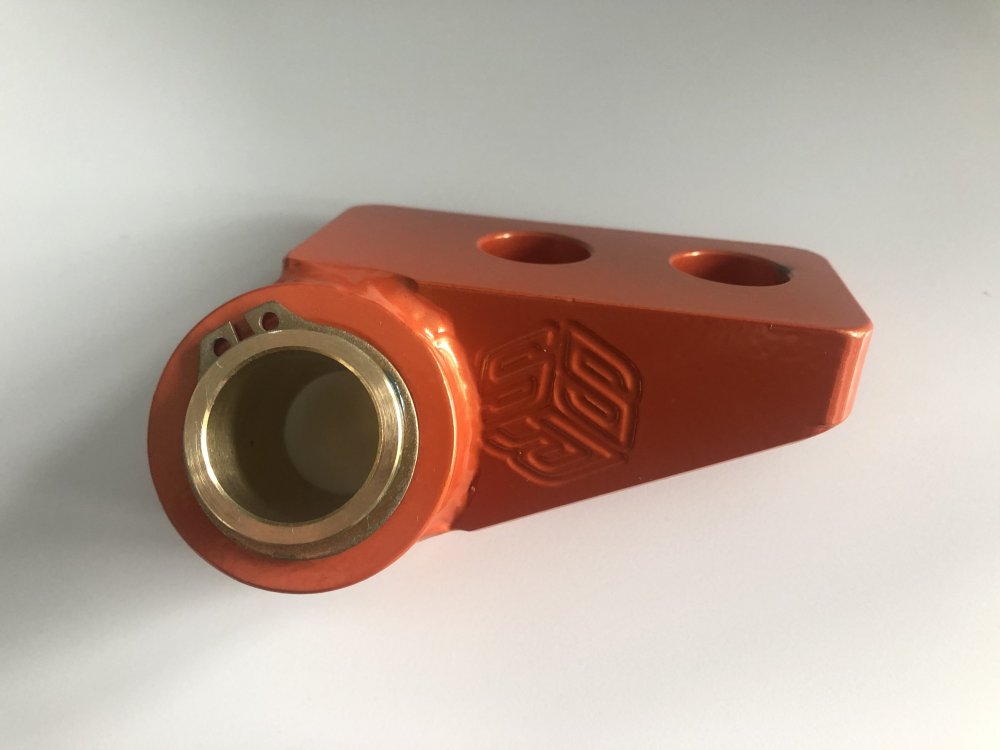
Originally I tried rubber offset LCA's, then Condor offset solid bushes but while that got me much closer to centre, the wheel wasn't quite right. Talking to SRS concept and a mate who installed his recently I bit the bullet and bought the *revised* SRS offset bushes.
From my measurements, and pending an alignment, these centre the wheel in the arch damn near perfect. As I say, pending alignment but I'm super happy with them.
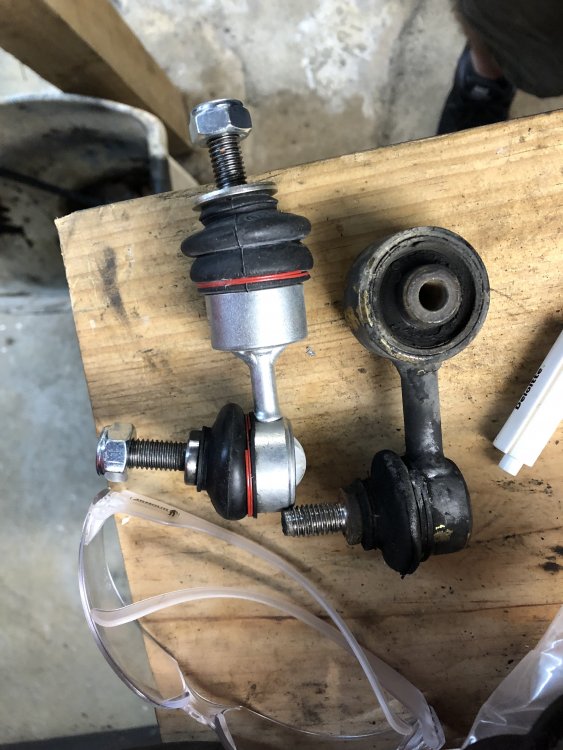
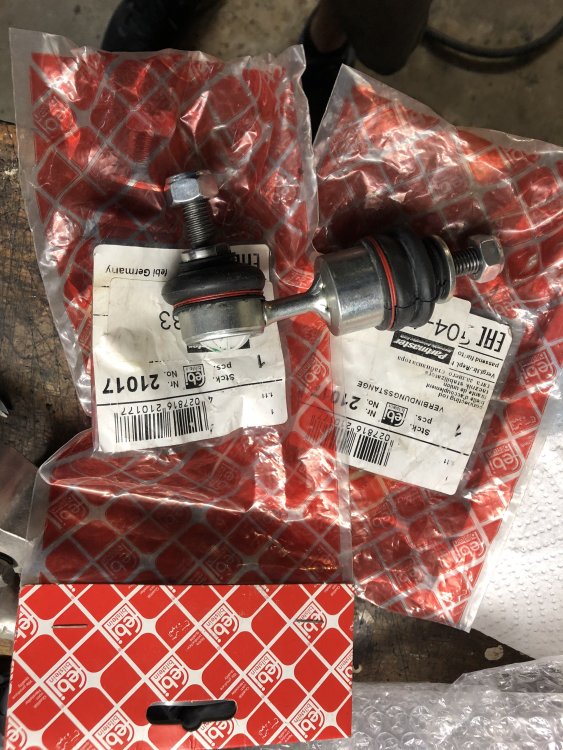
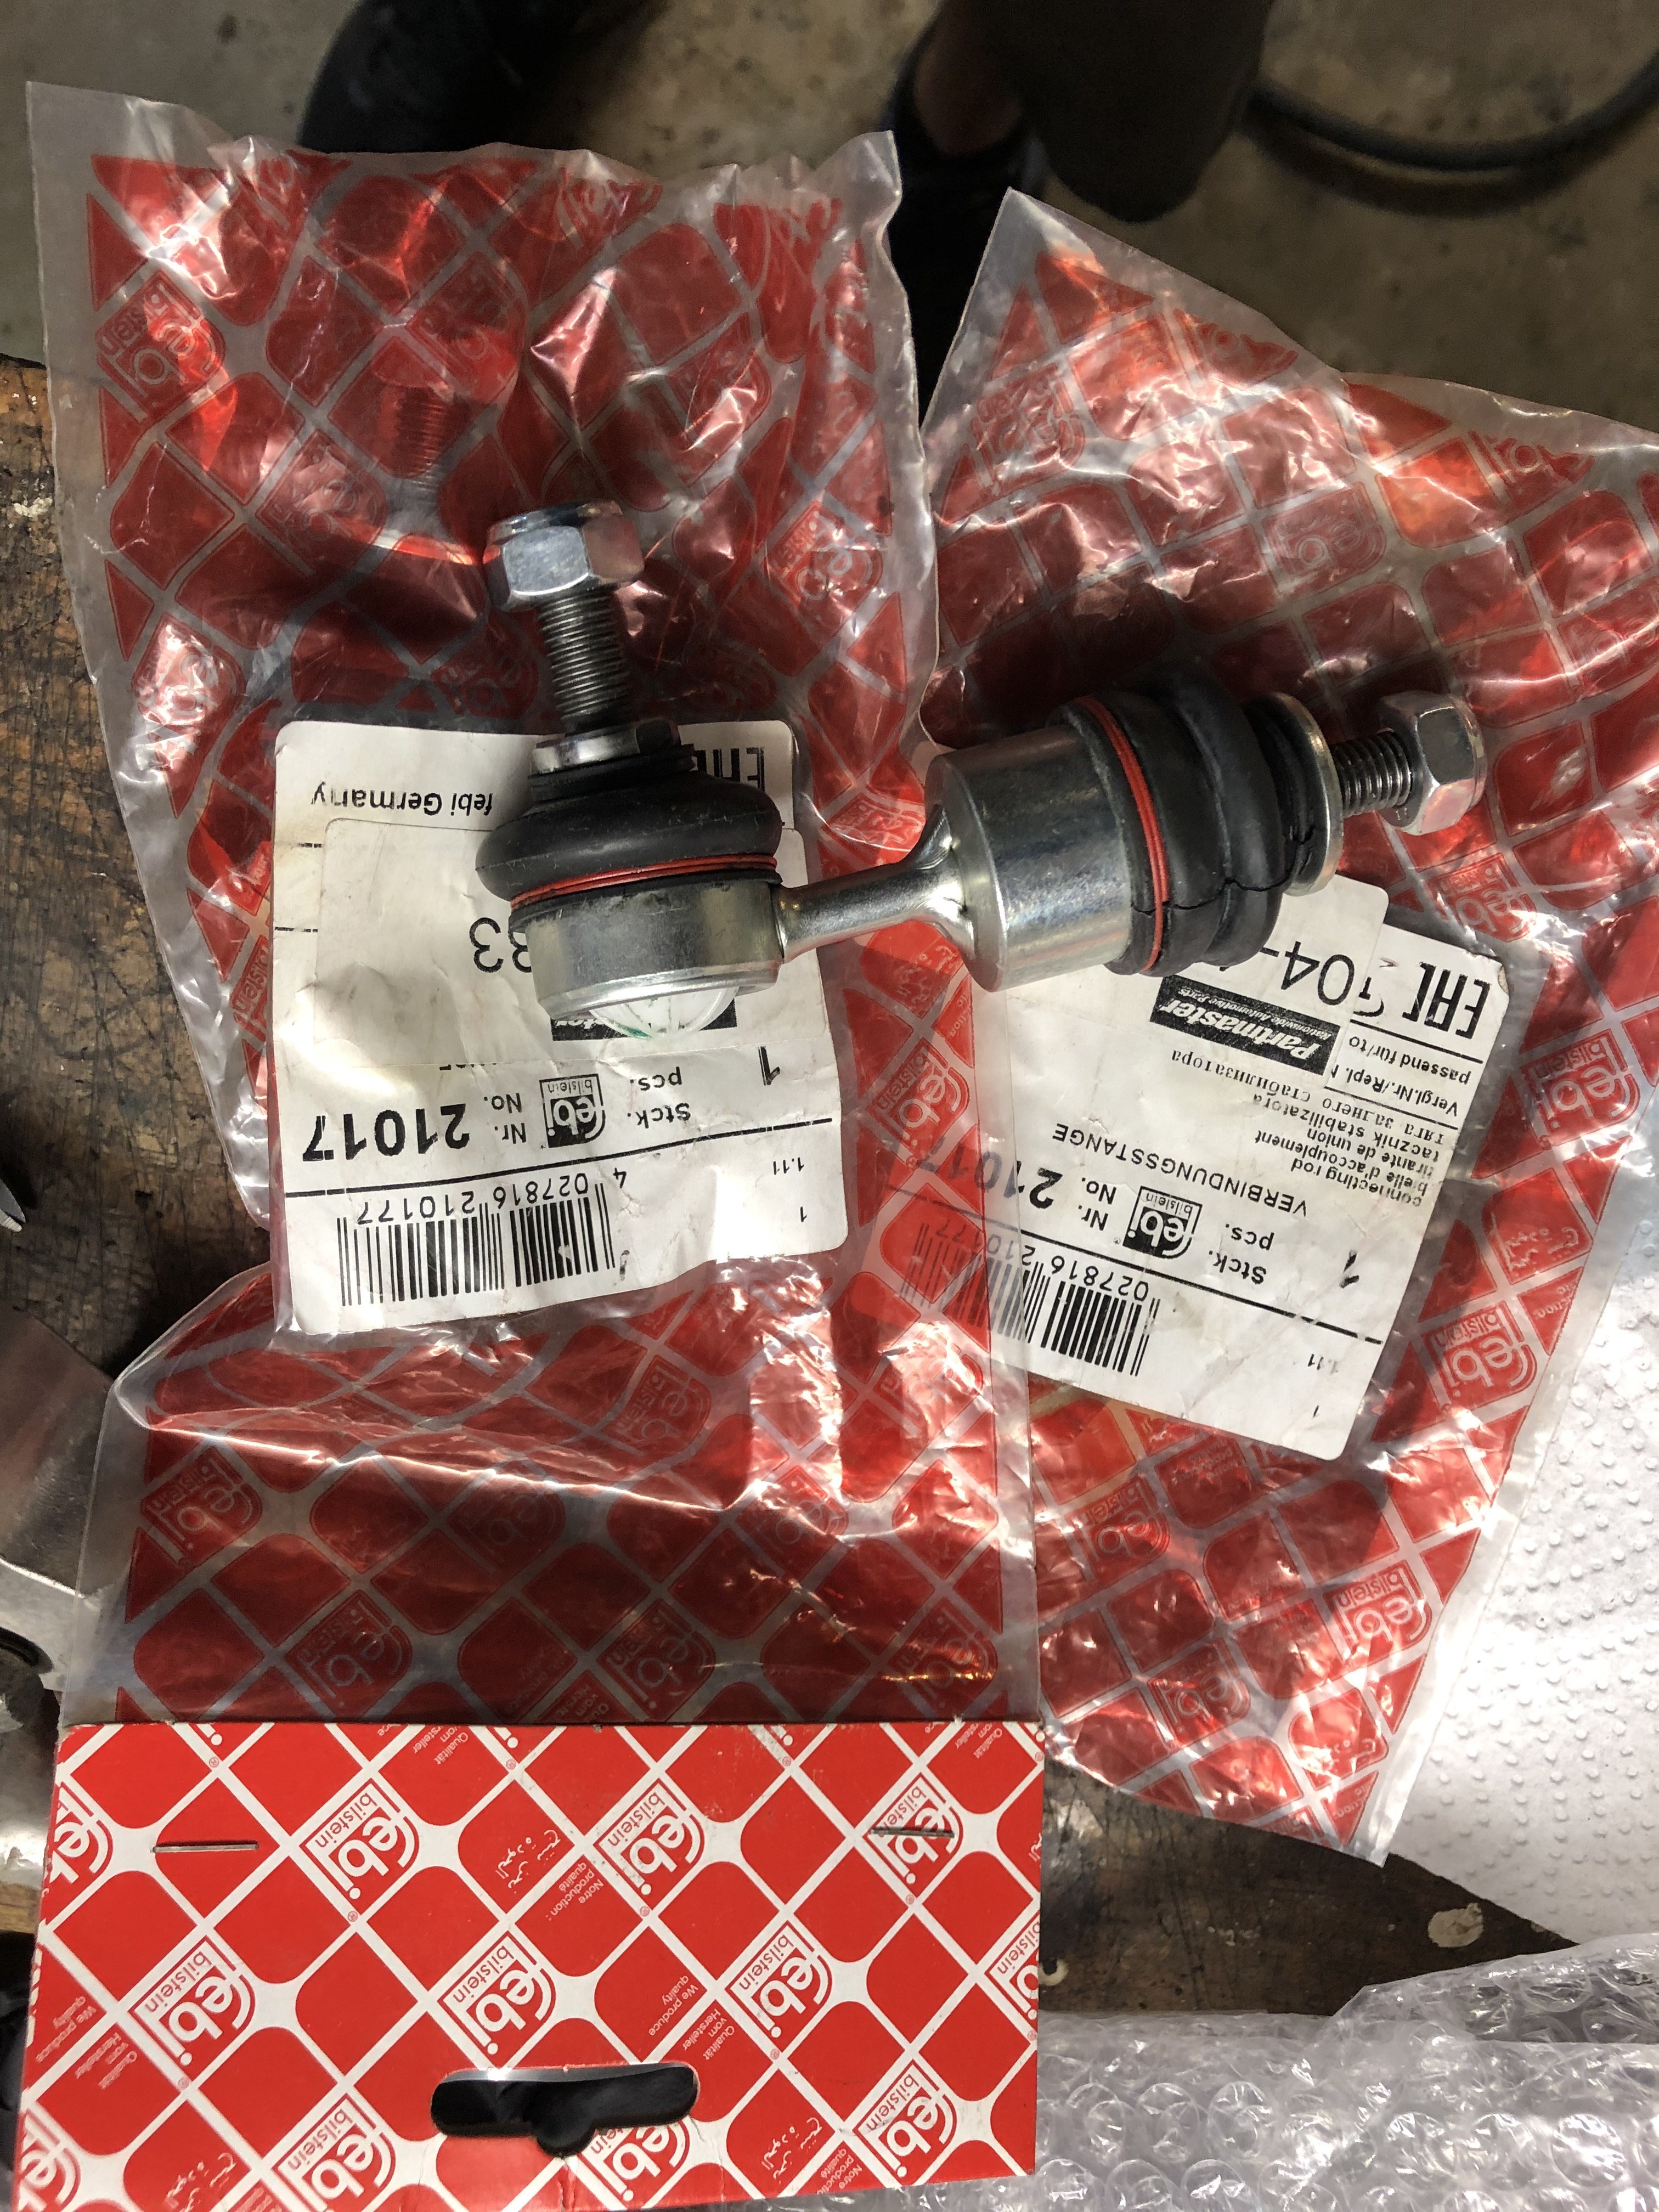
While I was under there I also replaced the rotten drop links with new ones. Not a big job, tip is to use a G clamp to keep tension on the new joint while you do up the lower bolt.Also put on the new brake rotors and pads. Minty fresh.
-
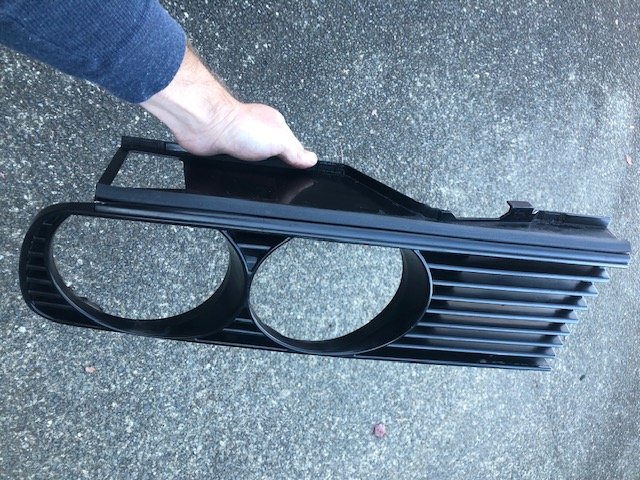
Posted a how to guide on restoring E30 grille's here:
-
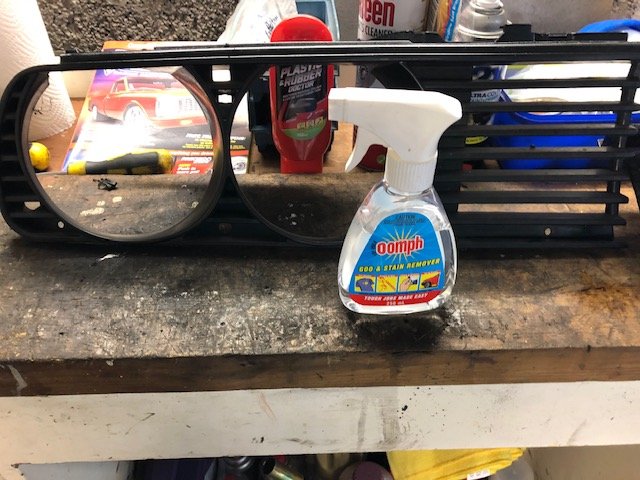
Had some time over the weekend to restore my E30 grilles / grills. Obviously I could've replaced with new, but these ones looked ok and I had some time so why not give restoring a go.
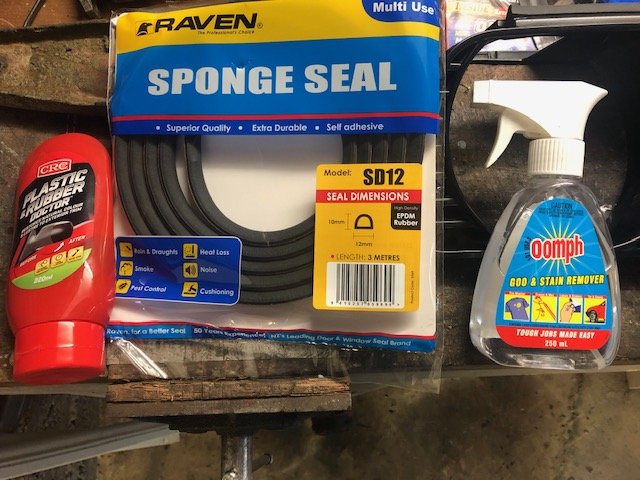
Things you need:
1) E30 Grille2) Plastic Doctor
3) Sponge Seal as shown
4) Oomph
Instructions:
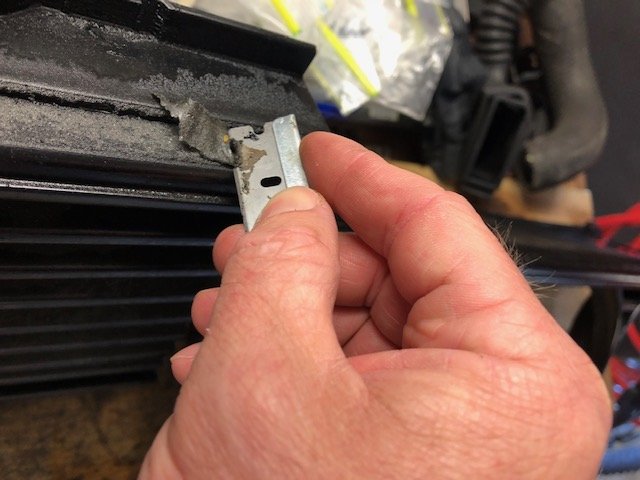
1) Cut the existing foam off with a razor blade
2) Spray residue with Oomph and leave for 2 mins. Then rub / scrape off. Repeat as necessary.
3) Wash the grilles with detergent
4) Dry fully
5) Wipe grille down with plastic doctor. Use a screwdriver wrapped in cloth for the tight areas.
>>Stay away from the foam area<<
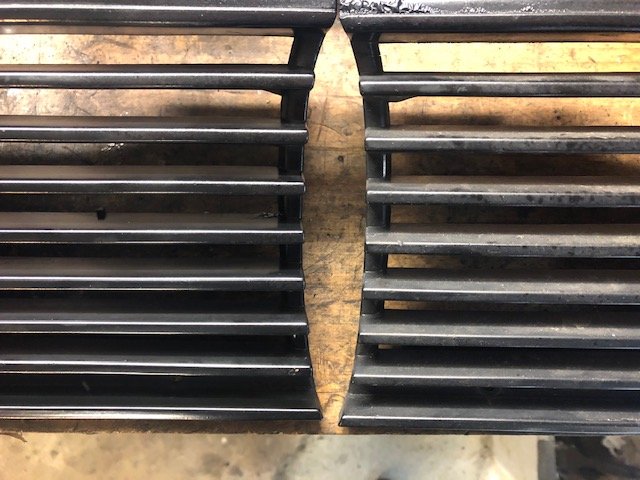
6) Leave to dry then repeat on areas until a consistent finish
7) Apply foam strip, cut to length.
I used loose fitting clothes pegs to hold it down for 24 hours; seems to have worked well.
Enjoy the result!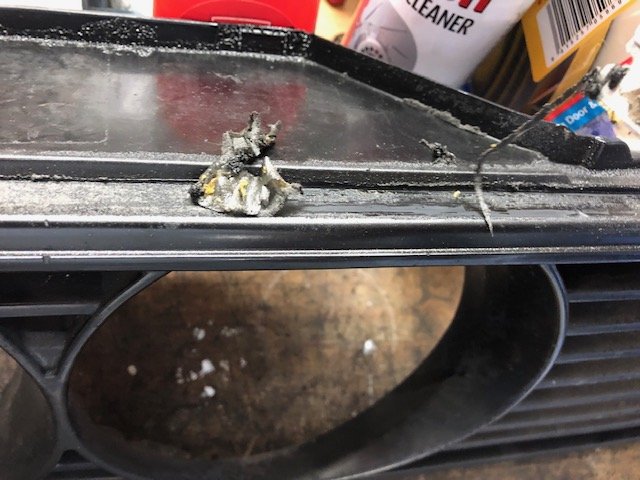
-
6
-
-
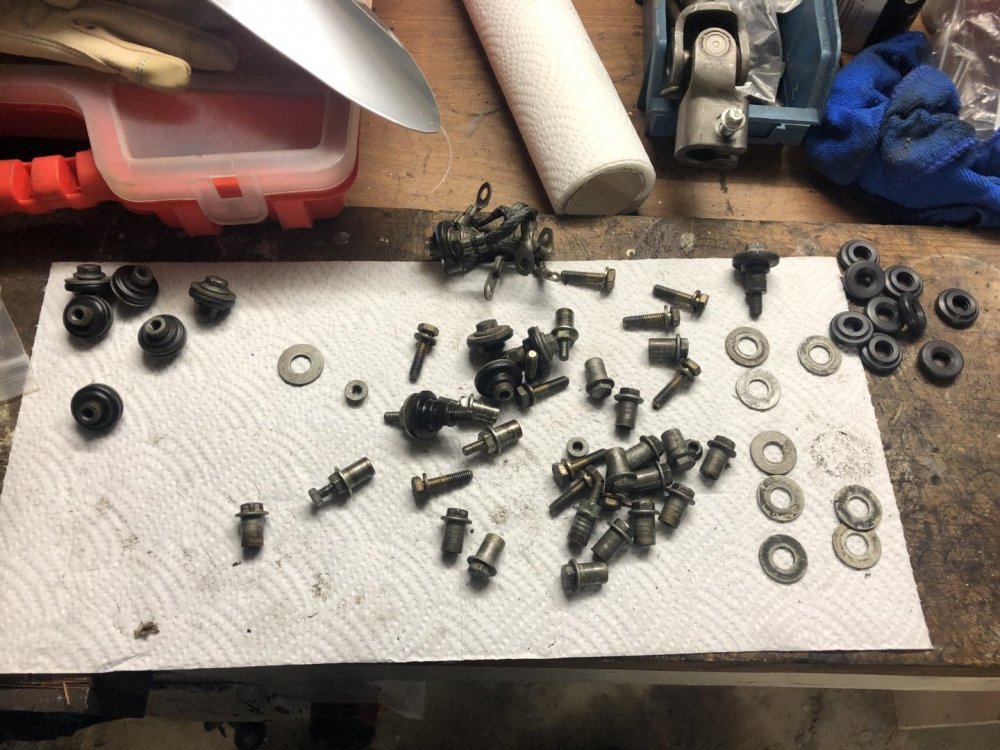
Burned a whole hour in the garage the other night prepping the rocker cover fittings.
Rummaged through storage, found 30+ if the fittings, picked the best ones. Wire wheeled them, fitted washers and new rubber grommet/o-rings.
Again, boring but necessary to get a good seal.
-
Somewhere along the way I modified the E34 dipstick with the e46 ccv return tube.
While I was there I cleaned the dipstick and replaced all the dipstick O rings. Boring, but important.


-
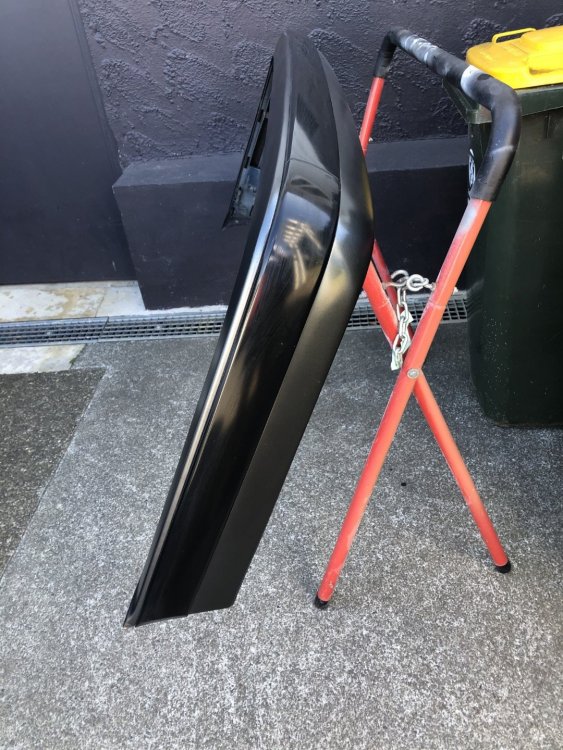
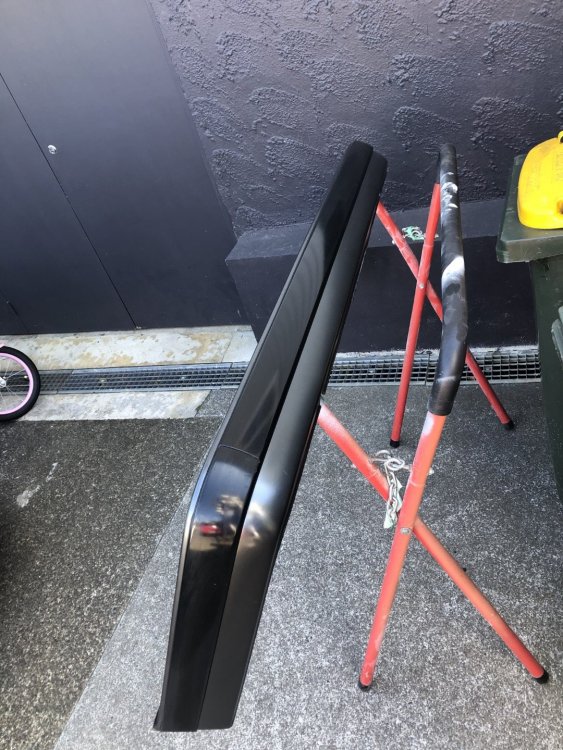
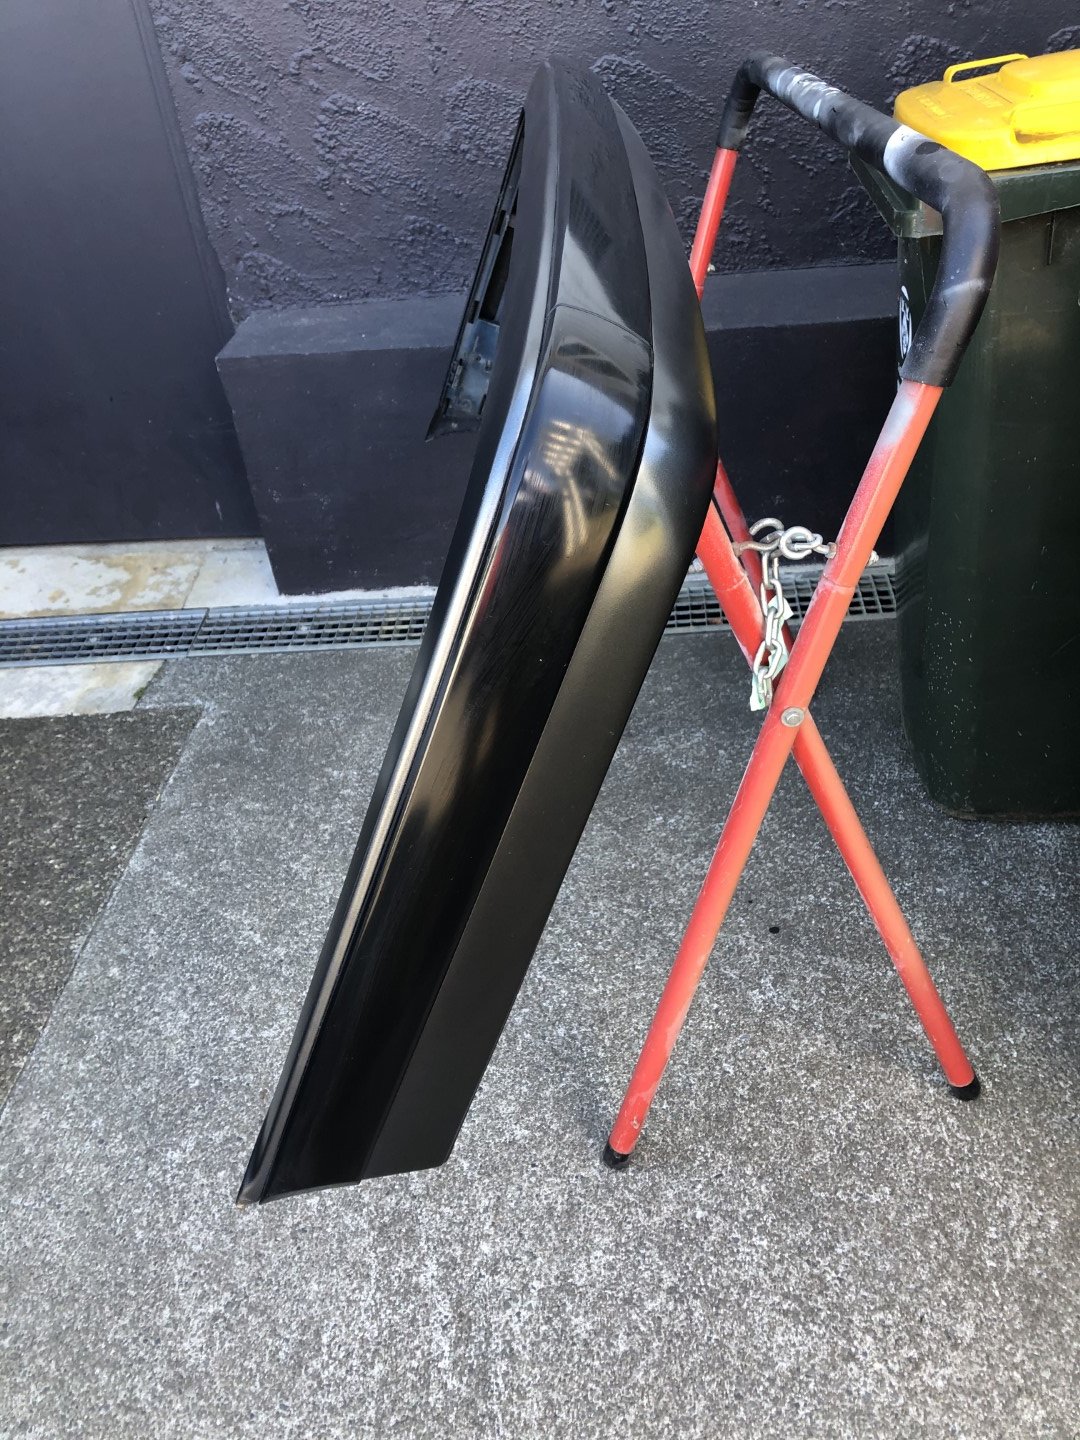
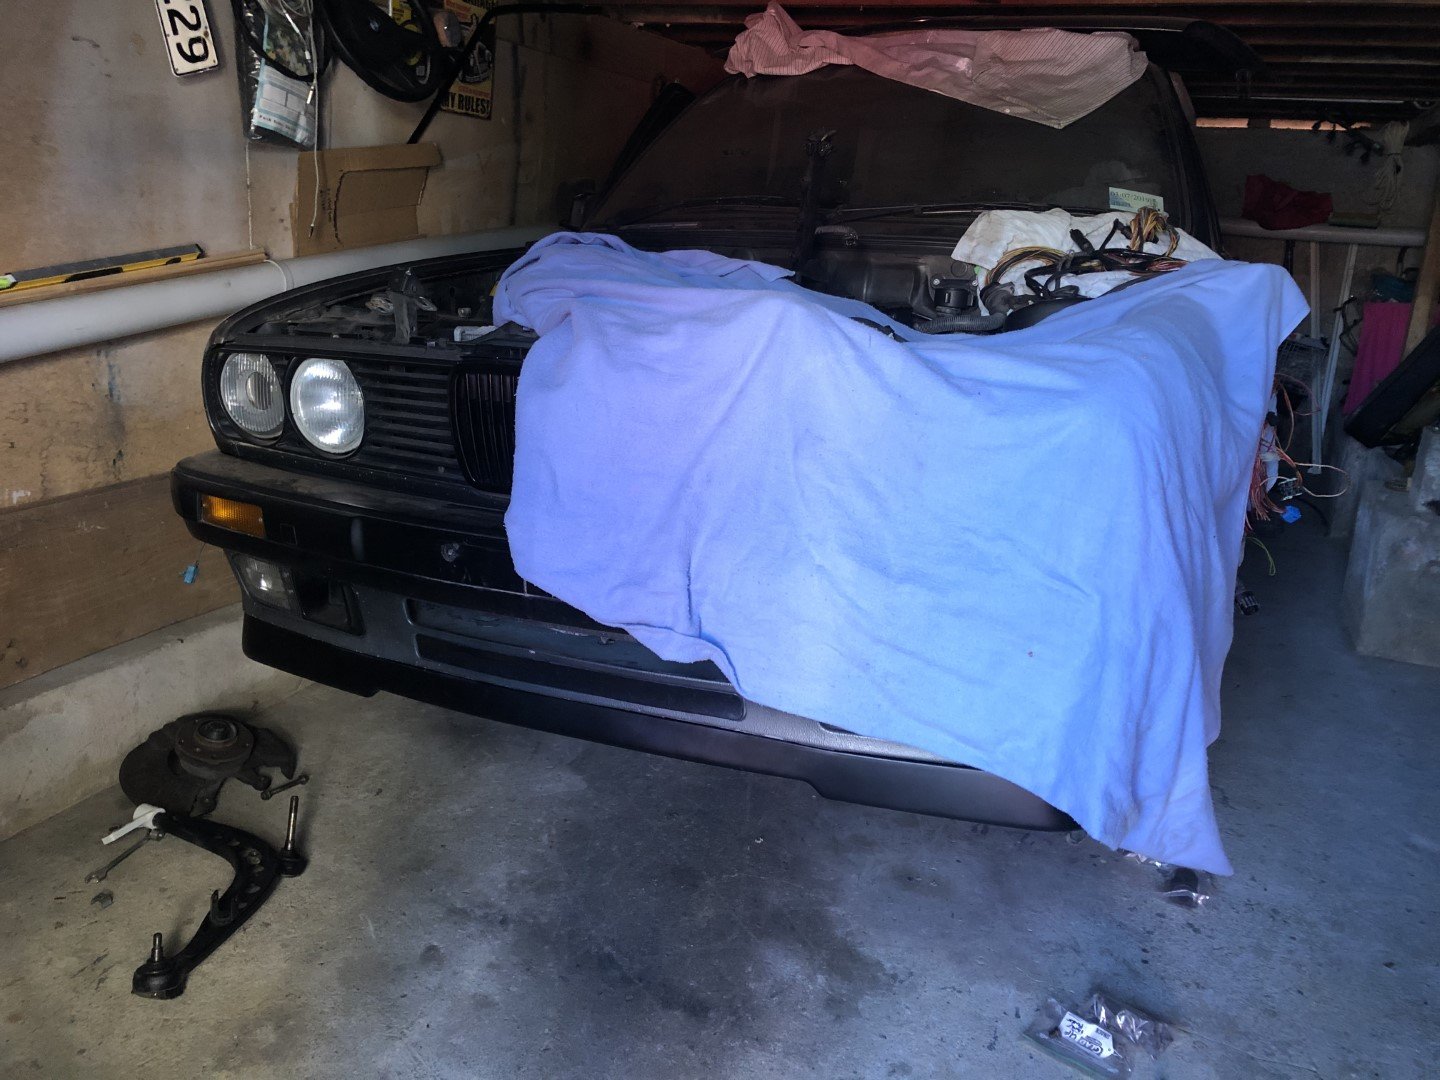
Scored a new rear bumper when I grabbed the rear battery tray out of a wreck in Hamilton. For time reference, I did that on Waitangi day. Yeah time flies etc.
Got it home and sprayed it the correct shade of Delphin to match the car. Plastic restored the bumper trims and she's mint.
Bonus is it cost me $50, sold my old bumper for $50. Bazinga
")
-
This is how the car lived while waiting for parts and time. Nice reminder of how far it's come.

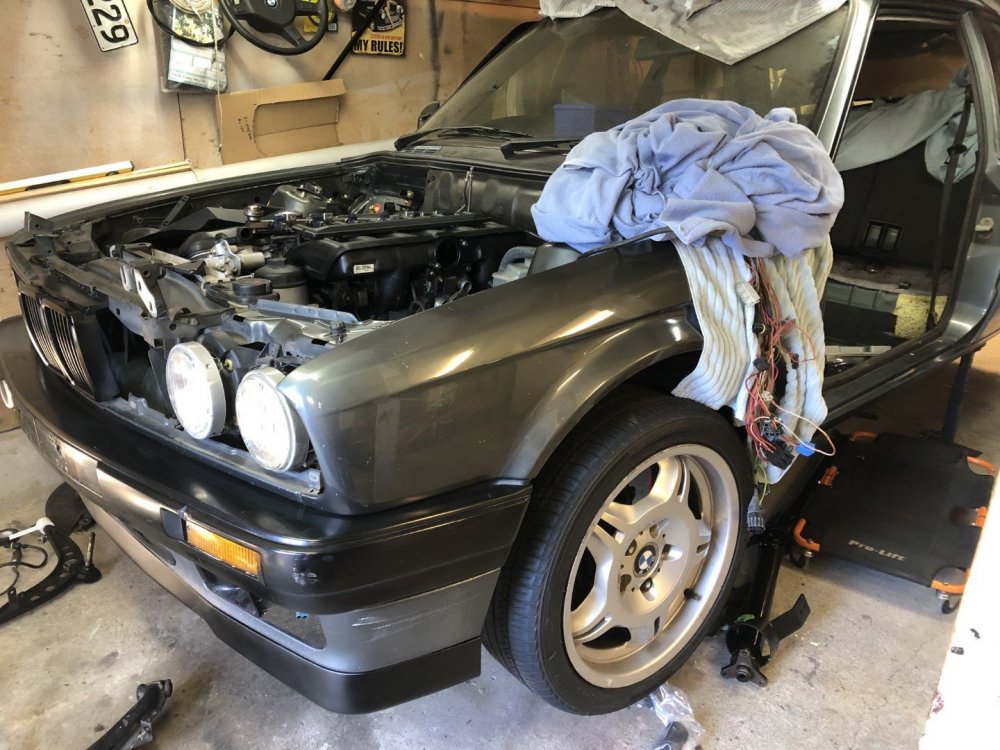
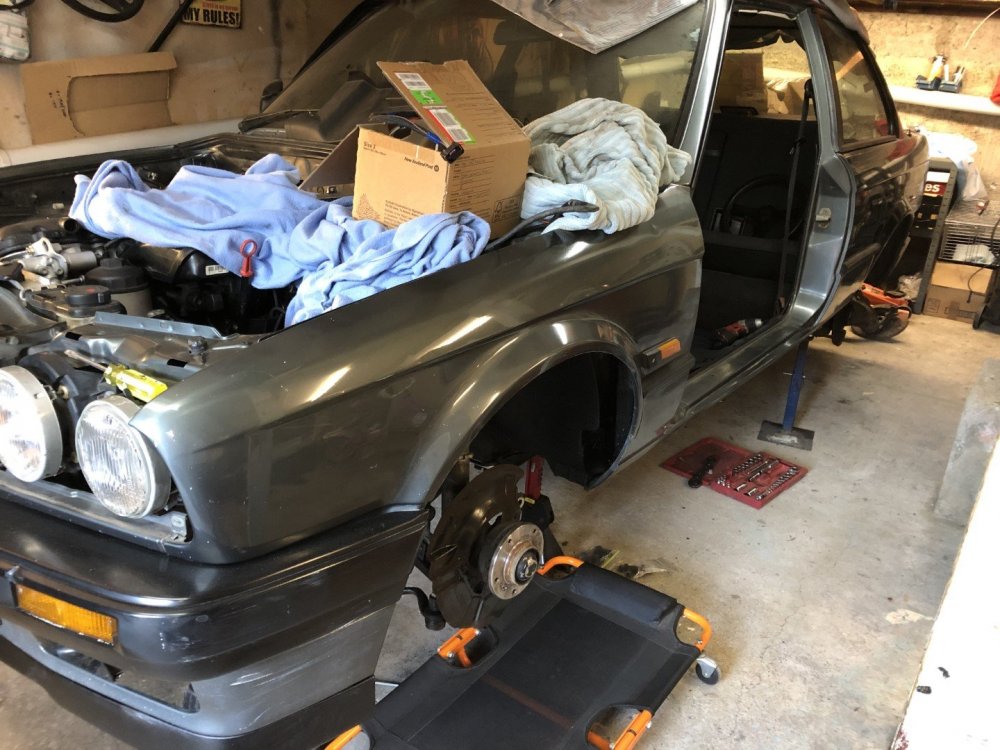
-
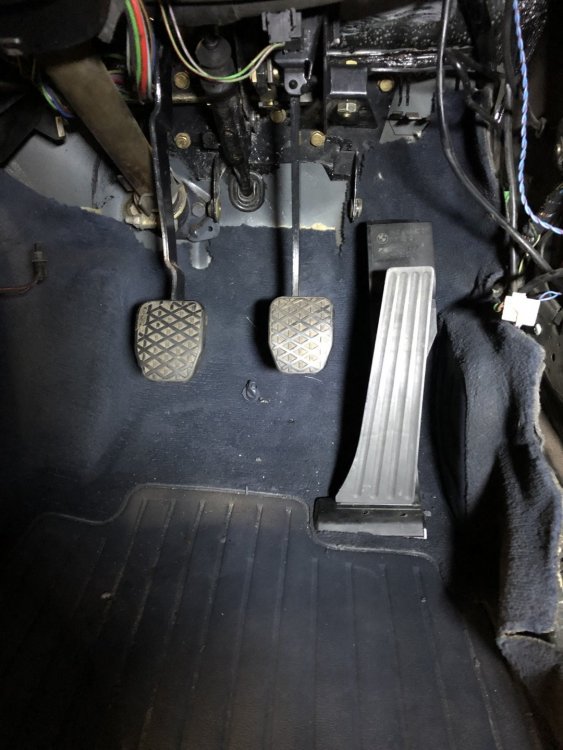
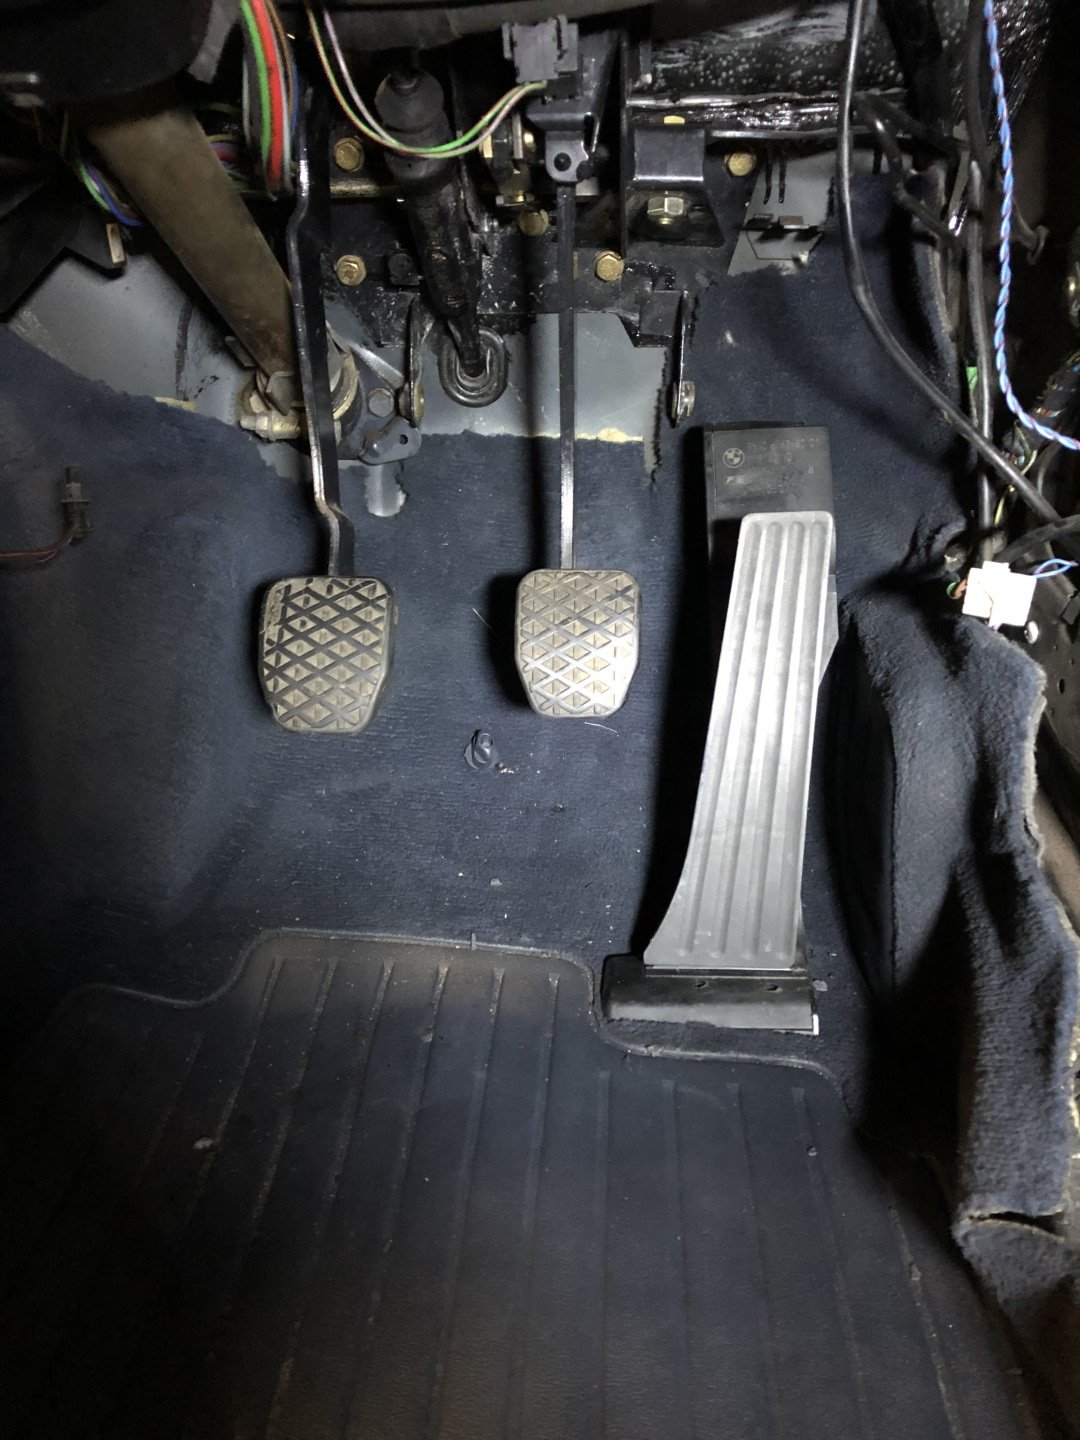
3 Pedals are better than no pedals...
For the drive-by-wire pedal conversion, and to remediate some rust I had to cut out the old Accel pedal mount and fab up my own.
Extended the slot in the carpet and got it all in.
Because of access / space constraints, I'm wiring the car up with the ECU in the engine bay to get it running. I've got a spare accel pedal to wire up and use outside of the car while I'm getting it going.
-
Crack free dashboard out of storage and installed. Had it over a year before I could get it into the car

-
1
-
-
@Michael cheers! I’m pretty fussy so tend to go overboard on builds...
re exh wrap I tend to agree. Usually I HPC on my race and drag cars. But as a road car the cert man wanted it as a heatsheild for the steering column so I’ve had to do it. It might not stay on there long term
")
-
1
-
-
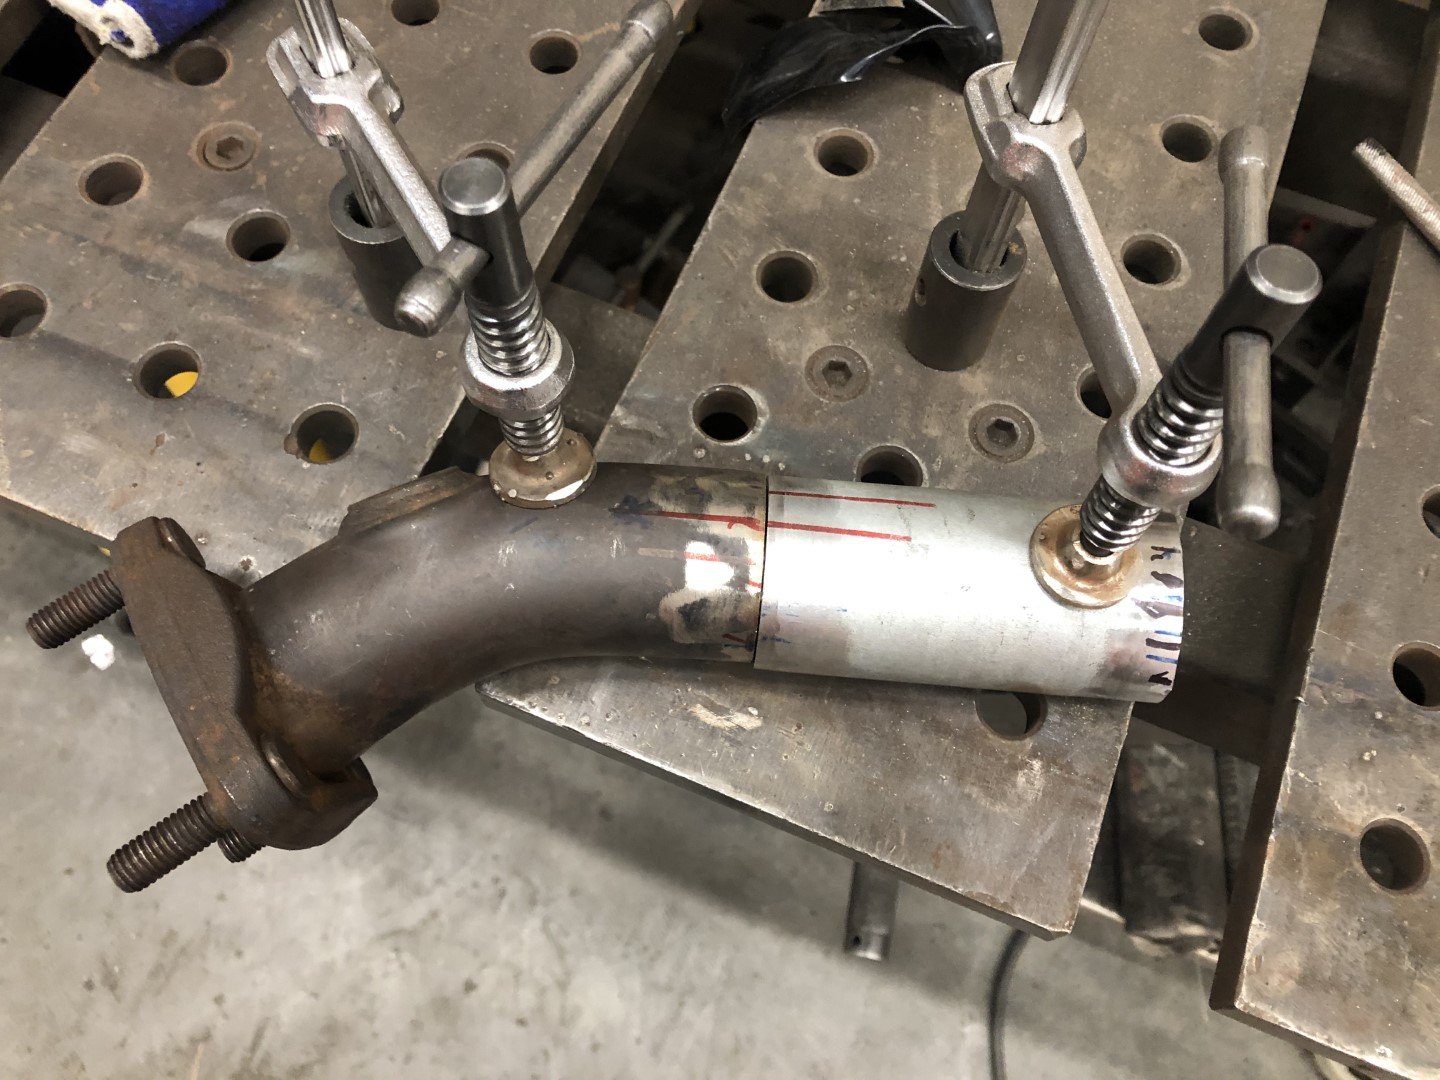
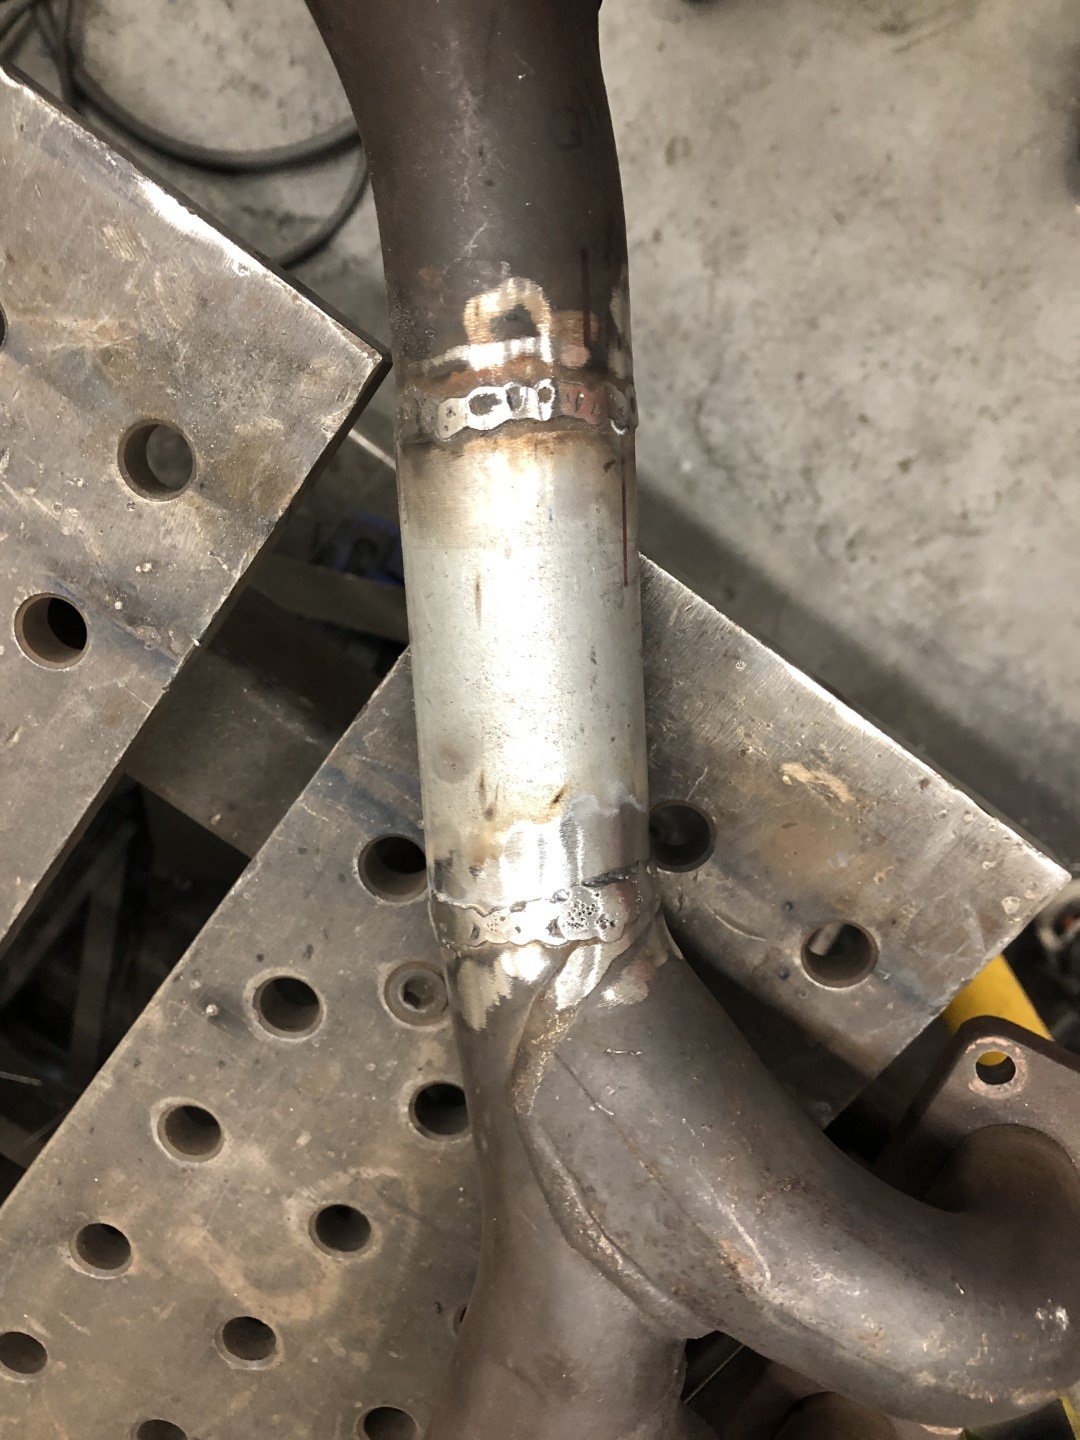
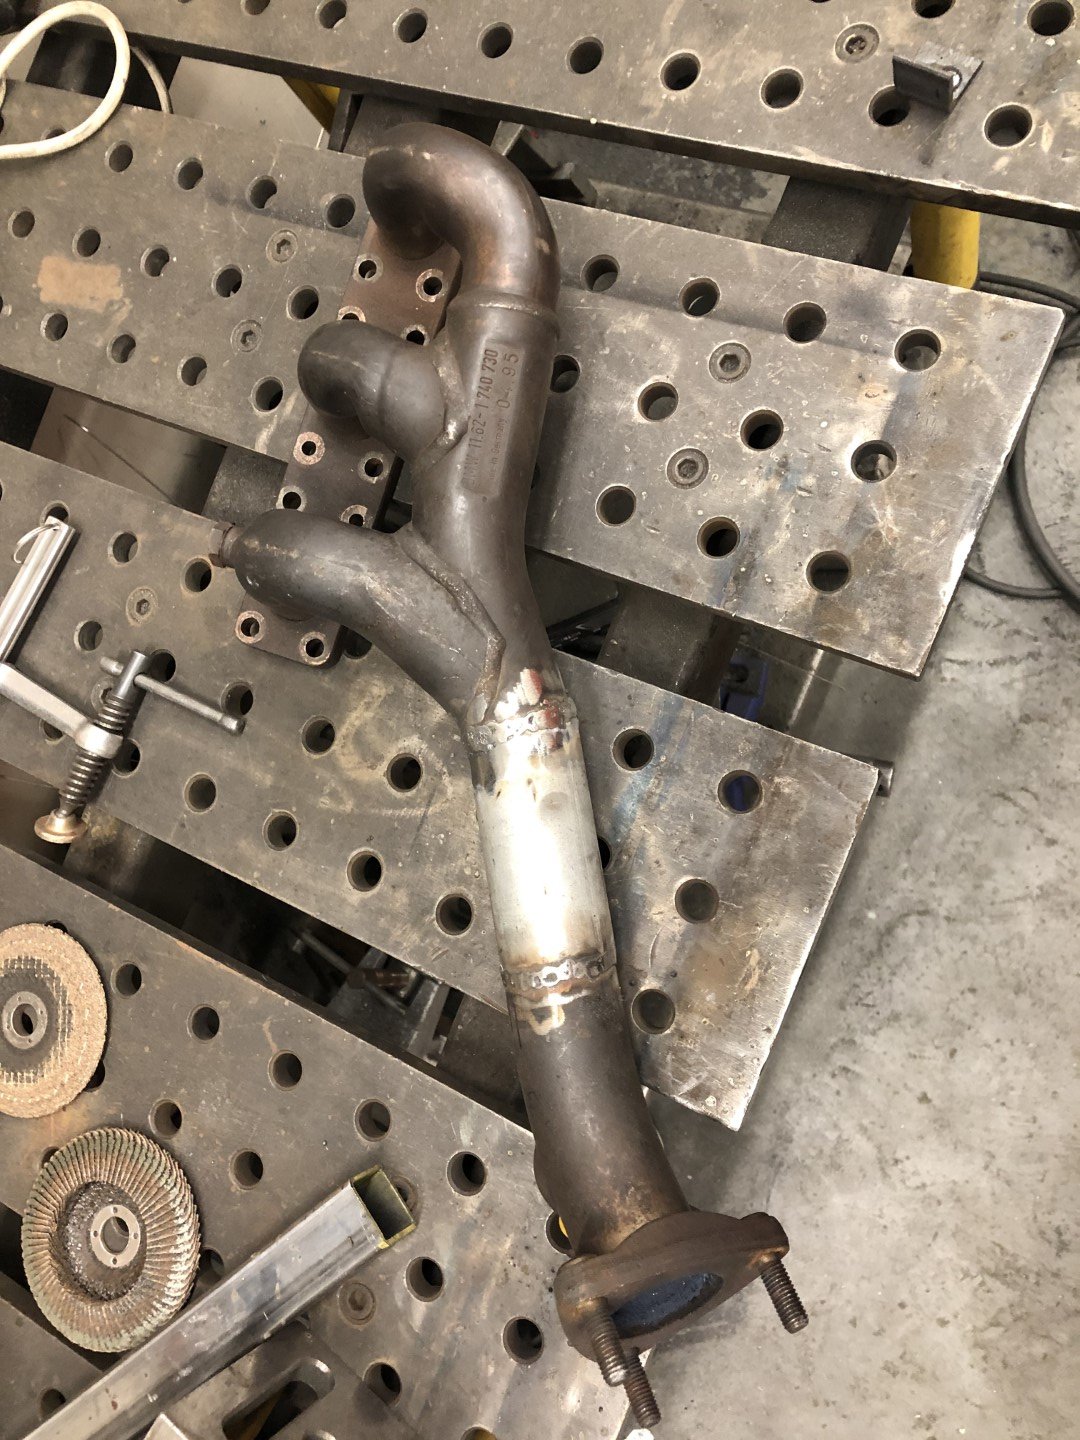
More pics out of order, but sharing is caring...lol
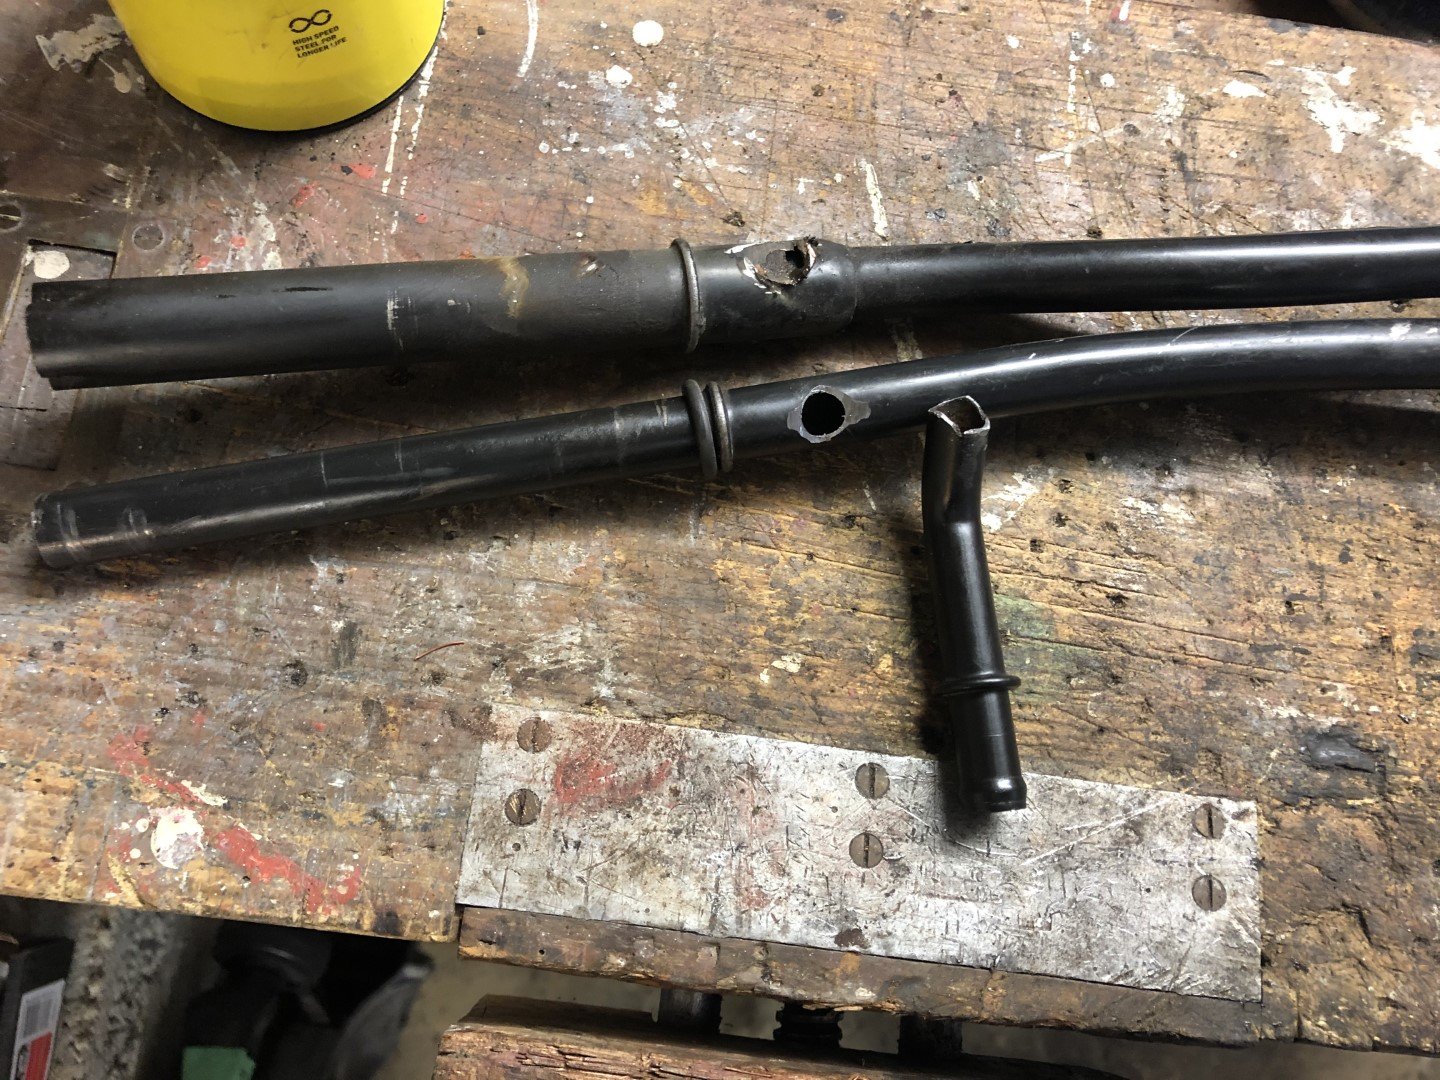
After realising my manifold needed to be extended 130mm (plus a slight angle) I found some pipe at work and jumped on the 3phase mig. Super greatful to have a fab room in my office....!
Once that was done I wrapped both headers and installed with brand new gaskets and nuts. Very happy with how this turned out


-
3
-
-
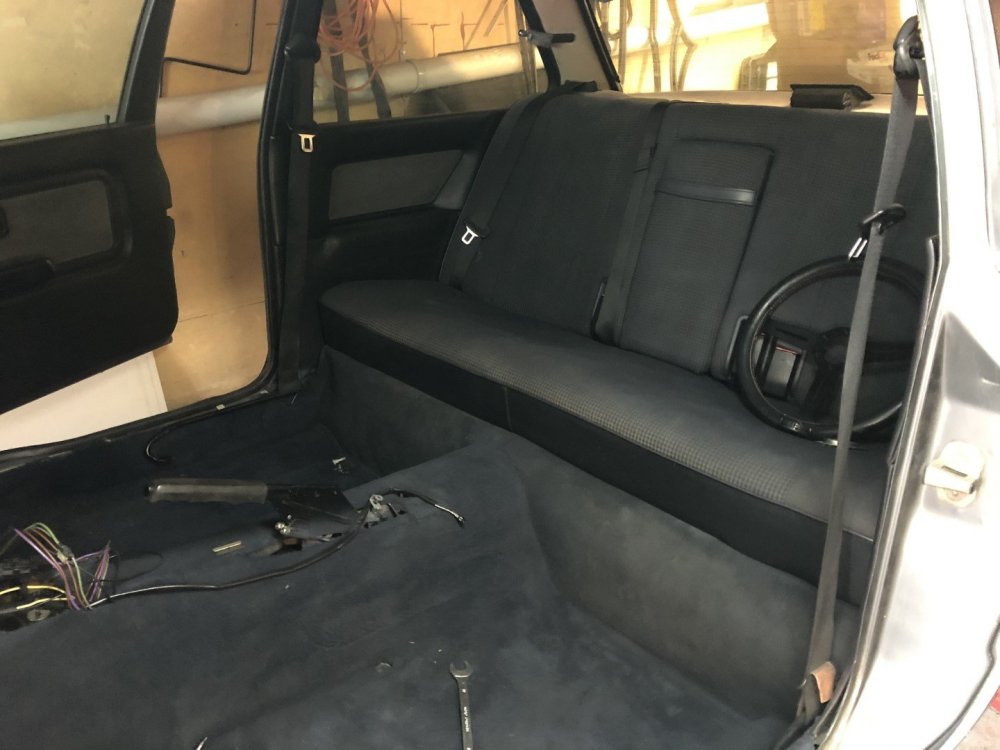
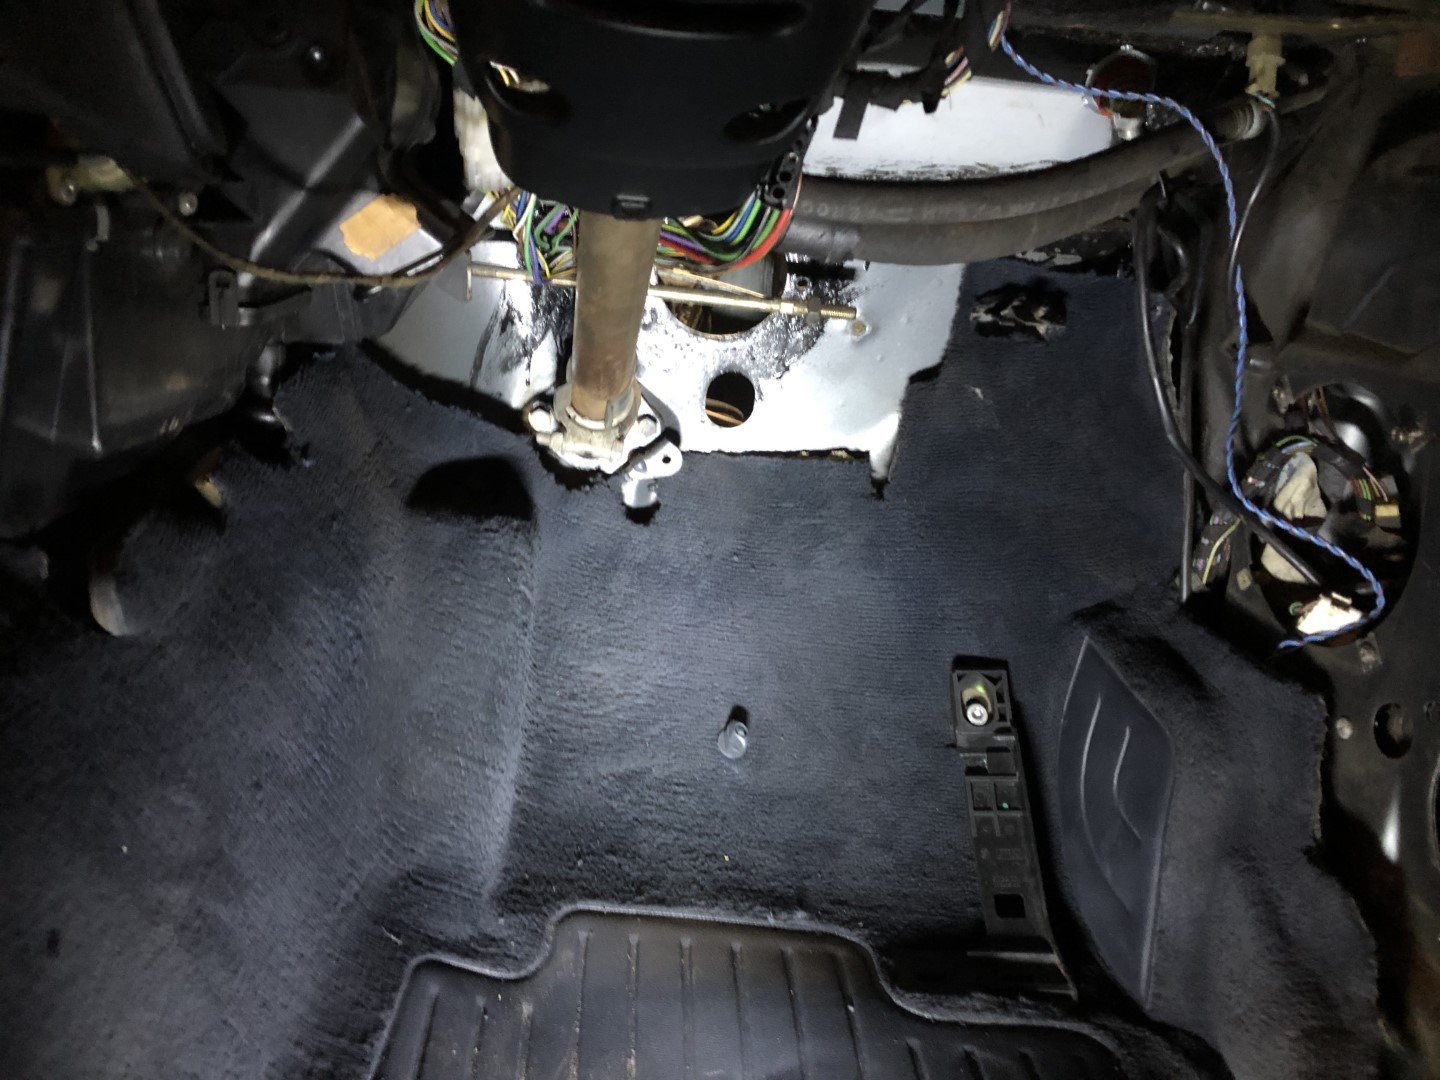
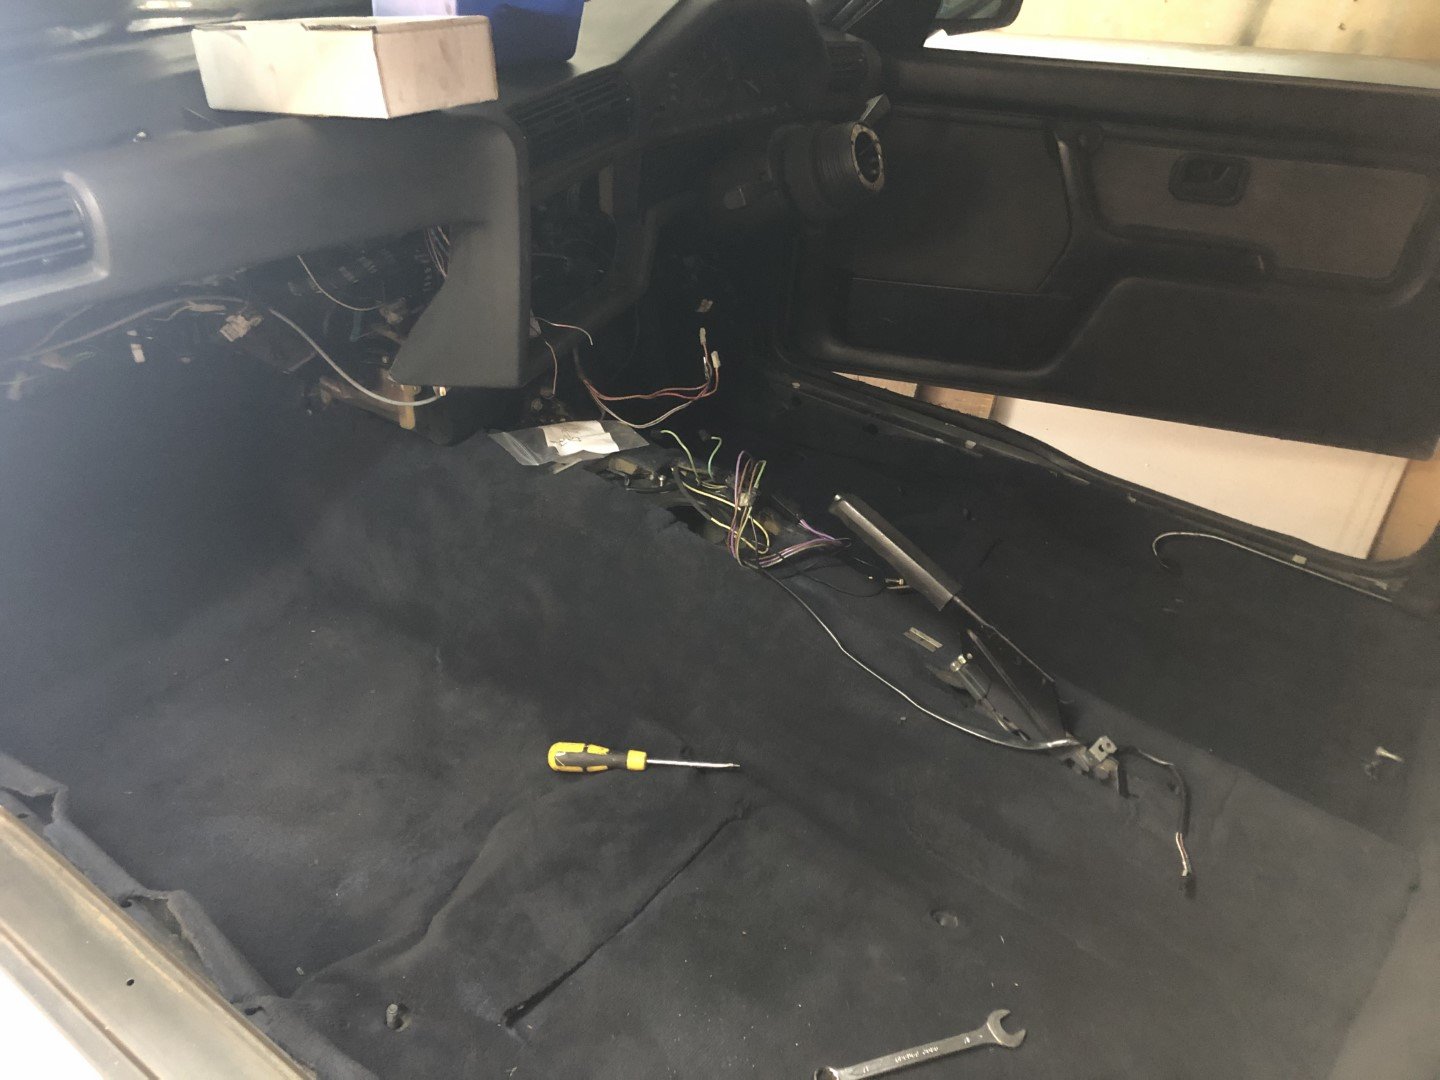
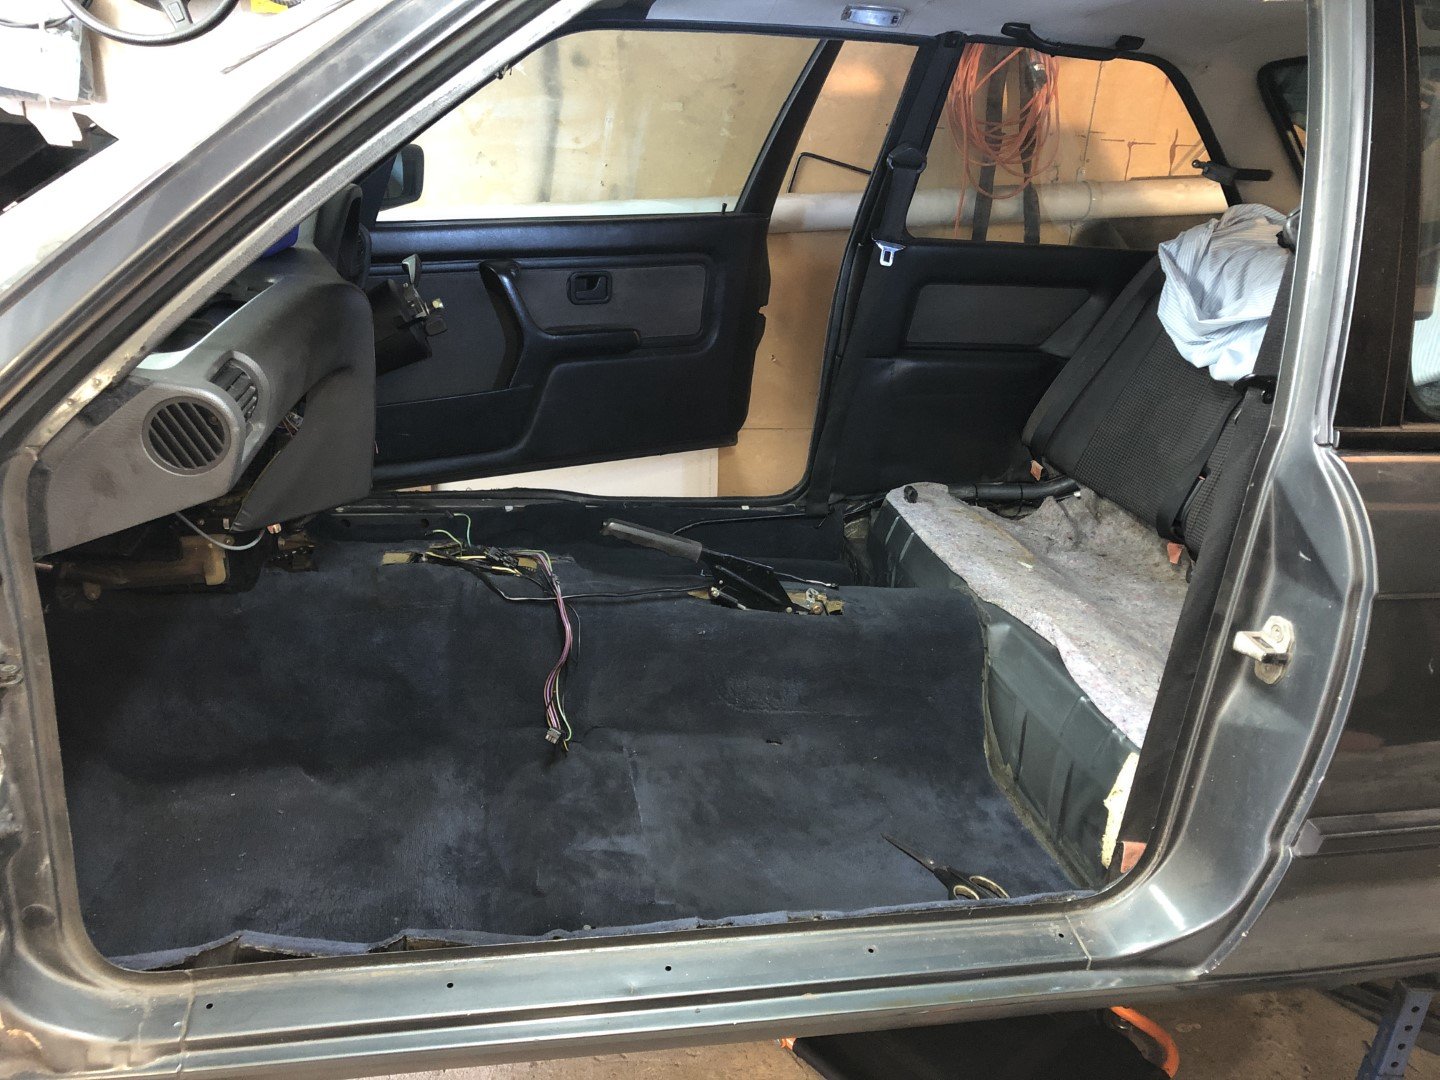
Some pics of the carpet in. Wasn't a simple job but so much nicer than bare floor I'd been staring at for nearly a year.
I dyed it using VHT spray dye from Navy to charcoal. Still looks a bit navy in some lights but came up well, especially against the houndstooth trim.


-
1
-
-
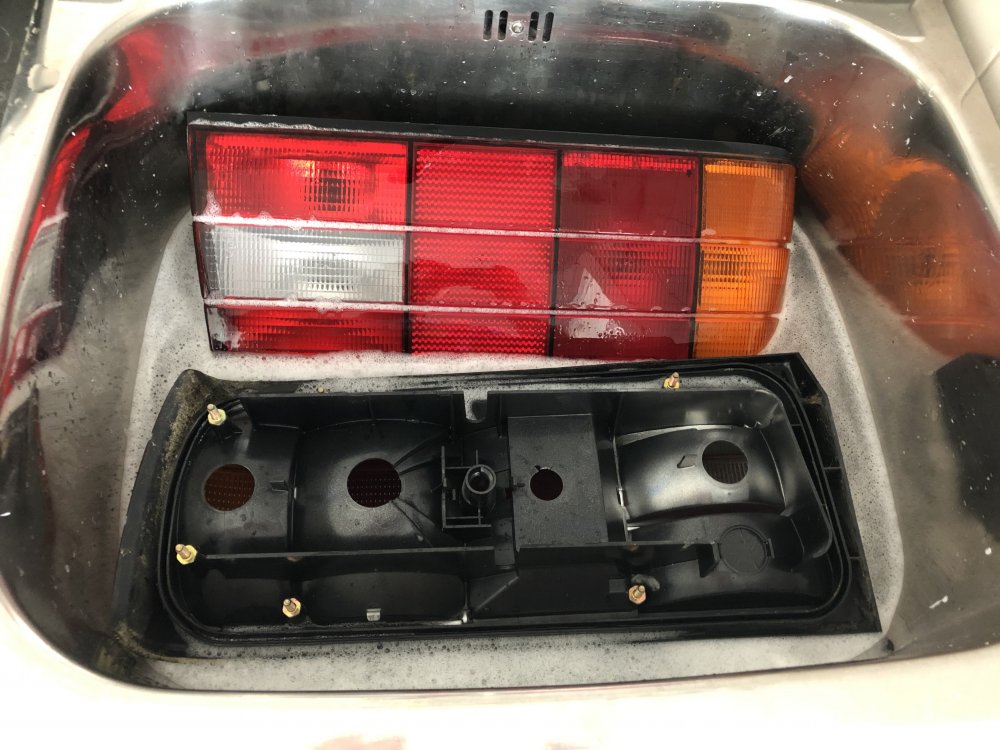
So the missus went out for drinks one night (pre Covid) and I was a bit bored. So thought I'd give the Tail lights a good going over. Selected the best 2 out of the pile and went to work.
Rubber restore on the best gaskets
Disassembled the housings
Gave them a bath - dishwash liquid to the rescue!
After a good dry and blow out with an air hose they had a plastic polish. Came up pretty well.
Now they're in storage wrapped up in bubble wrap until they can be fitted.

-
1
-
-
Jeepers. Has been a while since the last update. Lots happened. I'm not going to try to update this in order so will add posts as I find / align pictures.
Brief run down of tasks:
- Driveshaft shop driveshaft installed
- Driveshaft hoops installed
- Med case LSD
- Rebuilt cv's
- New wheel bearings pressed in
- Adjustable susp all round installed
- New brake pads / discs all round, braided lines
- Ditched the replica IS Lip and replaced with genuine BMW OEM (fits MILES better)
- Installed all remaining engine components (Y Pipe for brake booster, inlet, MAF, throttle body, injectors etc as per. All rebuilt, cleaned or replaced before install)
- Stripped the E39 530i loom
- Installed a M54 > E30 facelift loom
- Replaced the dash with crack free version
- Installed restored vents, HVAC panel
- Pedal box installed
- Clutch hard and soft lines finished
- New NOS carpet installed (after dyed charcoal)
- New hockey stick / c pillar trim gaskets
- New door rubbers
I'll cover off some of these with pics shortly
-
2
-
 1
1
-
Hi all,
I'm not far off starting the M54B30 I've built for my E30. As it's sat with no oil in the sump (has assembly lube on everything and oil dropped down the bores), I want to ensure I have oil pressure before I crank it properly.
Current thoughts are:
- Fill with oil
- Remove sparks
- Unplug fuel relay
- Crank briefly
- Remove rocker cover and check for oil
Note: I did not put vasoline etc in the pickup to create vacuum as I have done on previous engine builds as I wasn't sure how long it would be until I started this one.
This may be tedious but without an oil pressure gauge I'm not sure how else to tackle it.
Anyone have better ideas?
Also how long would you expect to crank before seeing oil in the head?
Thanks


.jpg.deb2b880be725bdf131b4cbd0ea4185b.jpg)


Longer M12 x 1.5 wheel bolts?
in Wheels & Tyres
Posted · Report reply
I'm running 10mm spacers on the front of my e30, so while converting to studs would be fine I don't need them all round.
Does anyone know of an NZ supplier or BMW model that runs longer wheel studs than the E30?
I've checked the F series, X series and 7 series all run M14 or different pitch even though they're longer.