

Garett
-
Content Count
853 -
Joined
-
Last visited
-
Days Won
5
Posts posted by Garett
-
-
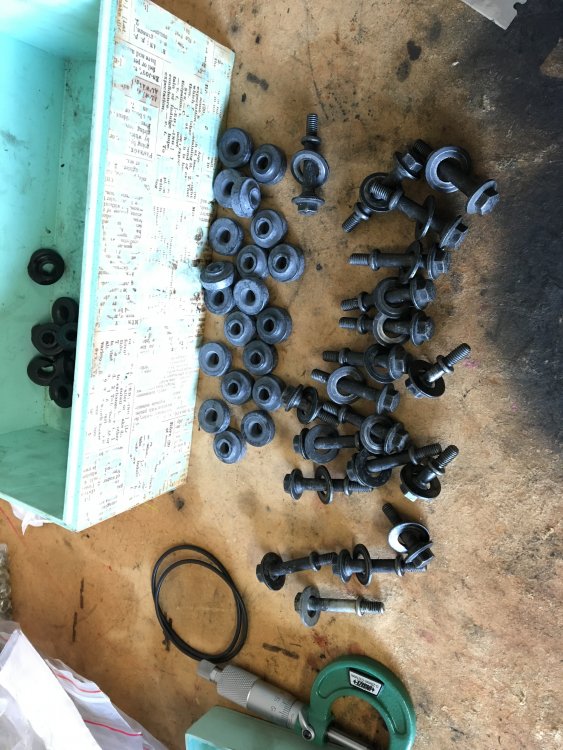
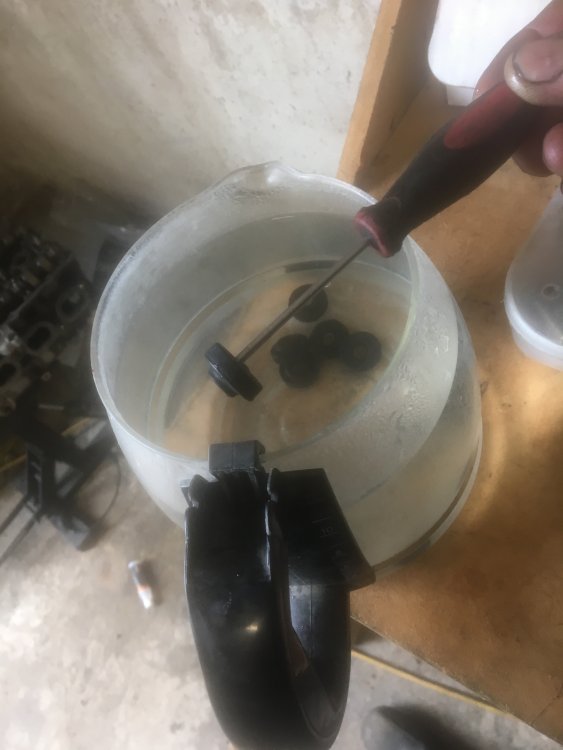
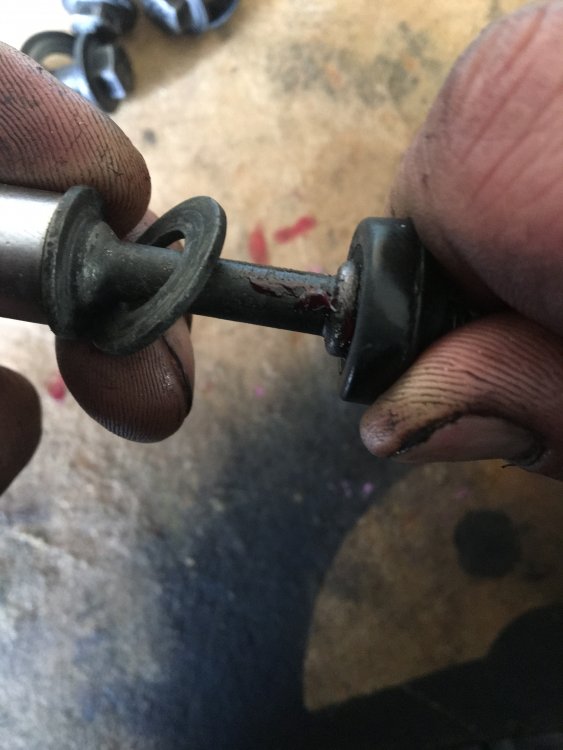
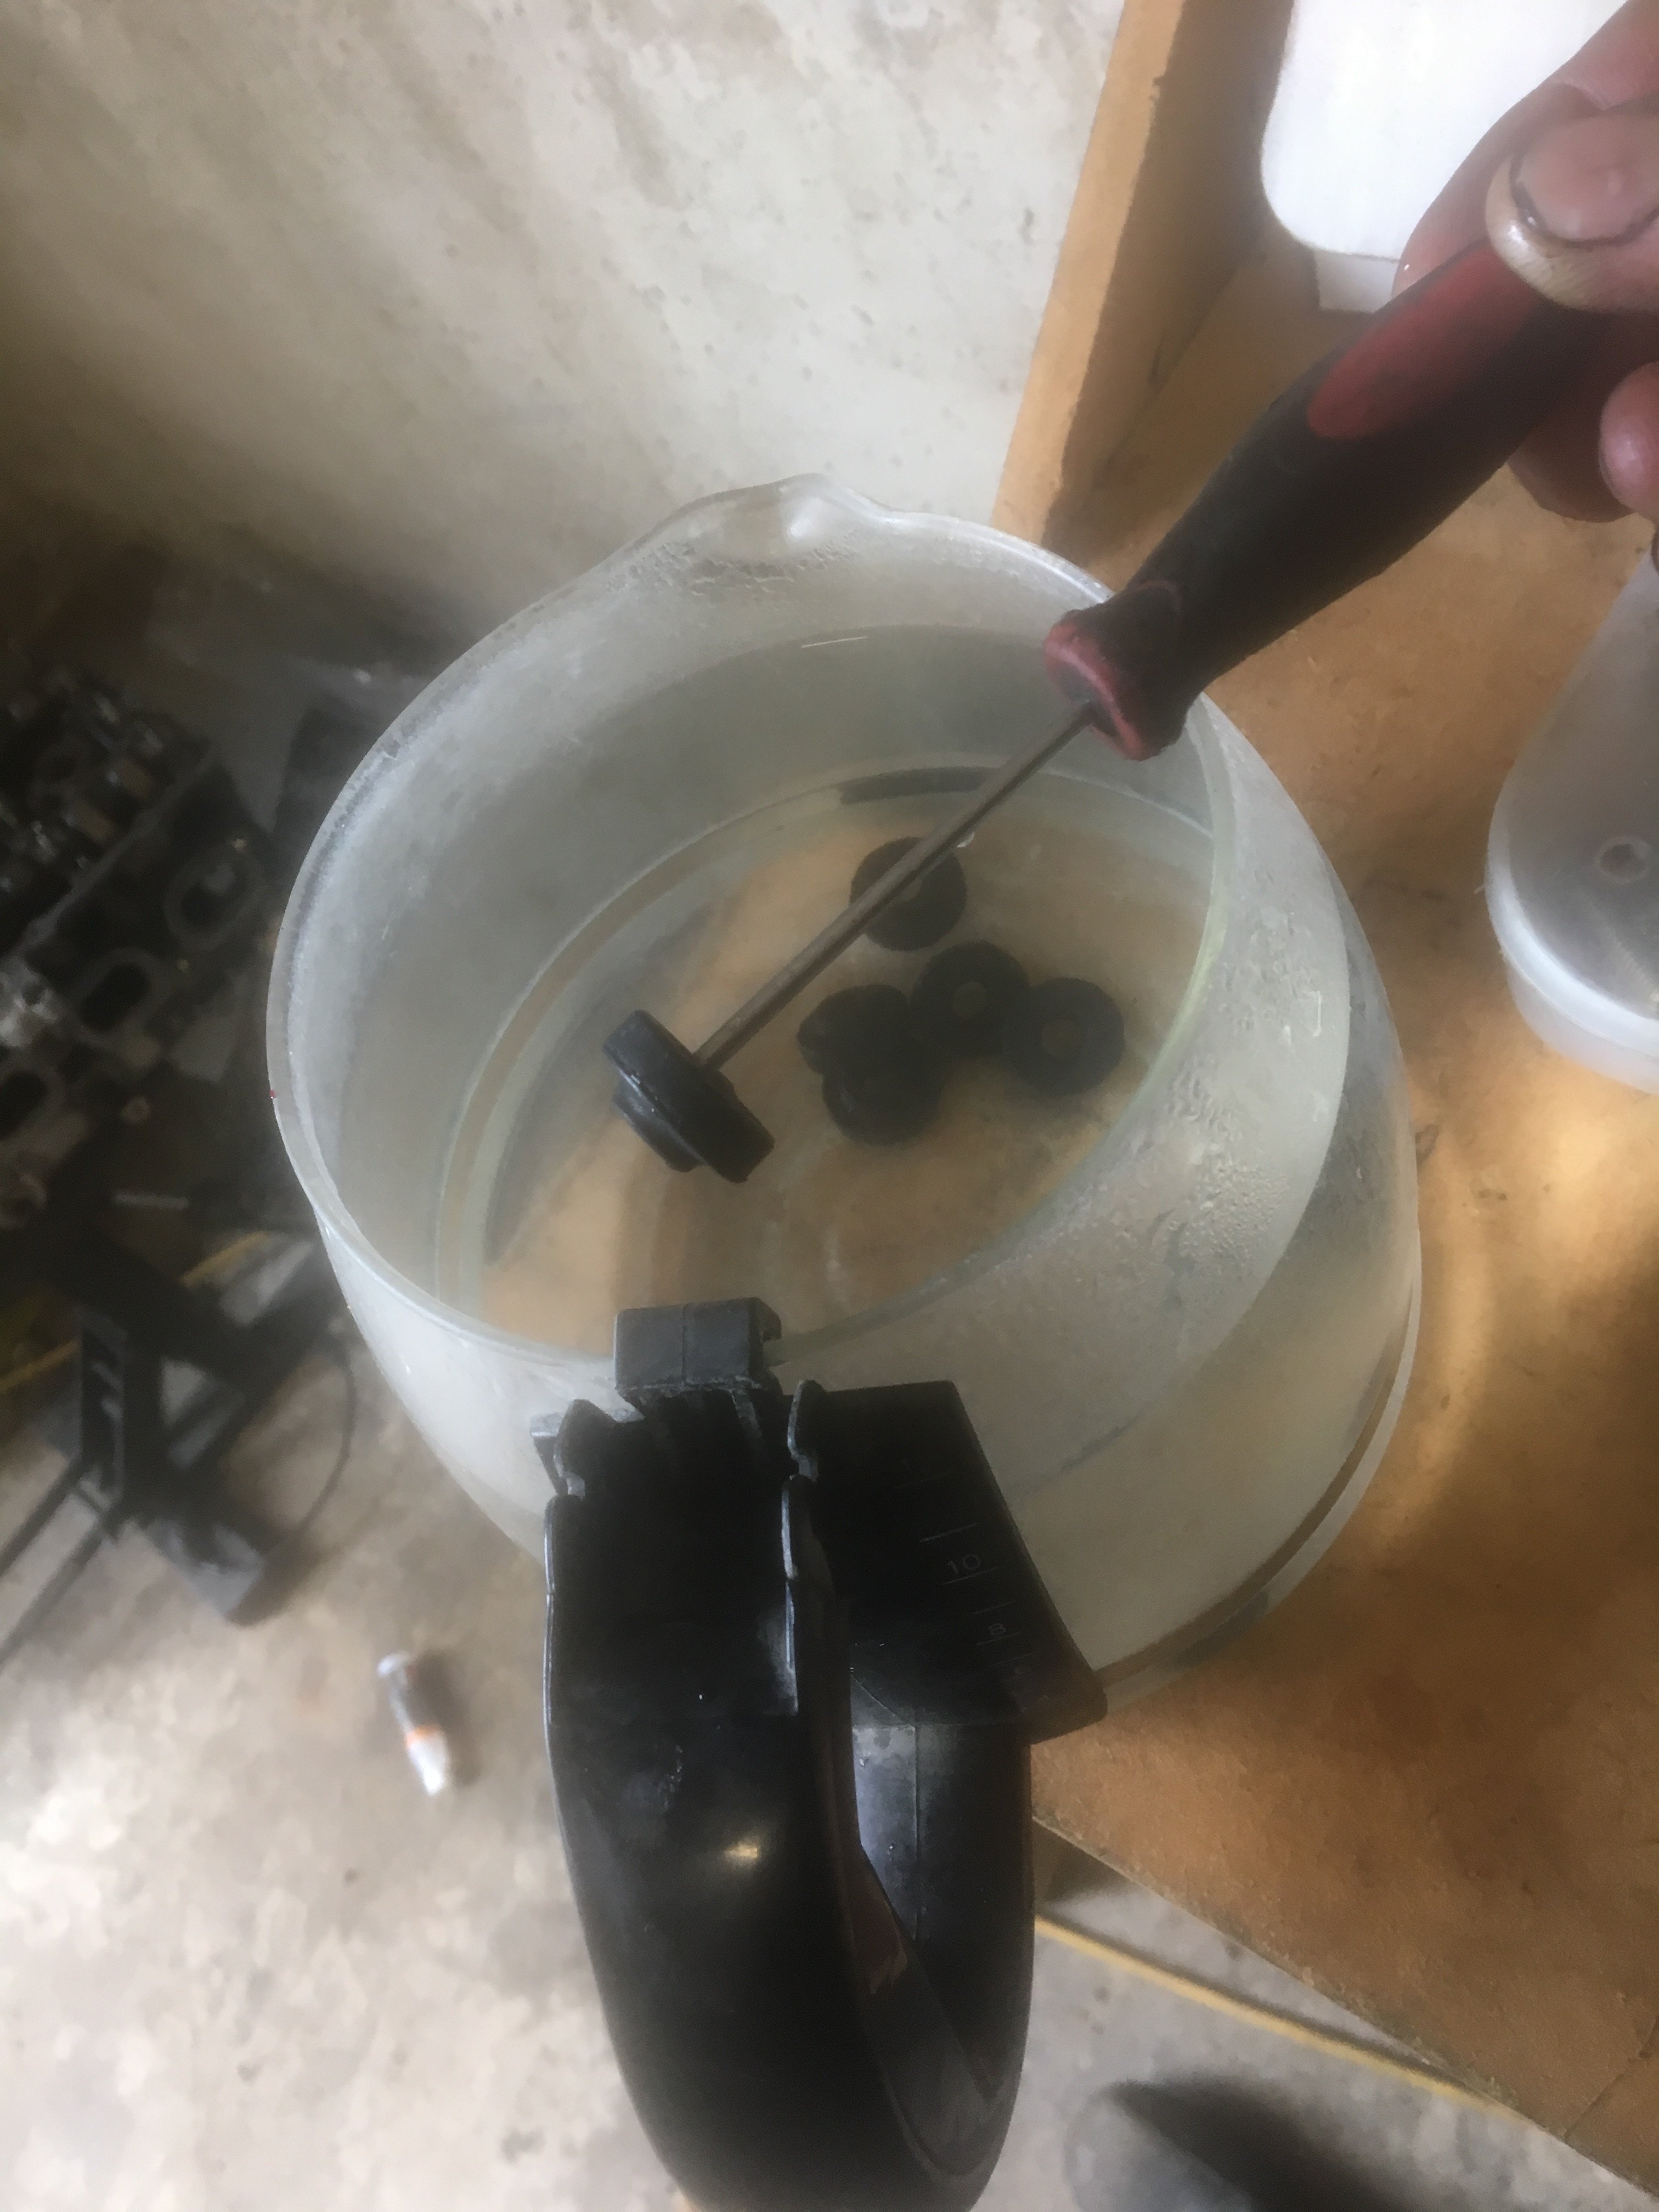
Rocker cover bolt seals, changing them was a bitch... broke two then realised you need to put them in boiling water before you event attempt to slide them on to the bolt.
I found when going to put the rocker cover on two bolts missing.. the two long m7 bolts at the front, priced them from the dealer at 40+gst each so went everywhere to try find some, no place does m7 bolts btw... so tapped the holes to m8 and helicoiled to m6 bolts... worked a treat and only cost 10 bucks.
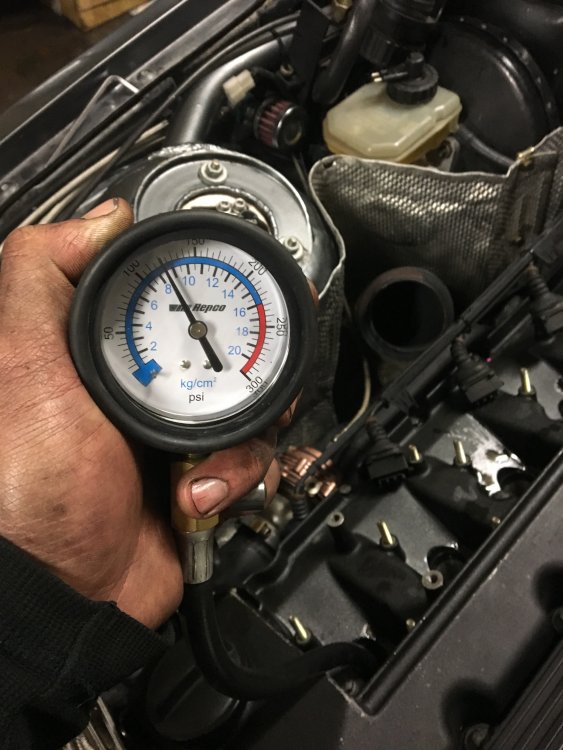
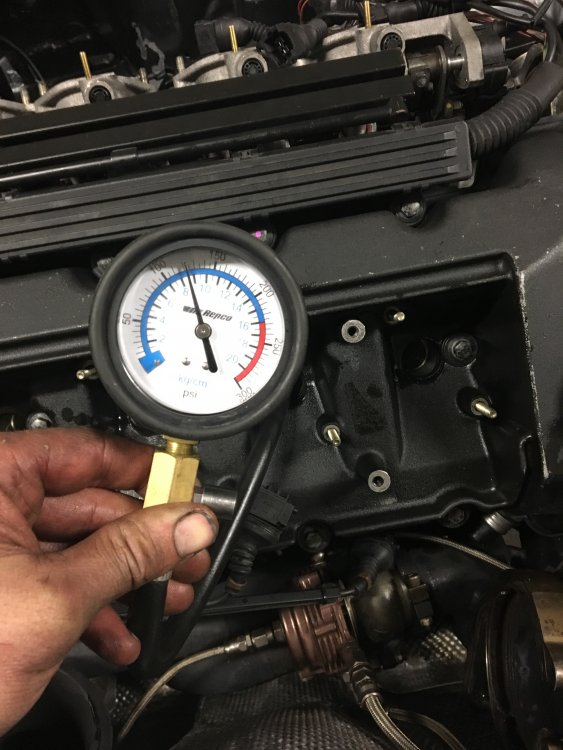
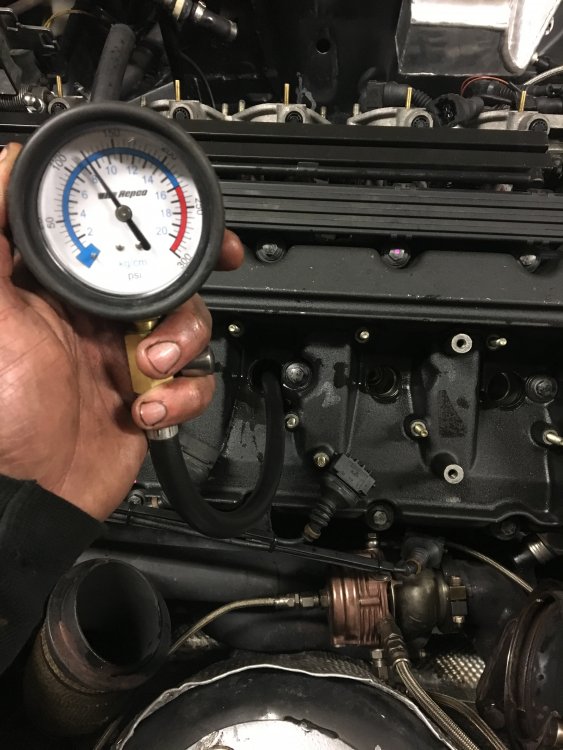
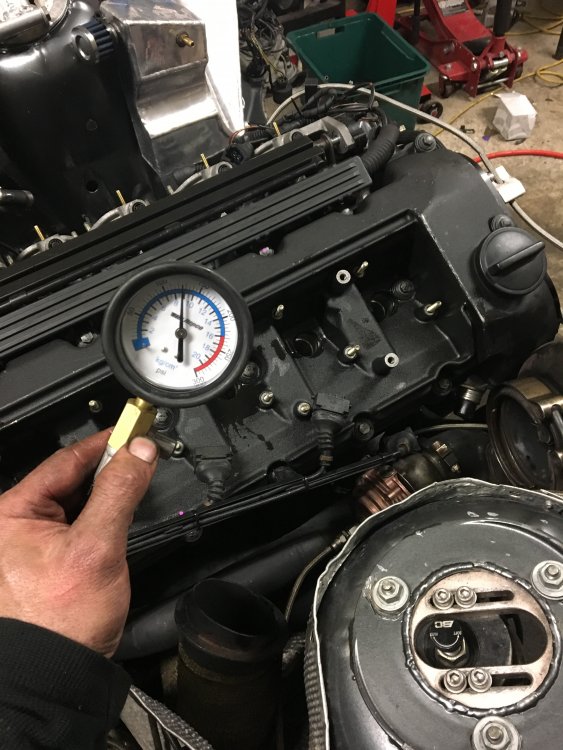
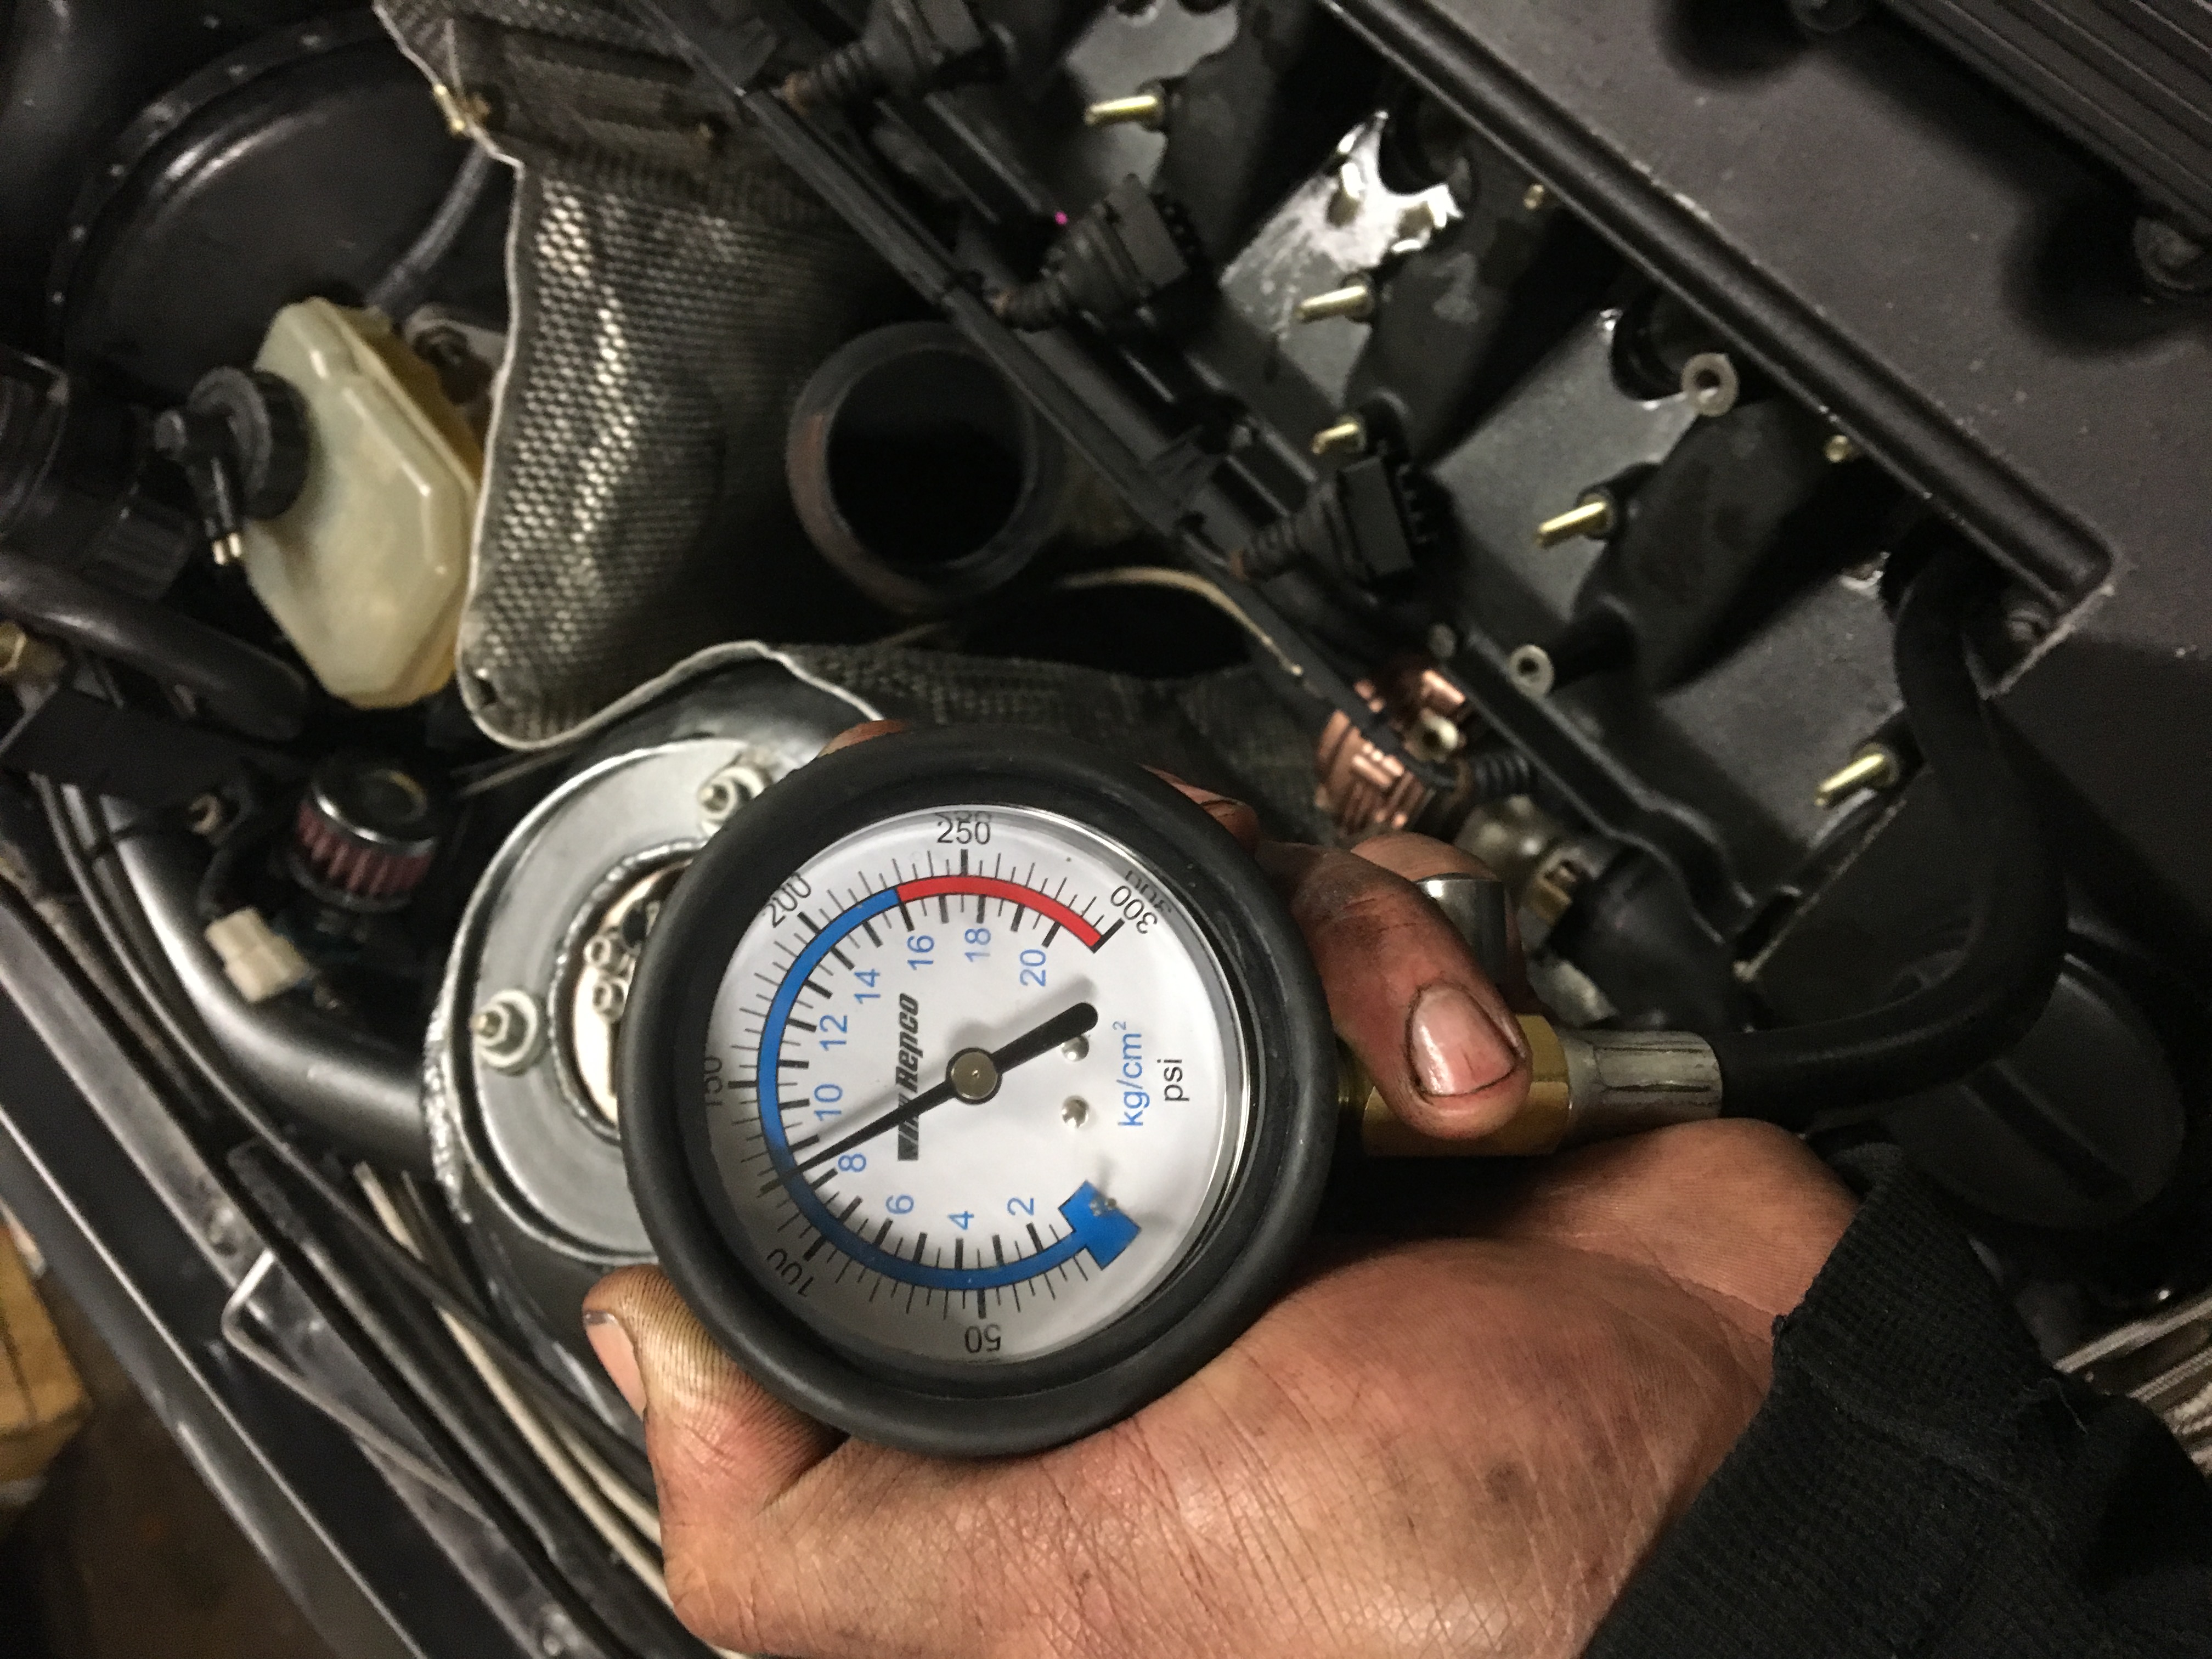
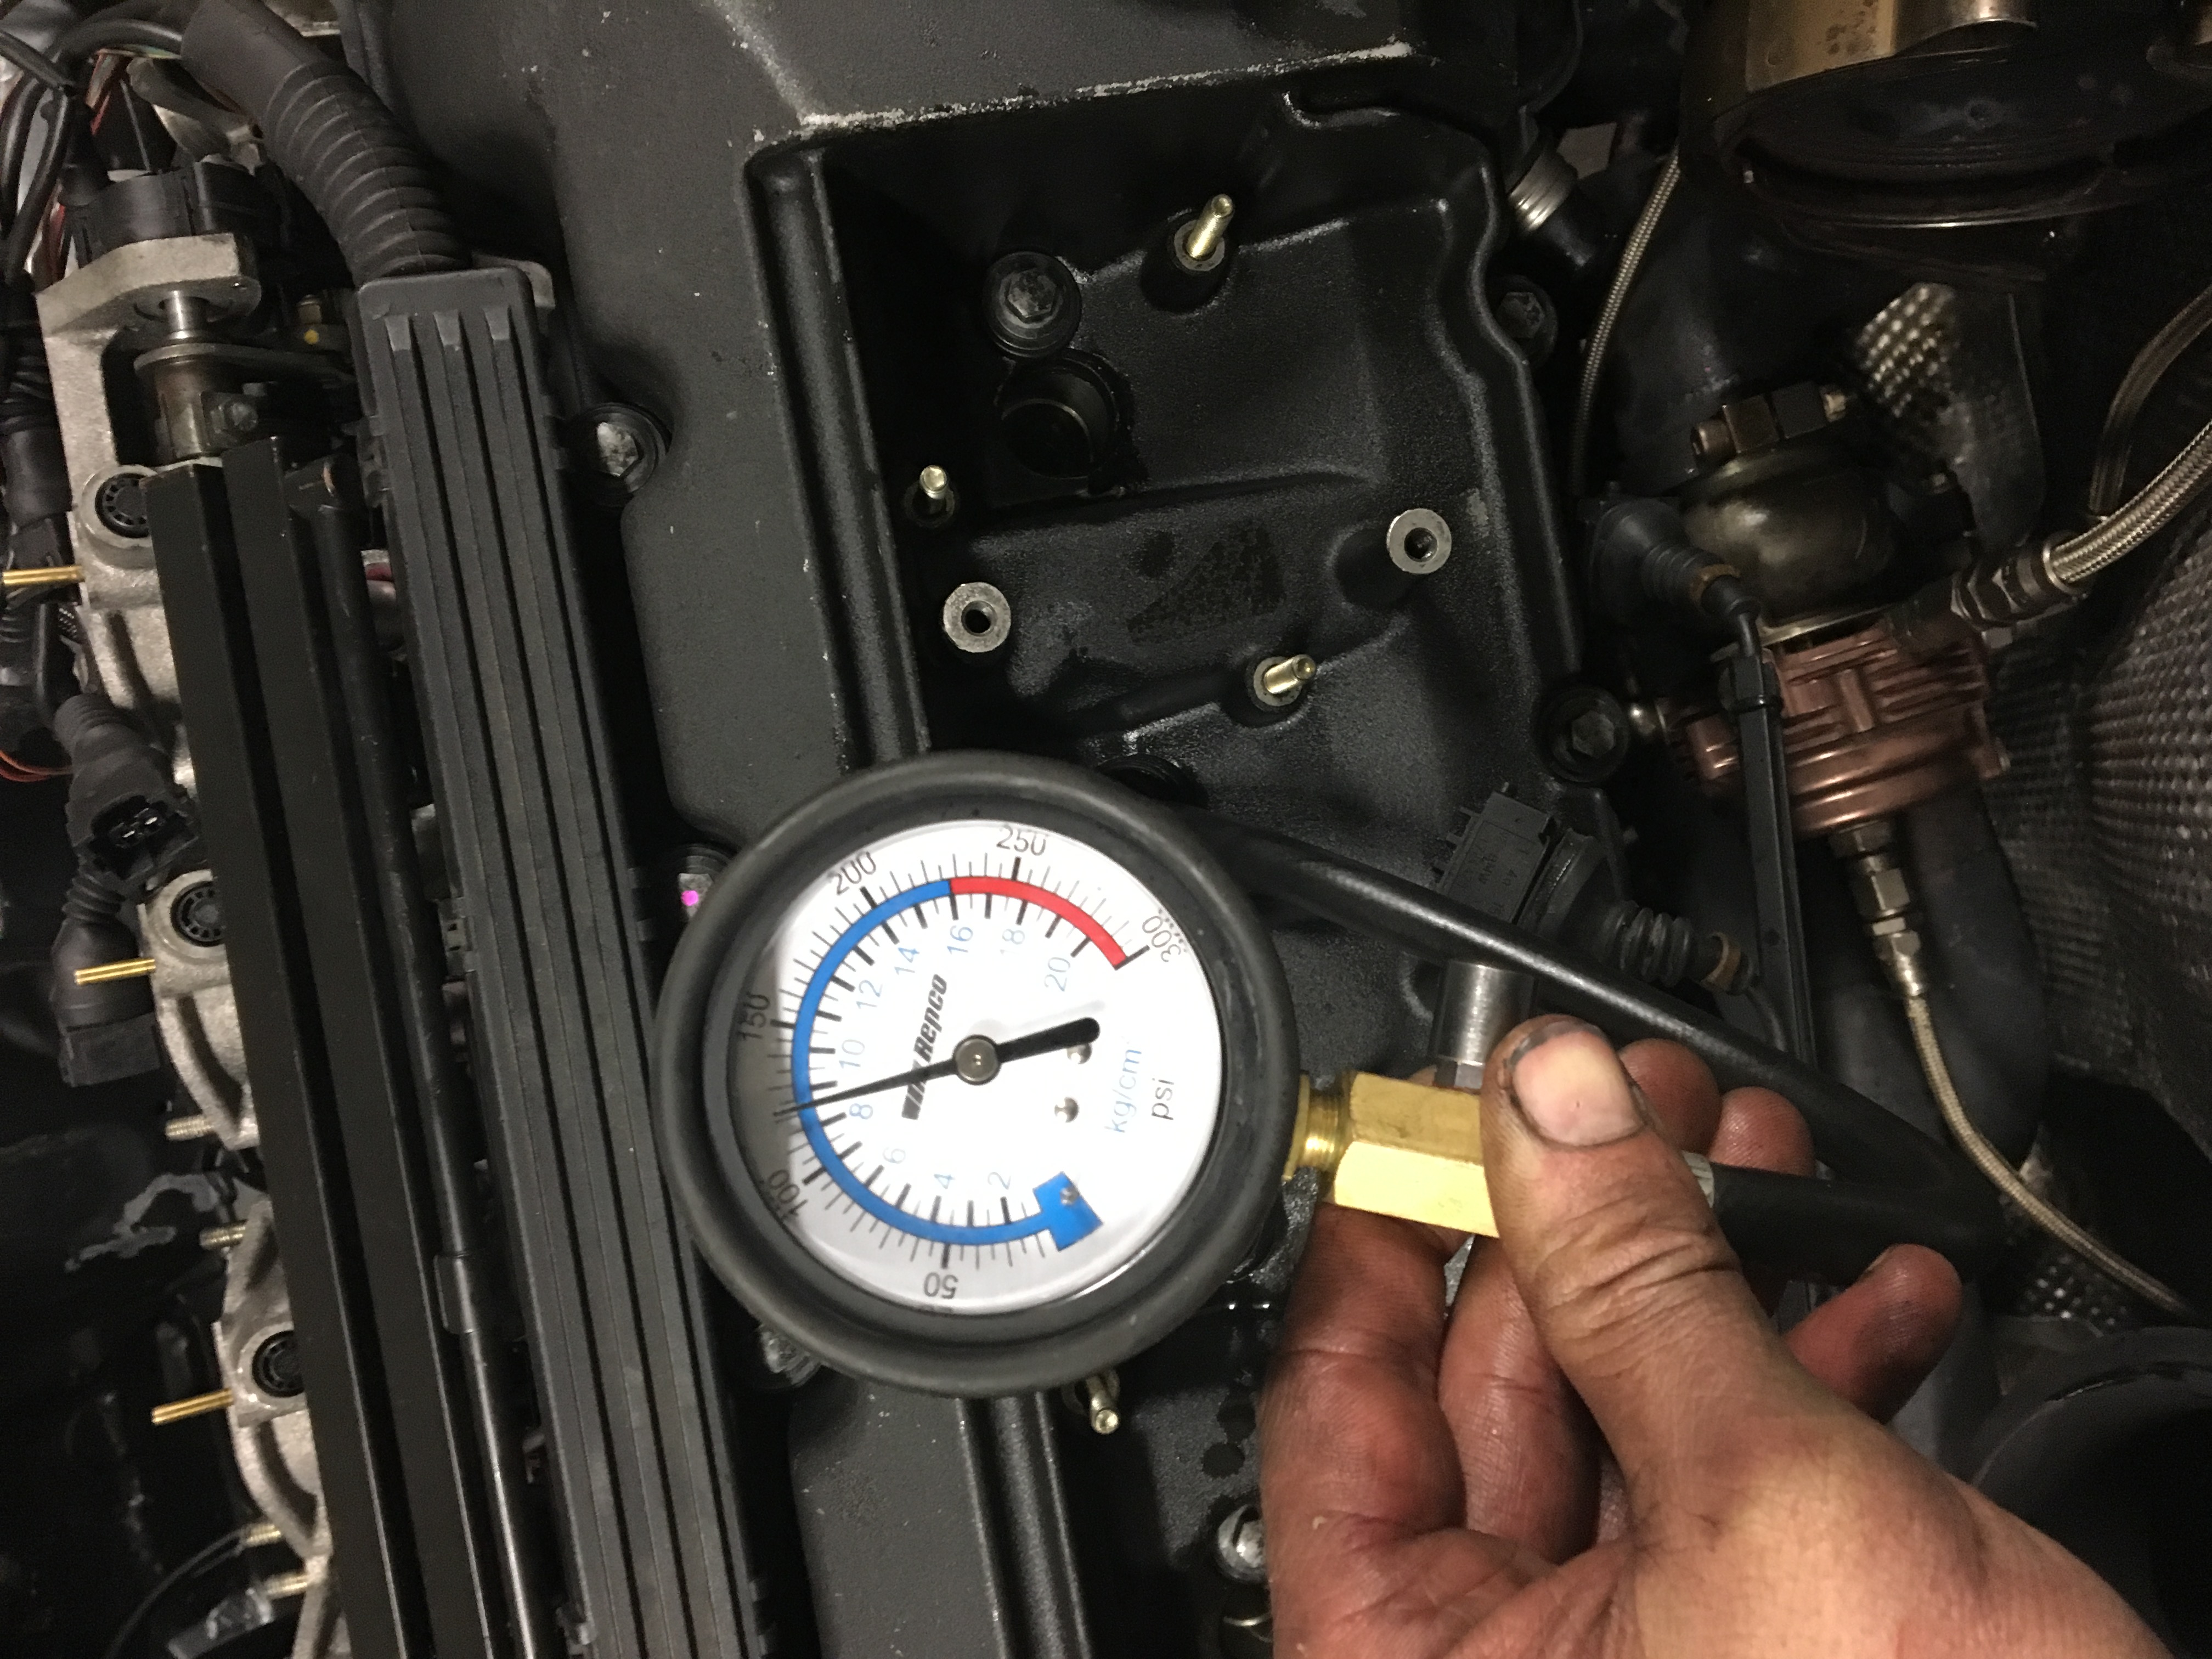
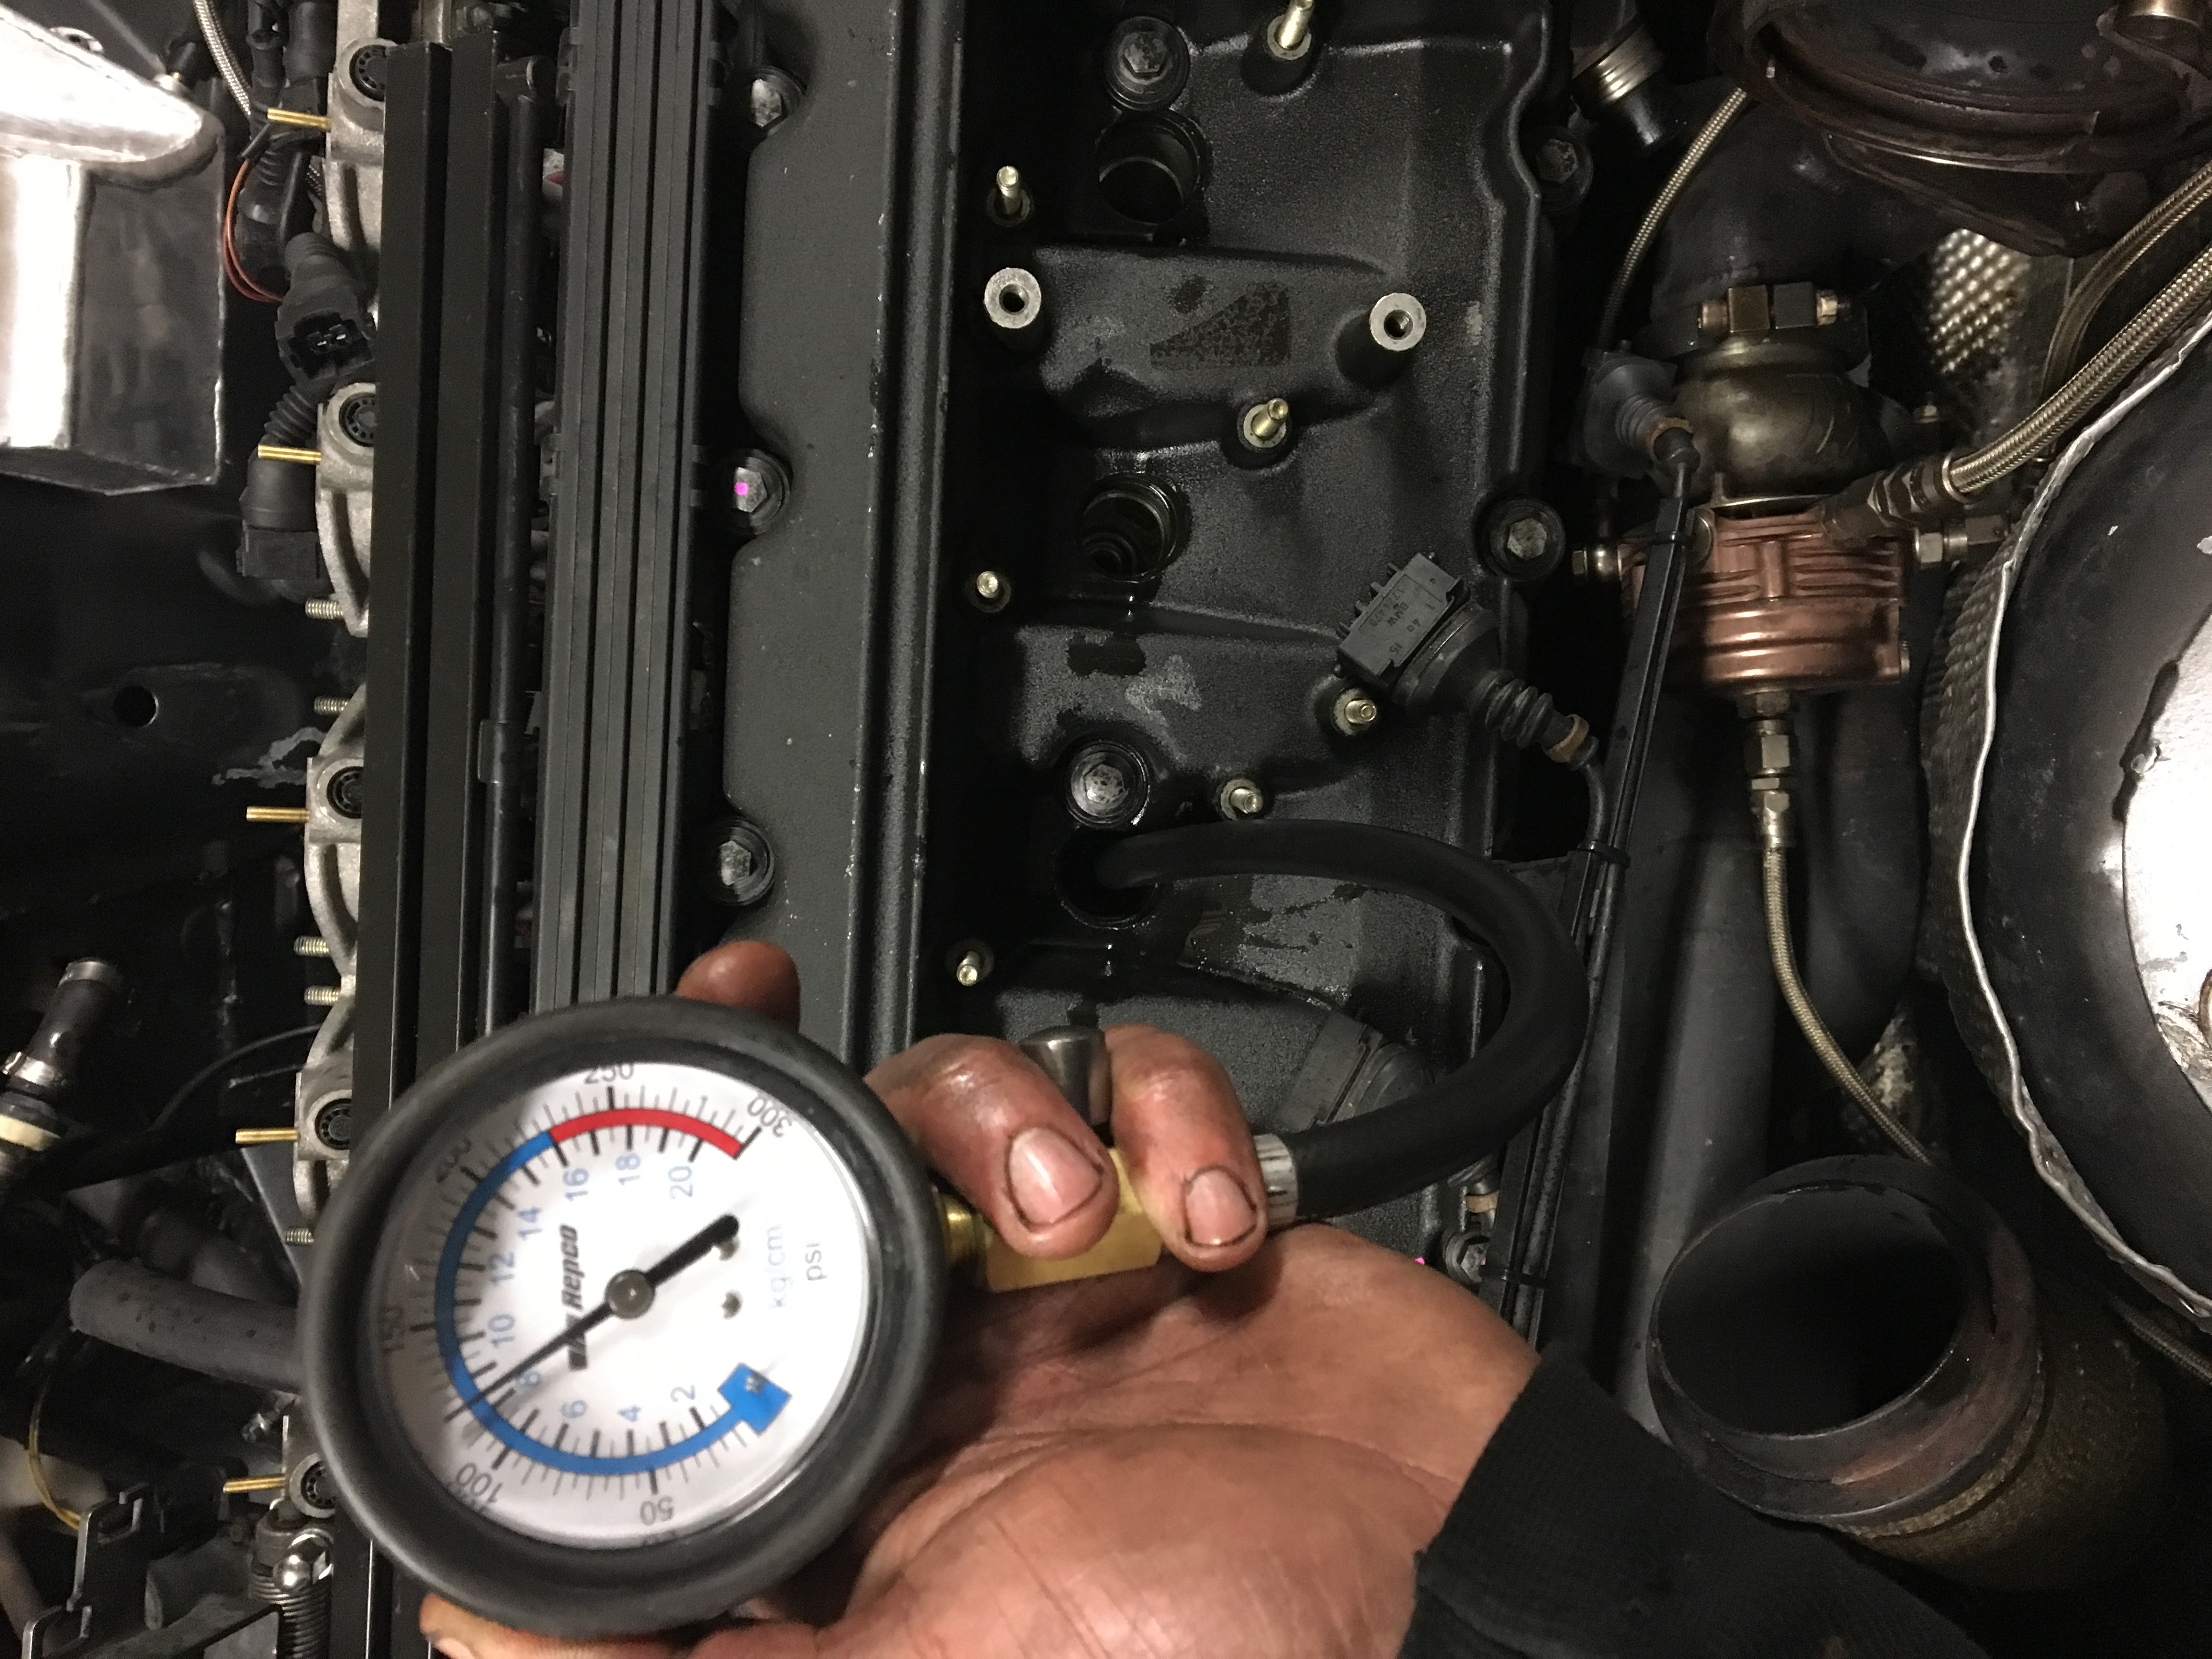
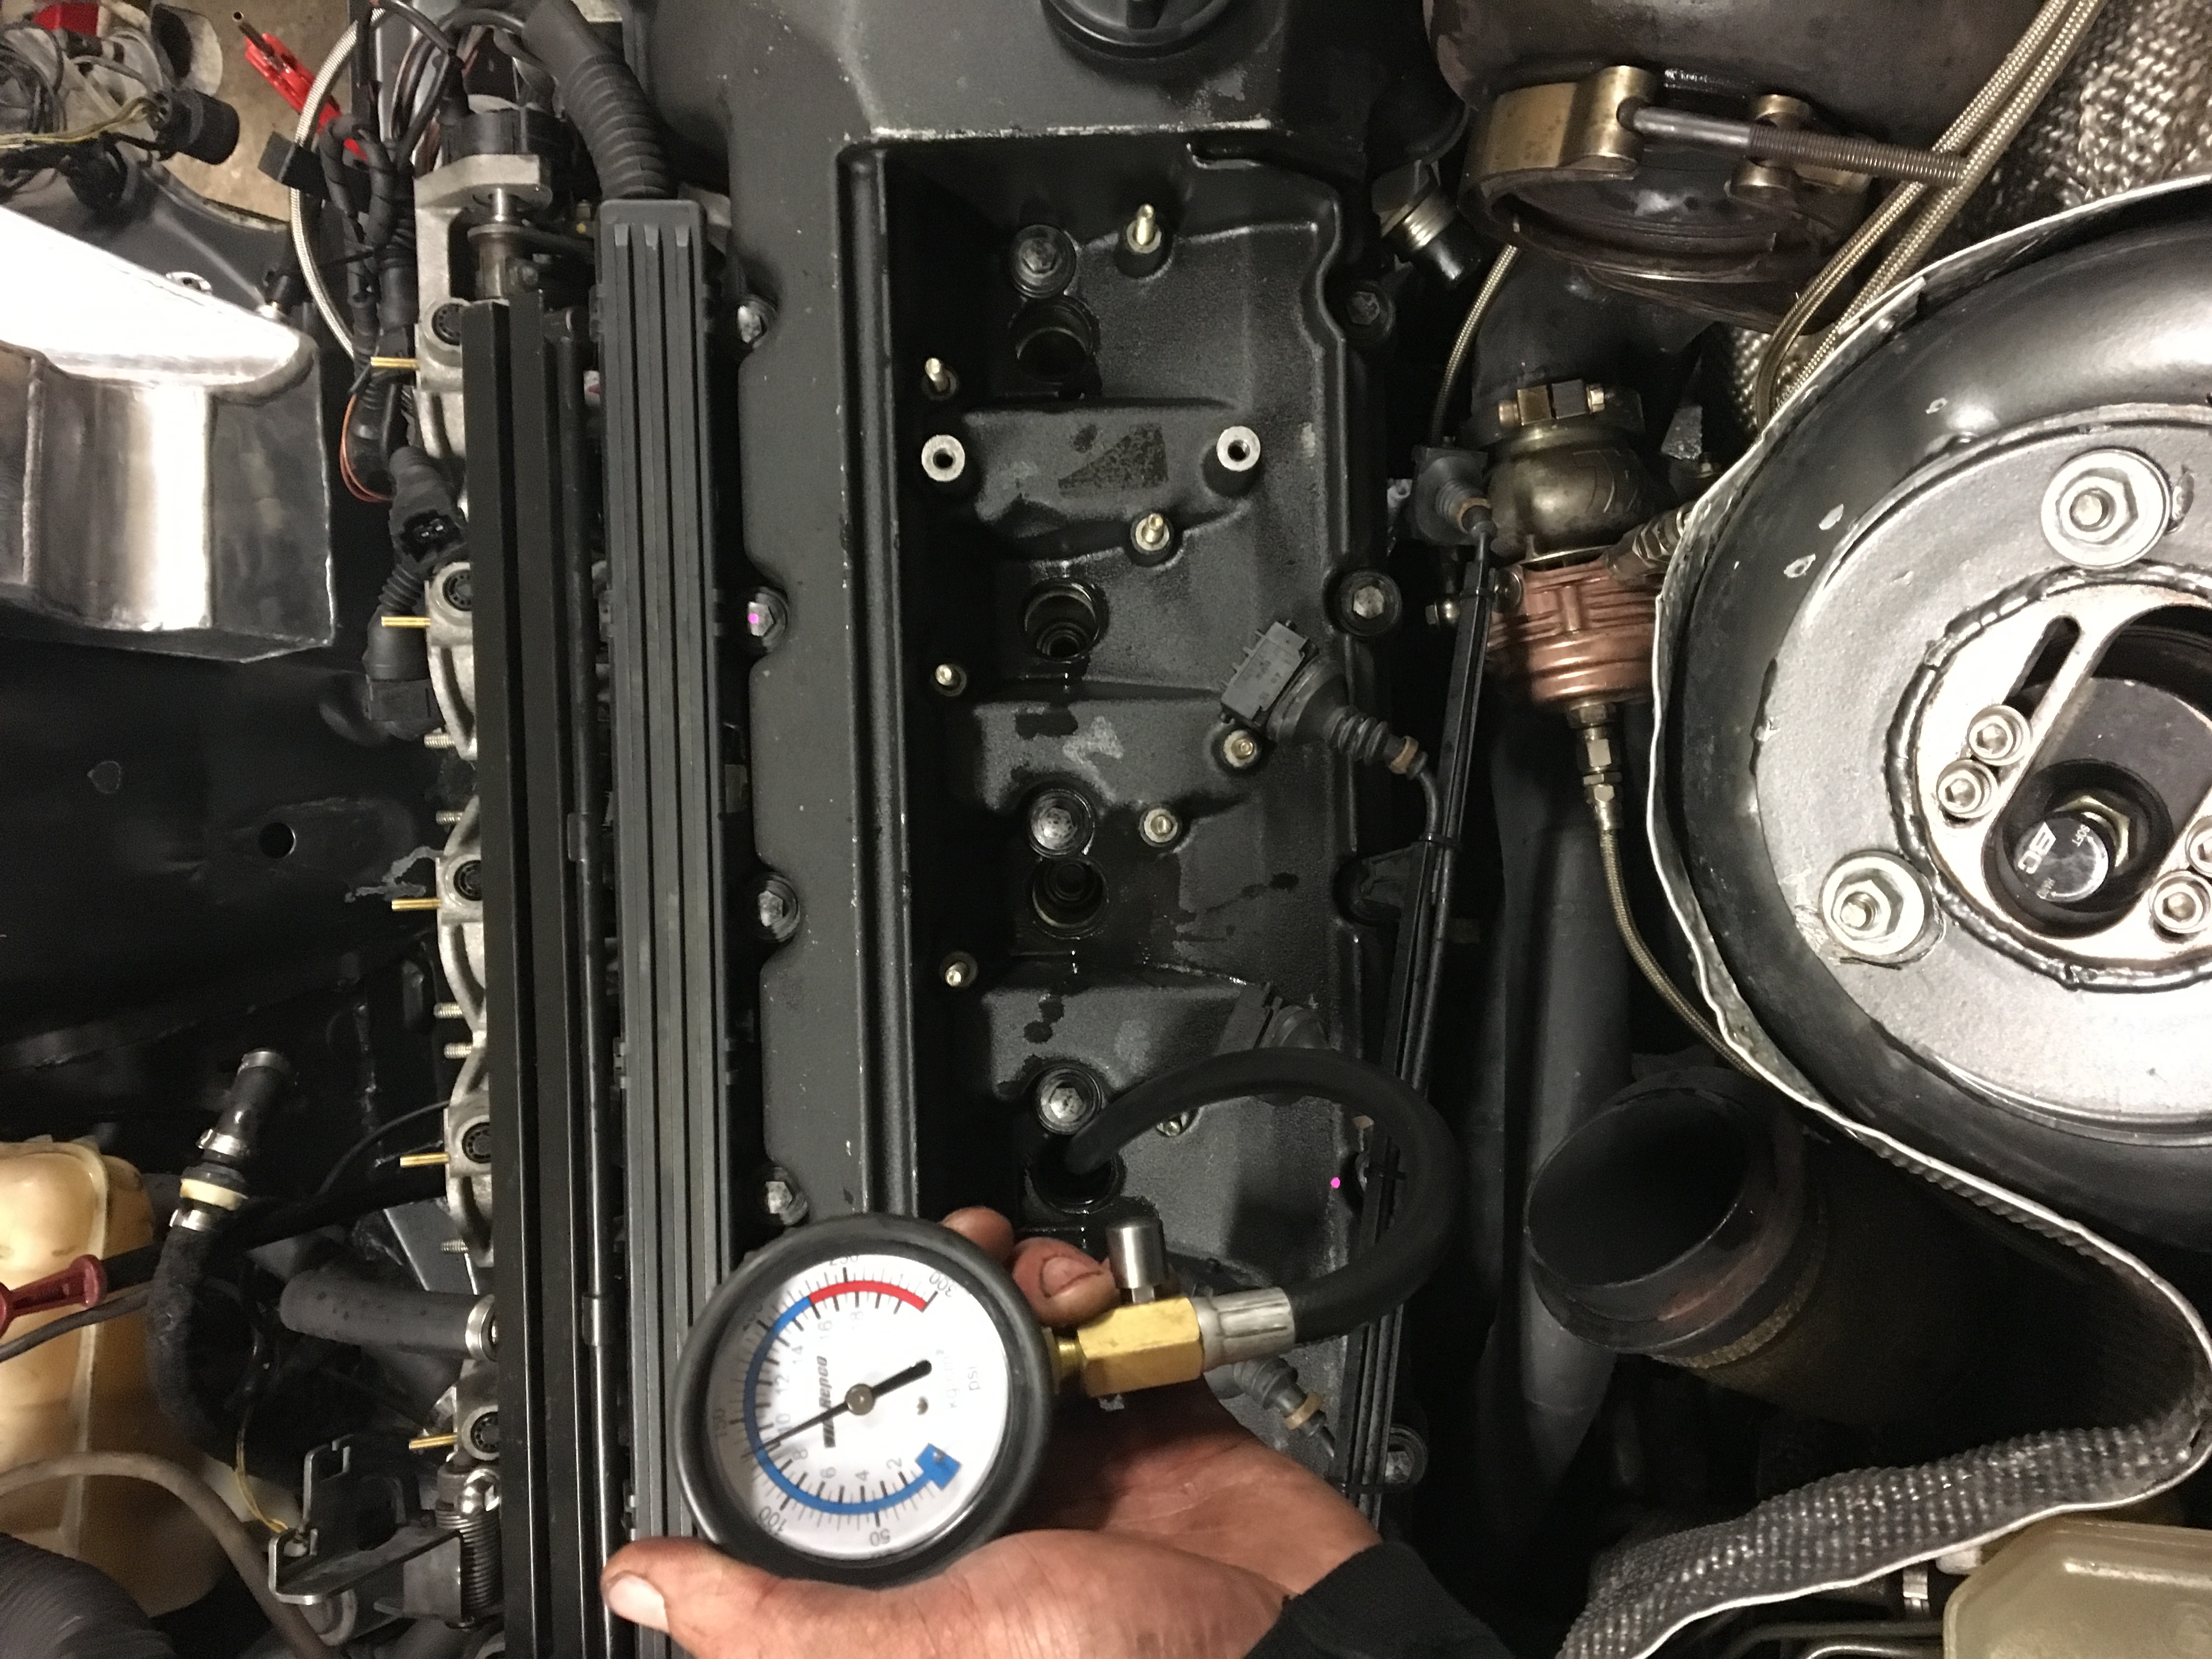
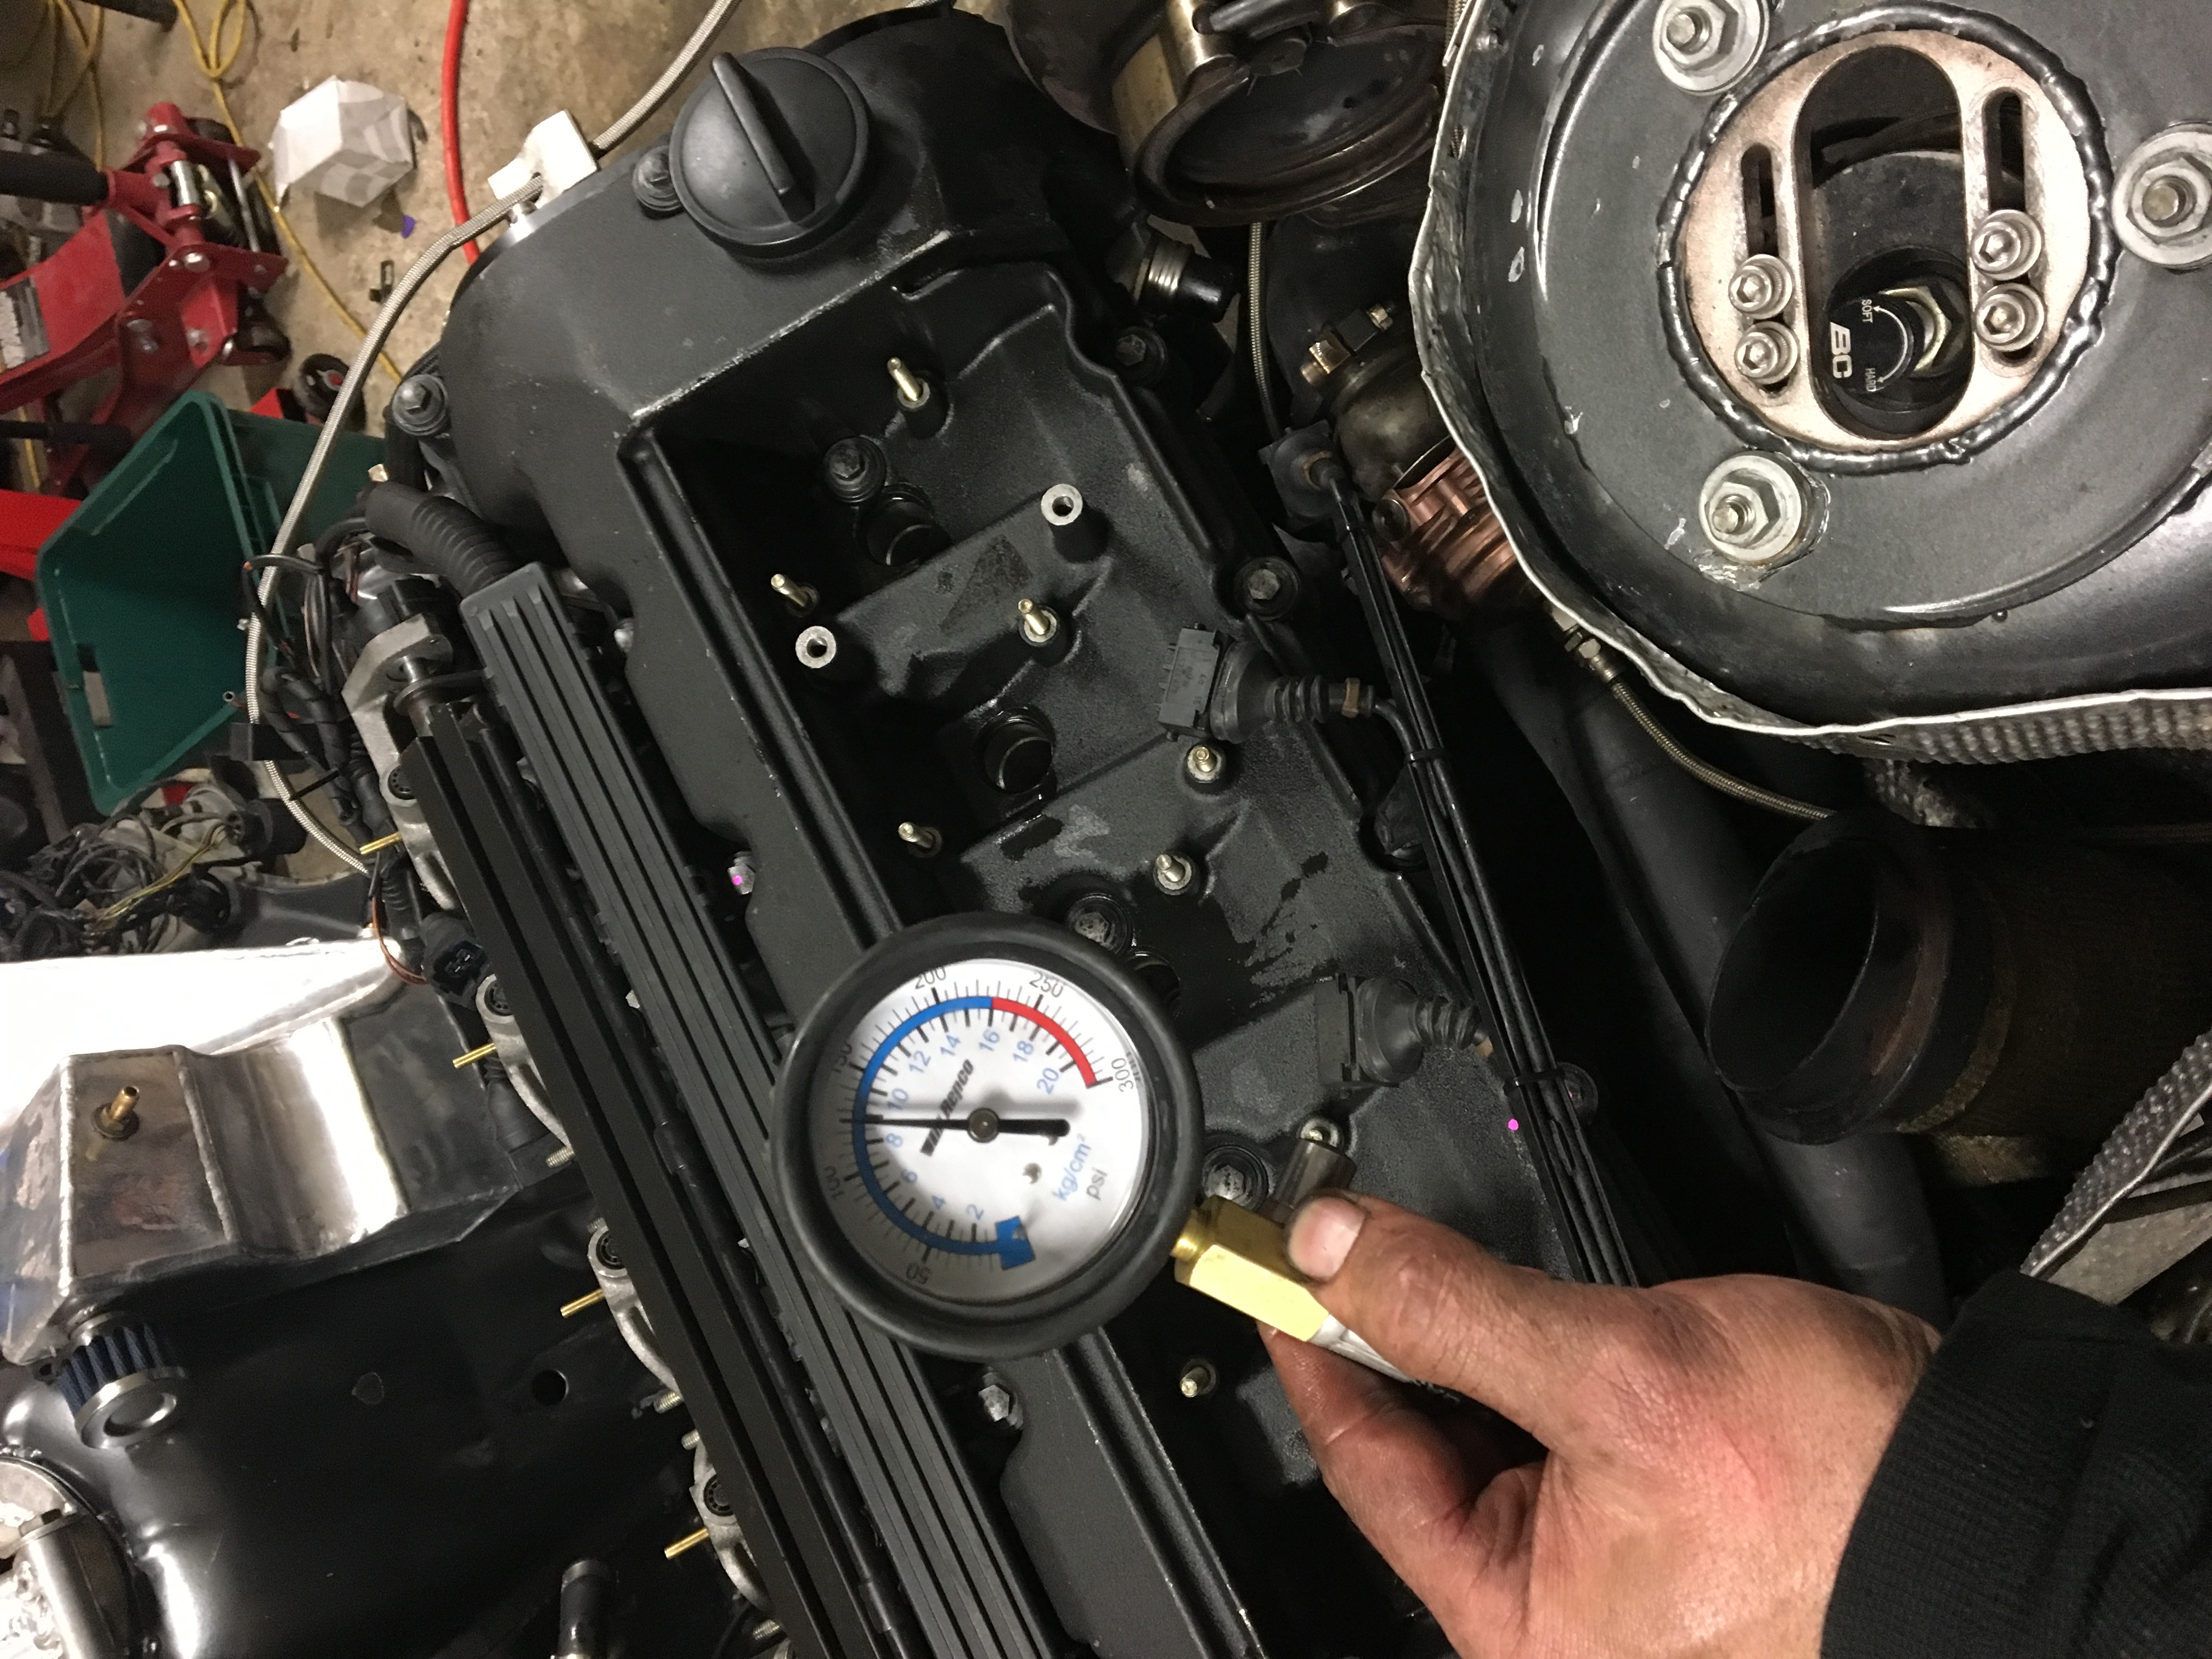
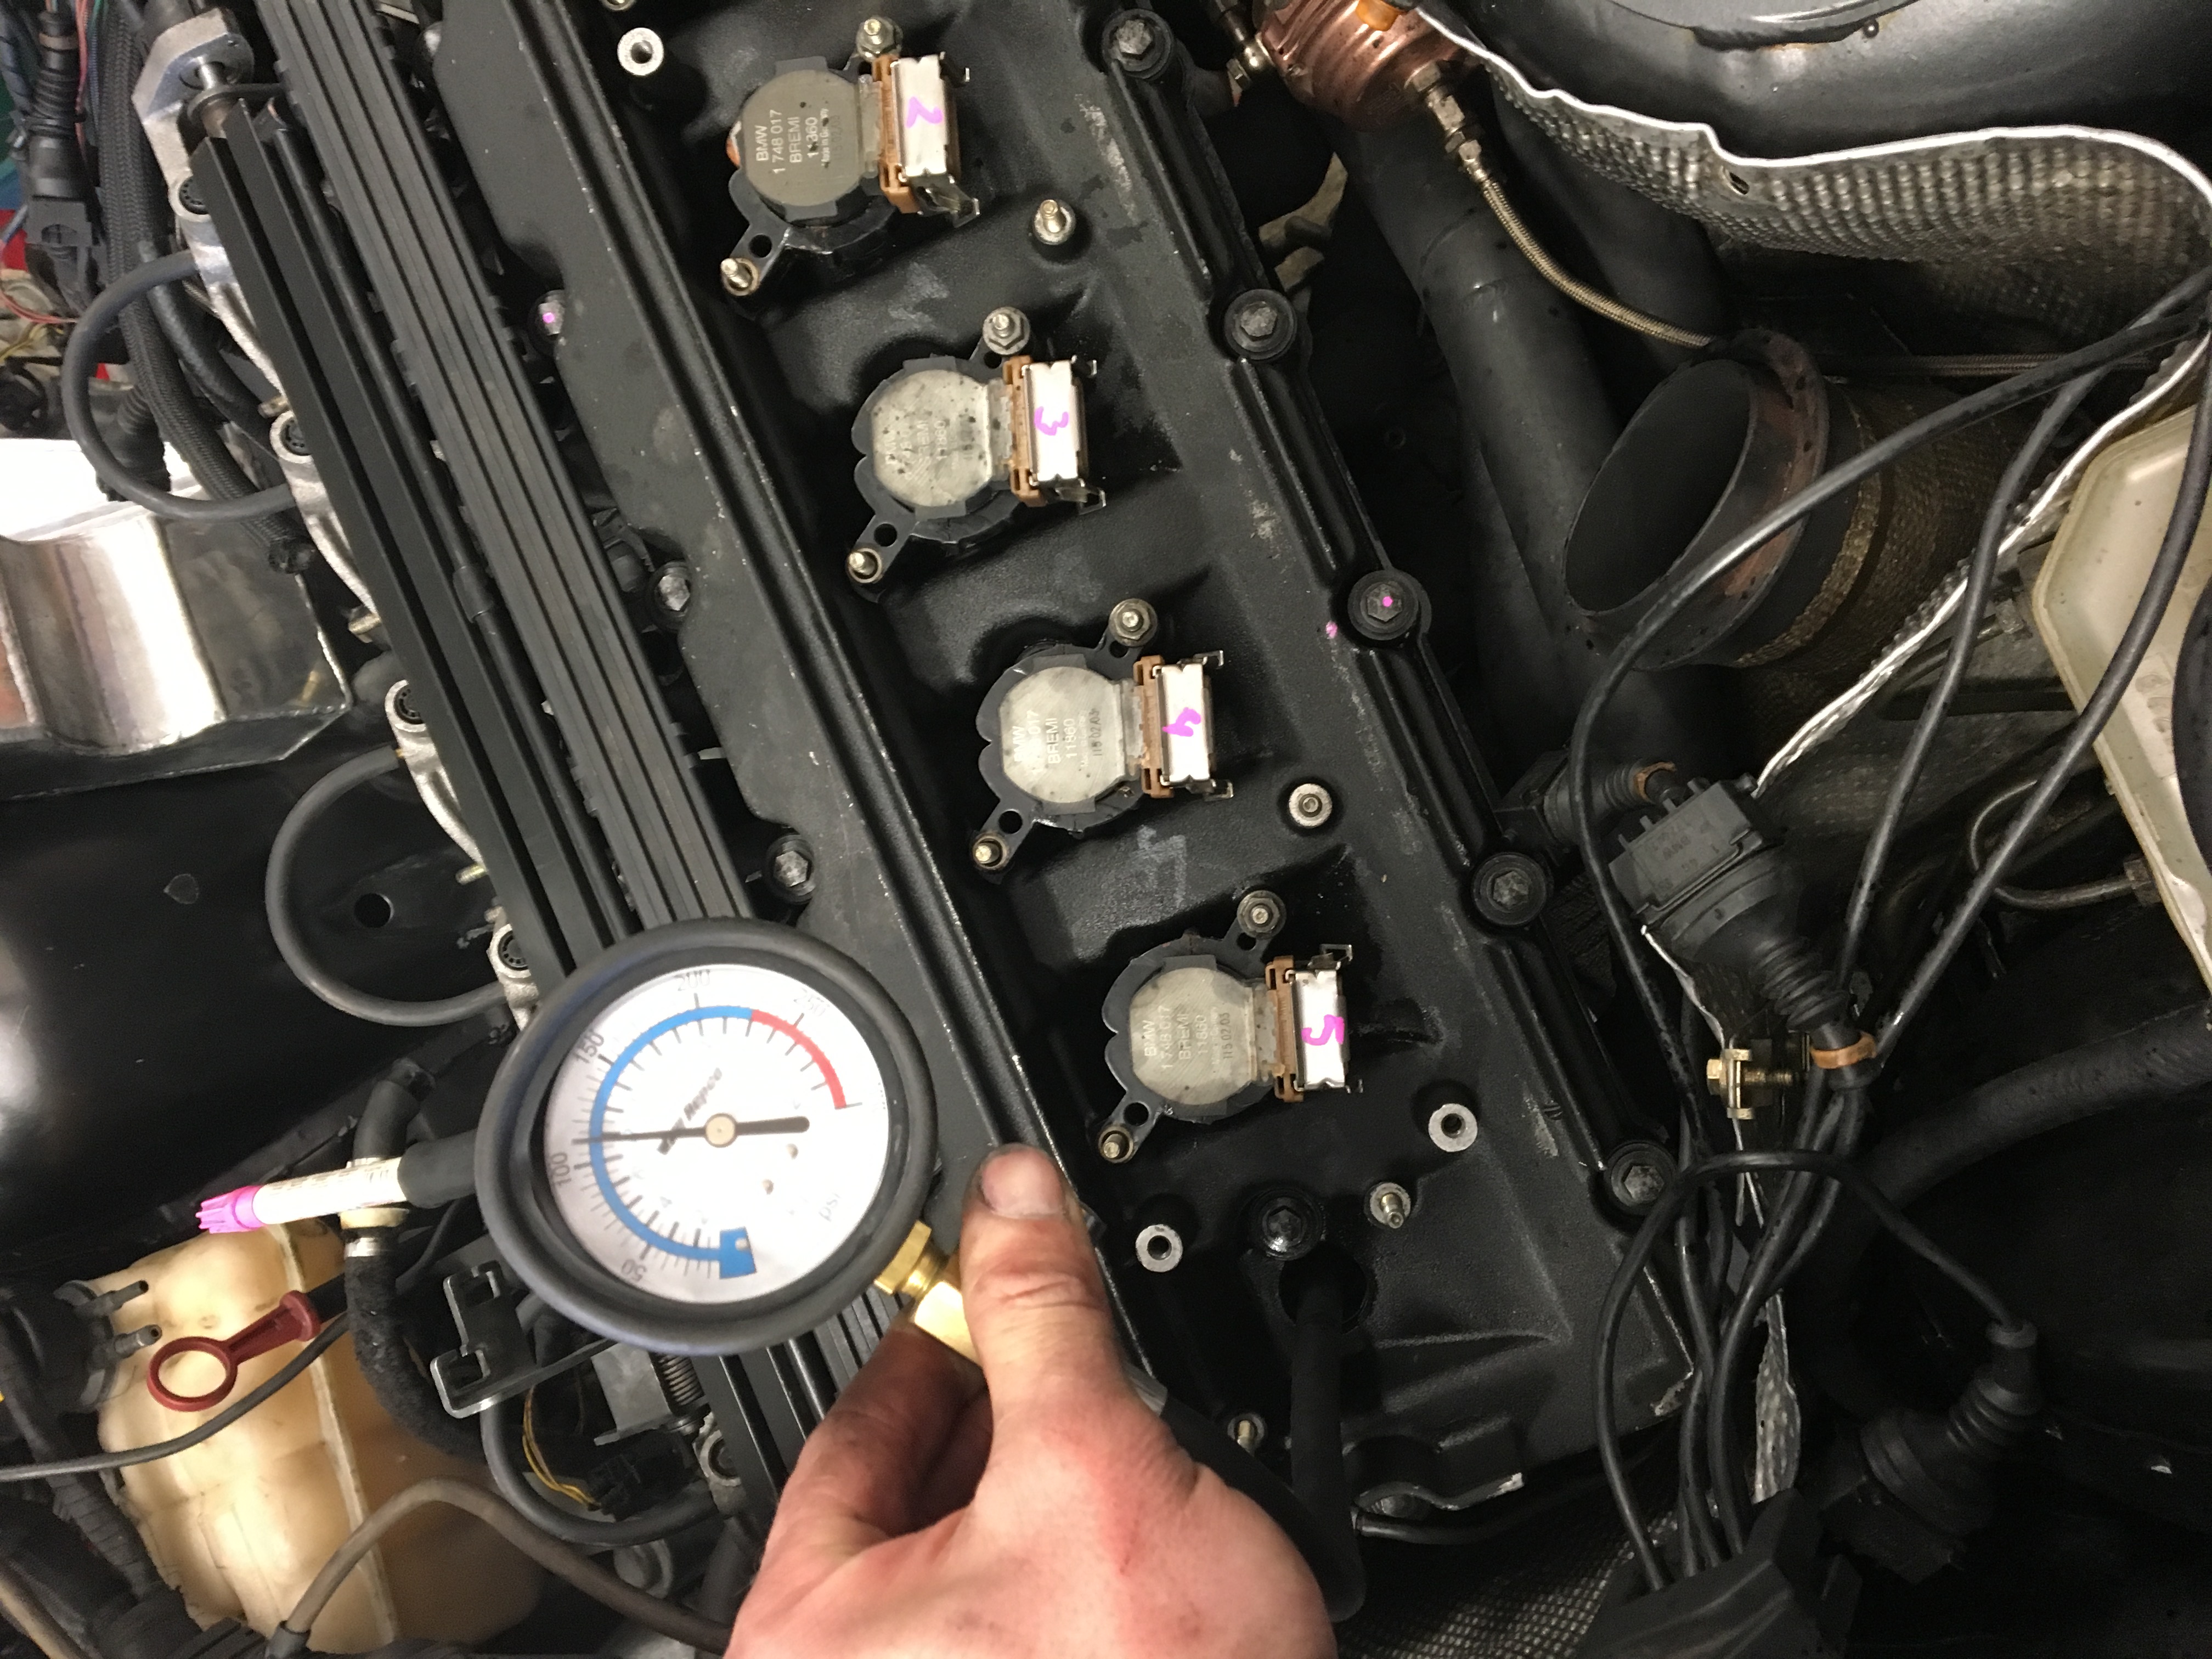
So I turned the engine over to get oil pressure then carried out a compression test before I started it, all around the 125psi mark.
Started the engine using the standard s50 engine computer and sh*t it started! Must have done something right... but was running on 5 cylinders, after battling testing this and that I figured it was probably the engine computer as everything tested good
so I stripped out the good things from the old engines computer and re soldered everything in, the s50 and m50tu share most of the pin locations, only differences were the injectors and ignition layout, and what had me stomped was the crank sensor pins were different the black and yellow needed to be swapped around.
tried starting it again, and set the crankshaft deg to 282 it started but running very rich and still #6 not firing, so went back to basics, check the spark, the link computer has test functions, in short spark plug was faulty and not sparking, swamped it with another and tried again, still rich at 10afr I brought the fuel setting down to 4ms from 6 and ran very good at 13afr, very responcive and my god it sounds good using the tune from the m50 engine... ?


-
On 7/28/2017 at 5:54 PM, richard said:are you running a oil pressure gauge and where are you mounting it. (best place).
Yep, it sits just above the shifter next to the boost and wideband gauges
-
On 7/28/2017 at 5:51 PM, richard said:nice
whats the hammer4
Ha yeah that was for tapping the exhaust when fitting the clamps
-
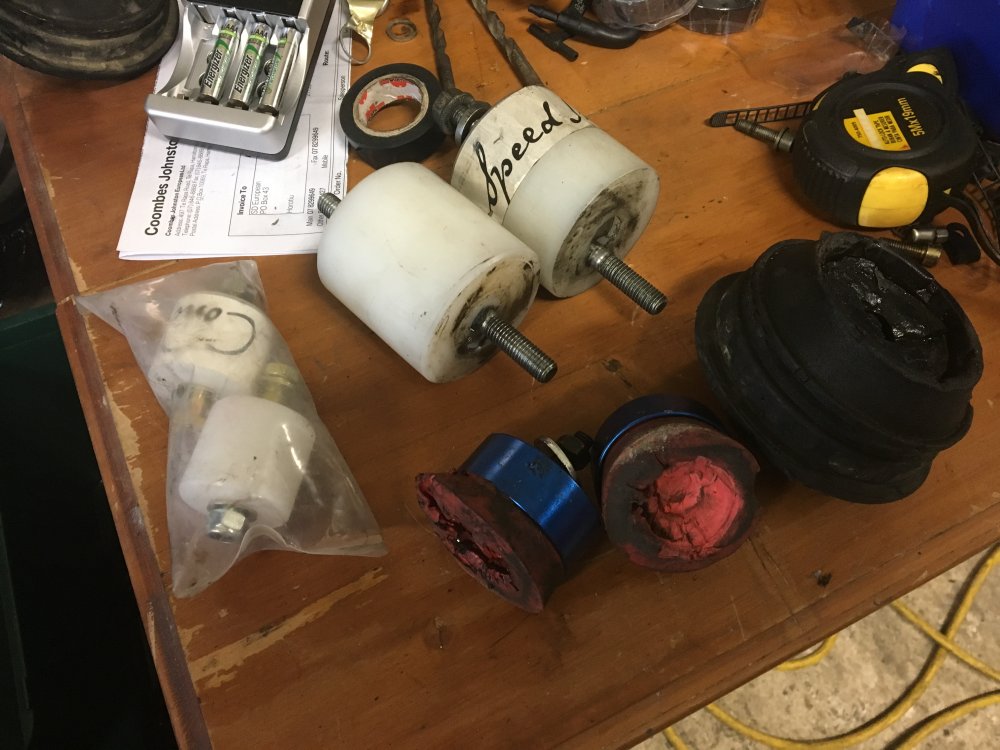
On 7/28/2017 at 2:02 PM, zero said:Wow, those old mounts were munted lol.
They were new when they went in and didn't last very long only about 13 track days, mind you I hit a few ripple strips and ran over a truck tyre that threw me in the air lol ?
-
 1
1
-
-
On 7/28/2017 at 9:03 AM, HaNs said:Looking good, I have wiring diagrams also for m50 and s50. Send me your email and will send it over
All good bud I got em printed already
")
-
-
Today was a battle, but winning now, bring on tomorrow!!!

-
Yeah It was late and they didn't sync to my iPad off my phone.
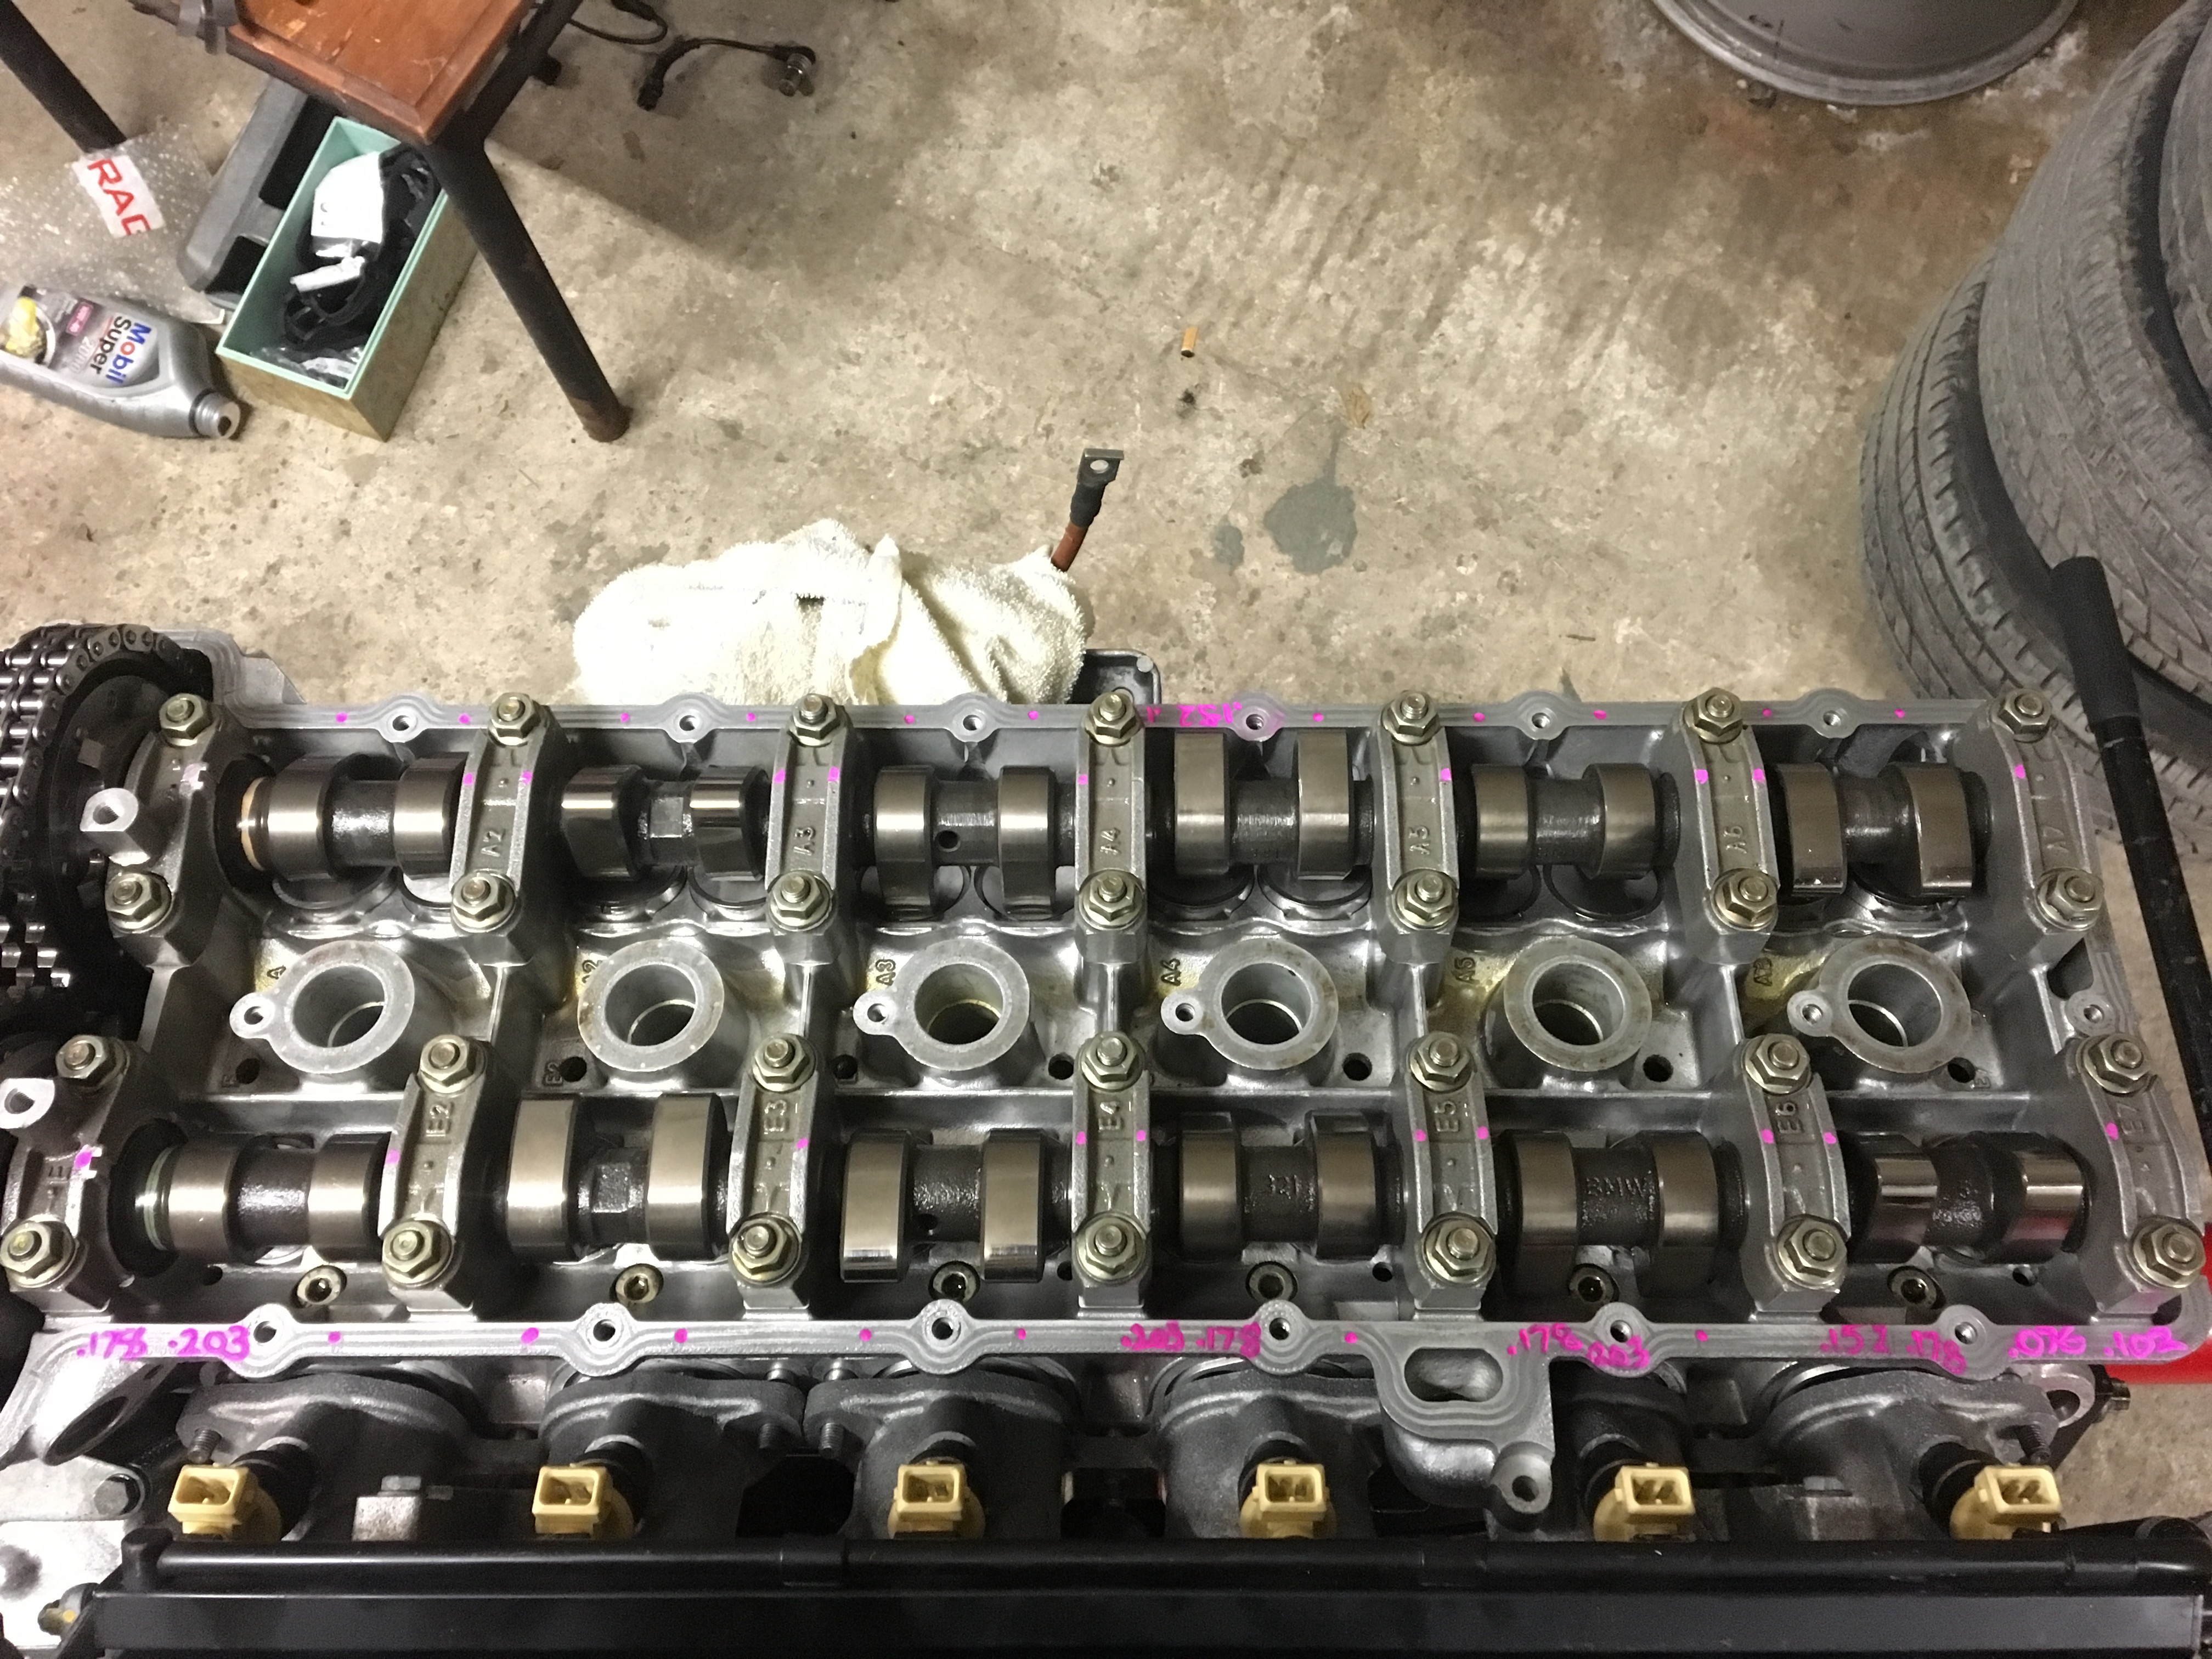
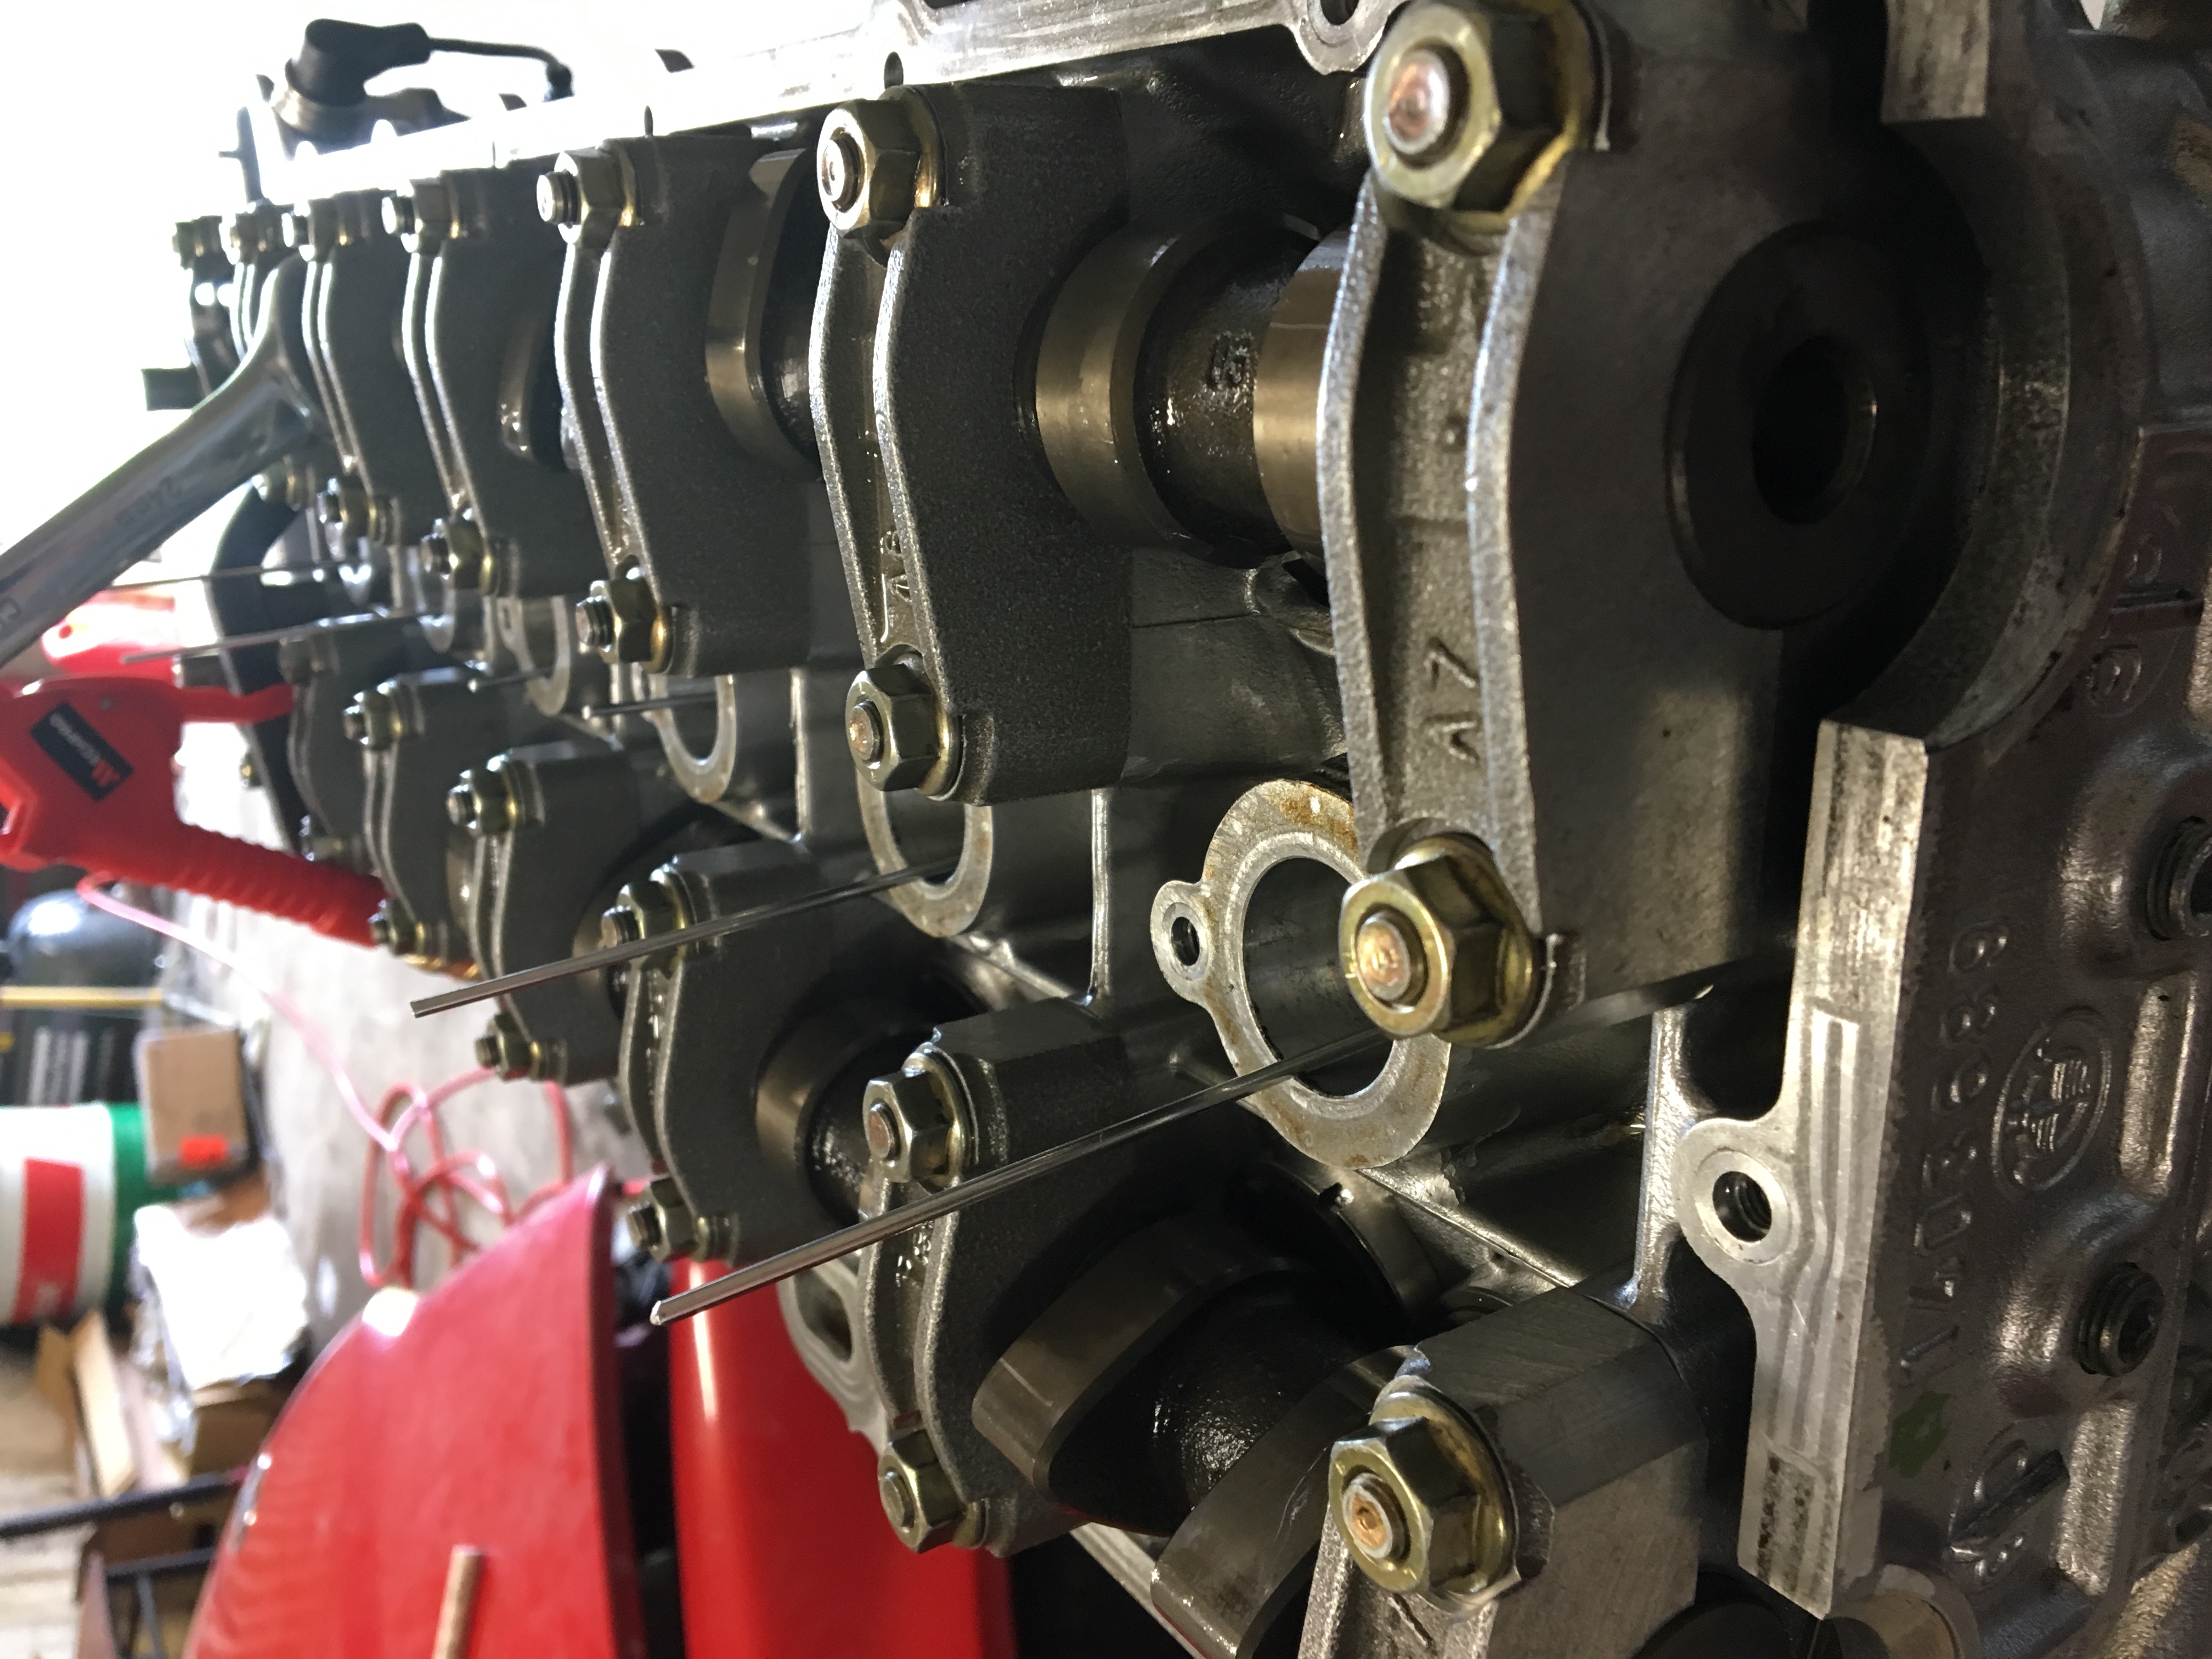
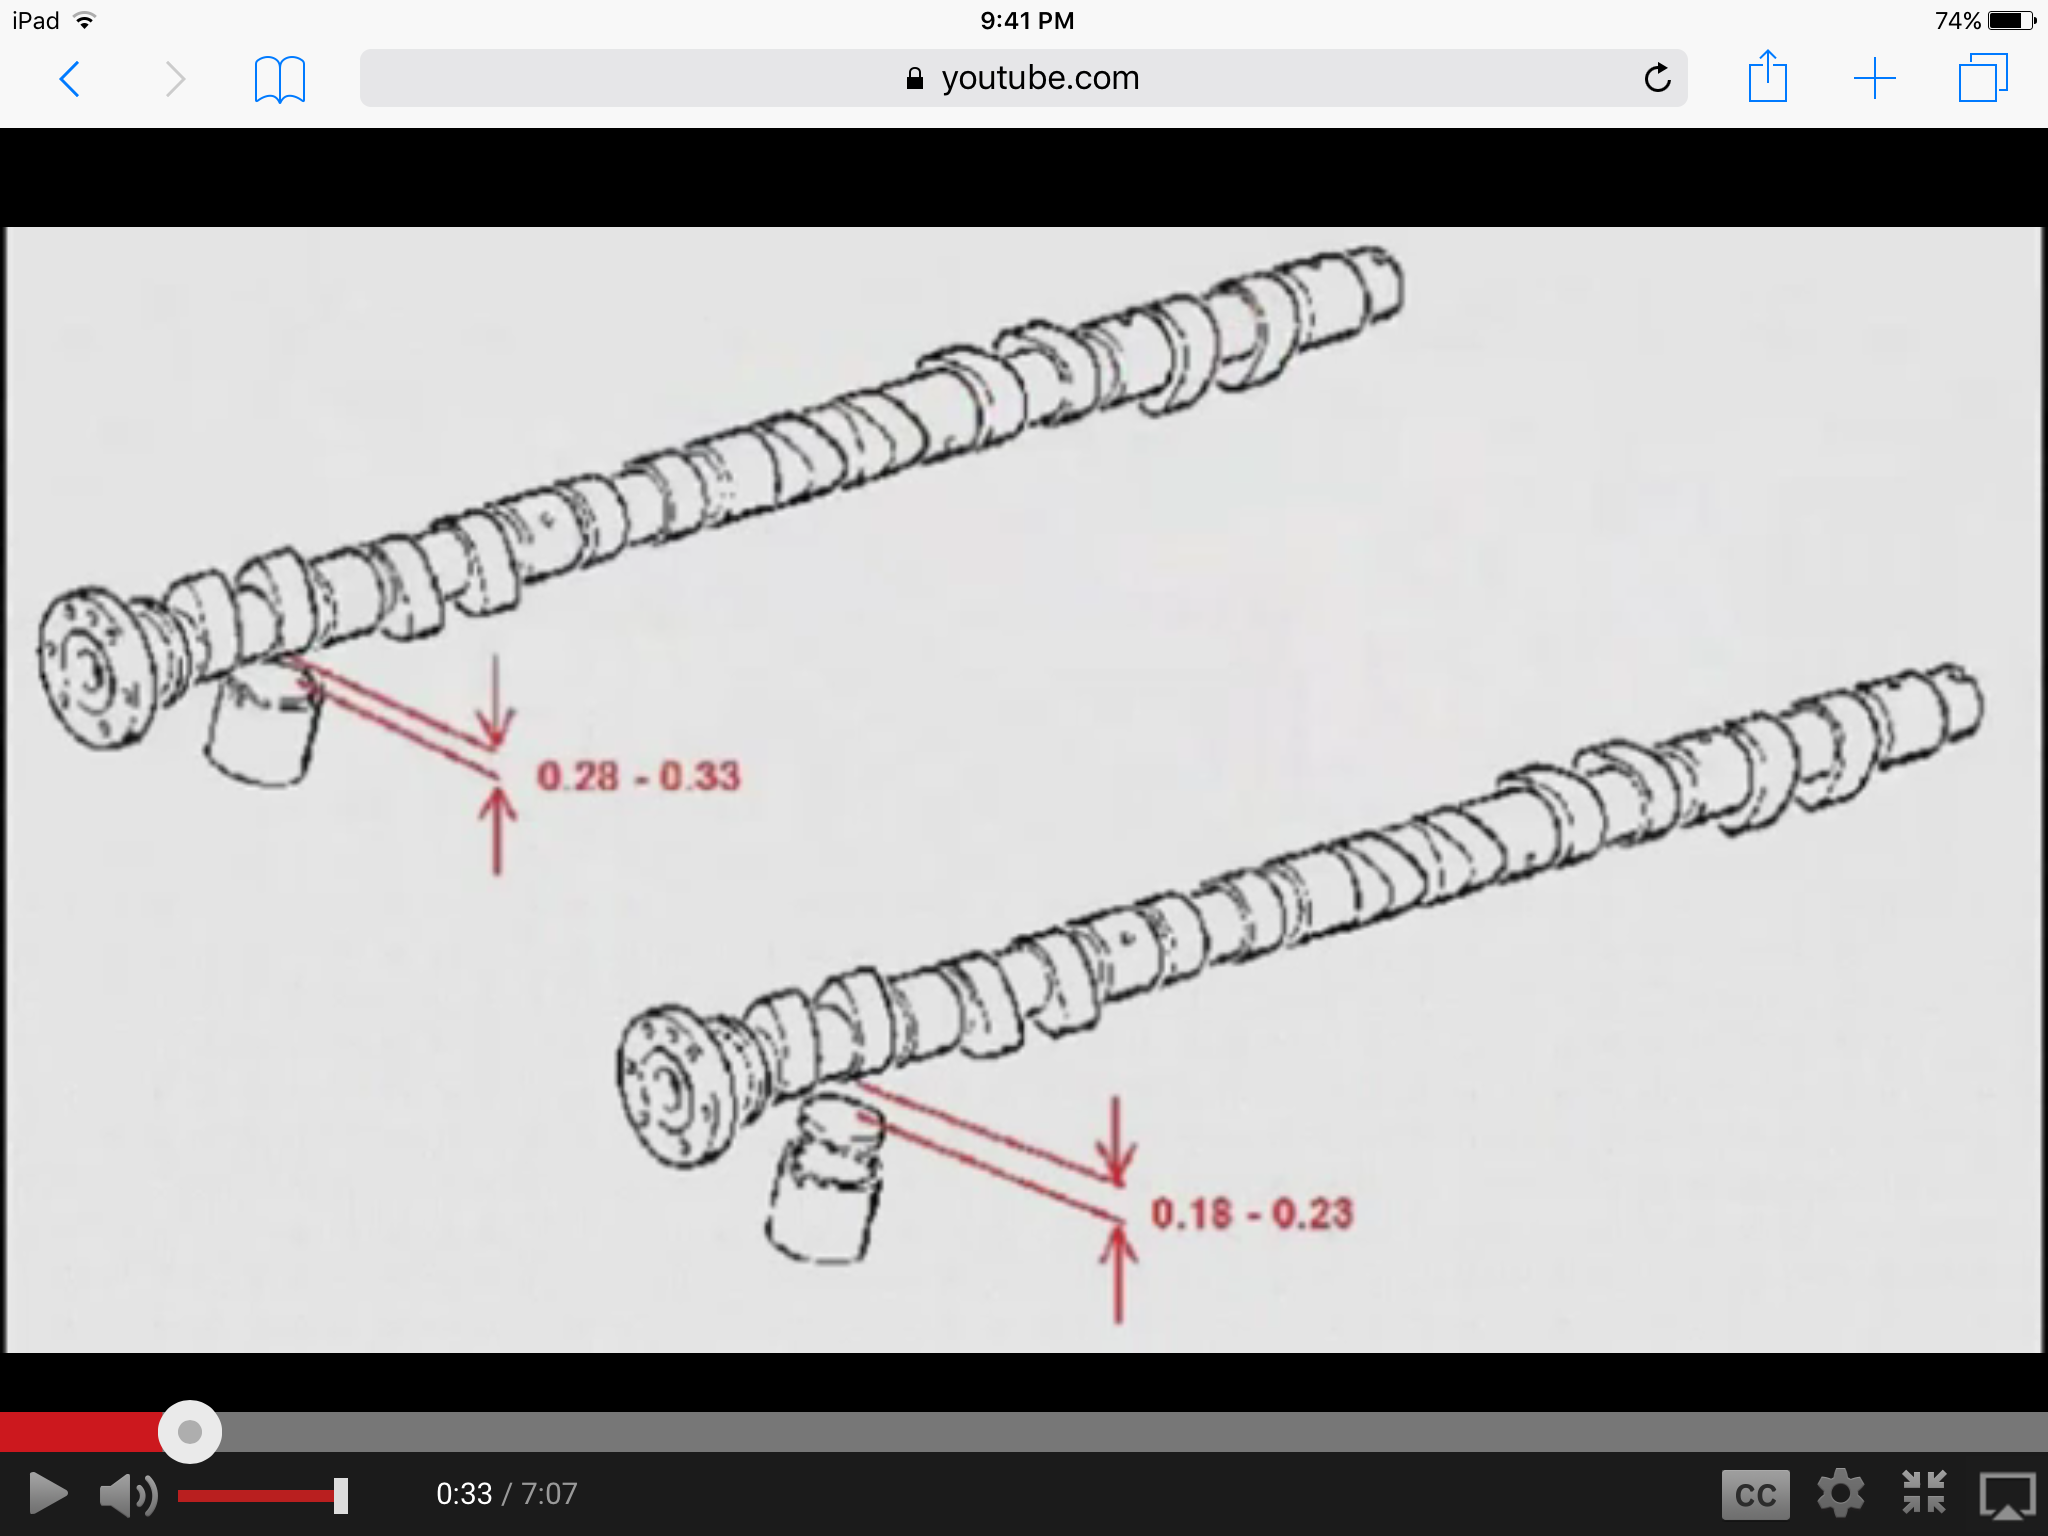
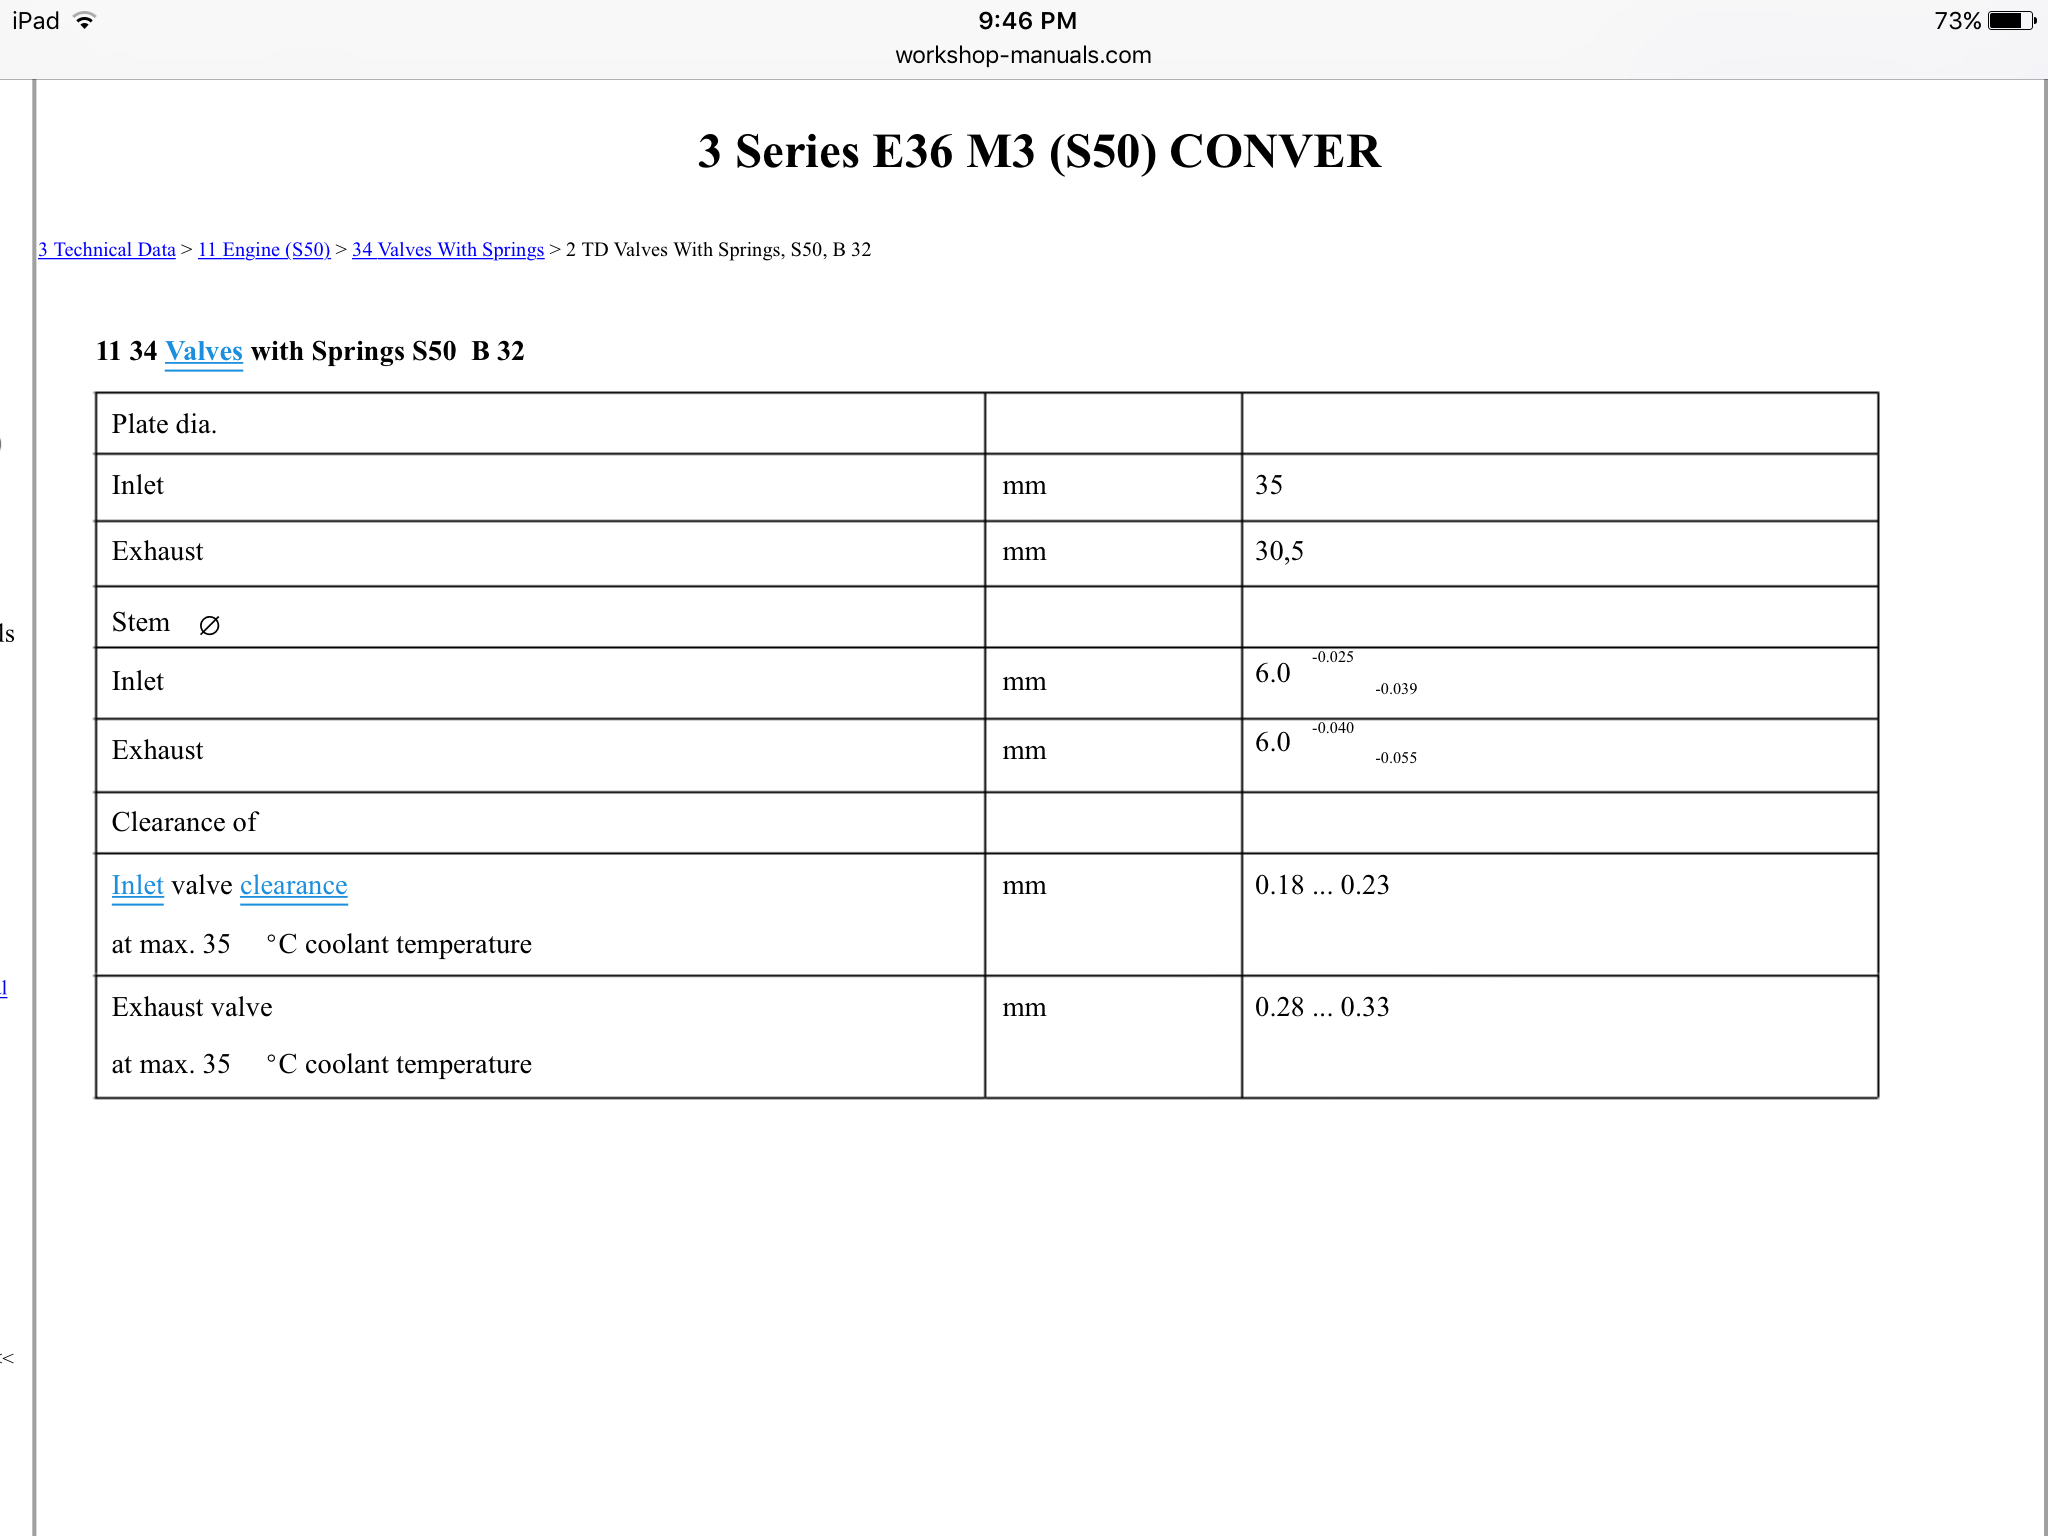
Ive almost finished shimming the cams, every intake and exhaust are exactly the same .22 intake and .33 exhaust


-
2
-
-
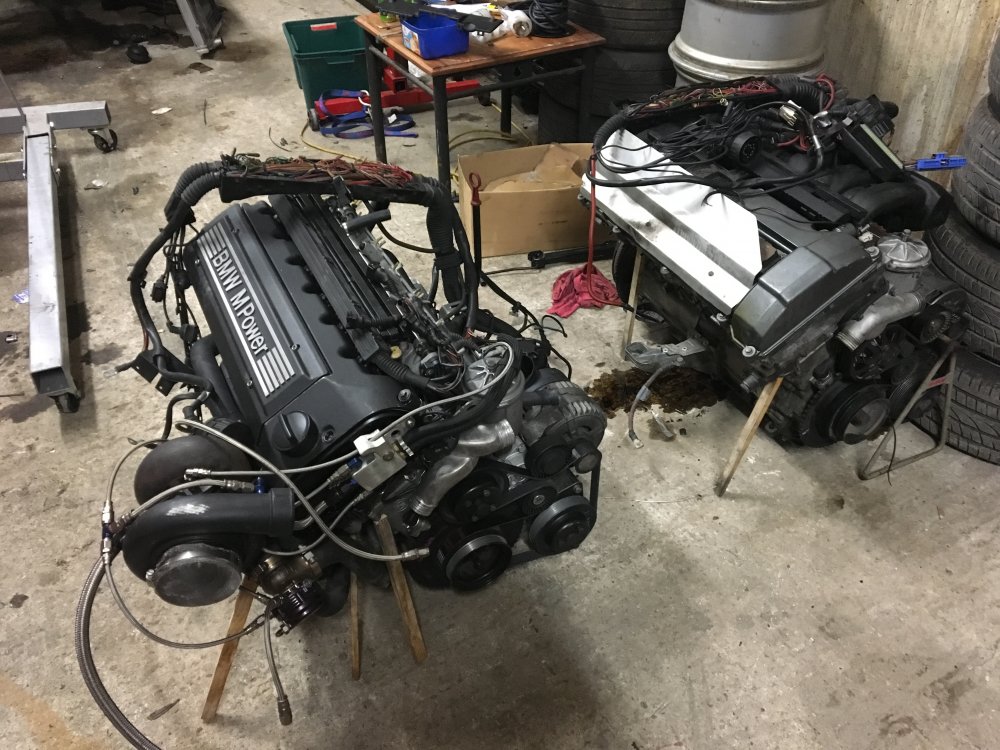
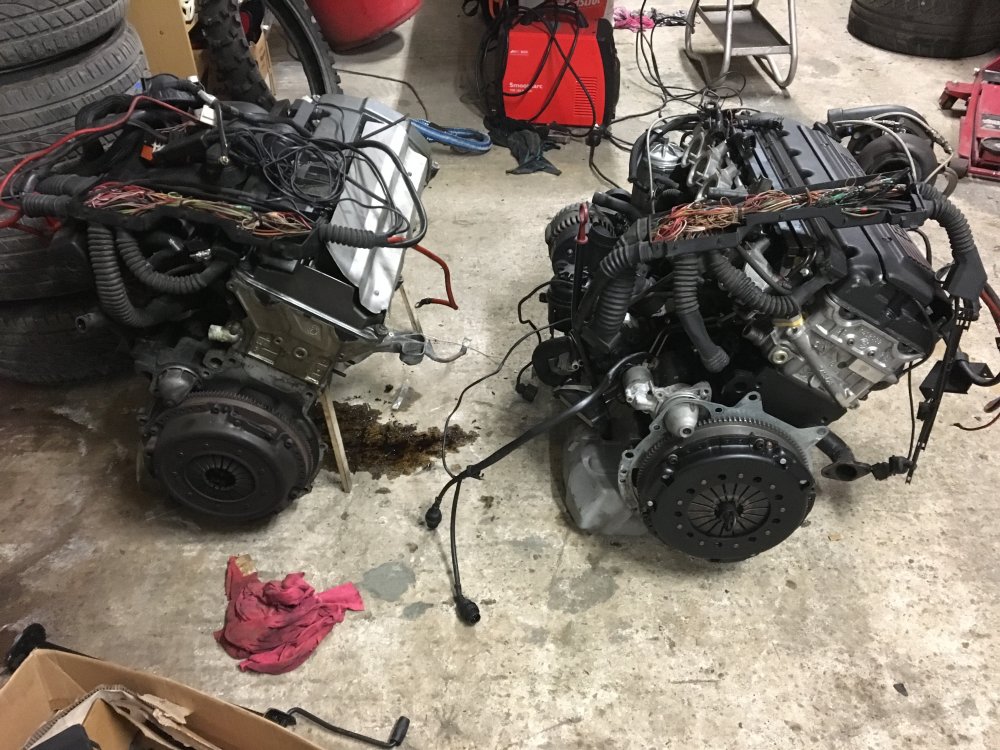
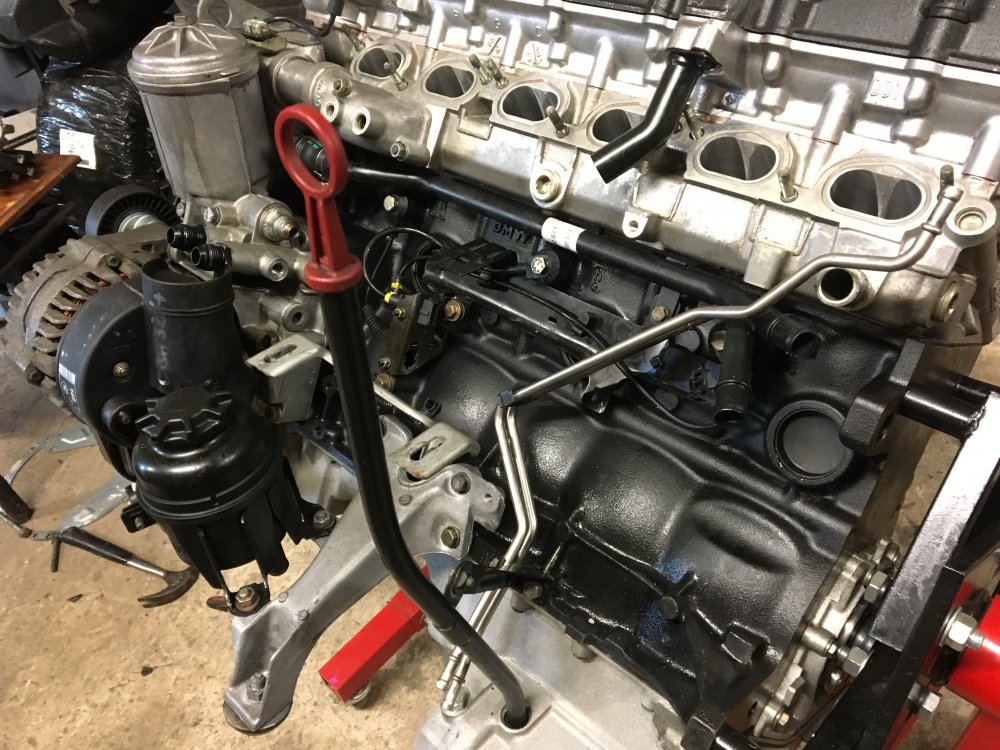
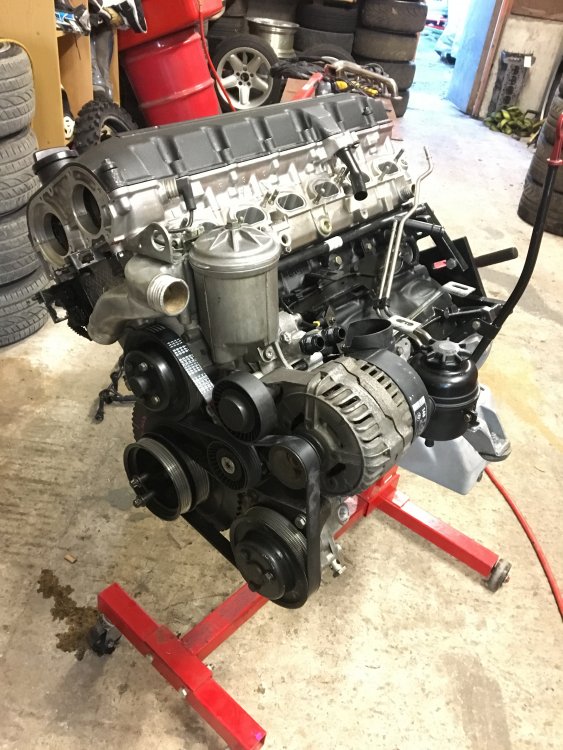
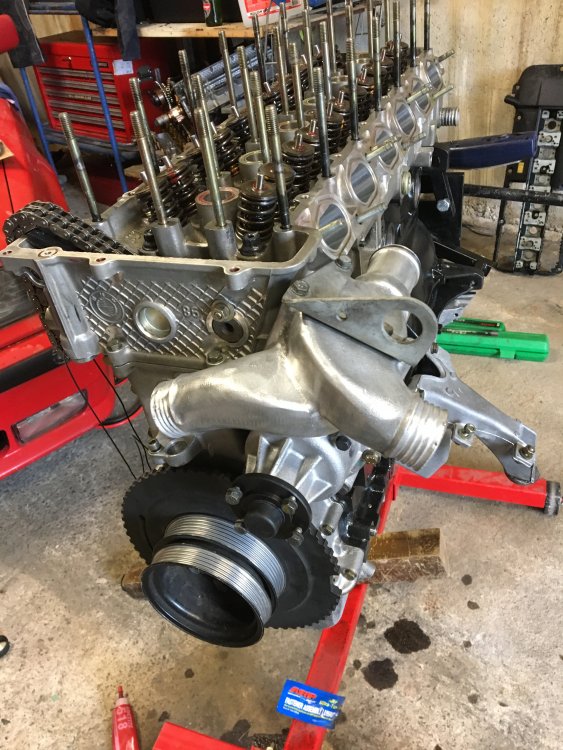
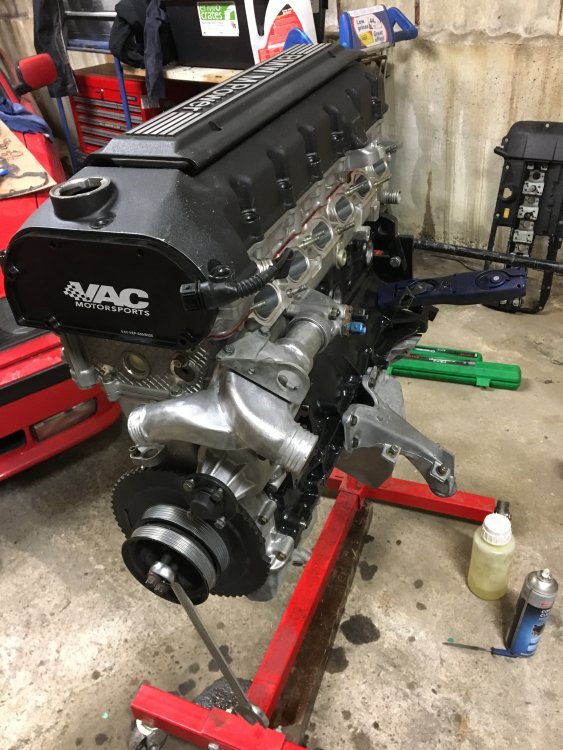
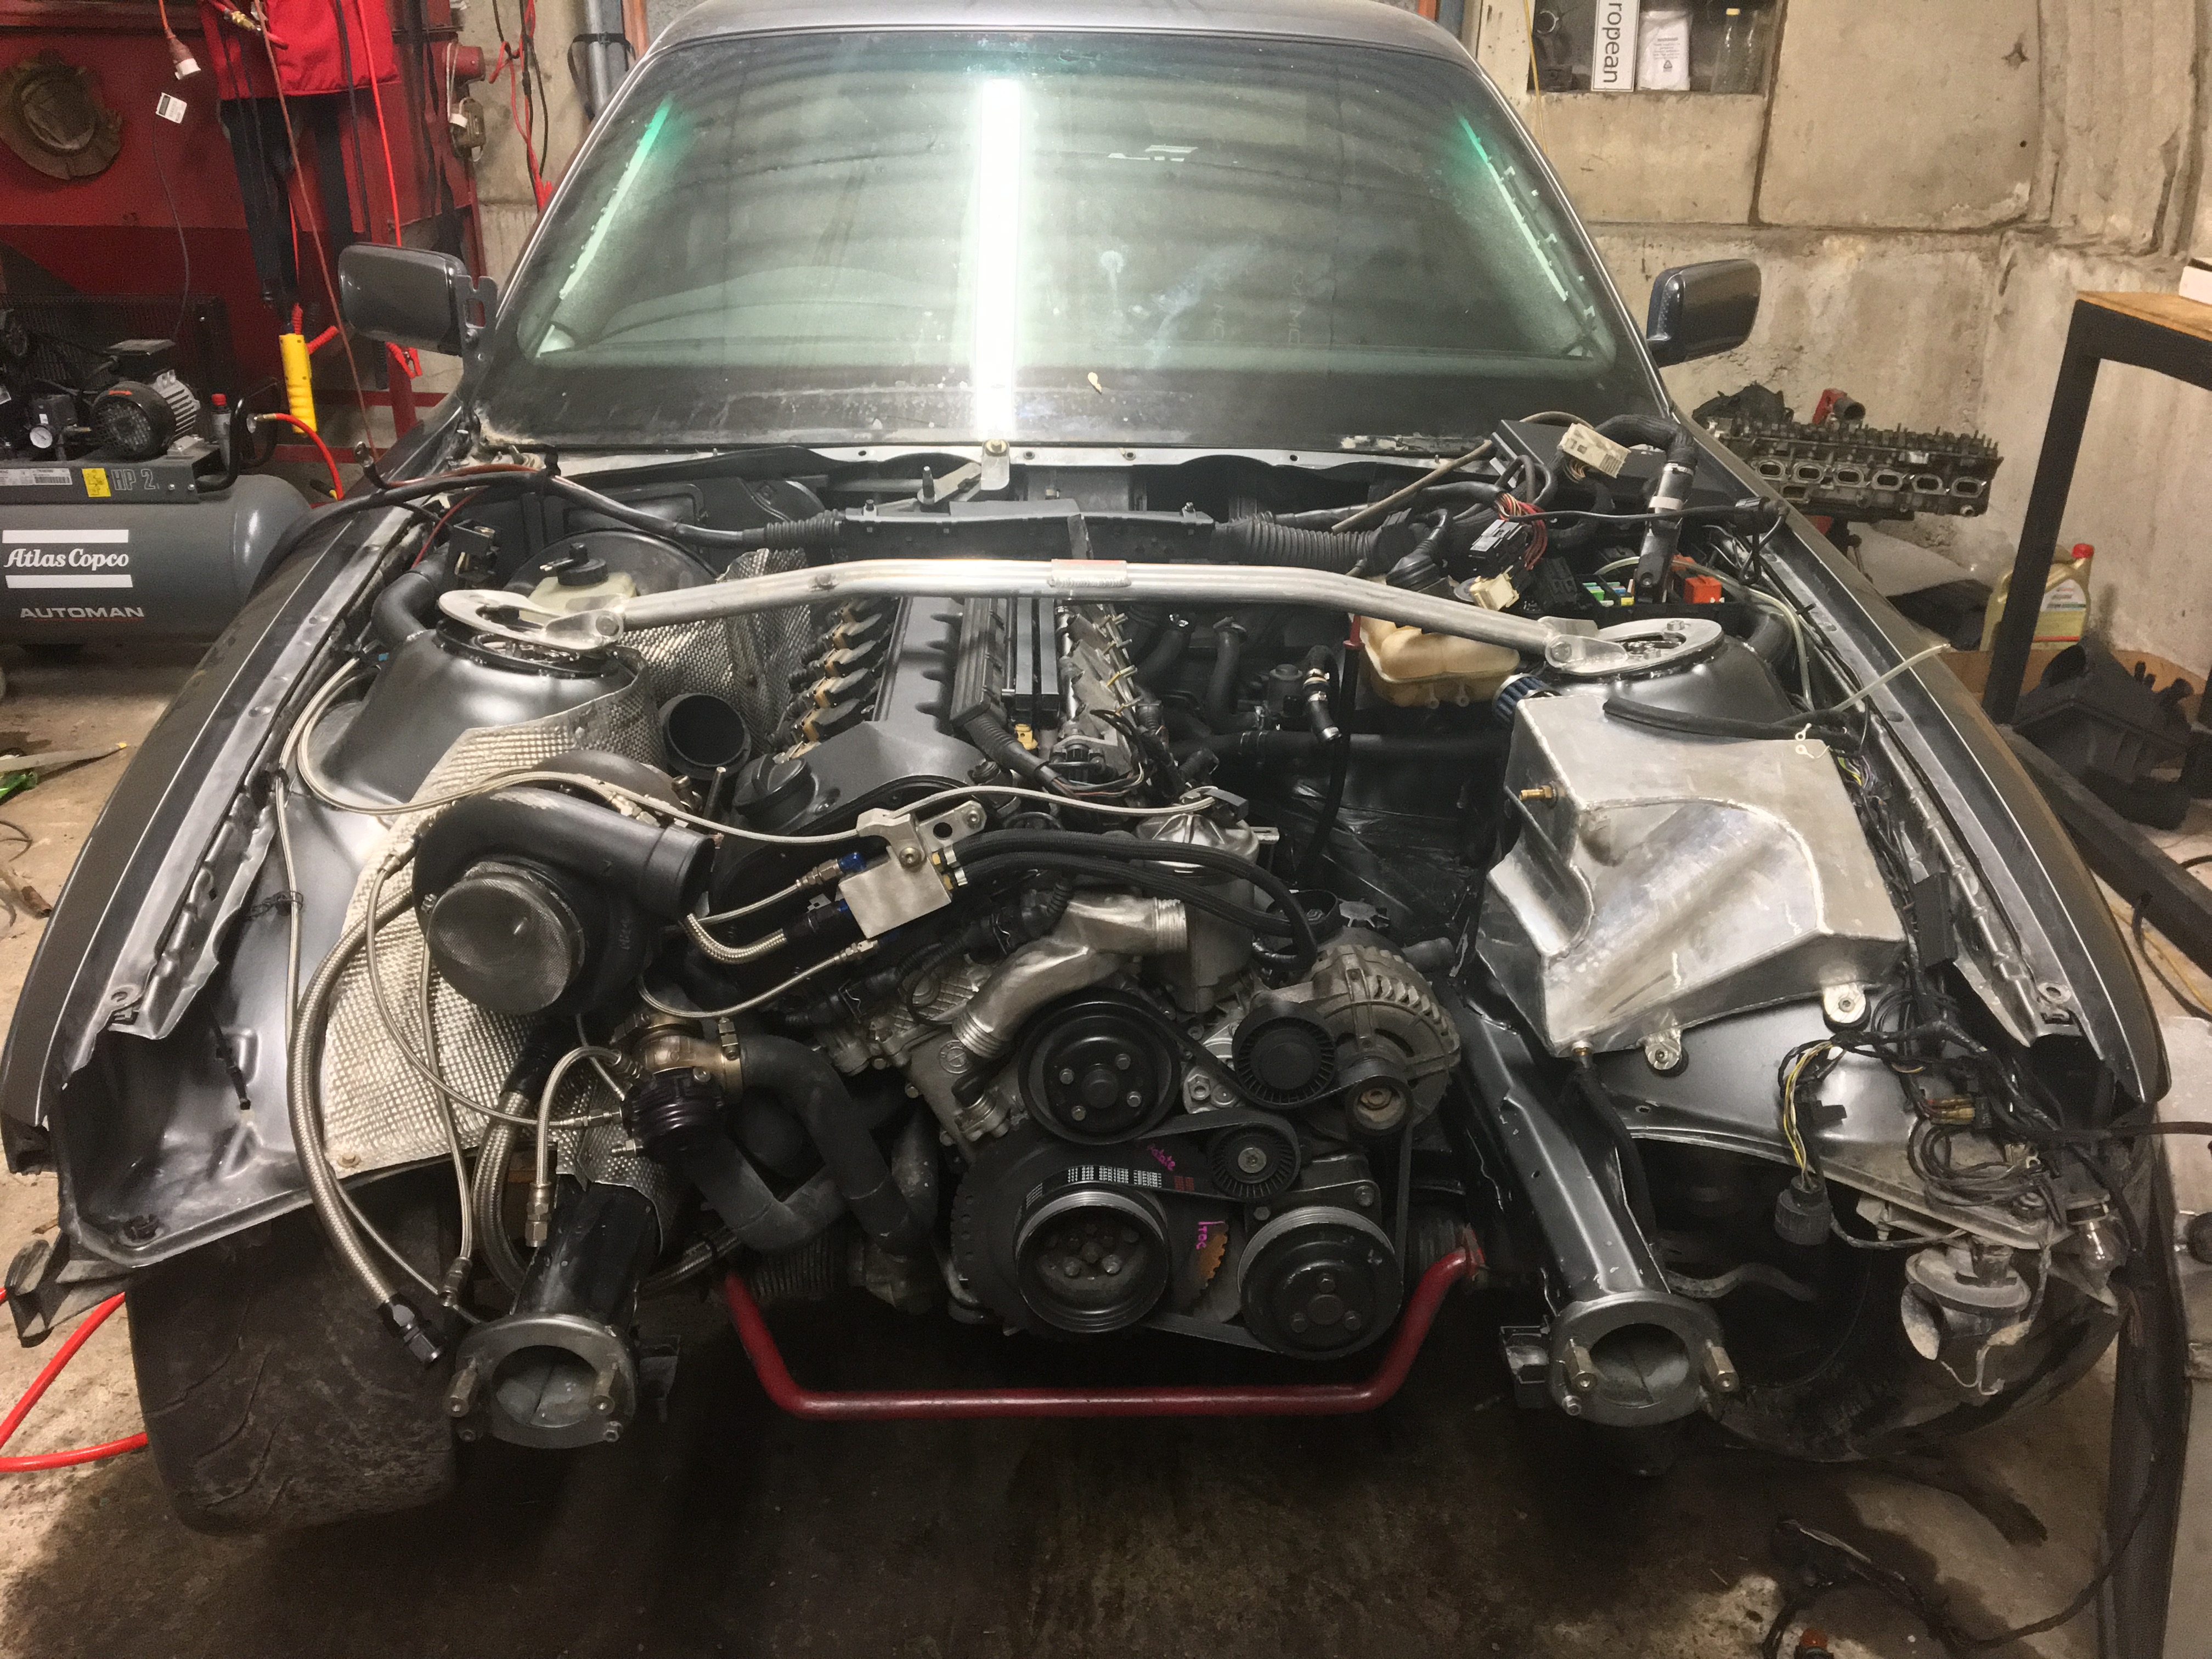
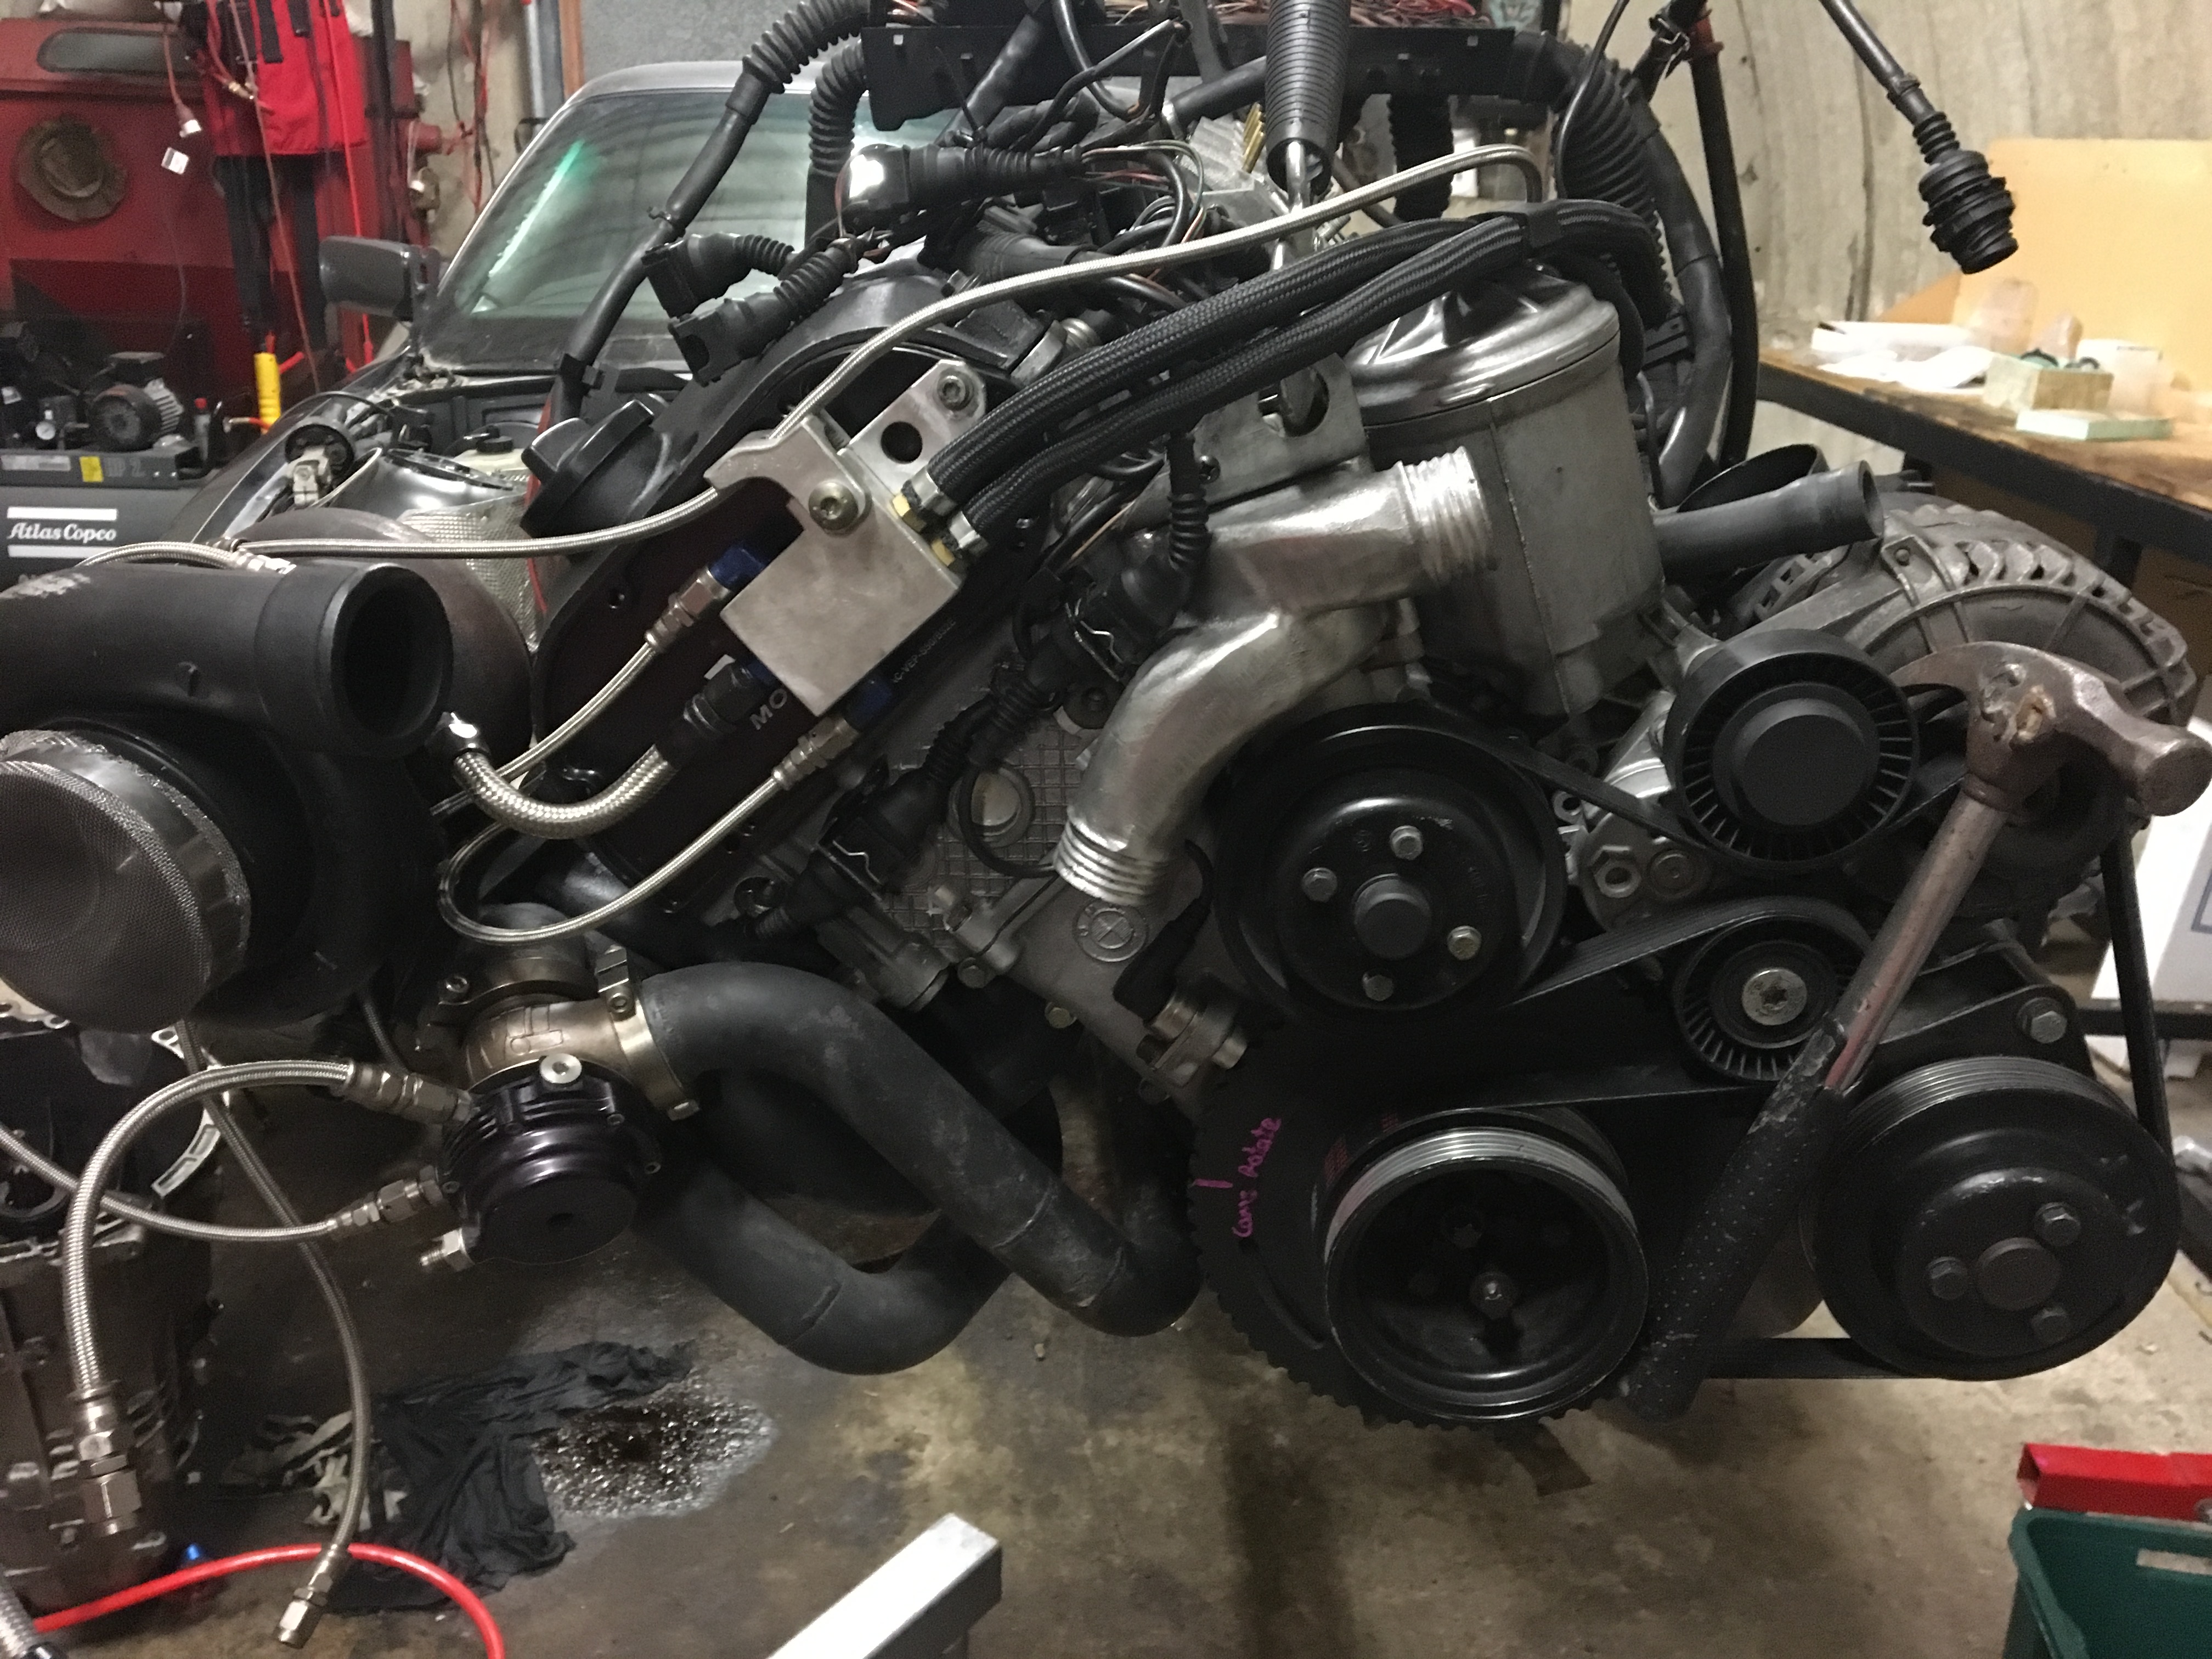
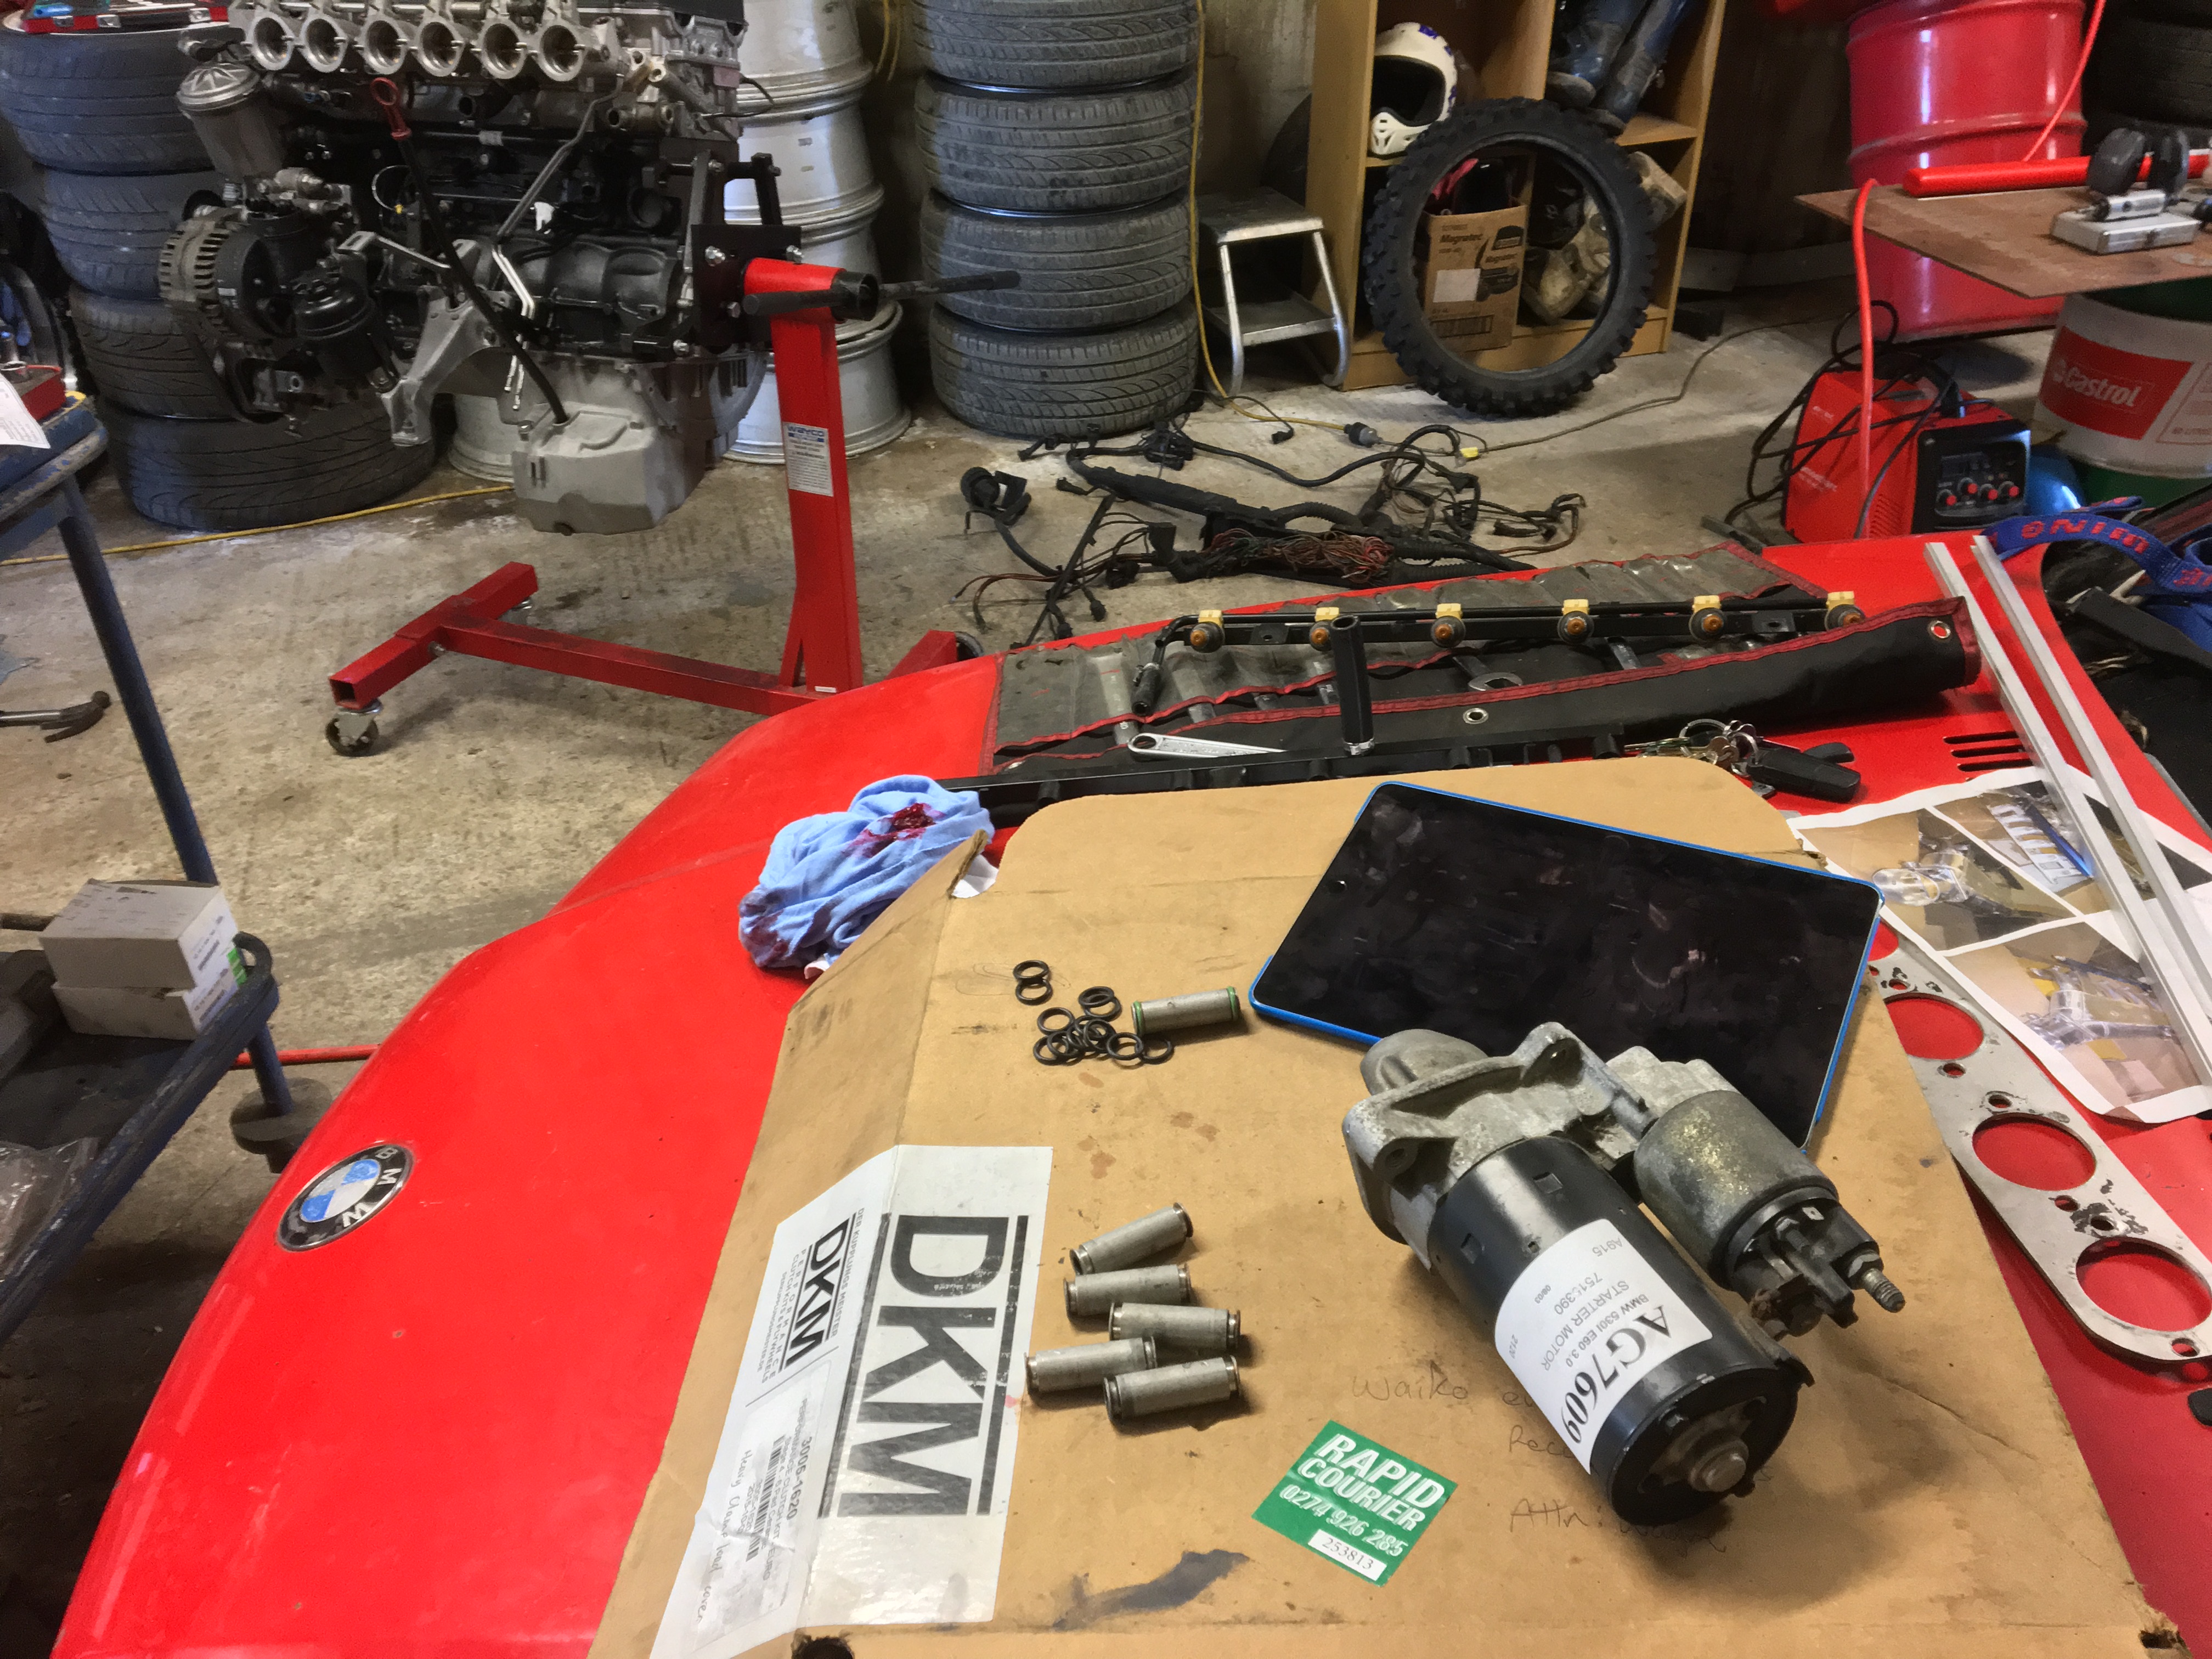
Ive taken time off work this week actually the whole week, I thought I might try get this engine in, most of it is coming together okay it's just the intake runners they have been cut and missing the bolt on flange part so no way to secure them, thinking I will go past mico metals and pick up some tube and flat and give it ago and also try make an intake boot. I've found a e60 starter motor which is nice and light so going to install that as it has the same connections and should fit the flywheel as I'm not running the m20 wheel anymore.
ive found the pinout diagrams for the m50 and the s50 here.. http://wedophones.com/Manuals/BMW/1994 BMW 318i-s-c - 320i - 325i-s-c Electrical Troubleshooting Manual.pdf
Which will make it easier to swap over the link g4
im going to get it running off the standard computer first to make sure it is all good
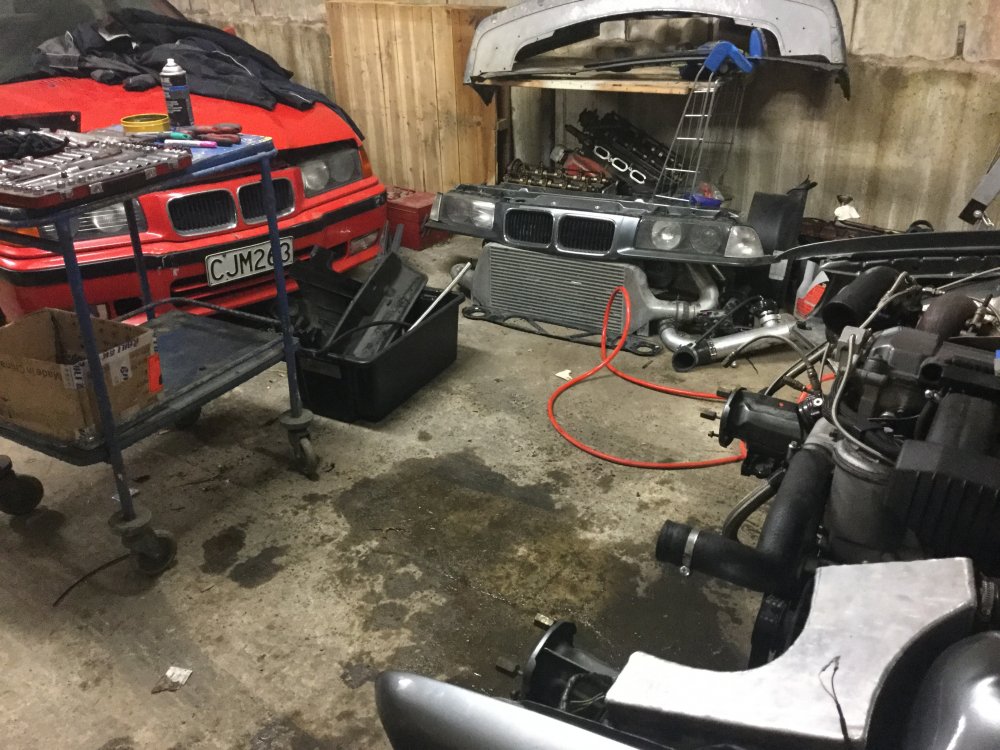
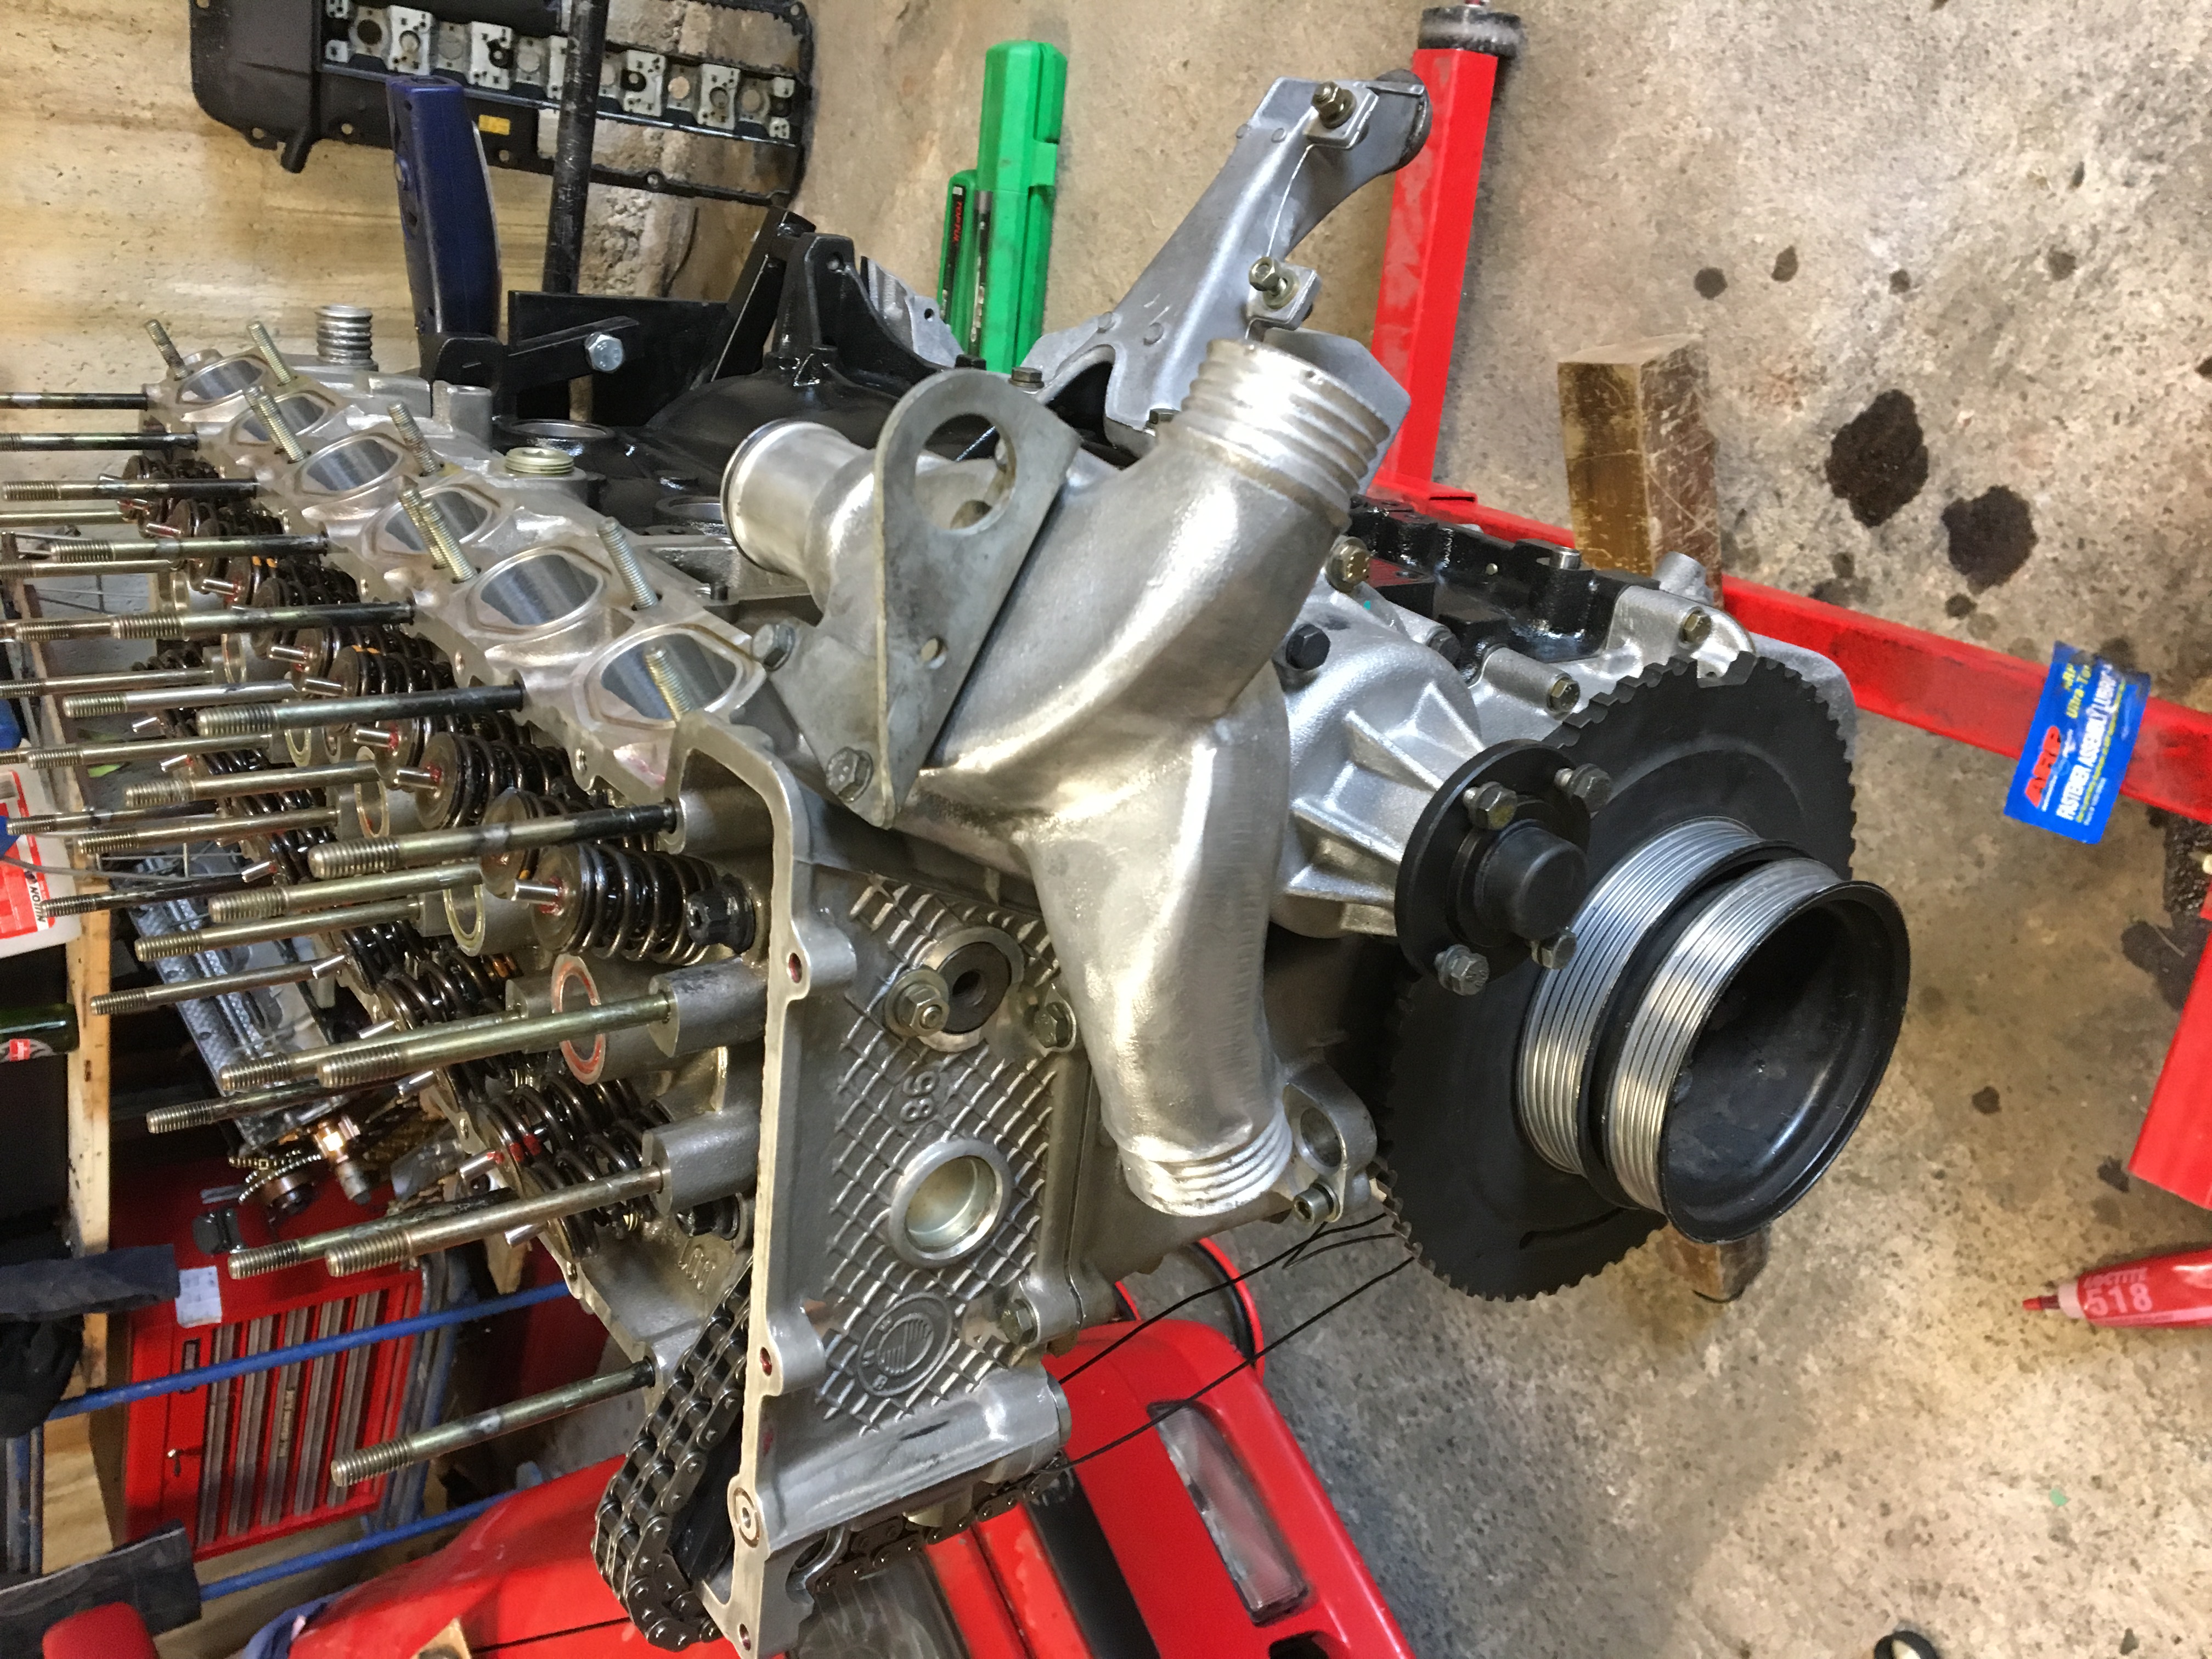
Heres a few pictures of what I've been up to the last couple of days, tomorrow morning the m50 engines coming out and test fitting the s50, I know I'm going to have to modify something on the exhaust manifold and other things I just hope it's not going to be a major otherwise It might just be cheaper to get another one made lol
-
1
-
-
1 hour ago, zero said:Sorry for the dumb question, but what is the benefit of a vanos delete?
Not a dumb question at all... everyone will ask this, and many different answers, I believe it's easier for the tuner which means it's going to cost me less, also when track racing a car it's mostly always up in the rev range and reducing the margin for era of having something go wrong and ruin your day, nothing worse than going to a track day and finding out after a couple of laps you have to go home because something faulted... like when I went to a drift day with heaps of new tyres and found them delaminating all tread off, 4 tyres in i was like f**k it I'm going home and sending the rest back.
No doubt there are a lot of benifits of keeping vanos like more power down low for one but I don't think I need it and just another thing to go wrong.
-
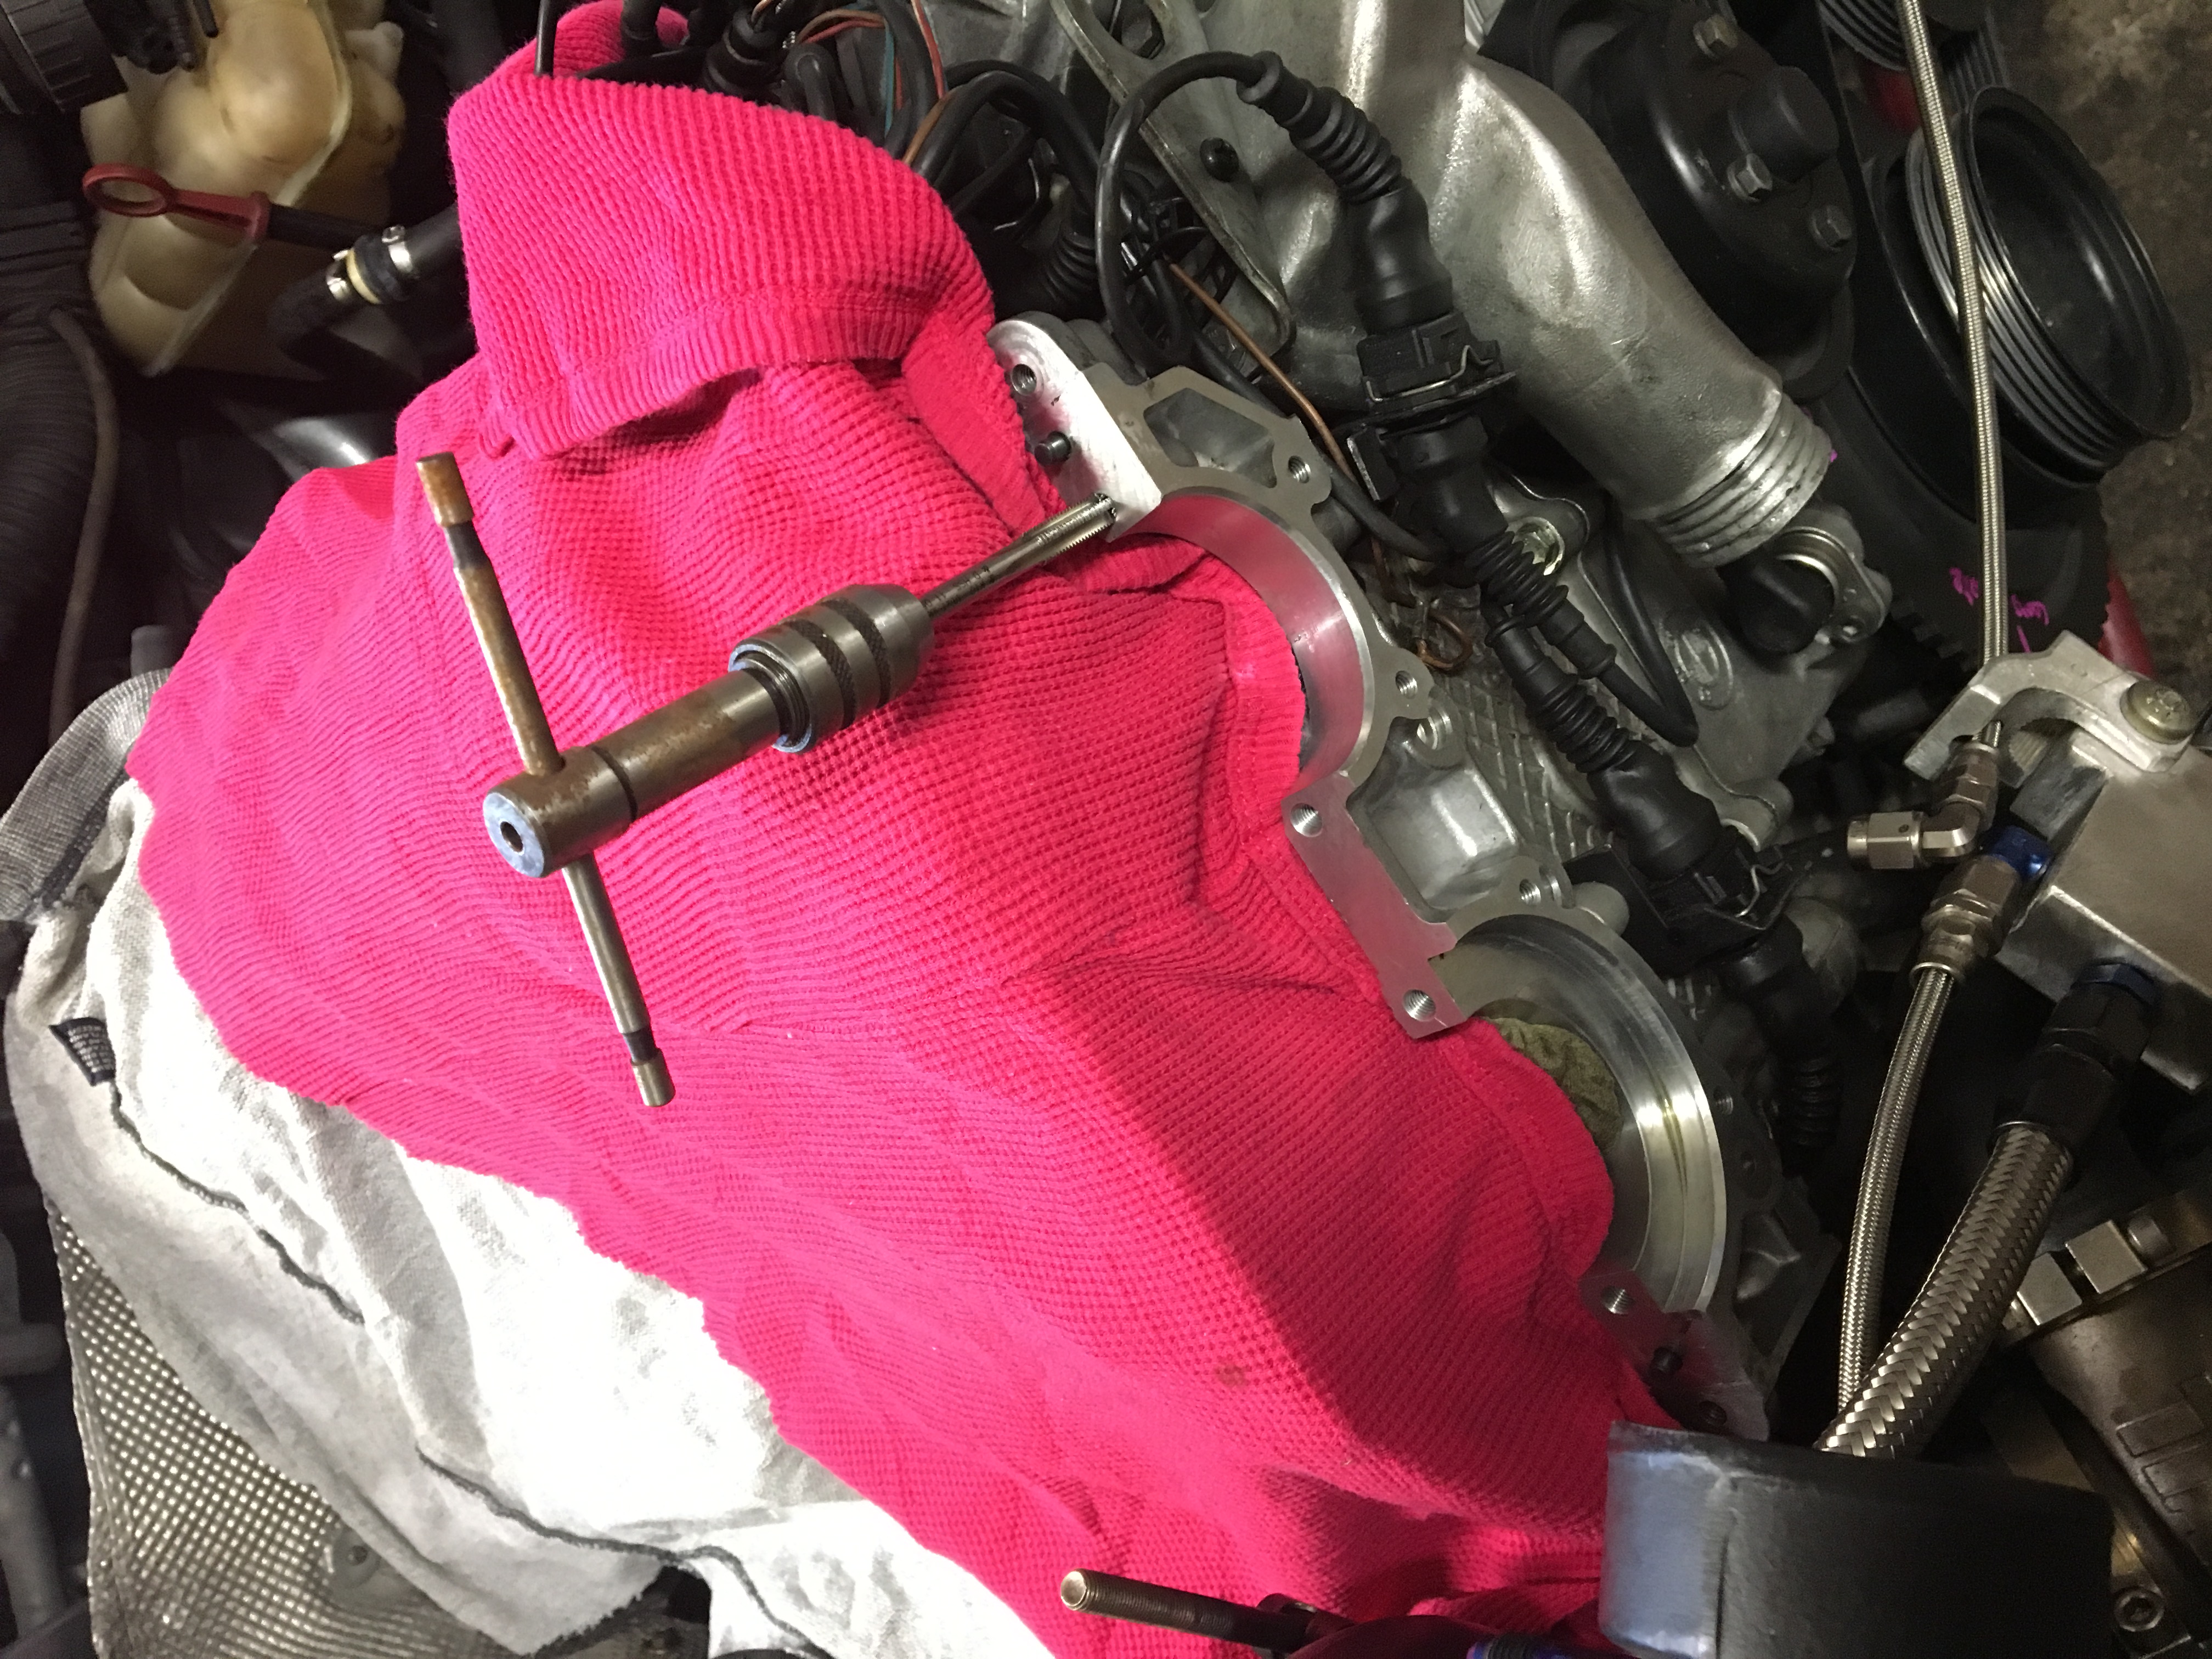
The other day I spend shiming the motor and think I only have to order about 10 or 11 shims as can reuse the rest to get it all within spec, the tool I borrowed from BMW made it really easy..
so 2weeks and will be ready for the old engine to com out and the new one to get fitted with all the bolt ons
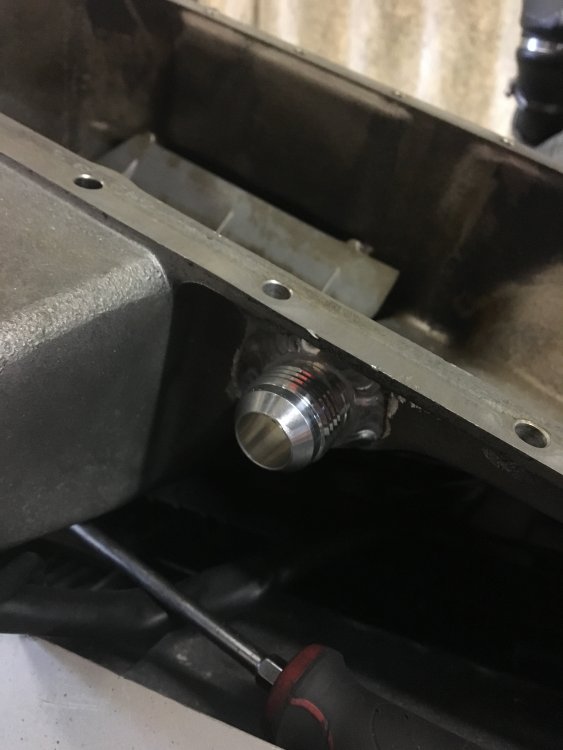
Will be running an oil cooler this time, a hydraulic handbrake and an accusump set up
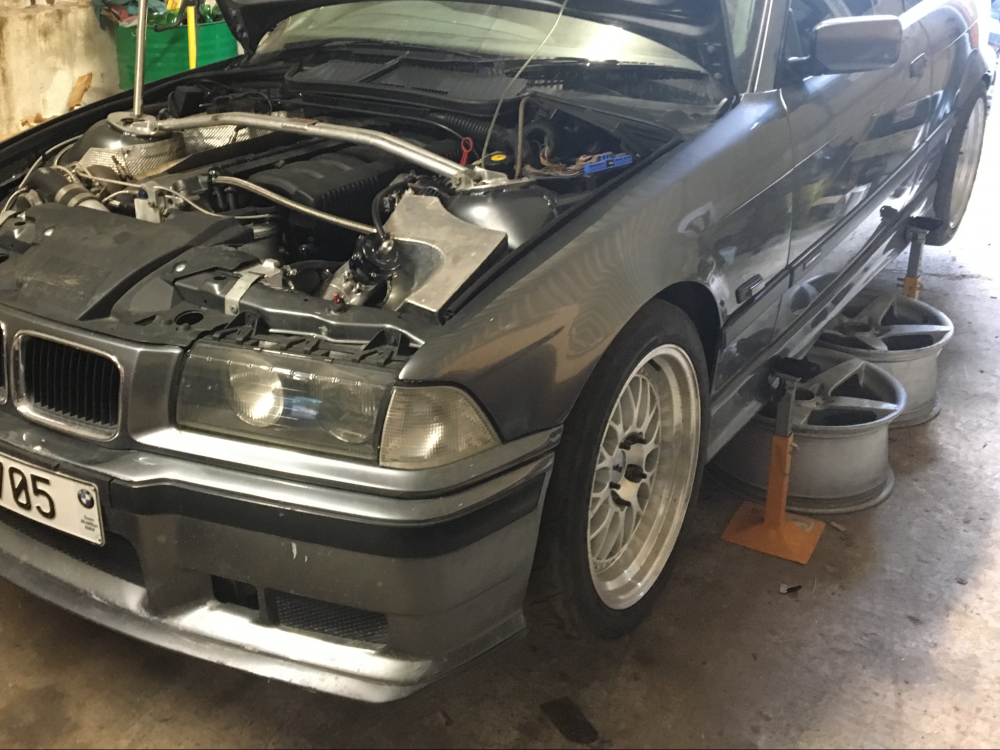
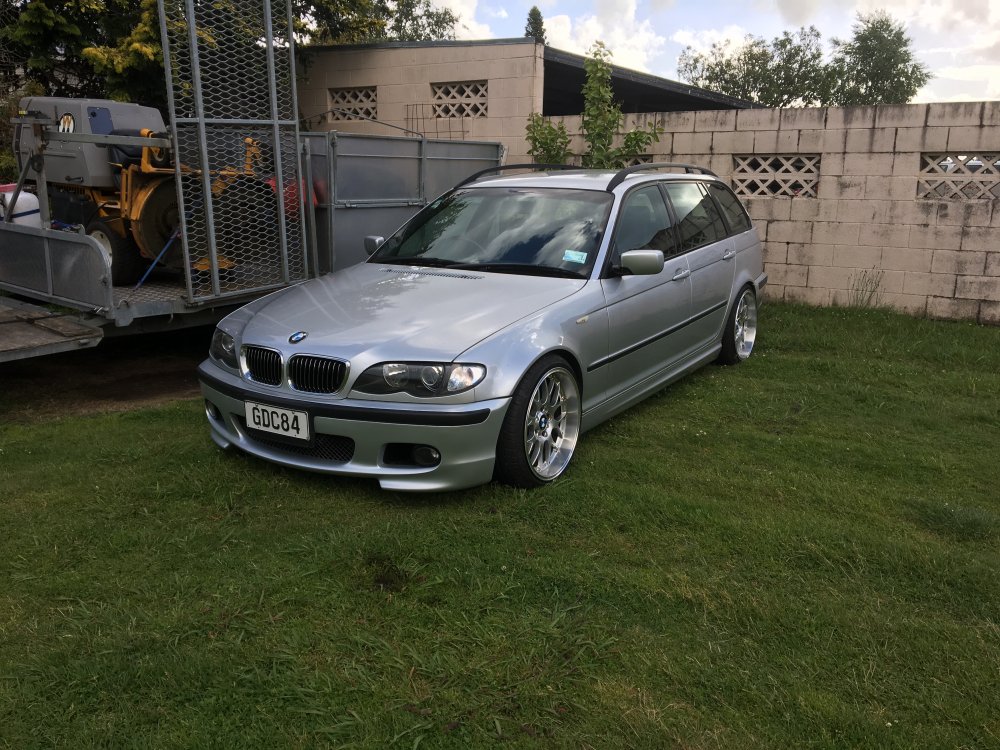
the body is almost ready, got it back from the panel shop not that long ago, with some new bumpers and removal of the tinted window it will be off to the paint shop, I wana bring it back to the original look it had when I first finished it instead of listening to other people saying you need to do this and that, make it louder... put a wing on it, make it a v8... you all can get fuct haha this is my project go get your own. Rant over. ?


-
1
-
-
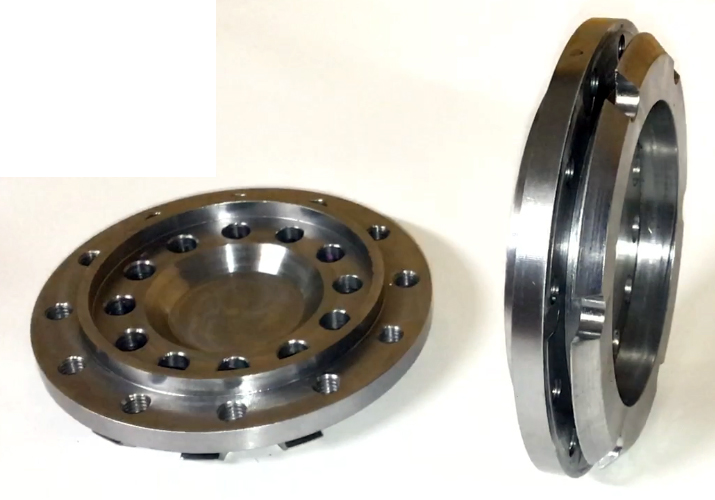
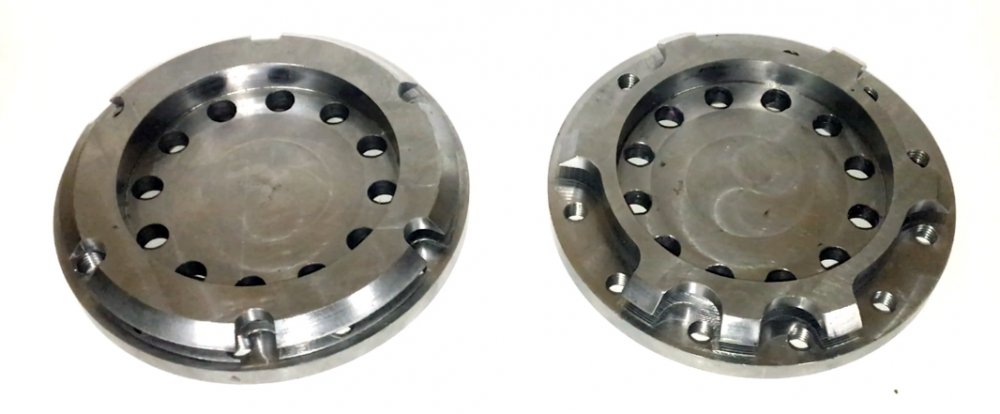
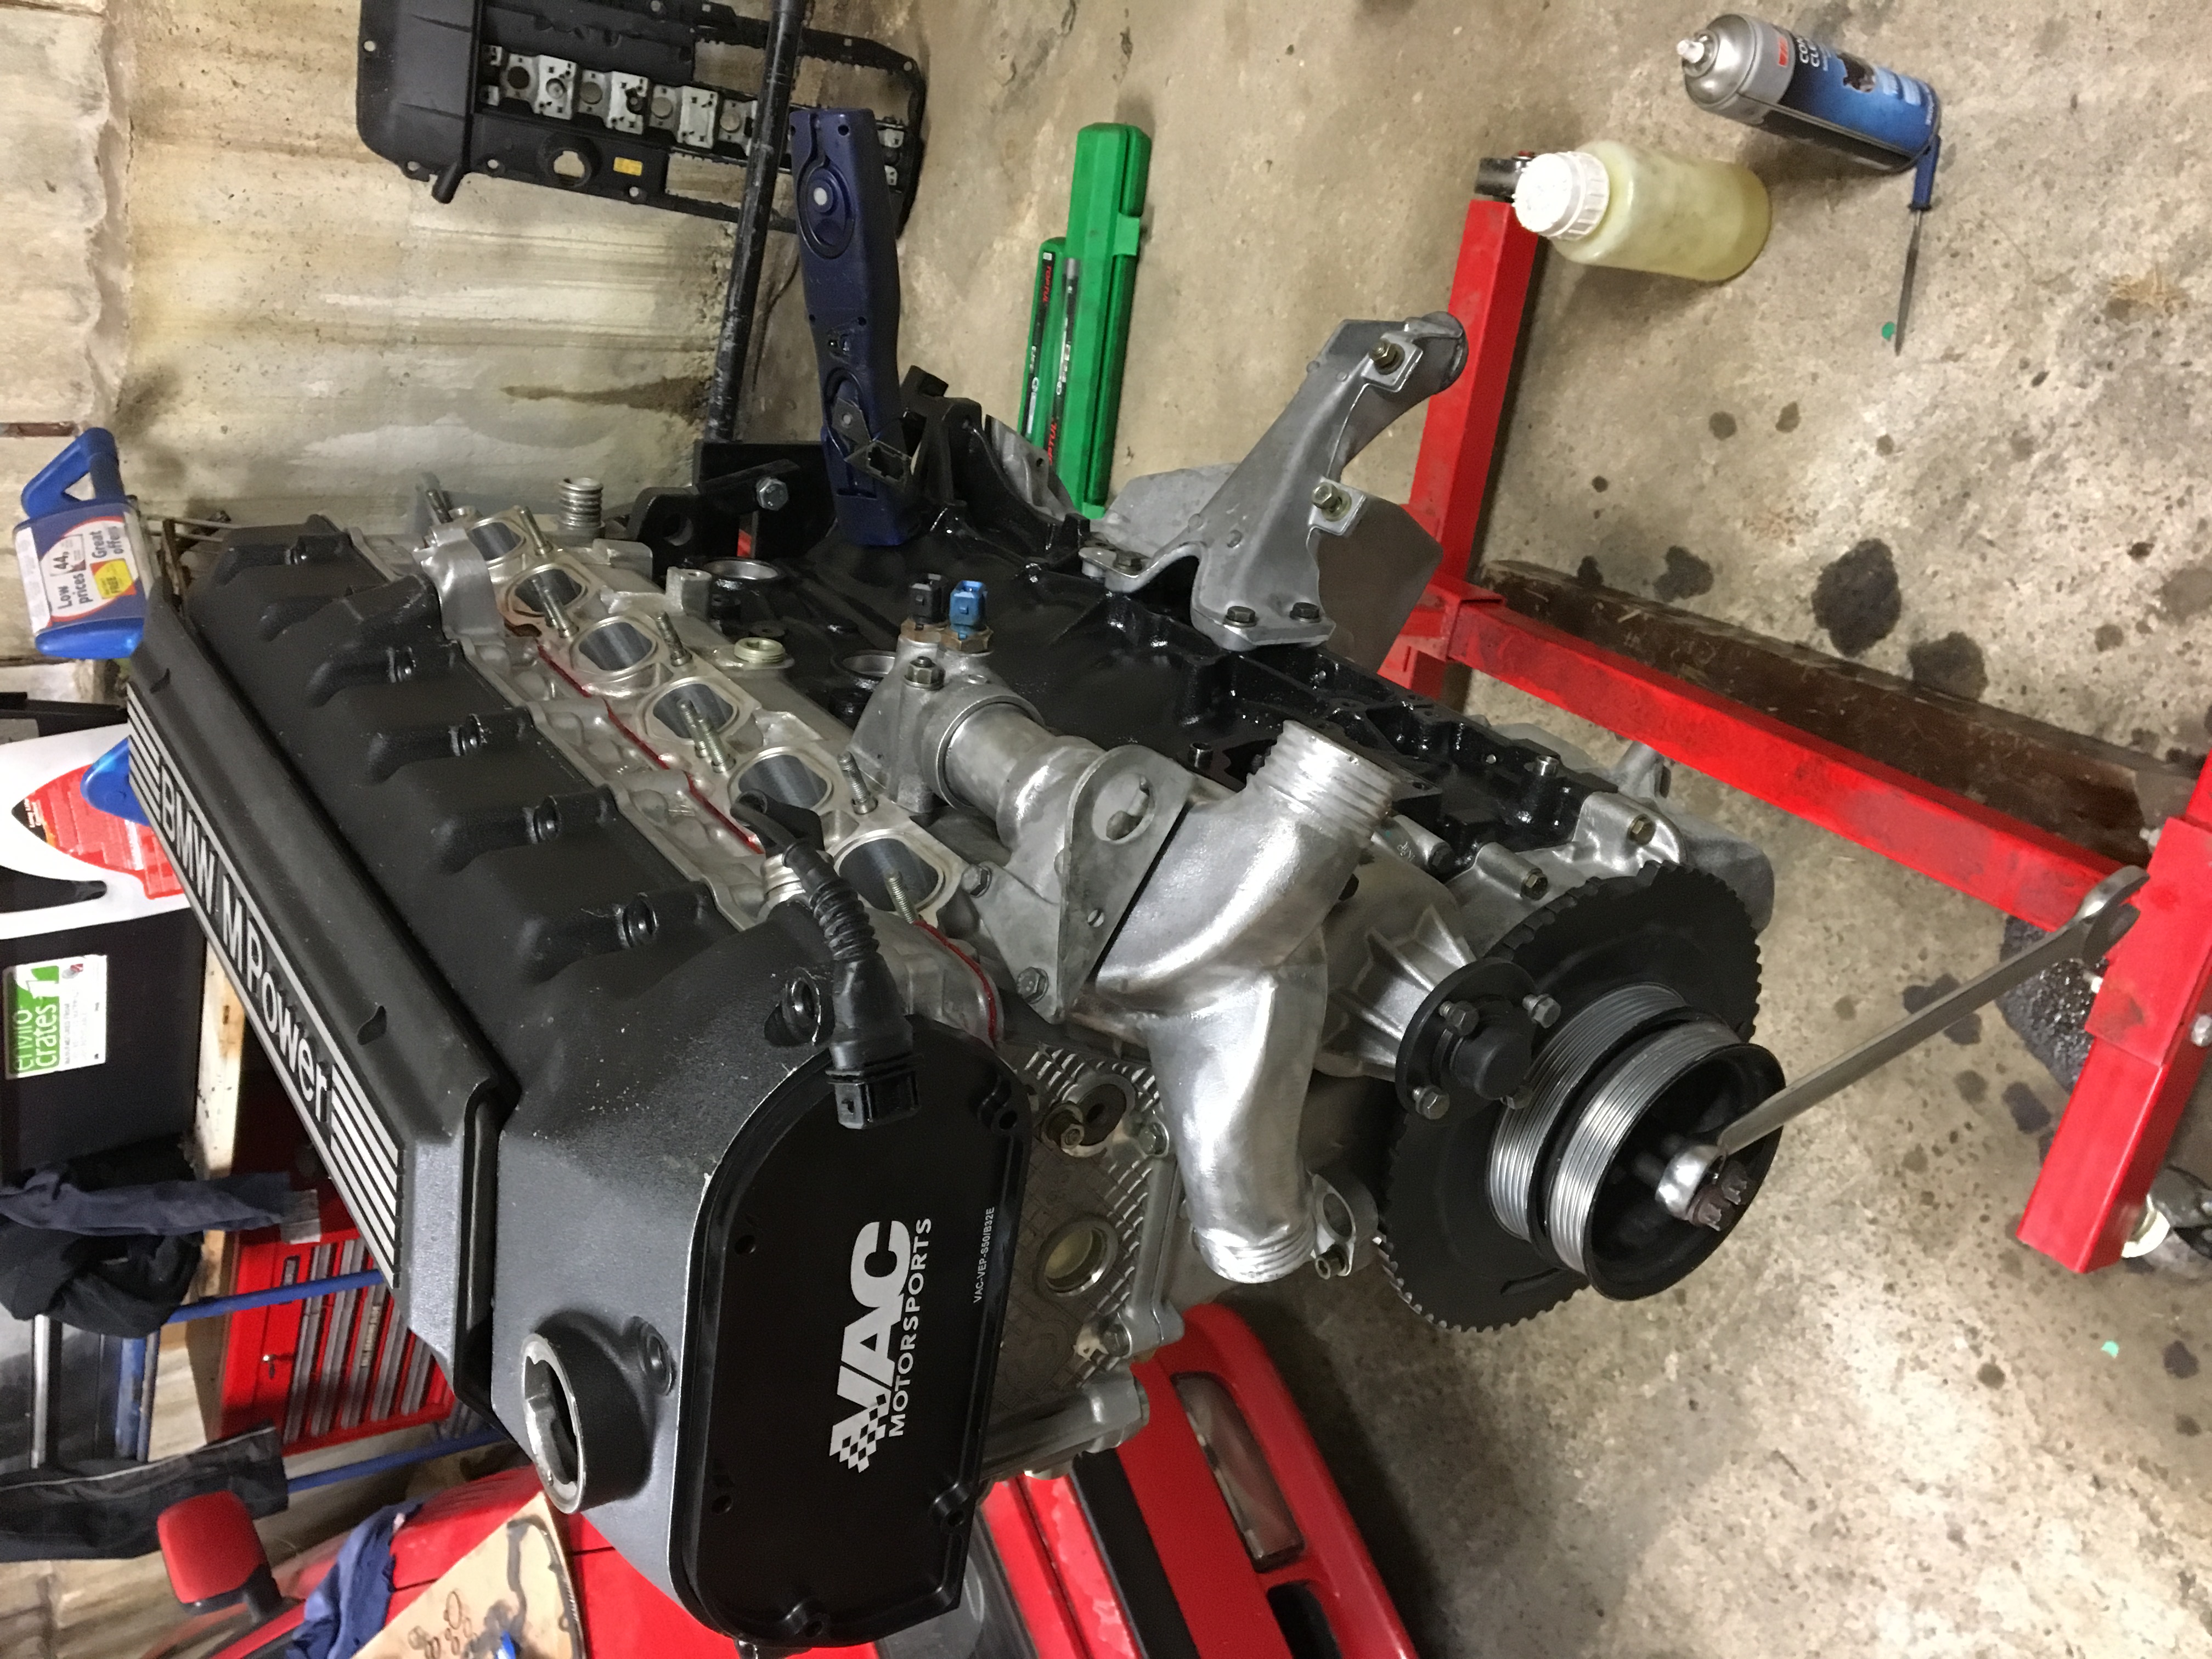
So the the vanos delete wheels with factory triggers are complete, got a revised price for the pair - $395inc gst
Working on making the blanking plate for the front and will let everyone know what that will cost
Overall they products are going to be better quality that vac motorsports and be alot cheaper too...


-
1
-
-
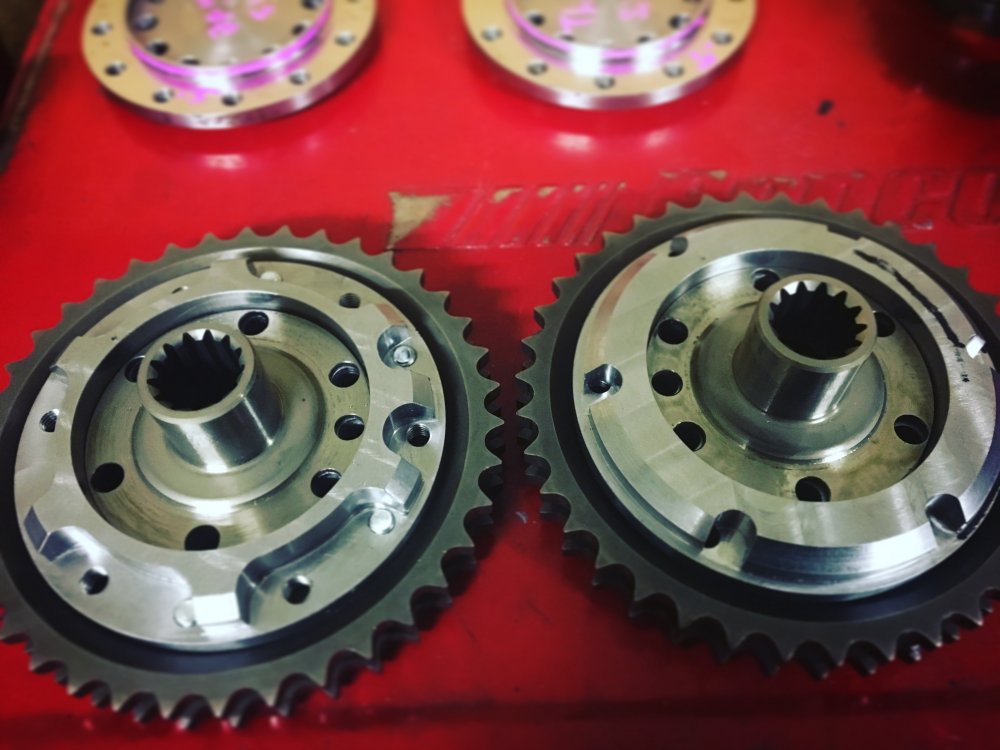
Ok so vanos delete kits are $395inc gst nzd that's a pair, intake and exhaust, they have built in trigger wheels....
The picture attached is before the final product and the fit perfectly they are made from 4140 steel
I'll put togeather the kit and post pics of what you will get and details of steel etc when it's all complete
-
3 hours ago, richard said:how much
I'll find out what it will cost and let everyone know
-
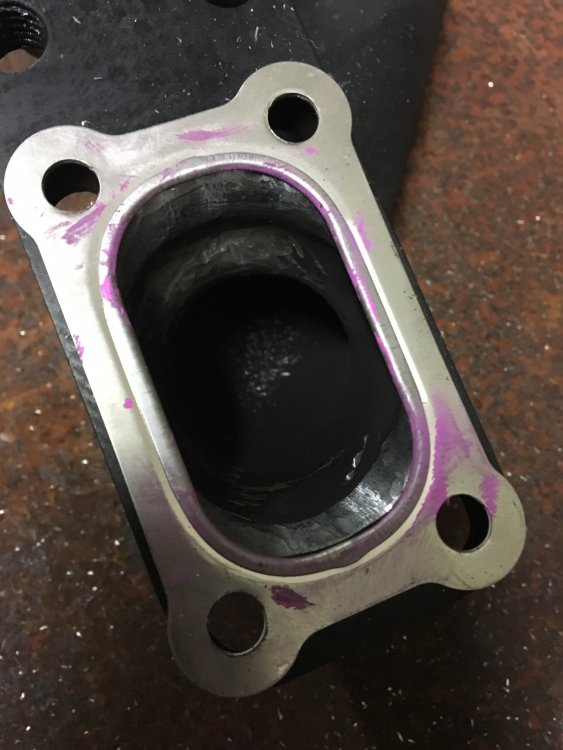
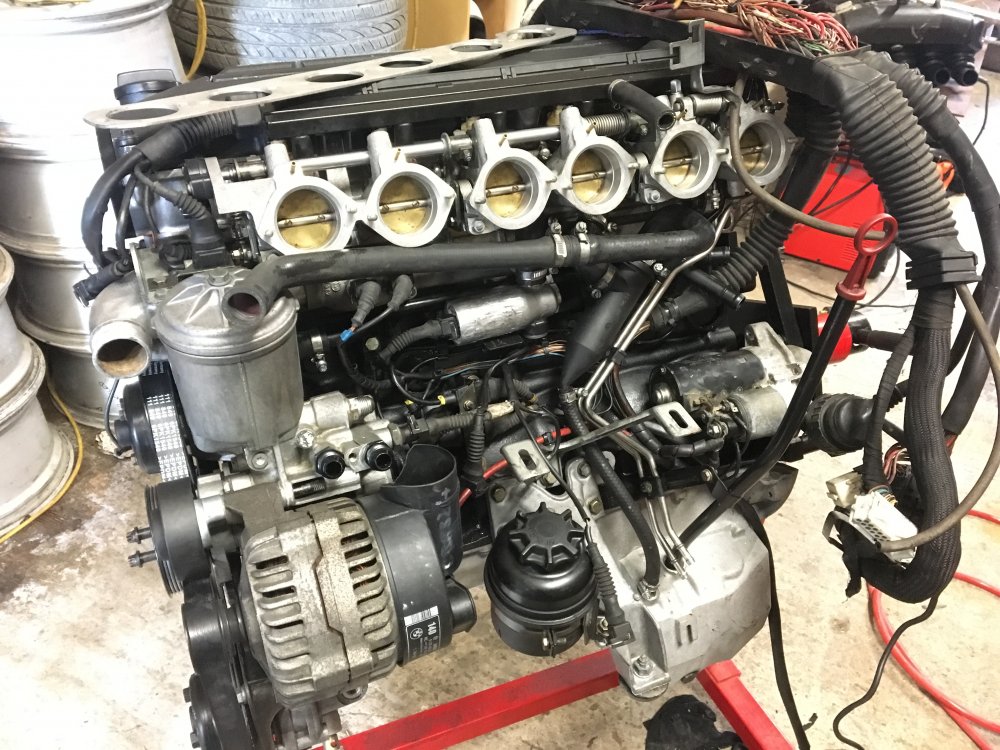
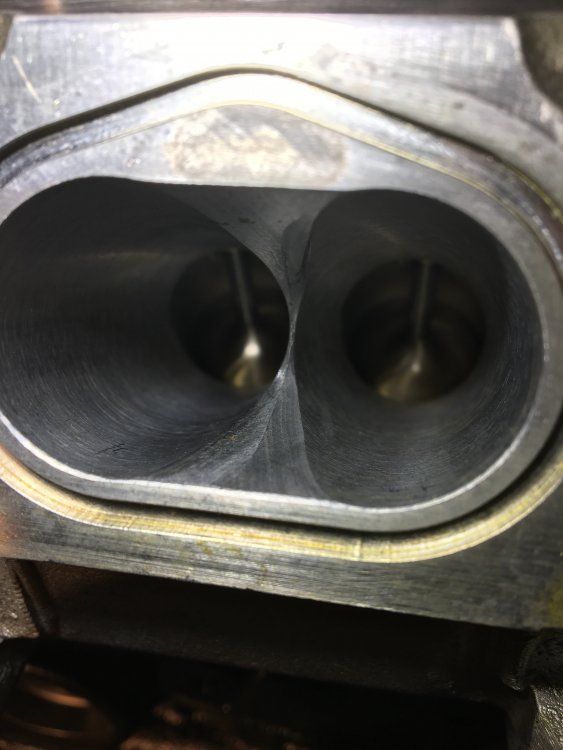
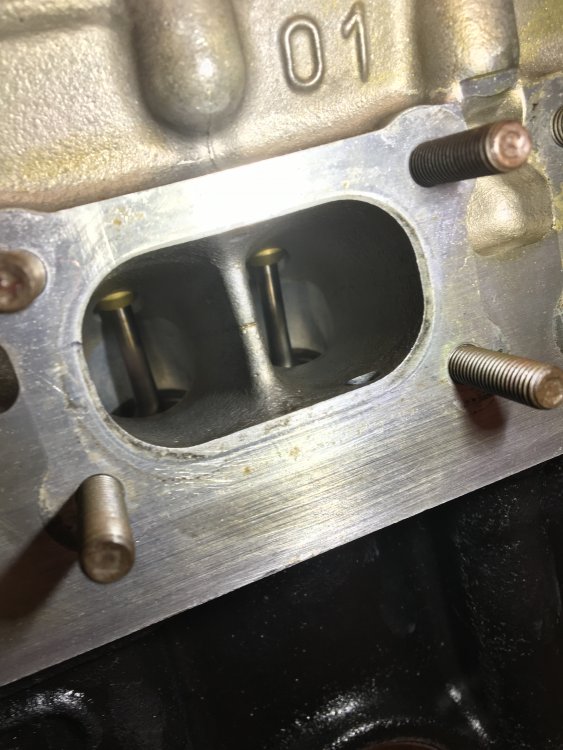
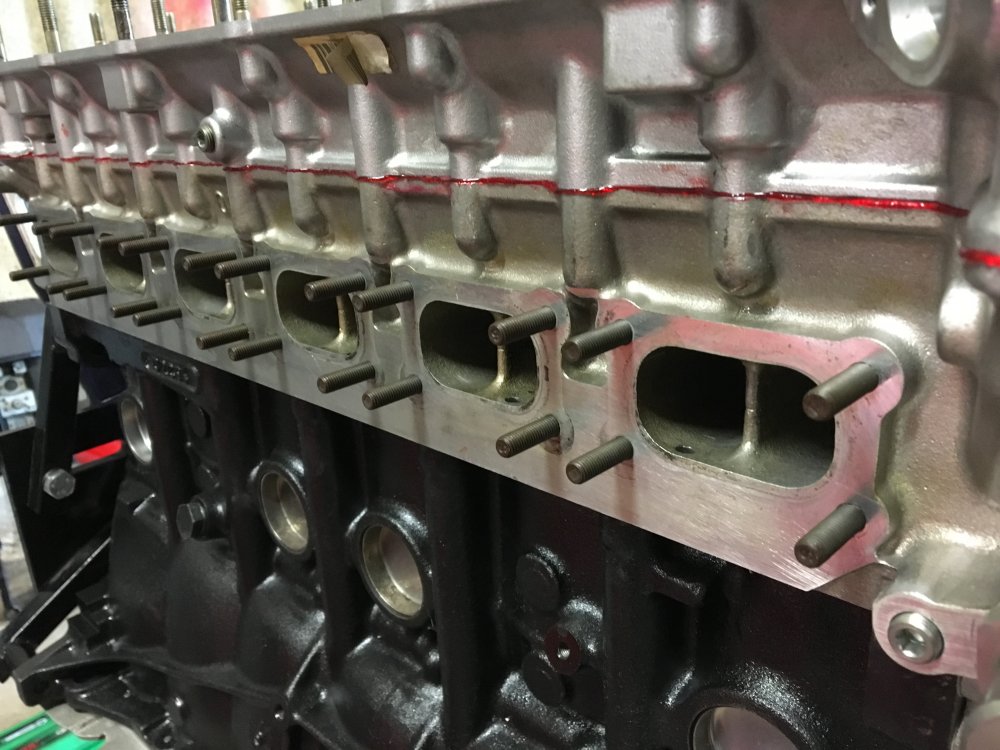
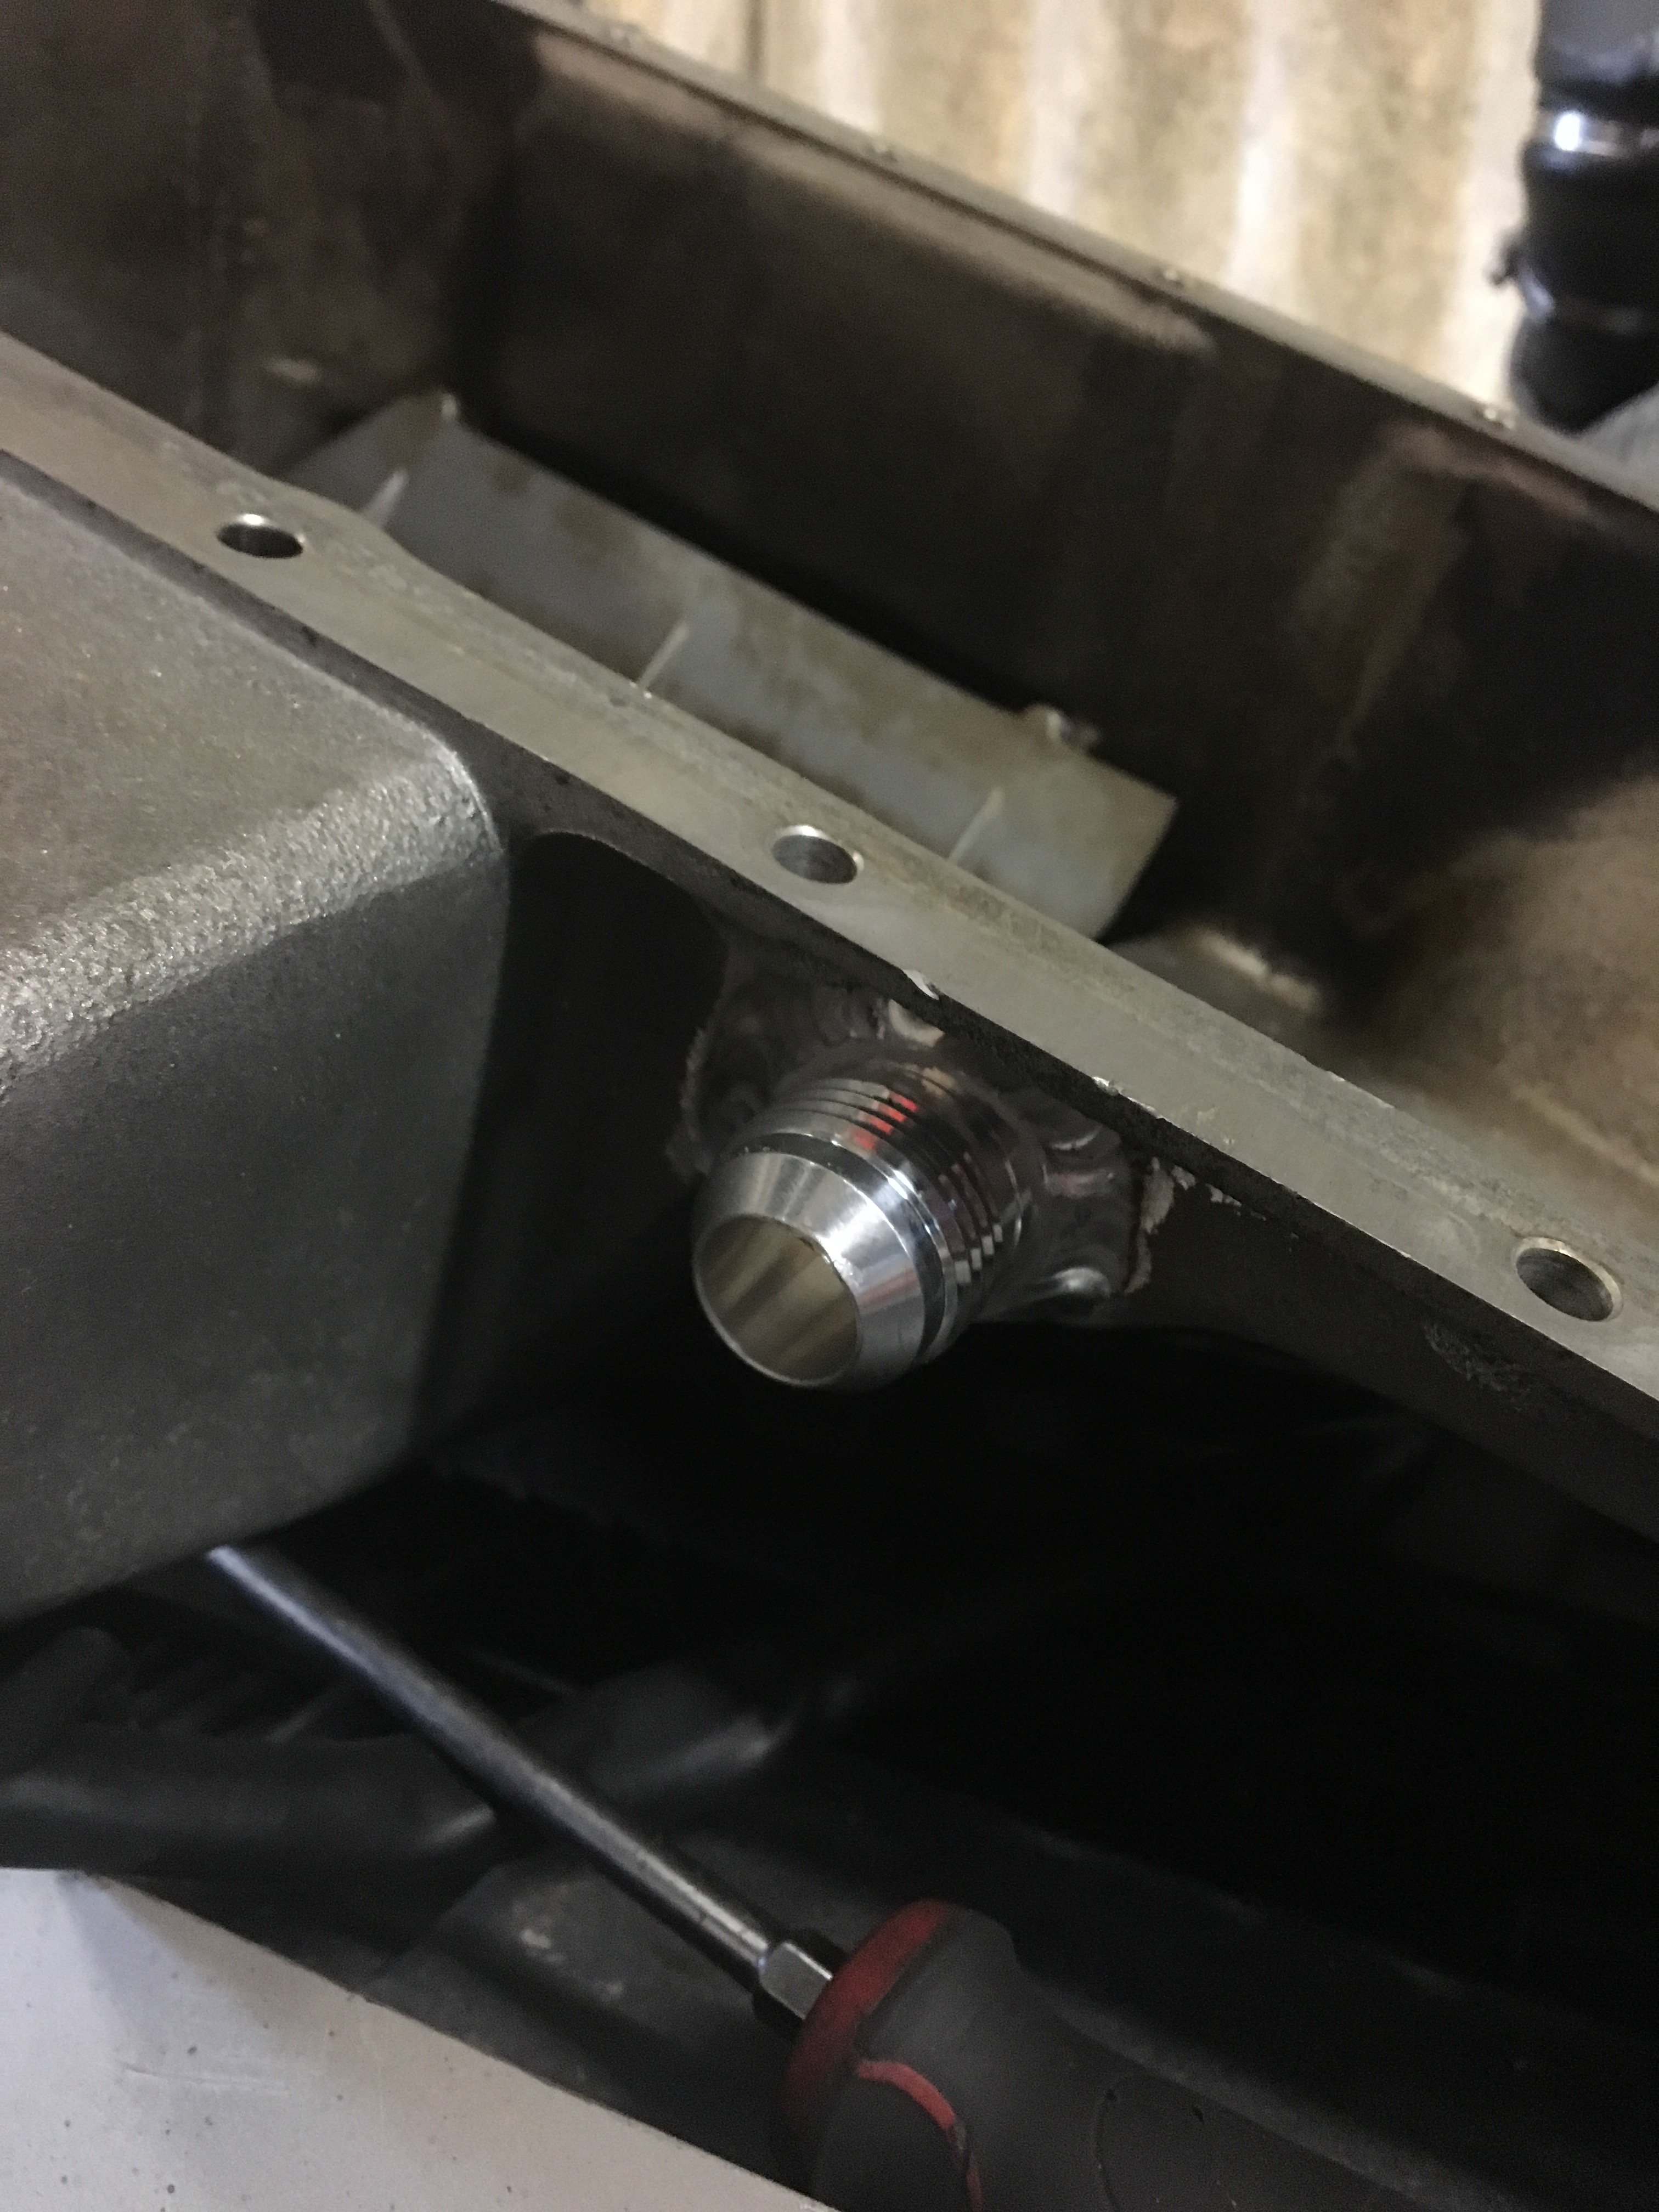
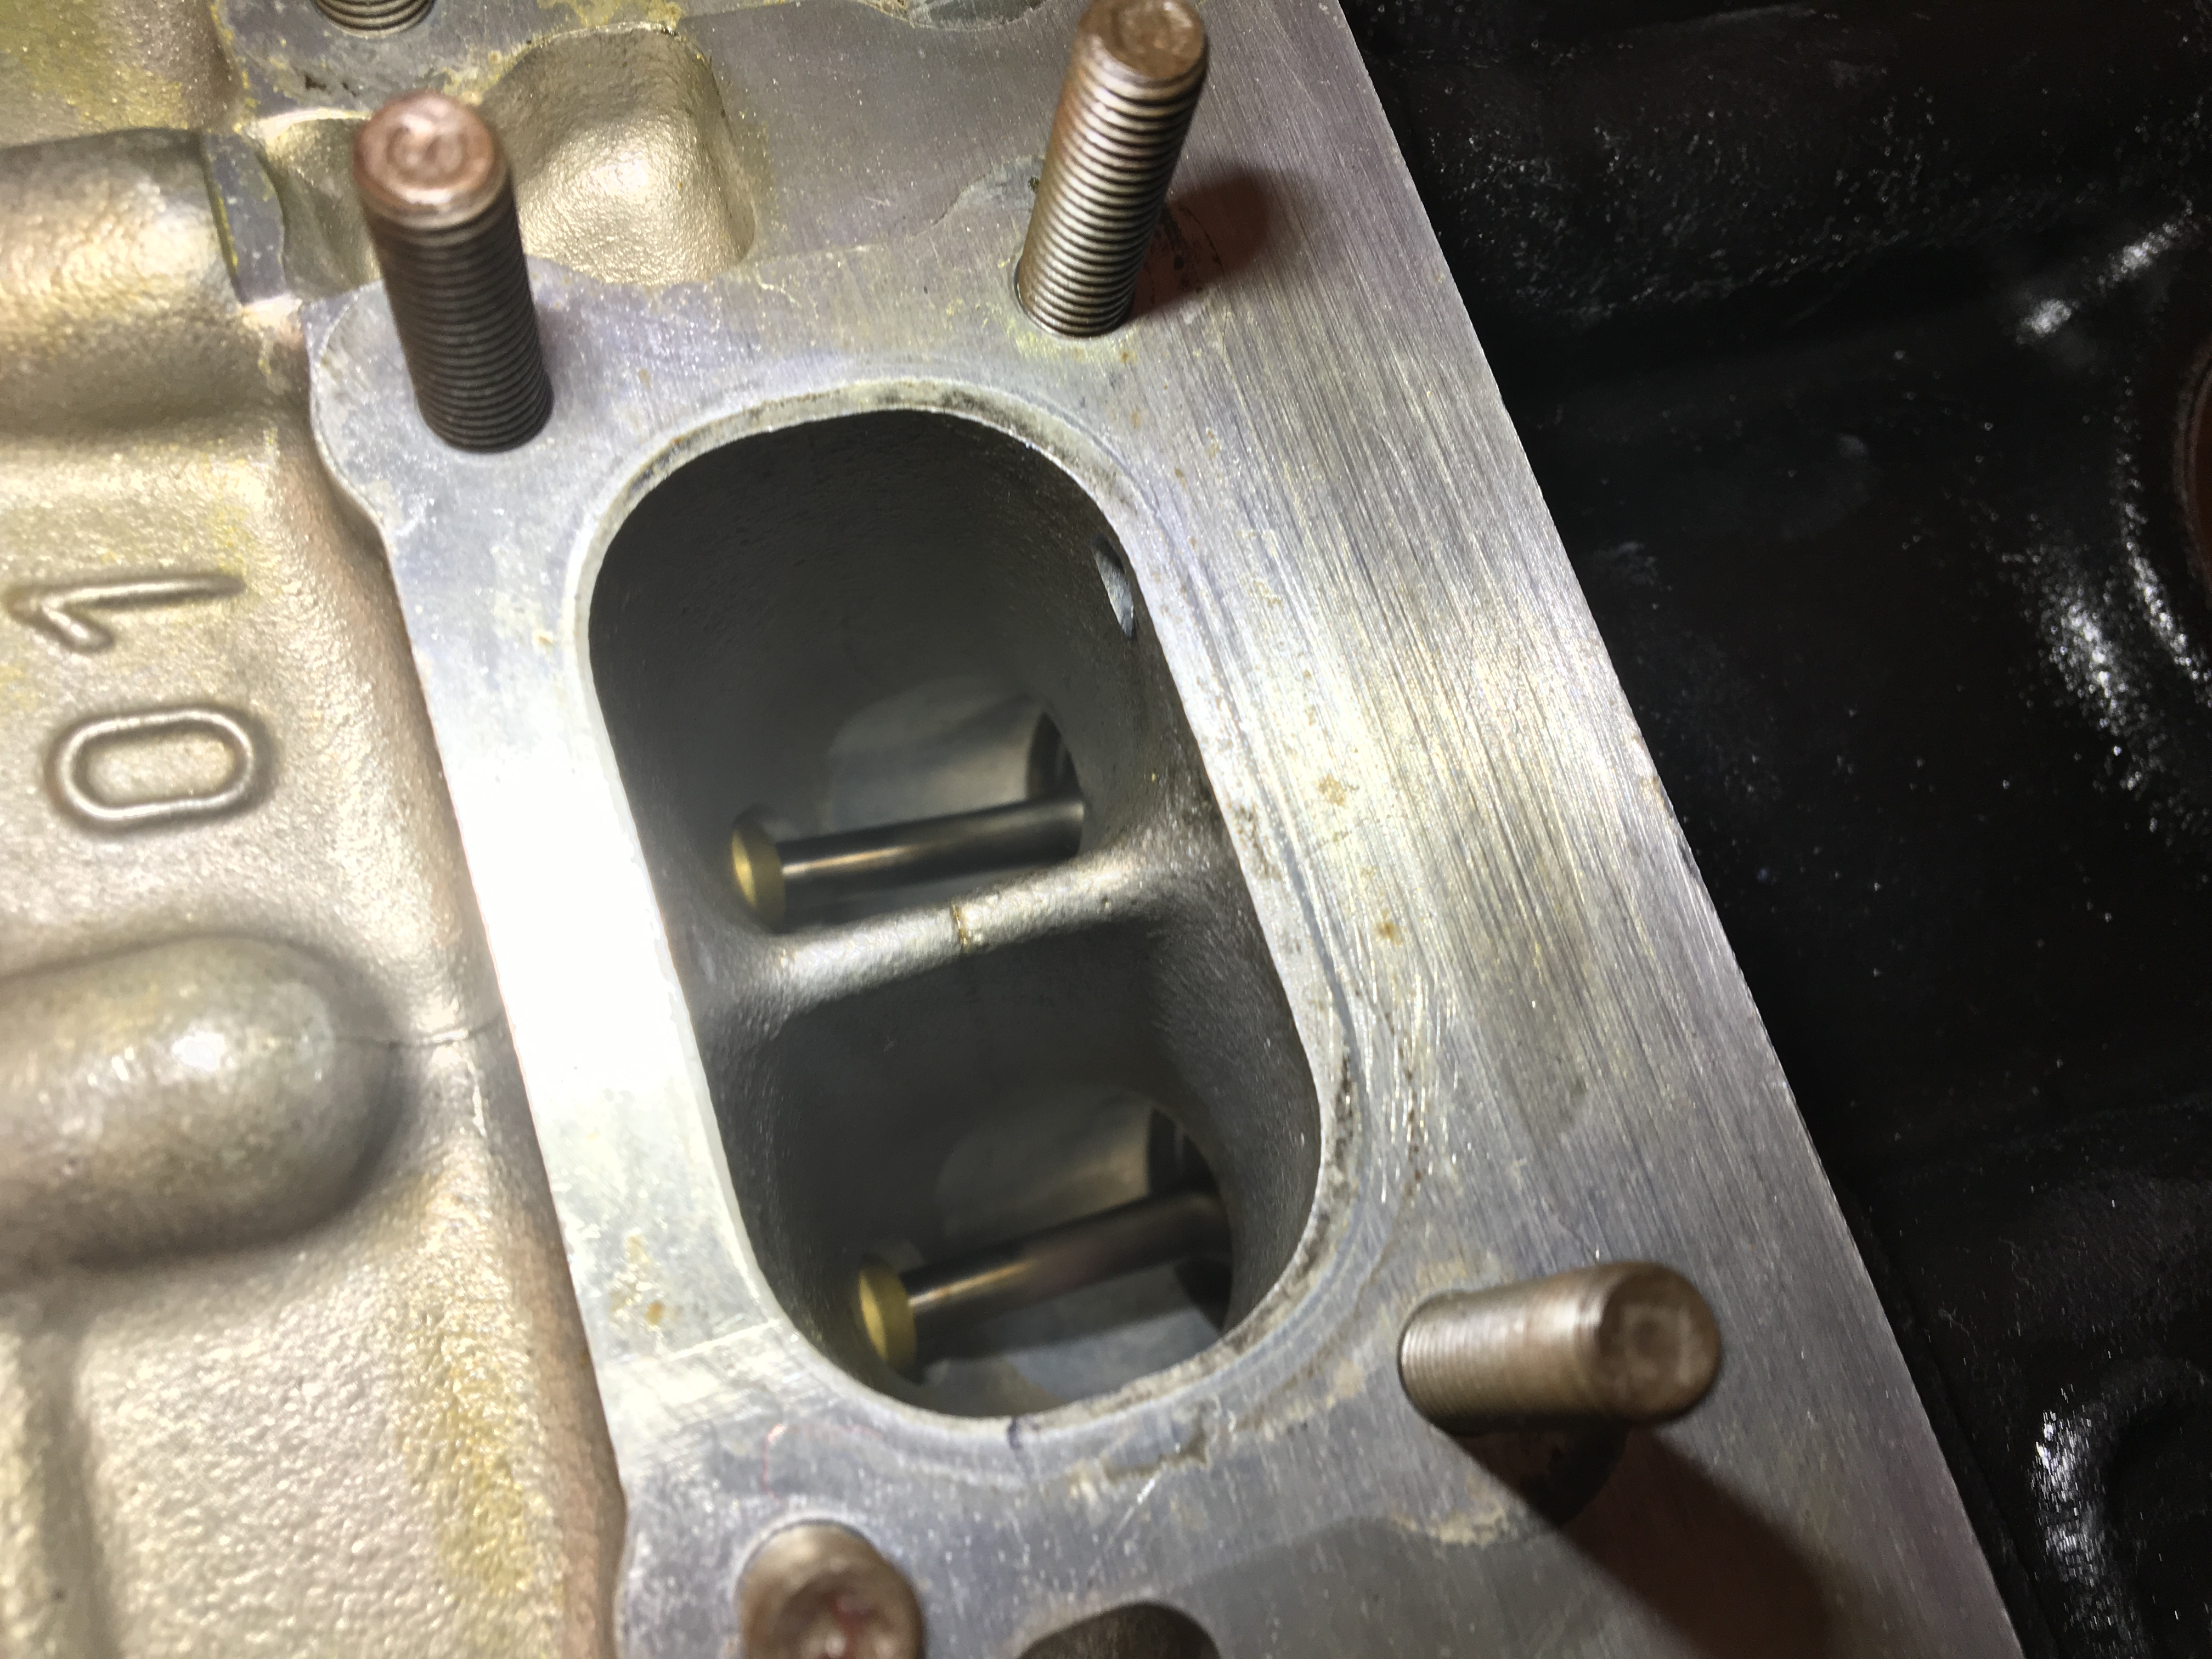
Ordered oil restrictor, should be here end of this week and all going well my triggers will be done, in the mean time I'm going to match my intake ports as the B32 head has 1mm bigger ports than the B30 head so there is a slight step up coming out of the itb's which I will die grind the spacers in between the two do this.
-
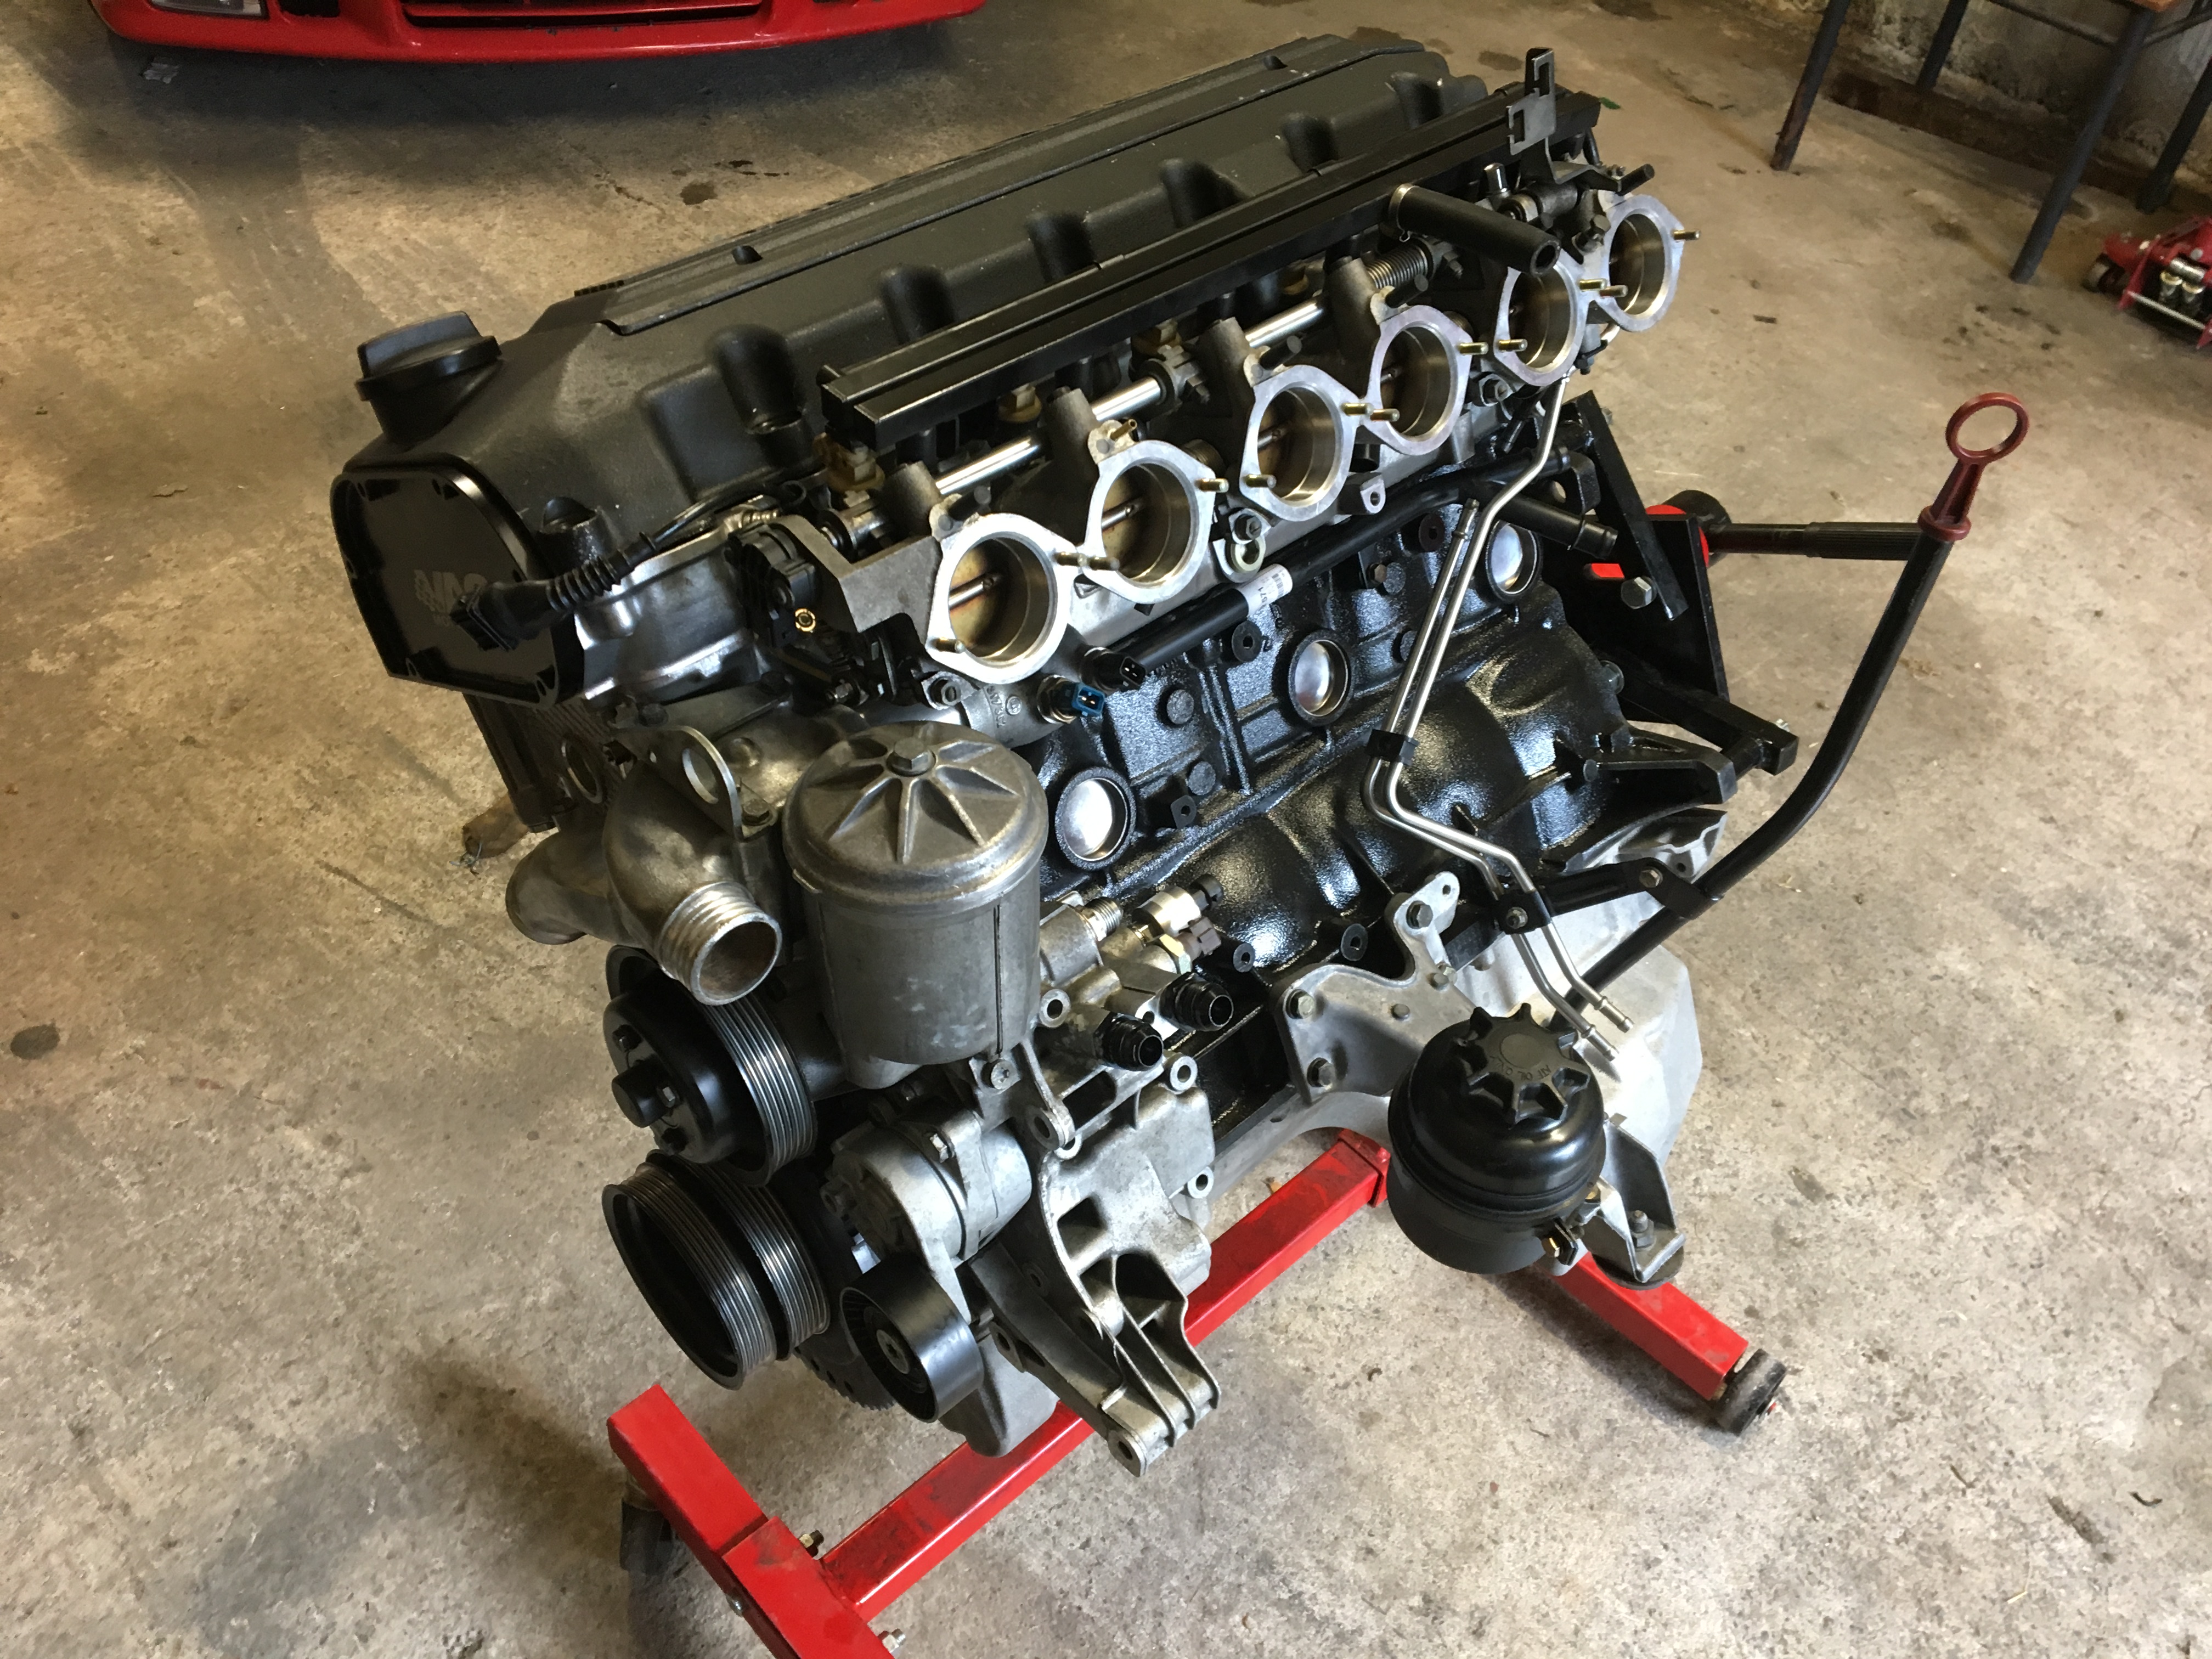
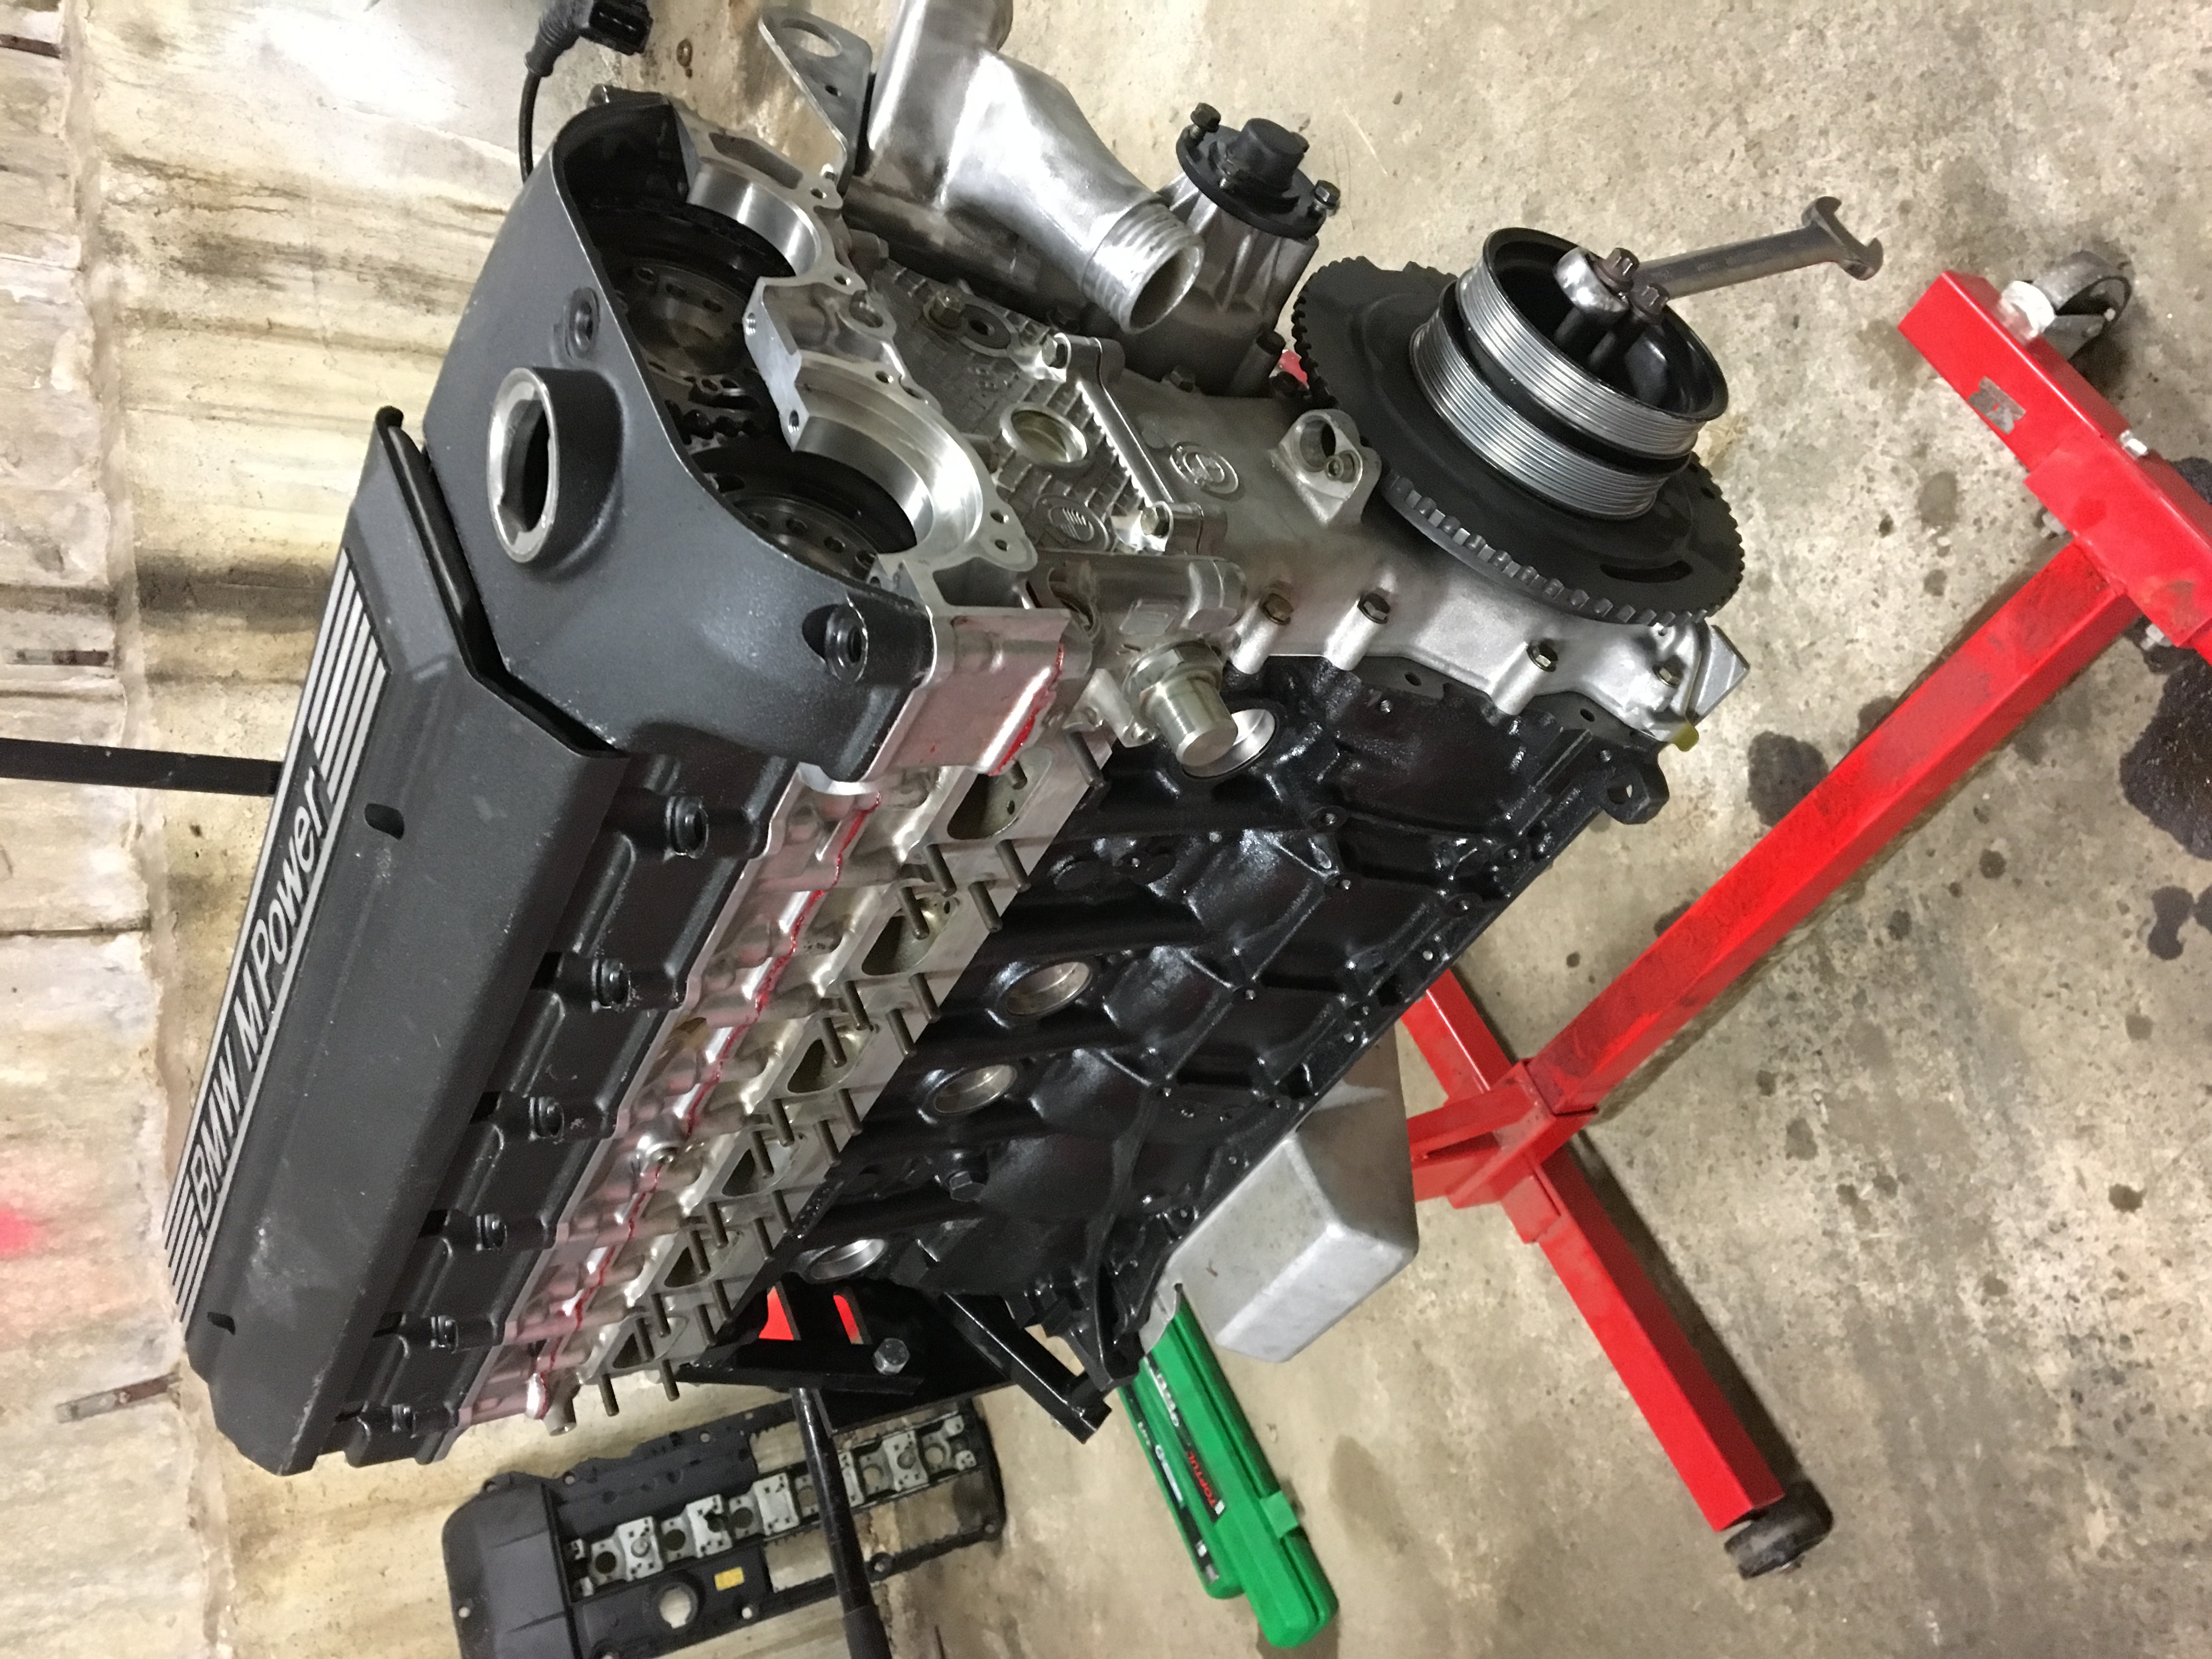
44 minutes ago, Michael. said:What motor is that, S50B3X?
S50B30 with a complete B32 head
")
-
1
-
-
1 hour ago, richard said:is that a Vanos delete
Yes they are at an engineering shop now, if someone wants some let me know soon...
-
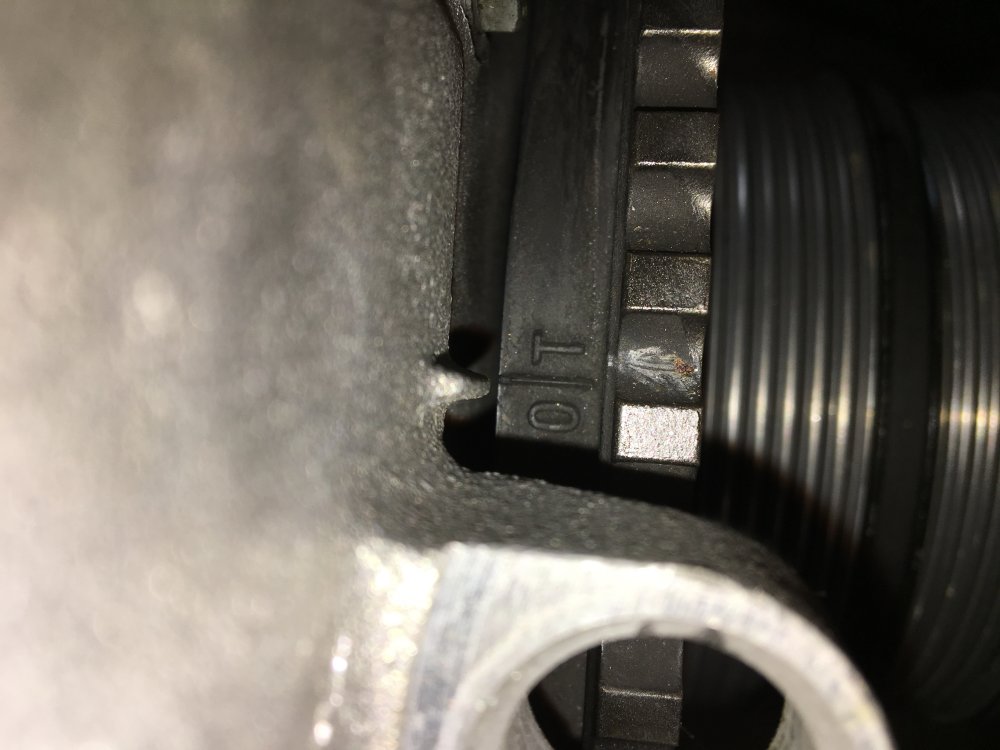
So today I worked ou how the trigger wheels will work and pretty confident it will.
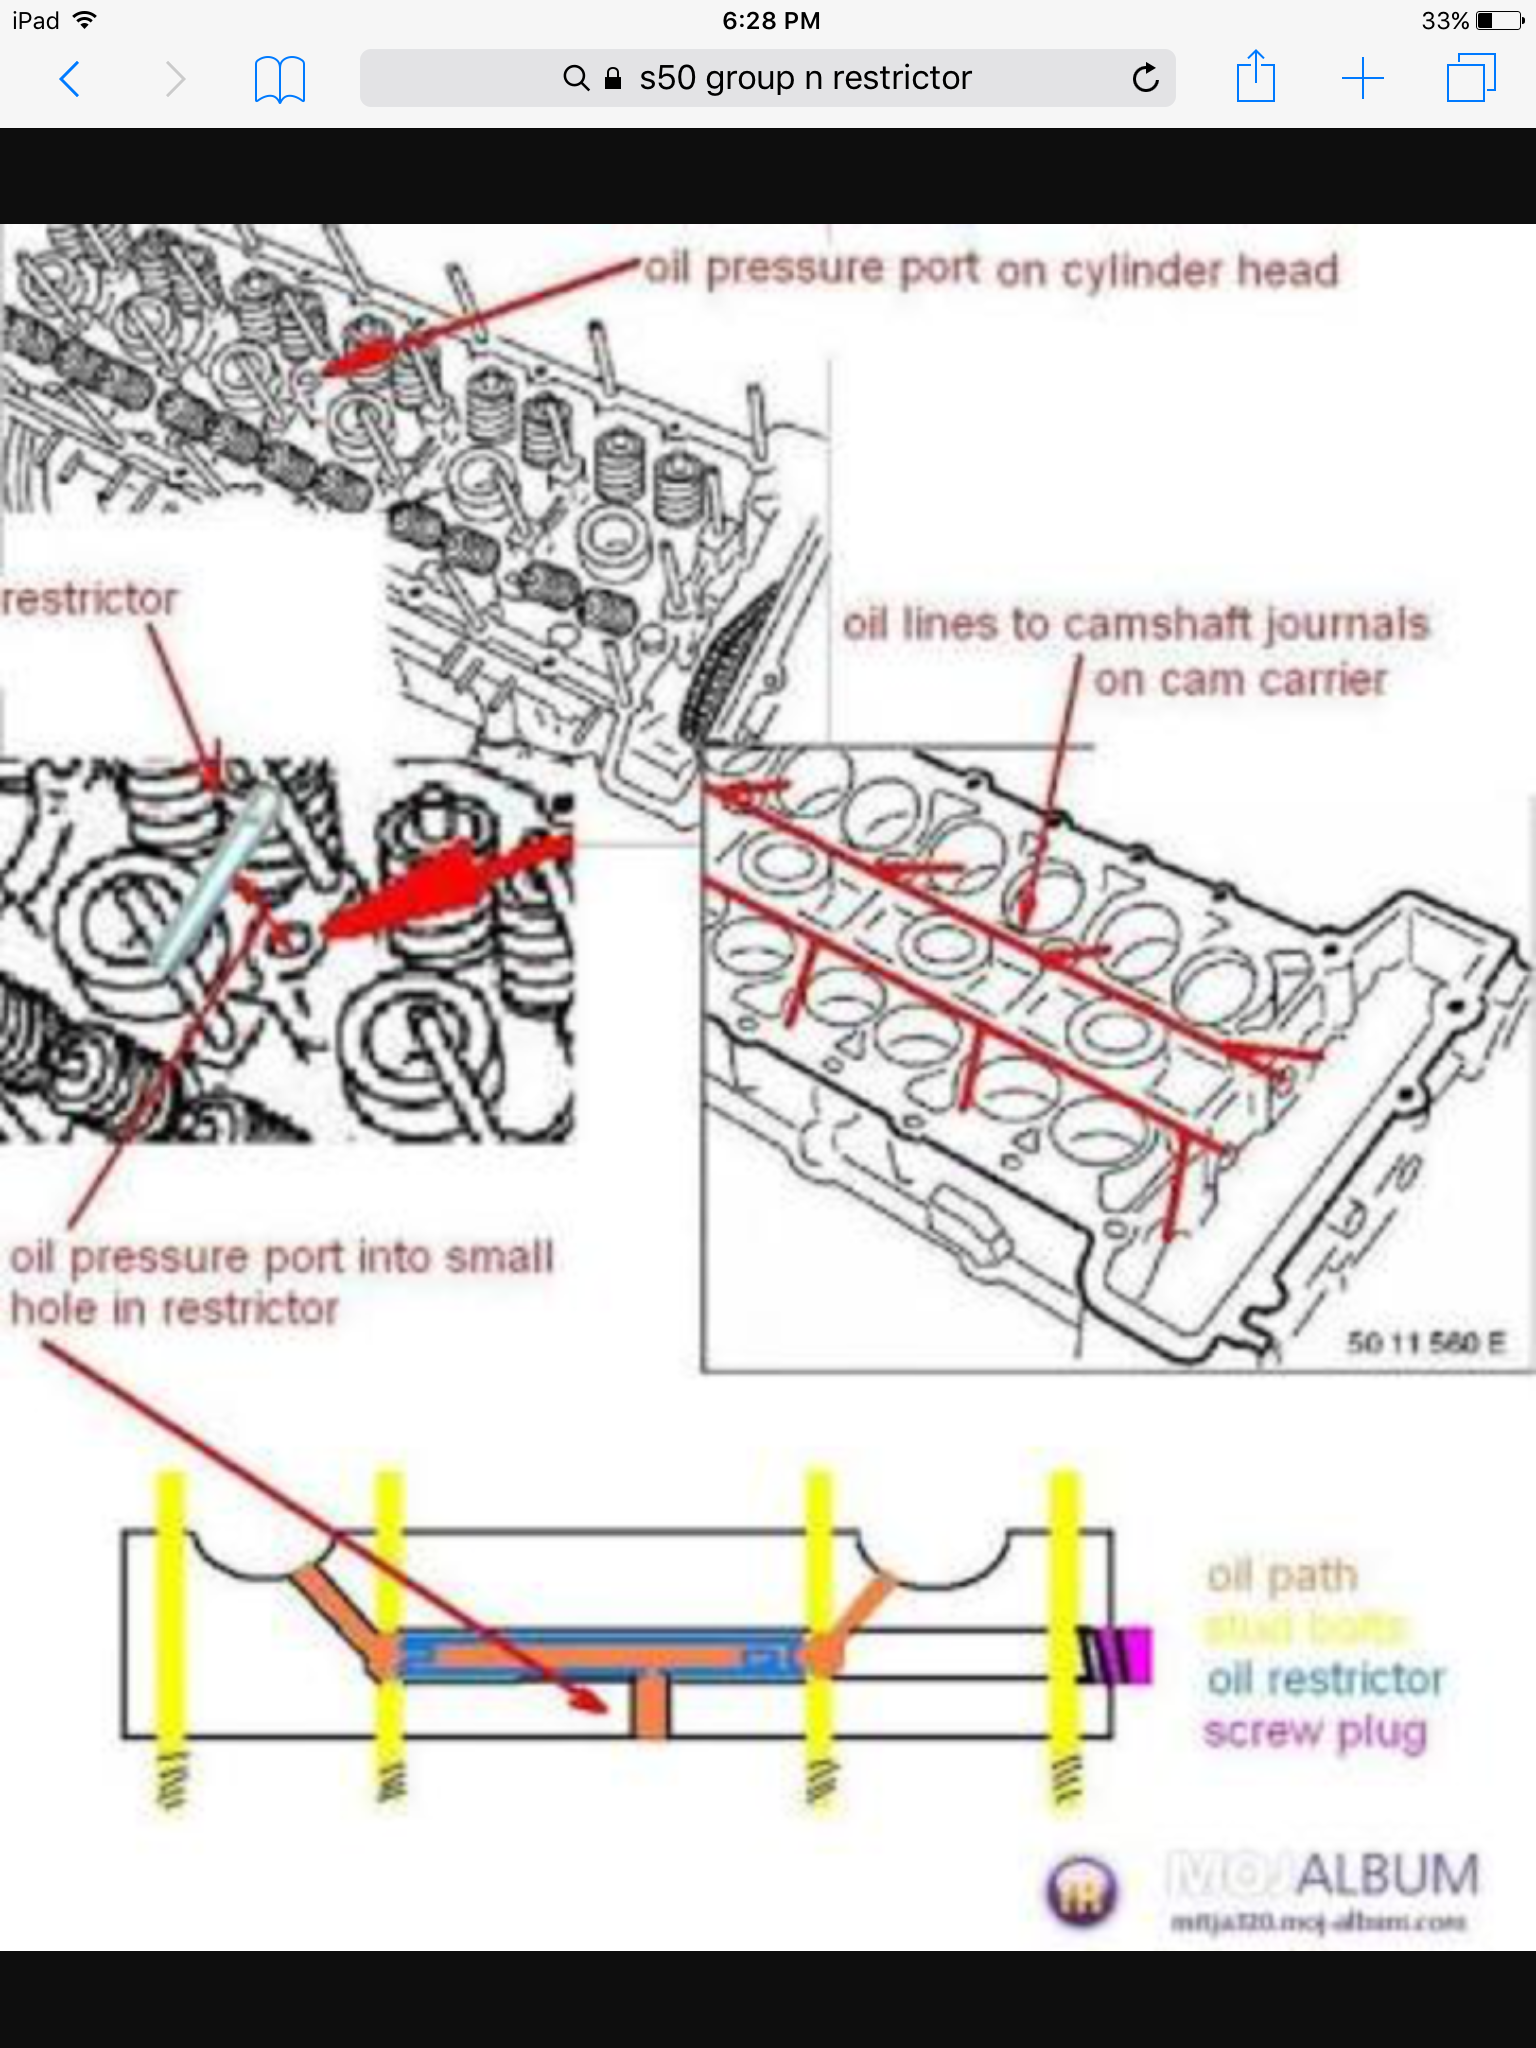
I have a question, where can I get a oil cooler thermostat for my filter housing???
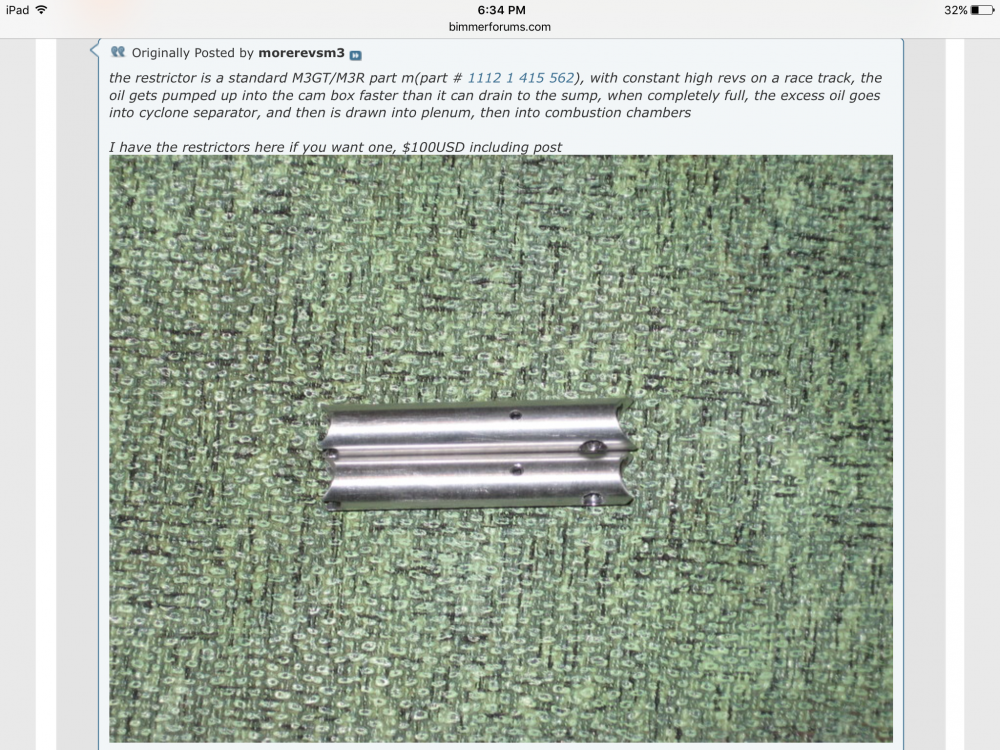
Does anyone have any group n oil restricters for s50 engines??


-
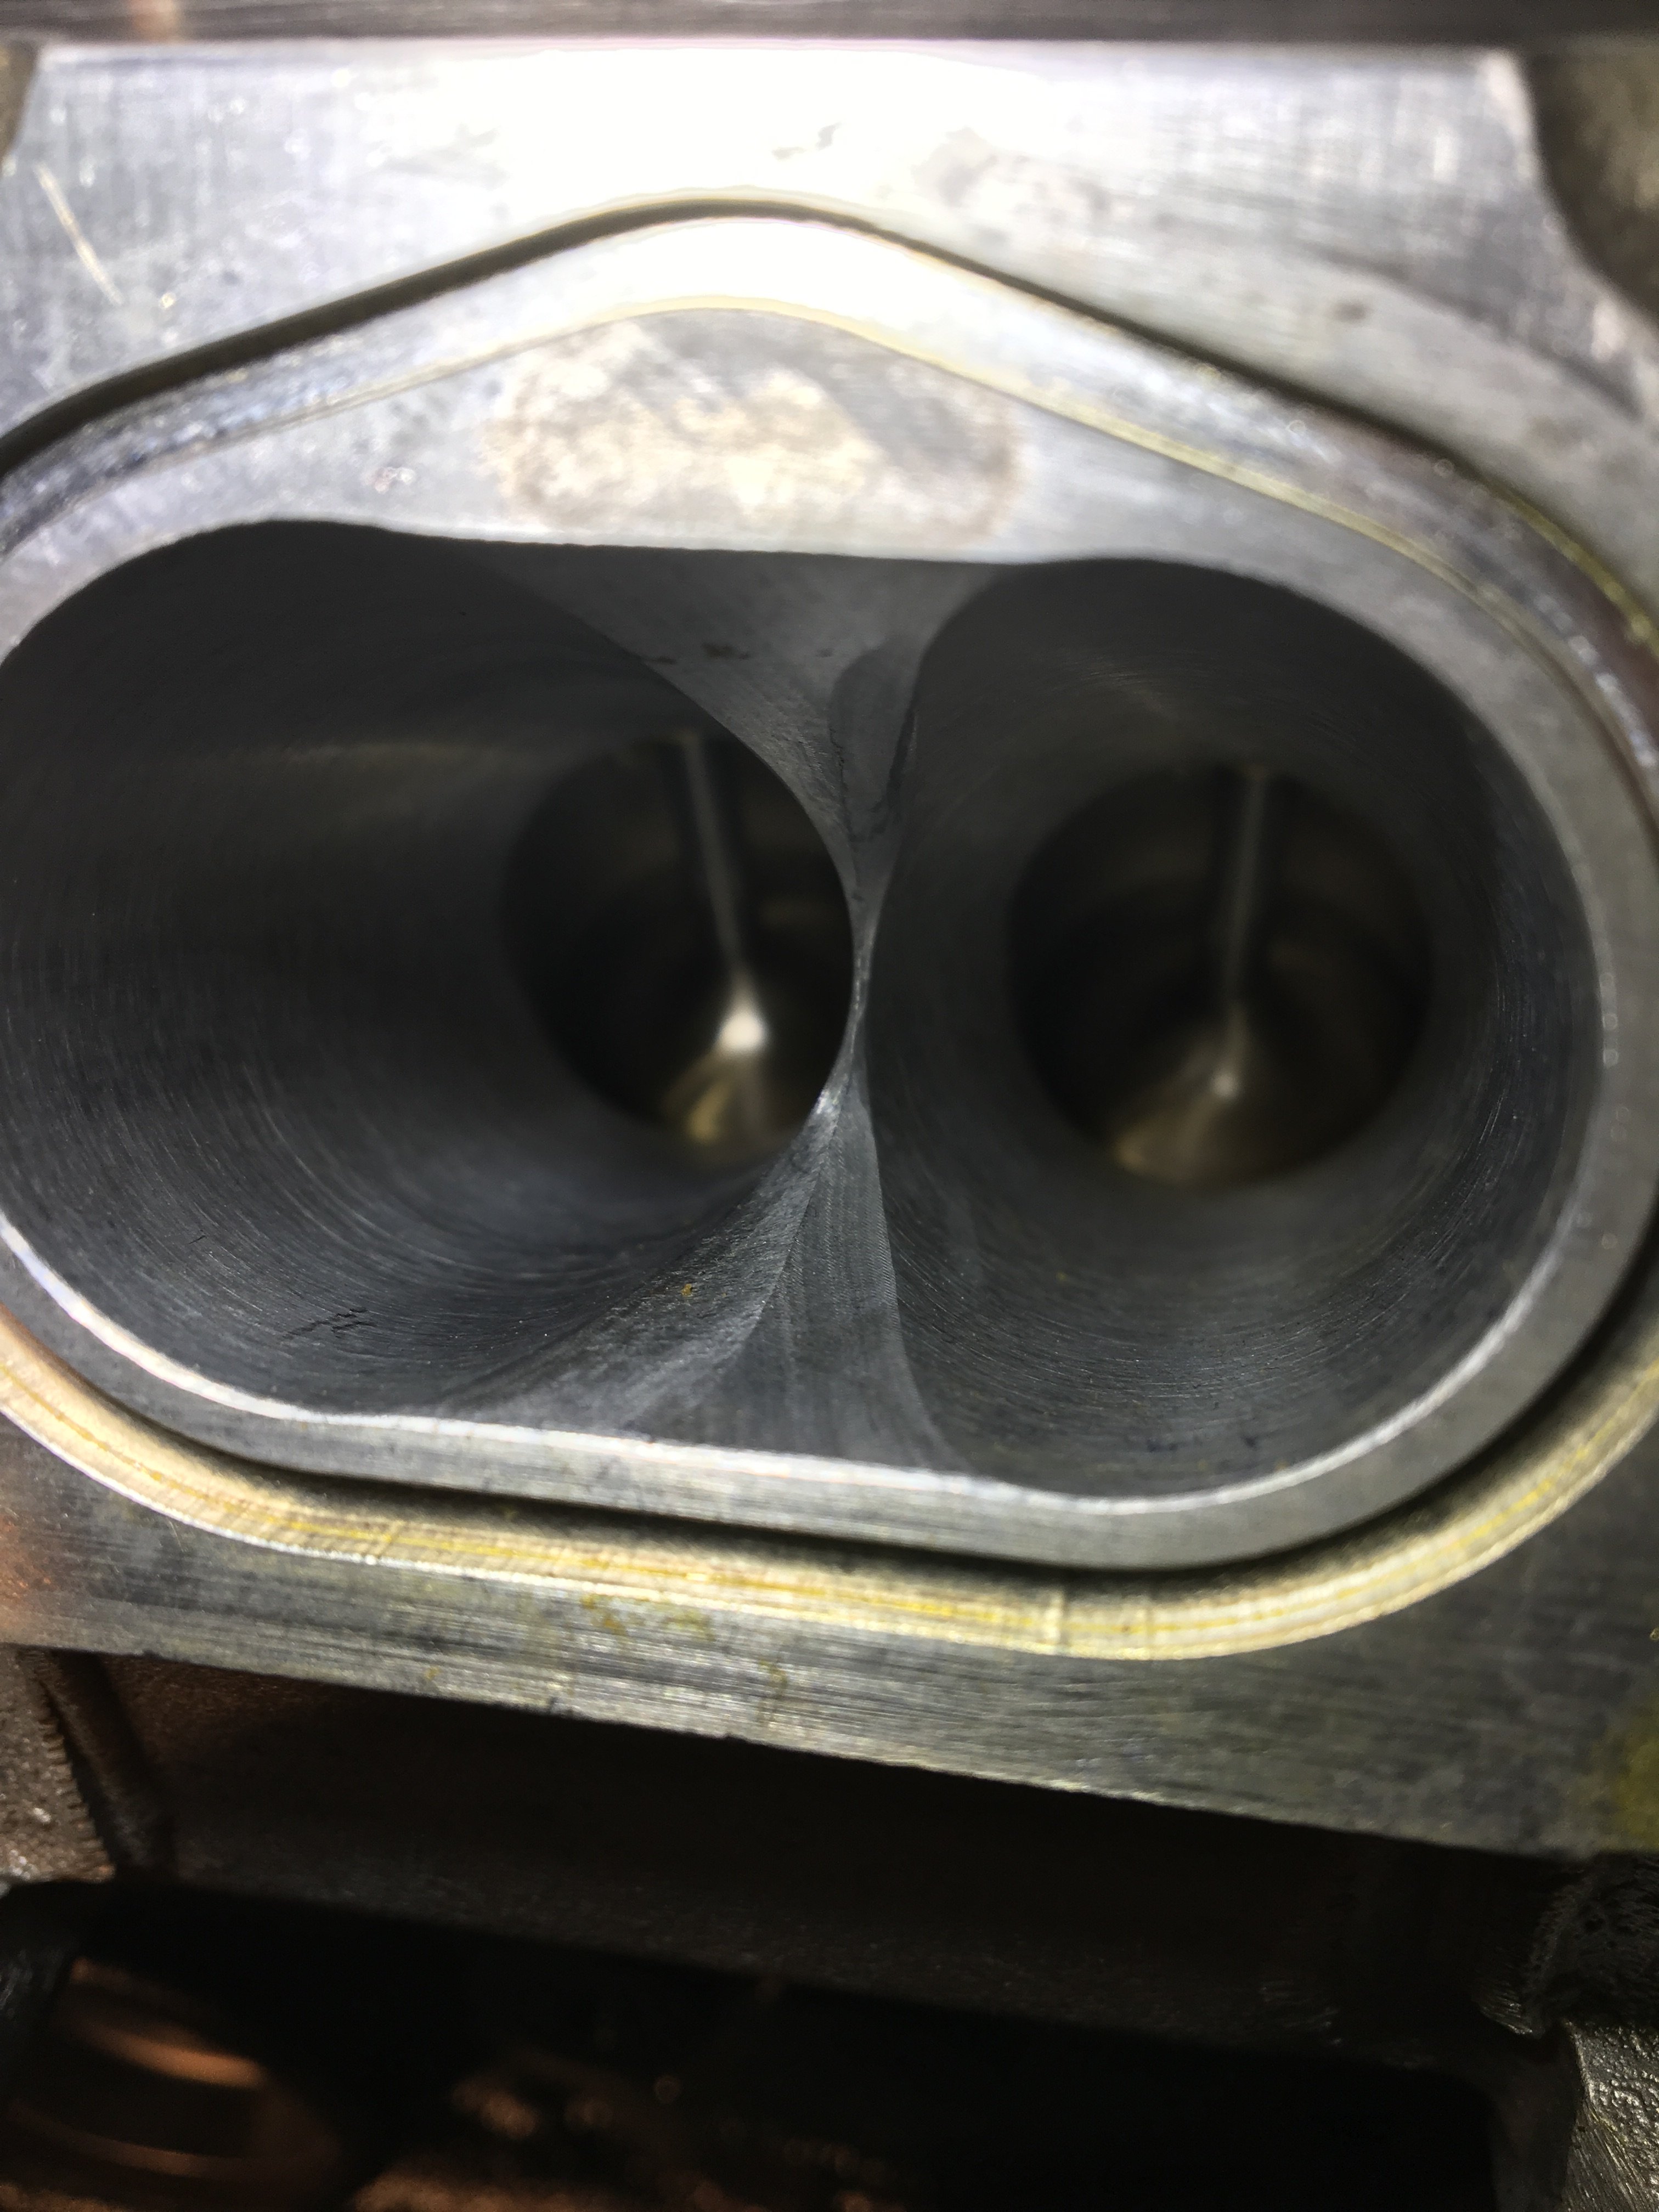
2 hours ago, zero said:Have those intake ports been ported and polished or are they stock?
Stock ports I believe
-
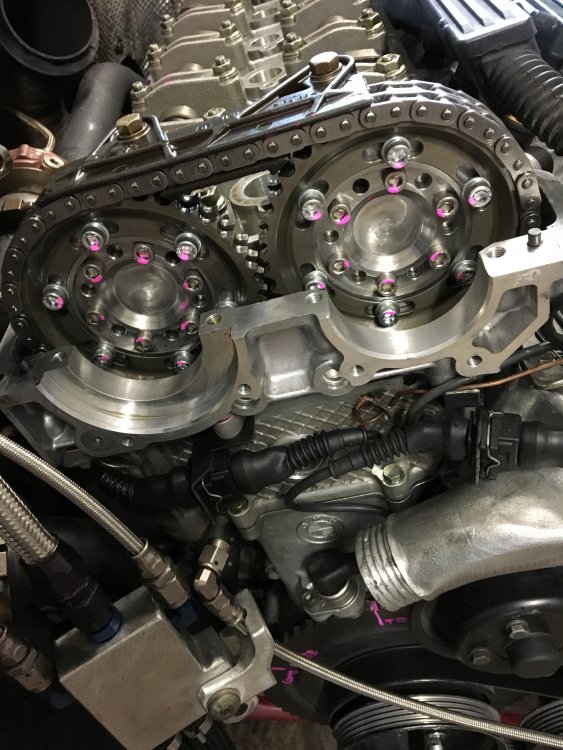
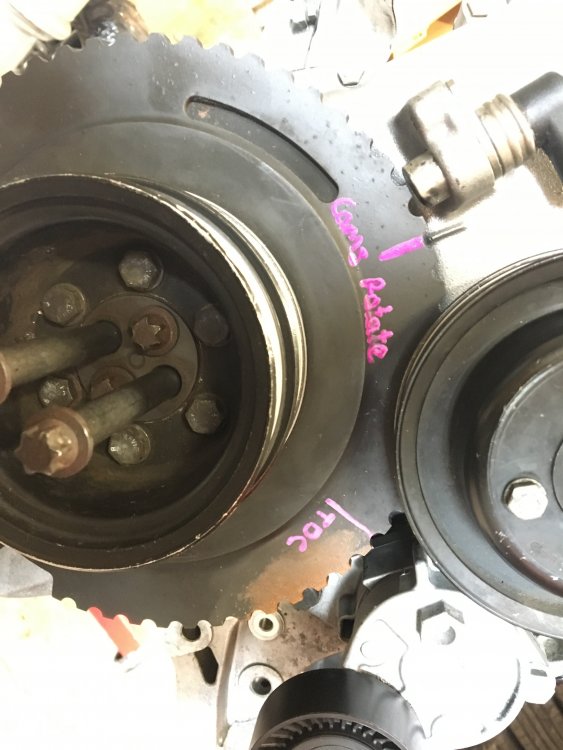
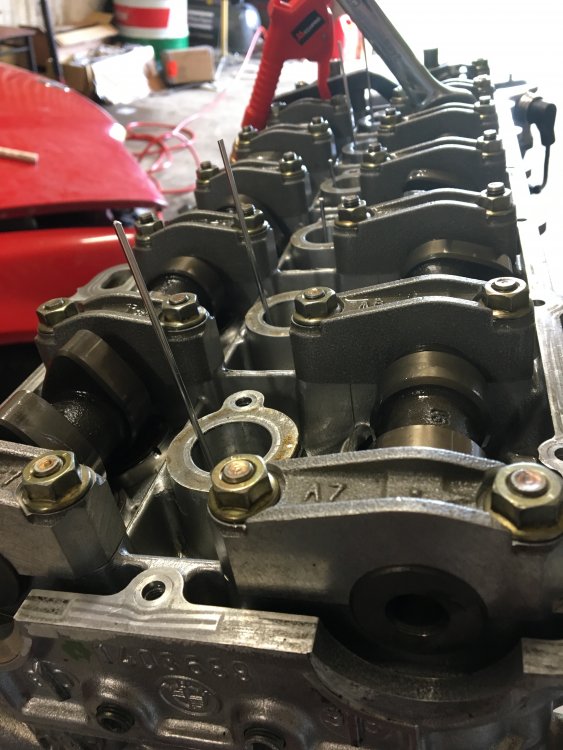
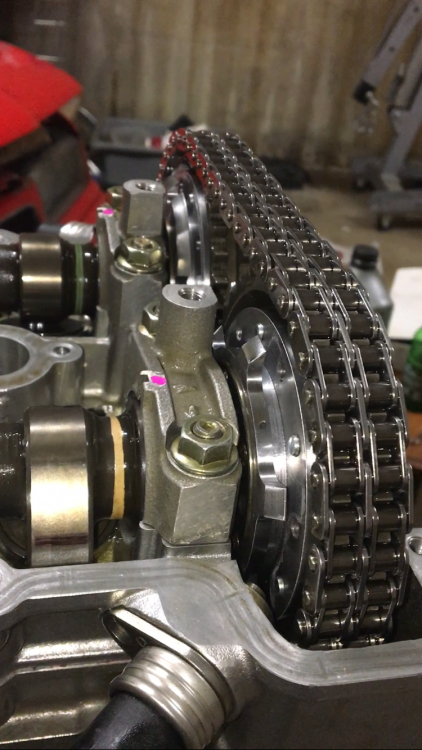
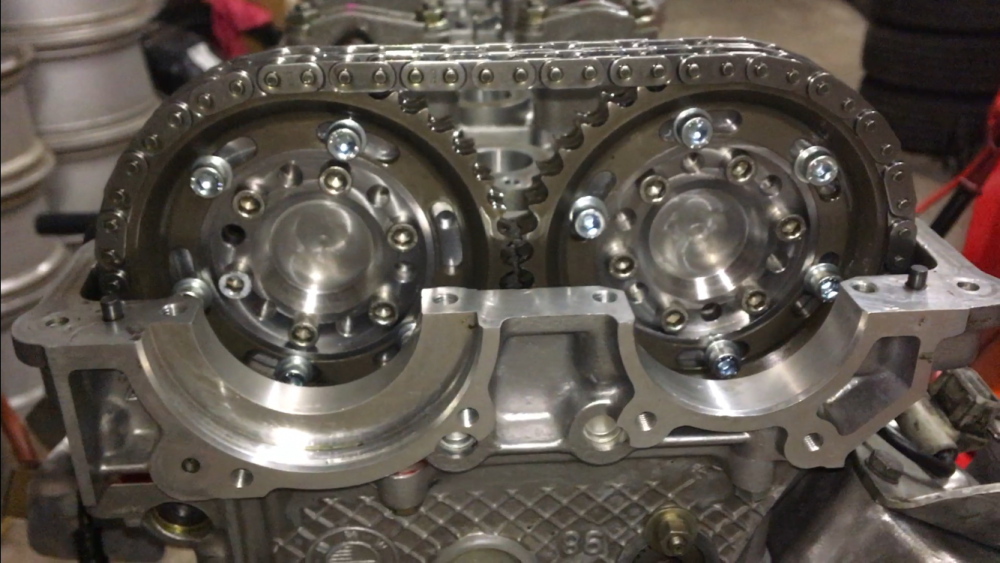
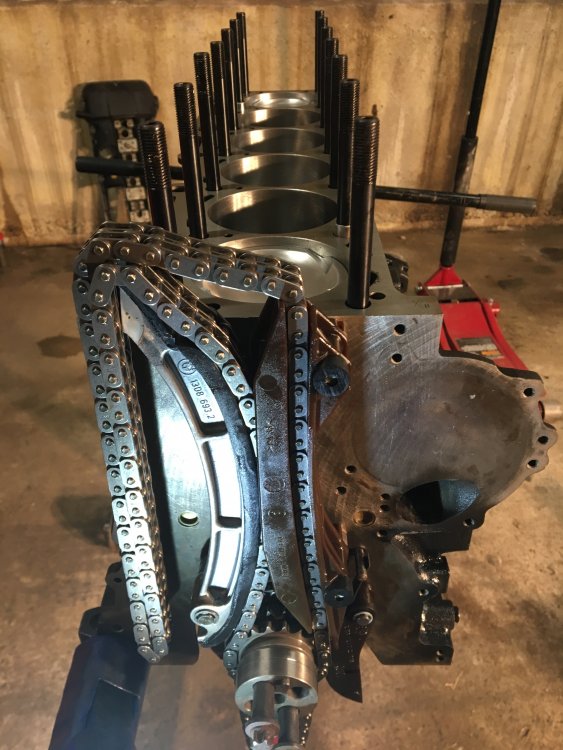
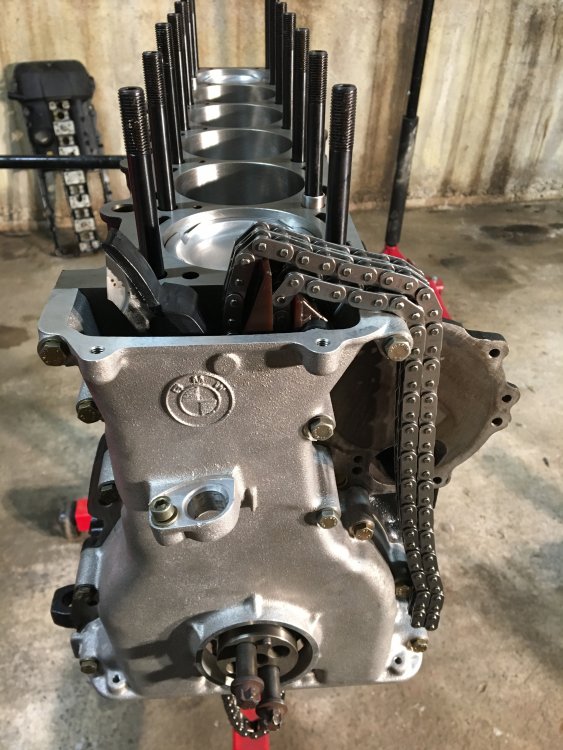
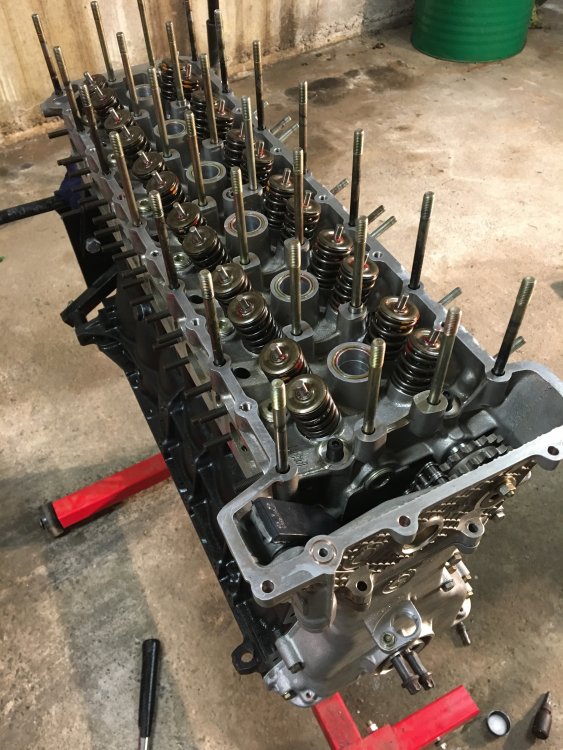
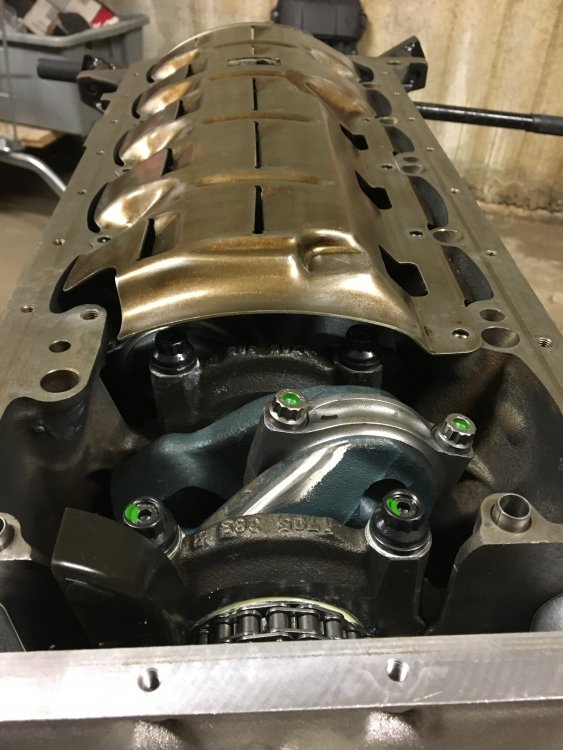
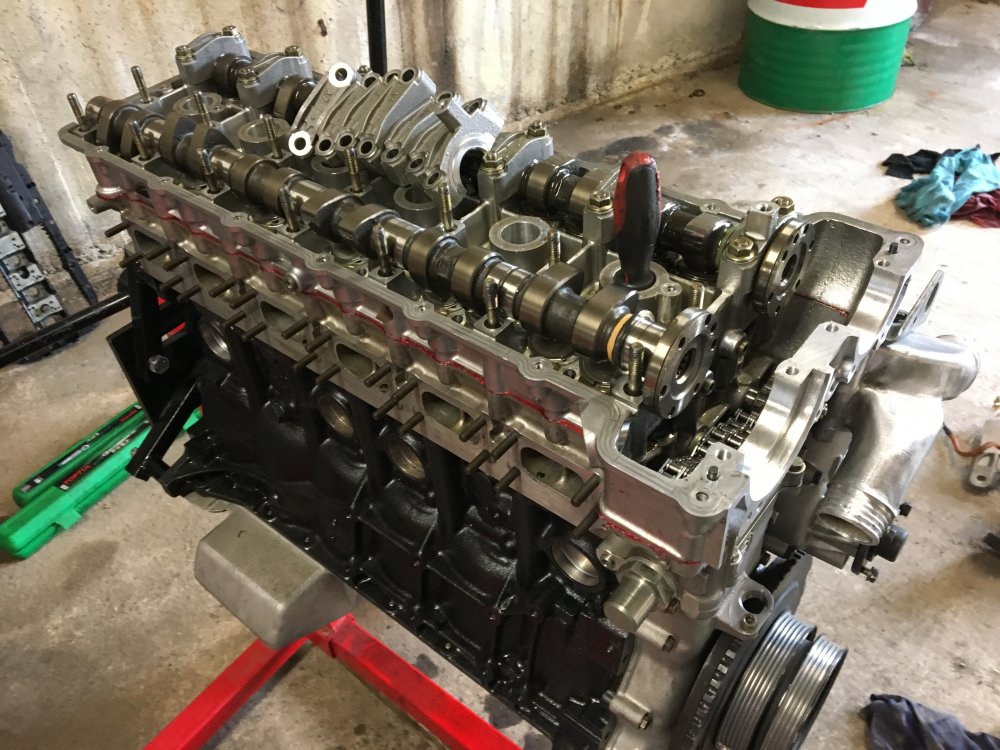
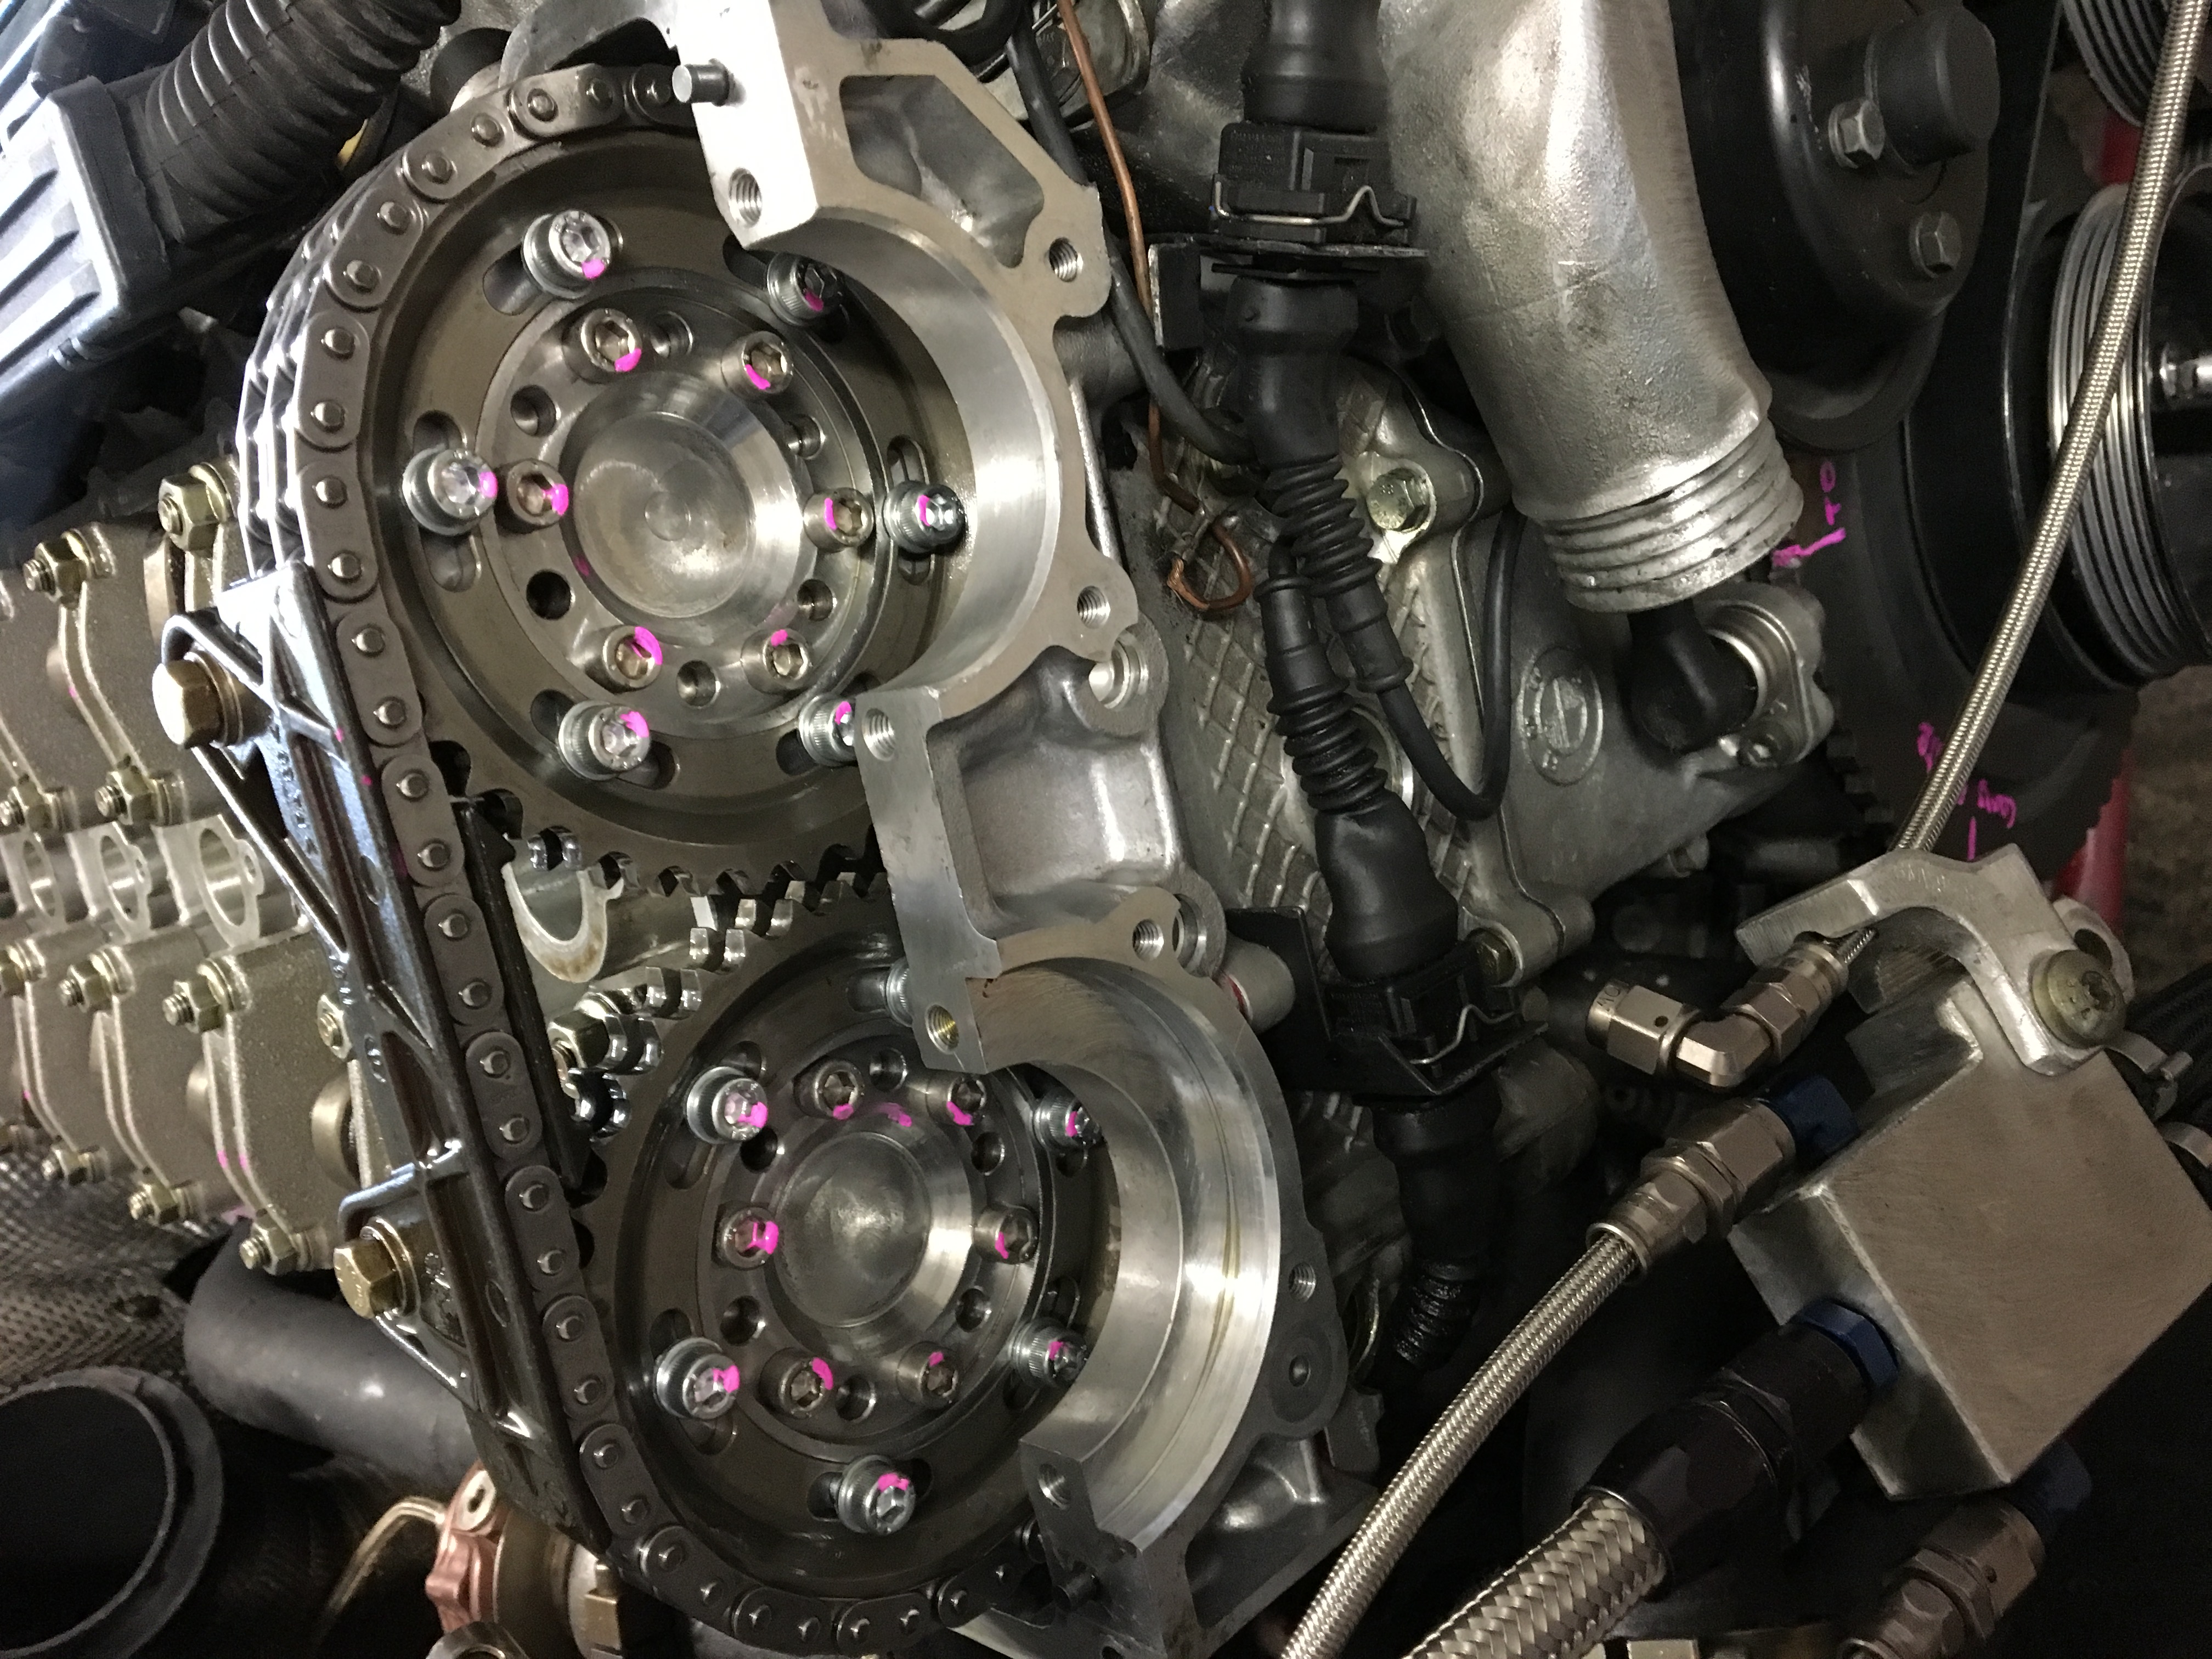
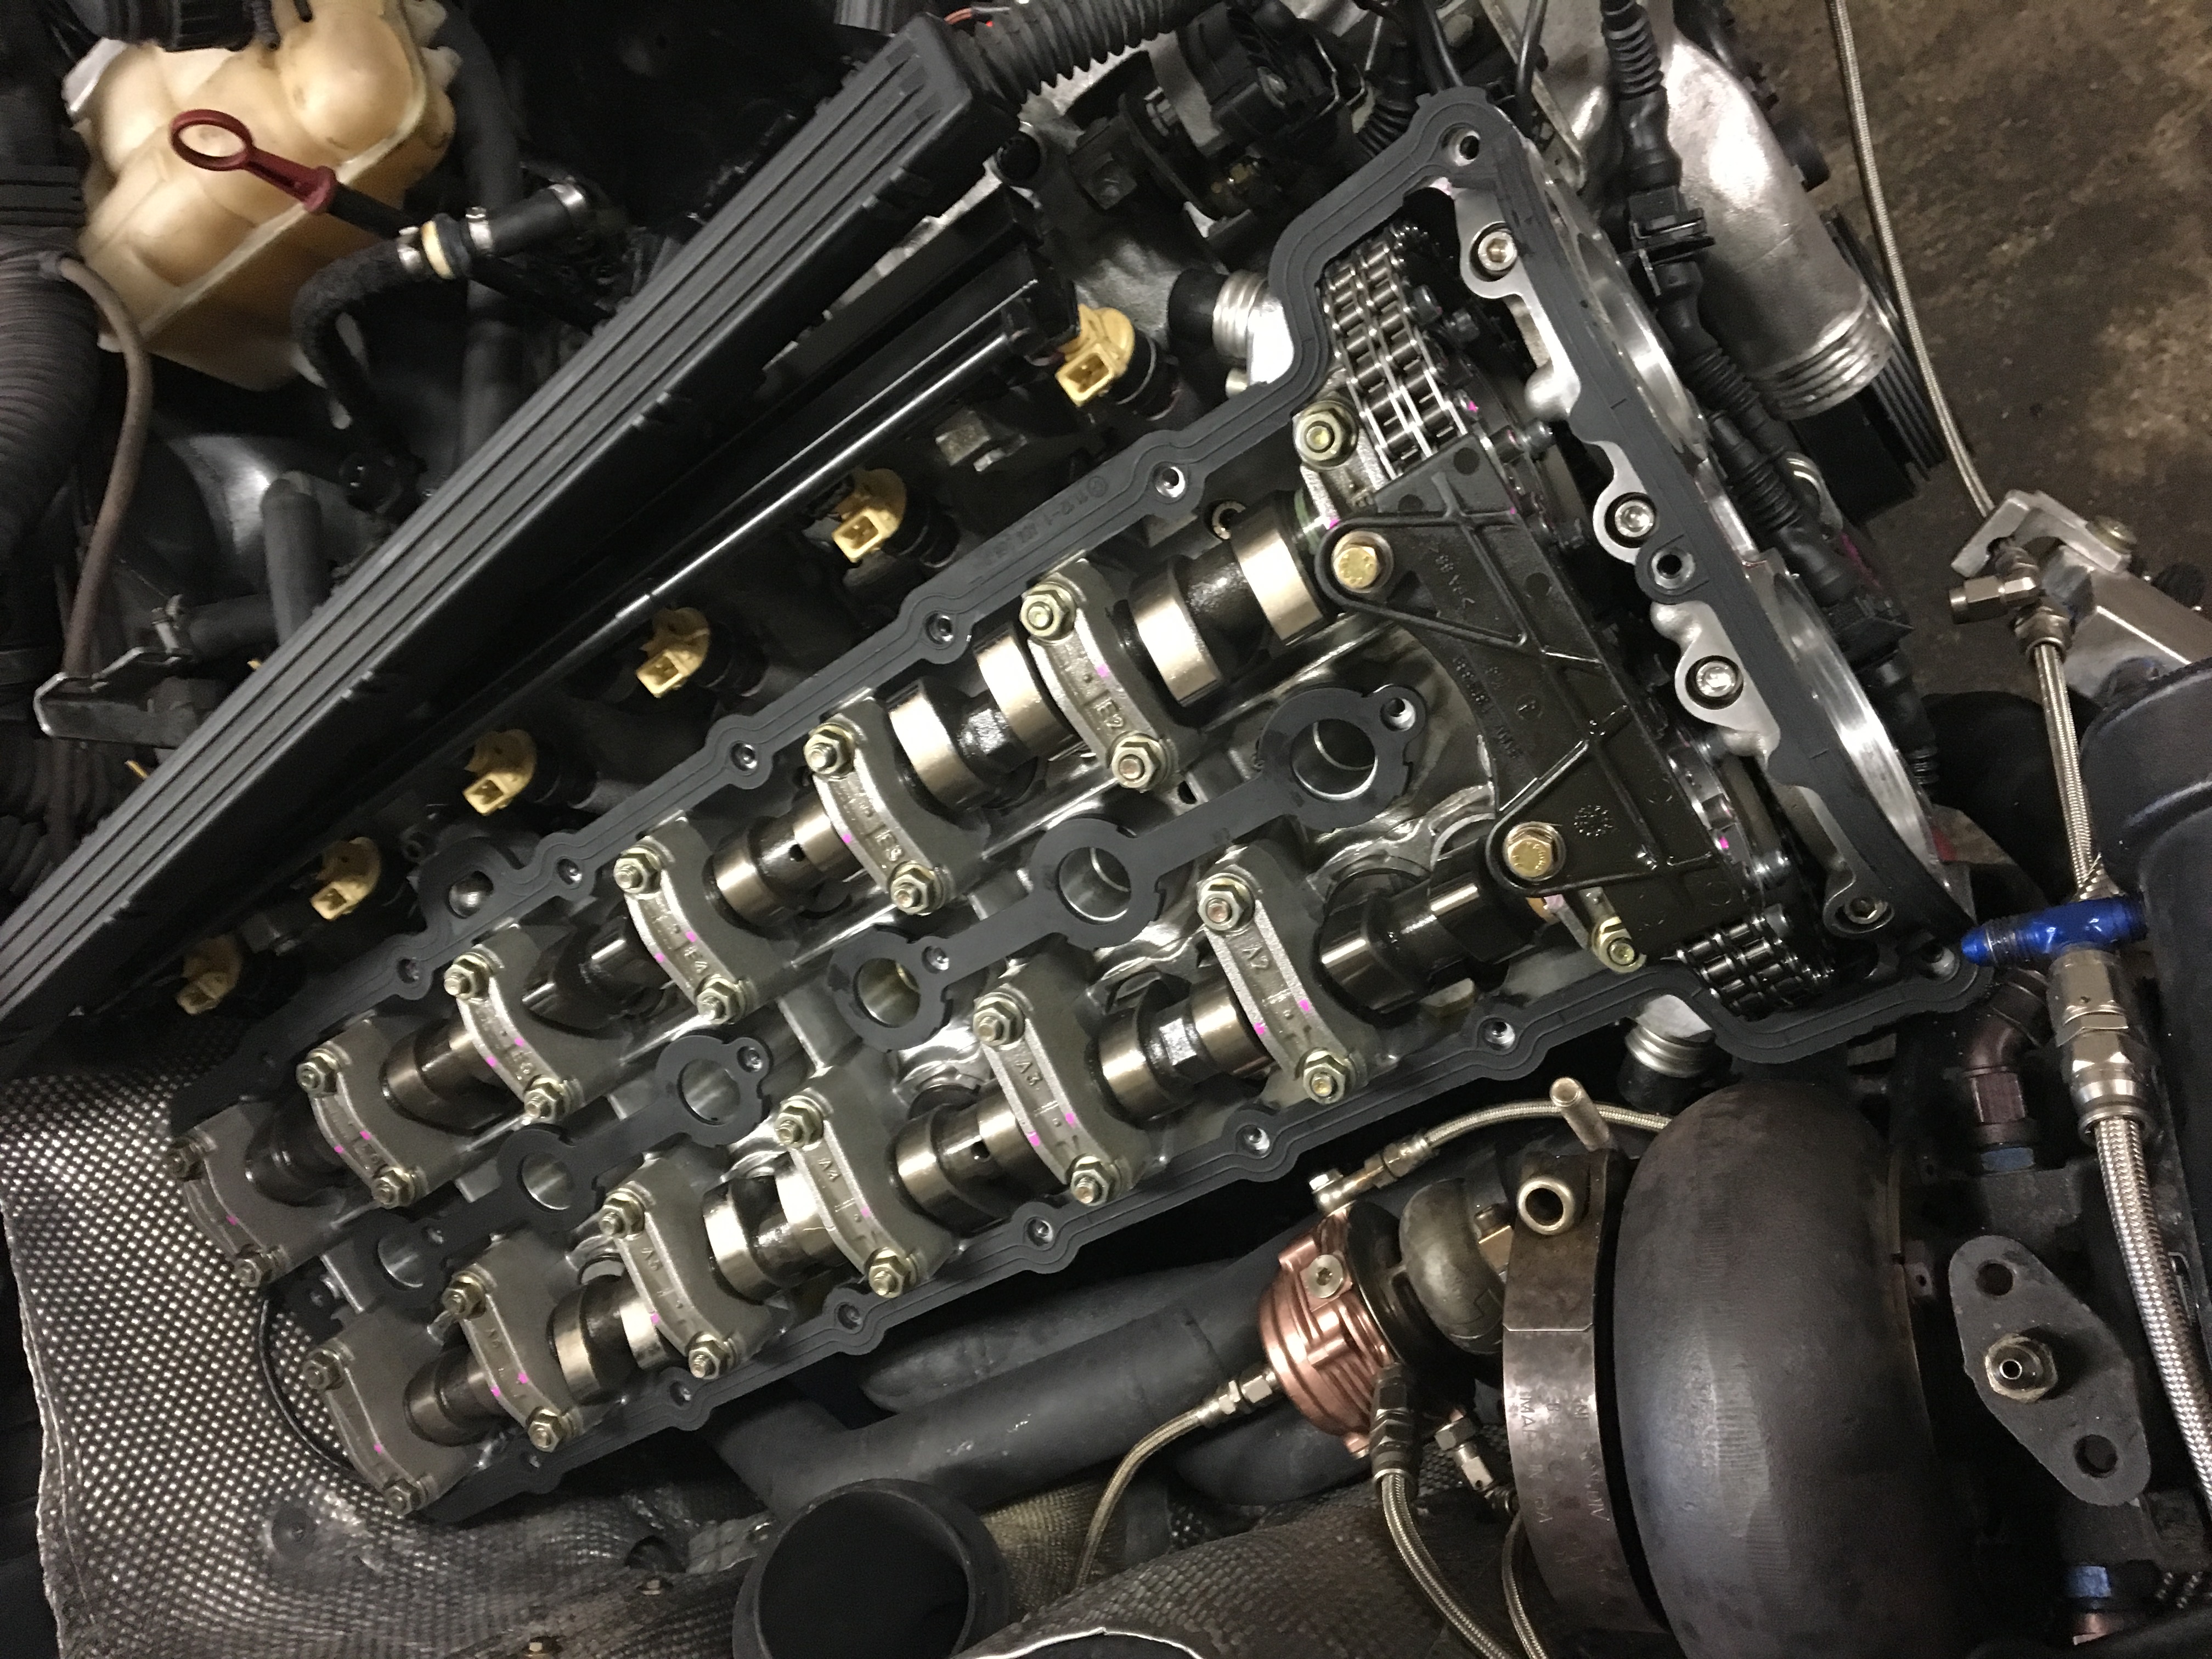
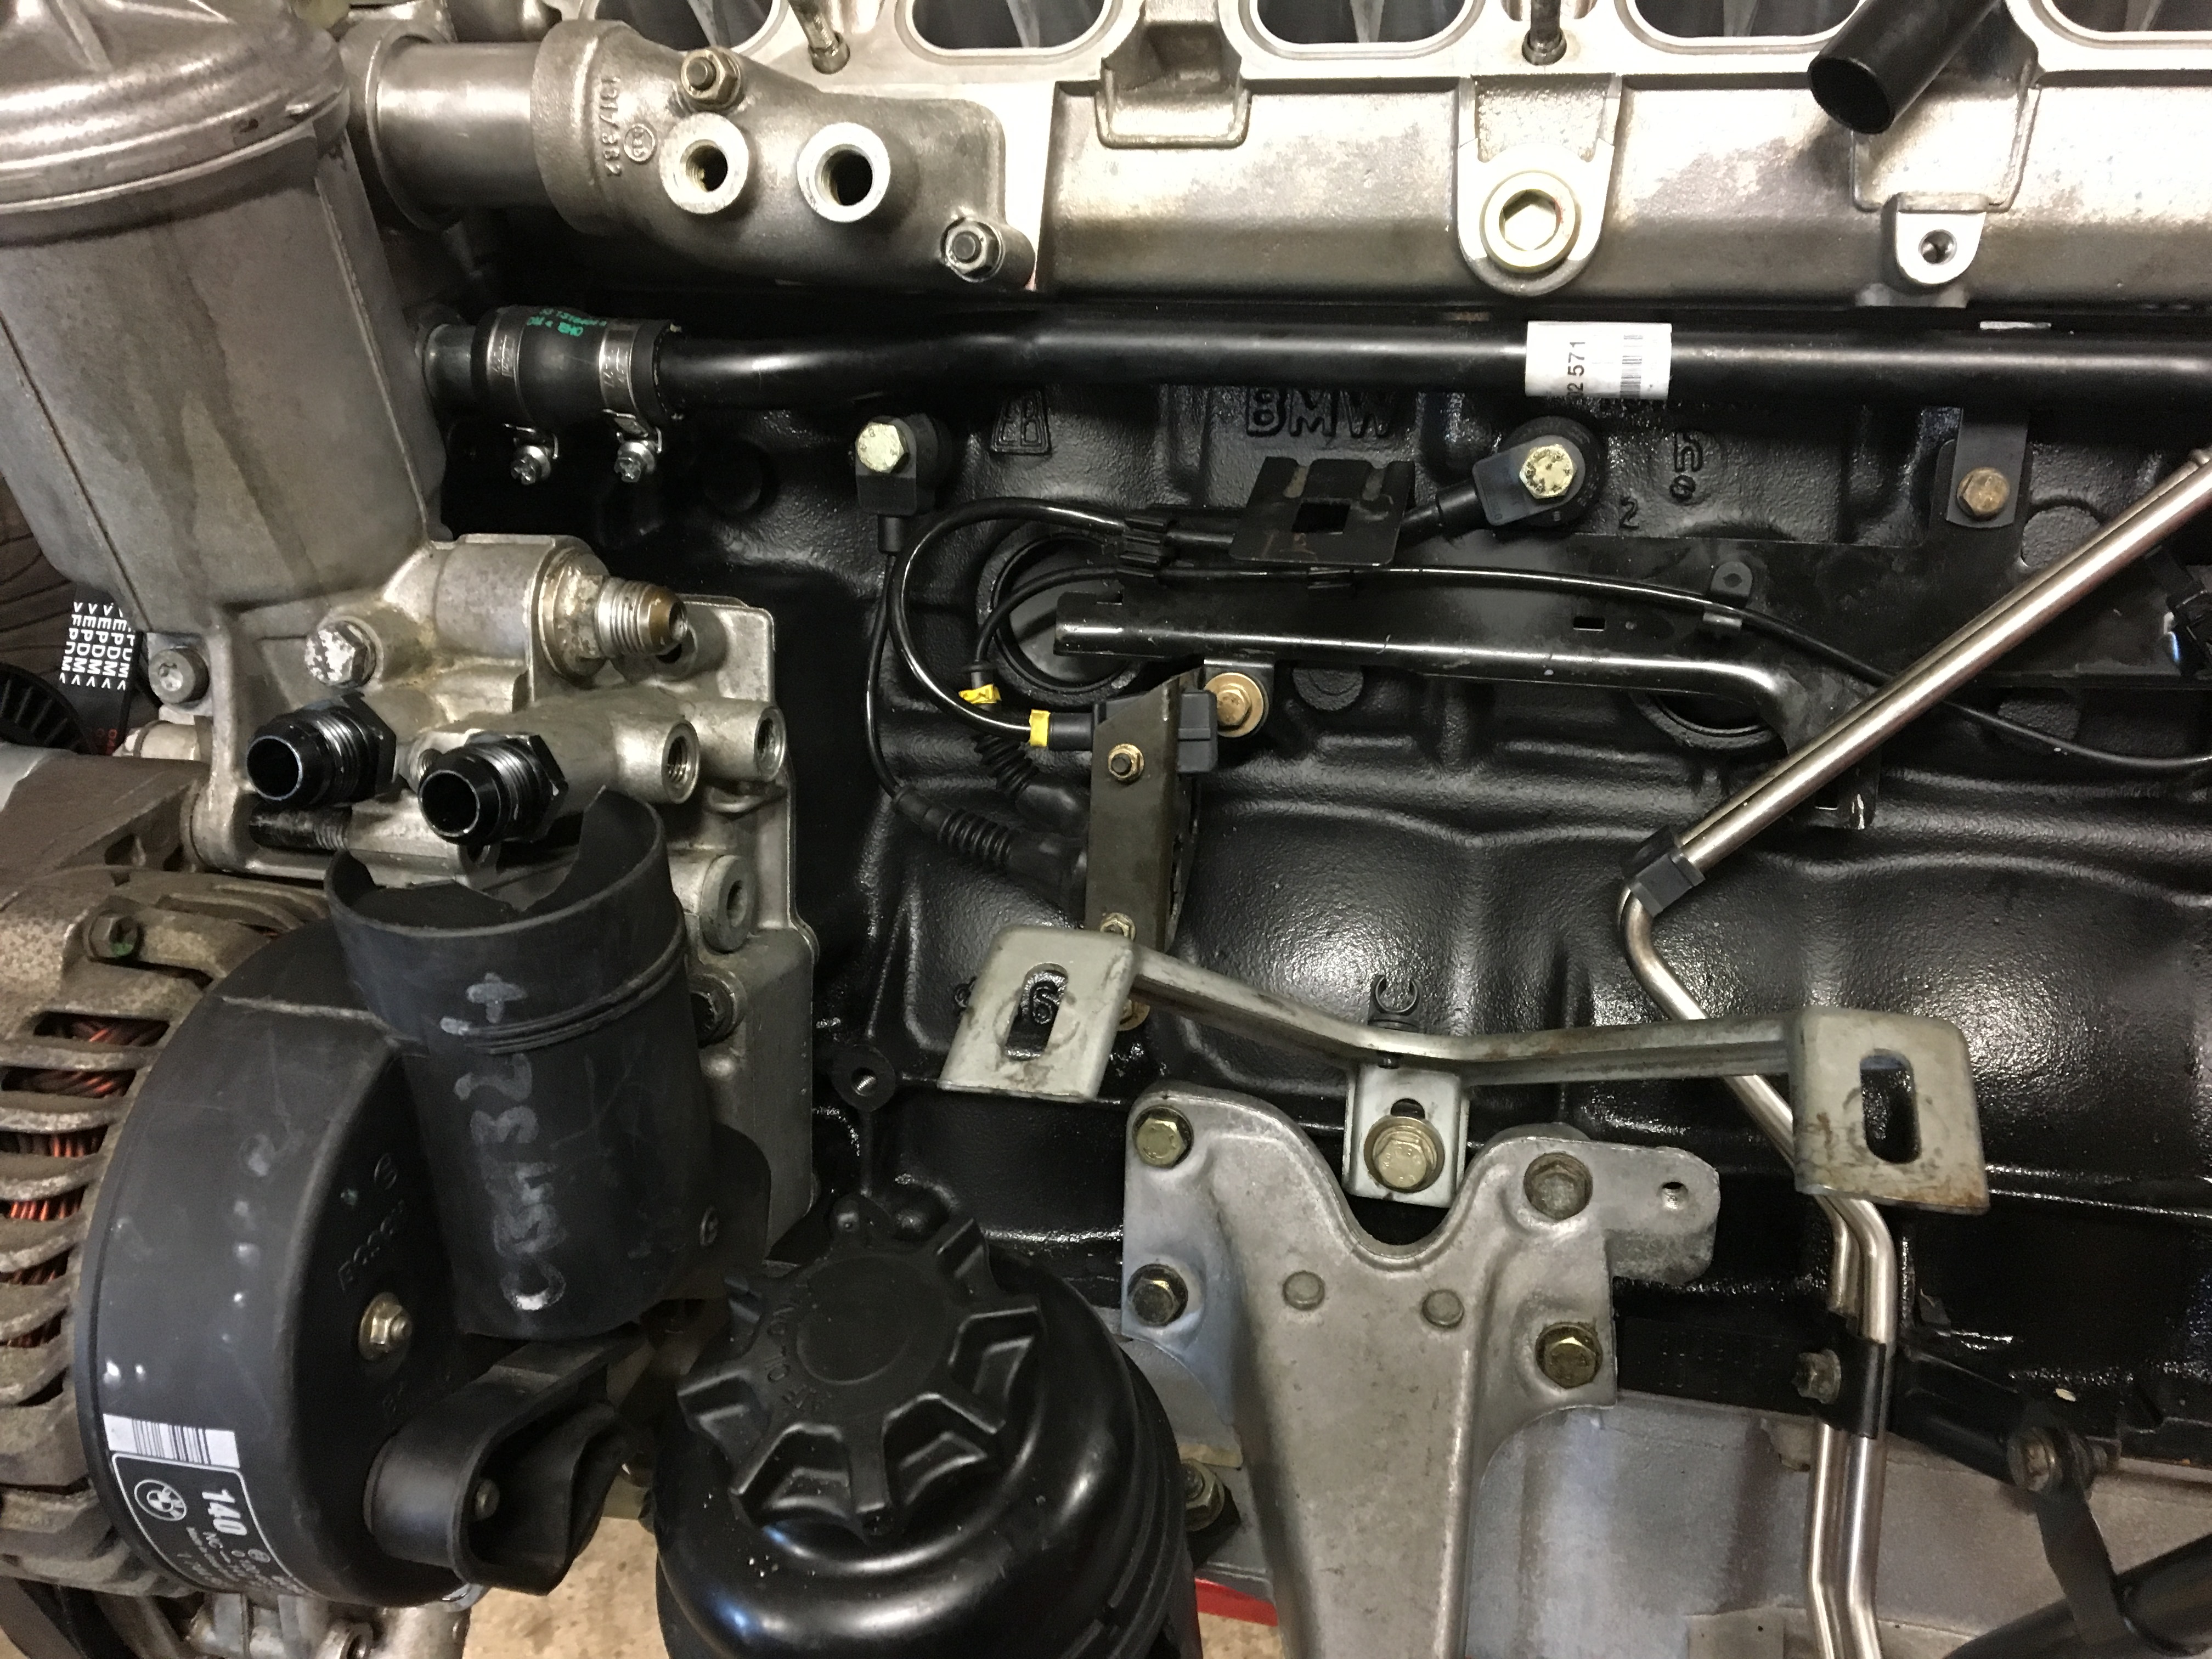
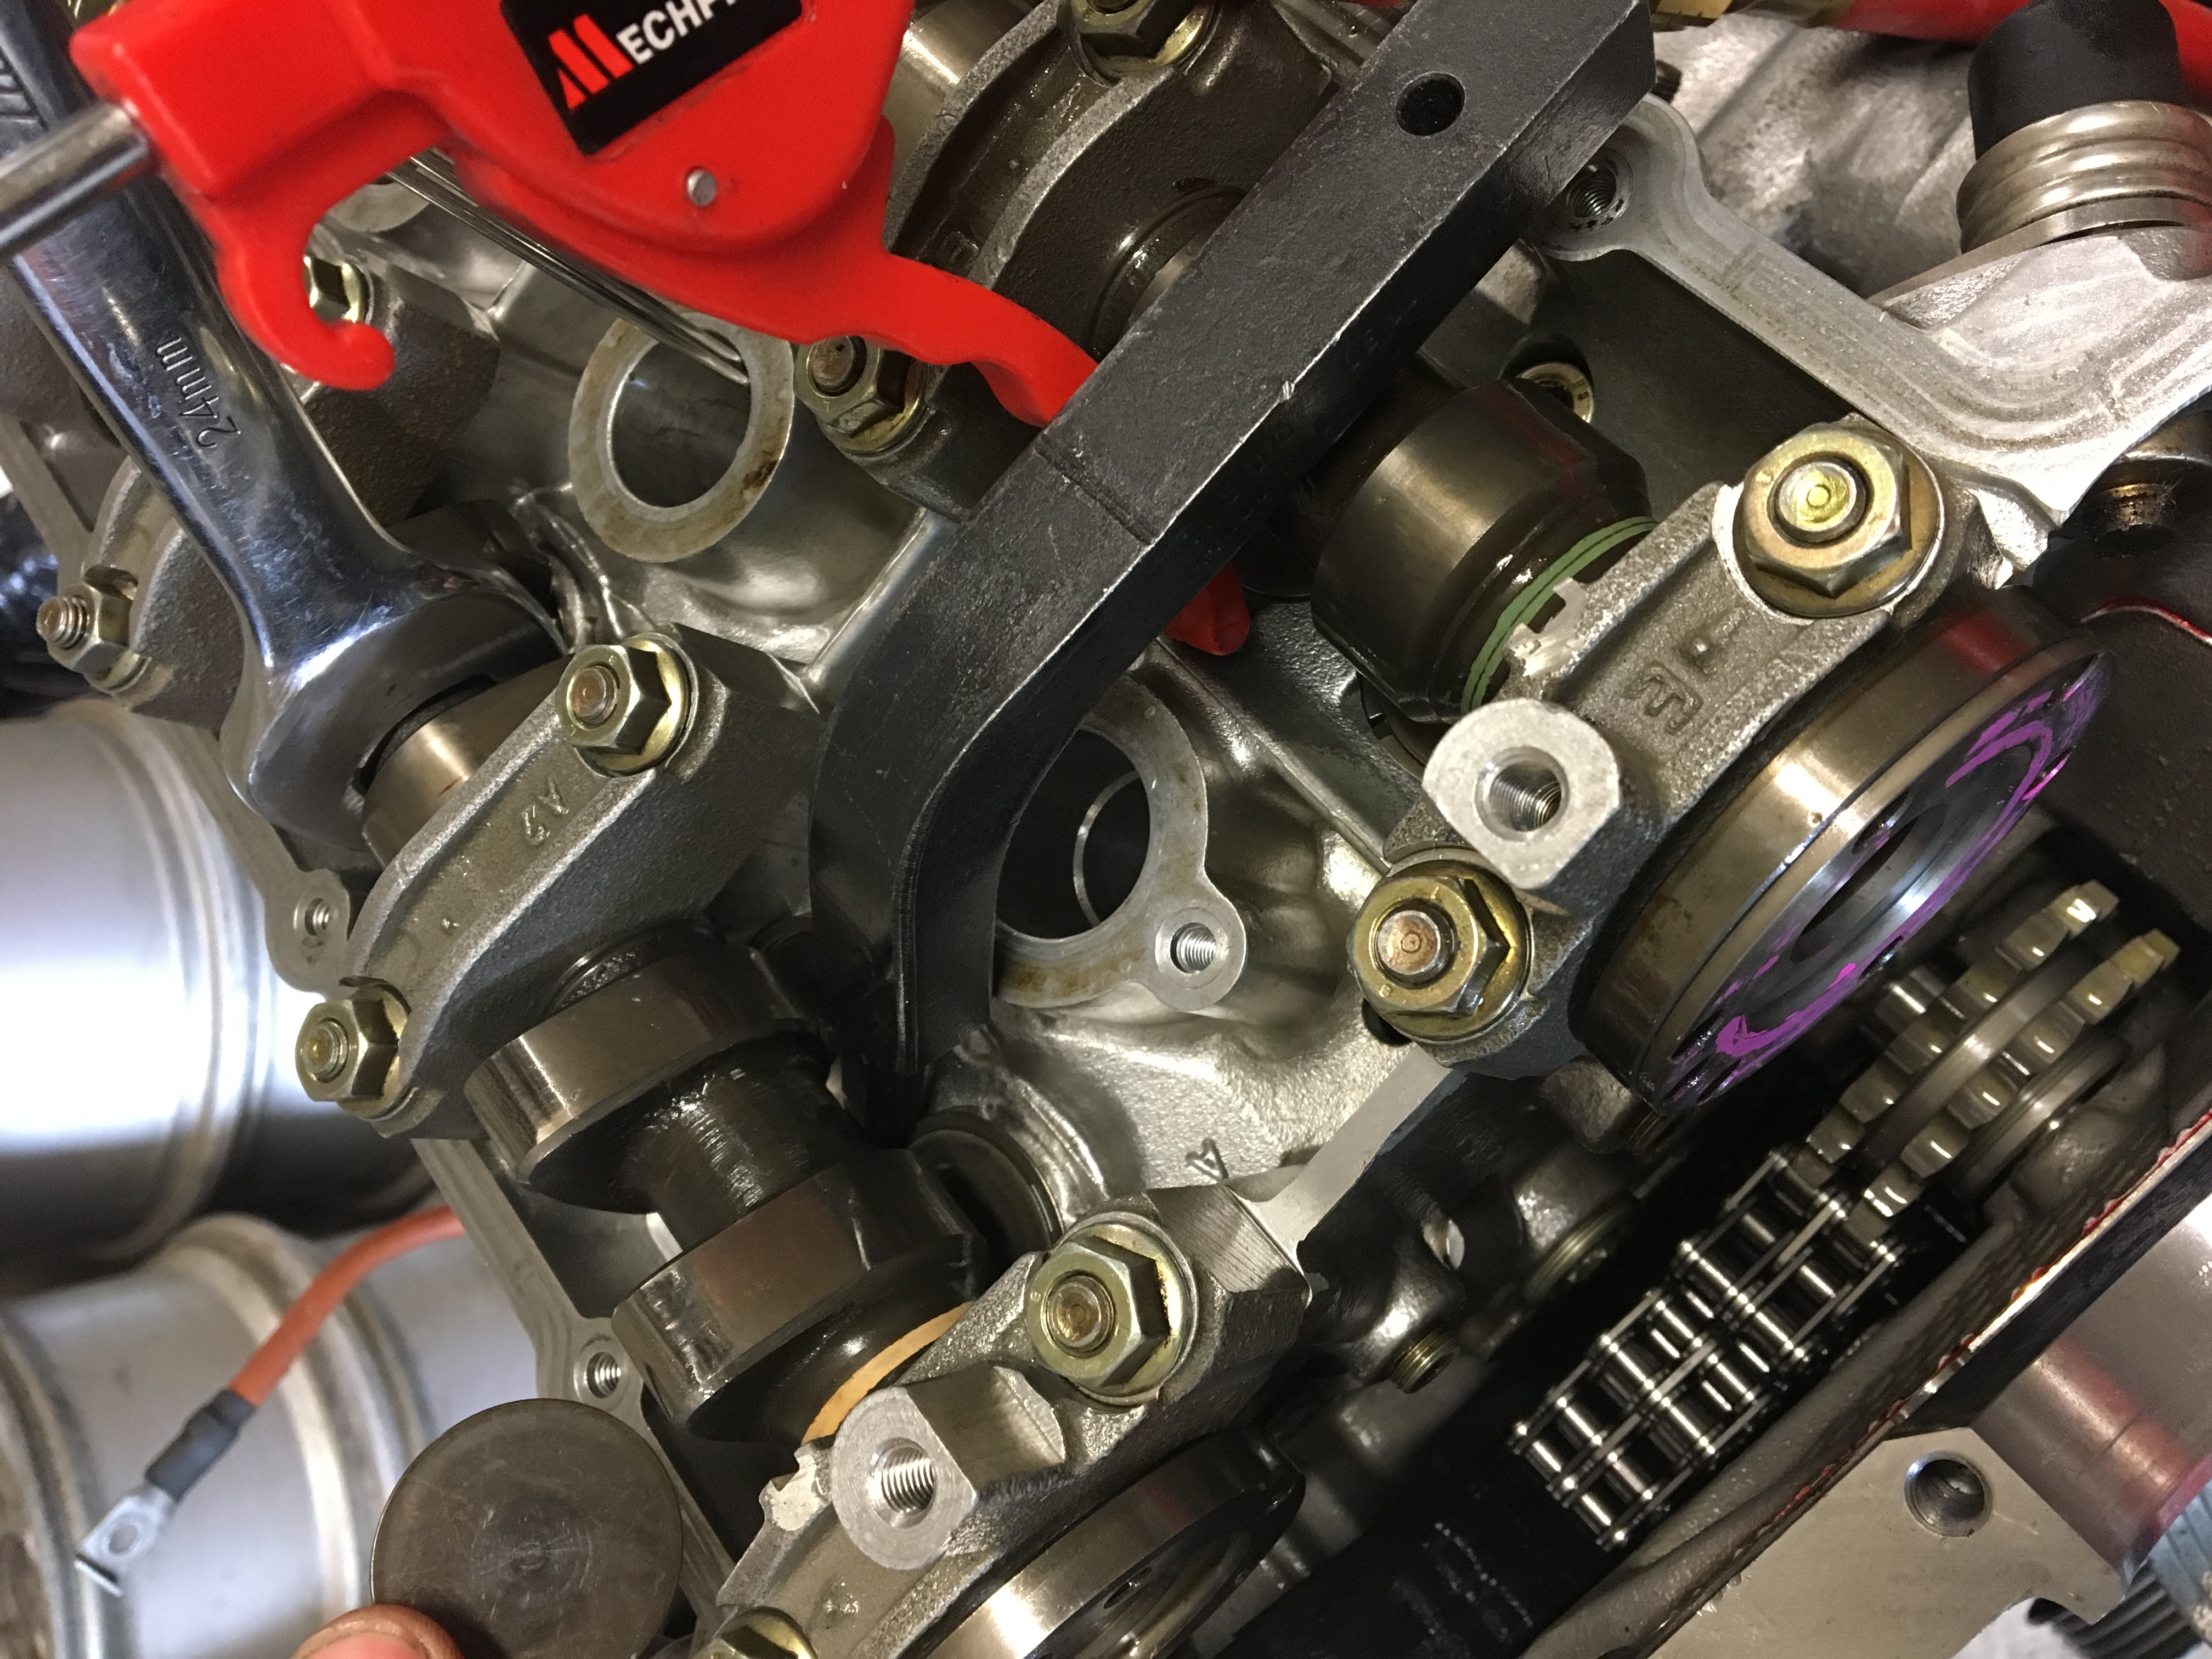
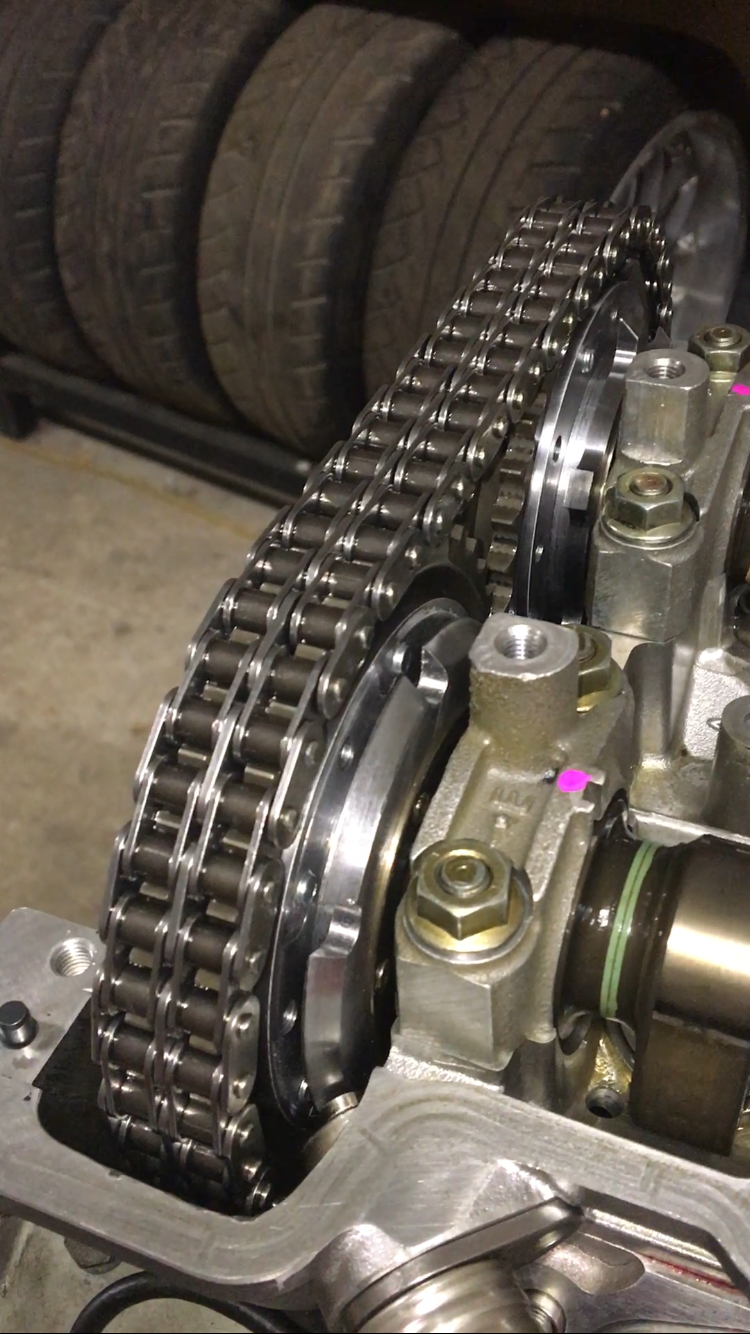
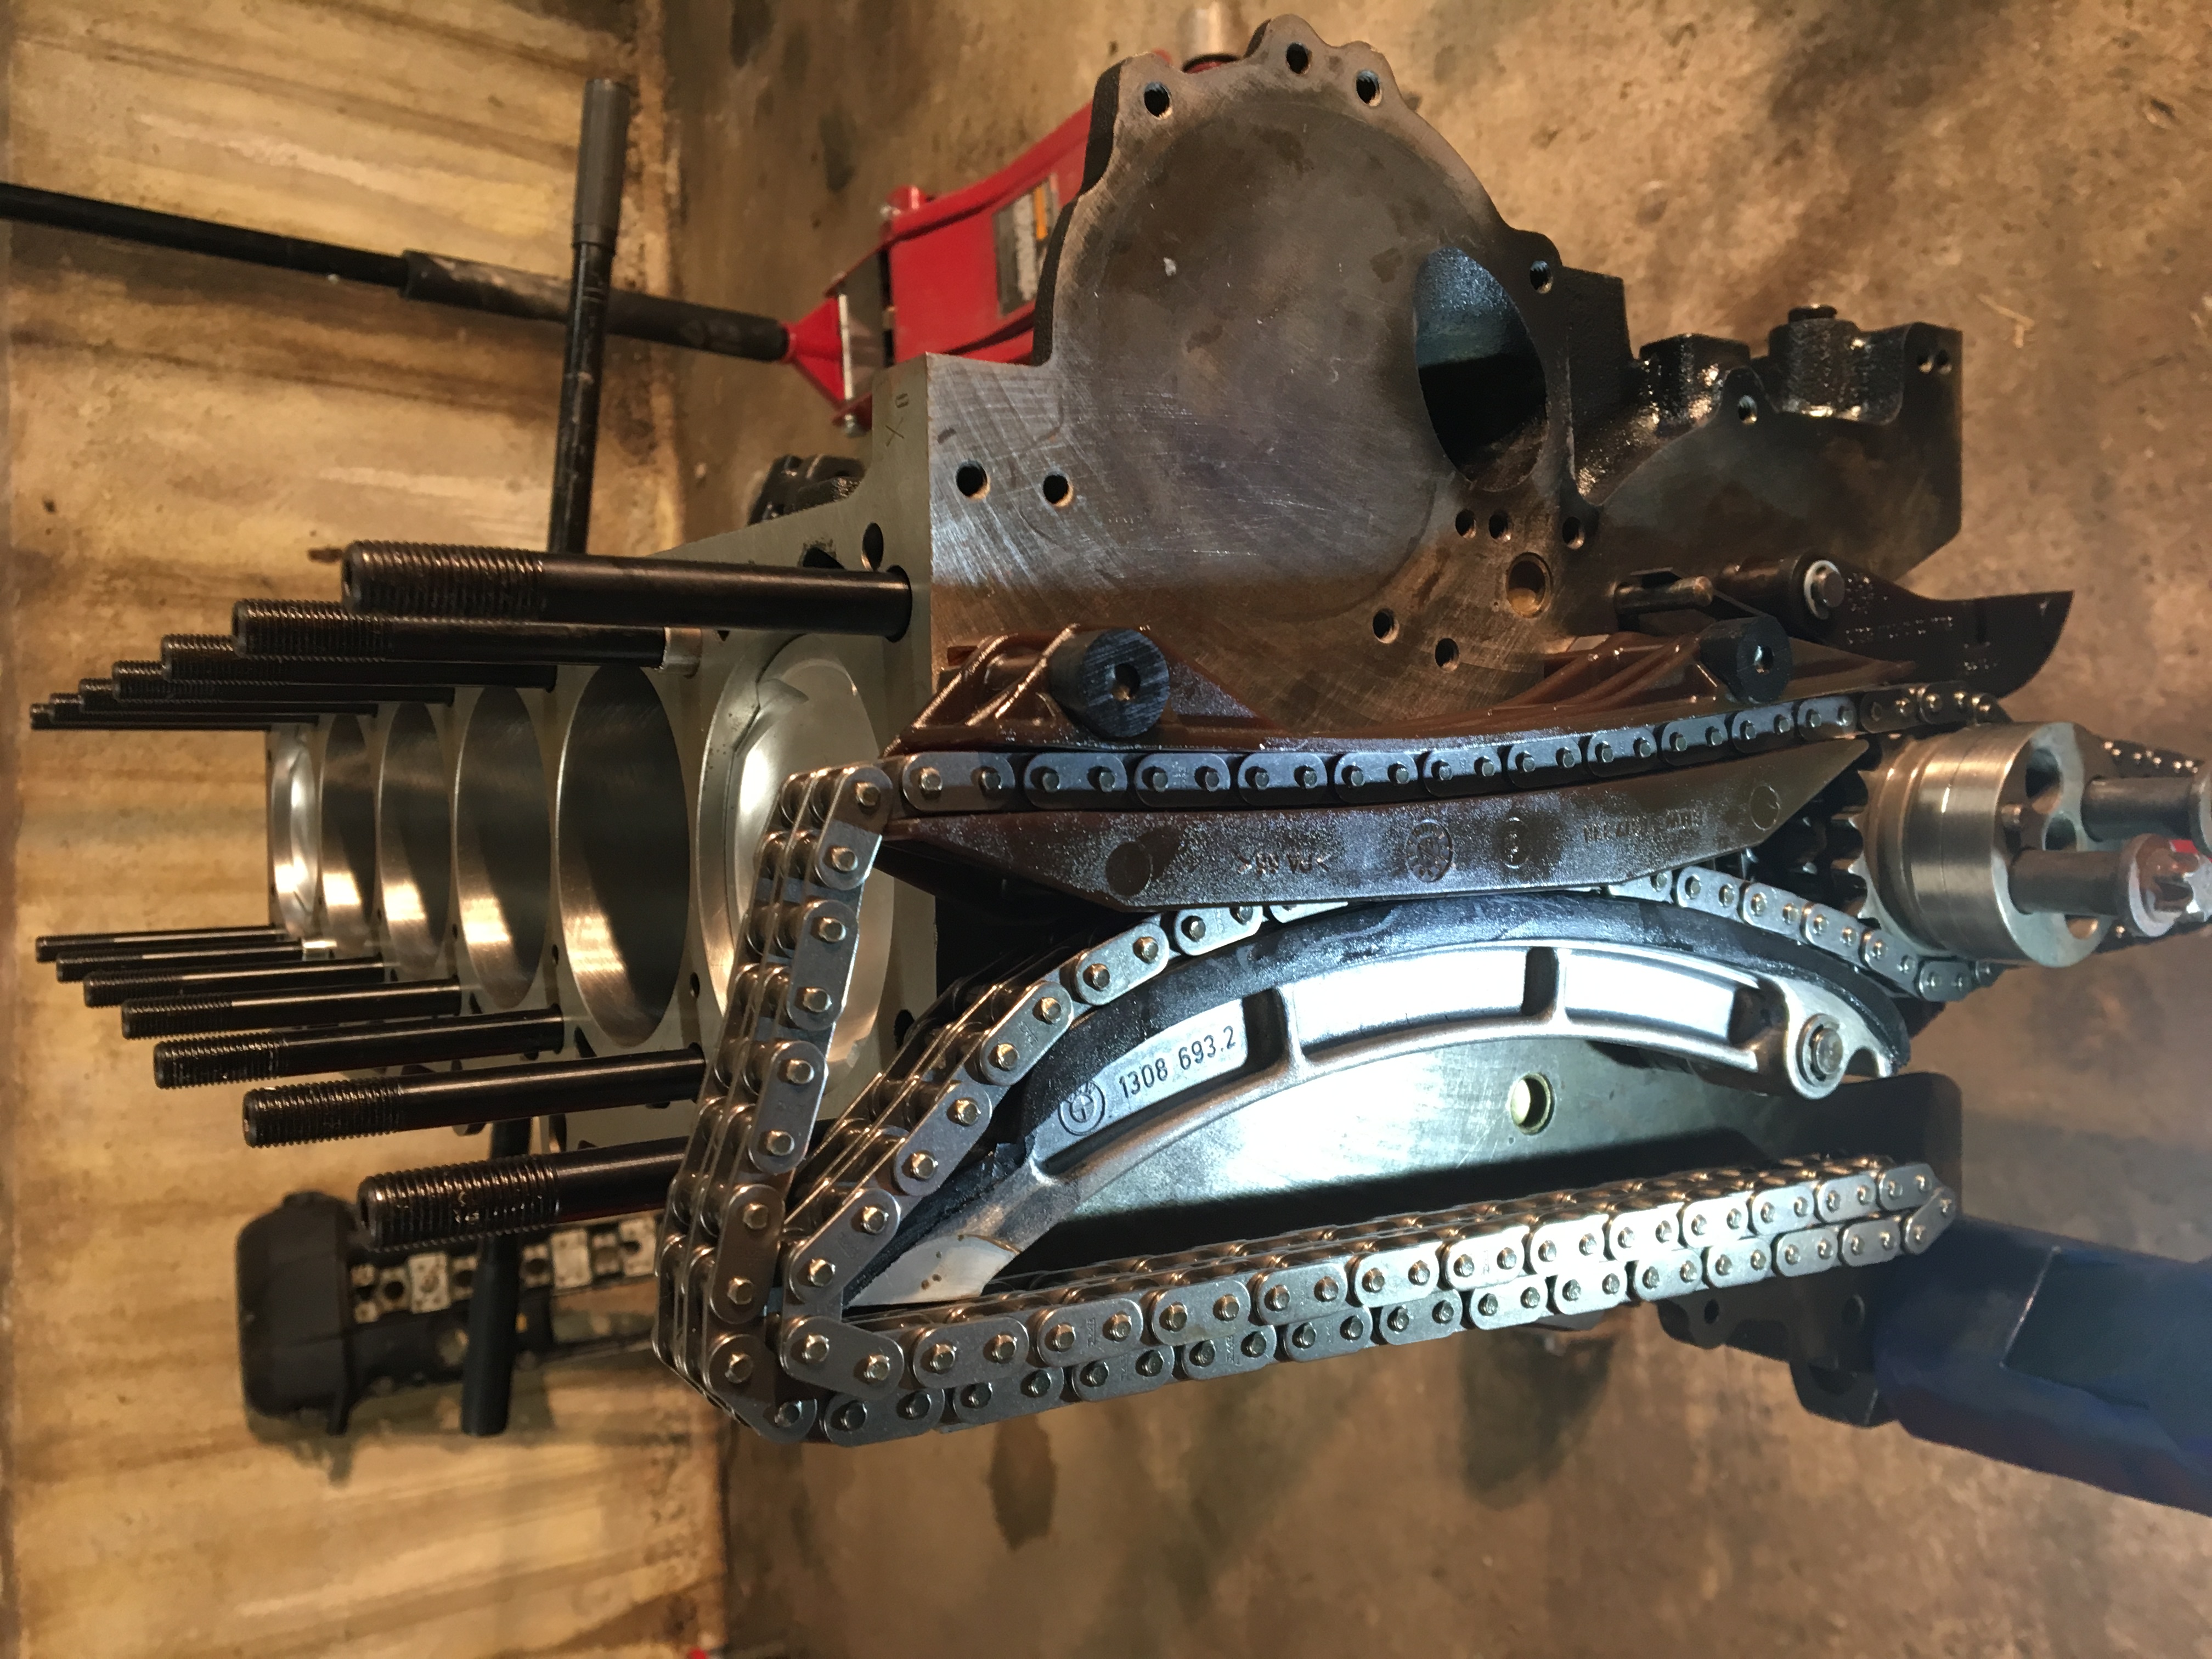
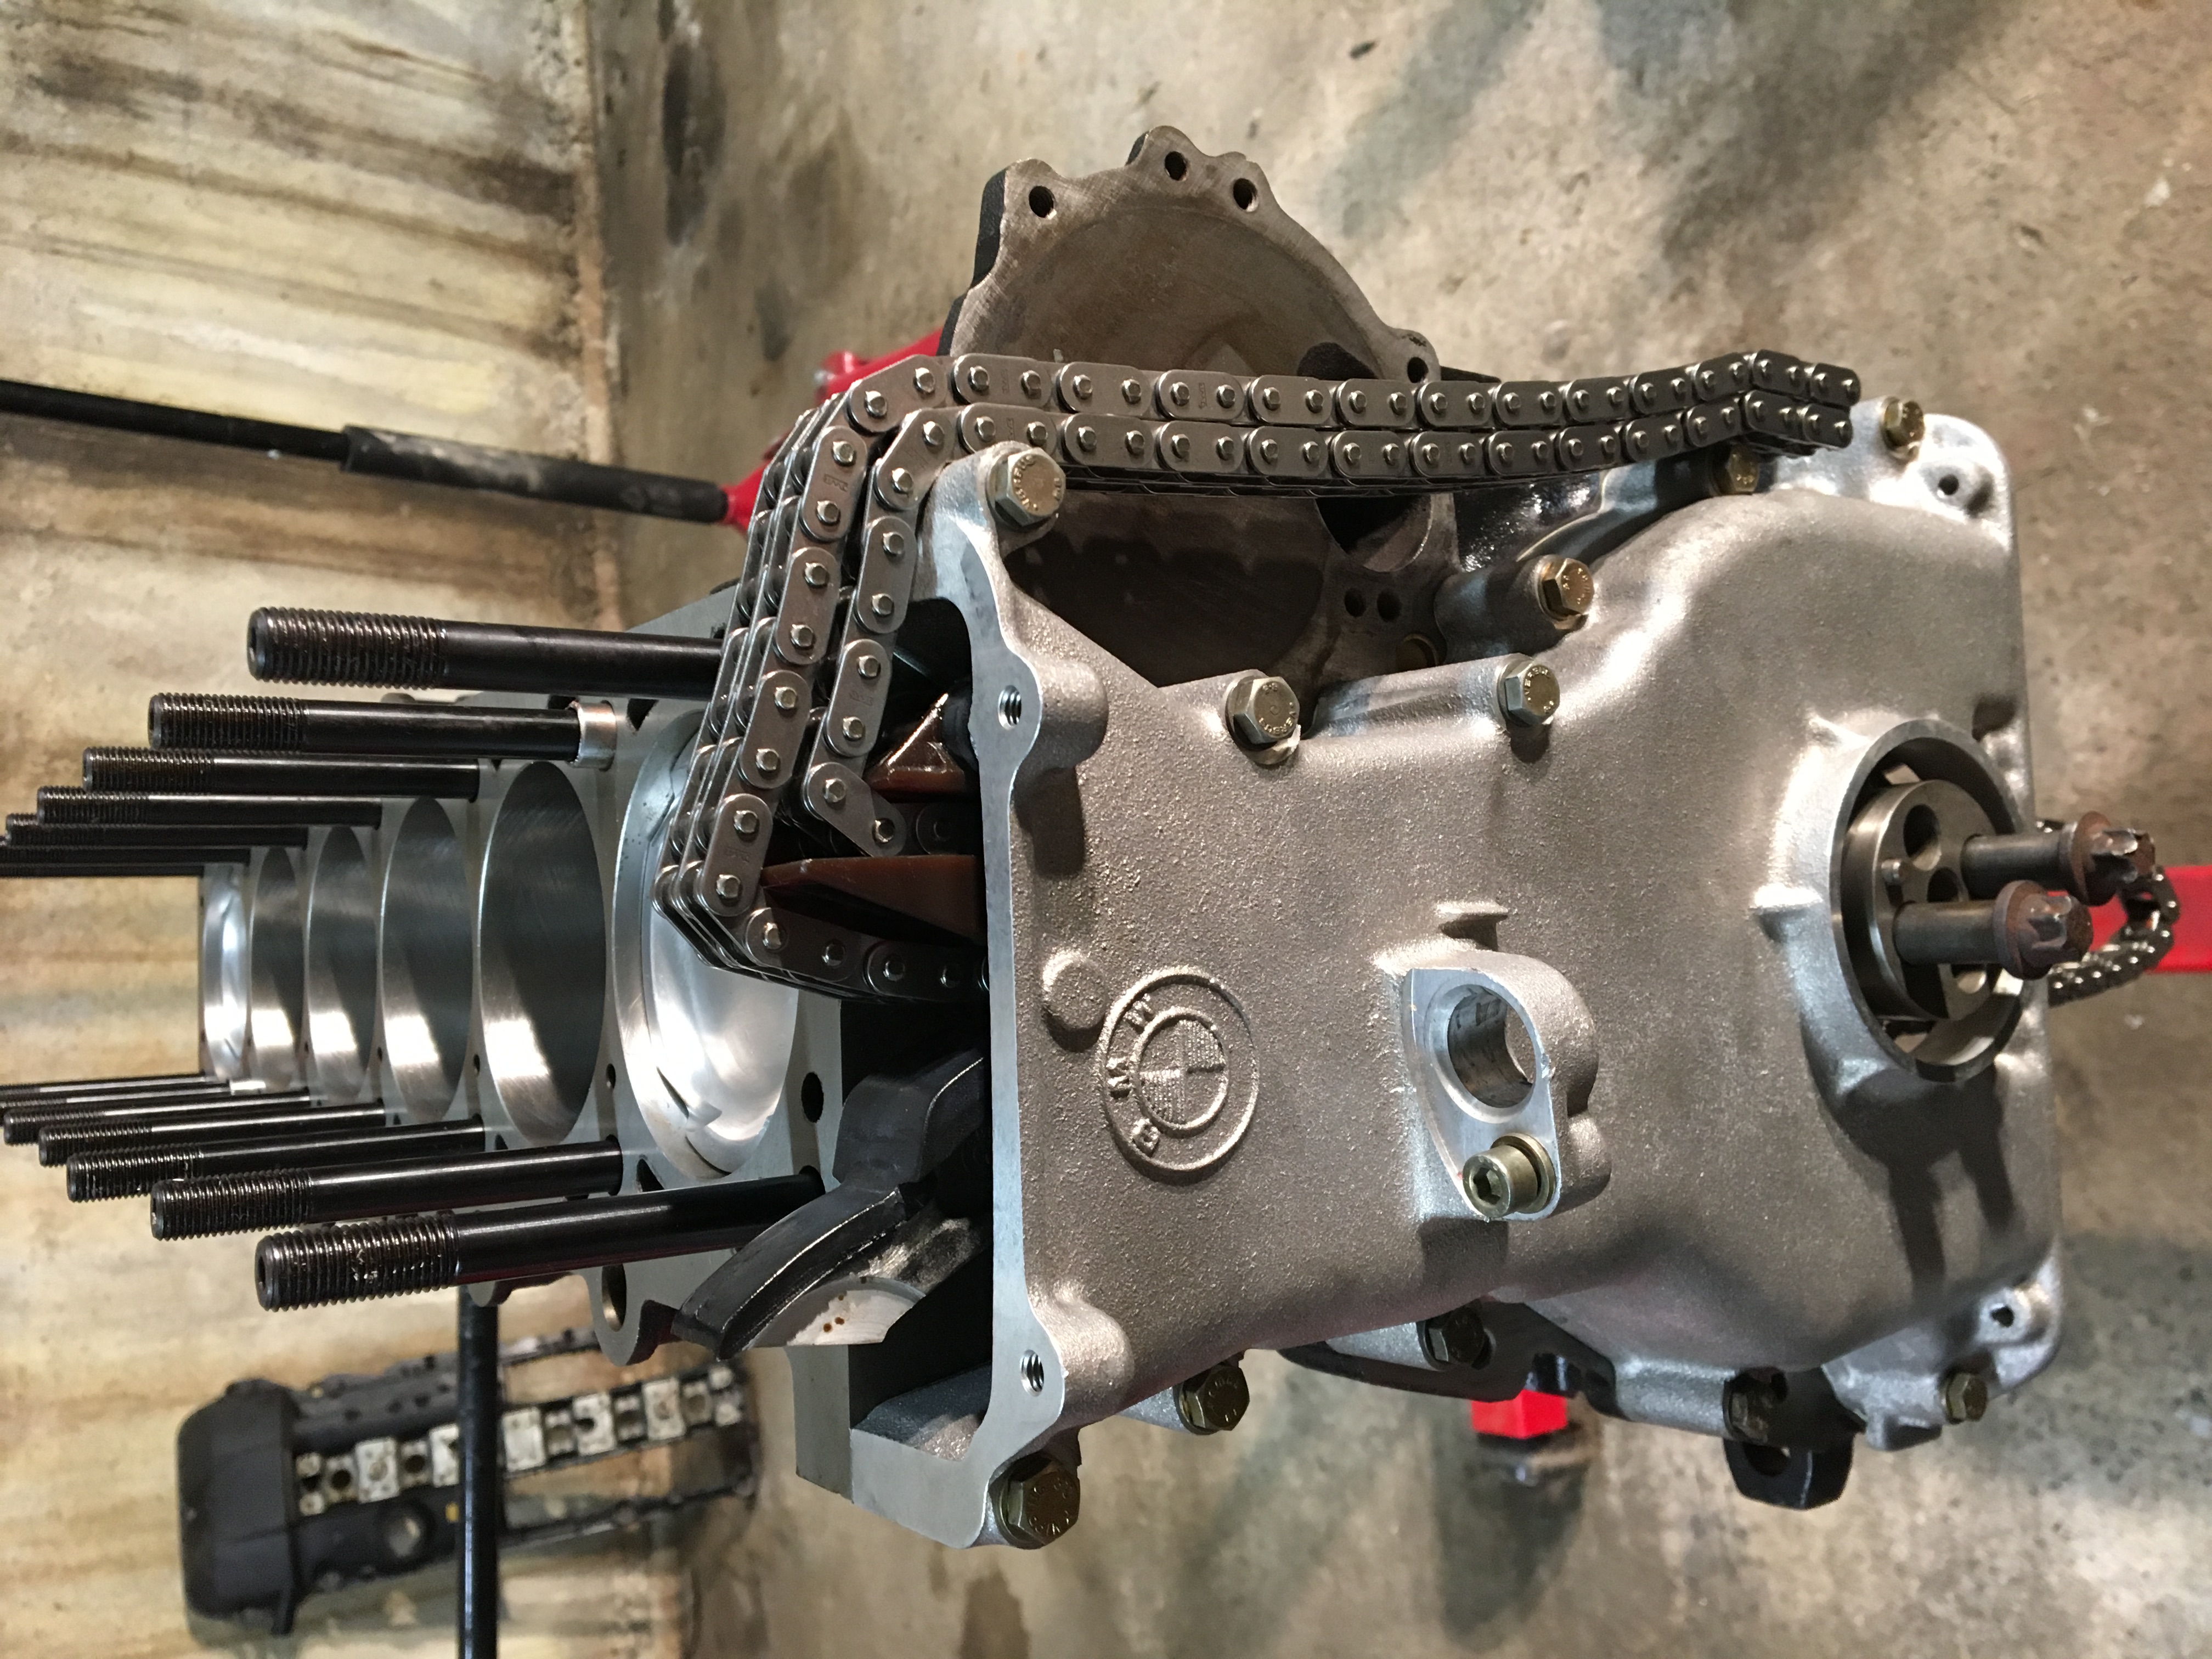
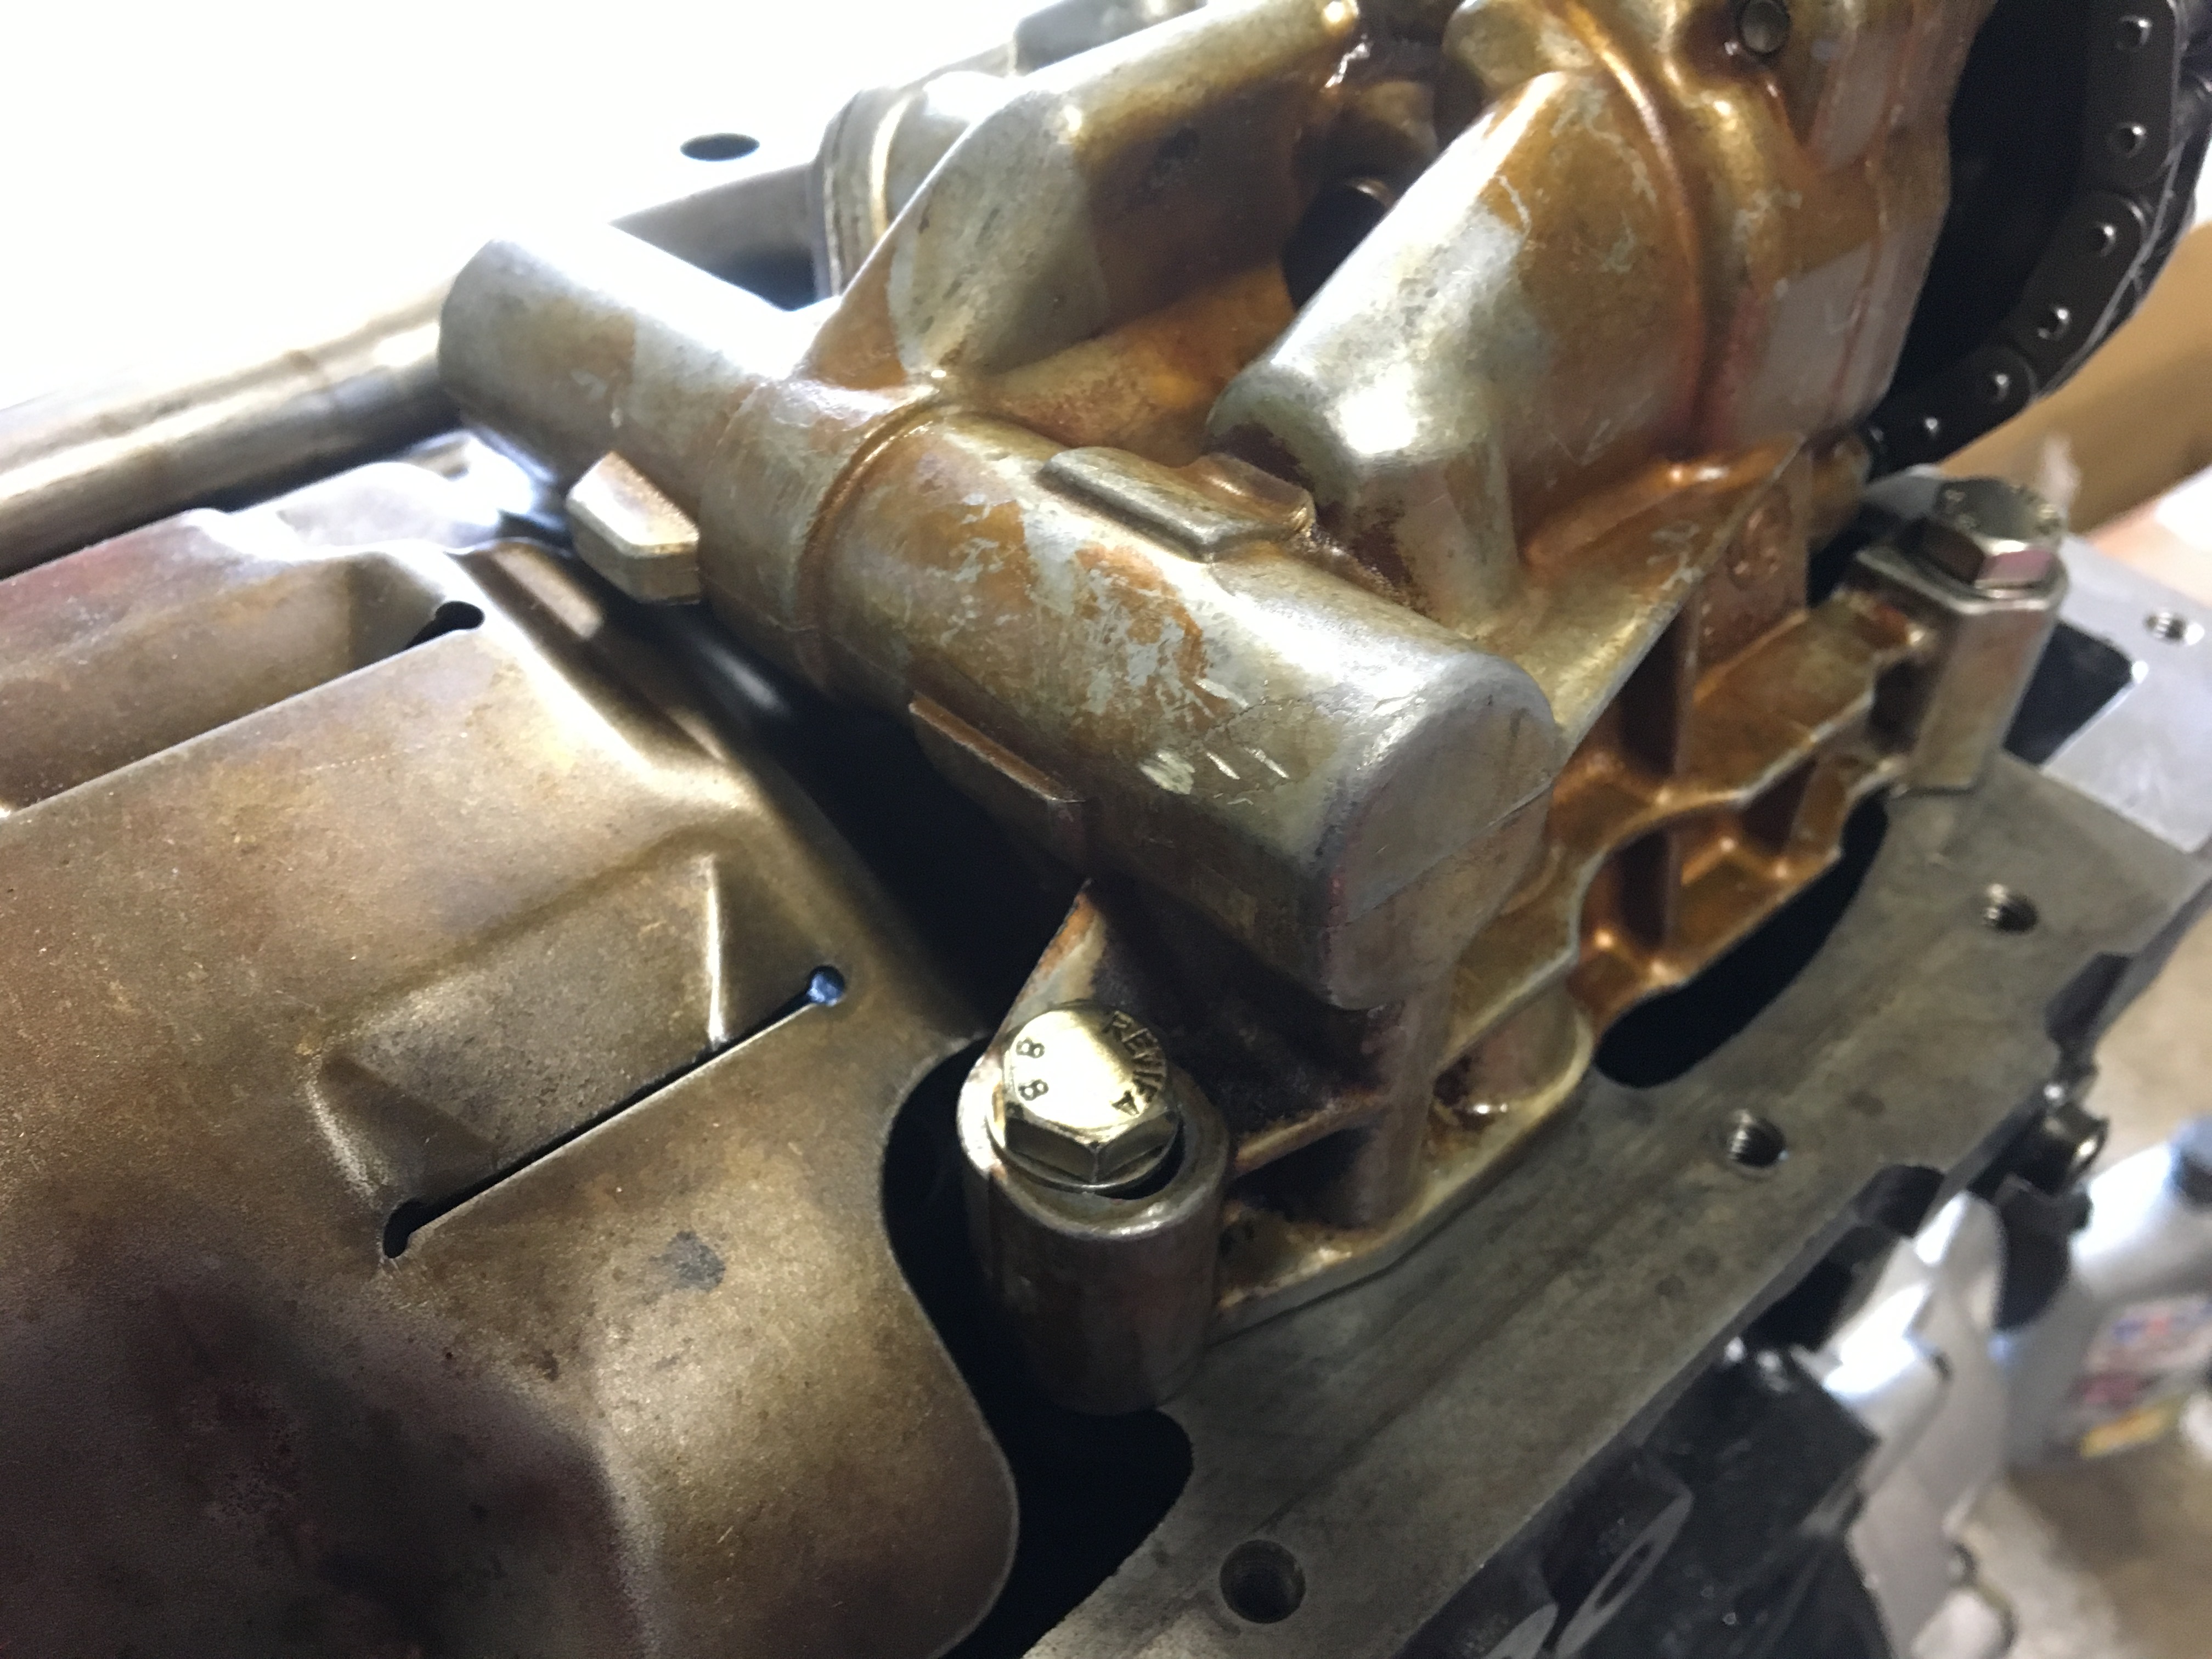
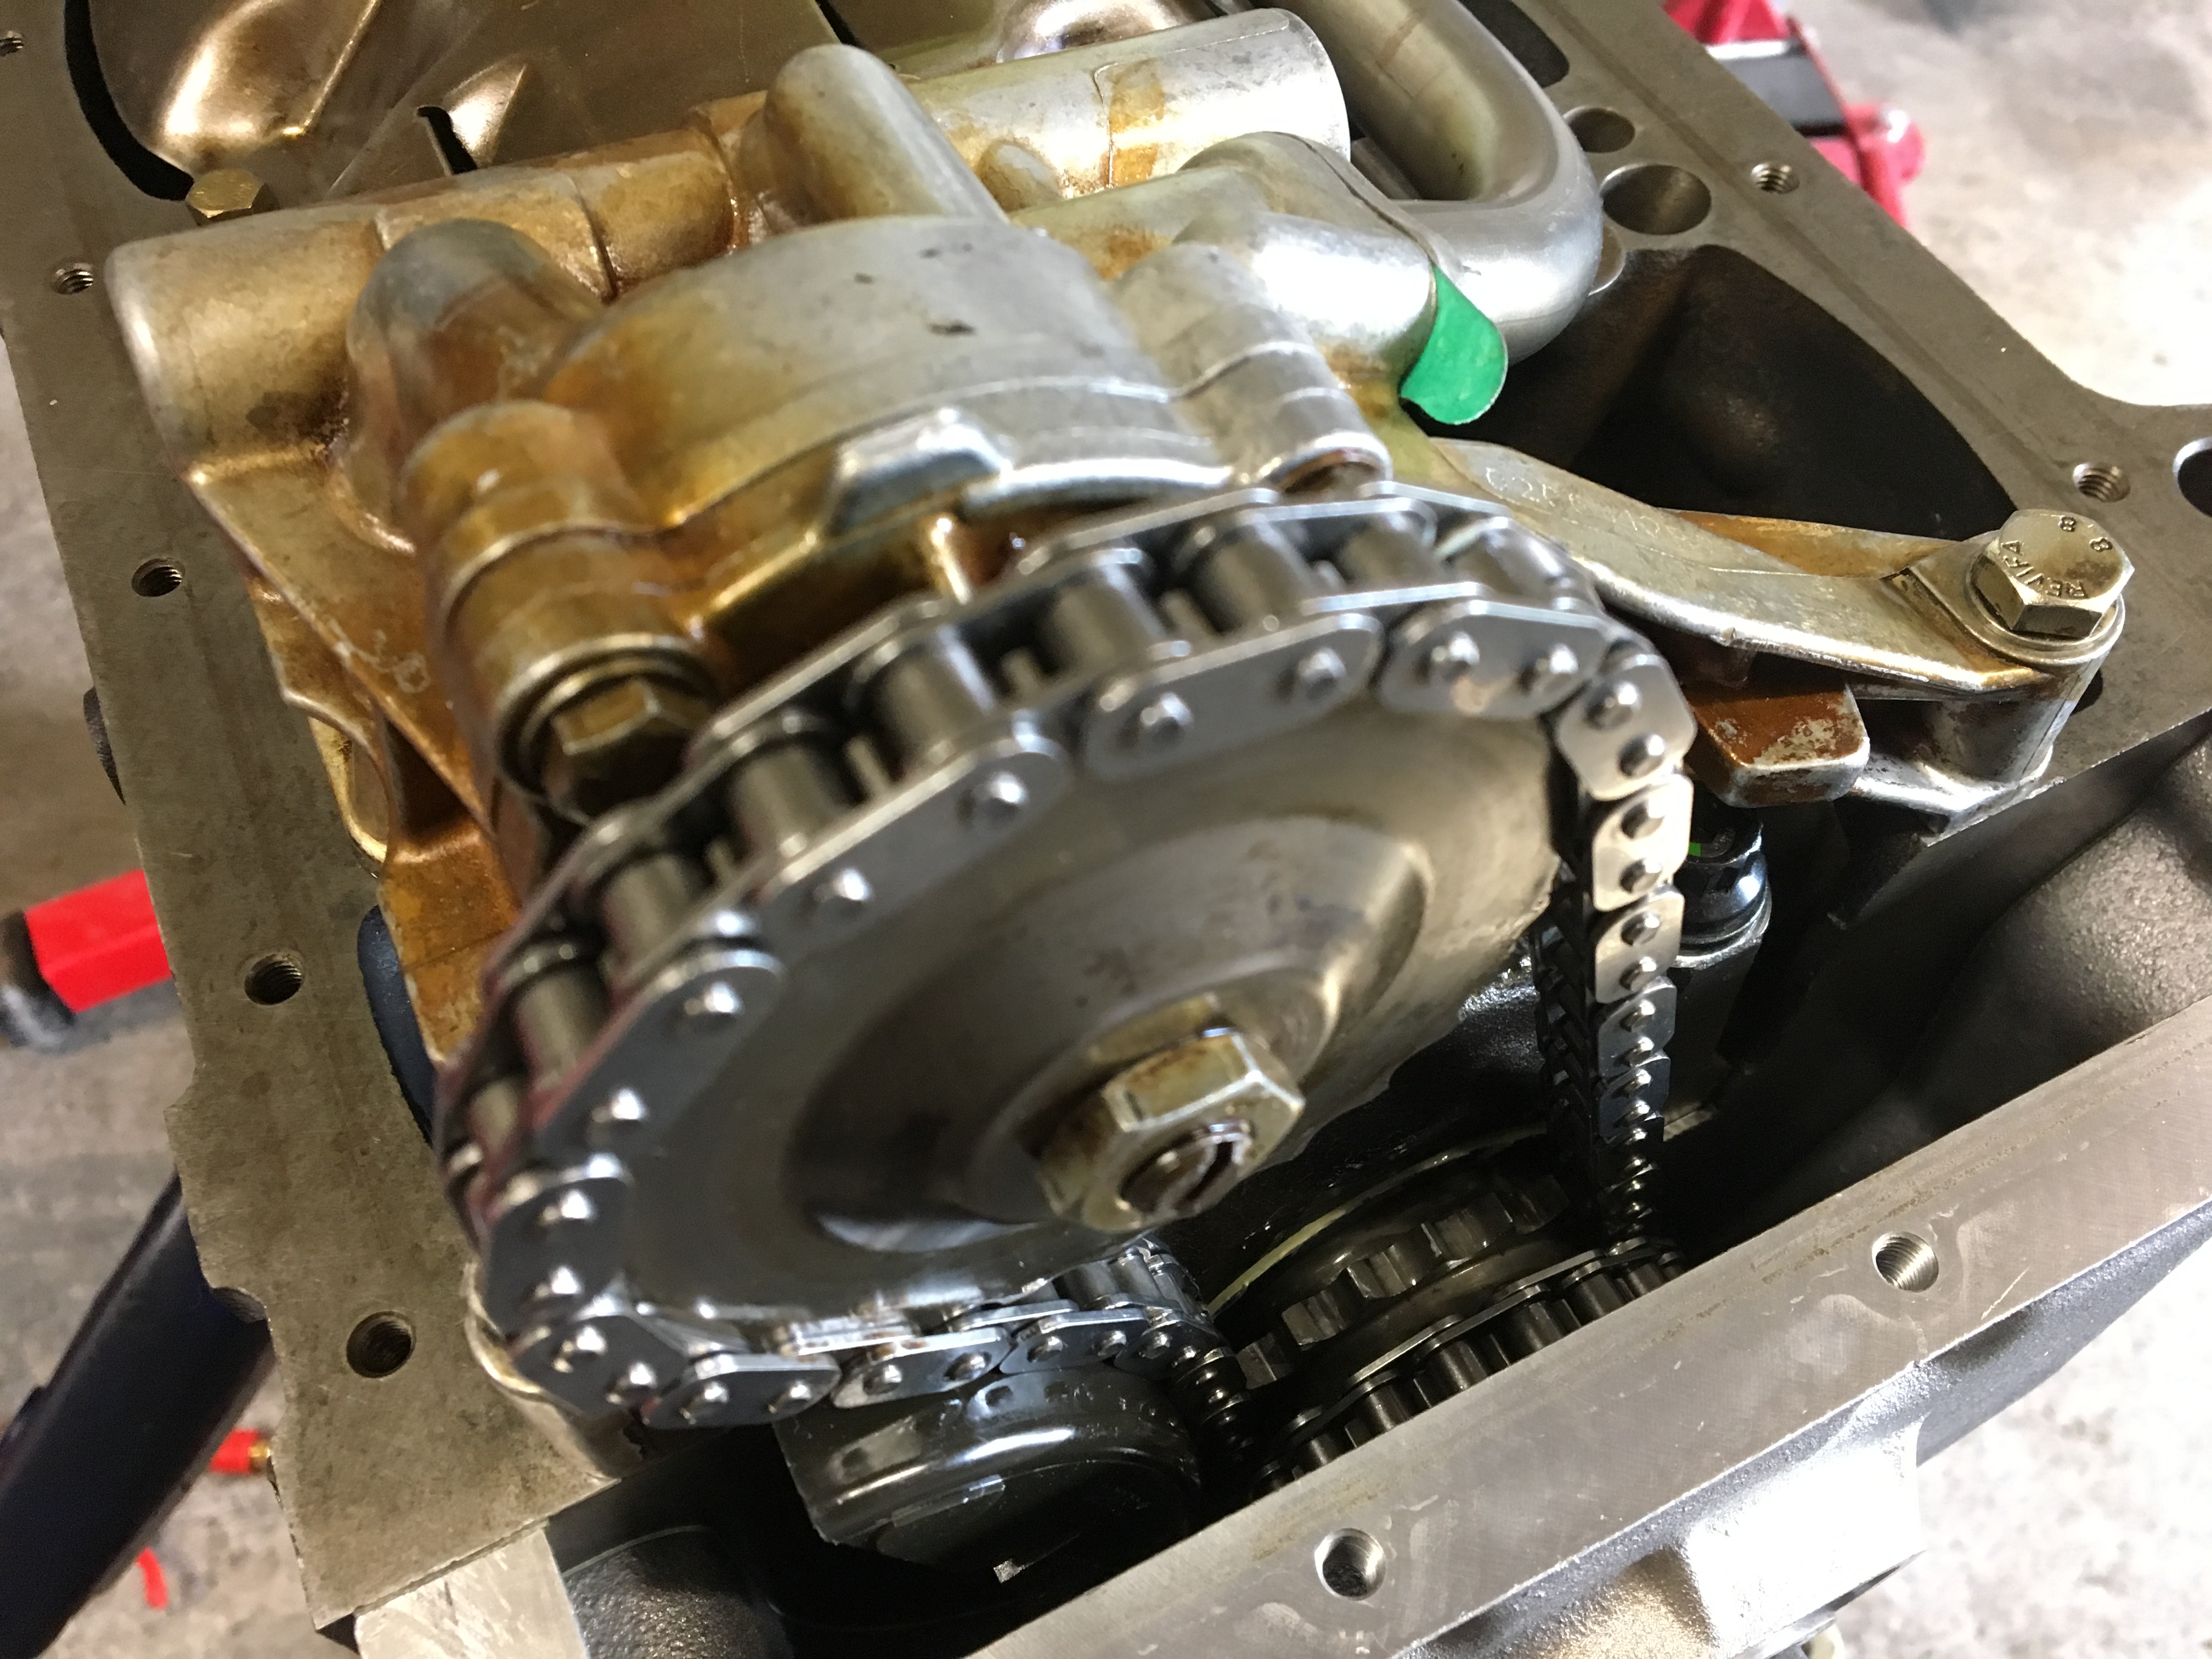
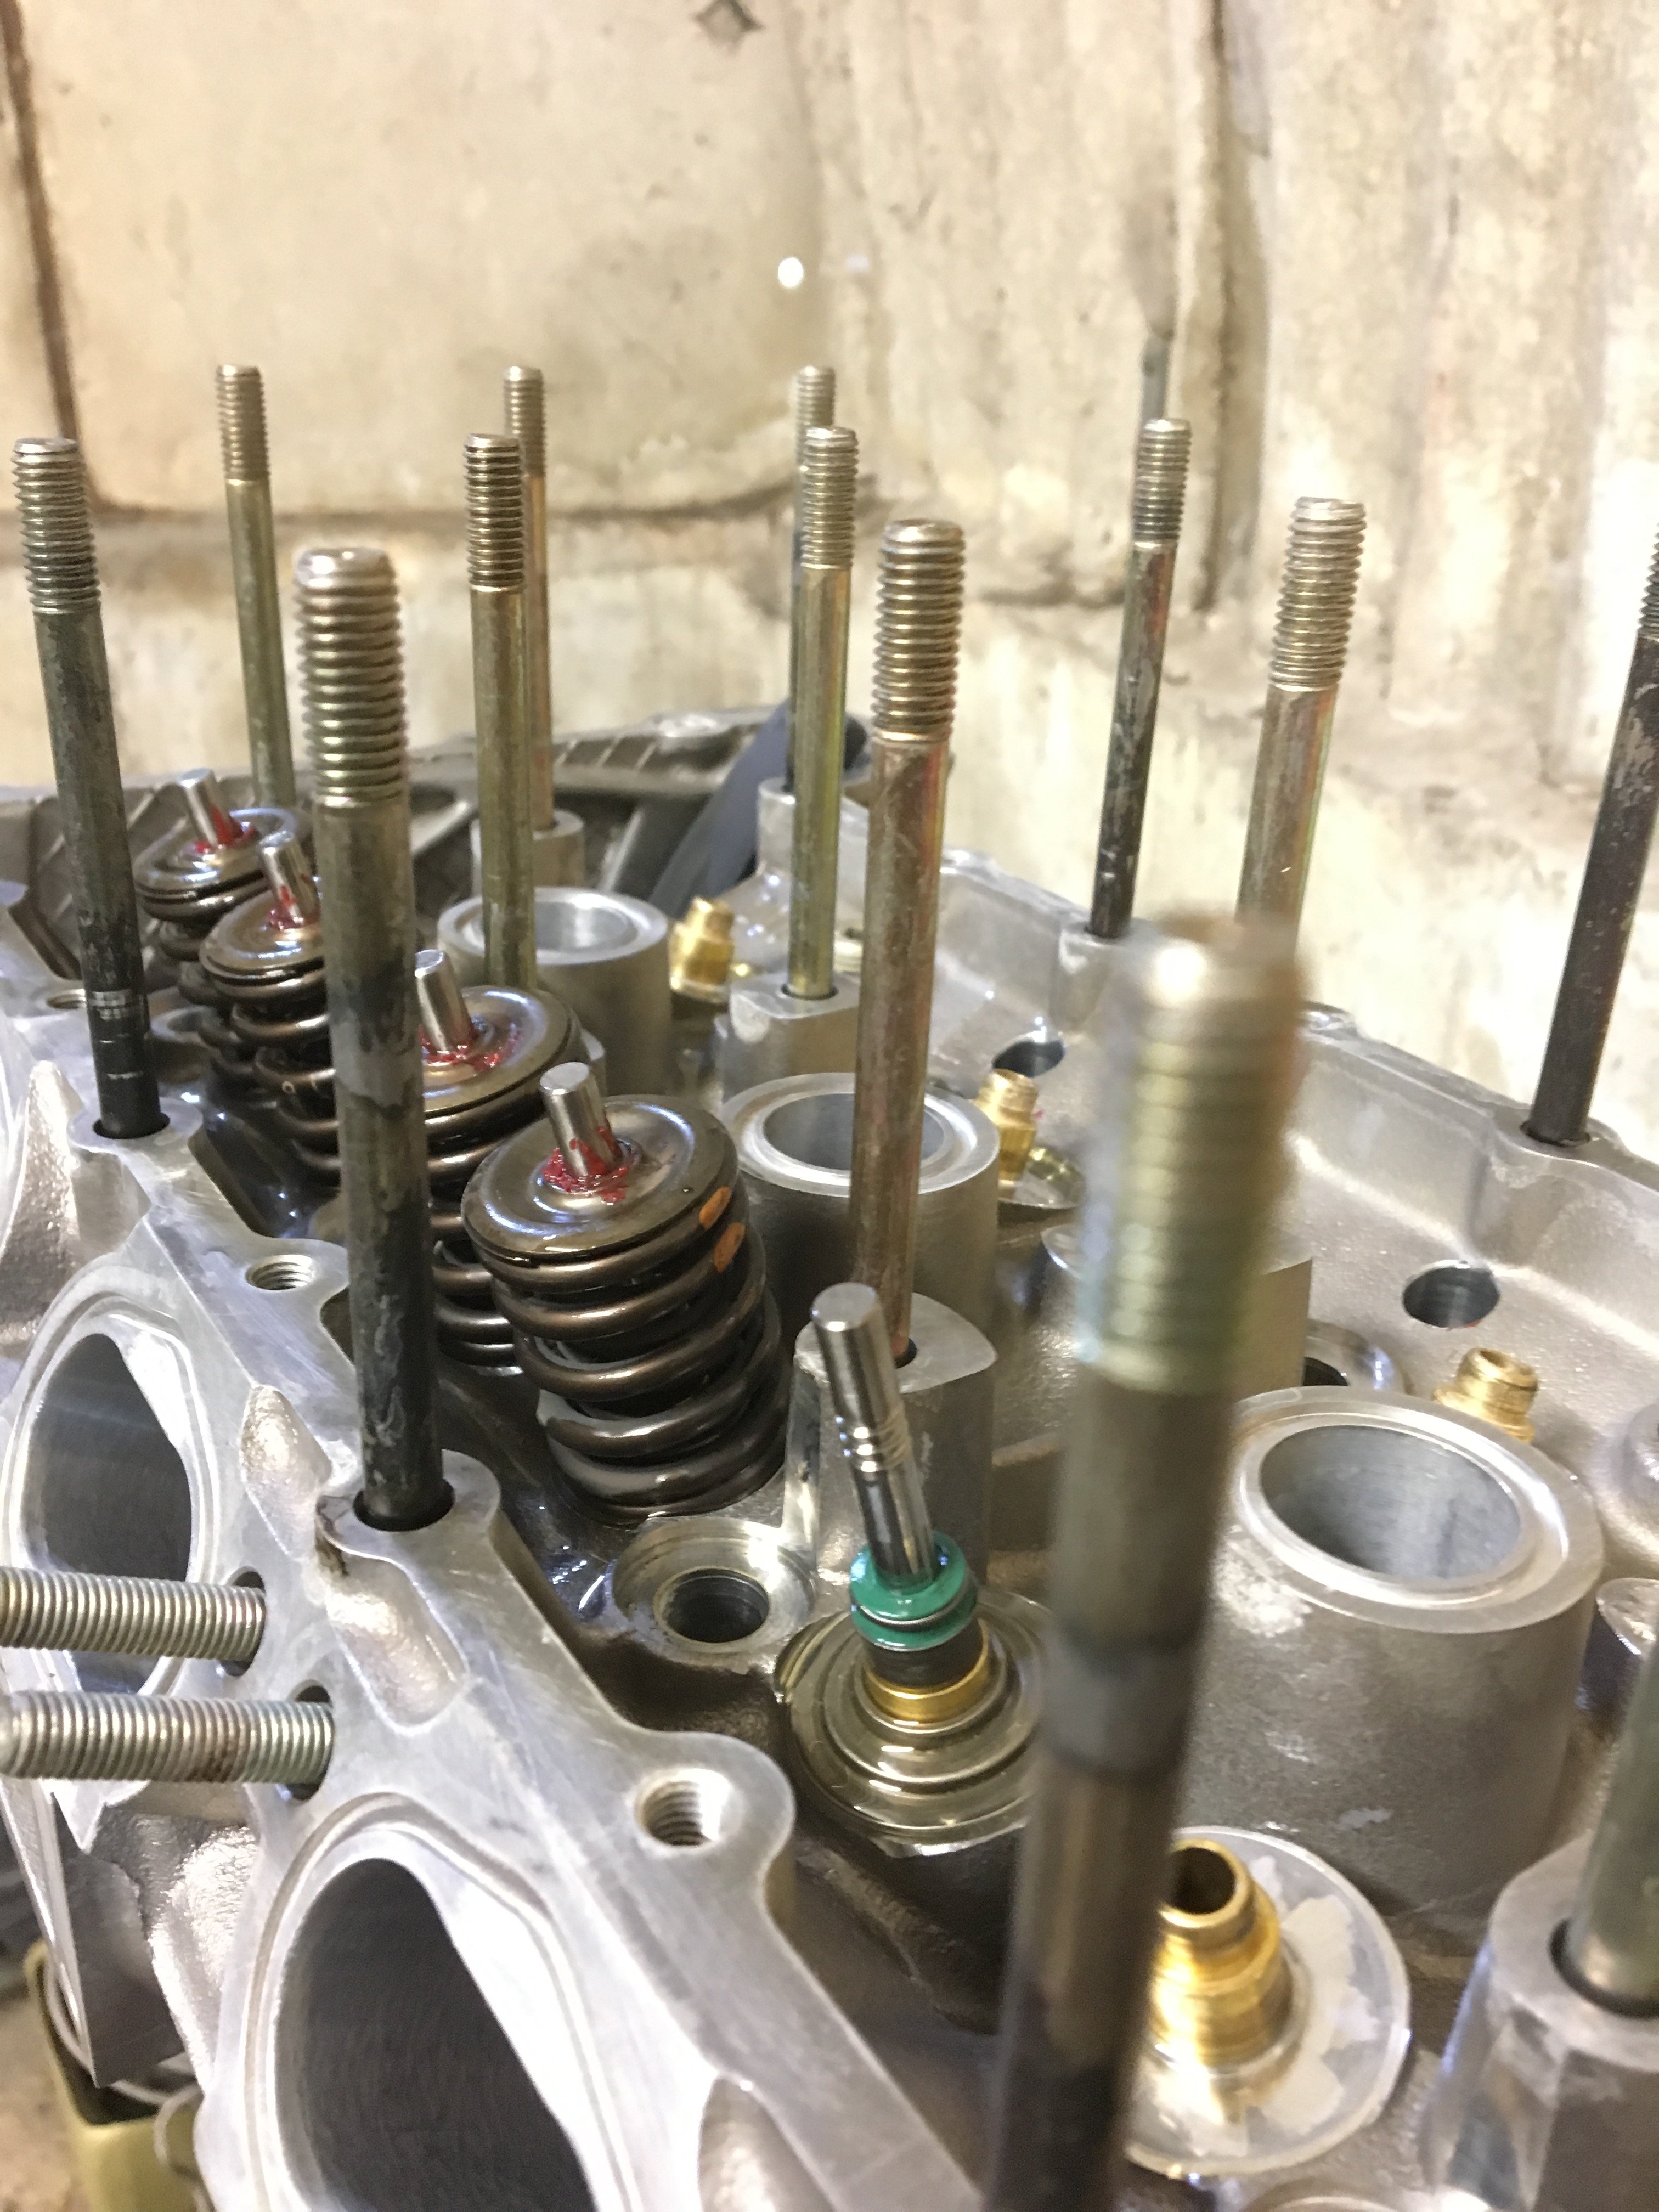
So finally the parts arrived to finish the timing chains, I installed new oil squirters then proceeded to install the timing chains, when I removed all the guides from the old engine stripping it down I could have swore the guides were alloy with plastic coatings, turns out they are all rubber and just gone very hard and turned to plastic along with the two bushes holding the plastic guide on the right of pic two...
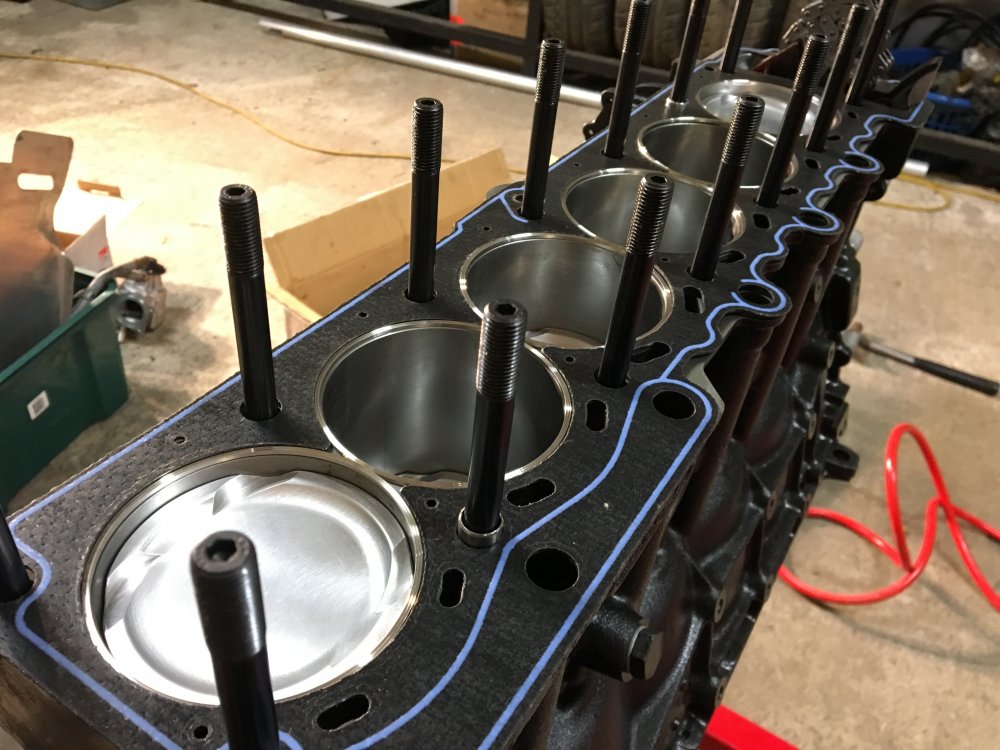
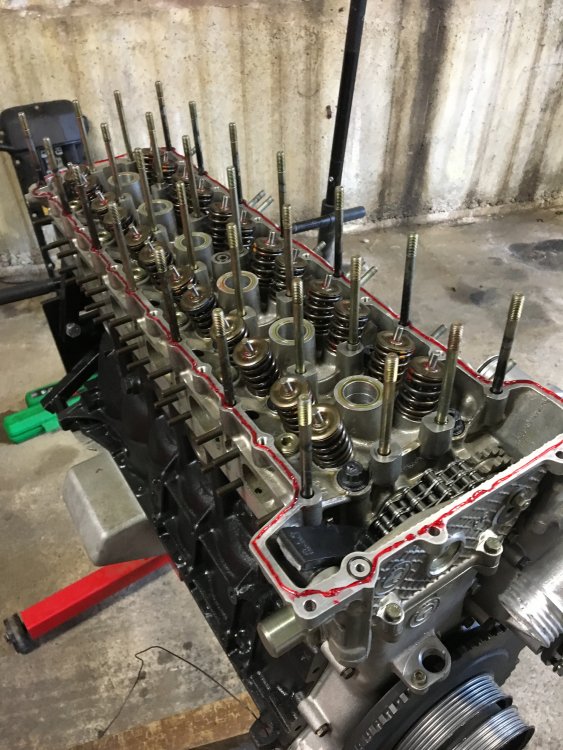
Moving along, the head gasket rings sat pretty close to the bore in places i had to file some of the gasket off at the locators on top of the block to get it to sit just right as the pistons come just above deck and didnt want any interference.
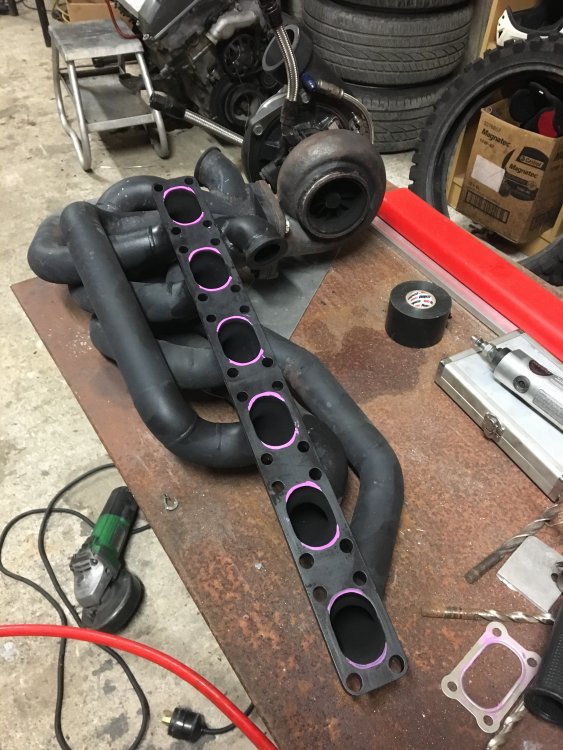
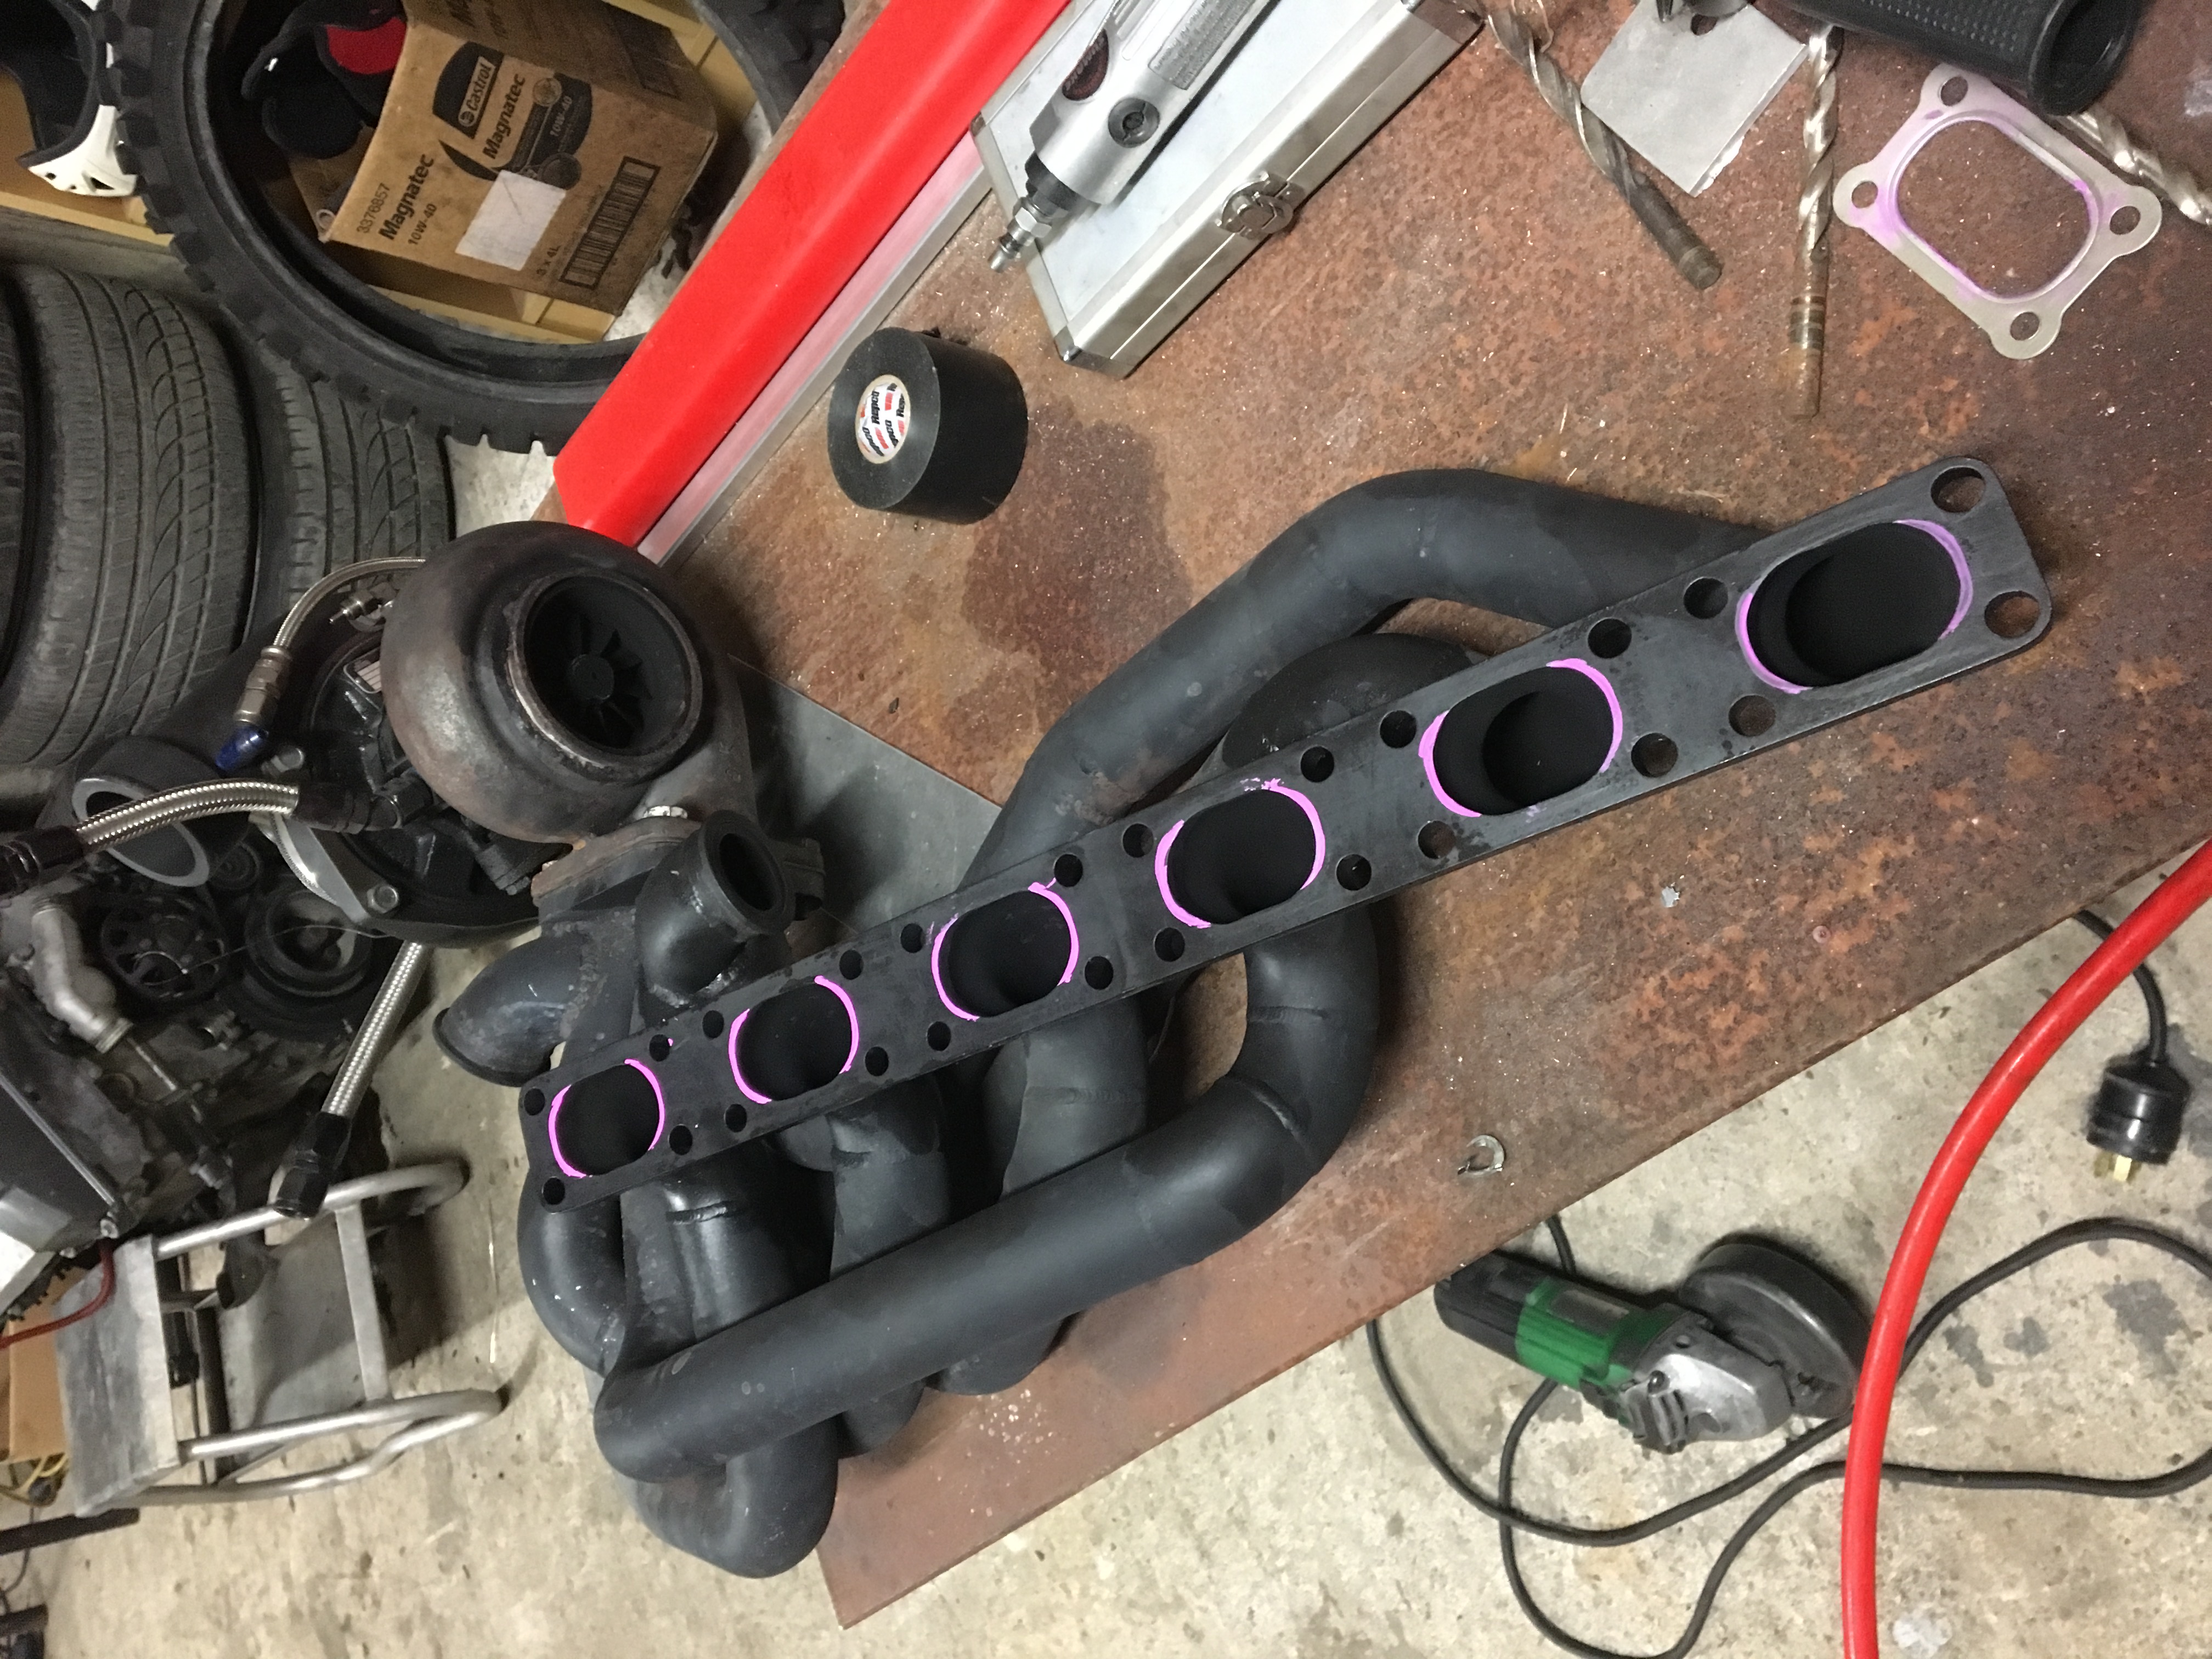
I still can't get over how big the ports are on these heads, it's making me think about the exhaust mani that I've got, I'm going to have to do some serious die grinding to match ports
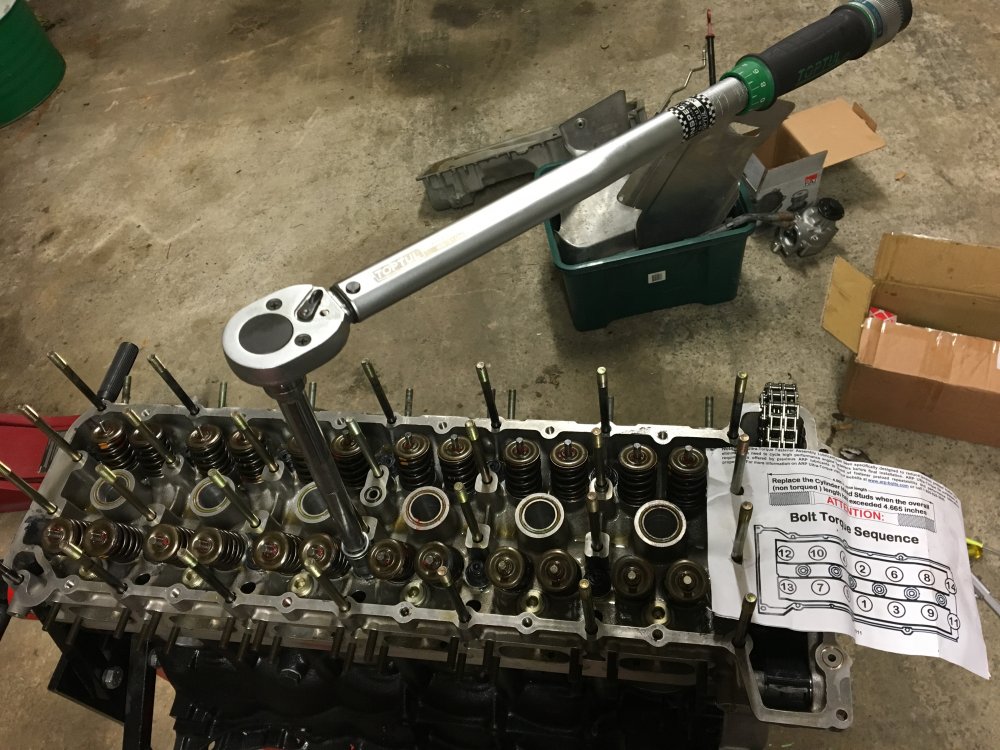
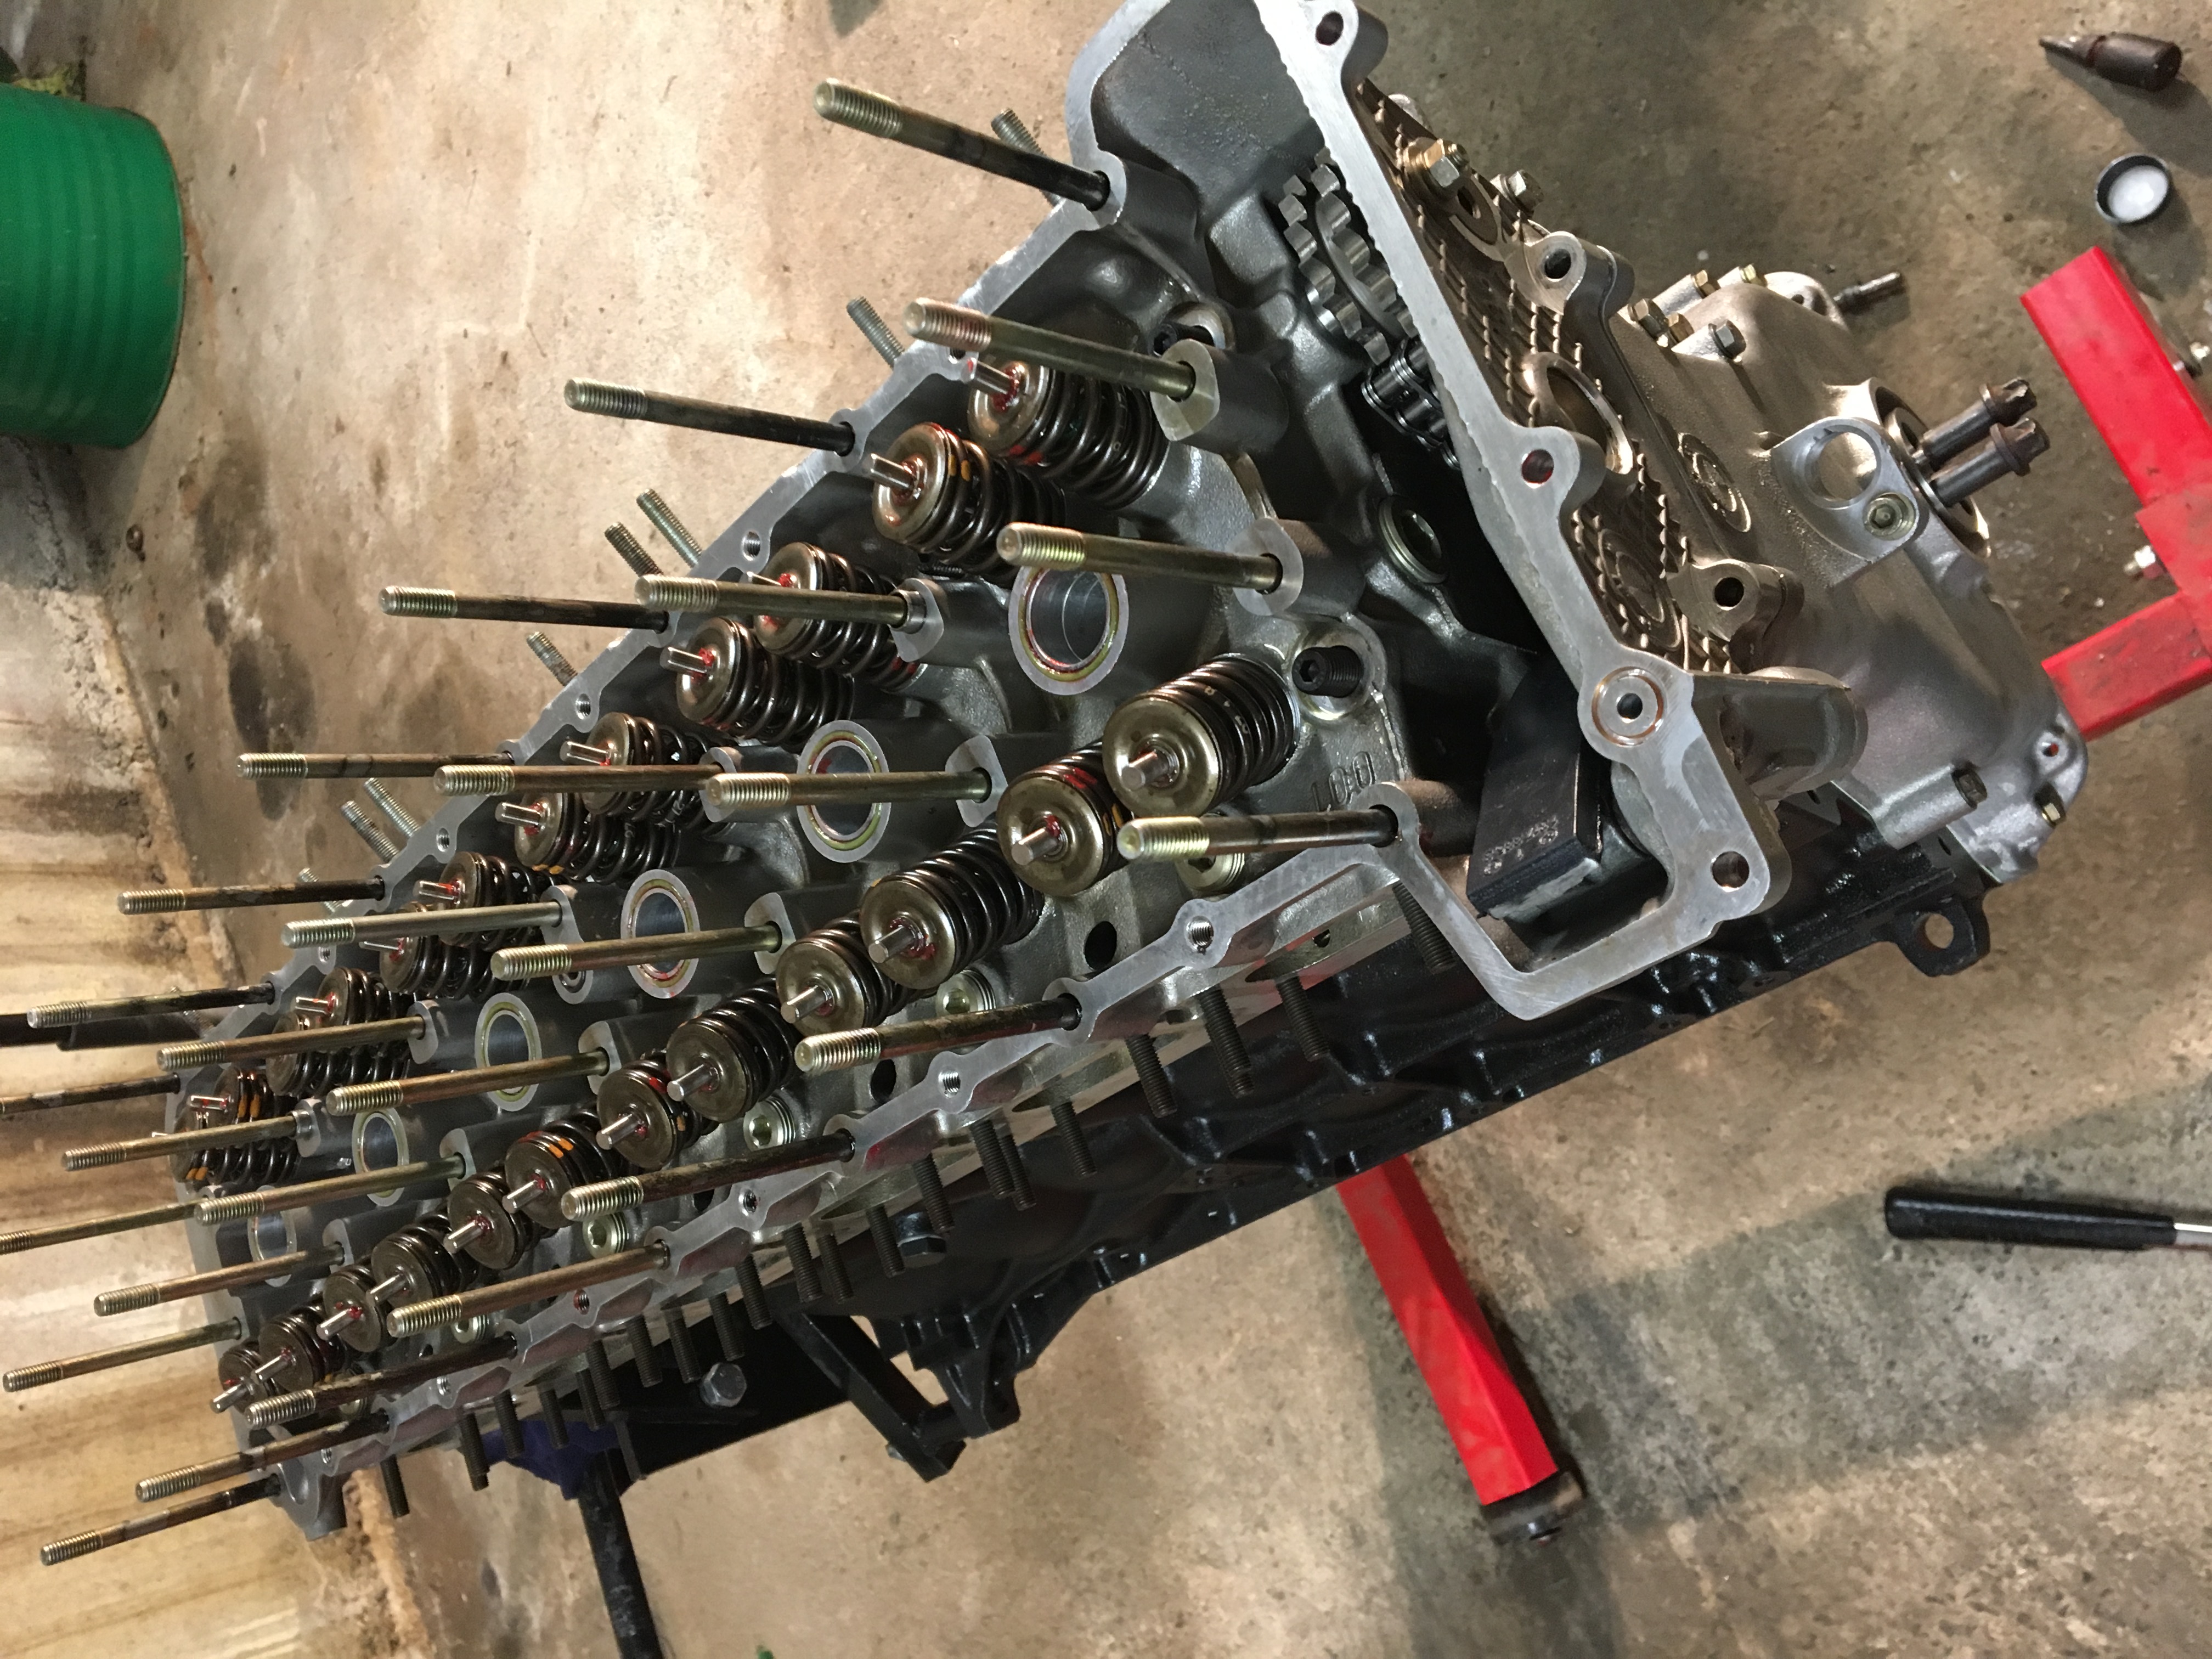
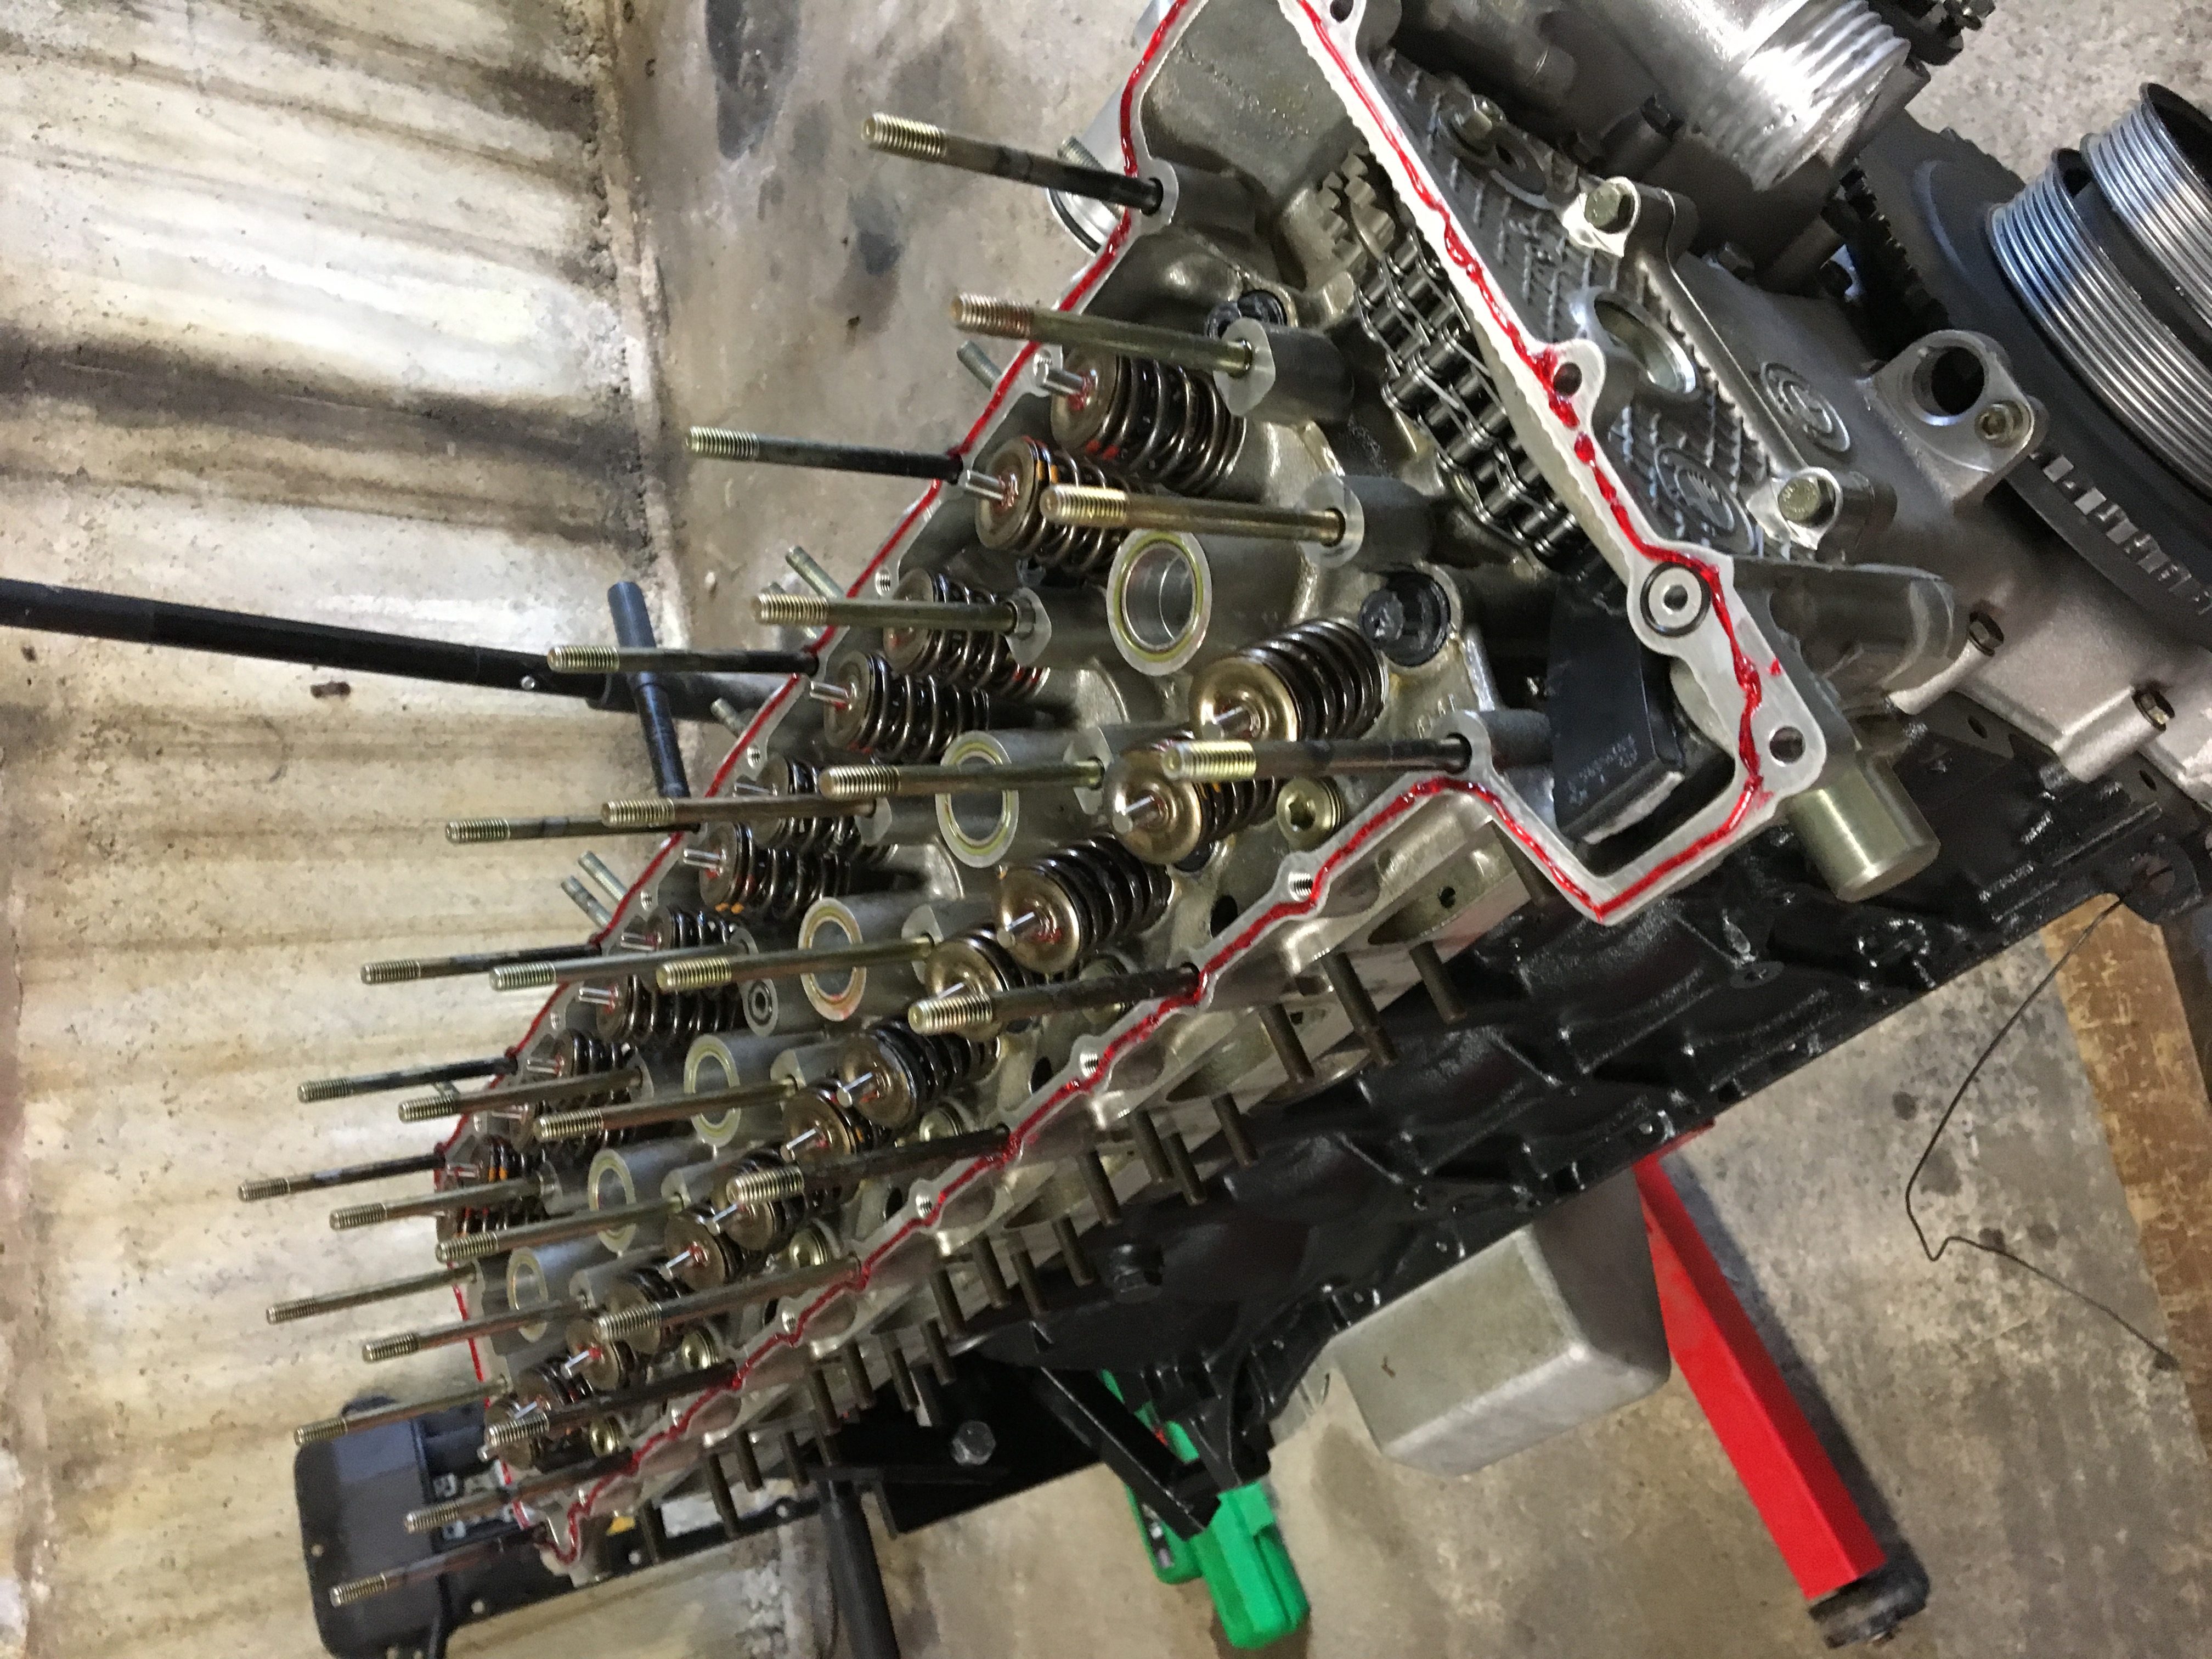
Cylinder head torqued 35nm 70nm then 105nm
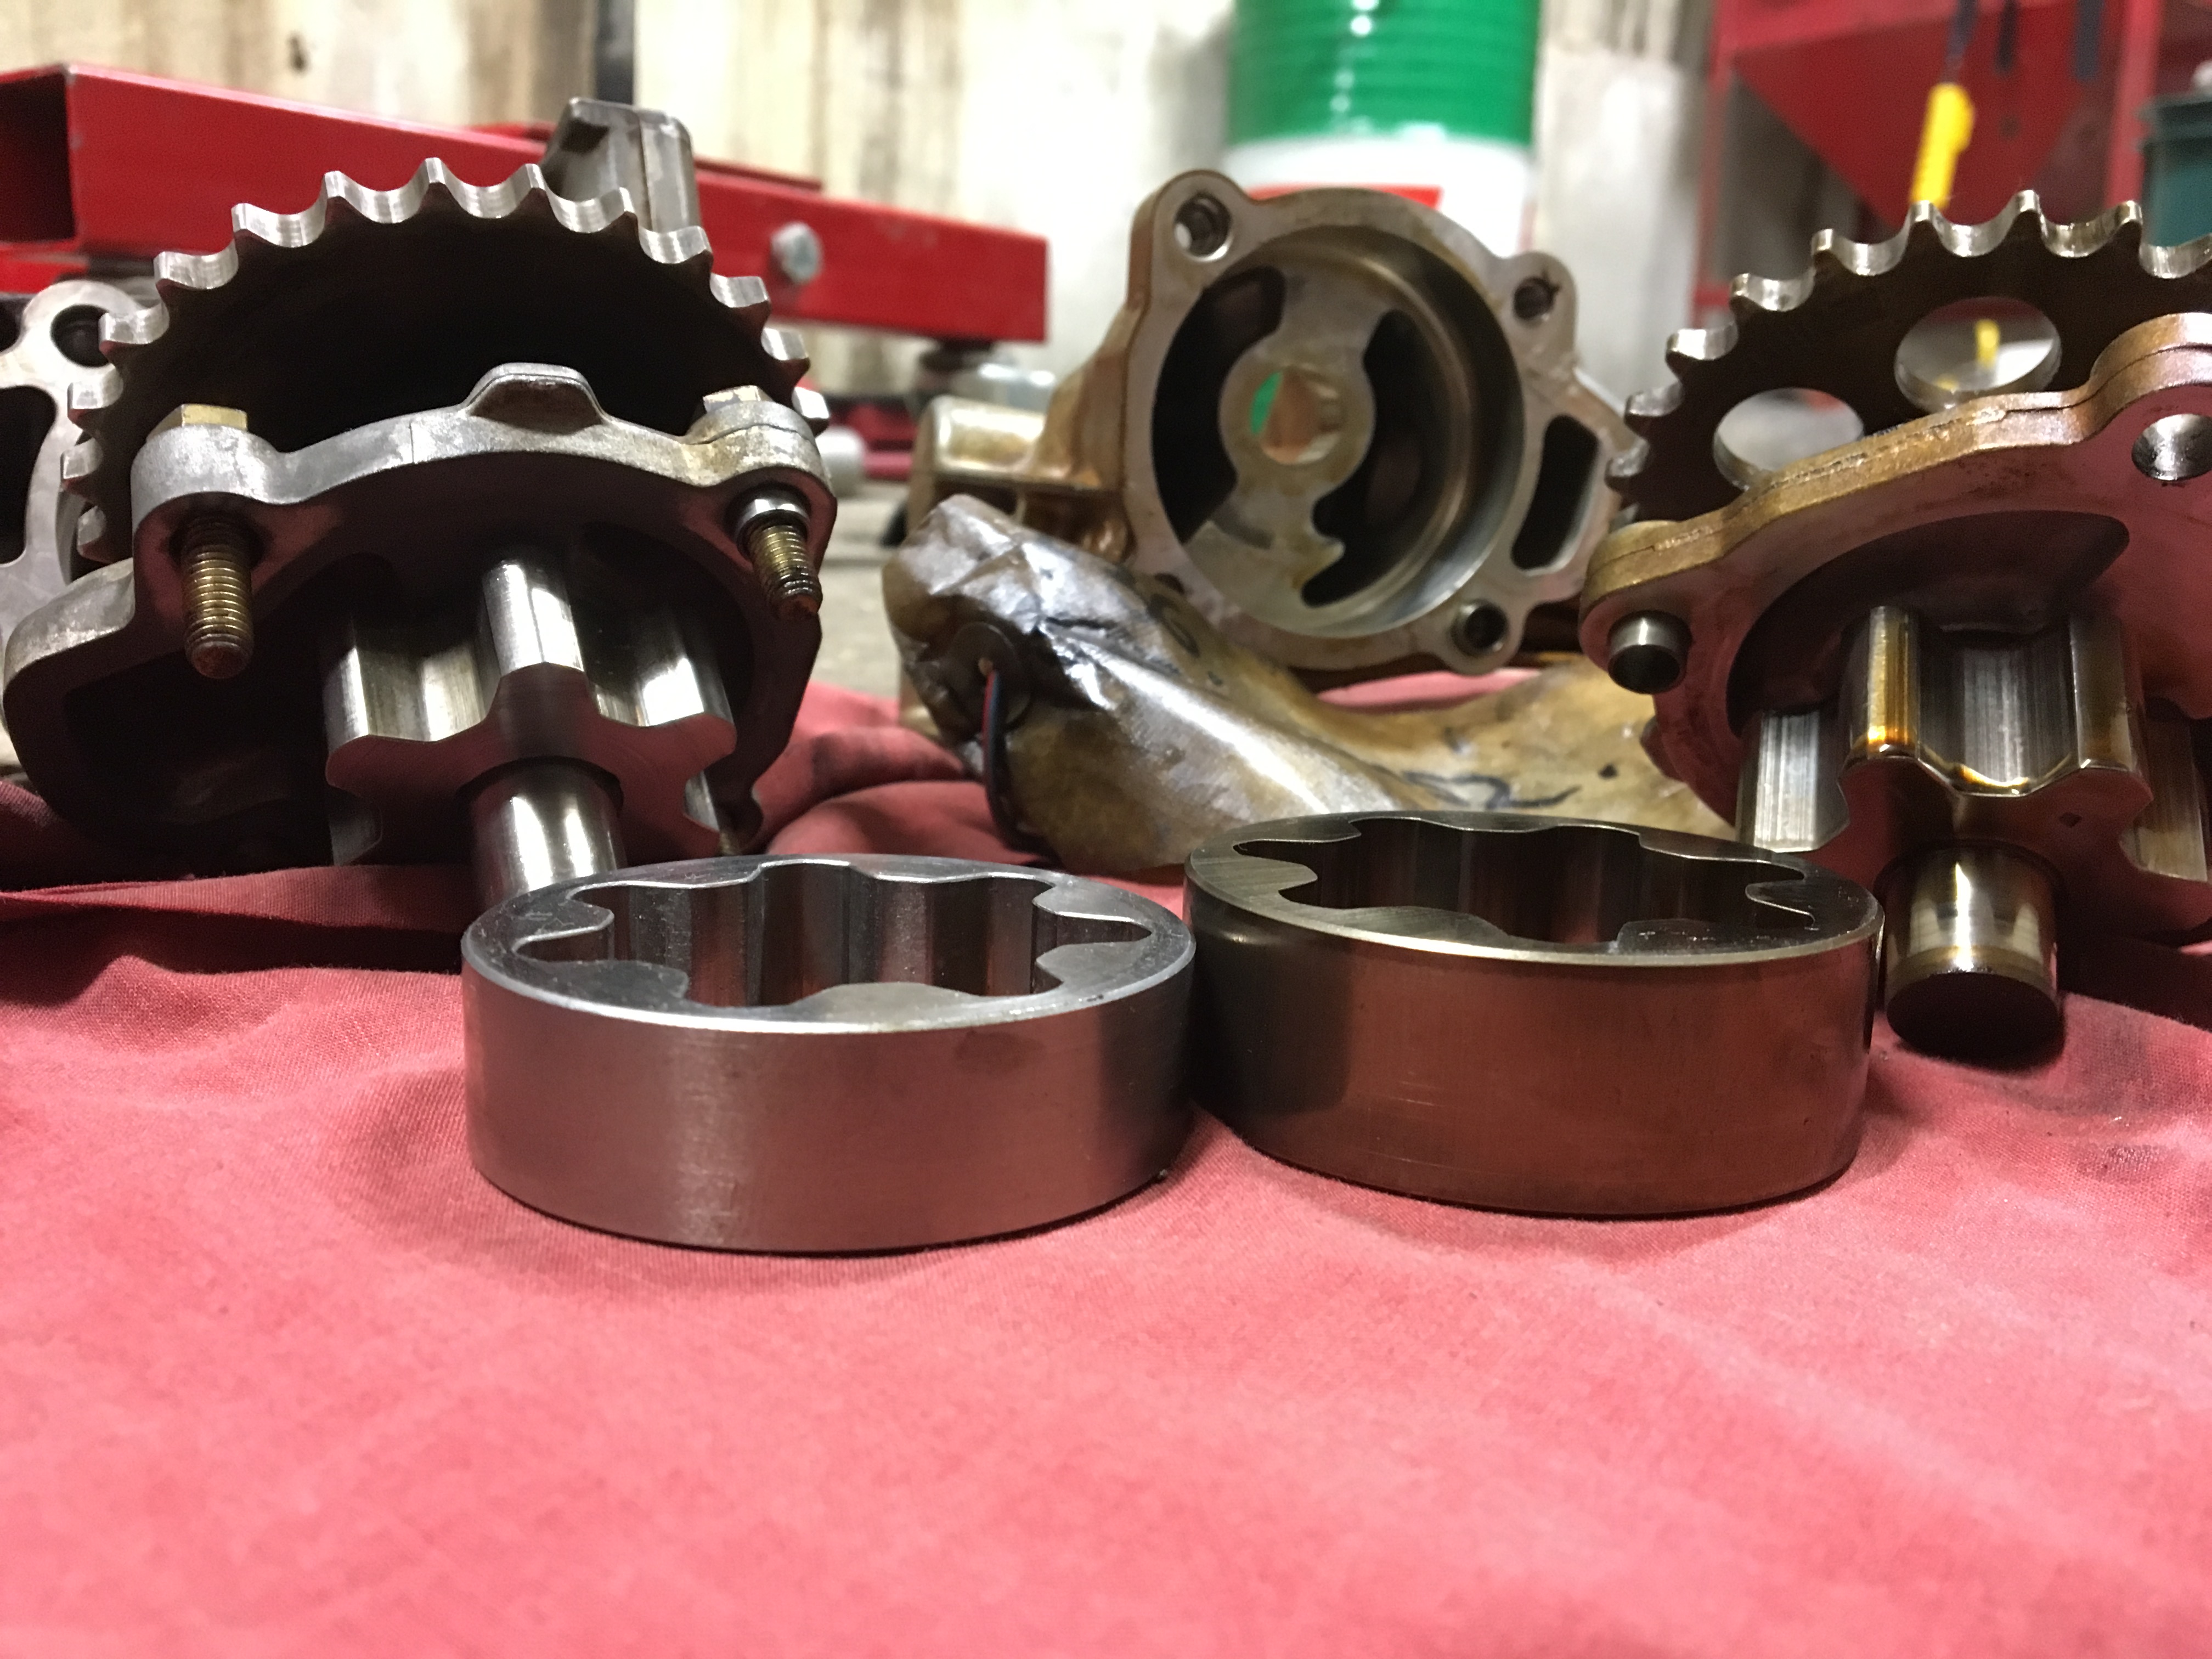
Rolled the engine over then went to look at the oil pump then remembered that the pump I is probably in a bad way, I pulled it apart and found very bad scoring and pitting all through it, so went though our stock and found a m52 pump that had a pump wheel, I then found to mount it I had to slot the rear bolt hole about 4mm inwards, also swapped the spring and sleeve from the m3 pump into the m52 so the insides remain the same sort of, I swapped the sprockets over and tig welded the nut to the sprocket and to the shaft, job done
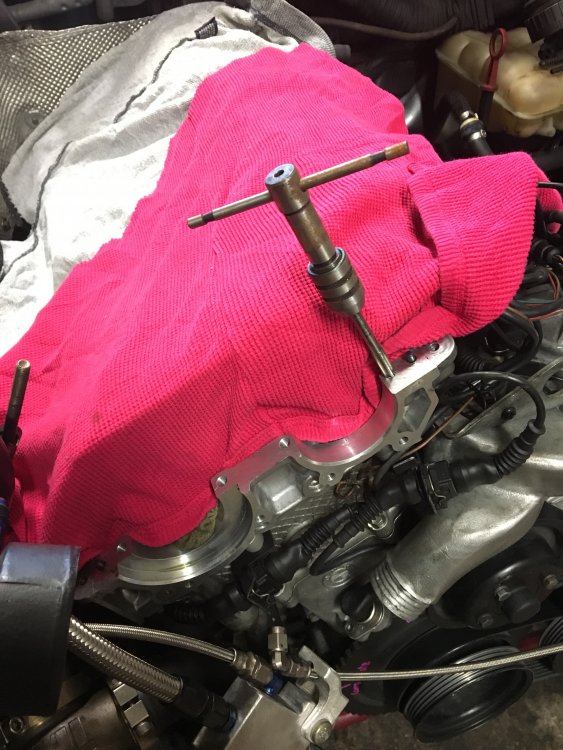
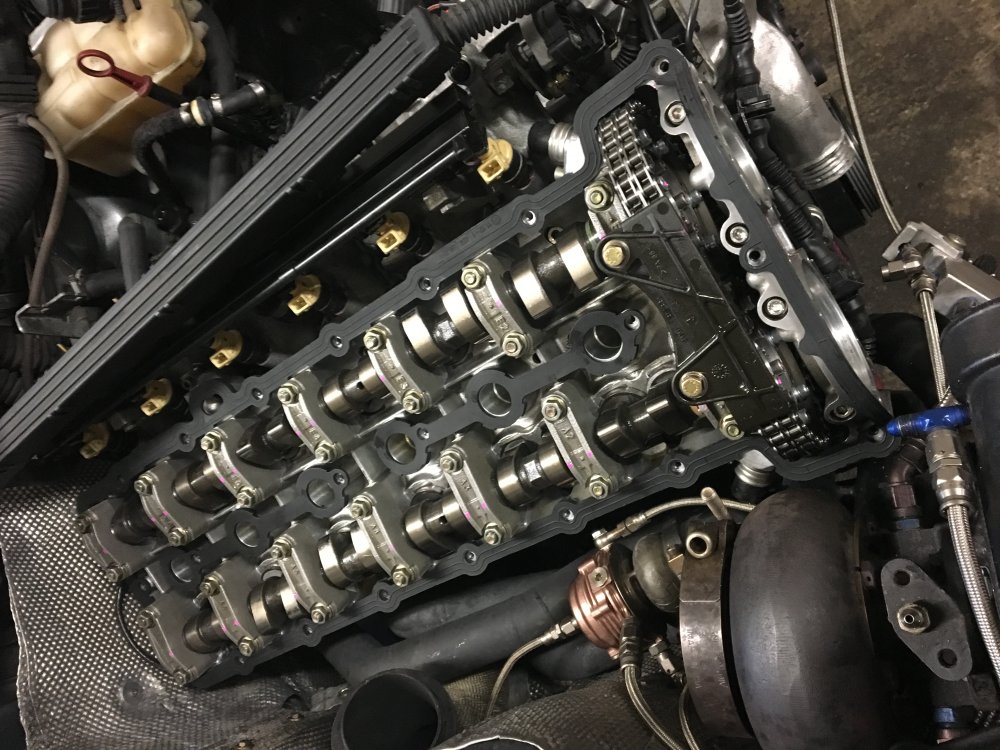
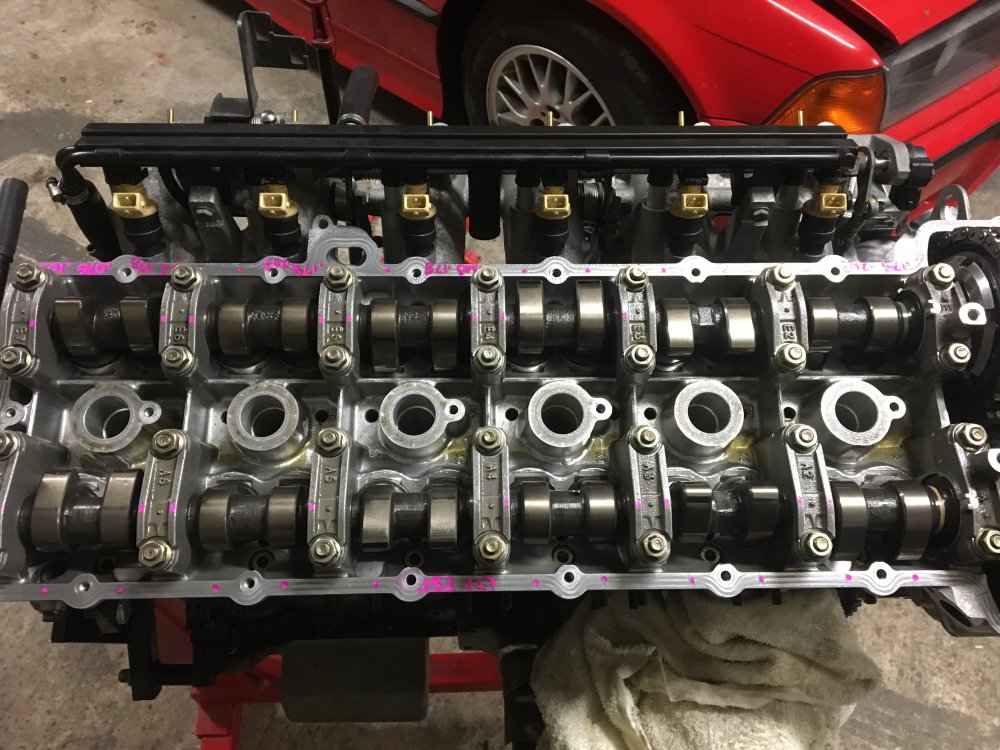
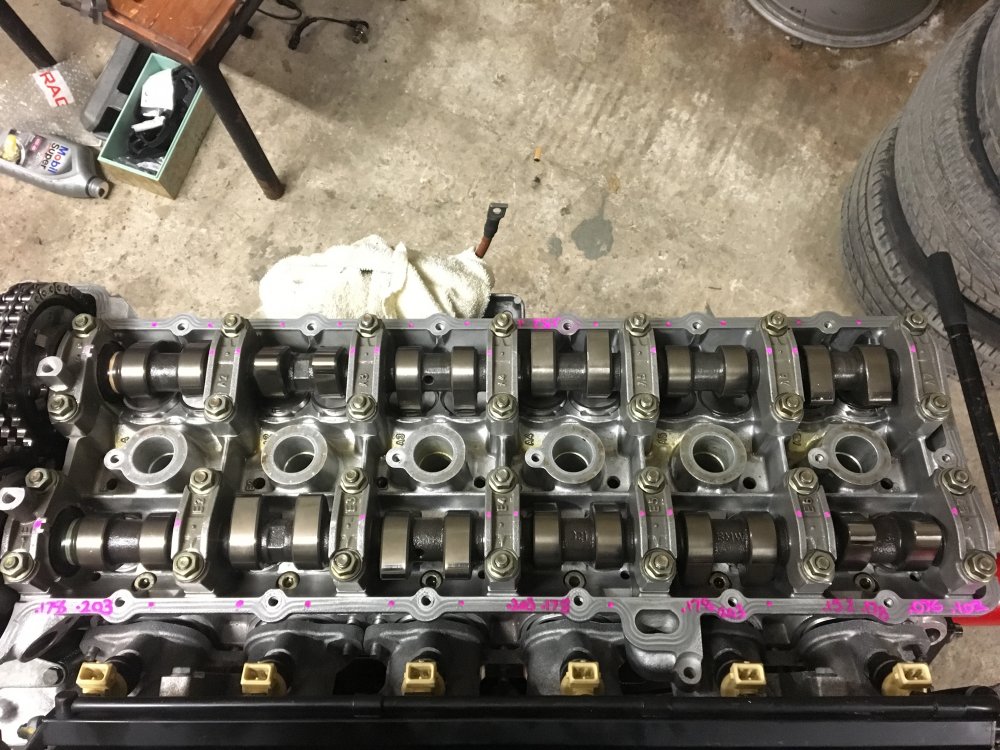
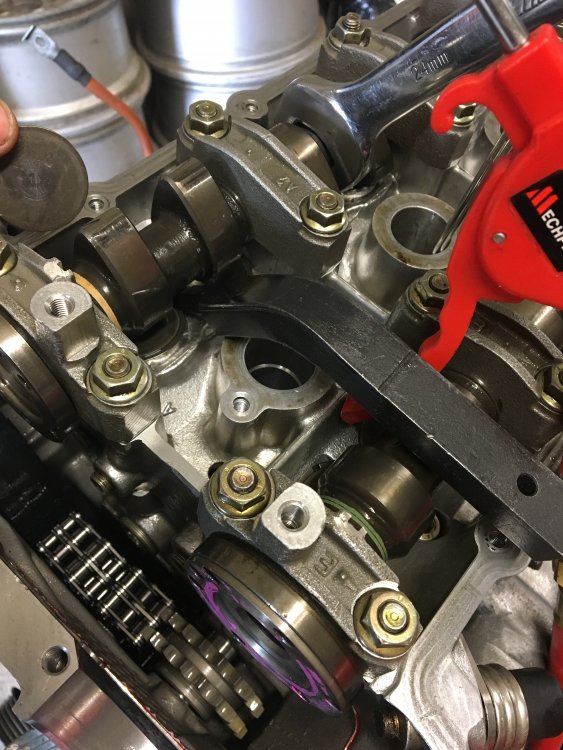
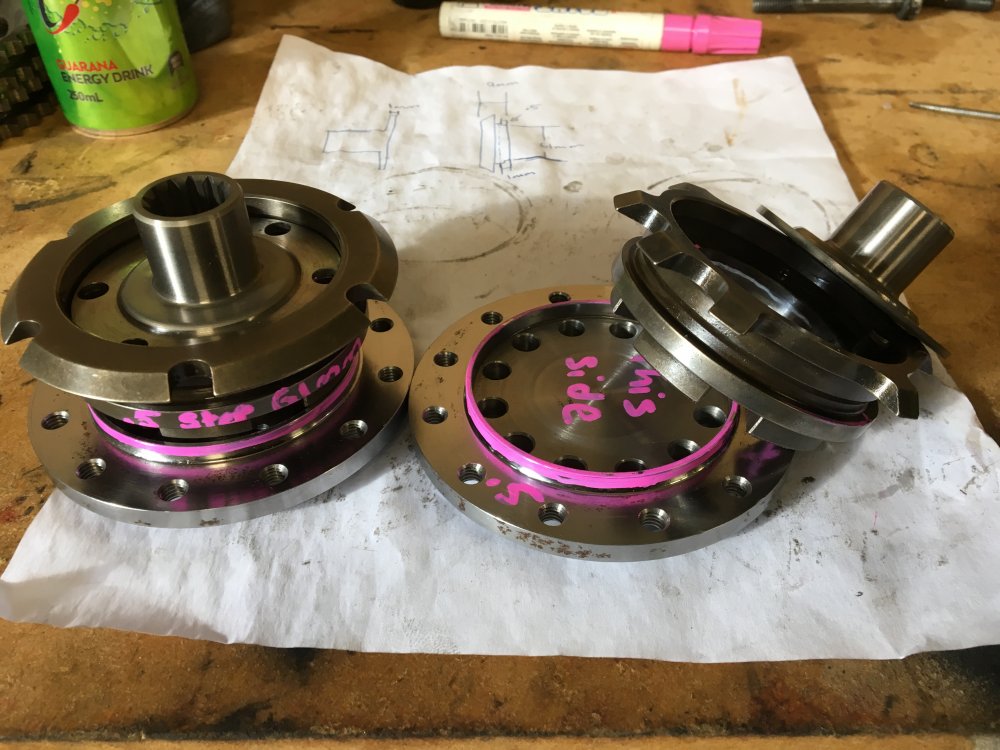
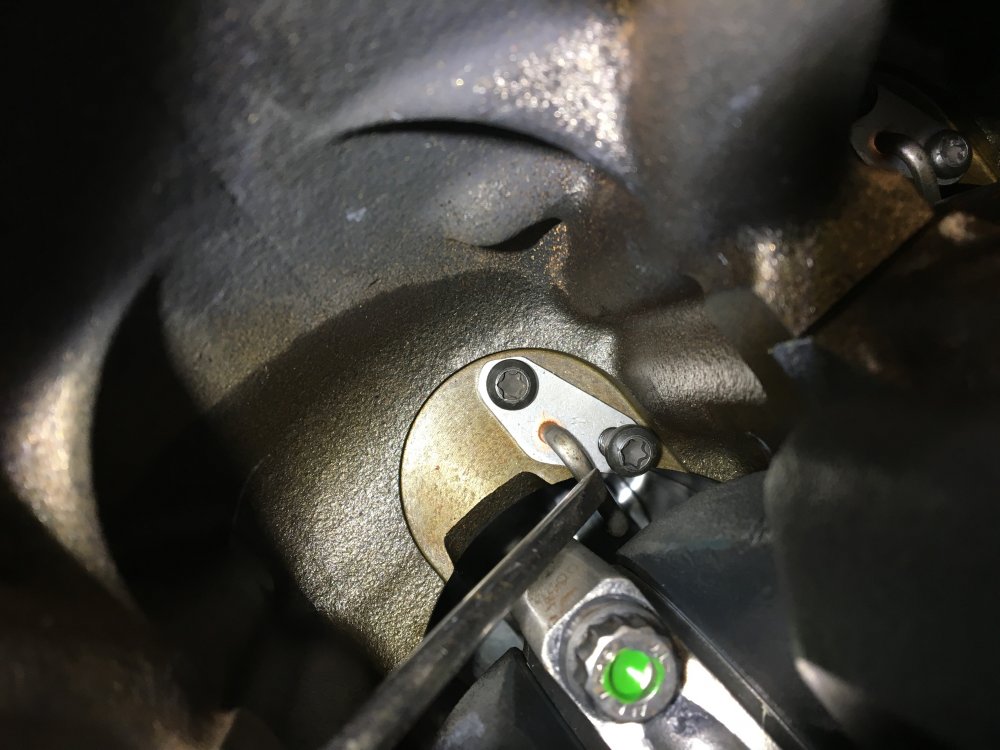
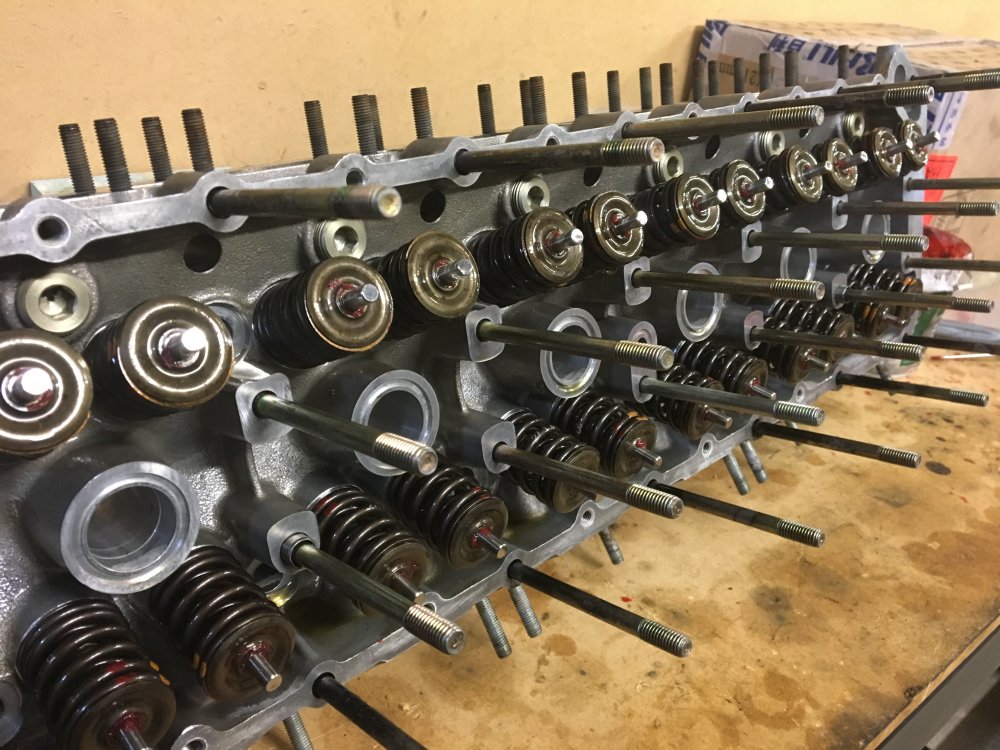
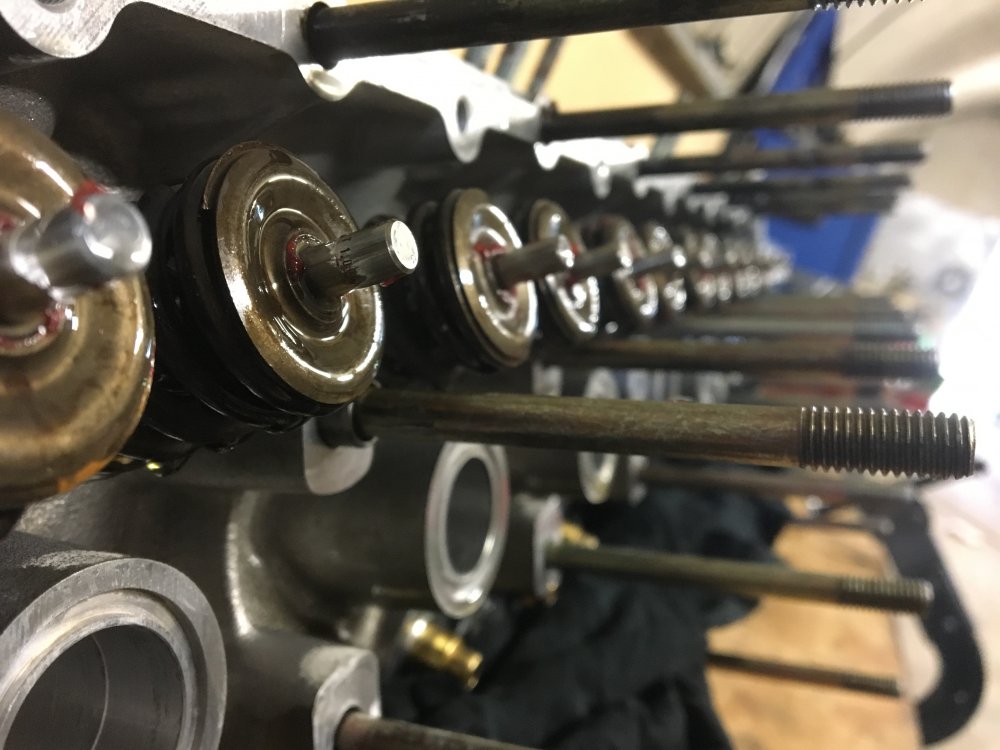
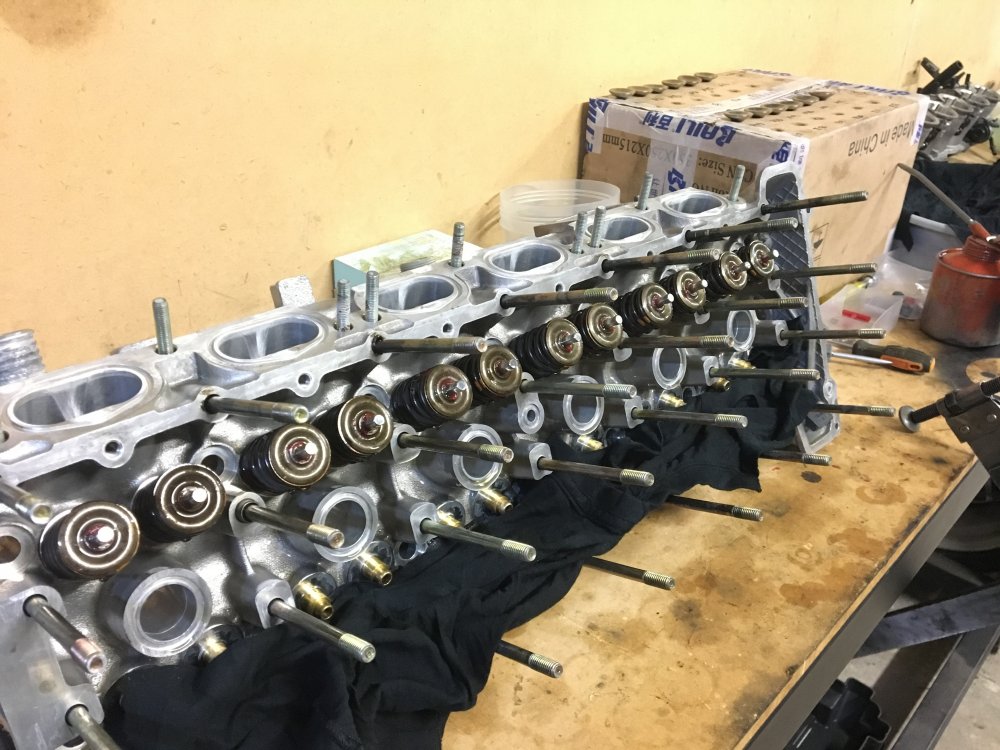
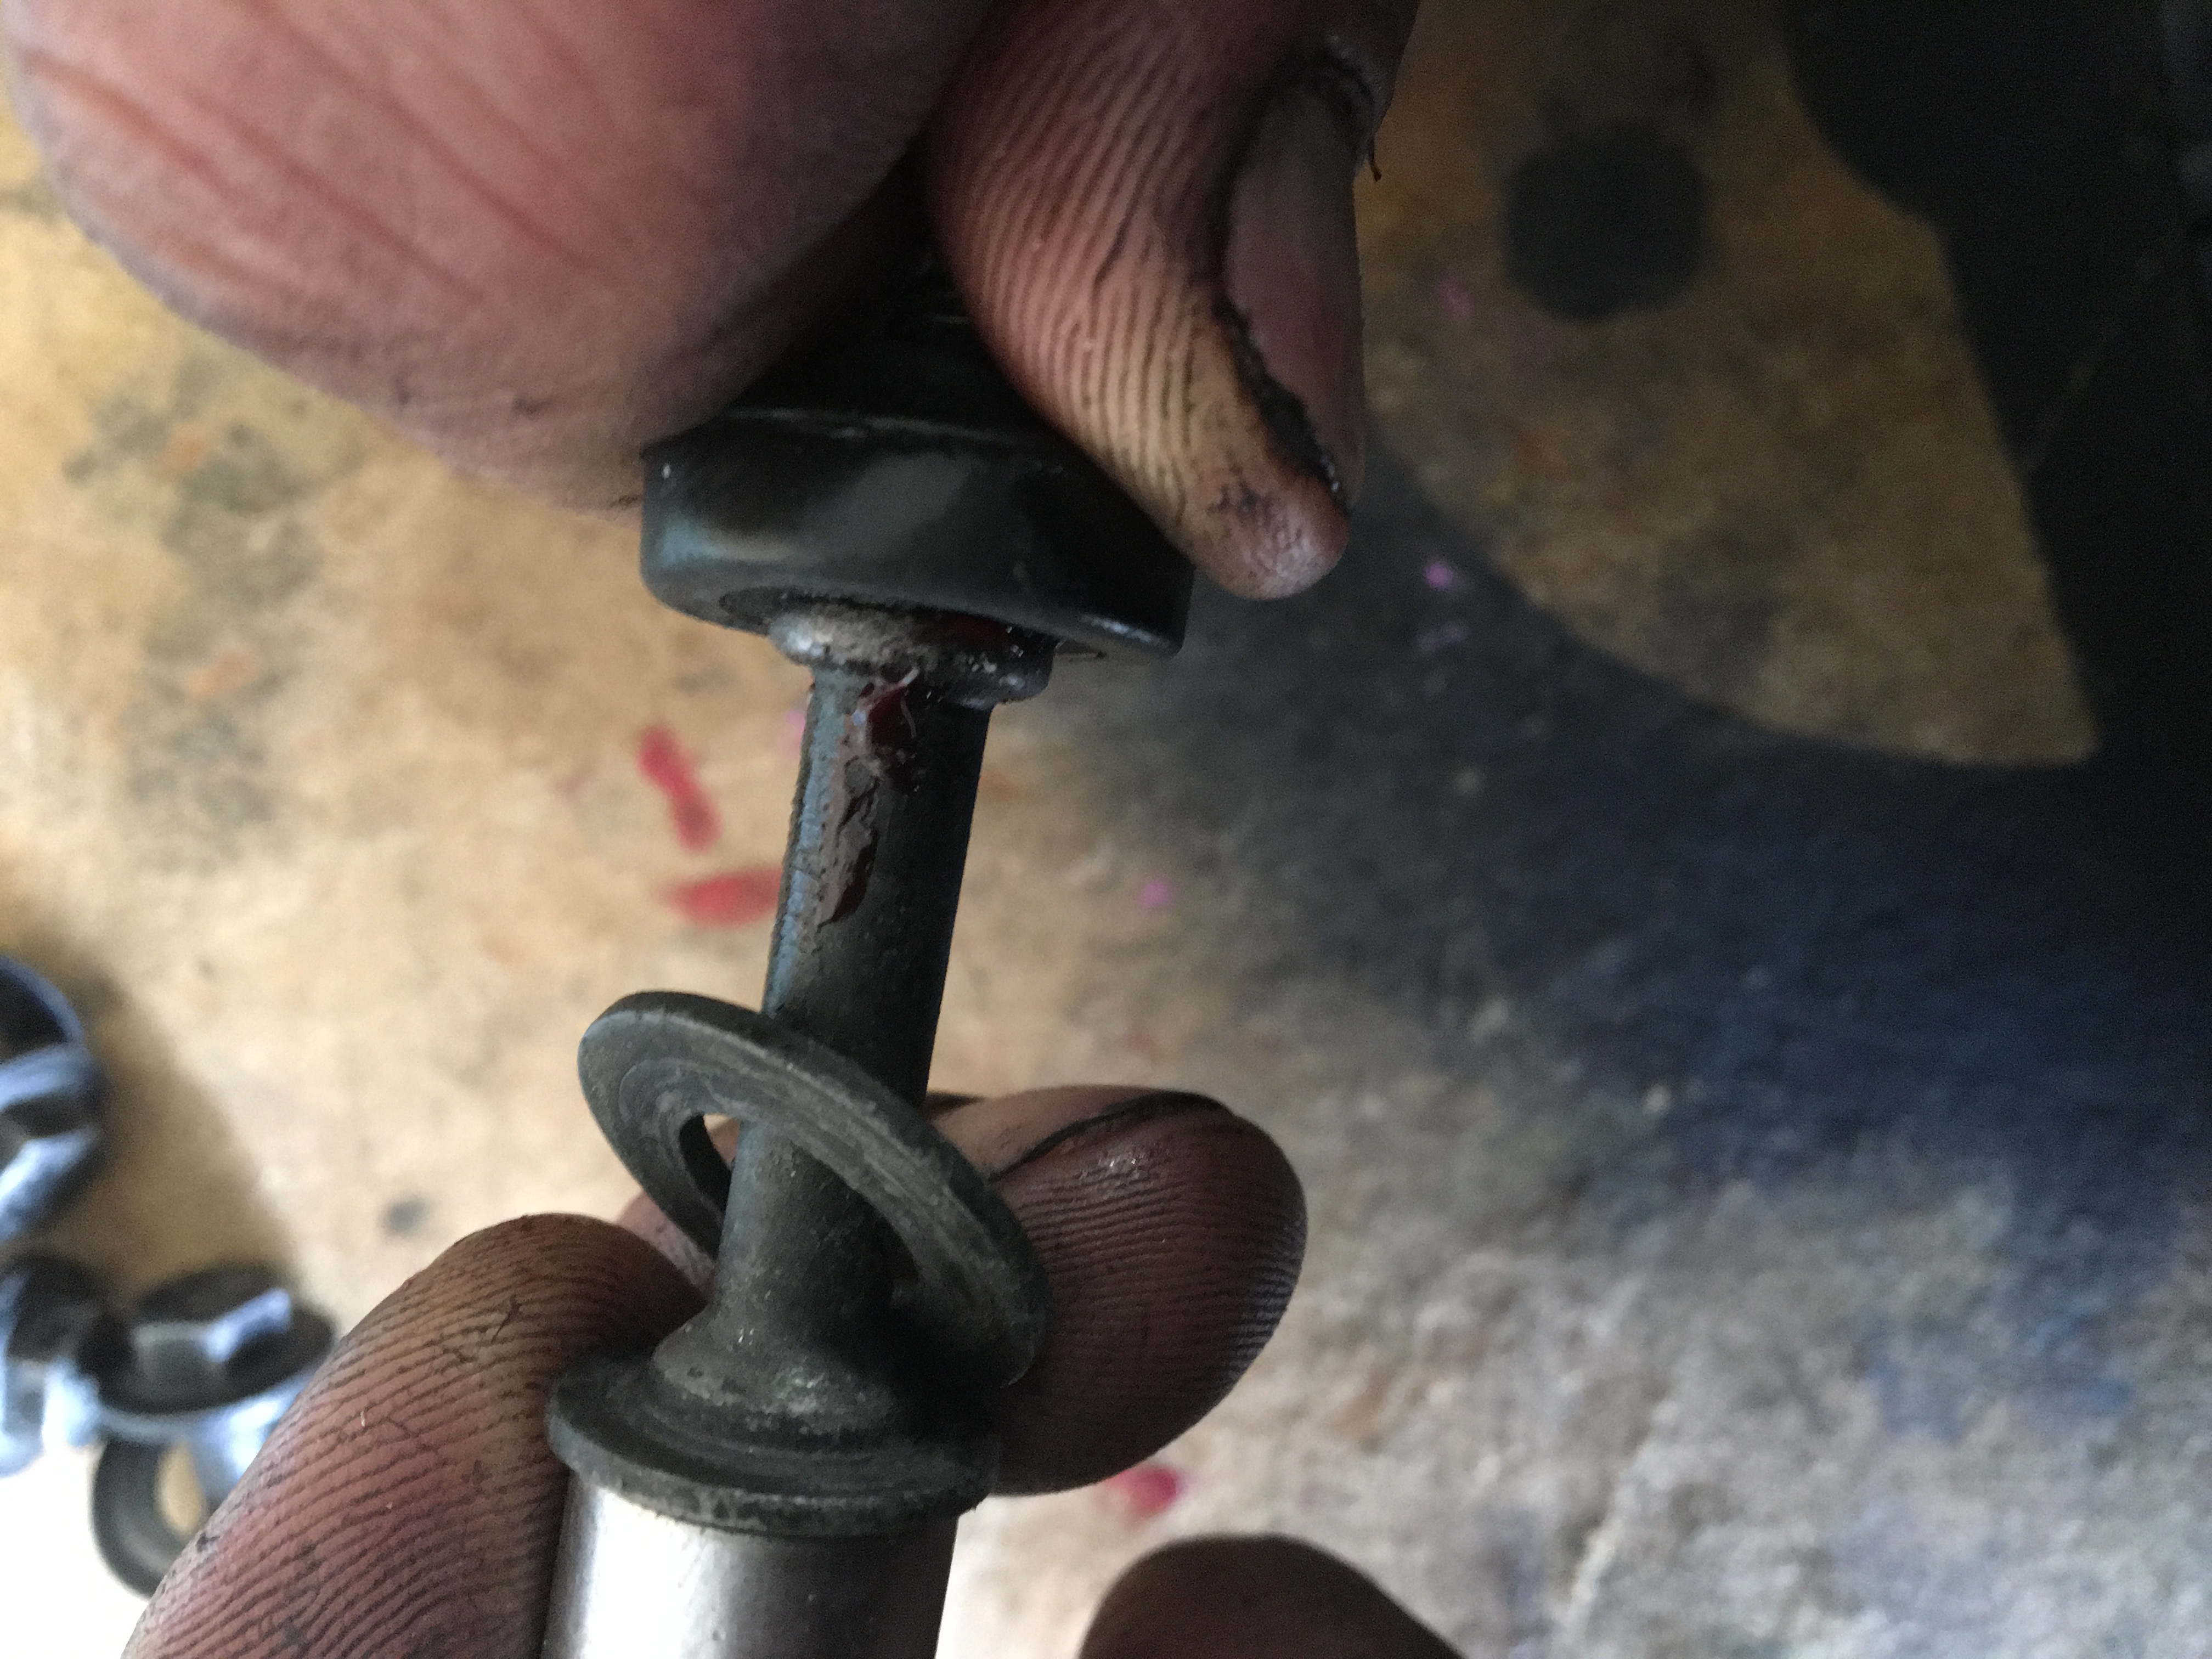
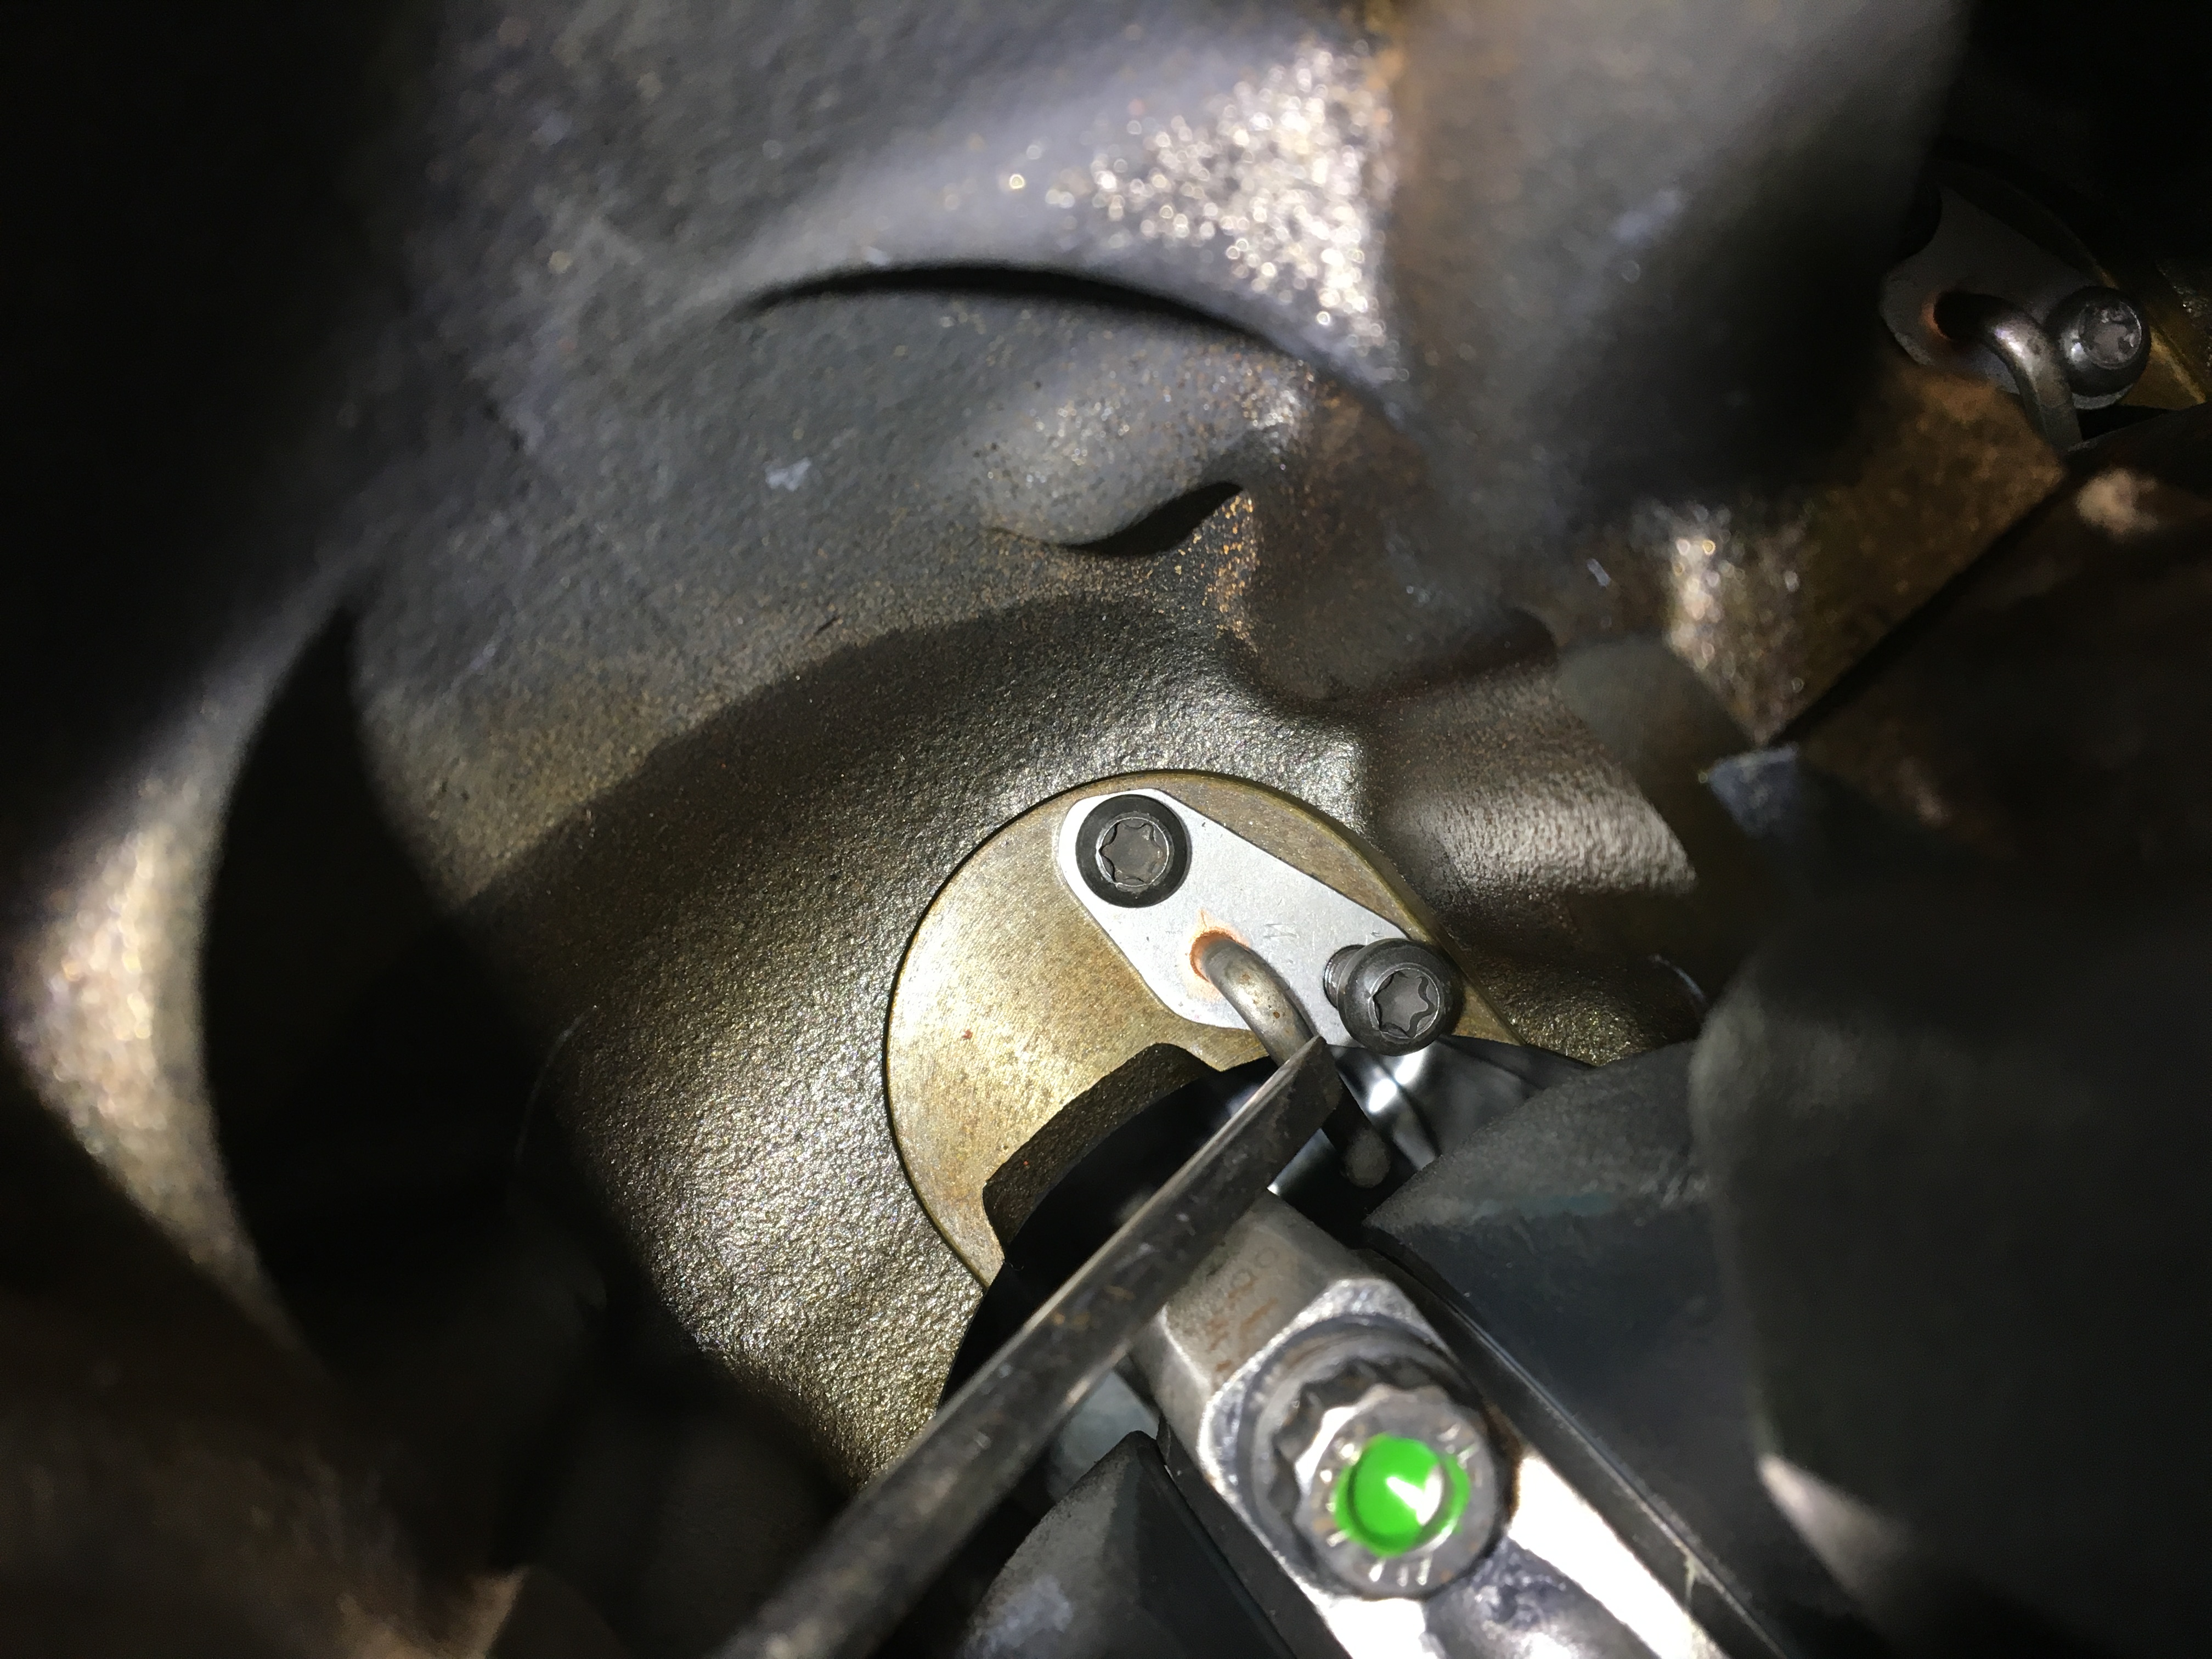
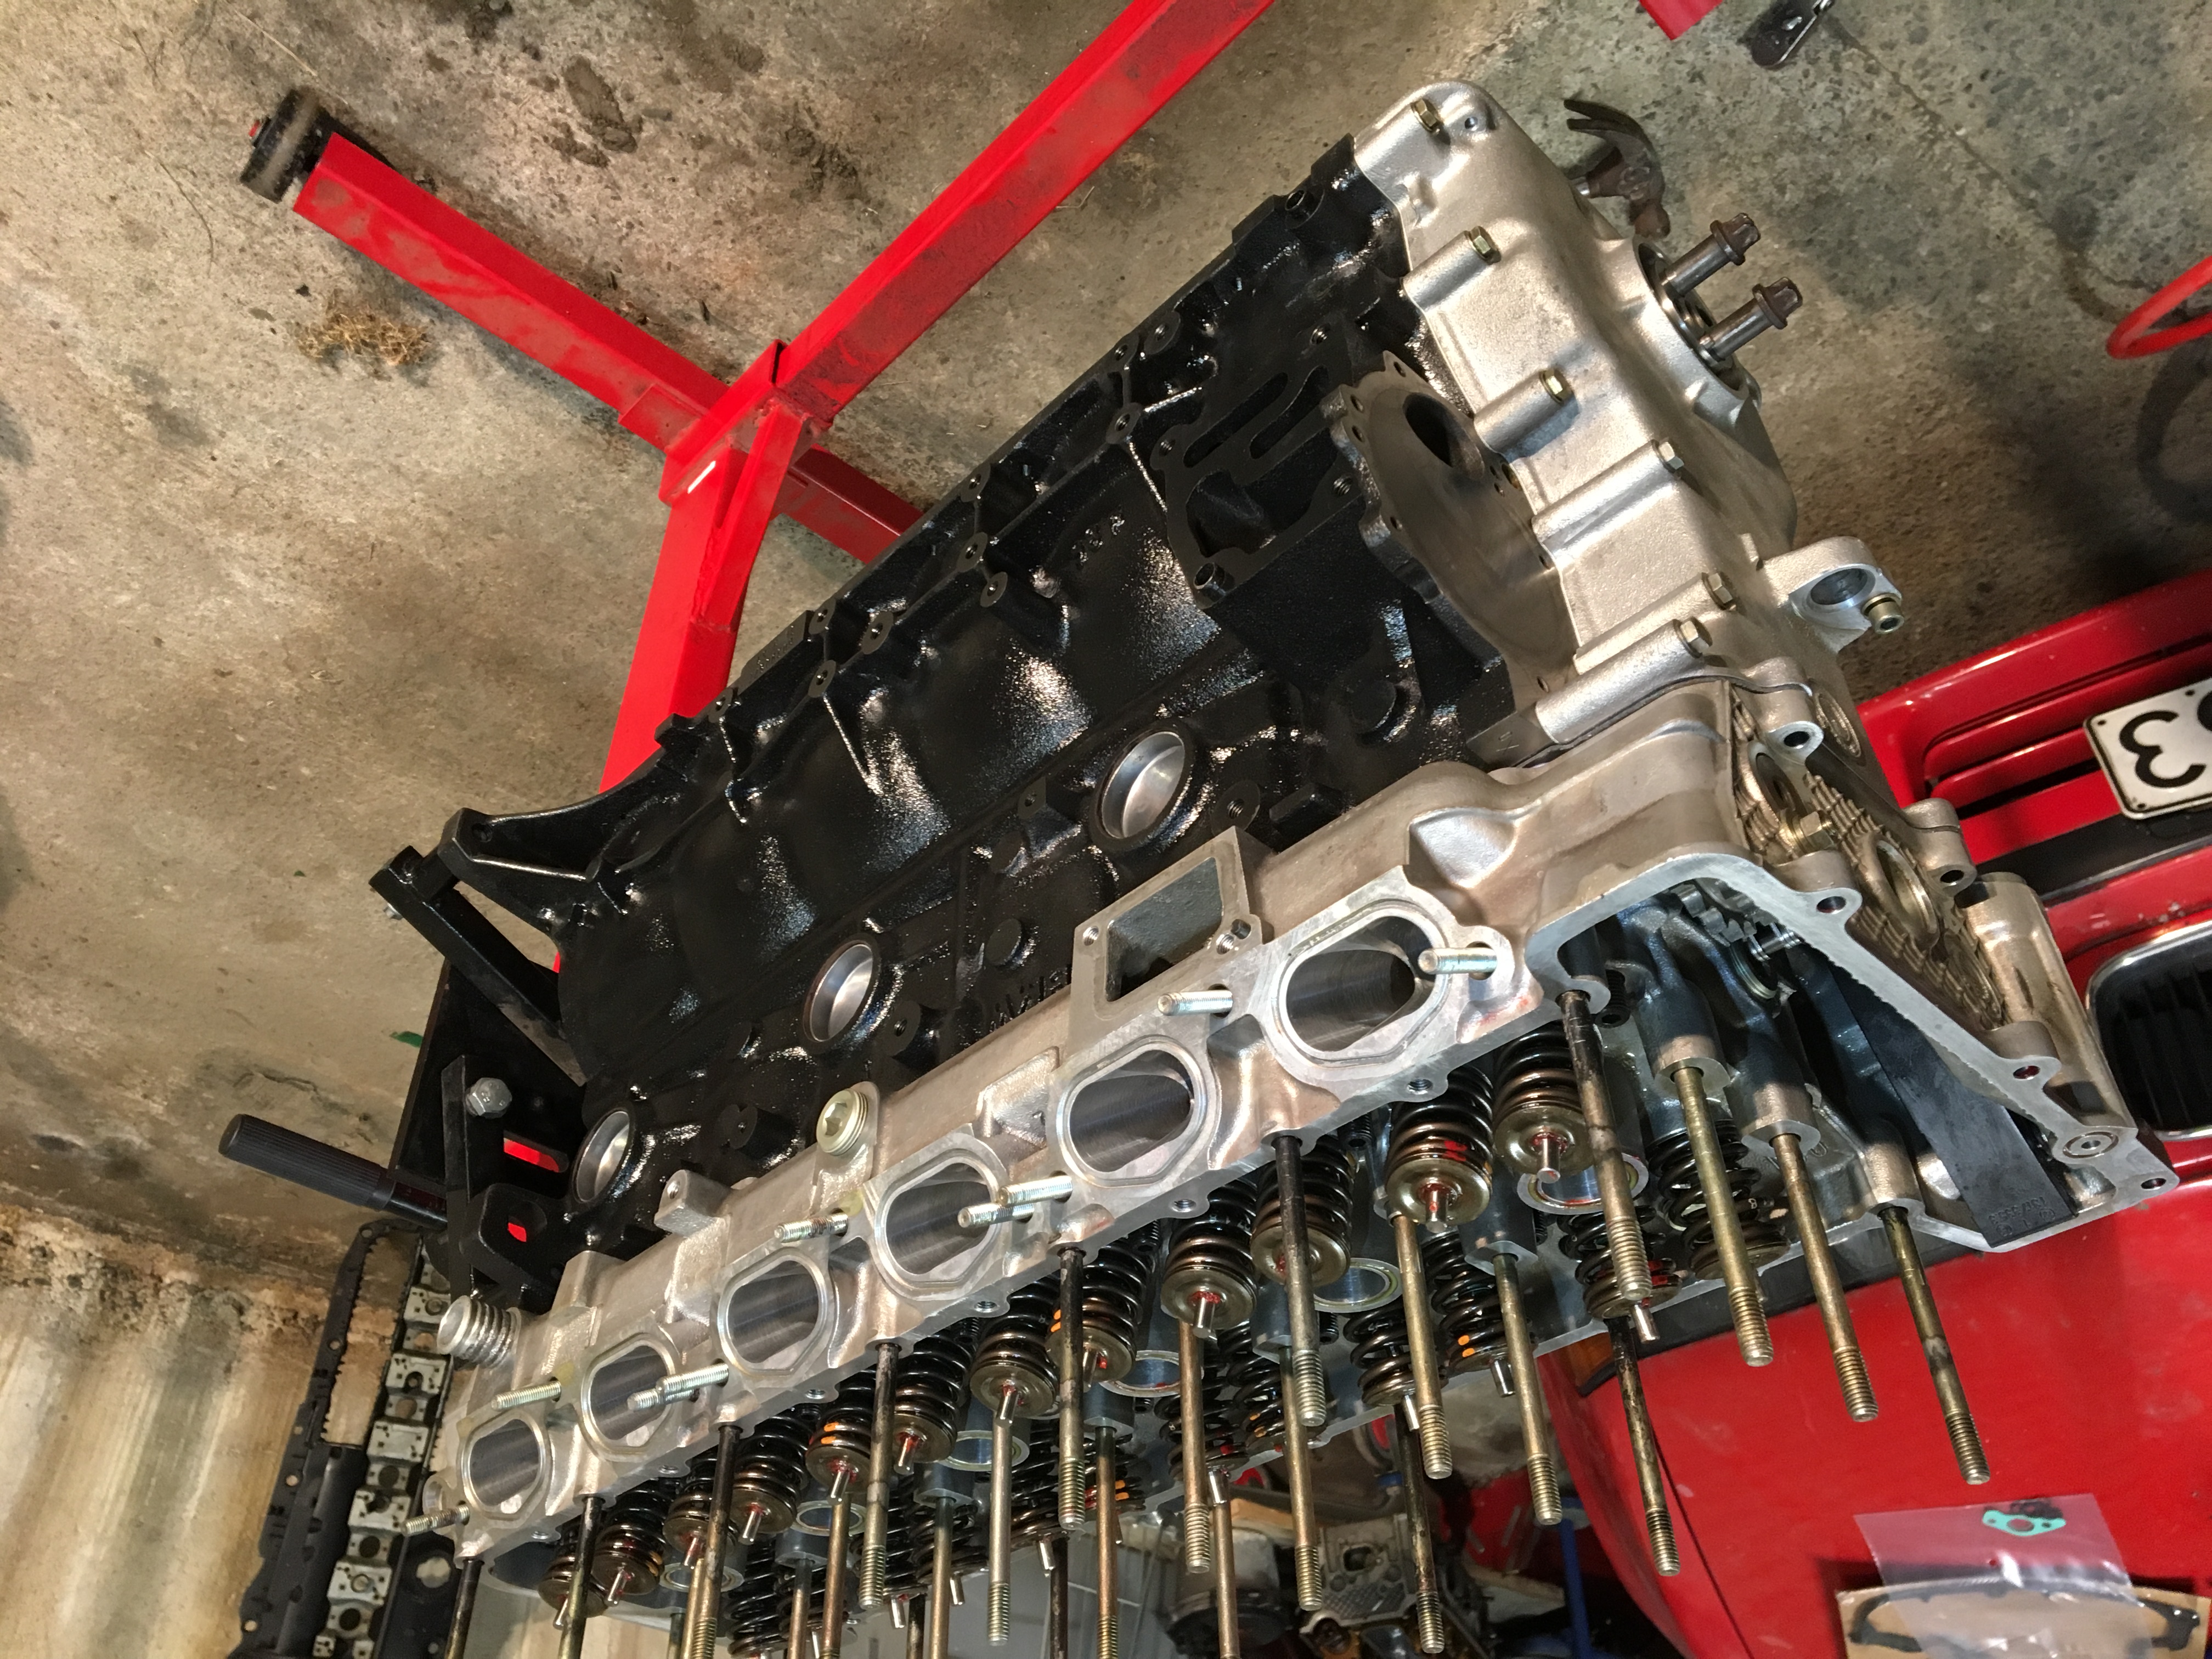
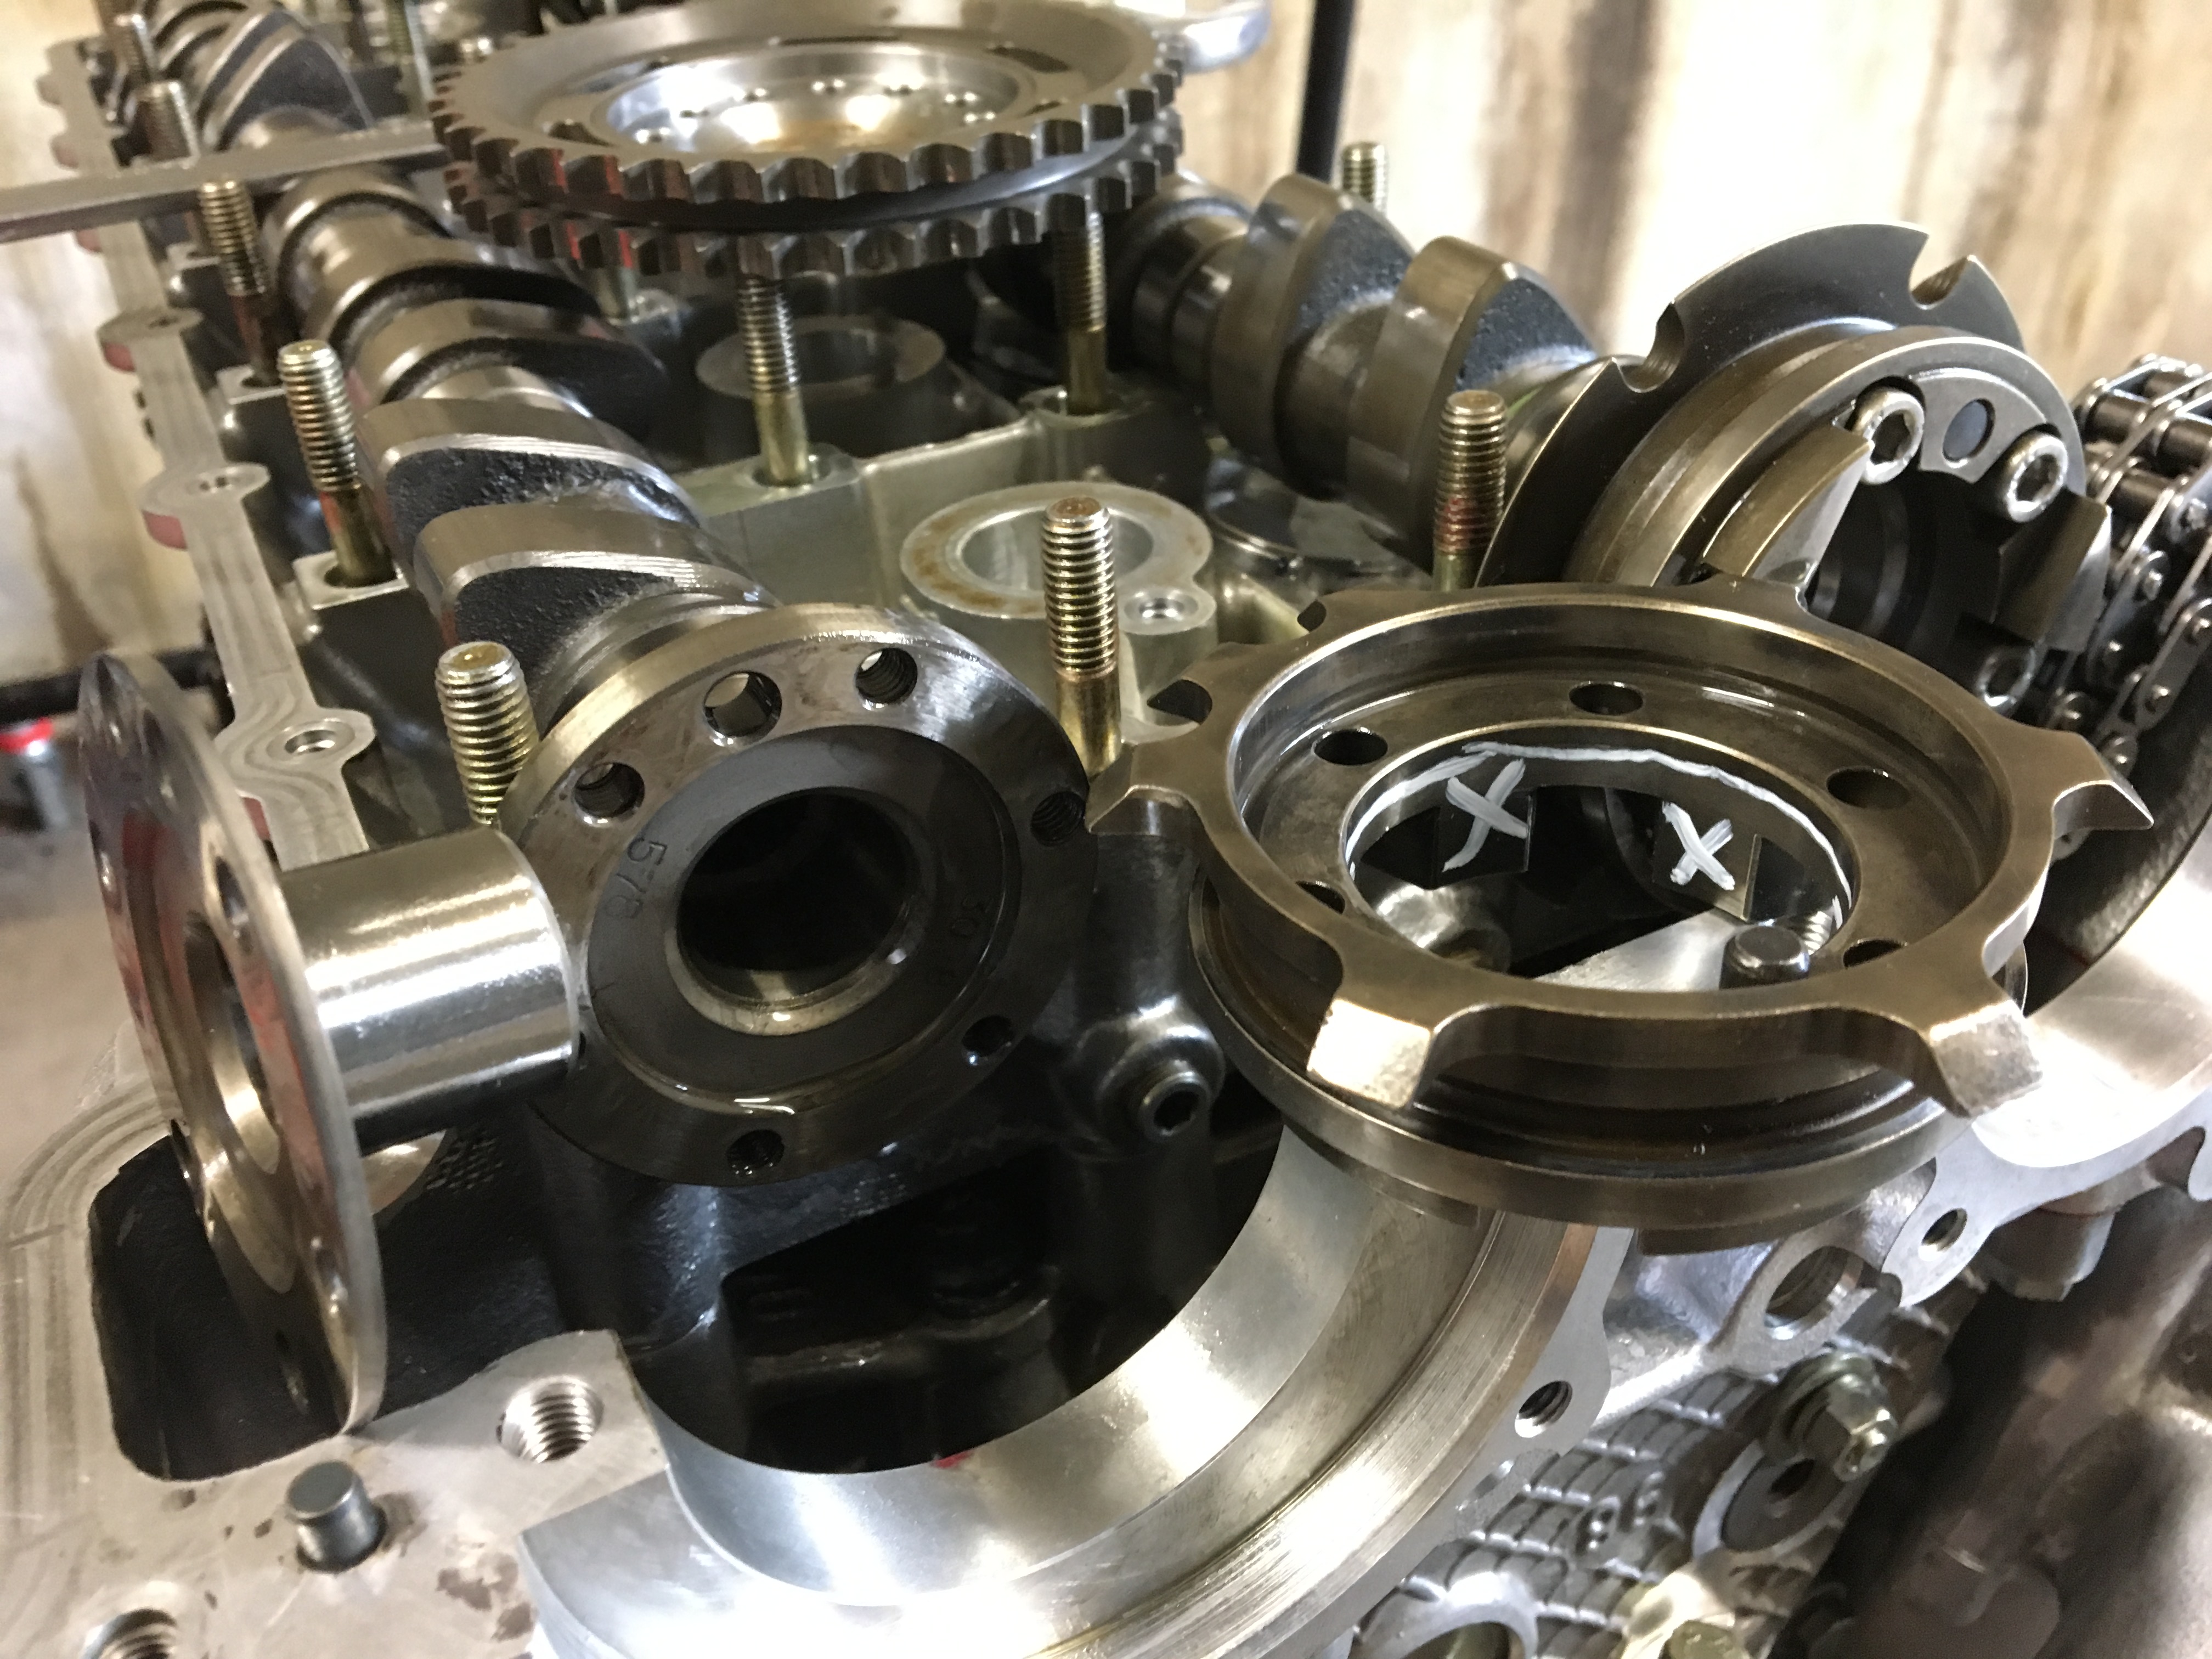
On the top part of the cylinder head applyed some lock tight red sealant replacing the o-rings in between then proceeded to install the cams then I remembered someone saying I have to run a cam trigger wheel on one cam and didn't get any trigger wheels from vac motorsports, they are really expensive so figured I try make one, as there is a 2mm spacer with spline that goes on the end of the cam shafts between the sprocket plates I figure that seens as there is 2mm I can reduce the spacer to 1mm and then cut one of the trigger wheels 1mm from the mating face then I get my 2mm and everything will line up apart from my cam sensor, the trigger will sit 1mm closer inwards to the head as it used to sit after the spacer, I may be able to space out the sensor with a washer time will tell.
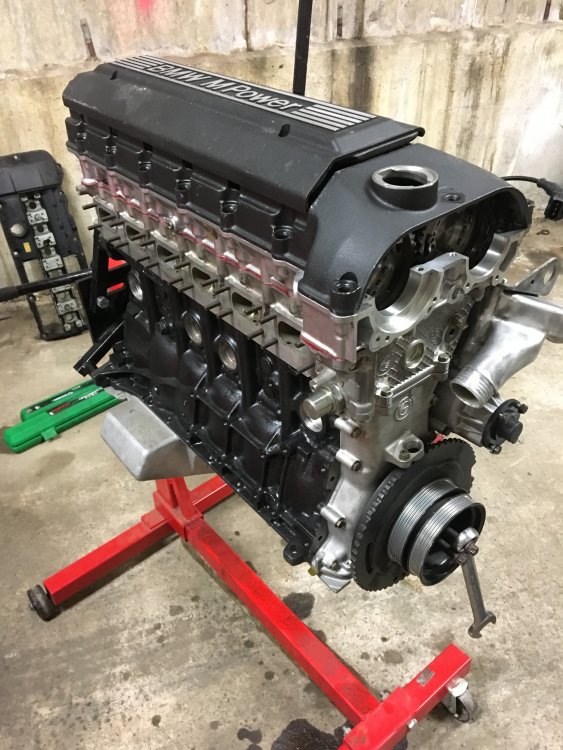
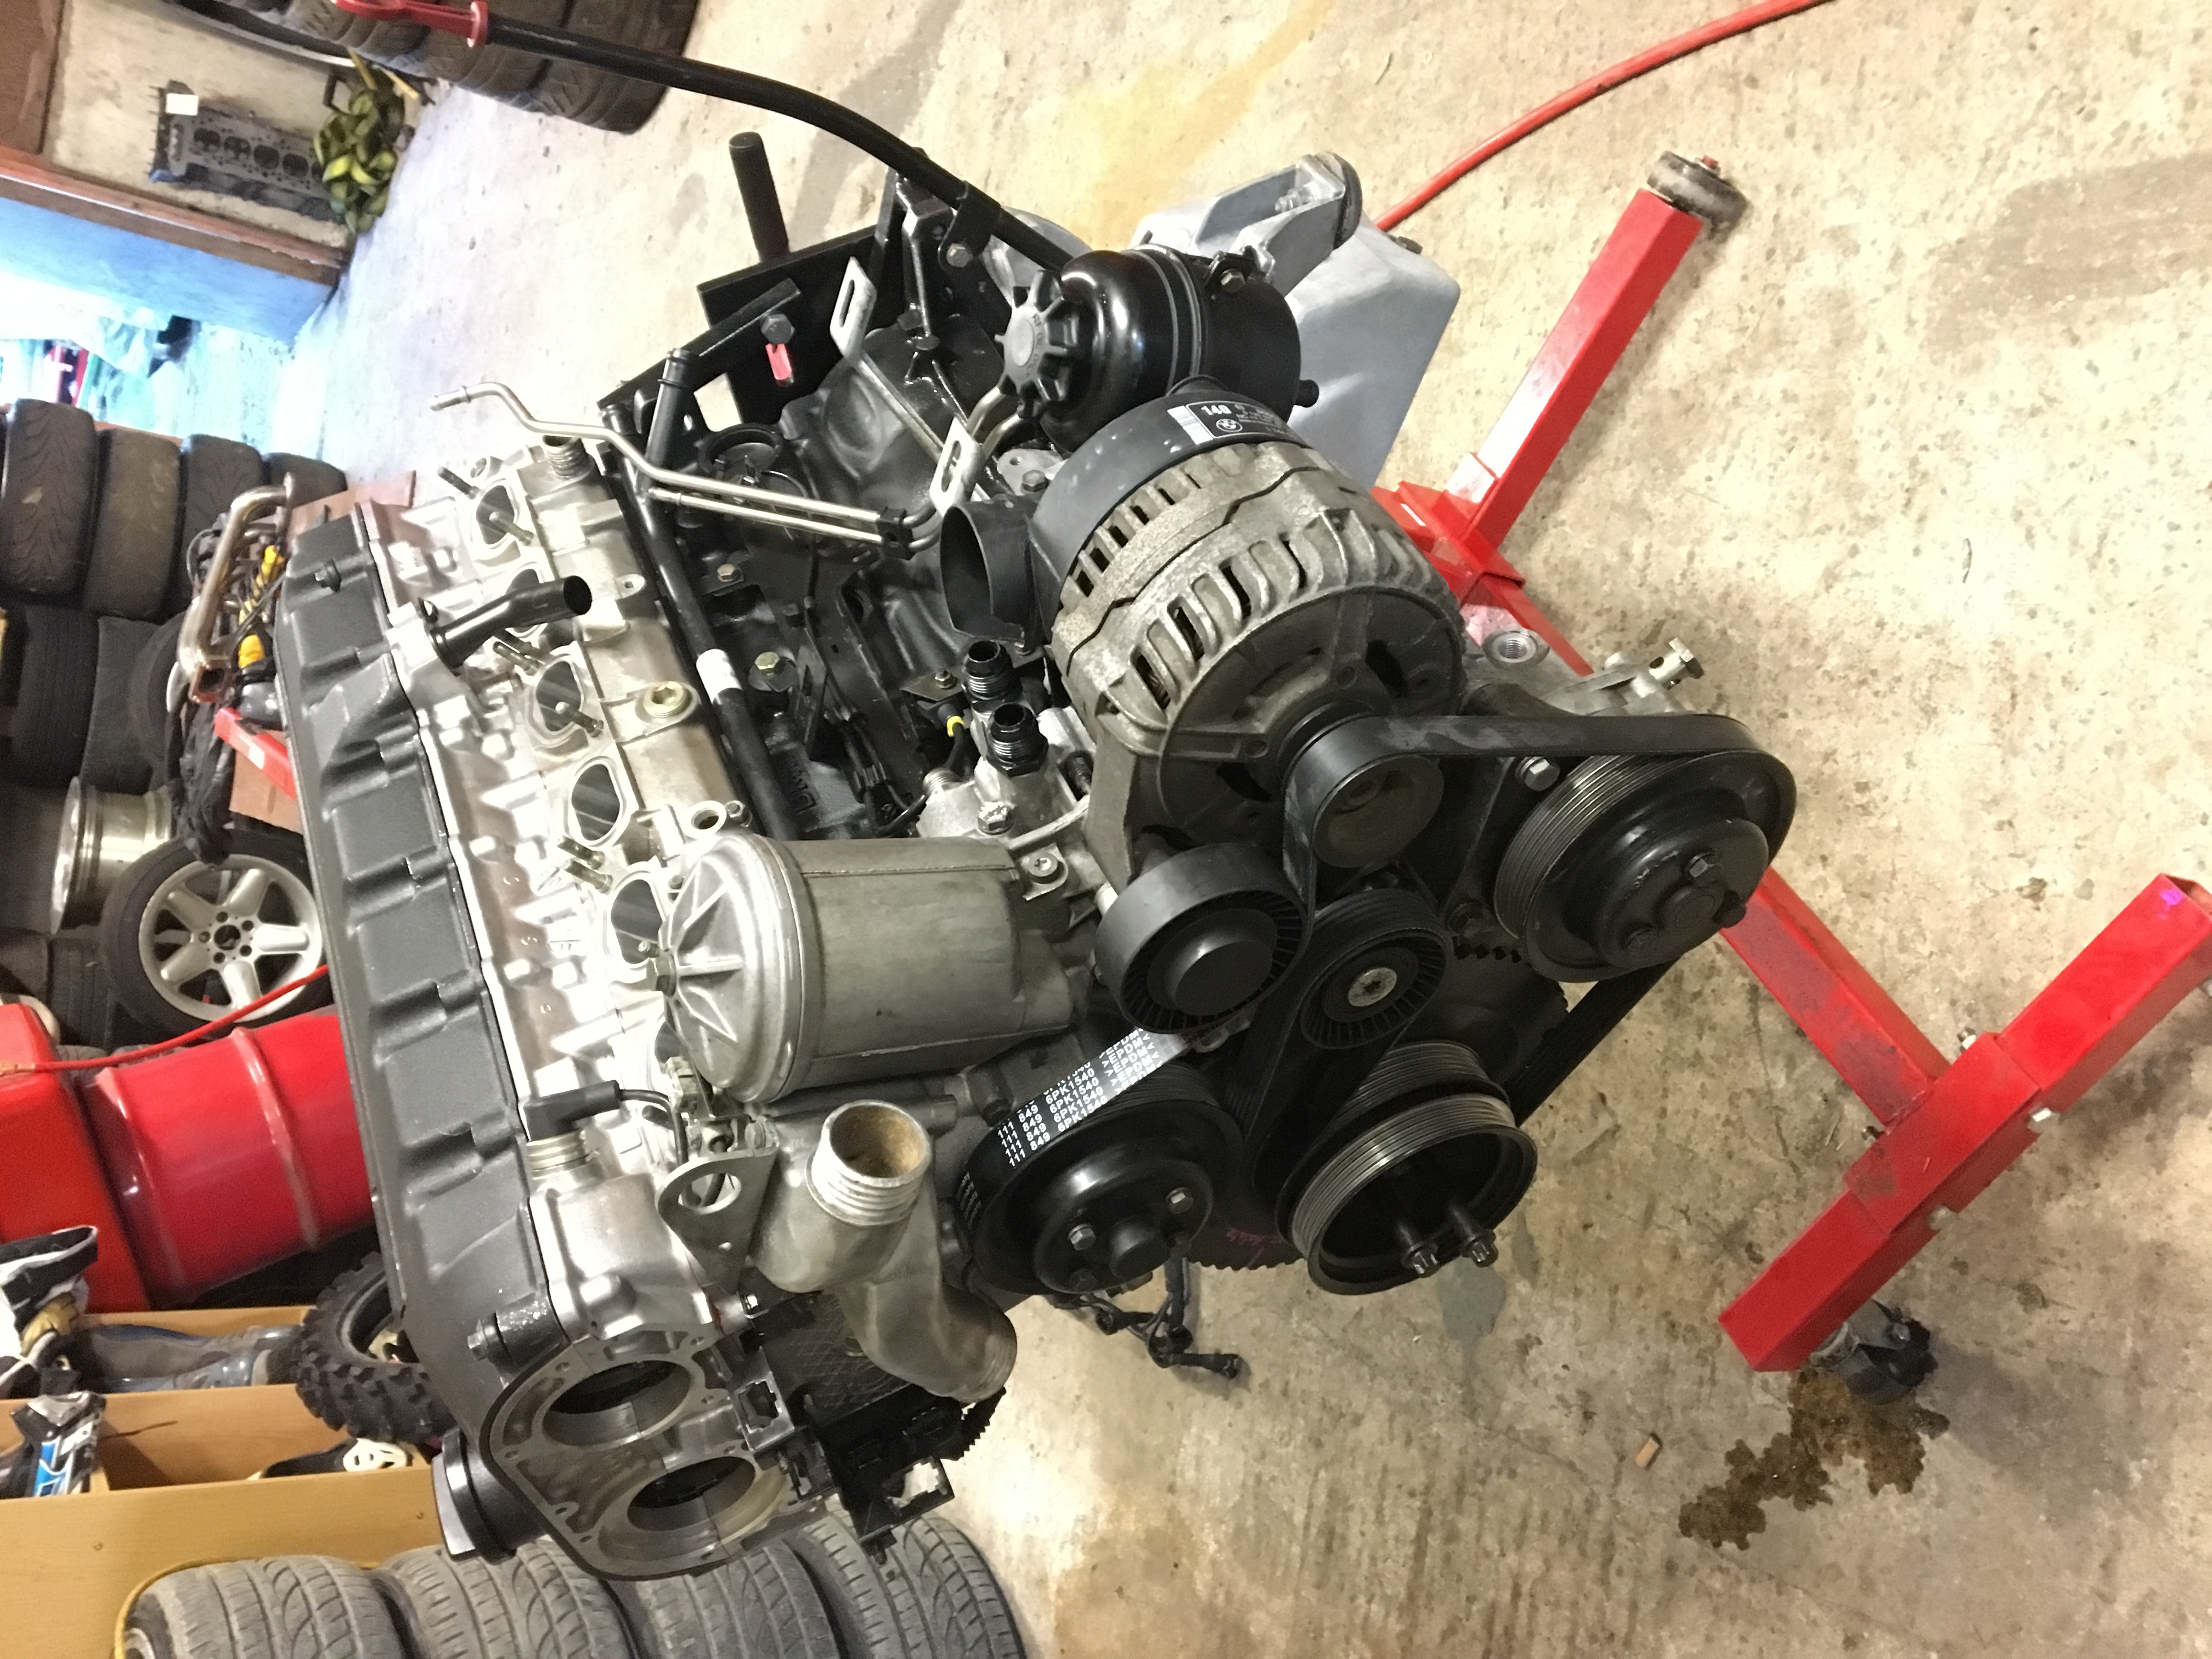
Last photo I just sat the covers on, sh*t these engines are cool ?


-
4
-
-
Hey bro did you ever get this finished, would love to see some finished pics....
-
On 1/28/2017 at 9:05 AM, BatMansWilly said:Hey Garett, Got an update for us all? Have you done anymore work on the engine?
Yeah not so much, all the parts have arrived to complete the build but I'm somehow lost a few little items to install the timing guides, everything was bagged and tagged but a couple of little bushes and c clips so I'm waiting for them to come in that have gone back order dam it..
in the mean time got myself a shitter of a boat in need of repair to keep me busy, got it all planned out it will be epic
dont worry I hope to have some good updates soon...
-
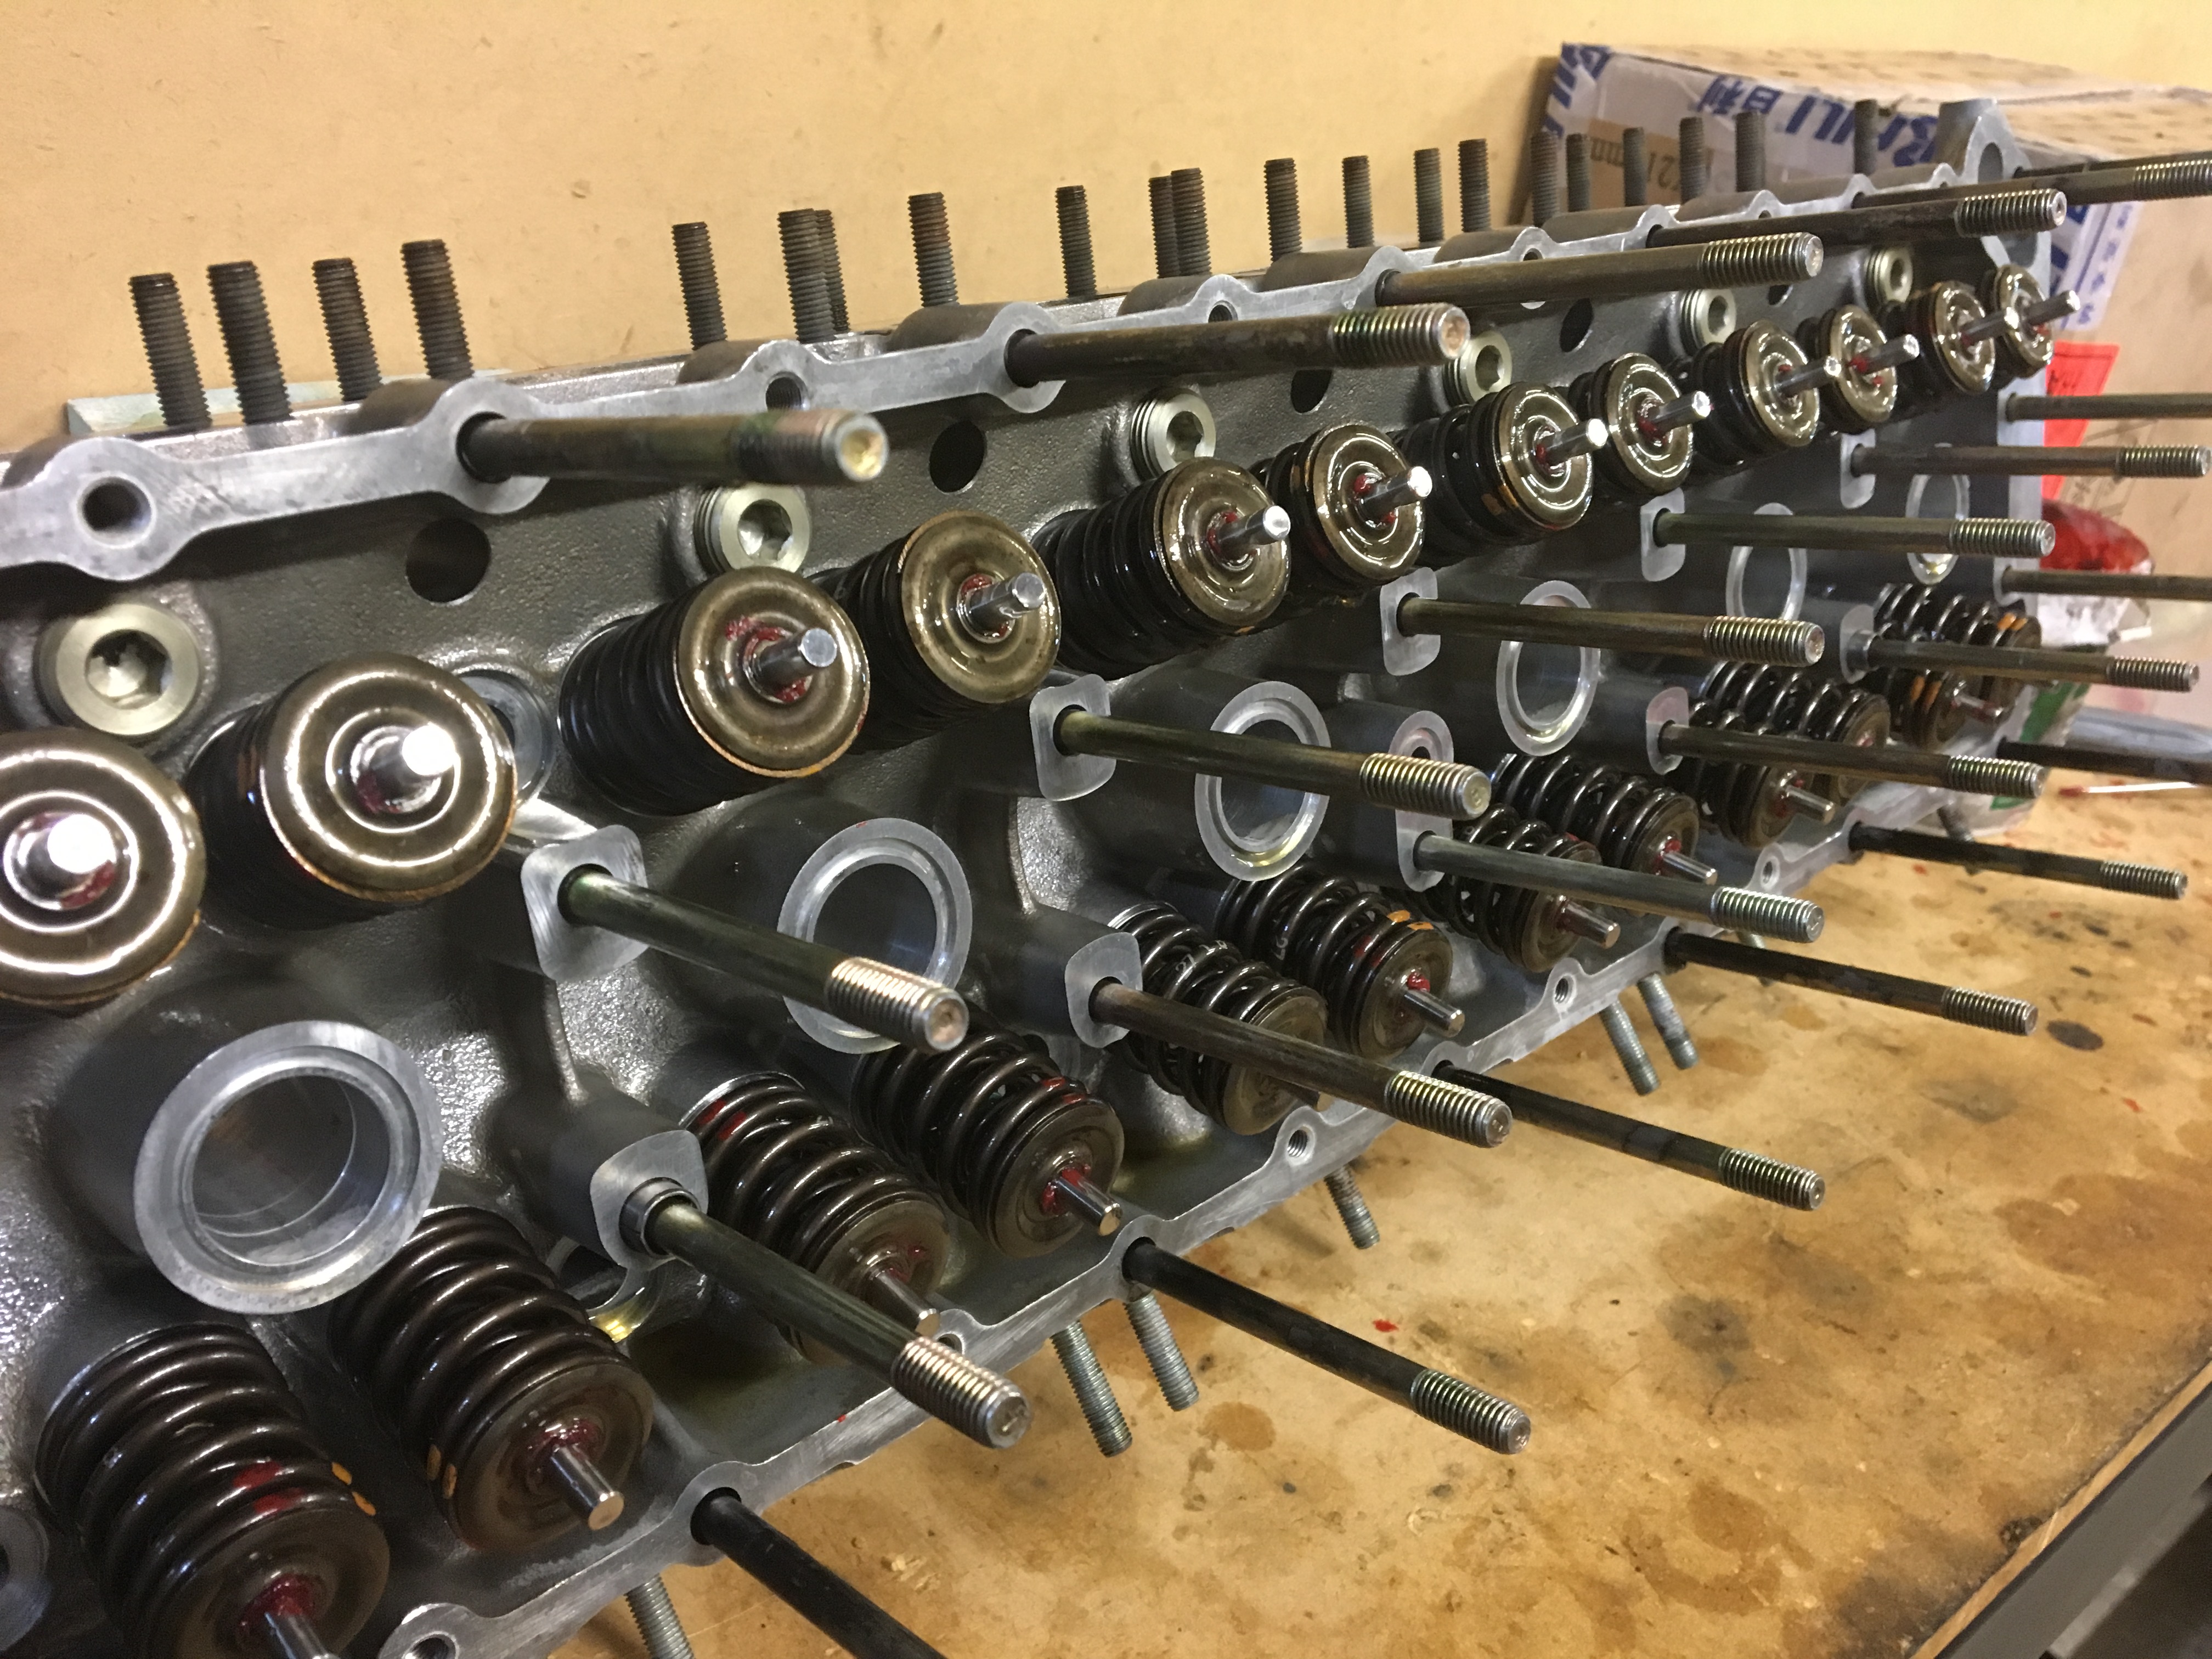
Doing more head work today

-
1
-
-
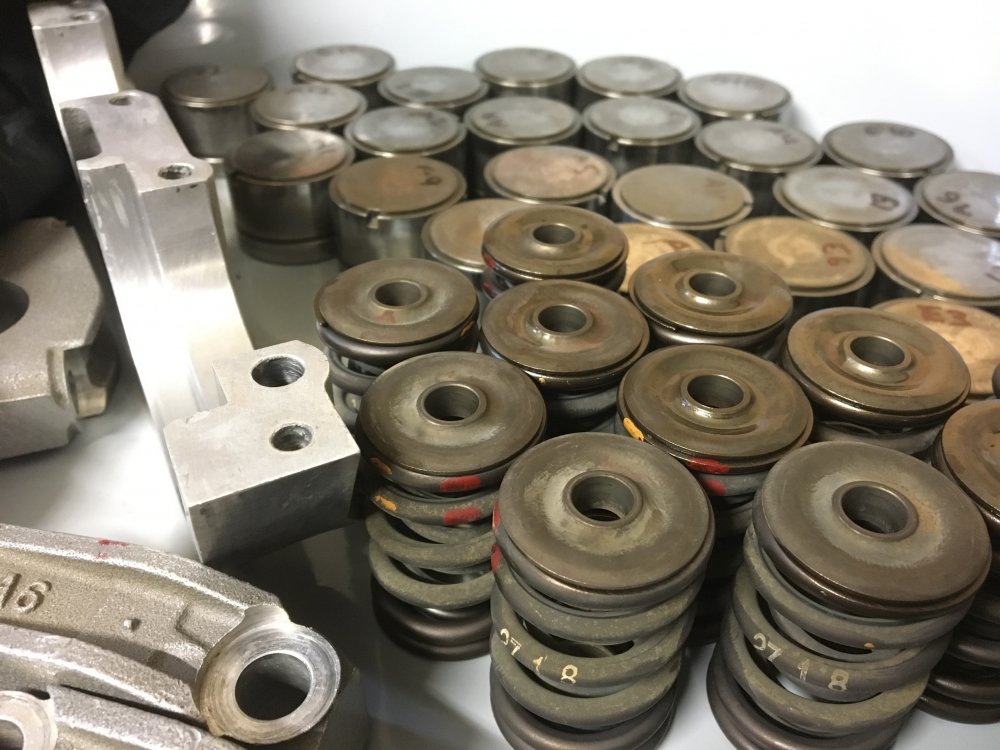
Starting puting the head back together today after I lowered and fitted some bbs to Hayleys ride


-
2
-


GDM - E36 Drift/Race Project
in Projects
Posted · Report reply