-
Content Count
199 -
Joined
-
Last visited
-
Days Won
7
Posts posted by Secniv
-
-
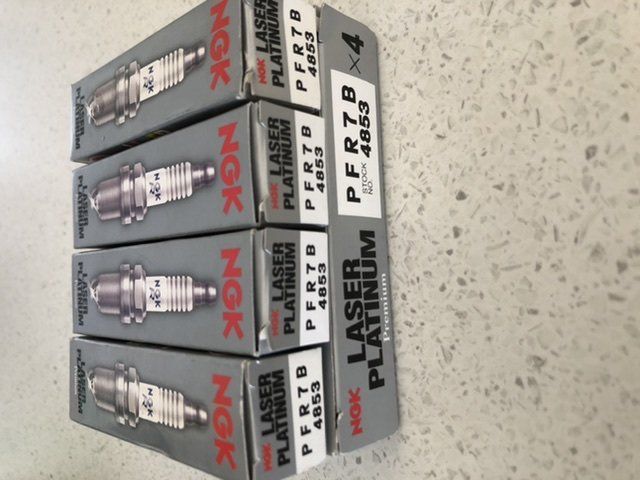
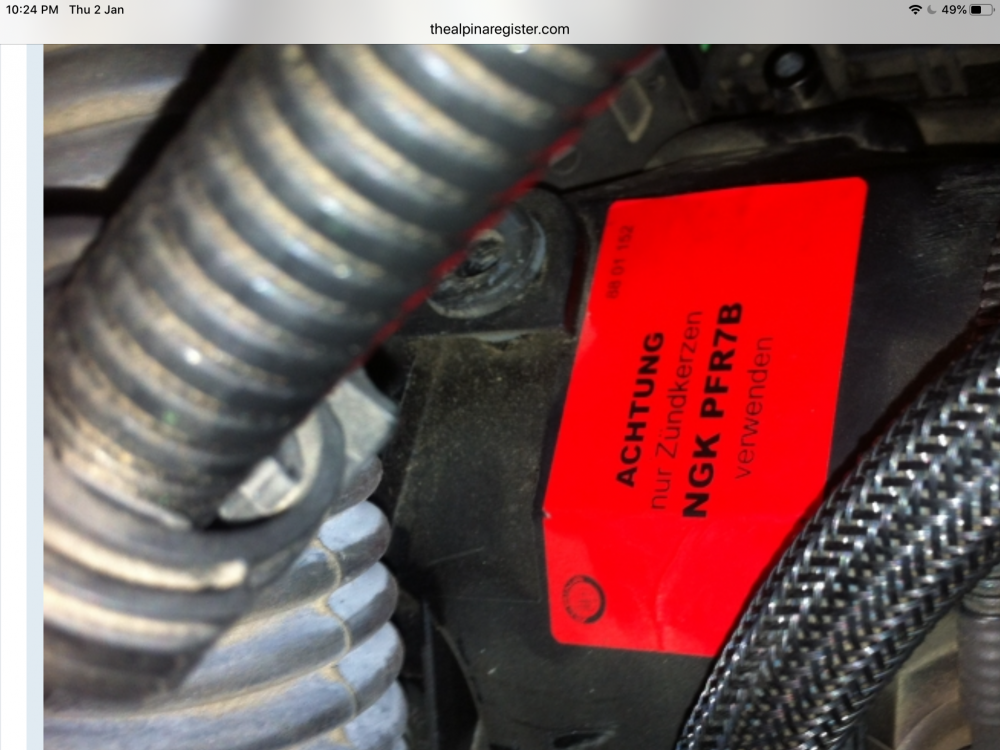
Just a quick shout out to Extreme Automotive. I was shopping around for these OE NGK plugs for the B5 which were order only and between $32-$36. Got these from Extreme for $19 each.. Bargain!
-
9 hours ago, HypedKidz said:Those spark plugs are an absolute nightmare to do think you need to lower the subframe to get the rear coils out if i remember correctly
Replacing the spark plugs will be straightforward but getting the valve cove off will be the tricky bit.
From what I have read you need to remove the cabin filters and firewall cover to get to the backside plugs and valve cover.
https://www.bimmerfest.com/forums/showthread.php?t=685470
-
Thanks Stuart. Satisfaction will come when it starts, goes like it should and no more leaks.. not too much to expect lol.
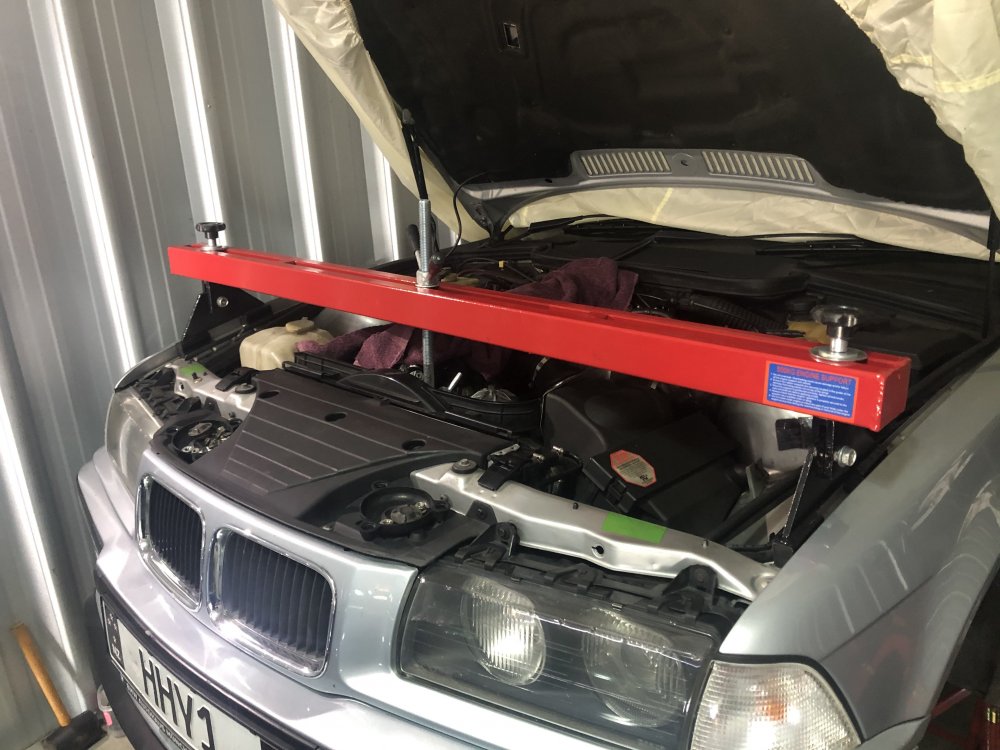
Meant to add you definitely need an engine support.
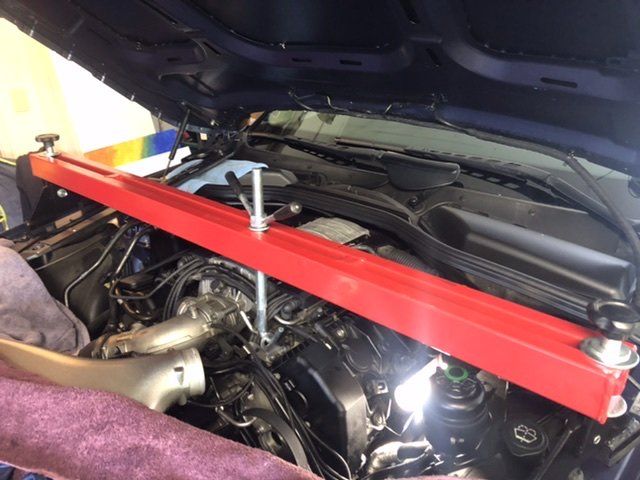
Picked this up locally via TM for $90 and already used it twice.. bargain!Happy to lend to local bimmersporters when I’m done.
-
Started this job Friday and an easy pace over the weekend plus I’ll need another weekend to finish (won’t be this weekend as the BMW Festival is on at Hampton)..
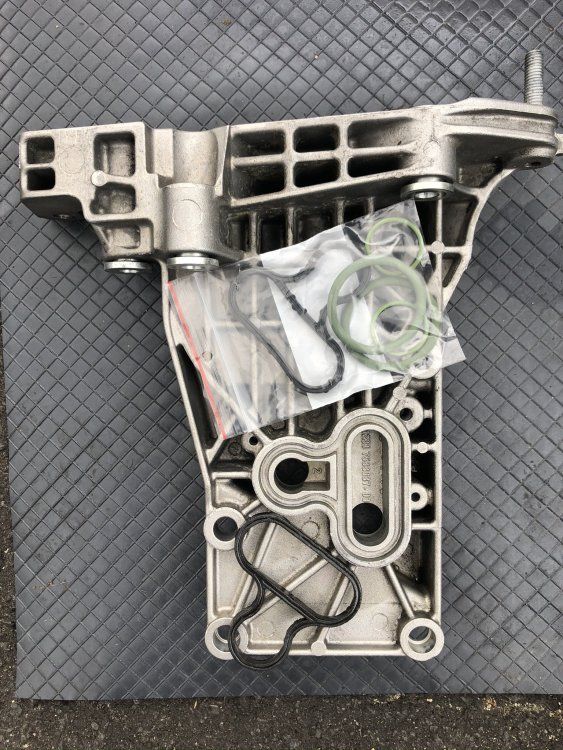
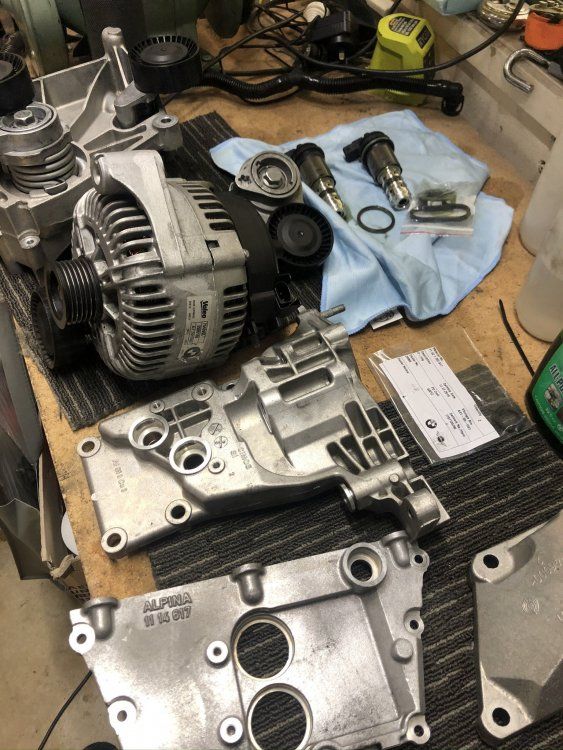
Anyway the dreaded the E60 leaky alternator bracket seal saga plus much much more!
The oil drips on the ground were bugging me so when I had to have a wof and airbag sensor replaced I had the dealer look at the cause. Dealer quoted 30 hours and about $4.5k to replace the alternator bracket seal, plus replace a weeping timing cover gasket, plus do vanos seals and valve cover gaskets while there. Checking in with the Alpina B5 forum and researching the solutions on-line I’ll do it myself thanks. Of particular note every where I read was take your time and not rush. Sourced all the necessary parts through the dealer and with my BMW club discount was much in it with os prices.
On the surface things look so pretty and clean..
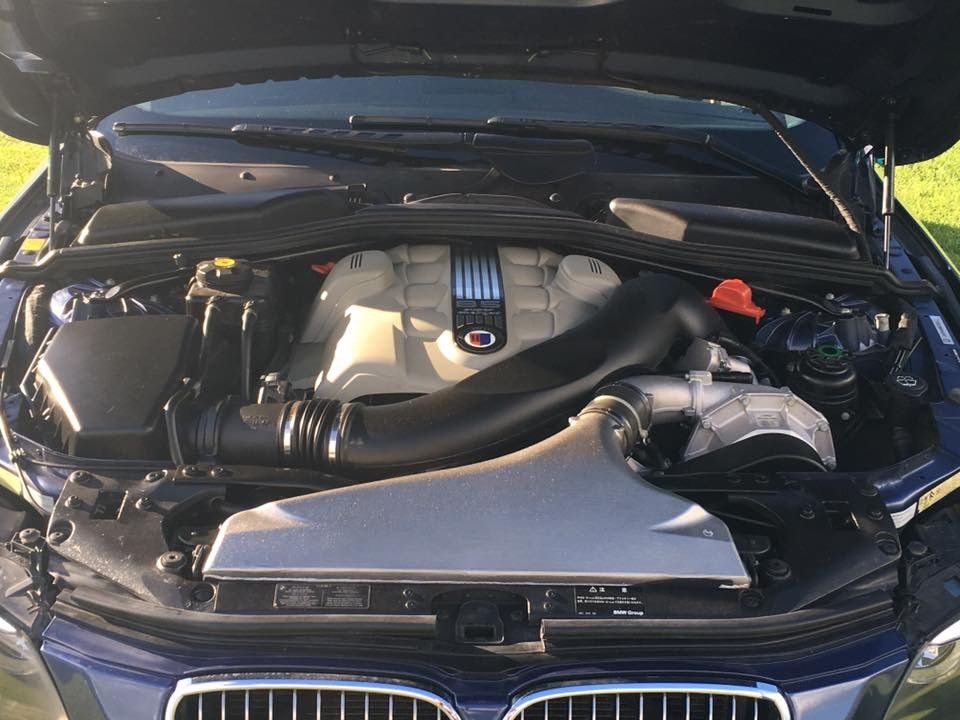
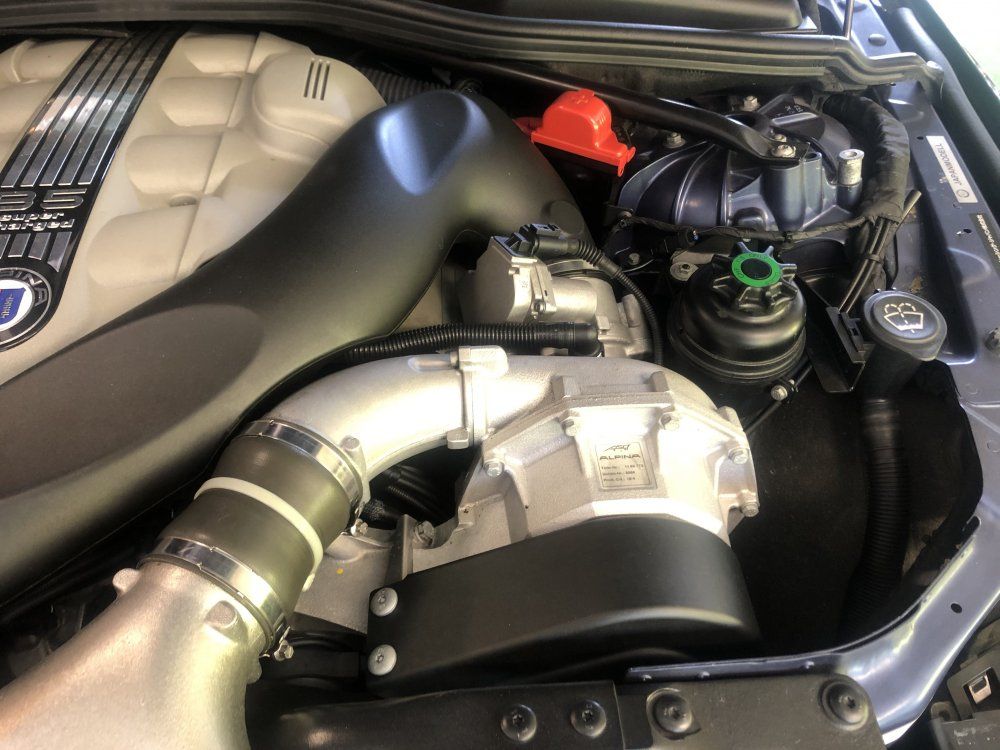
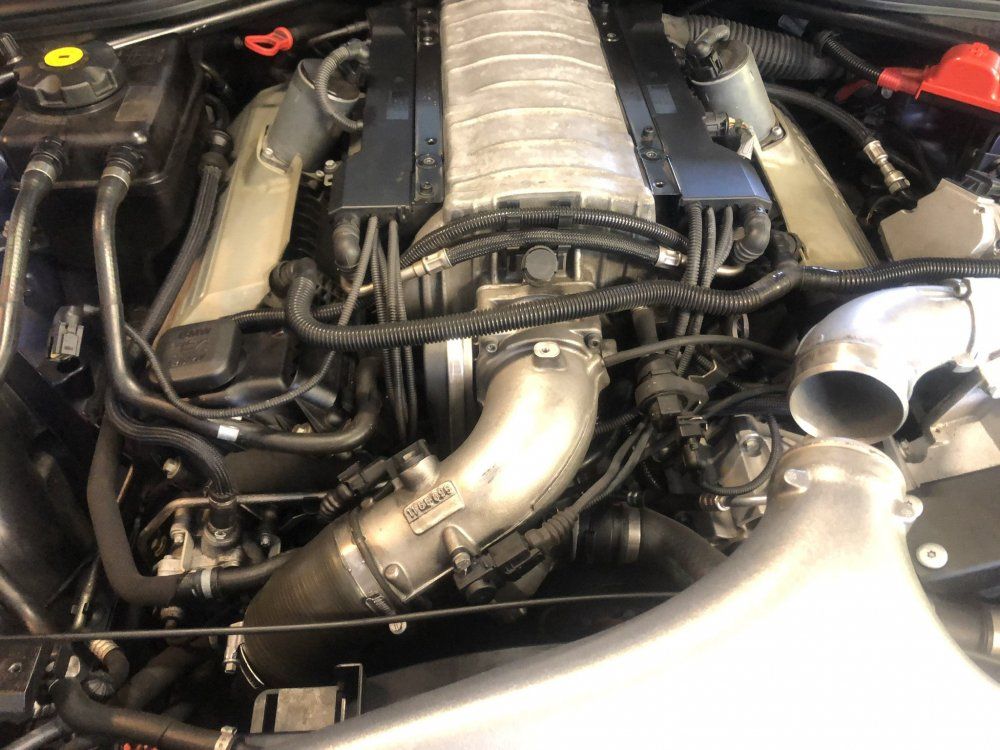
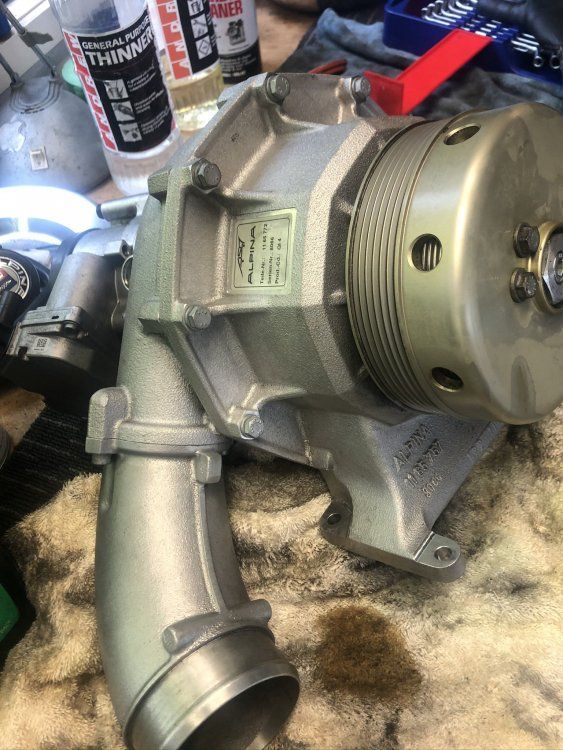
The major differences with getting to the alternator and top-end with the B5 vs say the 545i is the supercharger and oil cooler.
I started at the top removing covers and extracting the supercharger.
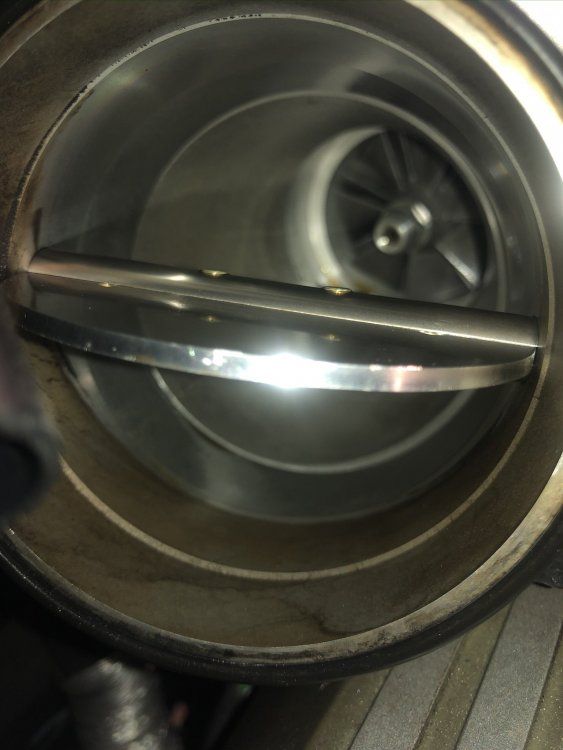
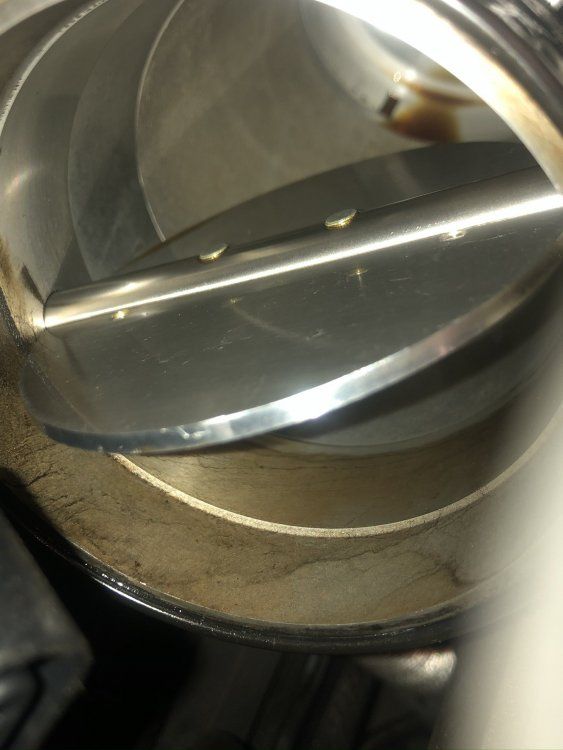
And as seems to be the case with me I like to check and clean as I go.. Oil passing the seal in the supercharger can be a problem for (Alpina anyway) superchargers. Some oil is normal as the CCV feeds into the charger after the vane.
A good check is at the bottom of the intercooler and how much oil has collected.
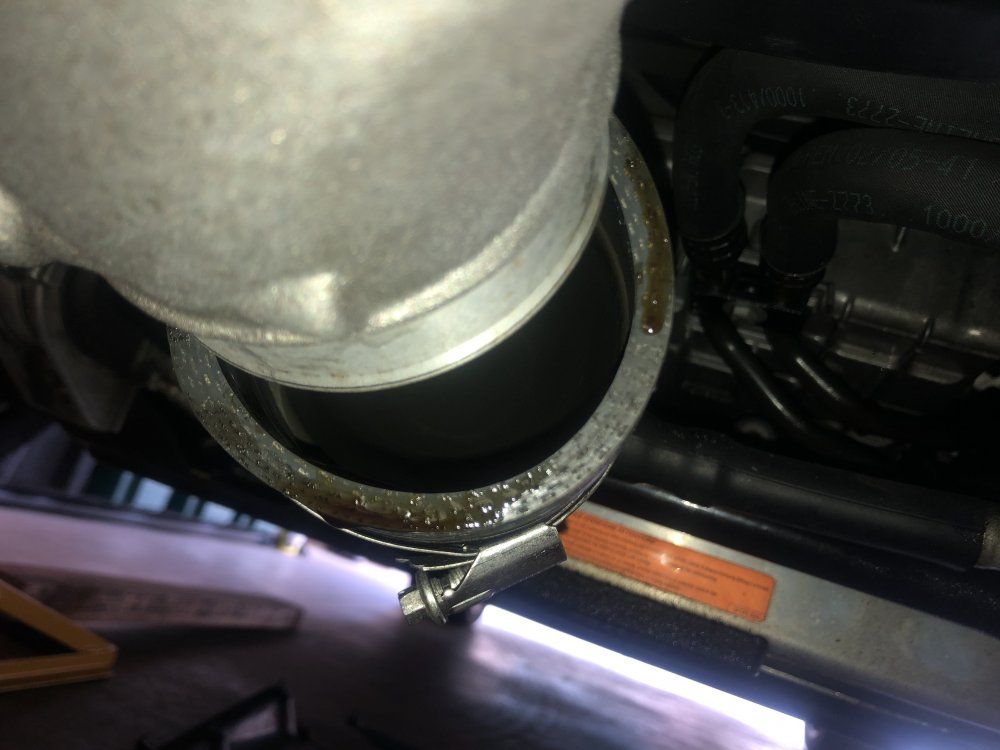
Thankfully there was nothing out of the ordinary. Another cause can be that the CCV diaphragms perish over time.
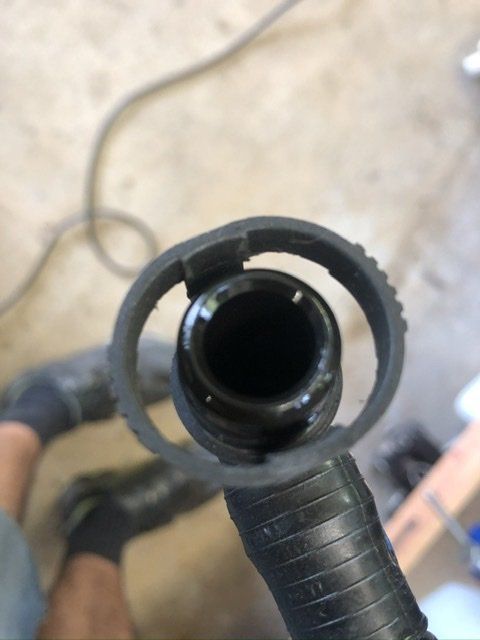
The breather hose was pretty wet so I replaced both diaphragms.The sc bracket also has to come out to get to the alternator and the LH timing chain cover. An oil feed to the sc passes through the bracket.
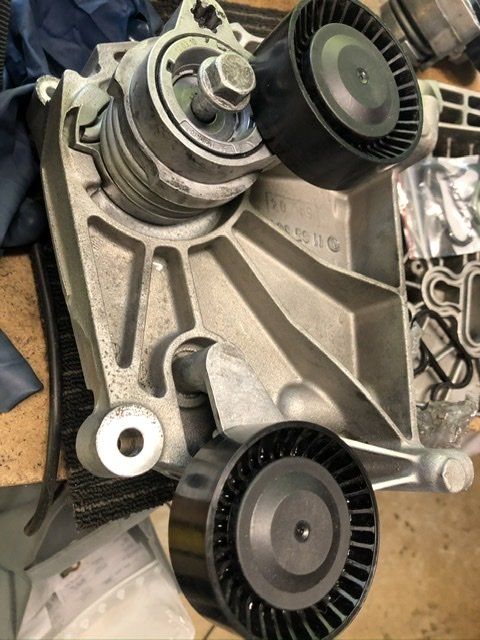
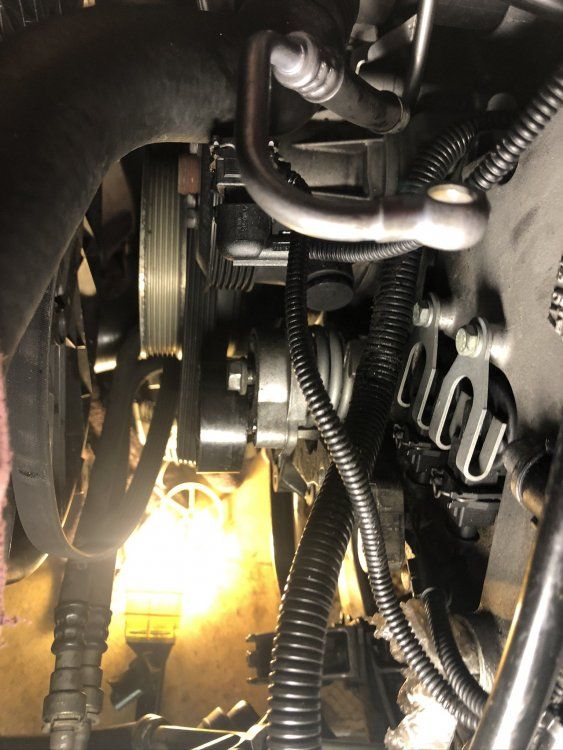
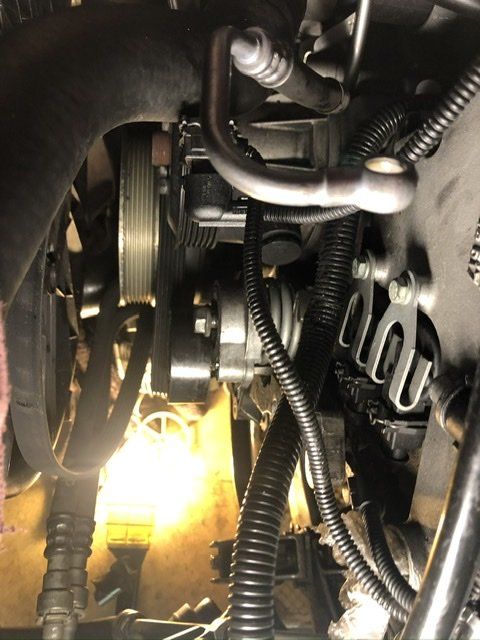
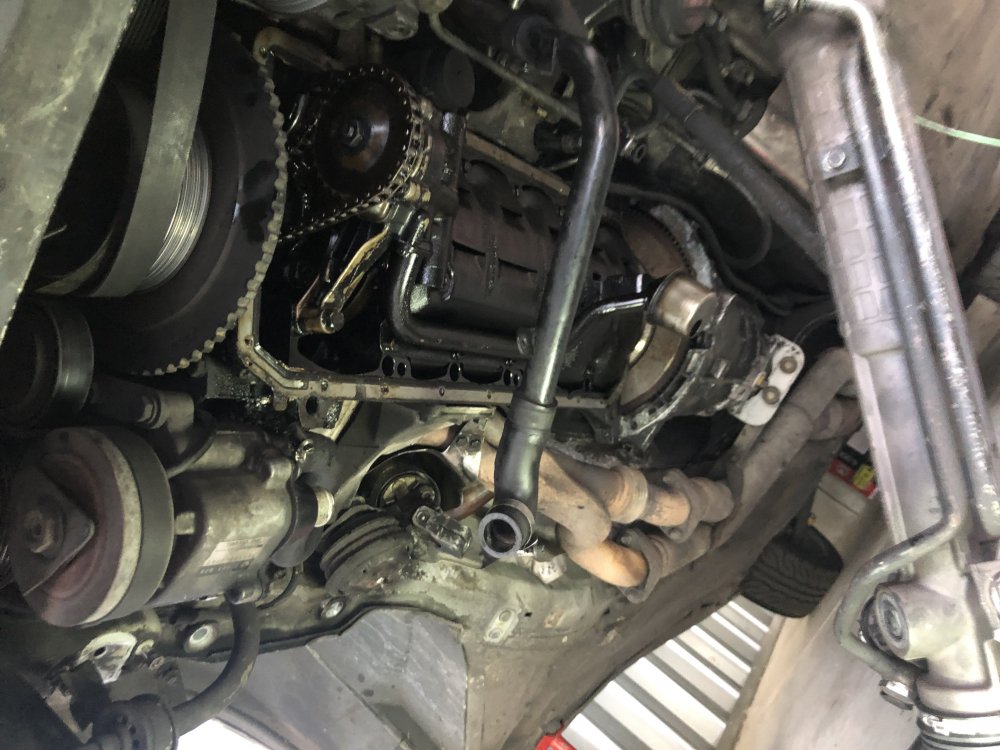
Moving to the bottom of the engine and having removed covers first thing is to move power steering pump and swing out of the way. This does require emptying the reservoir and releasing the supply hose.
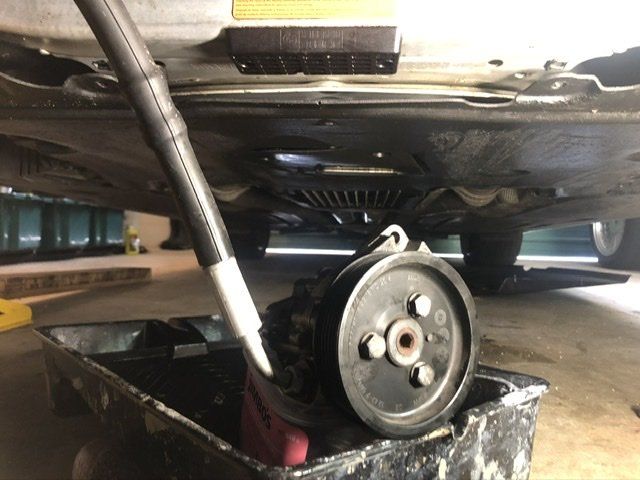
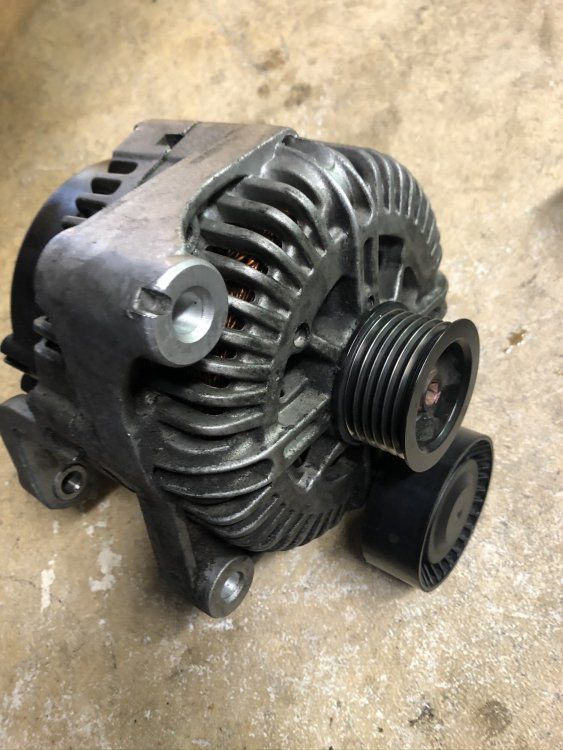
From there you have access to the alternator.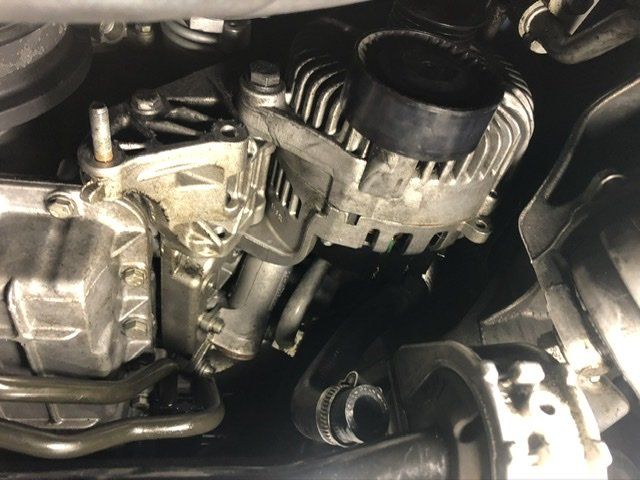
Make sure you remove battery terminal before attempting to detach the electrical connector and power cable to the alternator ?. Getting the alternator out is a bit of a juggle given it’s weight and clearing oil pipes and suspension bushes and sway bar but turning it to different positions got it out.
Then to the toughest part.. the alternator bracket which just happens to have engine mount arm sitting on it and bolts passing through! I should have removed oil cooler first and swung it out of the way which would have made getting to the front 2 torx bolts much easier. To get to the rear bolts you need to go through the wheel well. All bolts need a combination of swivels and extensions to get them off.
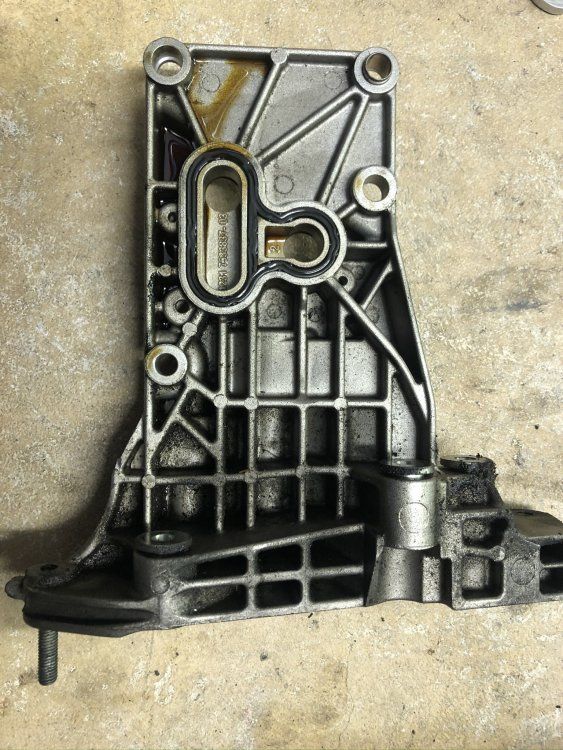
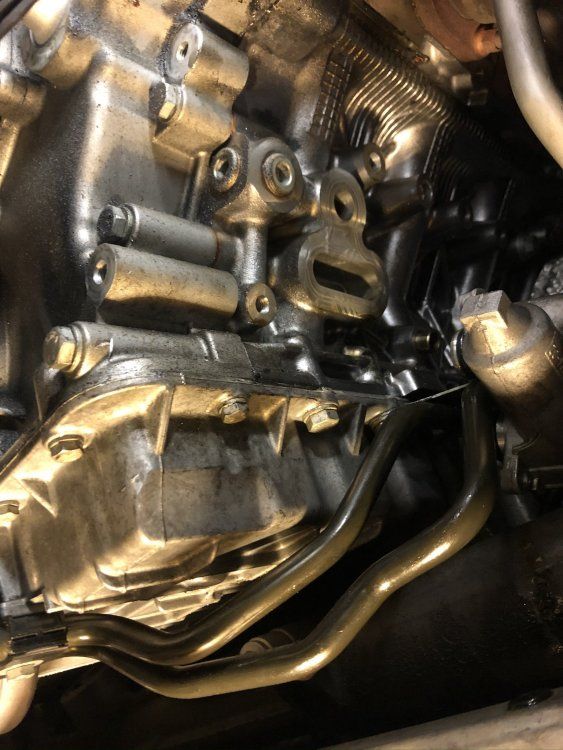
Seal had definitely hardened and obviously leaking.Next steps will be to put the bottom end back together then replace valve and timing cover gaskets plus vanos seals and sc bracket seals. Plus replace spark plugs while I’m there.
Anything else I should do?
-
 6
6
-
-
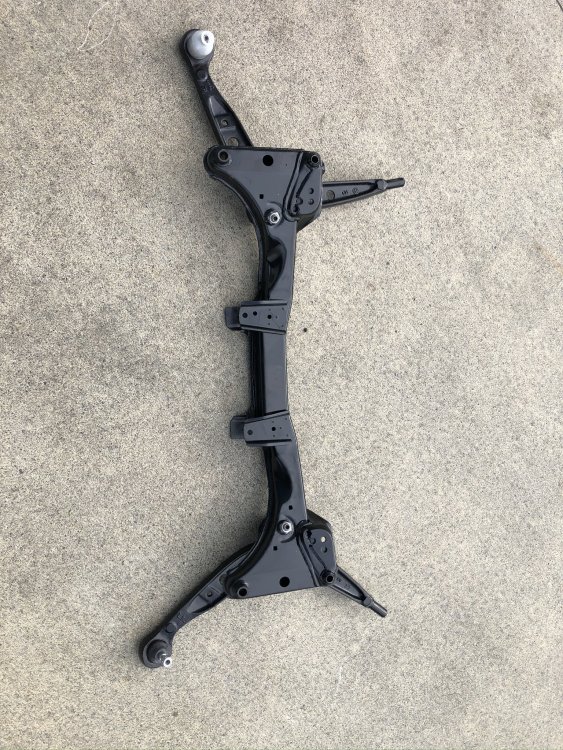
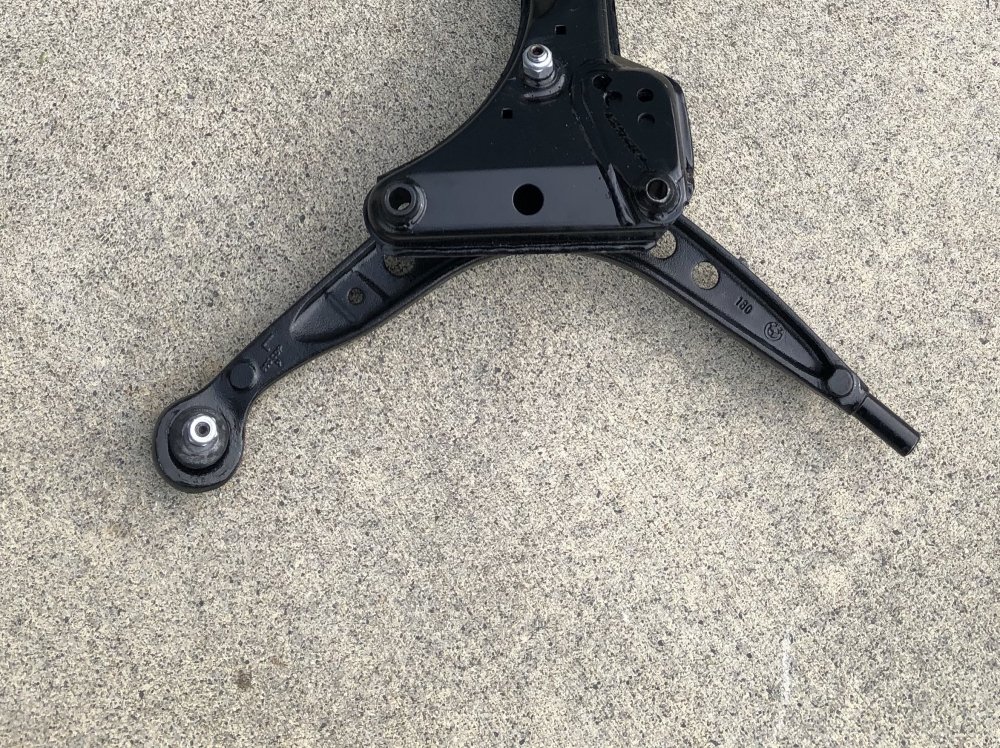
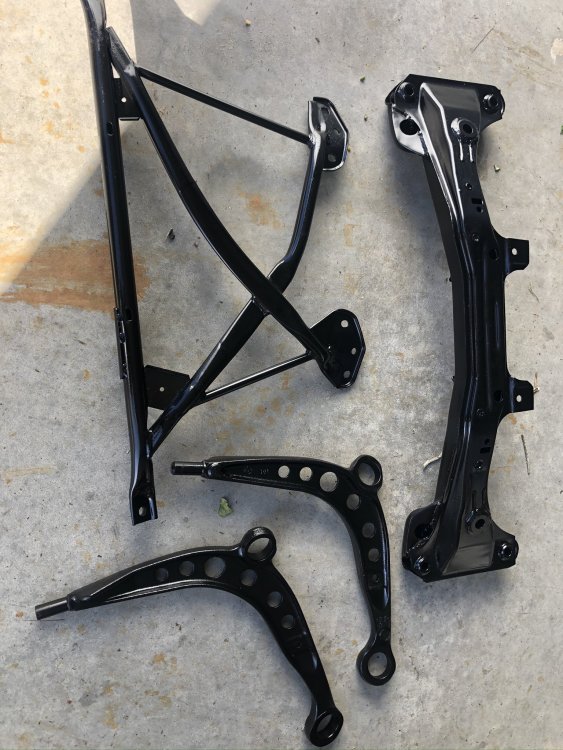
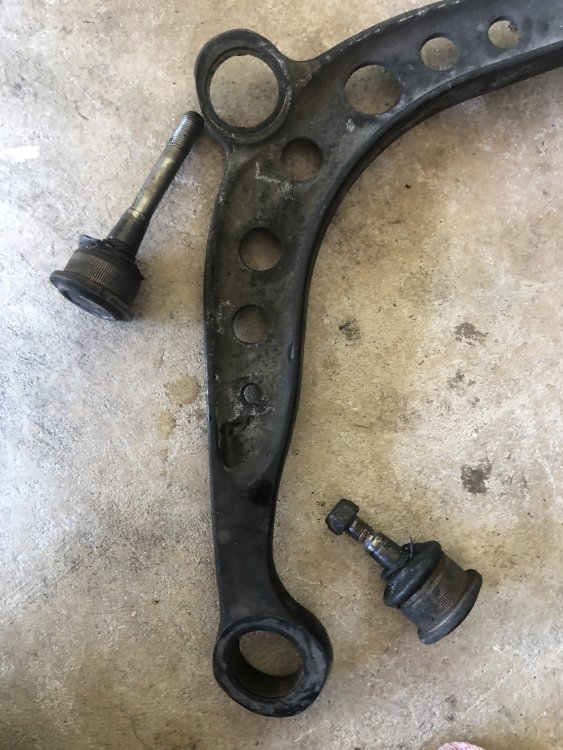
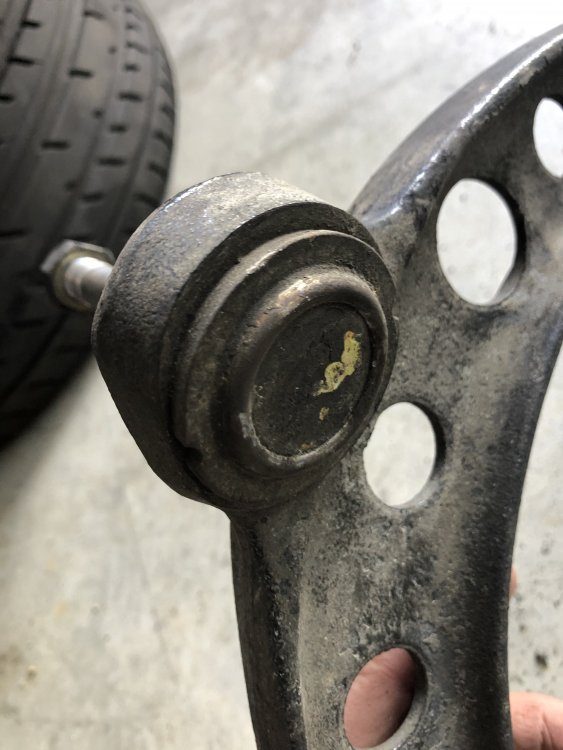
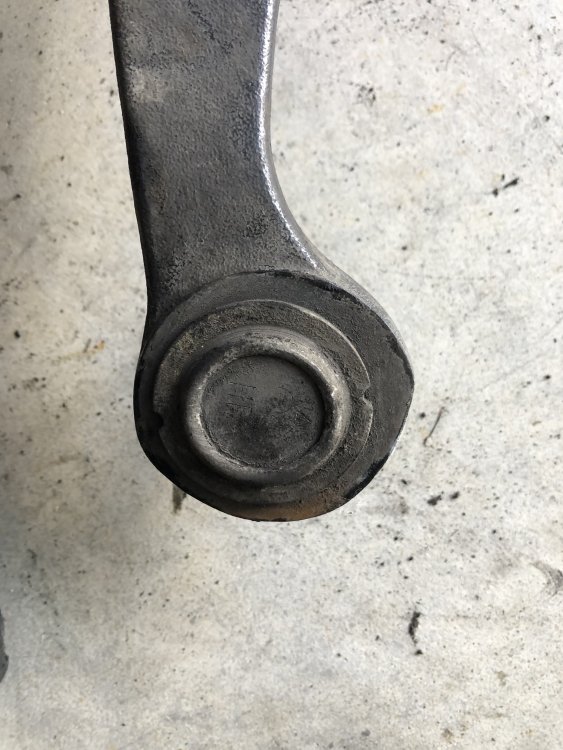
Received my Lemforder ball joints and found some Pre-Xmas time to do some work and thanks to a mate Brendon and his work’s 30t press, pressed in ball joints and connected ca’s to subframe. Looks better than new with the reinforcements.
Pressed the old ca bushes out of the lollipops and new ones in and was going to press on the Lollipops onto the control arm but other blog/forum suggest use of soapy water and to set the car back on its suspension within 30 minutes for the bush to set in place
https://understeer.com/lcab.shtml
or the use of a kerosene based lubricant that dries out in 30 minutes
https://www.pelicanparts.com/BMW/techarticles/JF-Tech/E36_Control_Arm_Replacement.htmI guess I can put the suspension back in and do bushes last before putting back on the ground.
Some guidance would be helpful as well as some ideas for a ‘local’ diy tool to do the job.
-
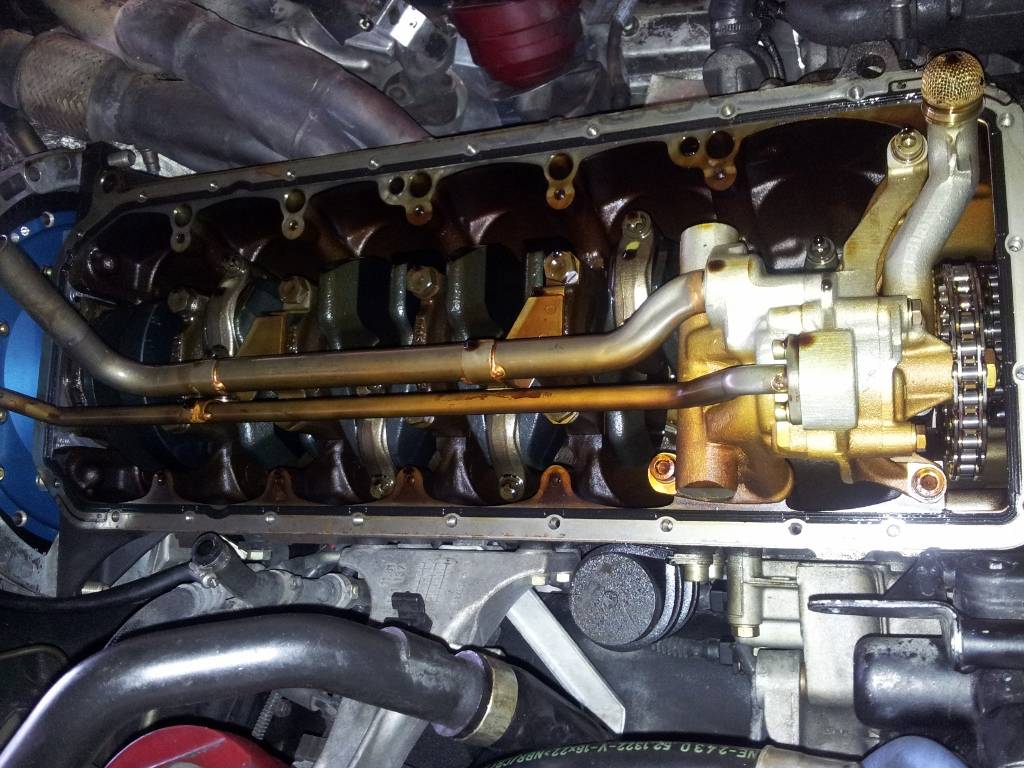
Replaced big end rod bearings
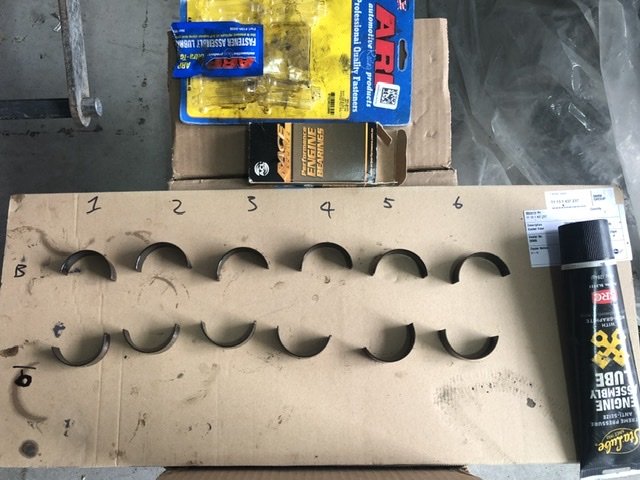
There was a little wear on the bottom shell but being the downstroke and 200ks to be expected. No groves or marks on them or the crank journals phew.Installed the upgraded oil pump having lock-tight the bolt, torqued and wired it on!
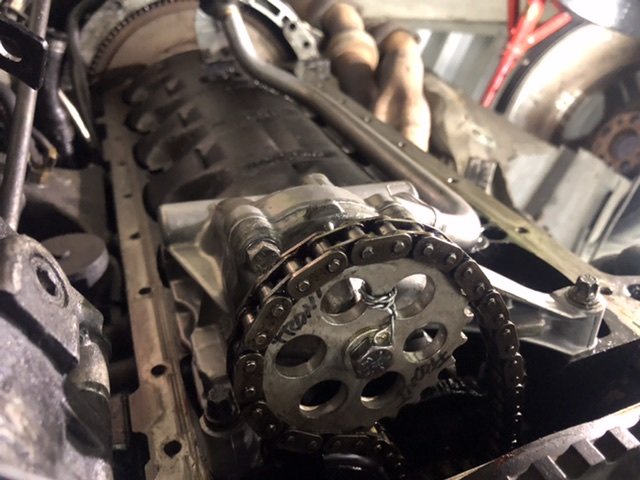
Pretty sure it’s not falling off.
Then buttoned it up with a new gasket and some high-temp gasket maker where the repair to the sump was done.
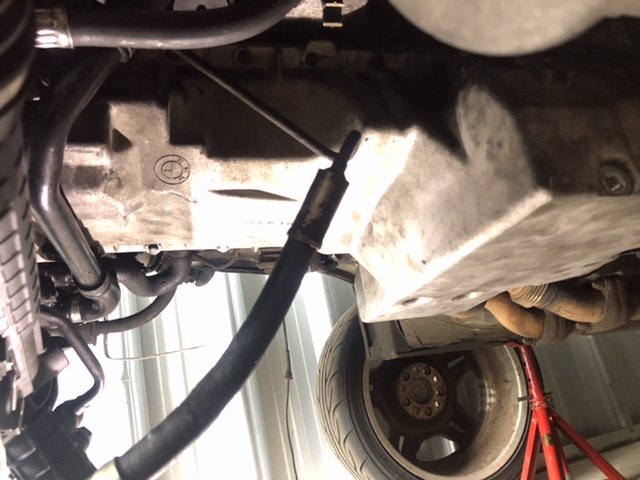
Next step is to press the new ball joints and bushes to the control arms, mount these to subframe and reinstall..
-
 2
2
-
-
On 11/24/2019 at 11:38 AM, M3AN said:There's not a lot of room for decals on these calipers but have a look at @Jacko's recent thread for info on doing brakes well.
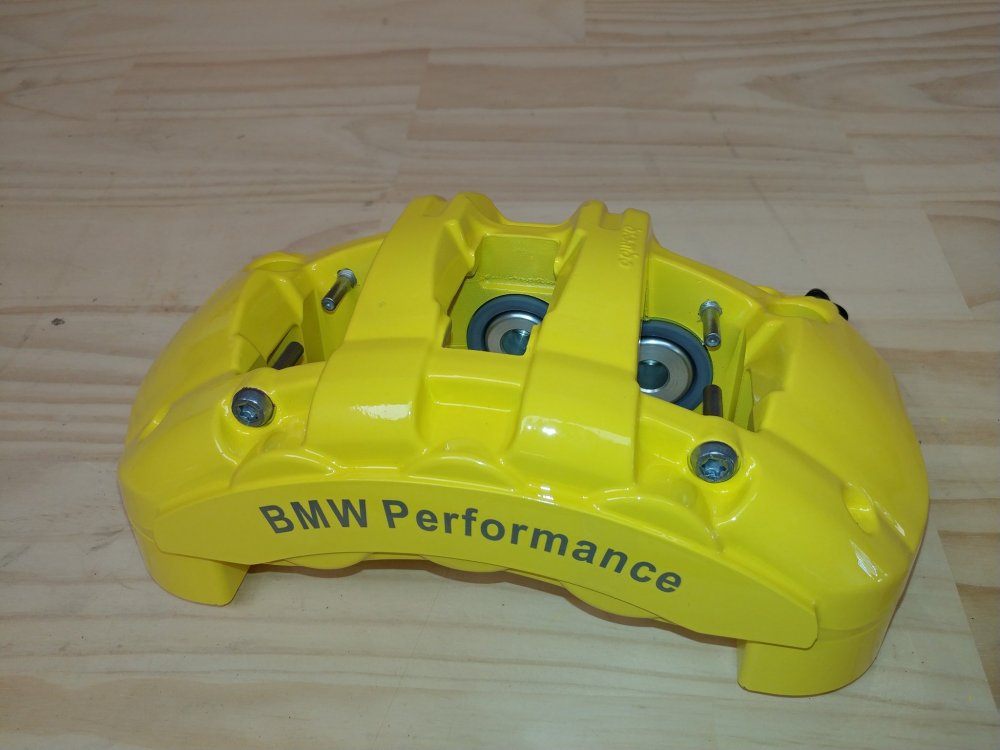
I got my calipers power coated black after weighing up other colours and stickers.
Thanks for the leads Dave I will research both options.
-
-
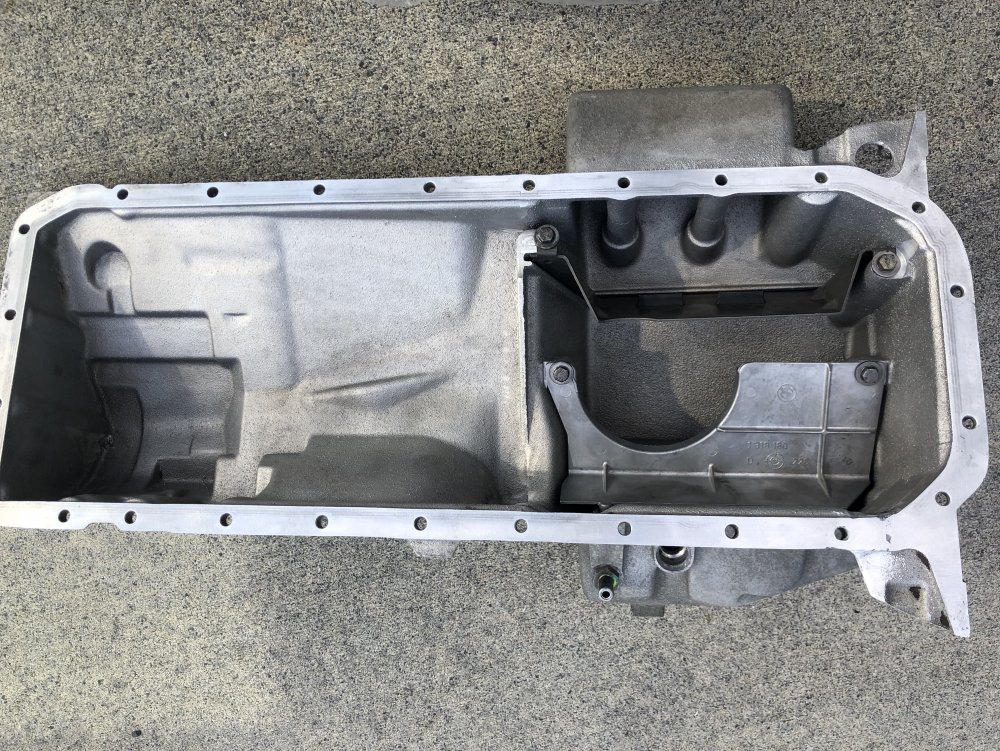
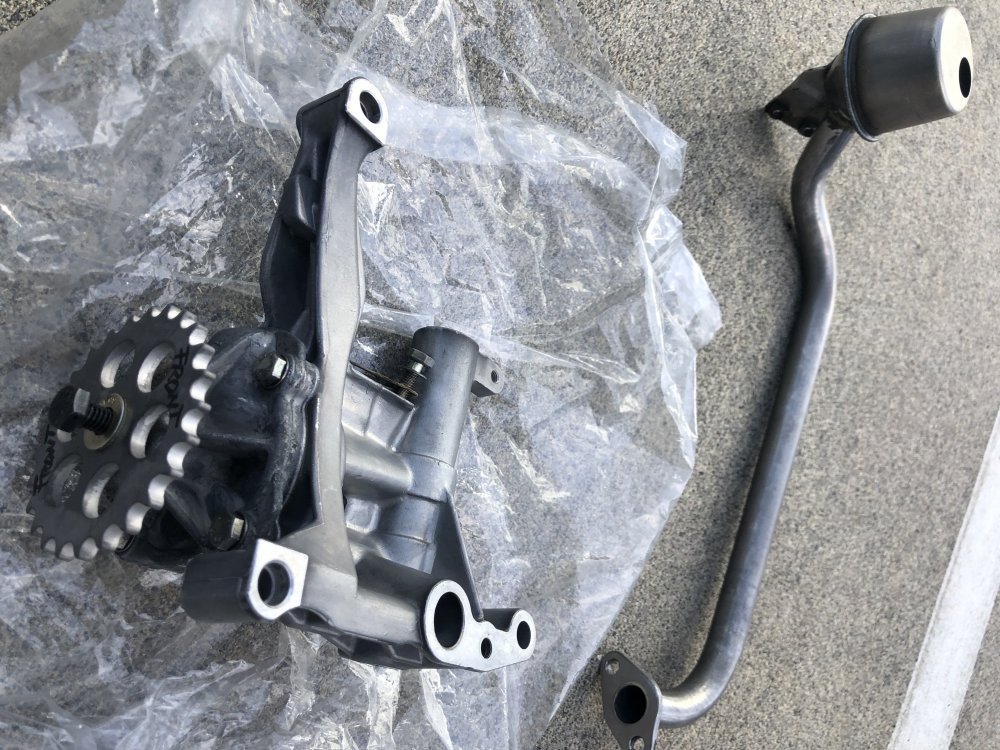
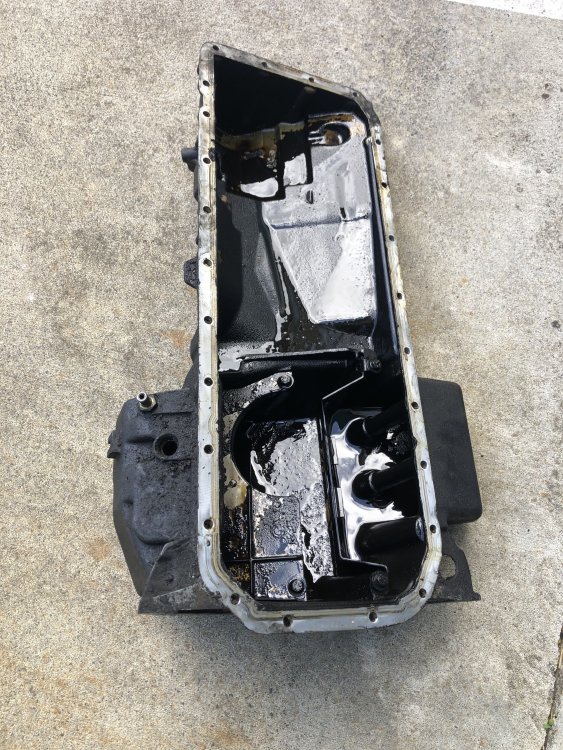
So cleaned and welded sump and rebuilt oil pump are back
Pump has a nice big bolt on the end of the replacement hardened shaft holding the new sprocket. The inside of the pump was in good condition although the mechanic found a couple of pieces of what appeared to be from the chain tensioner in the oil pickup!
Next step is to remove the oil deflector and start on the rod bolts.
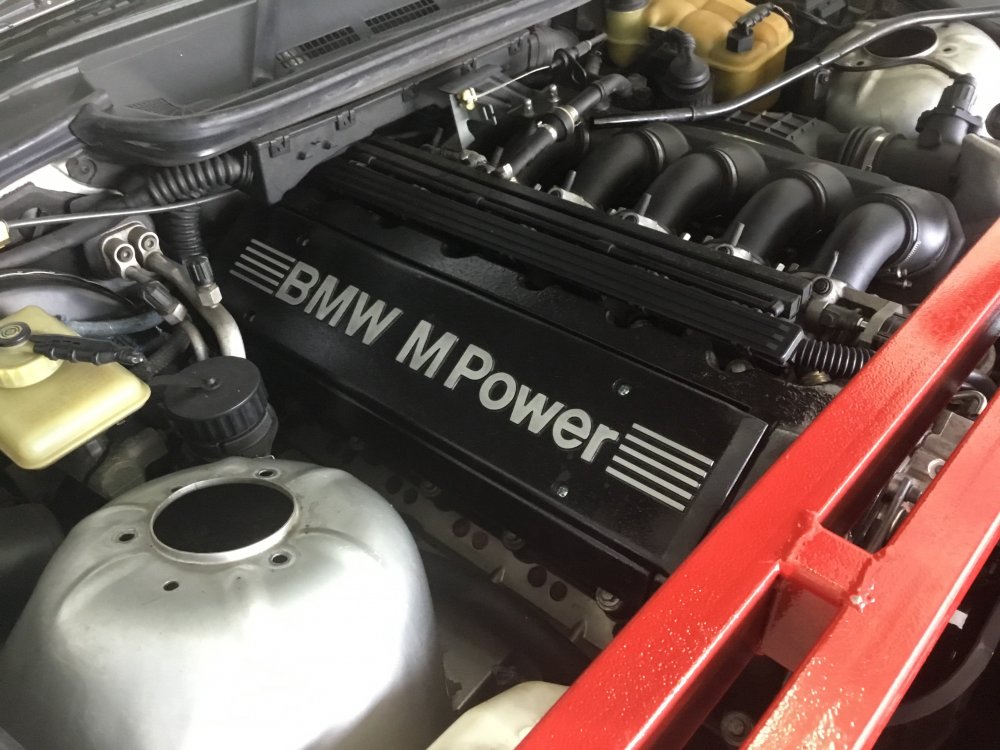
While I procrastinate about that job I tidied up the valve covers..
Not perfect but looks way better for now.
Also thinking about tidying up the brake callipers and paint them high heat blue maybe even put some Motorsport stickers on underneath the clear coat. Anyone done this and what kind of result did you get?
-
 1
1
-
-
Bump
Seems to be a lot of followers and views but little action so have updated pricing and terms.
-
So I took the sump and oil pump into Speedfactor (Tauranga) big ups to Evan & Bradley for there input. Have decided to get the oil pump strengthened with hardened shaft, sprocket and bolt (rather than the small nut holding it on).
We took a look at adding the baffle kit but with the S50B30 it appears to be baffled already out of the factory? Even the flaps to control surge during long\hard cornering are there. Given I will not be racing the car (and could add an extra 1/2L of oil if I do take it to the track) it seems an over kill to add the aftermarket baffle kit.. yes.. no?
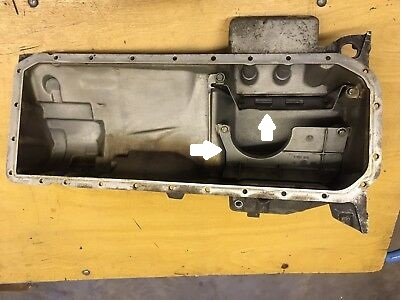
We did find a small crack which I am having welded.
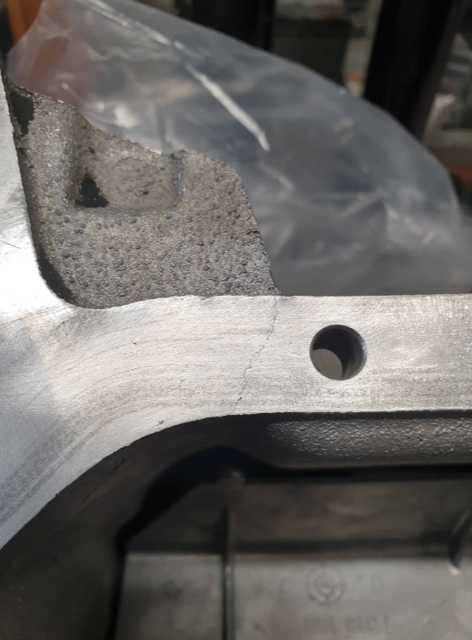
Received big end rod bearings and bolts. A bit nervous about putting these in but I guess if I follow the instructions and use a good torque wrench I should be ok.. right ?. According to Pelican https://www.pelicanparts.com/BMW/techarticles/101-Projects-24-Rod-Bearings/101-Projects-24-Rod-Bearings.htm this should be straightforward. It does mention to measure the journals or should I plastigauge even if the old bearings don't look spun or too worn? I'm 99% sure engine hasn't been out and crank ground. I will be putting the ACL race bearings standard size which run greater clearance +.001 out of the box anyway..
-
 1
1
-
-
Some progress while I’m waiting on parts
Bit of cleaning and painting
Used “Rust Kill” paint which was recommended and goes straight on after wire brushing and degreasing. Like the gloss, looks like powder coat.
Got the sump off and removed the oil pump. Certainly dark n dank in the bottom of the pan.
Plan is to replace big end rod bearings with ACL bearings & APR bolts.
A suggestion is to put a dual pick-up pump in or alternatively I could put in a bimmerworld or similar baffle but the sump already is baffled (of sorts).
Definitely will replace oil pump nut and tack on. Will also check lower chain tensioner and replace as per sweetm3/ tip.
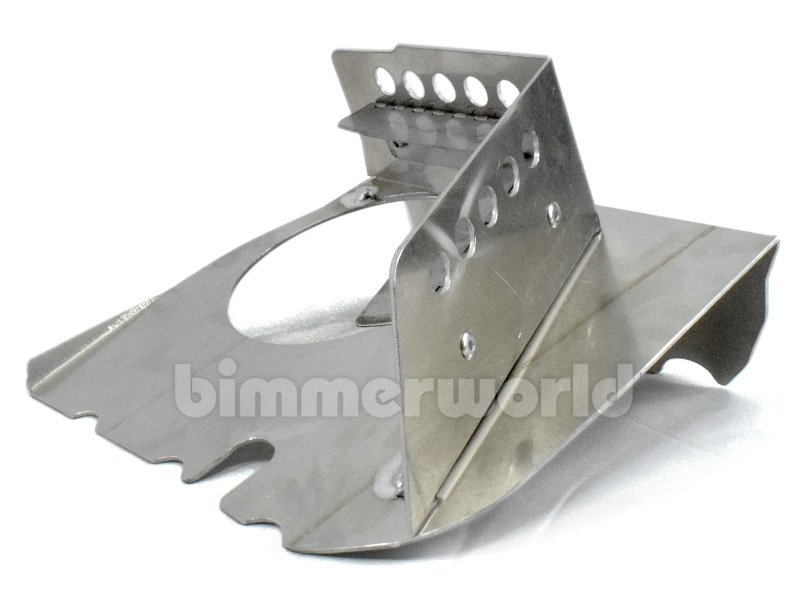
Anything else while I’m here?-
 1
1
-
-
On 12/22/2014 at 5:28 PM, sweetm3 said:Looking up her skirt
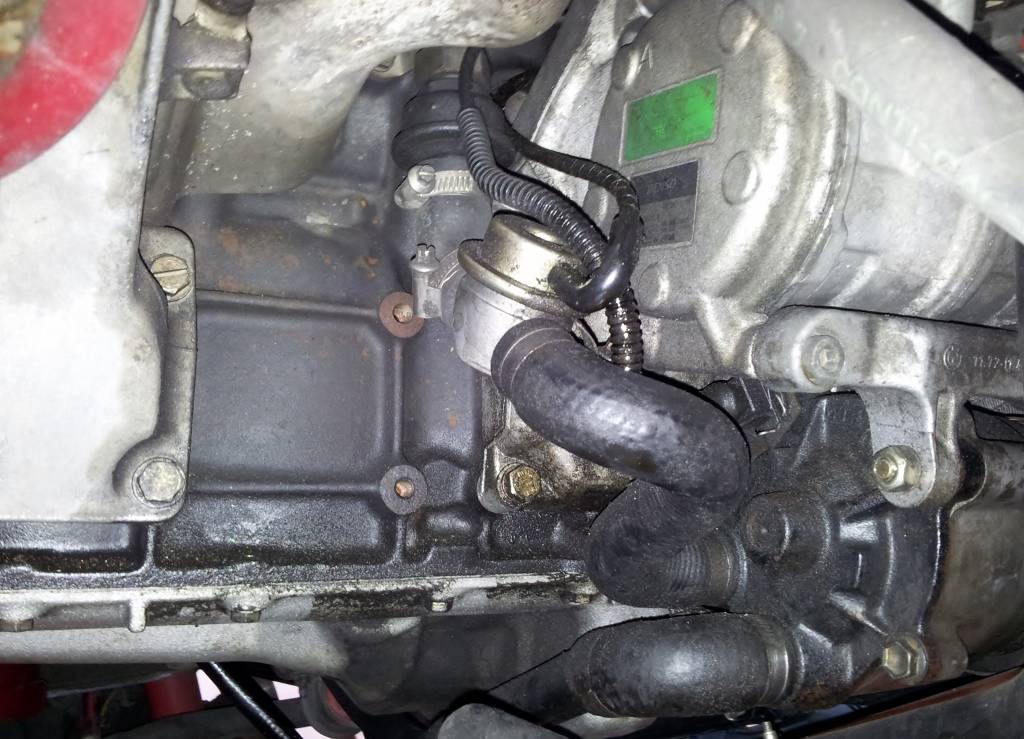
Secondary air pump oil leak (gone now)
Rod bearings replaced and ARP bolts installed, the old shells had approx 100k on them but looked fine.
Dismantled the oil pump, no sign off wear.

Don't forget to pack it full with vaseline so it's primed if you don't it may not pick up the oil in the sump. Remove fuel pump fuse or remove coil pack so the car won't fire/start.
Starting the car for the first time was the most terrifying part, turn the car over for 5-7 seconds approx 6-10 times and breath again
 when you see the oil pressure get to a safe level.(remembering I have an oil pressure gauge installed)
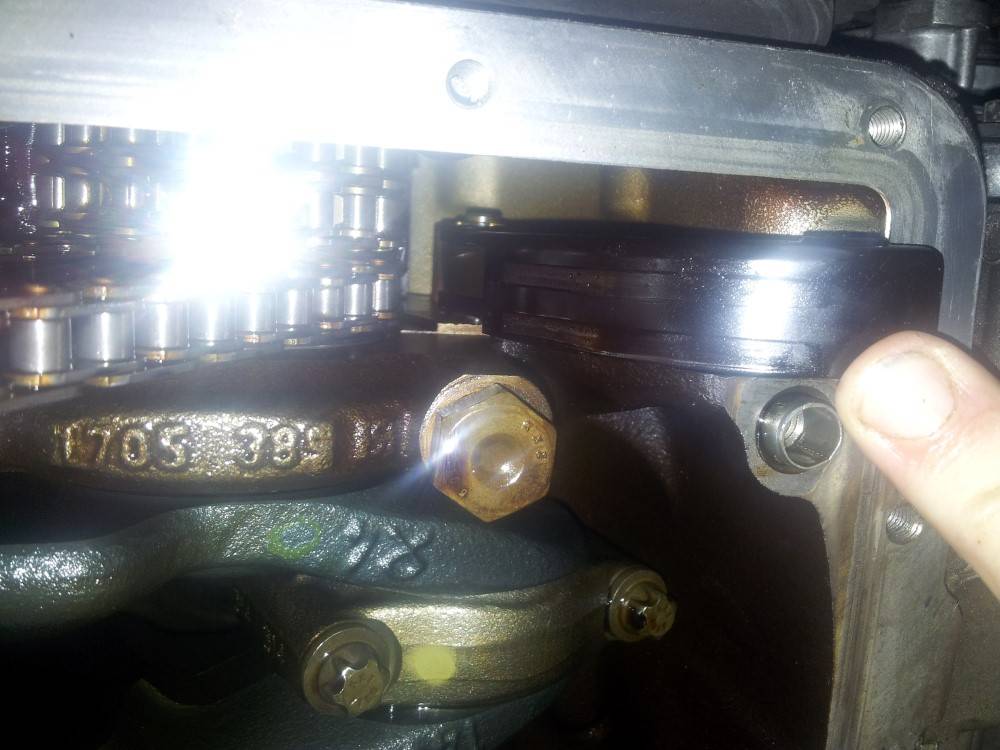
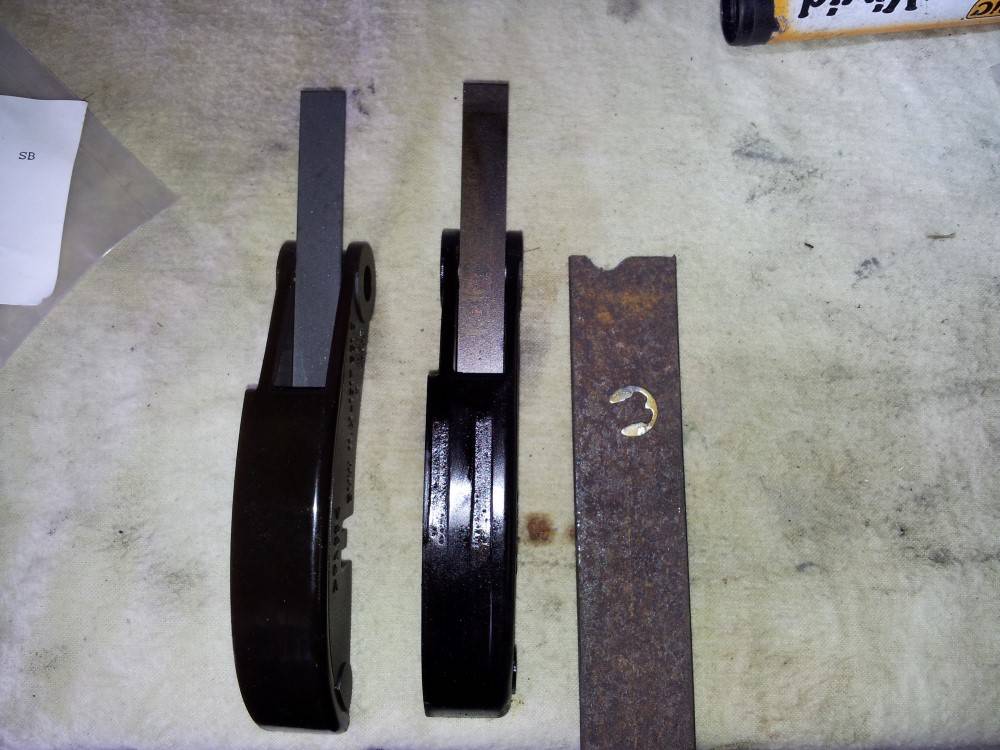
Lower chain tensioner wear, decided while it's open I'll replace it. while waiting for the new part to arrive.
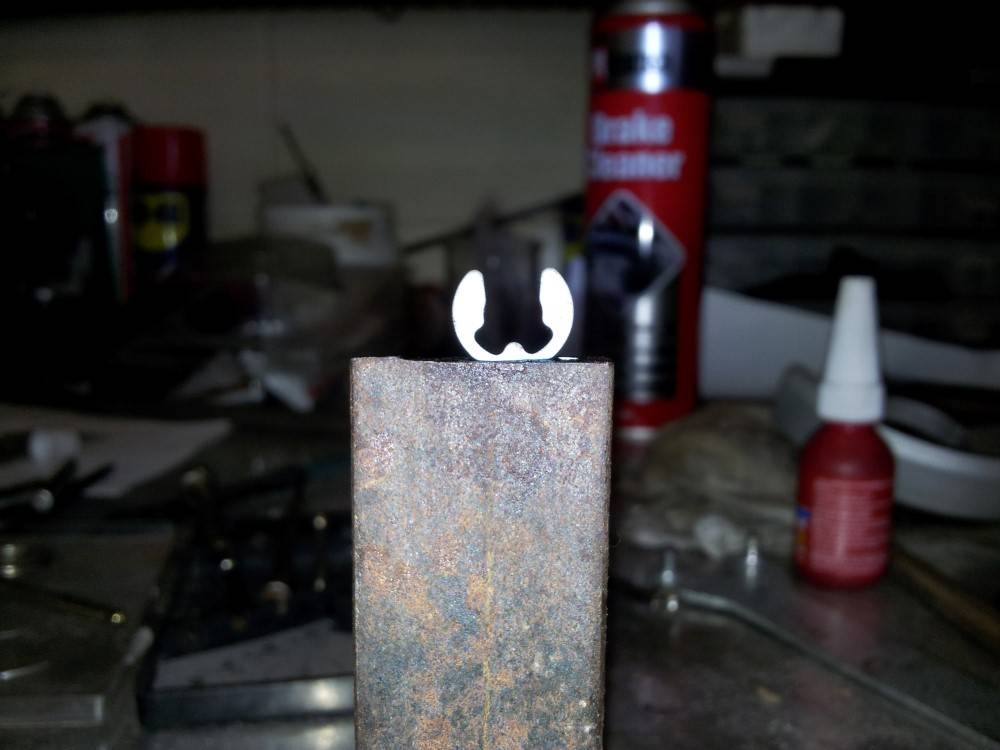
Below the old and the new, as well as the tool I made for removing and installing the clip shown. A piece of flat bar, shaped as you see to remove, slotted on top to install second picture down.
On the net the DIYs say that the front cover has to be removed. I did mine from underneath, it is tight up there.
Here's the trick the metal springs/lever is actually two levers separate them and have a look. Put it back together, but.
Leave the low one out 60% but so it's still under the other. Install the bracket on the pin and manipulate/slide the upper lever into place.
Once the upper lever is in place you just have to push the second lever up and it's guided into place by the first lever............... The will make sense I promise
When you dismantled you oil pump did you wire the nut on or secure the nut other than torquing up?
Also did you install an oil pan baffle? Bimmerworld has one which I'm thinking of installing https://www.bimmerworld.com/Oil-Pan-Baffle-E36-Z3-6-Cyl-All-M50-M52-S50-S52.html.
And where did you get your rod bearings from?
cheers
-
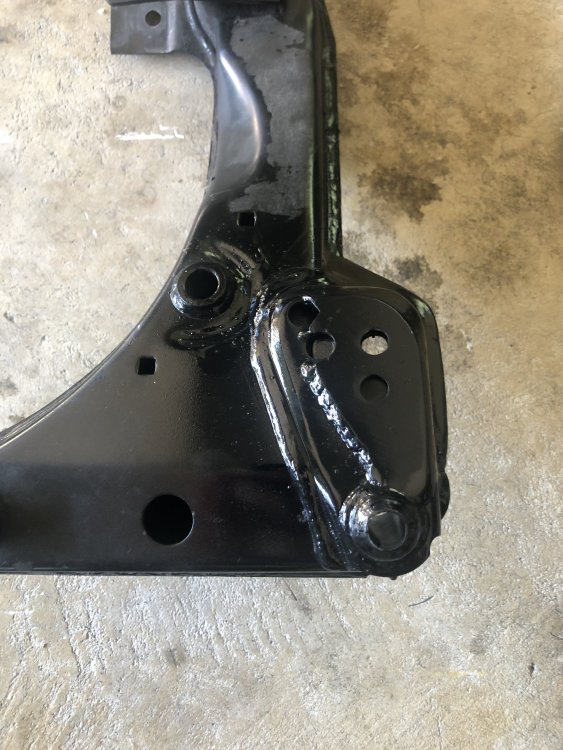
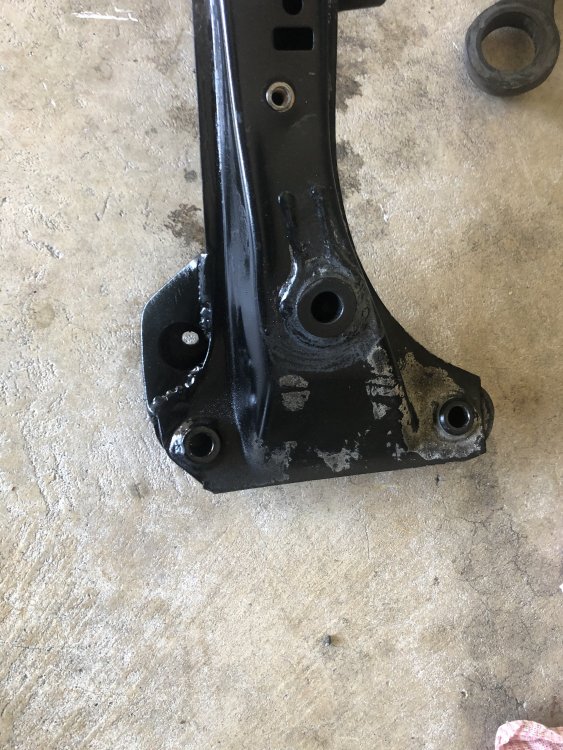
Had the subframe repaired and reinforcement plates welded in.
Need to give it a good clean, prep and paint.
Ball joints eventually pressed out.. thankfully I have a 20t press. While they felt ok I’m sure after 200km+ they need replacing. Will source HD all steel ball joints.. from other forums lemforder seem to be the brand of choice.. any other thoughts?
-
 2
2
-
-
On 10/23/2019 at 5:48 PM, M3AN said:Yep, use E30 ball joints, they're the same and were a separate part number on the E30, not available separately for the E36.
Edit: and M3 stamp on the front subframe means yes, it's an original M3 part.
Couldn’t find the part number on realoem did track these numbers down
Outer W01331627524LEM bmw 31 12 1 126 253
Inner W01331626314LEM bmw 31 12 1 126 254
is this what you used? Did you get them overseas or local?
-
-
No part number I can see but there is this M3 stamp. Taking it in to decent engineering firm here who does pre-cert work so hopefully it is salvageable.
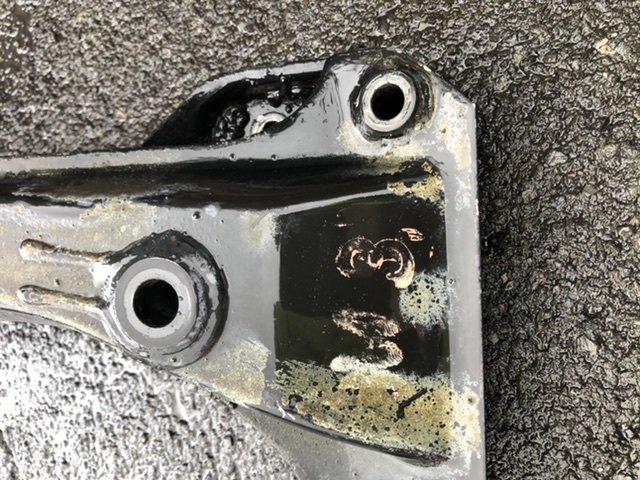
-
 1
1
-
-
7 hours ago, Olaf said:is it possible this is a non M3 frame, bodged to give the mounting point? may be worth checking before you hook into it. Very trick engine support. Last time we used one, it was two bits of angle bolted together... volvo lyf.
The repair I understand from the P.O. was carried out in P.North by a crowd no longer in business and was done in-situ because they were too lazy/cutting corners to drop it out and do it proper. That would suggest it’s original but as Dave says how do you tell the difference..
-
2 hours ago, M3AN said:Subframe is M3 specific (although buggered if I can tell the difference between M and non-M) so you're unlikely to find a replacement without a lot of luck I'm afraid.
I'd weld a solid plate on one side, a reinforcing plate on the other side and then drill through the solid plate using the reinforcing plate as a guide. That should lock it up nice and tight.
Thanks Dave just the advice I was wanting cheers.
Any recommendations as who to use Auckland or Hamilton?
-
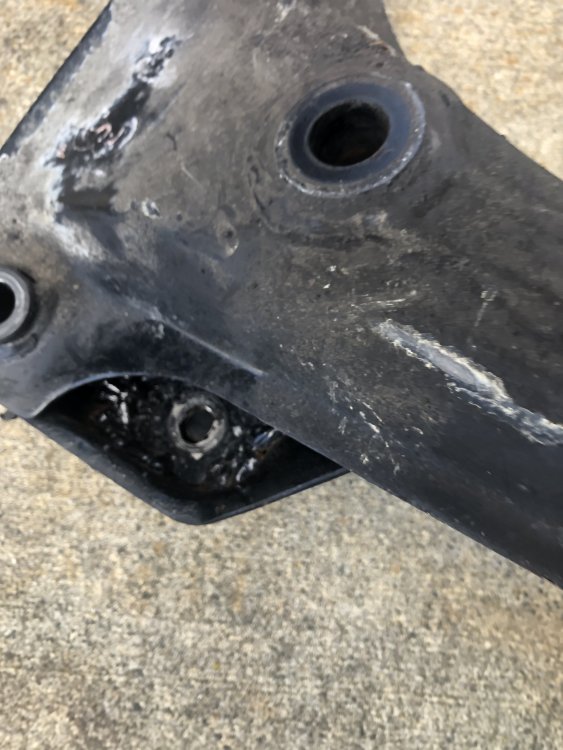
So I finally got around to dropping the front subframe.
scored a 2nd hand engine support
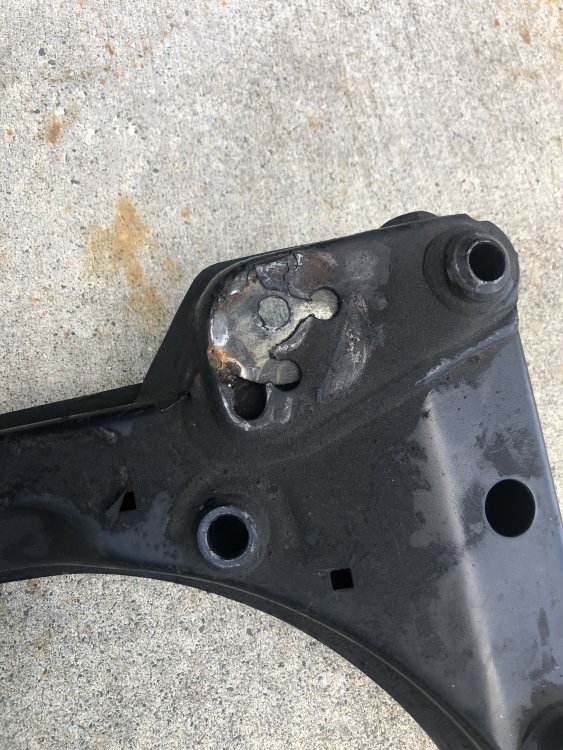
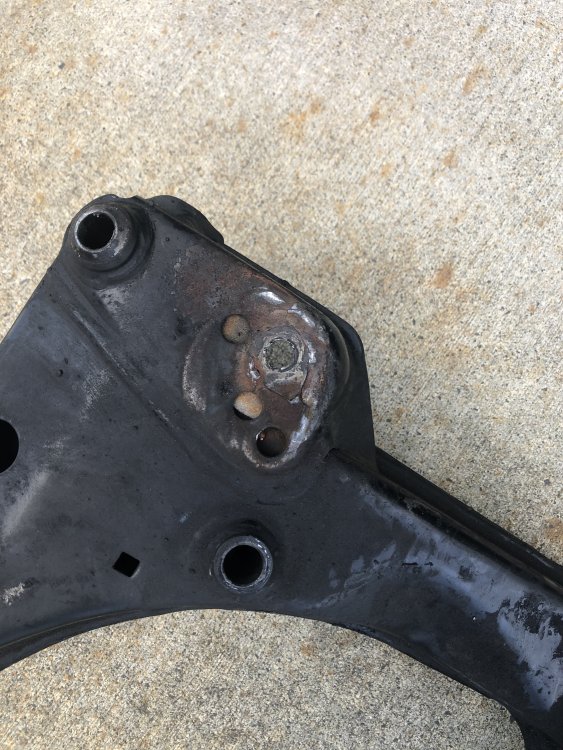
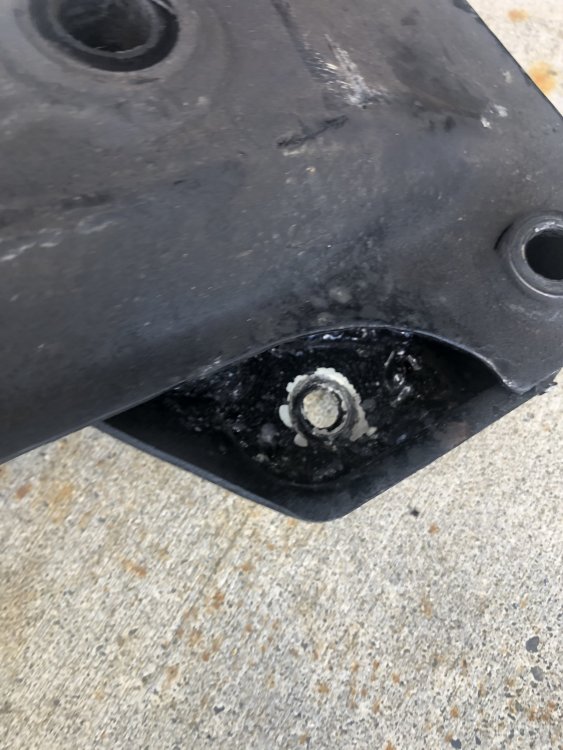
bit of a nasty find with the subframe tho
can’t believe the complete bodge job that was done complete with large washer tacked in.
is it salvageable with wielding in a new piece and with the reinforcement plates or should I be looking for a new subframe?
-
 1
1
-
 1
1
-
-
Gorgeous glws
-
If it’s original then it’s a rare beast. Only one registered on Alpina Register and that’s in the UK.
Looked a bit dodgy with the non-Alpina rear seats and that the front seat Alpina stripe are on opposite sides between driver and passenger (from what I’ve researched they’re on the same side). Does appear to have an Alpina plague in front of passenger but without checking the build number idk if it’s legit.
-
On 9/21/2019 at 7:14 PM, M3AN said:Sure that can't be mounted any lower? Looks like it's in the wrong place...
There’s a curved recess which the plate sits in so not much room to move.. Prob could remove tabs on surround and reposition but never occurred to me as a problem. All lined up now.
-
 1
1
-
-
On 9/21/2019 at 3:54 PM, Blackie said:El pain in the arse??
You’ll need to explain that comment?


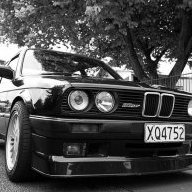


BMW 1M -- A new price level?
in TradeMe discussions
Posted · Report reply
The “some” service history would require investigation as to what servicing it may have missed out on.