
_Matt_
-
Content Count
1273 -
Joined
-
Last visited
-
Days Won
2
Posts posted by _Matt_
-
-
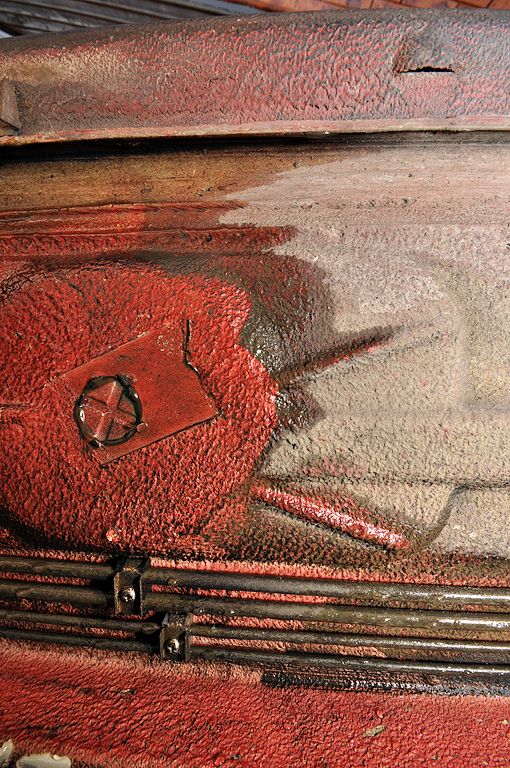
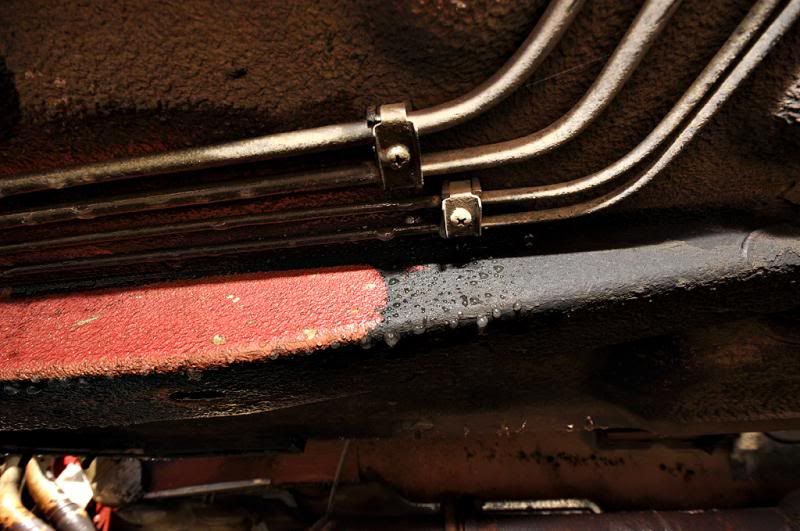
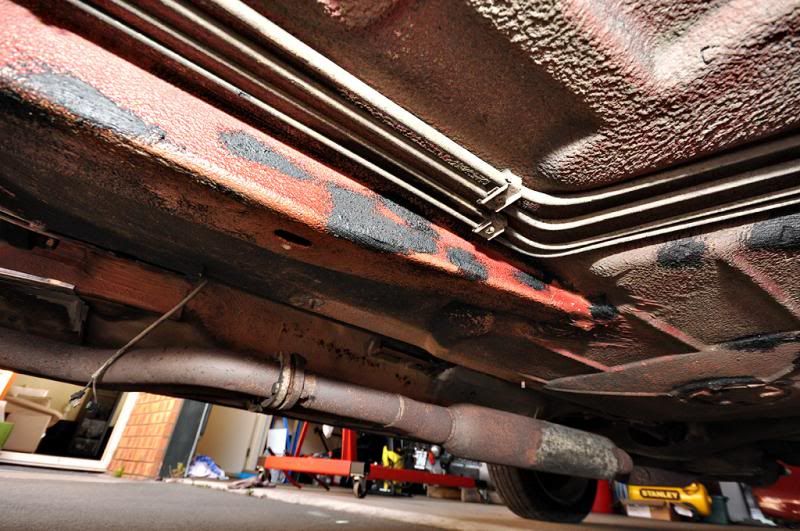
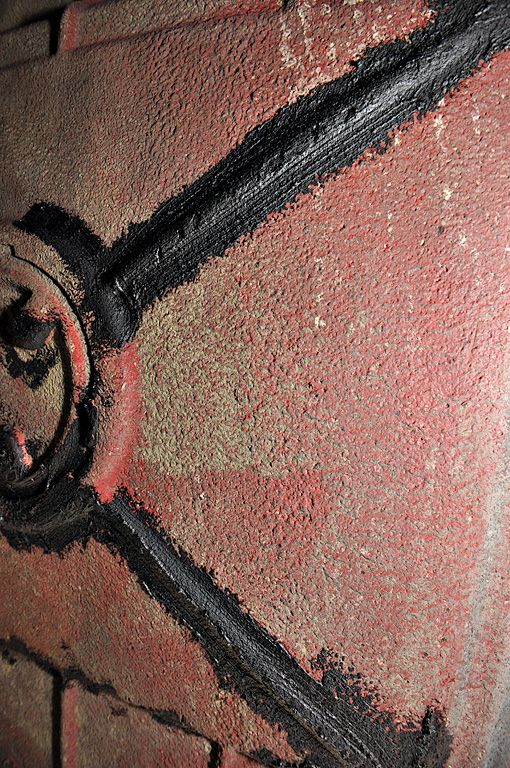
cleaned (water blasted), repaired and re-undersealed the body, well the jack points and stone chips anyway.
the water blaster did wonders removing this oil and dirt
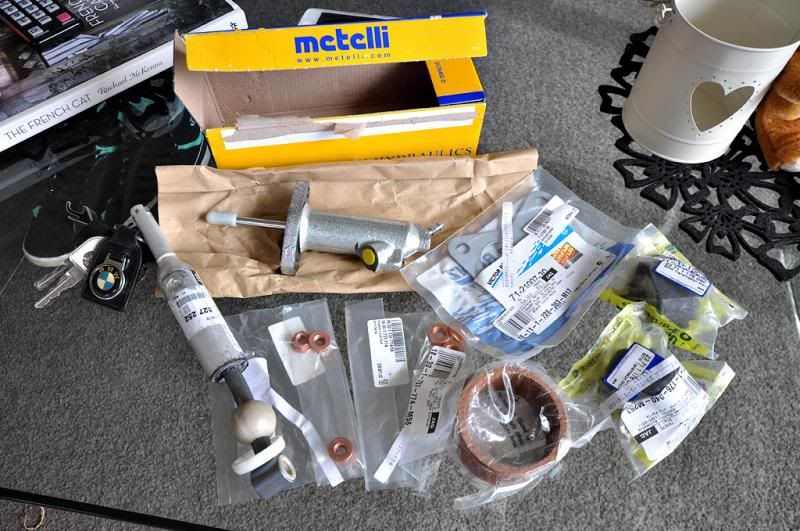
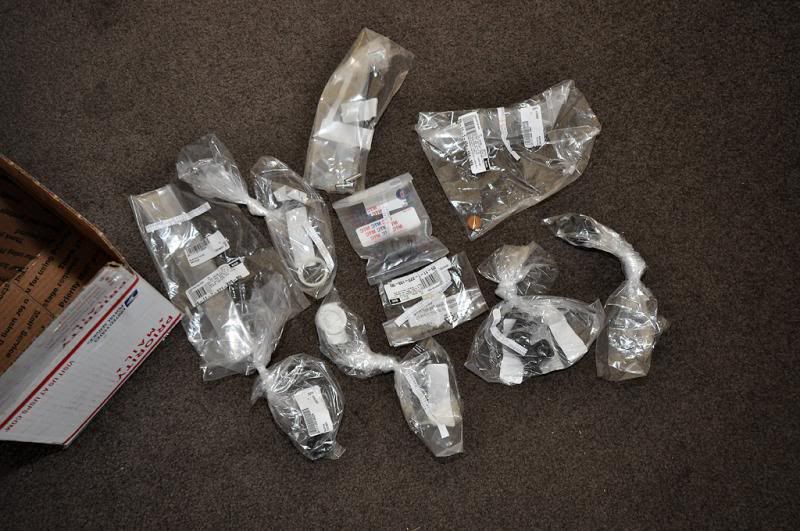
Last crucial parts arrived.
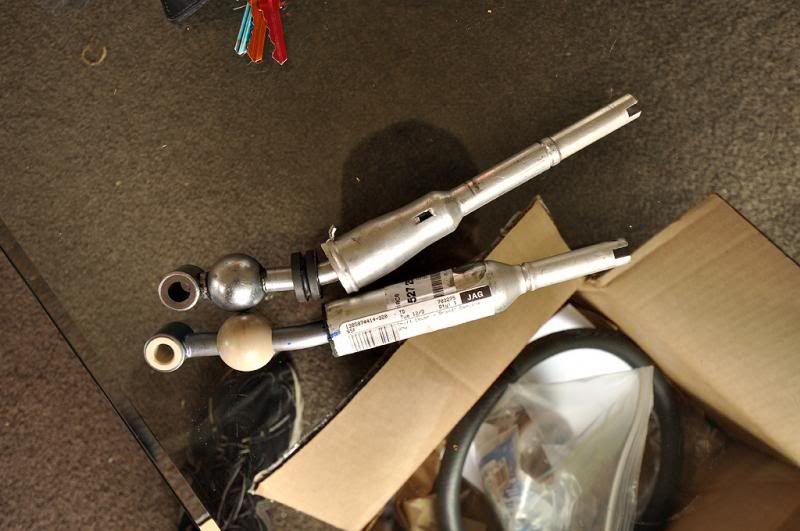
stock e28 shifter vs 1.9 Z3 shifter, i'm excited to feel the difference.
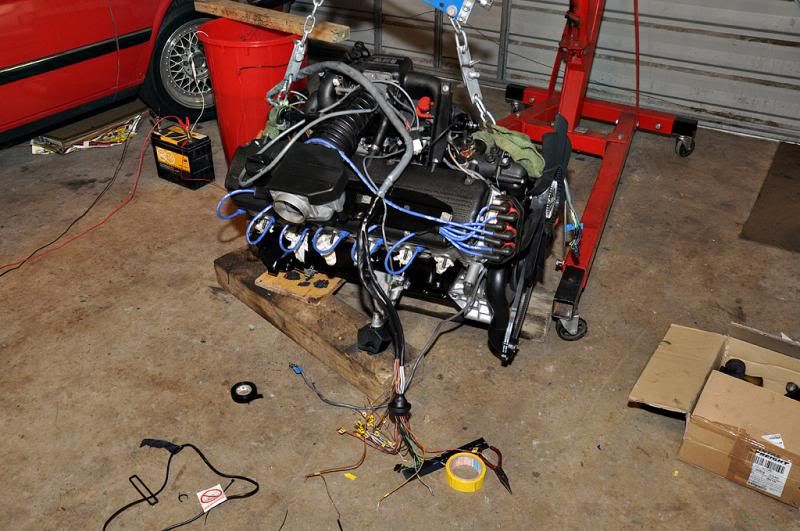
all assembled and ready to slot in...

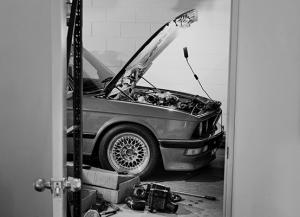
I'm dropping in the engine tomorrow, wish me luck

-
was looking forward to seeing some street racing
-
not sure about the door but you don't reset the "check brake linings" alert it is triggered by one of the two brake wear sensors.
either, the brakes were fixed and the sensors have not been reconnected
or
and most likely, the brakes have been fixed but the wear sensors were not replaced.
It's easy to check.
the sensors are on the front passengers rotor and the rear drivers side rotor. If they haven't been replaced you can either replace them or the dodgy way is to cut the worn sensor off and just twist the two wires together, this closes the circuit and the brake alert will disappear.
-
says the car painter.
-
I don't want to seem like mr negative here but I'm pretty sure Diamantschwarz is quite a desirable colour for E30's…So if you re-paint in the original colour it will
- be a heck of a lot cheaper
- a heck of a lot easier
- have much better resale value.
my 2c
-
I bought a V1, it's prevented all problems i may have had, It's been going off like crazy these holidays. Most of them were cops that had already pulled people over
-
Out of all those cars I counted 3 that indicated into the other lanes, 2 of which were at the very end of the video
-
Real OEM and pelican parts is your friend.
-
-
stupid plates.co.nz...out of interest how many spaces did you put between the MY and E30?
-
[MY E30] is cheaper because it's 3 letters followed by 1-3 numbers but I doubt anyone cares when deciding it's value.
-
whatever the original colour is
-
While my patience wears thin waiting for the latest pelican parts order I decided to finished the last of the interior.
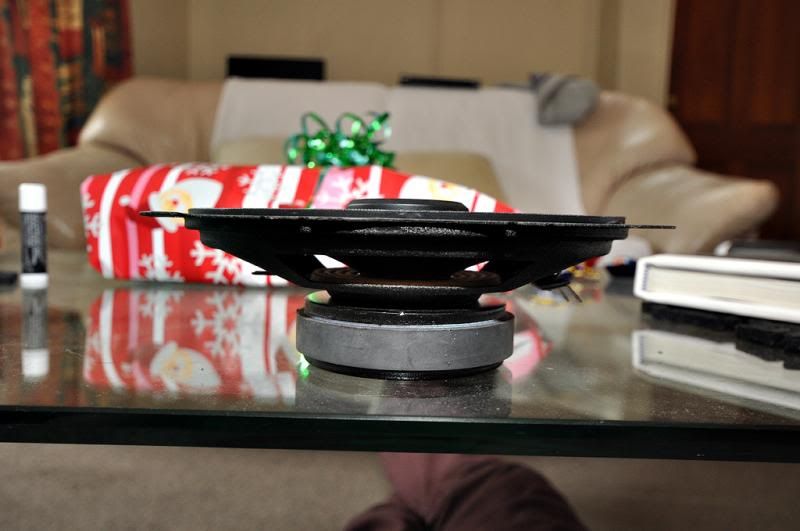
I got some kicker speakers for xmas with tweeters that protrude a heck of a lot less than the fusions that were in the car when I bought it.
however some spacers are still needed so I can keep the factory grills.

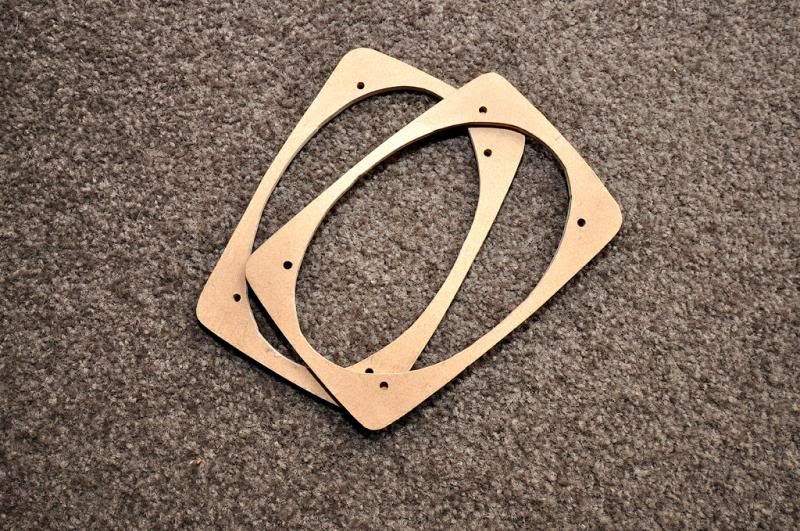
not to bad I thought, a jigsaw isn't the most precise tool in the world.
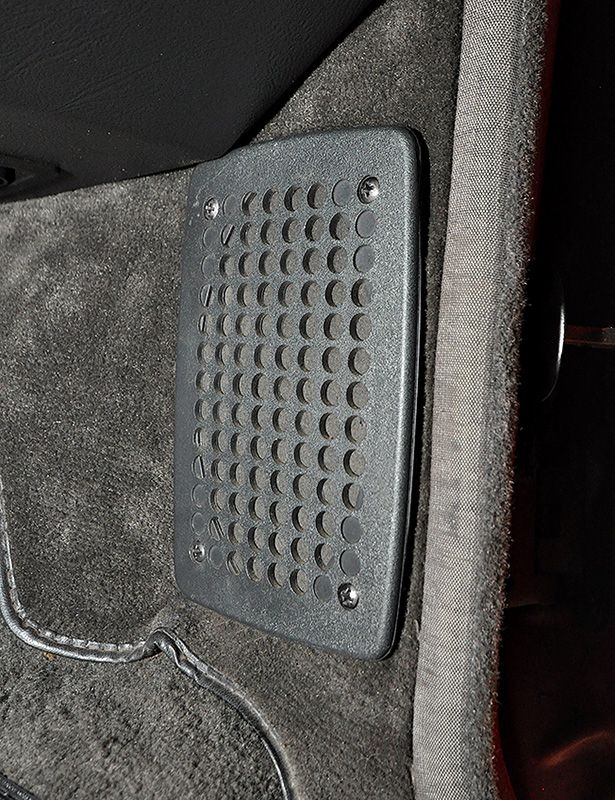
Done. For all you know there are 1984 10watt Alpines behind these…then BAM! awesome sound quality emerges!
-
 1
1
-
-
'pull my legs over'! fuuuuuuuuuu*k fuuuuuuuuuuu*k
-
what do you mean? it's a 540i, impossible to tell what options it has since you've disguised the rego.
-
1
-
-
7m long inception camera so I can find all the things I loose in my subframe. Some 4x6 speakers with tweeters that don't protrude so I can fit my factory grills over them. A remote control BMW X6 (it's the same as the E28 because it's red). Money + Super Cheap vouchers + candy.
-
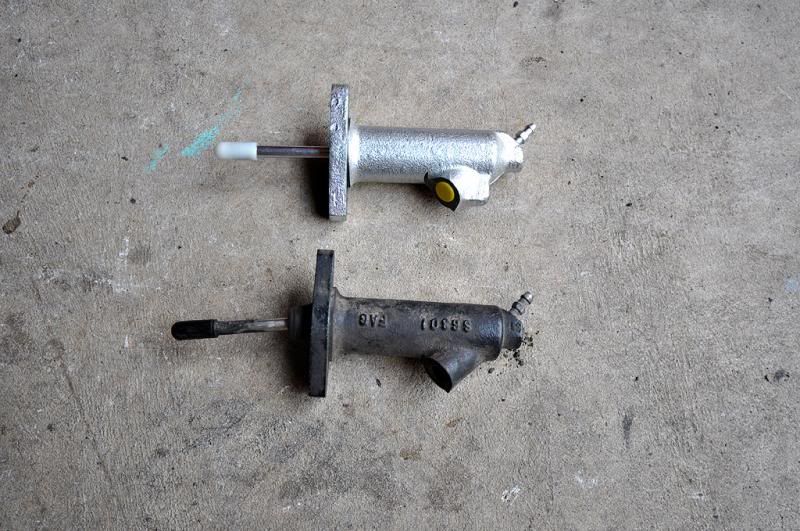
the top one and delete the valve die
-
good idea, maybe I could place the rear on my sleepers and jack up the front. That way the car will be level and I could get underneath too. No new carpet, just thoroughly cleaned the old stuff. Is it even possible to find new carpet? All the stock underlay had a rubber over the top so i followed suit. Plus the LAST thing id want is for something to spill and soak into the foam.
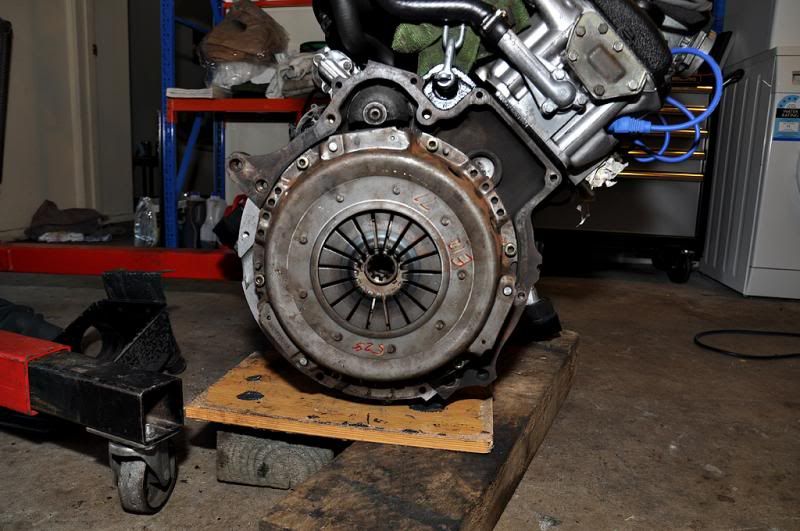
Feel kinda sad the the 525 is getting destroyed
That's long gone, it was a heap. UK import, the whole chassis was riddled with rust. The engine wasn't any better
-
-
santa need to give me an early xmas present then
one of these please.

-
Cheers guys,
very nice , if you are going to lower it in complete like that , i would remove the ps pump and brackets , ac pump and brackets , front dampner etc , less likley to scrape you a/c condensor / rad support etc
I have spent about and hour playing around with my engine crane perfecting how I'm going to drop it in. The AC bracket I think will cause the most issue and ill watch out for the dampner+PS pump.
I also think the angle of the car it's self is quite important, if it's jacked to high it means the engine has to be on much more of an angle or else the gear box won't make it under the firewall and the dampener etc will hit the front of the car...
I guess ill find out
-
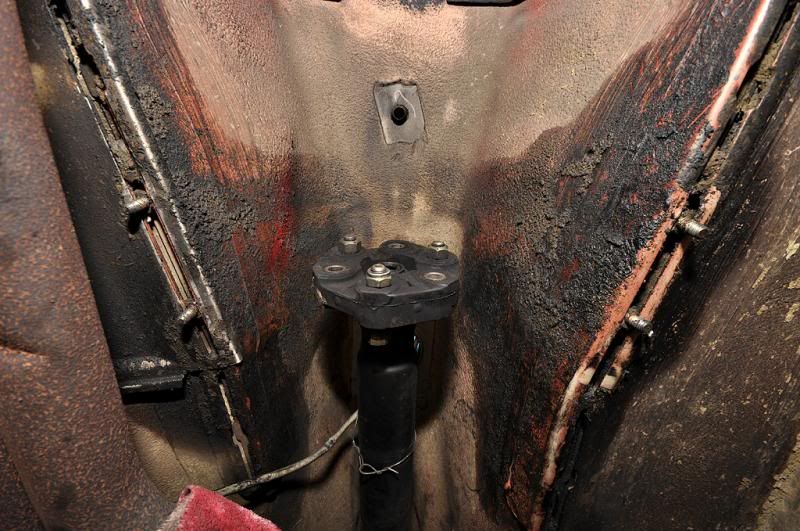
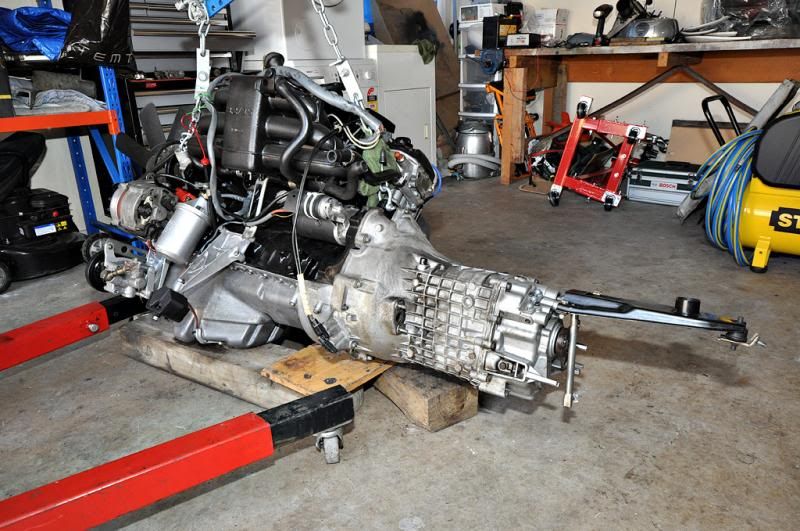
clutch in
The lengths I go to just to get the rubber boots on...
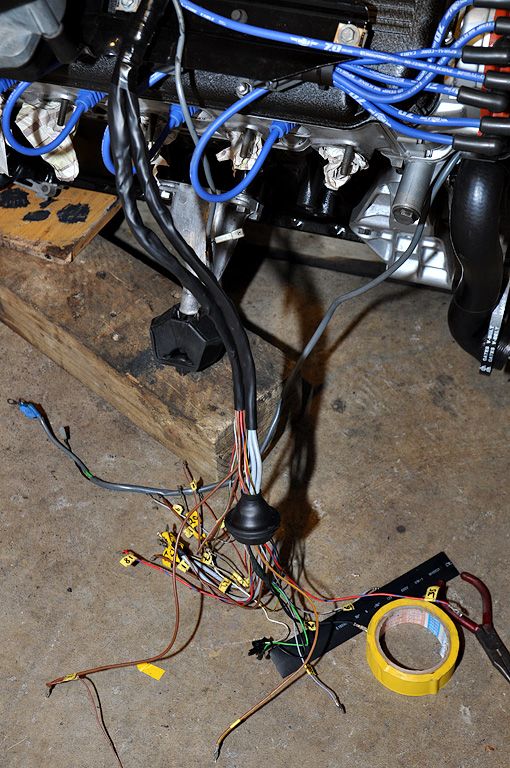
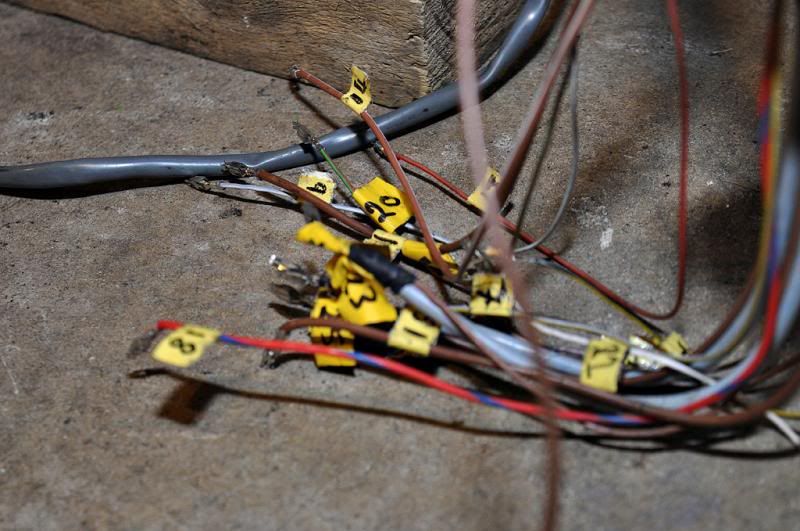
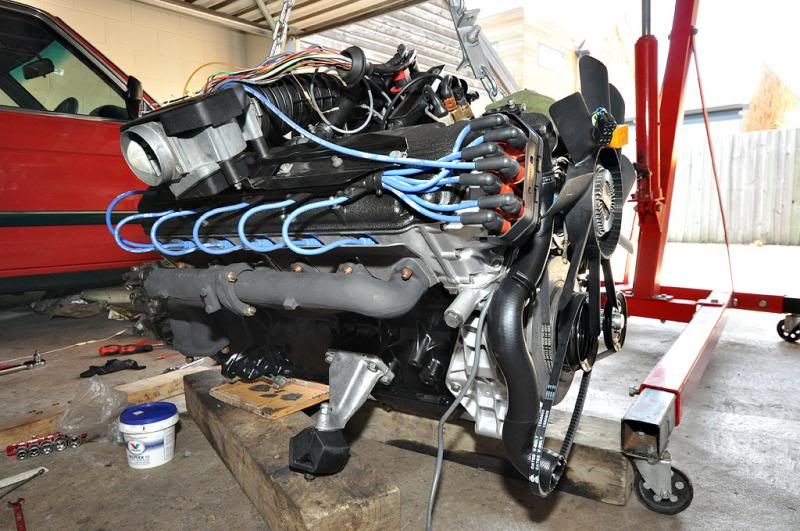
This loom/engine is clearly from a 635csi, a few changes have been made to the loom to suit the E28 I think, just tidied up the previous owners twist and tape method...
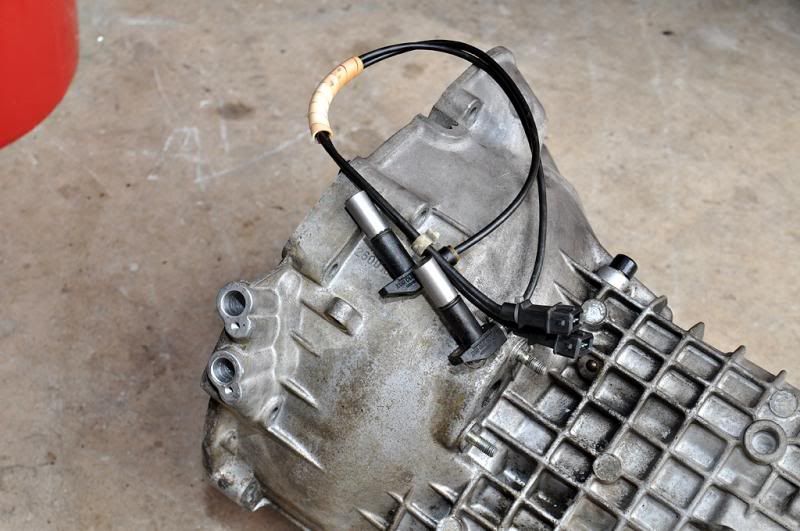
I decided to clean the garage and I found the crank sensors I thought I threw out, lucky my order was delayed so I canceled them and saved $100
then spent that $100 on an engineer to drill some holes hahaha

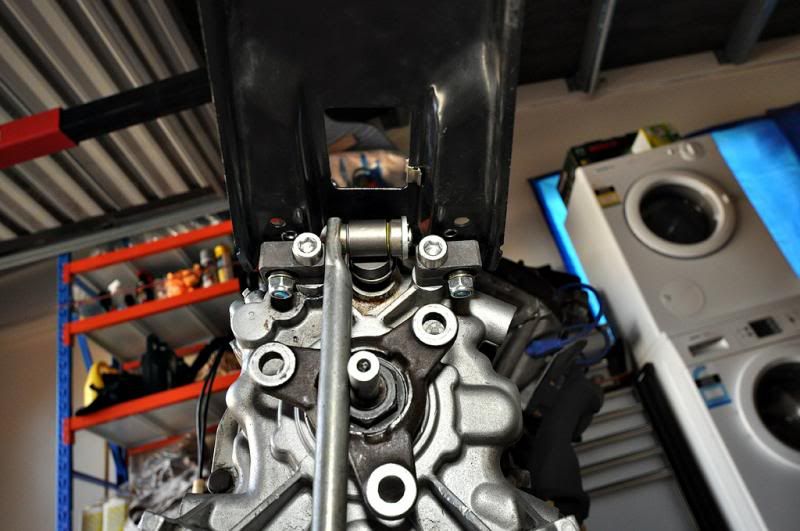
First time putting a clutch/gearbox on and got it to slot in second time after eyeballing it.
old shifter seal
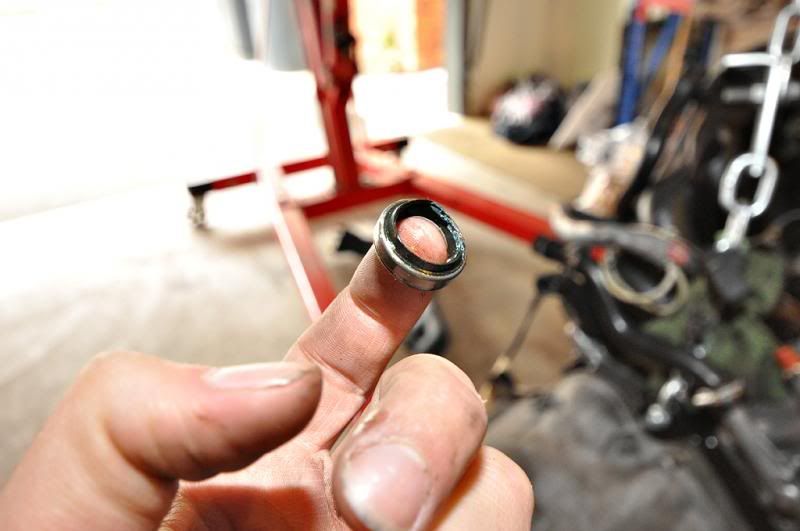
New shifter seal
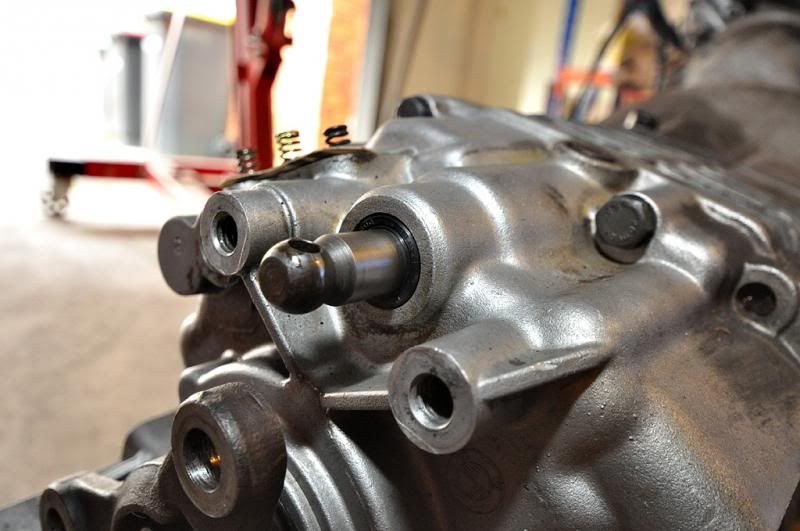
I heard the earlier version of this thingymajic is prone to leaking, later models had a rubber gasket, so I used my arts and craft skills to make my own.
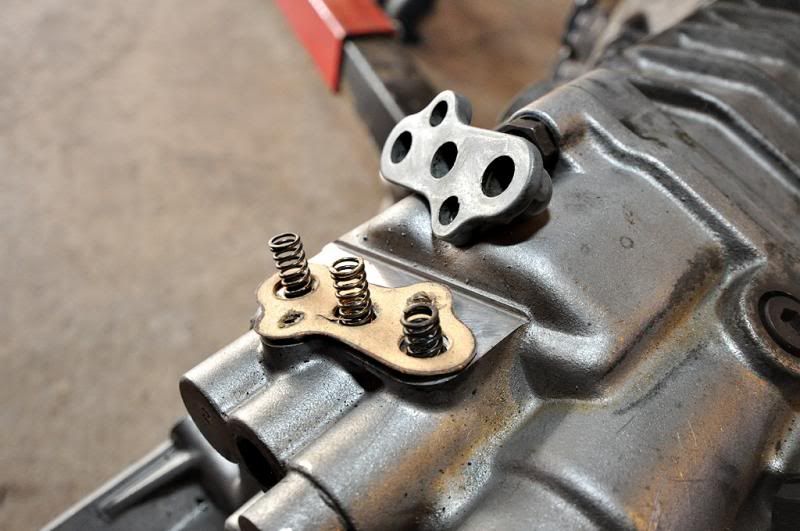
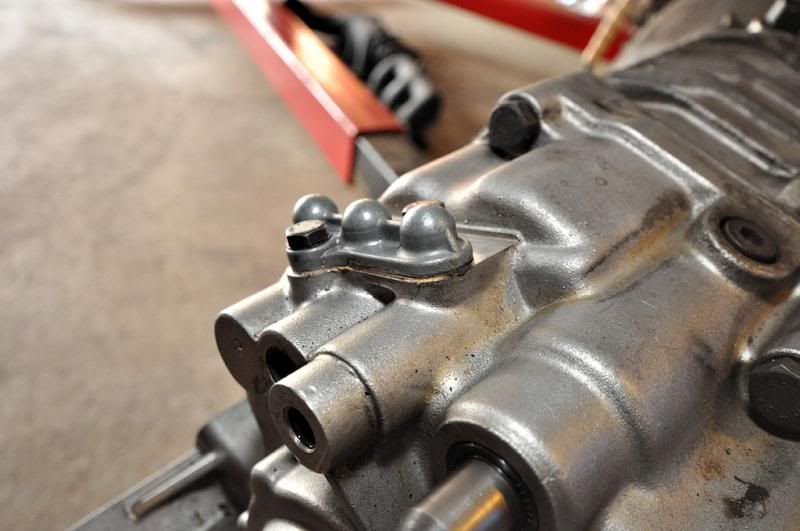
Shifter bits and bobs
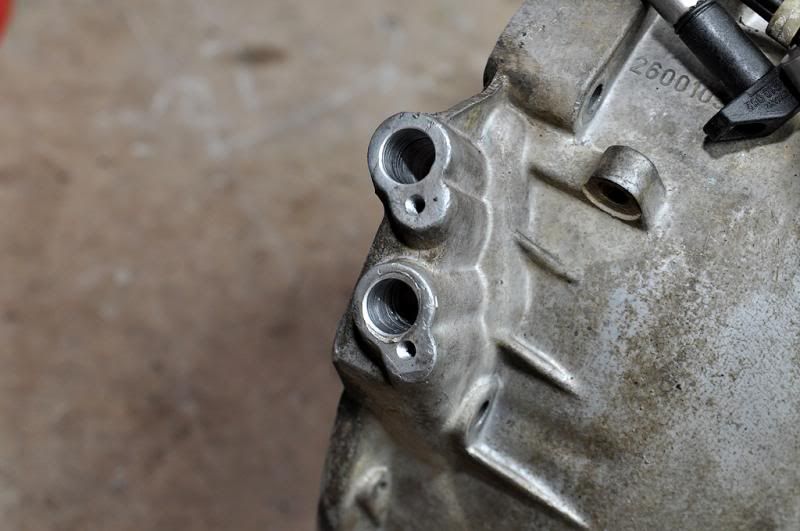
First things on the list, the shifter plate mounts…and small problem, the threads on the gearbox are M10 not M8 (same with the spare I have too) strange.
no worries I guess.
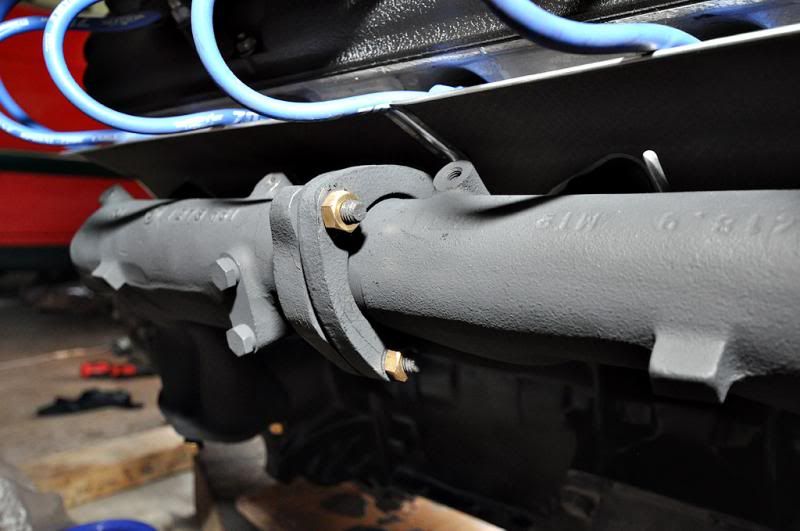
I was bored and couldn't wait any longer for the copper nuts from the US so just went out and picked up some brass ones and attached the exhaust manifold.
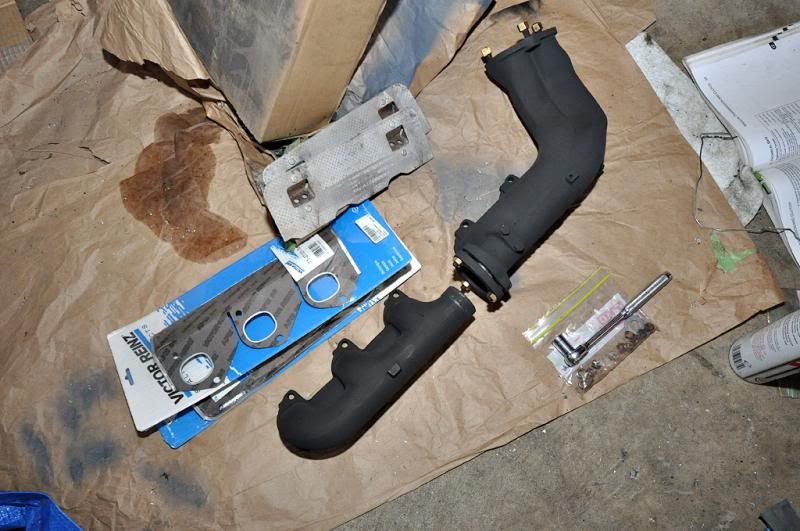
I was going to go ahead and drop it in tomorrow but I need the locking washer to go over the output flange nut…I guess ill paint my air box or something instead.
-
so far i've read about 5 of those guides and not one has said anything other than "avoid like the plauge" which says to me they are all 'cool' cars.
-
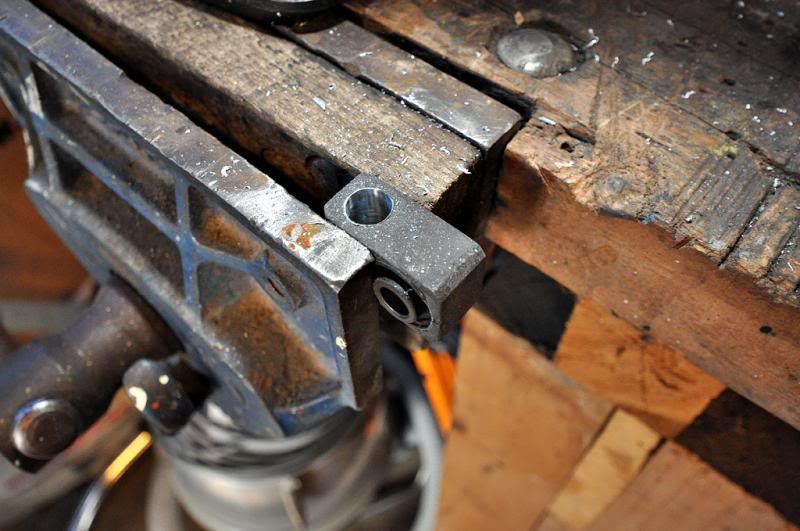
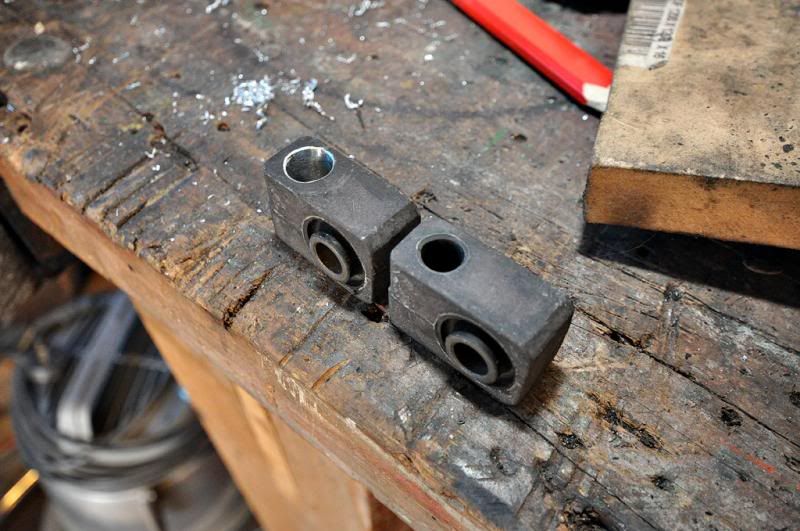
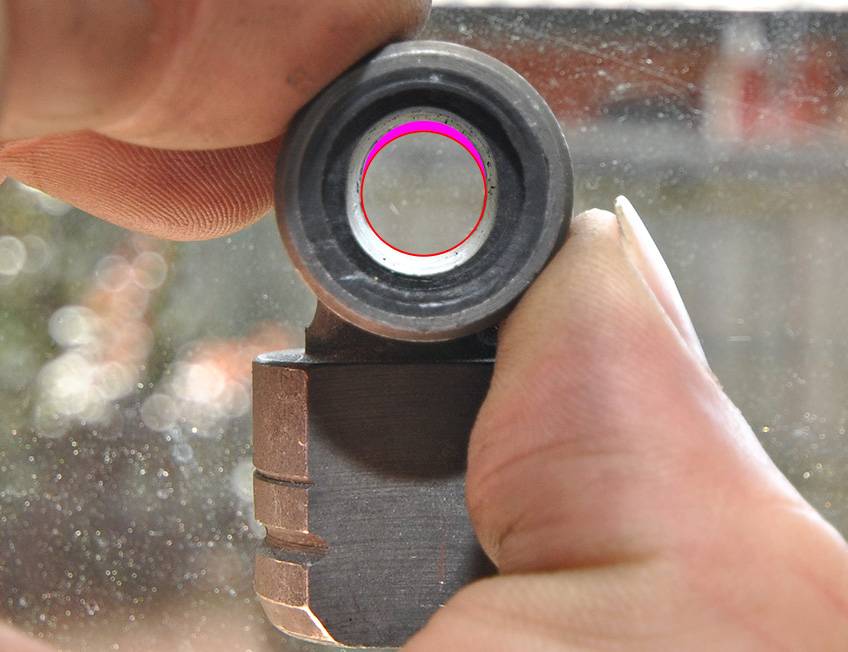
Why is my new shift rod join not circular? it has heaps of play in it so at the moment i've left the old one in...
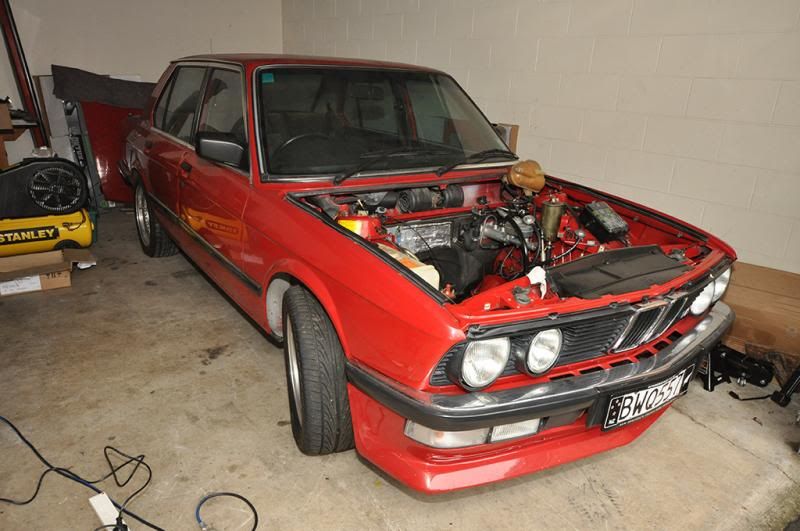

E28 535i Project
in Projects
Posted · Report reply
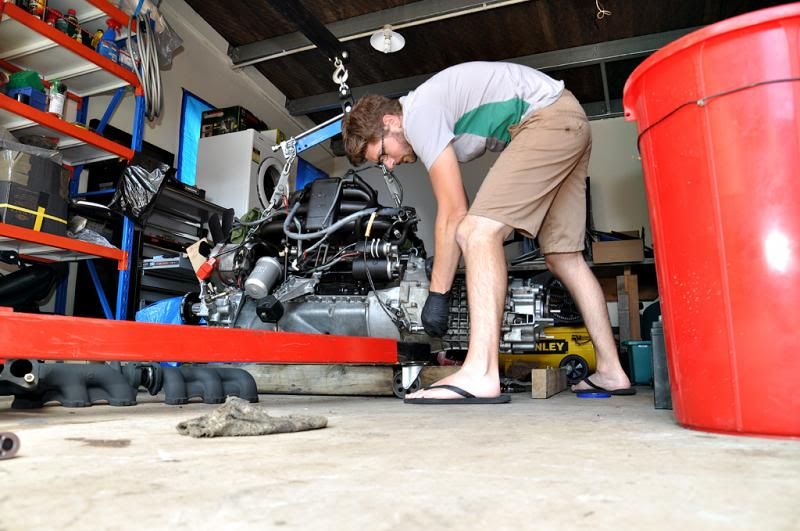
Todays progress,
this was unexpected...
this was quite literally 6 hours later, the engine was twisted and no one could figure out how to get it to rest on the mounts…had to get a mate over who's done a few engine swaps, he also supplied some 9 tone ratchets straps (stressful time, no photos)
All in all it went well, no damage to the car getting it in and only a few tiny paint blemishers on the engine from rubbing etc. Now for all the fun stuff, hooking everything up...