
_Matt_
-
Content Count
1273 -
Joined
-
Last visited
-
Days Won
2
Posts posted by _Matt_
-
-
PM'd
-
you can buy thread repair kits that use an metal epoxy, very different stuff to normal epoxy glues you buy for odd jobs.
as glenn said a heli coil would be your best option.
possibly best to take it to someone who has done it before, amateur work can just make it worse
I've done a bit of research and I'll try a 2 part epoxy which is about 3x the strength of the steel putty. If that fails I'll have a rethink. Helicoil won't work unless I use one in conjunction with the epoxy. The hole is large and not circular.
-
tried that, it's about as hard as baked clay lol, didn't really work at all. if a weld is the answer is there a Cantab with a welder willing to help out?
-
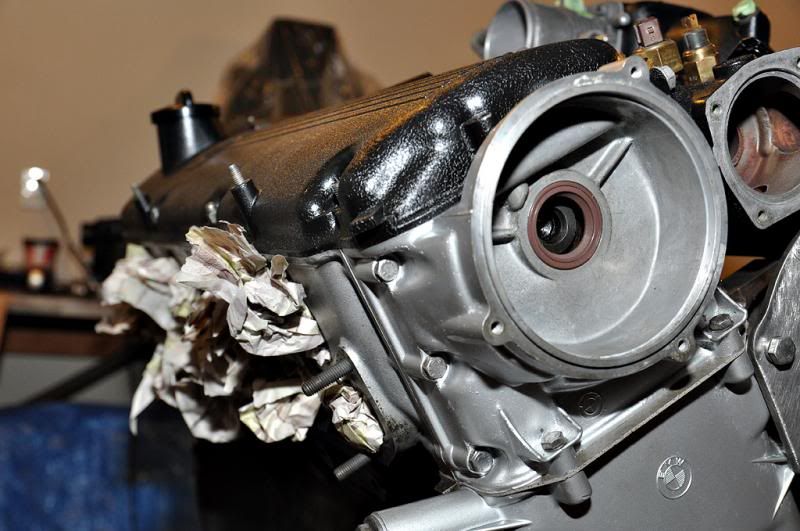
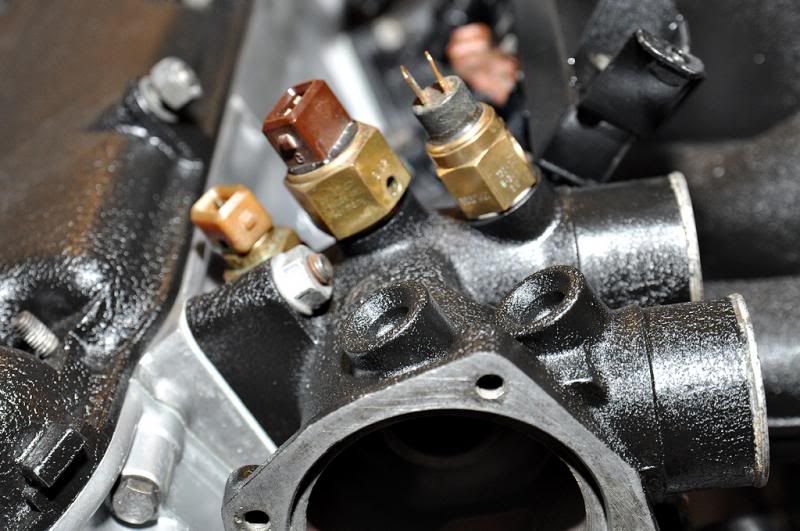
one of my water pump bolts broke due to corrosion, i drilled it out but its made a bit of a mess and i need a way to fill it before redrilling and retapping.
would a welder be the right thing to use to fill up the hole? thoughts?
-
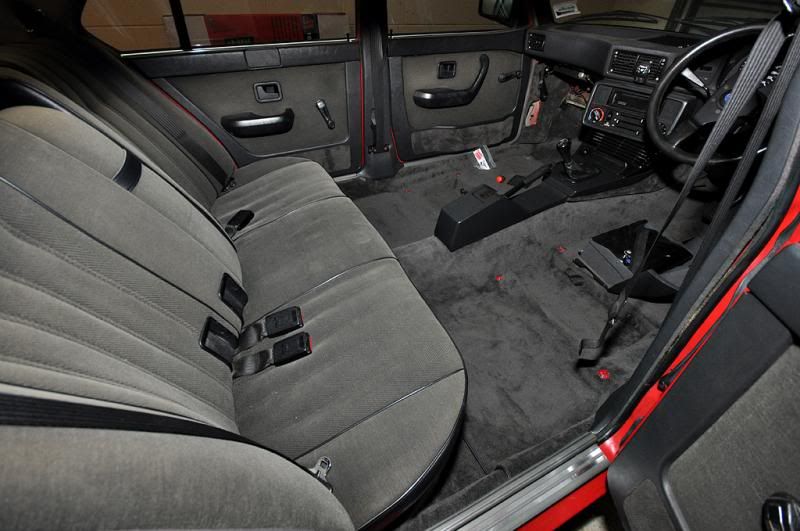
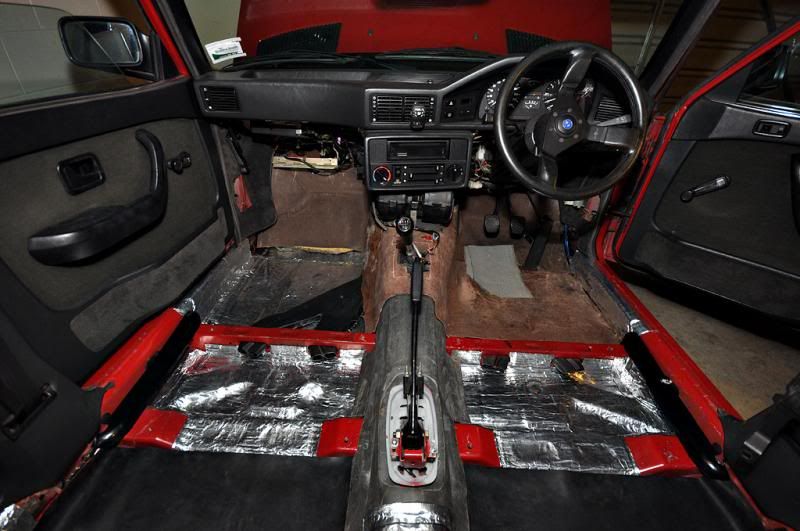
UPDATE:
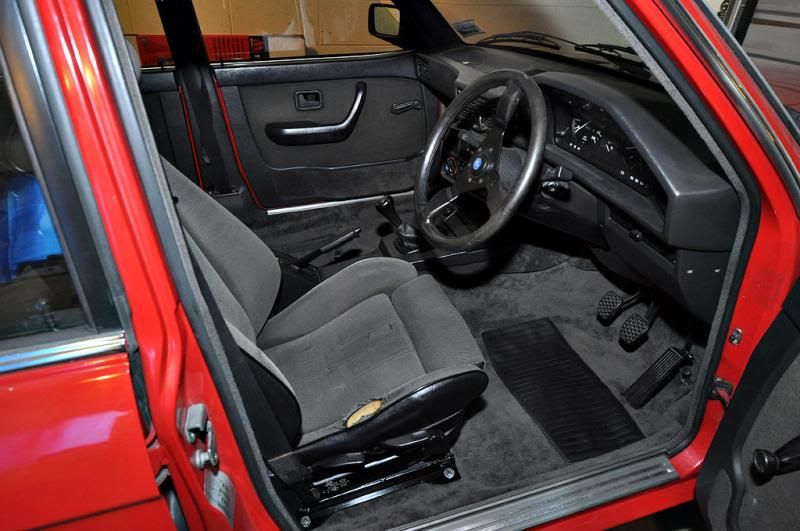
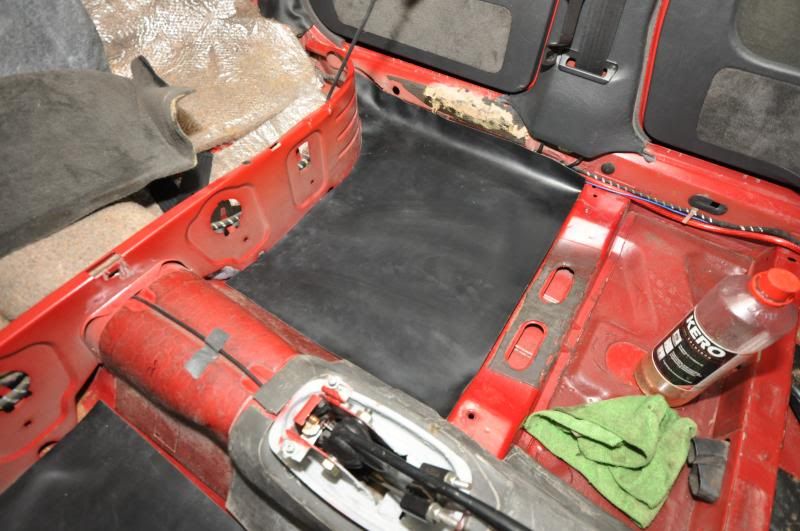
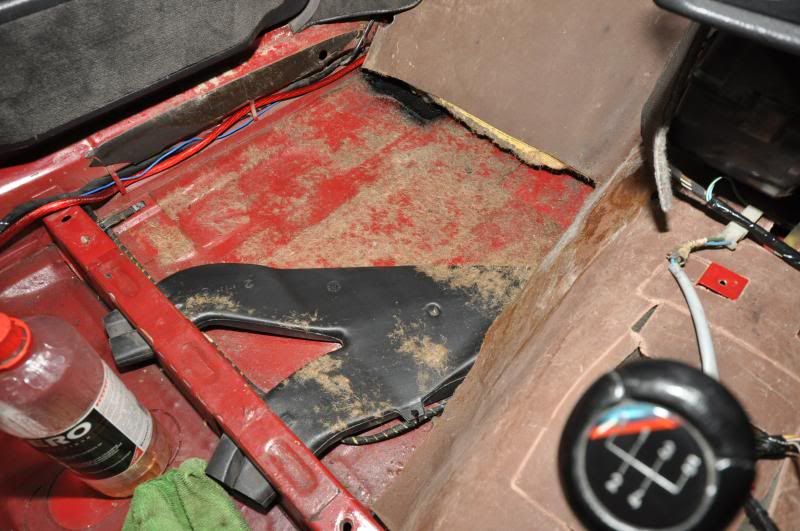
well the interior is done,
 \
\
another awesome example of DIY from previous owners.
Magic
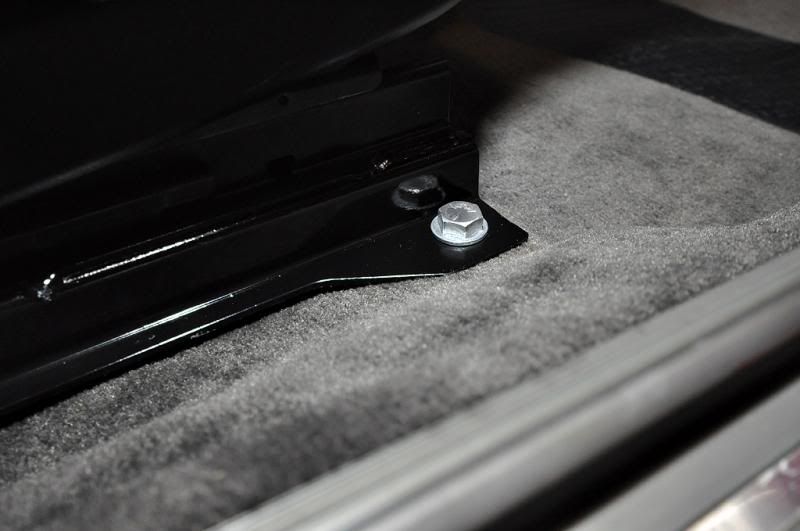
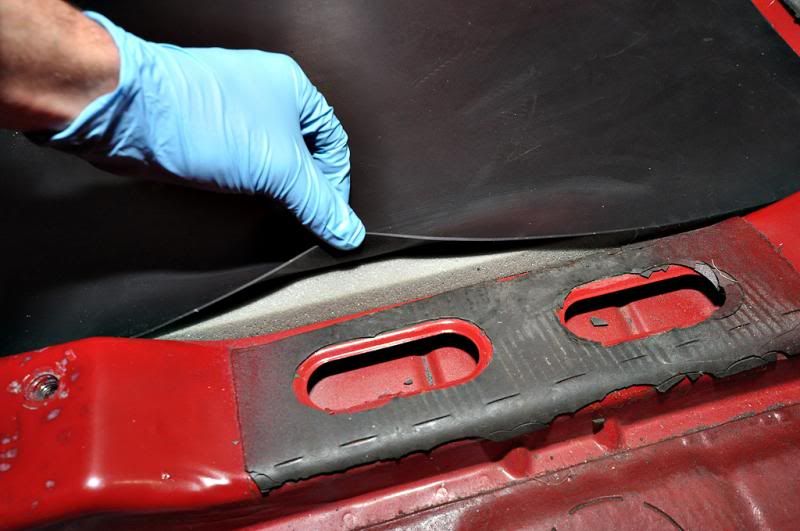
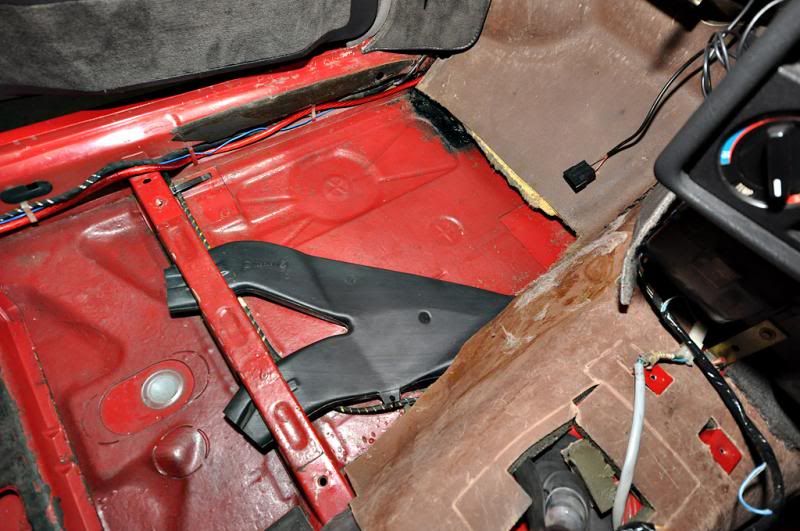
This used to be rusty, it was pretty bad on the other side, all fixed now...
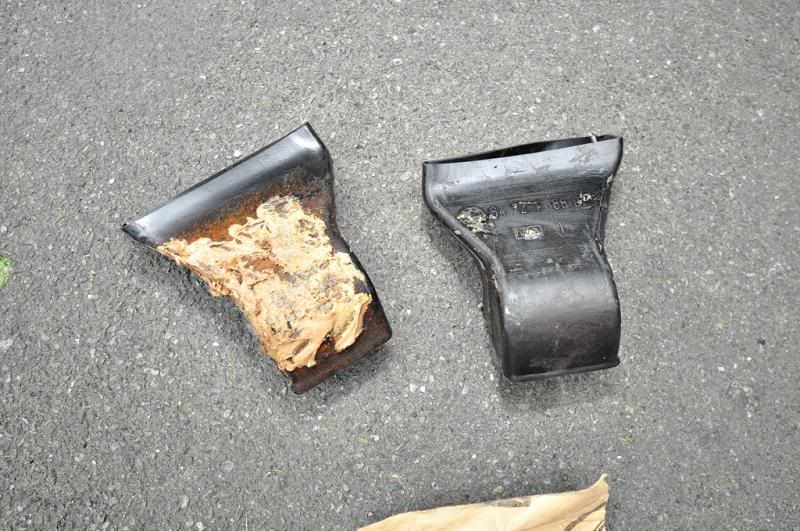
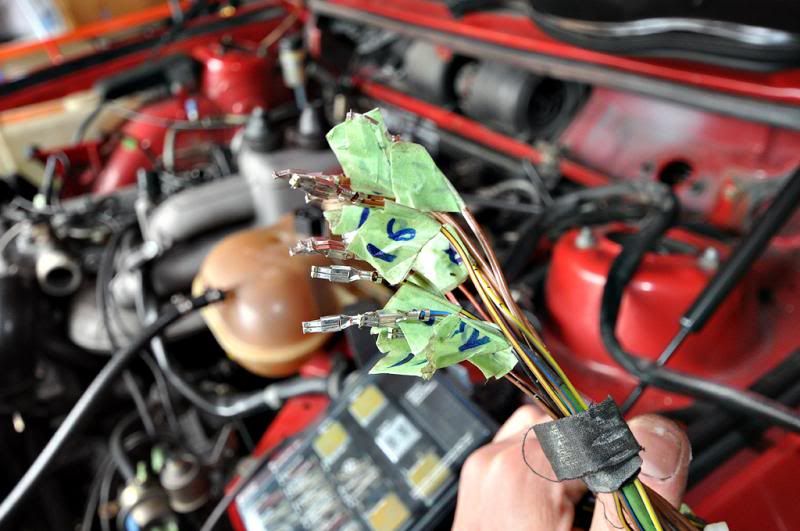
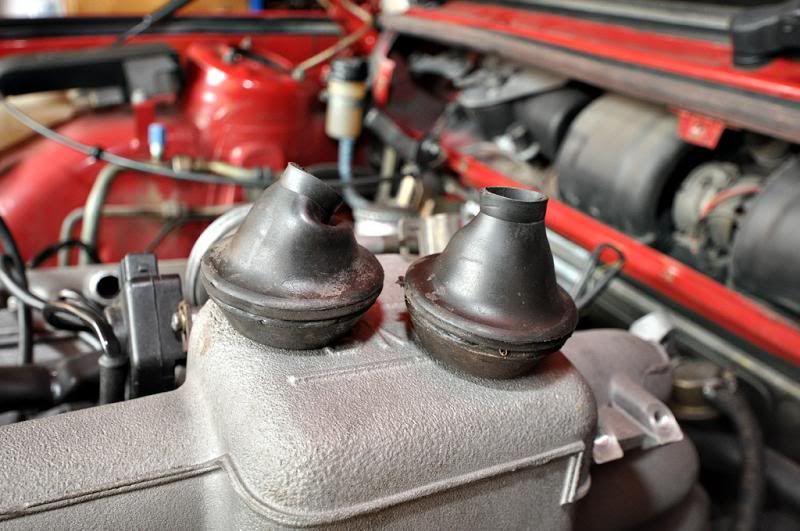
Remove all the loom pins to retrieve the rubber seals
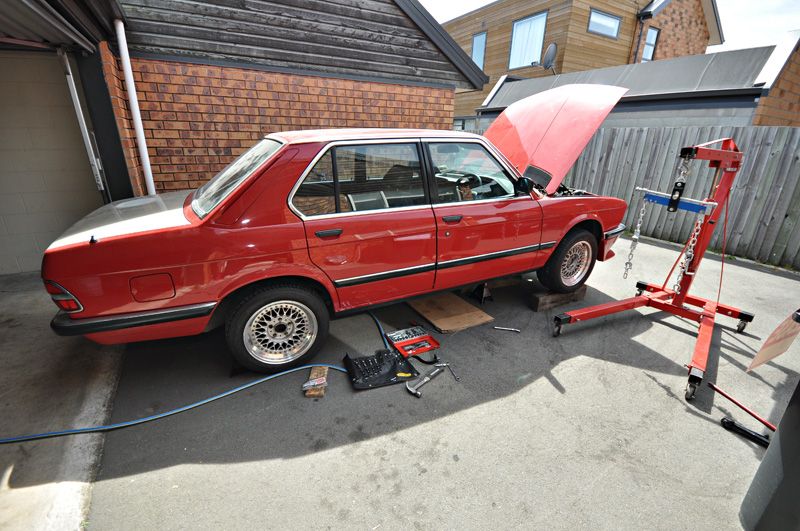
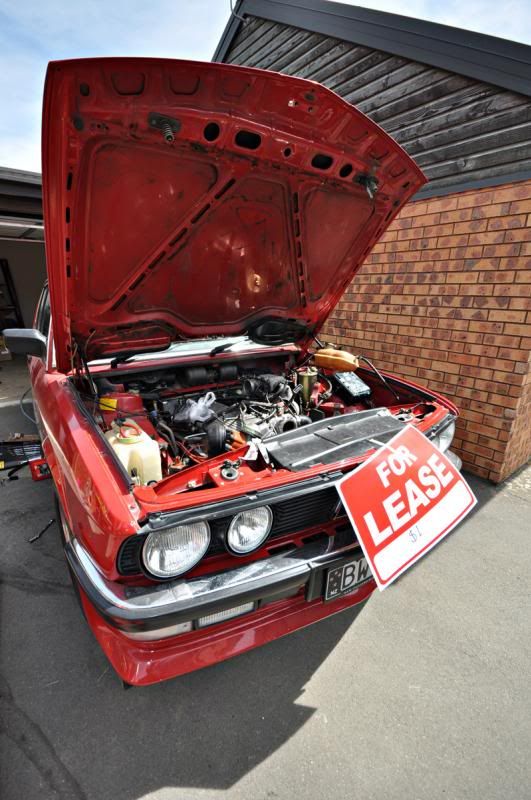
She saw the sun today
funny girl friend of mine
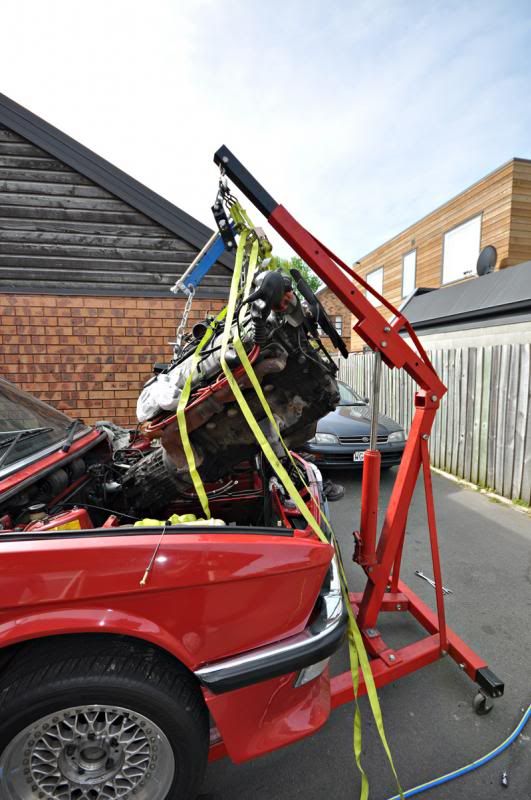
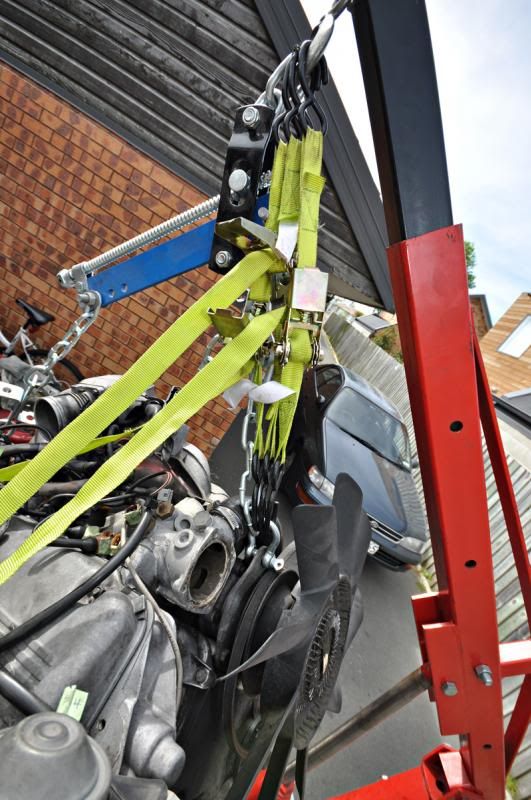
Today was not so fun...I totally f*cked up the engine pull. set the crane up wrong, chains were wrong so pretty much did it red neck style and used some ratchets and ruined a few aircon radiator fins.
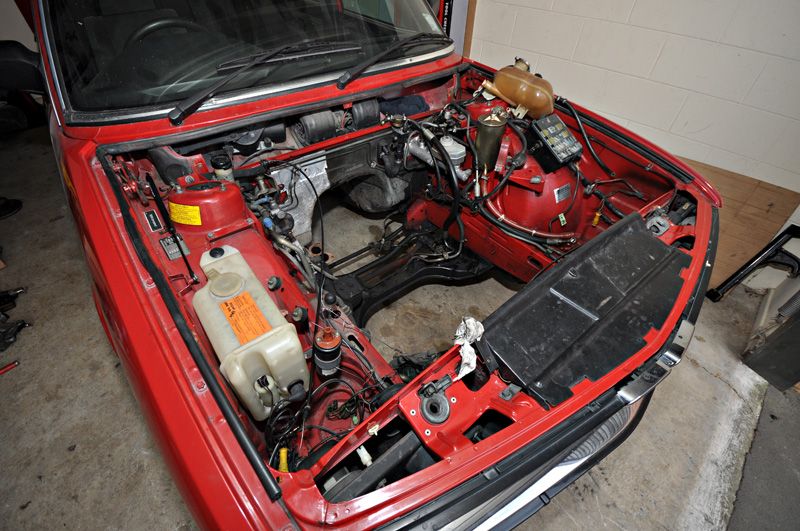
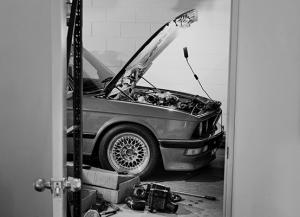
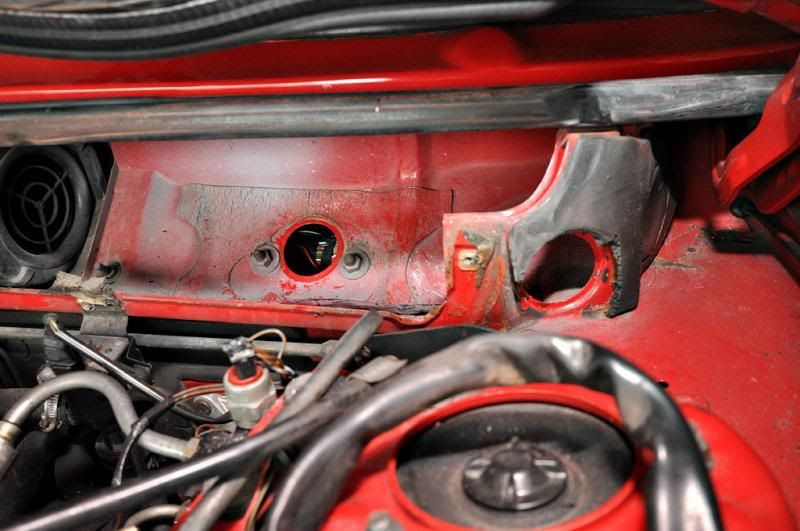
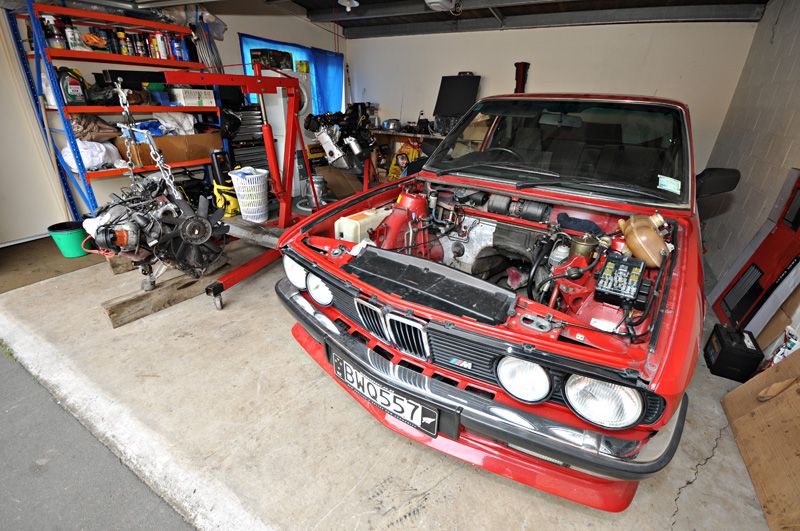
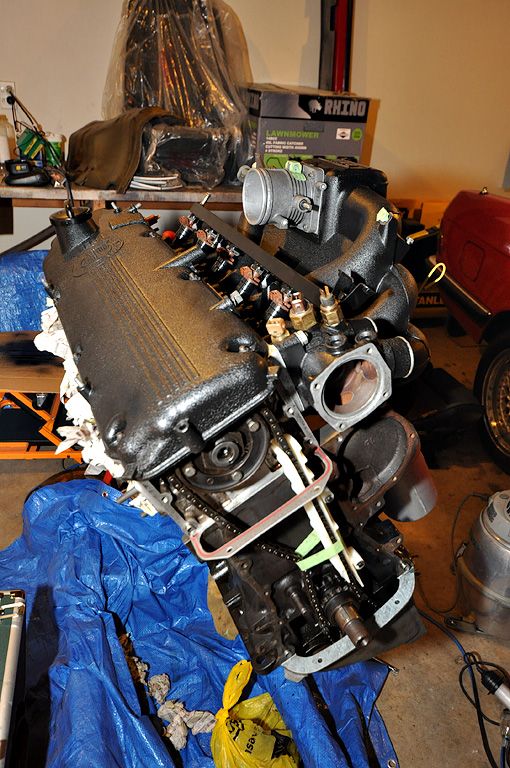
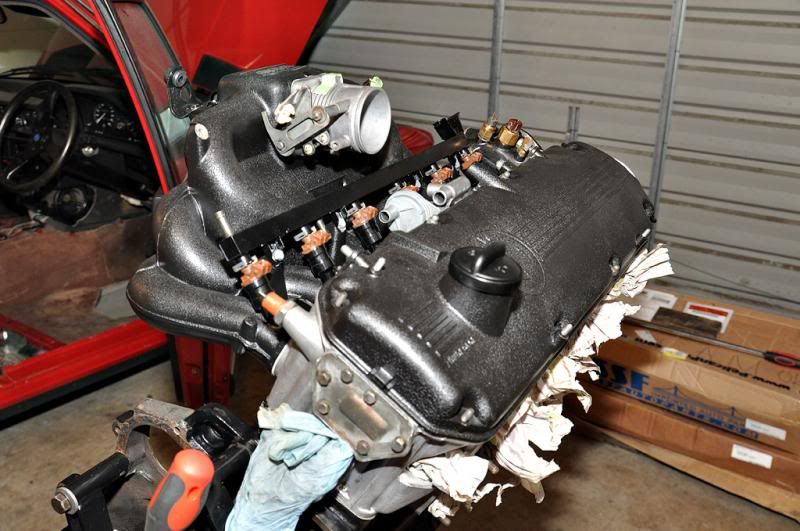
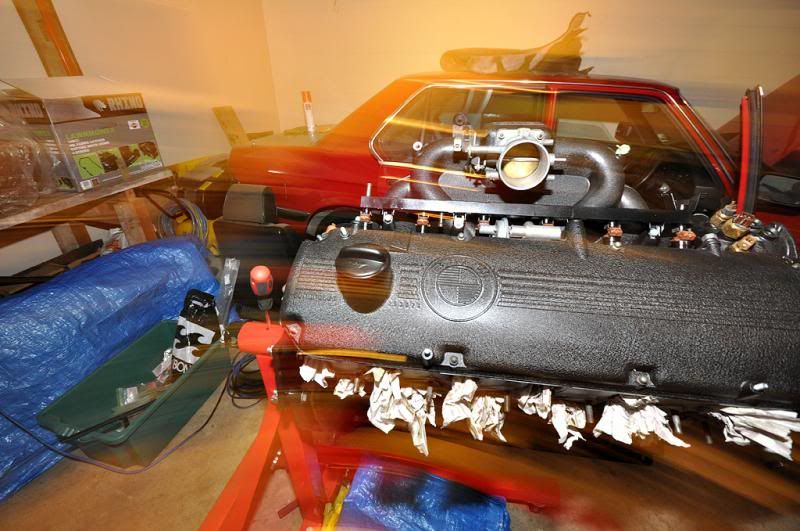
Time to clean both the engine bay and engine parts, the new one shall be dropped in (correctly) soon

-
nice rear wheels
-
that went for pretty cheap.
-
just needs a 5.4L V12 eh
+ coil overs and bbs rs
-
Not a fan of the roadsters :/
-
if it's not structural and you haven't left holes in the car it should be fine.
-
Top right "view new content" make sure "forums" is selected on the left.
-
First step is to clean it. Mark has found that lux soap flakes and water does a really good job. If you want to repair damage there is no easy way when it comes to leather...sand, paint, fill cracks, protect. Heaps more about doing it properly online.
-
I thought the point of a race car was to remove as much weight as possible? sound deadening can get quite heavy.
-
Yep, change bonnet and tails and you'll have one awesome E30
-
What underlay did you use?
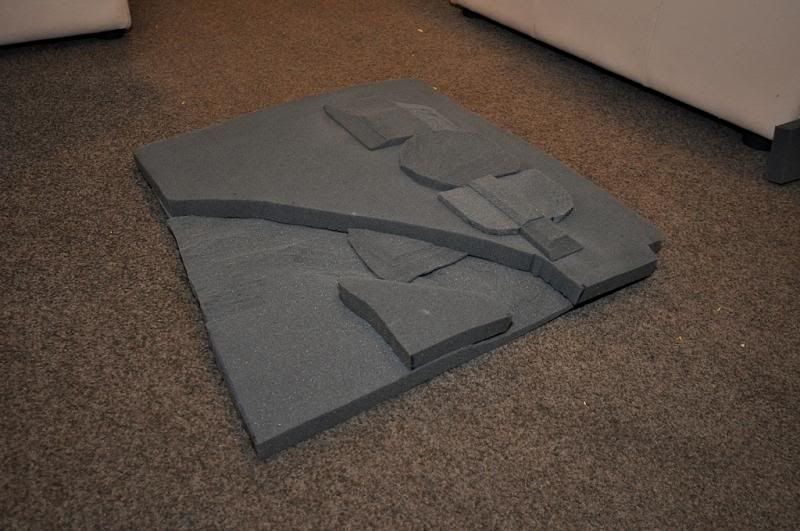
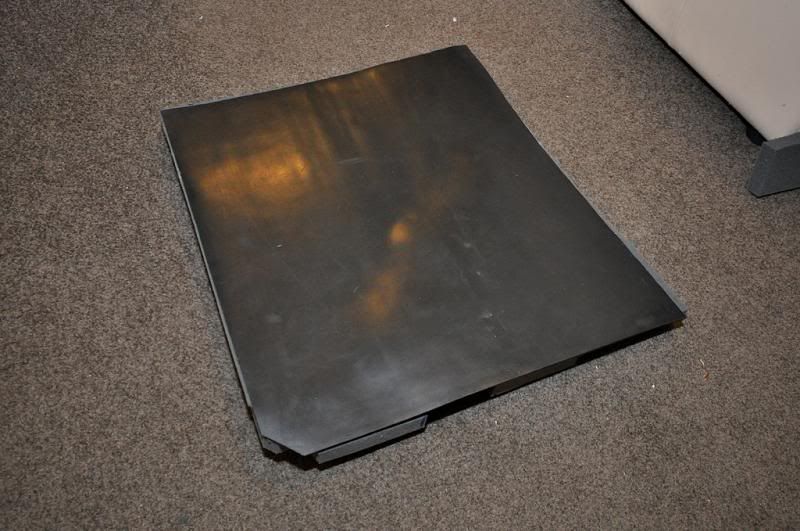
can't remember the type of foam I used, I basically felt up every type of foam in the store and chose the one with perfect density, the old stuff was way to thin and was useless. ill let you know next week because I need more...I used 1.5mm water proof rubber (the one down from neoprene). It's about $37 per meter.
-
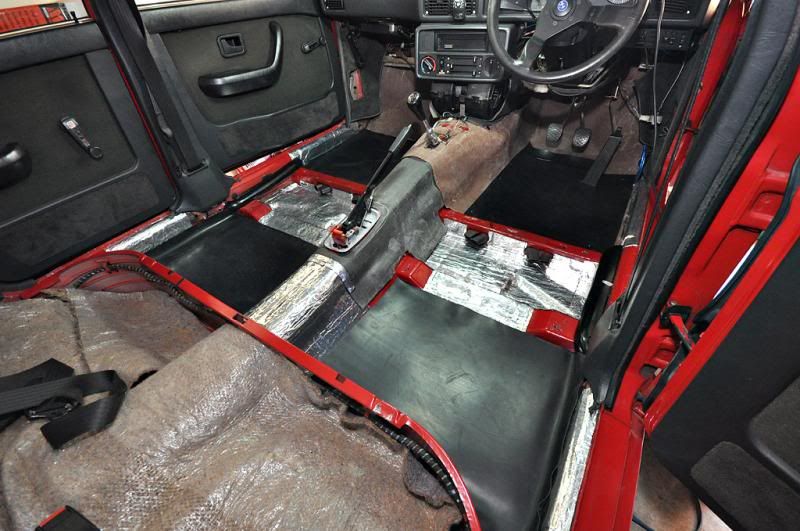
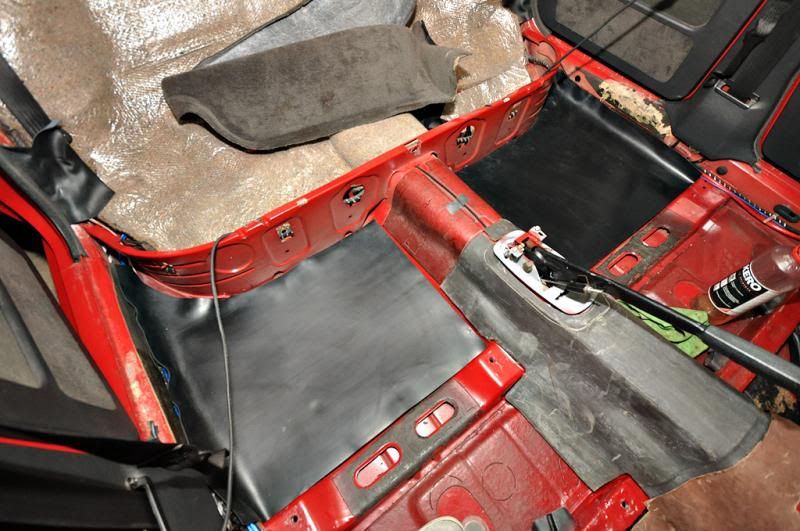
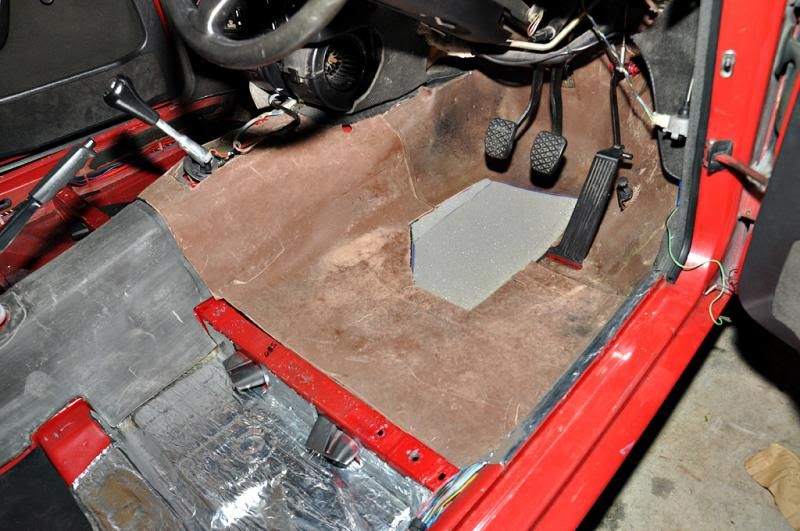
More updates
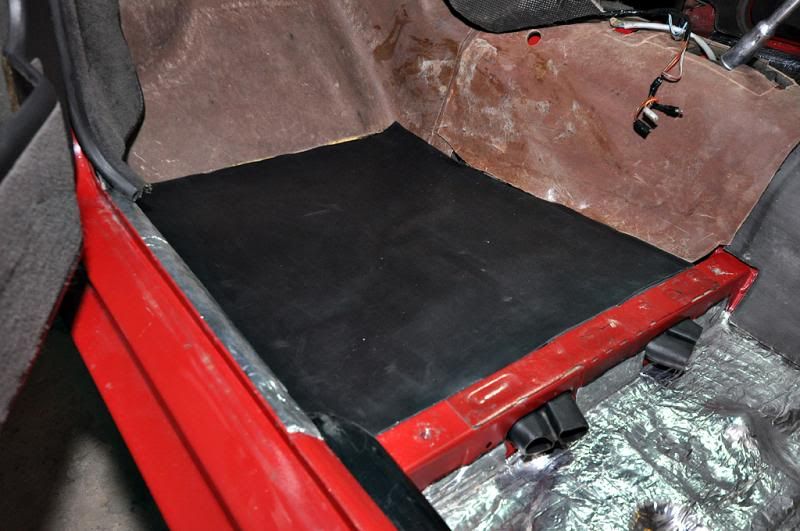
shitty glue everywhere. created some new underlay for the rear. dense foam + rubber
someones sweet idea of underlay+glue
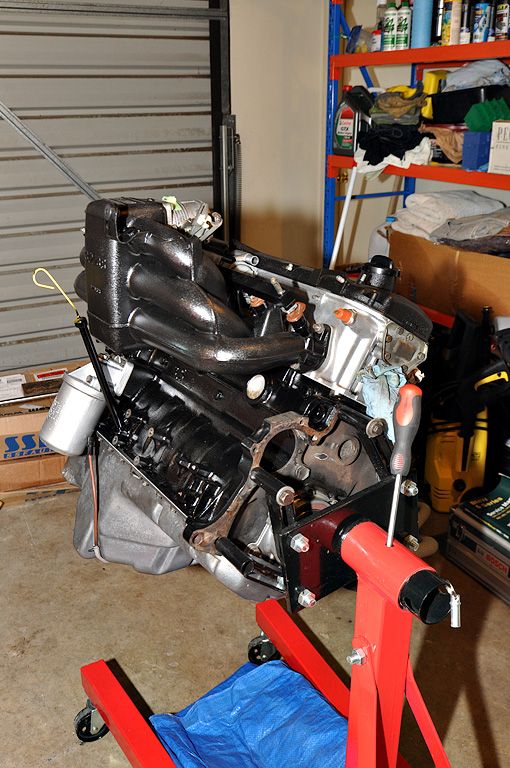
two jobs on the go, interior and engine.
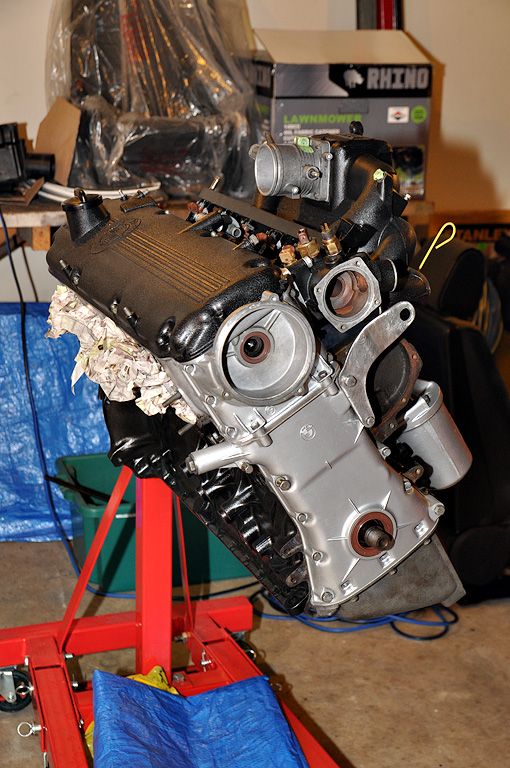
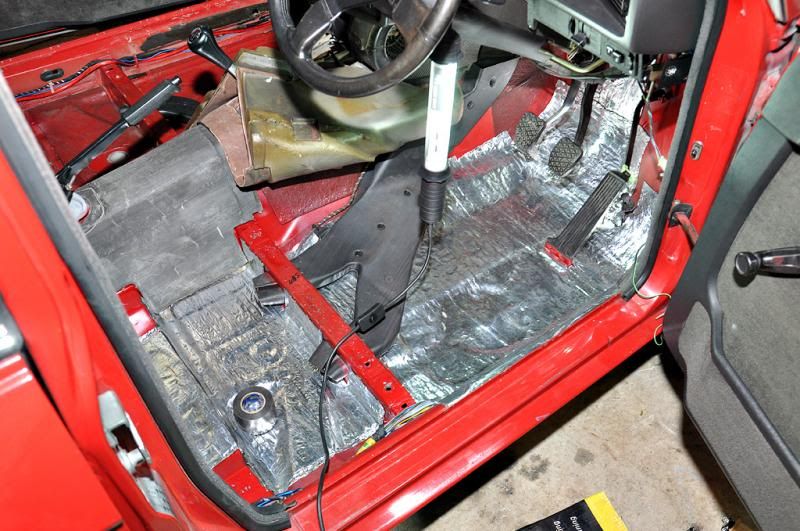
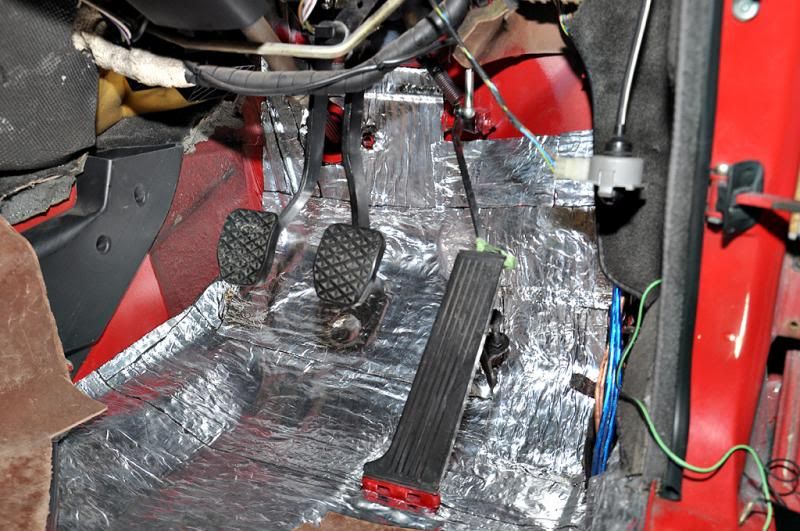
brake fluid rooted the original underlay so I'm salvaging what i can.

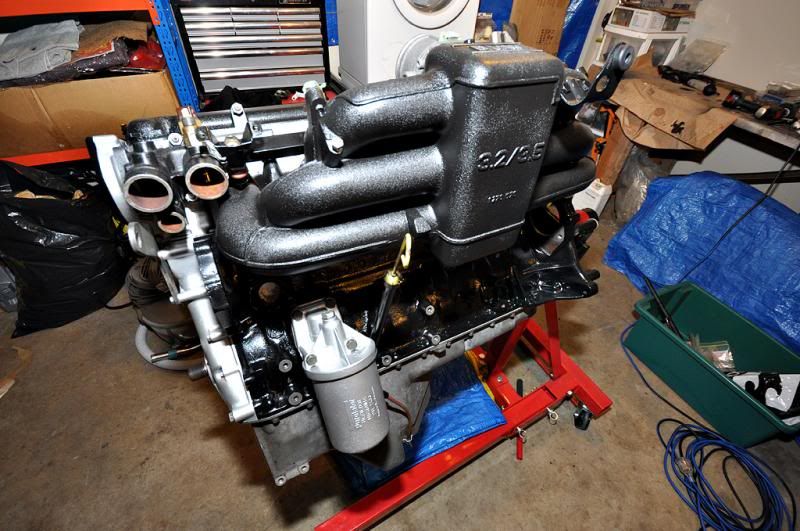
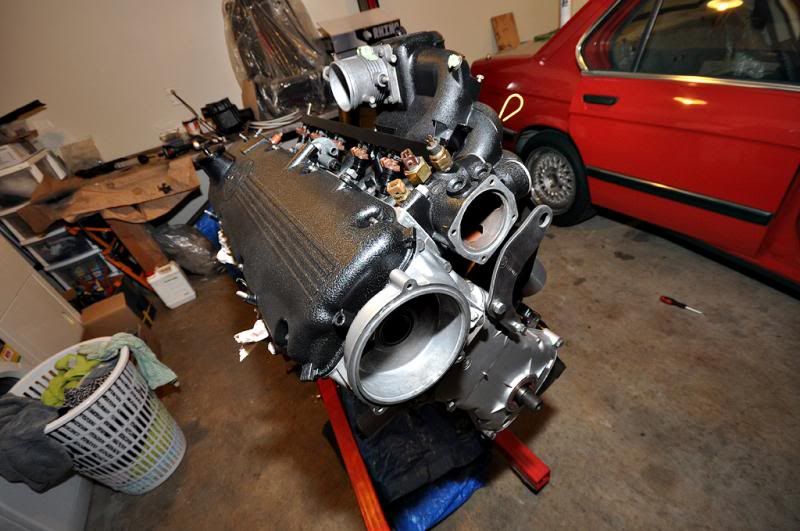
my engine is real fast...
-
 1
1
-
-
well thats a 6 in the photo.
-
very sharp price, what's the catch?

-
think it needs wider that 205s ya reckon?

-
Here is your chance for a nice e30 mark
seriously though, just put your wedding on finance or something. Bloody hell. -
Definitely looks like an improvement. You would be surprised how many forums upgrade and do it completely wrong. This is very good. +1
-
Too much dish on the rear IMO, Compared to the front + Sticking out too much.
Looks alot better though, Can't beat an e30 on RS'
agree, are the barrels bigger on the fronts? The rear dish seems a lot more that 1 inch compared to the fronts..
(not saying it's too much, but the front lips need to be larger to compensate)
edit #2: where did you get your lips from? I'm going to buy some 2.5s in the future...
-
It's legal as long as the tyres don't stick out from the fenders. which they won't. The next thing to ask is...is it practical? And that's when www.willtheyfit.com comes in.
-
My new hobby?
in Off-Topic
Posted · Edited by _Matt_ · Report reply
he would have used both the position of the camera and the zoom length to create the correct perspective and then use the aperture to simulate the depth he wanted.
Don't know if i ever posted this before, it's a similar idea...