

elias
-
Content Count
318 -
Joined
-
Last visited
-
Days Won
12
Posts posted by elias
-
-
Hello, not strictly 130i related but e87 related. Yesterday I acquired a 123d hatch (2008, pre-LCI) as a daily driver. Loving it so far, being NZ new it is an interesting spec. I would like to put a double din headunit into it, has anyone here done so before on a pre lci e87? Ive got manual AC and no iDrive. Any advice would be appreciated, particularly relating to what physical bits are required to mount it, wiring should be ok. Lower dash conversion necessary?
-
welcome, 135is are great fun, being that it has CCC iDrive im assuming it has the notorious N54 engine? Have got a N54 135i myself that I've done a fair bit of work to, feel free to reach out if you have any questions or need a hand!
-
Looking for 8 bolt flywheel for a n54. Can swap for a 6 bolt.
-
22 minutes ago, Vass said:Manual swap incoming? 👀
👀👀
-
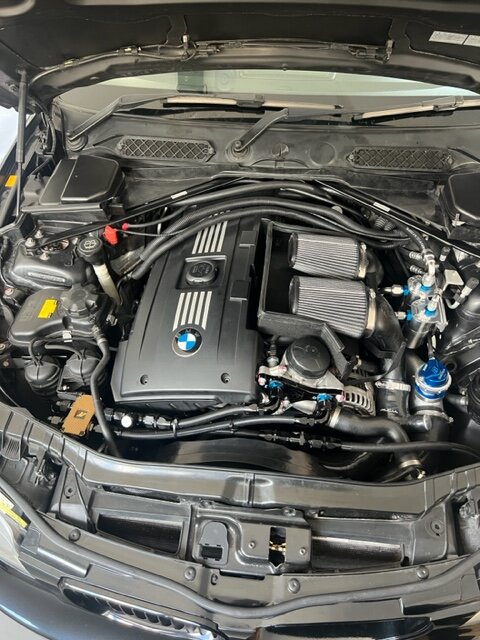
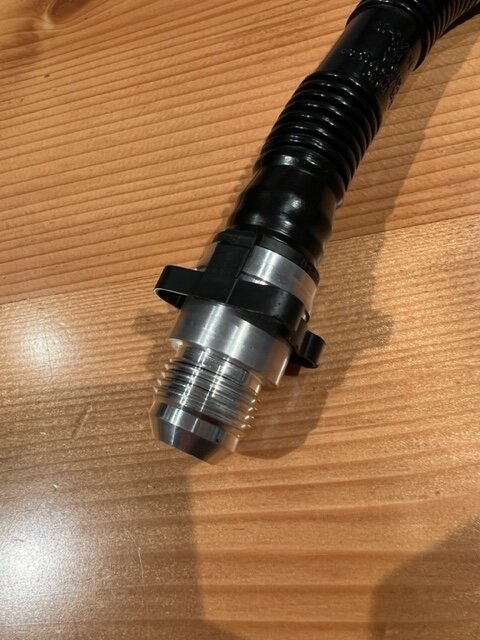
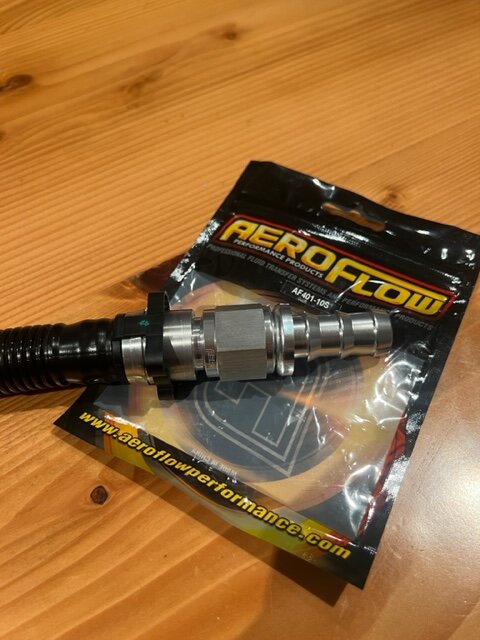
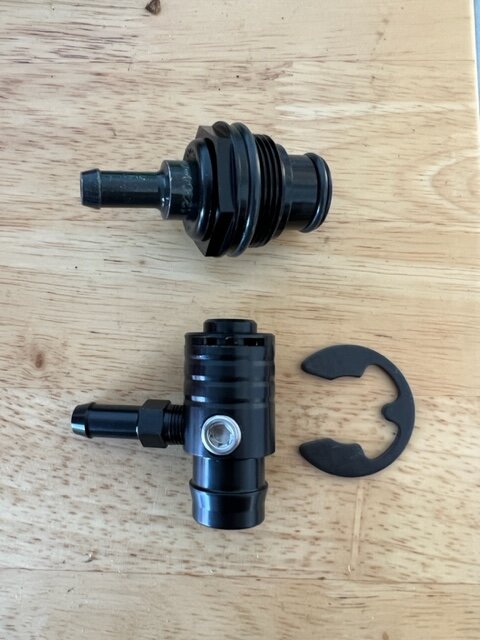
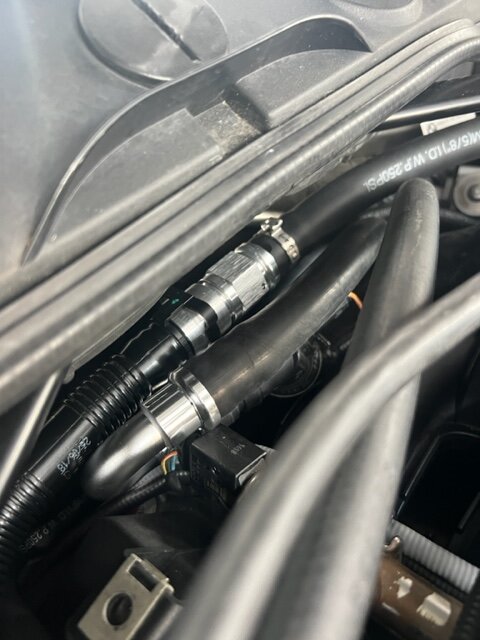
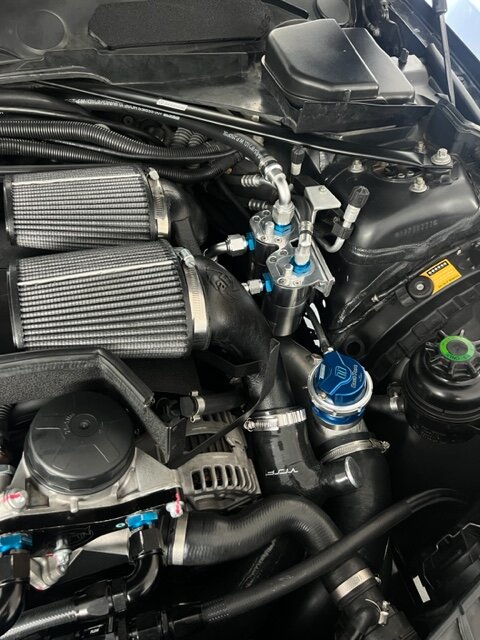
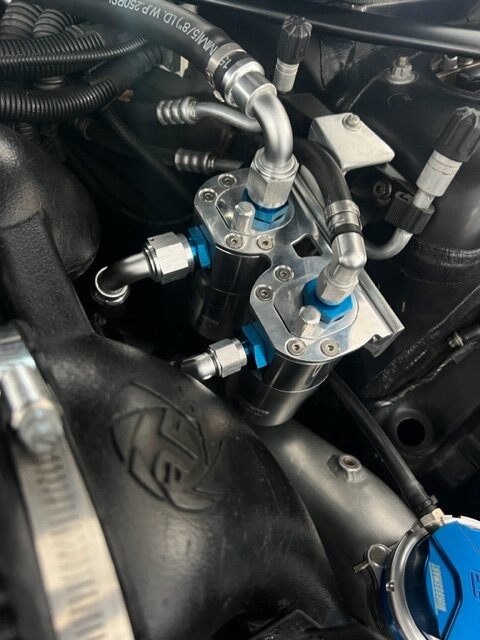
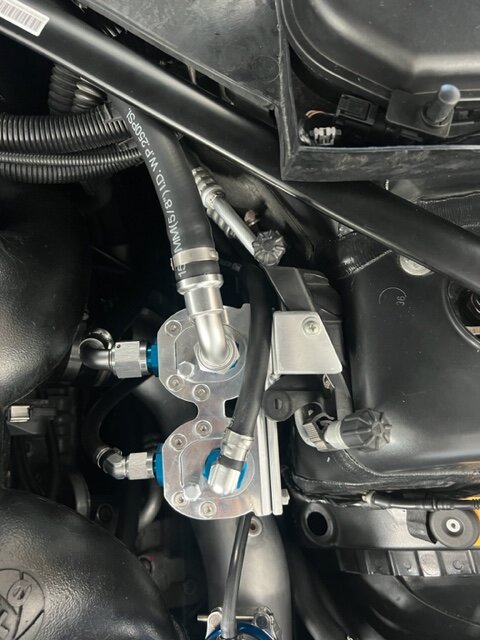
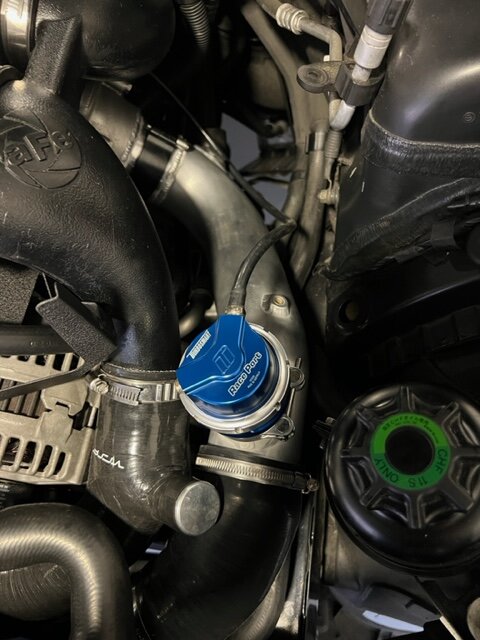
Car has been running great for the last couple months. Everything more or less finished off. Oil coolers and lines are done, made a custom catch can set up using aeroflow catchcans, essentially a fully external pcv system. Used Rob Beck fittings as well as some custom machined adapters to adabt oem fittings to -10AN flares for the high side.
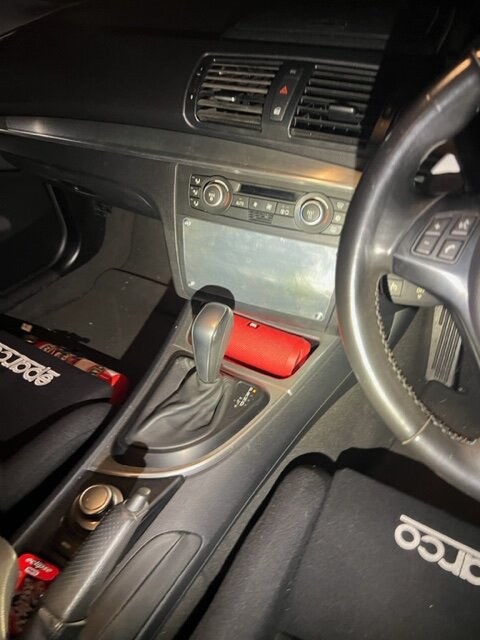
Also made a blanking plate for the dash where i removed the radio.
In other news, car will be getting a major change in the next few months thats been planned for a long time...
-
 2
2
-
-
if its an n54 one, theres plenty of replacment n54s around, have a look on trademe. Not hard to swap either, recently replaced mine in my 135i.
-
Looking to buy a n54 manual box, gs6-53bz.
Cheers
-
1
-
-
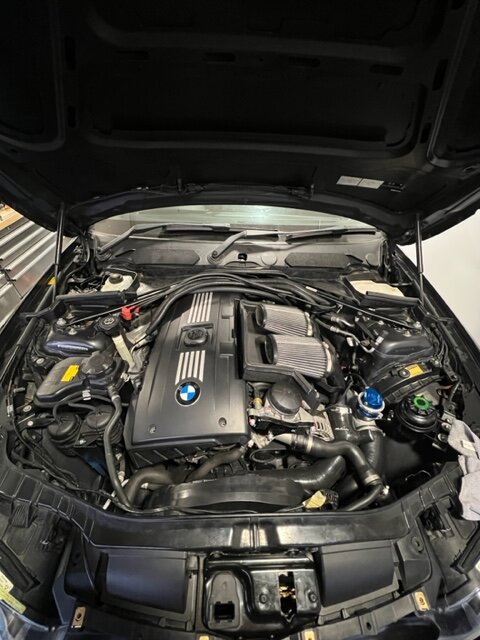
Been a minute... very busy time. Engine is back in the car, everything is connected back up.
Cut and welded the chargepipe and throttle body for a wiggins style clamp, bonnet latch got zinc coated and a few other bits and pieces tidied up.
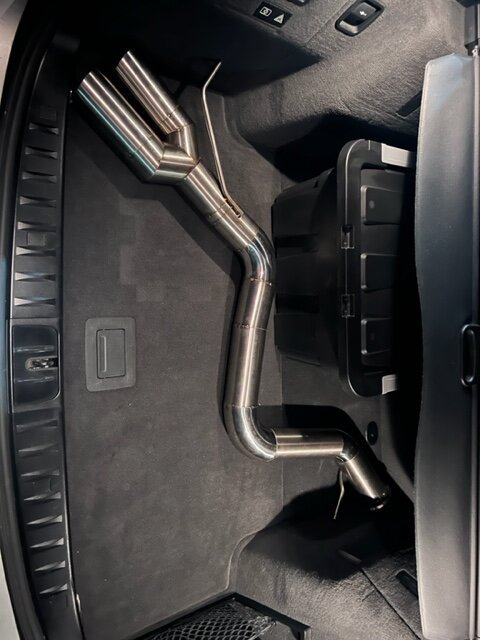
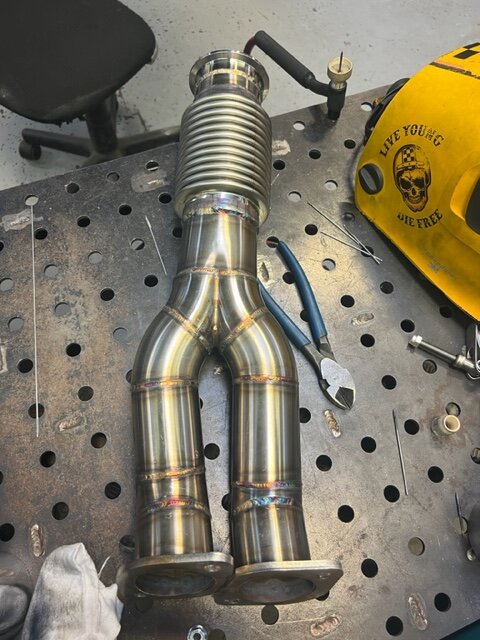
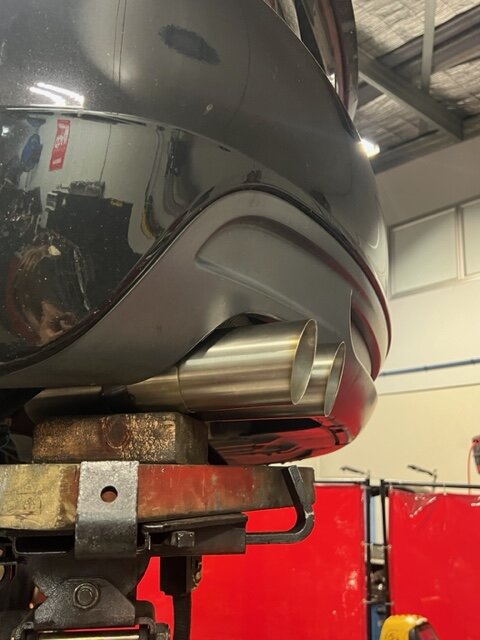
Downpipes are back in also, very painful job, o2 sensors back in and new exhaust is almost finished. Full stainless 3inch exhaust from the downpipes back, with a single adrenalin r louvre baffle resonator.
All thats left now is the oil cooler setup, parts are on the way, fresh aeroflow oil coolers and all teflon line and fittings. Also will be putting in a check valve and a tee to allow for an accusump to be fitted at a later stage.
Parts should arrive soon and then it will be ready to be fired up and dyno tuned. Will try and keep this updated more often.
-
1
-
-
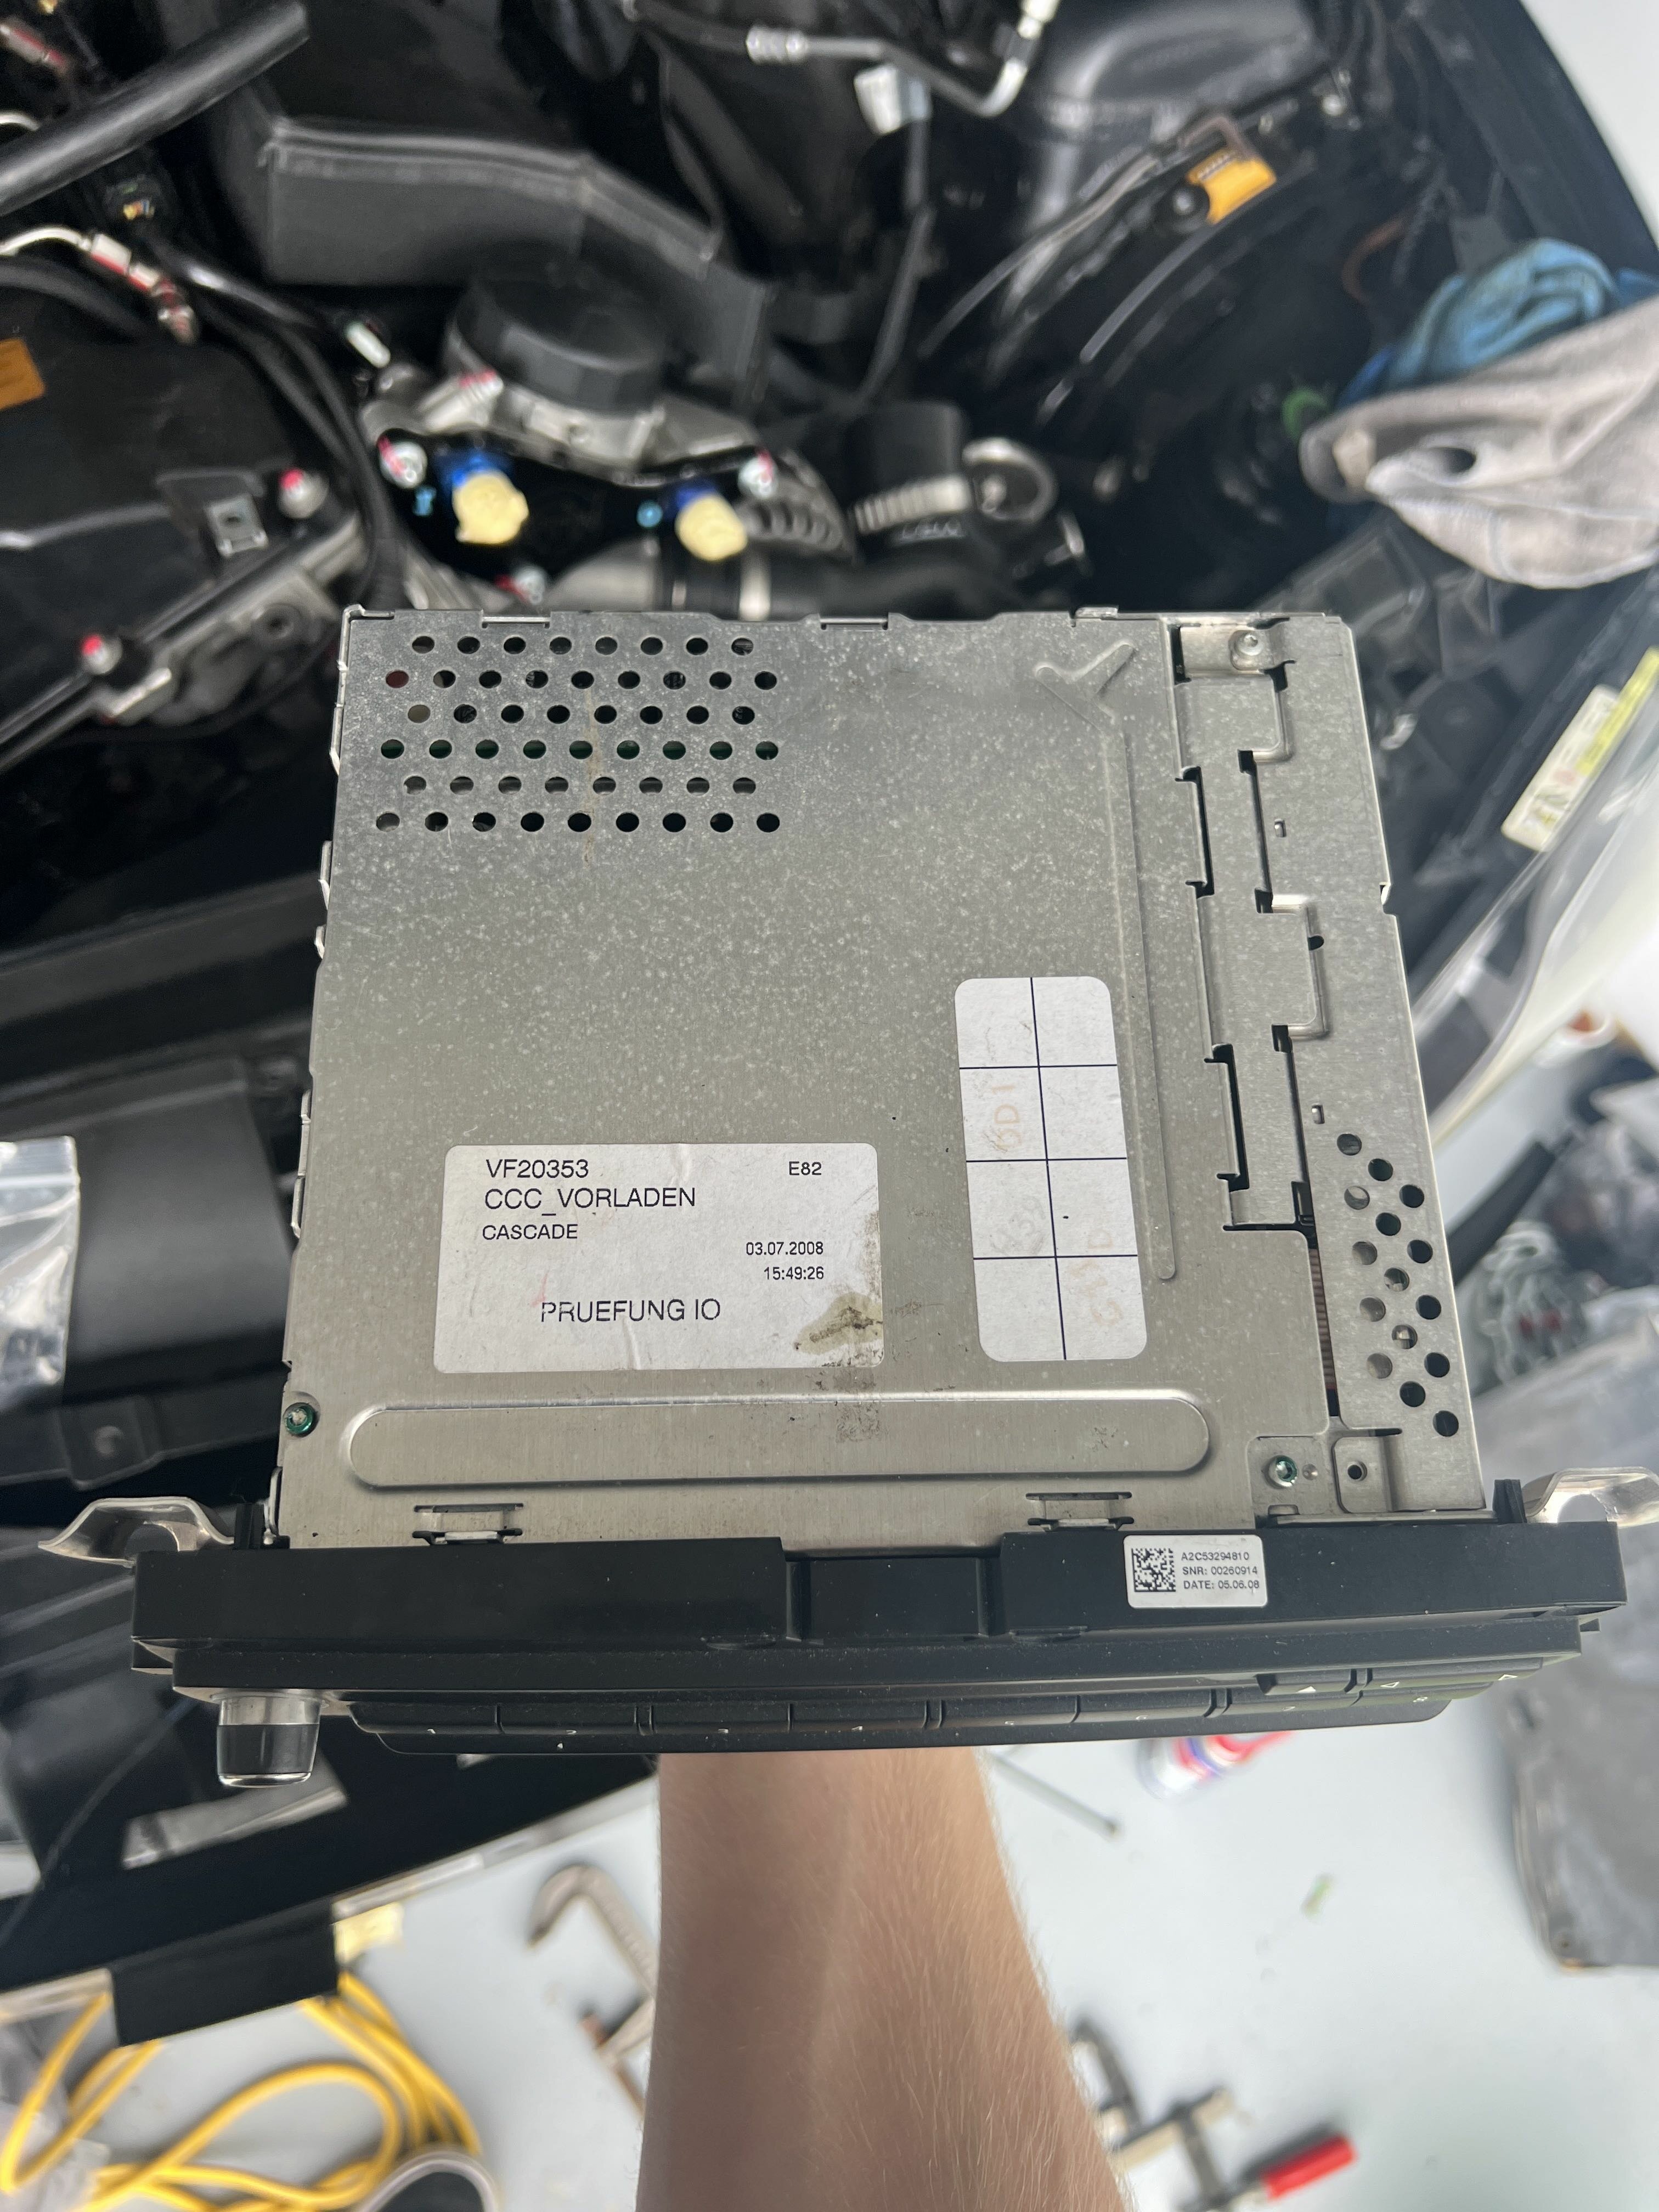
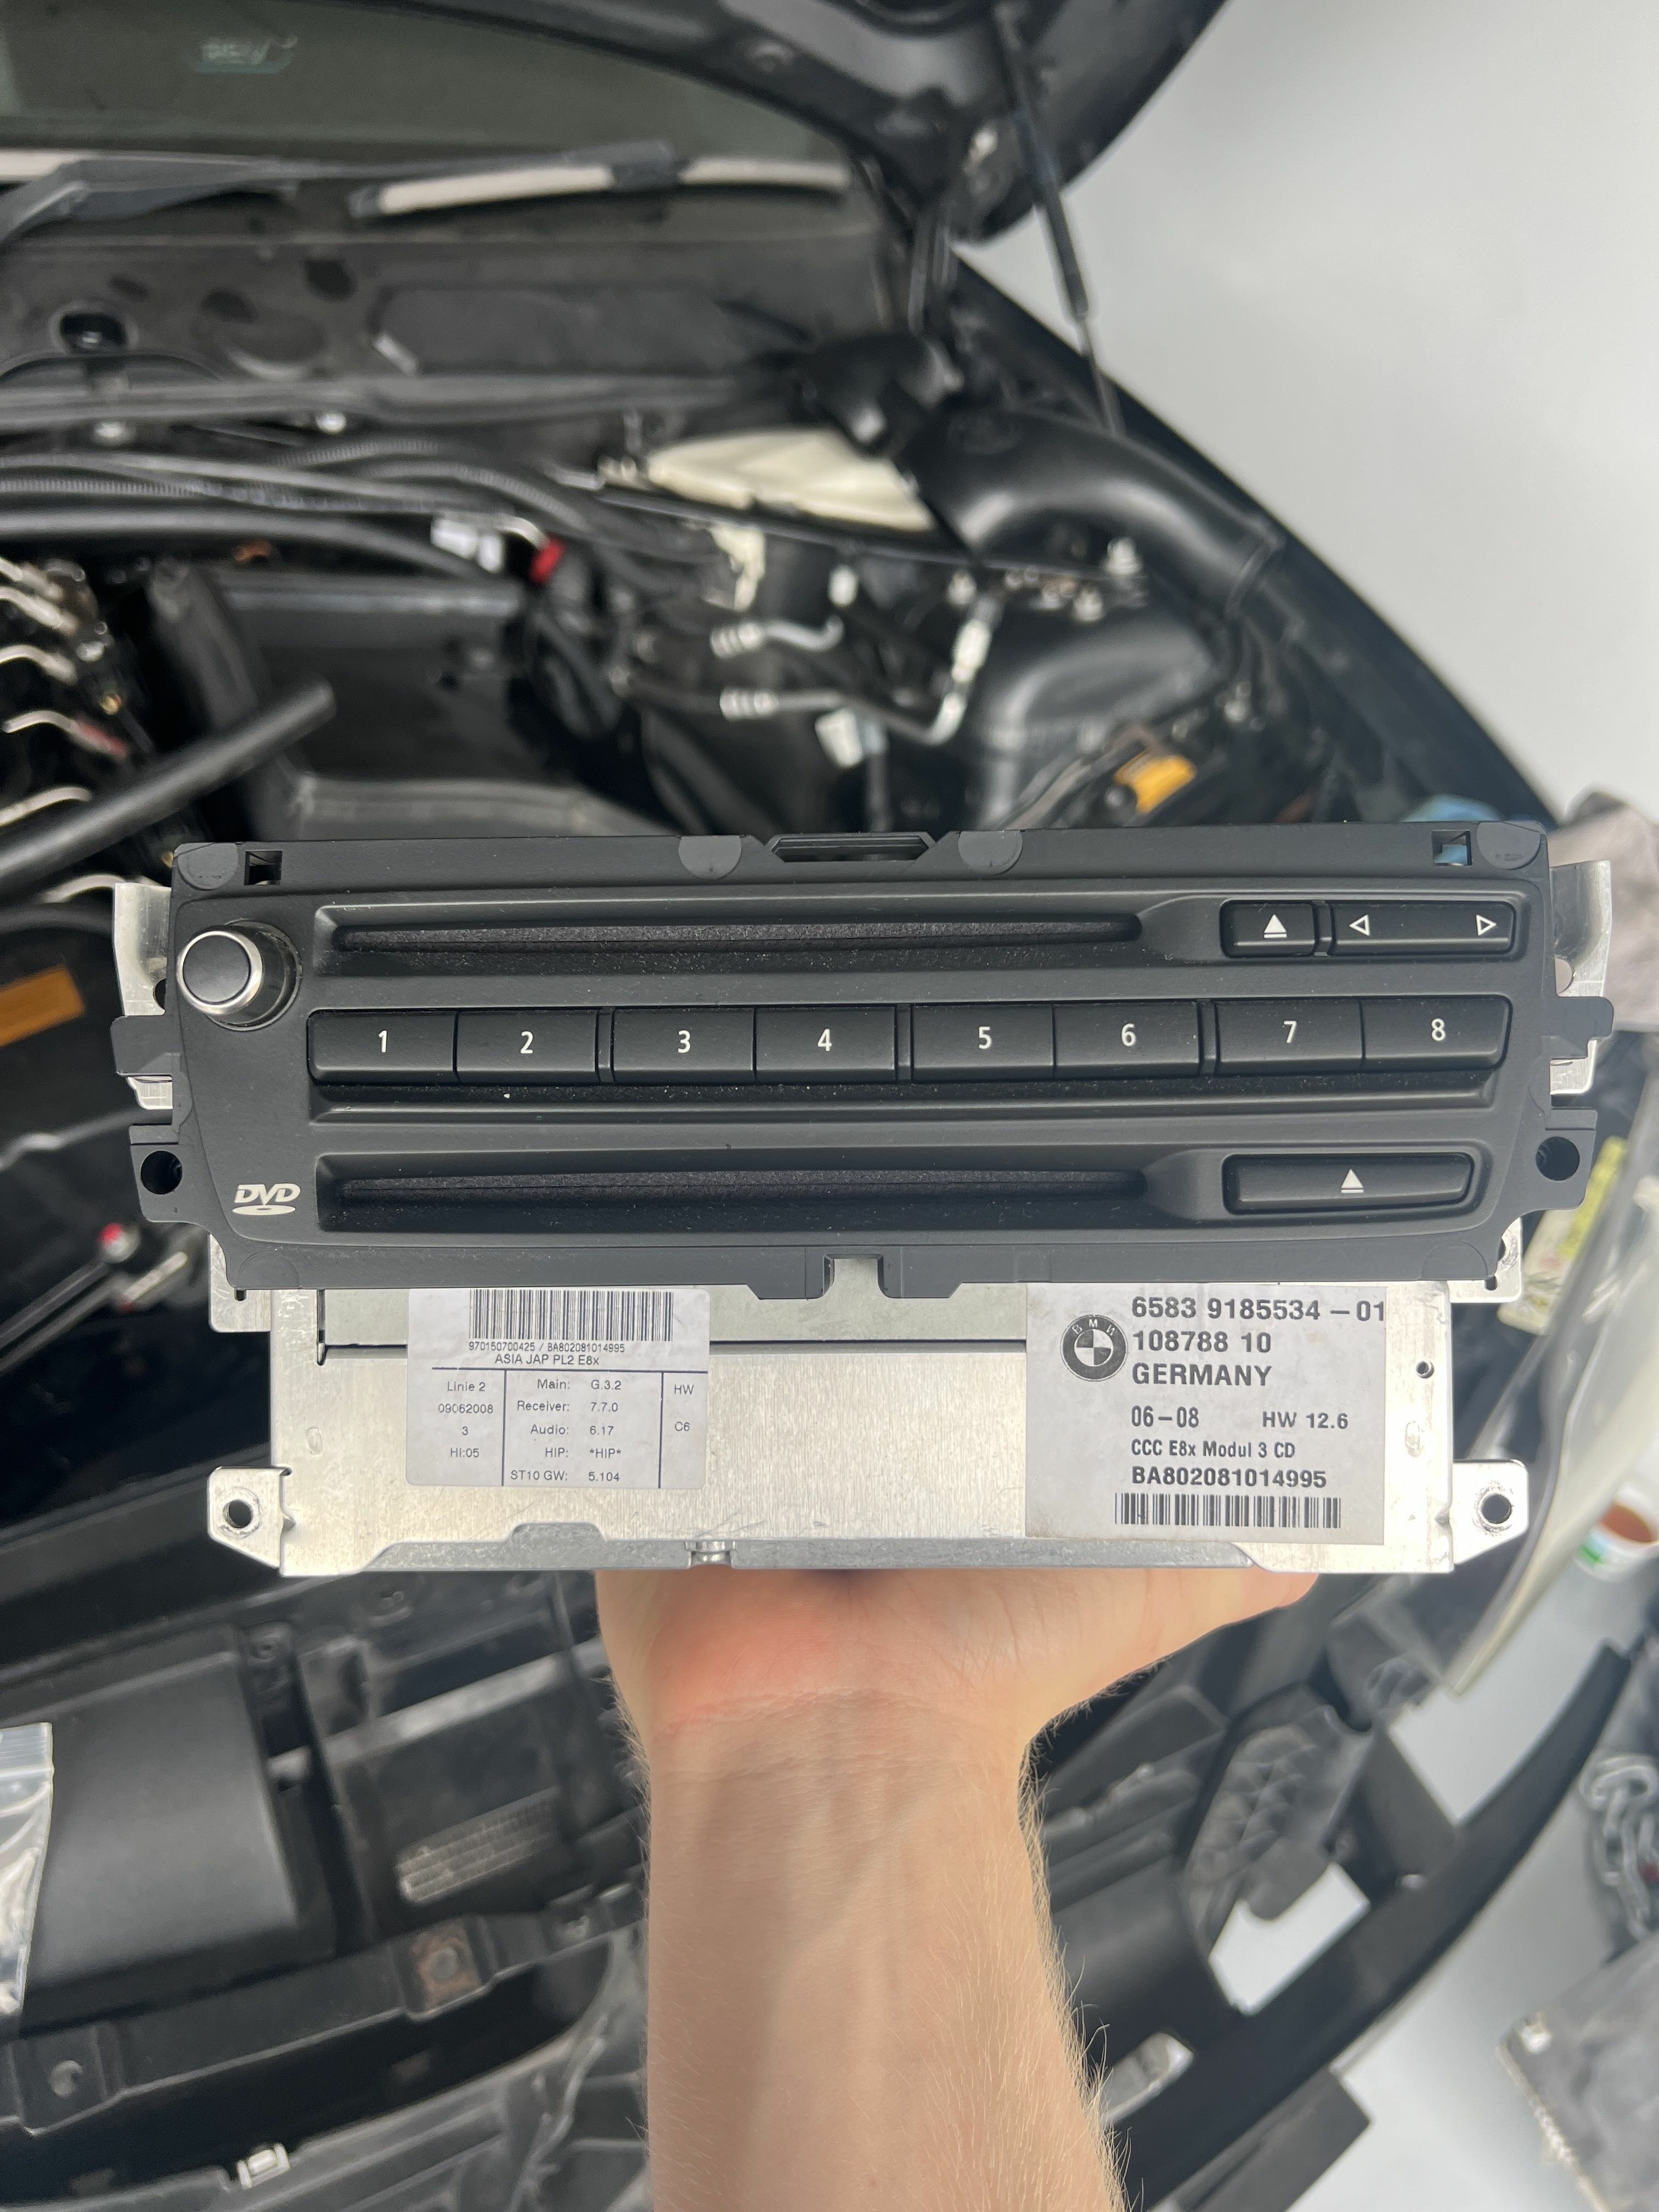
CCC iDrive unit from a 2008 135i.
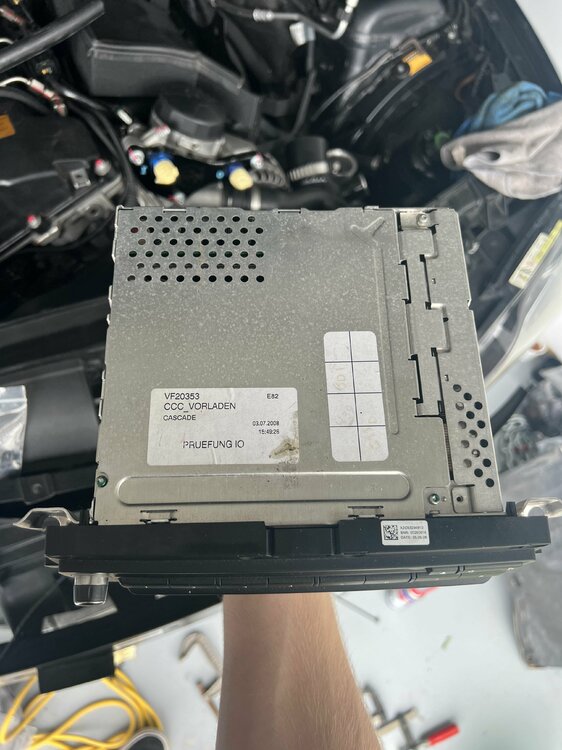
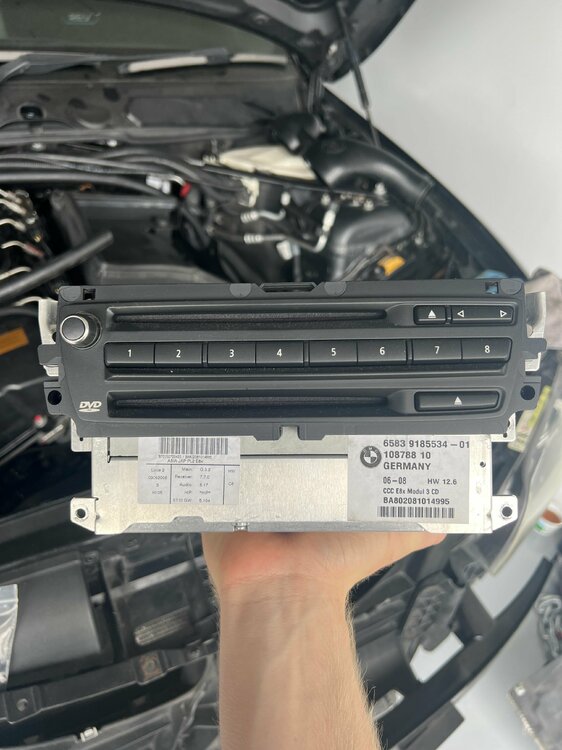
$500
can also come with the controller for extra
-
yep sold. I do however have a set of style 386 wheels for sale if you're after 1 series wheels.
-
Looking for single replacement wheel, not a full set. Either 18x8.5 et45 or 18x9.5 et58 in a APEX EC-7 preferably in grey. Hoping someone has one lying around from a crashed car etc
Cheers!
-
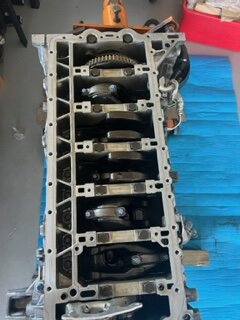
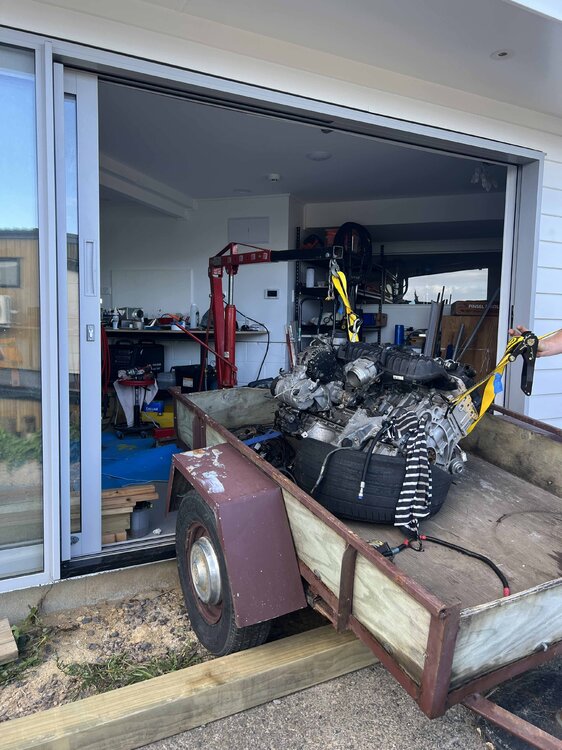
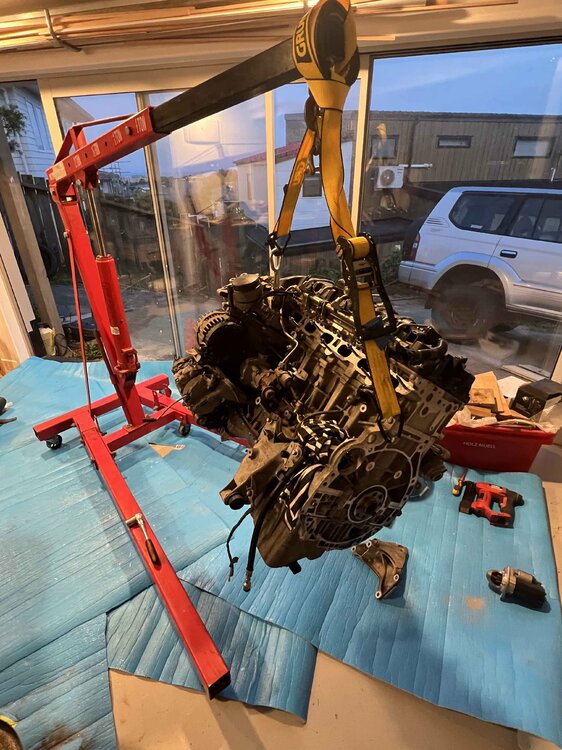
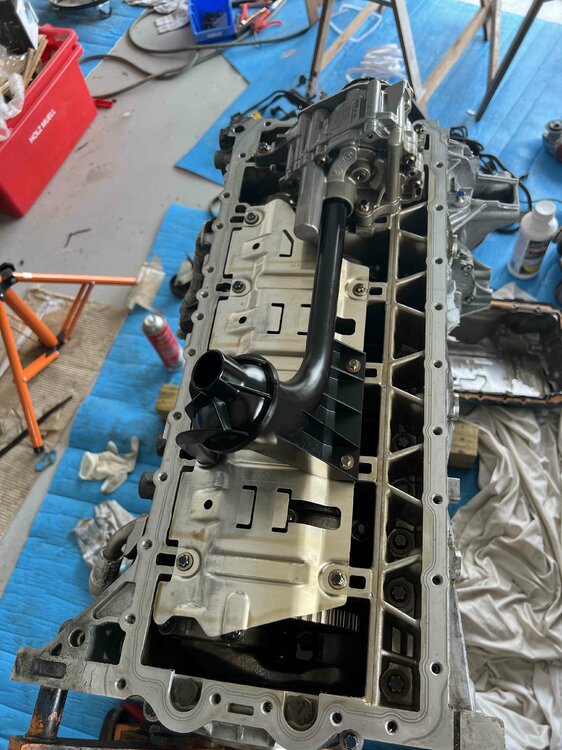
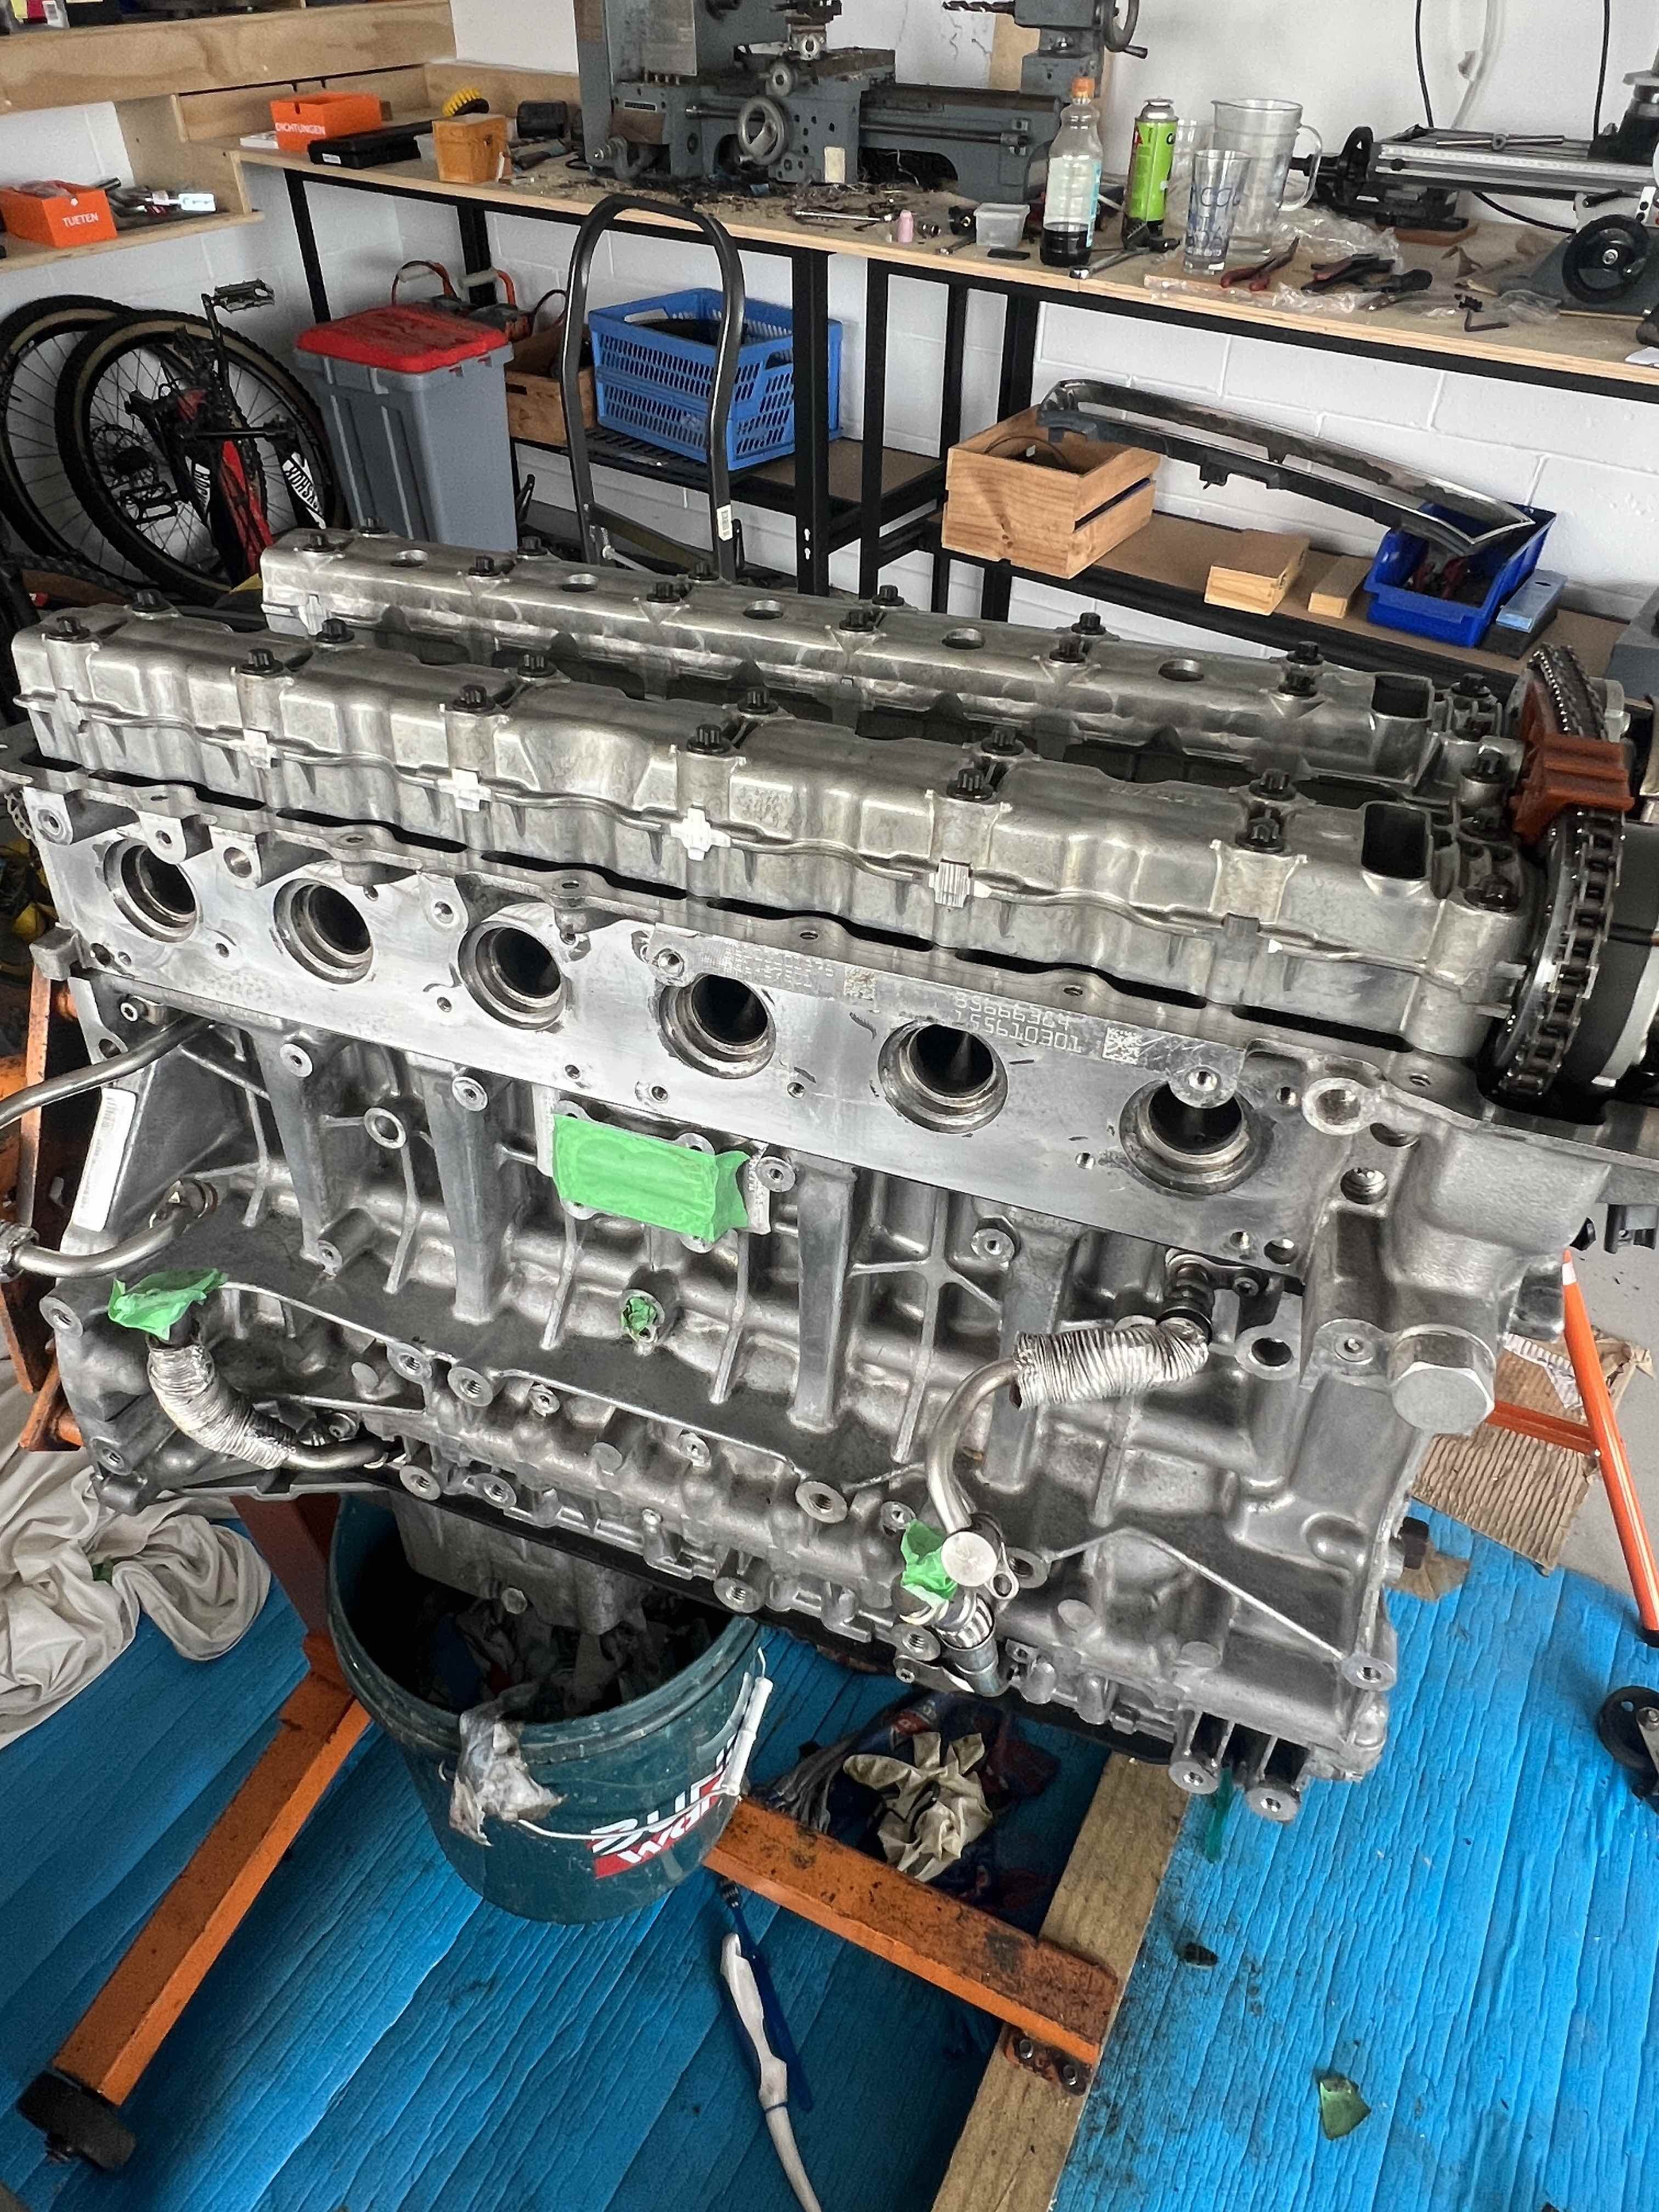
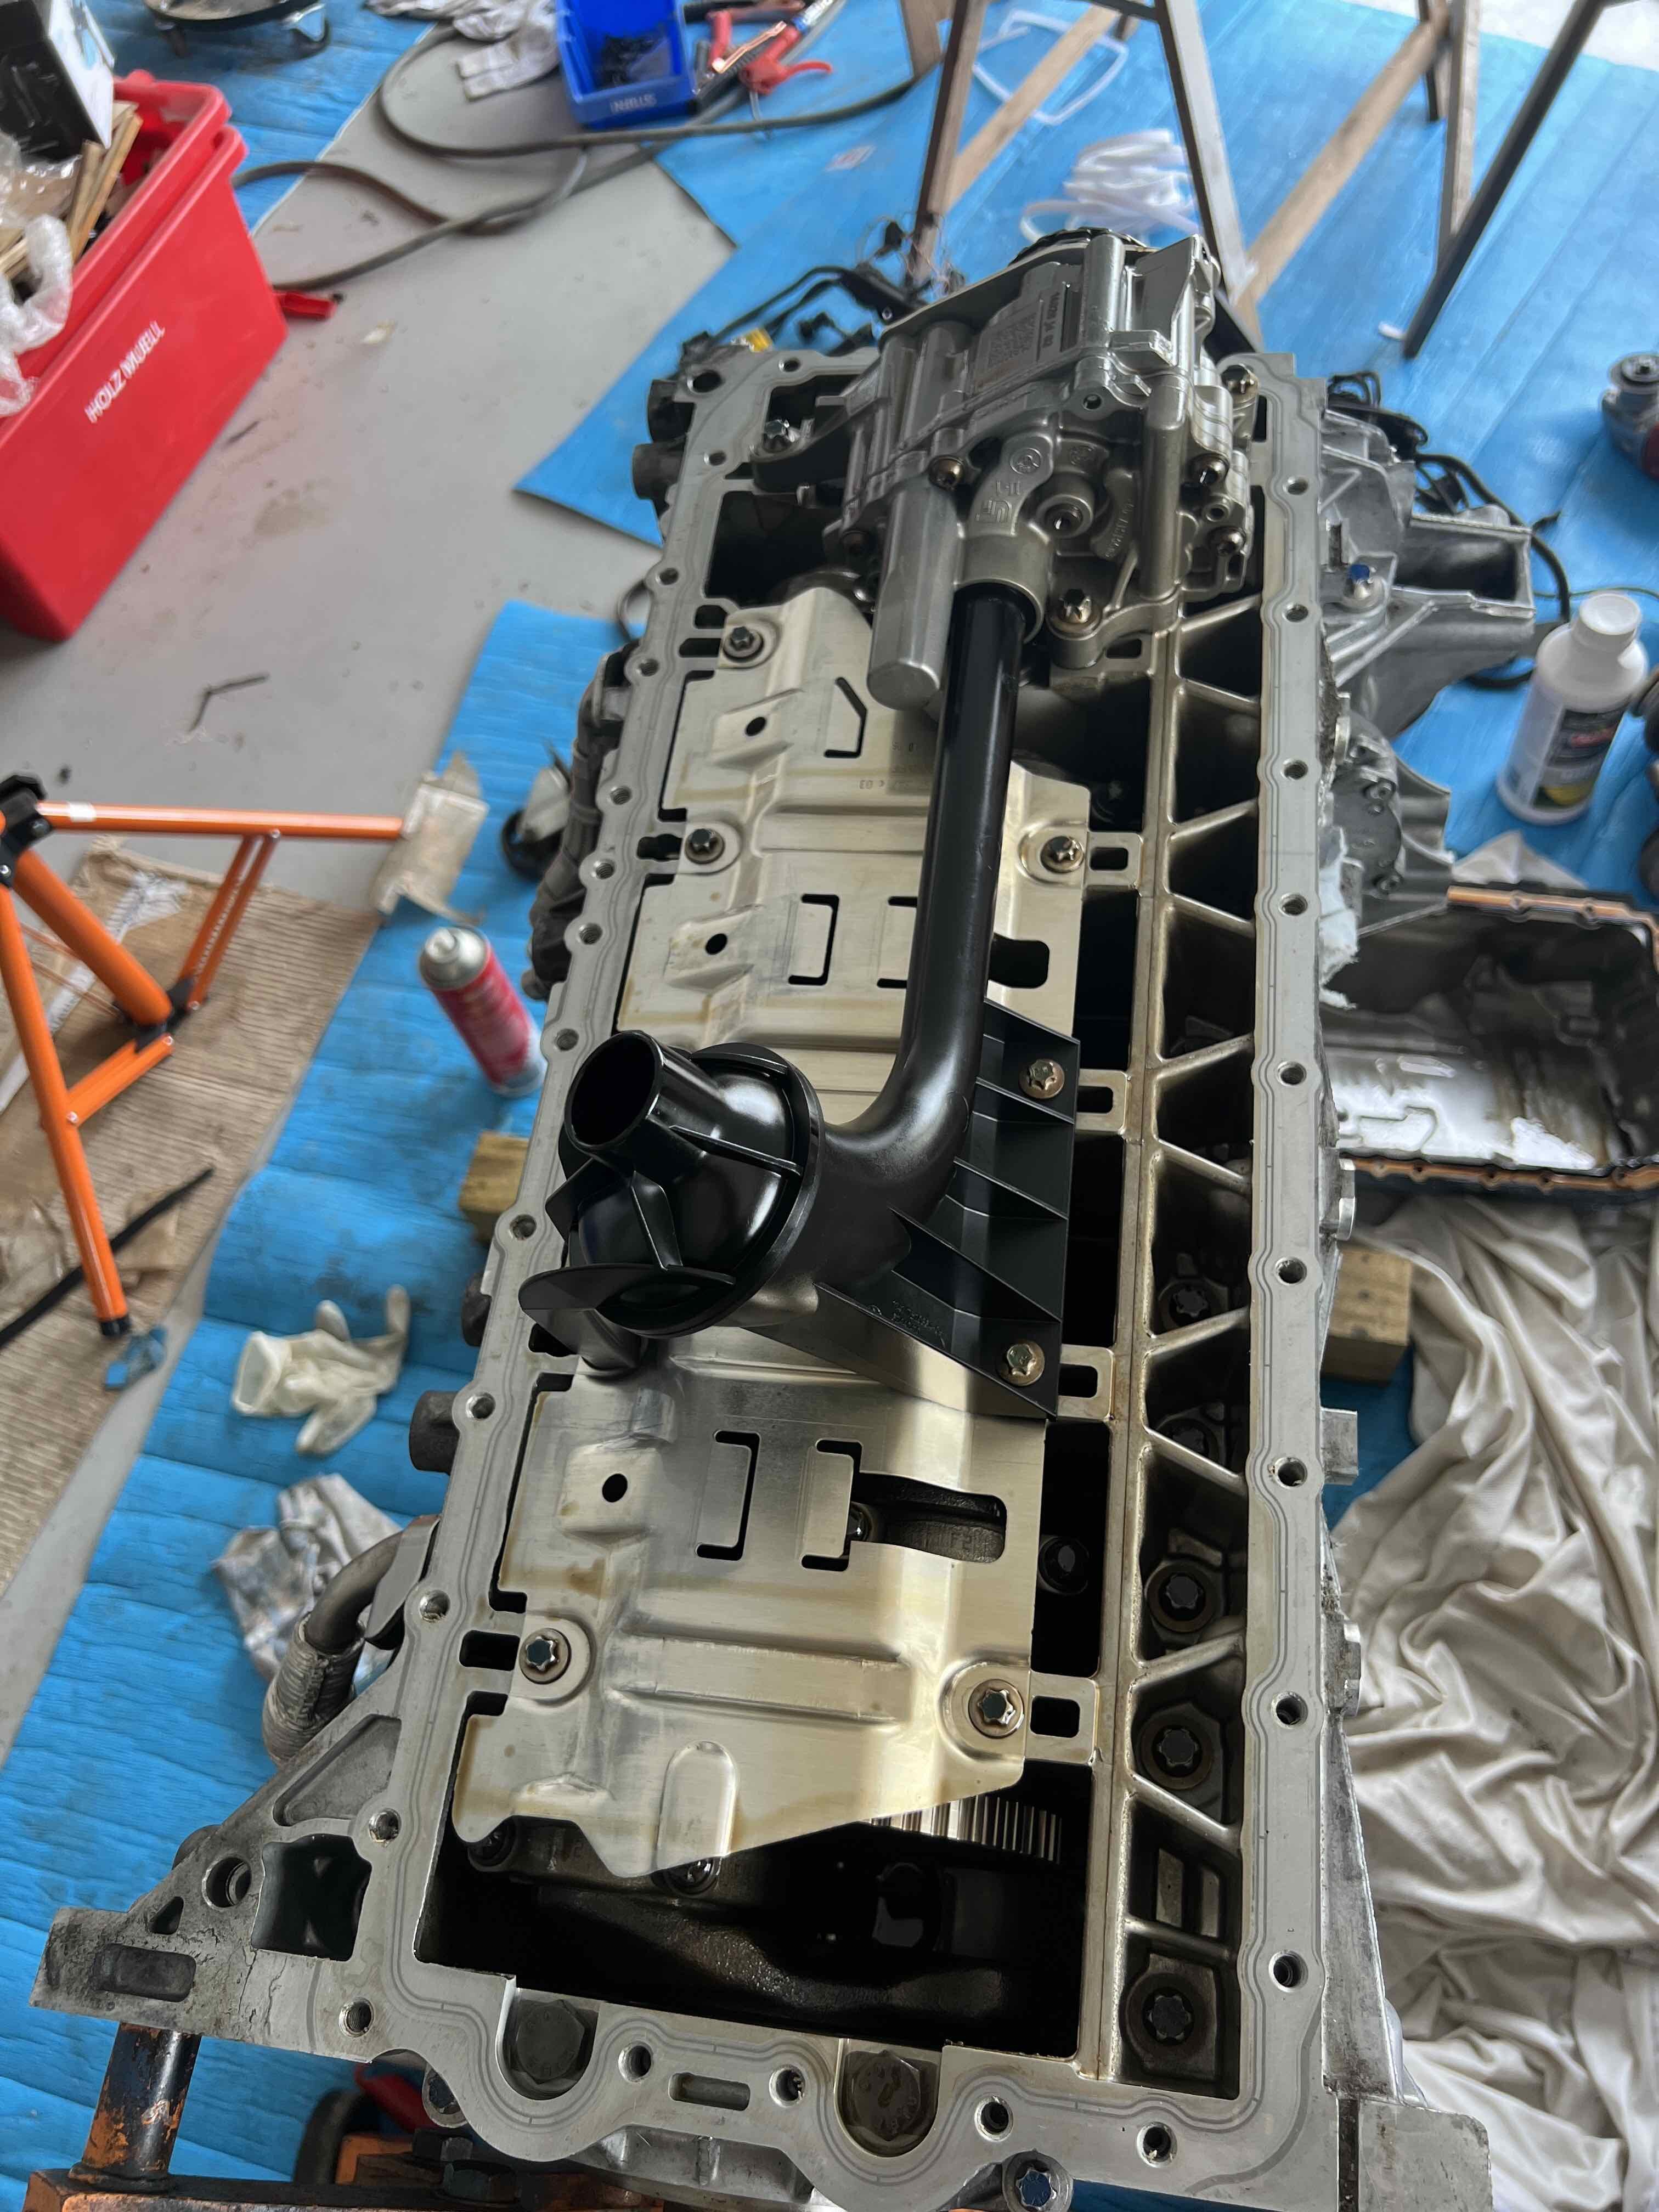
Has been a busy few weeks but have managed to get a fair bit done. Took advantage of the long weekend (Auckland Anniversary) and pulled to old motor out the car. Wasn't too bad of a job, a bit messy with all the coolant and oil that keeps spilling out and a few bolts that were a little tricky to reach but not too bad all in all apart from the downpipes that put up a real fight. So, old motor is out, most parts stripped off it. New motor is mostly assembled apart from the hot side. Turbos will be getting dropped off for a rebuild and slightly different CHRAs tomorrow.
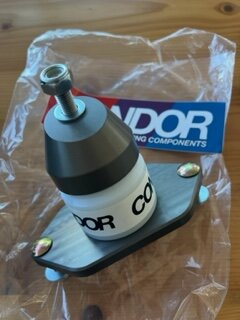
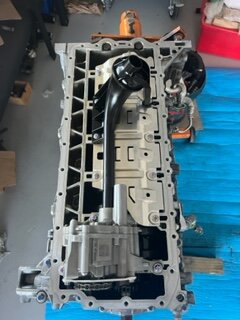
Have since installed a VAC sump baffle in the new motor, put on the sump with a new gasket and new bolts torqued to NEWtis spec of course. Valve cover is on, also new genuine gasket, same with oil filter housing vanos solenoids etc etc, all new gasket the whole way round and new bolts where applicable. Injectors are in again new seals and decouplers. Front main seal going in soon, wiring loom is half on. Waiting on turbos before i install water pump and thermostat. Then inlets and outlets will go on and the motor can go back in the car. I have cleaned the entire empty engine bay subframe steering rack etc and installed new Condorspeedshop engine mounts, have matching ones for the gearbox also. Have also stripped and cleaned the inline oil thermostat to ensure there are no metal bits in it and reassembled it with a 93C insert instead of the 85C insert to help car reach operating temp when street driven.
Some photos below.
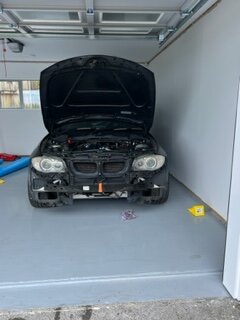
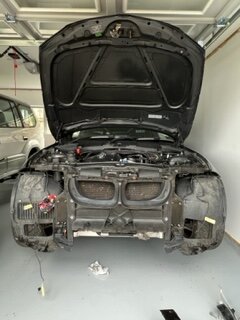

Front end of the car coming off
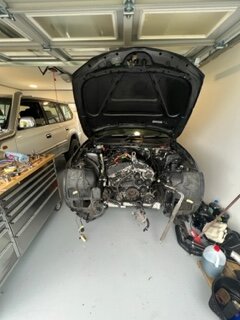
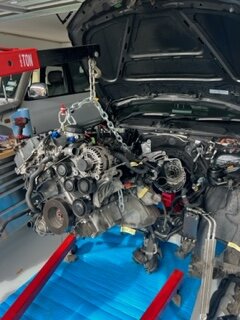
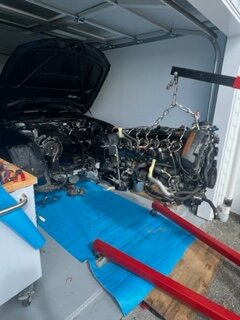
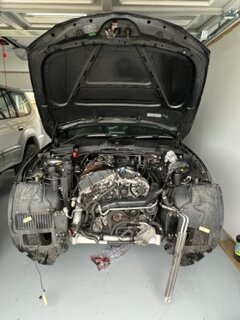
Engine coming out

Sump baffle going in
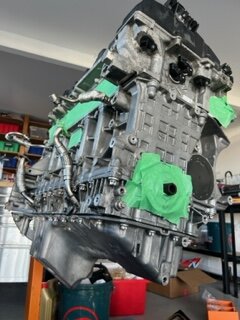
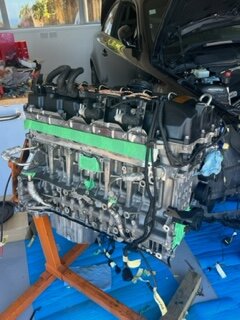
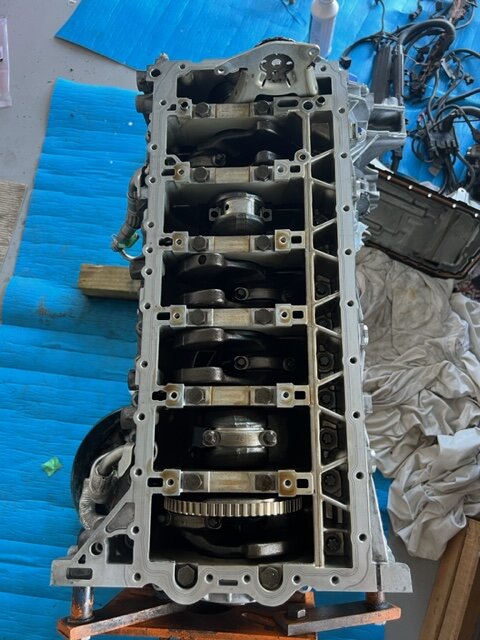
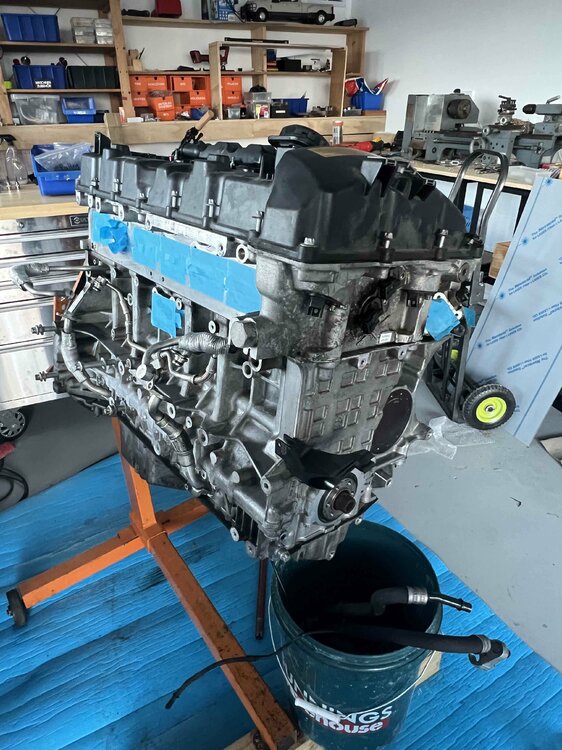
New motor with baffled sump installed
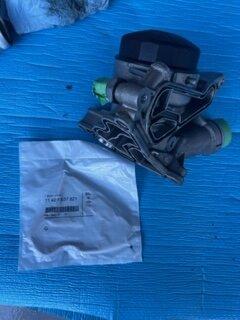
New genuine gaskets
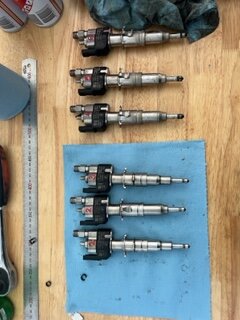
Inejctors getting new seals and decouplers
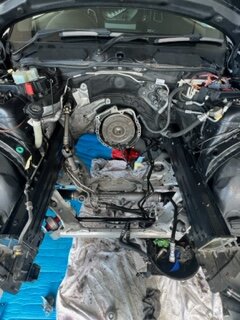
Engine bay being cleaned up
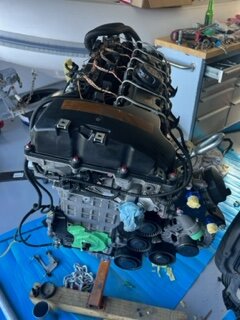
Valve cover and injectors on the new engine

New engine mounts
Loom half on
Oil thermsotat rebuild
-
1
-
-
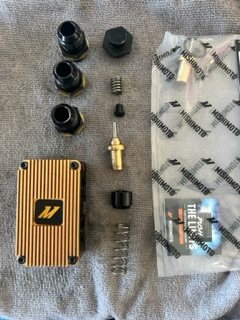
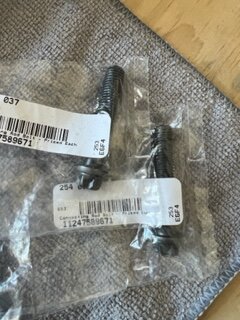
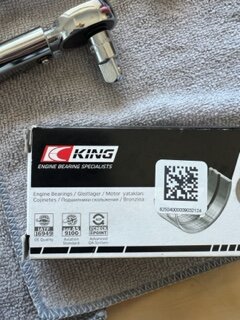
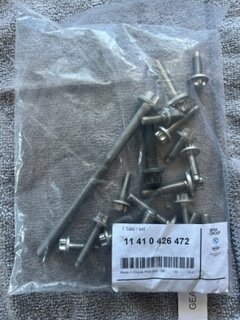
A bunch of parts have arrived, the entire ECS tuning order of all the gaskets and one time use bolts, as well as the rod bearings. Condorspeedshop engine and transmission mounts showed up too, as well as some oe braided vacuum line. Also got the aftermarket oil pressure sensor and wiring i will be hooking up to the ECU as from factory there is only a pressure switch.
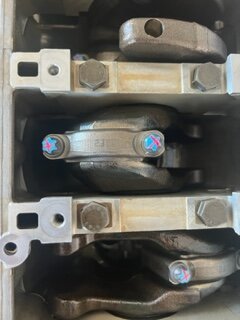
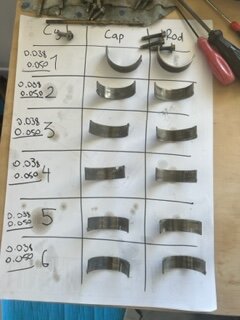
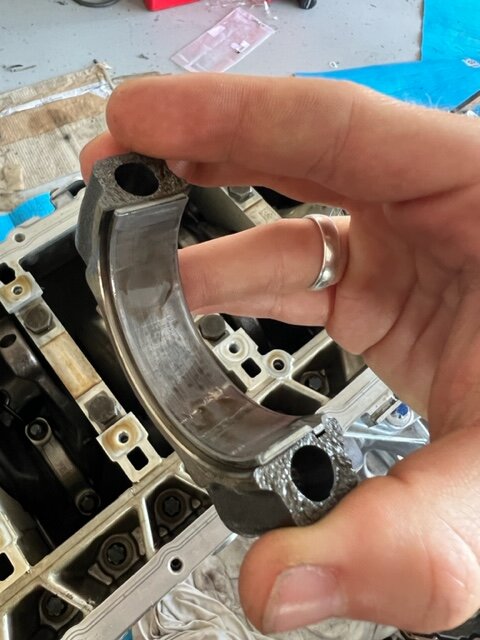
Pulled the sump back off again, oil pump back out, and began replacing the rod bearings.

Pretty straight froward job just have to pay attention and be careful, and make sure to work in a clean environment. Did rod bearings one at a time, cap off,
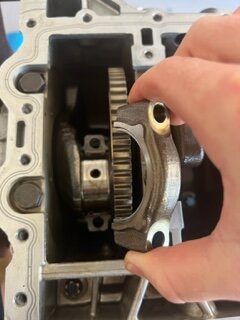
push rod off crank, remove both bearing shells, clean surfaces, install new rod bearings, clean crank shaft, install dry with plastiguage, torque back down with old bolts, remove cap, check clearance, clean up plastigauge residue, lubricate bearing surfaces and crank, bolt back together with new OEM rod bolts and torque to 20nm + 2x 70* as prescribed by bmw NEWtis. Just got to do it 6 times.

Then put the oil pump and tray back on, all new bolts once again, torqued and stretched to spec. Then placed sump back on, not putting on new gasket/bolts just yet as I am still waiting for VAC motorsport to ship my baffle, they are being extremely slow.
In the meantime, trying to organize turbo rebuild, also need to order 6x new injector seals and decoupling elements from bmw as well as a coolant temp sensor. Will also need new oil coolers... but getting there.
Been seeing lots of interesting videos of turbolamik 8hp swaps which have me intrigued, the shift times look pretty damn quick...
-
1
-
-
22 hours ago, M3AN said:Since it apparently happens so quickly, wouldn't you be best advised to keep the tools? And perhaps hire them out from time-to-time to recoup the cost?
that is correct, but i will be installing a catch can which reduces carbon build up, and it will be quite some time before the car does enough kms to require another walnut blast, as it is not daily driven, so probably wont be required for a few years yet. Been offered enough money for the tools that i could buy/make them again for less anyway. In the meantime with all the parts im needing/wanting to purchase it makes more sense to put the money towards that.
-
1
-
-
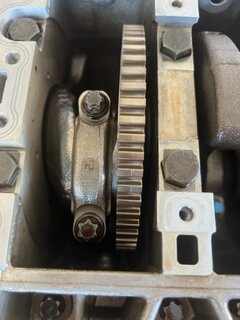
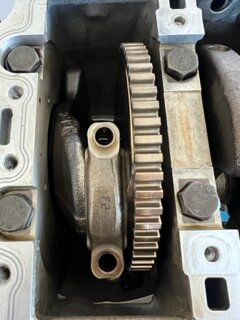
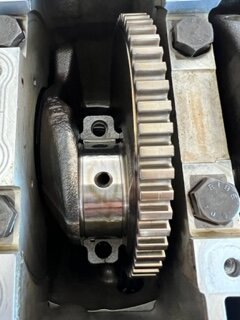
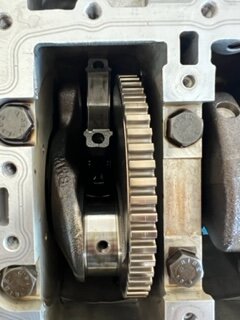
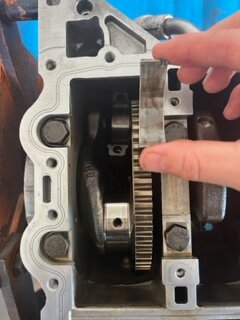
Put the rod bearing back in, and decided to do the walnut blast while i wait on gaskets and rod bearings to arrive. Found the genuine bmw vacuum to intake port adapter, media blasting lance, large bag of walnut media locally, and then got a portable sand blaster from SCA. Already have a shop Vac and a Air compressor. Brother machined a brass adapter on the lathe to get the lance to fit the blasting gun, and it all worked pretty well. Intake valves are now nice and clean. Will be selling the tools now that i no longer need them so let me know if anyones keen to do their N54. Definitely worthwhile doing, this engine only had done 89,000kms and the valves were caked. happens very quickly due to the motor being Direct Injection and there is no fuel to was the valves clean as you would have on a port injection engine.
Before and after

-
2
-
-
DCT
in Want to buy
12 minutes ago, Toast said:I've got a DCT 335i coupe that's going up for sale soon, might be able to break and get the sale price back in parts?
Appreciate the offer, but unfortunately don't have the time or space to break a car
-
1
-
-
DCT
in Want to buy
-
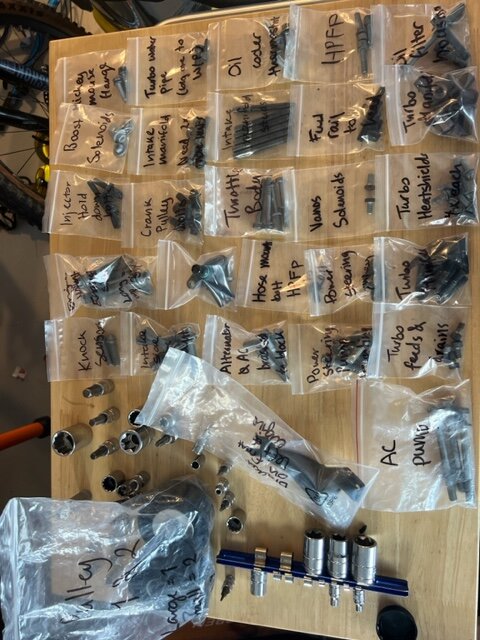
Have been busy finishing off cleaning the engine, now that ive removed everything, all bolts in labeled bags.
Also been ordering parts for the new engine. All new gaskets for the motor, everything from oil pan to oil filter housing, font and rear main seals, vanos solenoid seals, valve cover gasket, complete turbo install kit (all manifold studs, nuts oil/coolant feed and drain gaskets/o rings, intake and exhaust manifold gaskets etc, basically everything except the head gasket. Rod bearings and rod bolts on the way also as well as a new drive belt. New solid UHMW engine and gearbox mounts ordered from Condor speedshop also as well as a oil pan baffle from VAC motorsport. Now just a matter of waiting for parts to arrive...
In the meantime I have also purchased walnut blasting tools, managed find the official bmw service tools for sale locally, so will be cleaning the intake valves soon.
Got bored waiting for parts so I decided to take the oil pan off, oil pump out and pull a rod cap off, rod bearings looks in good shape, but will be getting replaced regardless, just wanted to see their condition as an indication of main bearing condition. In the meantime will order new oil cooler cores as I don't want to risk reusing ones that have metal in them from the old motor, and one I pull the old motor out I will be sending turbos off for a rebuild too.
Car should be absolutely mint once its back together, tempted to try make a stainless exhaust from the downpipes back...
-
4
-
-
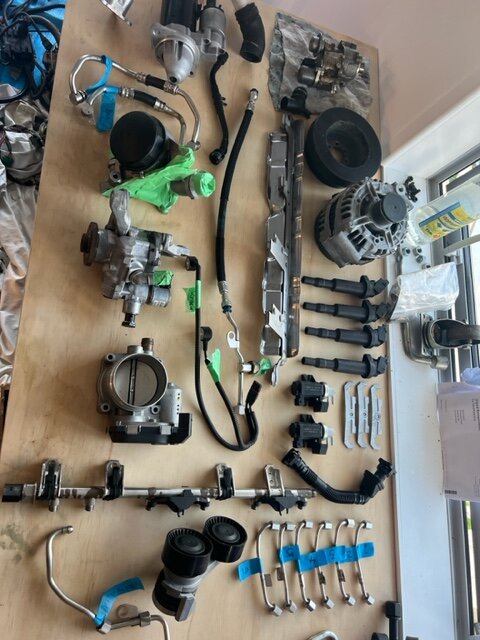
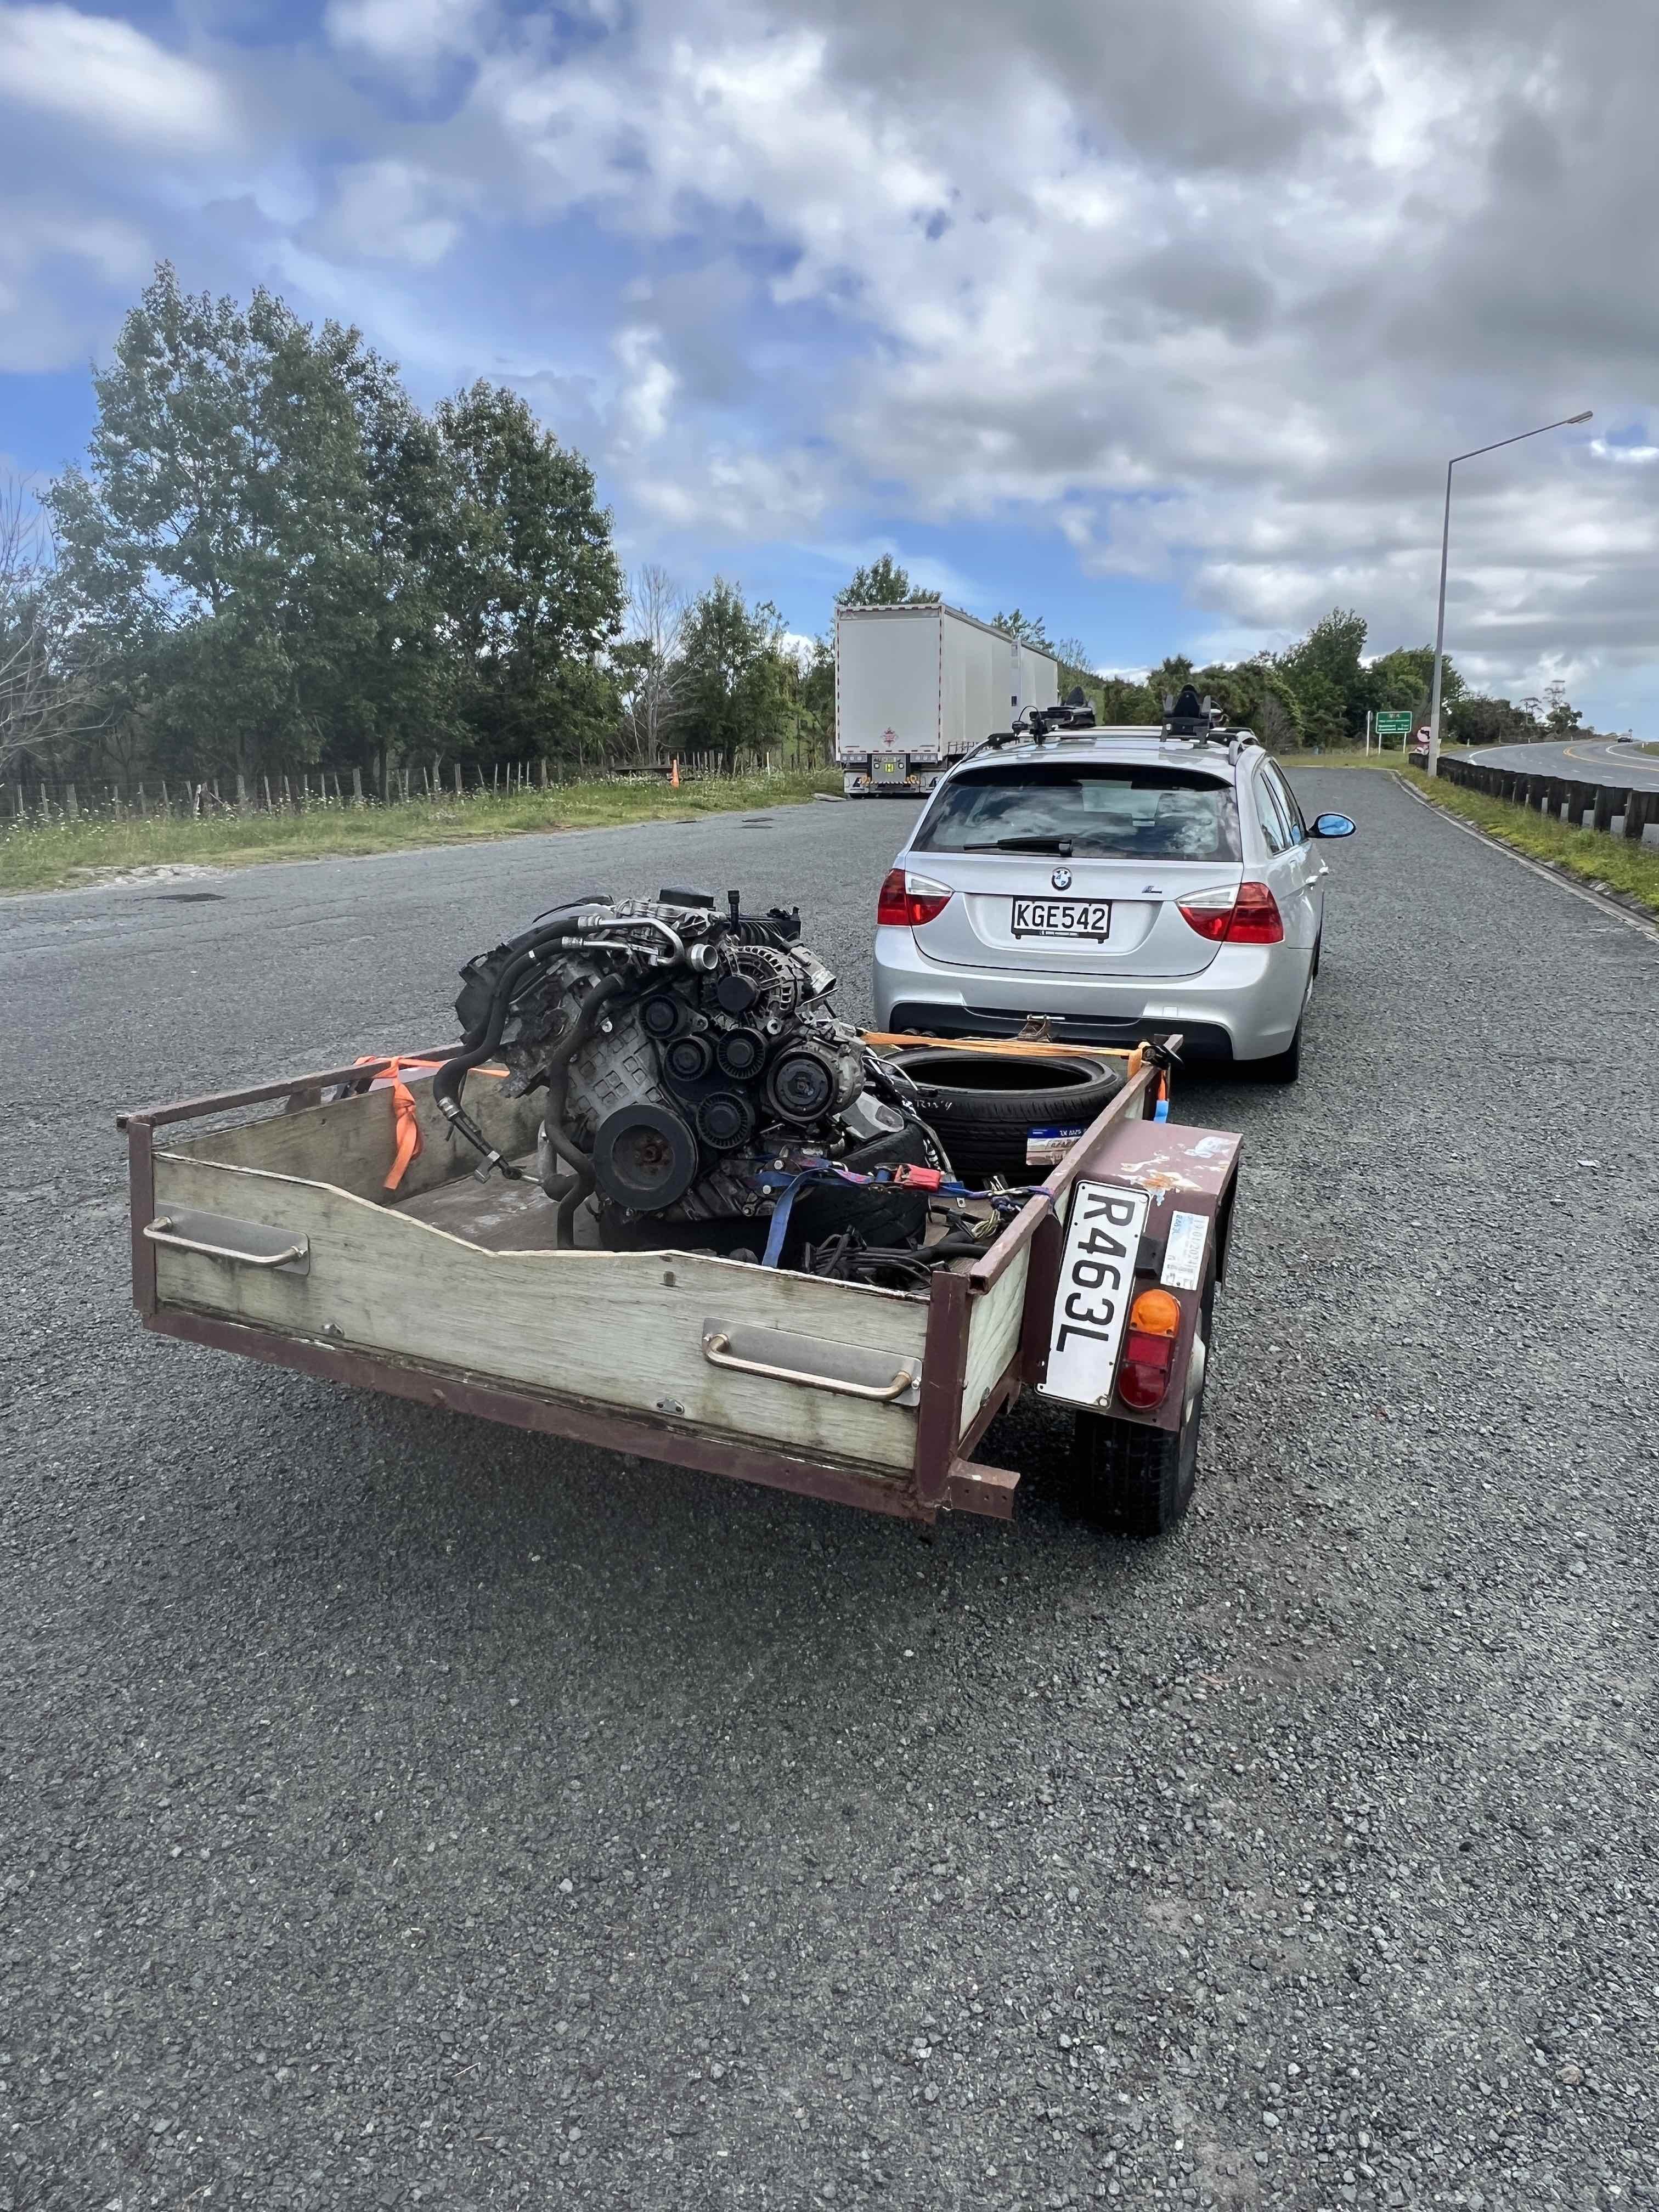
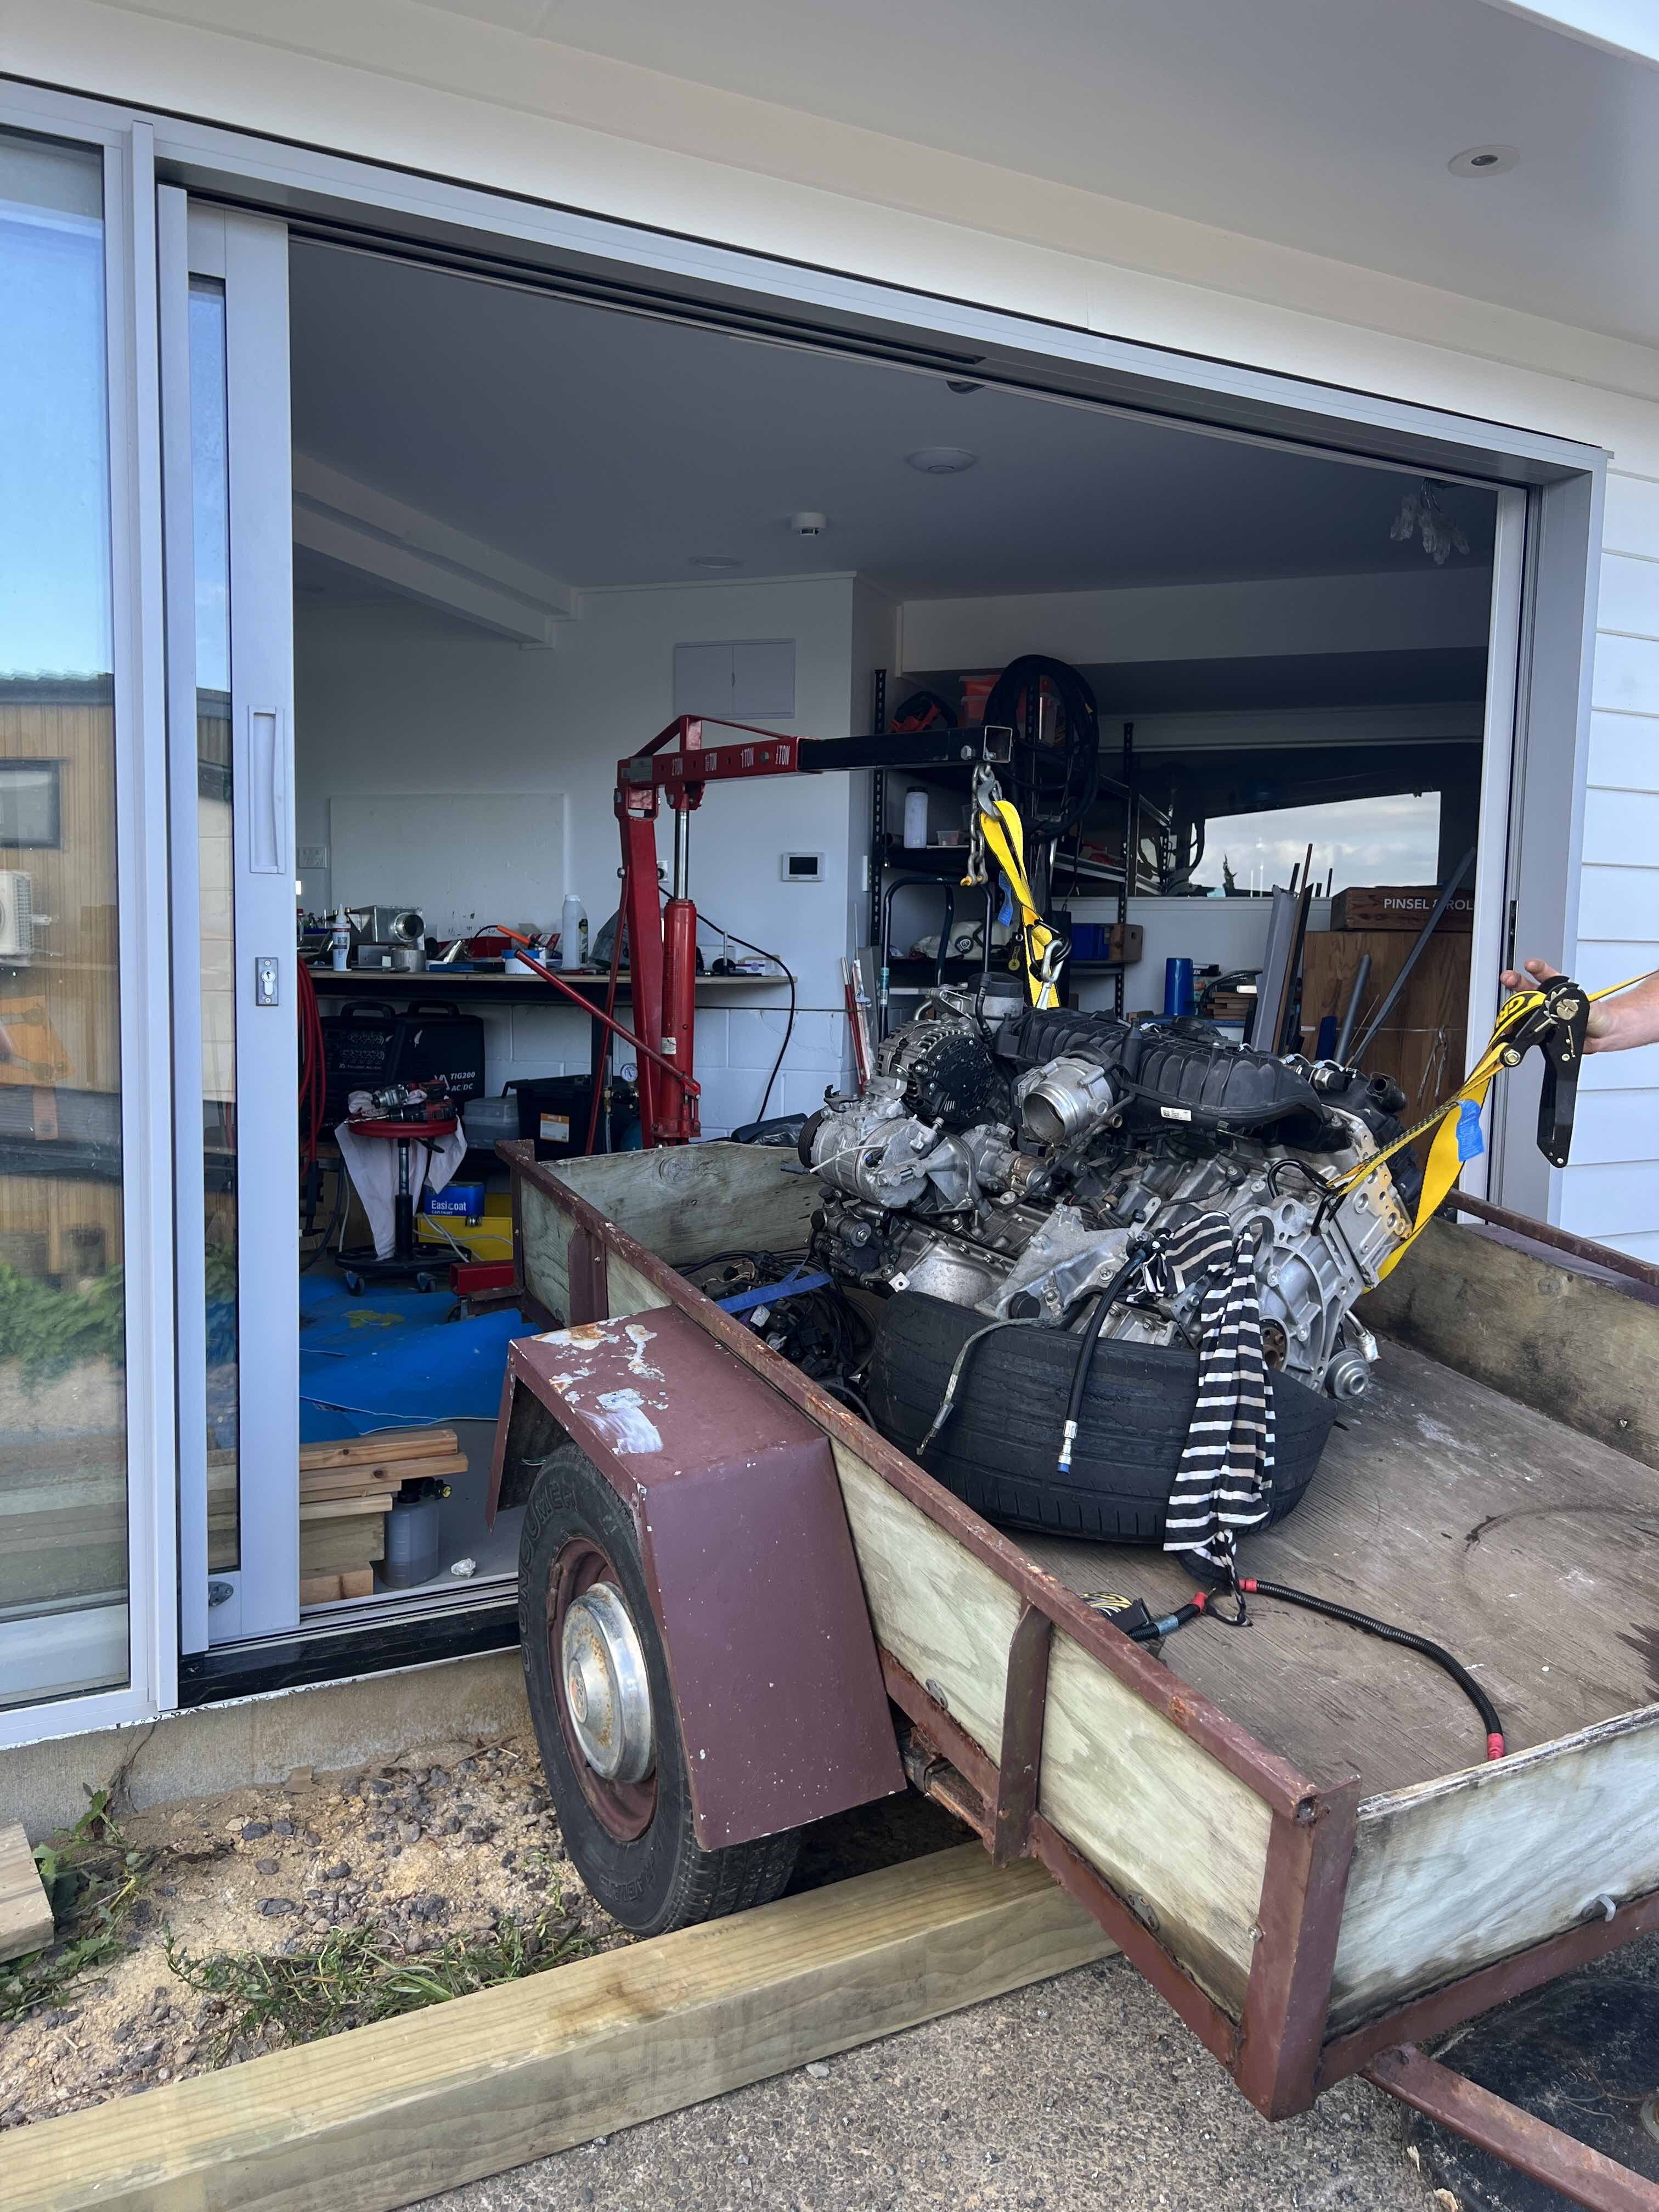
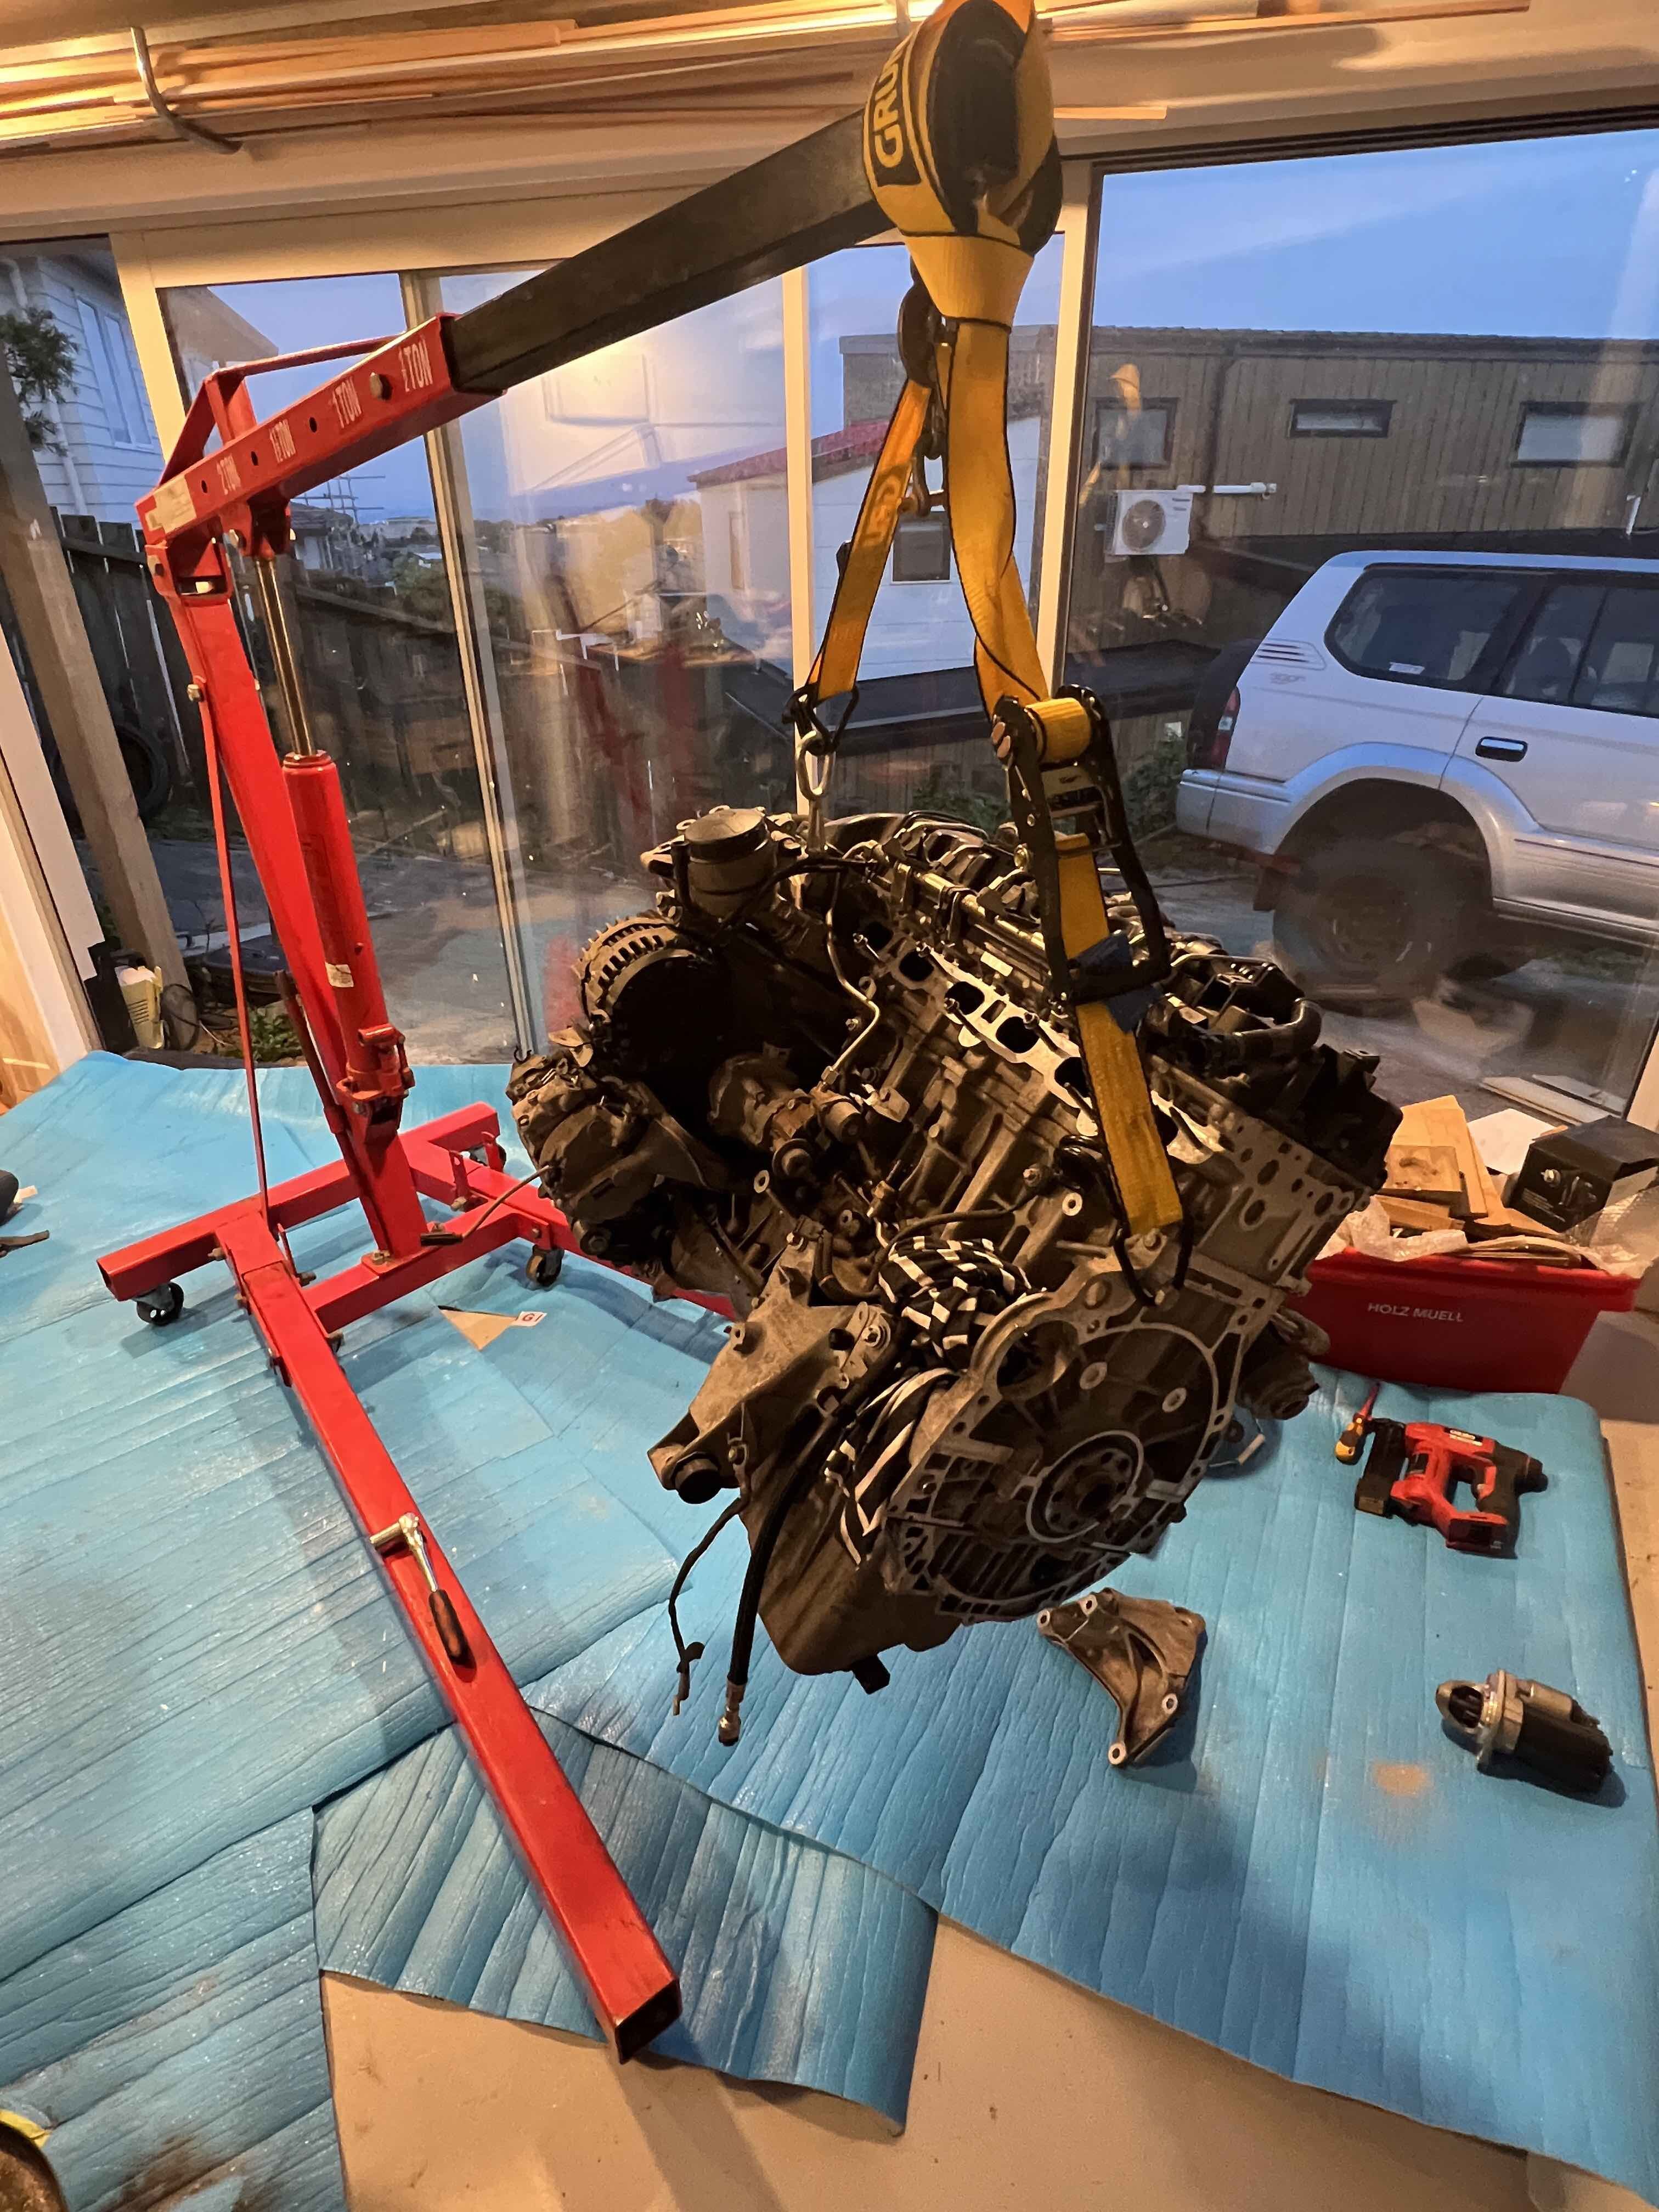
Been a minute... Have been very busy with work. Recently acquired a new motor for the car, 89,000km semi complete engine, missing a bunch of bits but I plan on using most of my own parts from the old engine anyway. Collected it from Kamo, just north of Whangarei with a trailer and the trusty E91, and have been stripping it down and cleaning it up in preparation for a thorough refresh.

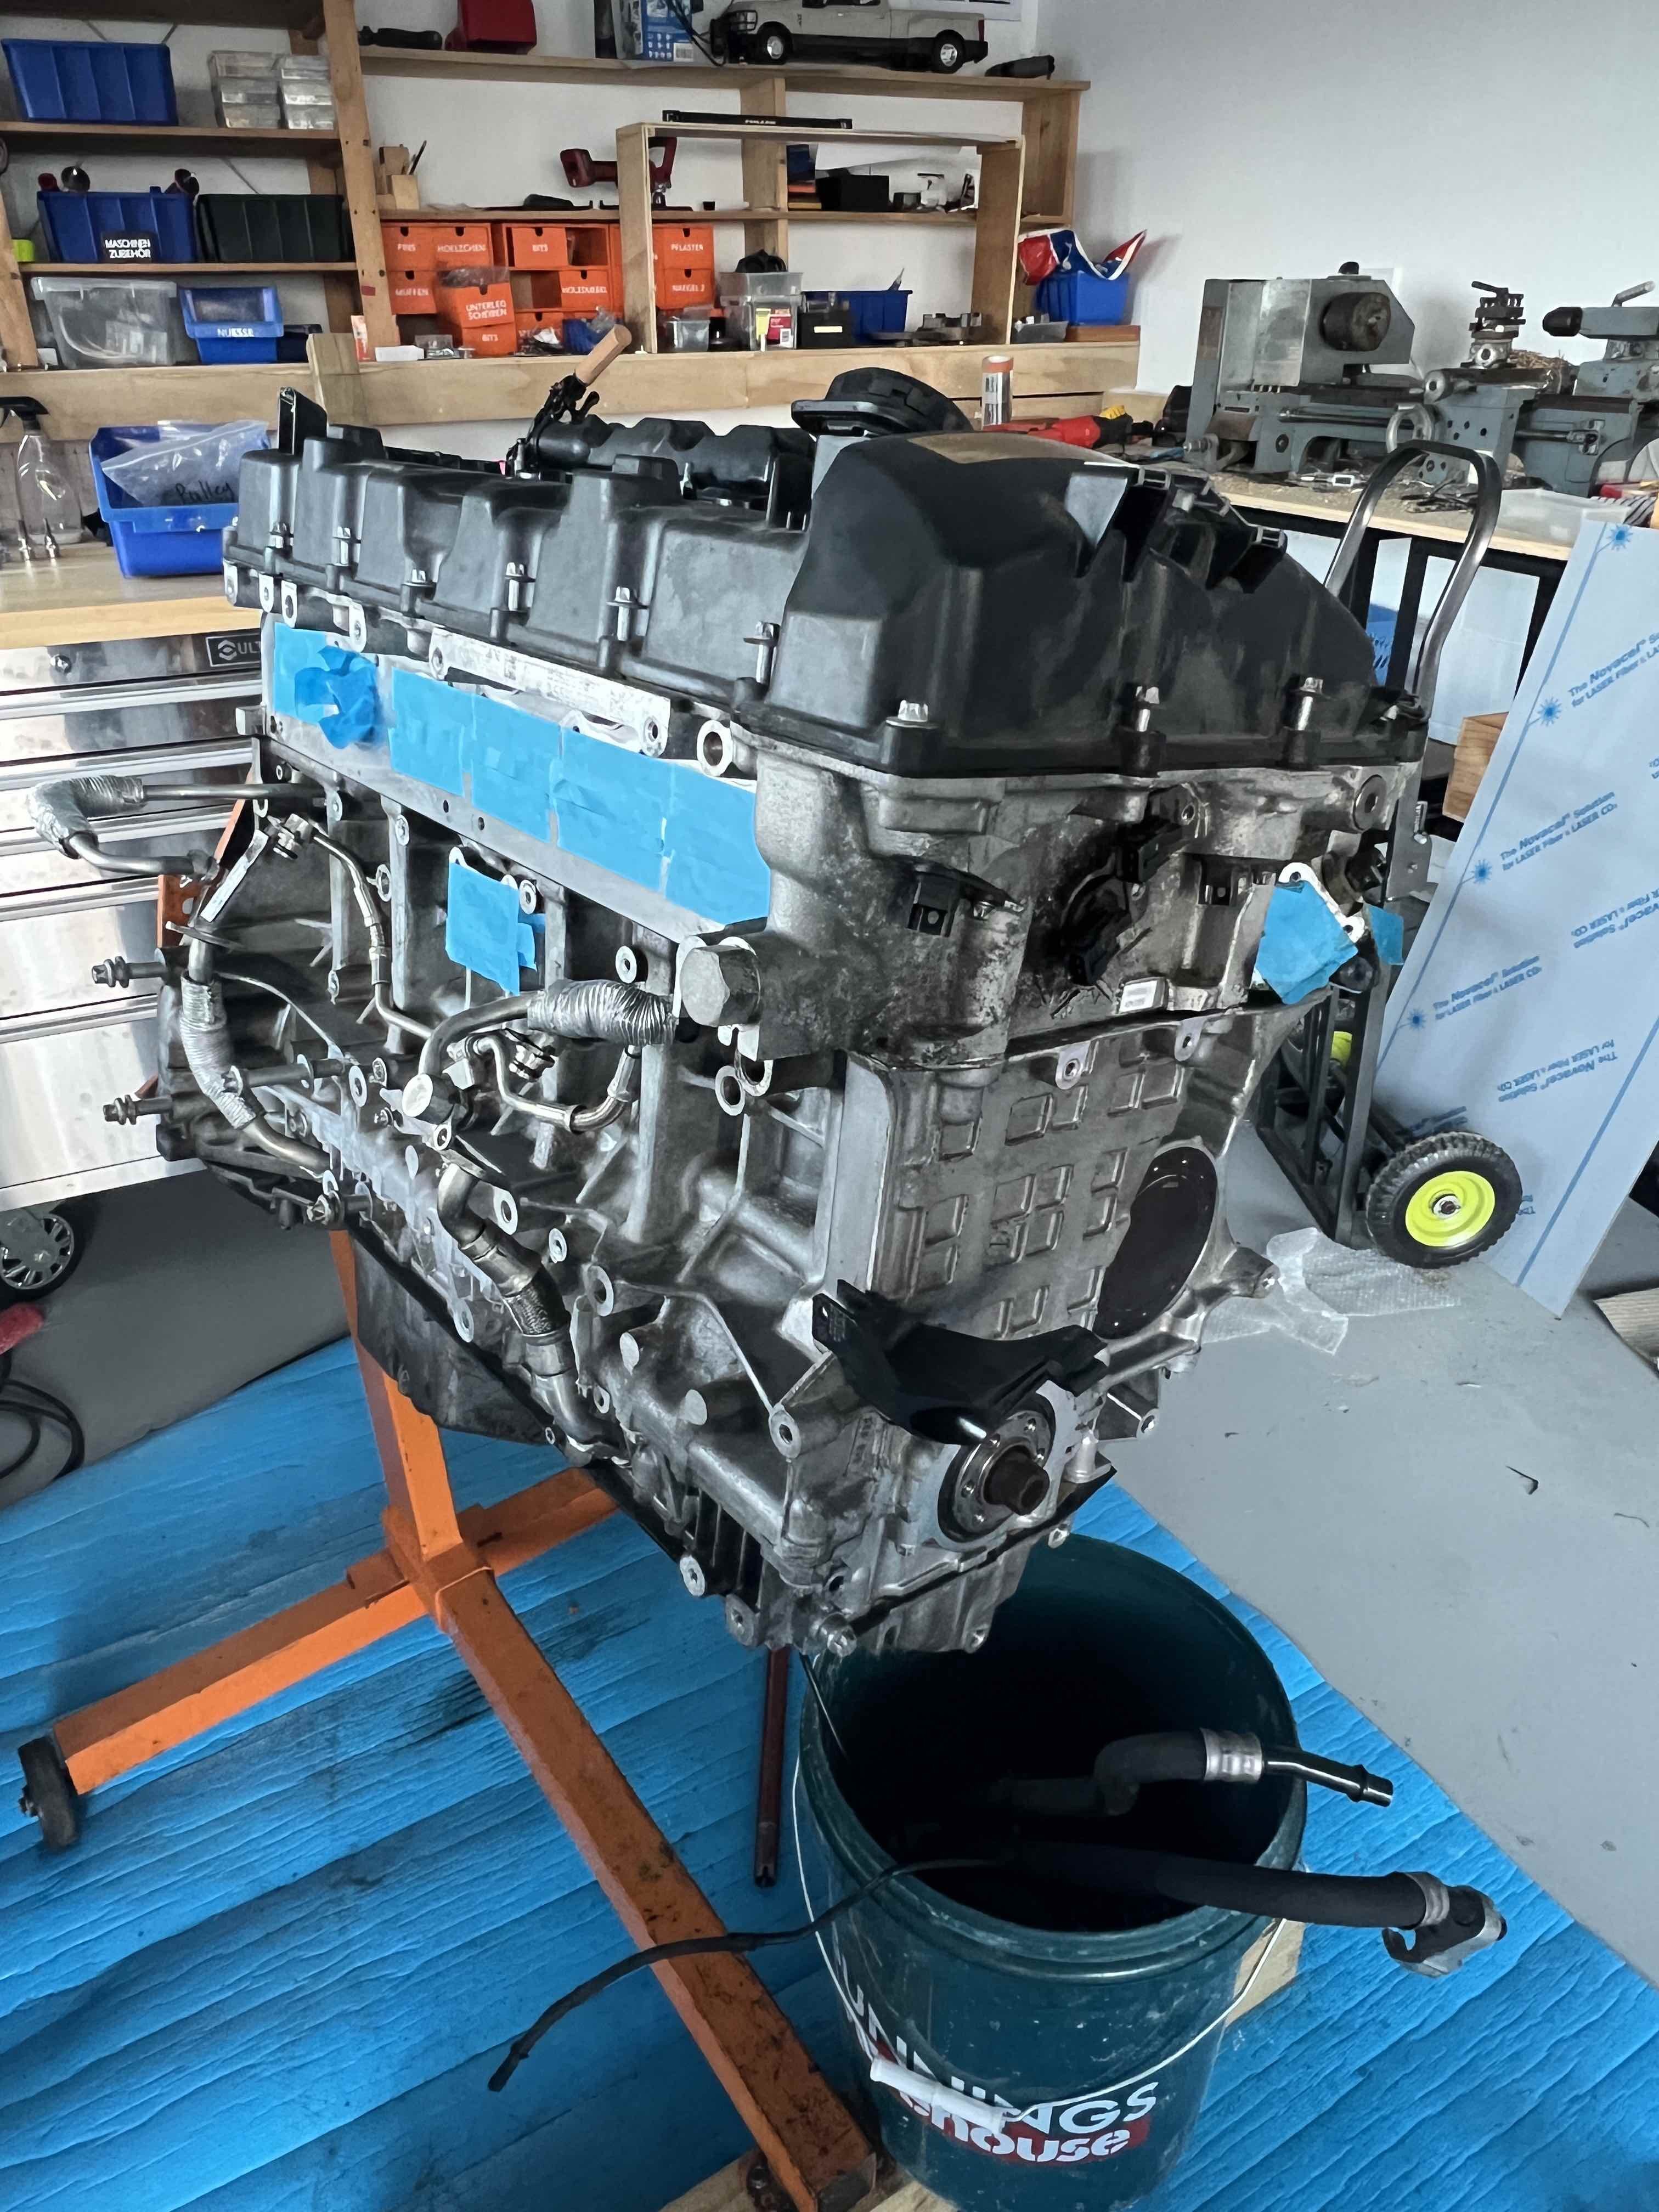
It will be getting all new gaskets all round, new rod bearings and a baffled sump. Still need to order the parts for it, hopefully will get around to it in the next week or so. Had a look under the valve cover and pulled the sump off and it all looks exceptionally clean, no sludge whatsoever.

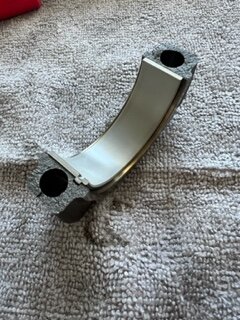
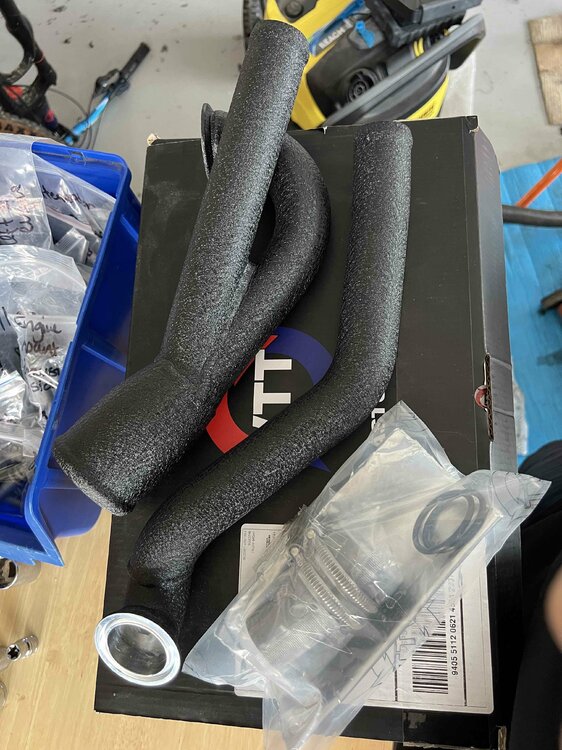
Have also managed to acquire some VTT high flow turbo outlets, as the factory RHD outlets have a kink in them which reduces the flow. Was a lucky find on marketplace as they are very hard to find nowadays, seemingly discontinued.
-
2
-
-
12 hours ago, Vass said:Yeah ran into the same issue, took me a while to figure out what the deal was. Noticed it only happened with larger images but anything up to 2 MB went through without issues so that seems to be the cutoff. I've just been downsizing the resolution prior to posting.
sweet ill give that a go thanks!
-
how large is too large? images are between 2 and 4 MB.
-
Wont let me add images to my post, says upload queued, but never loads.
-
DCT
in Want to buy
Just now, HELLBM said:With a dif and drveshaft $4500.
Obviously best to go for Aussie deal for $3000
yeah i mean depends on shipping and buying overseas is always a risk, and always been happy with the parts ive bought off you, will give it some thought, appreciate your help!
-
DCT
in Want to buy
20 hours ago, HELLBM said:$3750
Ebay prices: https://www.ebay.com.au/itm/126107350848
is that for box only? from what id understand id need driveshaft and diff too to keep the DCT happy, as well as wiring and the shifter. Yep ebay prices definitely are up there, and some local NZ wreckers are charging 7k, but can get complete conversions for 3000AUD in Aus.

E87 Pre Lci Kidney grills
in Want to buy
Posted · Report reply
Wanting to buy gloss black pre lci kidney grills for a 2008 123d 5door hatch.