

325_driver
-
Content Count
1430 -
Joined
-
Last visited
-
Days Won
20
Posts posted by 325_driver
-
-
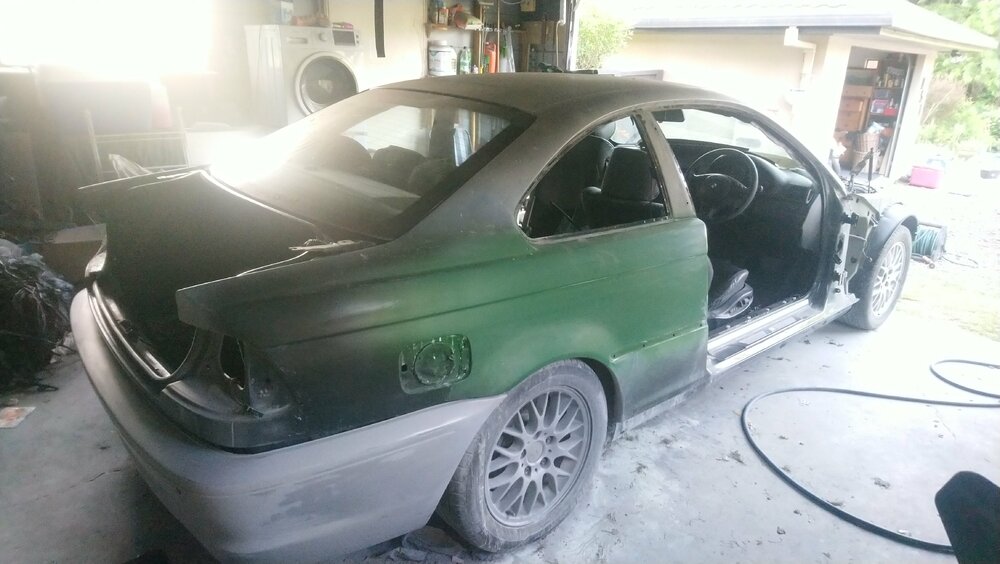
Ended up going AZORES green from Audi. Still need to do fenders trims bumper and
Its quite reminessant of oxford green but a bit more forest green in dark and a bit more pearl in light.


-
 2
2
-
-
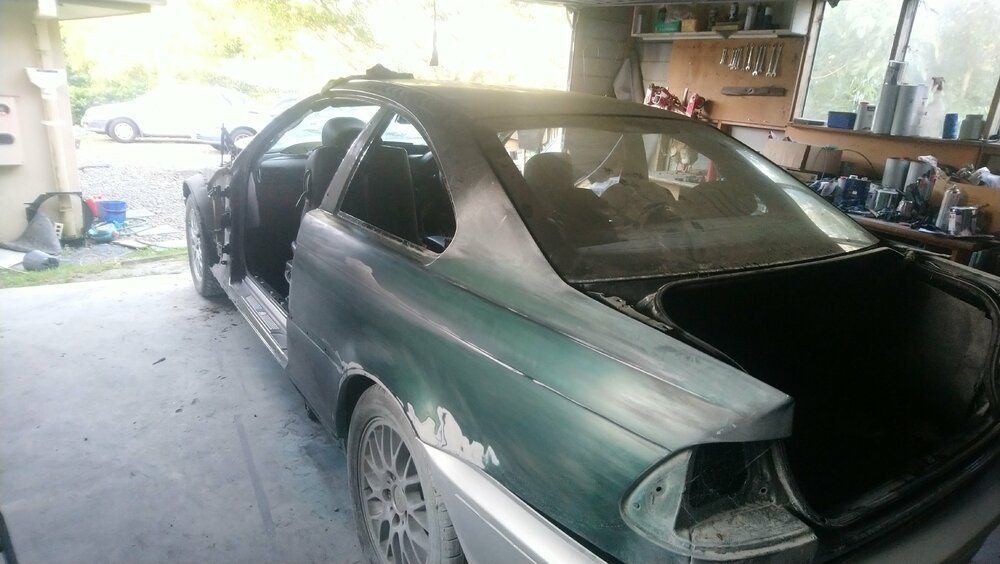
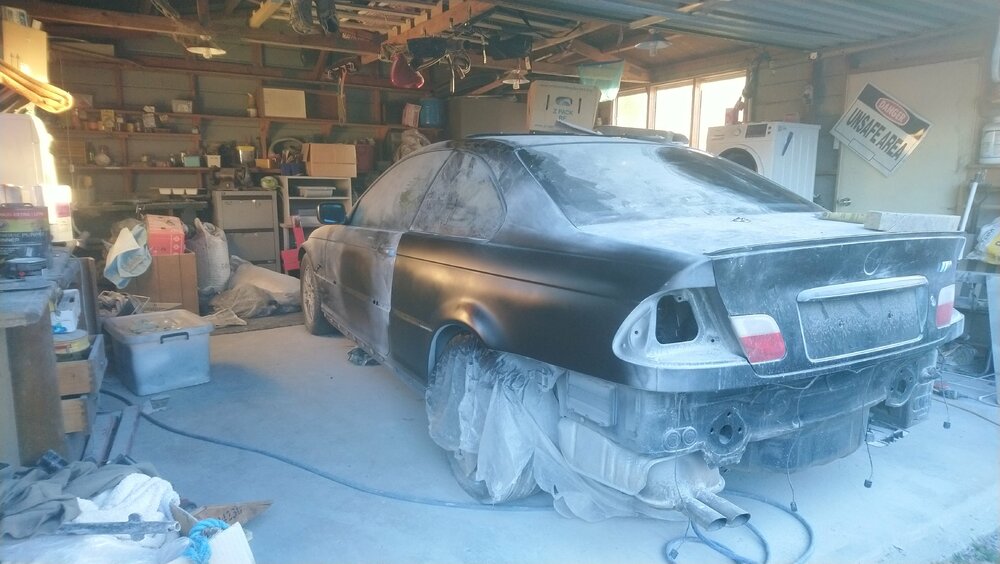
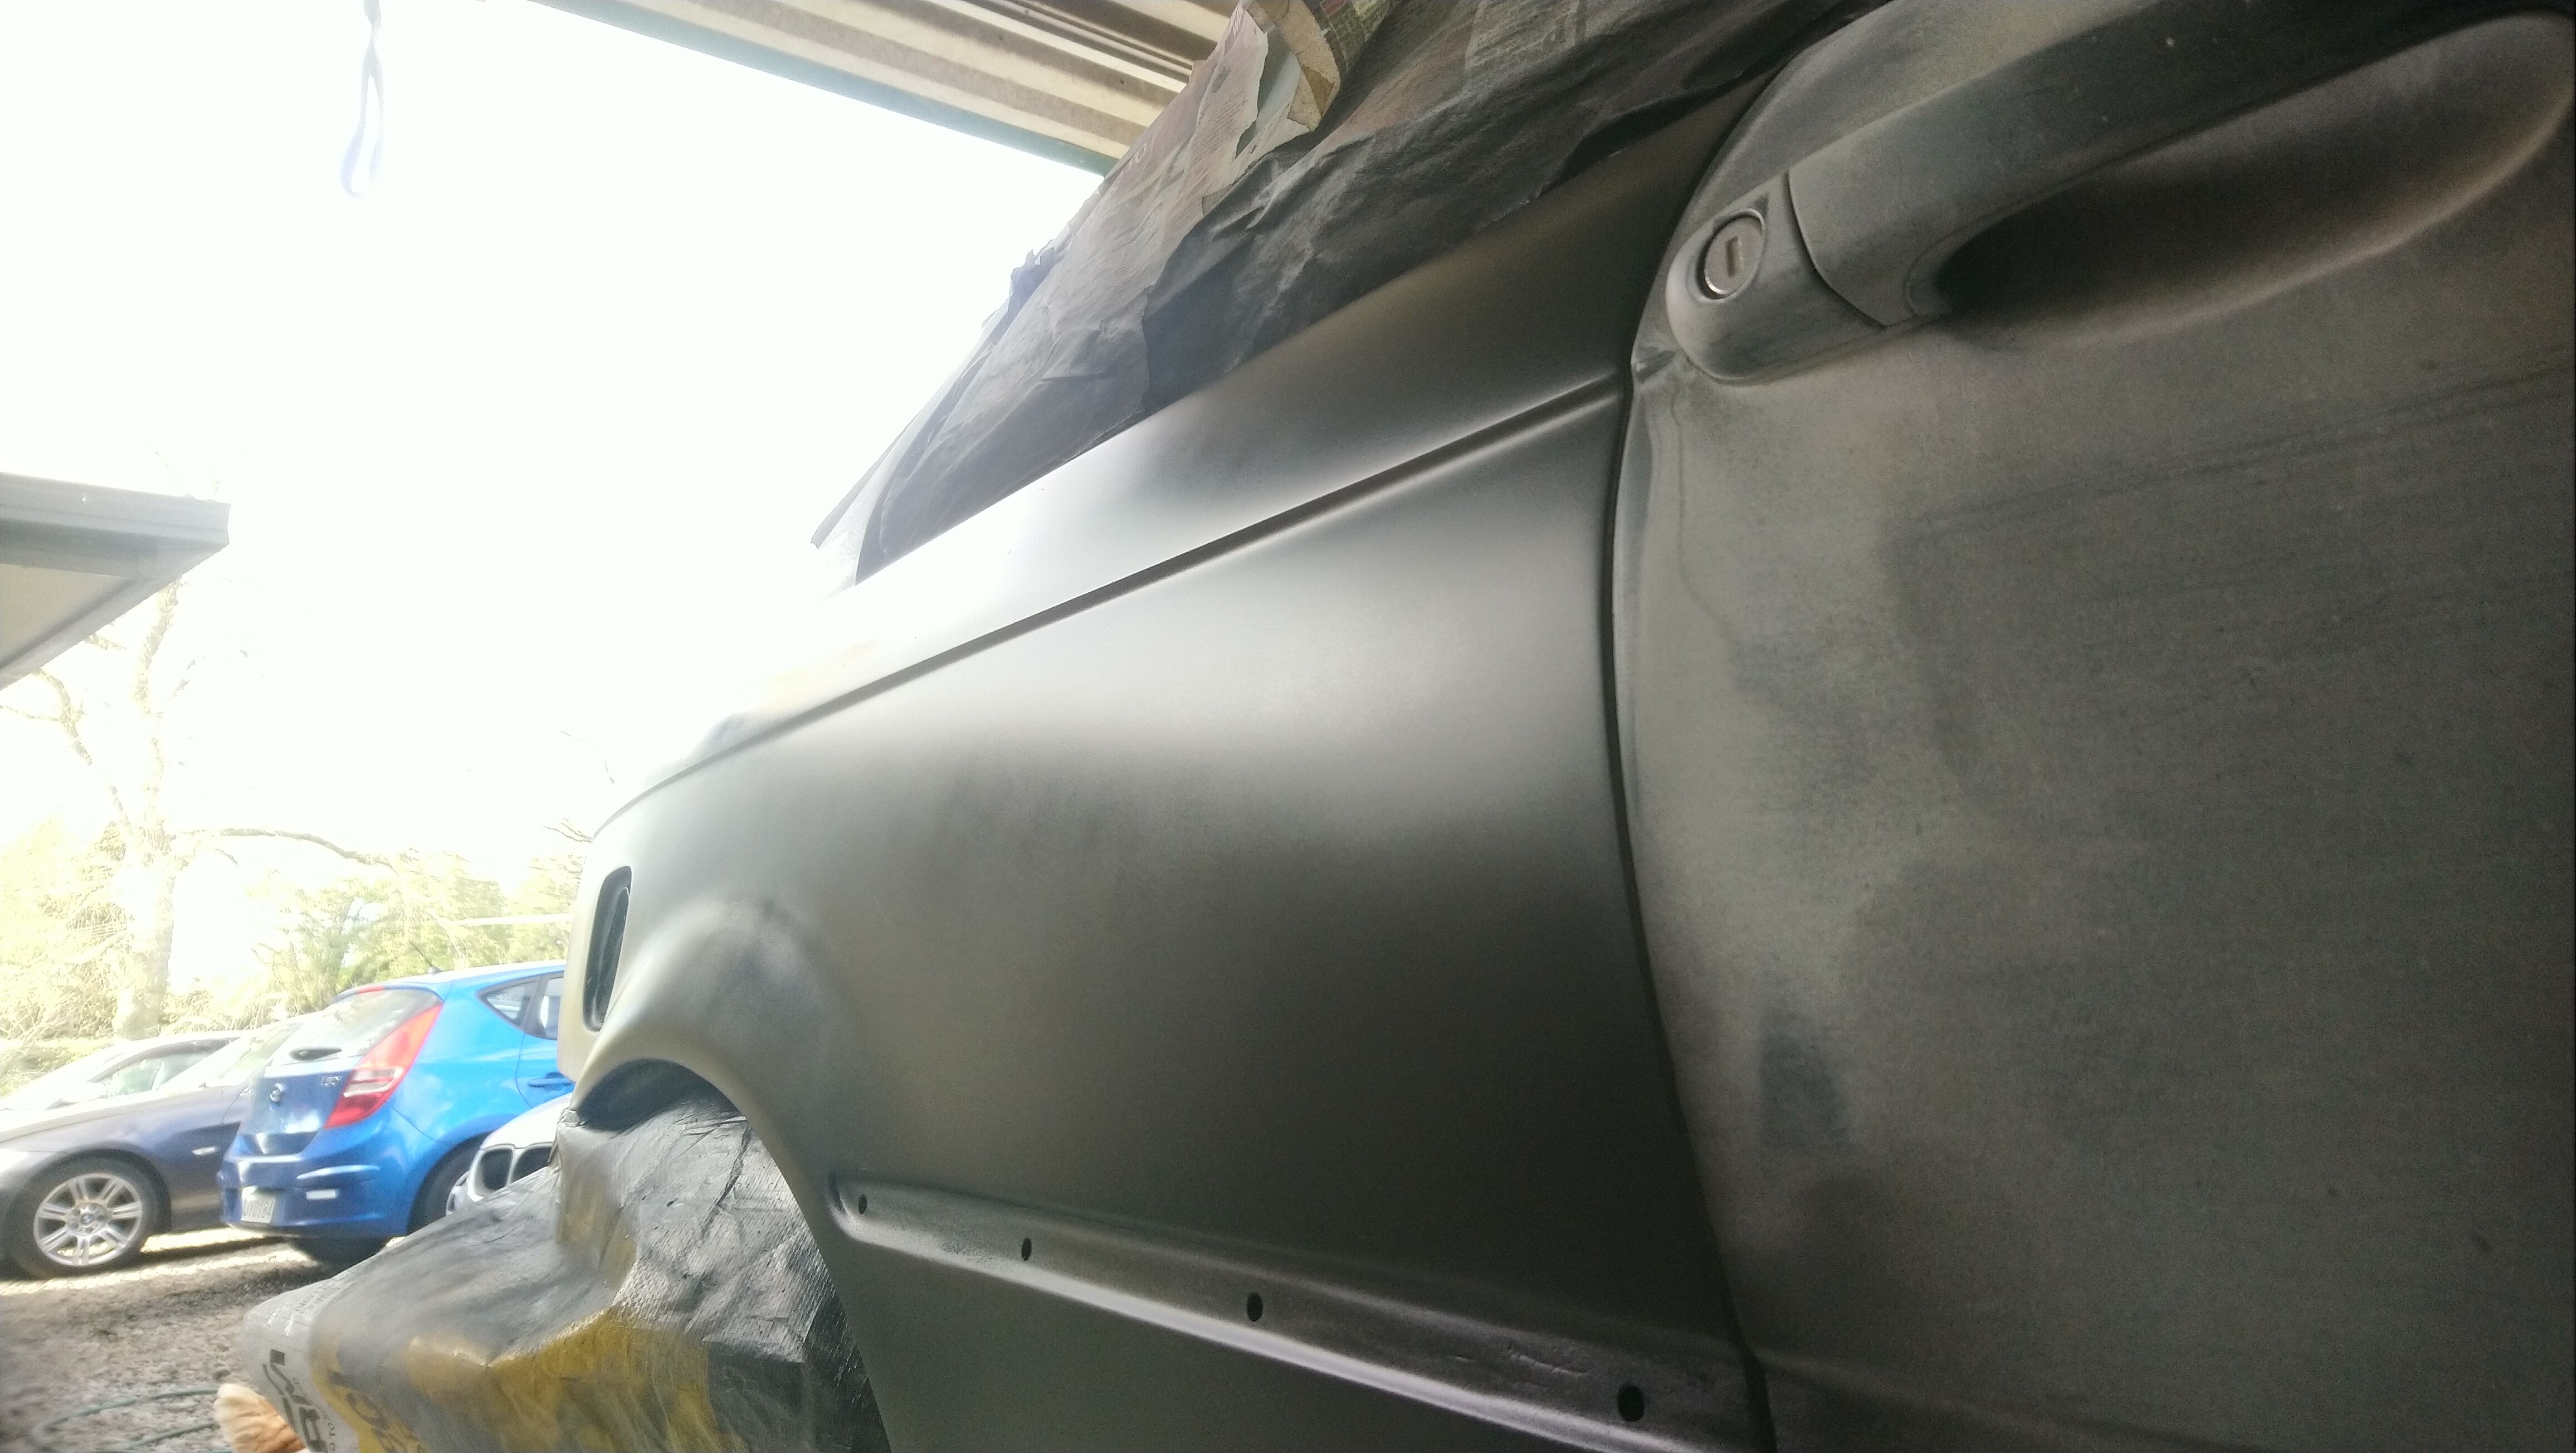
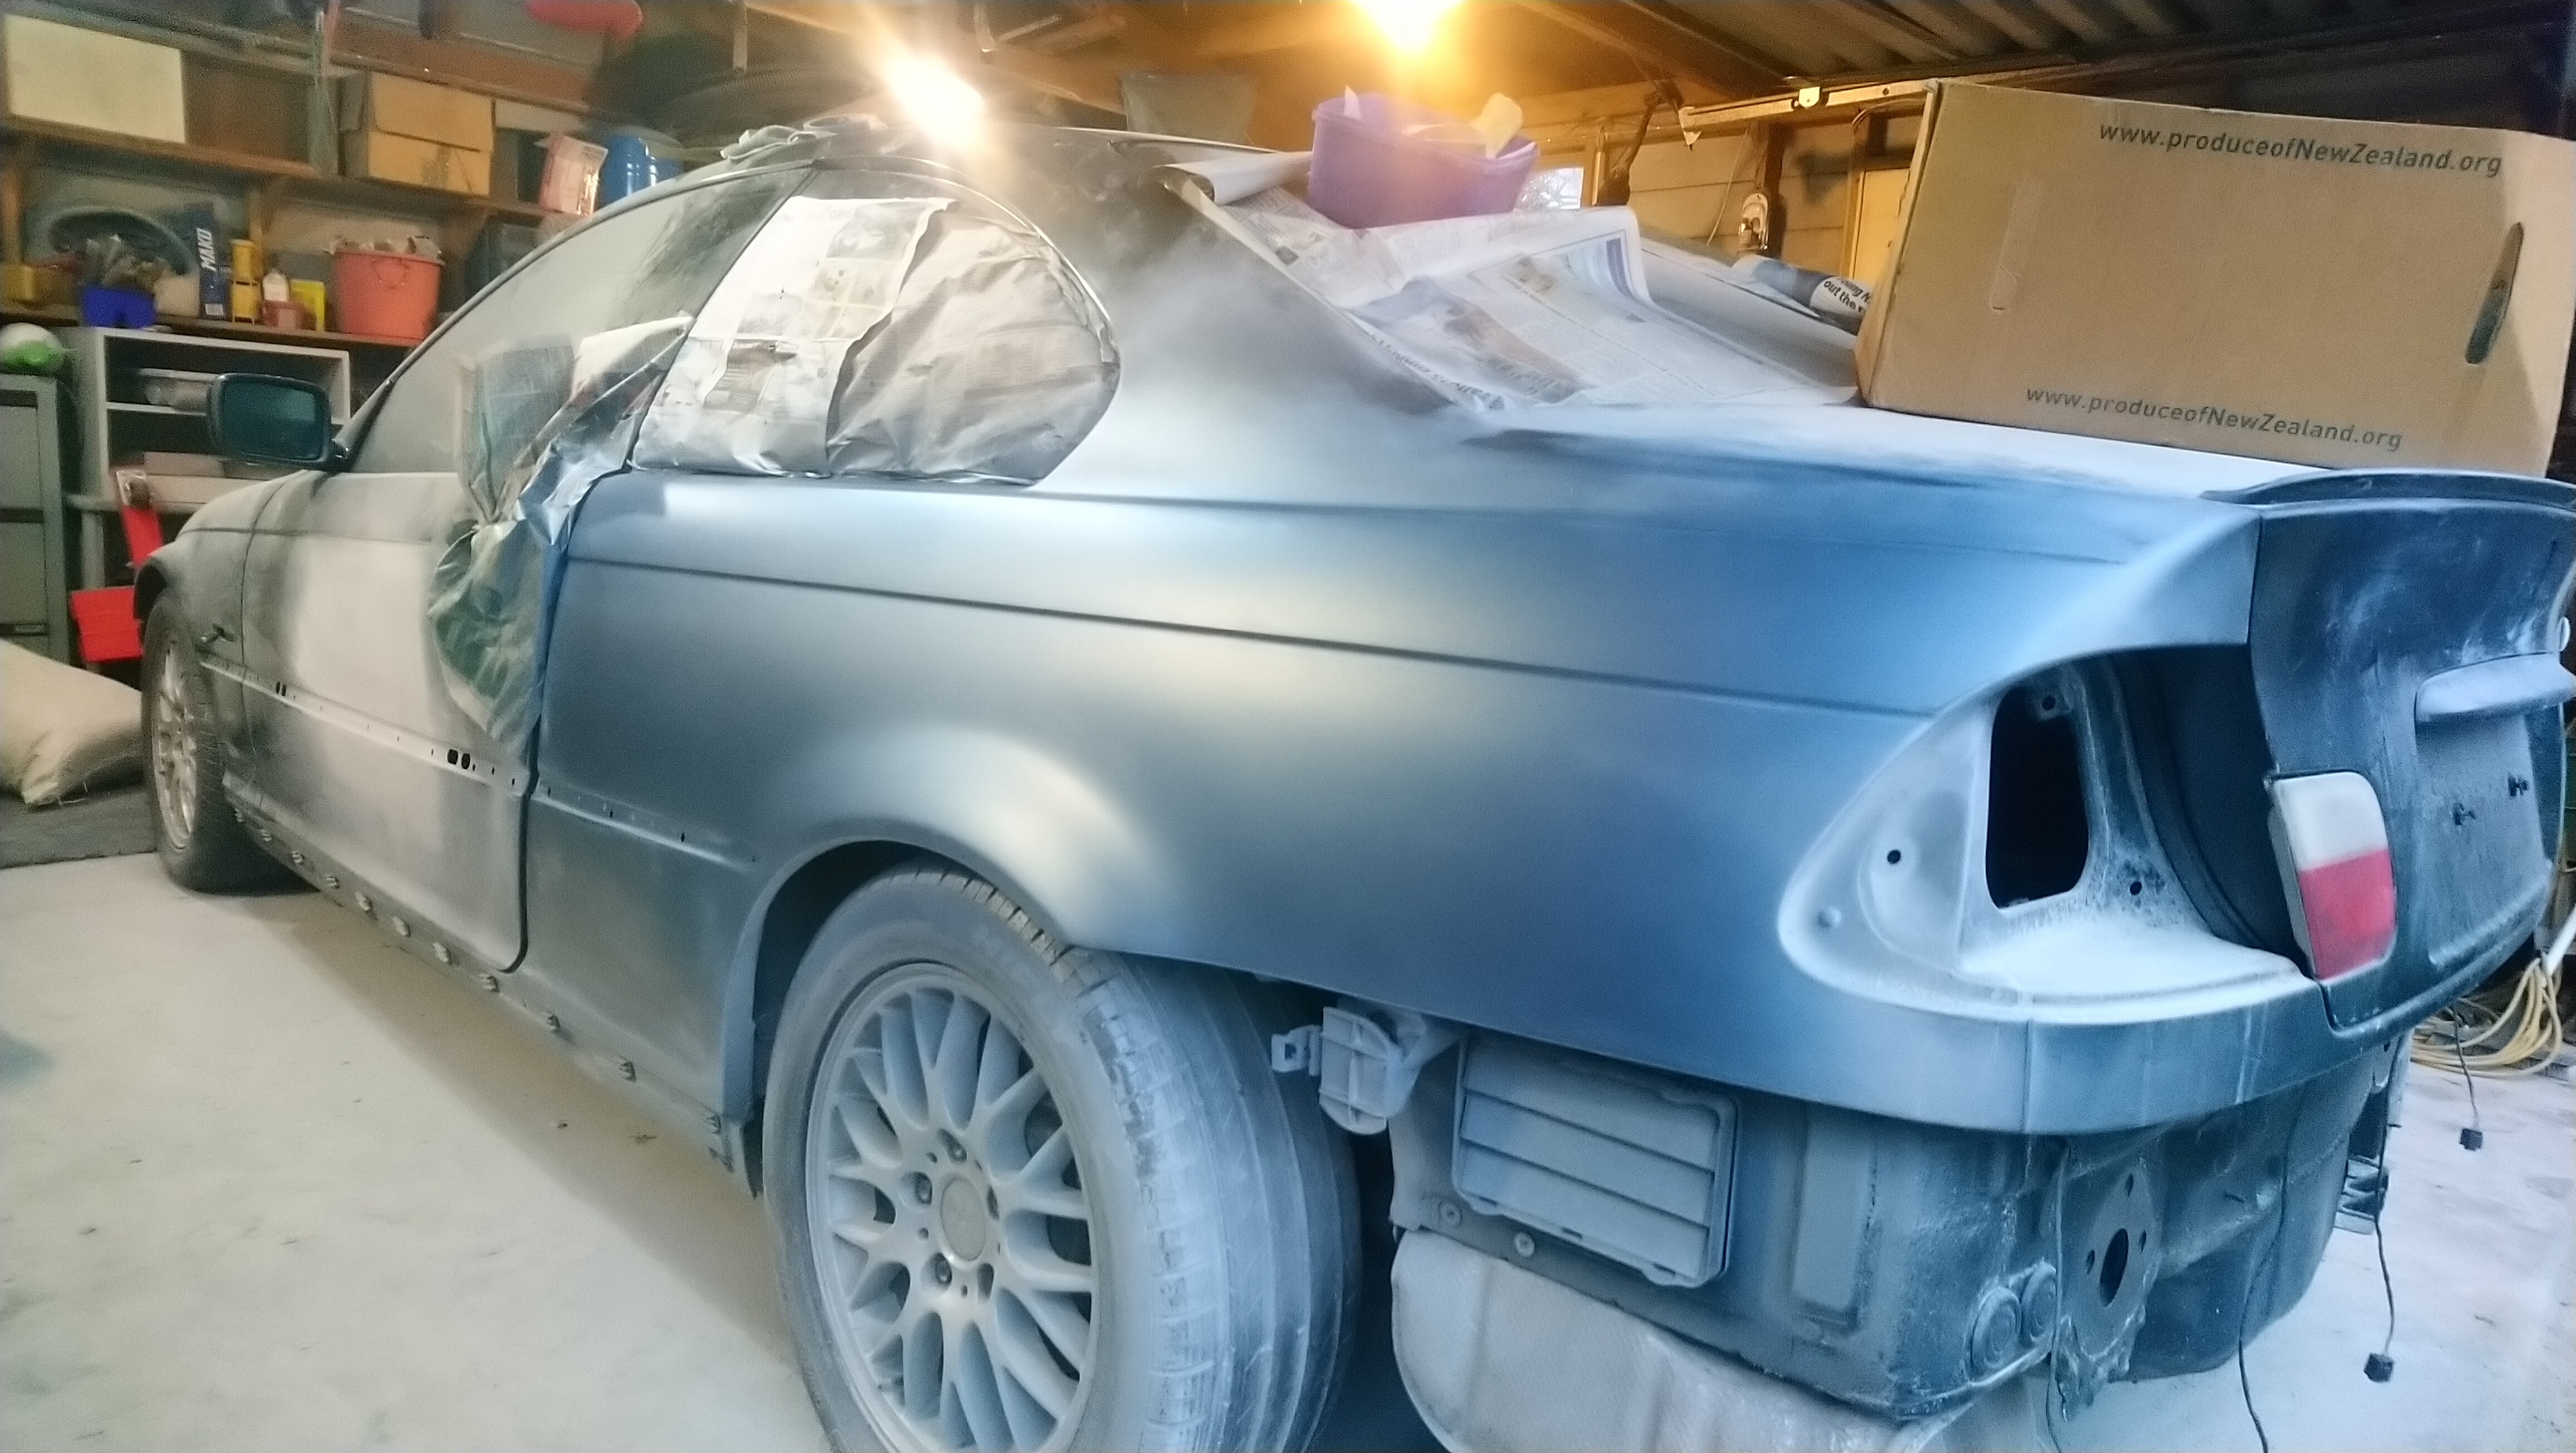
Finally got a run of clear hot weather lining up
At long last panel work complete on the shell, primer work holding nicely no reactions at all and lines and contours are crisp.
Commence painting on Monday when base coat arrives
Going to give it a nice clean first, final wet sand on a few other areas. Going an Audi green on this one as I picked up another e46 330ci instead of 325ci so will be selling this one and painting the keeper car artic race blue.
-
1
-
-
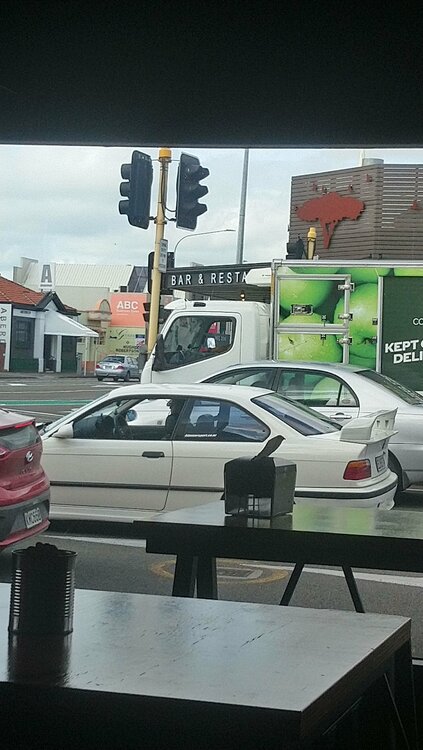
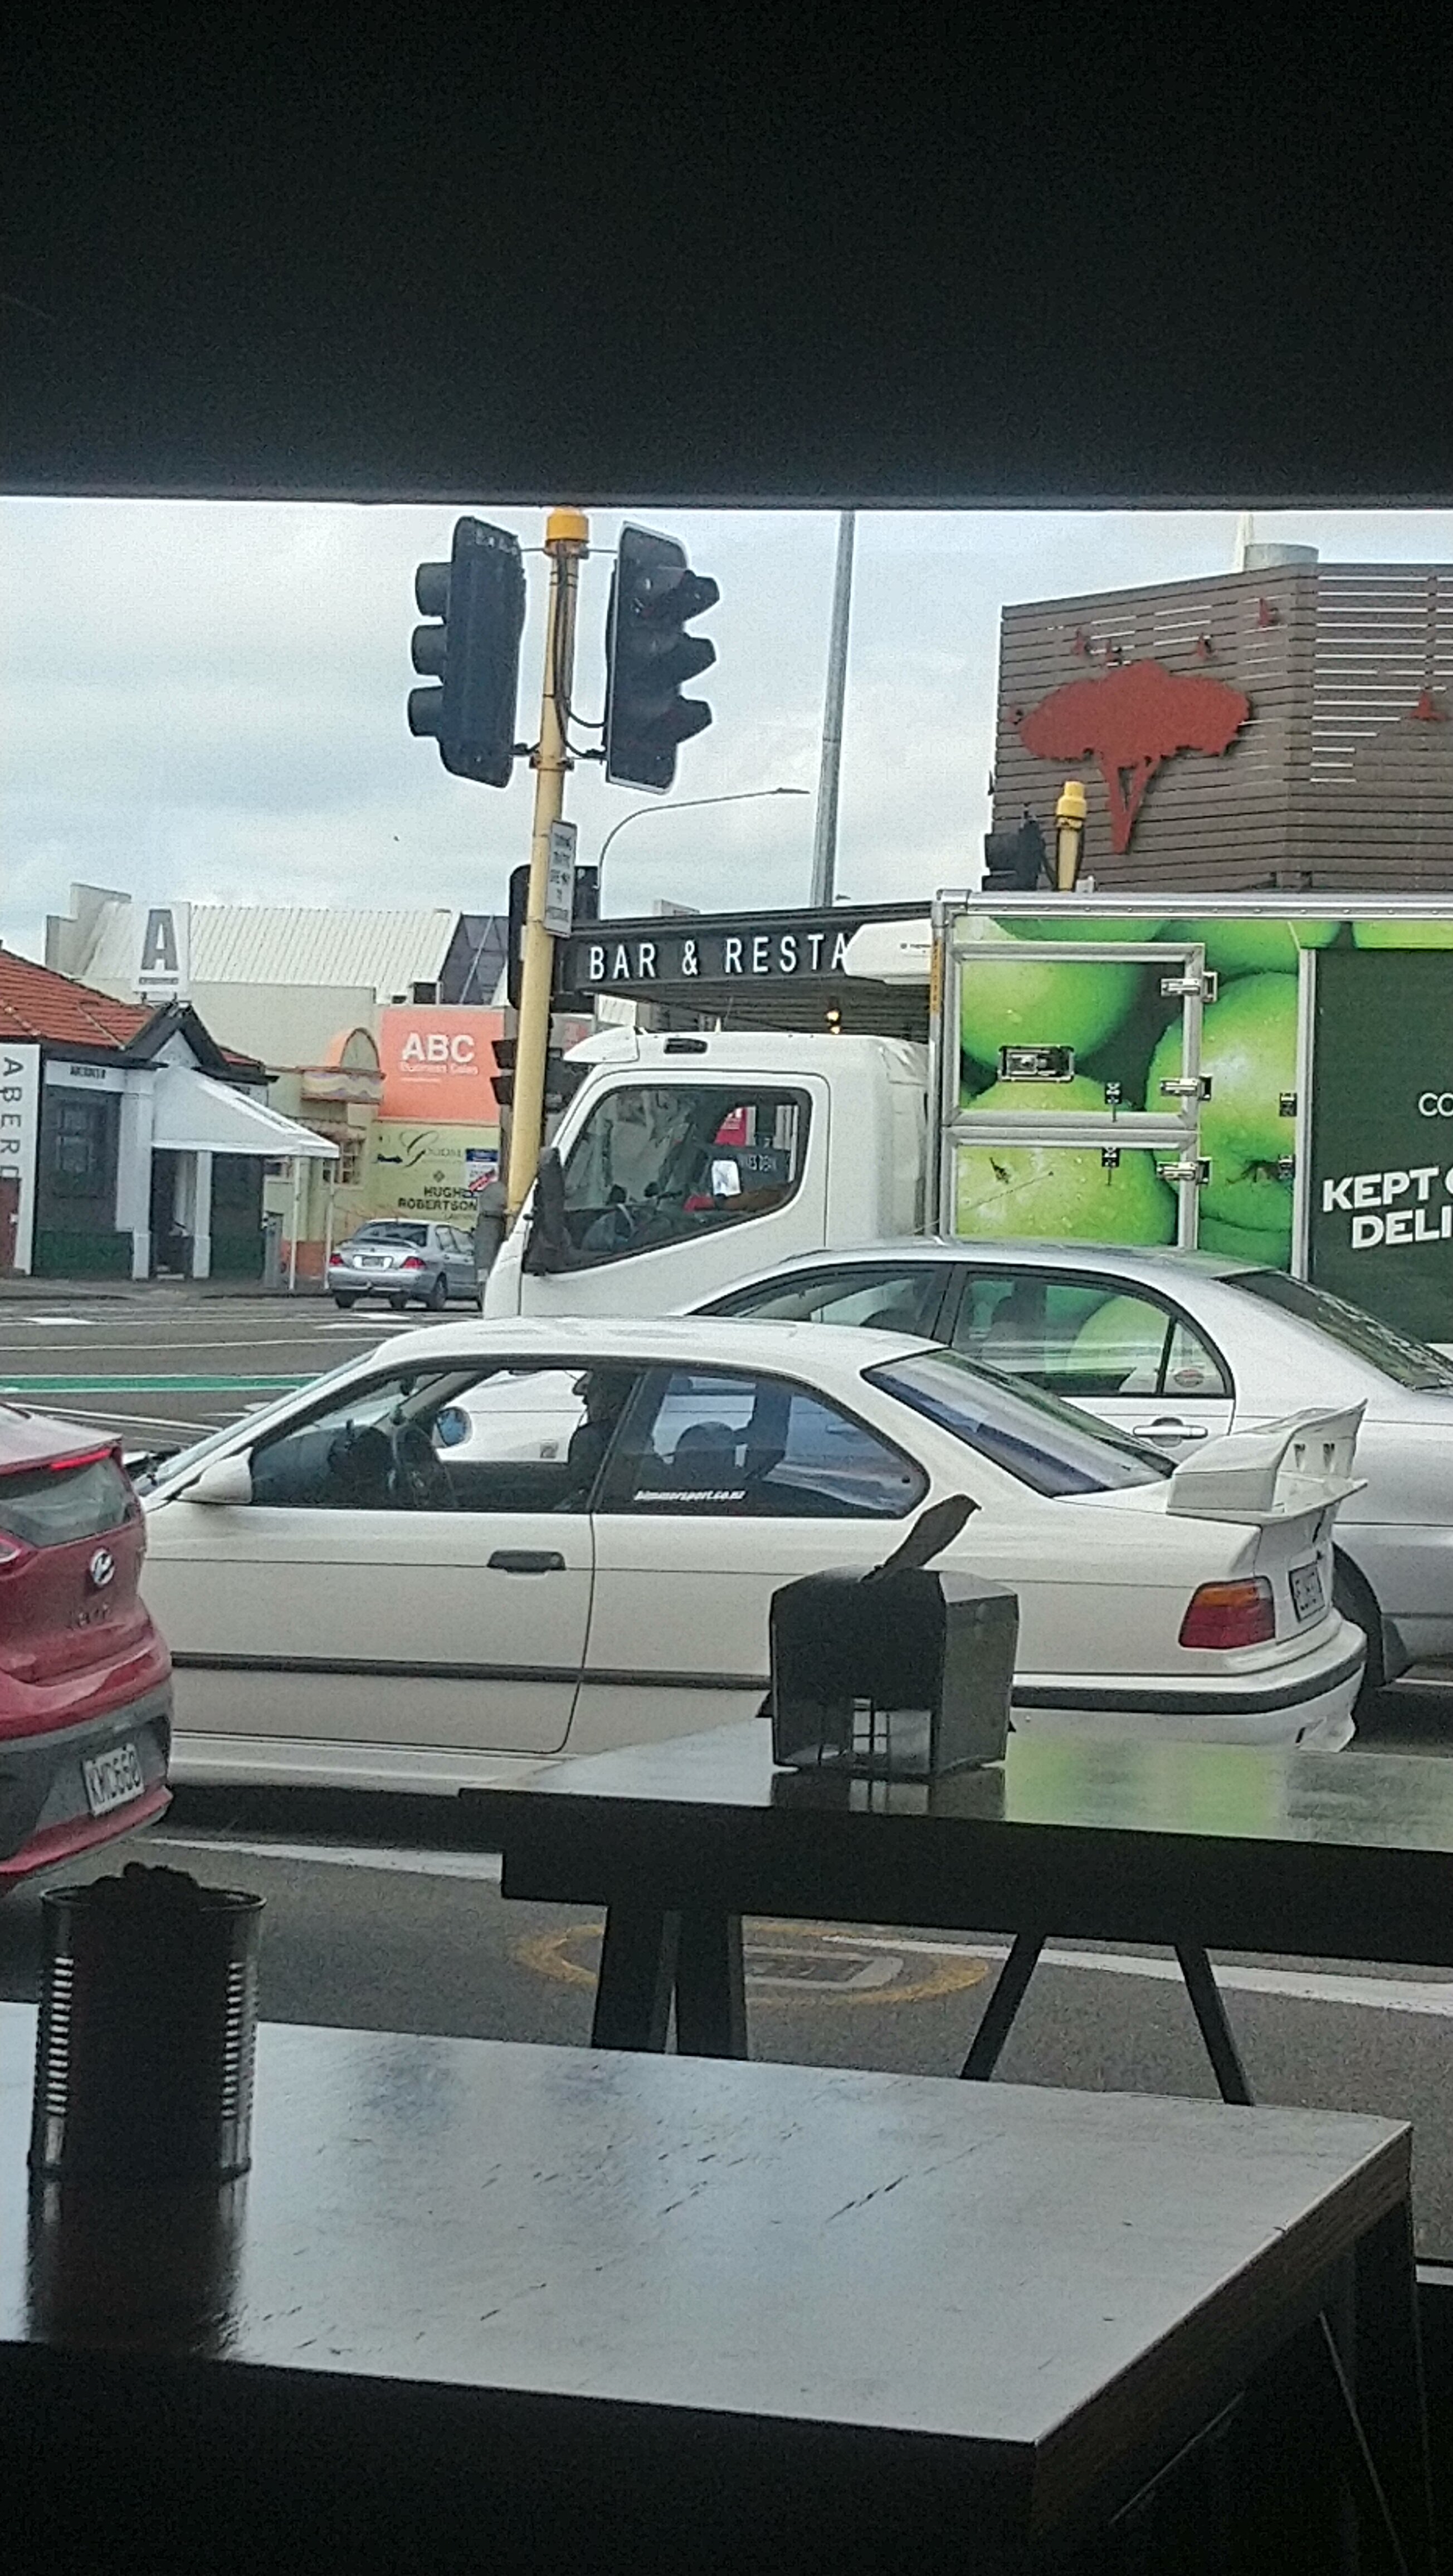
Palmy. Spotted. What's in that? Was it a turbo I heard? Anyone know who it is
-
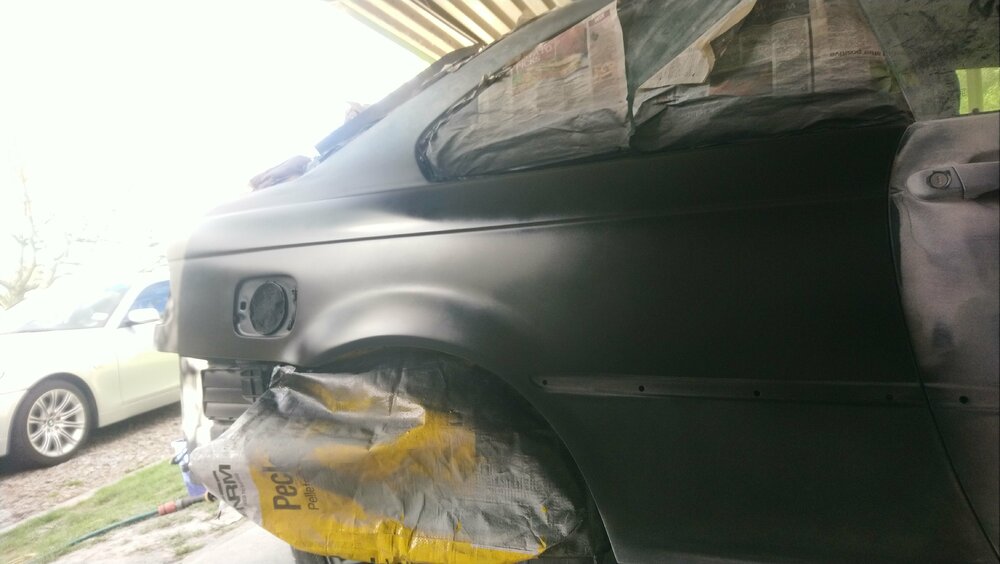
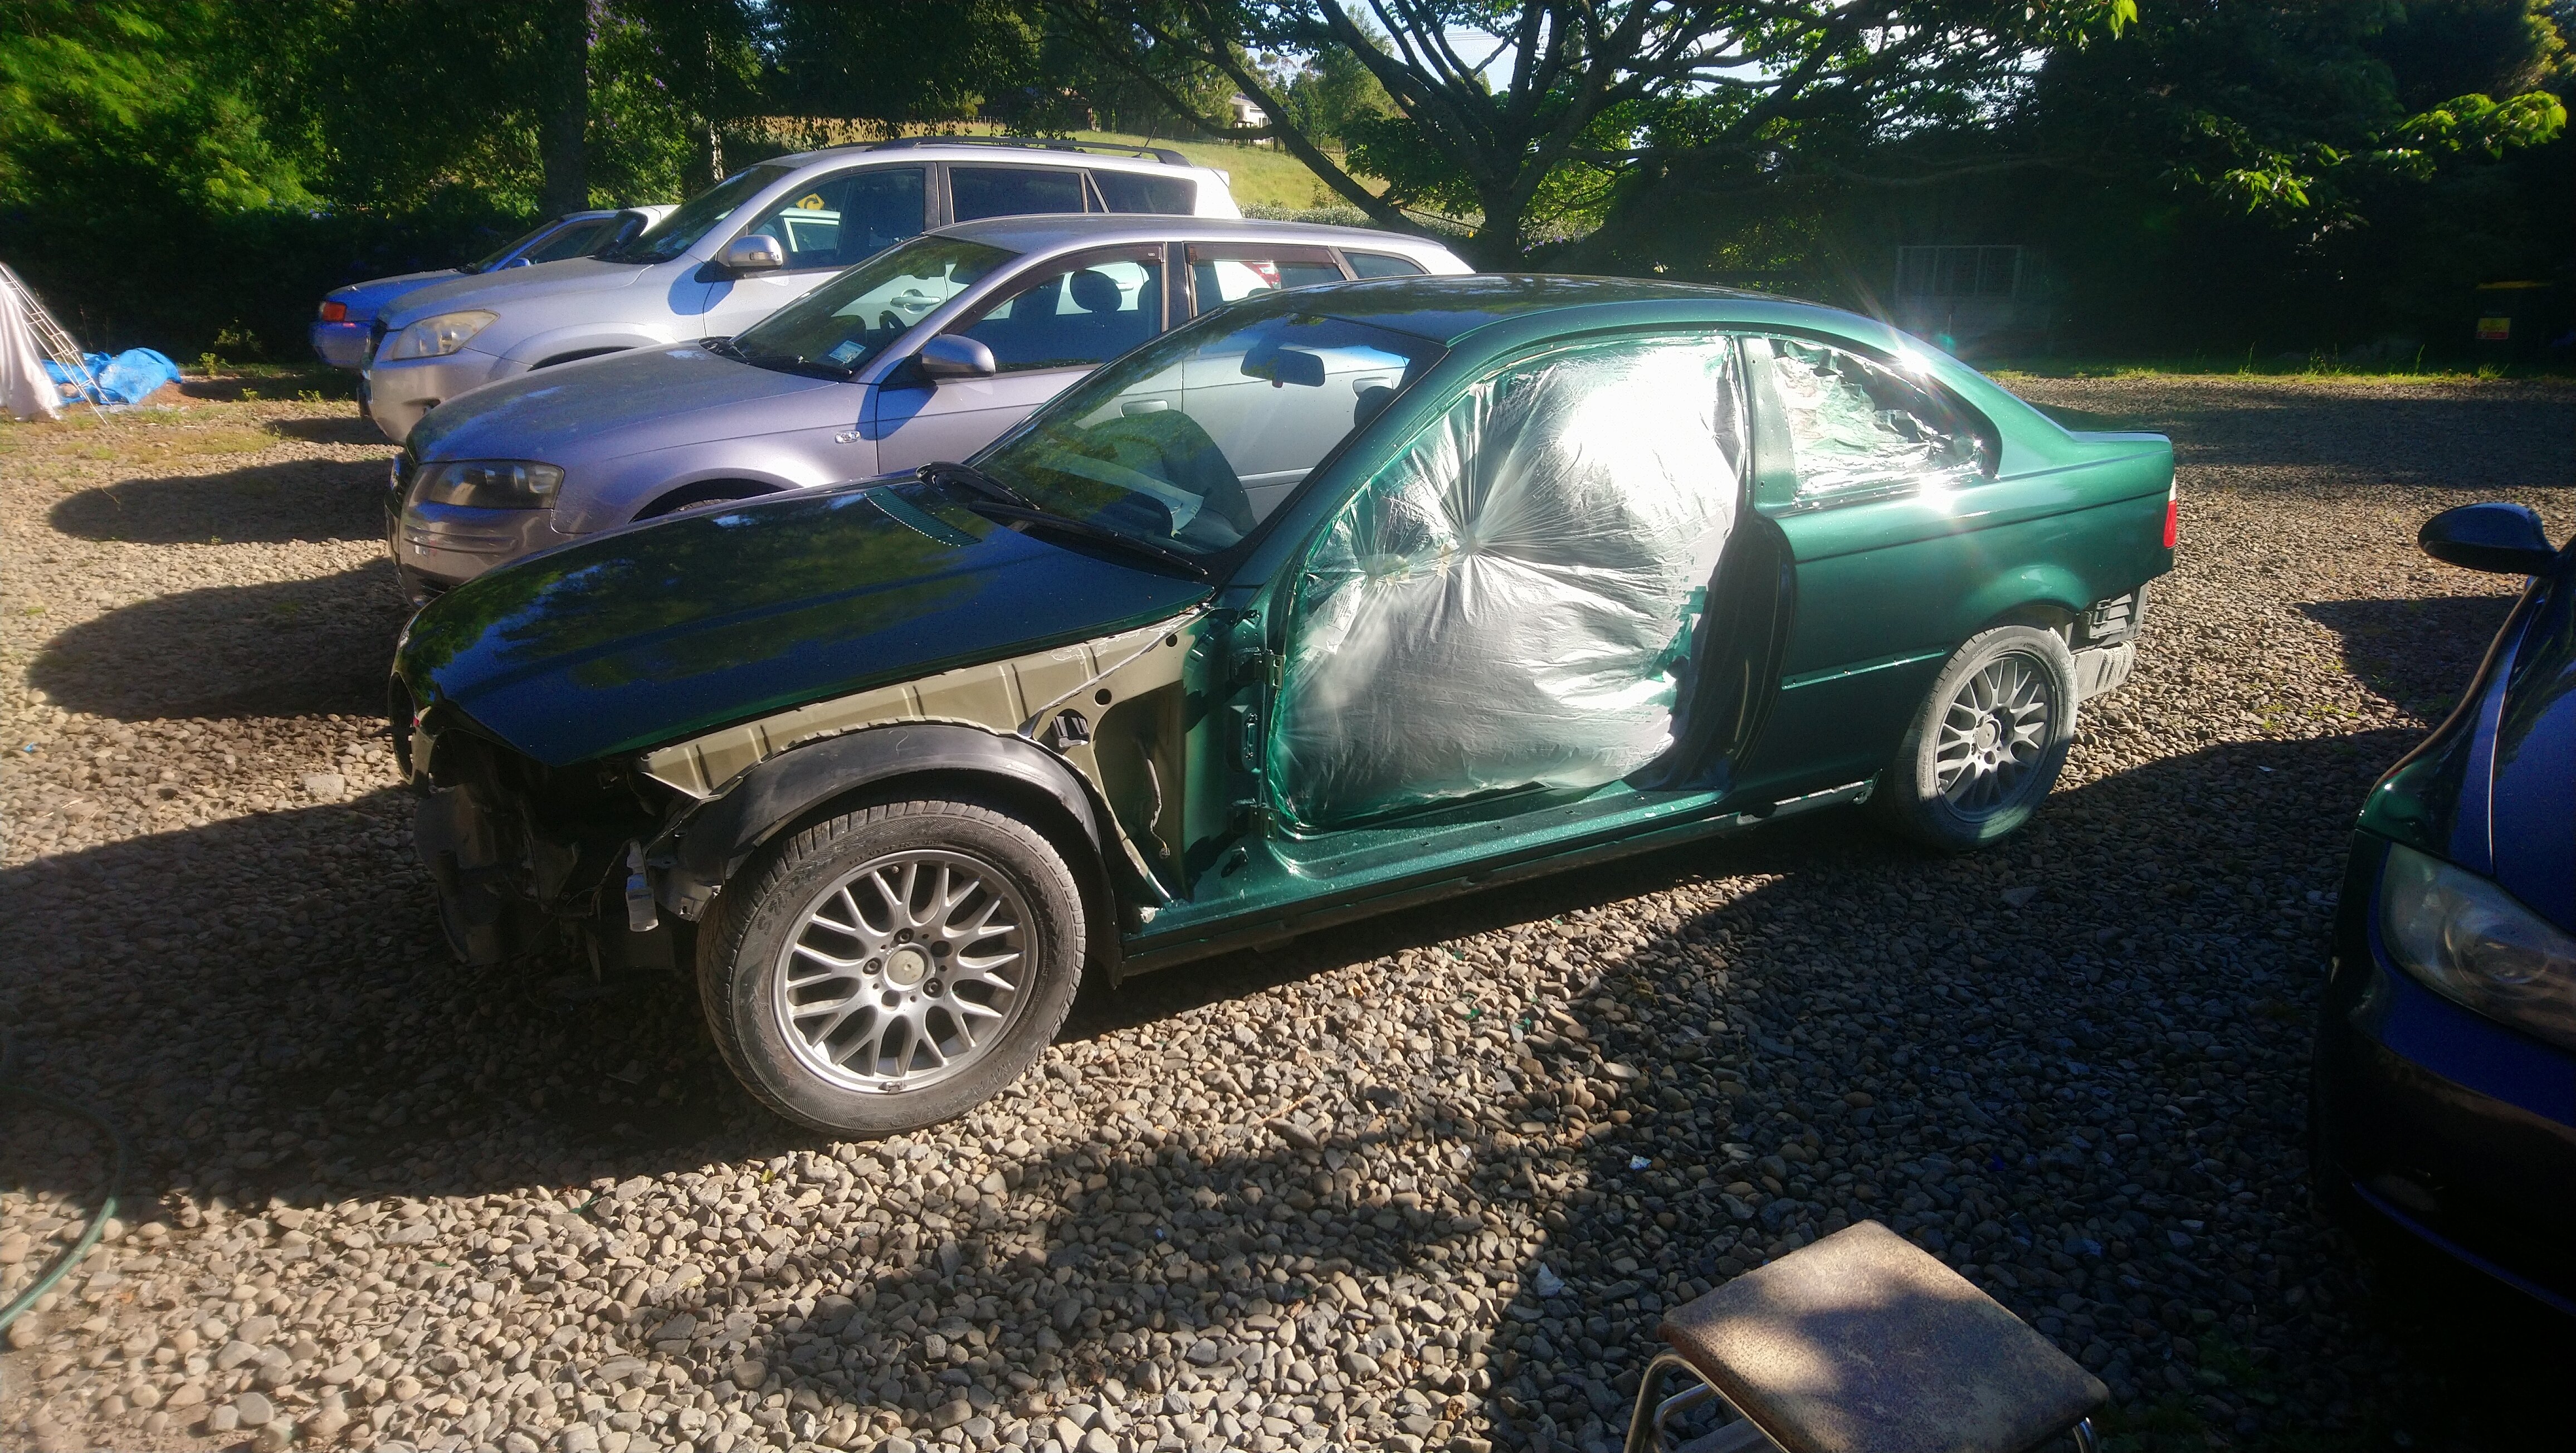
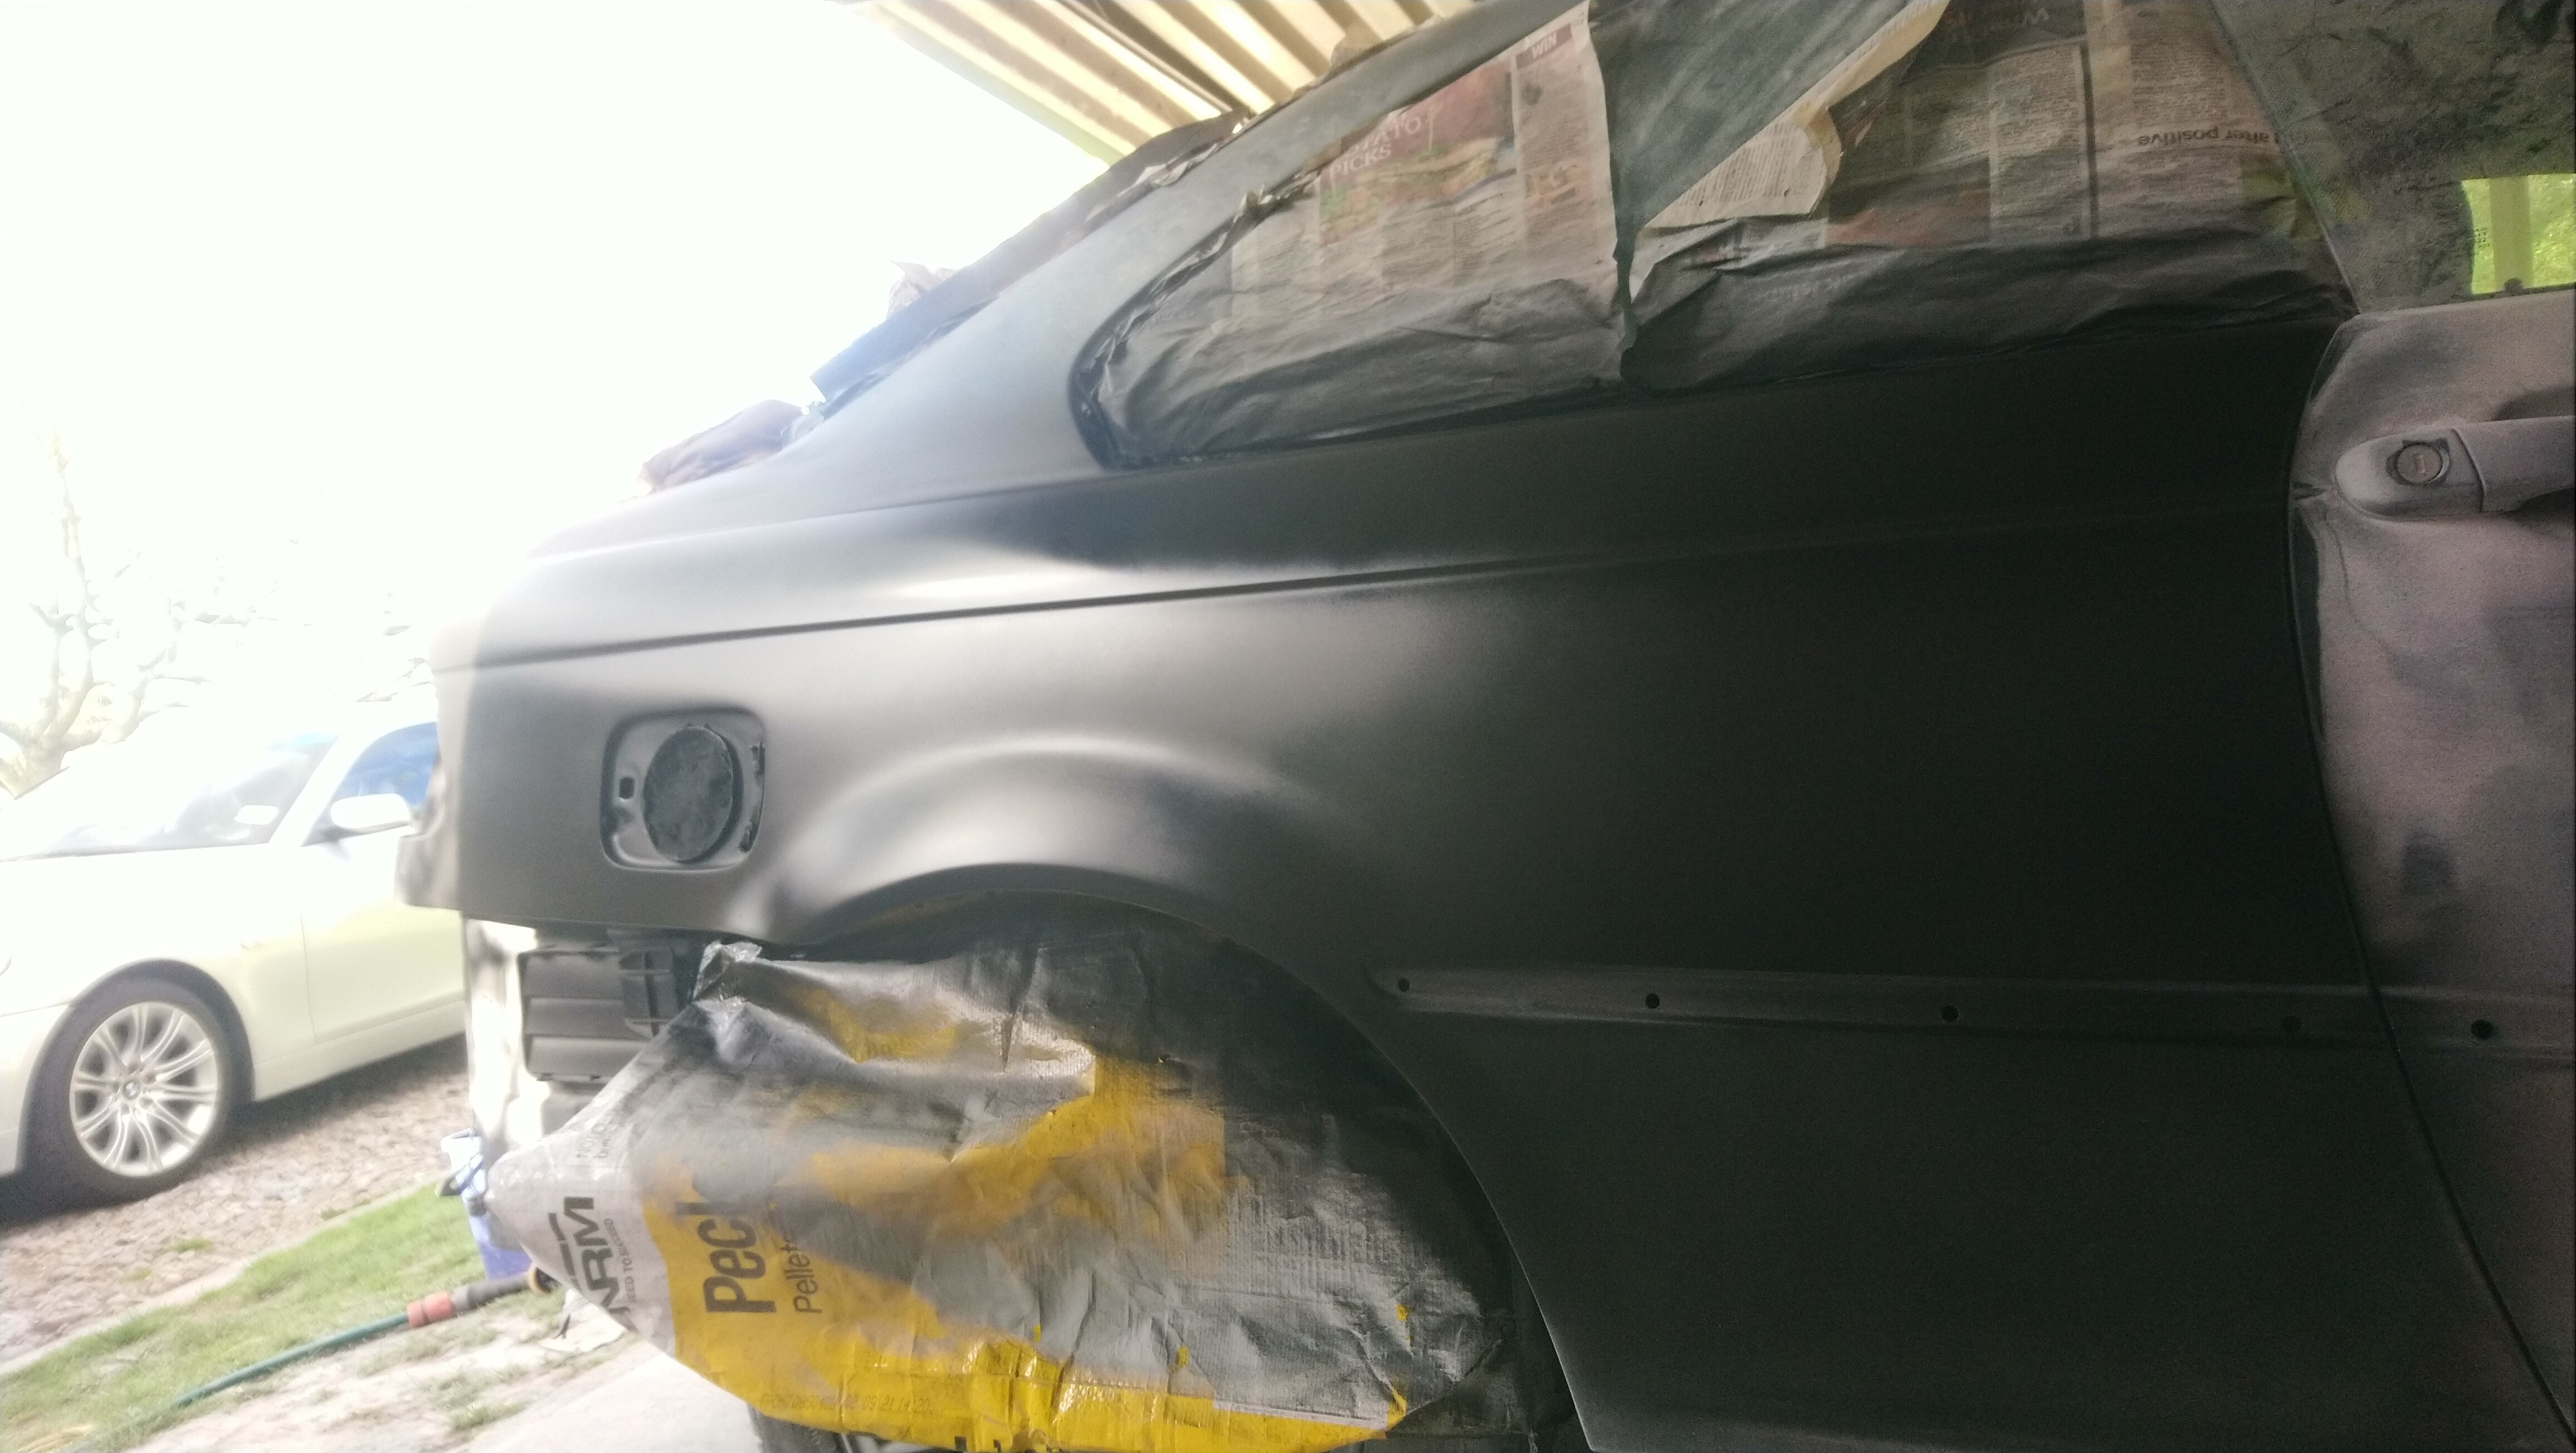
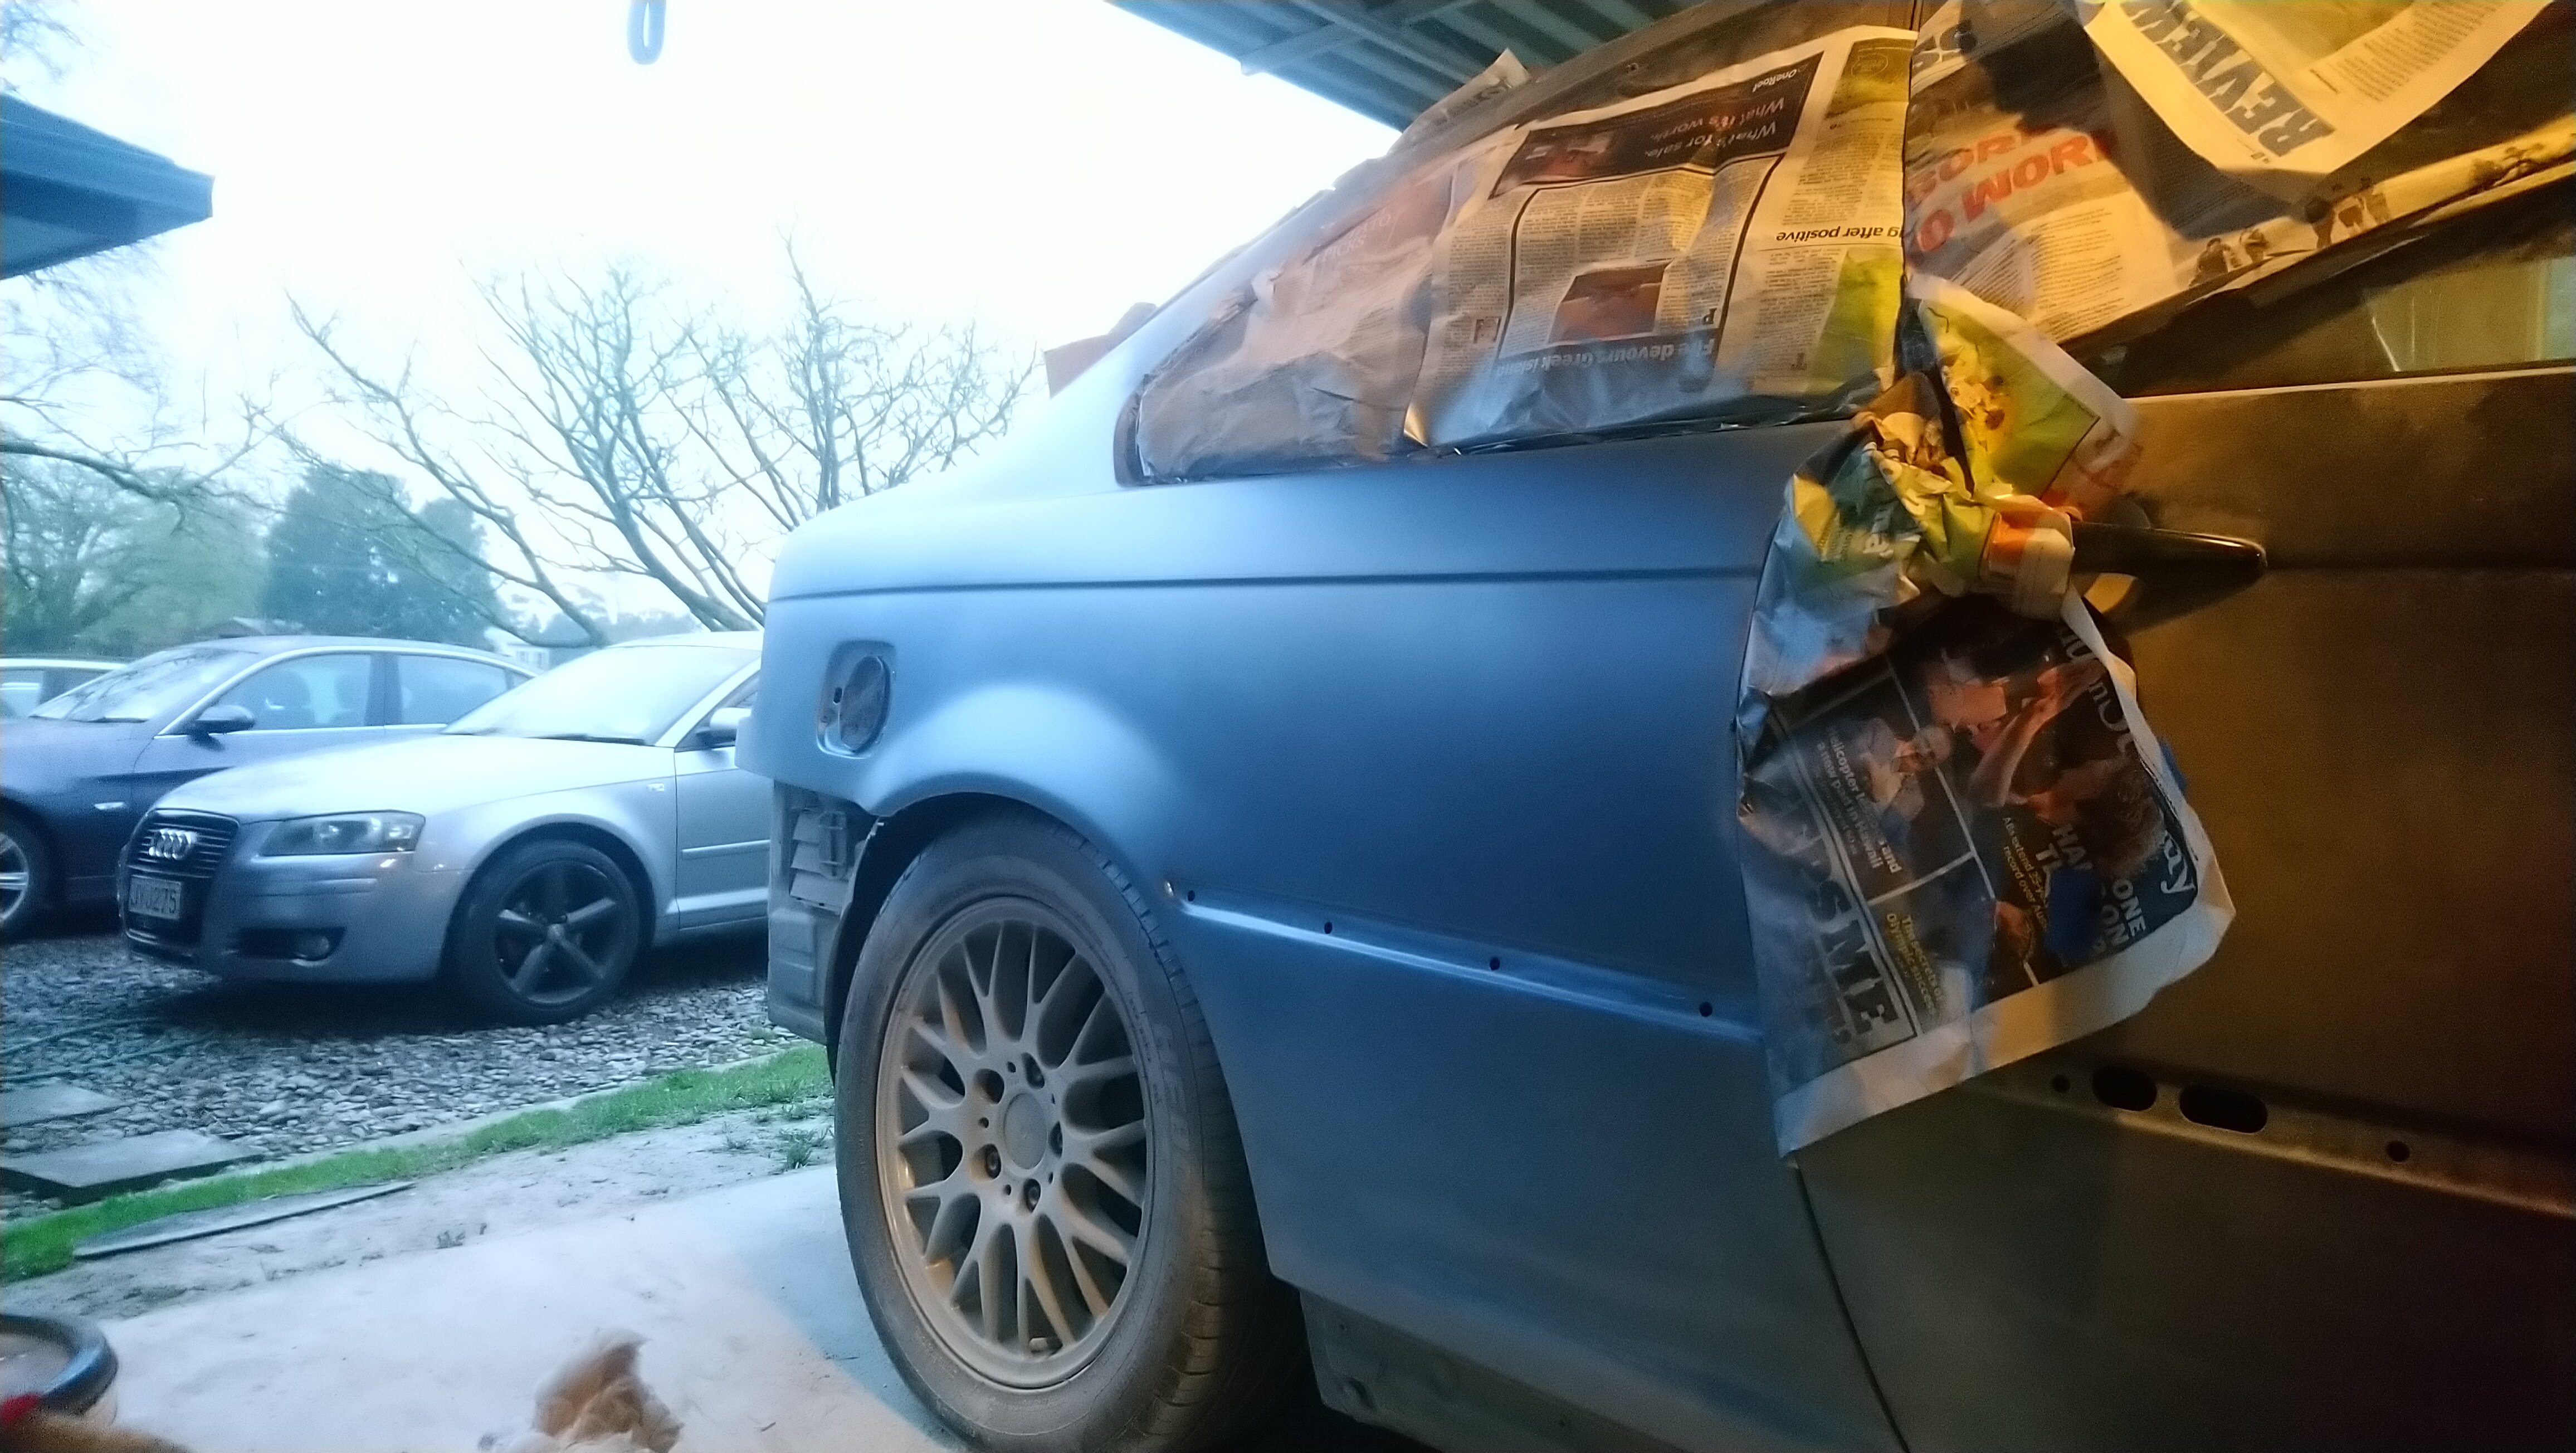
Been doing some wet sands to really get these panels scratch free and looking mint before I start disassembling and masking up.
Those lines starting to look OEM
Not 100% forensically feathered but In general the reflections in it looking mint
I'm using straight black tinter as a base coat to seal off and wet sand back with 600 grit.
It's definitely added a little bit of cost to the bill as it's $70/l and I've used approx that. But a good job is worth it. Prefer to wet sand this than see some scratches in the actual base coat which is $150 p/l !
-
2
-
-
Sanded down the guide coat. Cut into some metal so 1 more primer run, sanded to 400 so I can seal this panel off with some black.
Will be sanding to 600 on it before putting the actual color on. Just wanted a coat on to visualize and seal it off while I give it a bit of a clean up and disassemble. It's looking sharp.


-
1
-
-
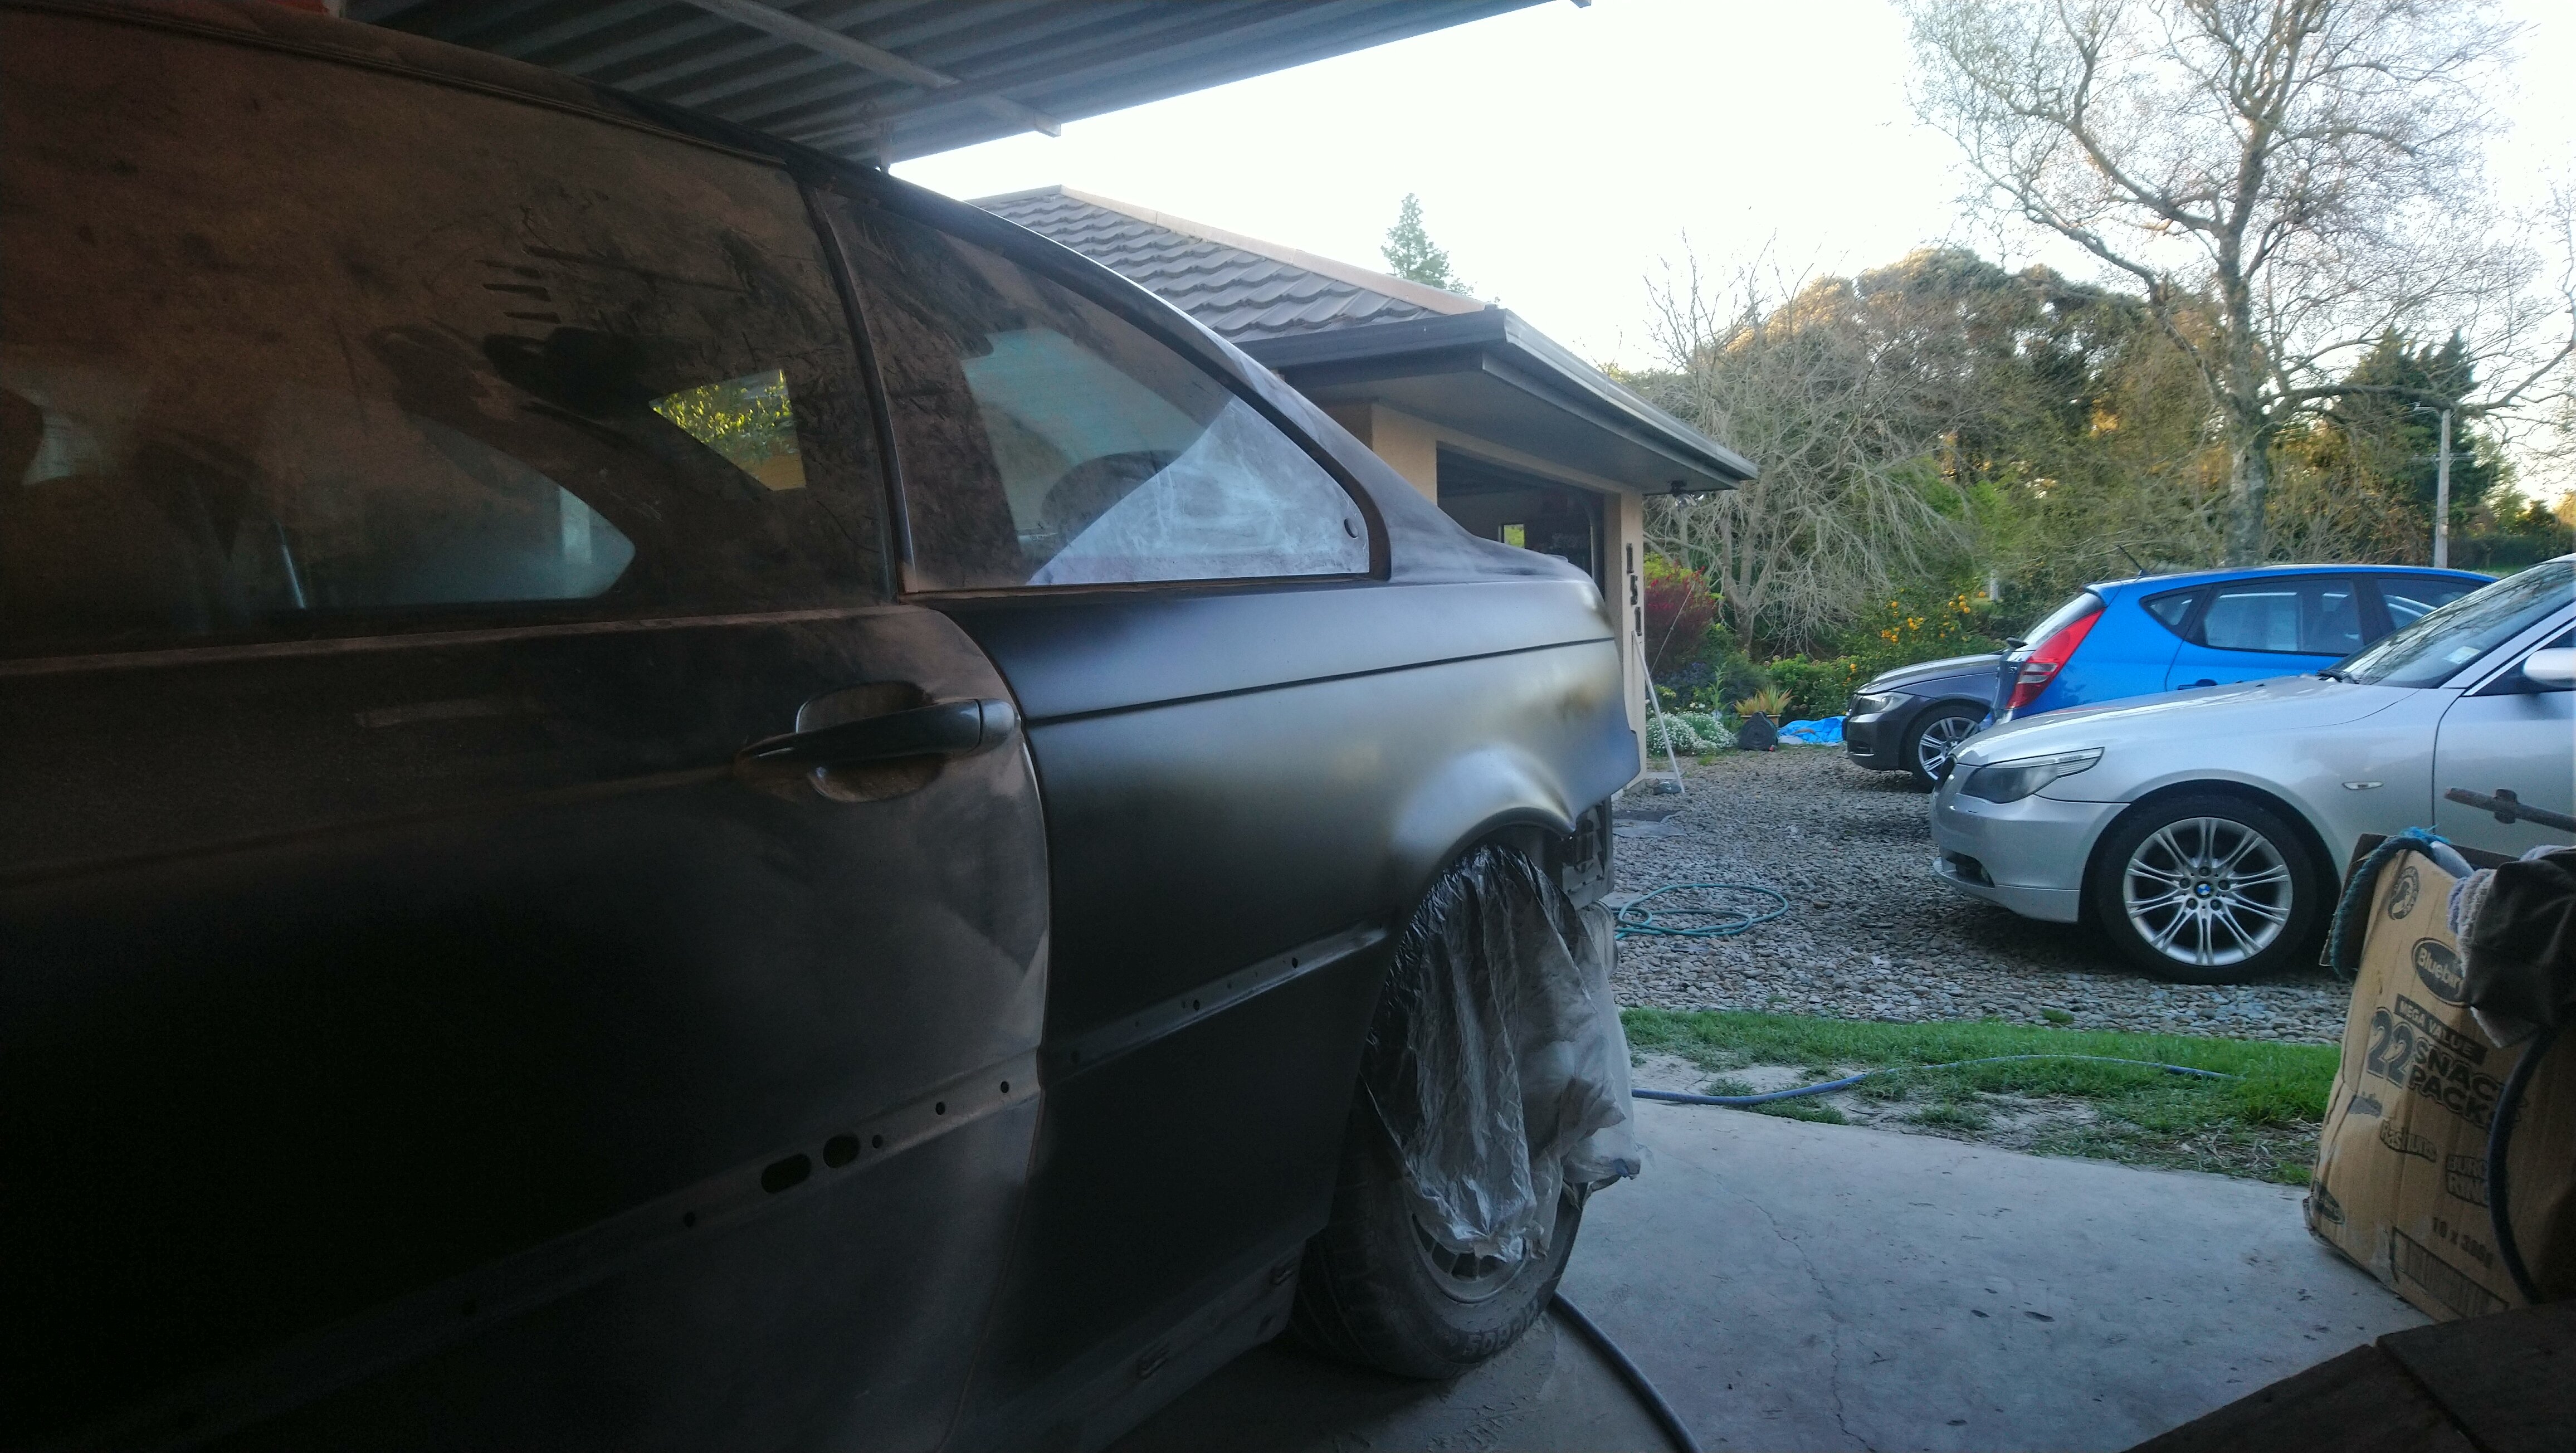
At long last, sealing the panel off
no signs of reactions, primer lift, bubbles etc touch wood ....
its not forensically factory, but line is crisp and shadows feather nicely round the bend so i can live with it
-
@Chanderpaul yeah the main hurdles were
-1k primer reactions, cost me Huge time on re work, maybe even as much as 80%
- learning how to sand that curve, the right blocks the right softness shape etc I realized it just can't be done without specific shapes.
- shadows and lighting, due to the feathered contour both x and y it makes it some what challenging to sand even with a good arsnel of sanding blocks, have to do it in the dark with a torch and sand / build as you go
It's definitely trial by fire
If I had to do it all again I'd probably be 1000% quicker and do it slightly different, I don't think I'd move to primer runs until sufficient shaping was done in this case using shadows.
In saying that this panel has made my panel & paint points 1000x Better, had a few other projects on the go that I ate up for breakfast with mint finishes.
Home stretch now anyway, just doing a few last guide coats, it's not forensically perfect I'm approaching the limit wih my current setup but it's definitely sharp
-
1
-
-
For anyone that's interested,
here's probably the only way (with the tools and environment i have) to get this kink right due to the curves on that arch and if its off by a little bit the shadow really does look warped in reflections
When its 90% there the rest has to be done nearly in the dark sanding out where the shadows show high or low points. It gets a bit tricky because a dip in the shadow can represent either a high spot say below the line or a low spot on the kink. I found this very challenging on the other side because it was so rippled to begin with, so some very careful sanding
-
2
-
-
Well I've been busy on a few other car projects, and luckily I left it. Came back to revisit it and some cracking in the primer had started to occur. Turns out I didn't get all the 1k primer off before the 2k. So out with the 40 grit start again.
Learning to use shadows and filler for as long as possible before moving onto primer & guide coats.
Guide coat


Sanded it down still sharpening up shadows final bit, it's so close.
Just need a few more long sands on the line and the arch lips and then ready to send it.
-
2
-
-
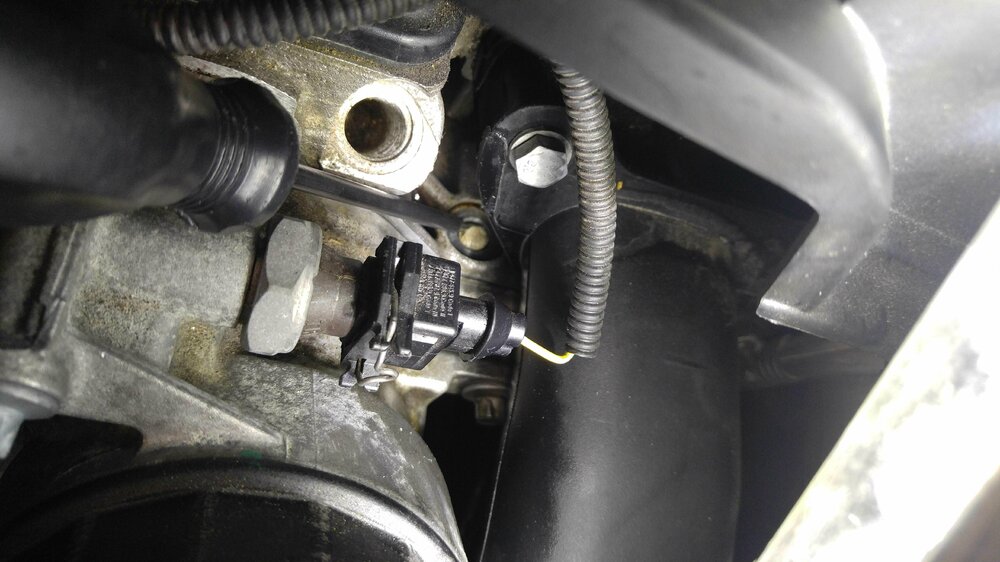
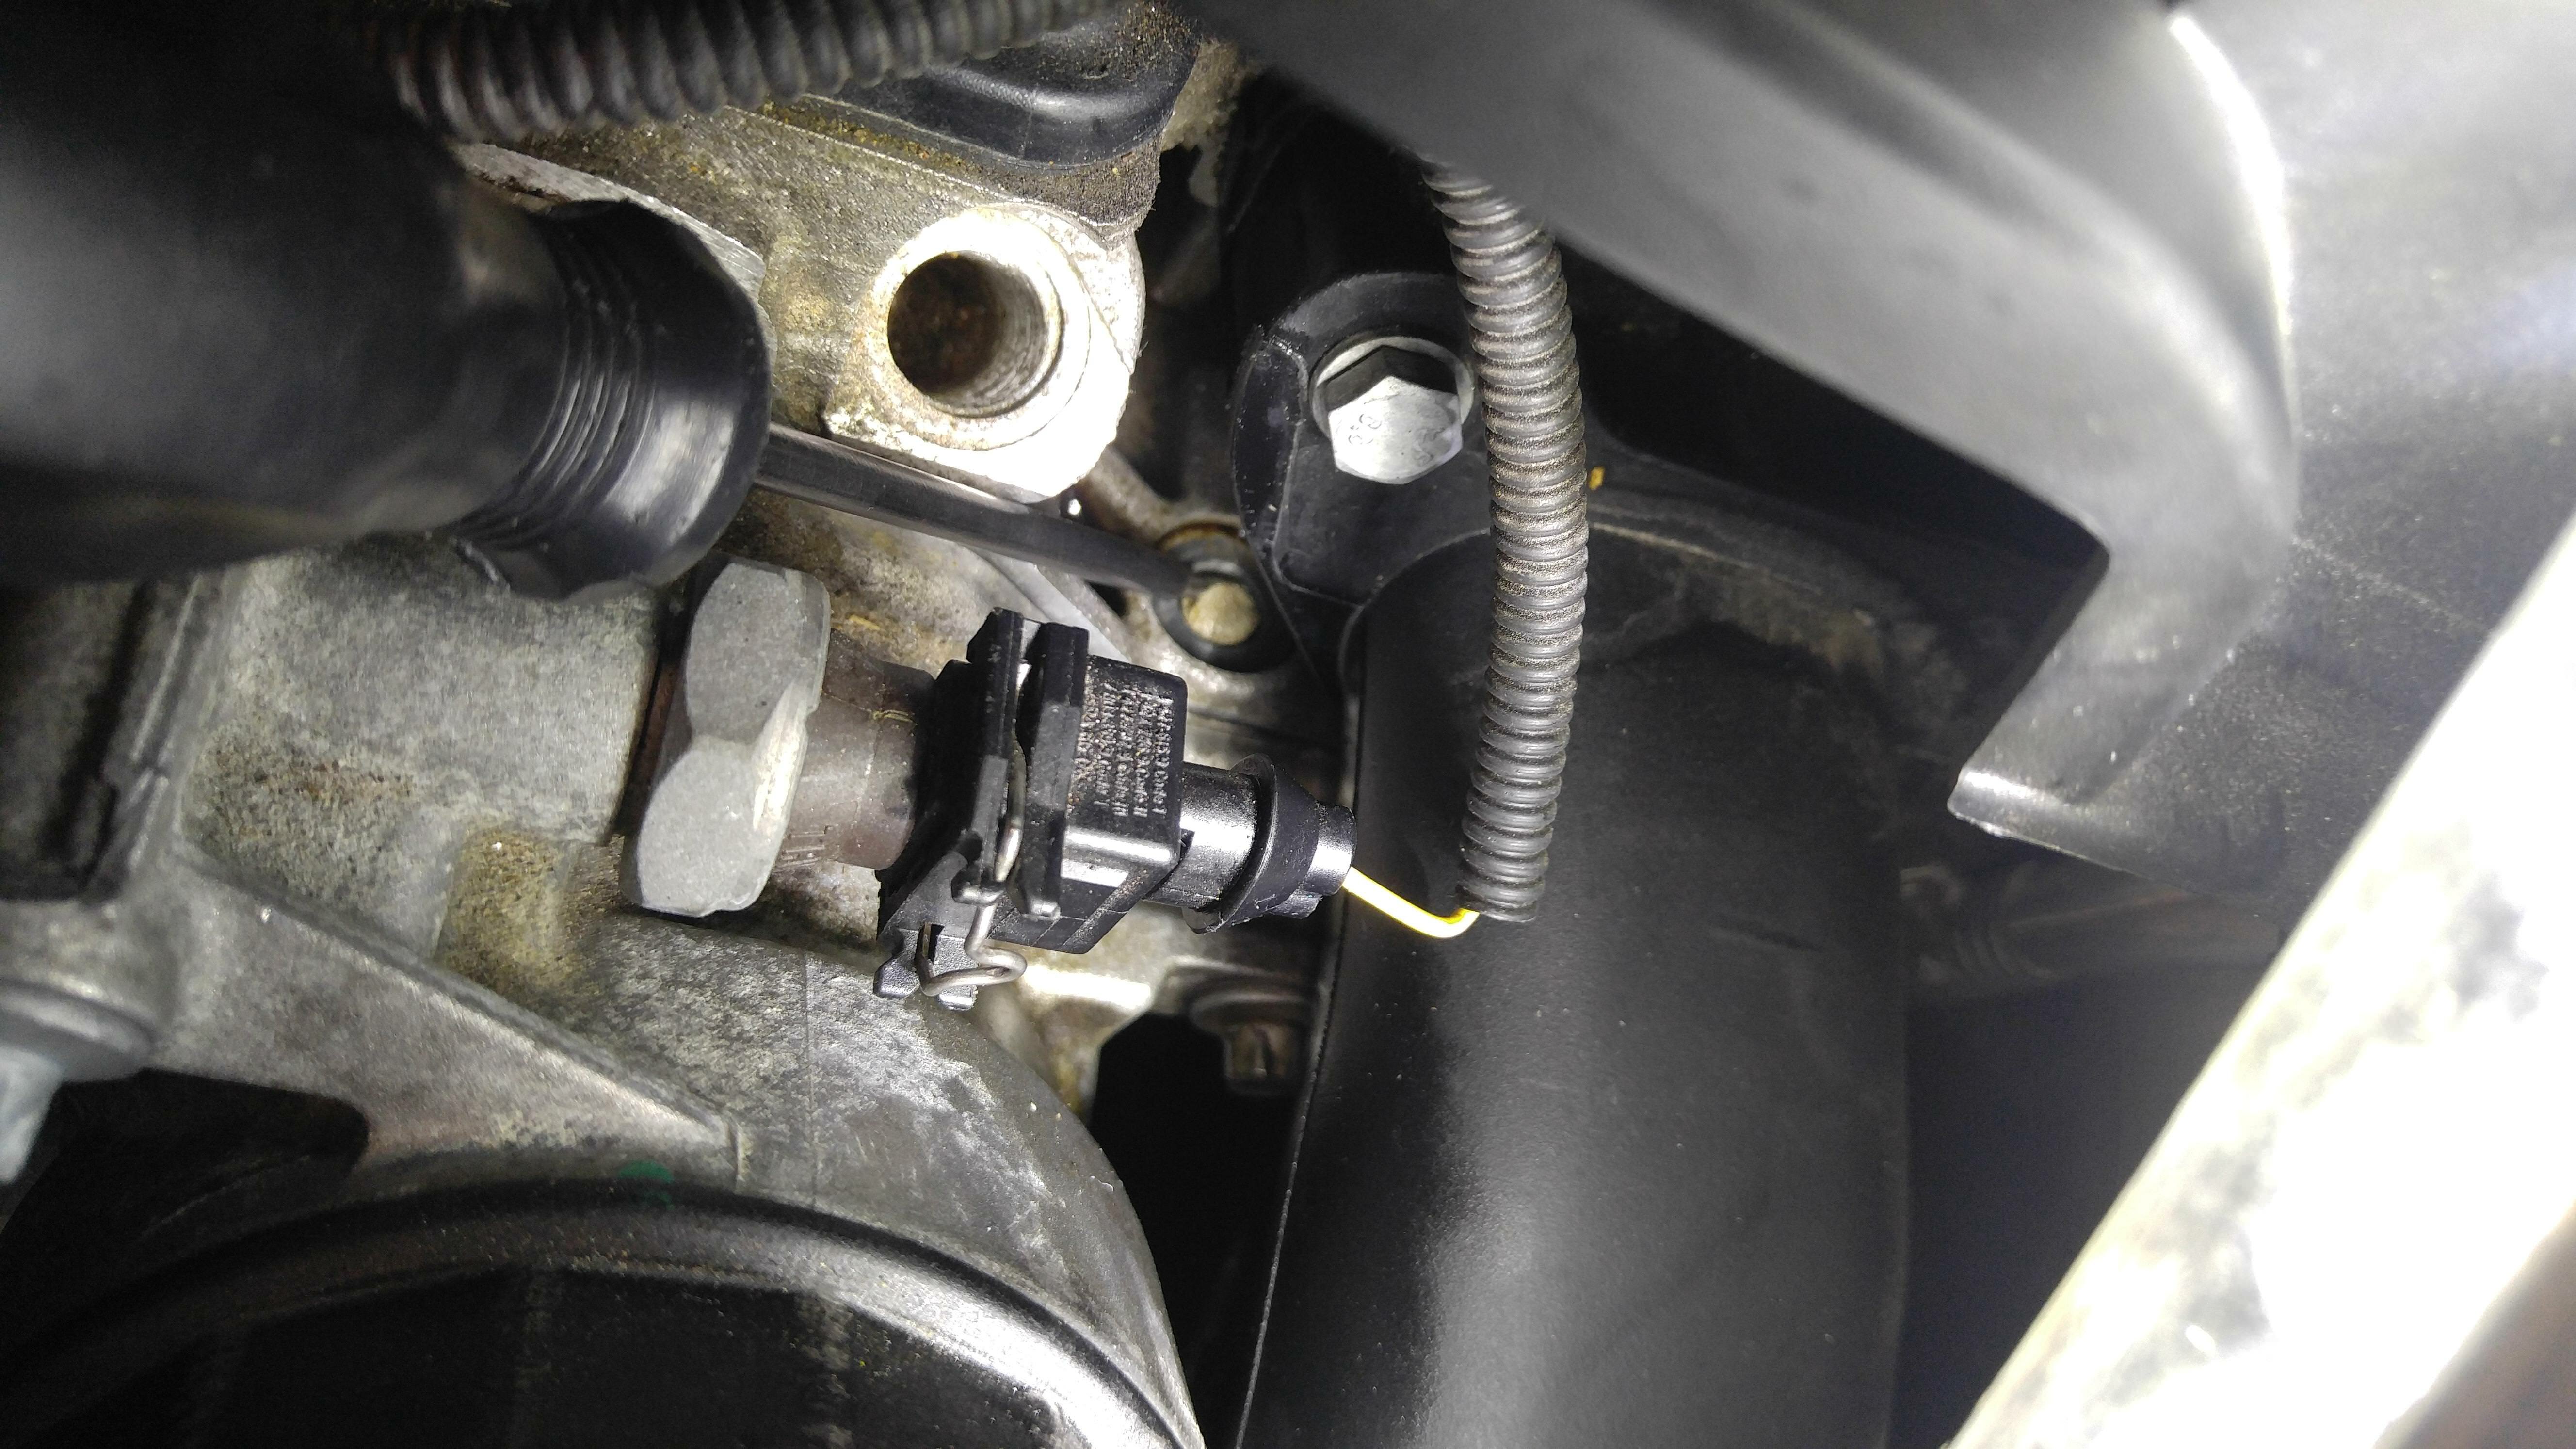
@*Glenn* yup, was doing the valve cover while i was at it yeah the other 2 x m9x70 ones under the vanos gears are also snapped
i havent taken apart timing components on this specific motor before, and may or may not be able to borrow locking tools to get it done, debating just leaving it and dealing with a minor oil leak
do these two front bolts (under the vanos gears) usually cause major oil leaks? must have seen it a bit, seems to be common
-
So engine runs fine
This seems to be a commonly mentioned issue
Those front two bolts underneath the vanos units are snapped (m9x70 ones)
The one on the outside near thr back of oil filter housing was snapped too and visible oil leaking down block from it, sorted that one.
Valve cover is off so wondering if Its worth going deeper and sorting this out as I'm likely just selling it.
Are these bolts likely to cause major oil leaks? Anyone had experience with it?

-
Im sure from reading this is common but noticed that was snapped on mine
about to do a few gaskets like oil filter housing and valve cover, but wondering if leaving this will make it piss oil?
how easy are those bolts to back out, best method / tool ?
-
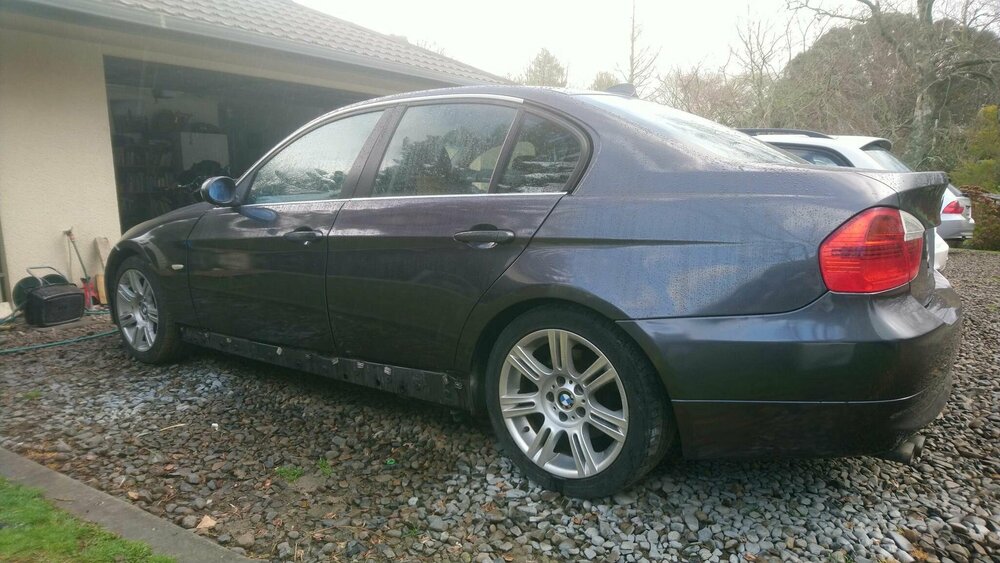
@Jacko its damn well growing on me, really tempting me to do the e46 in it. But i think im going to stick with artic race blue.
-
@E28E30 yeah its bizzare, i was looking for this colour a while ago to test spray on the e46
and behold the paint shop mis matched a variant of sparkling graphite a22 (which looked close enough) to the factory colour
But the factory of this a22 sparkling graphite had a far more green pearl to it where this had a purple pearl to it
didnt have much to blend to either because repairs were to the edge, so ended up being a borderline full respray
only really got bonnet left to do, might end up doing that later if i sell it, a few minor dings in it id want out before respraying
no regrets though! it's an awesome colour
-
1
-
-
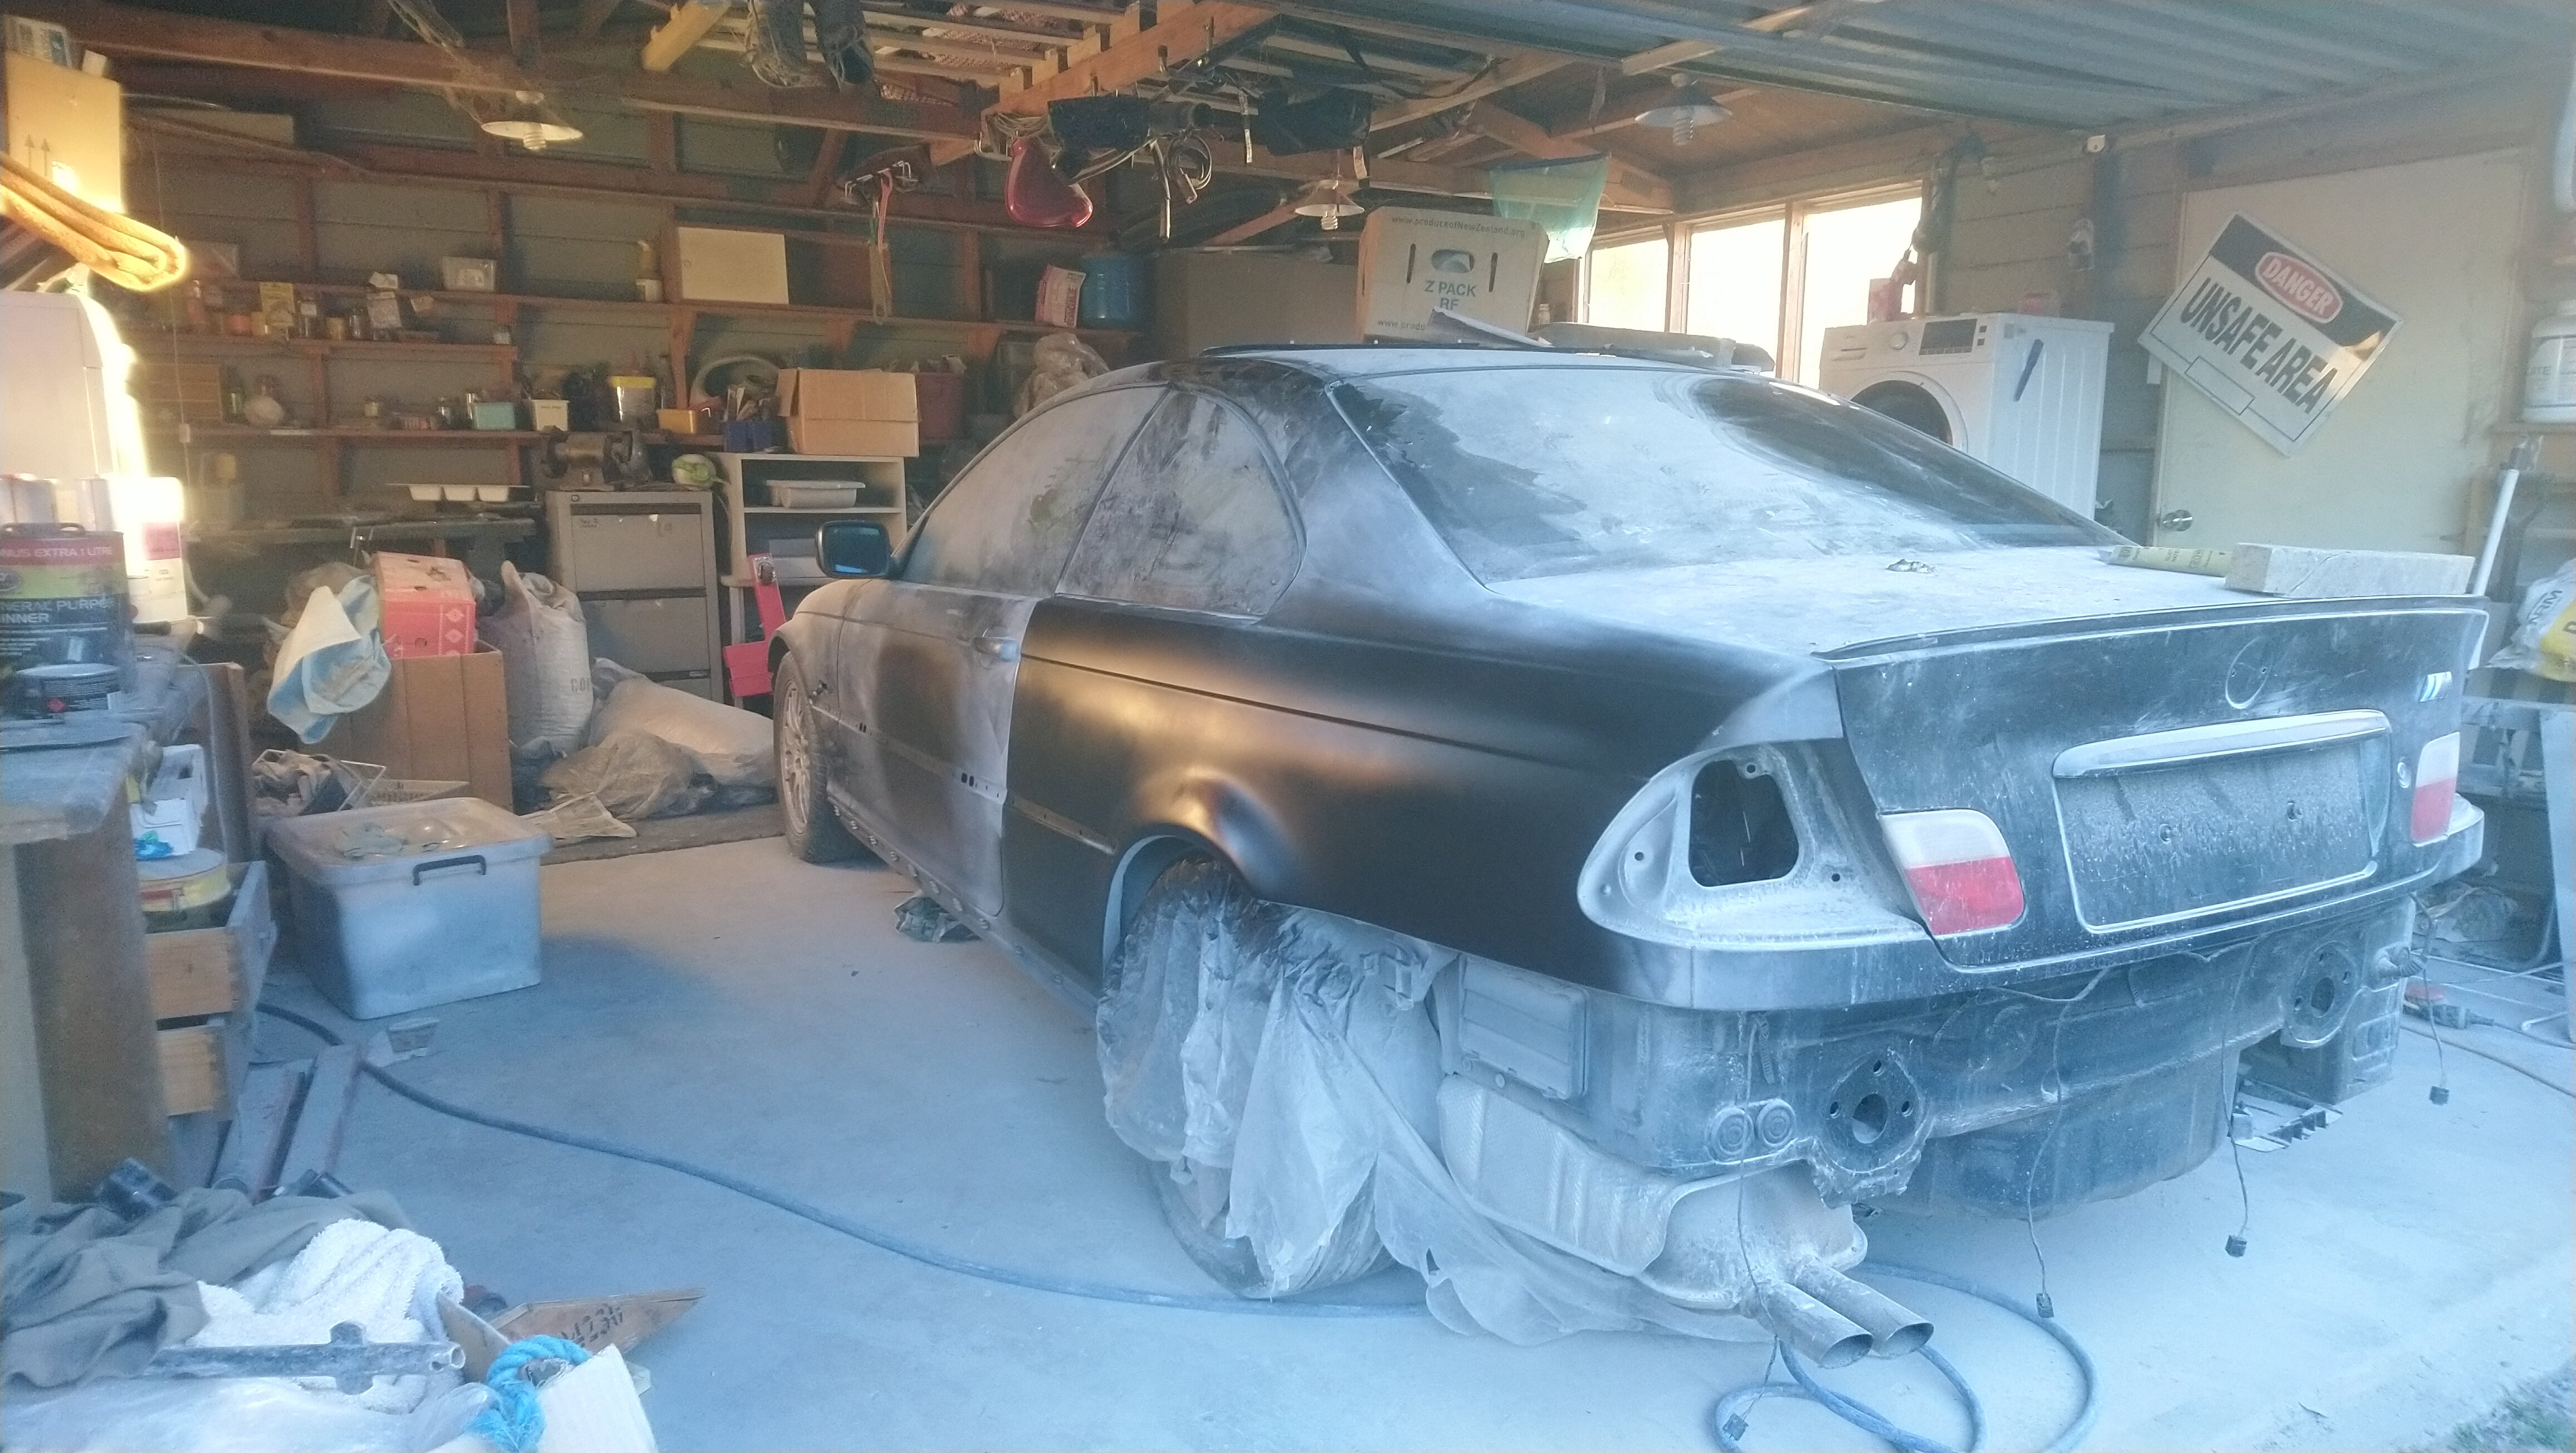
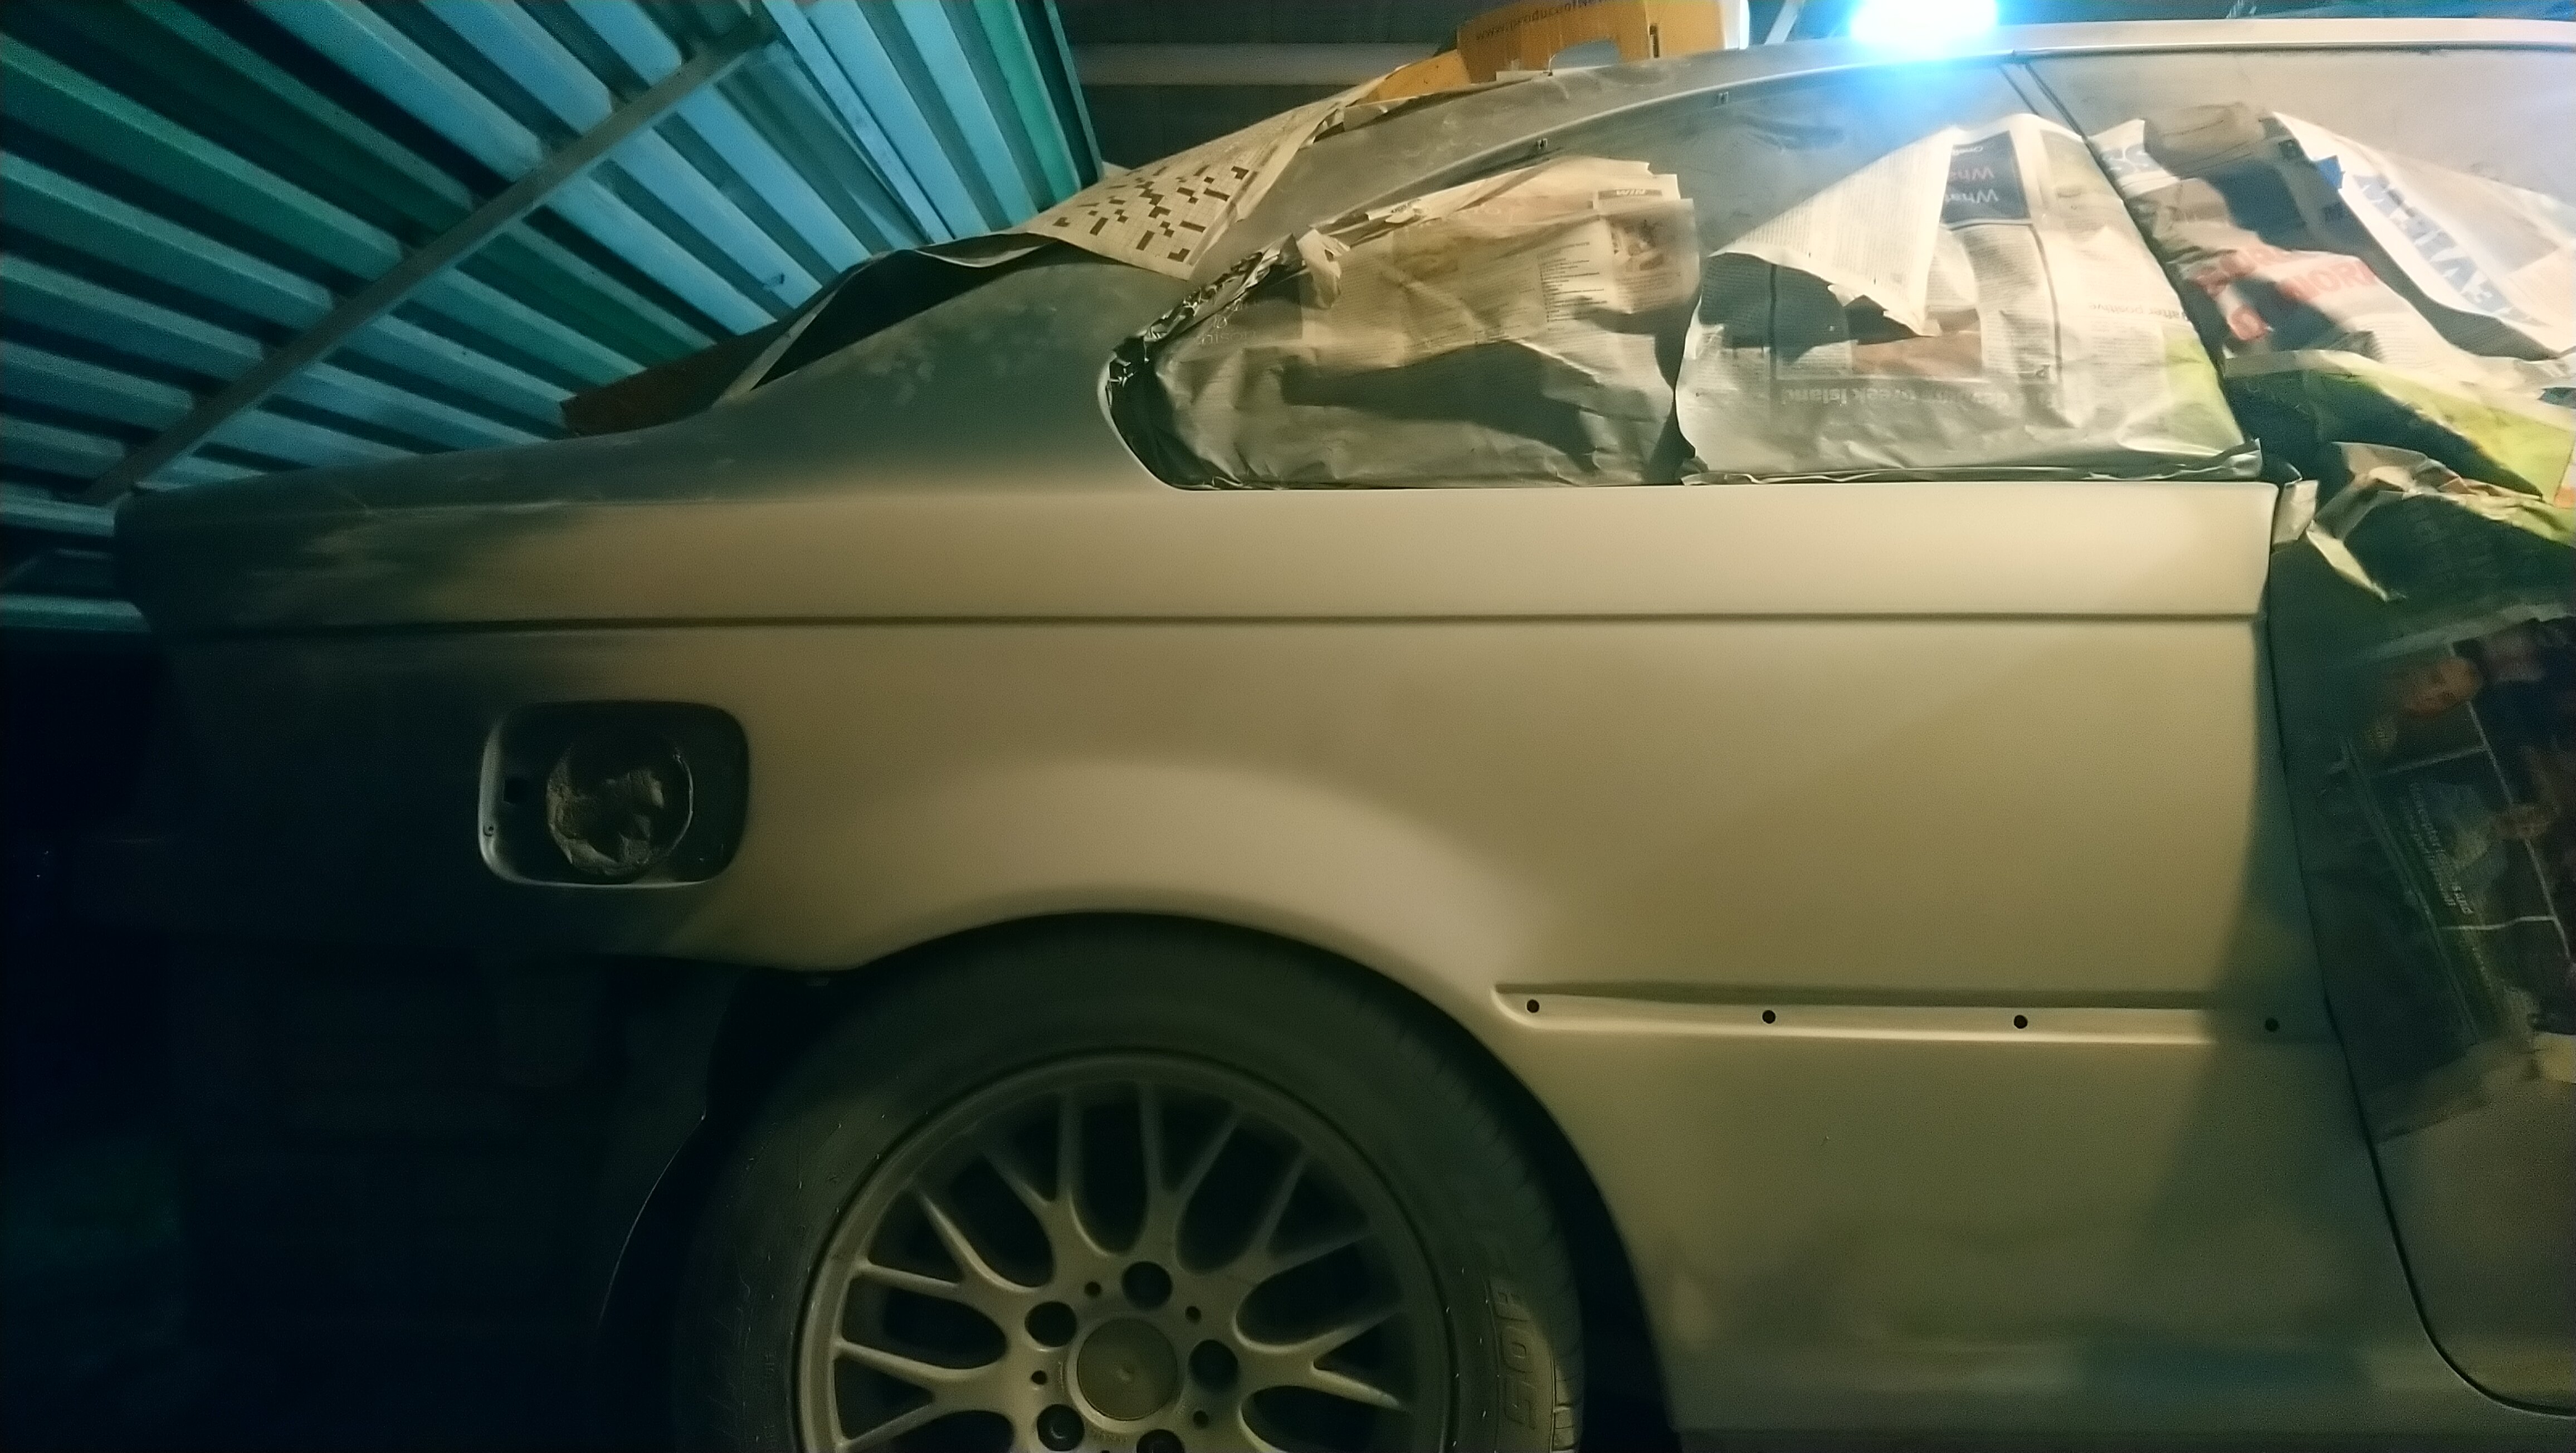
Finished painting a project i've been working on
Picked this up before lockdown, was just going to do "a little bit of paint"
But then lock down happened, so ended up you know ... sanding it right back everywhere
Then the paint they mixed wasn't entirely the right hue even though it was the correct colour code (even with a fuel flap to match), so ended up basically doing a full respray anyway lol

------------------------------------
-
1
-
-
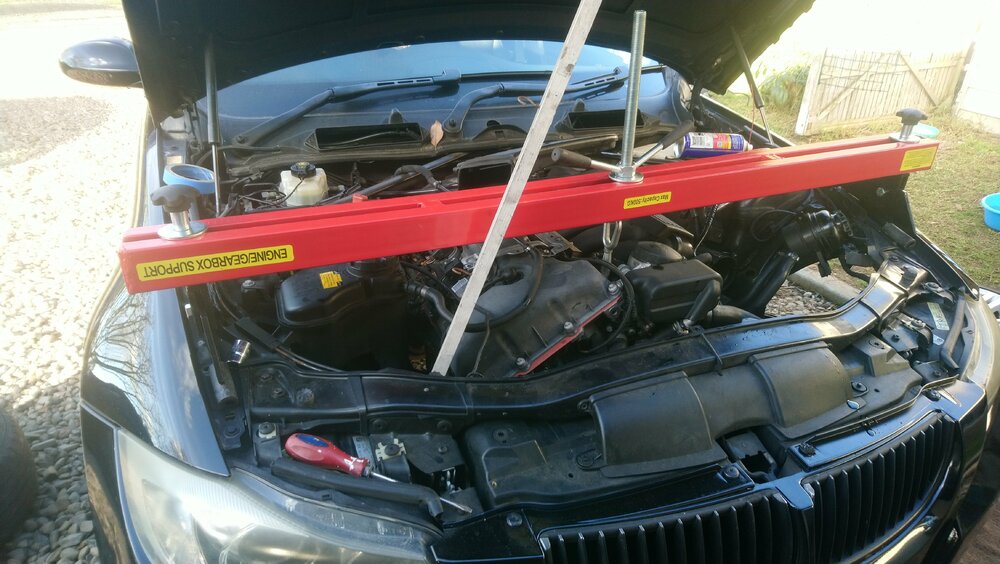
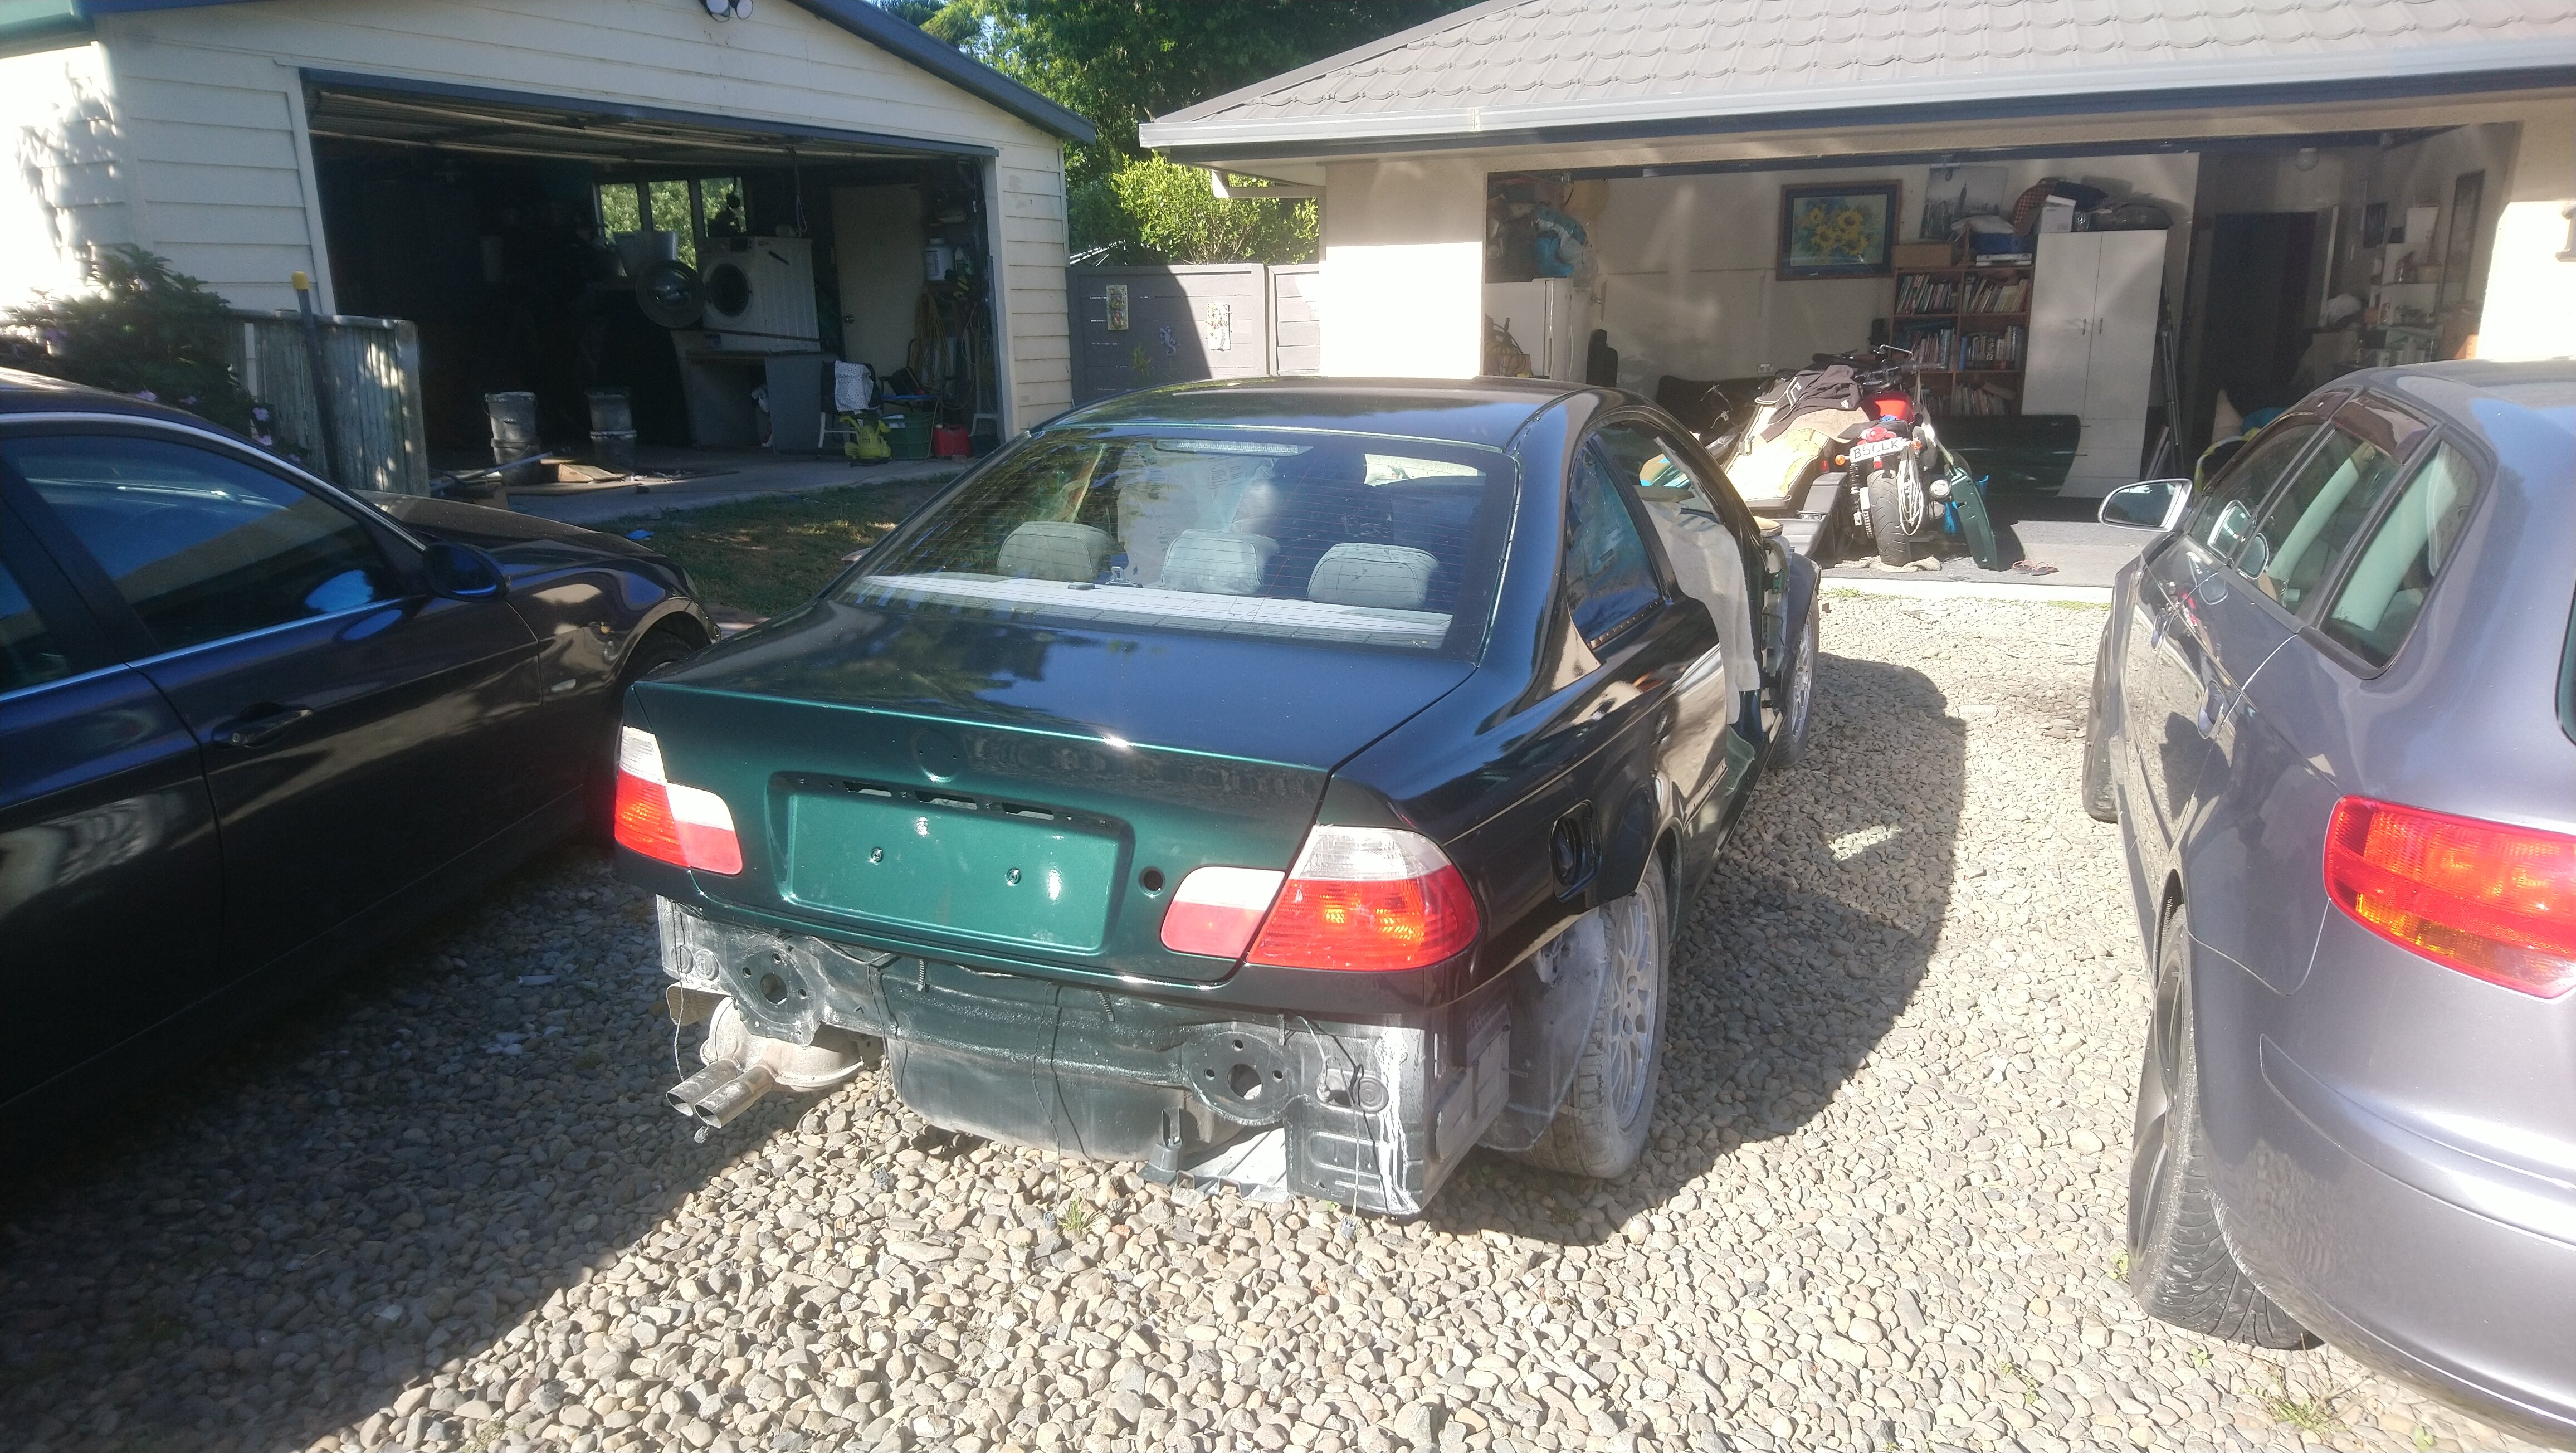
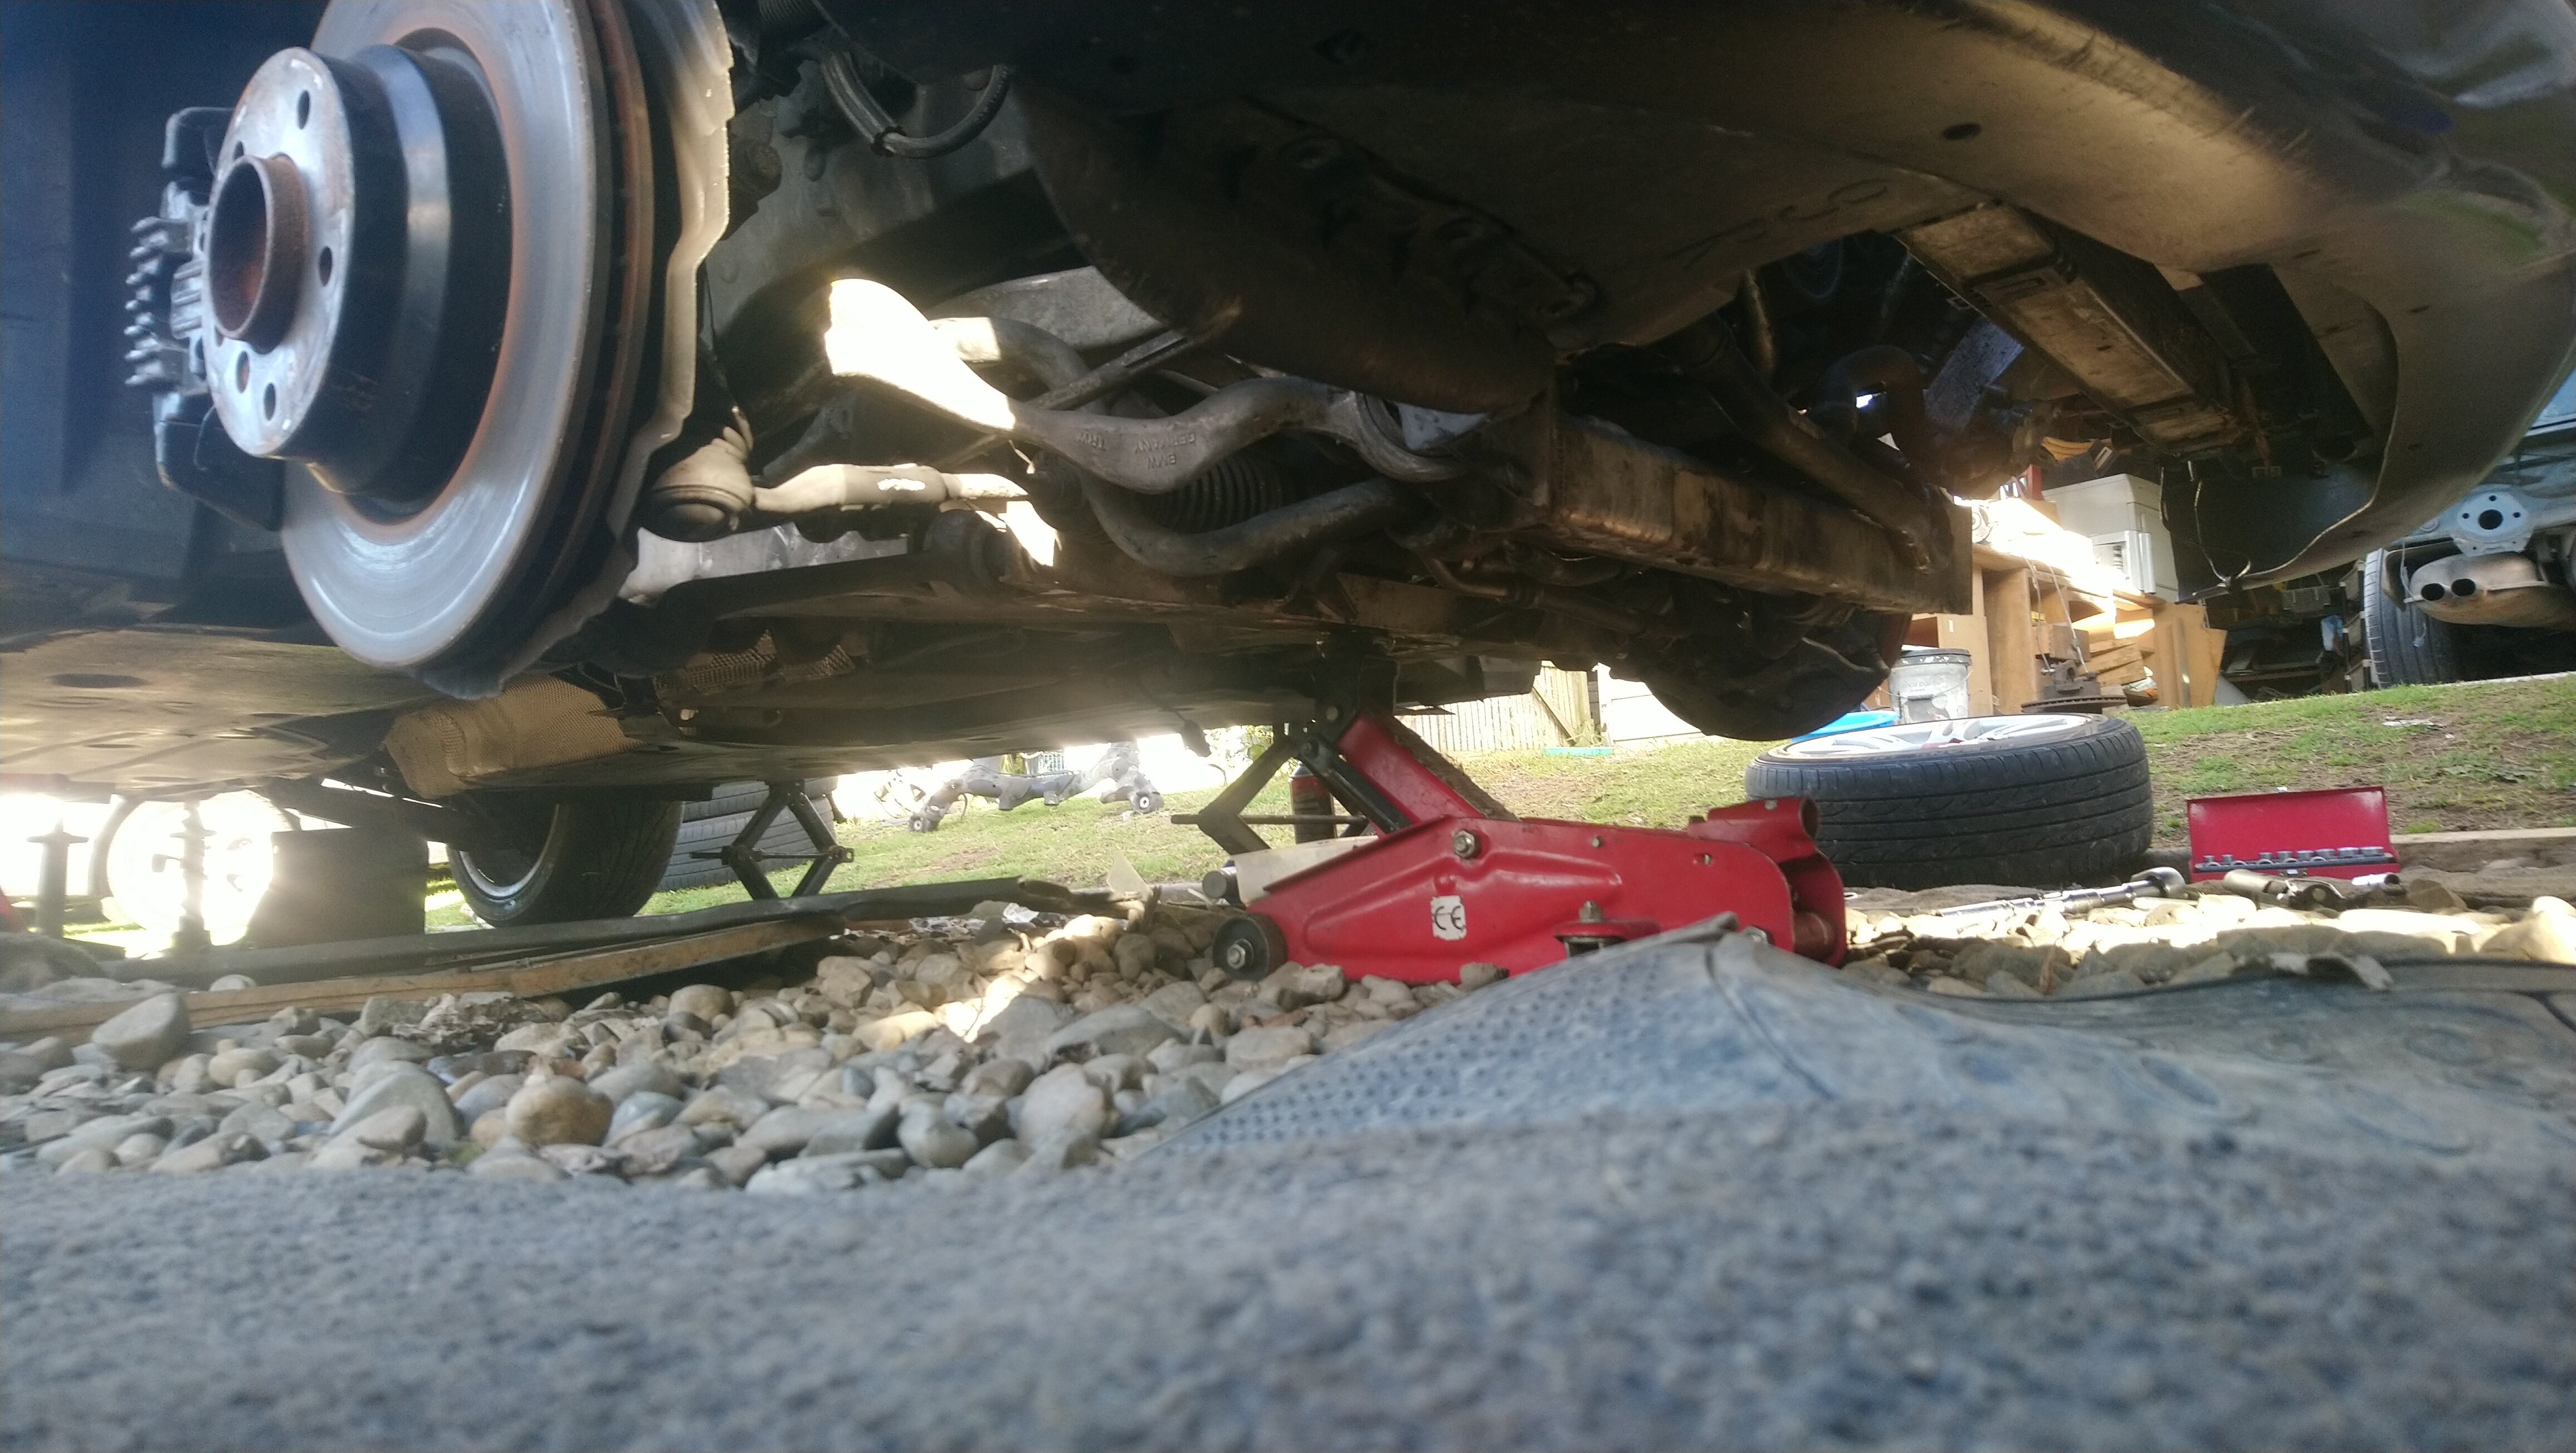
Did engine mounts on the 330i
Wish someone told me that RHS one was a PITA even with the sub frame hanging down dealing with the exhuast/steering rack.
After inventing a dictionary of swearing words realized the trick is to rotate it the opposite way before pulling it out the rear. Even knowing that its still difficult getting in.
Maybe people probably disconnect thr Power steering rack or steering joint to get even more room.
Oh well that engine support bar continues to be $100 well spent.

-
1
-
-
Where is the best place to get this done?
Anyone else done it, what sort of price am I looking at
-
Hey a mate in howick area was asking for a good workshop to recommend in the vicinity of howick / botany area (has a VW Tiguan)
Anything local to recommend?
-
N52 timing tools to rent (could pick up in Auckland), as im doing a strip down on a motor.
In saying that, anyone done it without?
-
Sorry updated, n52b25
-
Time to clear up some room, have 2 motors going cheap, maybe someone can use for parts
N52B25
- parts motor N52N (black cover) version, just missing rocker cover, it has lower end bearing damage, maybe someone wants it for parts before the metal man pays me for it.
- other spare N52 (silver top) version, was a runner, low kms 110,000km, only issue is one of the bell housing bolts snapped in the block, not really a big deal but never ended up using it. Can have it cheap for $400 or something.
Have other e90 bits that I need to start clearing out shortly cheap including front /rear hubs, brake calipers, good condition rotors
Give me a message
-
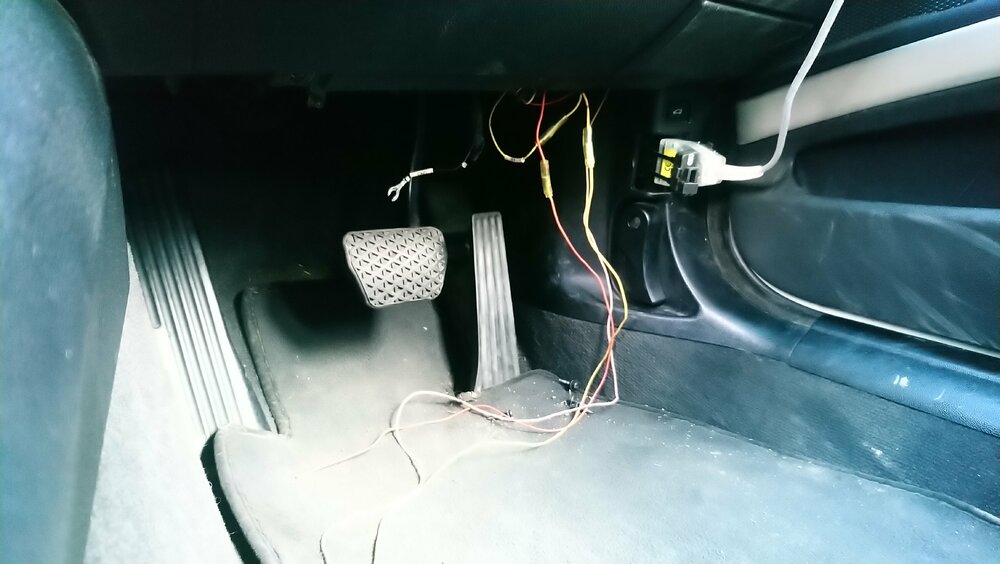
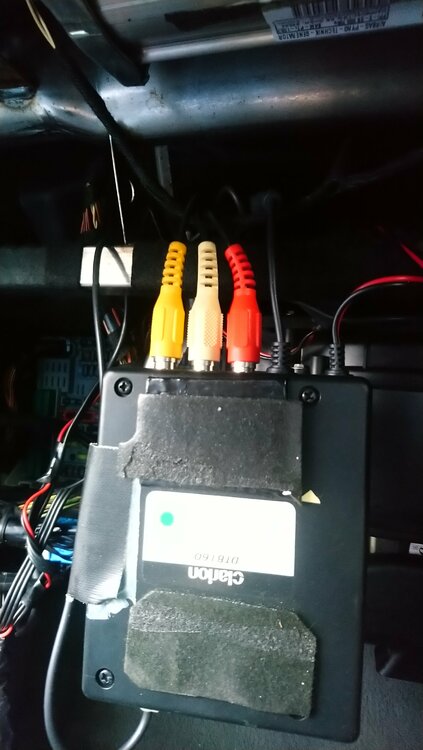
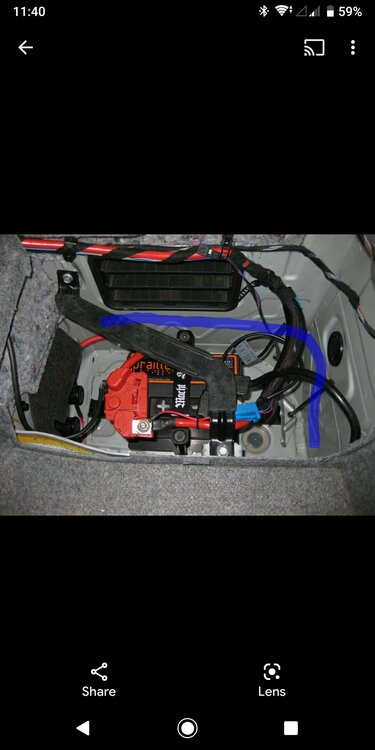
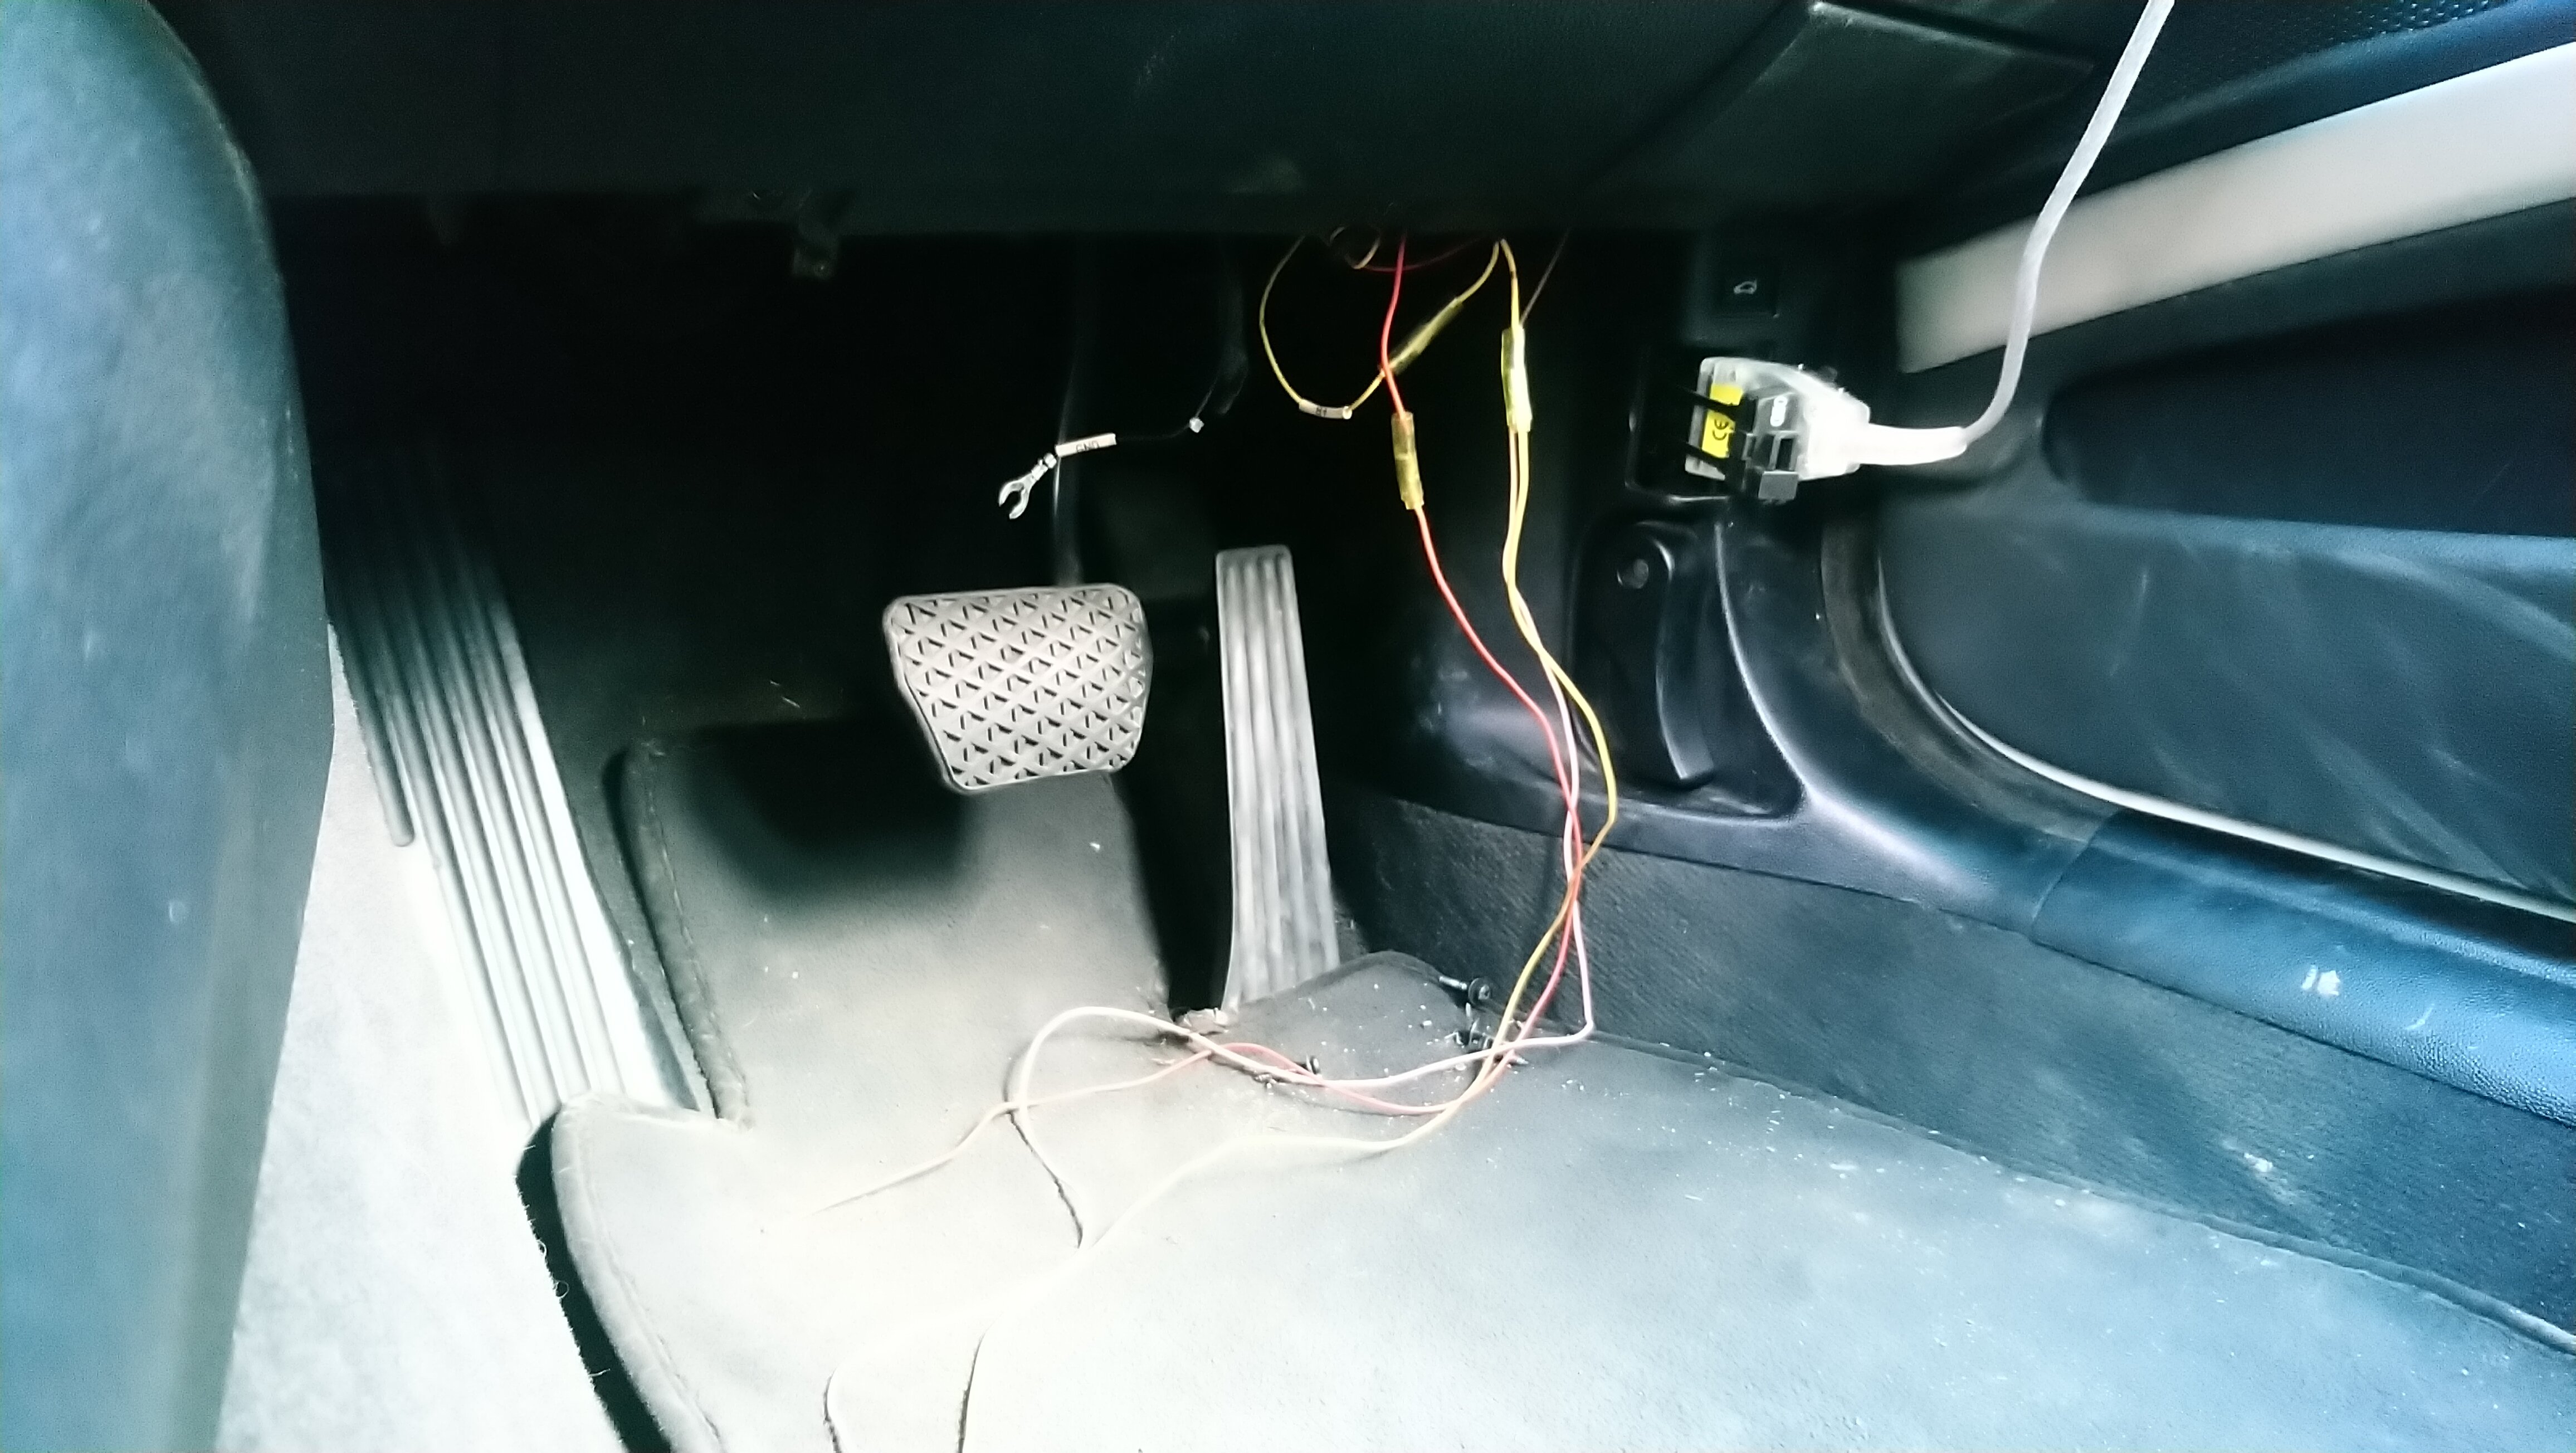
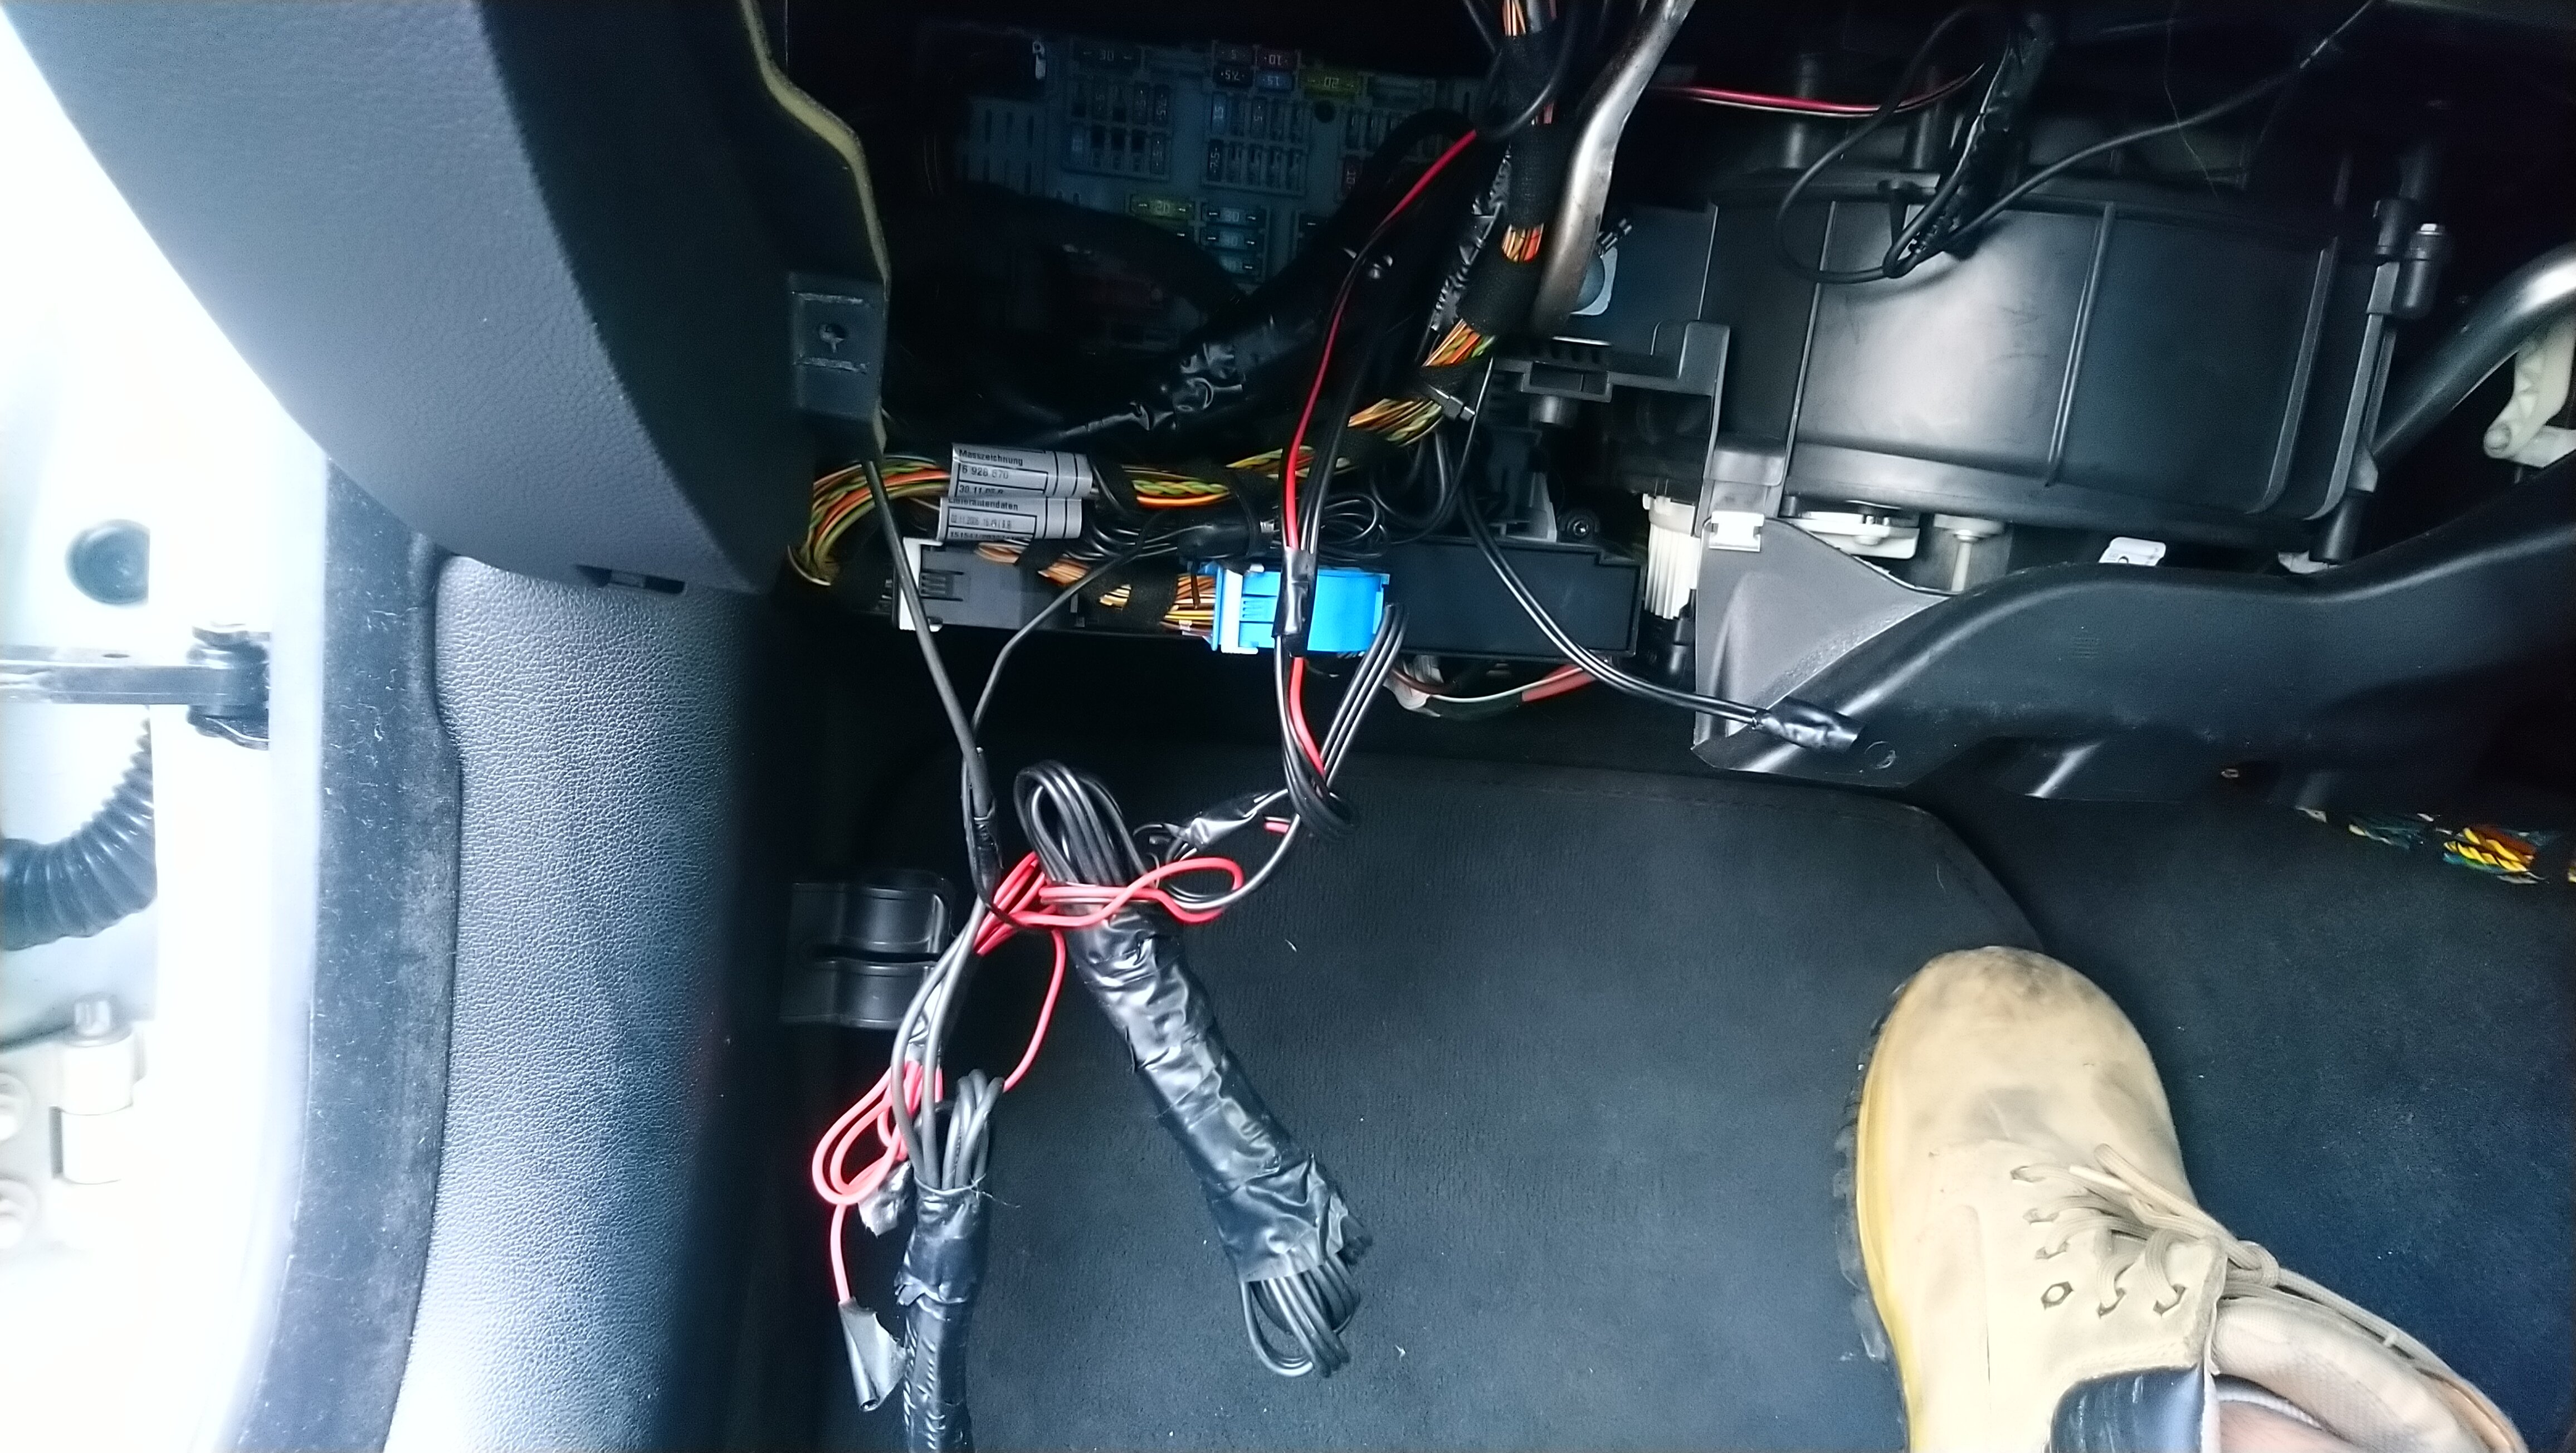
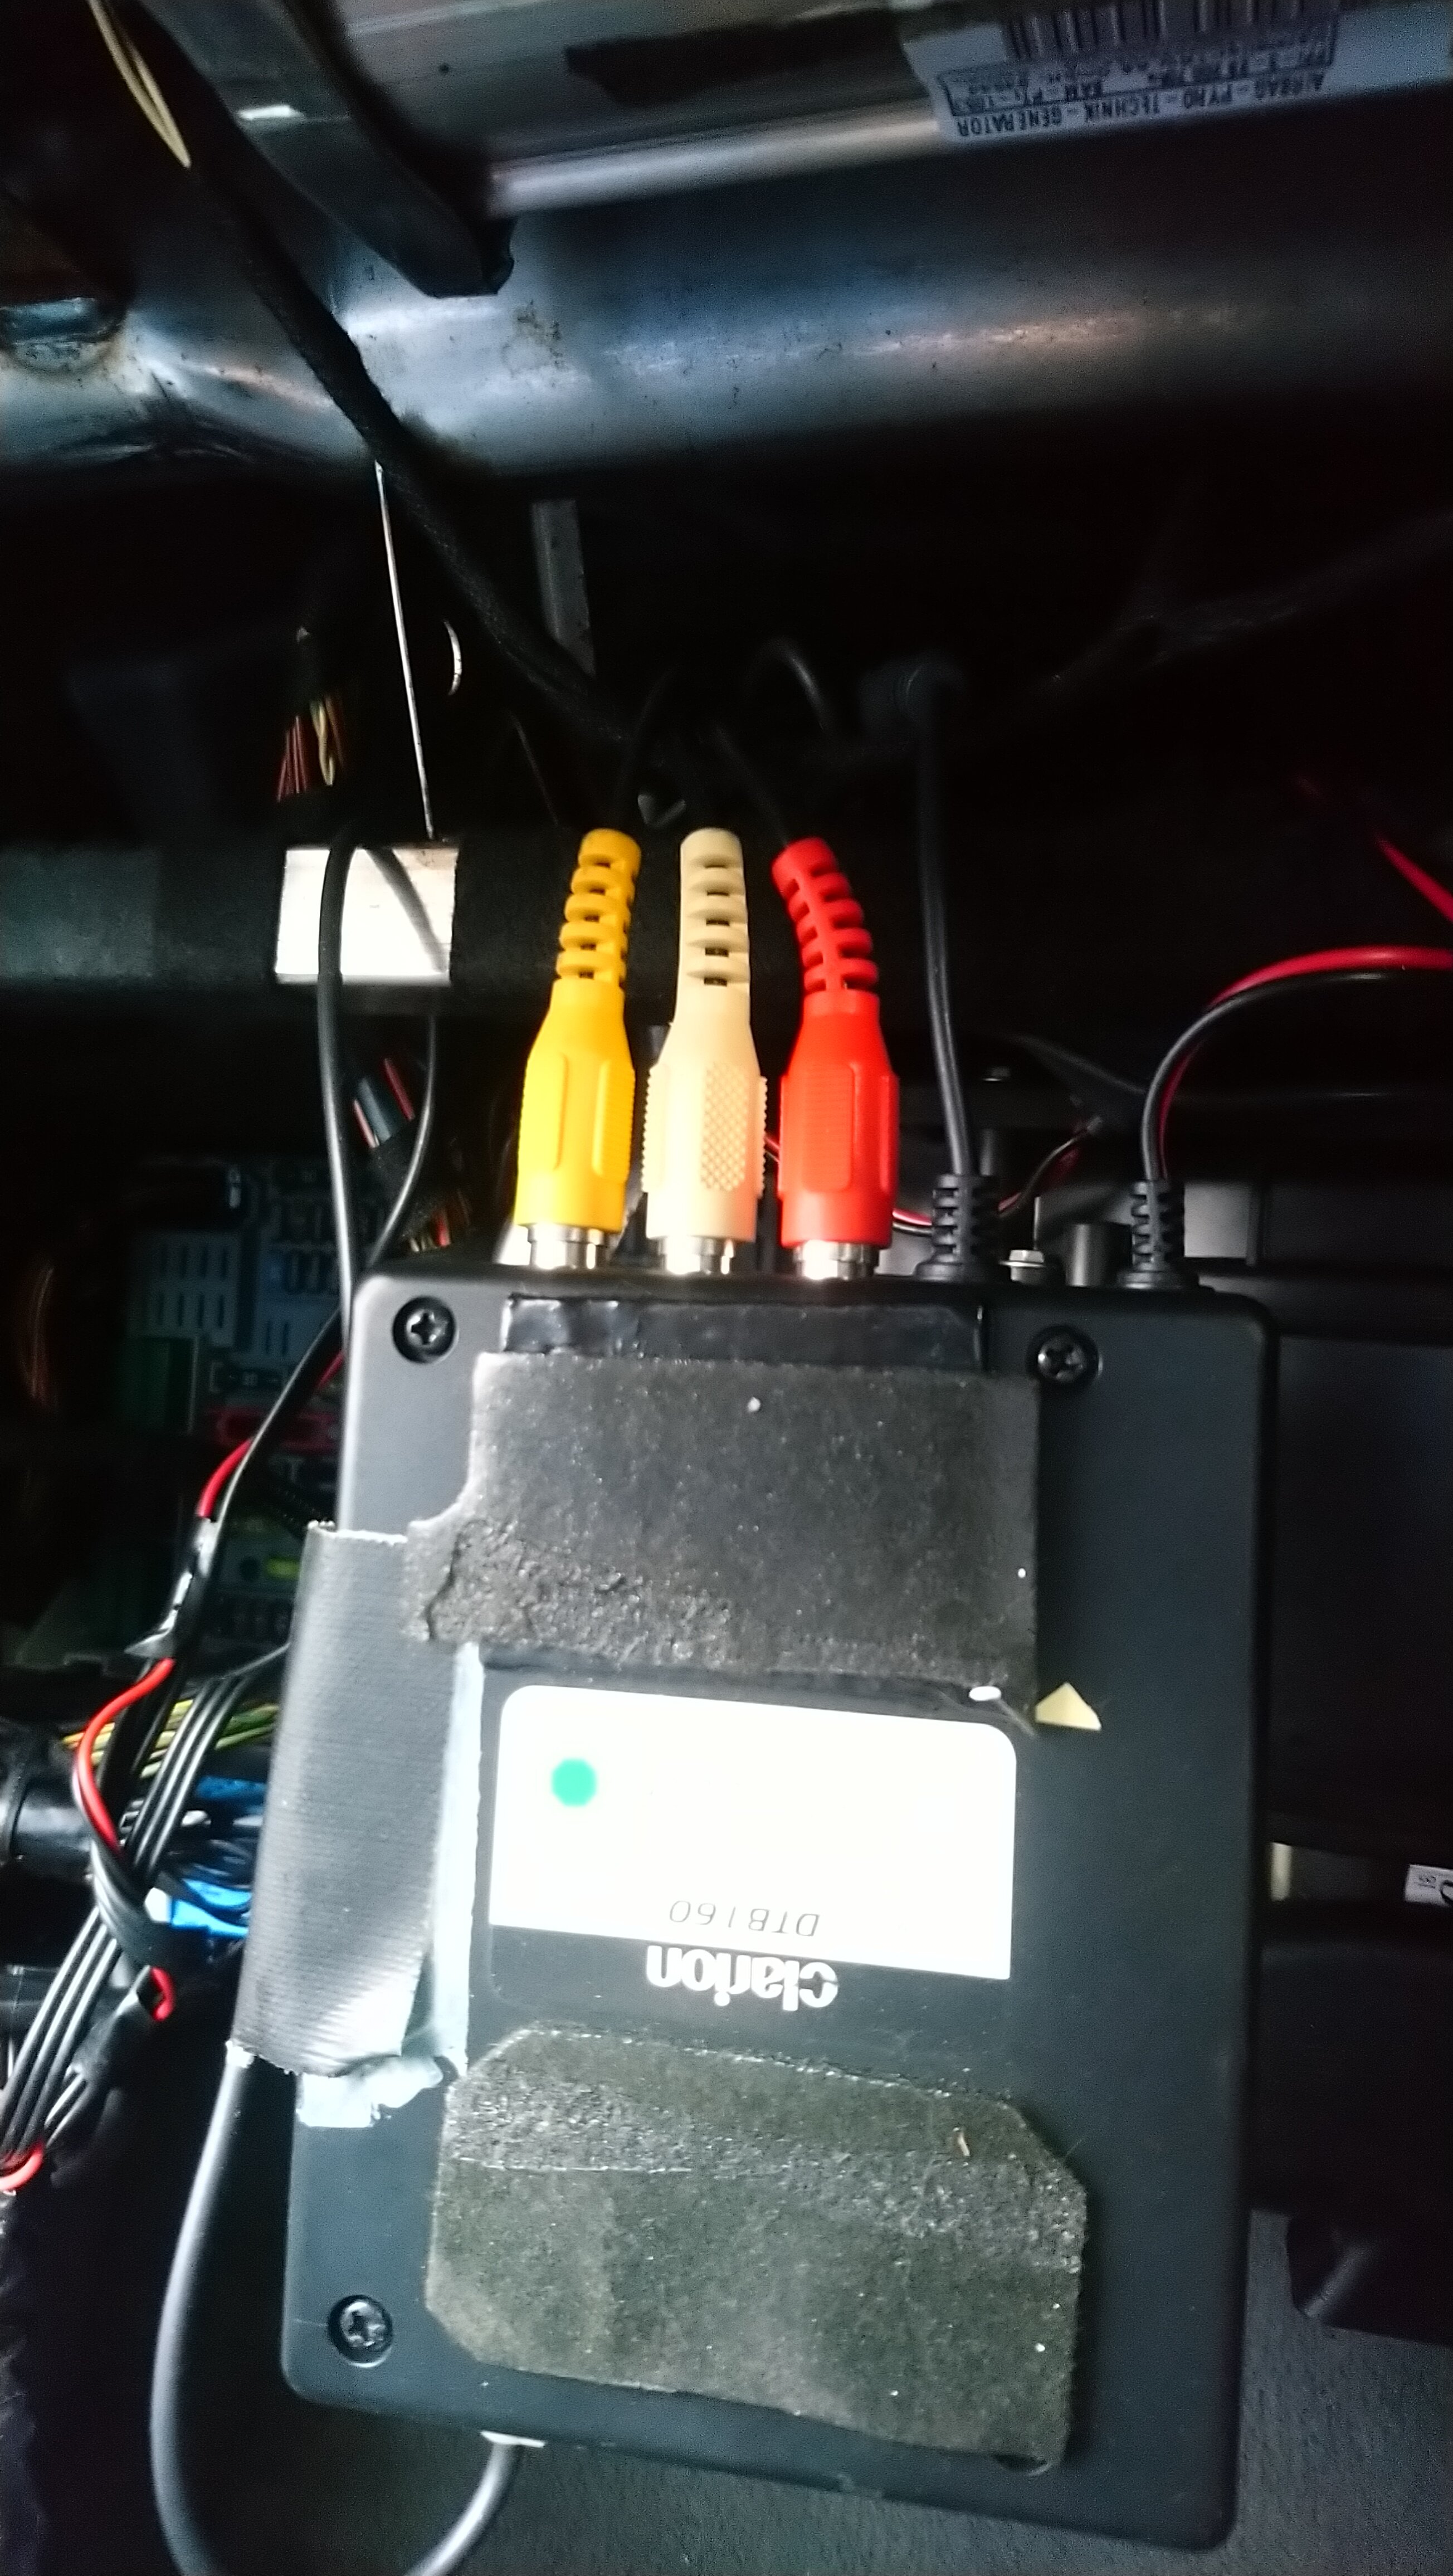
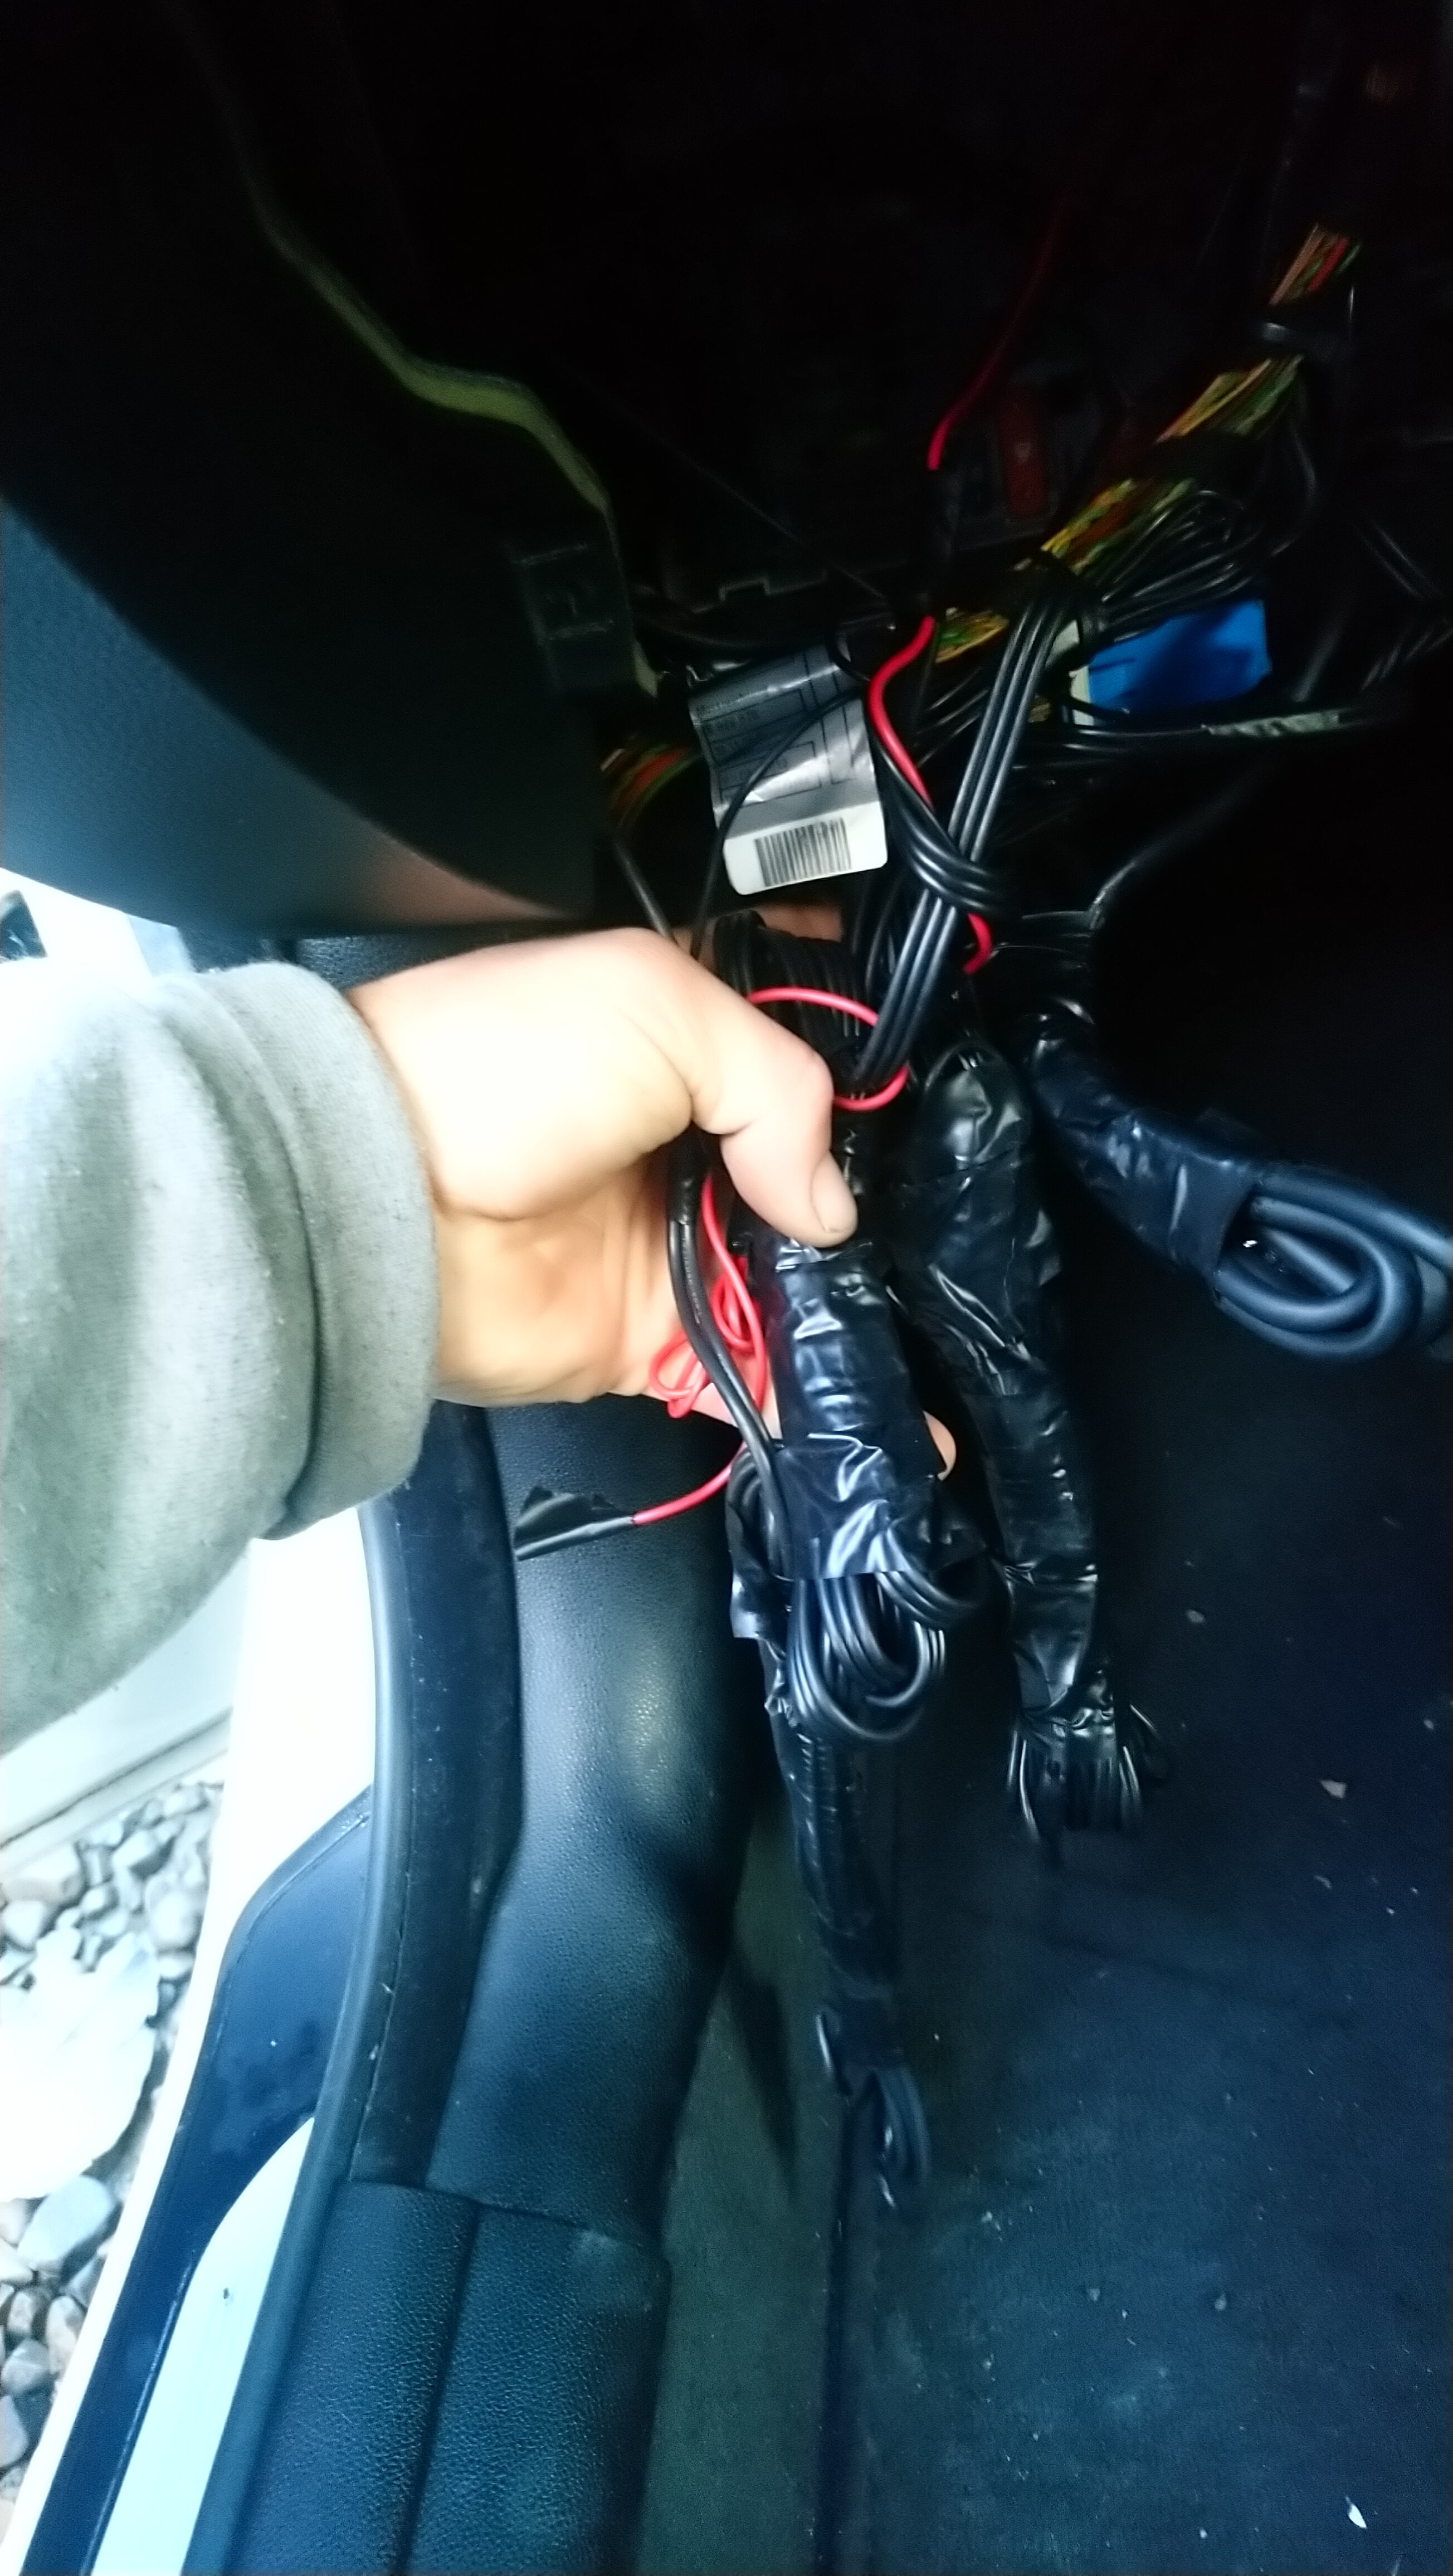
Time to wire up the EKPS.
And in wire all this rats nest left behind the glove box.
Looks to be tv tuner
They have damn well spliced into the CAS loom in a poor way which has me mildly annoyed


-
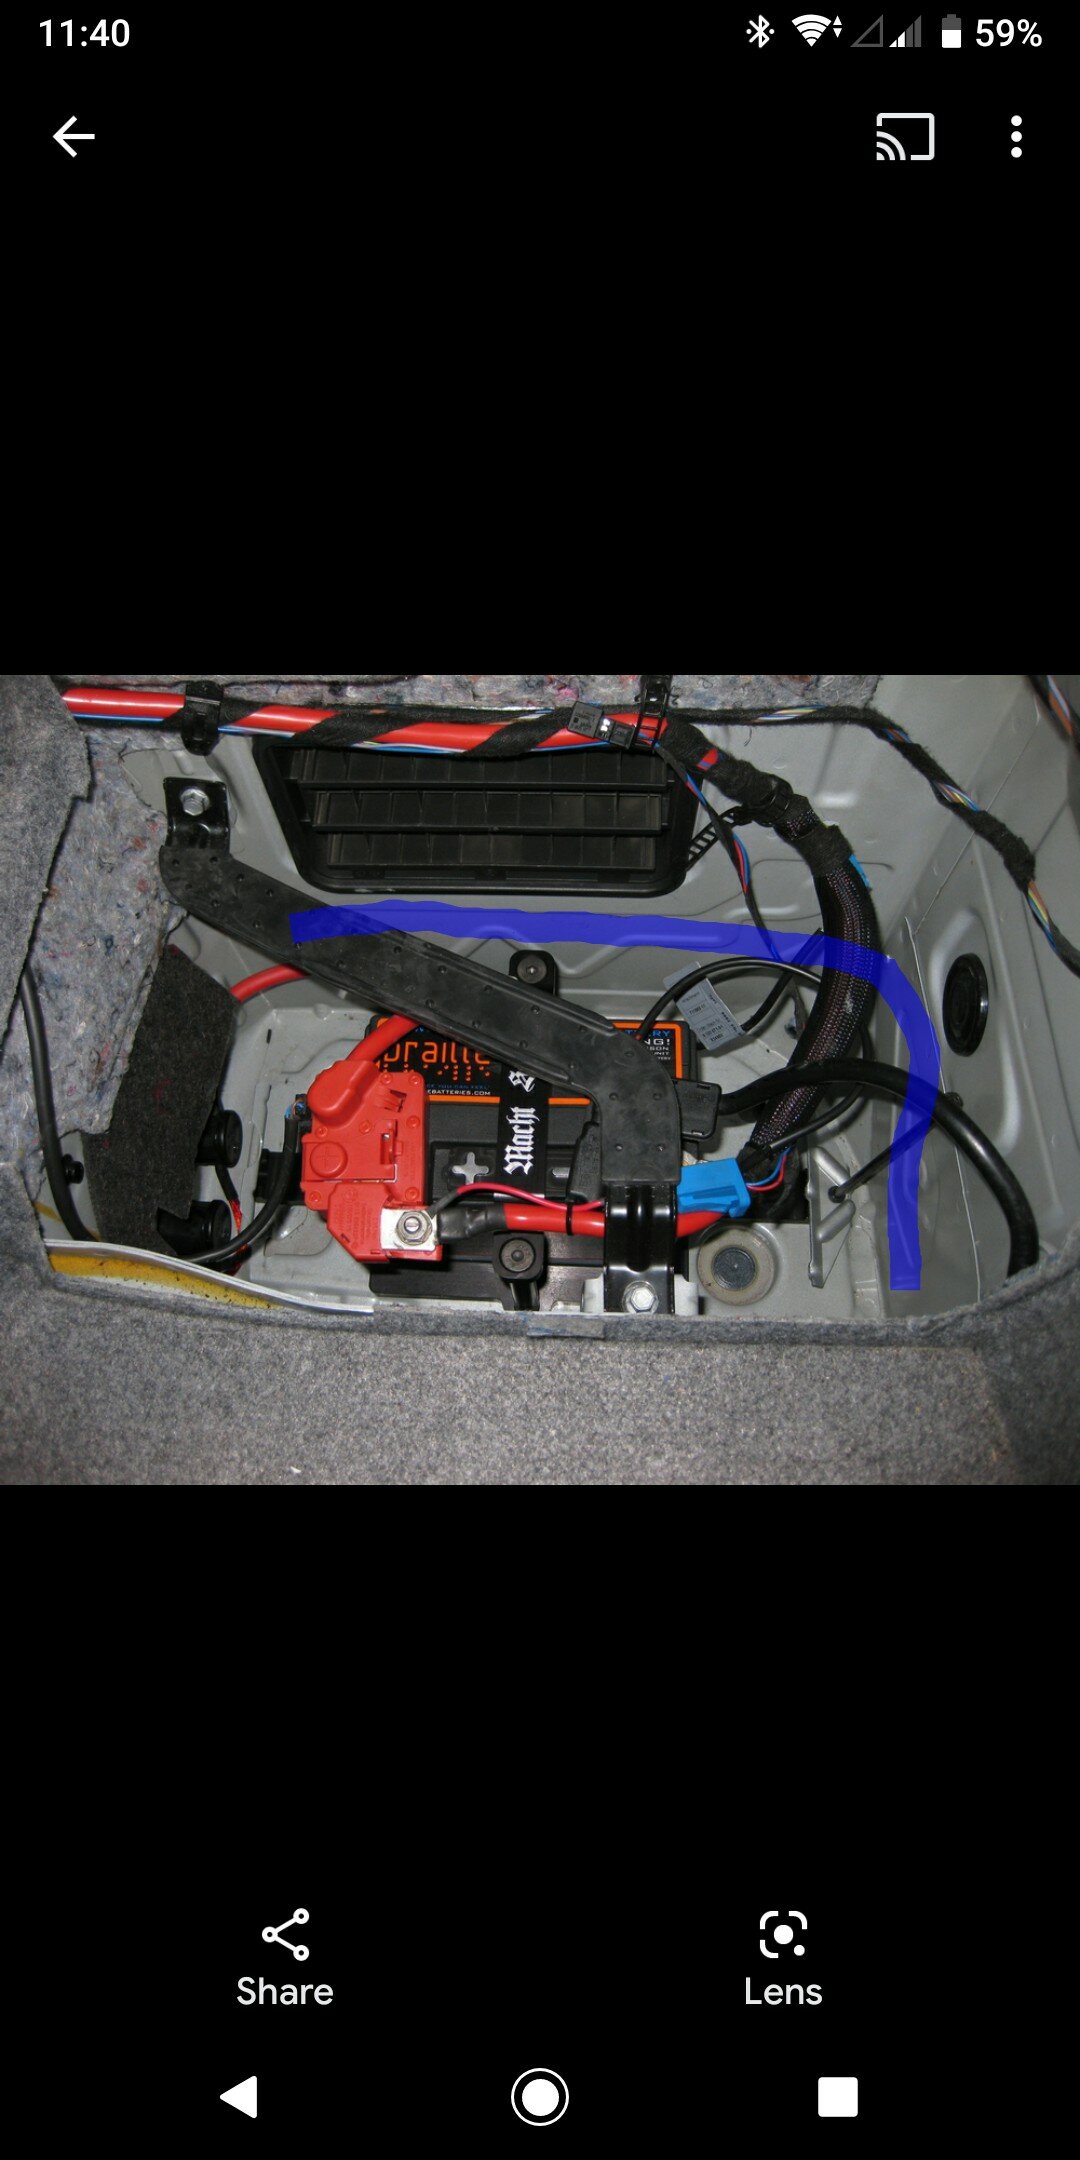
I'm currently chasing what I'm hoping to be the last of my issues on this car lol ...
So I have water leaking into the battery compartment.
It seems to be coming from rear right / rear rear corner.
- at first I thought must just be taillight gasket but nope that's water tight
- I saw a YouTube thing where the false floor under the car can fill, I pulled drain bungs out and no water there.
It seems to be seeping through the bottom of the thin panel joins there (blue line). As if there's drainage issues behind on the other side. Anything to check ?
-
@exextatic yeah, interior is coming out anyway as i'm swapping my leather in
looks like it's loom time!
I found that some 320i do have it, but they aren't n46, they are n43
Thanks for confirming this!


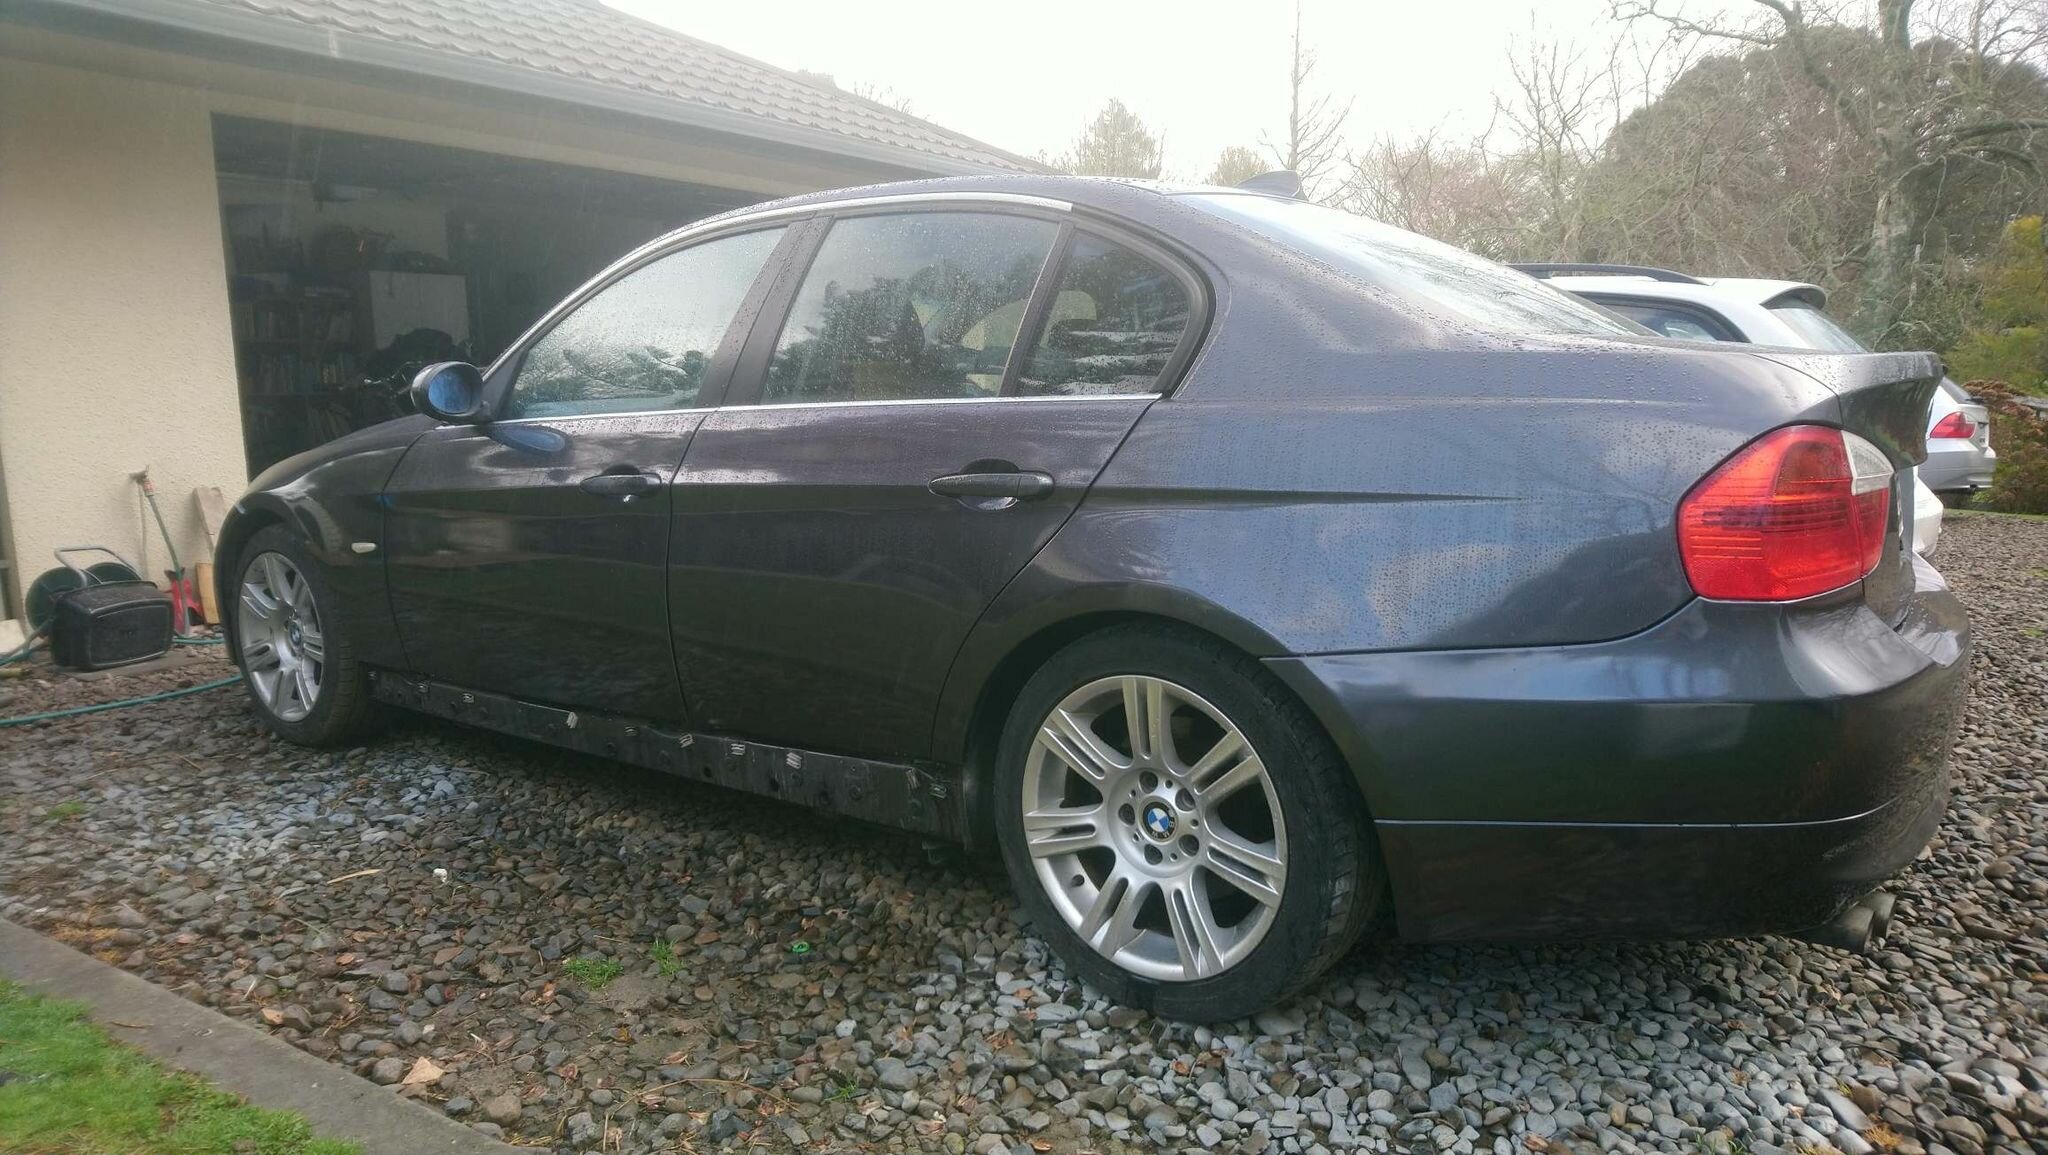
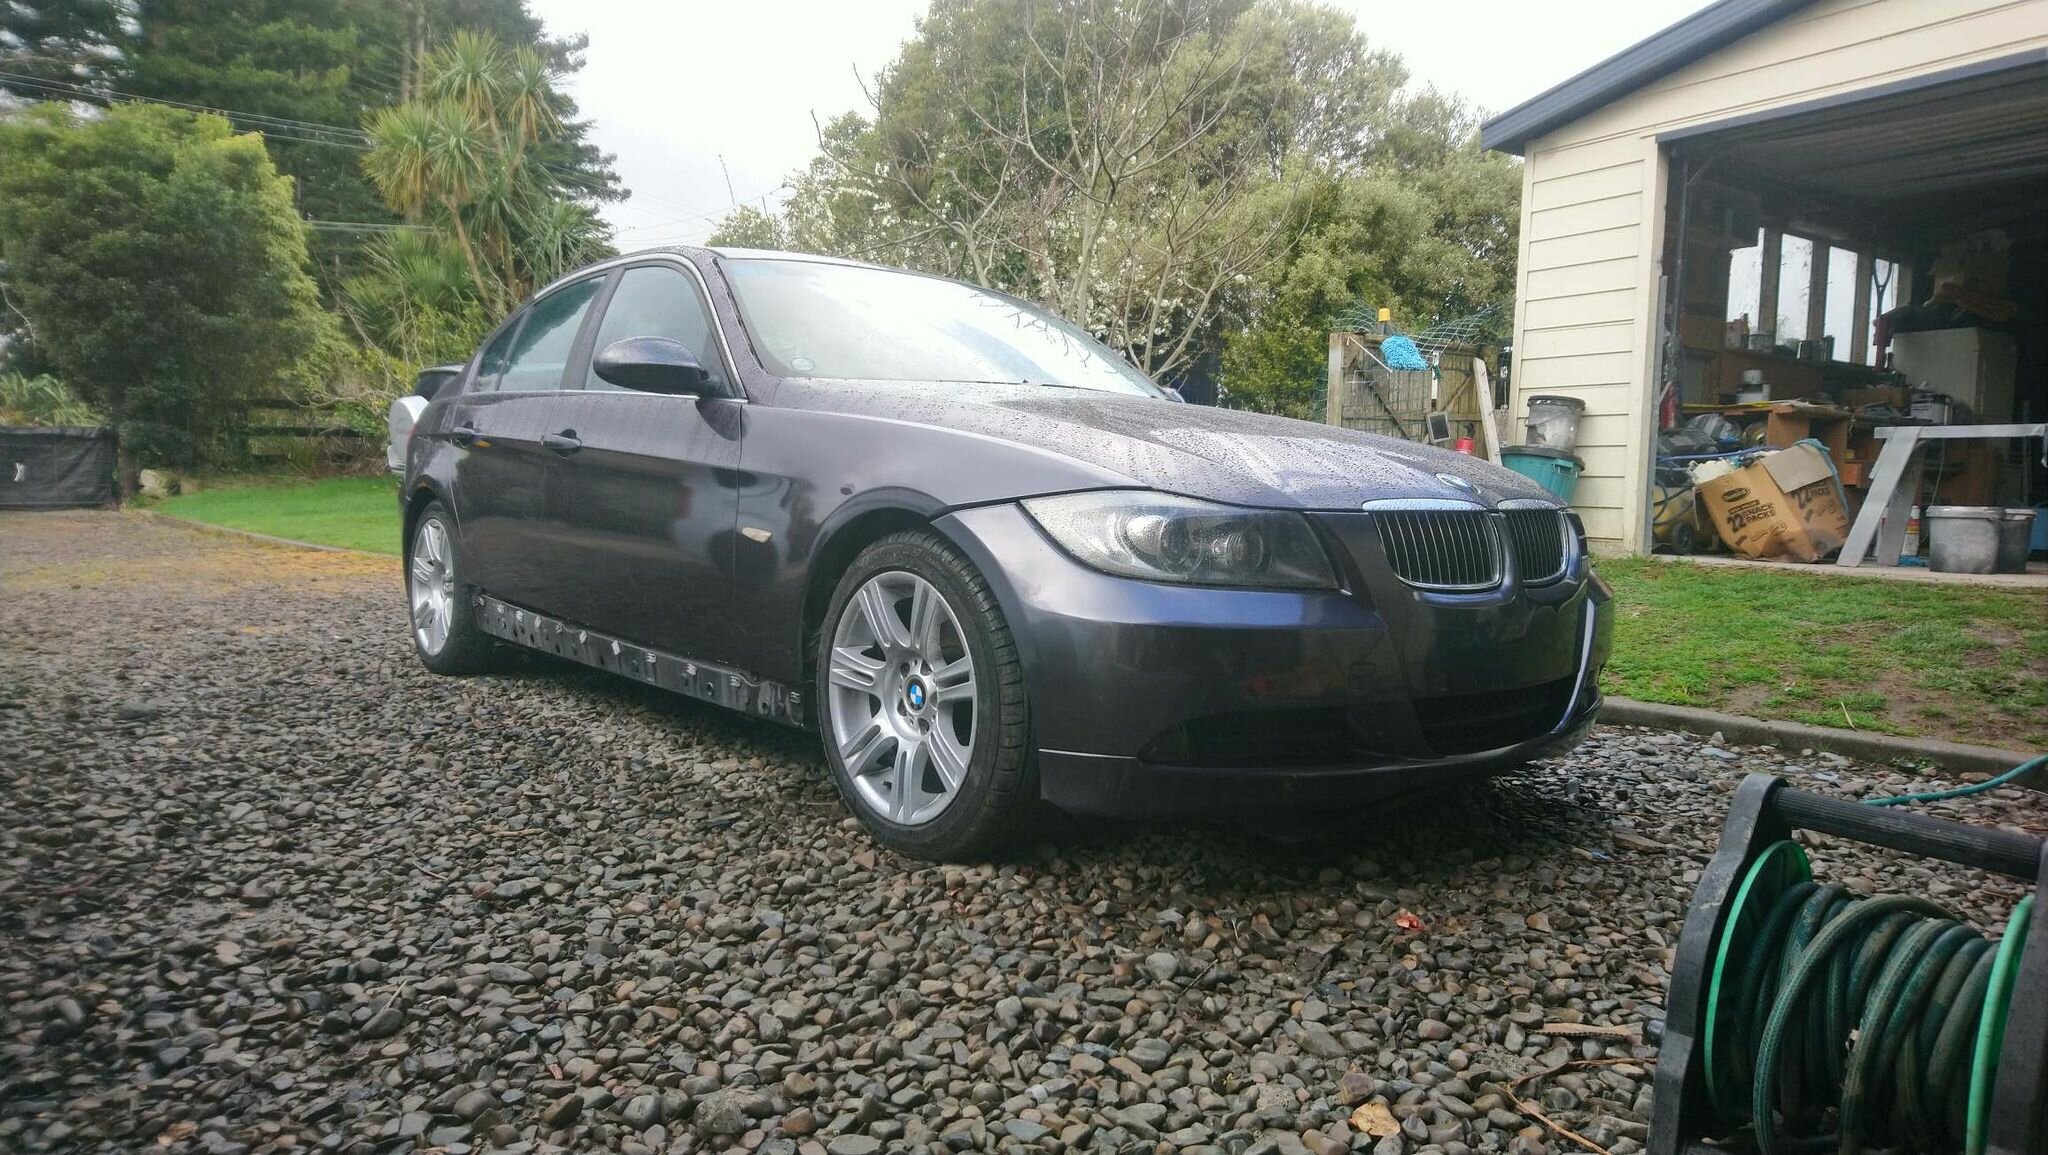
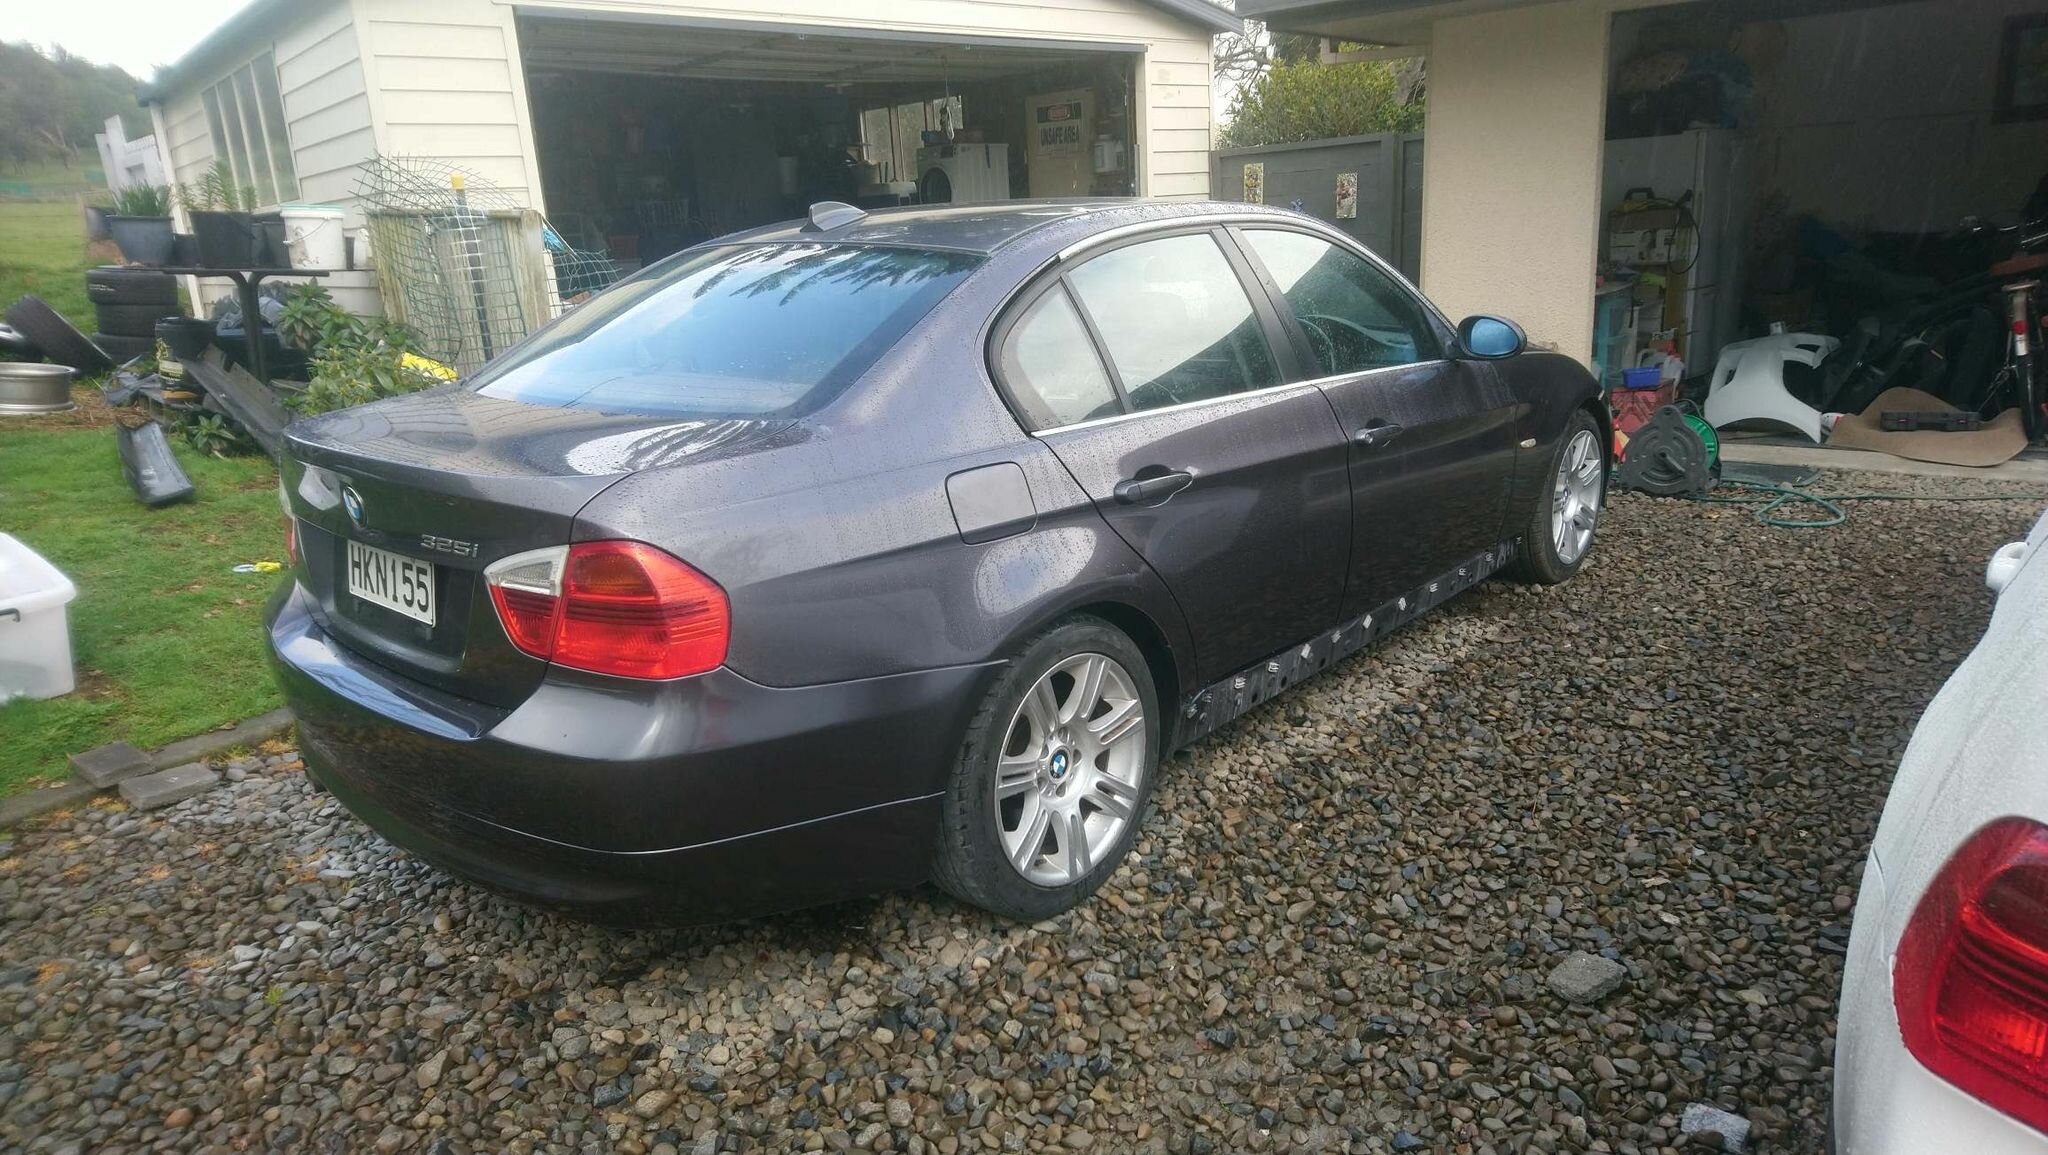

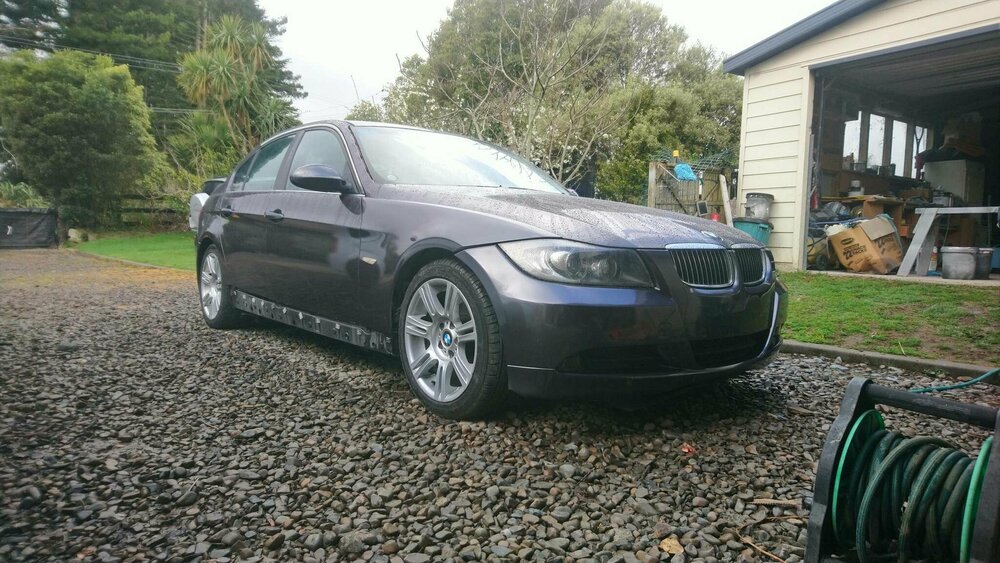
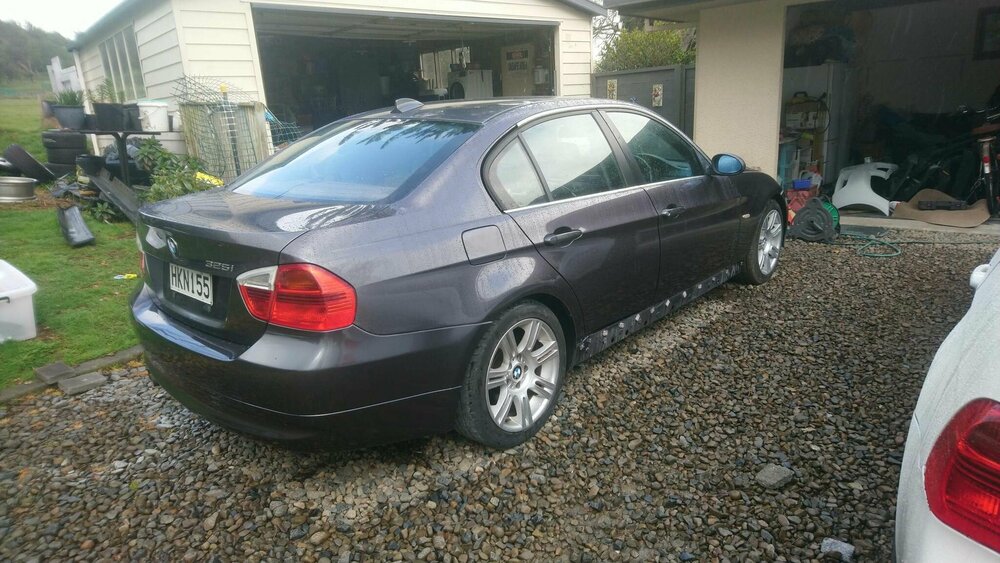
E46 325ci Restoration Project
in Projects
Posted · Report reply
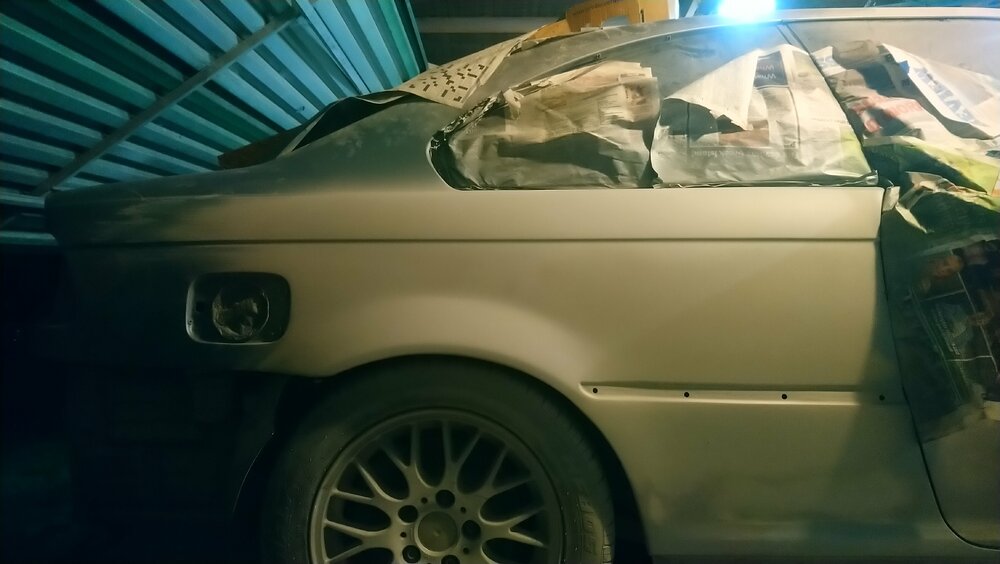
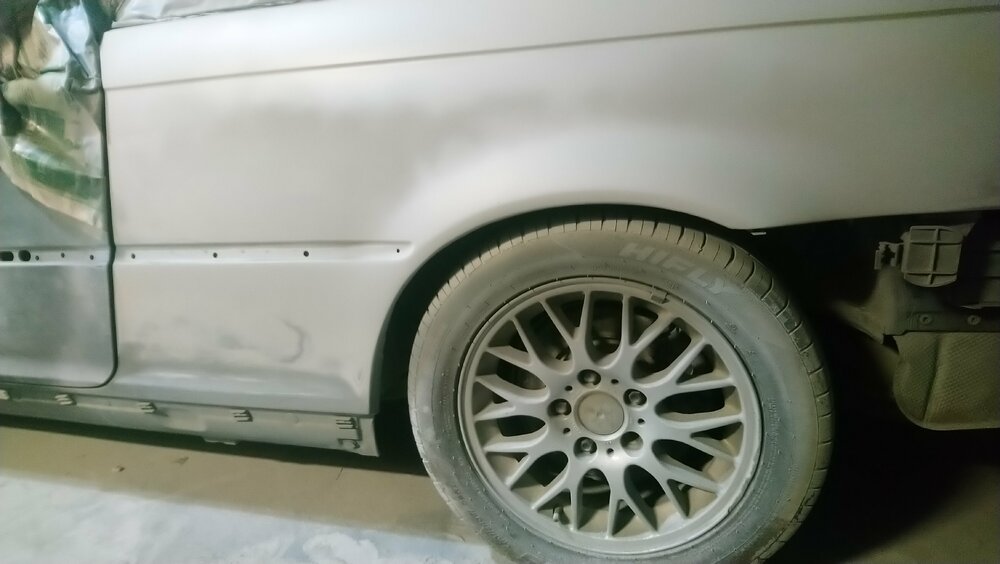
Basically all wrapped up now trim assembled
Not usually a fan of chrome or amber lights but this colour combo really works.
Found a nice set of 18" reps for it that suit perfect.
Camera really doesn't do this color justice.