

325_driver
-
Content Count
1430 -
Joined
-
Last visited
-
Days Won
20
Posts posted by 325_driver
-
-
@Matth5 what pressures on rears say 255/35/18, I've been reading some people run them real firm to counter act similar wear issues, if thats what I'm dealing with at all.
Couldn't get a print out of the alignment, will have to get another one done.
-
Seems to be even on both sides.
I recall him saying he was trying to adjust the rear either camber or tow and it wouldn't allow him past a certain degree so he implied maybe a bushing
-
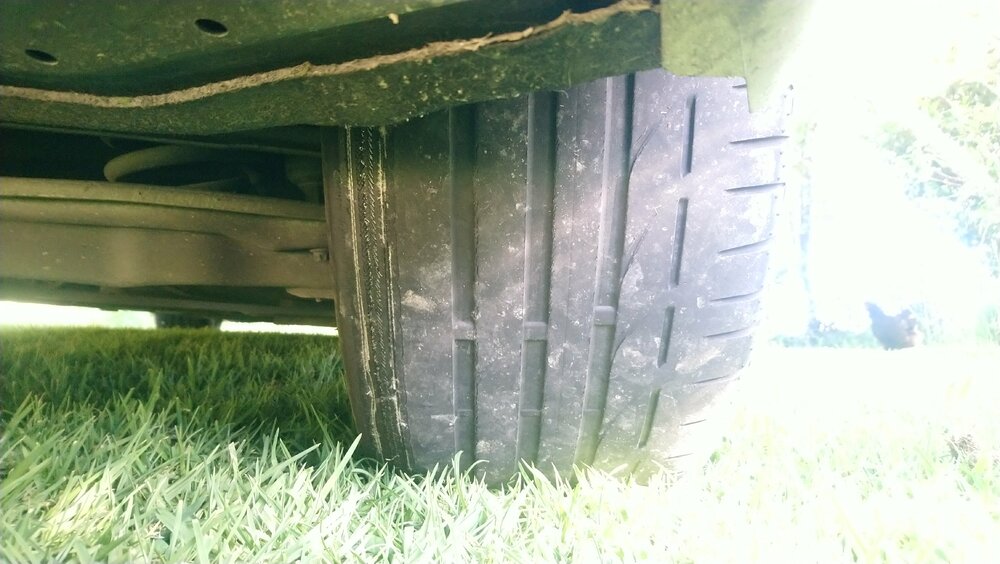
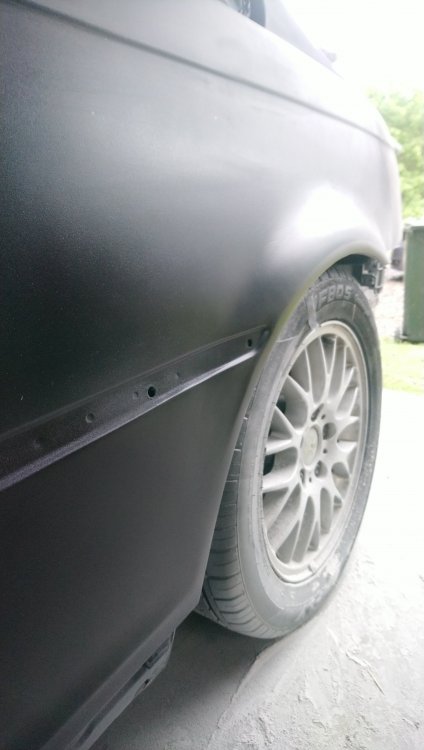
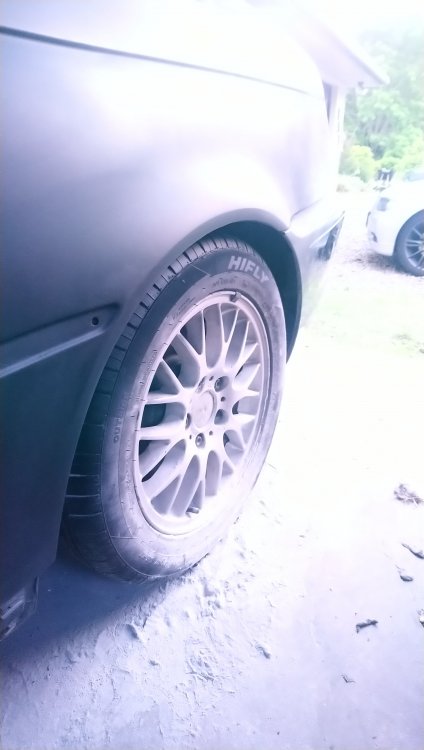
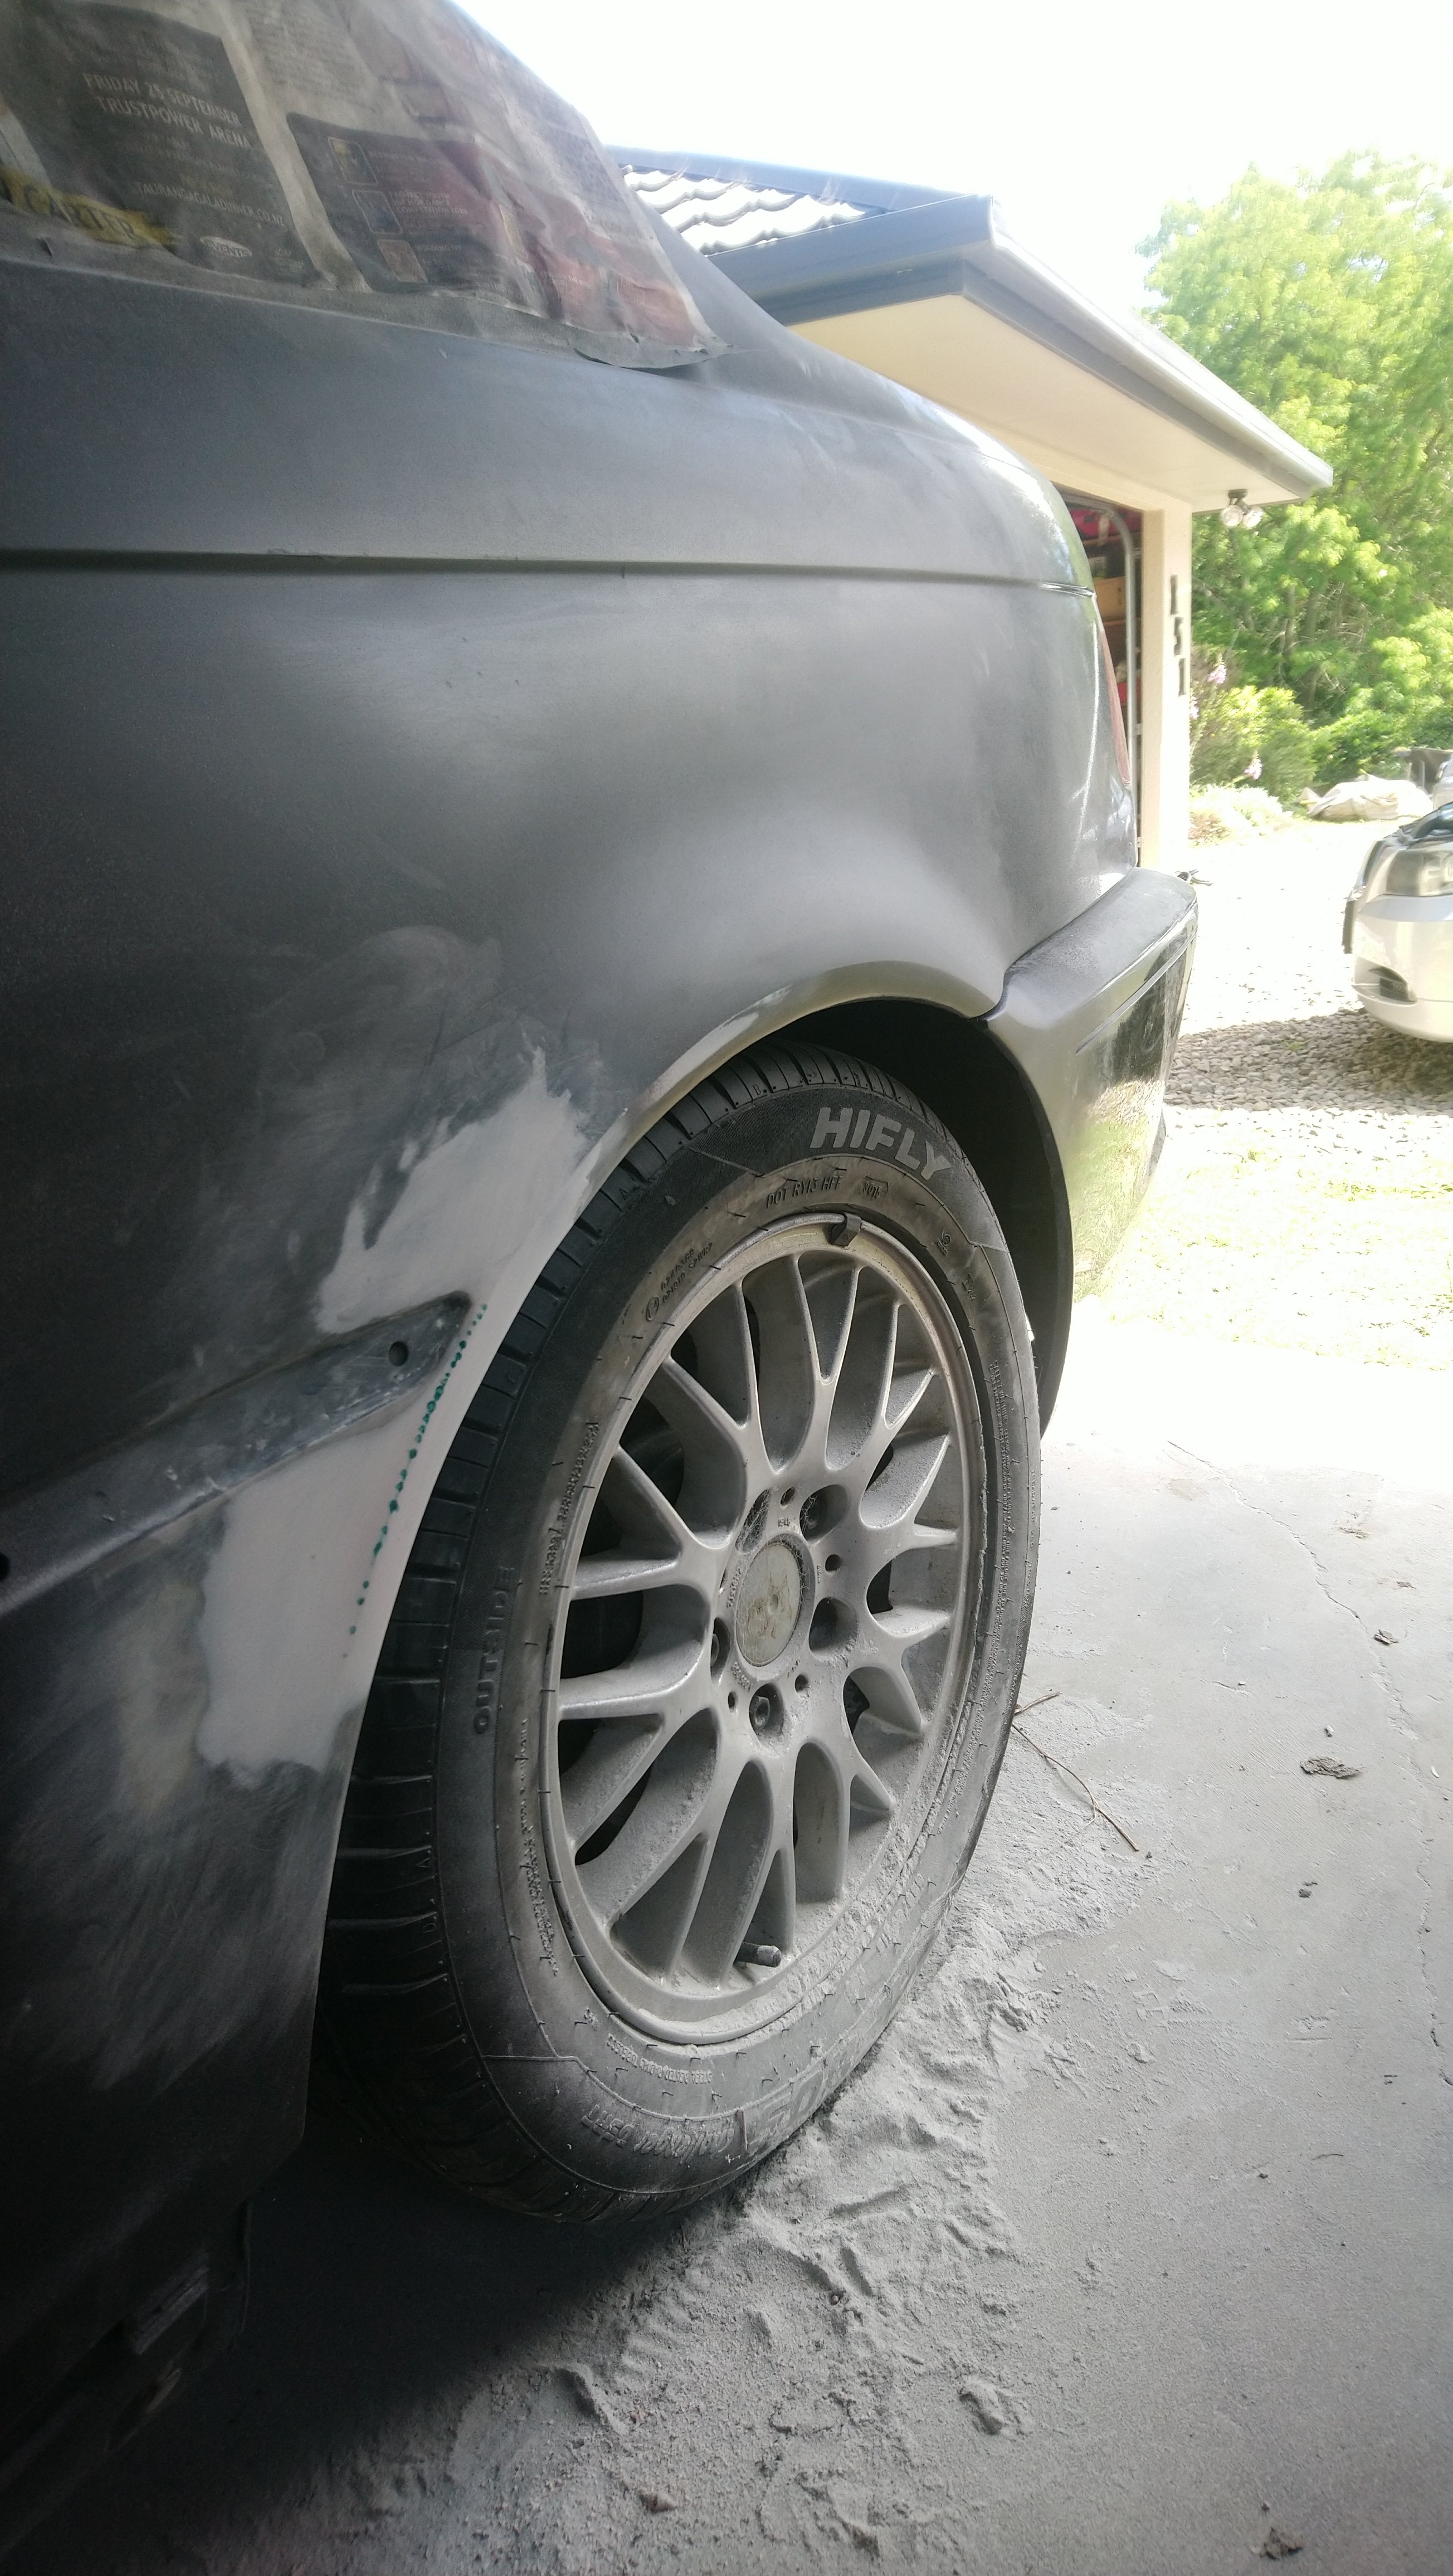
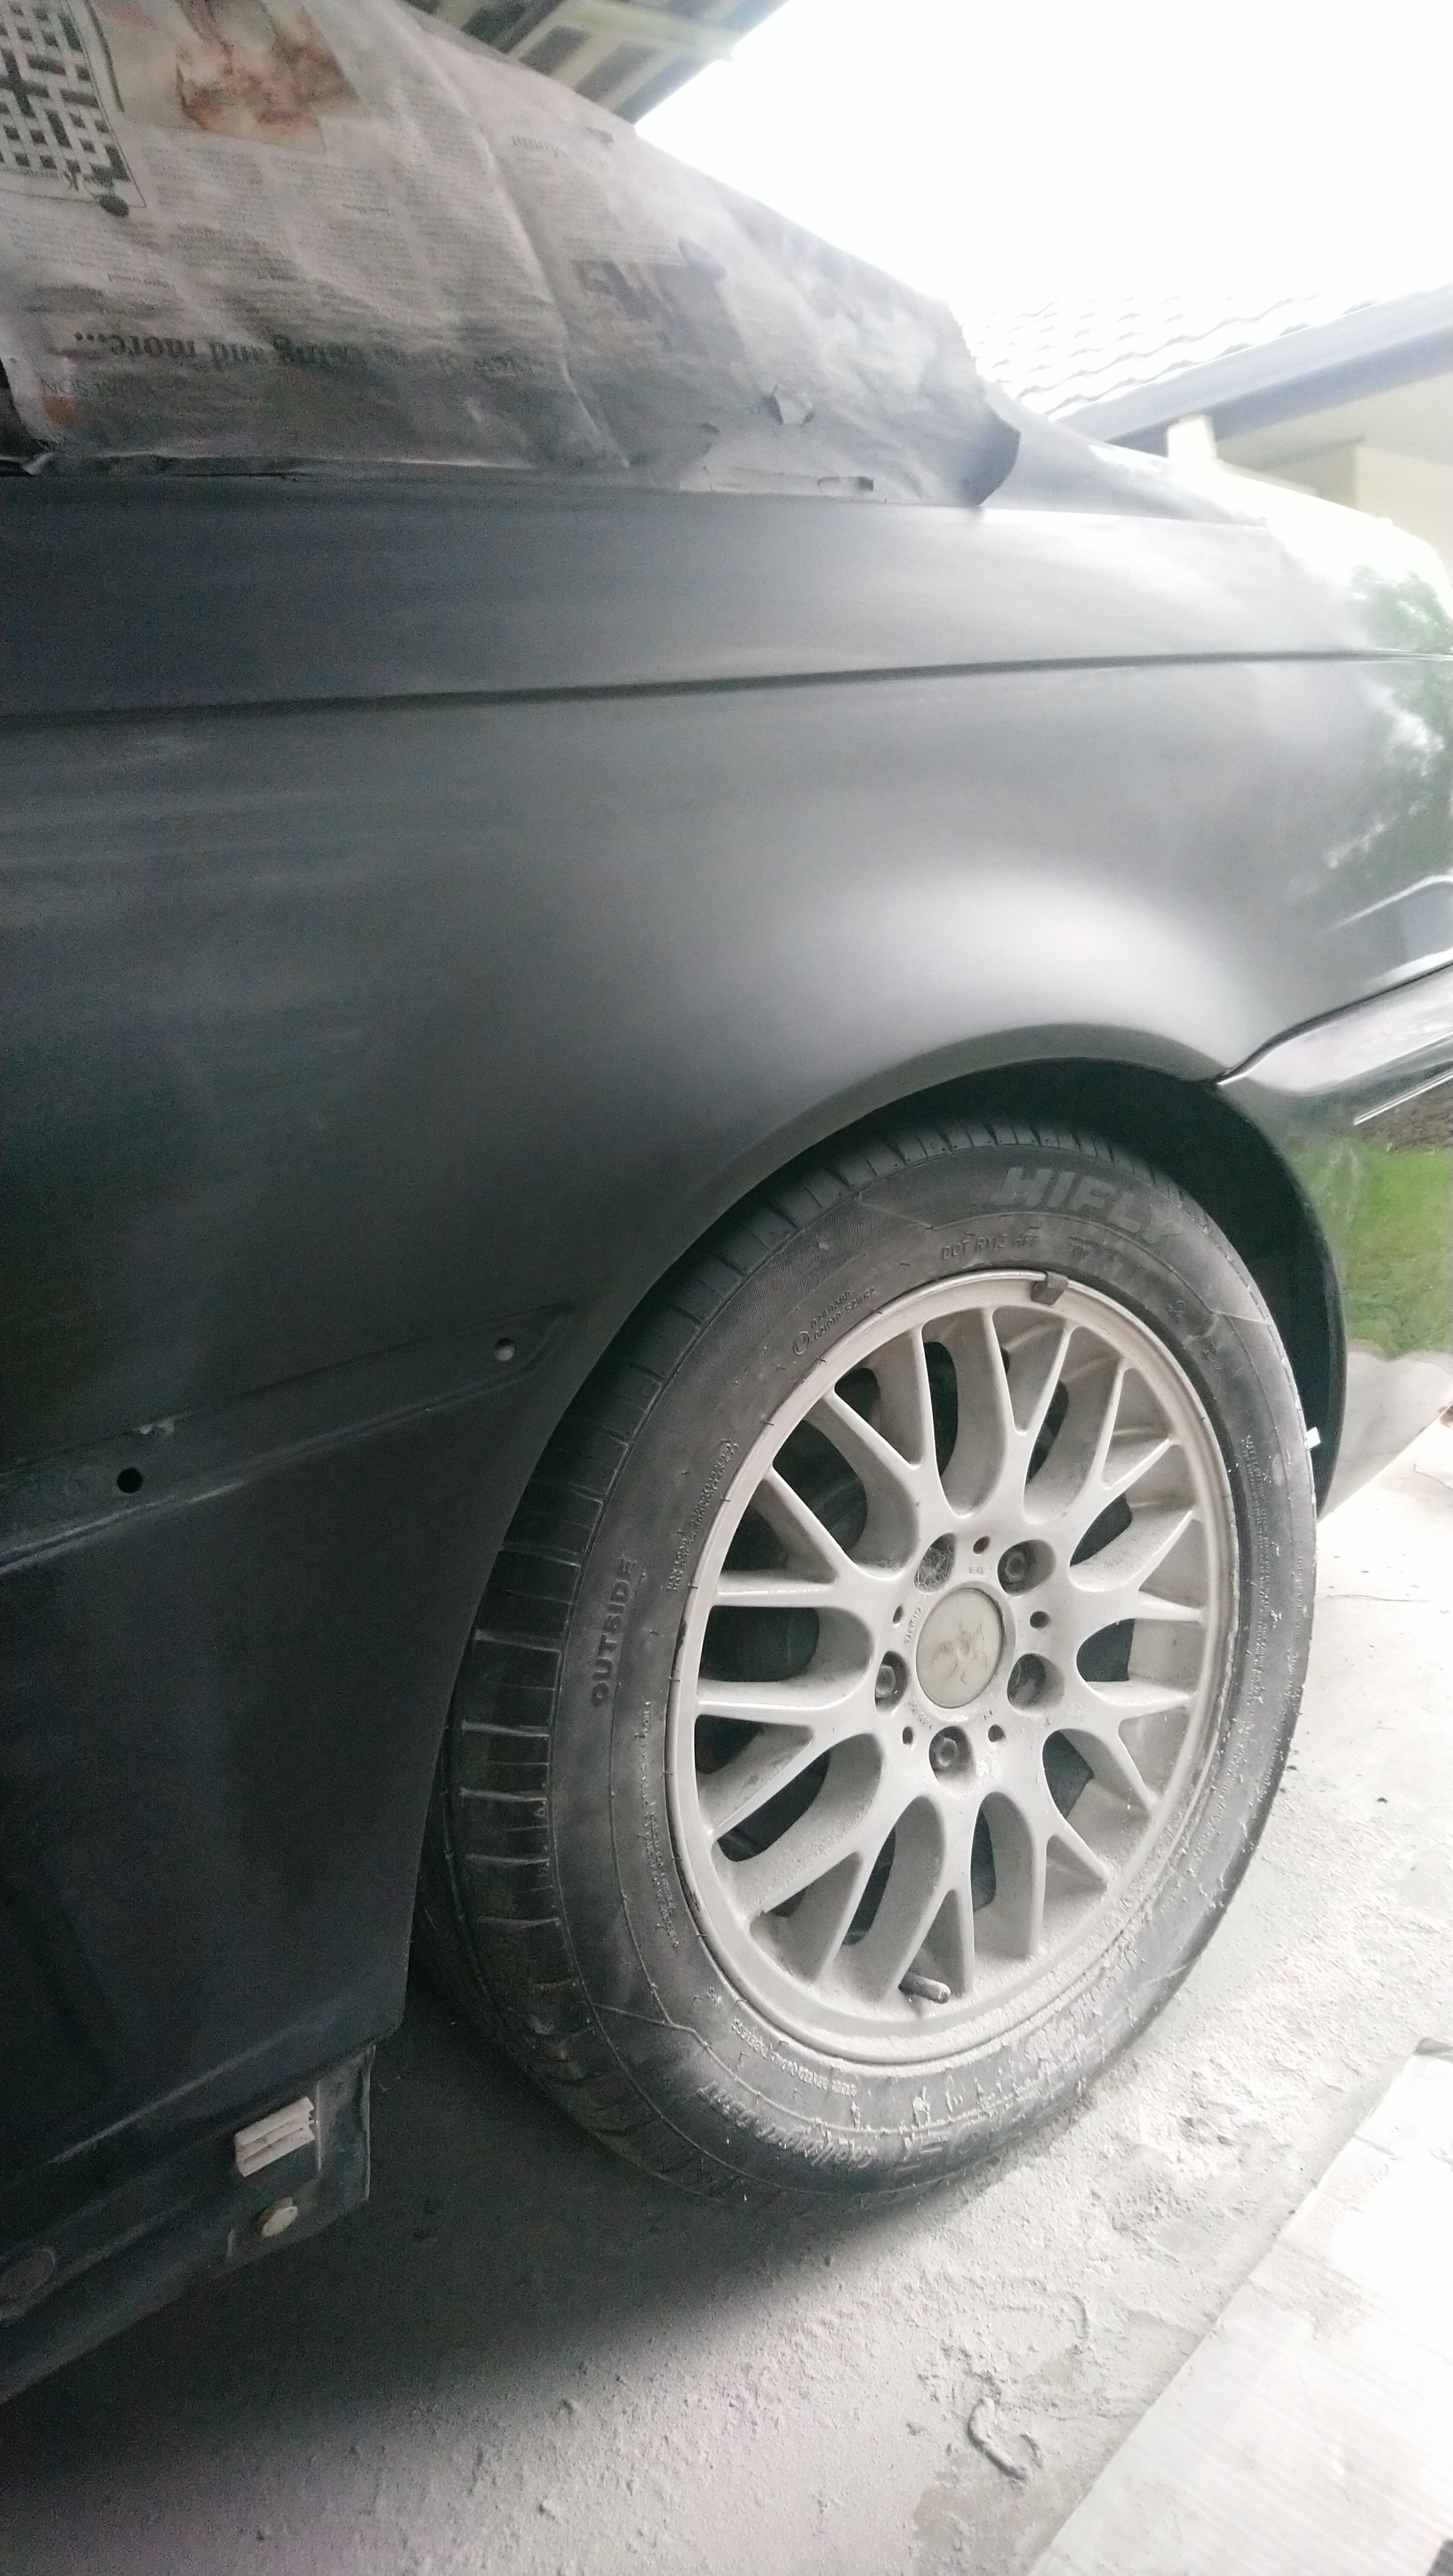
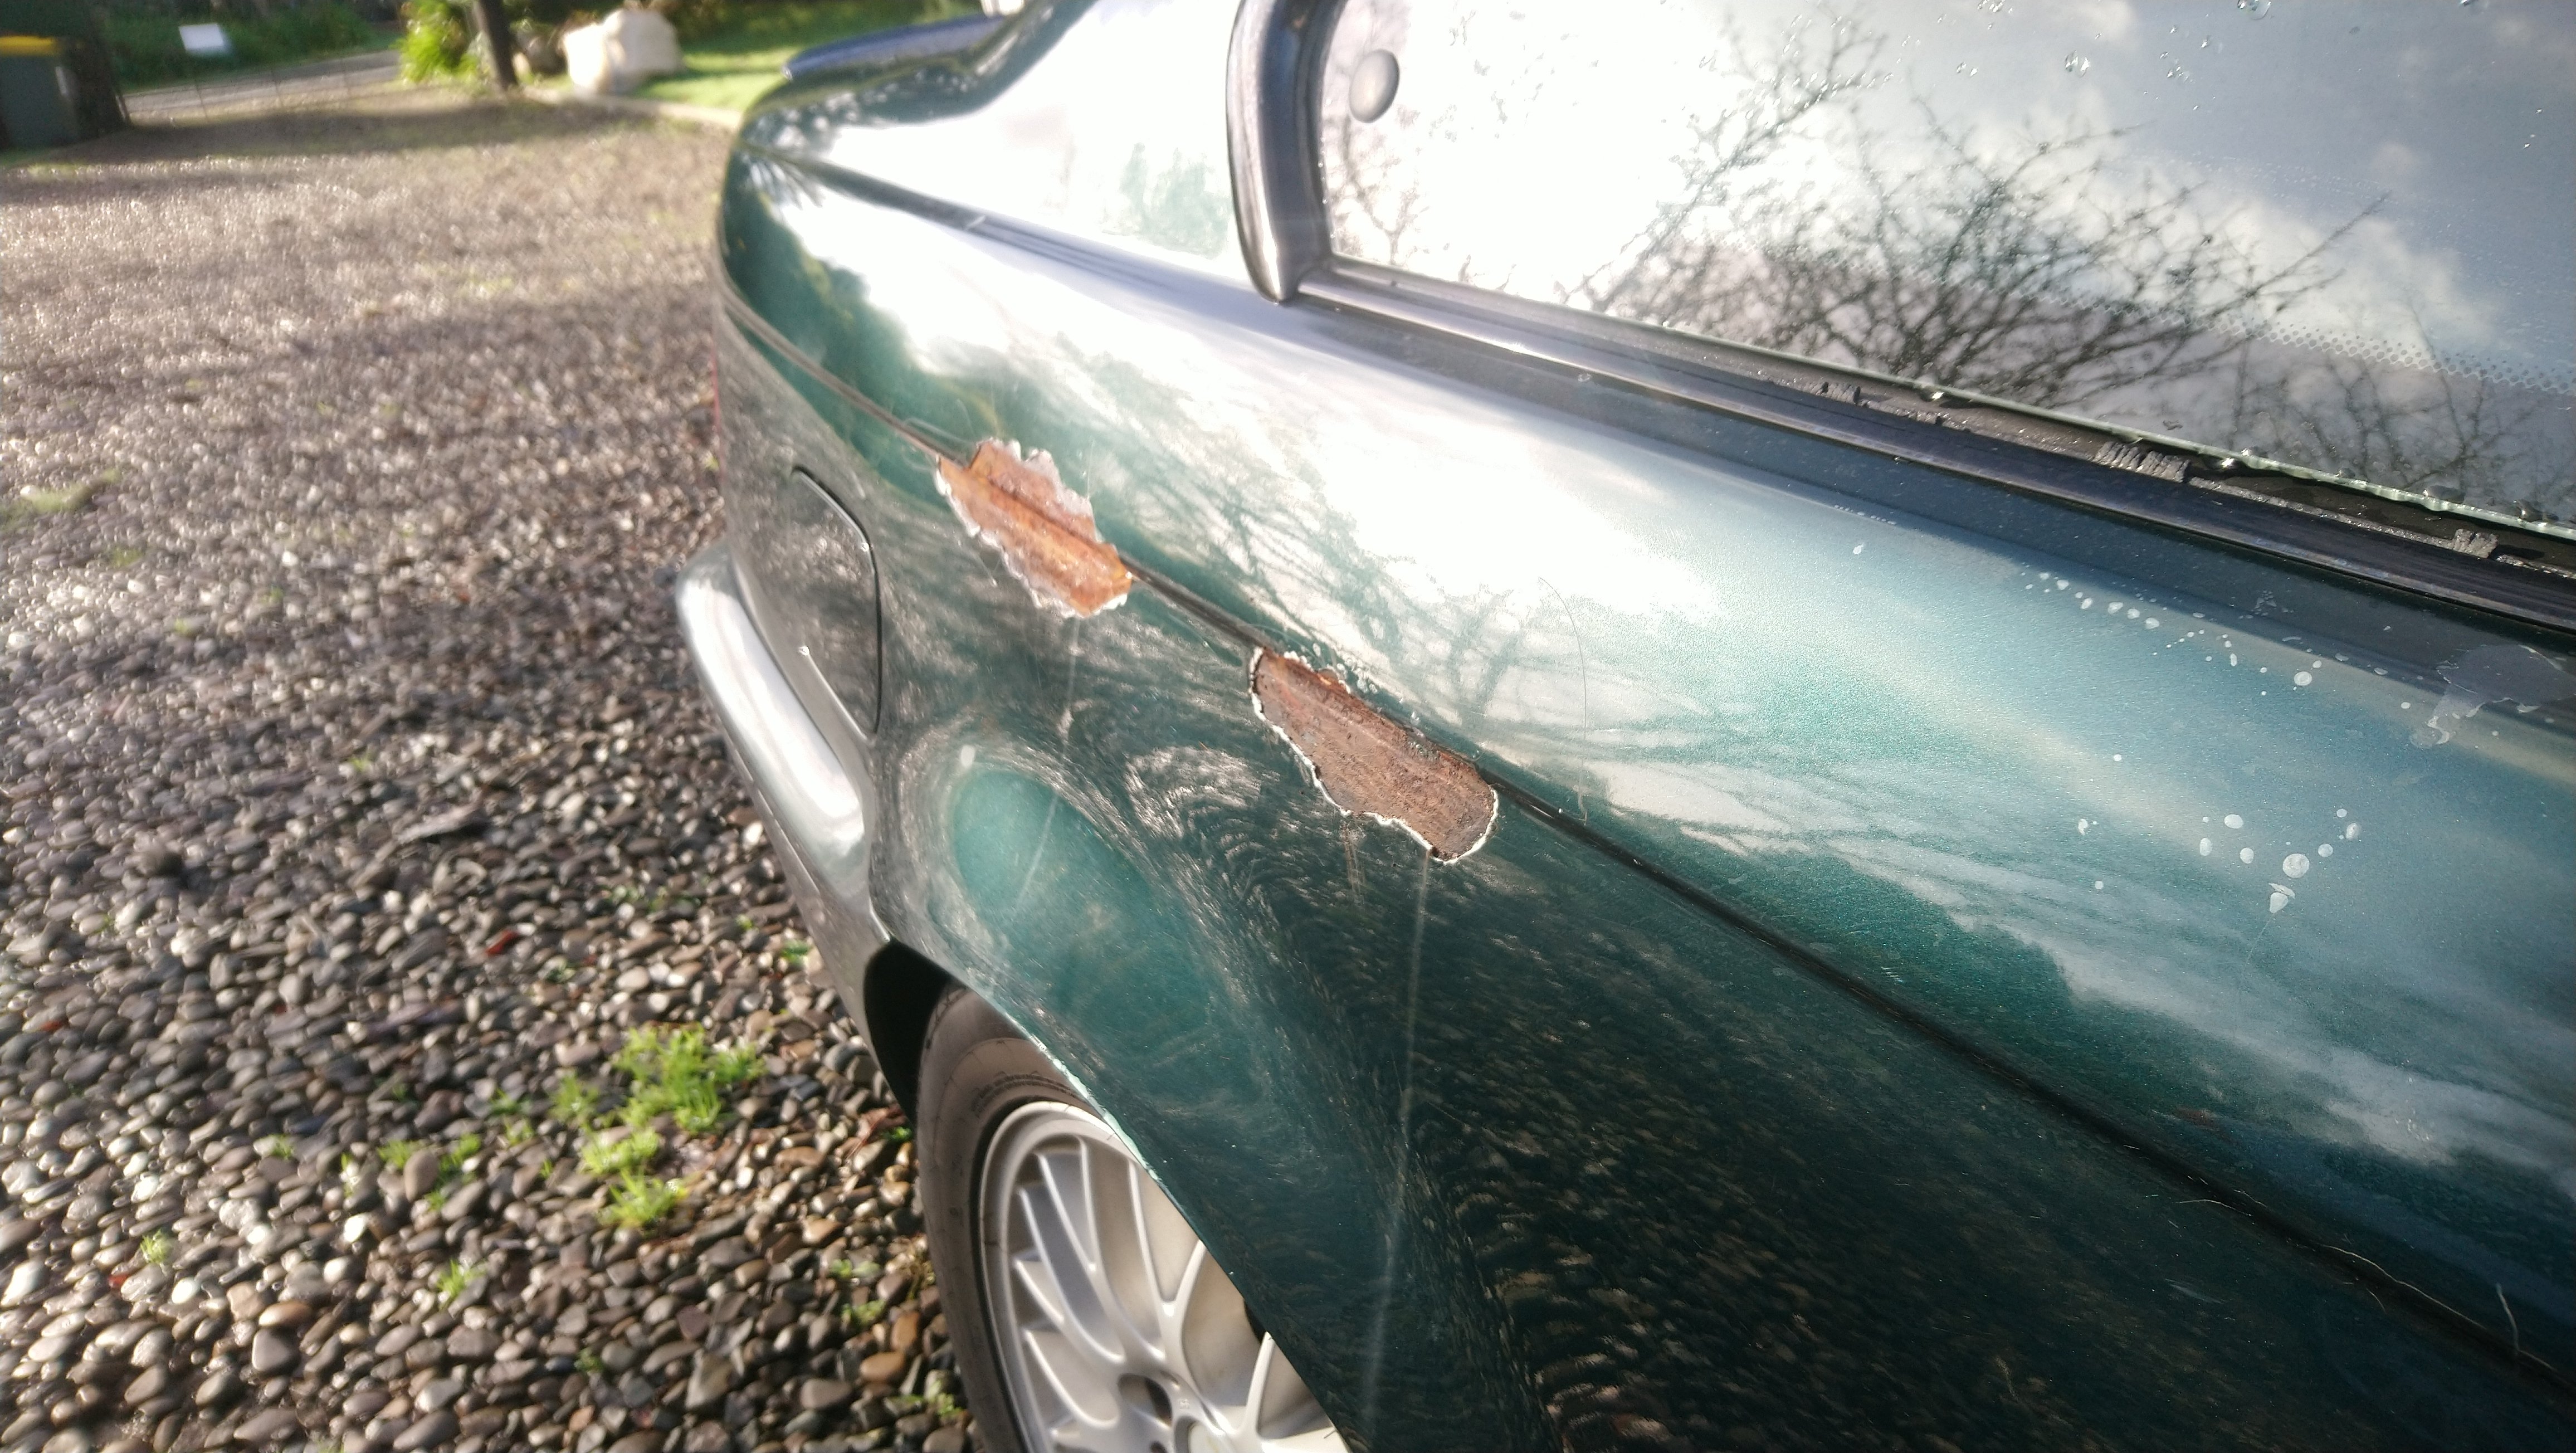
Hey wondering if anyone has ideas what might contribute to this, or if they have encountered same problem on e90
Had a wheel alignment done recently and tyres had atleast 6mm on them after alignment.
Inners are absolutely chewed, same on both sides.
I think the wheel alignment guy may have mentioned there was something stopping him adjust the rears past a certain point maybe like a bushing or something. Can't remember
What rear components on the back could stop someone adjusting tow/camber that may need replacing on this stock setup.
Cheers
-
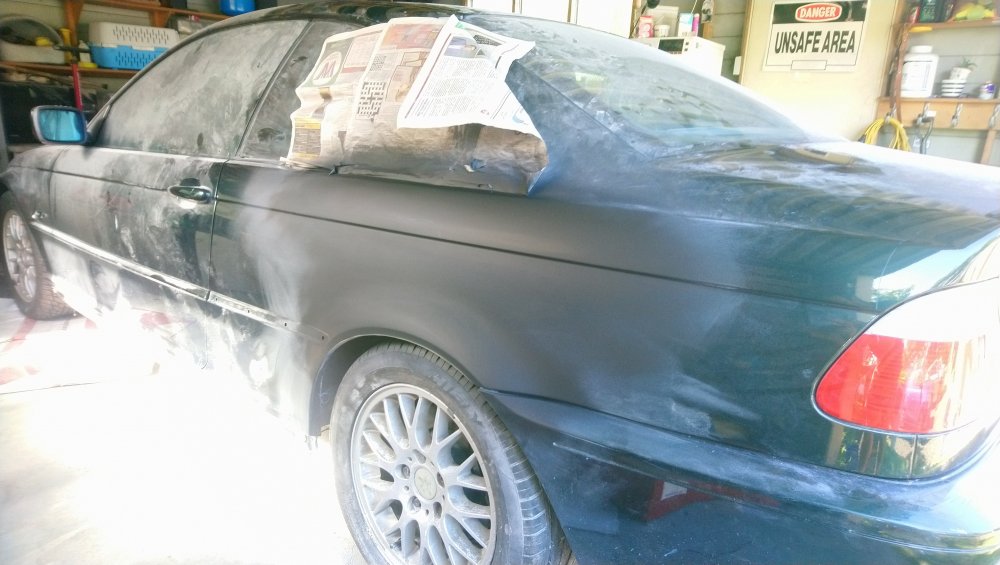
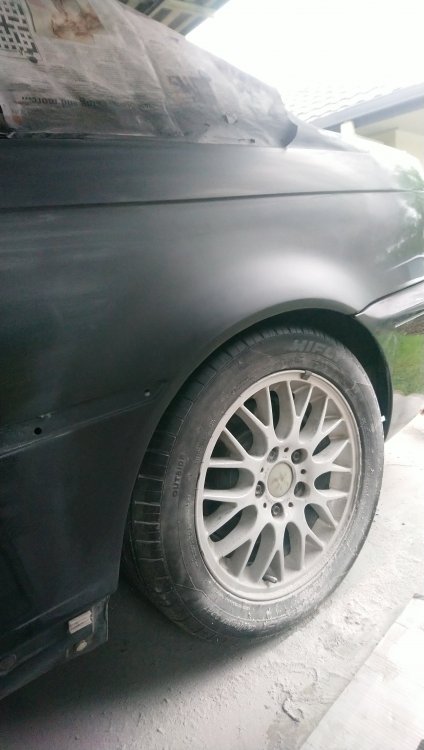
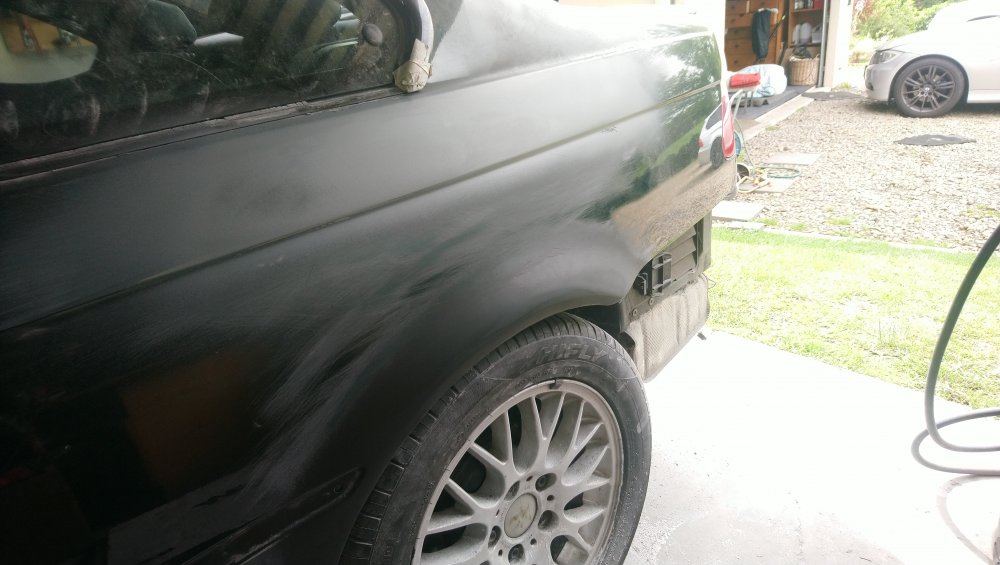
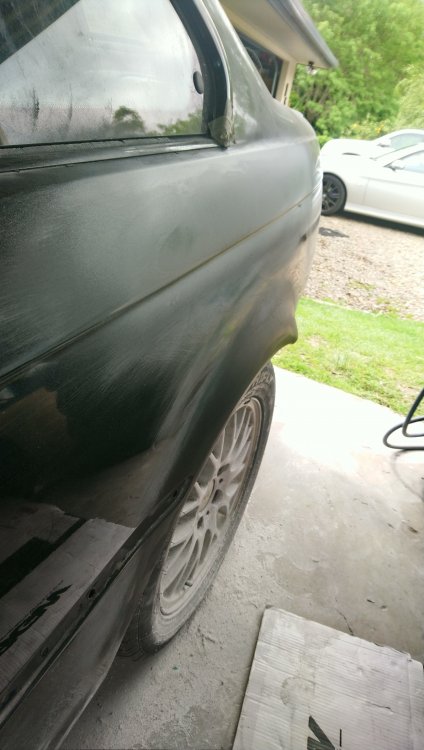
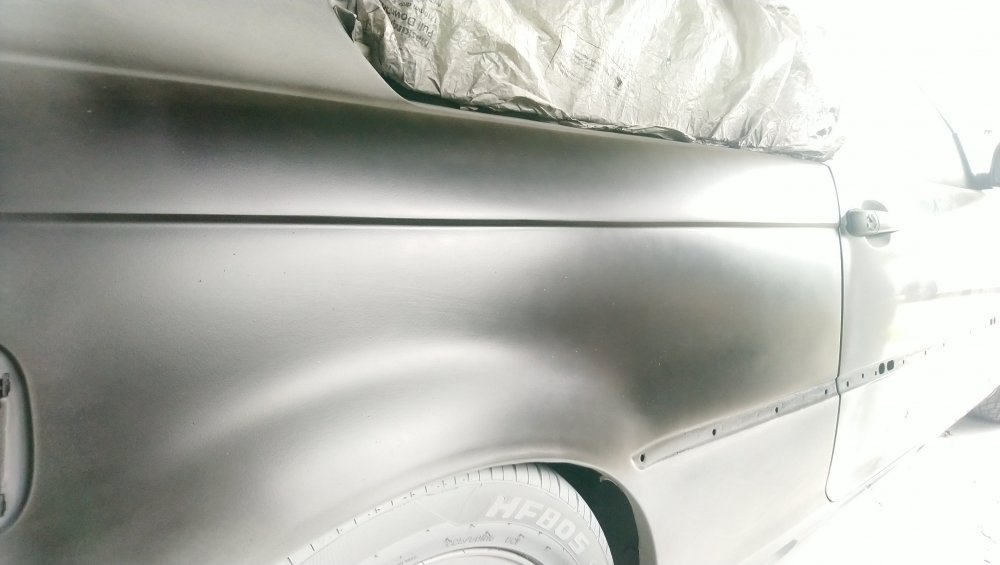
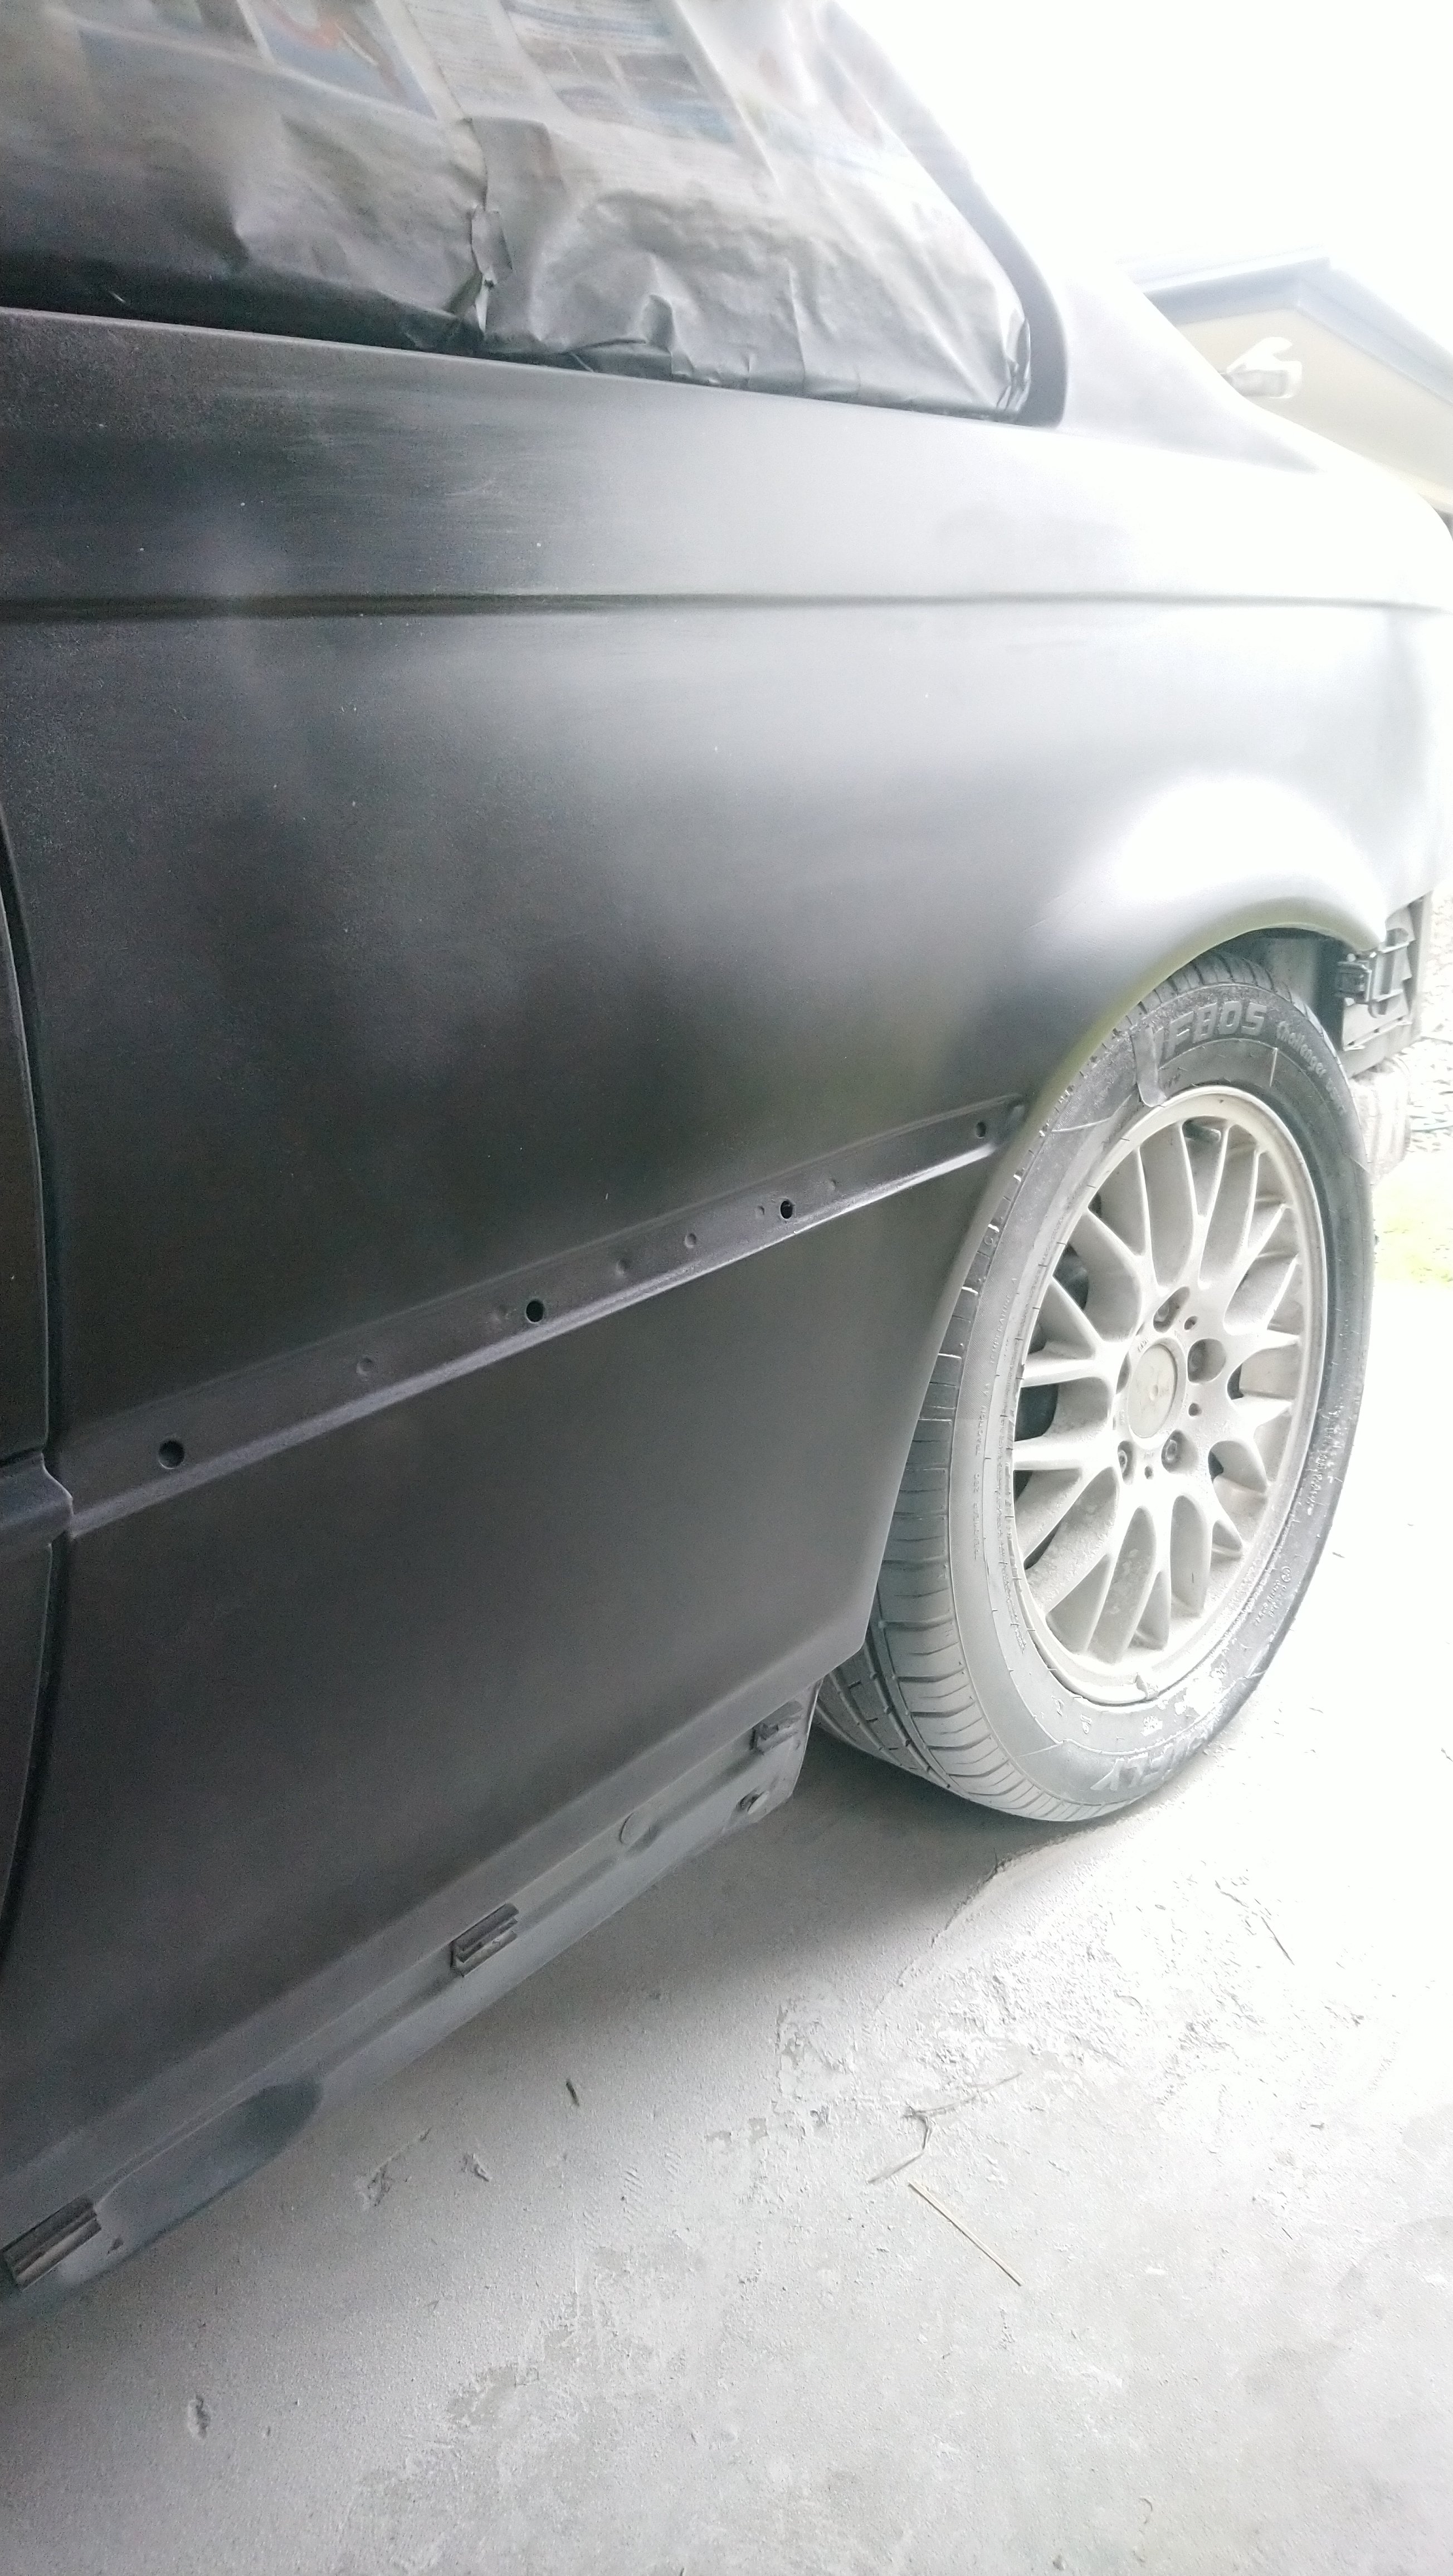
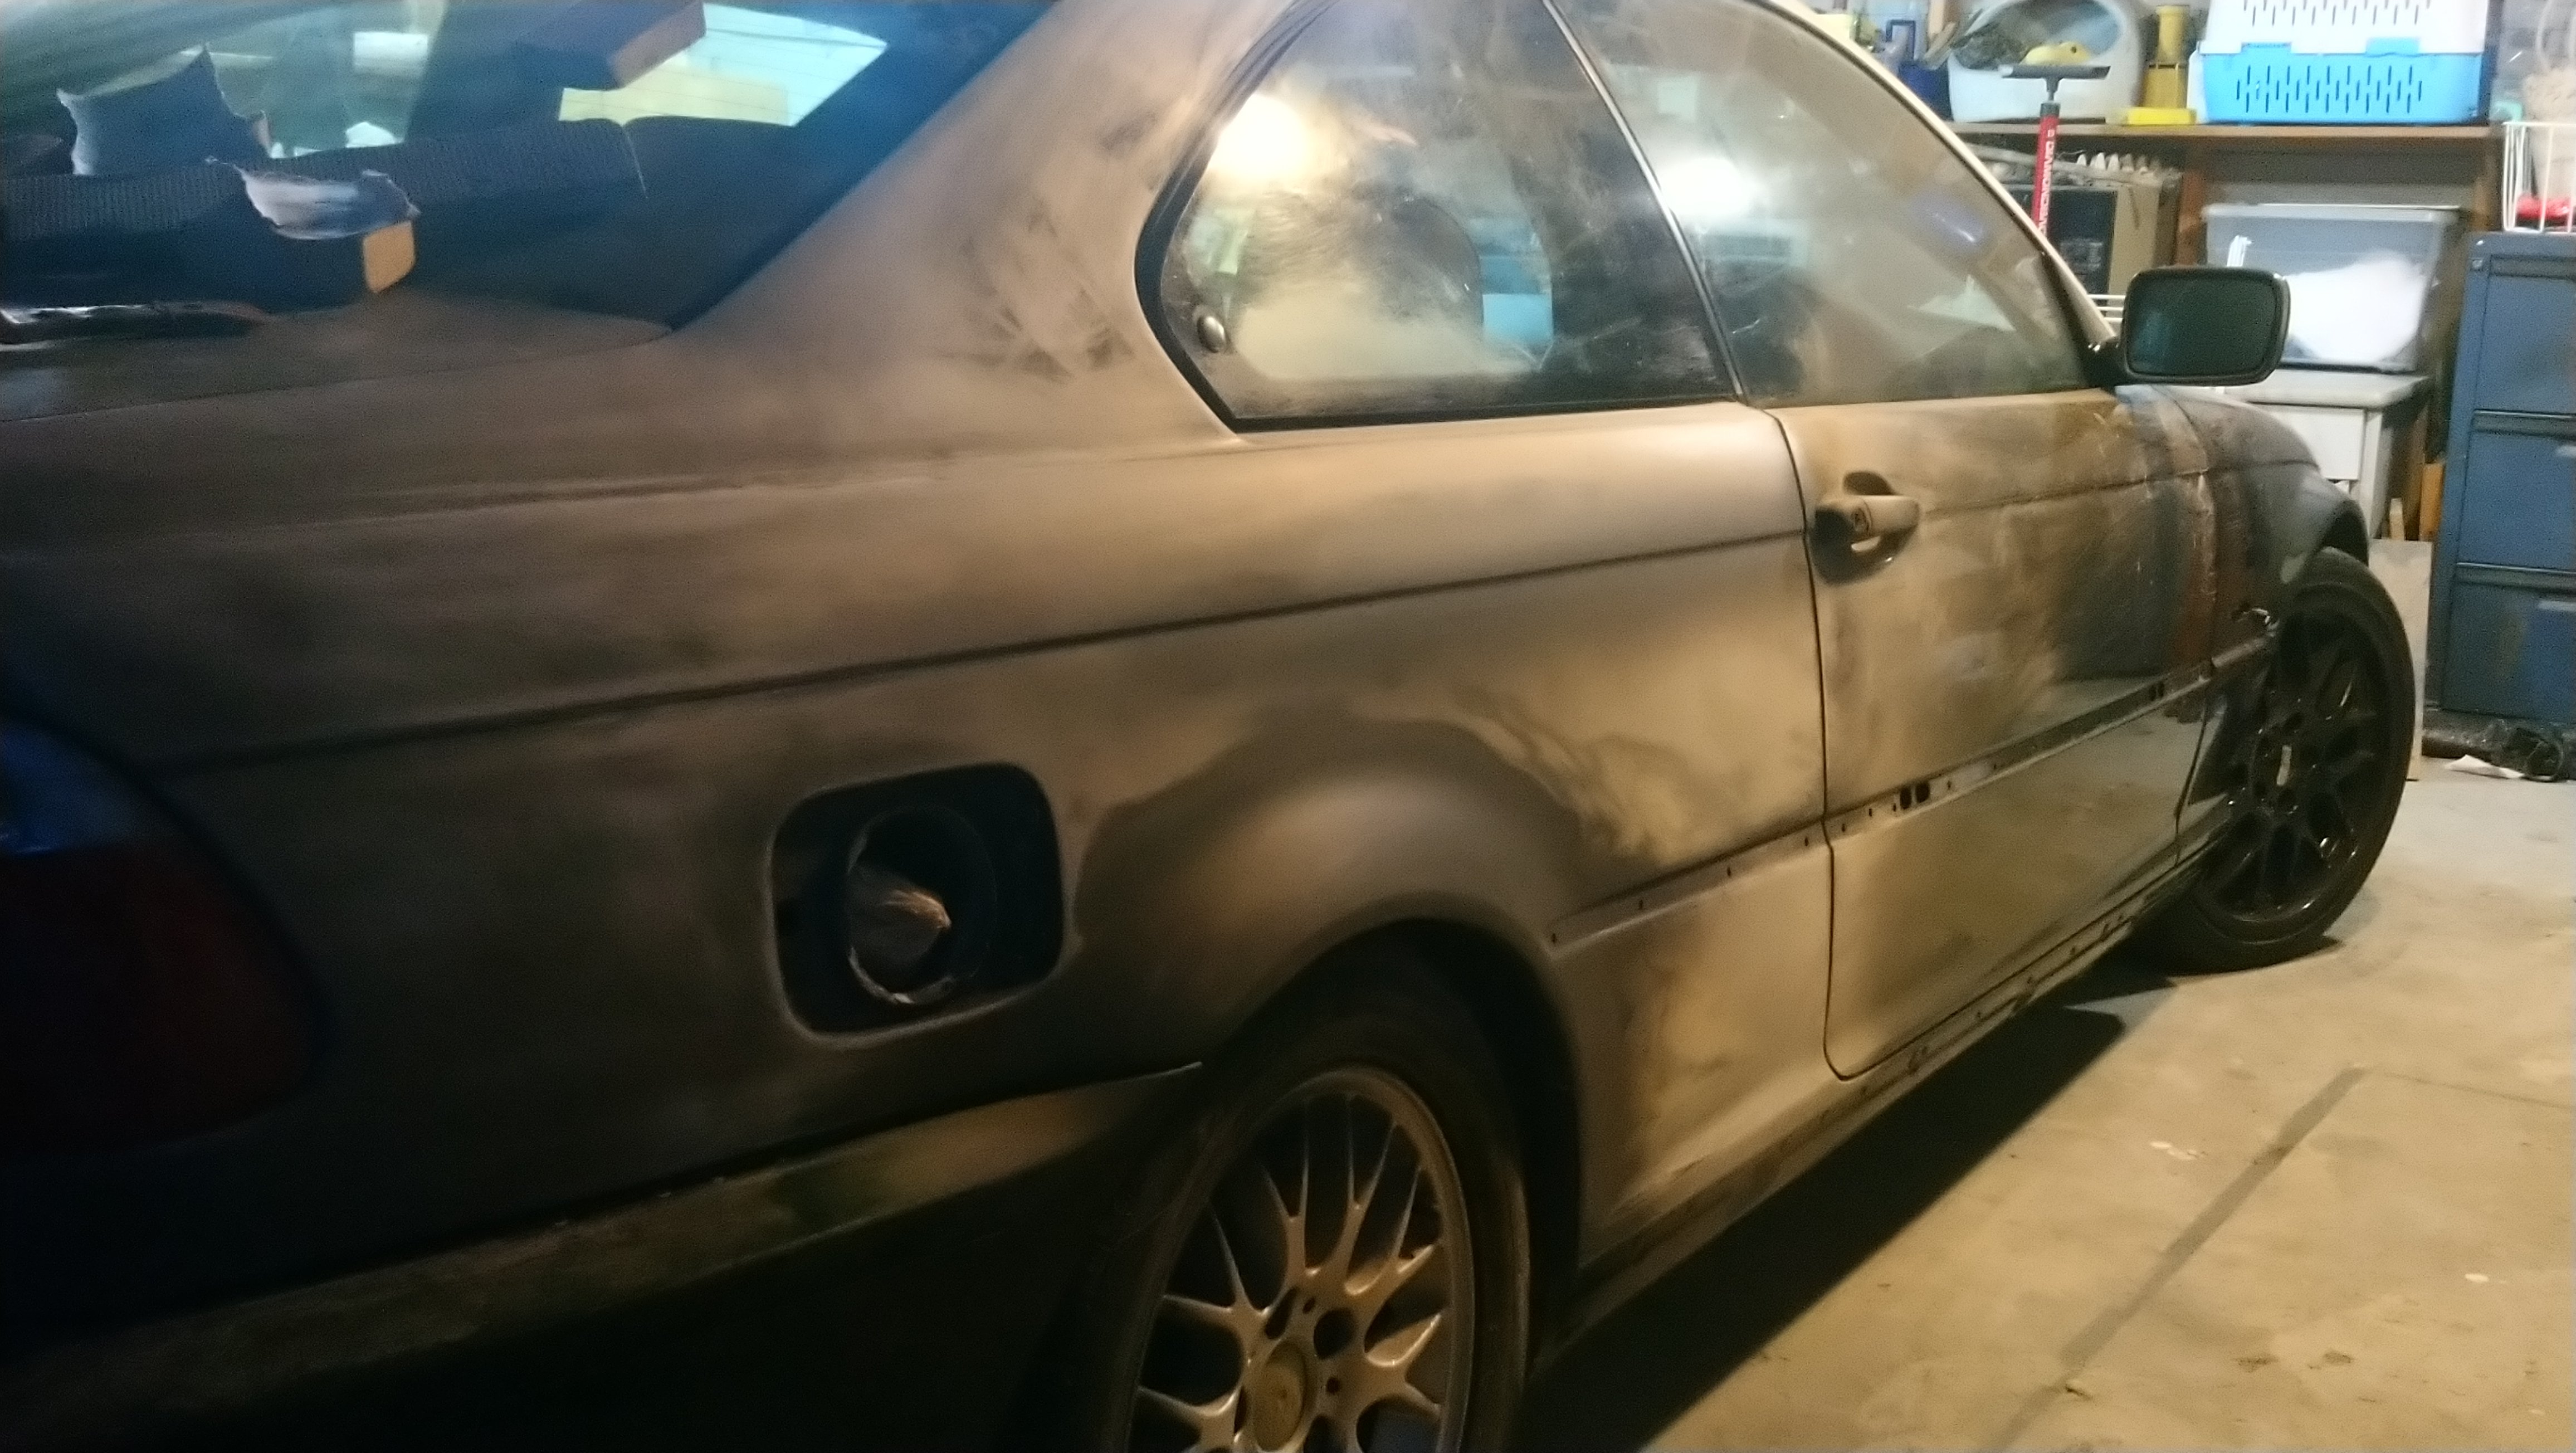
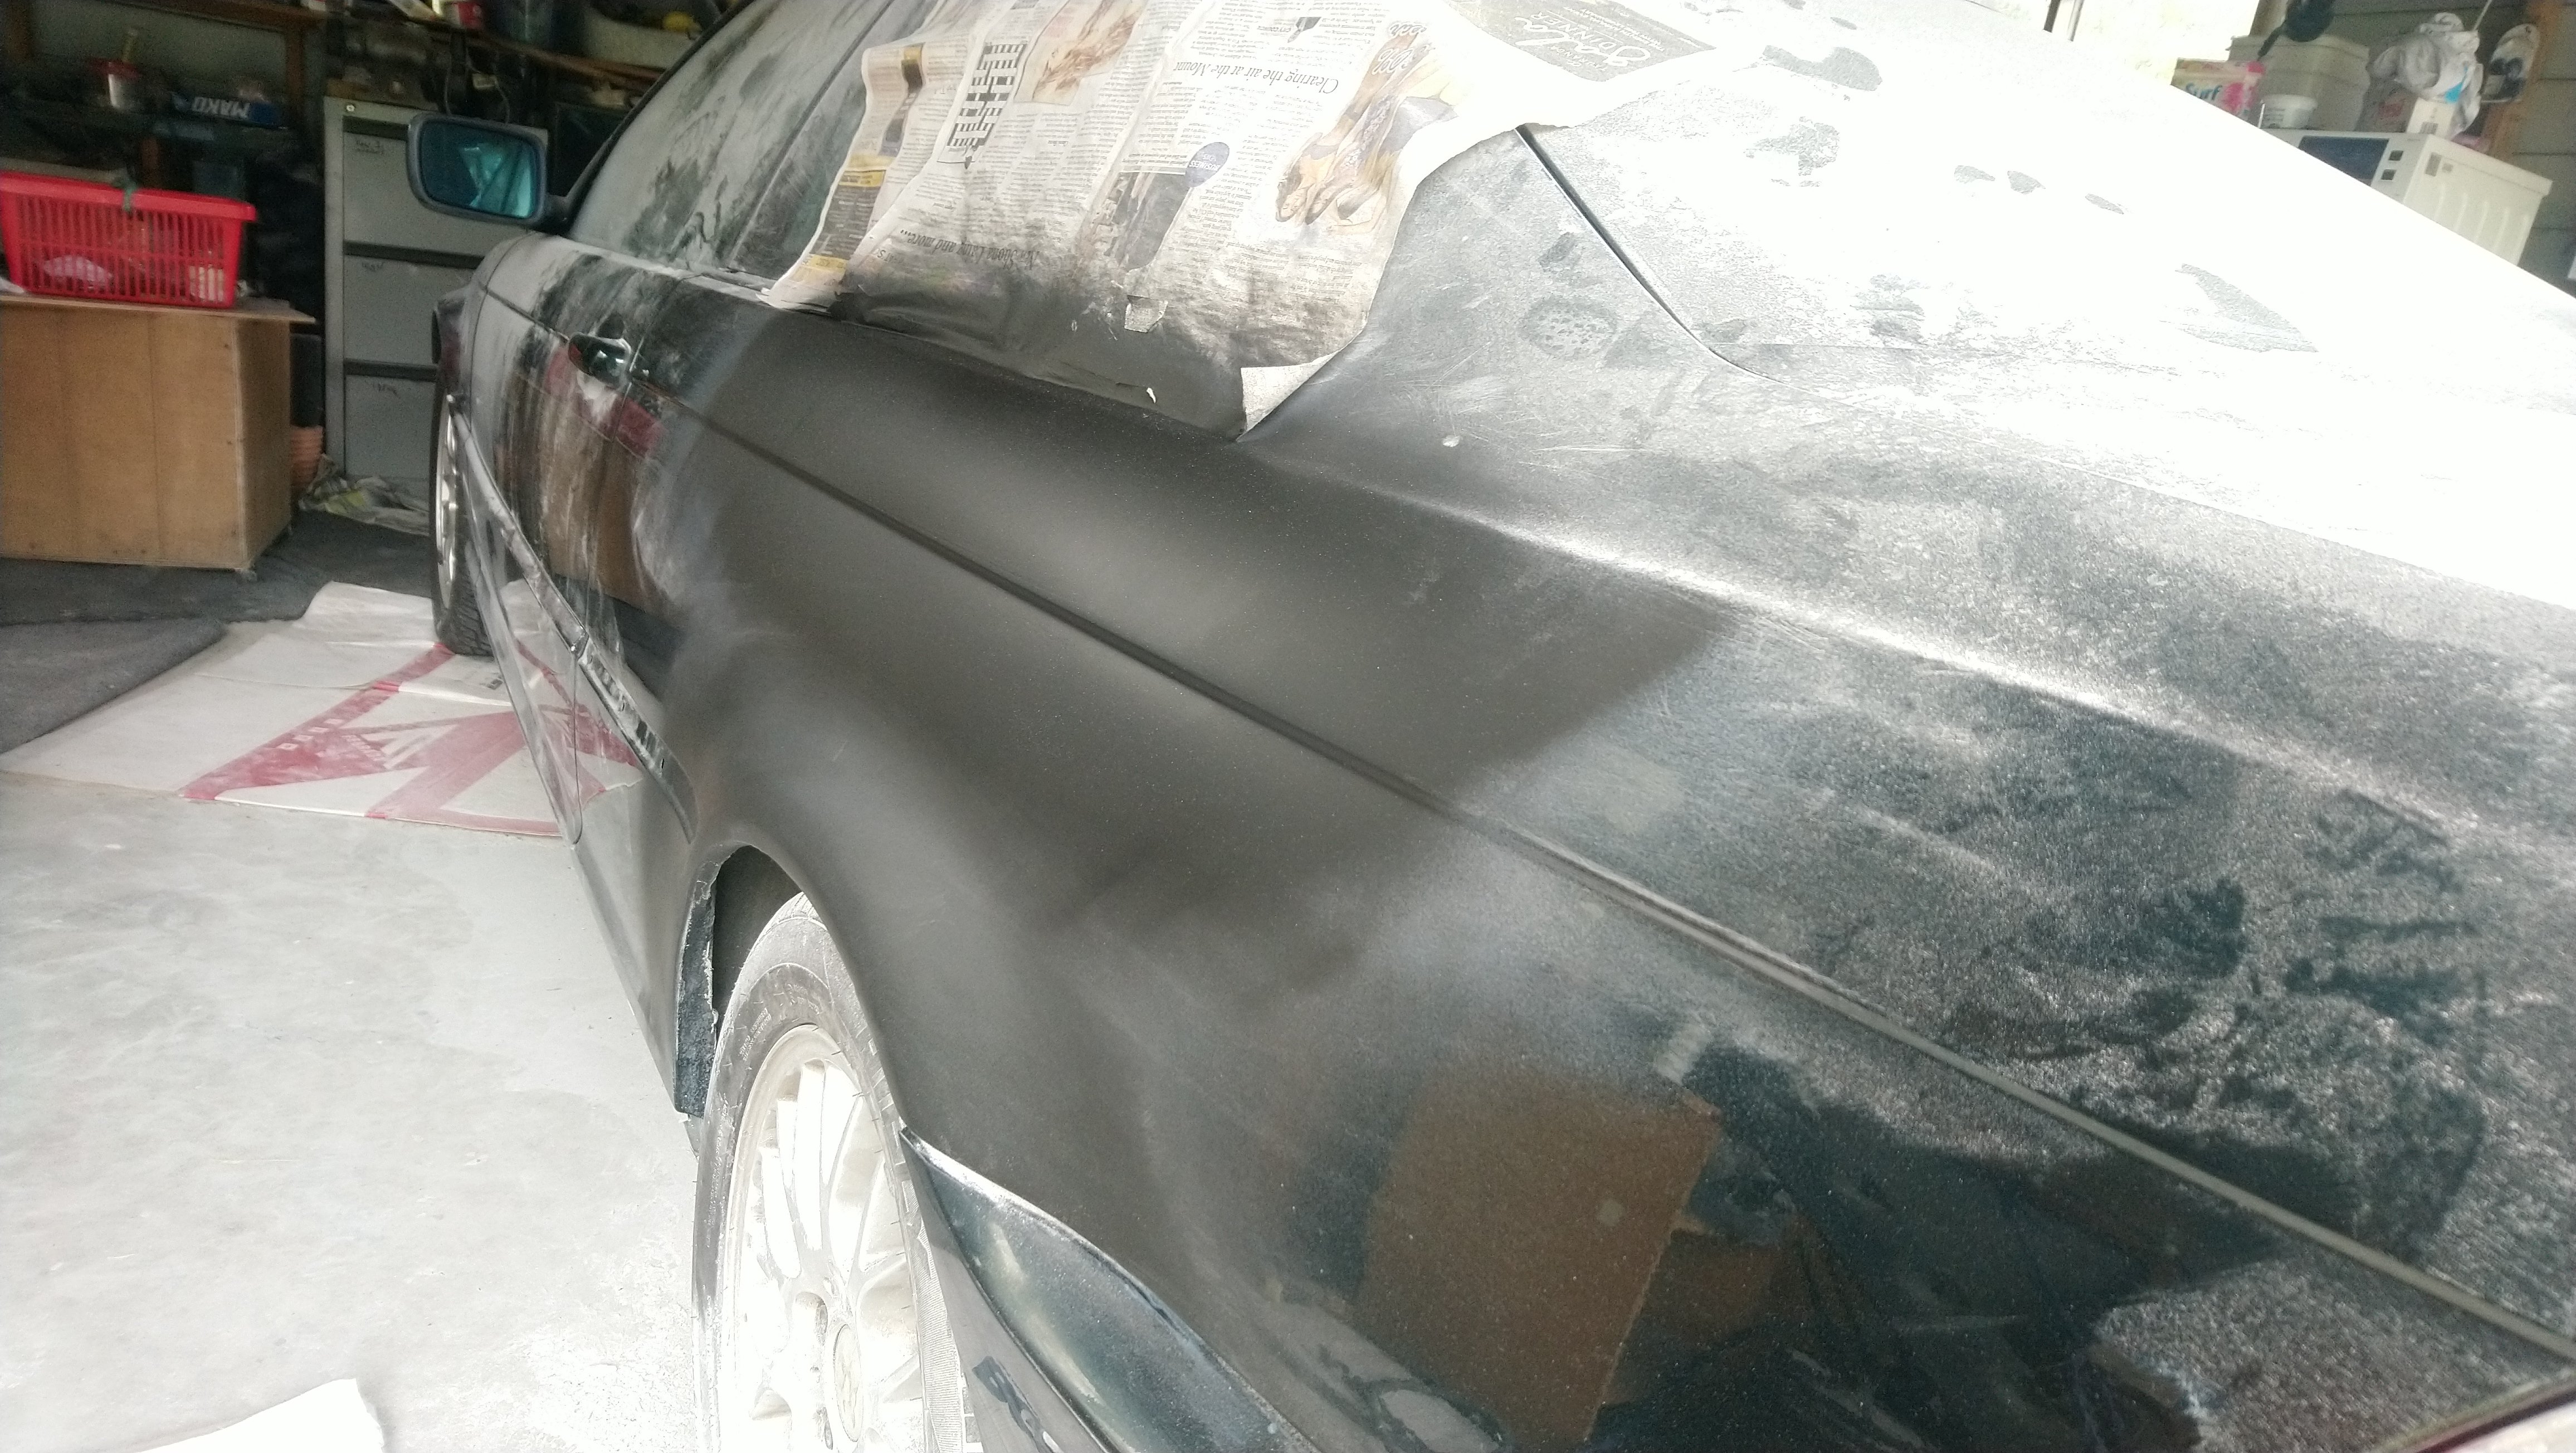
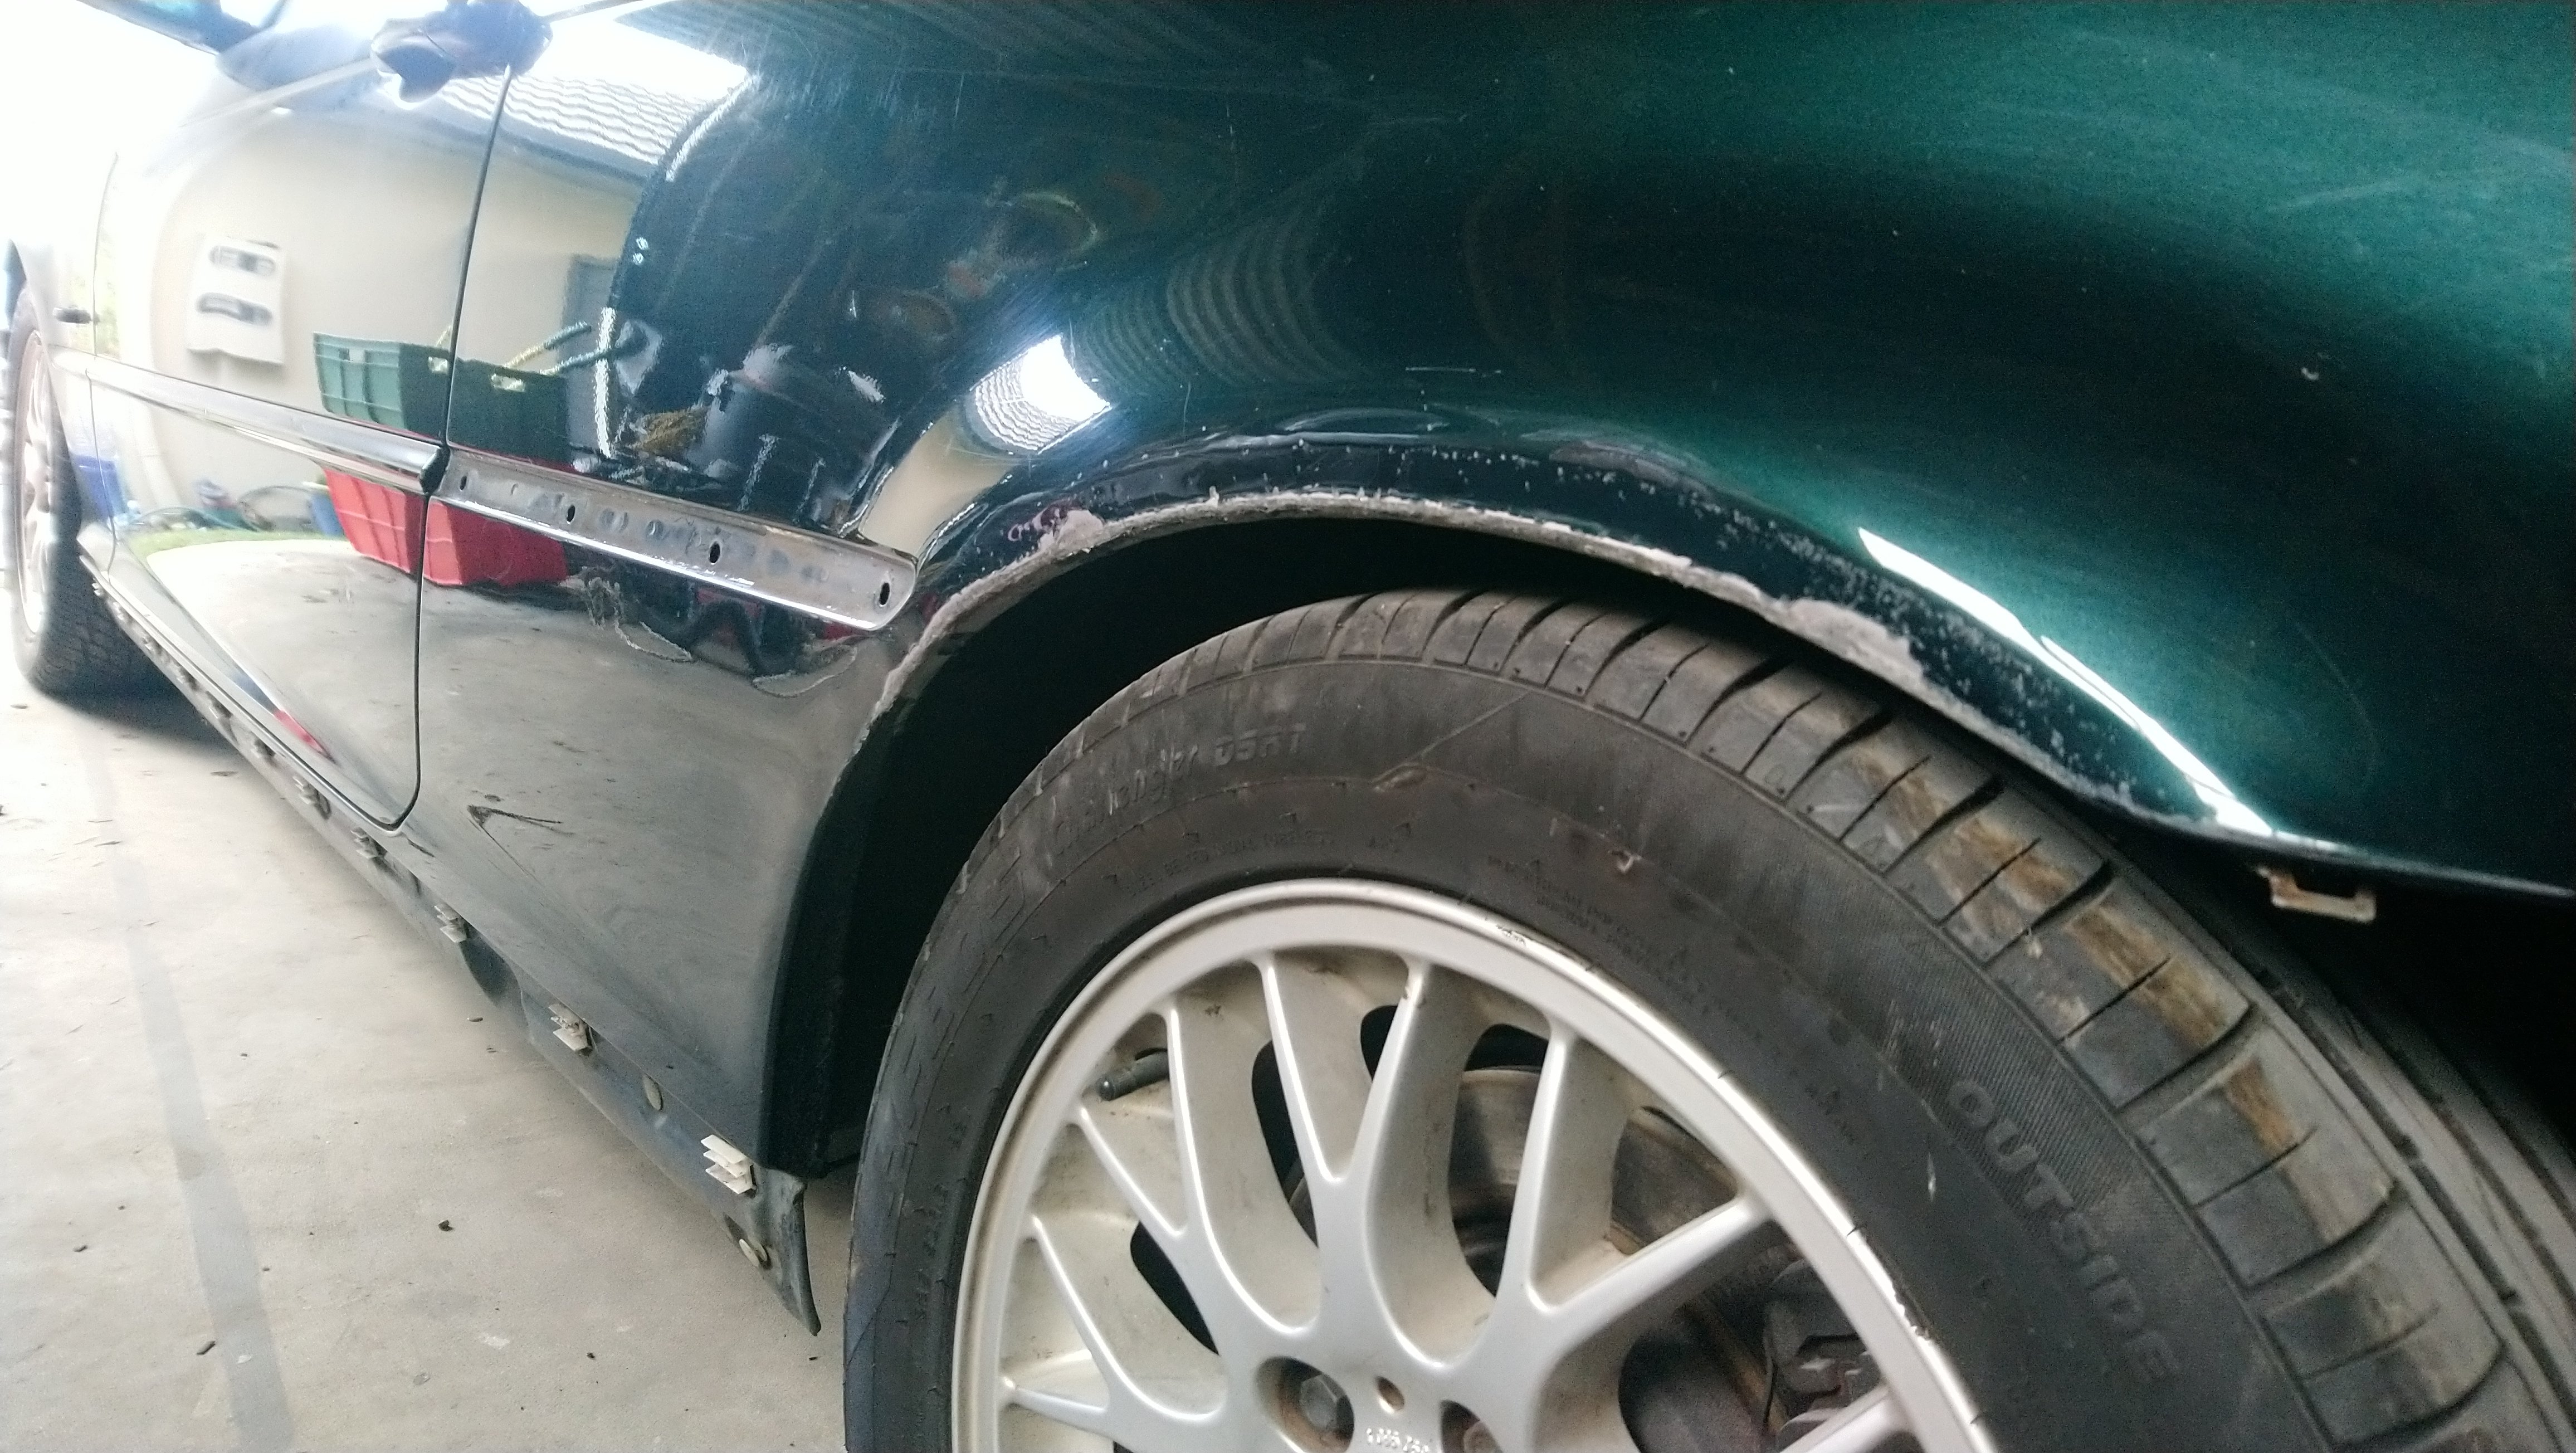
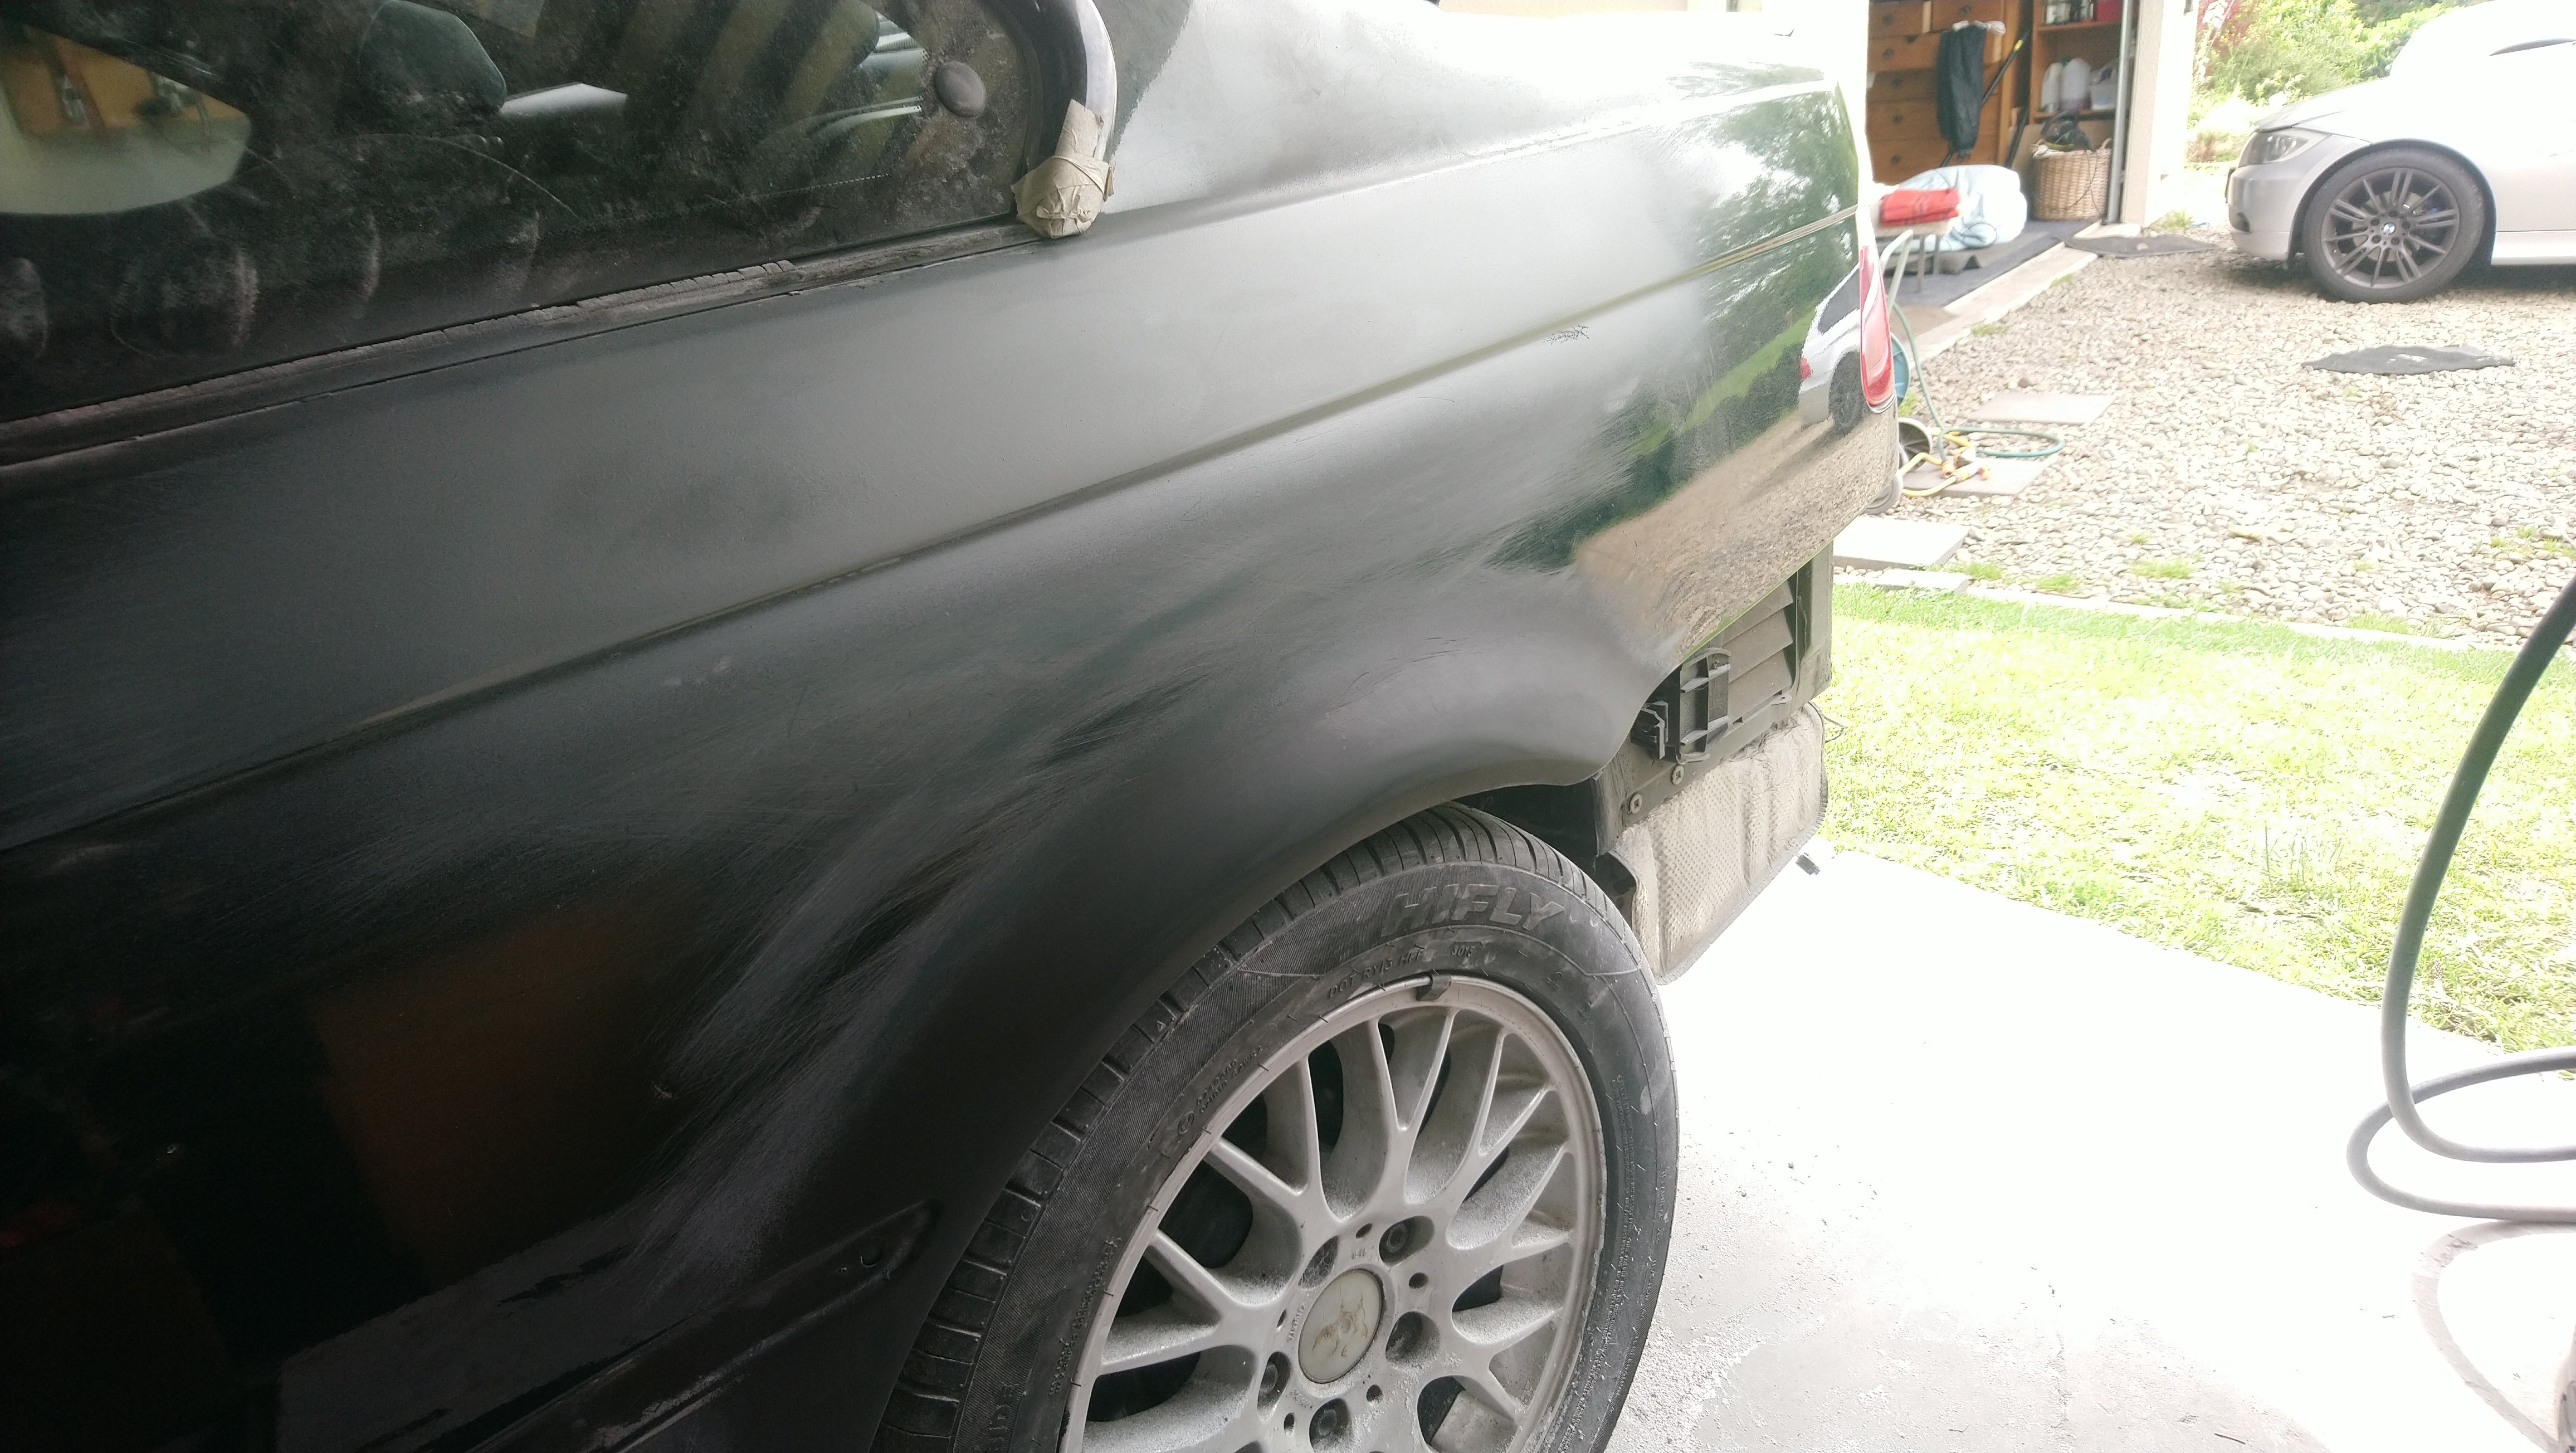
Believe it or not, that panel needed another few light runs of filler, some very deceptive low spots still, this curve is without a doubt taking me on a panel crash course from hell.
But yeah for real, she's done. Well Im struggling to see where she's not good, so that's good enough for me. Walking a fine line to insanity getting this right.
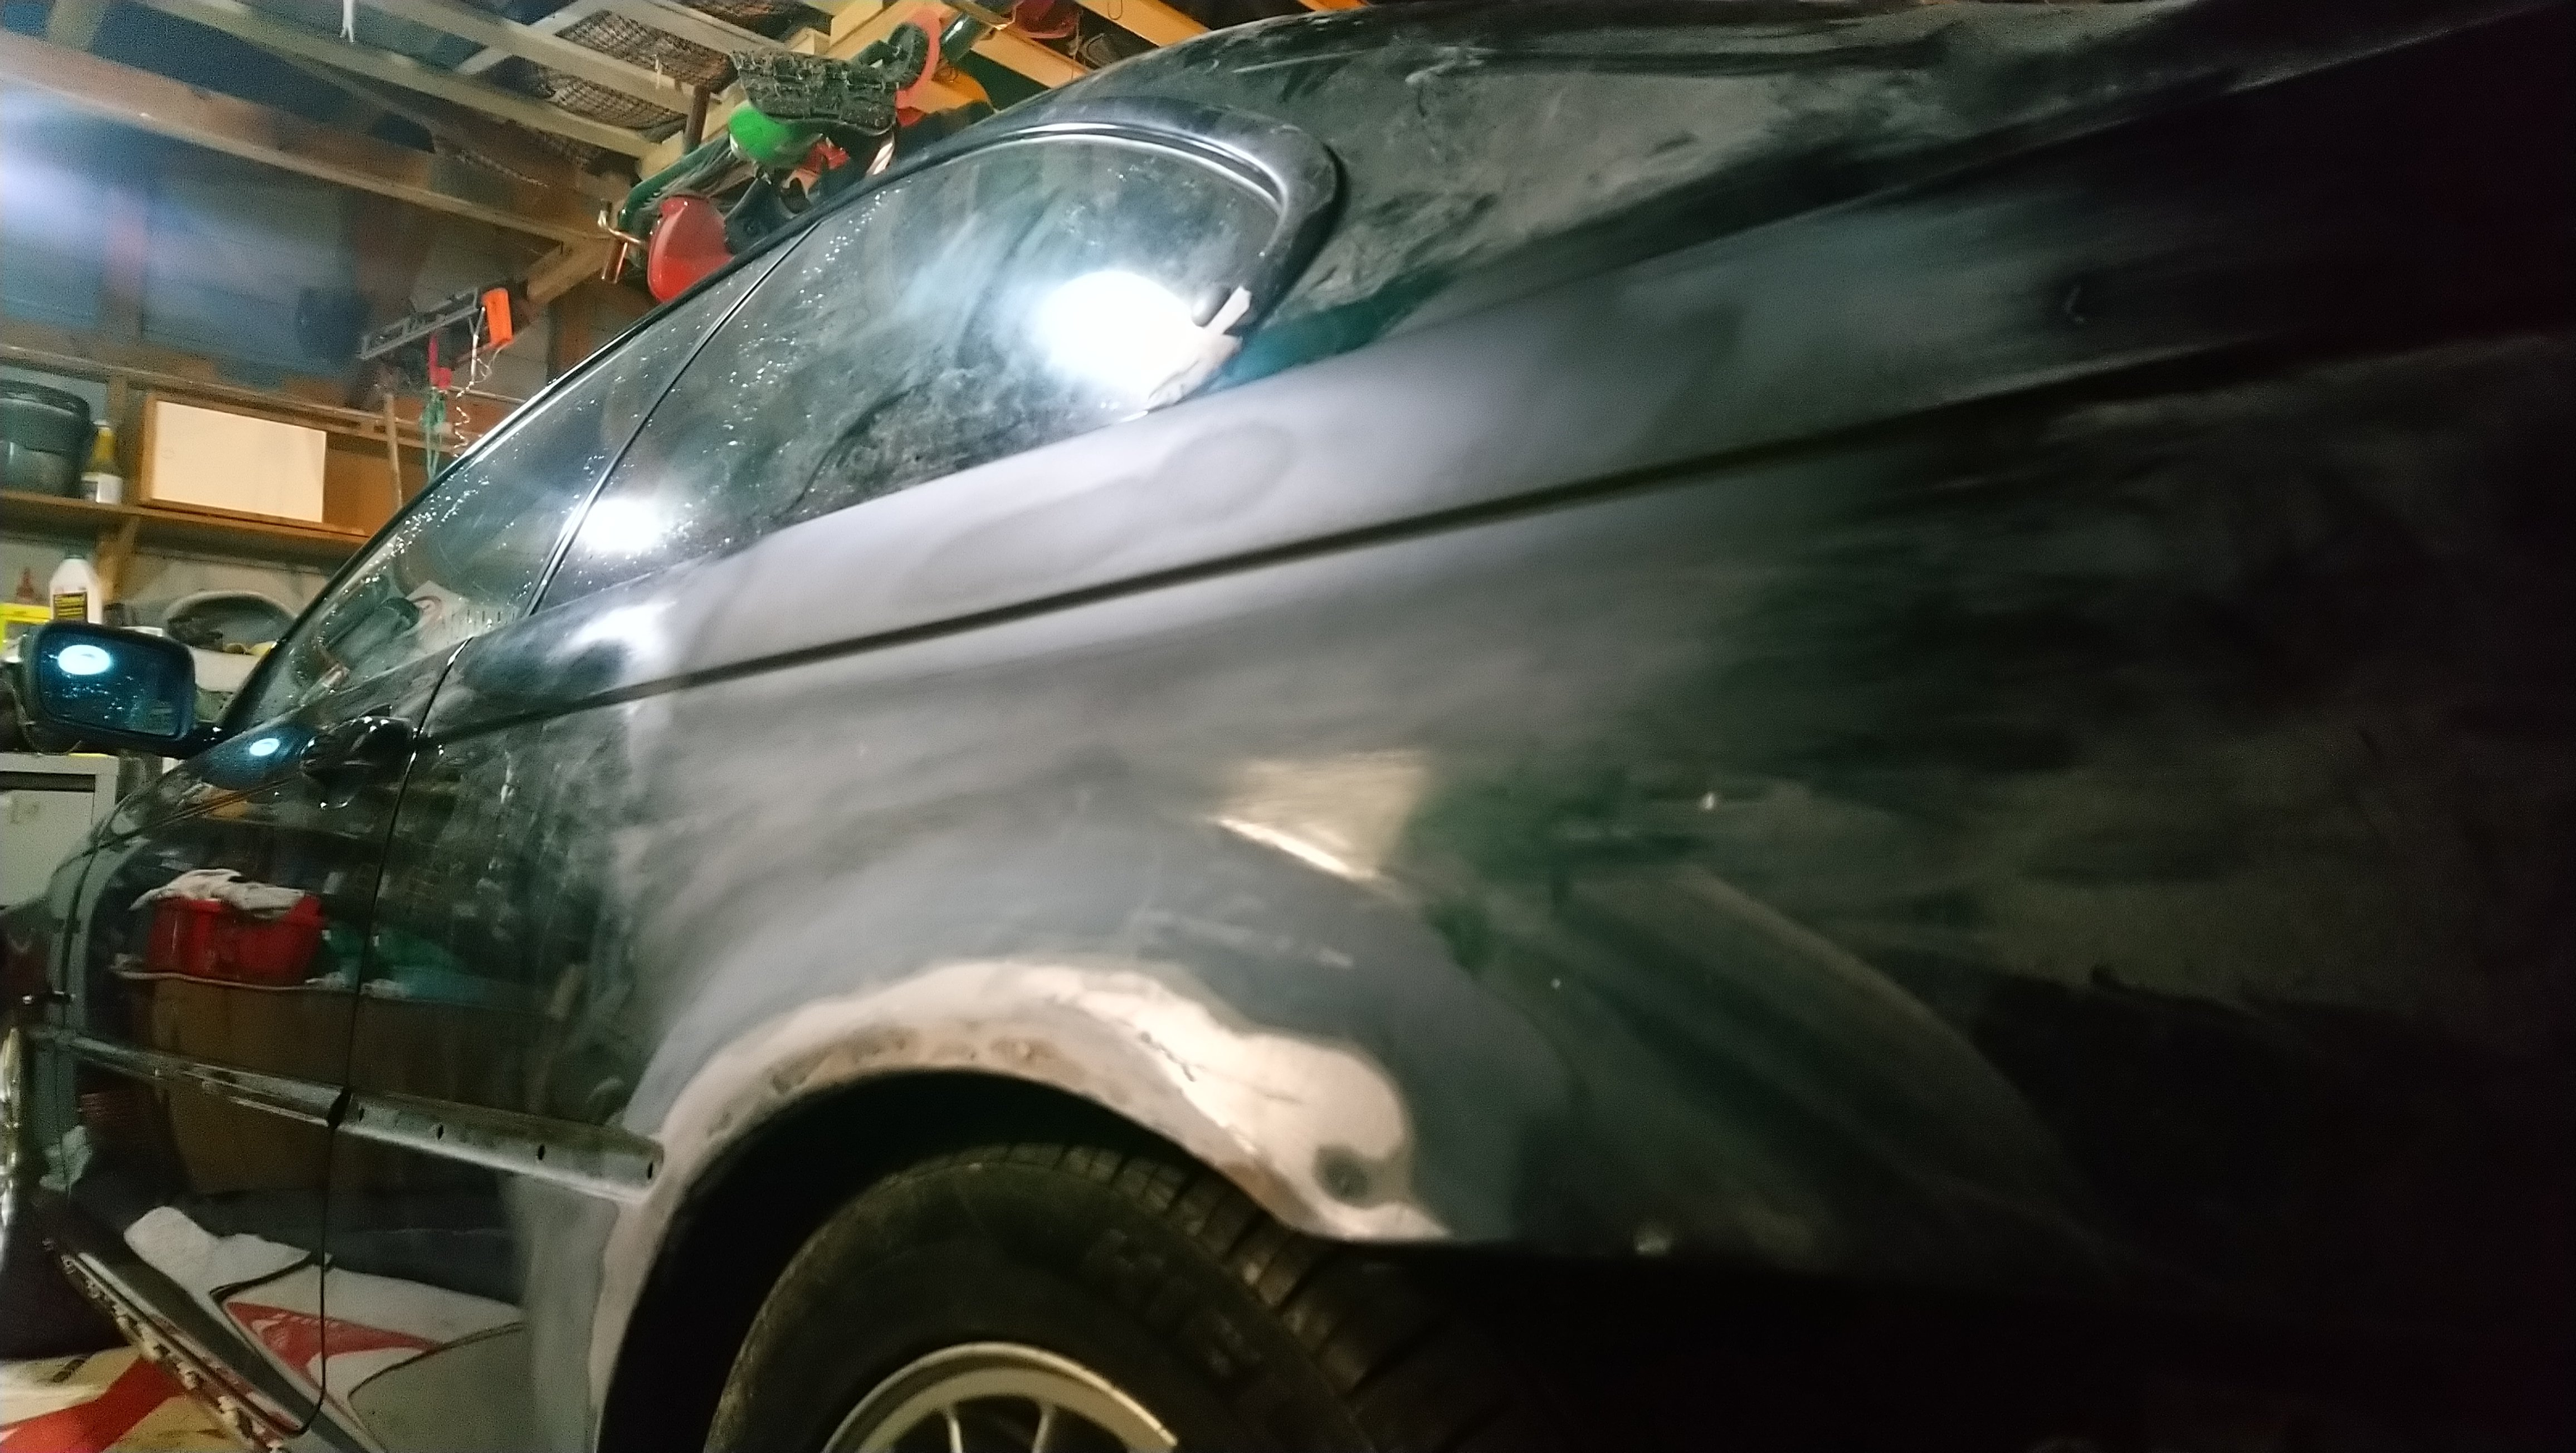
Slapped down some base coat to get some shadows showing, and she looks mint
I was talking to a panel beater today and he laughed saying that what I'm dealing with is normal, happens on nearly every job

Hopefully wrap up the other side on Saturday! Already put alot of work into it. But haven't applied a fine tooth comb over it like this side
-
 5
5
-
-
Will take some photos but
- rectangle hard rubber
- rectangle soft foam
- rectangle solid wood
- knee board cut in half to be a very long one, good for contours
Wish I had more, would have cut down my runs by 70% atleast
And should have spent $40 on 3m guide coat powder. Probably would have cut down waste primer and guide coat runs
-
1
-
-
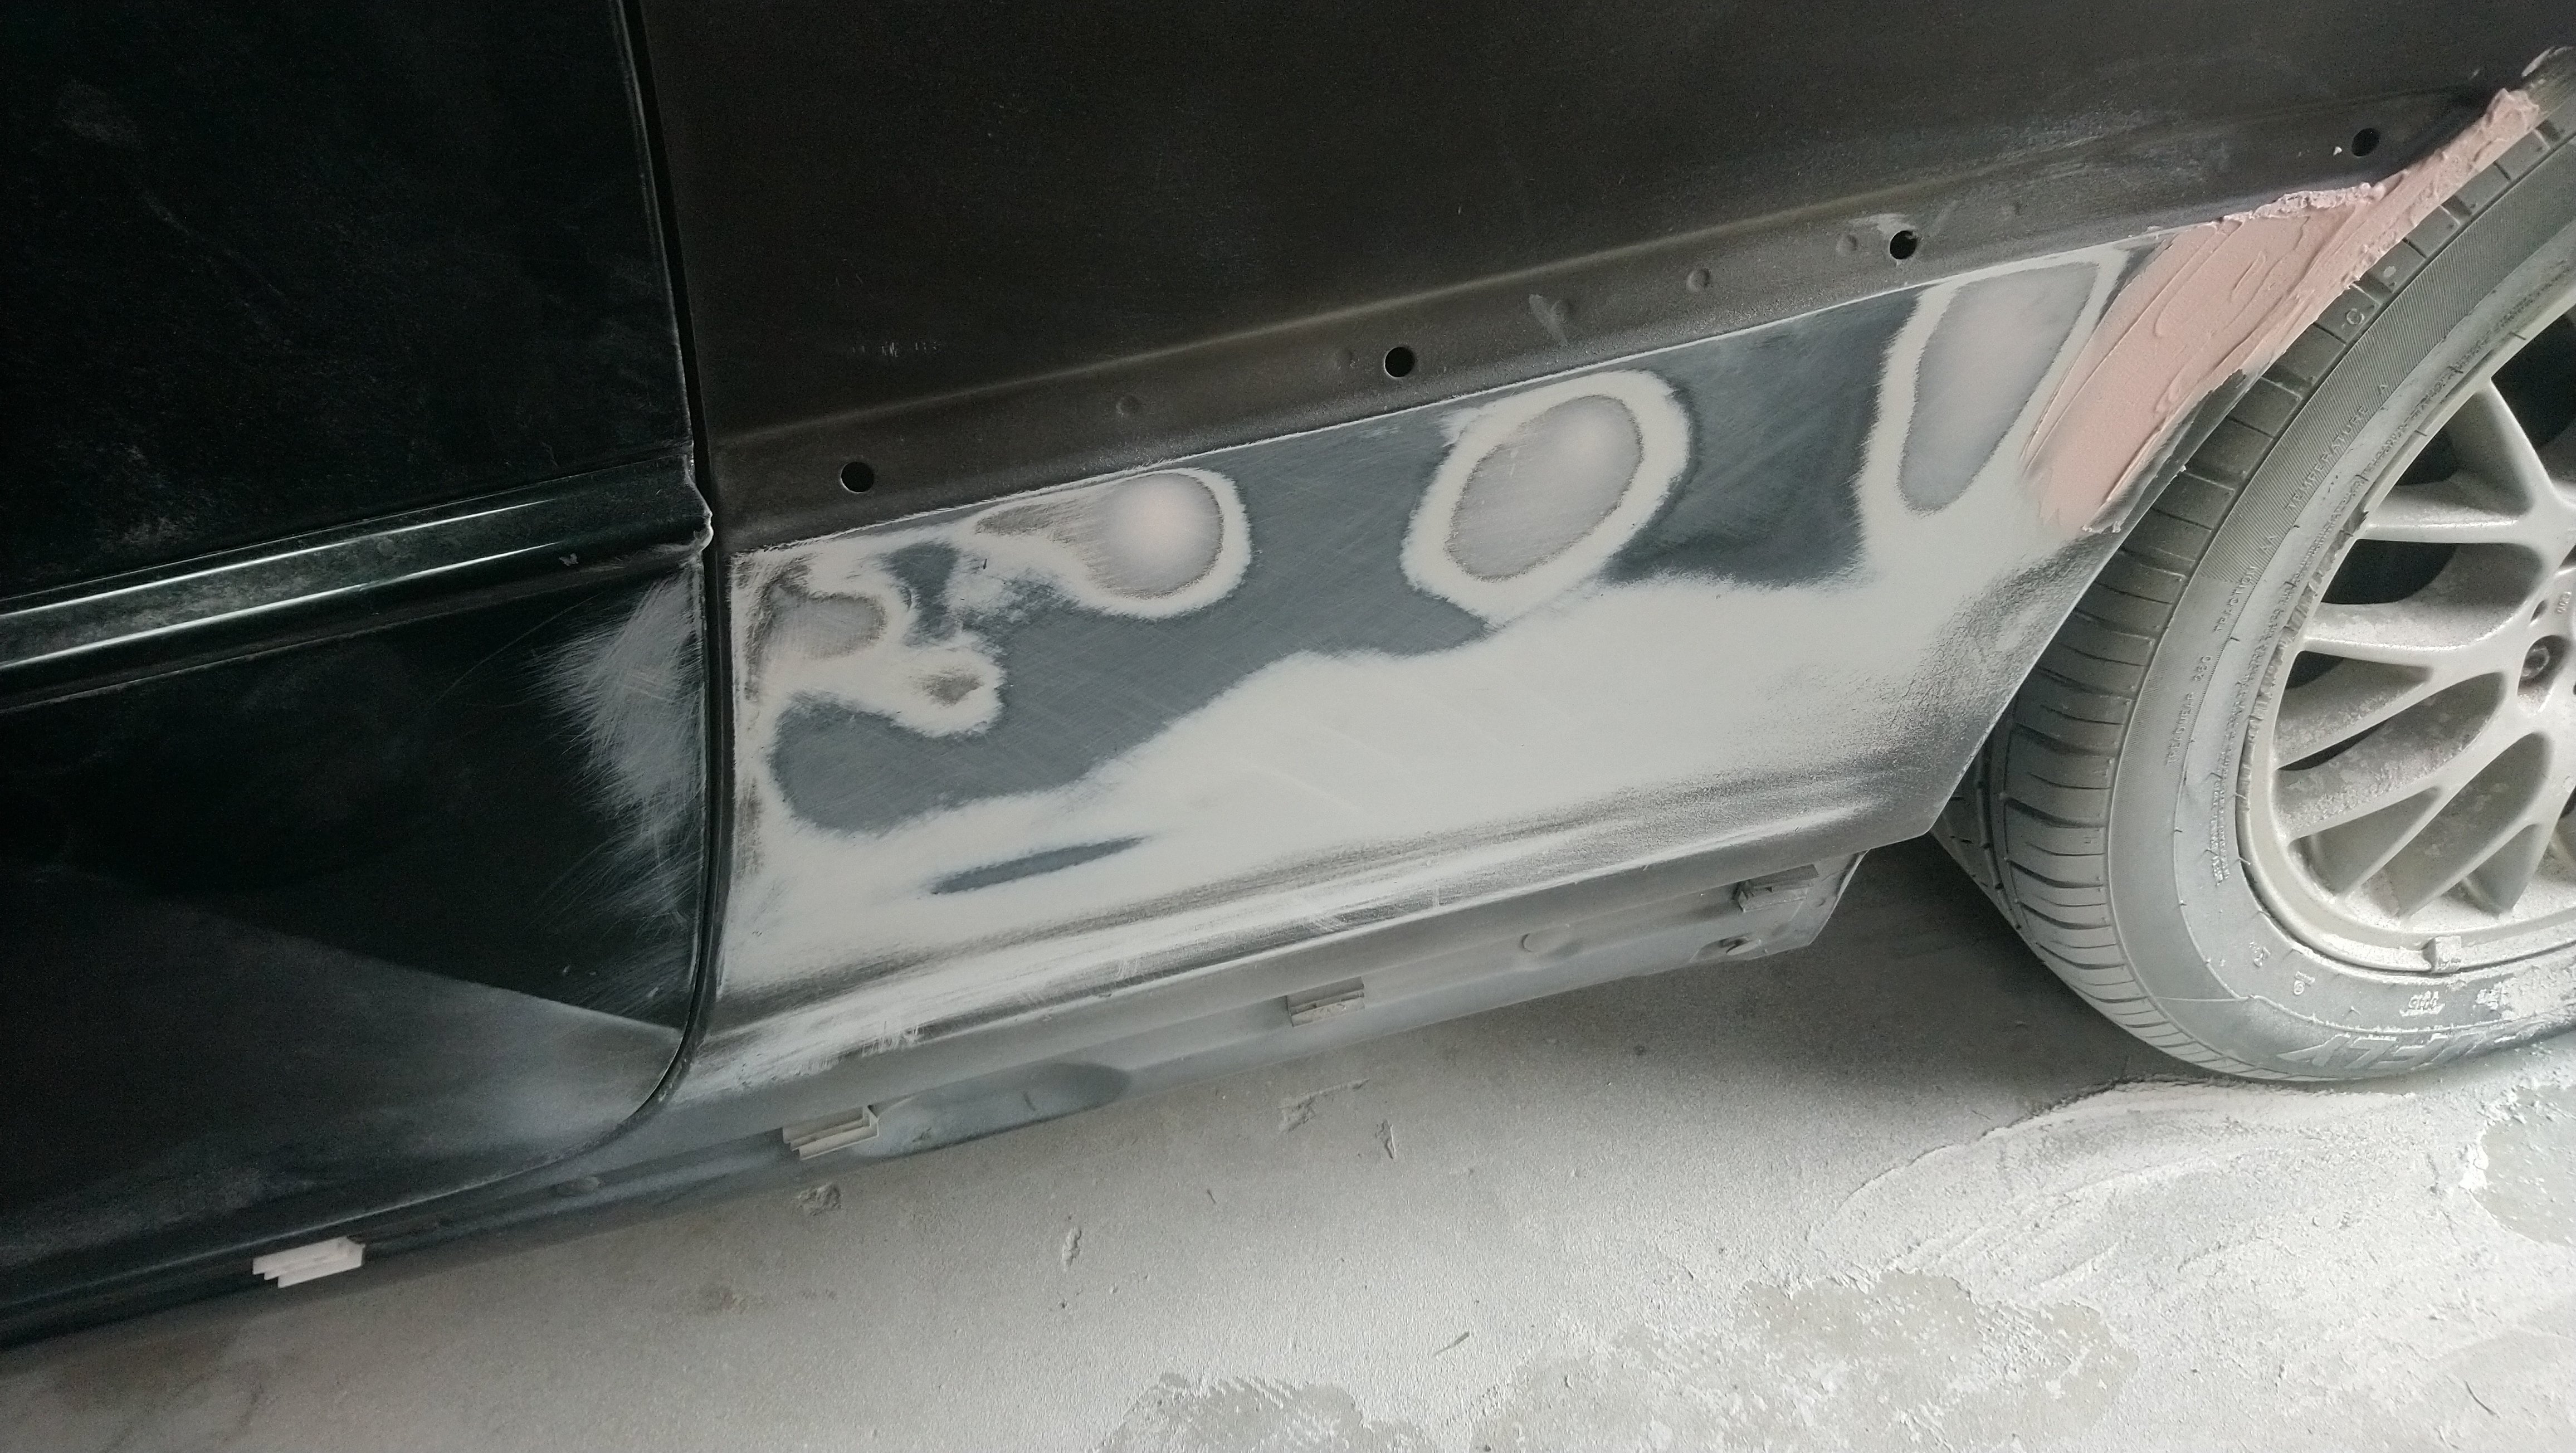
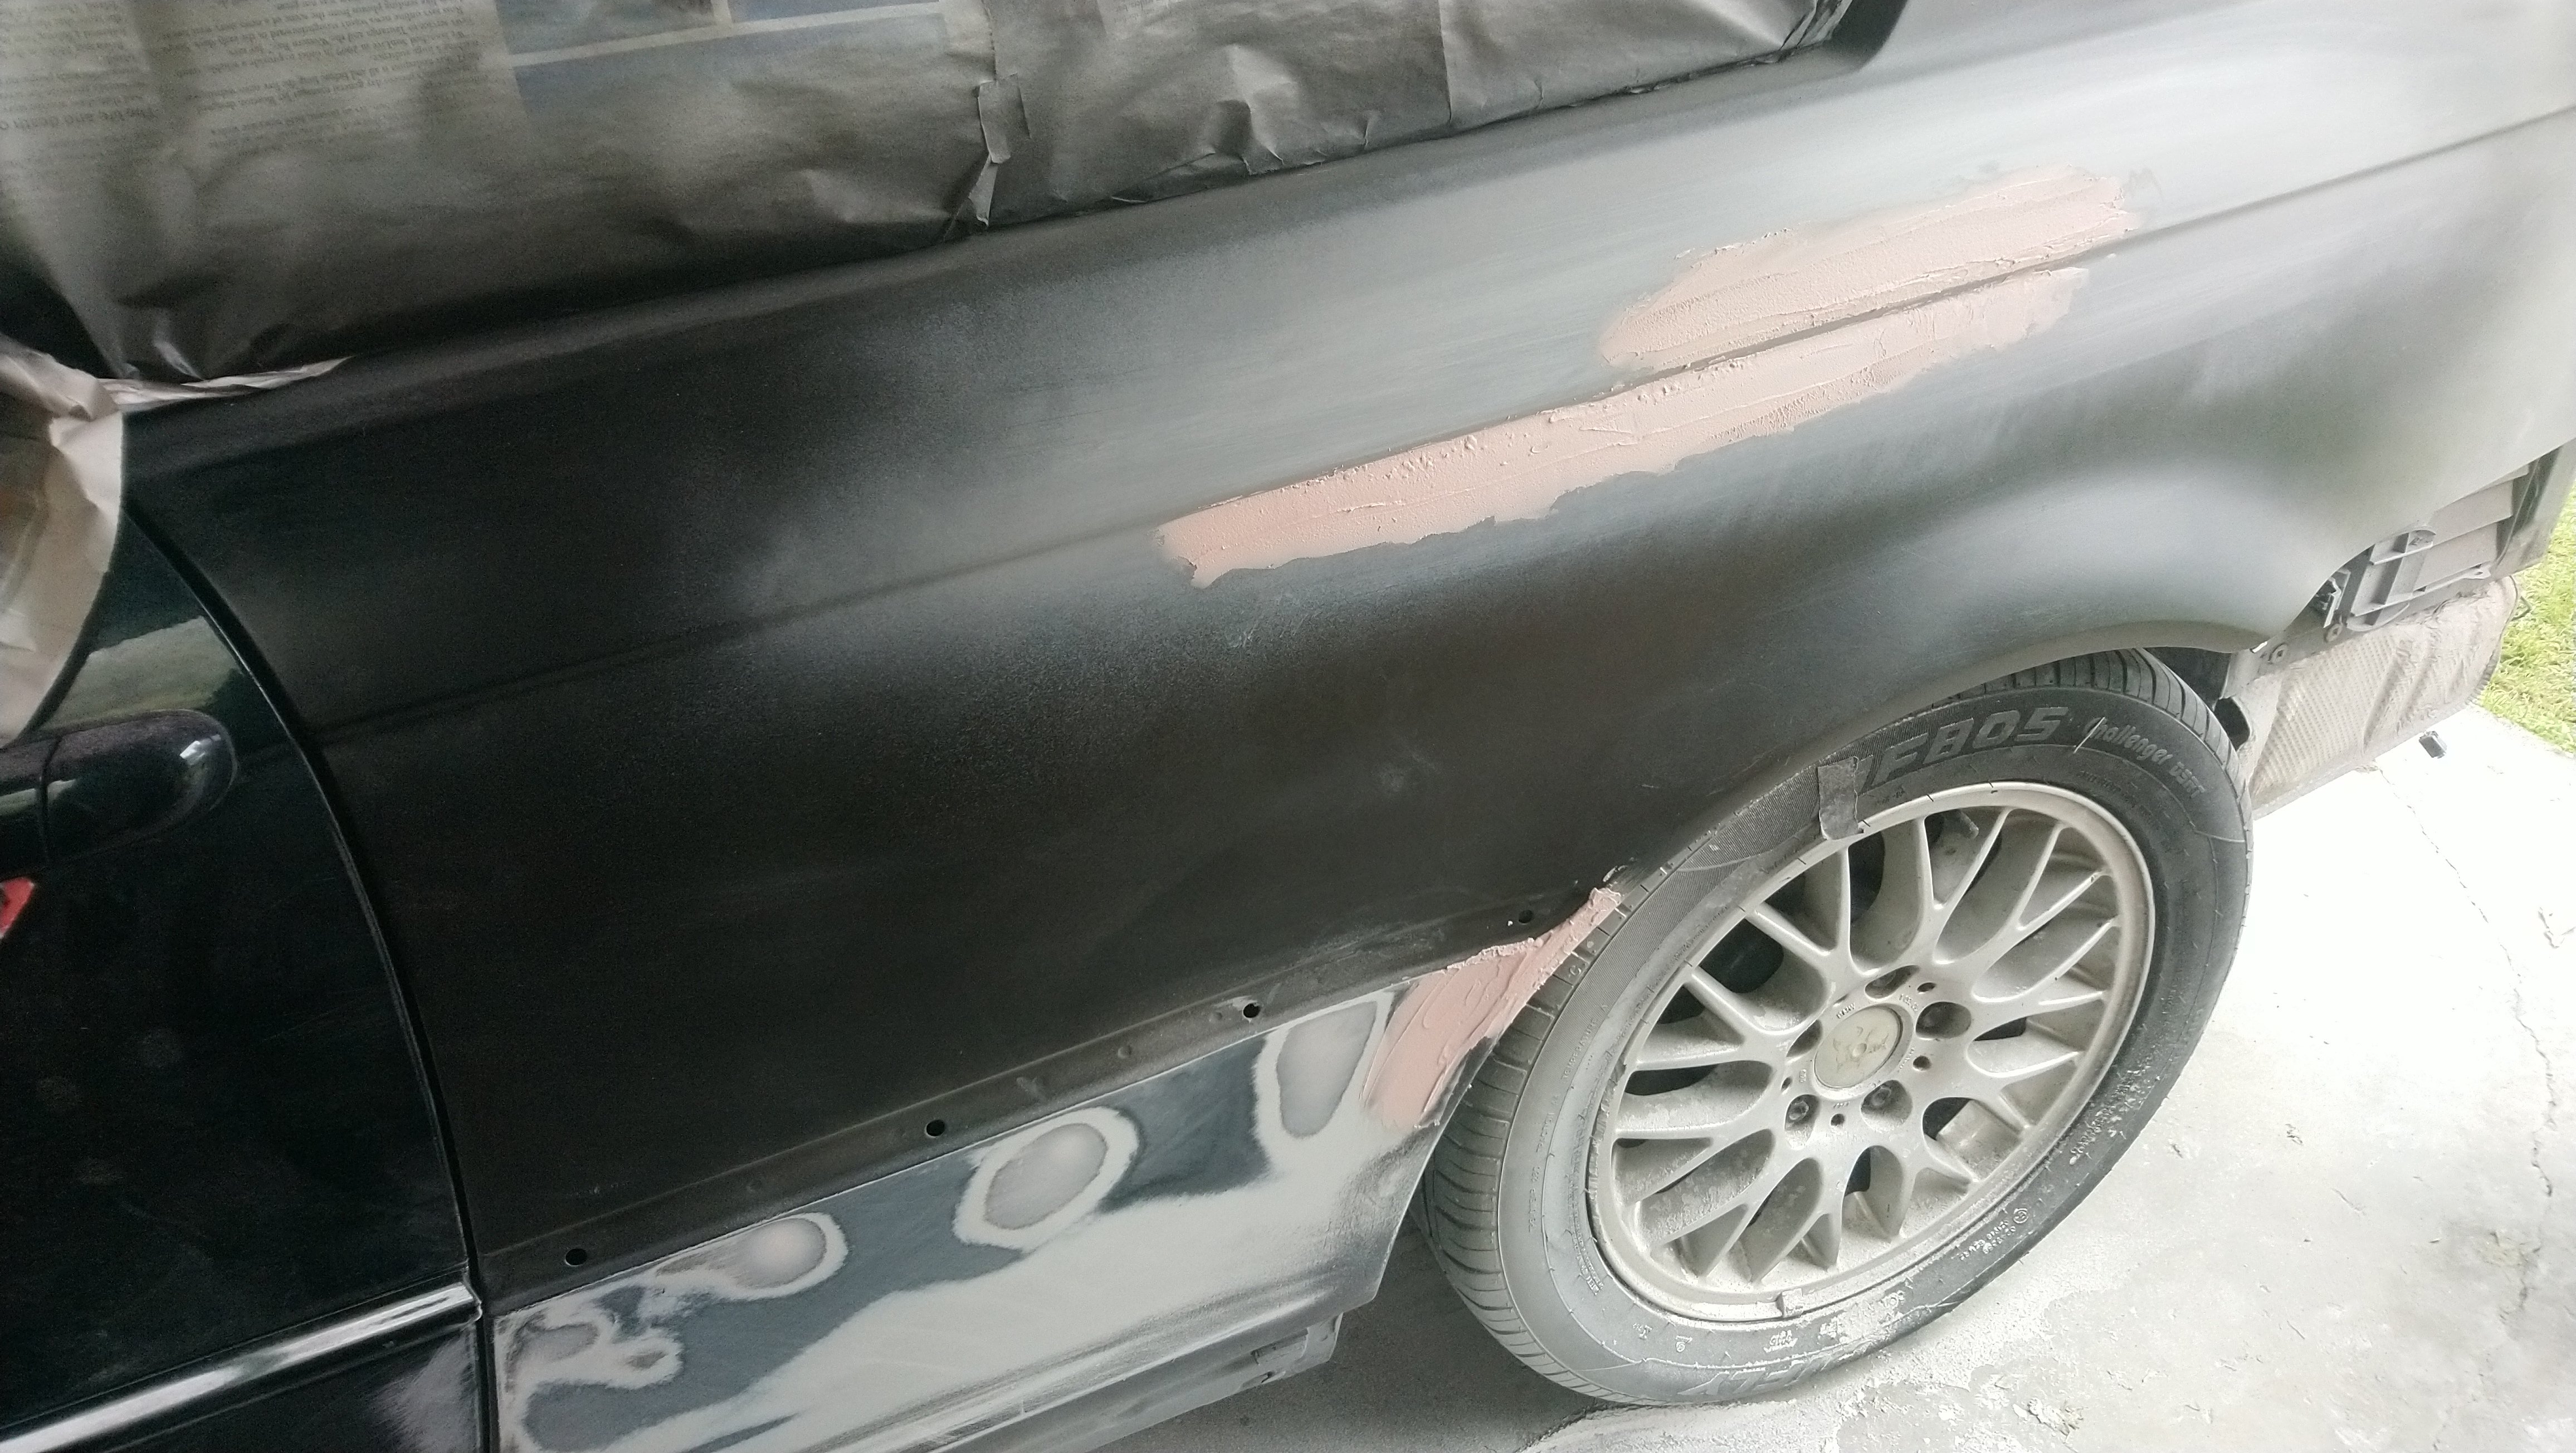
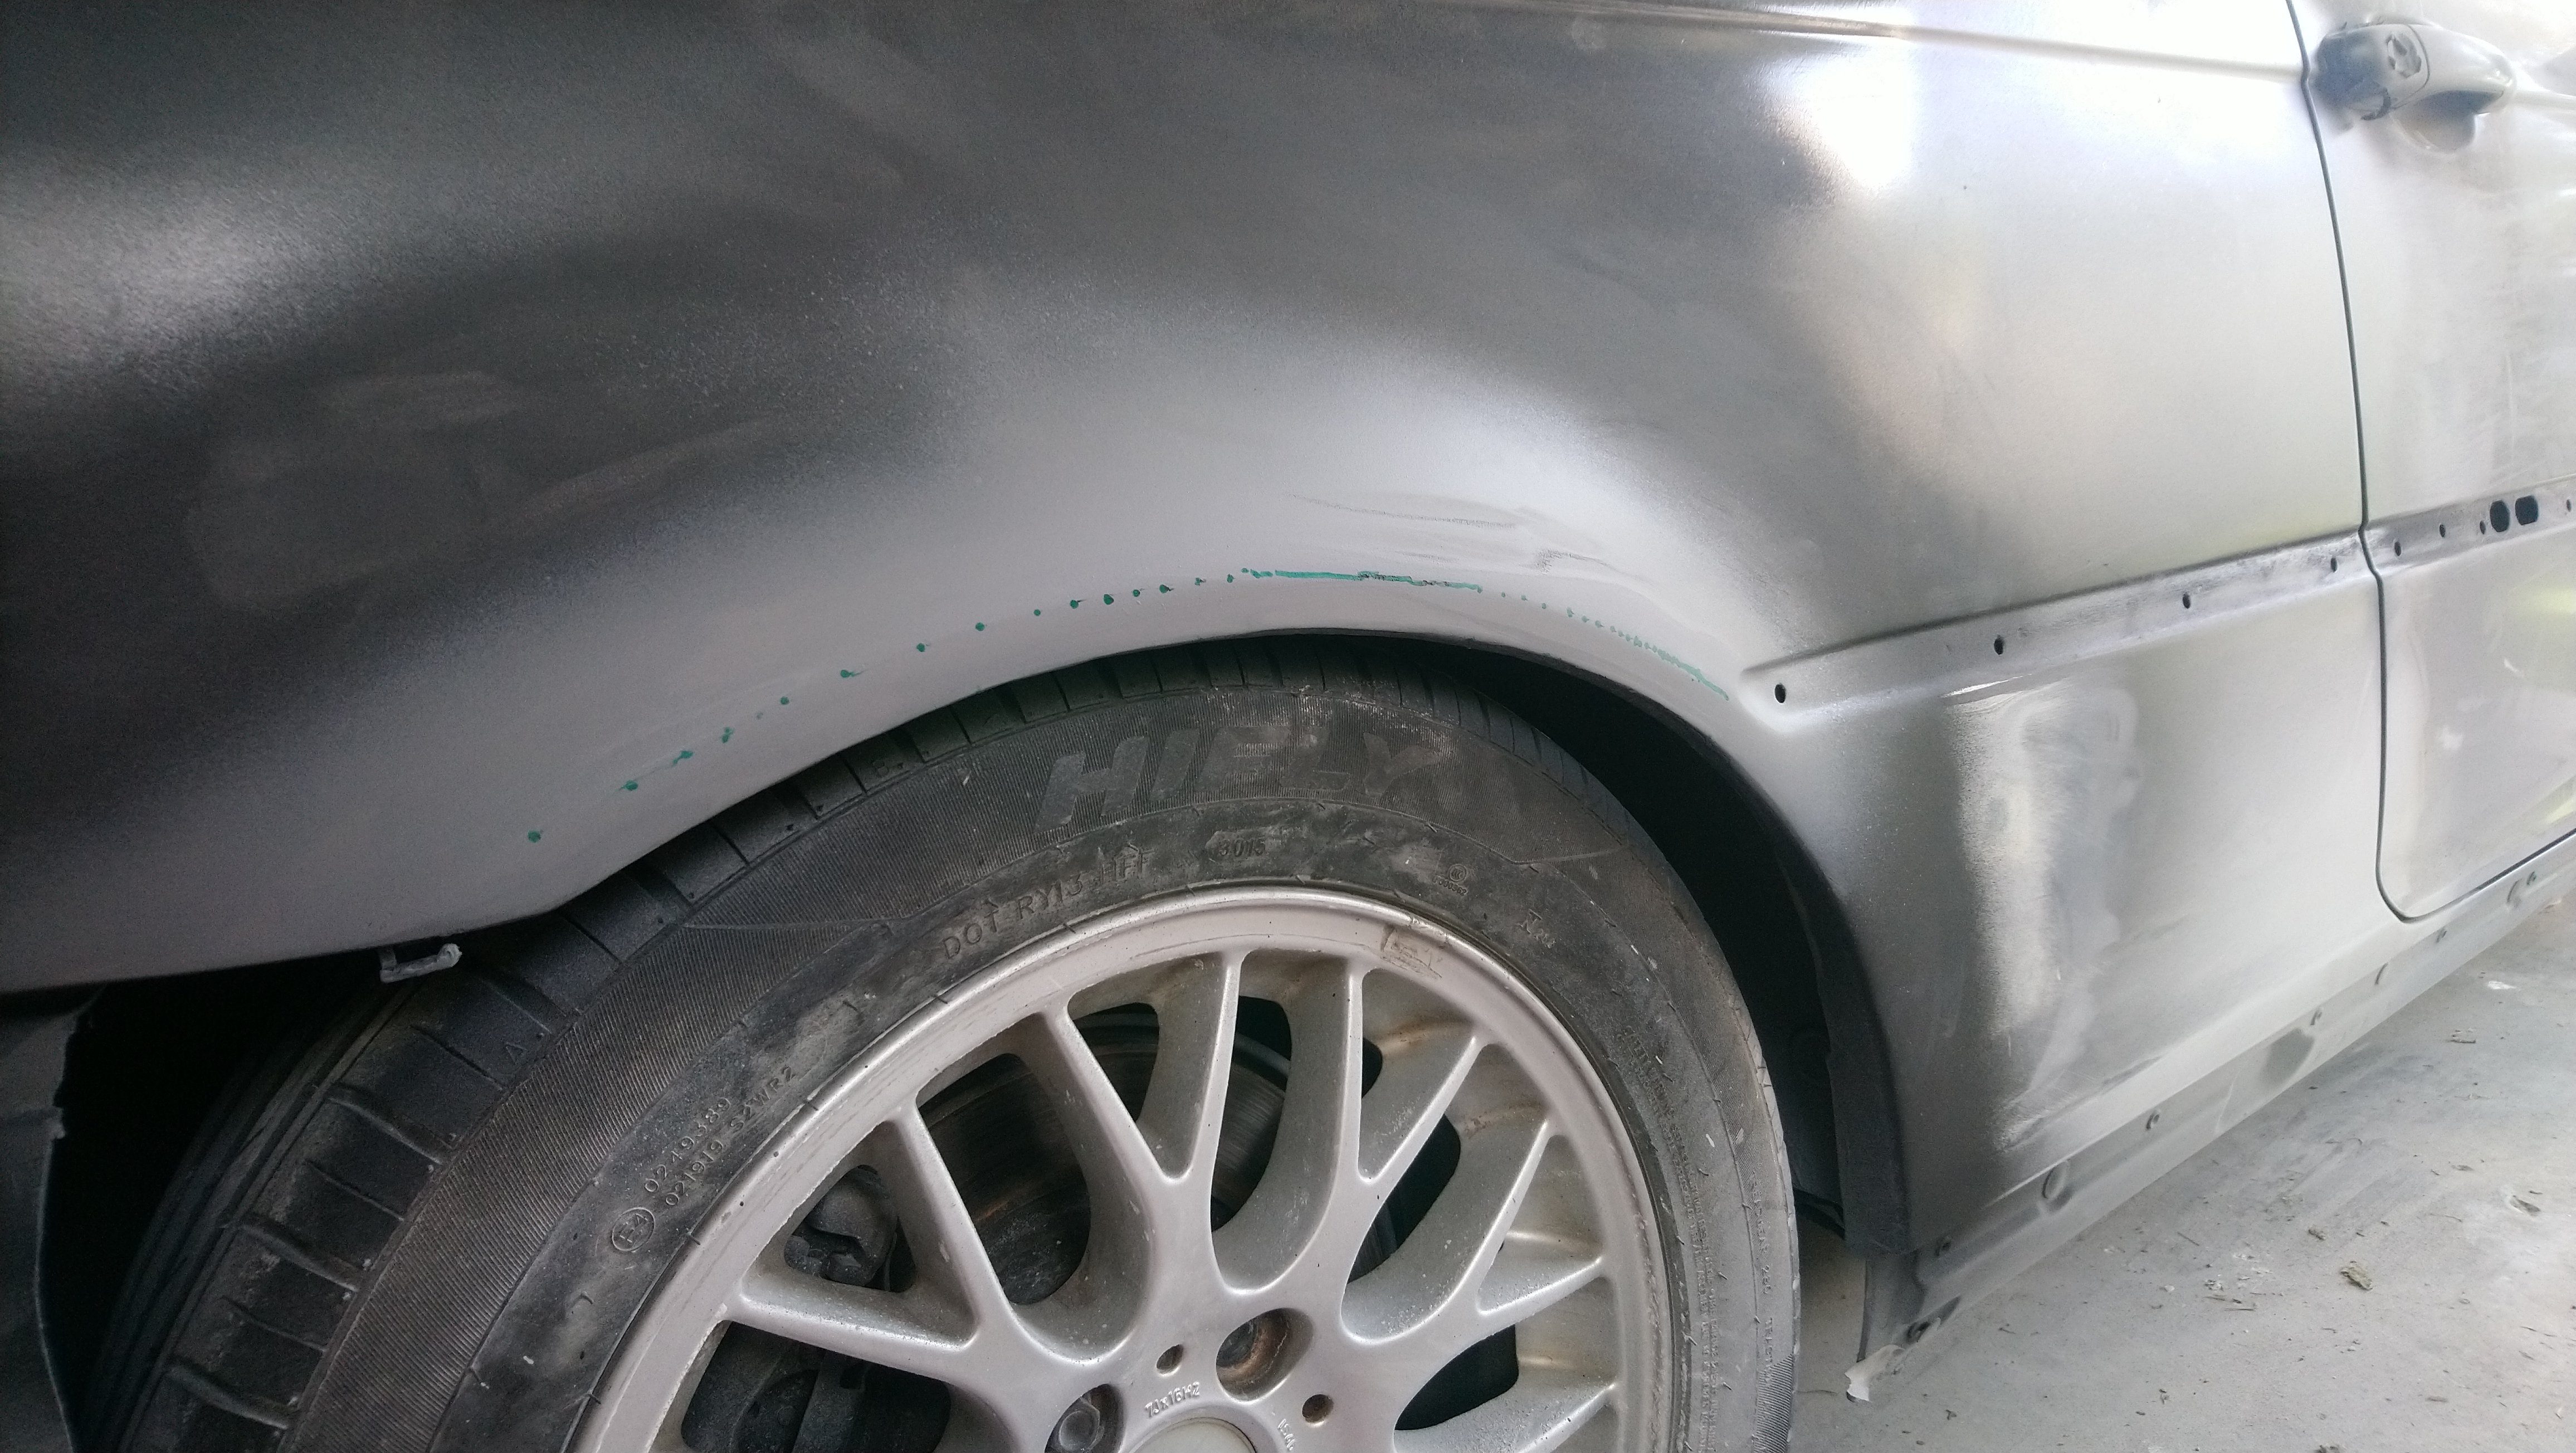
Some small dings in the lower half, easy job compared to those God damn arches. One hit or primer and block sanded no dramas.
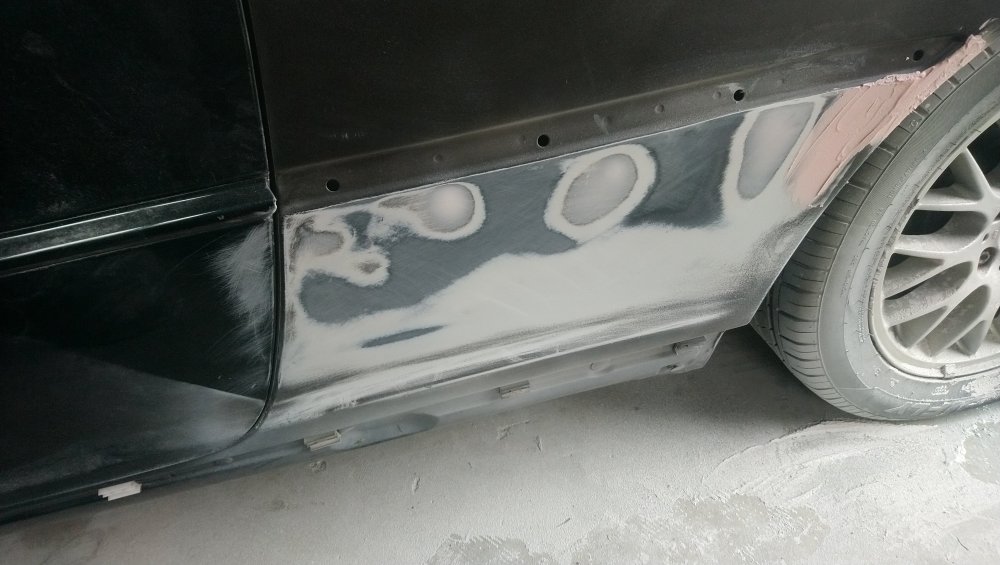
And that edge wasn't edgy enough, and slight low spot under , close but no cigar so gave that another run
It's damn close now, now i just think my eyes are playing tricks on me haha, need a coupe locally in tauranga i can eye up the lines to confirm if she's good now
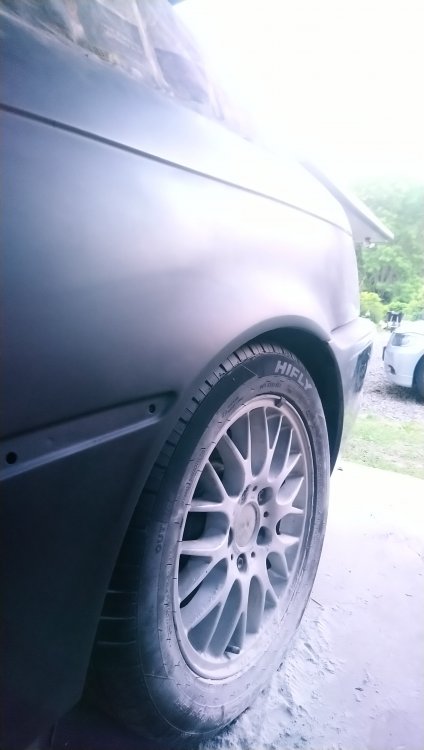
pretty much happy with this side now
Going to do same checks other side, another big primer run, block sand and then practically at plaint stage.
-
1
-
-
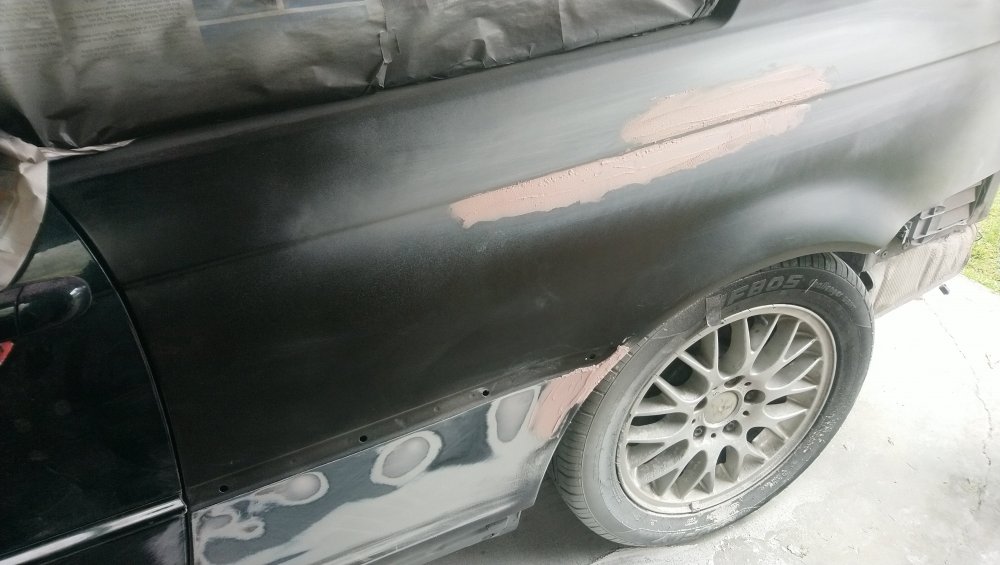
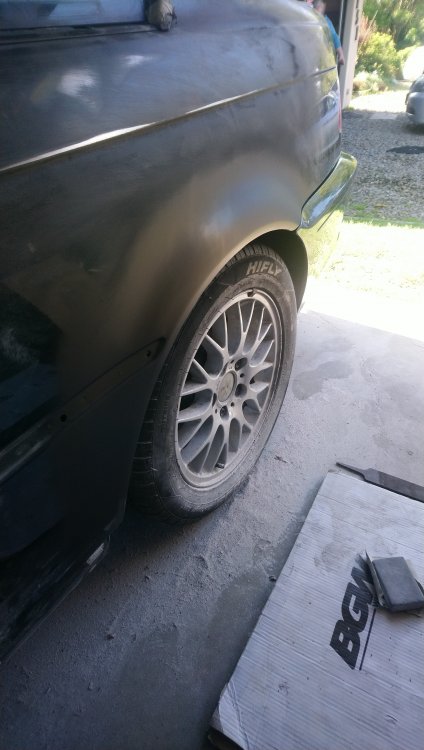
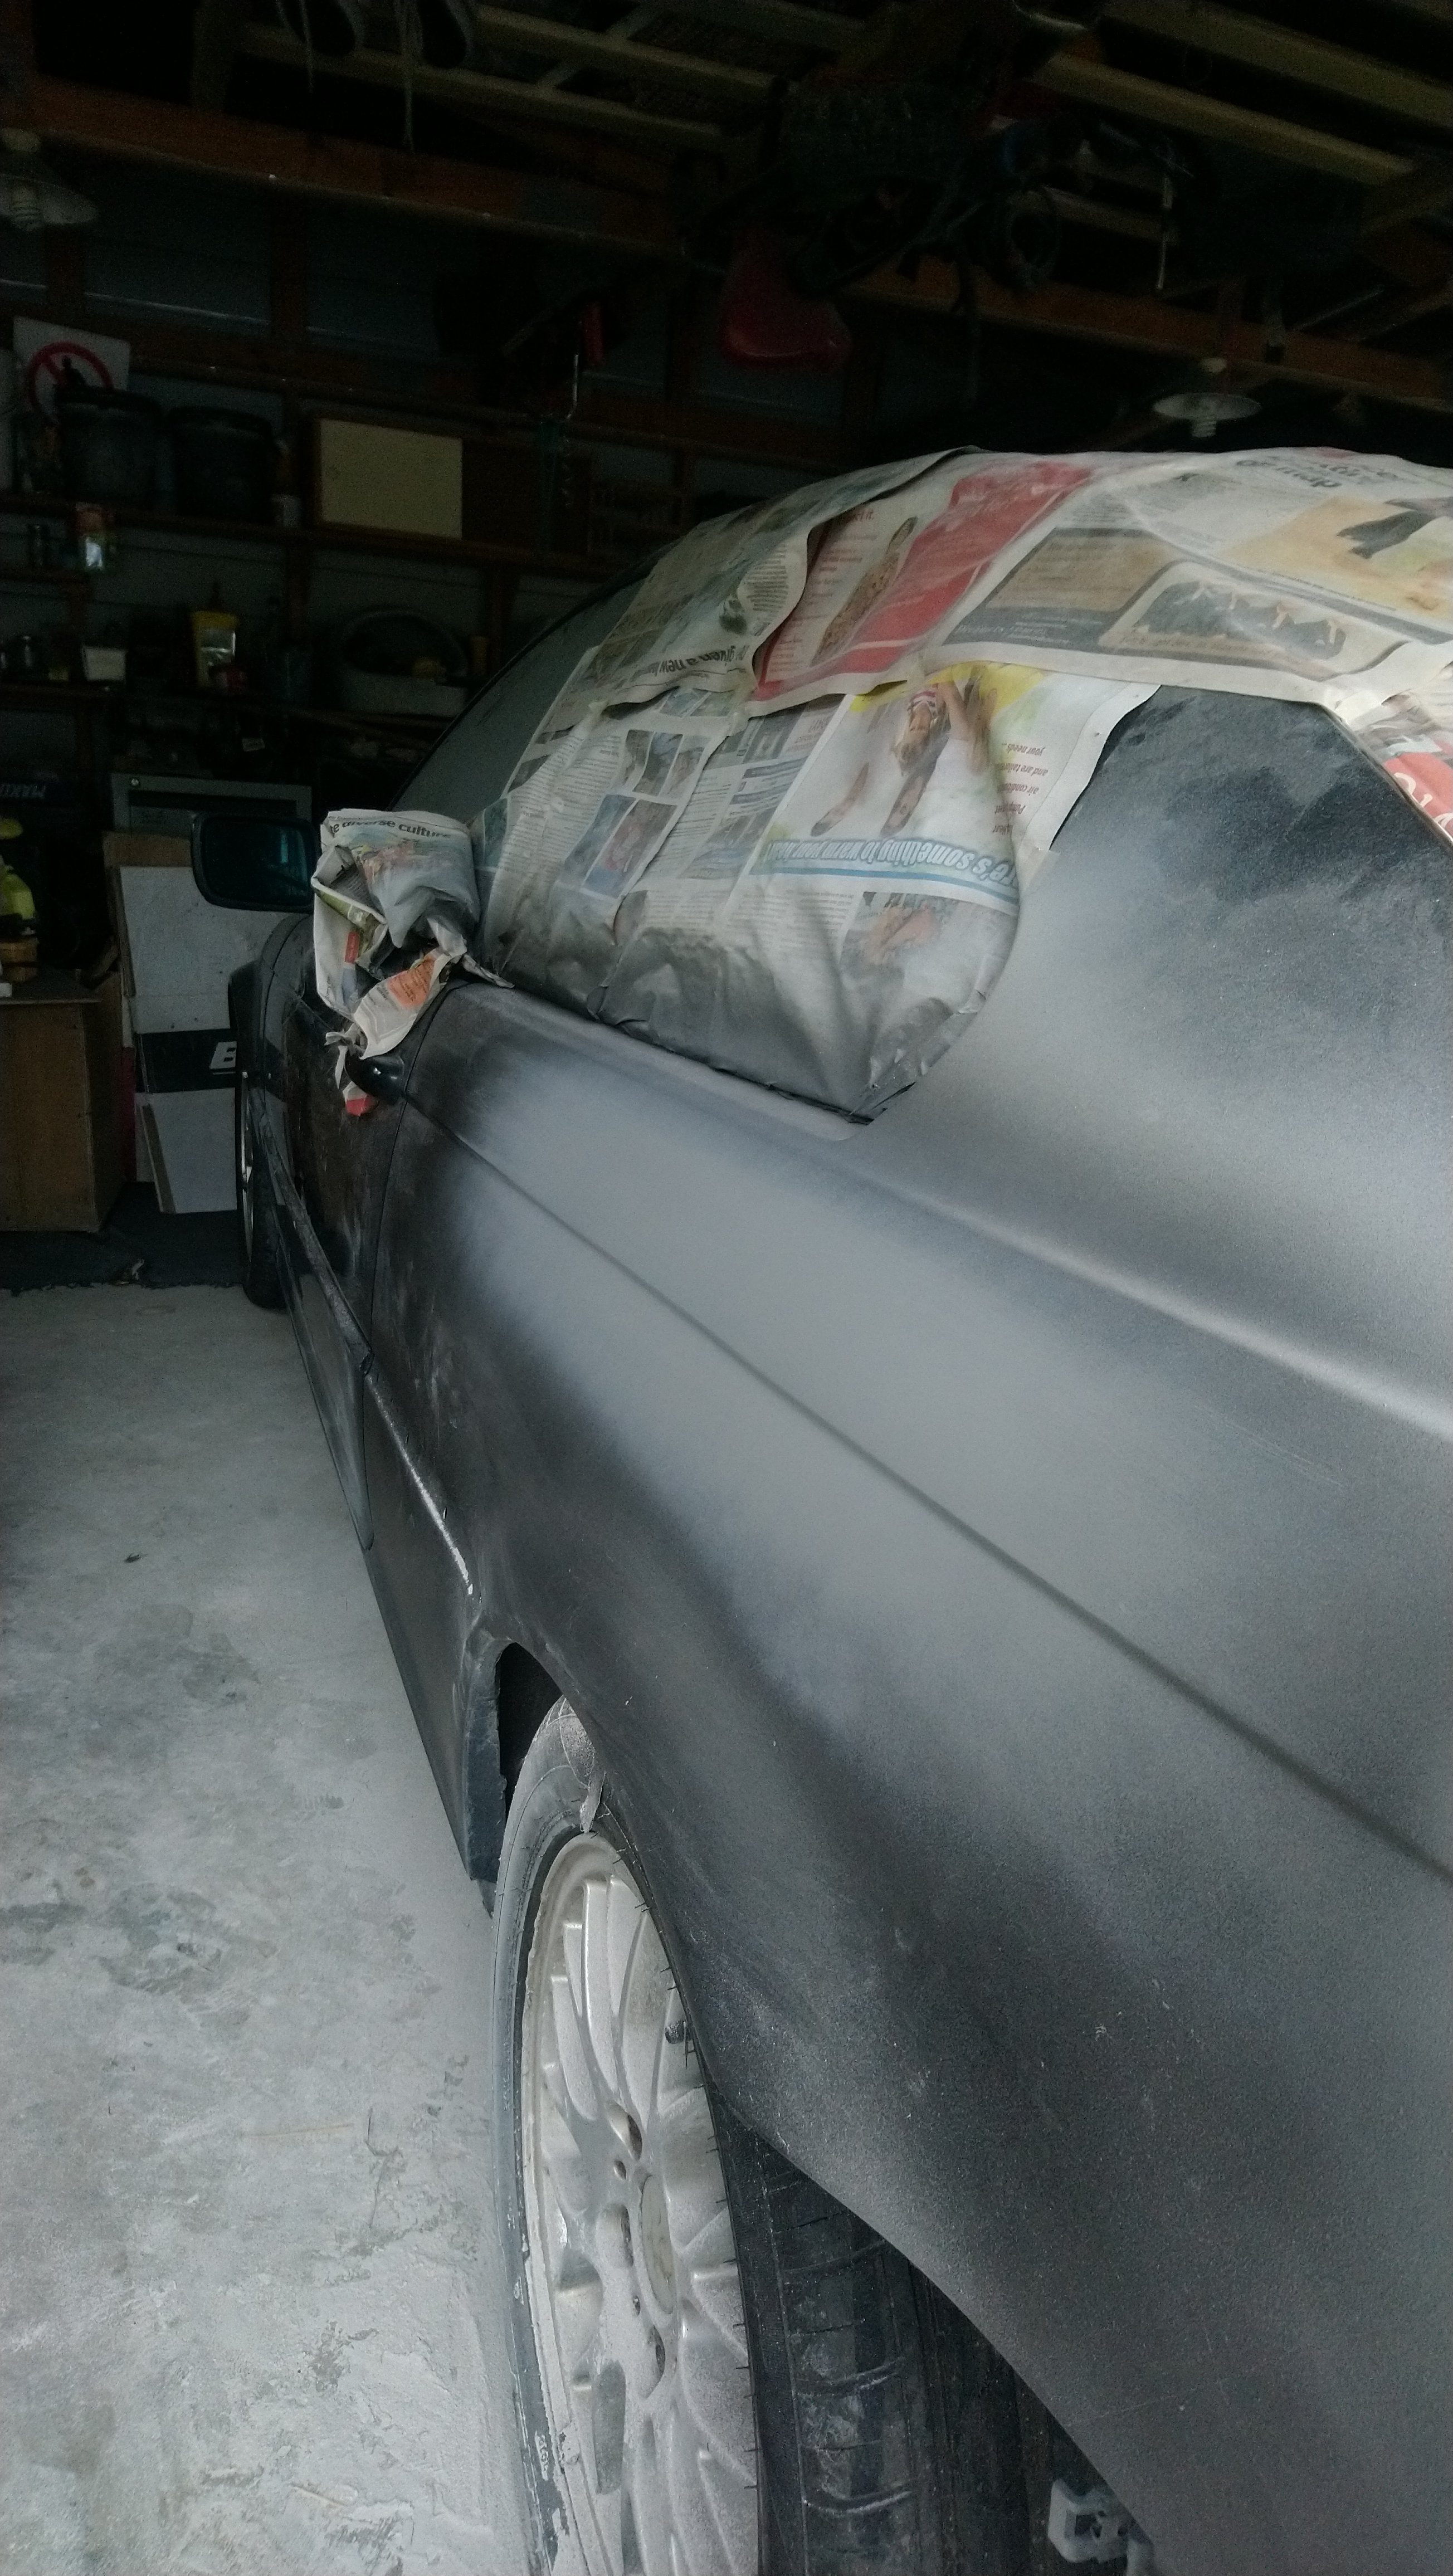
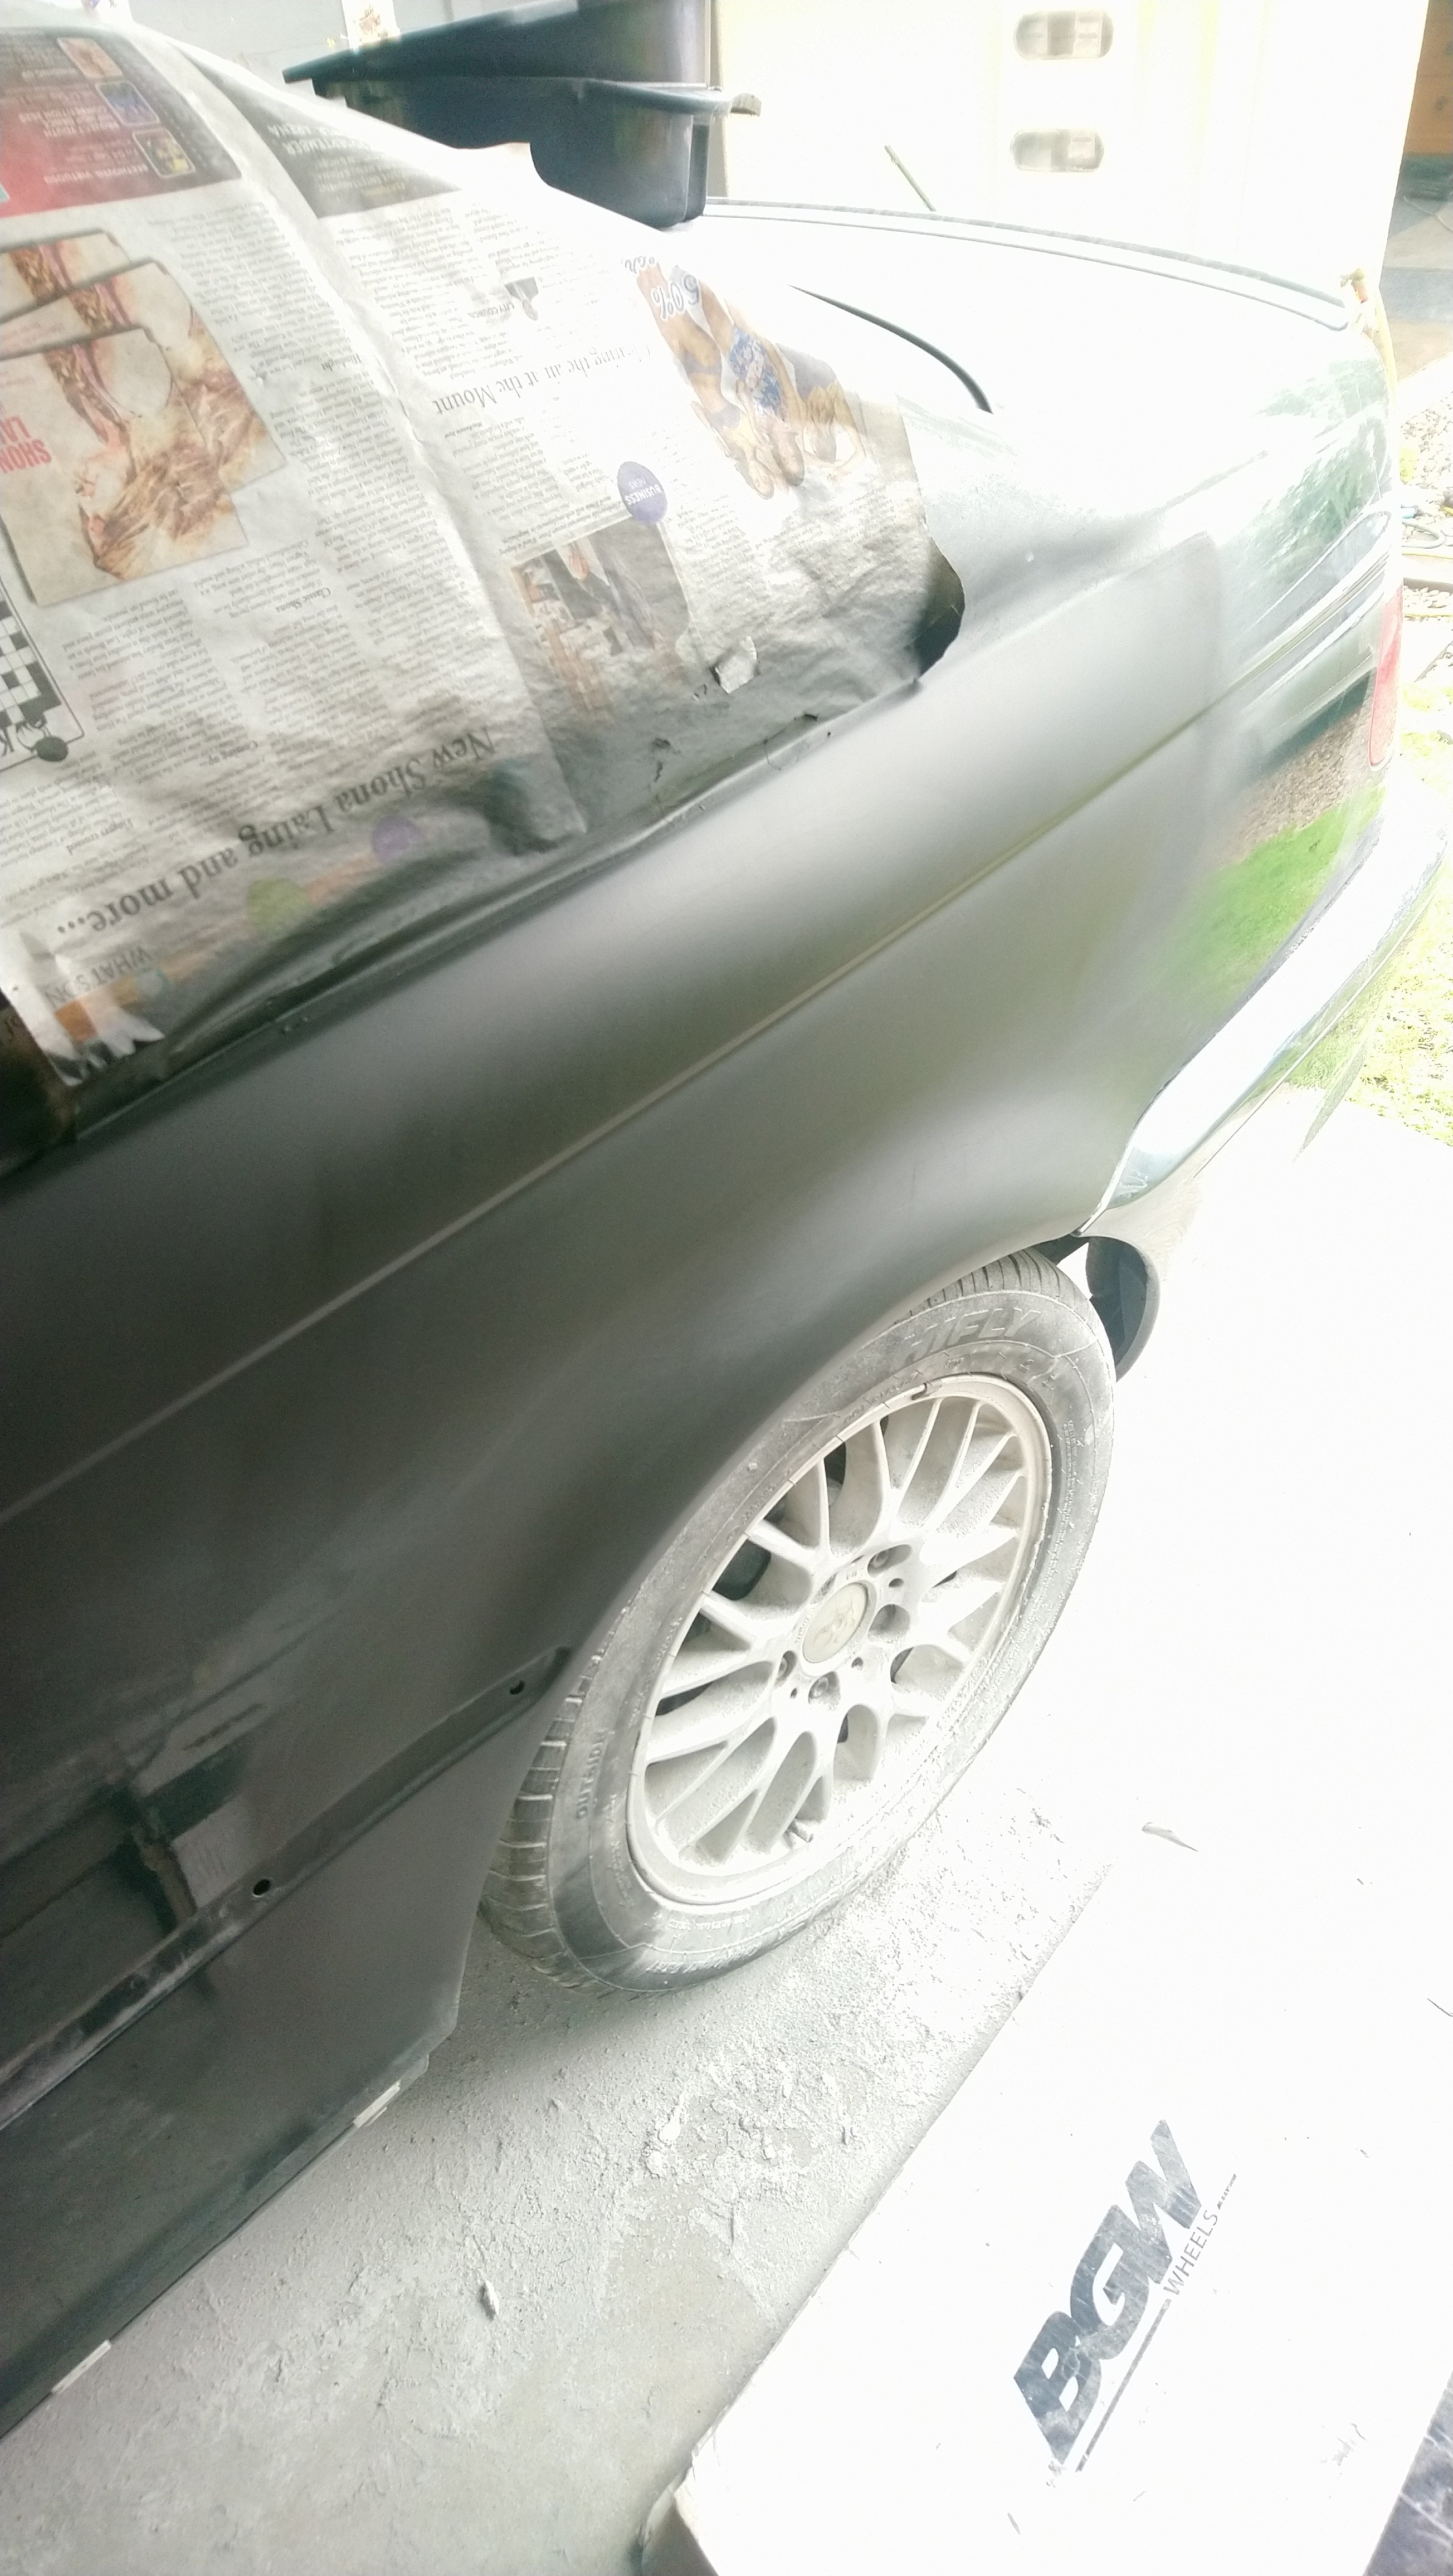
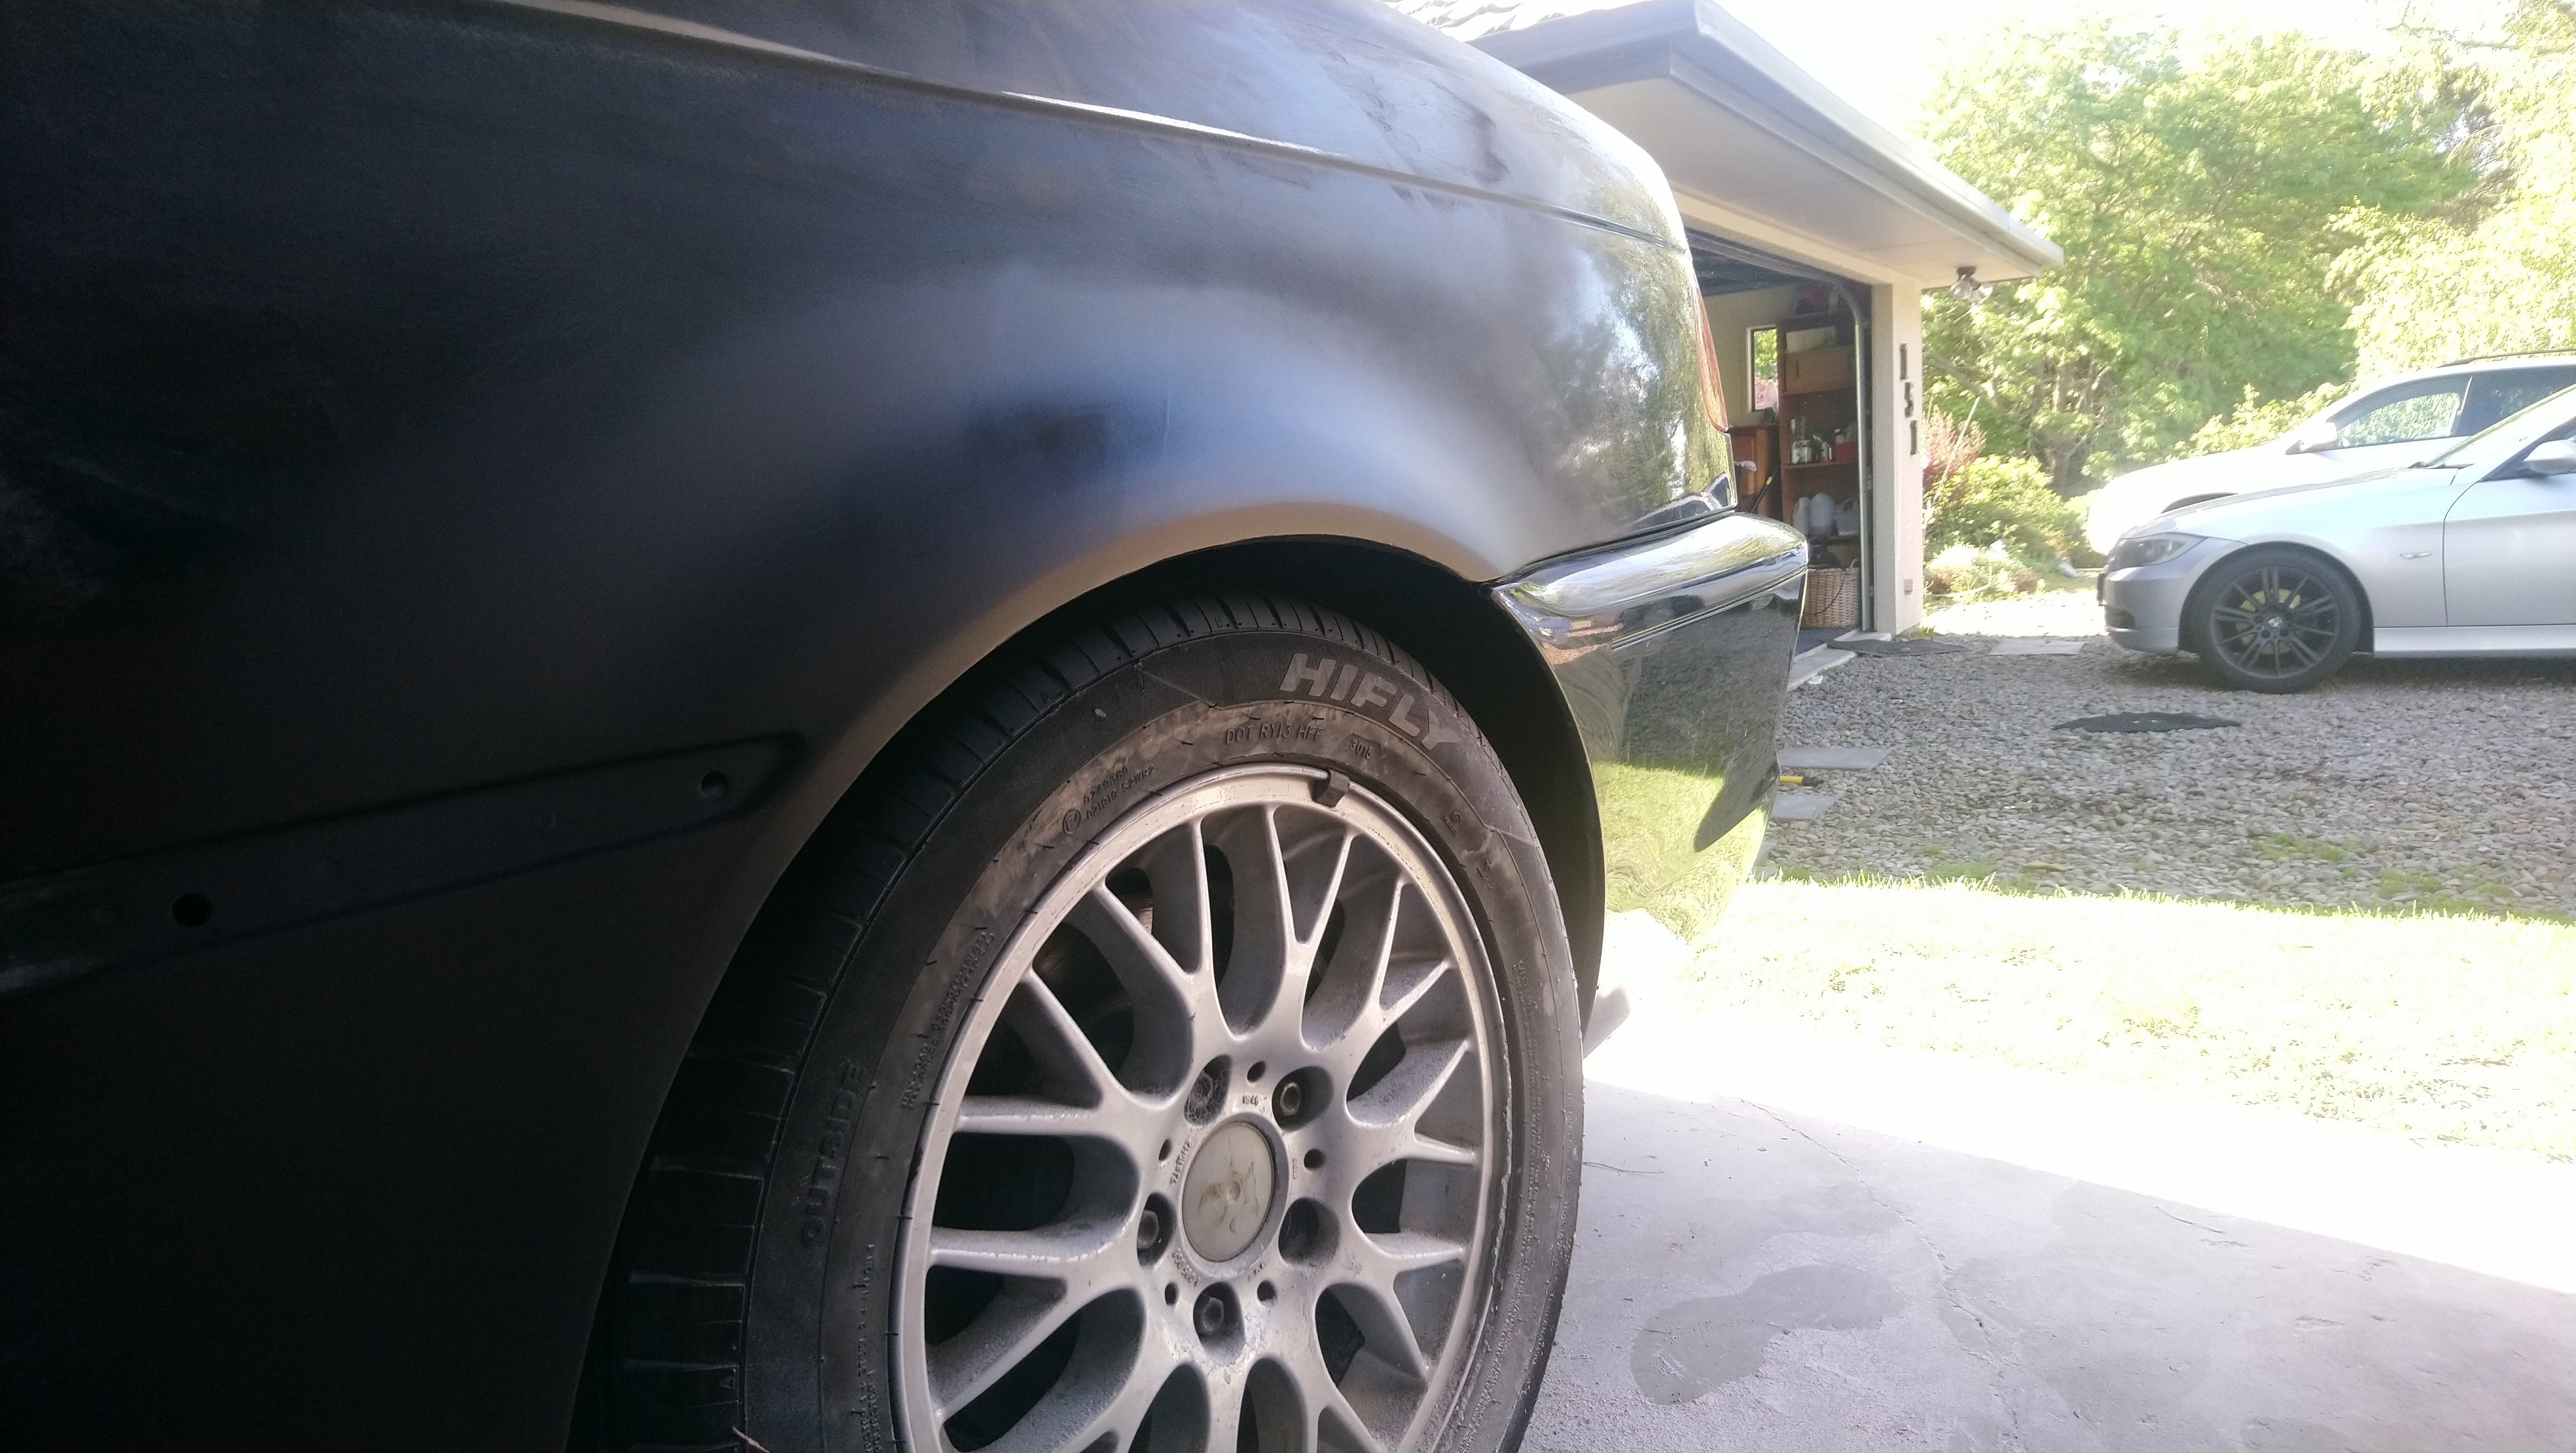
Gave it a small run to get rid of the remnant of the low spot
Guide coat saving my ass again
About to give it a final sand down, big run or primer, another guide coat then block sand to recheck.
Those lines and shadows are looking real close, so nearly time to paint !

-
3
-
-
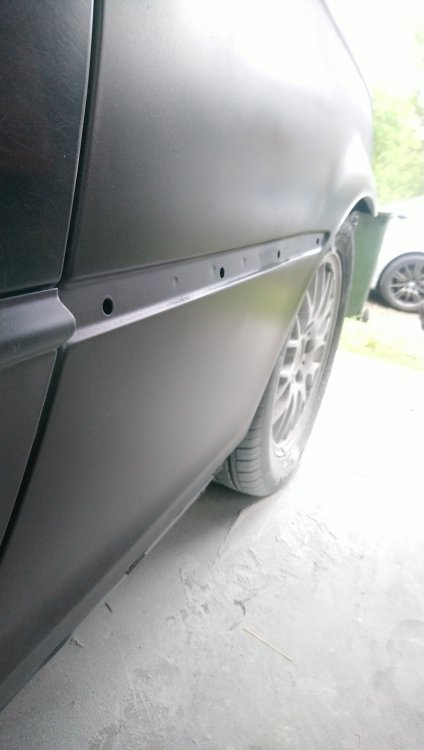
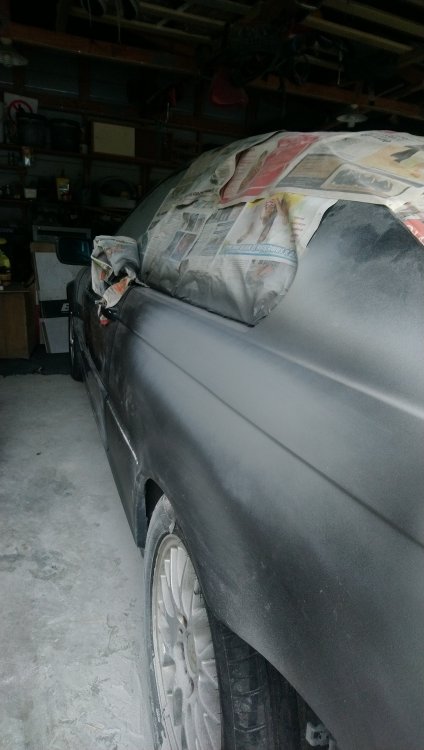
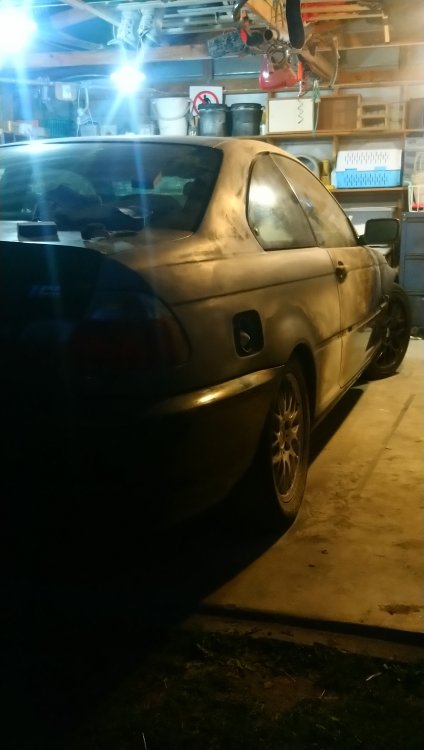
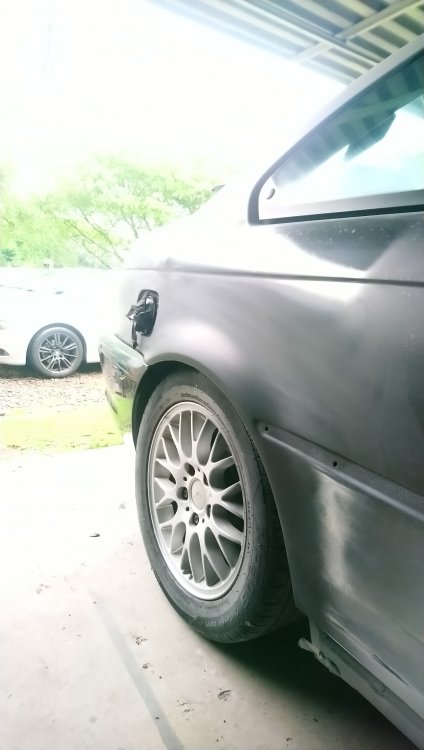
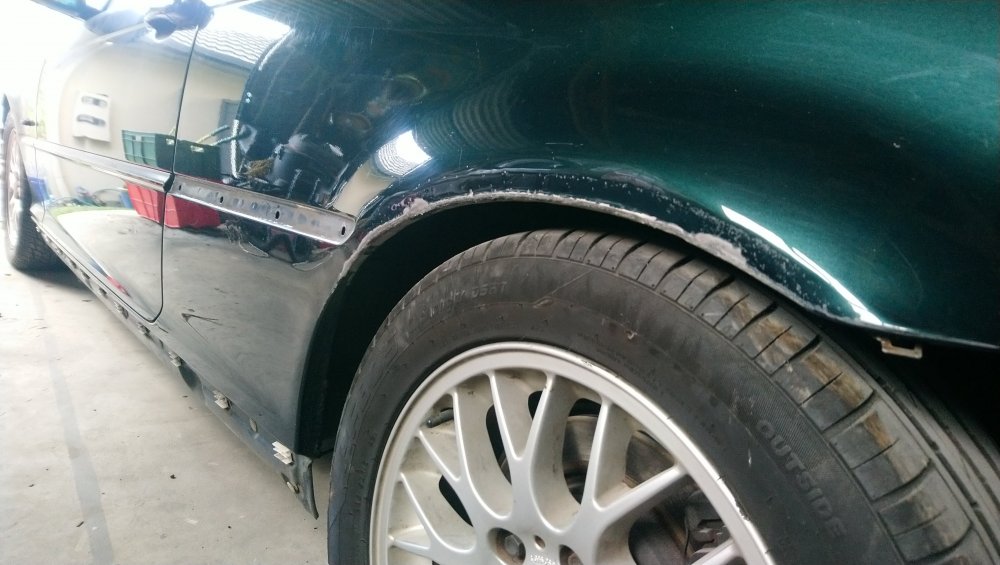
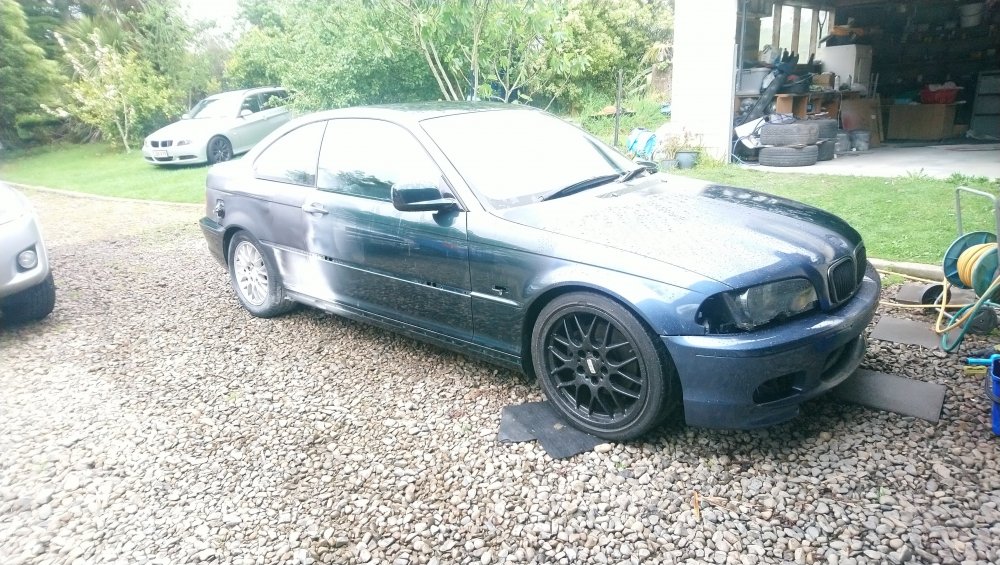
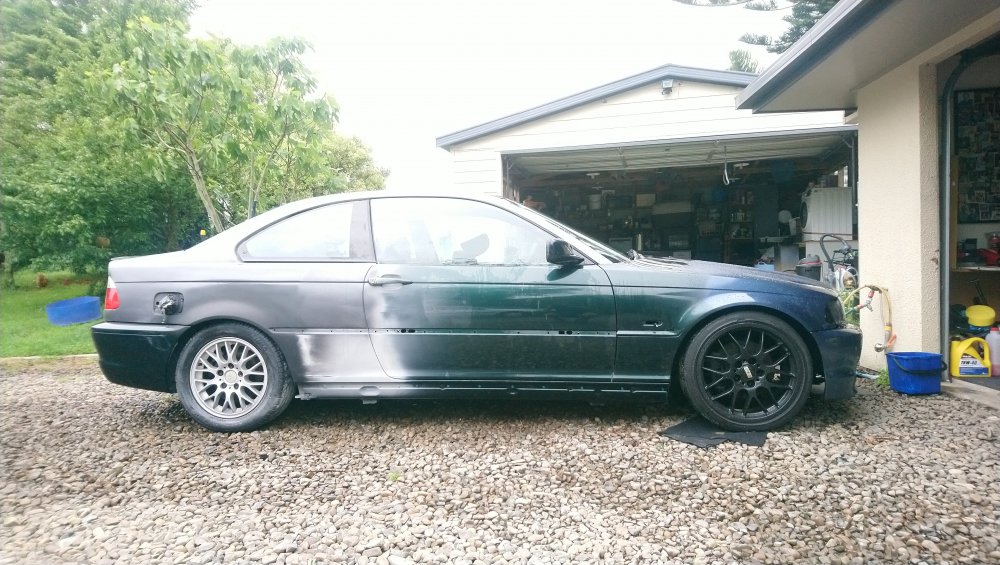
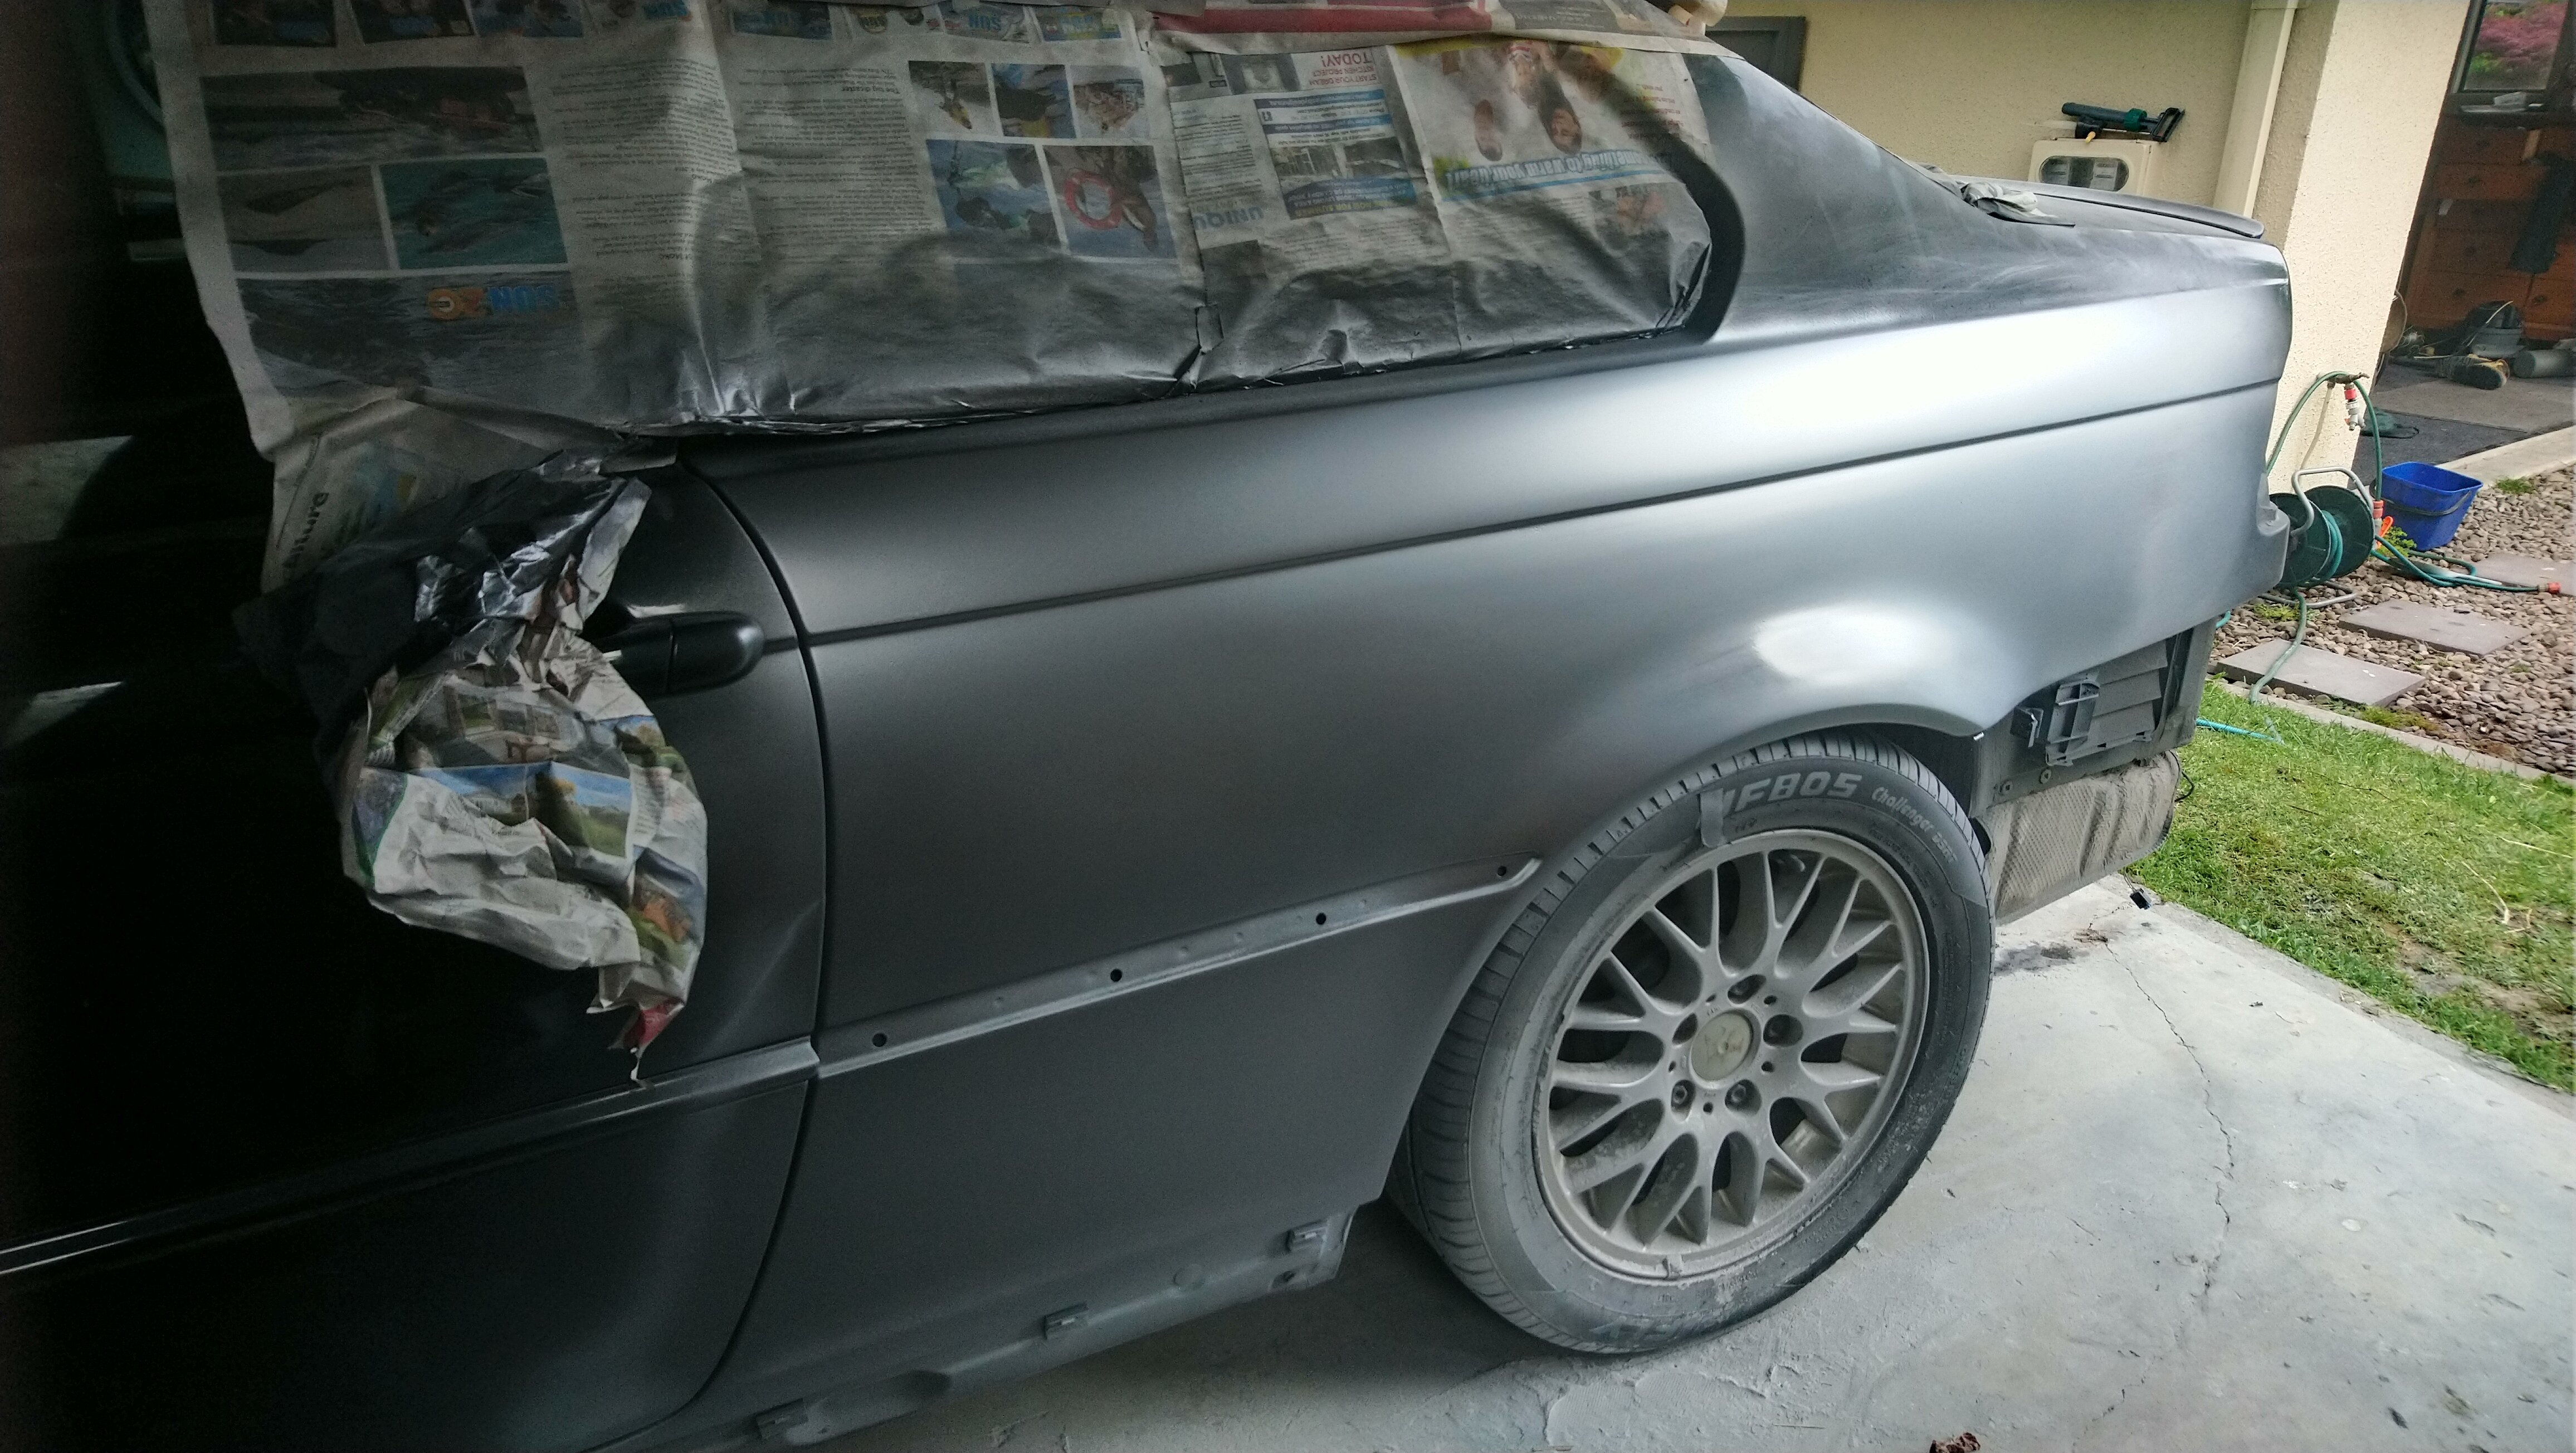
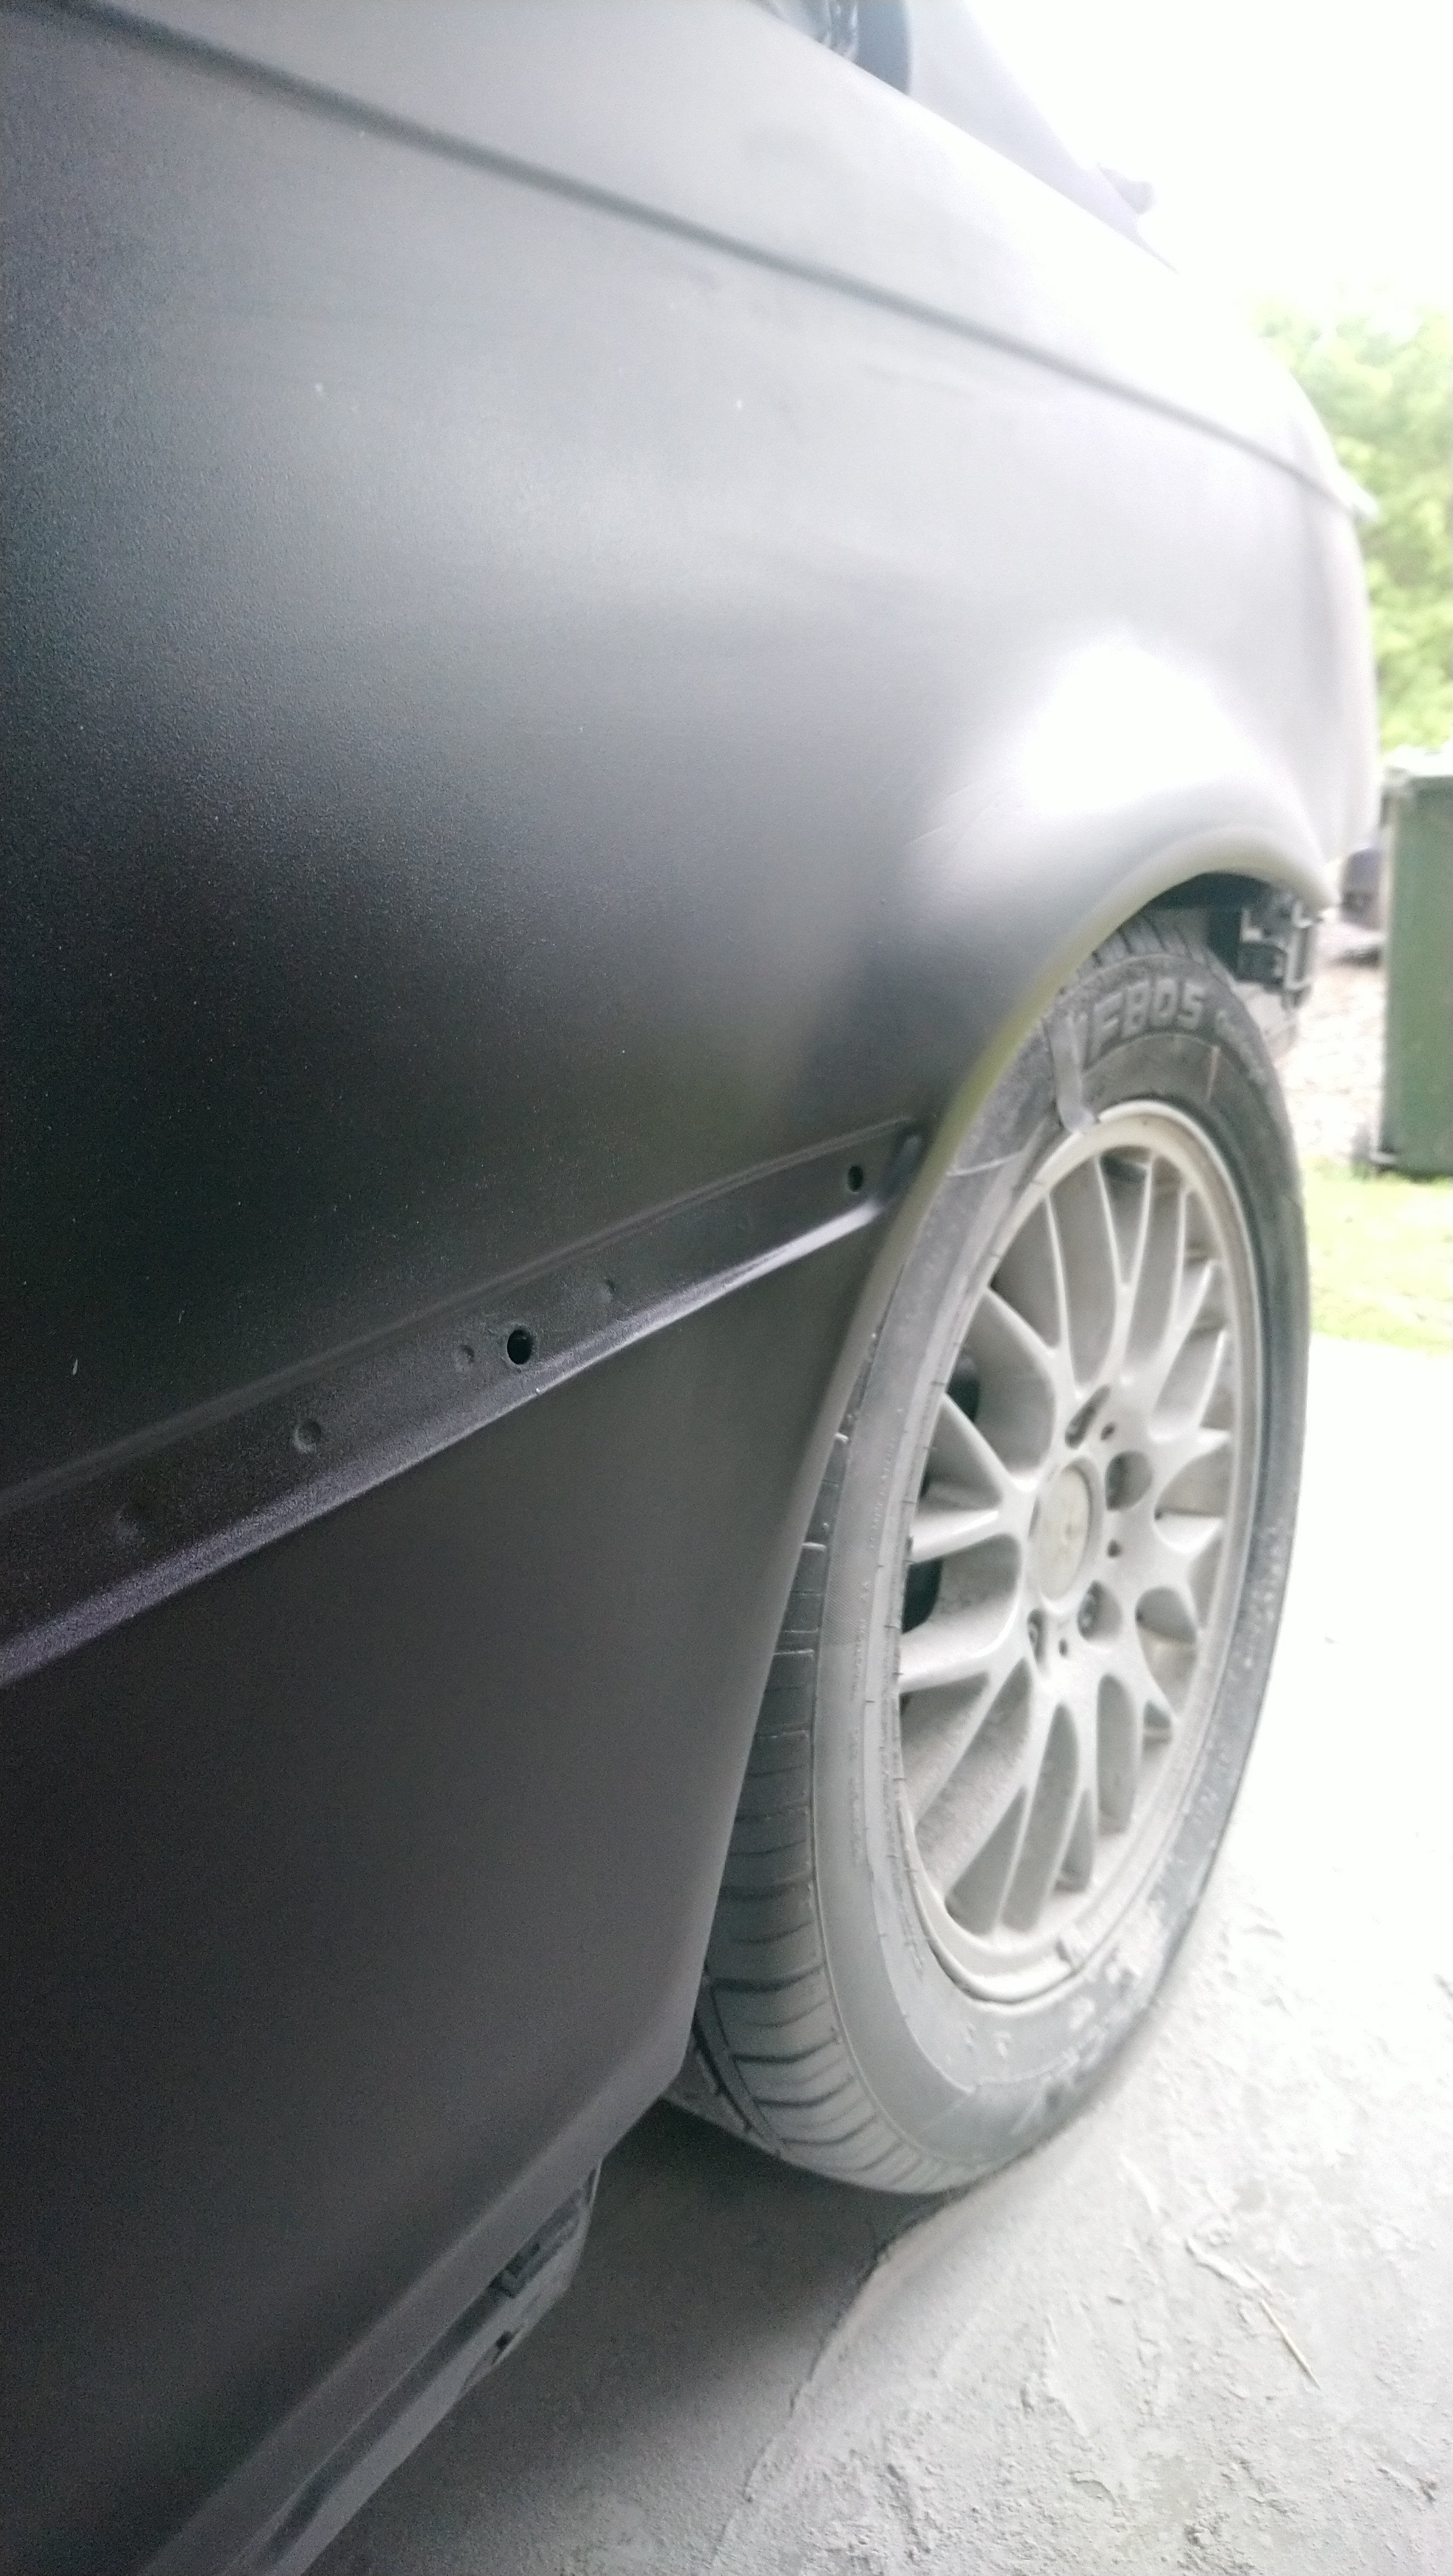
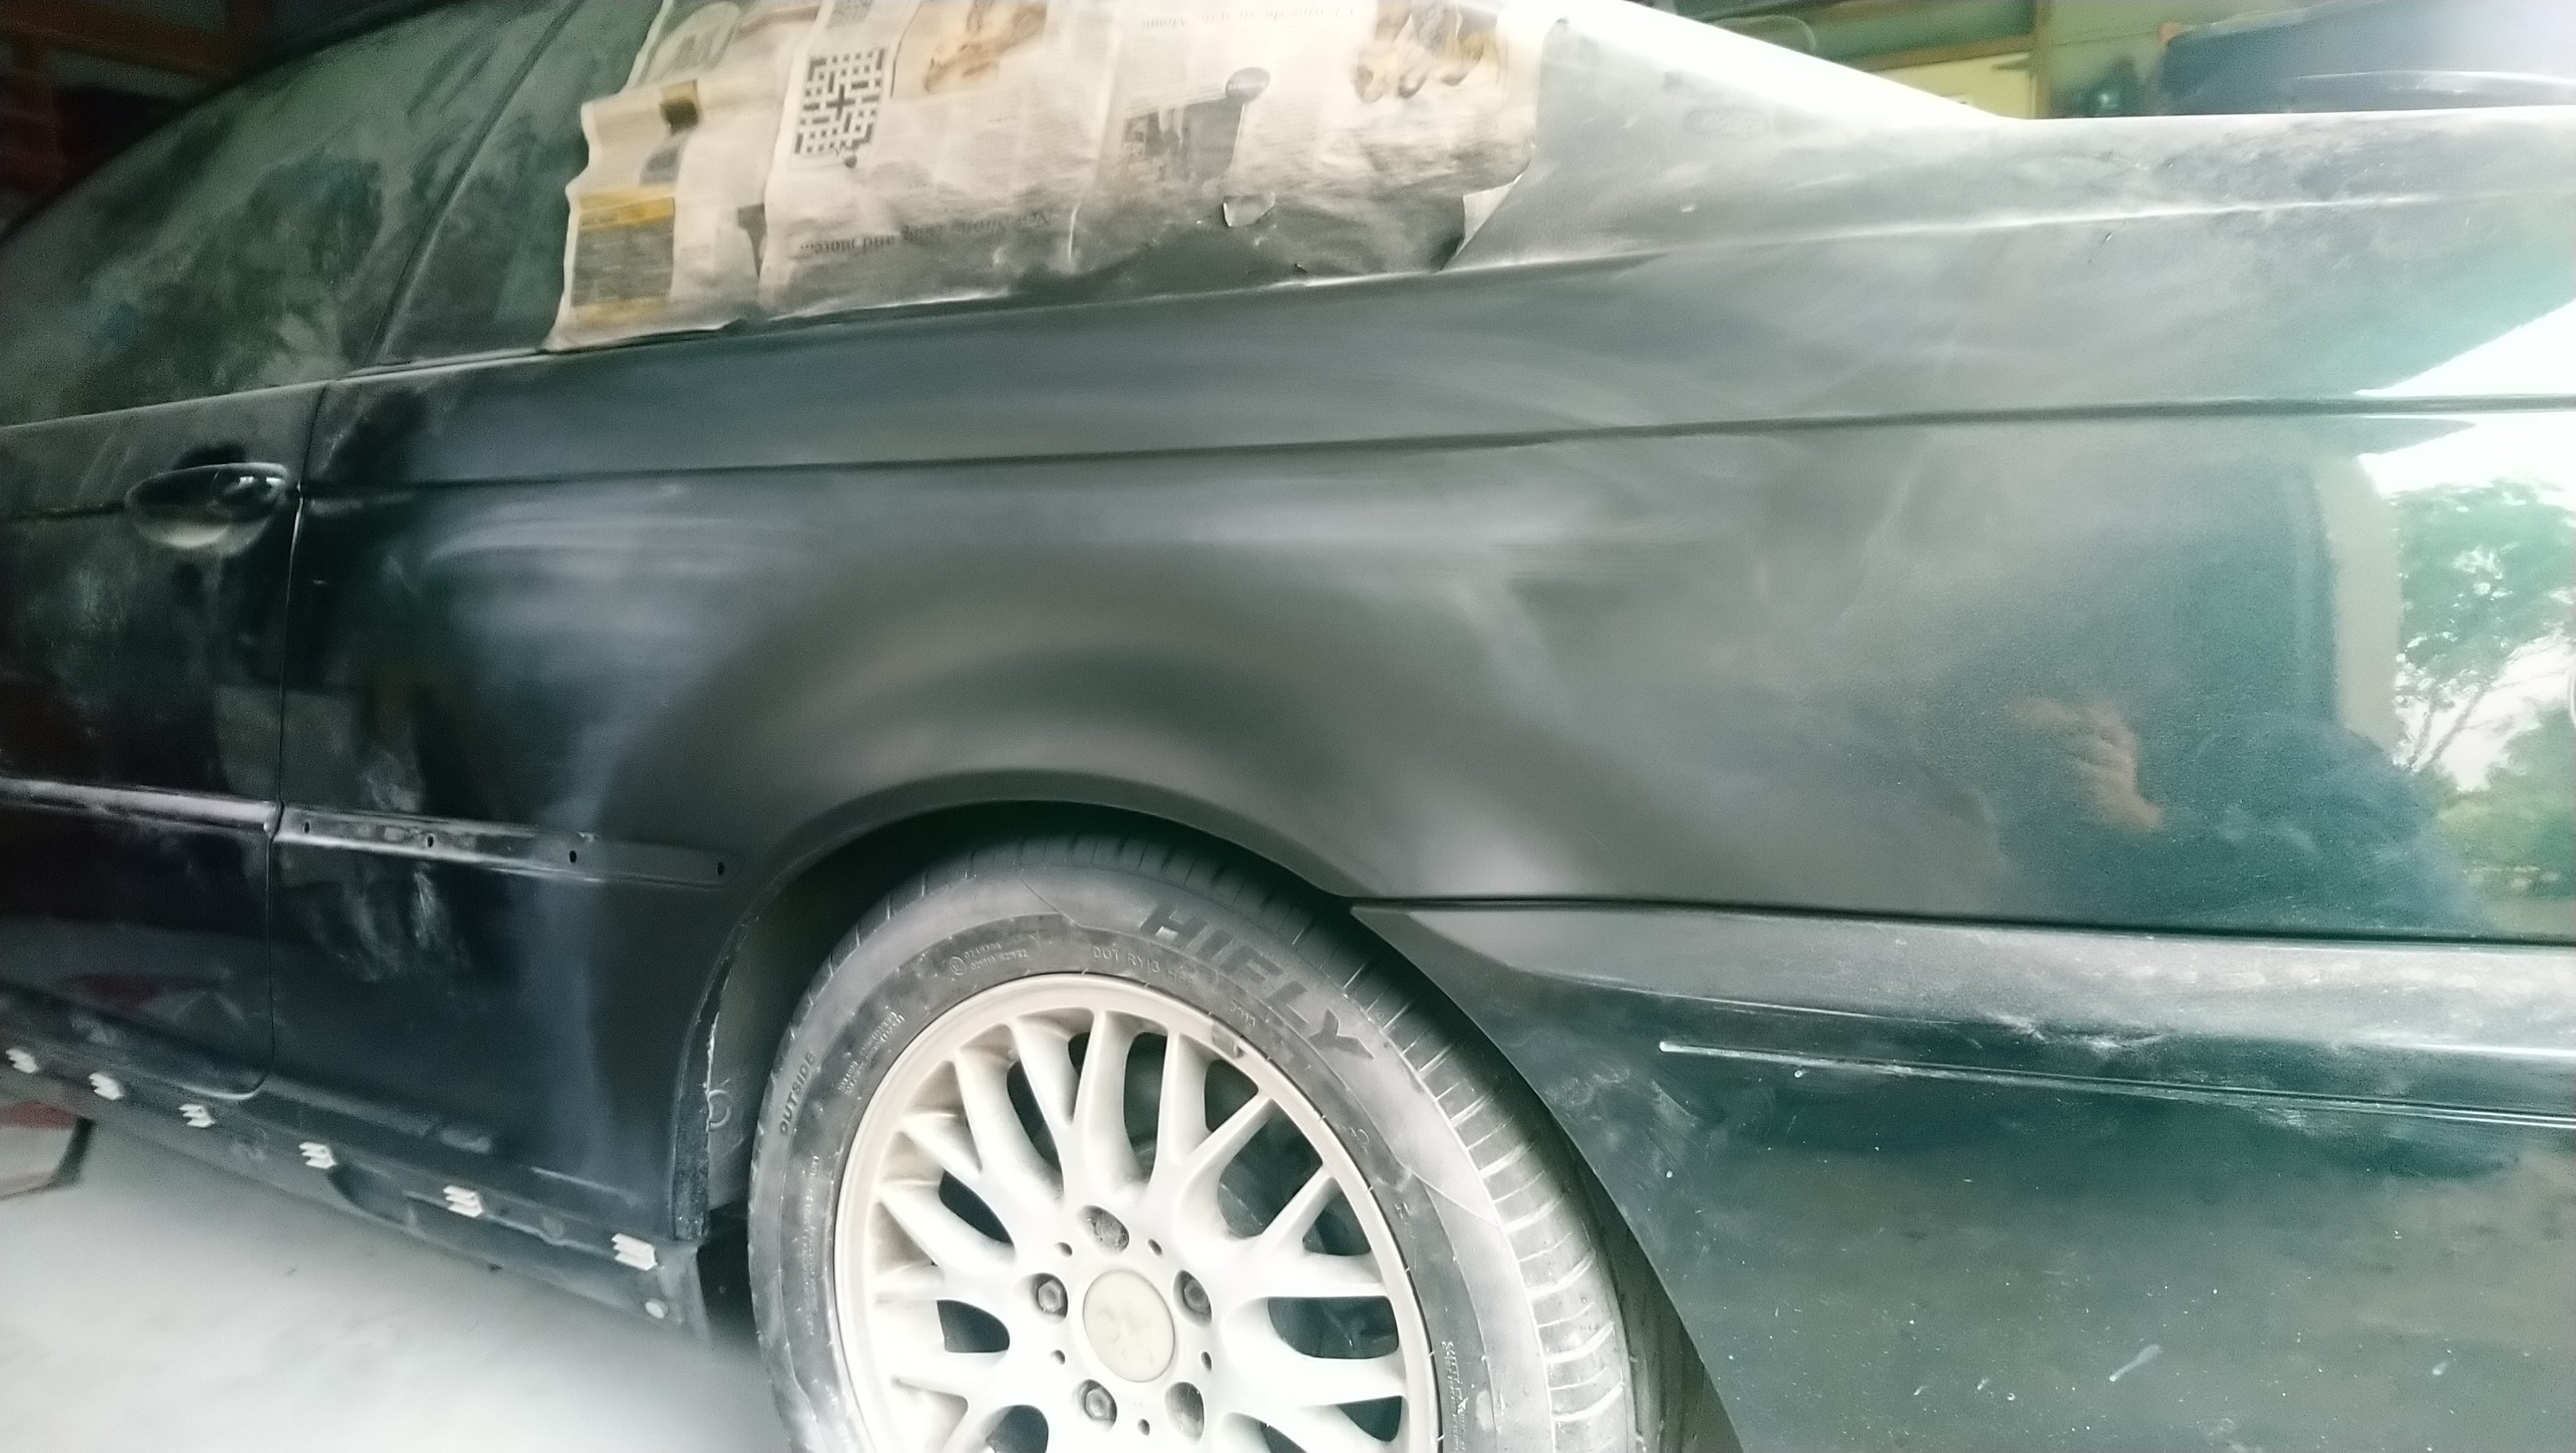
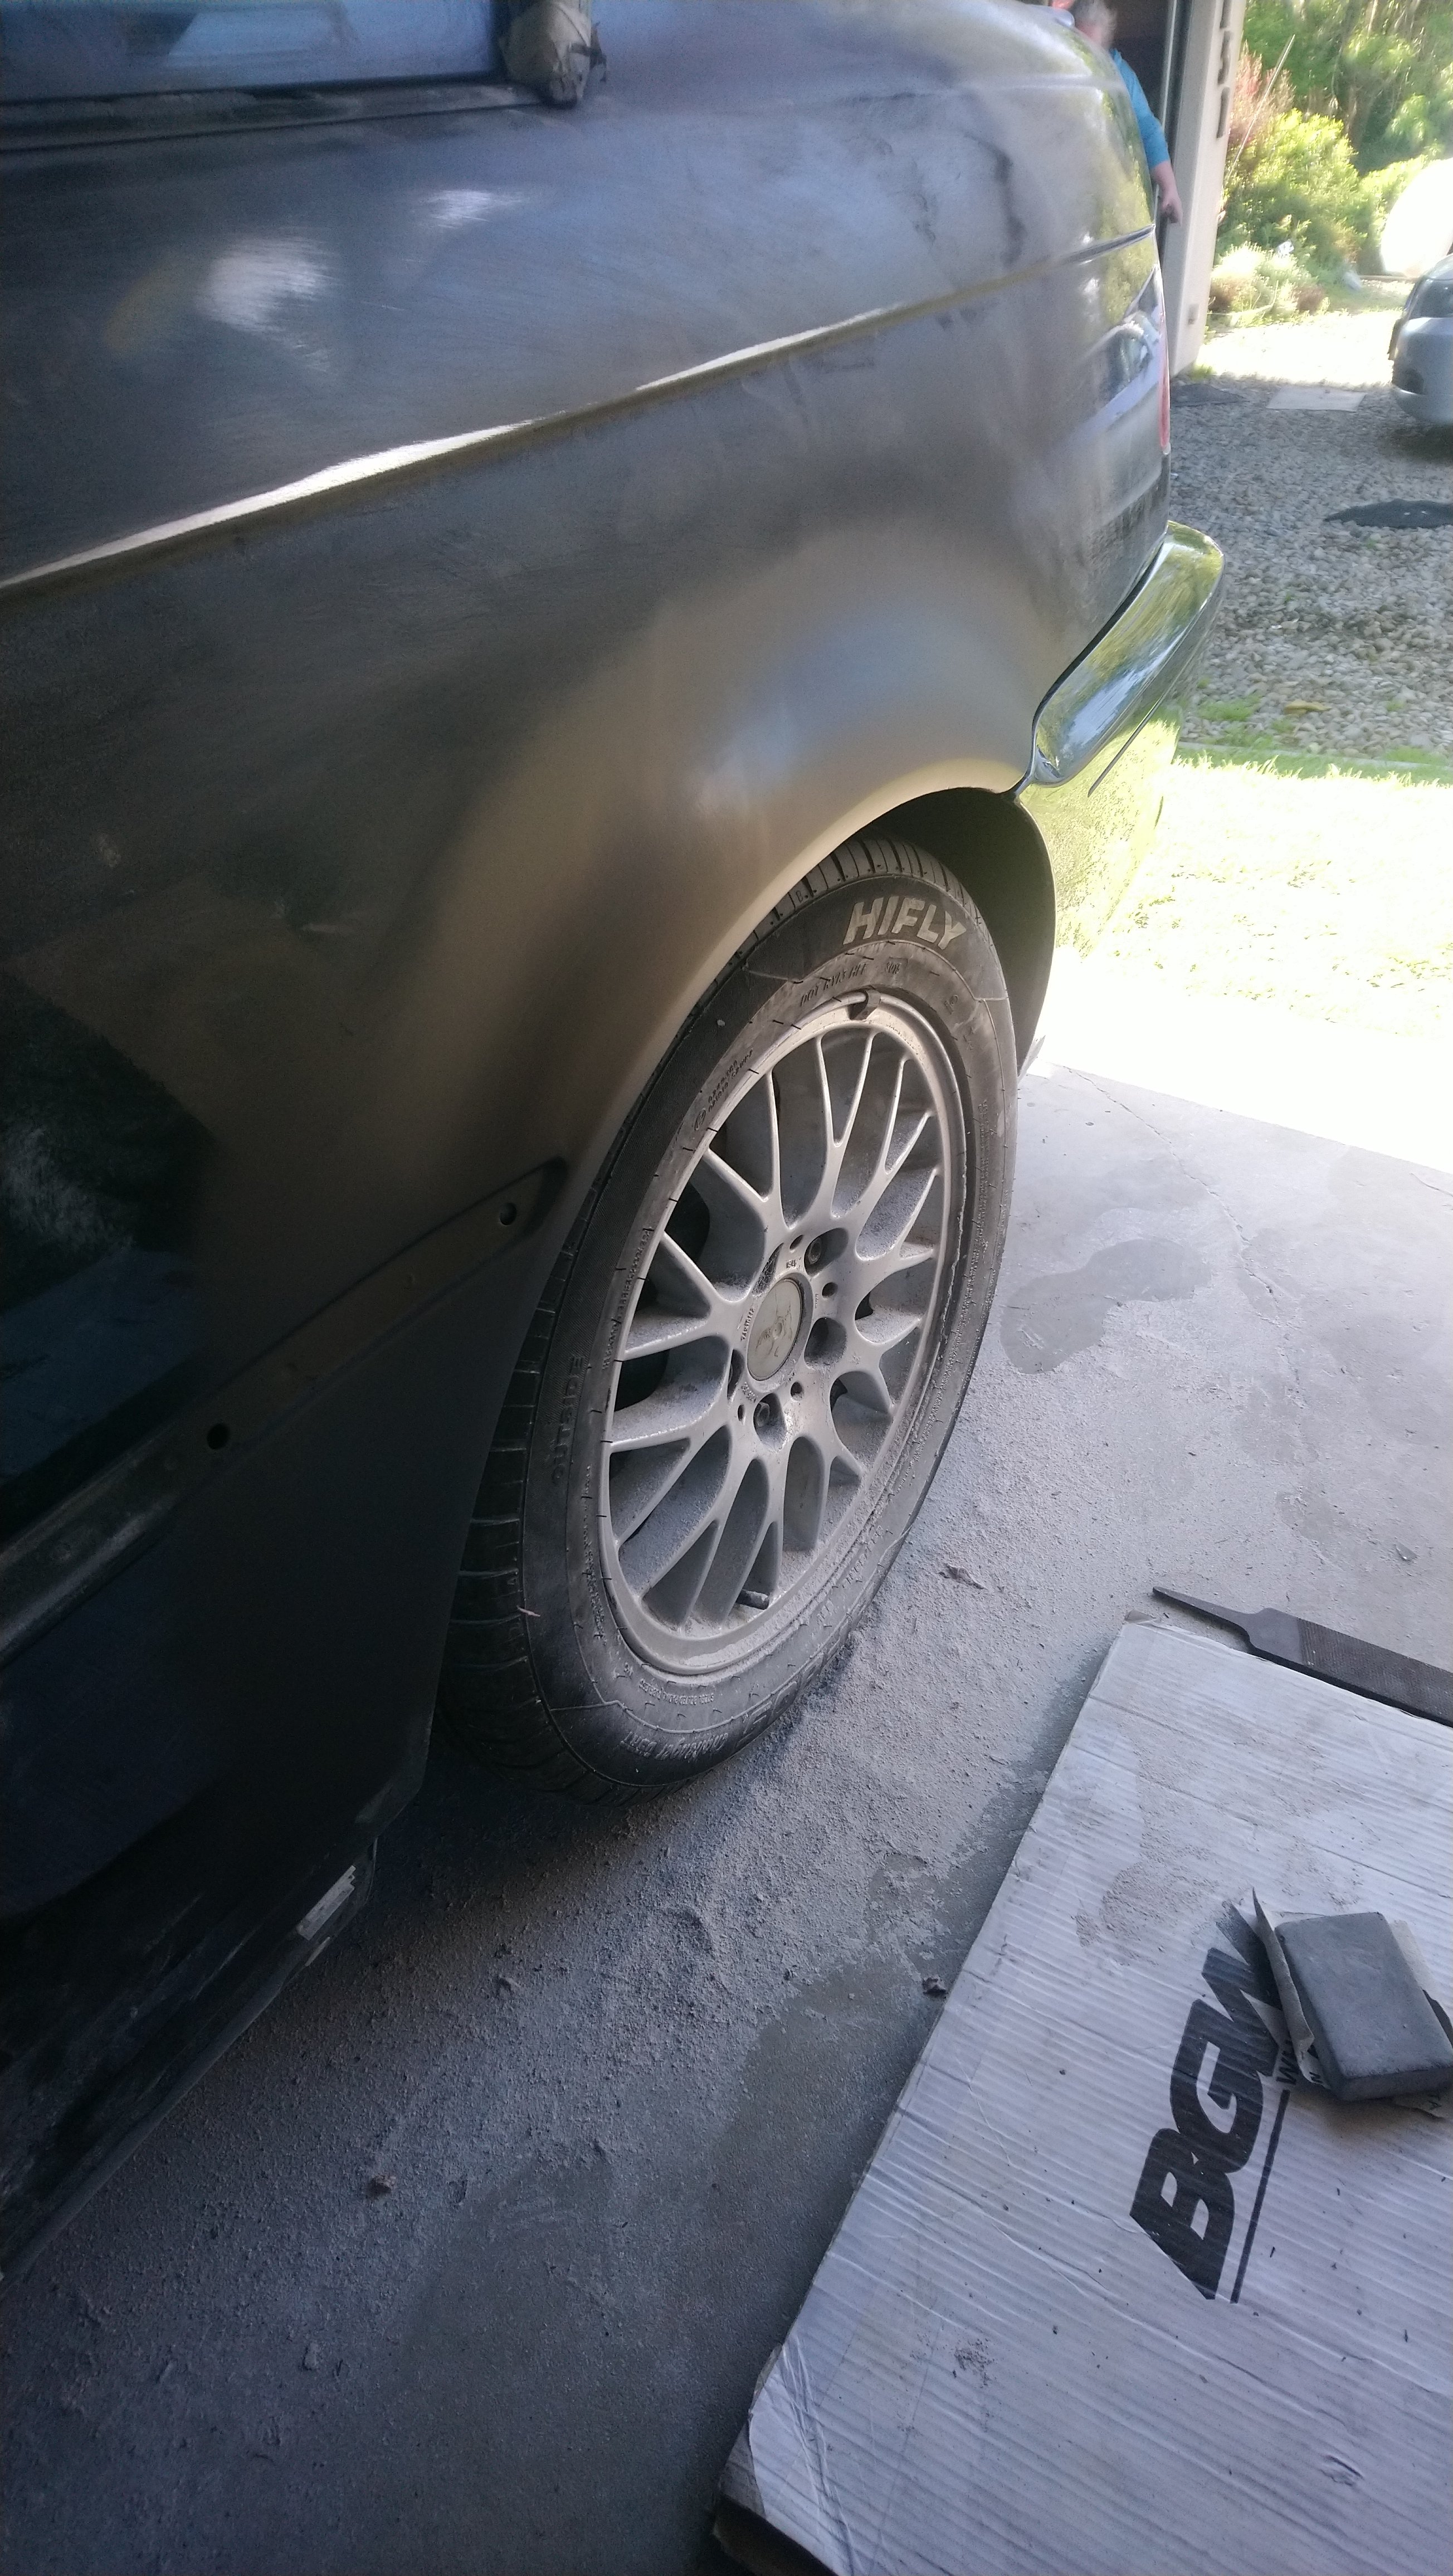
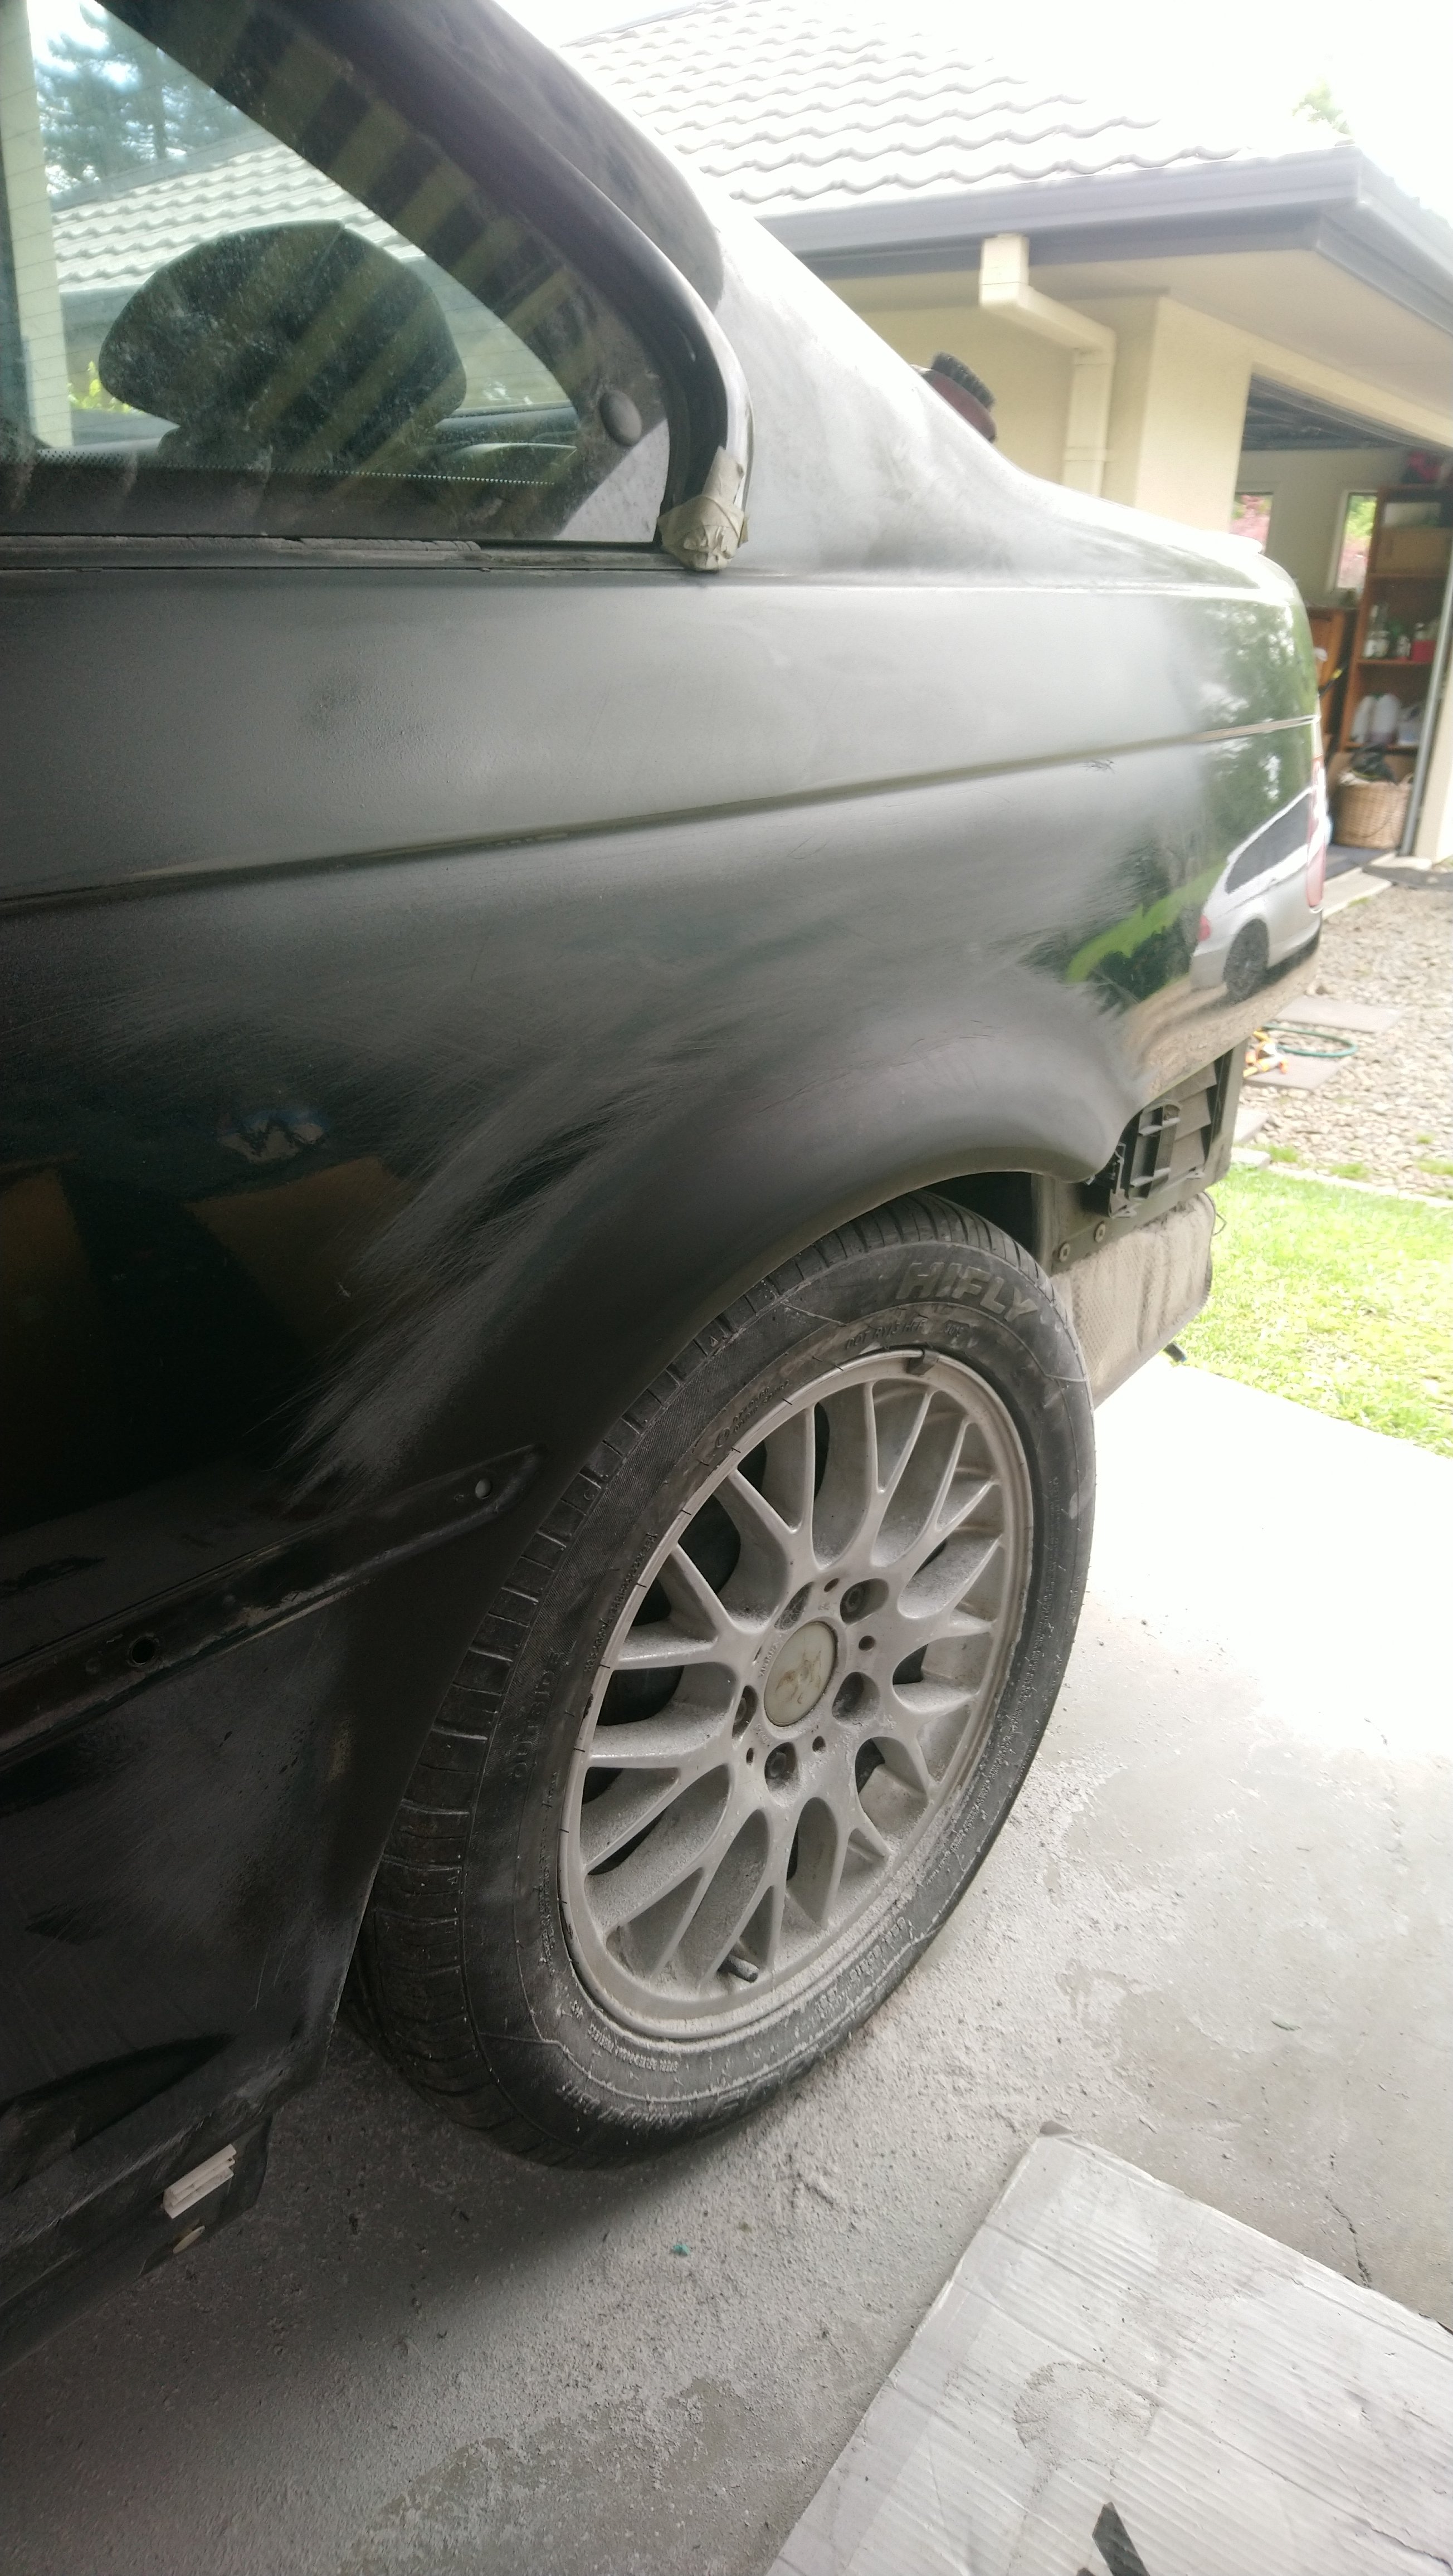
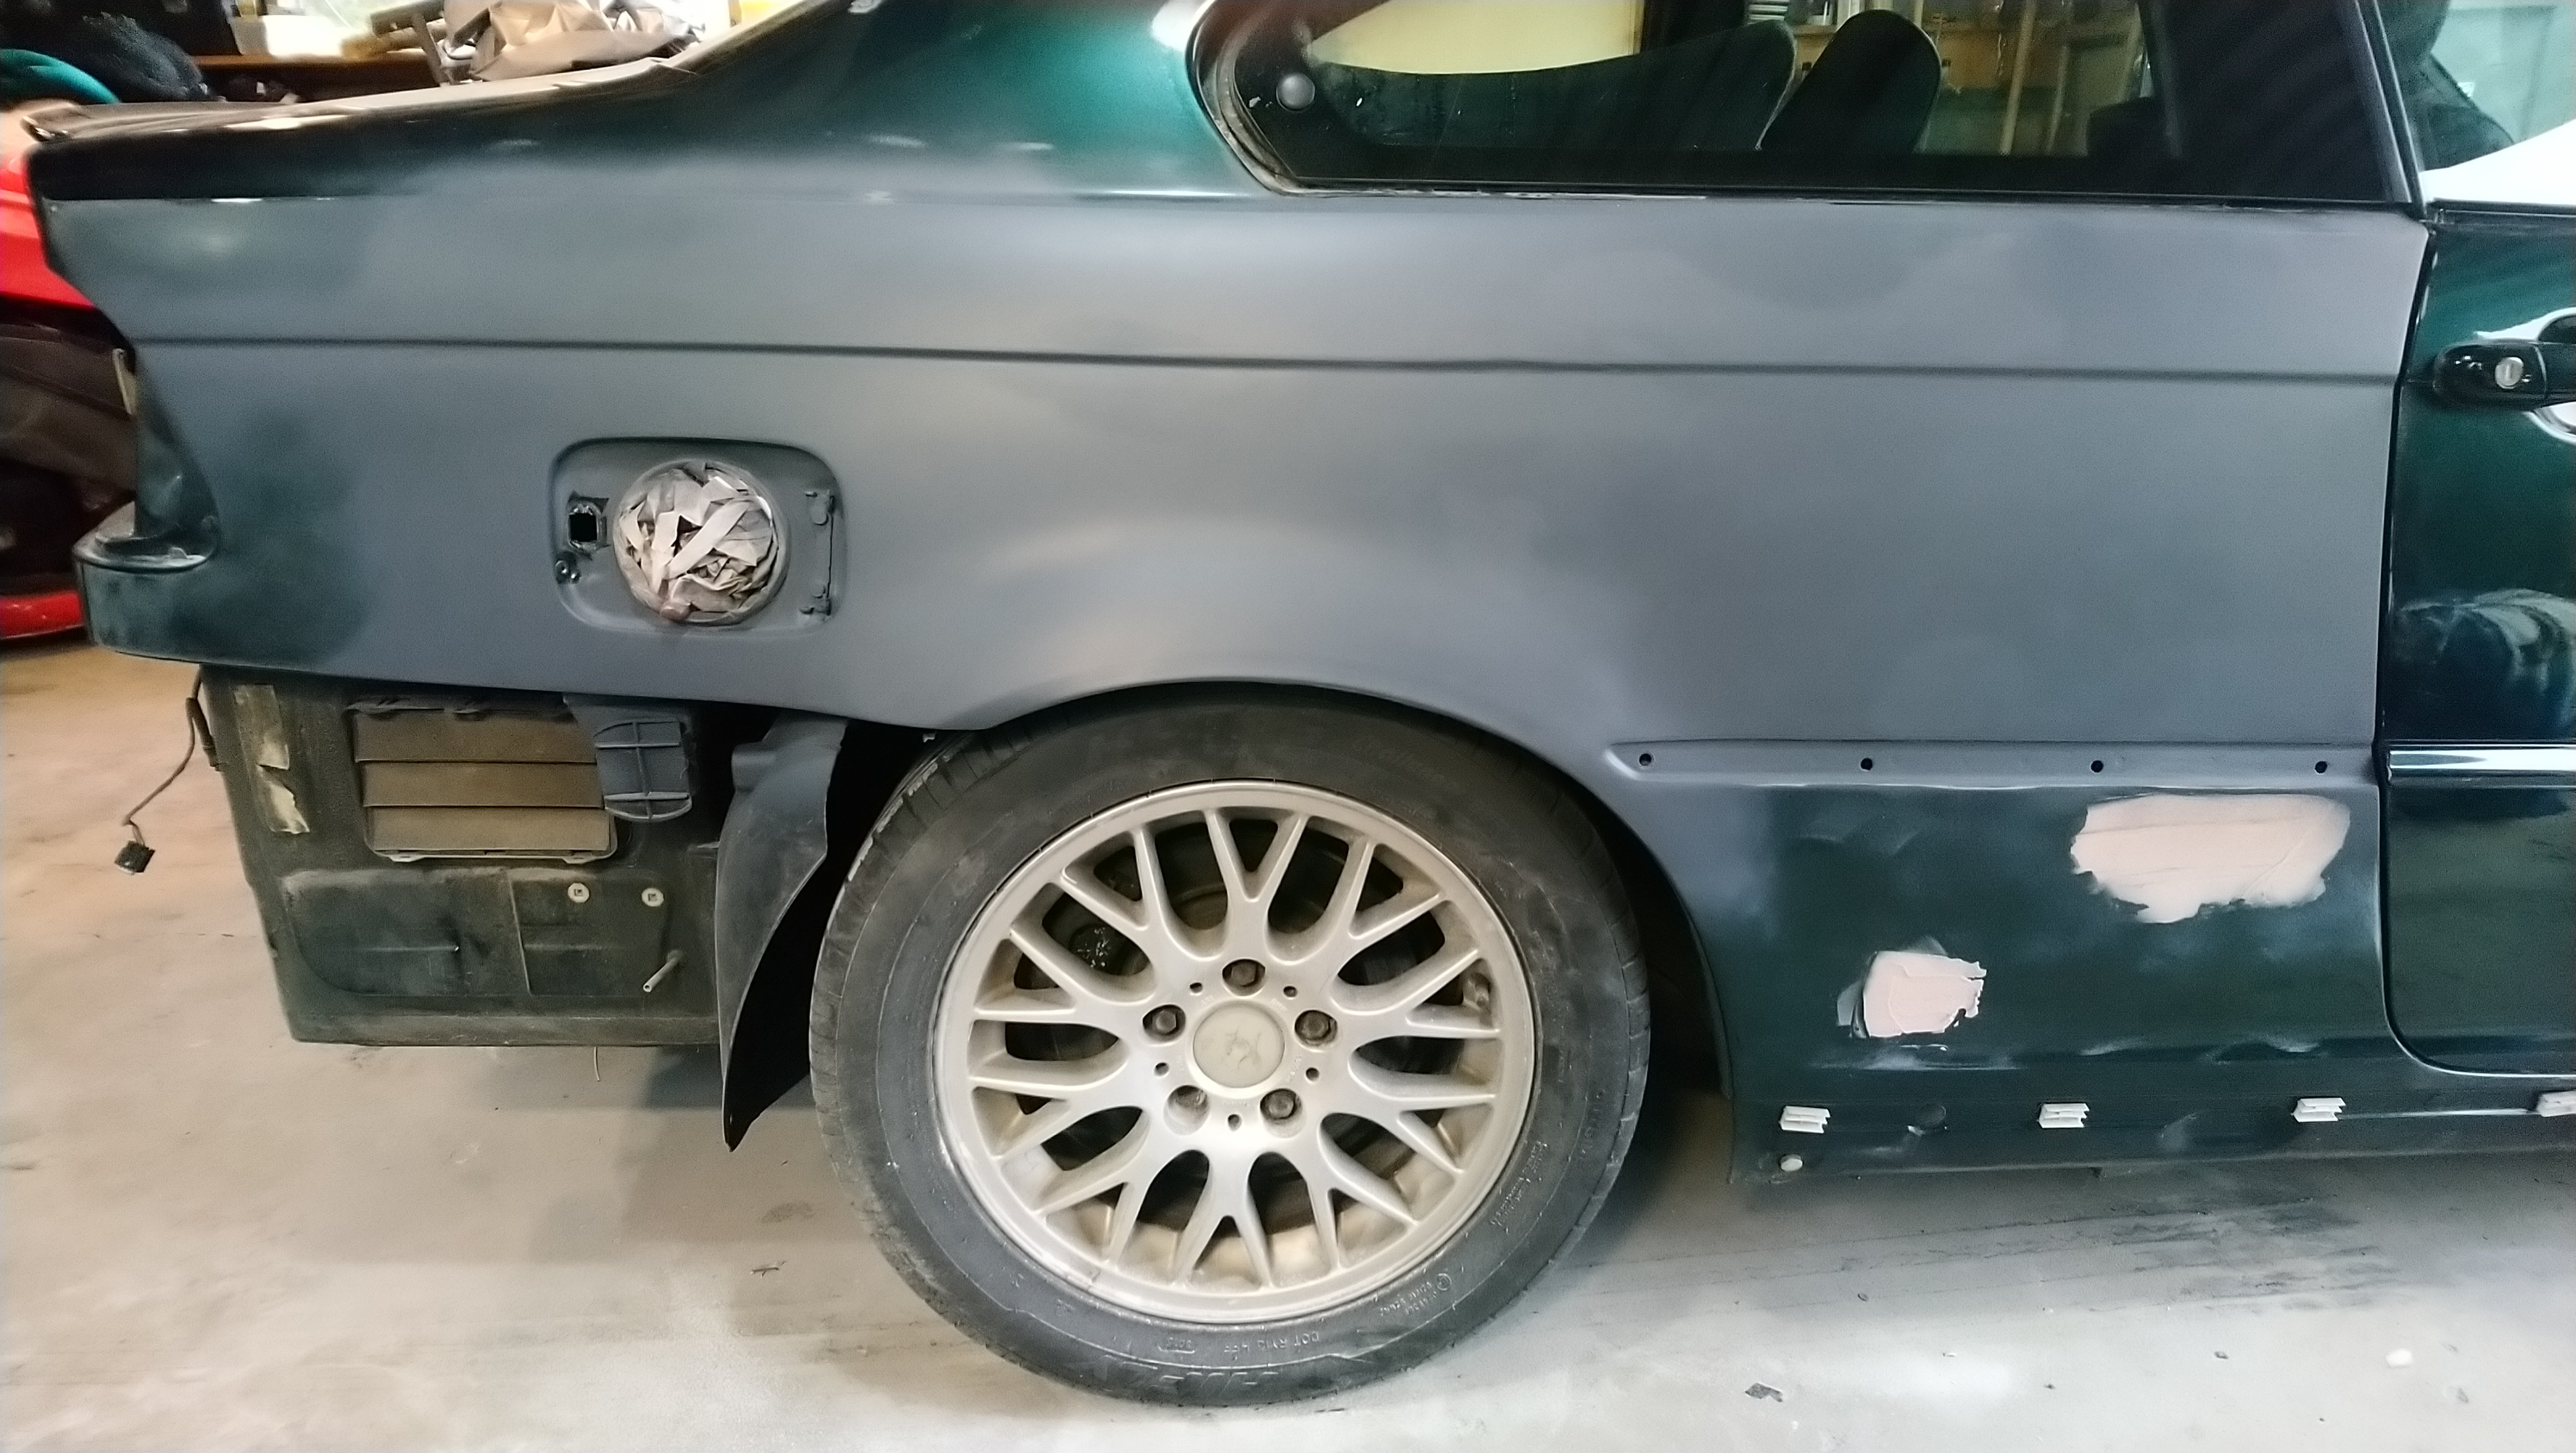
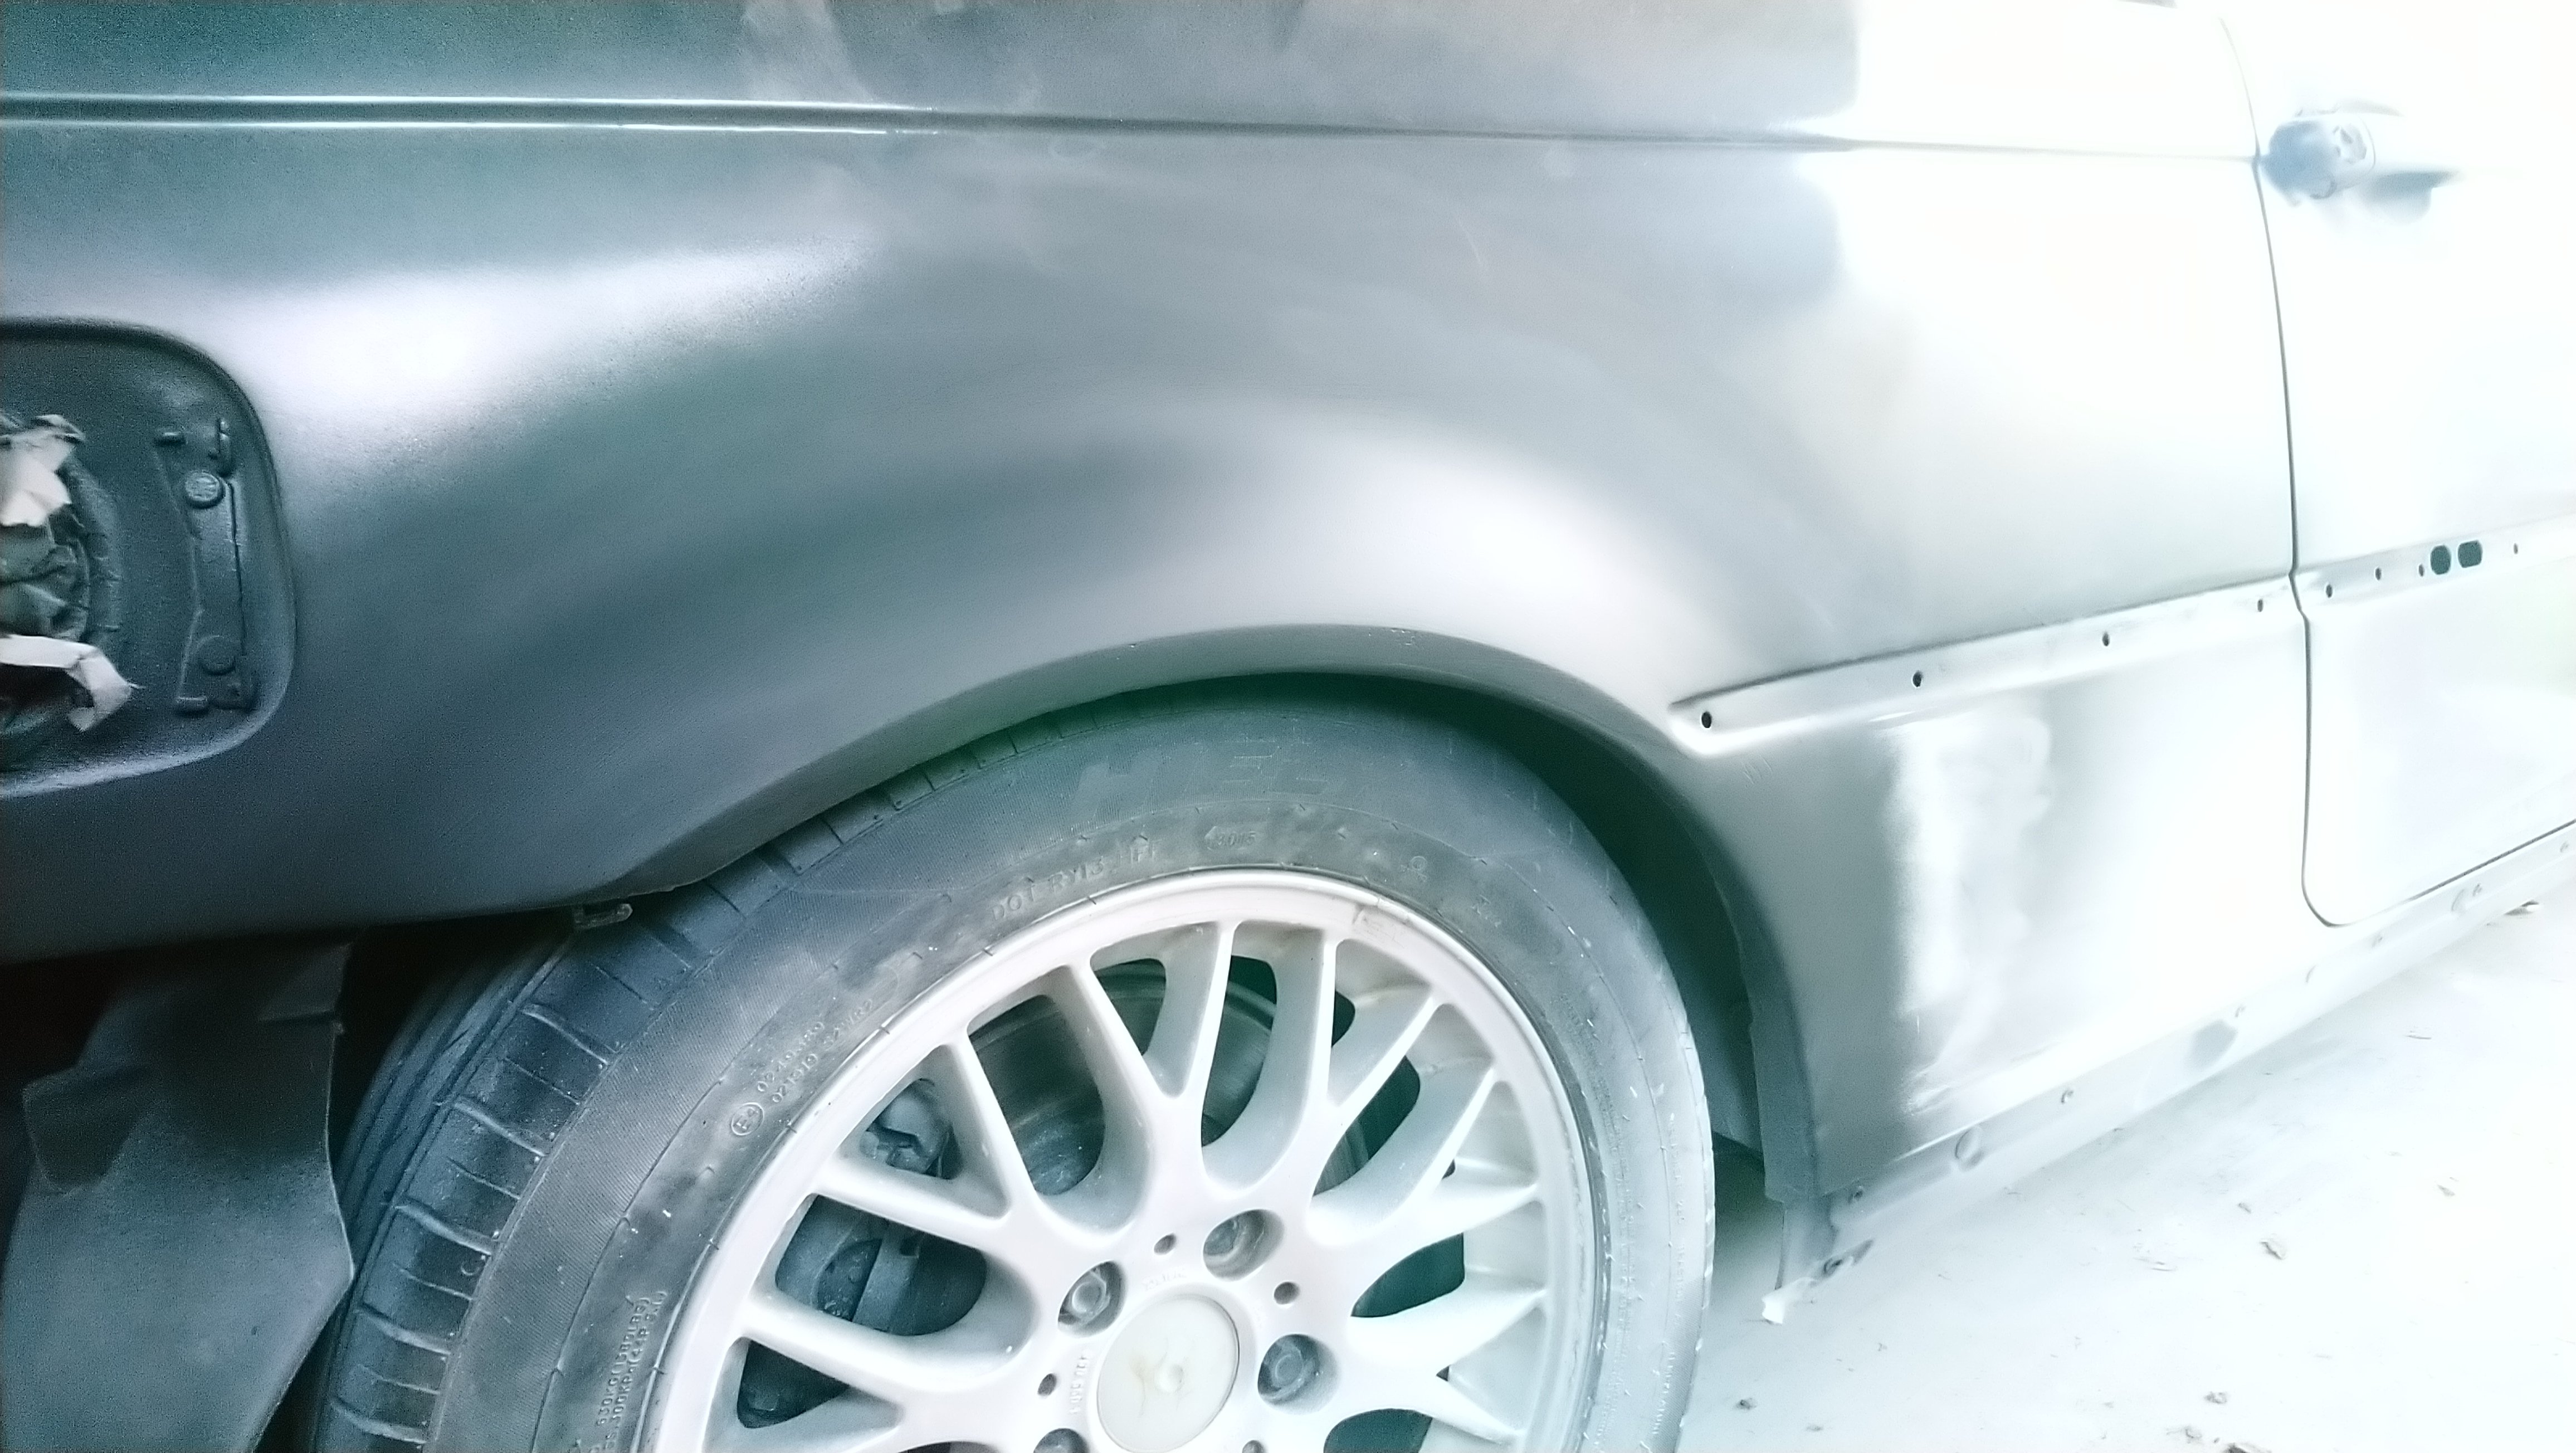
Looking pretty stock over LHS finally.
Small touch up on the RHS side, then onto home stretch.
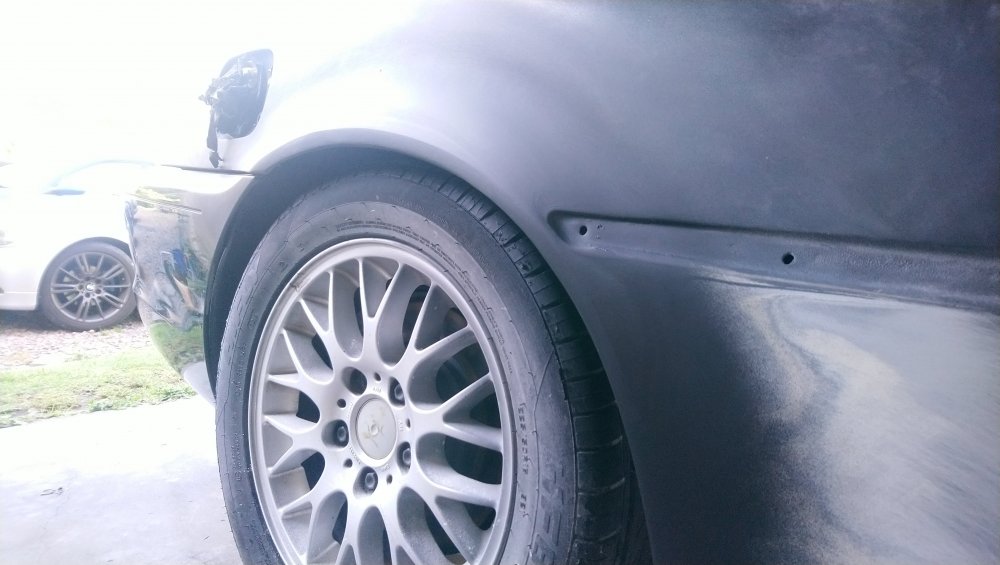

Would never have forgiven my self not to give these hacked up arches 110% to get them mint again
Was tempted to build them out agressive to the bottom with no feather out like the m3 has it haha. Bit too much body filler for my liking on that one!

Technique and speed doing these contours is now 10000% better than at the start, quite an interesting thing to learn.
Home stretch boys
-
1
-
-
?♂️?♂️?♂️
Doh! Lol
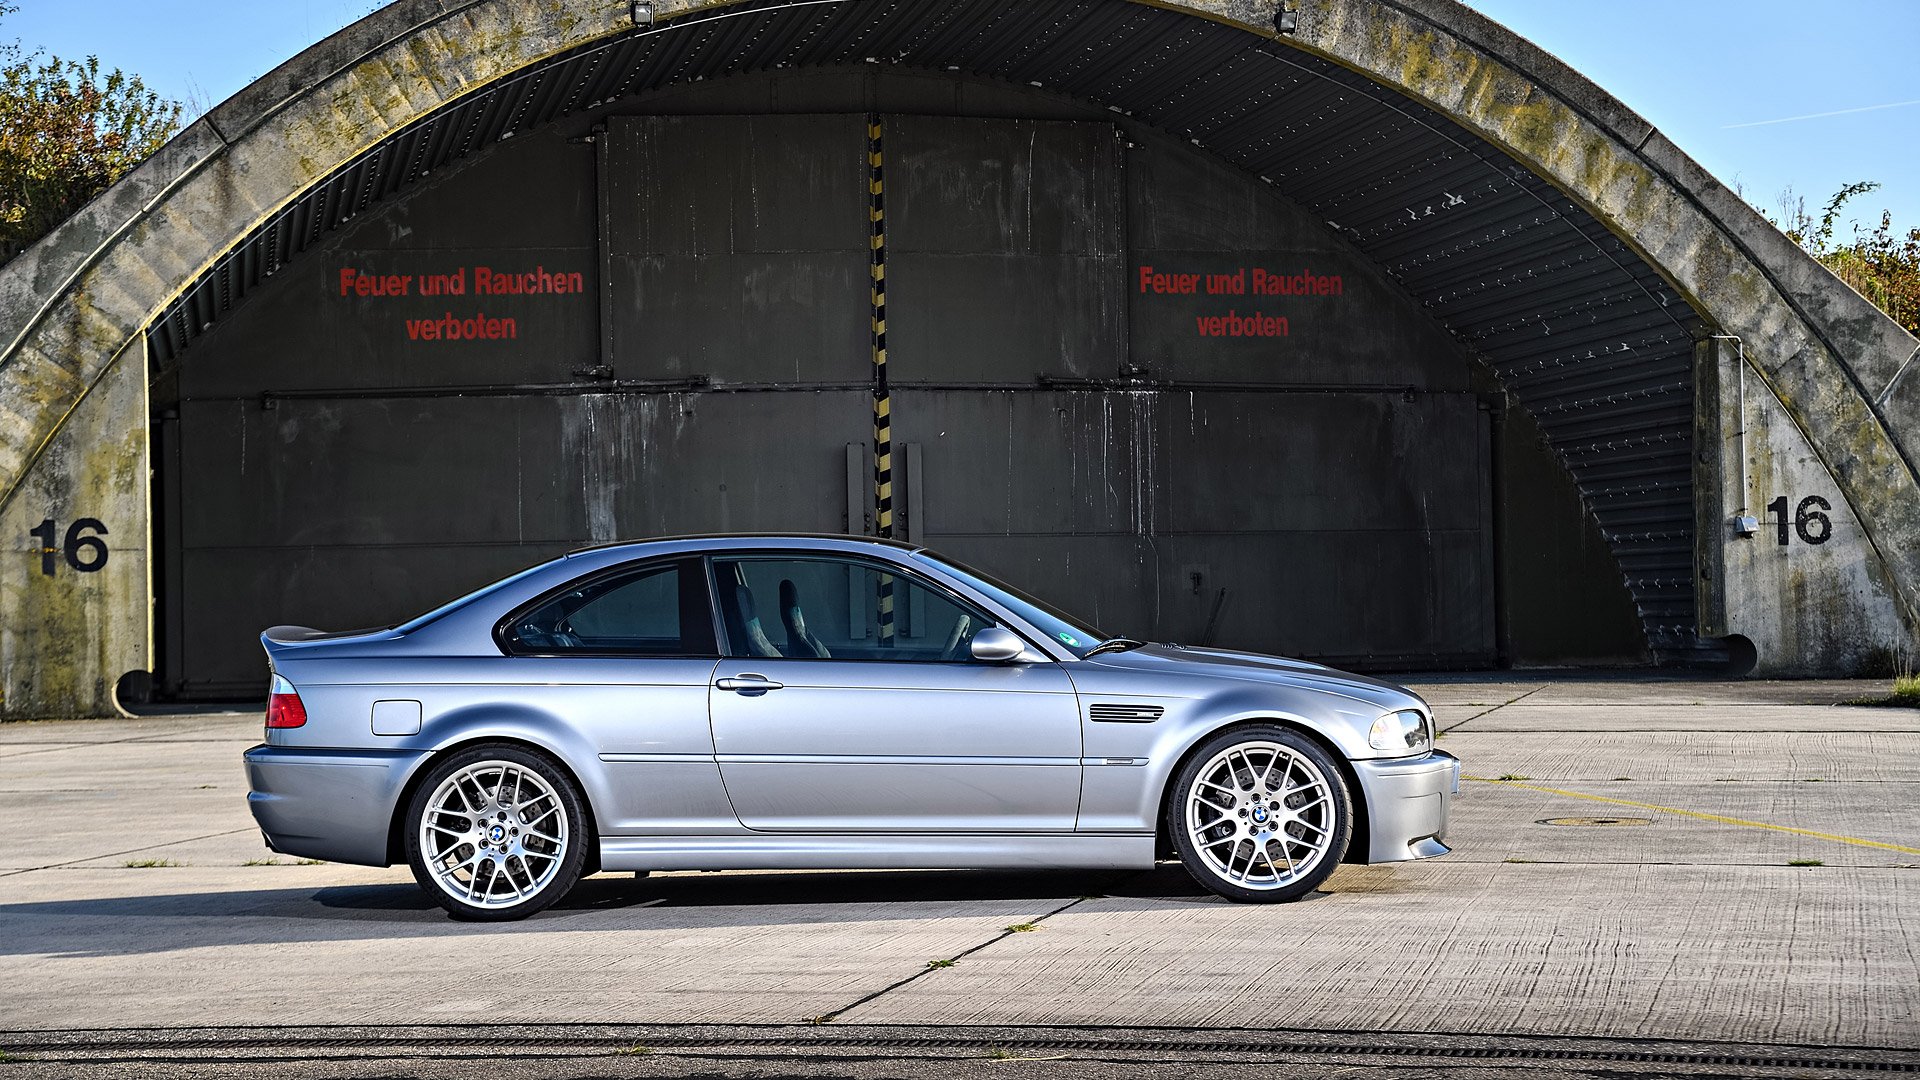
Found an image of how the arches look, they go down just a bit further until it flares out.

Lol back to the grind!!

-
Thanks all ...
Would have hated to do him a favor and the ended up being the opposite of a favour clogging up that filter haha.
-
Hey do these have a DPF?
2005 120d e87
WBAUG52050PE71978
I thought post 2006/07 they were equipping them with dpf.
Just doing a oil change for a friends car and wanted to know whether it's worth worrying about.
-
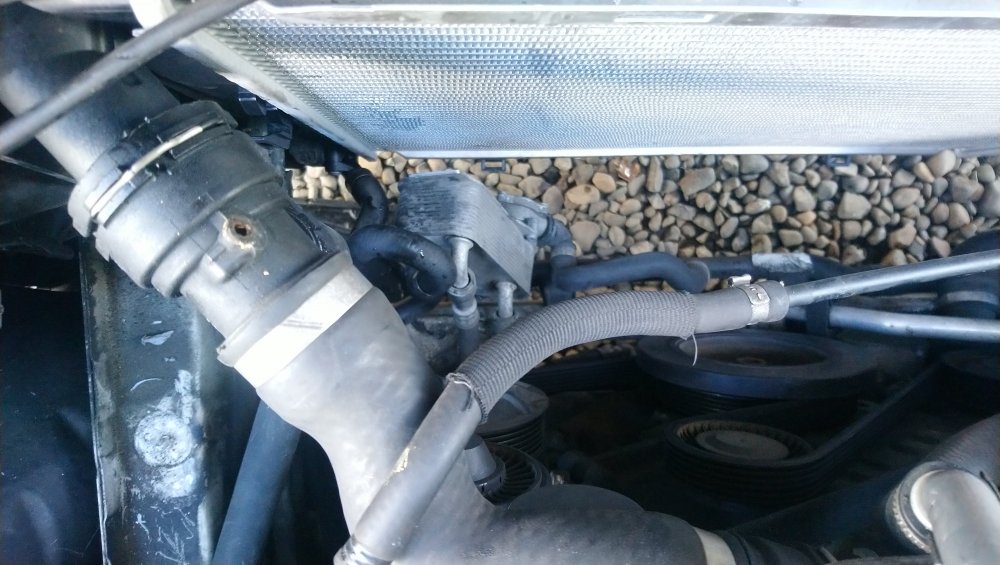
Put a brand new radiator in today, slow leak through the bottom of the side tank in the old one. Not loosing too much coolant but thought might as well do it now would hate for it to burst during an out of town trip.
Man so much silicon every where from the last people who had it off and too cheap to replace o rings even though 5k was spent on other work through a warranty claim + water pump and thermostat etc. O rings were WELL USED firmly embedded in the groove.
Radiator came with new o rings anyway so stoked.
Putting it back in being gentle and this broke, how ever luckily once again @Steveo1 came to the rescue on a Sunday with a spare in good nick to get me rollin.
Coolant that came out was red , probably penrite not sure why they used that. thought it was supposed to be either penrite green or the blue OEM BMW / liquimoly. Anyway was really clean, but took like 8 runs of the water pump bleed procedure and dropping coolant to get rid of the red so it was just clear.
Running liquimoly now and even have the sticker to add further hp / respect points.
-
Haha yeah
.. full send mode !
-
DONE!
Too many cans of primer
Too many pots of filler (most of it sanded off!)
Too many sheets of sand paper
1000ml of paint used as guide coats
Learning 1000 ways how not to sand complex curves
One last crack at the rear lhs kink, thin but long layer of filler, knee board as a sander block and she's mint.
Rear quarter panels, kinks and arches SIGNING OFF!
Guide coats and hand touch finally revealing nothing, well I'm sure there's always low spots but I'm really struggling to find it using the go to techniques.
Onto easy small door dents, what a relief!!

-
6
-
-
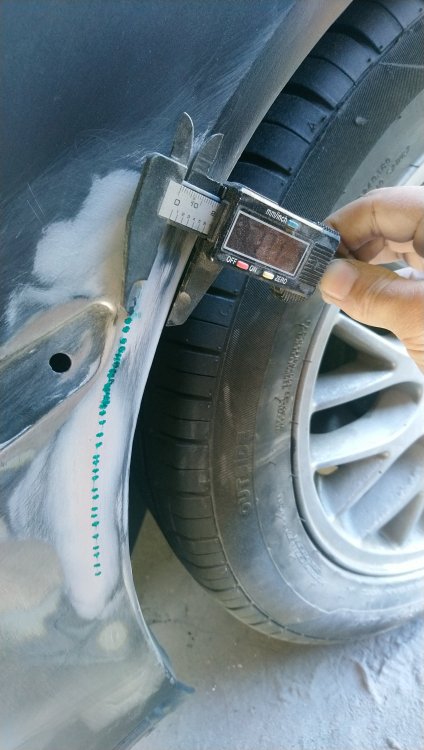
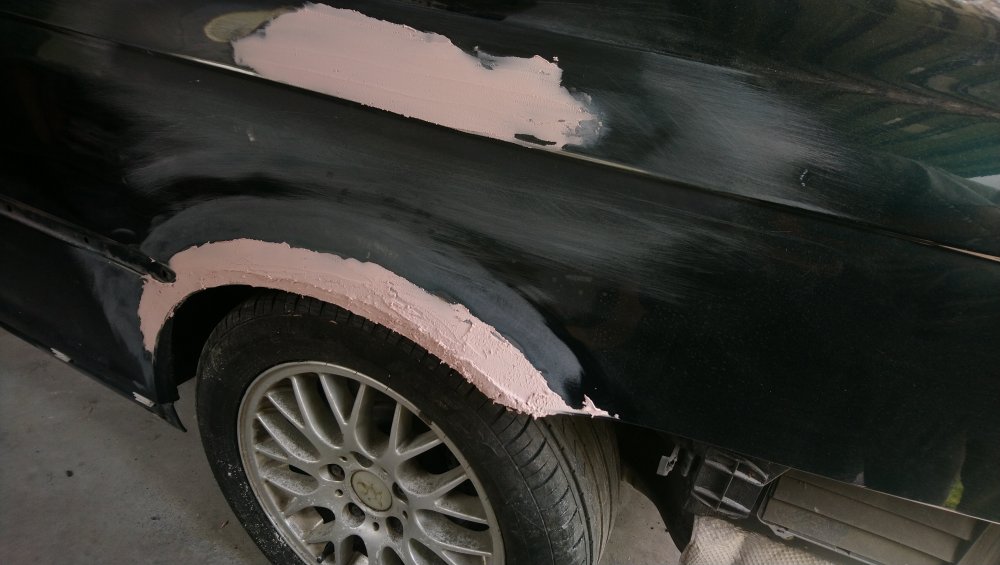
@Olaf I'm at the point on the arch knowing that it's not perfect but applying more filler and sanding back potentially leads me round in circles. Essentially I need $1000 in sanding block shapes and sizes.
It's driving me mental haha, Ive measured the lip size on the front, which is 16mm and did the same on the rears but I swear they look slightly thinner haha.
Might be madness setting in though
-
@Eagle I have gained a totally new level of appreciation for body shops.
I know I must be inefficient as hell because of the 2 pots of filler I slapped on the car, 90% of it has been sanded off from me trying to perfect contours. And learning conclusively there's 1000 ways to sand and also not to sand / shape.
I don't know if I'll ever get it 100% but it's sure going to be close enough so that once the respray is done the pay off will be there
Engine I'll probably either full rebuild, or something far more ambitious
-
1
-
-
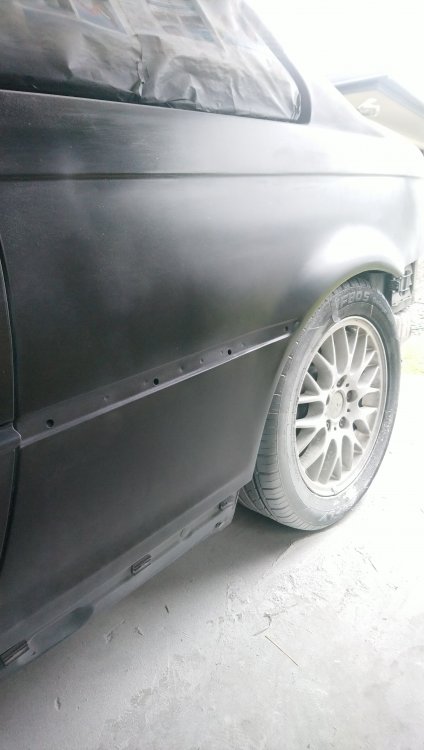
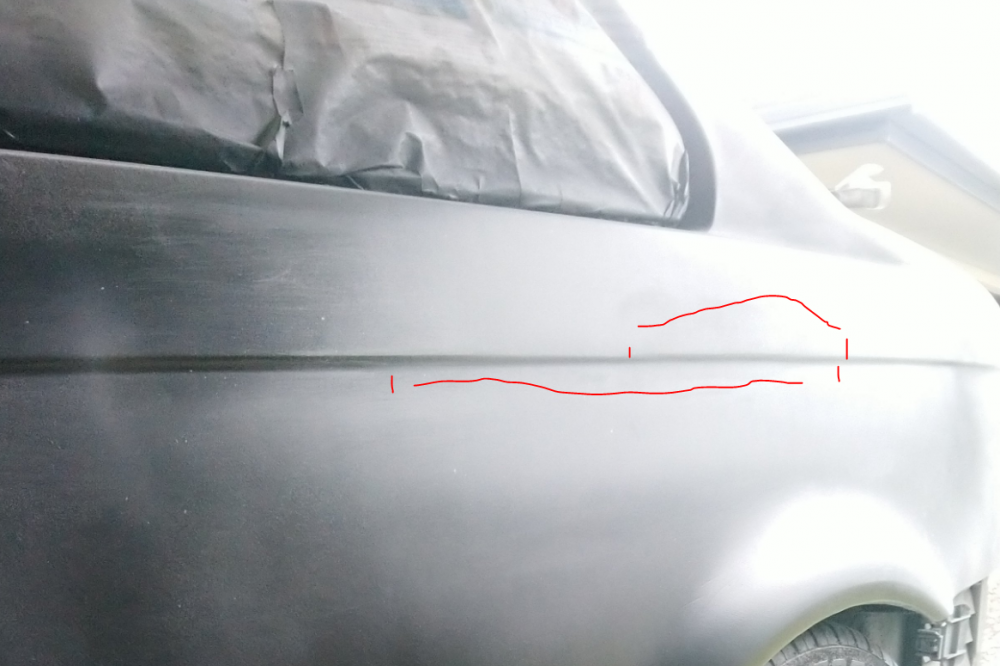
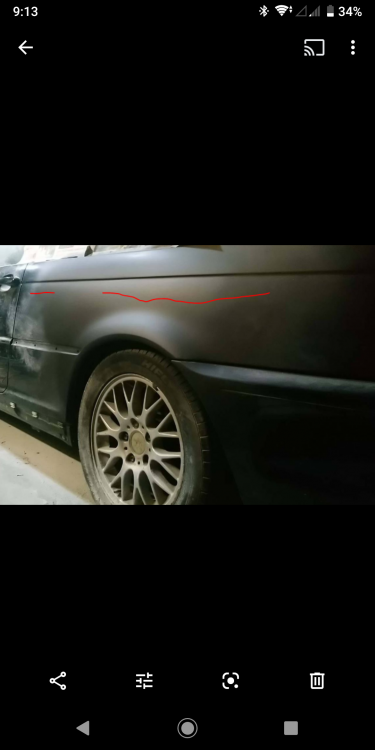
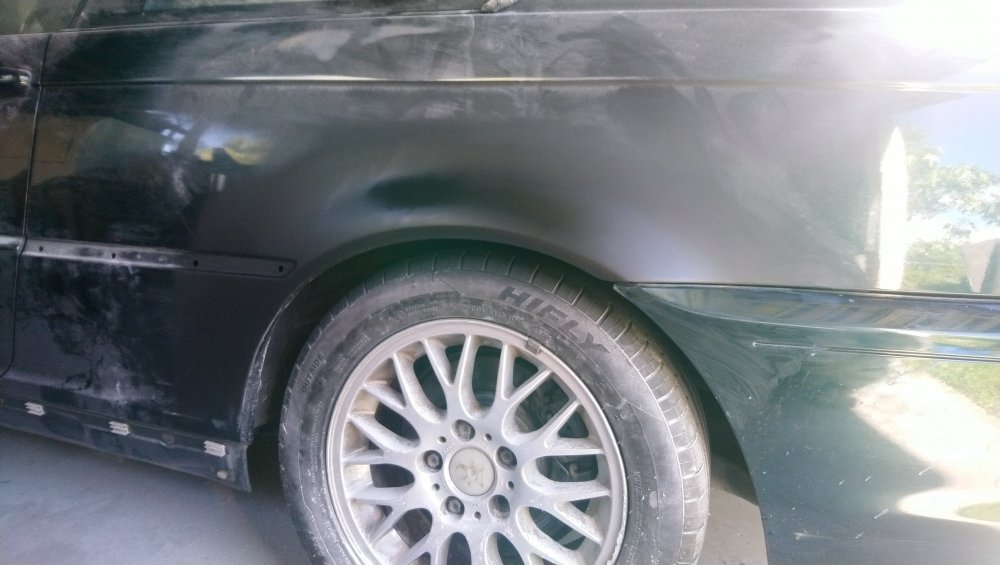
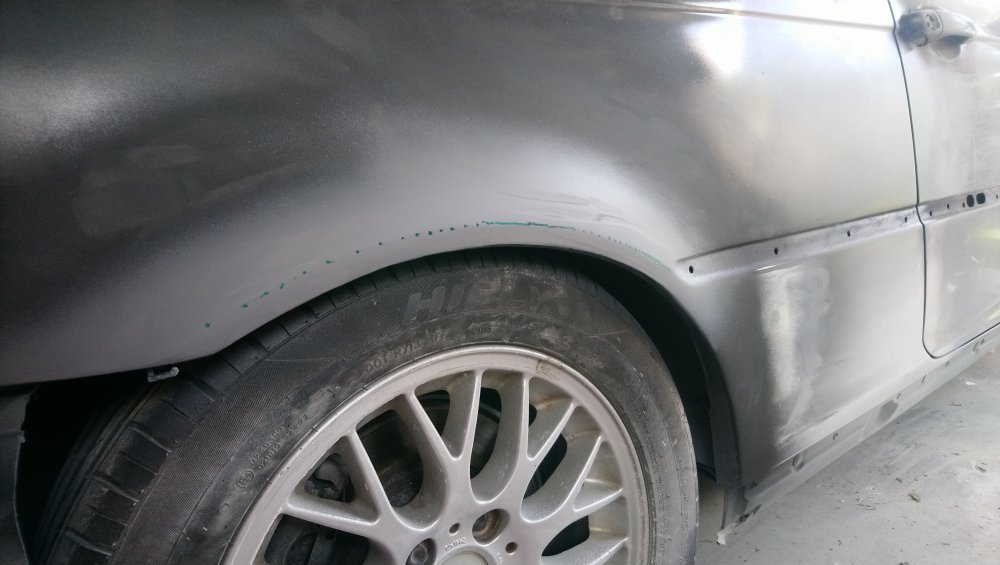
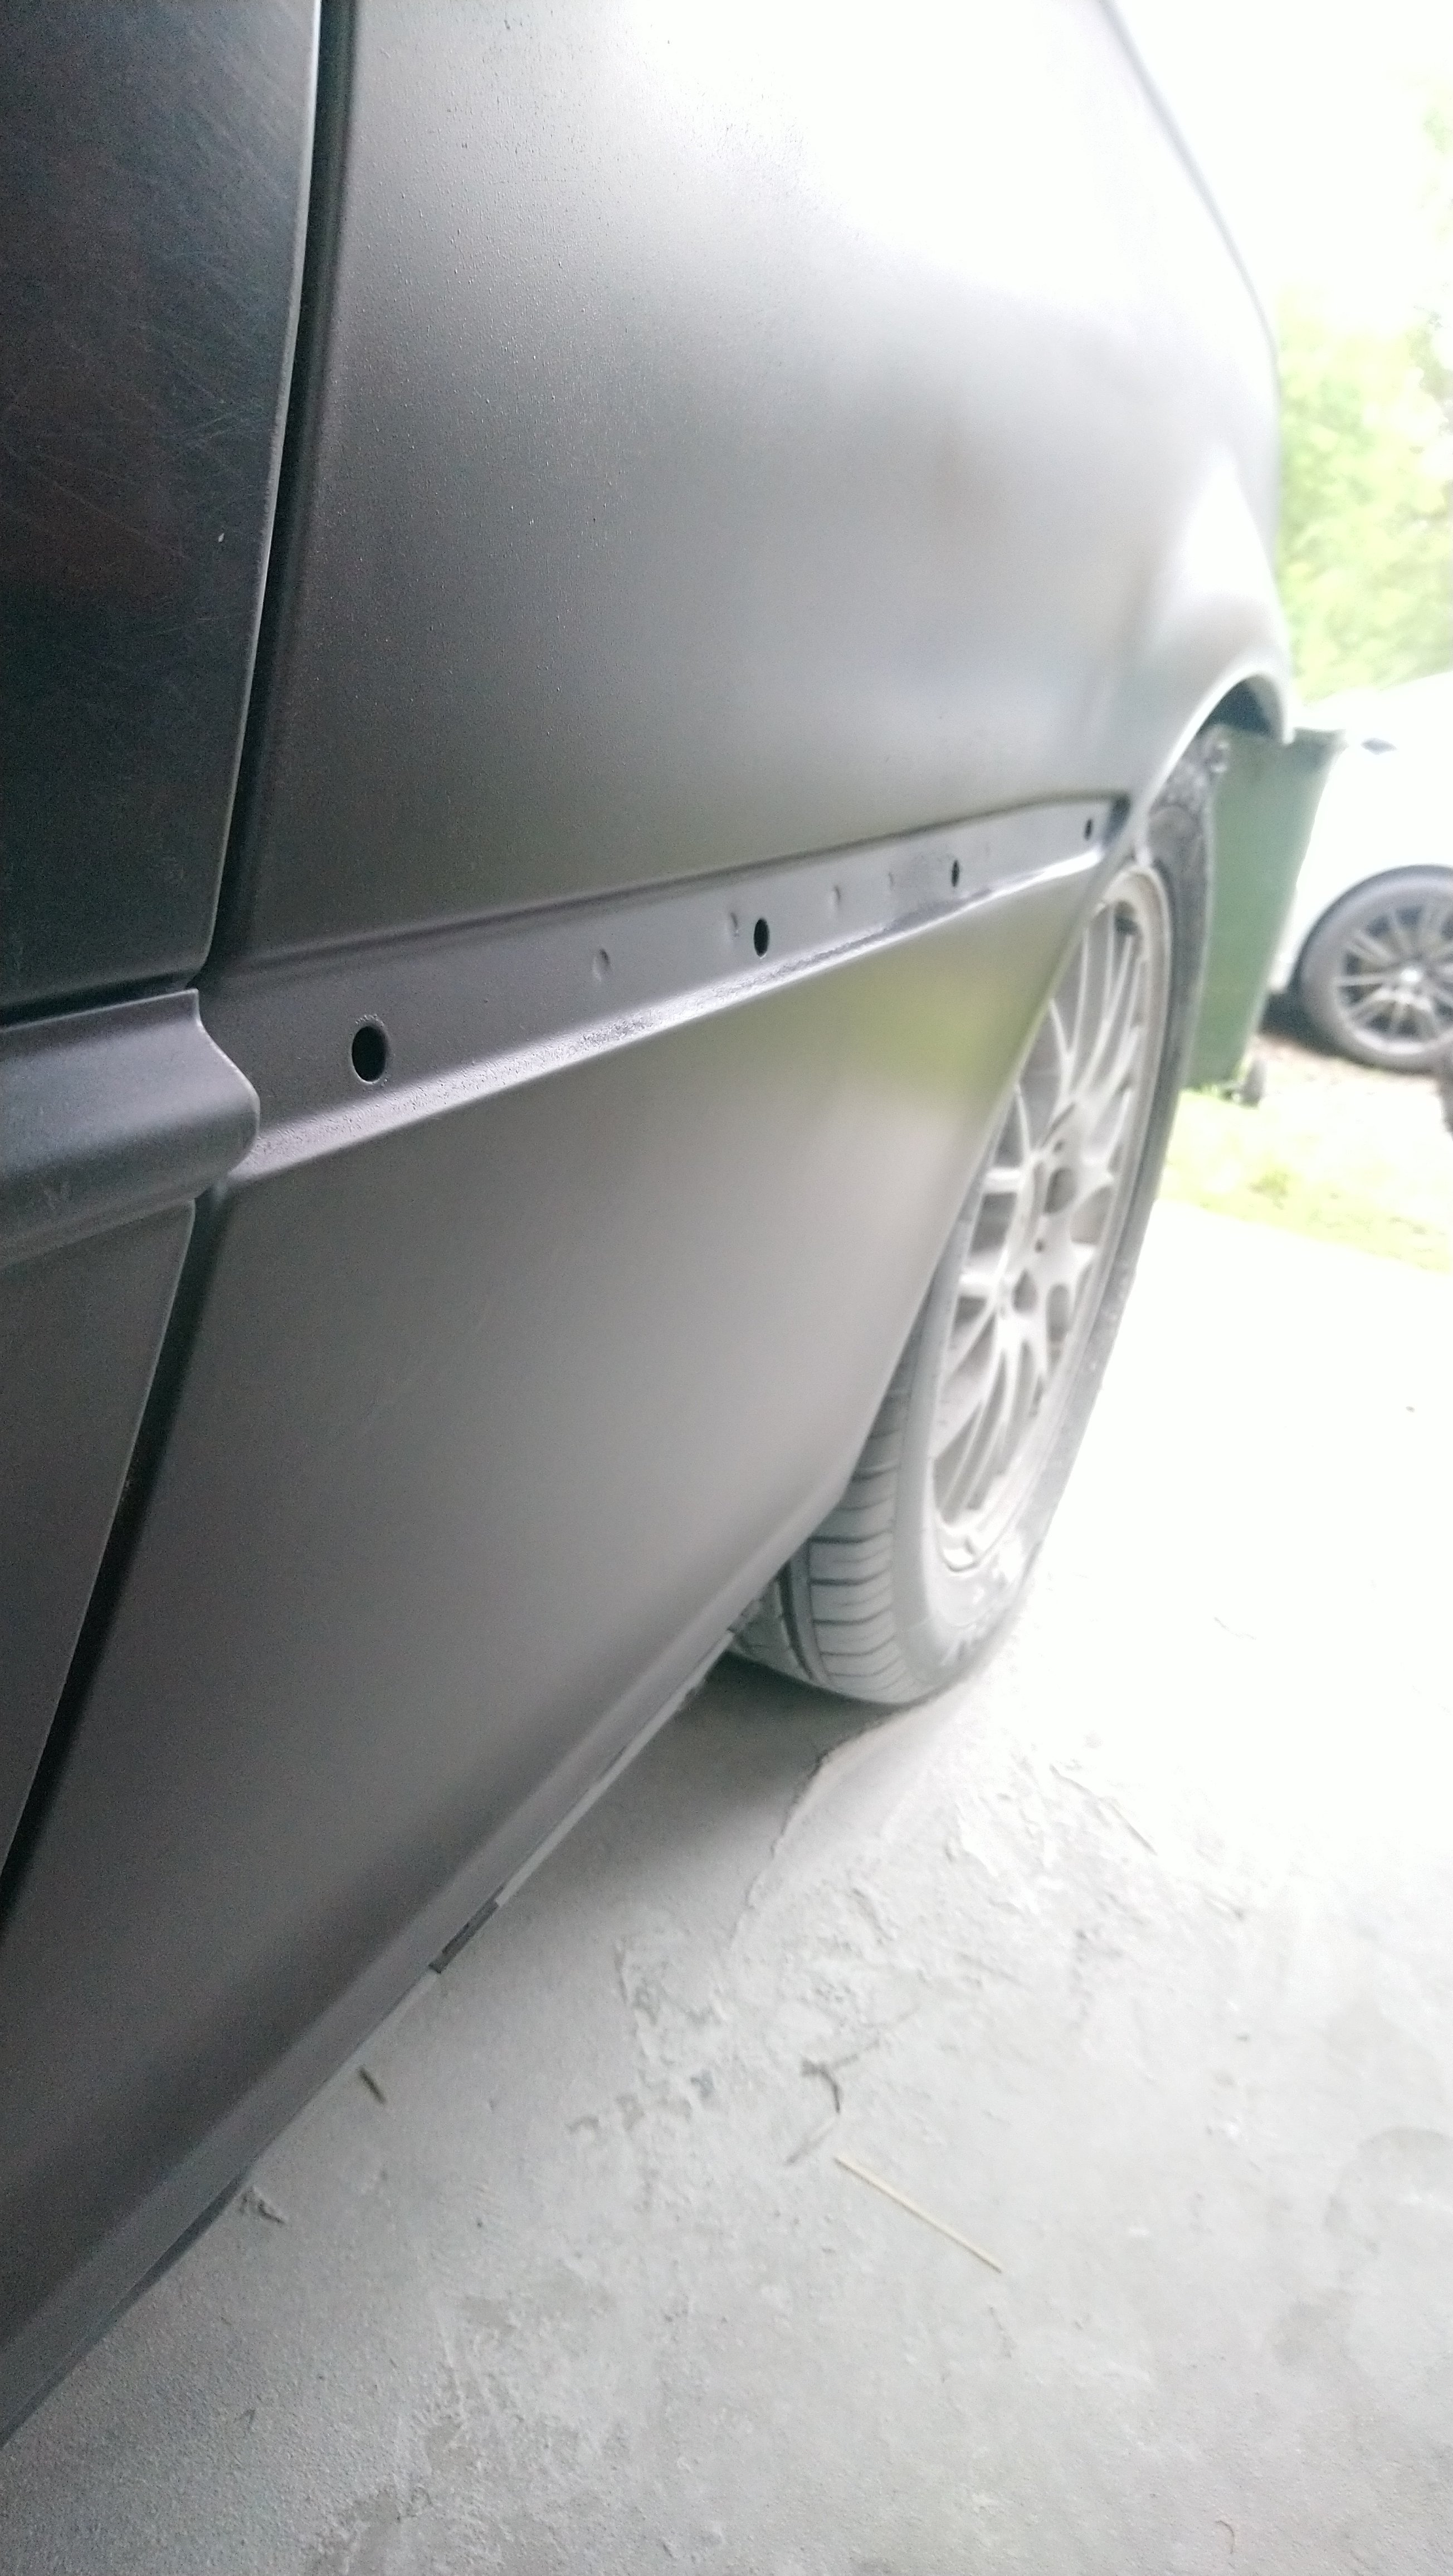
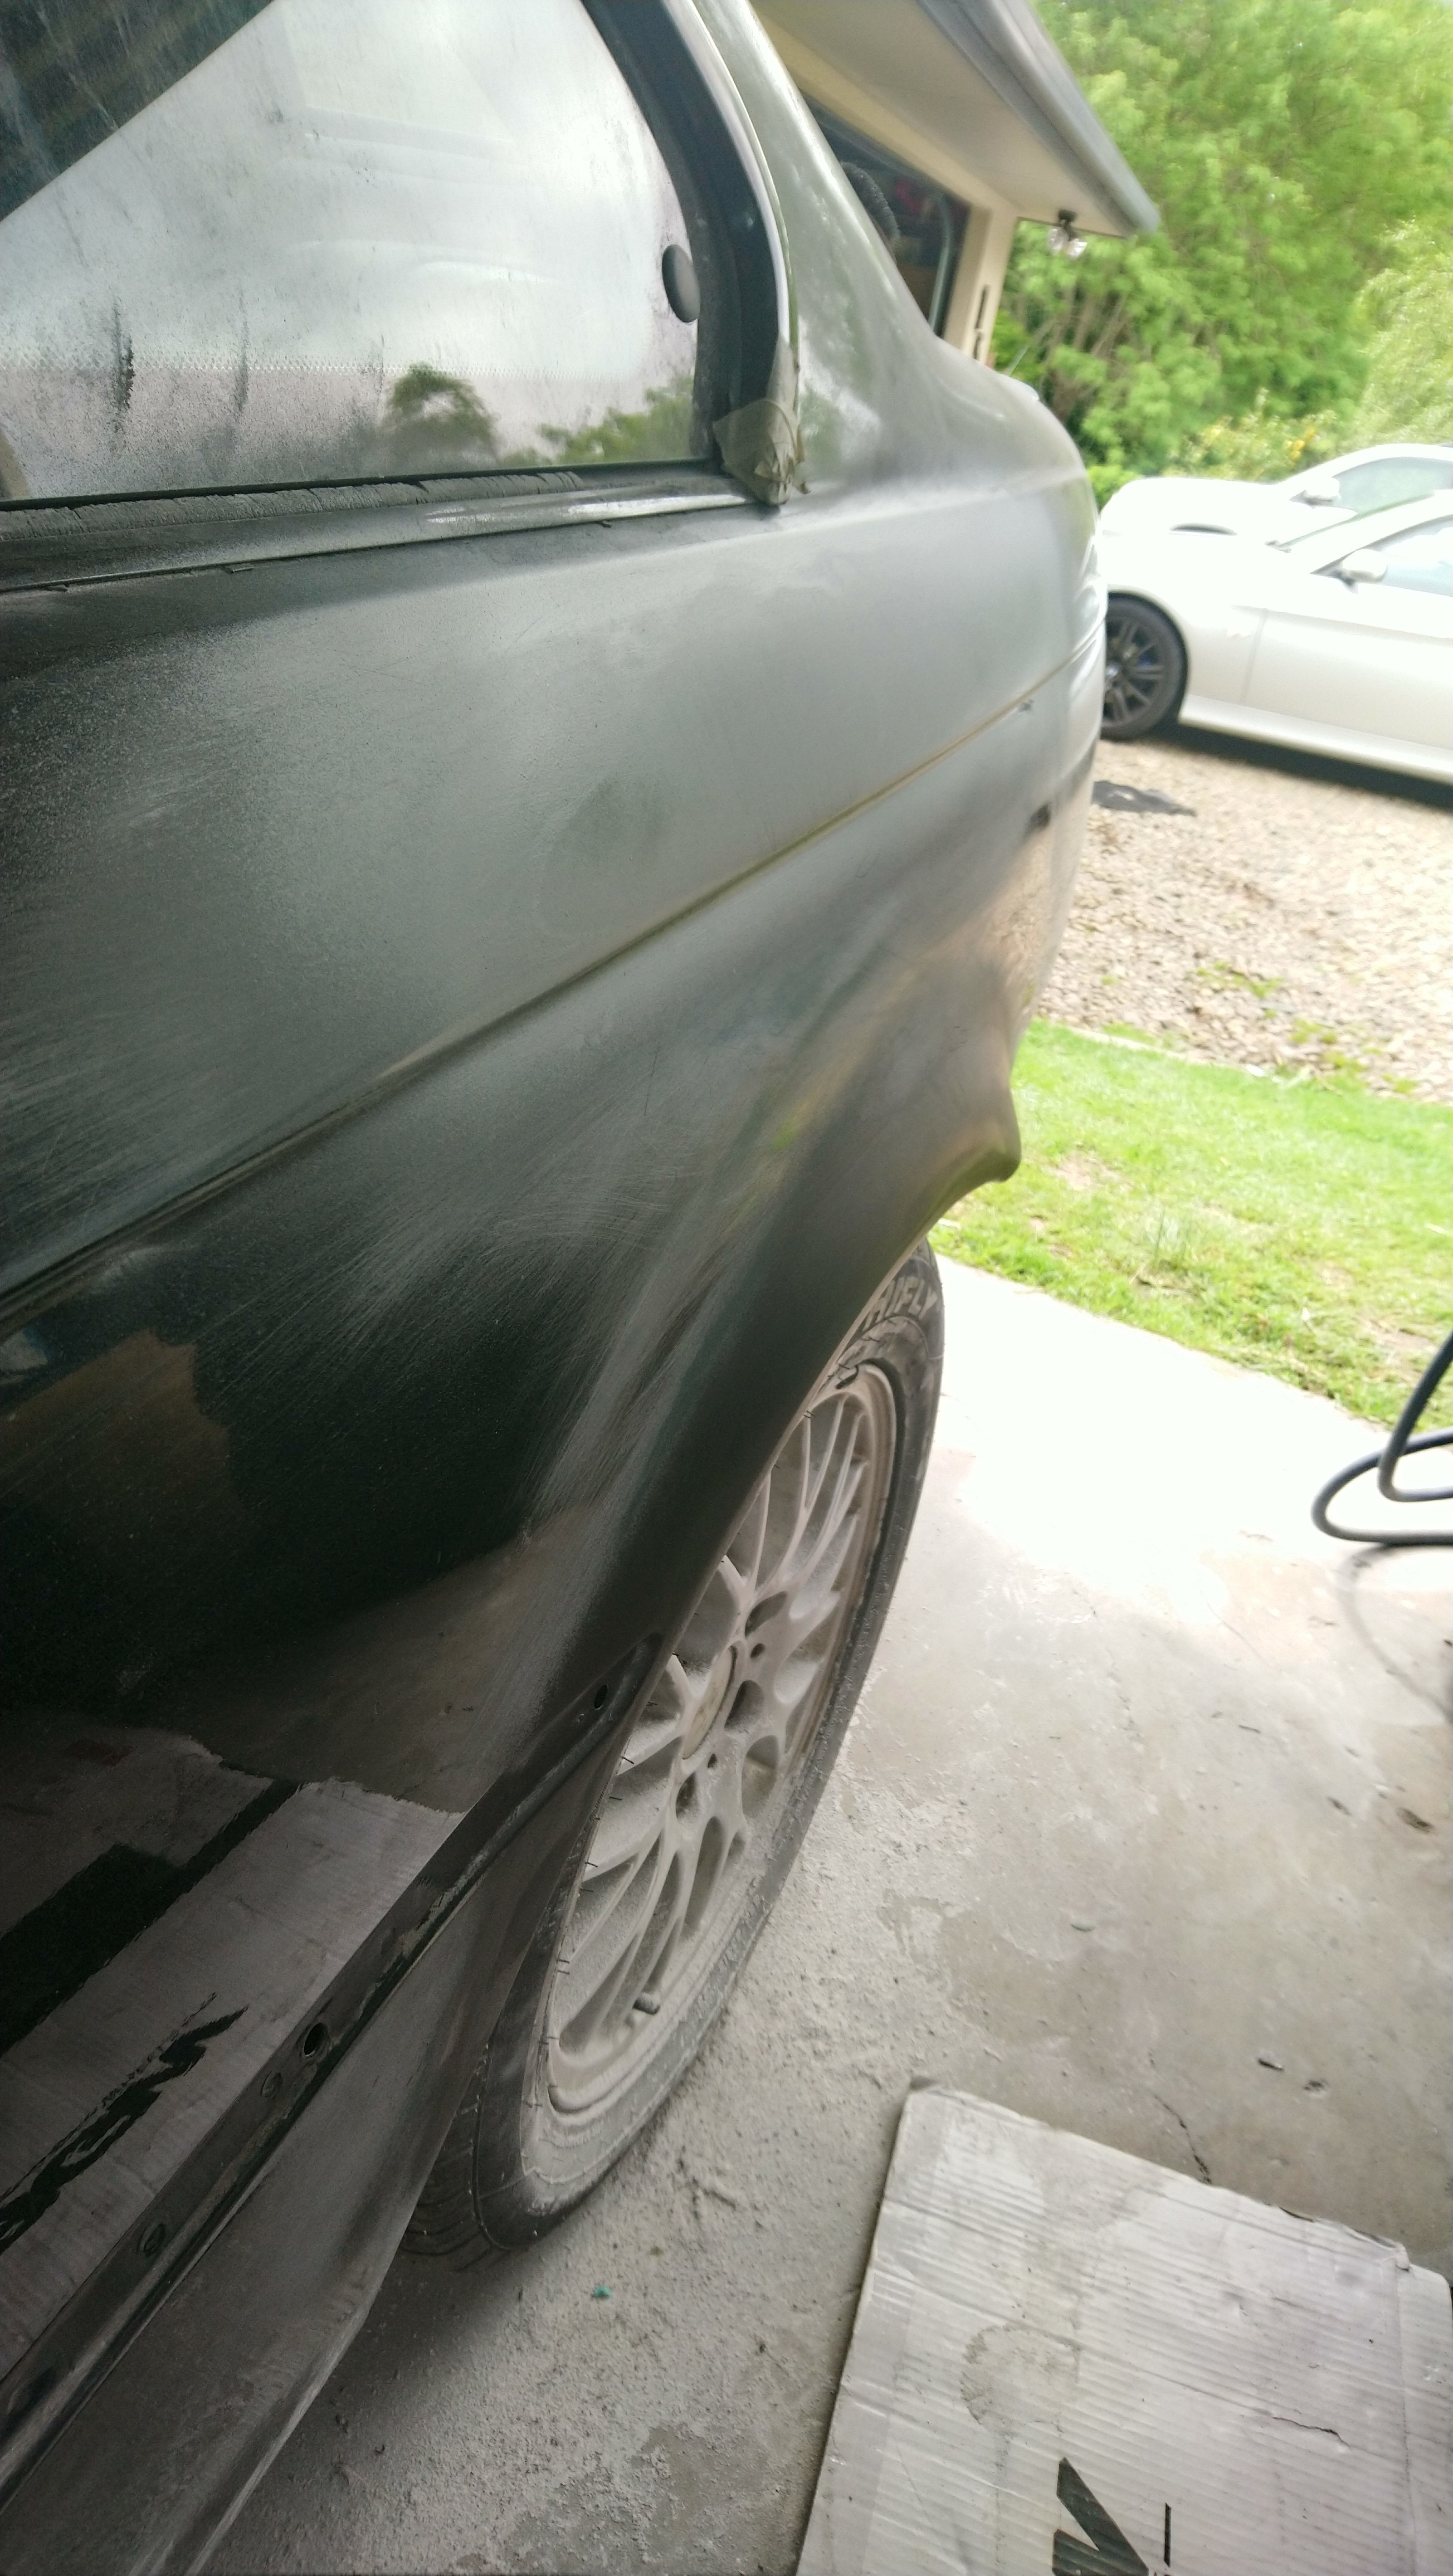
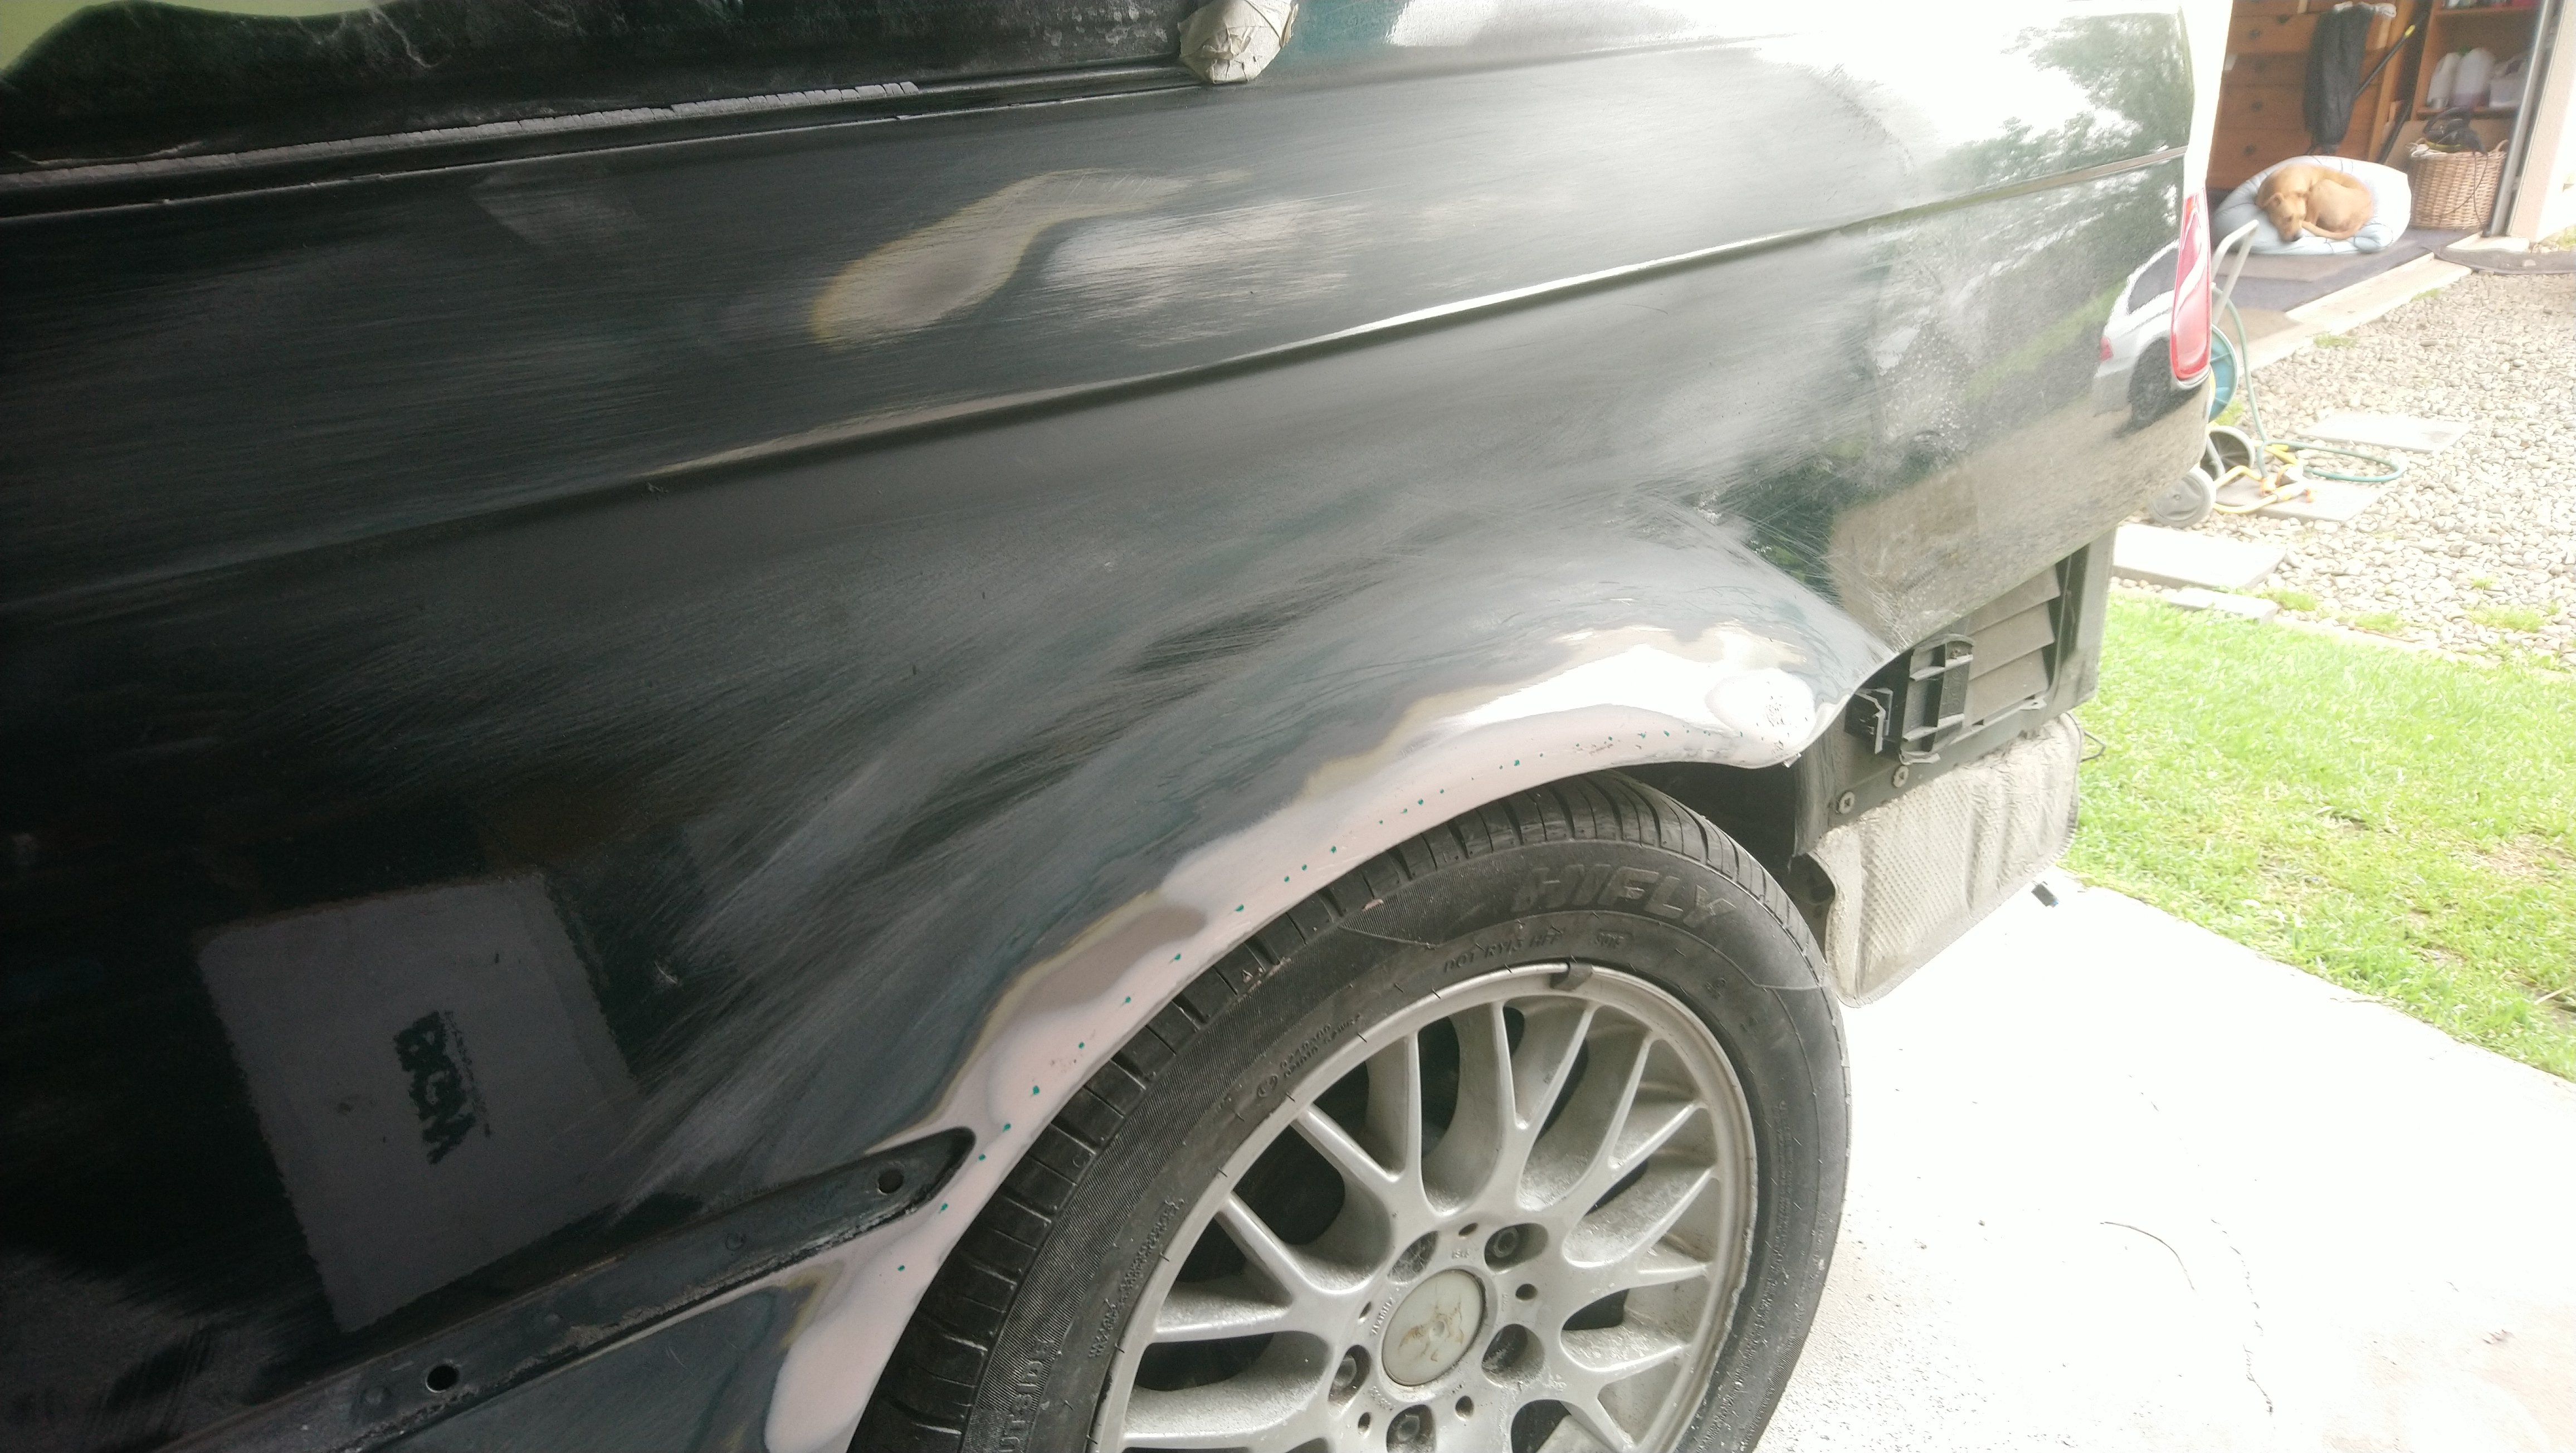
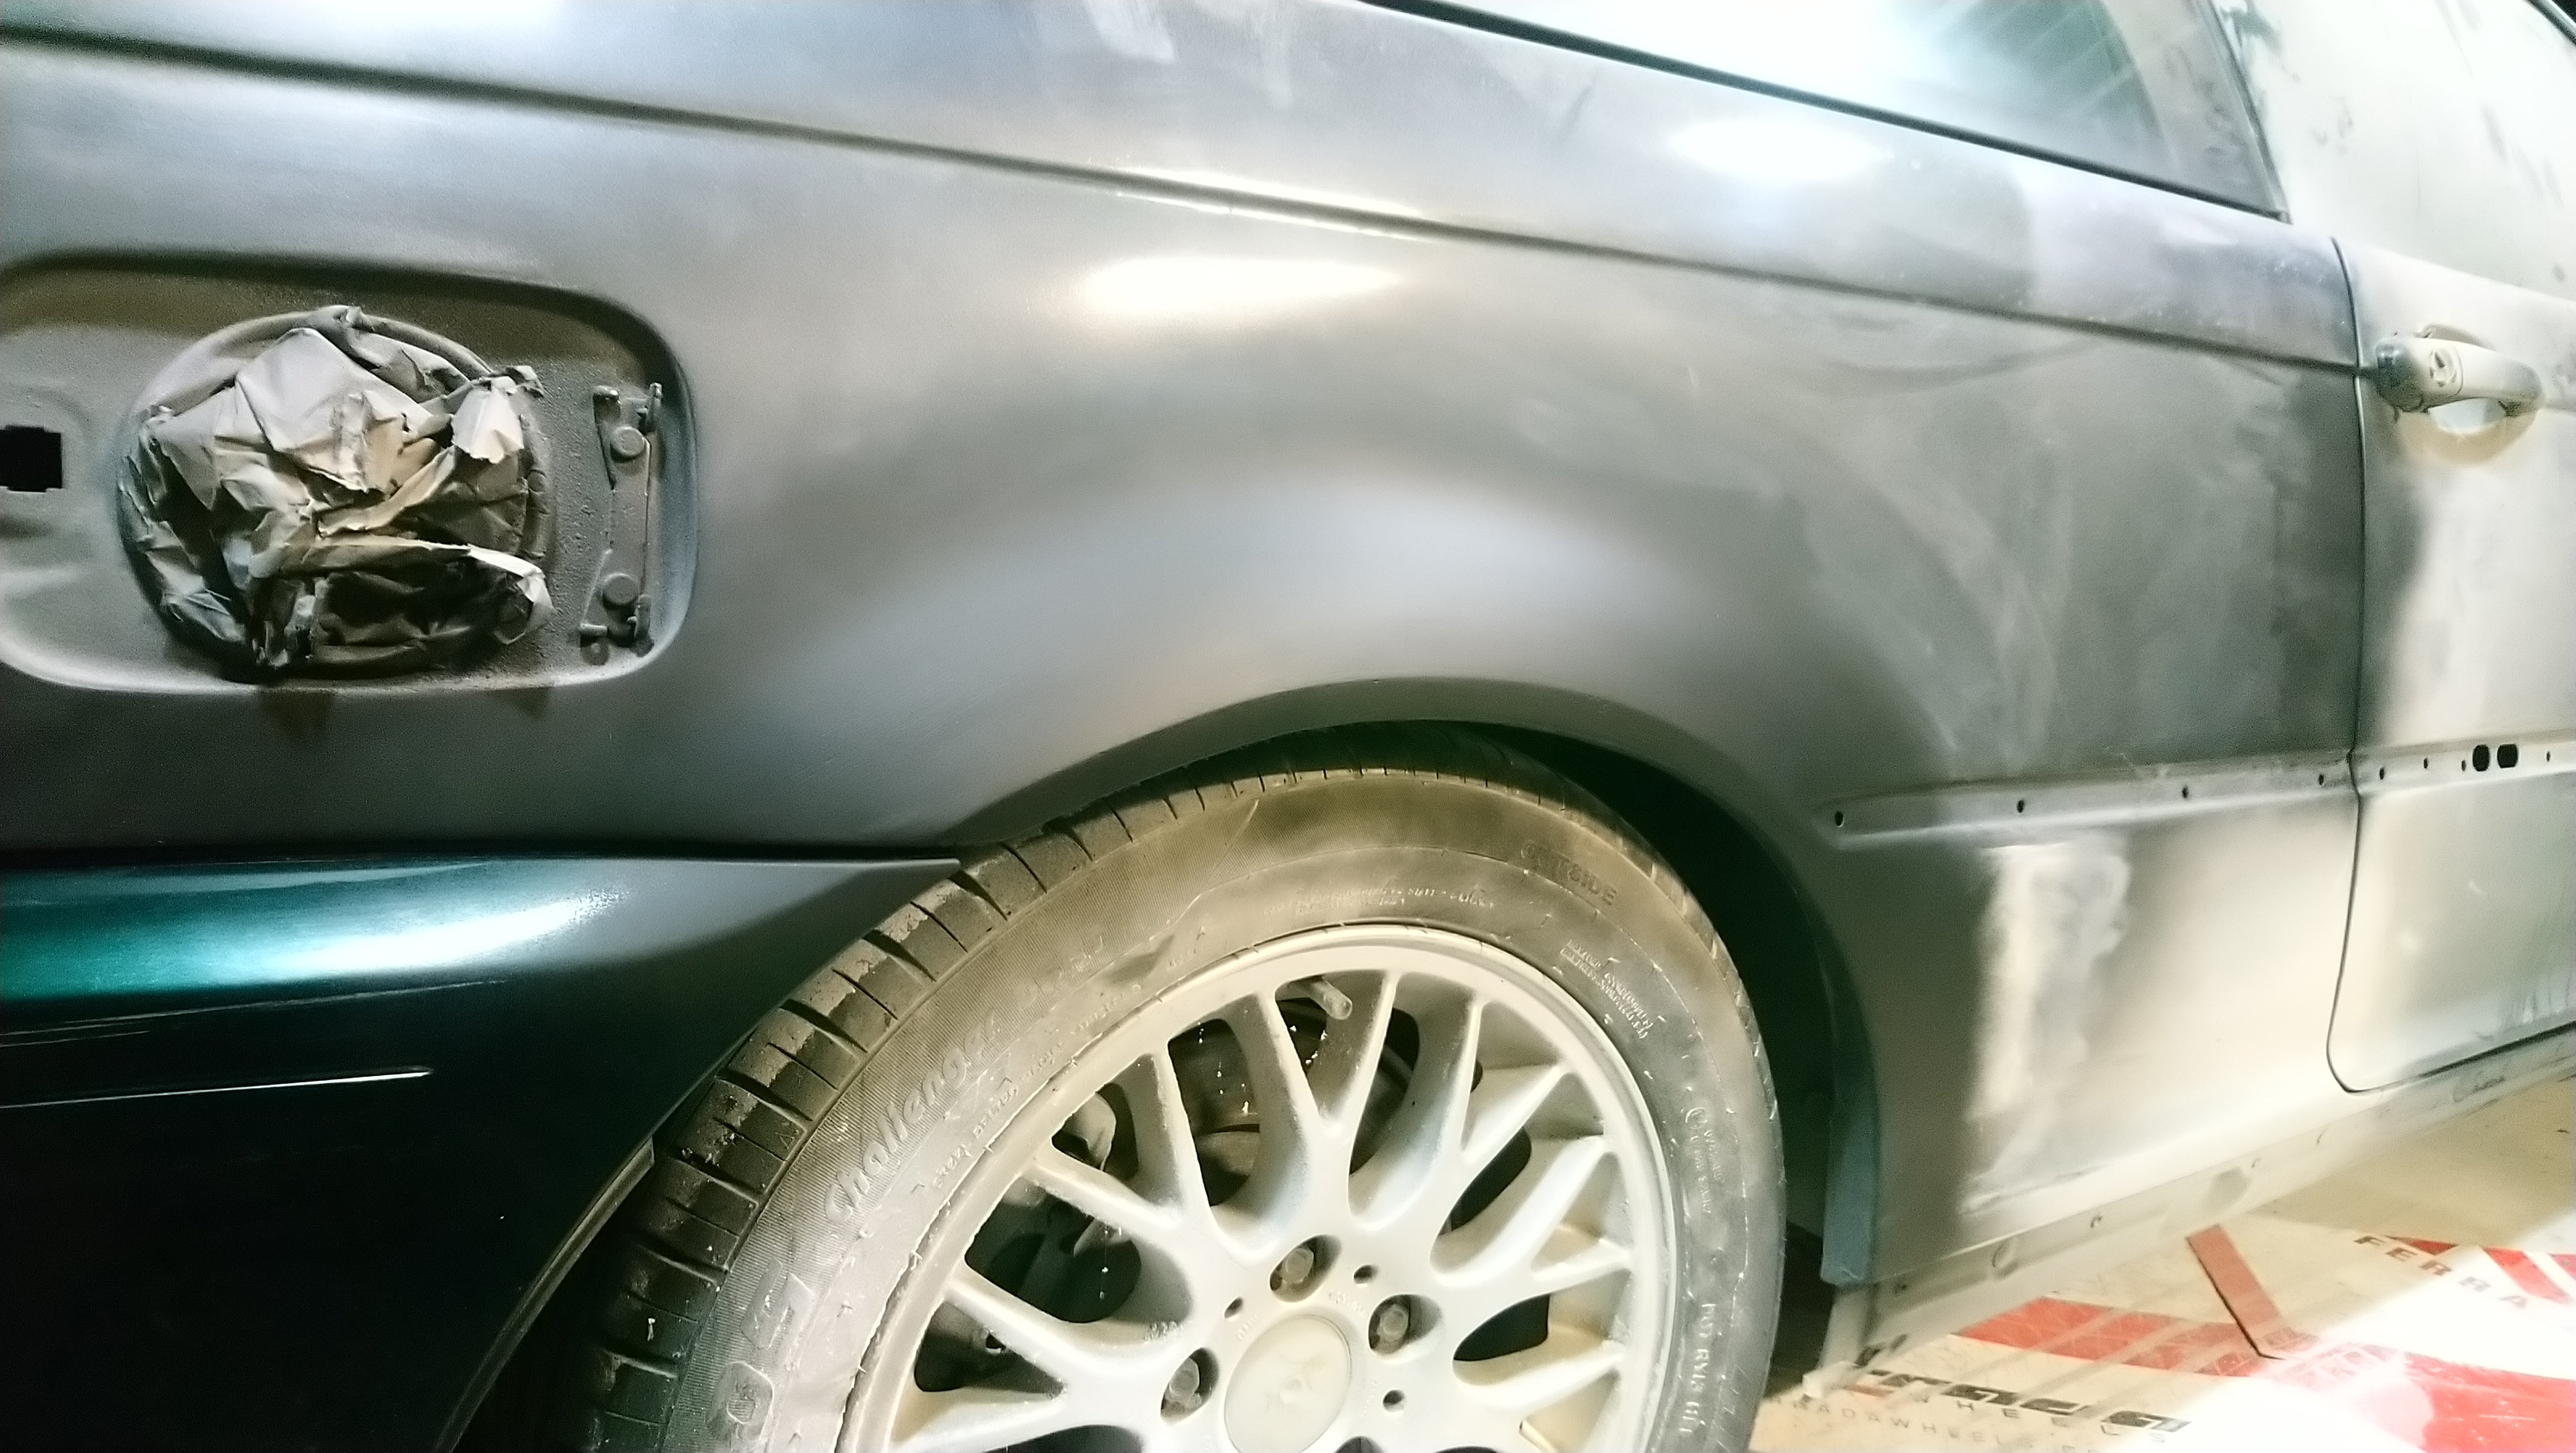
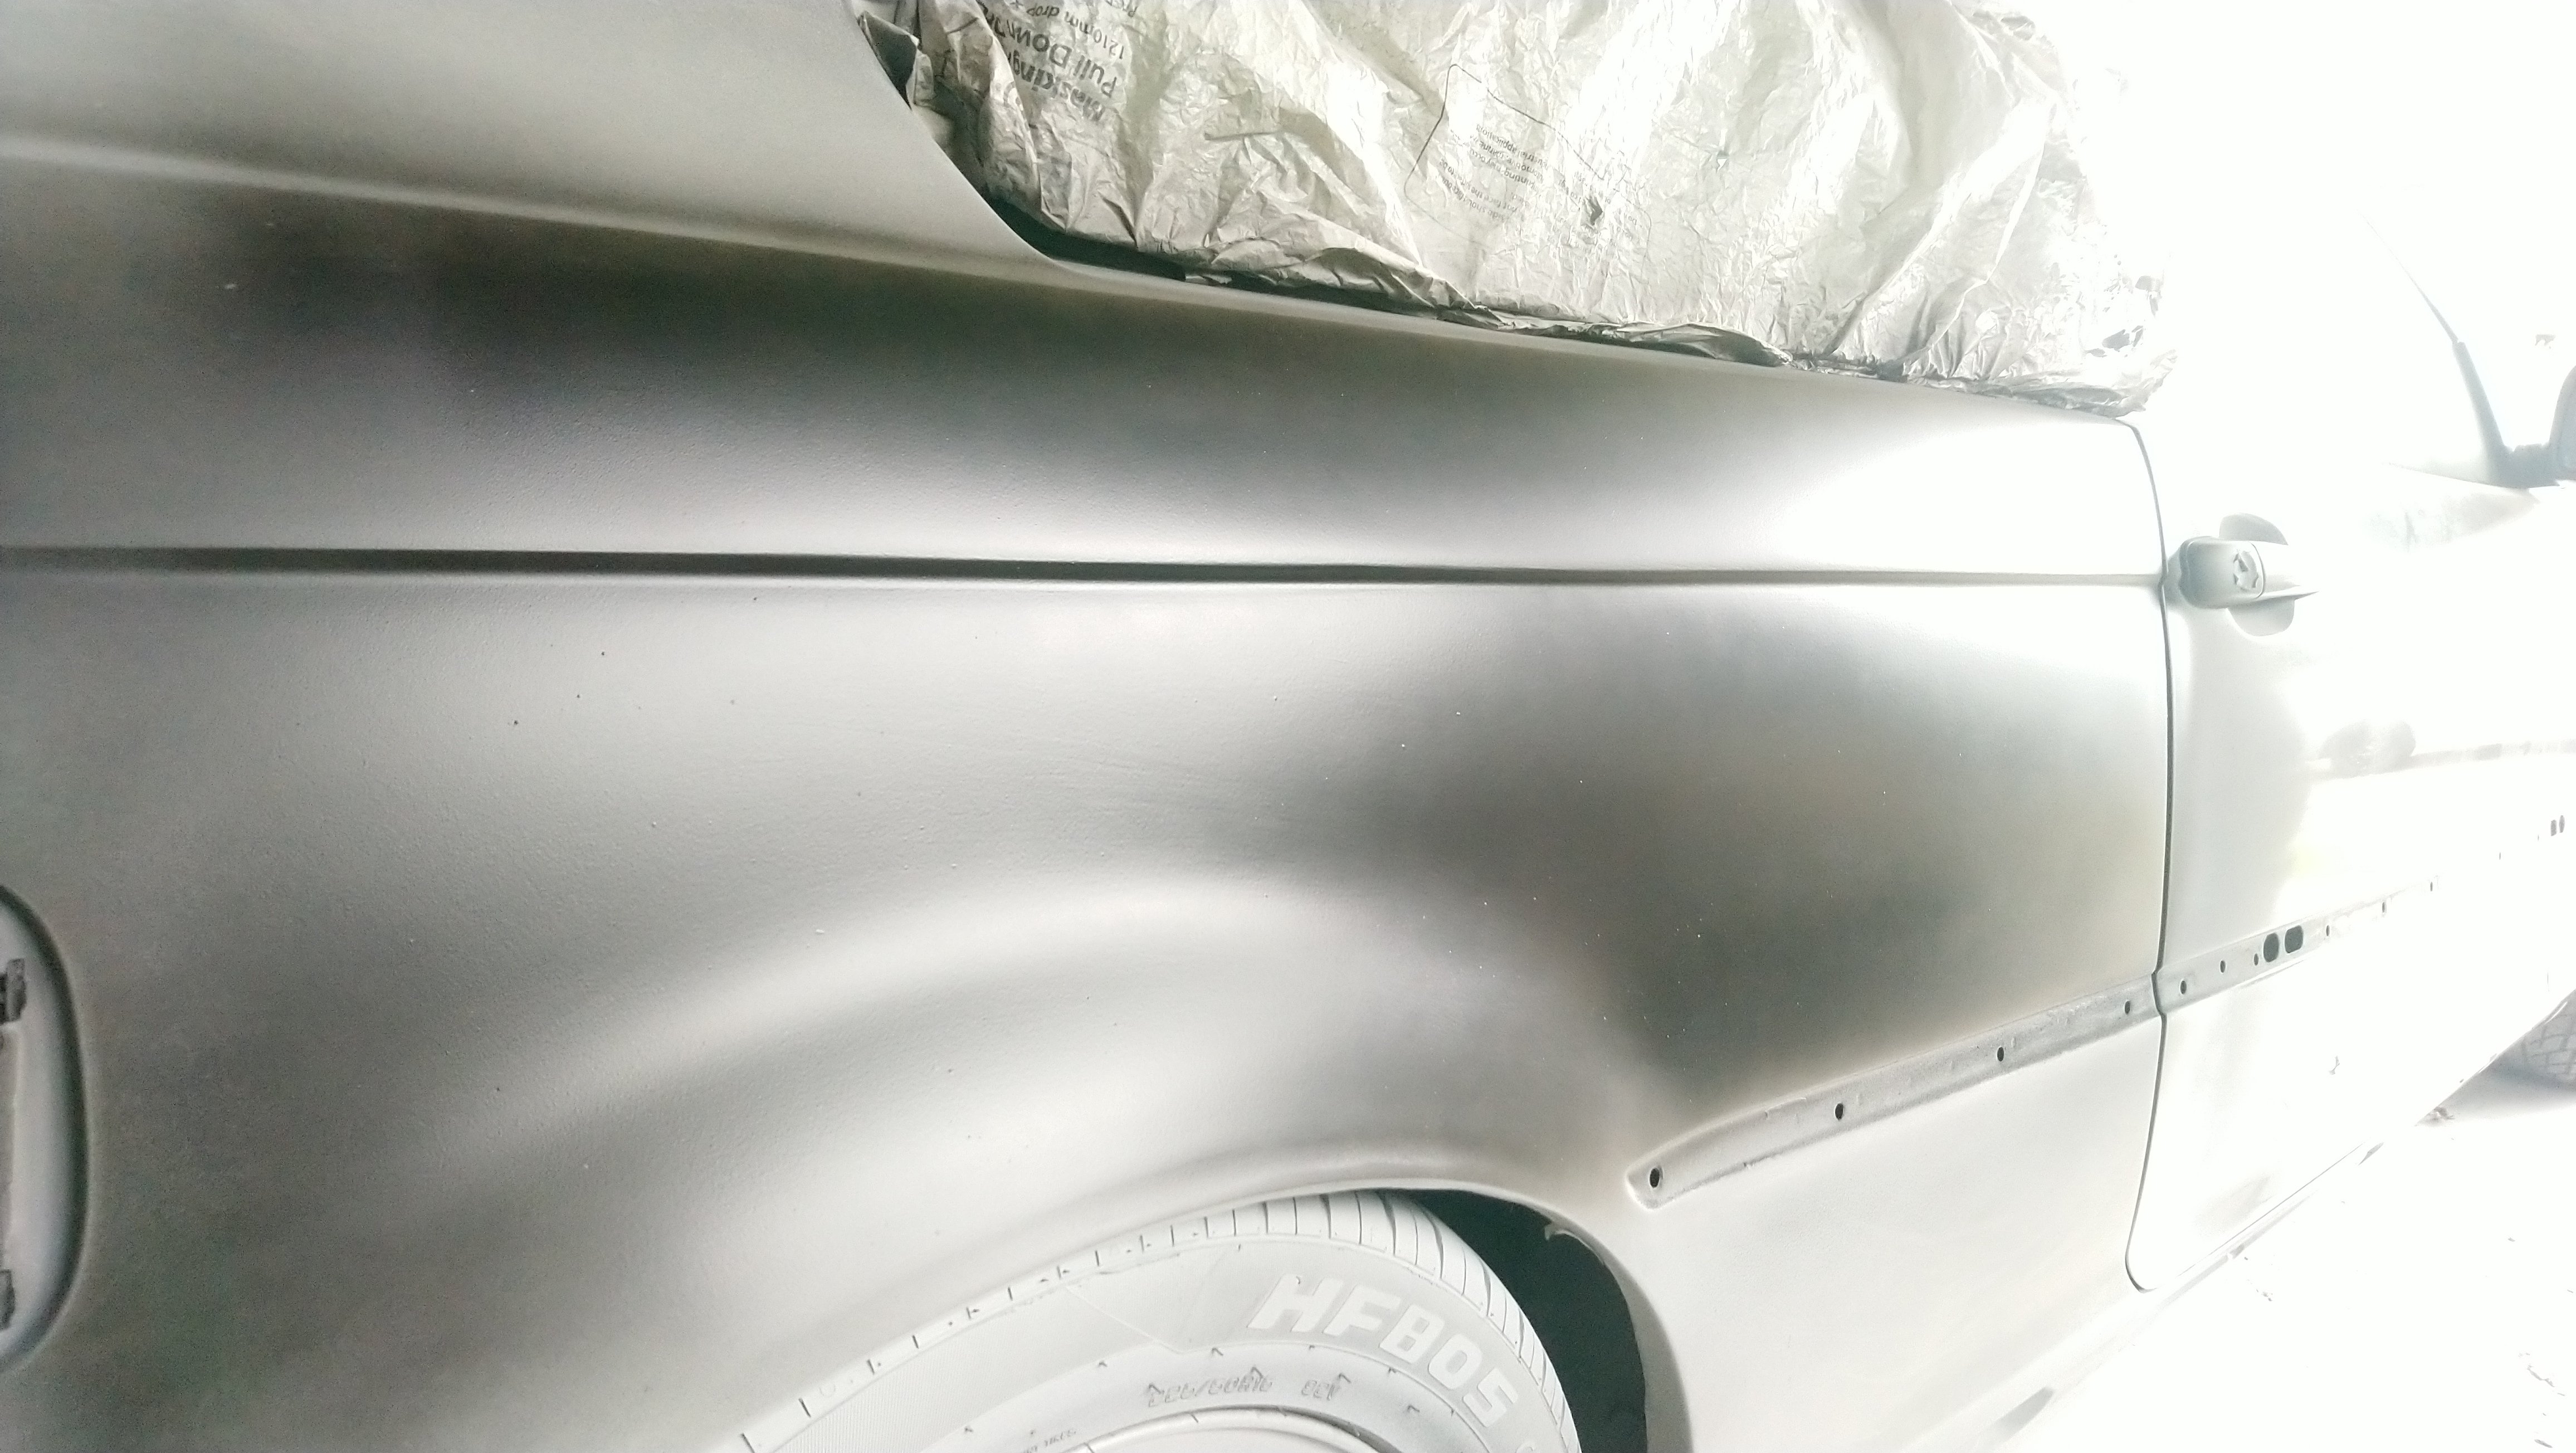
Atlast, getting to the point where I can live with this panel.
Kink under window looking flat. Still cam feel a low spot but struggling to see any evidence of it in lighting
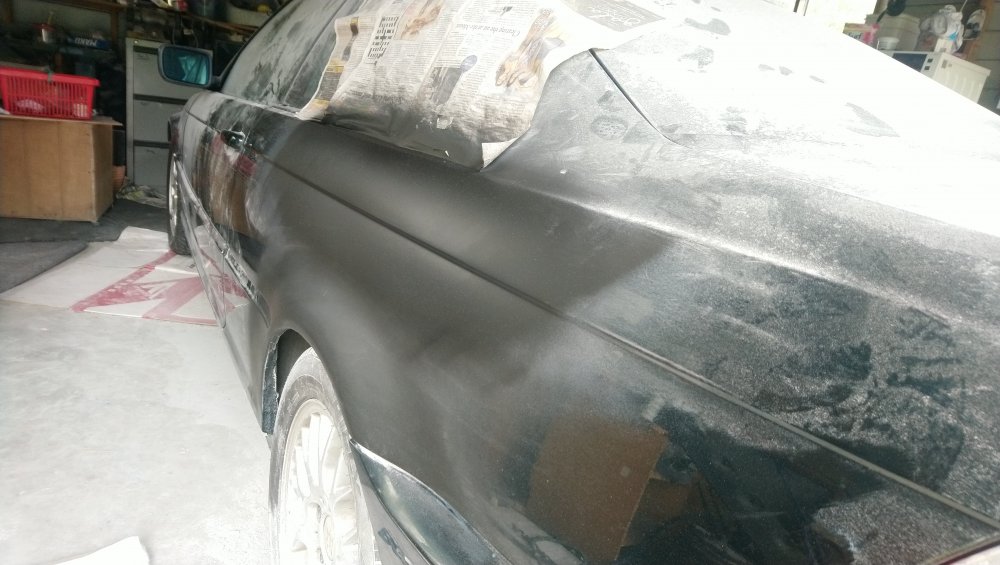

Re dotted out the arch and added 0.5mm height to it, and made the edge slightly more defined.

Found these photos, even this was after me slamming the flare back in with a sledgehammer, she was way out

Onto door dents now.
Then final sand down
Maybe another large run of high build primer in panels I've been working on, with a dusting of guide coat followed by block sand.
Diseasembly & prep
Then paint!!!!
She'll be the sickest 350,000km e46 in the game!
-
3
-
-
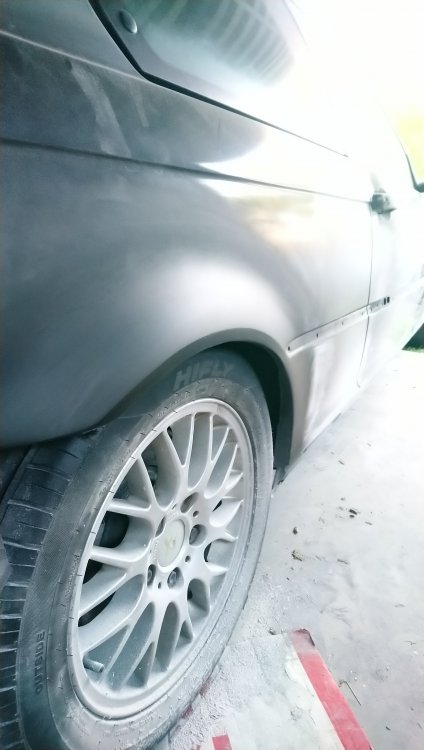
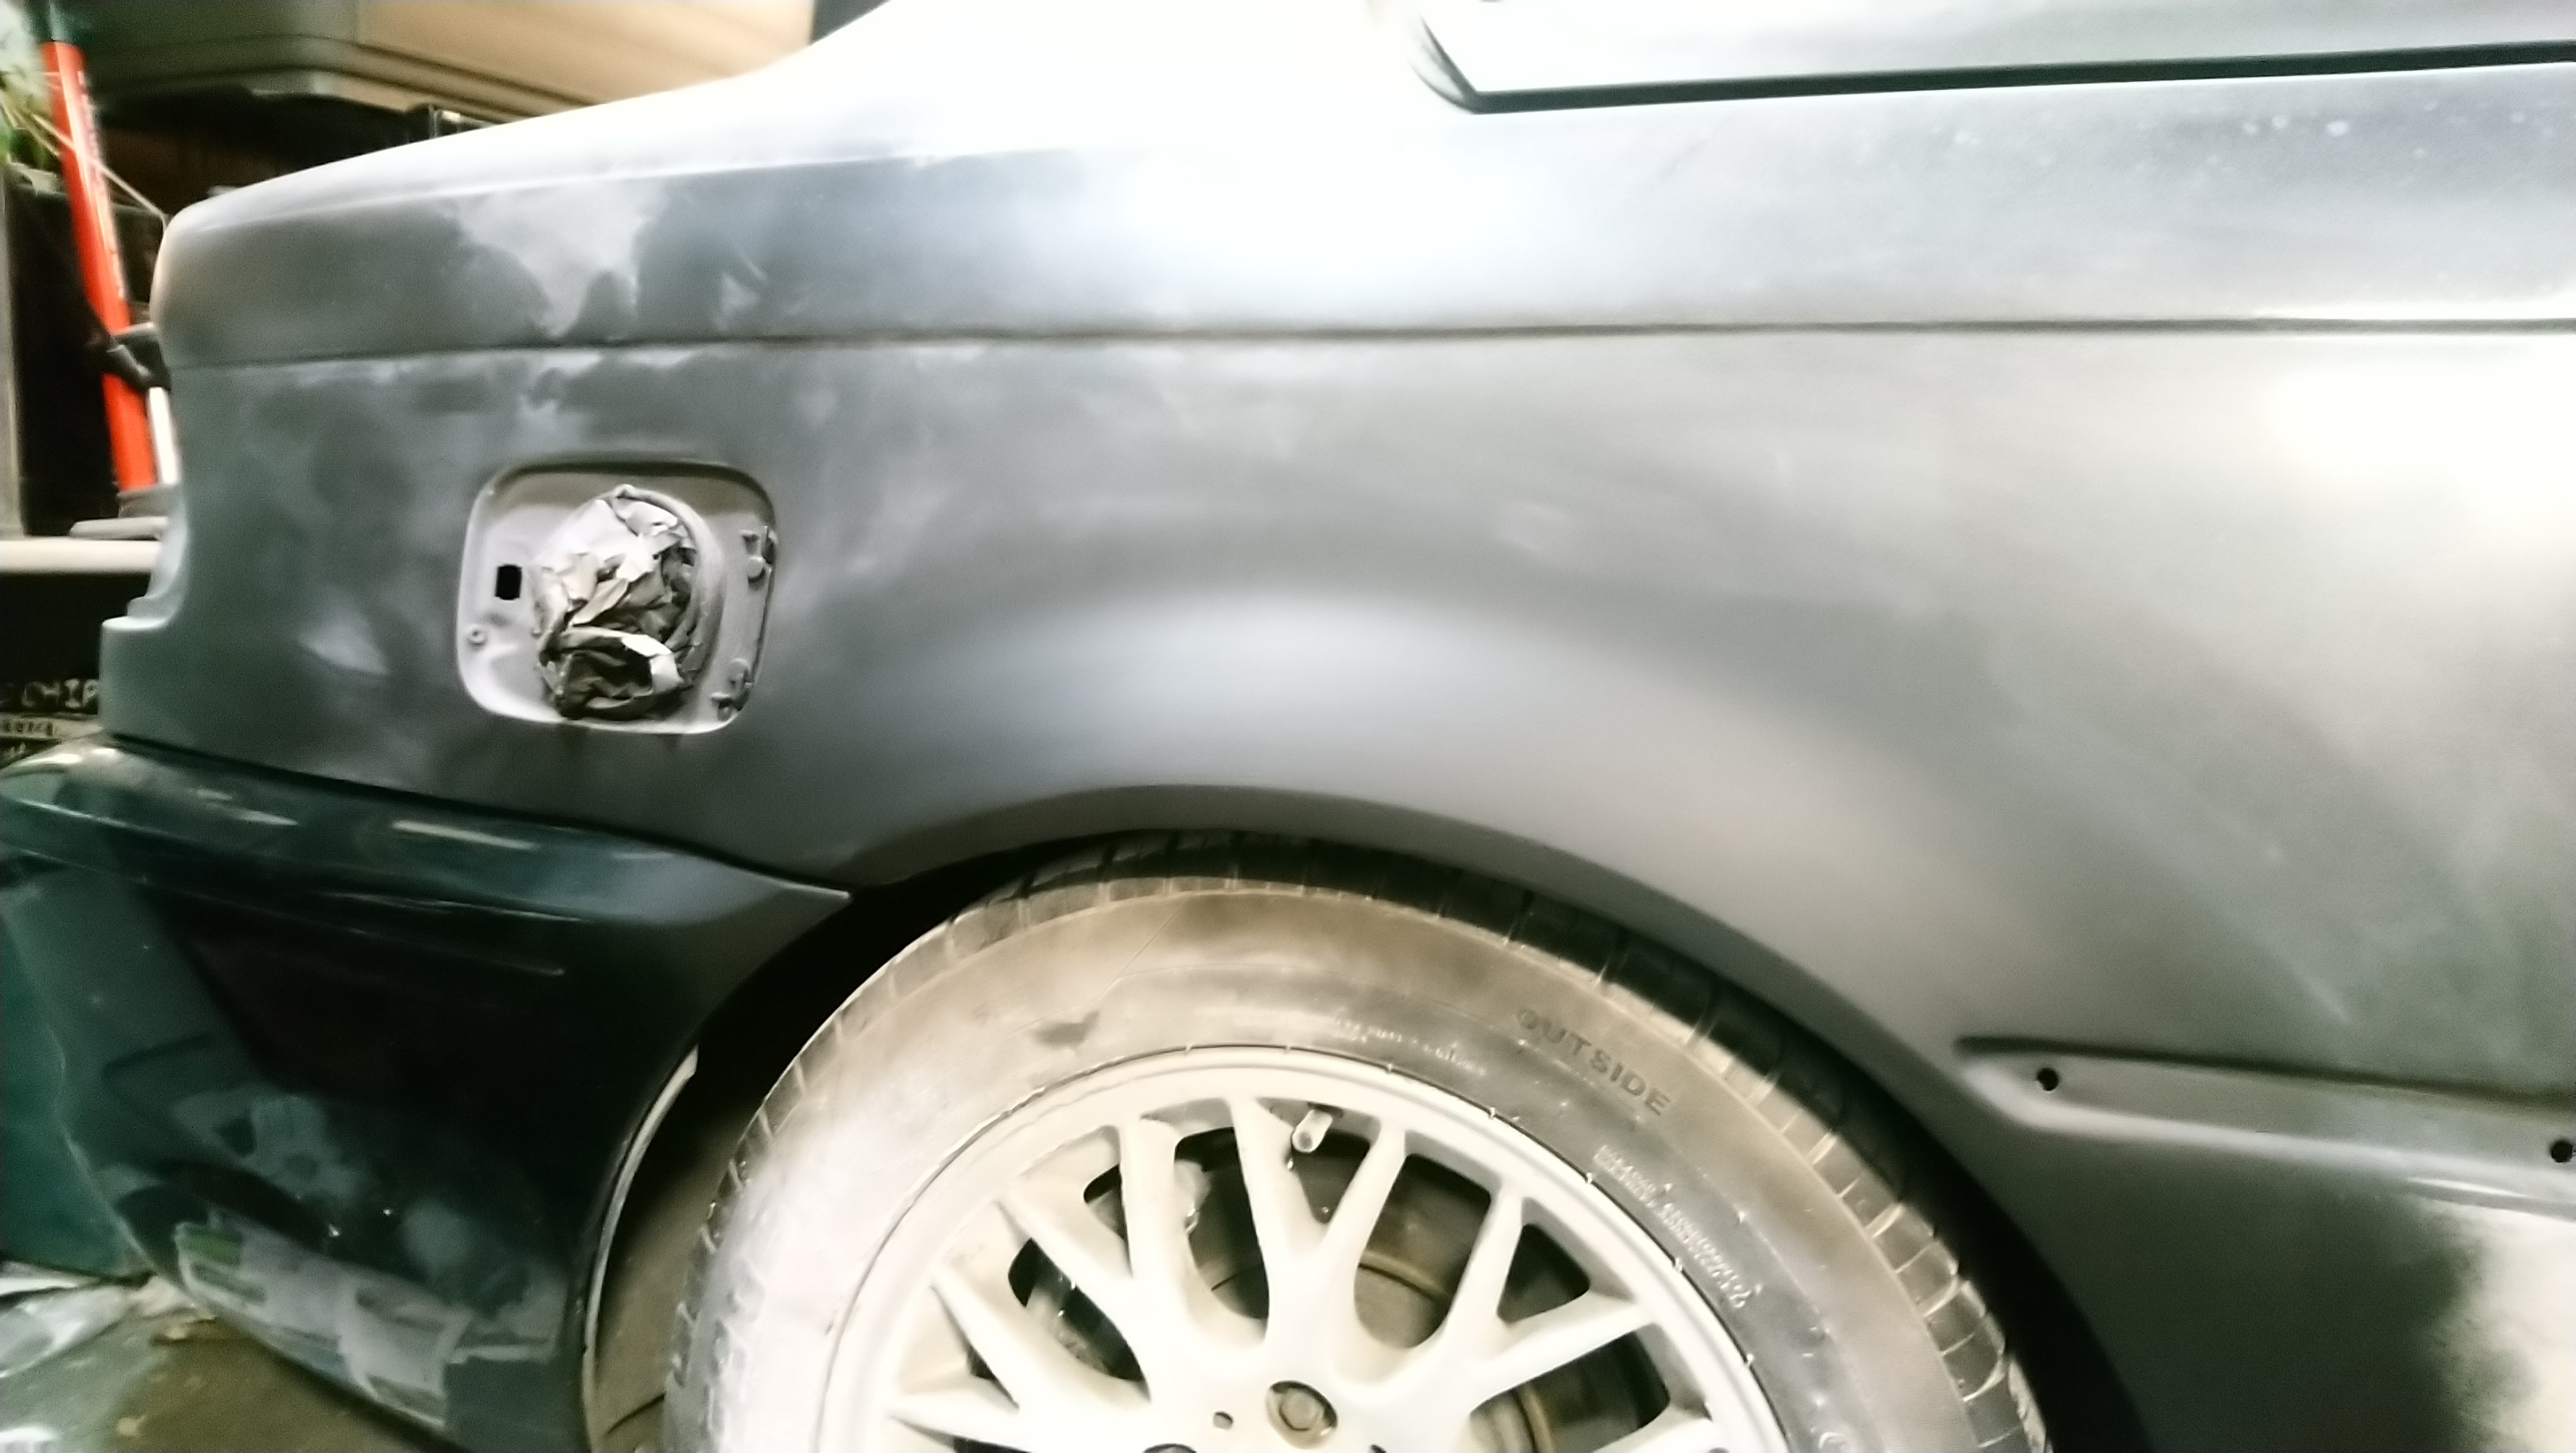
Starting to take shape a bit. Just realised I measured out 15.5mm on the arch not 16mm so have to build another .5mm lol oh well
Top bit is starting to look flat. Still a slight low spot I can feel.
Nearly home stretch
Touch wood

-
2
-
-
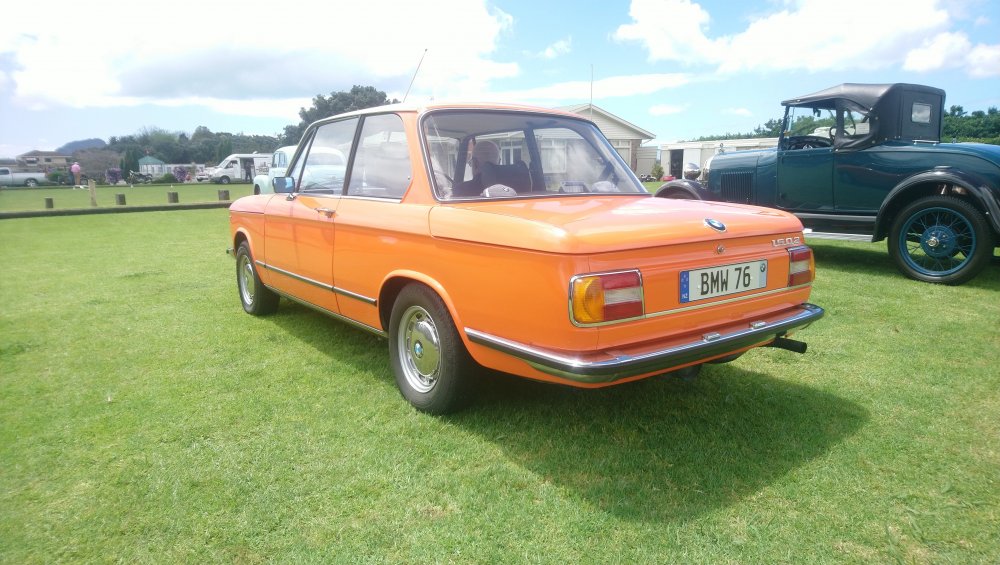
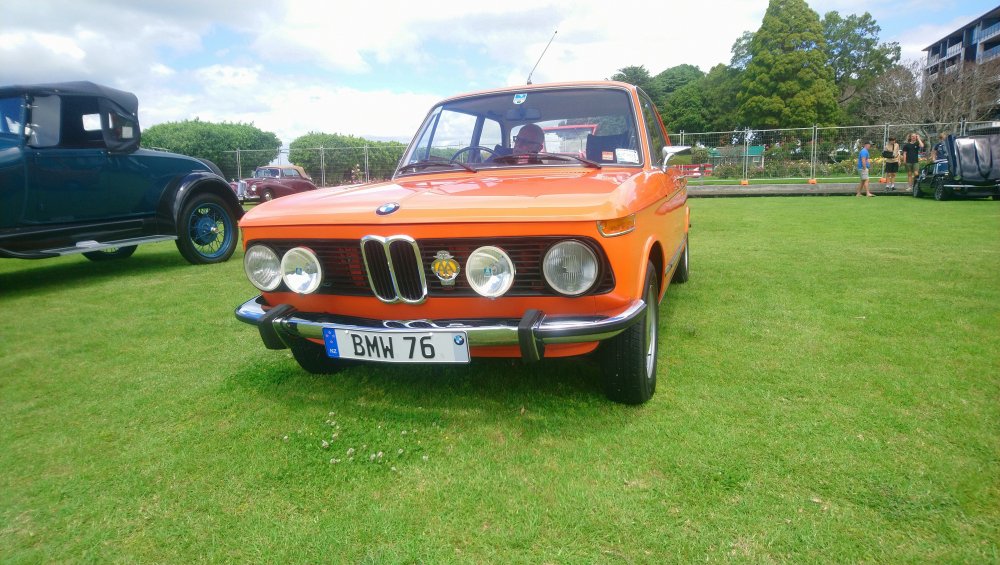
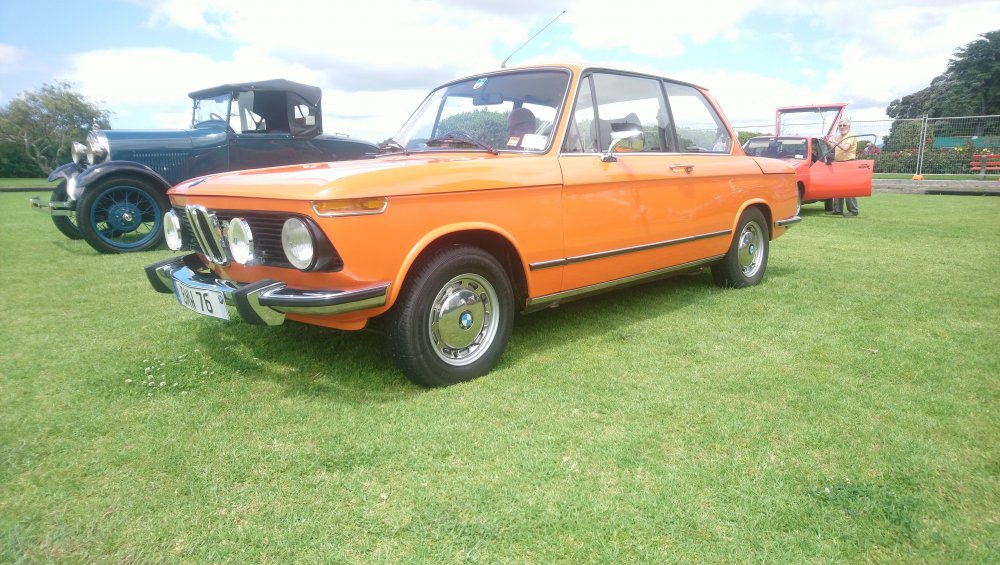
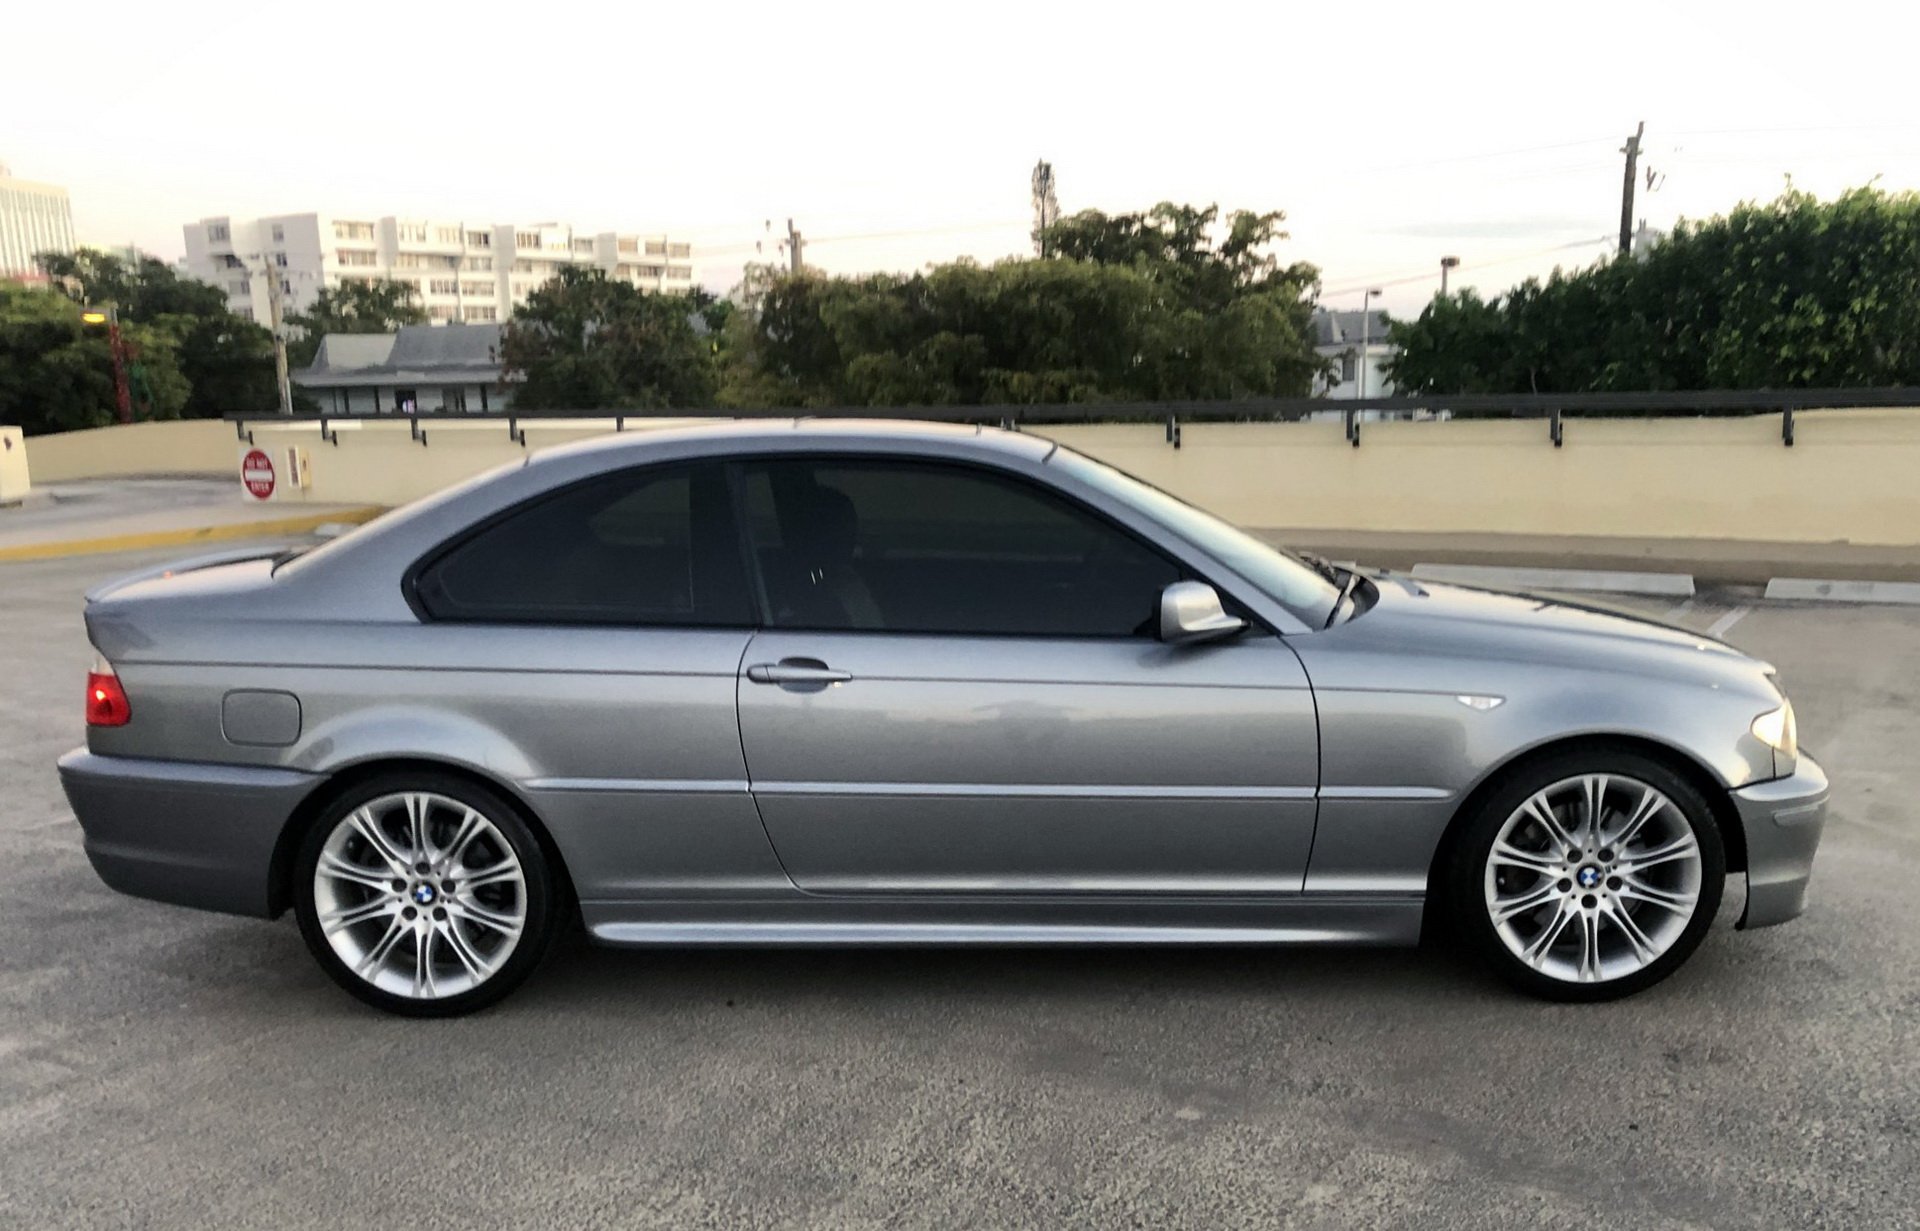
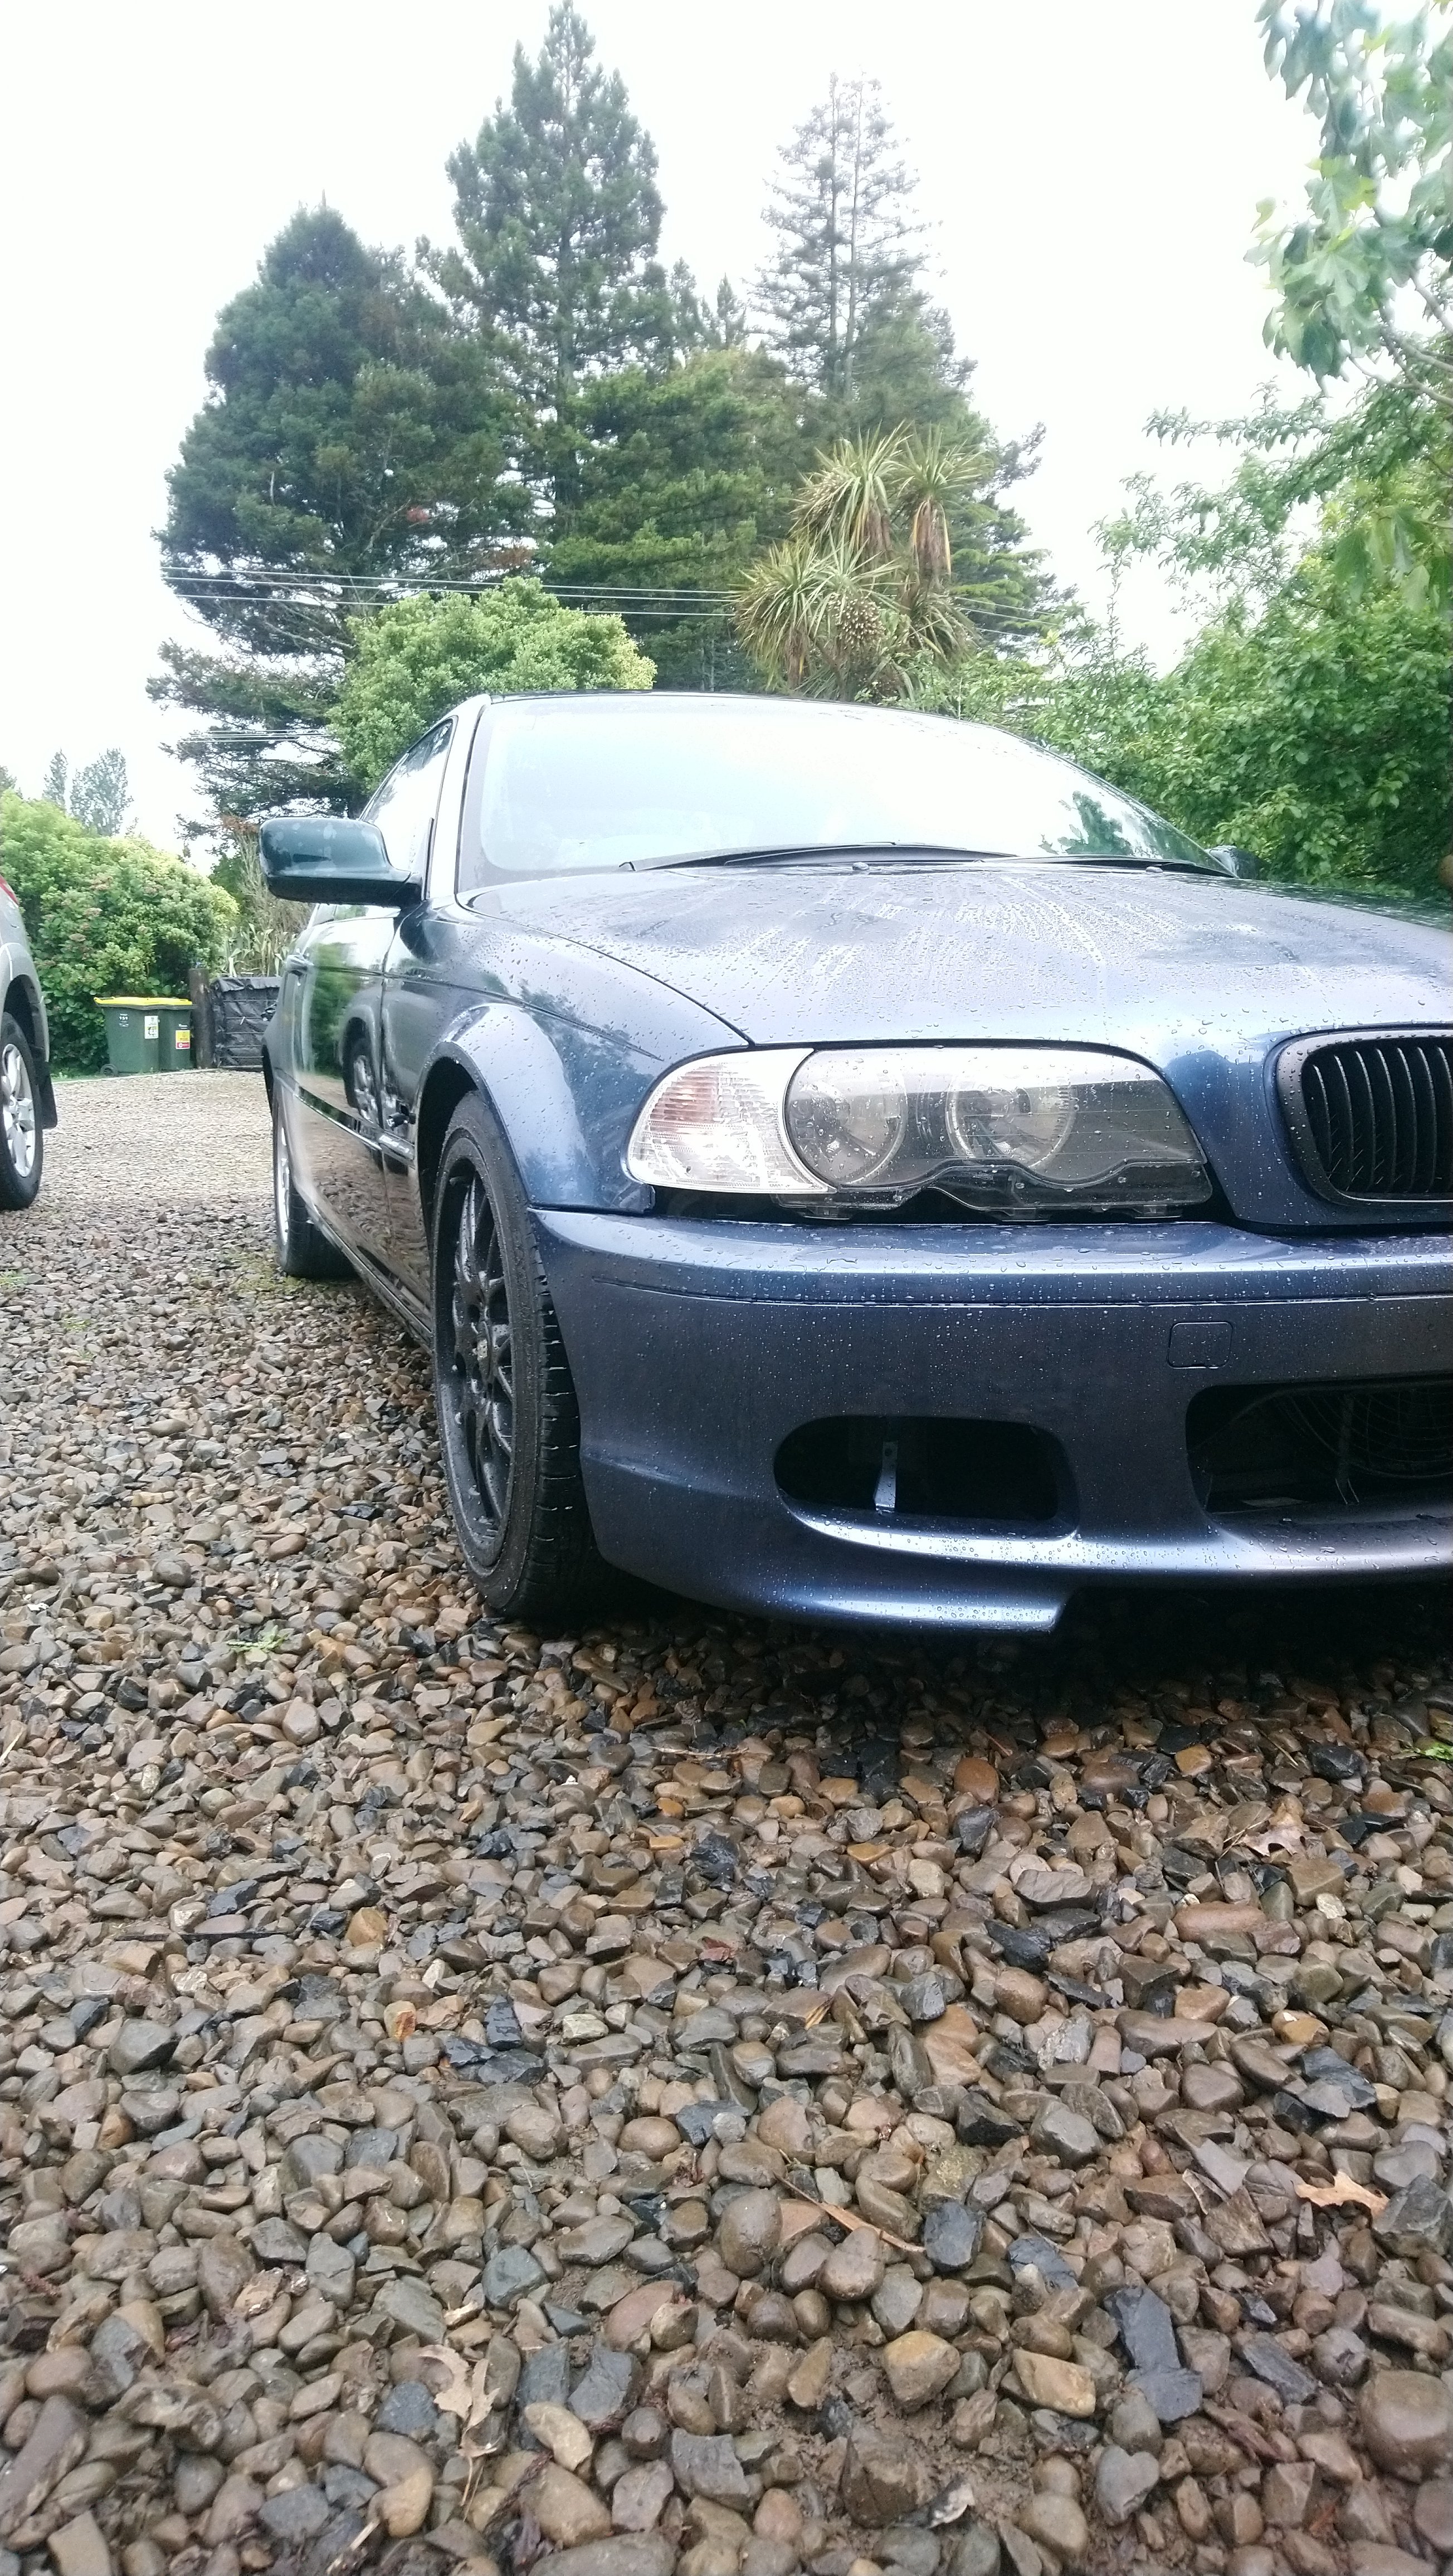
Dropped something off at a car meet today. Spotted this gem. Not too many of them in the country.
-
1
-
-
-
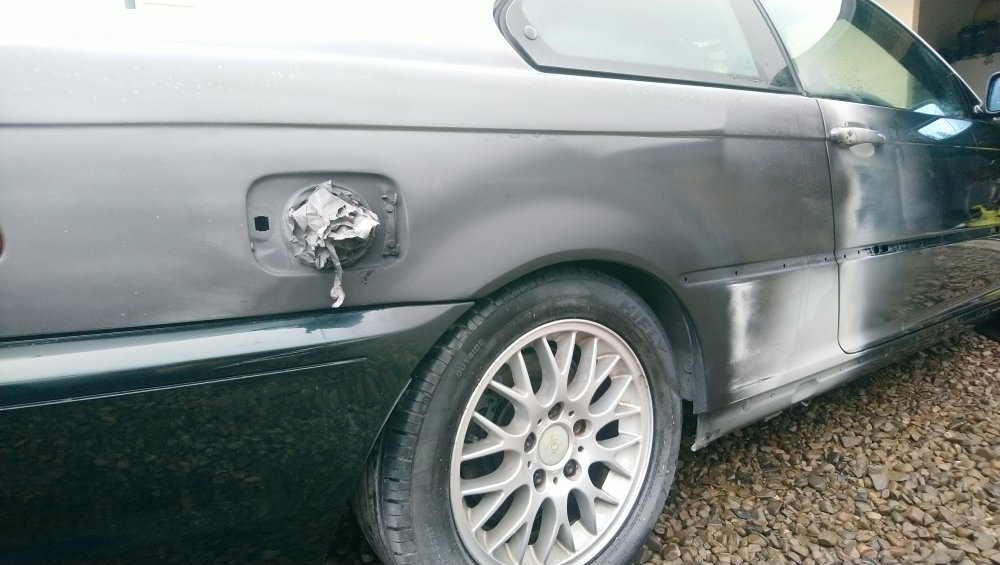
Side number 2
Then the rest is just pin side dents here and there on doors.
Bashed the crap out of that lip with sledge hammer and the panel beating one but still no avoiding body filler on this bad boy


-
On 10/22/2020 at 1:22 PM, Driftit said:4 x 180sx Type X's
?????????
-
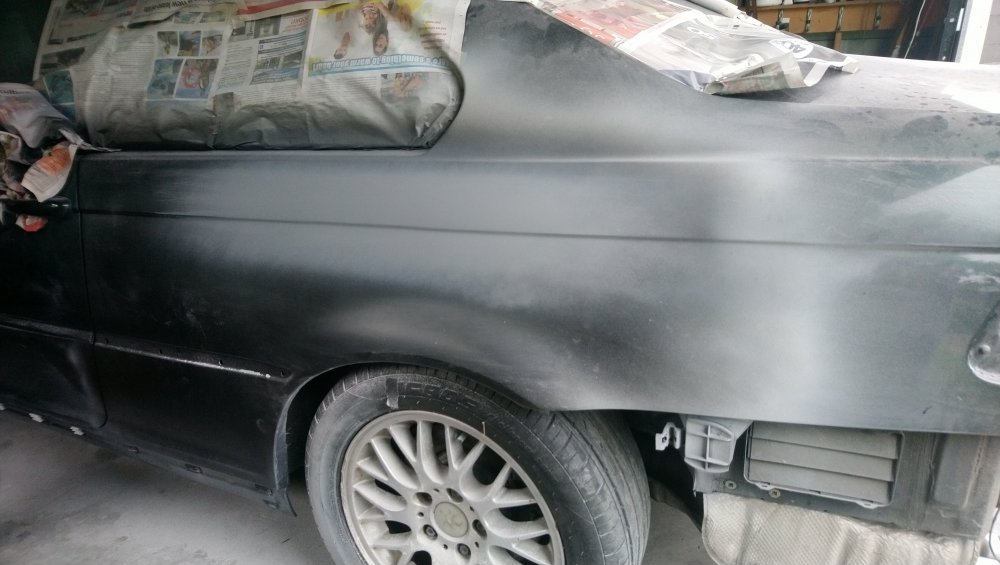
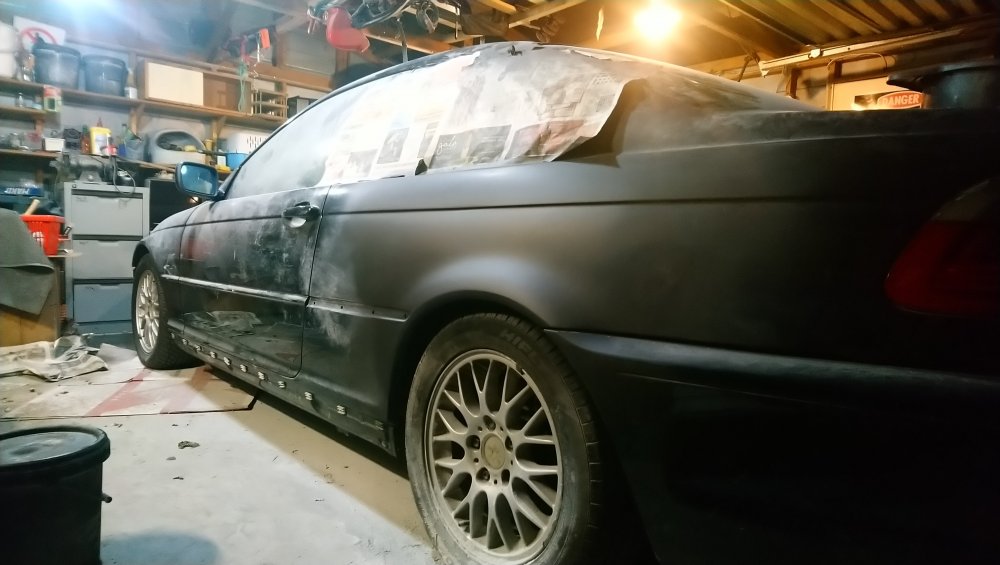
Signing off on this side for now until I finish the other side. May revisit for a small skim coat to add tenths or a mm here and there.
Have her a clean from kilos of body filler and dust
I'm struggling to see imperfections in the rear quarter panel which is a good sign I'm near completion.
Took alot longer than expected, learning how to sand on a complex contour. But no regrets here
ALSO, This colour is MONEY!

-
2
-
-
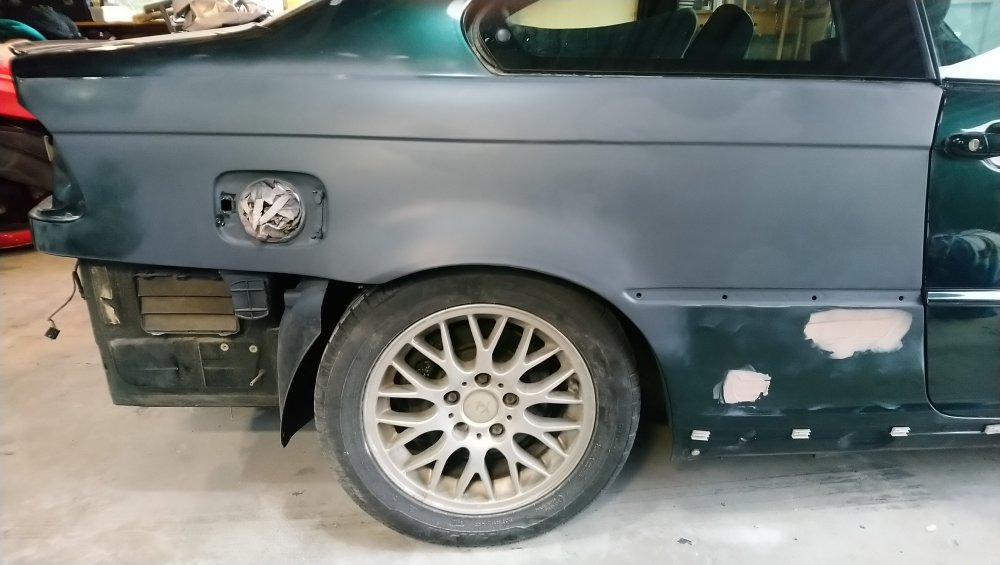
This has got to be it, surely lol
Just bought another lot of filler, etch and high build primer today.
I am highly ineffective at this, but committed to see it through
Had measurement calipers out, and even a dotted line to guide, starting to figure out there's no other way to do it


some earlier shits of how fobar she was


-
2
-


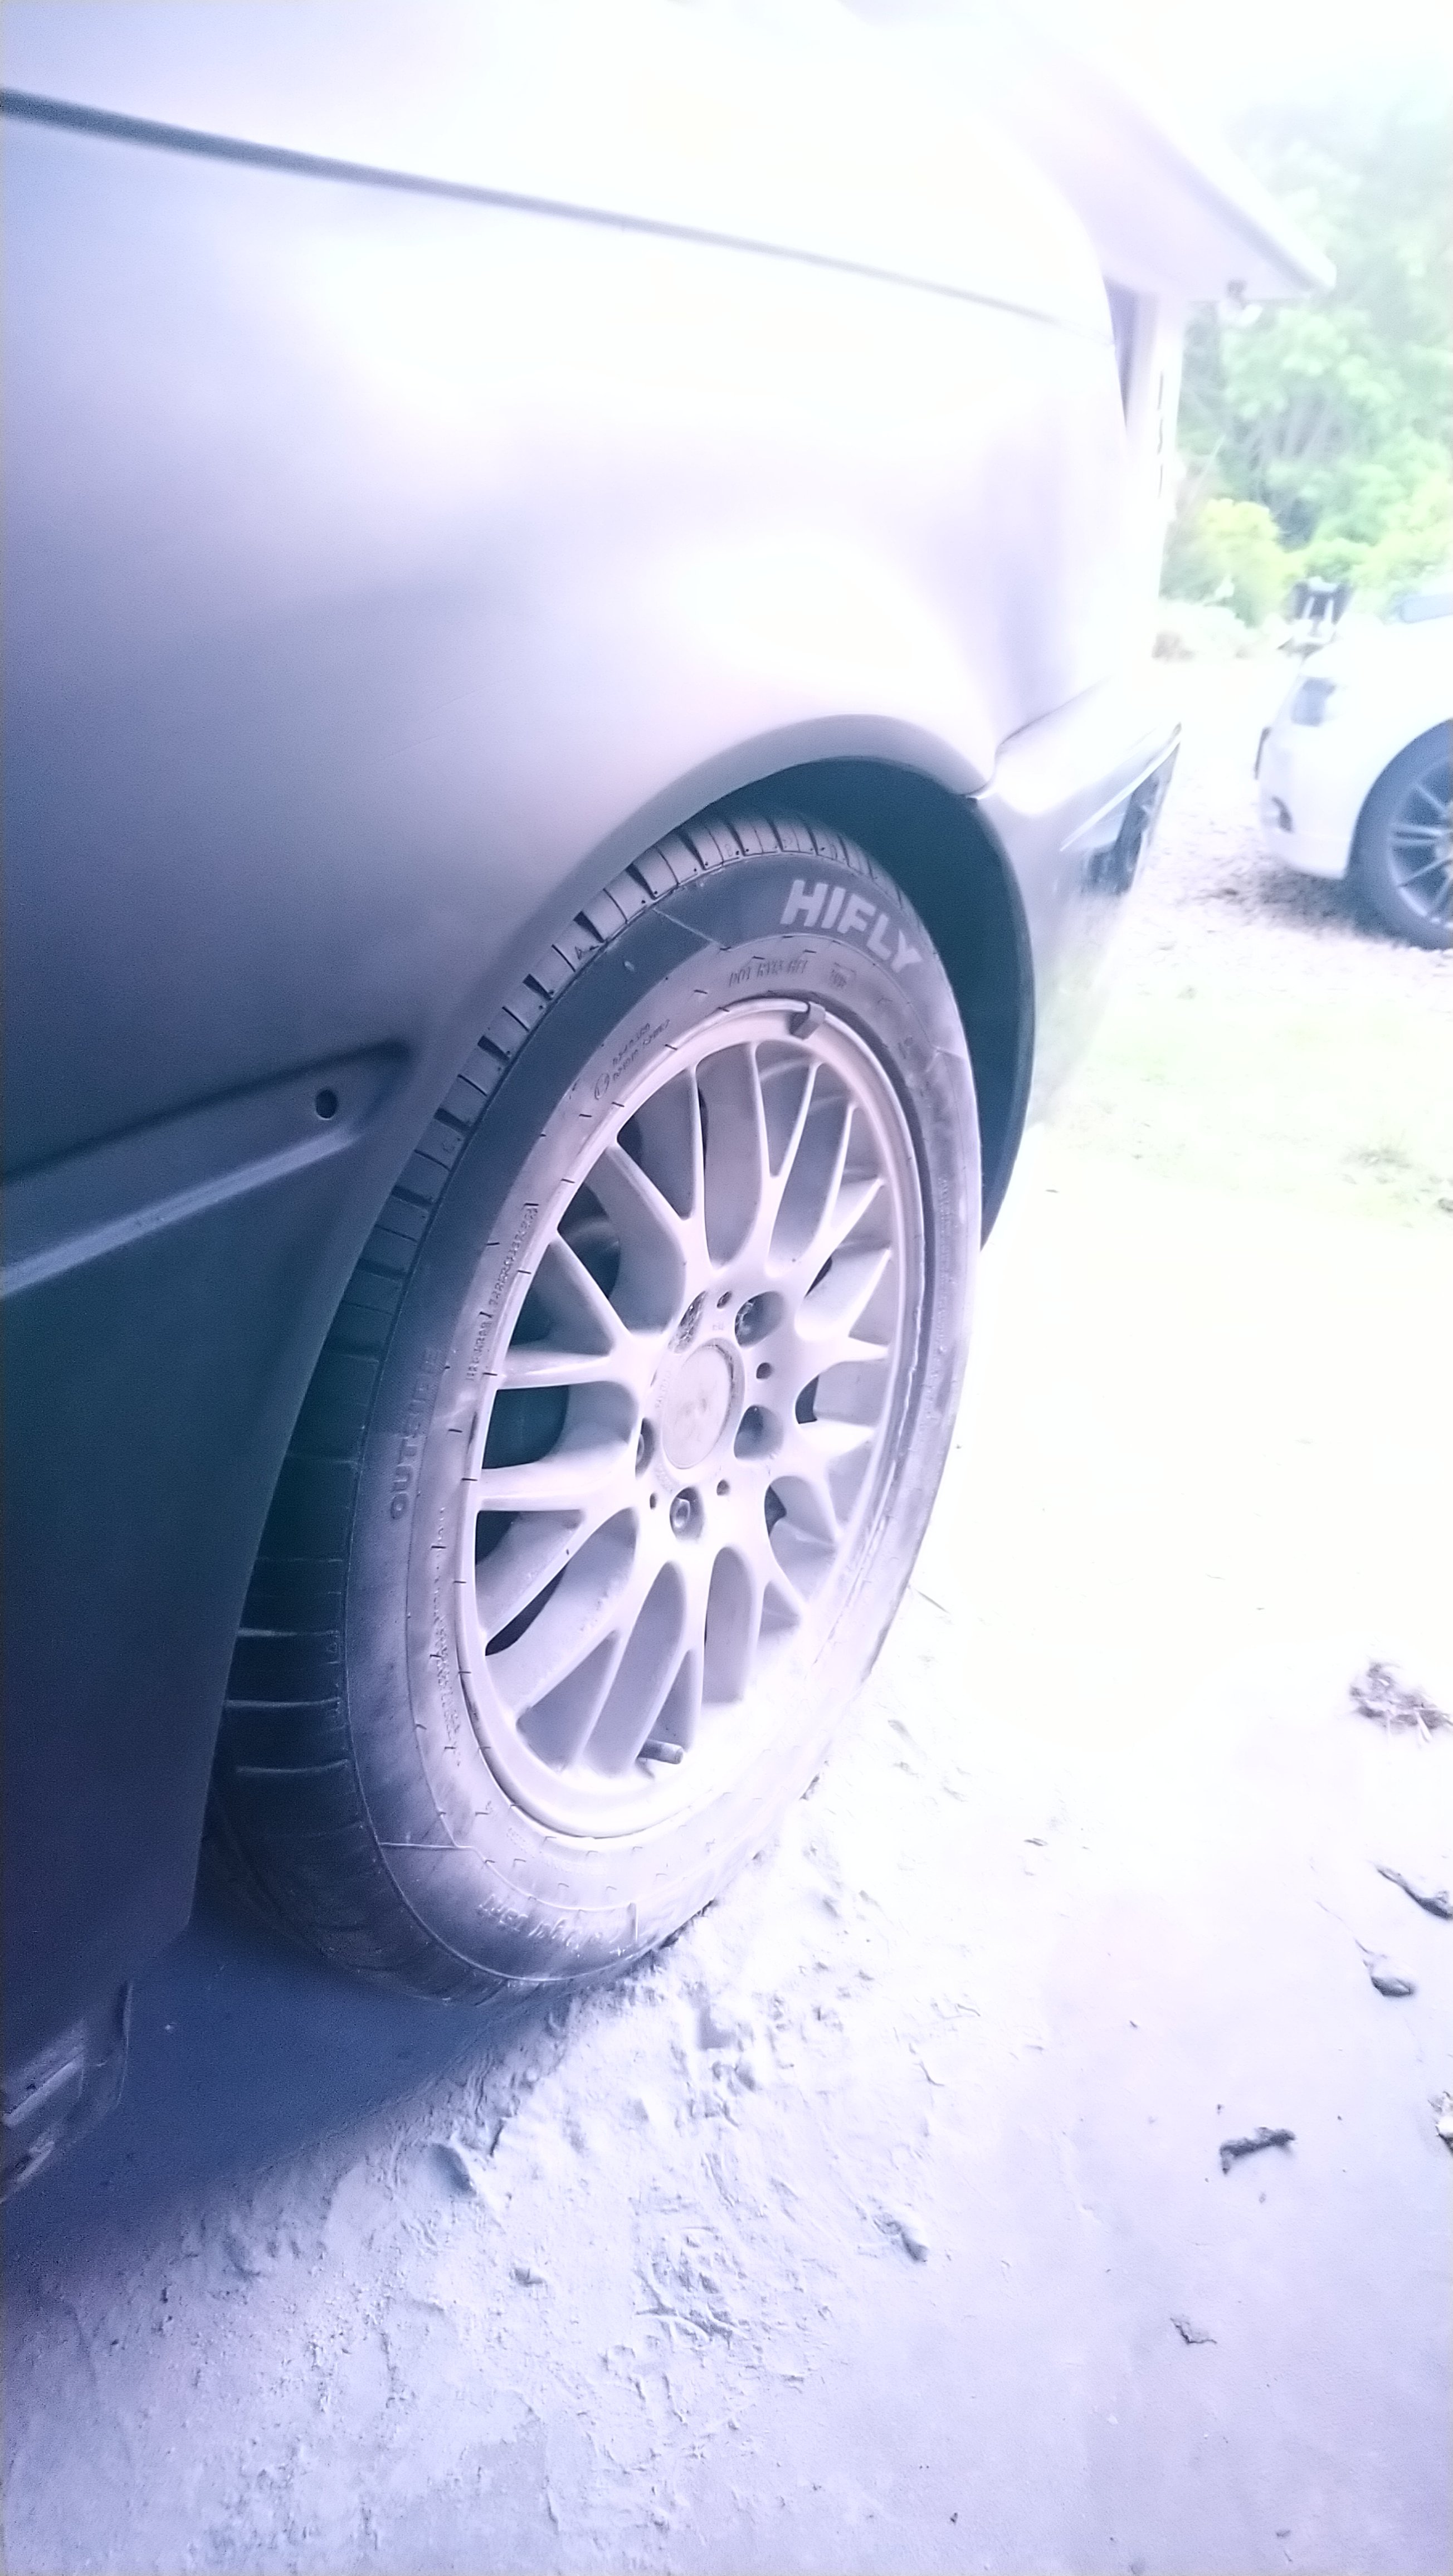


E9x excessive rear inner wear
in Maintenance
Posted · Report reply
Yeah usually go to mag and turbo and they have a automatic print out. The European guy I use for my wof did wheel alignment at same time since I was having some new rears put on, I saw the numbers they were all In spec bar the rear camber but couldn't so print out because system didn't have that function.
Should have taken a photo.
Will have to re book it in there and see if he can check alignment on rears again and look for a potential part causing it at the same time