

nick496
-
Content Count
476 -
Joined
-
Last visited
-
Days Won
8
Posts posted by nick496
-
-
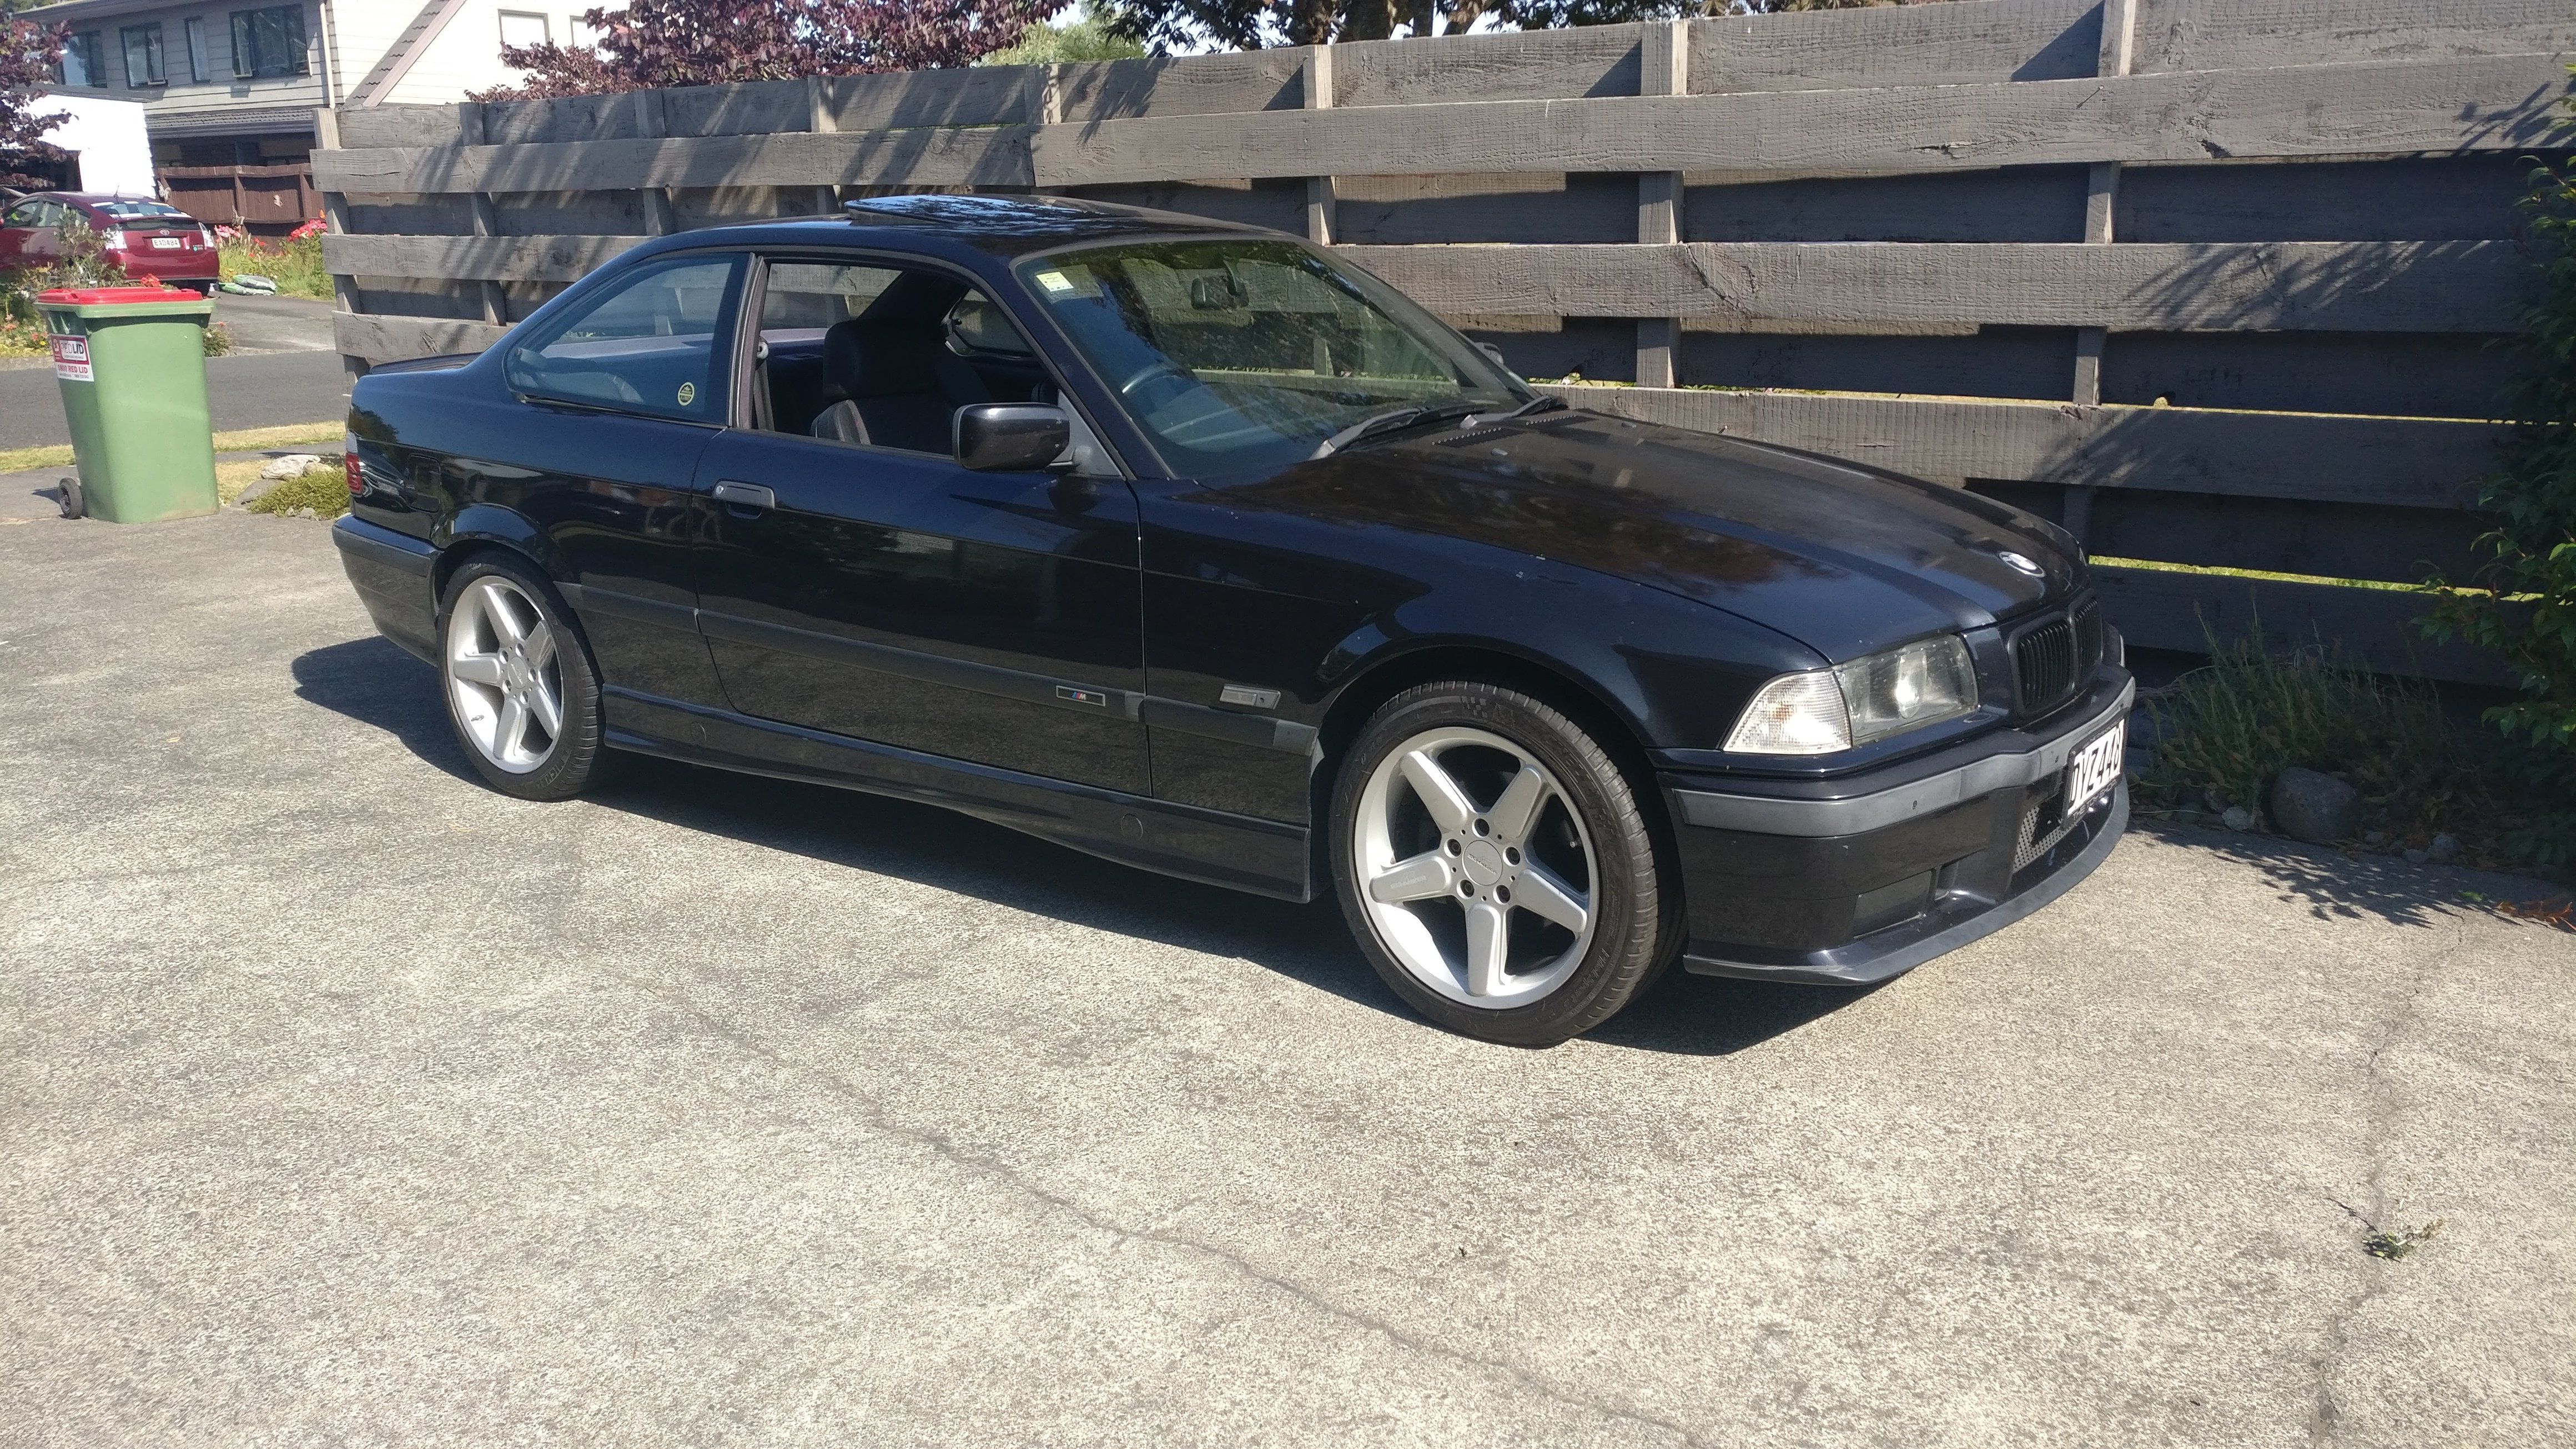
Well I figured I'd carry on the legacy, and keep a project thread for this car that I bought off M3AN.
Old Project thread: http://bimmersport.co.nz/topic/56912-another-e36-my-328-beauty-sold/I purchased the car wanting to turn it into a track hack, as I've taken the E30 touring out to a few track days. It's performed well but would eventually like a rollcage for safety, and also some larger brakes. Both of which aren't something I would to do to my touring, so here we are. Same motor, but I think it will easily be able to beat the tourings time around the track without stripping it for weight savings.
So picked up the car on the original 16s yesterday.
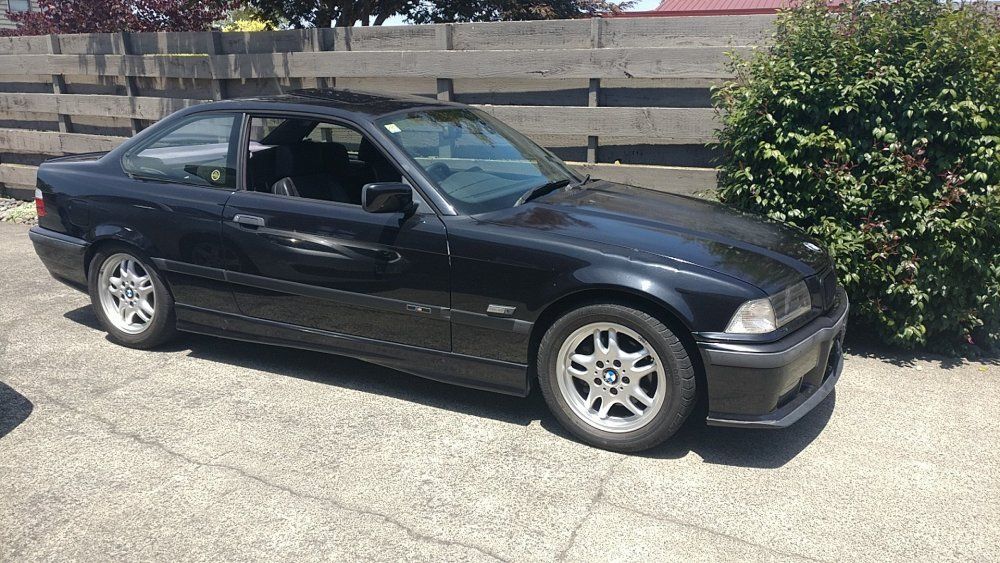
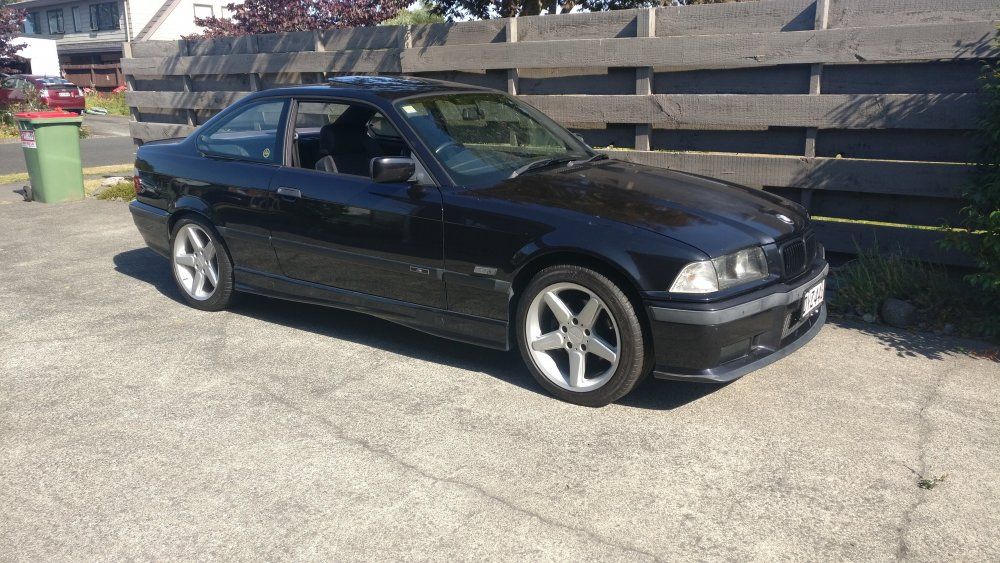
Got her home, and on went the ACS type 2's (17x8 ET38)
Initial impressions
-Handles really well
-Not a fan of the aftermarket alarm (had to get M3an to show me the trick to be able to leave his driveway)
-The Auto box needs to go. It's really lets down all the suspension work done on the car, as it likes to hunt around and jerk. In comparison the E36 318ti I've been dailying is much nicer drive around town, and feels the same power wise ?
-I did say to M3an that I didn't think there was much difference between the stock E36 rack and a purple tag after having both in my E30 (admittedly I drove it a year apart). But after driving this and the E30 back to back, there is definitely a difference. Purple tag is just tighter, and doesn't have the dead zone in the middle.
-Sunroofs are not my friend. Hair rubs on the roof with the seat as low as it goes. Might have to change my seating position.Things to do
-Value cover seal replacement (weeping a bit from the front)
-Fix weird idle issue (hunts around a bit there)
-Manual conversion
-Bucket seat
-Boss kit
-Brake upgrade (Need to find some 330i fronts)
-Purple tag rack swap
-Have all the barrels work off 1 key
-Remove the aftermarket immobiliser
-Find a replacement front guard
-Poly bushings
-Rollcage
-Put the AC back in (I'd rather be cool driving too and from the track, rather than have weight savings)
-VANOS rebuild
-Fix drivers window (Seems to detect too much pressure going up, and then retracts slightly)-
 7
7
-
-
What's it like for rust? Any reason it's been off the road if it runs and drives?
-
They look great. What did you do to repair the foam?
-
1
-
-
I would think any independent bmw mechanic would be able to sort you out, and there are a number up in Auckland.
These days though, it's less about the mechanical bits, and more any rust that I'd be concerned about.
-
Did it sort the issue?
-
1 hour ago, Young Thrash Driver said:Jeepers... Thirsty work, is it?
I knew I wouldn't be the only one. Next time get 5l of IPA Olaf. You might need it doing the rear end.
-
1
-
-
9 hours ago, gjm said:Not even going to try changing anyone's mind on that!
In at least 90% of cases, this is very true.
You're right. It's worth more ?
-
Got a single vanos set which should work for you in Hamilton.
-
-
-
7 hours ago, KwS said:E46 steering rack. Do they use locking tabs on the inner rack ends? Rack came without ends, and new ends dont have locking tabs.
I don't believe they do as the ends have venting grooves. There weren't any locking tabs on mine when I was replacing the inners.
-
Mines stalled currently. But it is the next item on the list.
-
1
-
 1
1
-
-
Whilst I haven't done it, it looks like it can be done with the z4 disks. https://srs-concept.com/product/e36-318ti-big-brake-adapter-kit/
-
-
11 hours ago, BLACK DORIS said:Firstly, awesome work on the project. Nice! Secondly, how crazy was the lock replacement/repair - for non mechanically minded owner with a busted drivers door lock (thanks long term parking guys at Akl airport...). Locking and unlocking from boot, central locking still functional. Thanks!
11 hours ago, Olaf said:@BLACK DORIS Rio, more lock detail here: http://bimmersport.co.nz/topic/60593-grey-thunder-1990-e30-316i/?do=findComment&comment=651581 if that helps. I had trouble getting the final function right.
I found the hardest part was putting the door lock back in. Once you have it out of the table, the only thing to go wrong is having the tumblers out of order, but you can swap them around pretty easily.
In your case, it will depend on if you can figure out the numbers from the drivers door alone, or if you have to pull the passengers side to figure it out.
Providing you are comfortable will pulling out the door lock, you shouldn't have too much trouble.Olaf has all the details you'll need in that post. Very helpful.
-
23 hours ago, Olaf said:There's no coincidence, Nick. You realise that you were instructed to build a shed, because next time you have an oily parts boil-up on the stove, you'll be sleeping in there?! ?
No, that's why she's requesting a dog kennel this year for "the dog to sleep in"
-
1
-
-
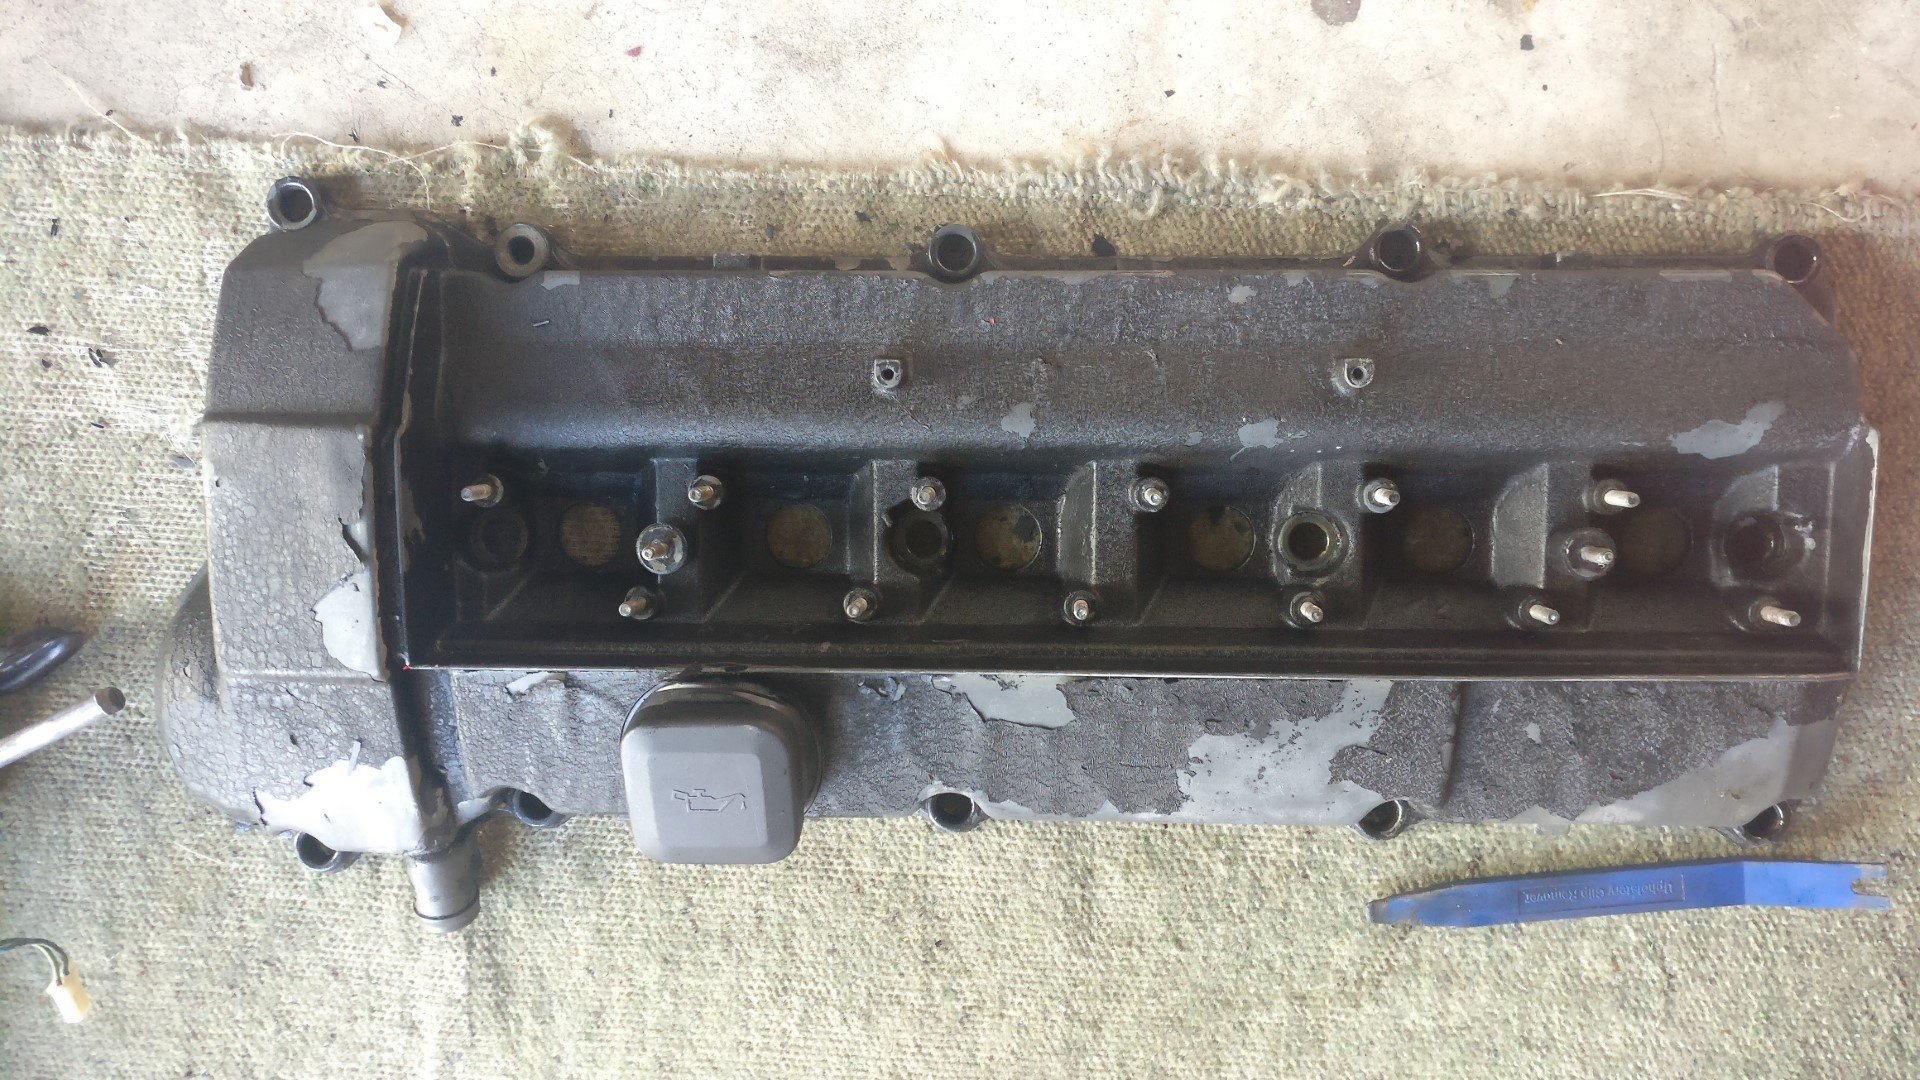
While doing the vanos, my valve cover which I'd painted in crinkle black hadn't held up.
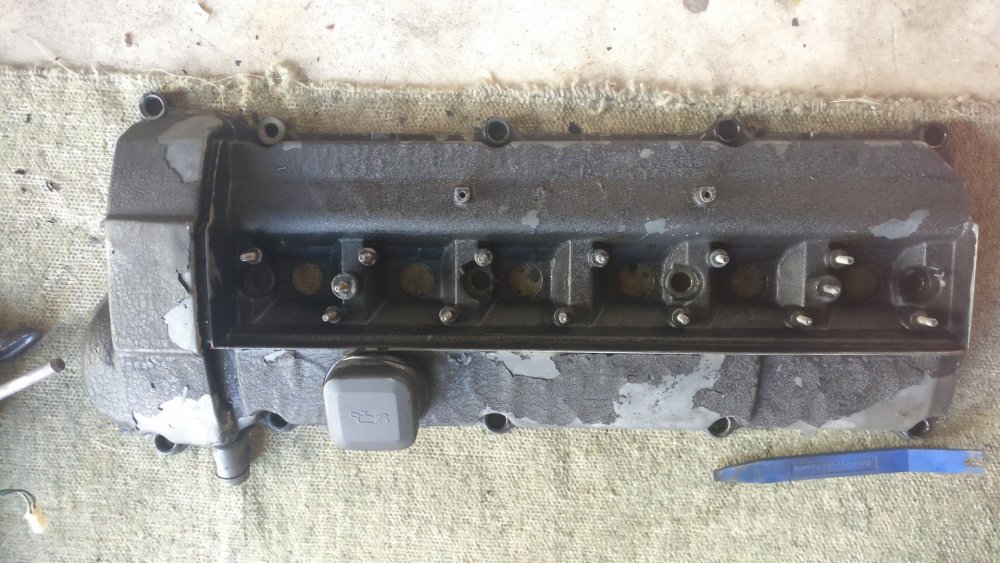
Got it blasted
Casting is pretty crap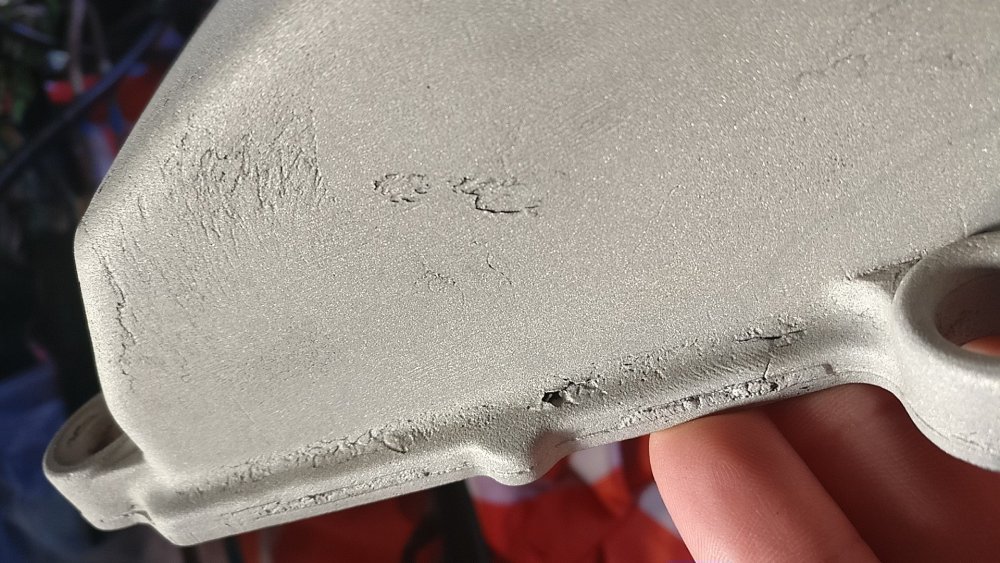
Ground back the worst bits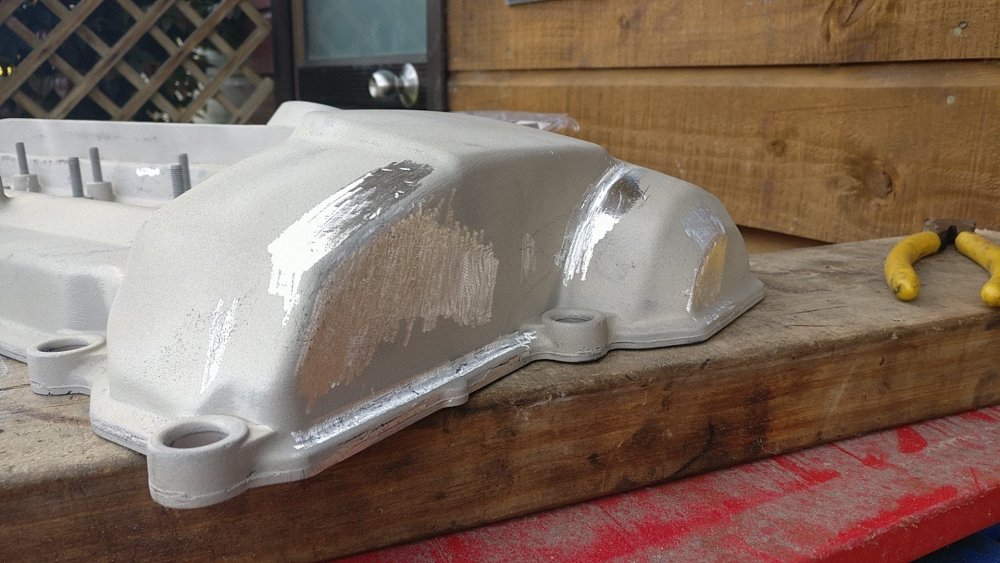
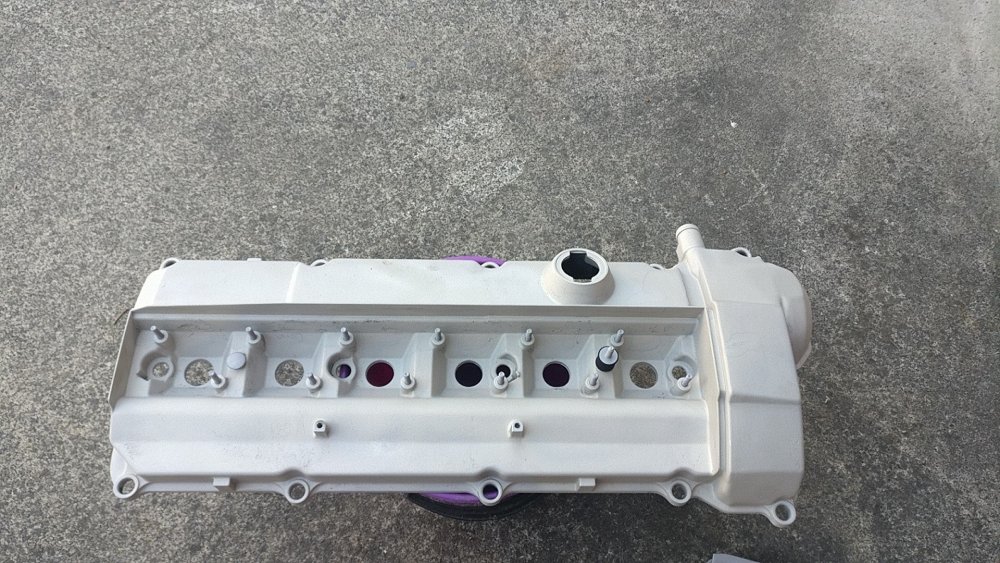
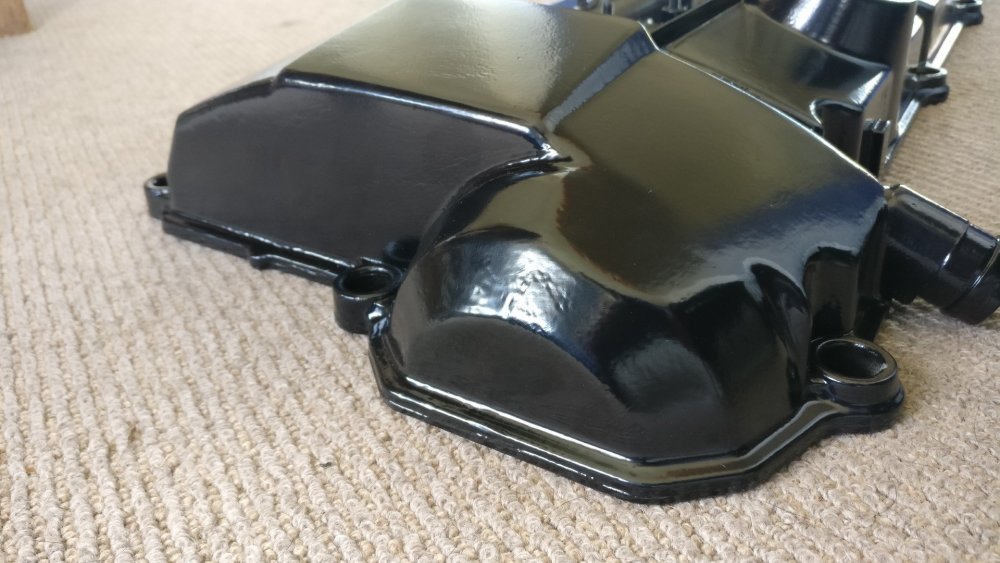
Got it powder coated.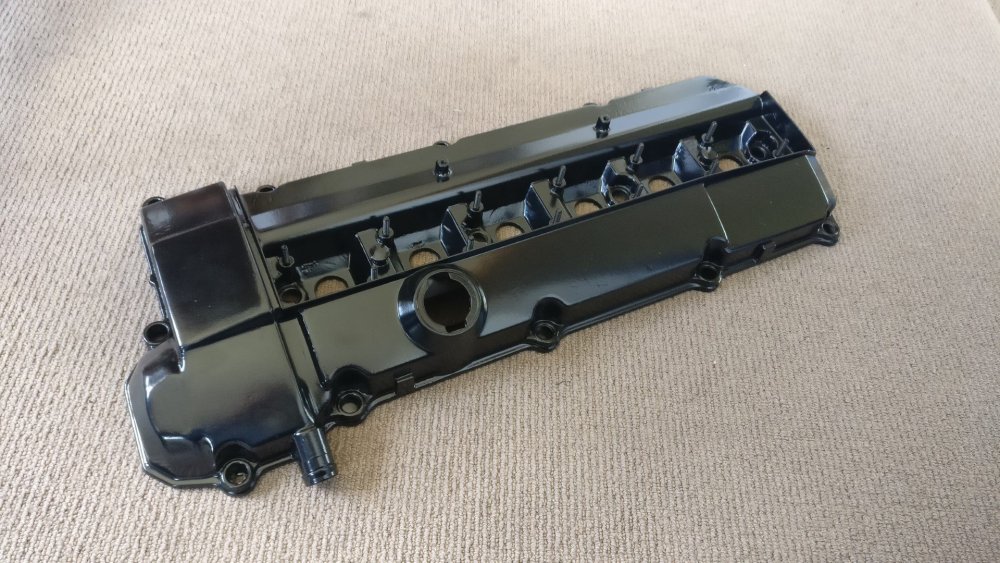
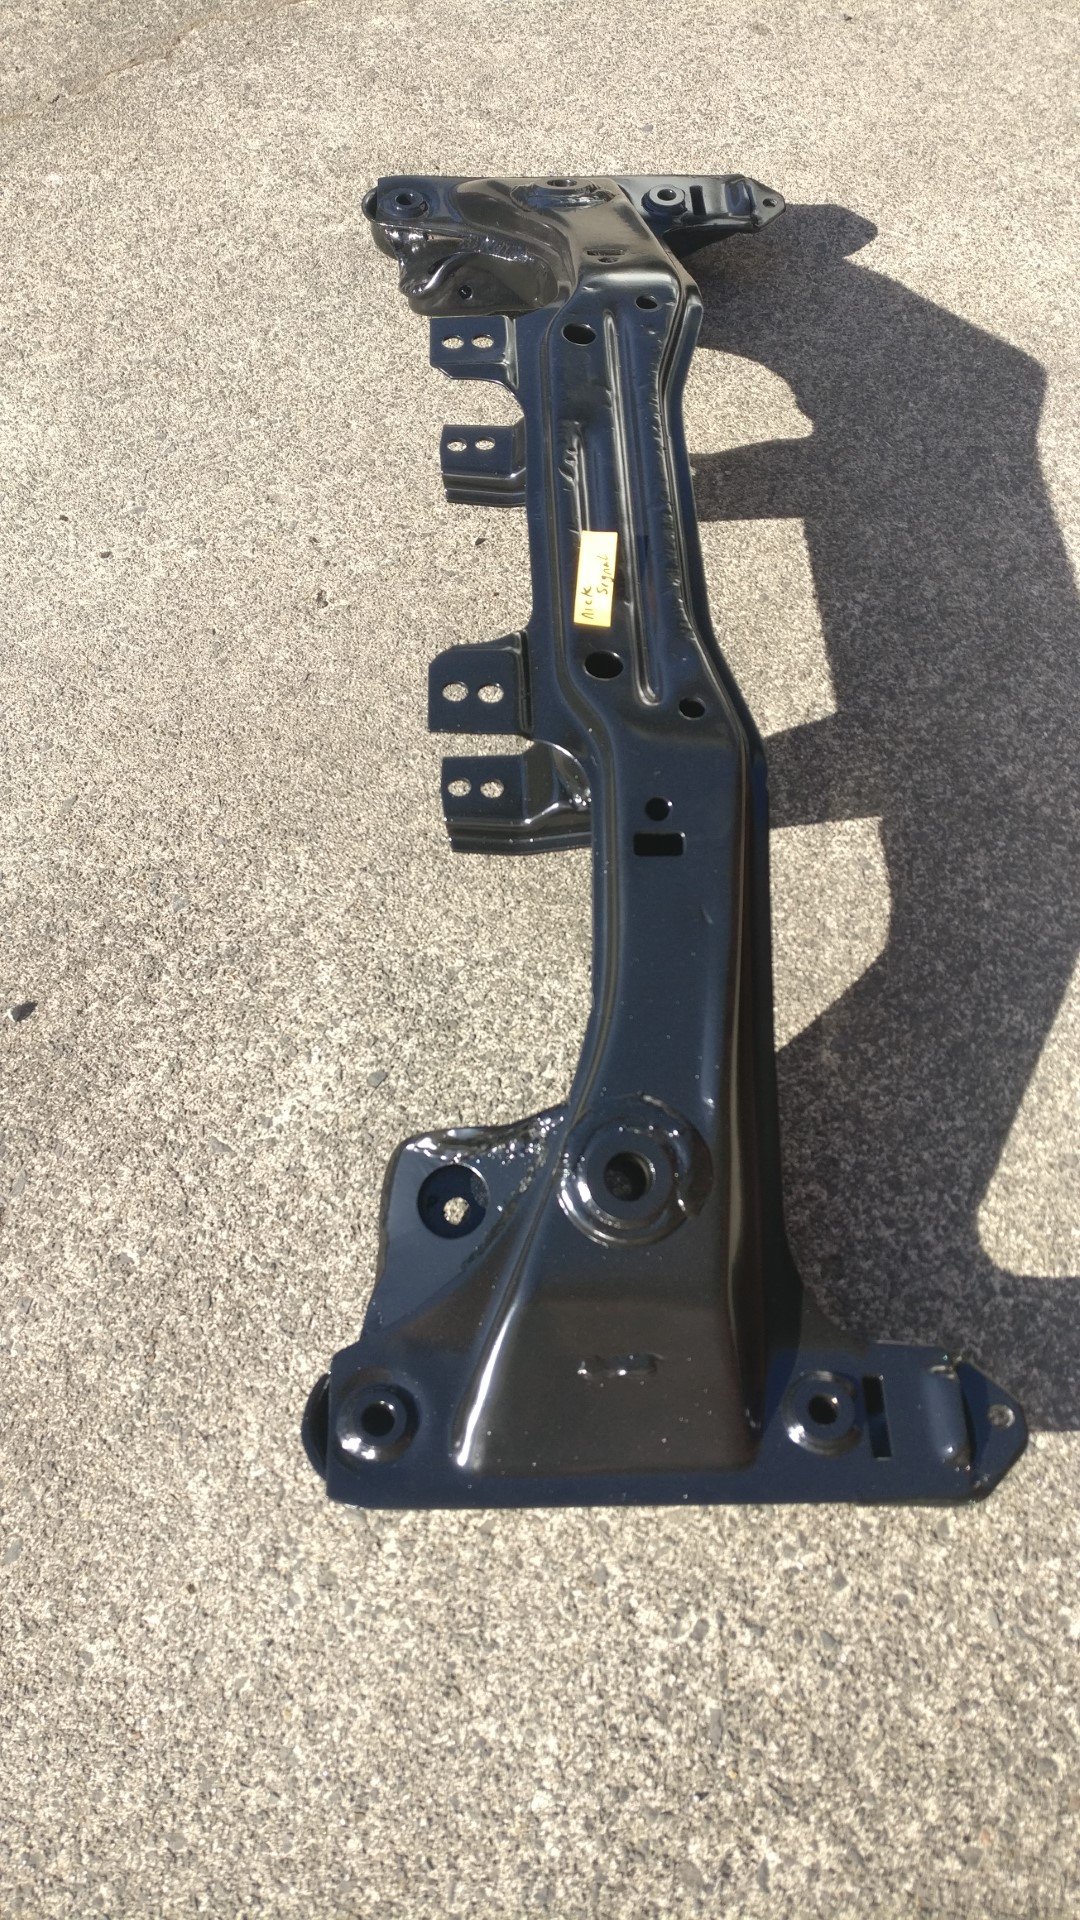
You can see the imperfections, but its a lot better than what it was.While doing that, figured I should get the front subframe done too.
Had that blasted, reinforcement plates welded in, and then powdercoated.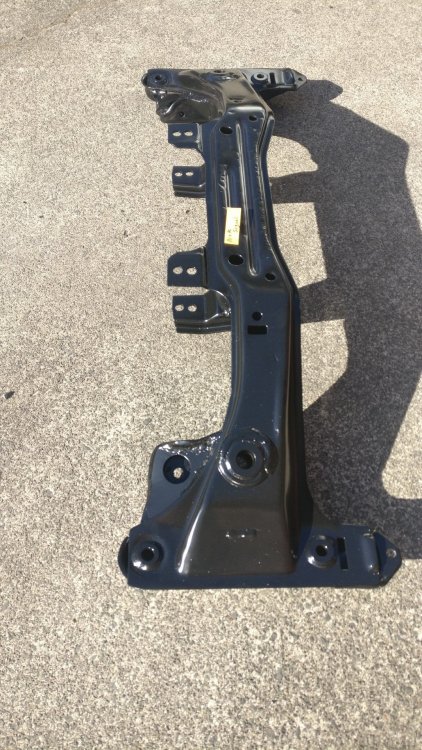
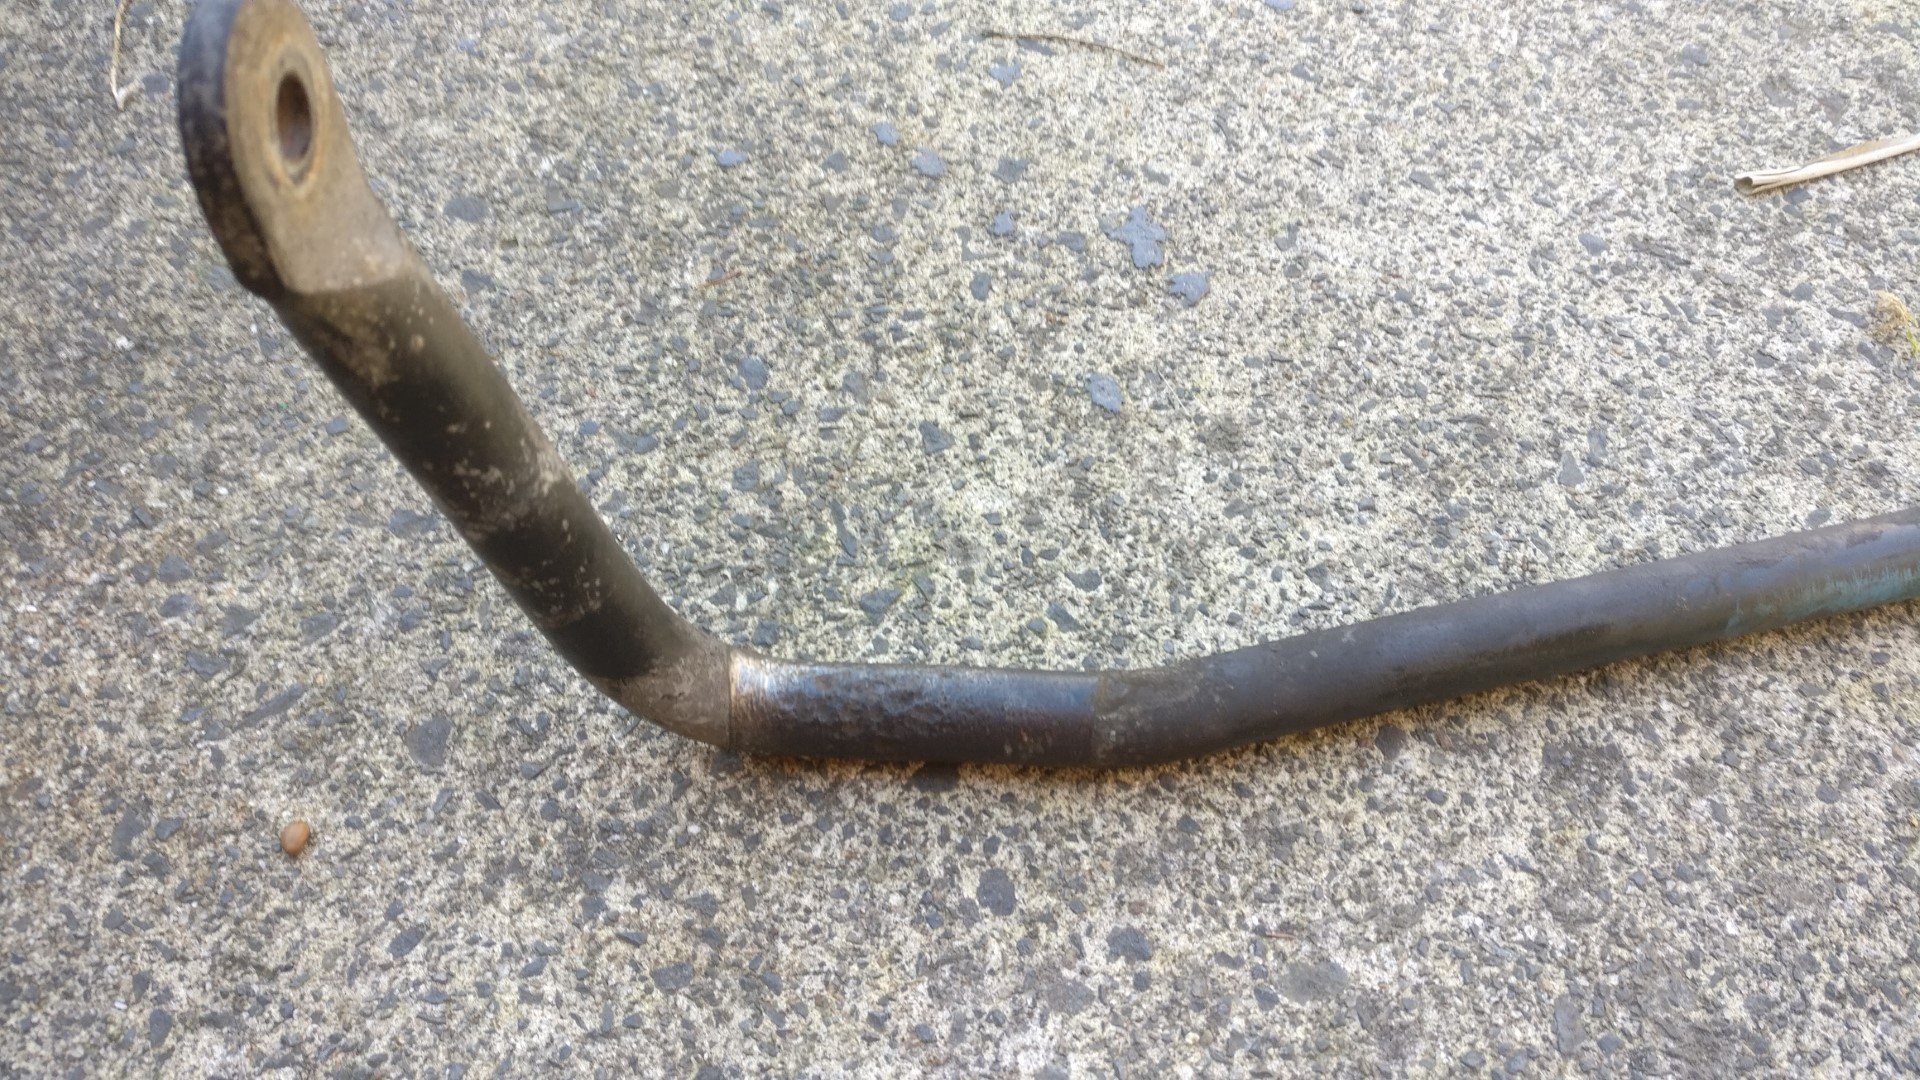
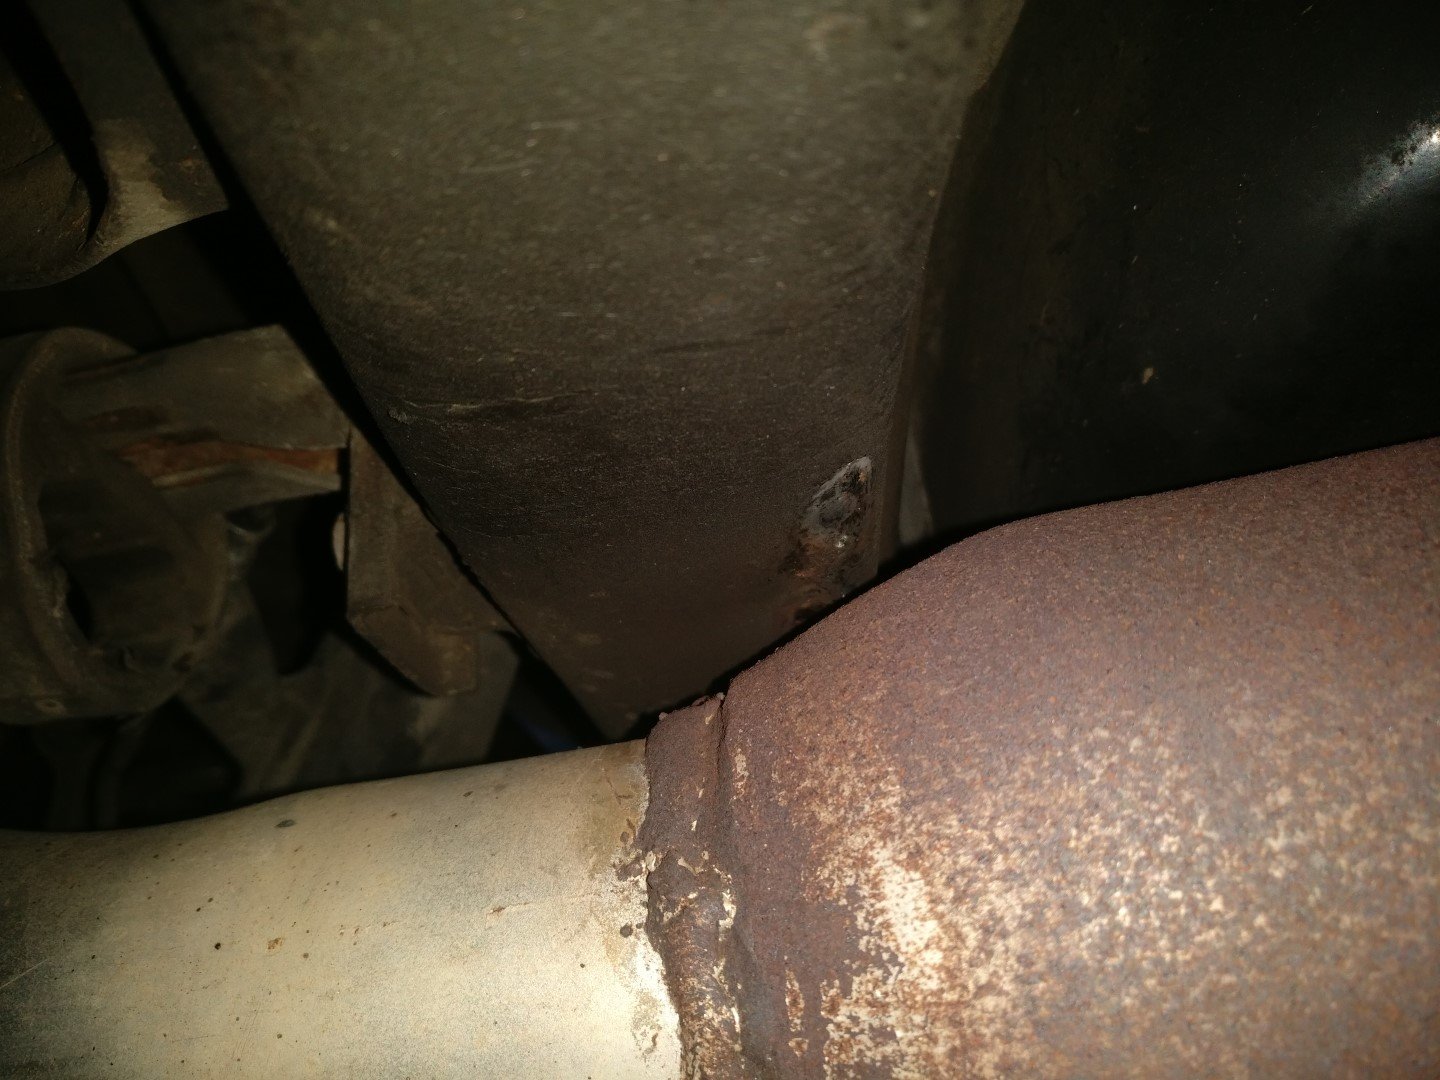
While doing all that, found that some moisture got around the rubber that holds the front sway bar.
Some interesting corrosion there

Sway bar was powder coated, and replacement mounts were ordered.-
3
-
-
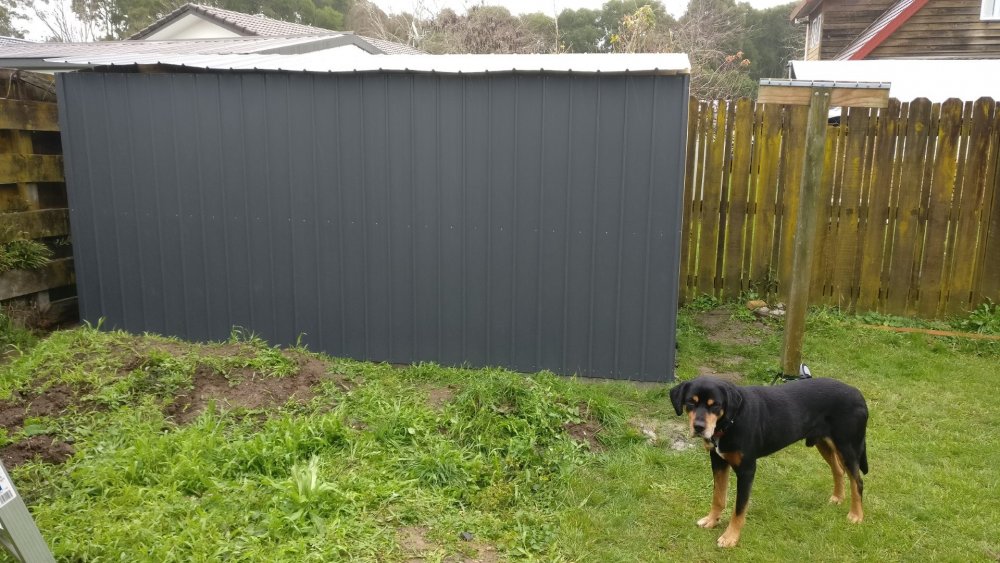
Got a dog. We fit in the touring, and everyone is happy about it

.thumb.jpg.ee9a33b10c334668a0757414a5401f83.jpg)
Got tailed one night by a random. Pull into a car park and he followed me. Had a good yarn. Turns out he only lives a few blocks away.
Decided to do the vanos seals at the start of last year, so ordered all the bits from Beisan Systems, and some cheap timing locking kit from Ebay.
Guides all say to set everything to top dead center and lock it in place.
Well... that's fine on a stock system, but turns out I couldn't use the crankshaft lock due to my different combo.
Having a look online on this, several people said it shouldn't move.
So pulled it all apart, couldn't undo the nut and rounded it off.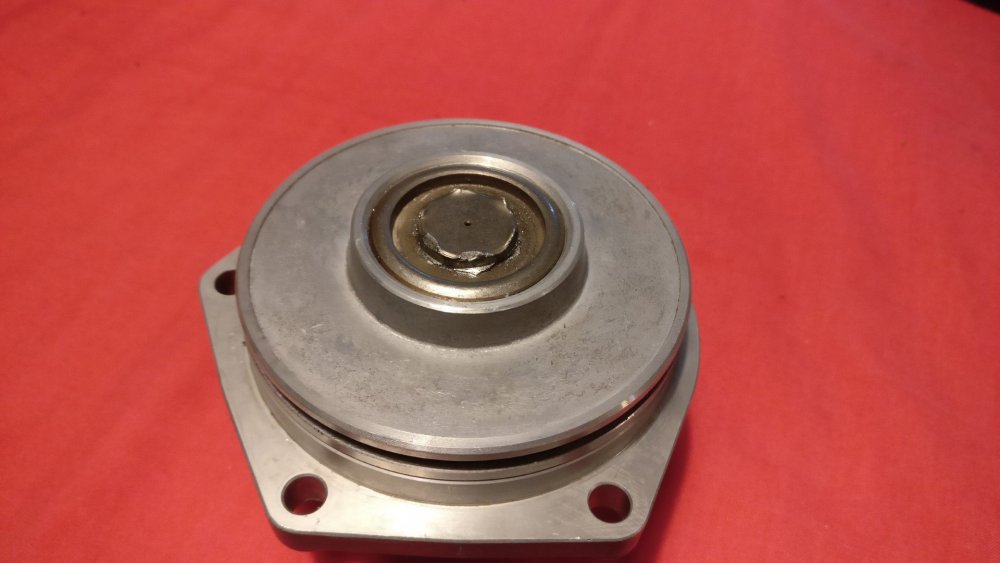
Got a unit from Kerry, and he kindly rattle gunned the nut off.
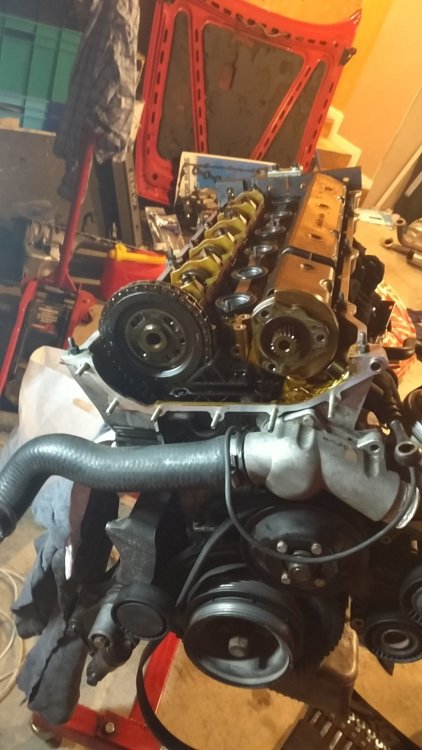
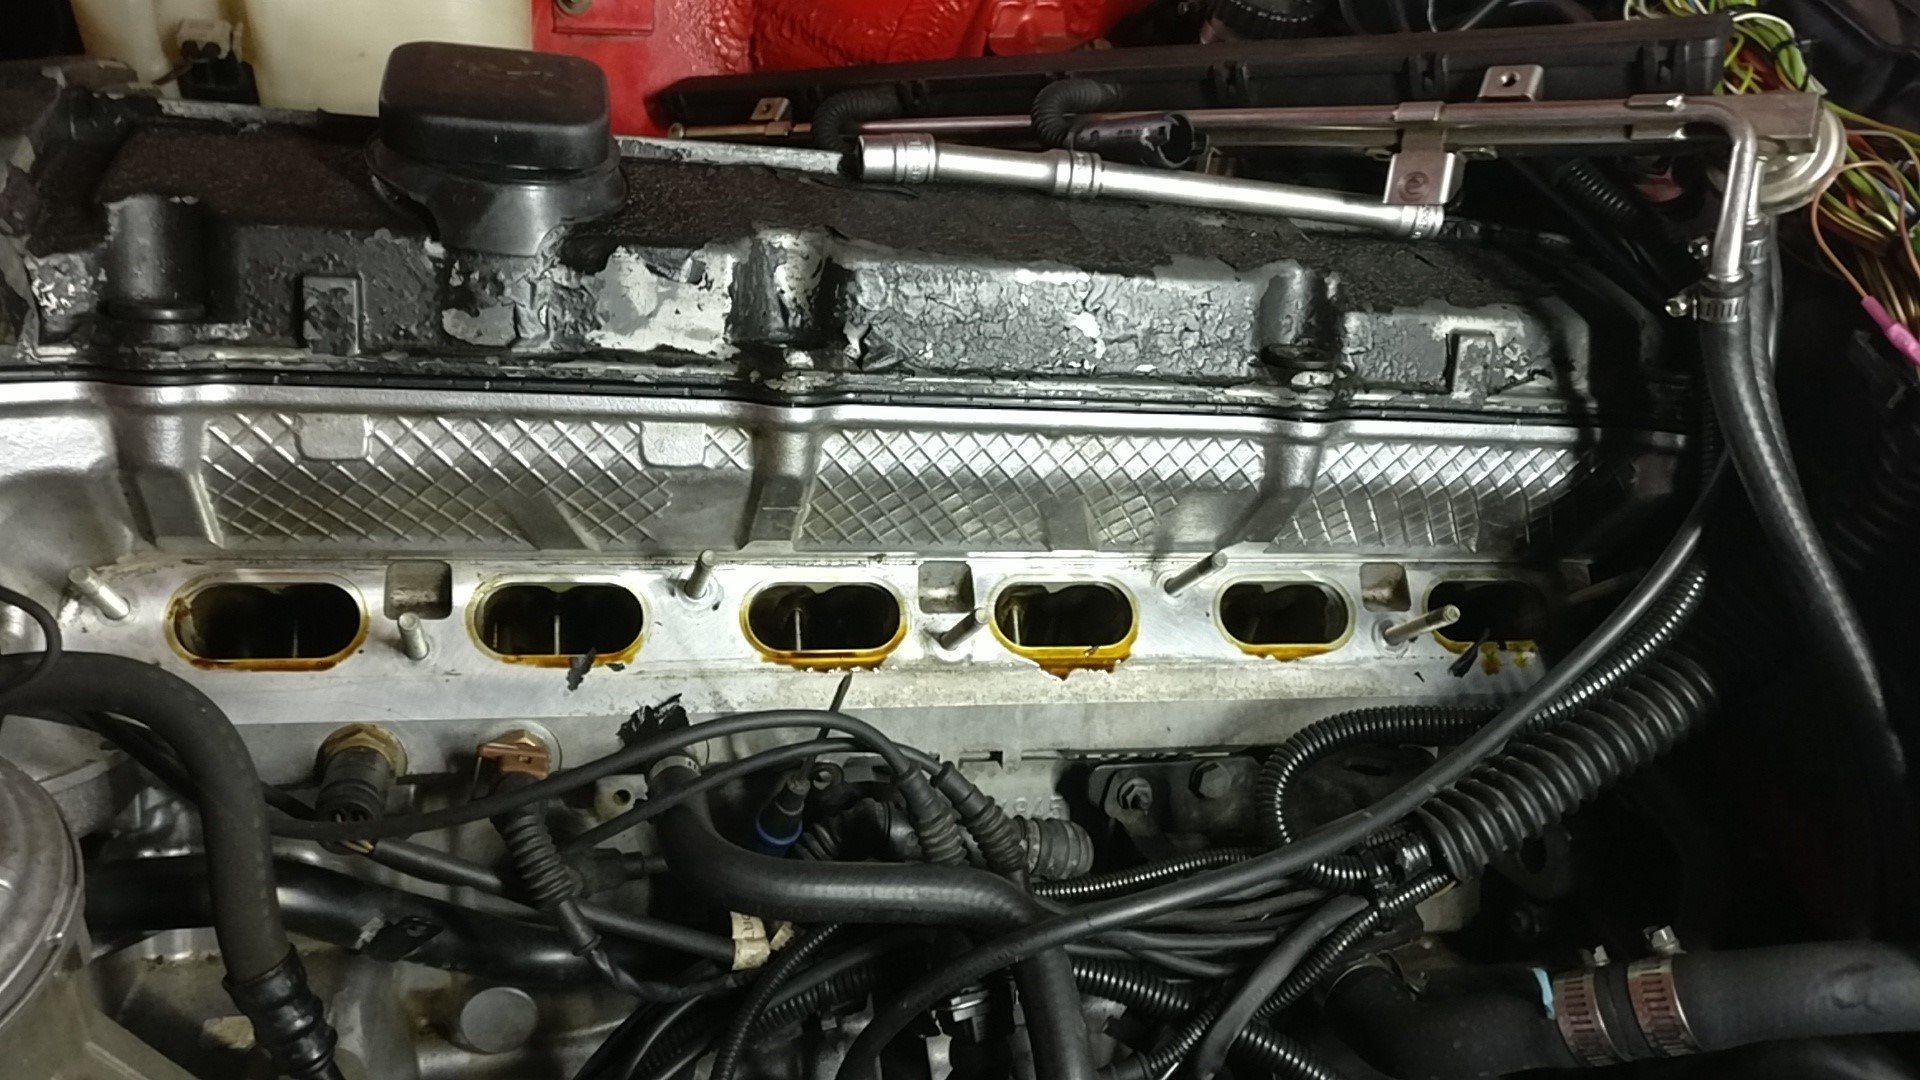
Replaced the seals, and then went to put it all back in.... and what do you know, the crank had moved while doing the work.Not wanting to risk anything, I pulled the motor and did it on the stand.
Mmm delicious oil in my intake

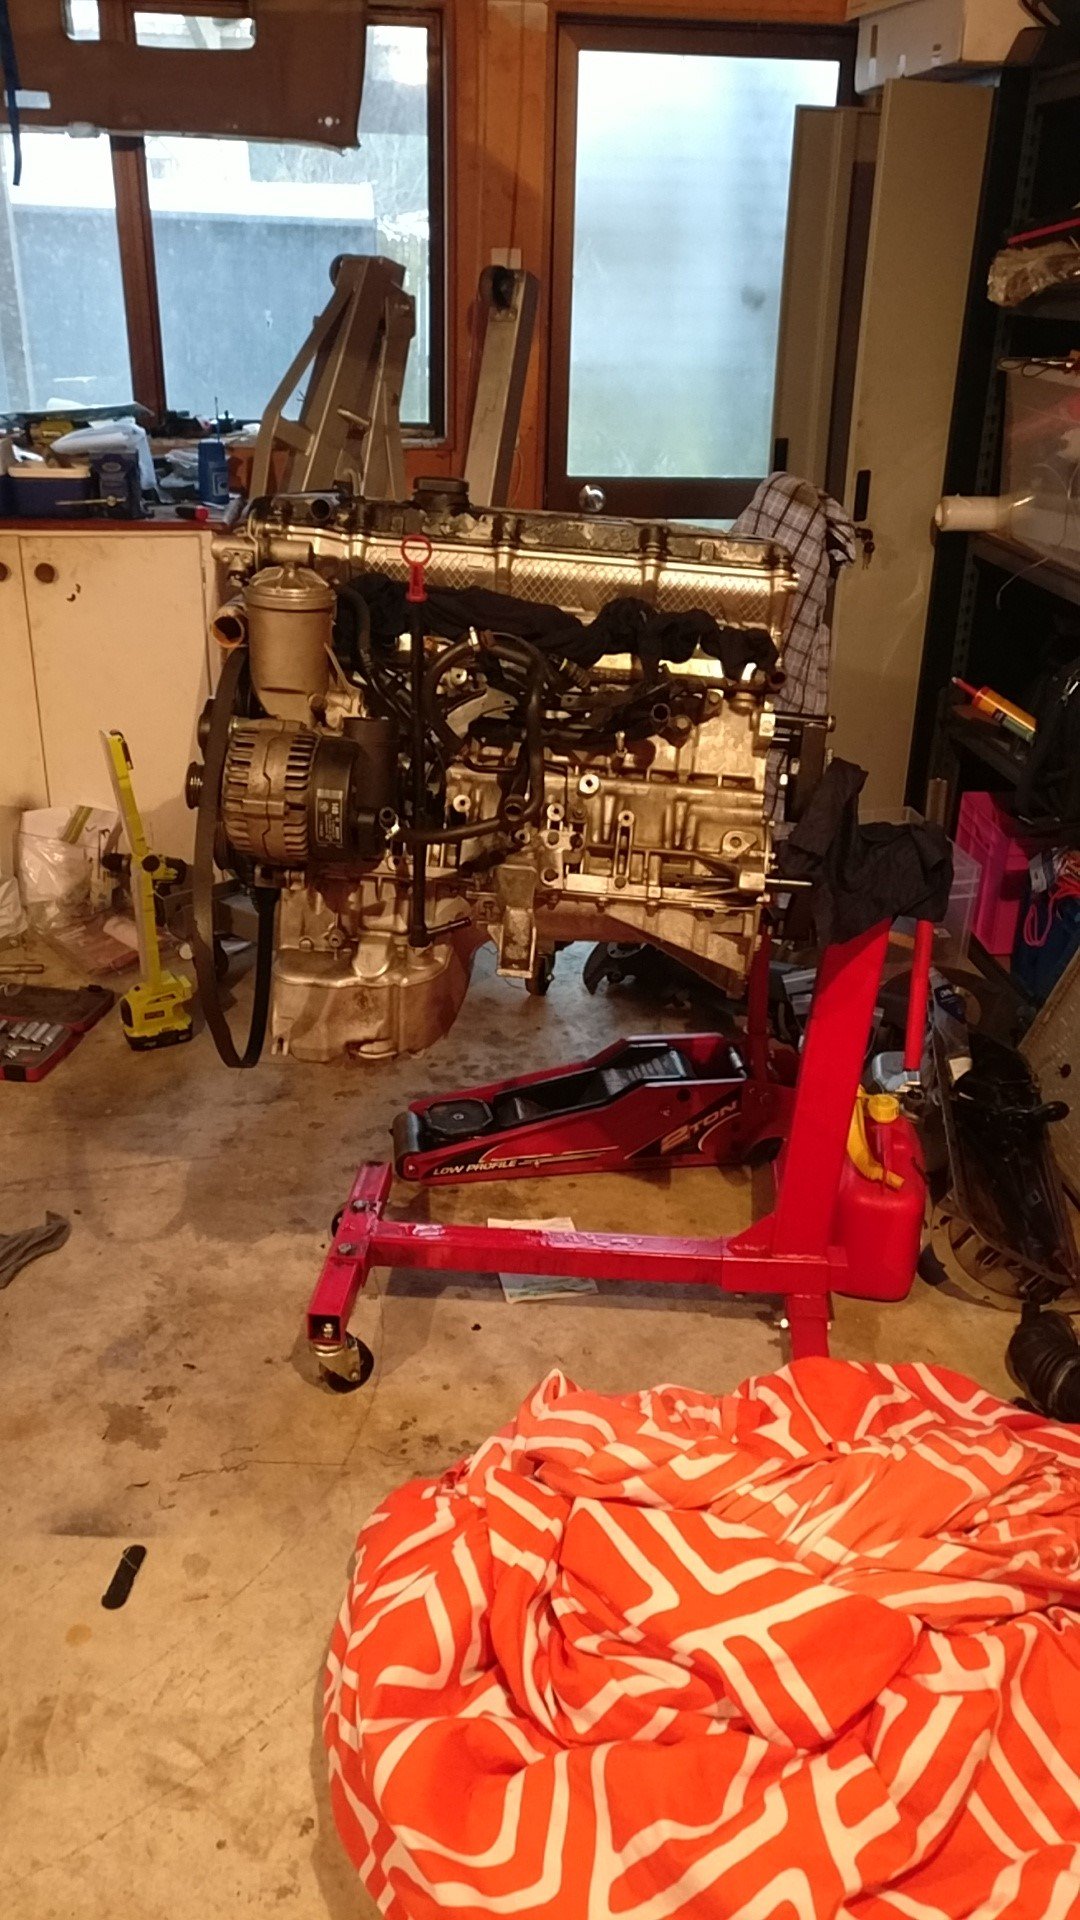
Back on the stand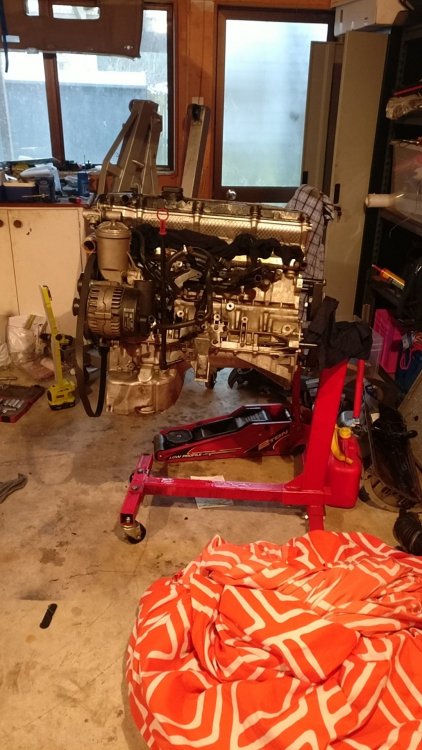
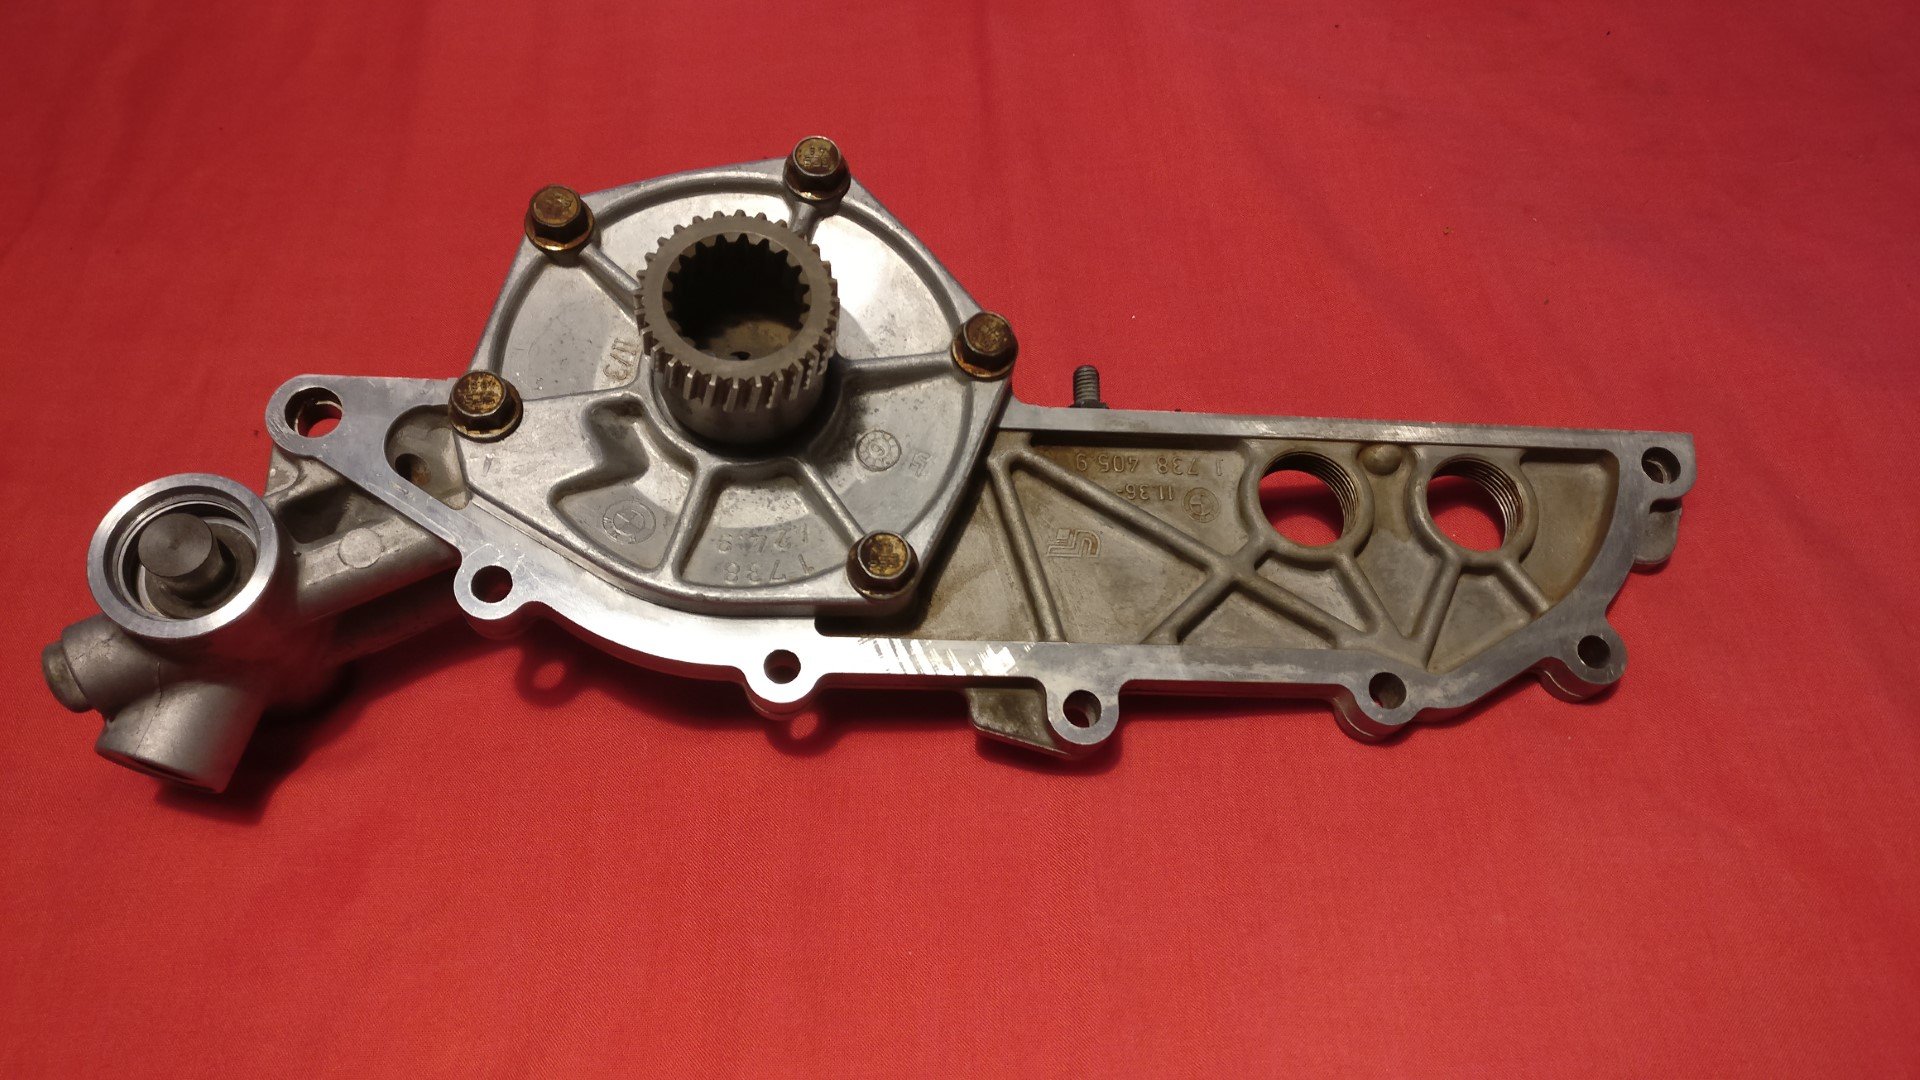
Cleaning up the parts of burnt on oil.
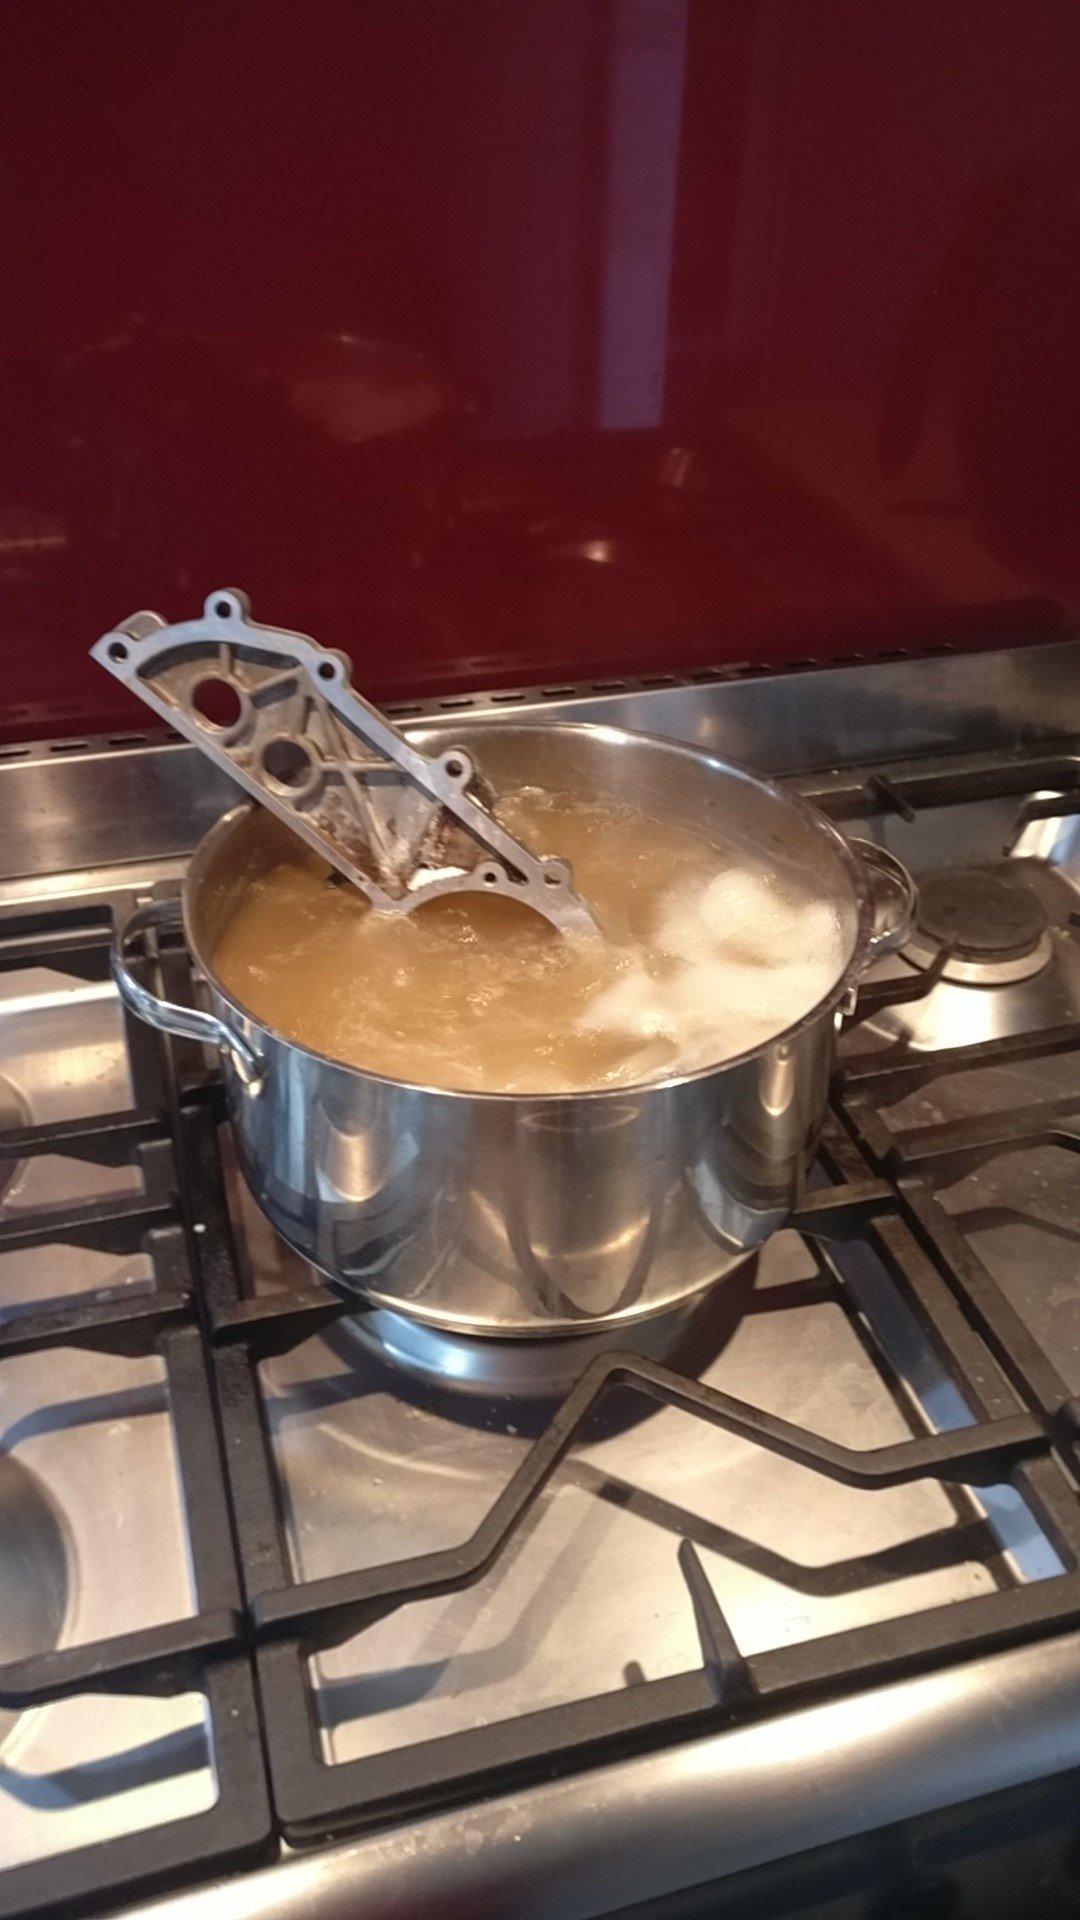
This was done while the wife was out.
Boil a pot of water. Place part inside. Add laundry power. When you stop seeing bubbles on the surface, add more.
As per the vanos unit above, it cleans parts up really well
While taking it apart, broke one of the guides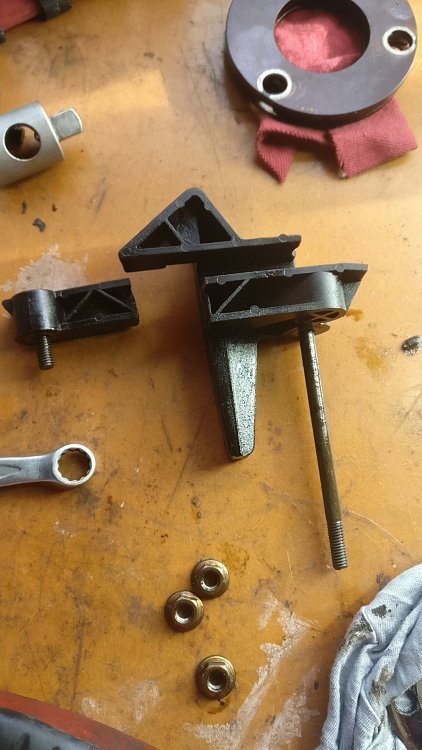
All back together.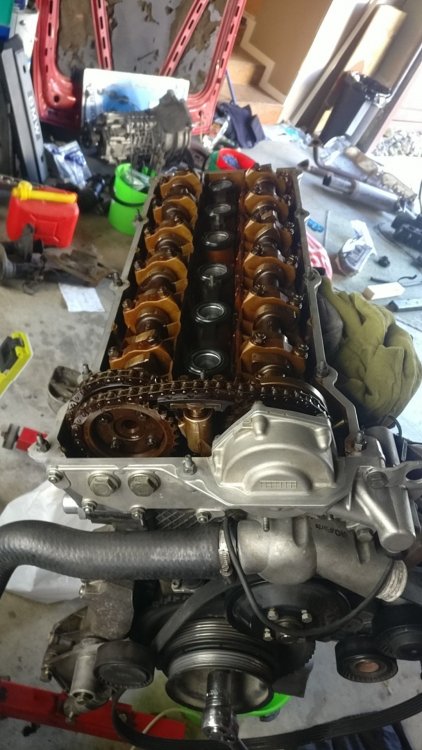
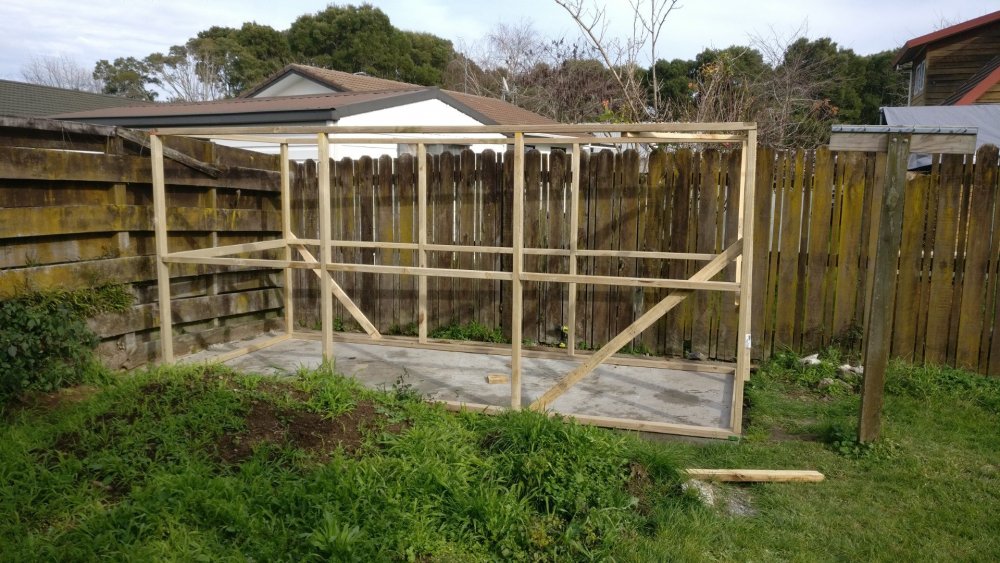
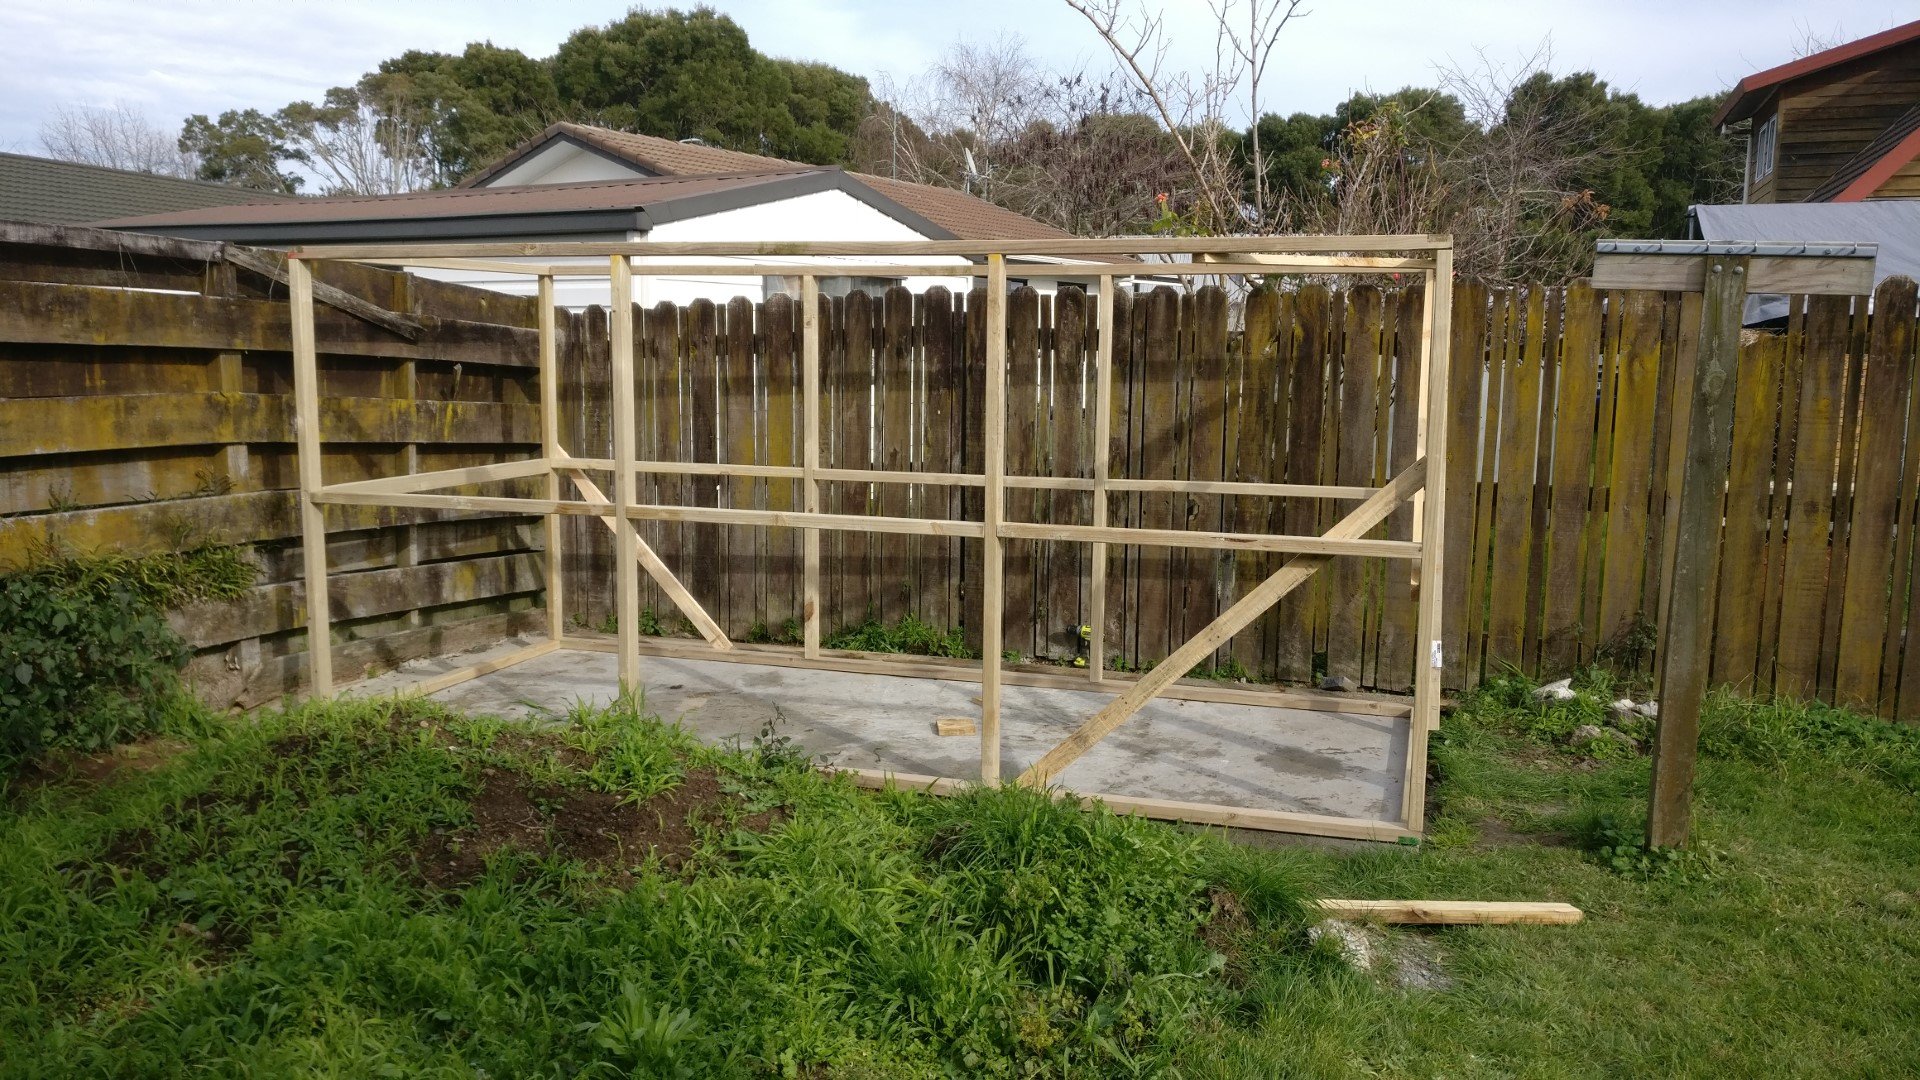
Built a garden shed (No car parts allowed says the wife)
-
1
-
-
Tidied things up enough, and went out for a track day at Hampton downs on the Club Circuit

Sadly no videos or photos of it in action as I went by myself.
Learnt a few things
-My 3-4 year old tyres aren't really up to the job
-You get thrown around a lot in the stock sports seats
-Power isn't everything on the small track. The little 1.8l MX5 fell behind me on the small straights, but was right up my behind every corner.
-Brakes weren't up to the challenge
Found that after a few runs by brake pedal was feeling a bit spongy, so called it a day.So with that under my belt, I was keen for some more track time.
I went along to the E30 Race Series scholarship day to see what racing was all about.
Ended up starting the day in a hot lap in an E30, which within a few minutes of the track opening had managed to flip itself in the sand.
Fortunately everyone was alright. Cages are there for a reason.
After that lovely incident I hopped into an E46 M3 for a hot lap, and tried not to sh*t myself in a car with double the HP.
At the end of the day, had a new appreciation for racing, as the guys race very closely.Then the rest of the year was pretty uneventful.
Wof guy noted that my exhaust was rubbing on my rear subframe.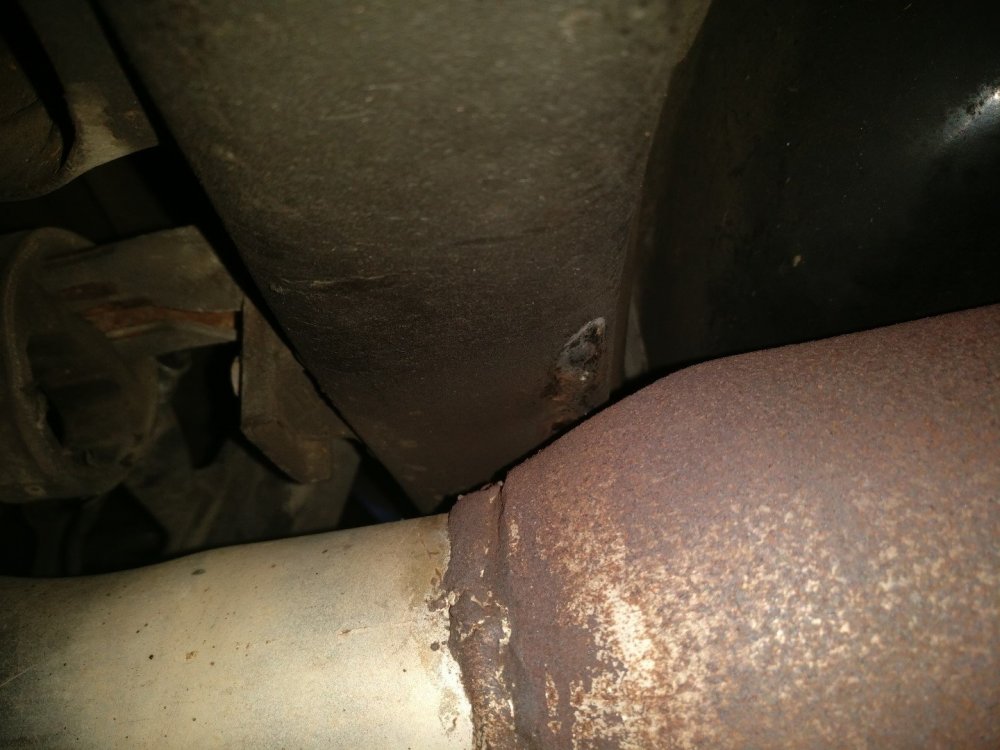
Tried to tweak the angle a bit, but it's still an issue.
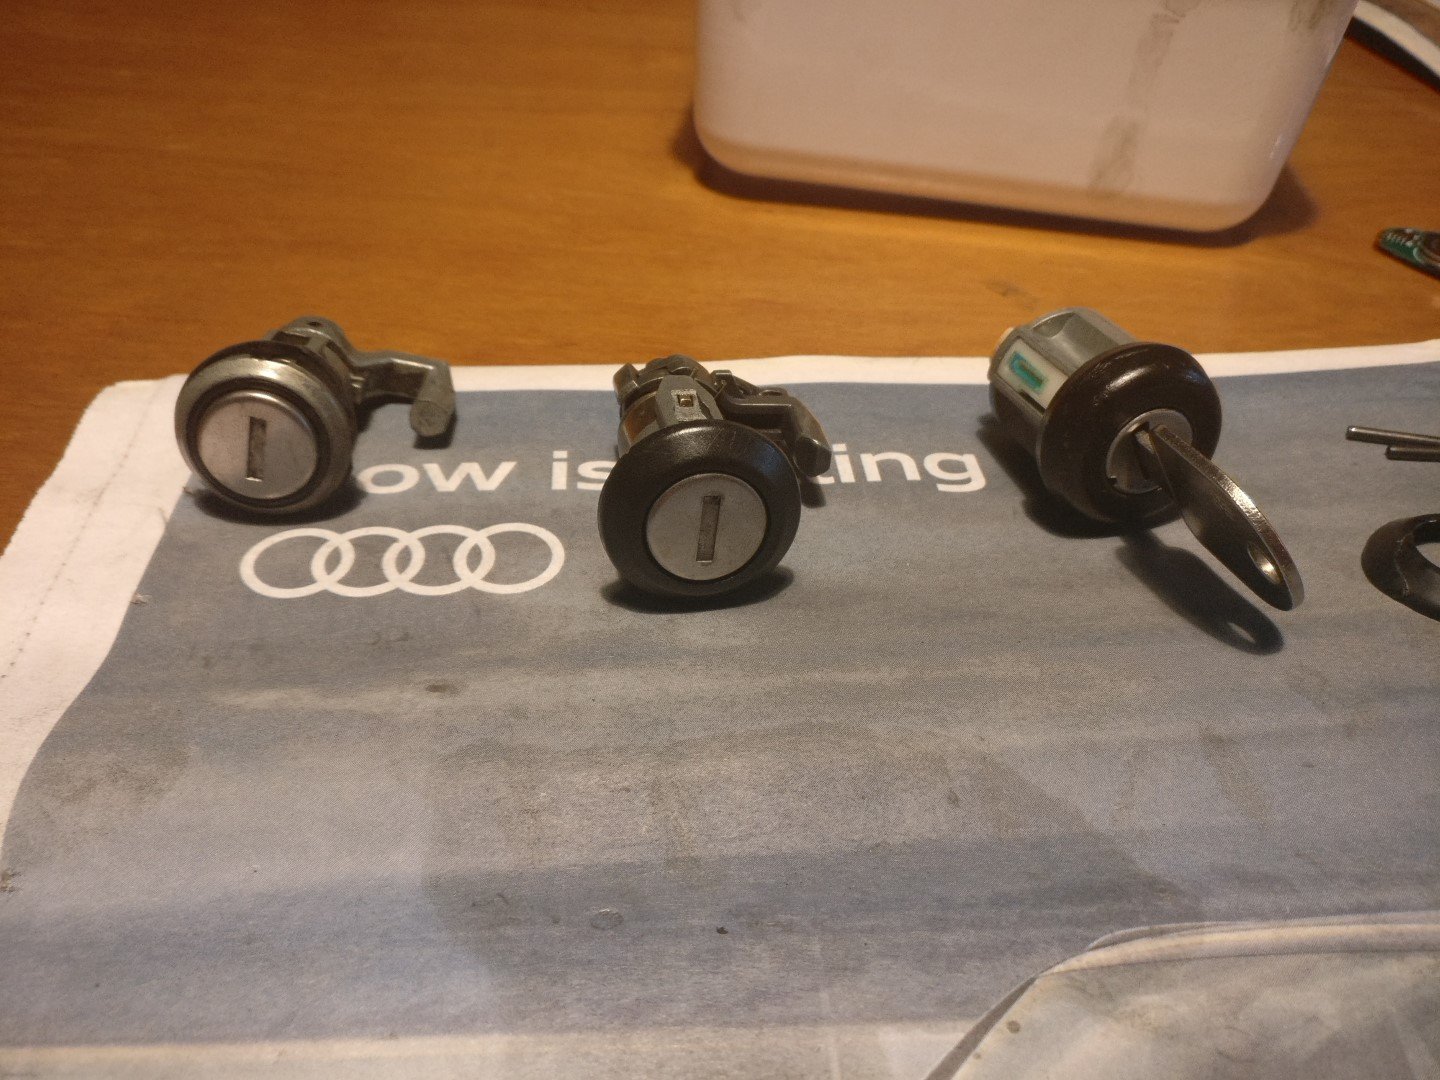
My central locking unit decided that it didn't want to talk to my remotes.
I found that during this, someone had replaced the drivers door lock with another one, and didn't swap over the tumblers.
So meant I had to lock/unlock passengers side until the lock rebuild kit arrived.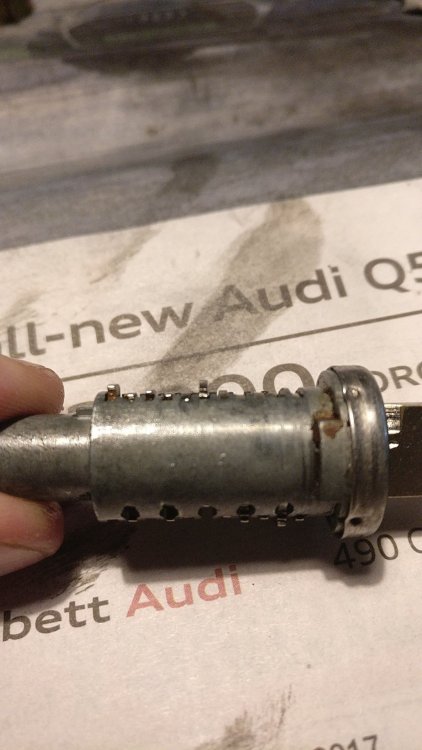
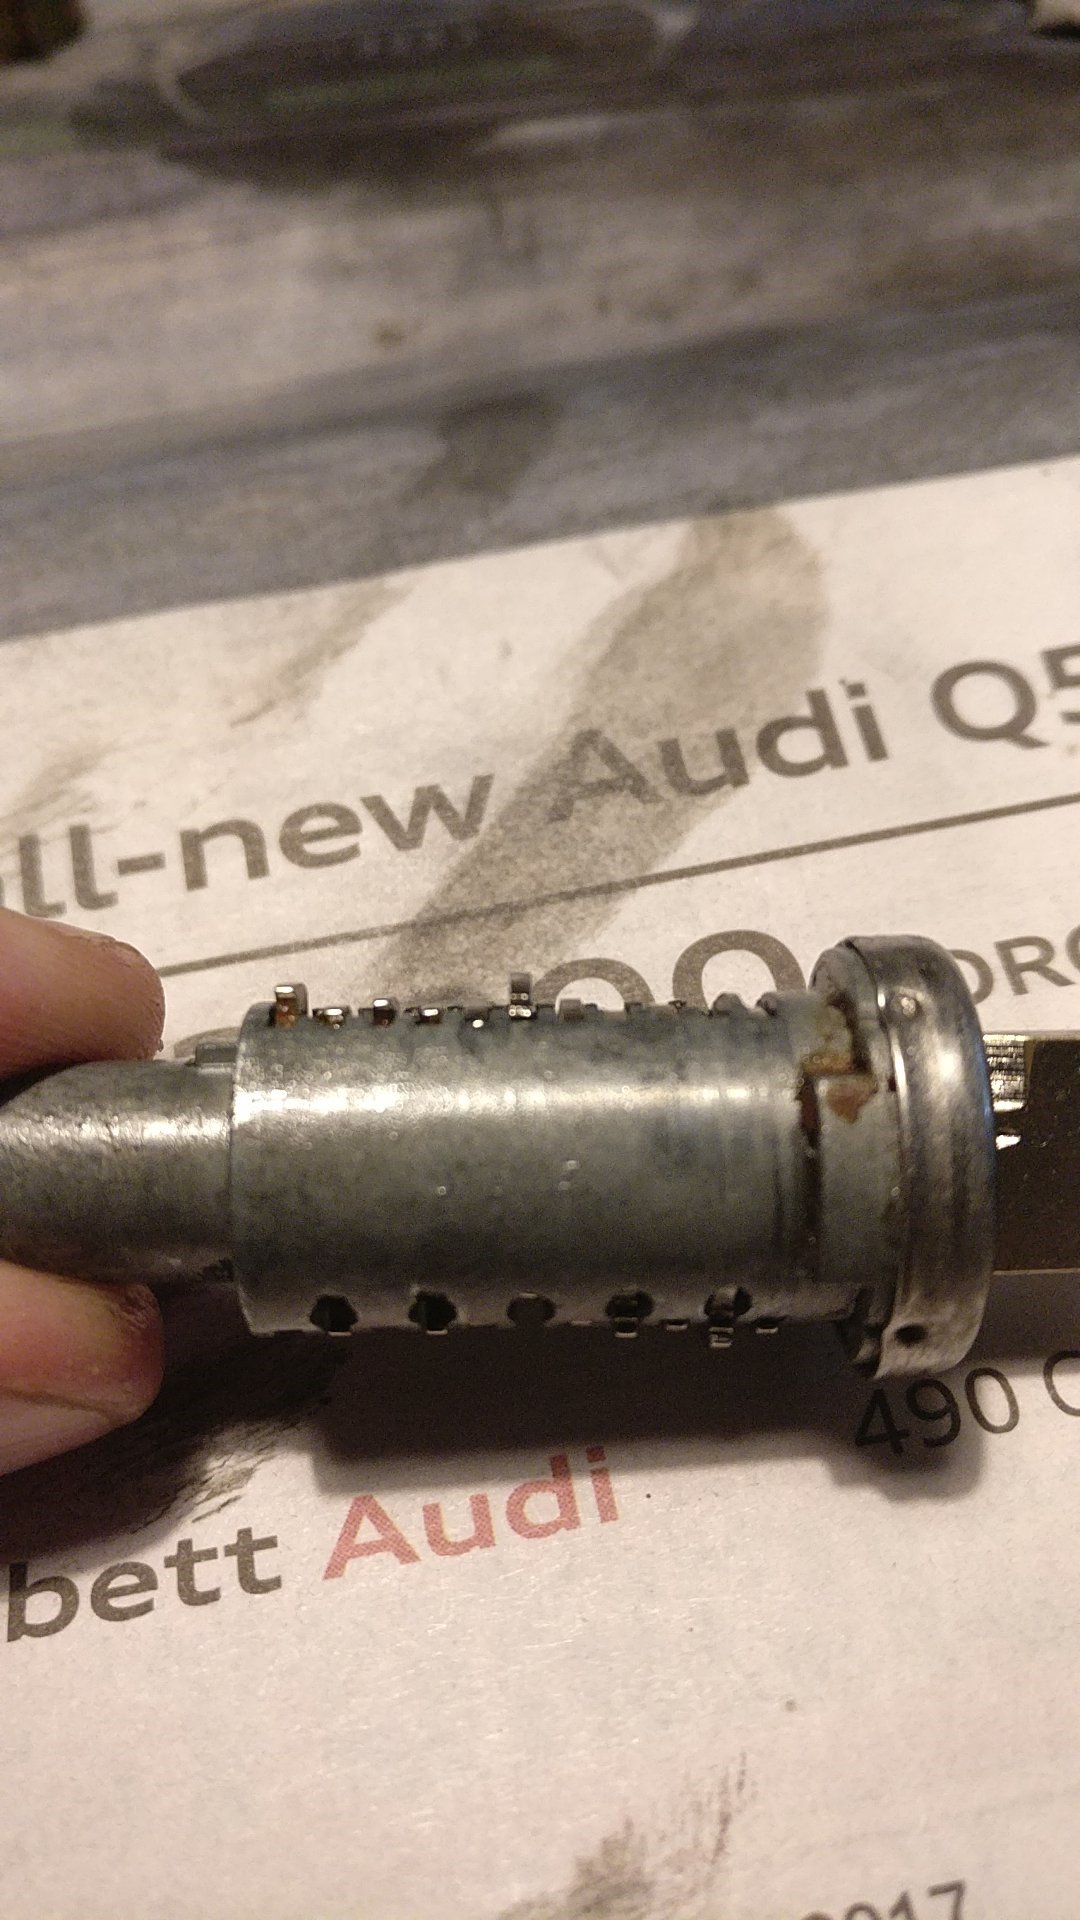
Had to take out the passengers lock to get the initial key combo (and I took the ignition barrel out for good measure)

So with the first 8? (I've forgotten) tumblers matched up to the passenger door lock, I just made up 3 remaining tumblers for the rest of the drivers door lock, as they are used for the deadlock function.
Got a key cut to the tumbler codes, and everything worked smoothly (including glovebox), so pretty happy with that.-
2
-
-
At the same time as doing the heater core, I thought I might as well do an electric sunroof conversion.
I ended up cocking this up quite substantially. I drilled through the holes in not quite the right places, so the motor would only be held in with 2 bolts.
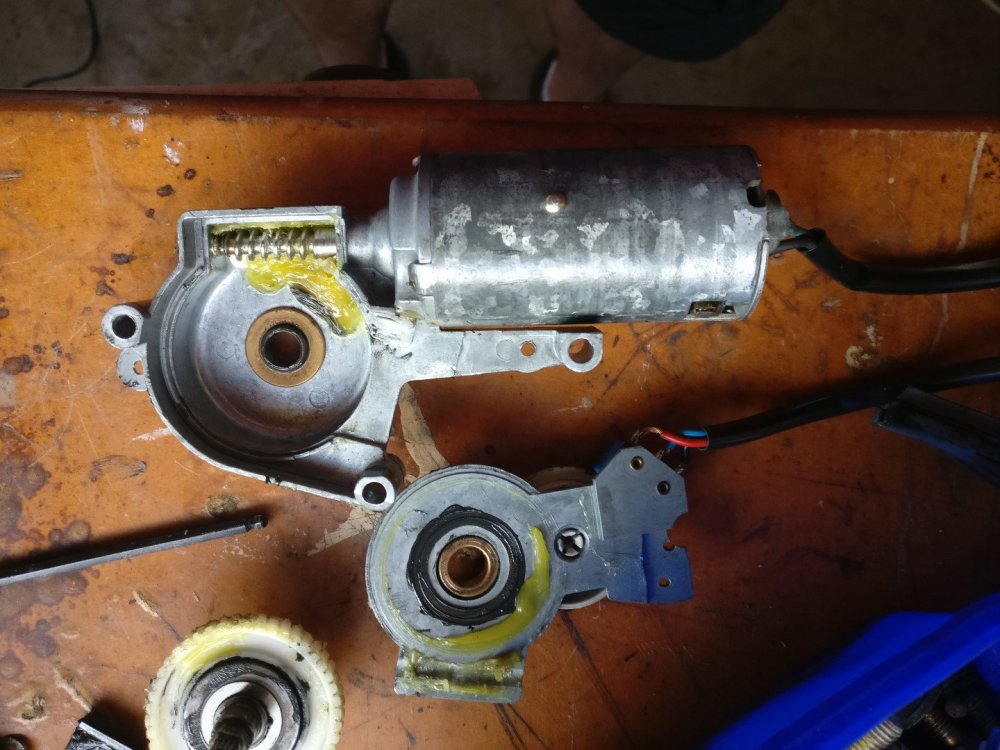
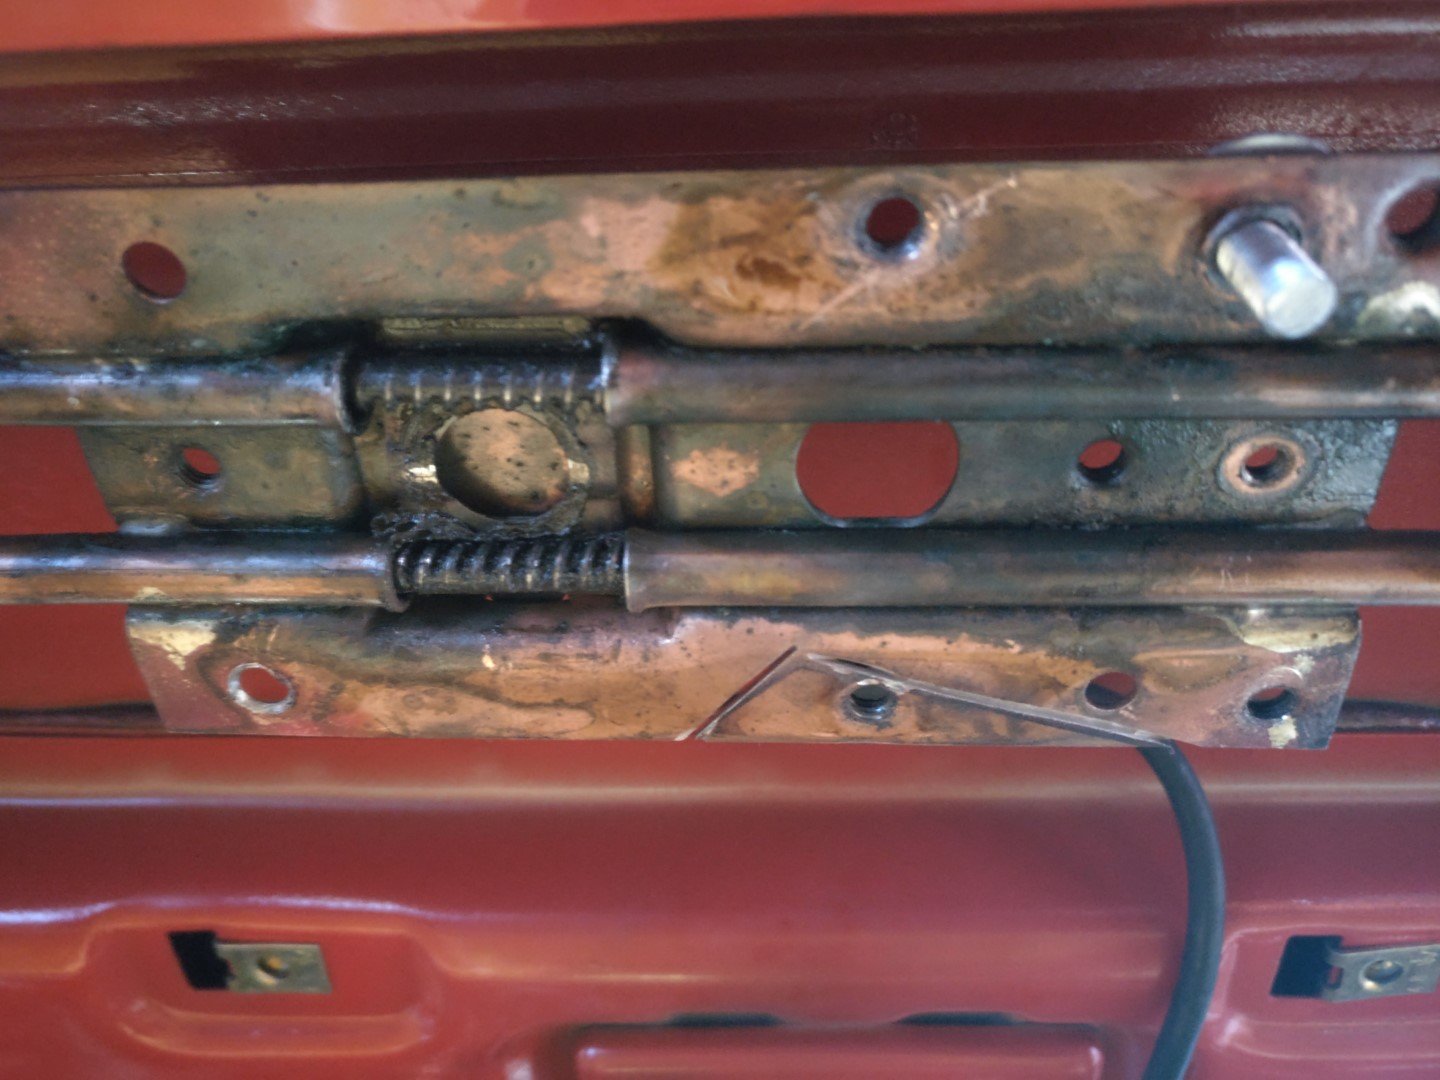
I'll be doing this properly later on, but for now you can review my cock ups.So you need the electric motor mount. These are riveted into the copper bracket that houses the wires.
I just drilled out the rivet heads.
Electric on left, manual on right.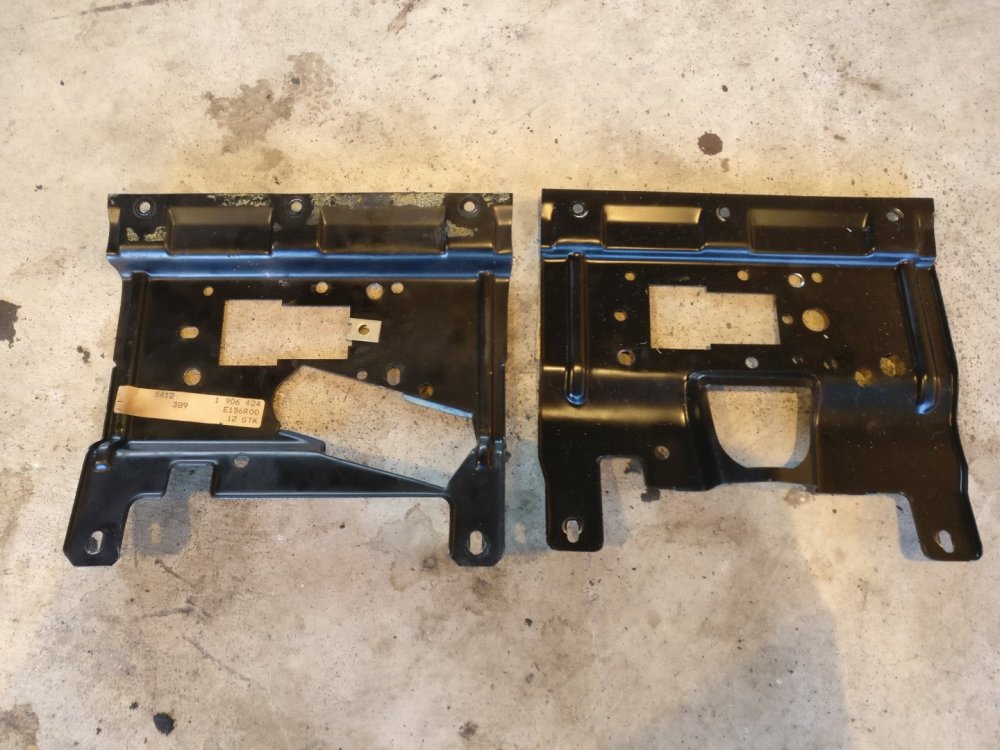
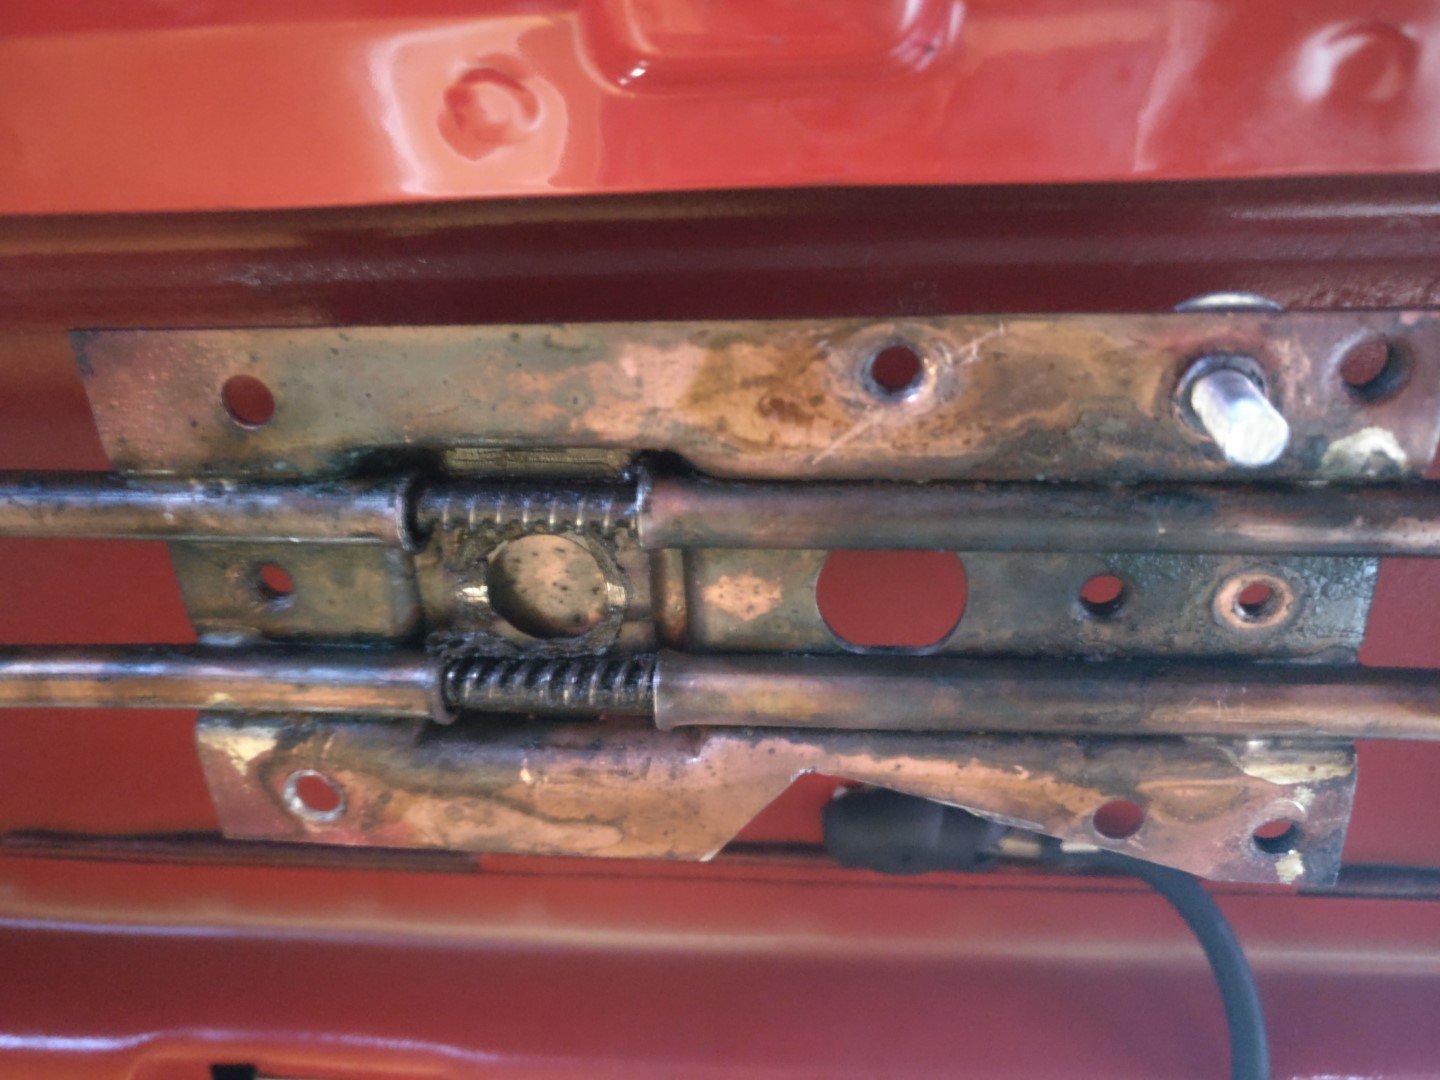
I found pretty quickly that the electric motor needs a bit more space, so cut a section out of the copper to match.
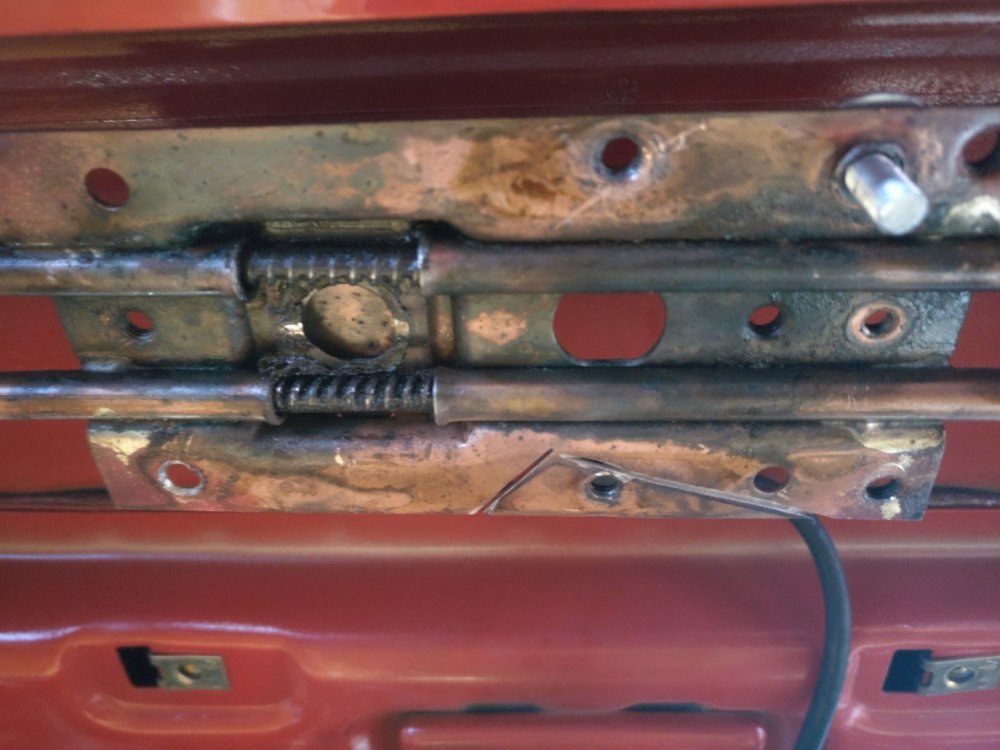
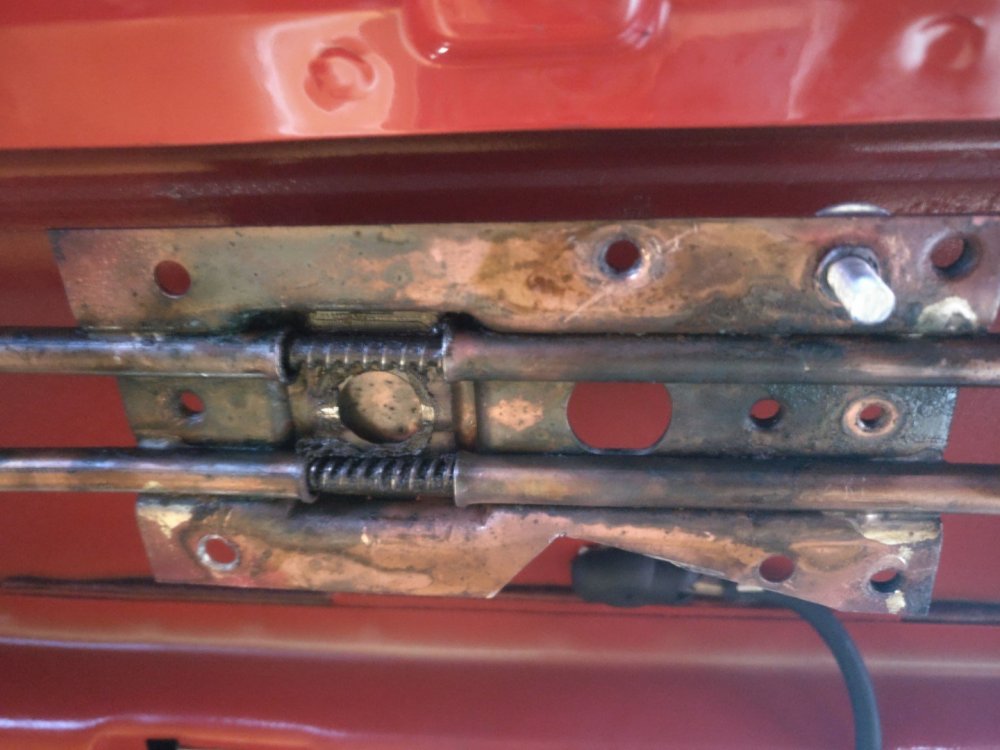
Now in theory, you are supposed to be able to just bolt the black mount back onto the copper plate, and then just screw in the motor.
For whatever reason, this didn't quite work for me.
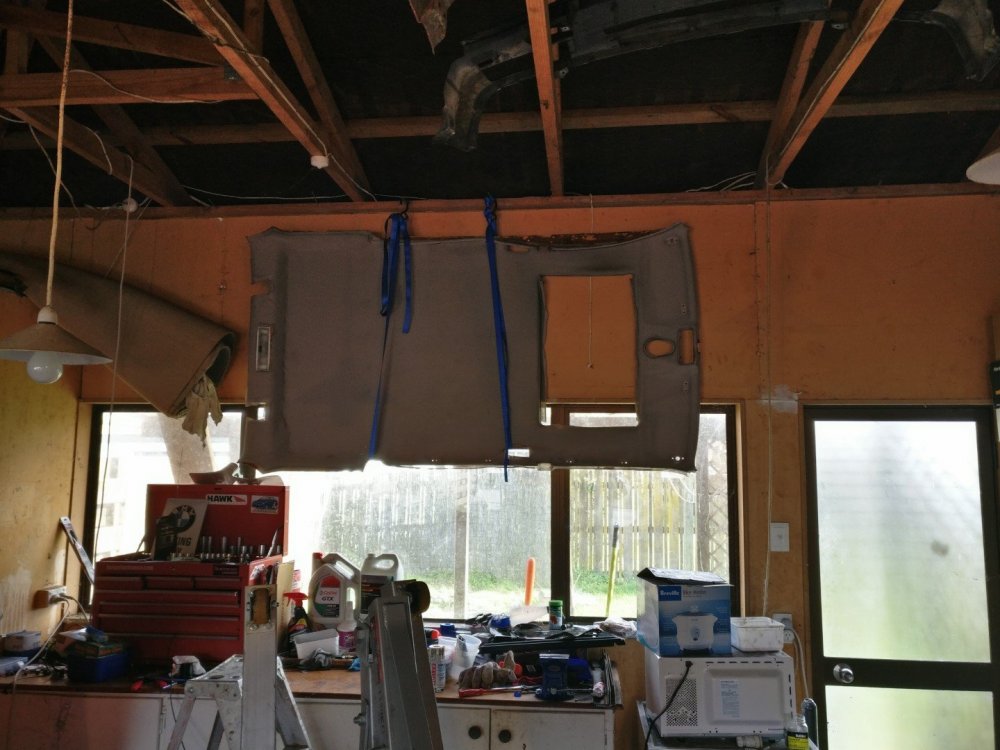
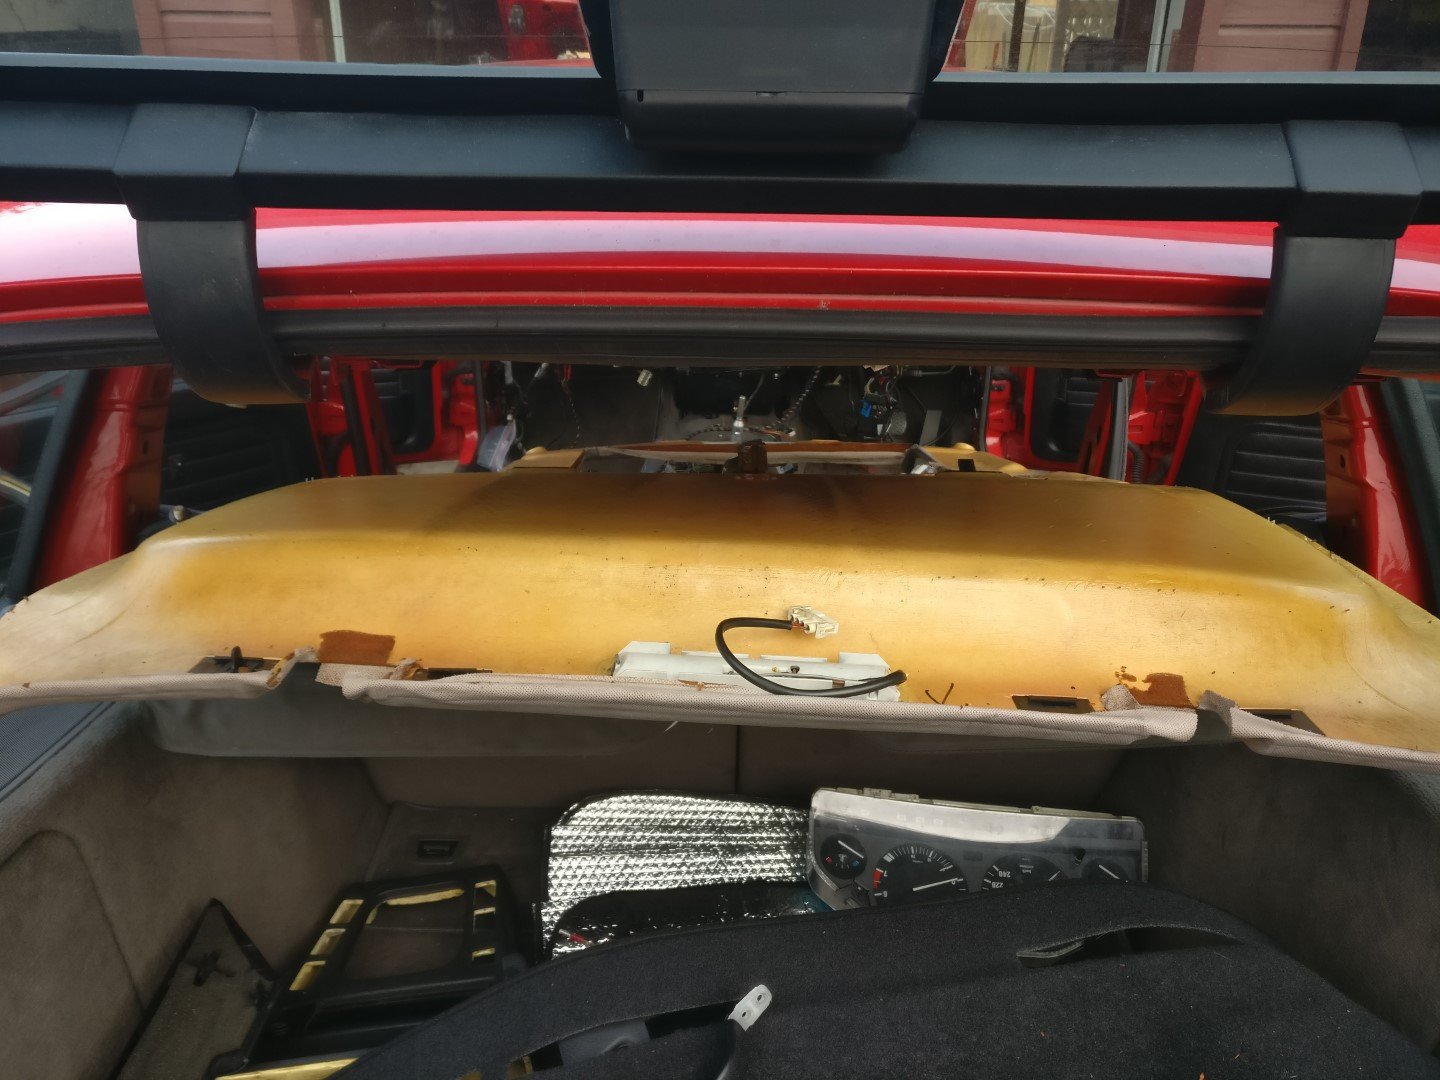
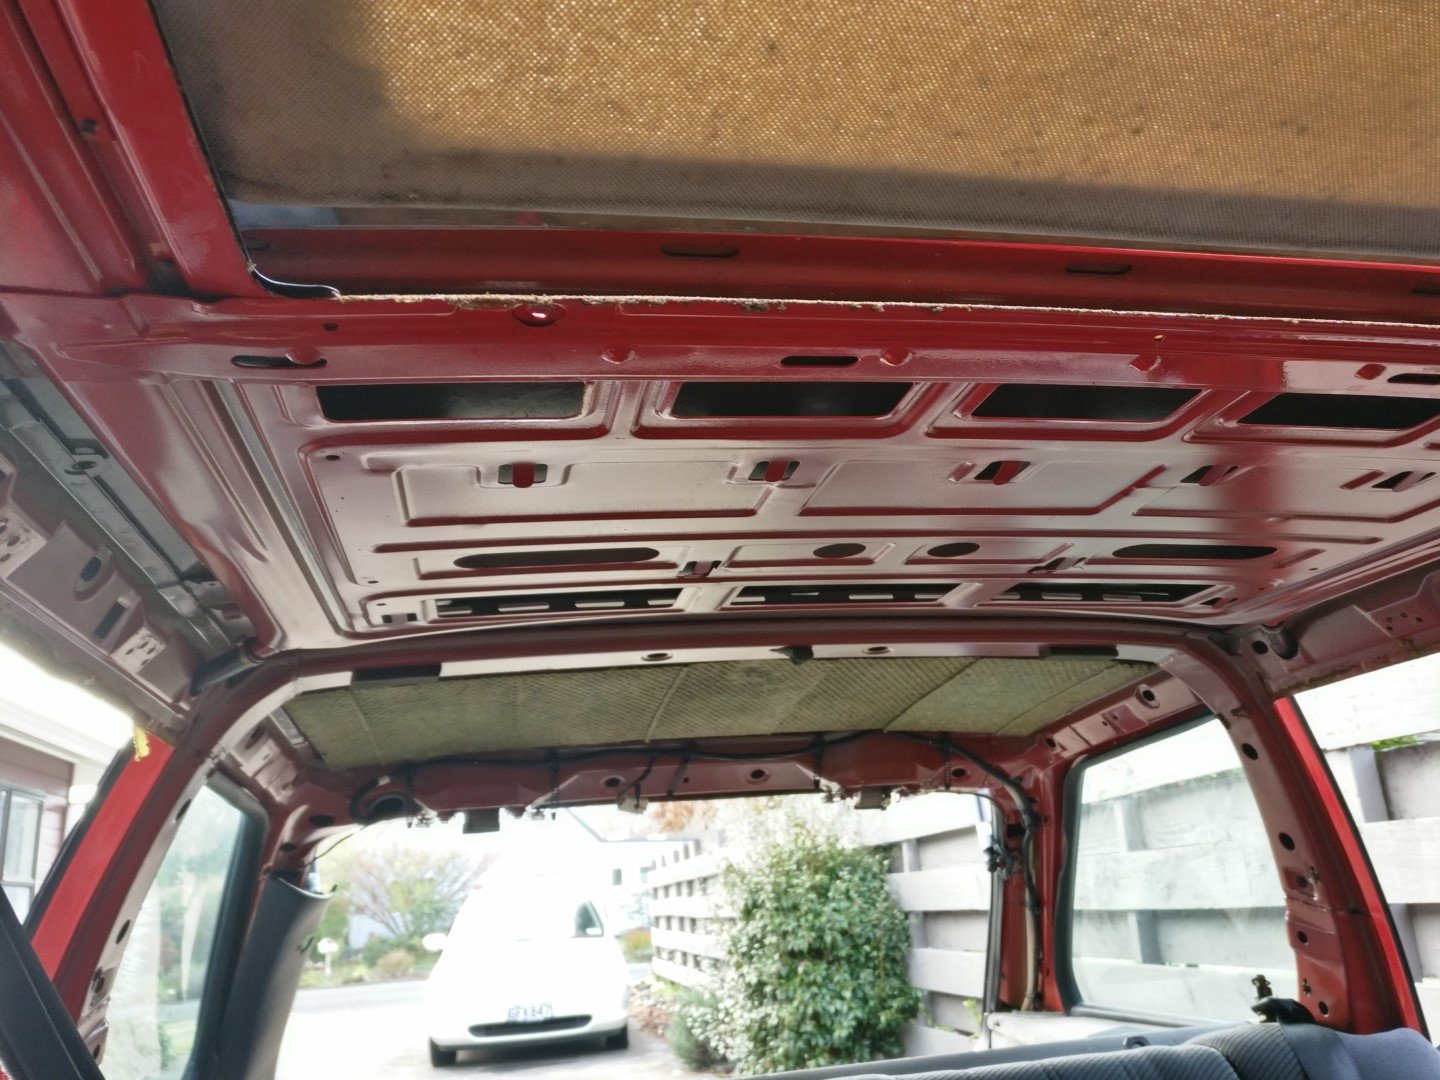
But I thought I had done rather well considering I had the front of the touring headlining hanging down so far during all the work.
Ended up just dropping the headlining and removing it.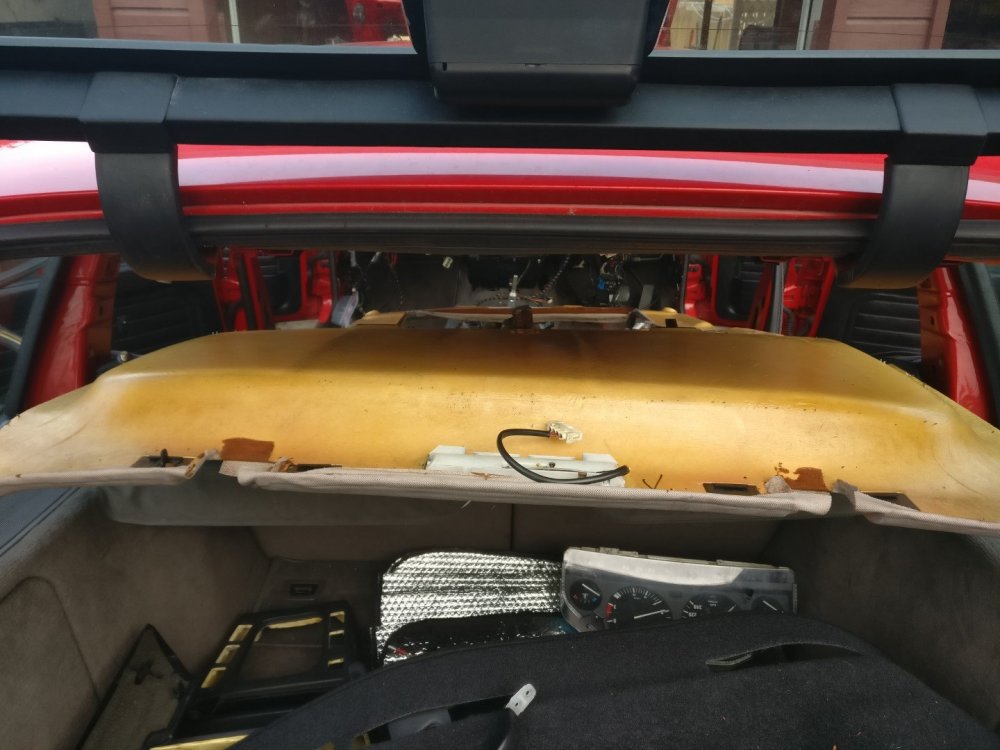
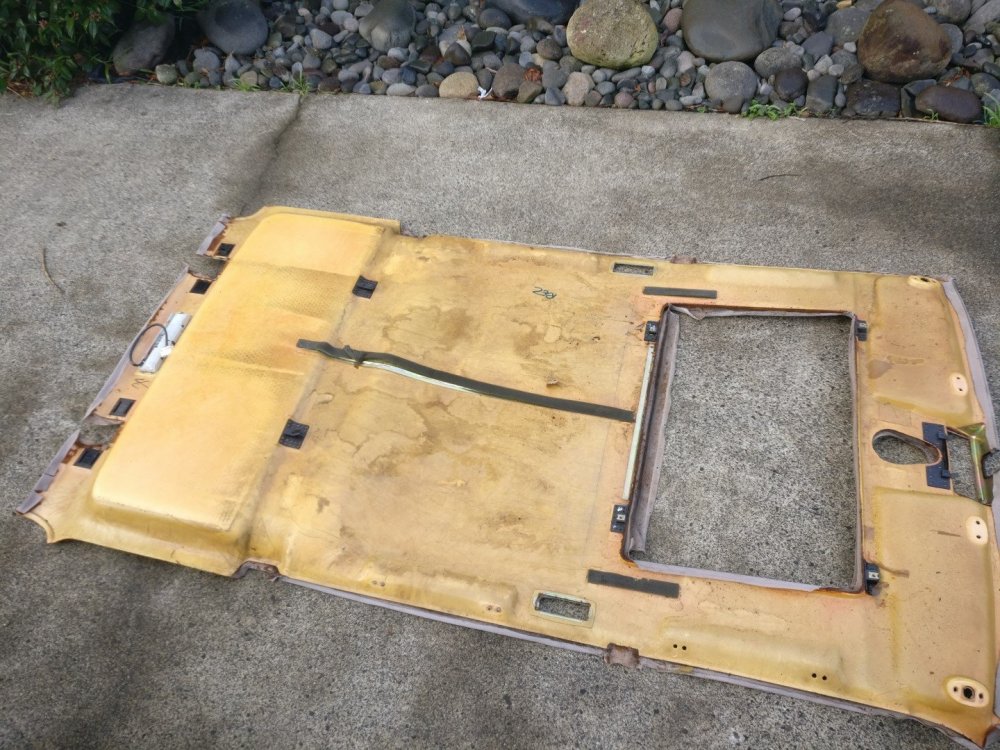

It now lives on my back wall
I continued to struggle with this. Ended up rounding out the electric motor gears as I didn't disengage them properly when manually winding it to test the sunroof opened and closed.
This is the unit mostly apart
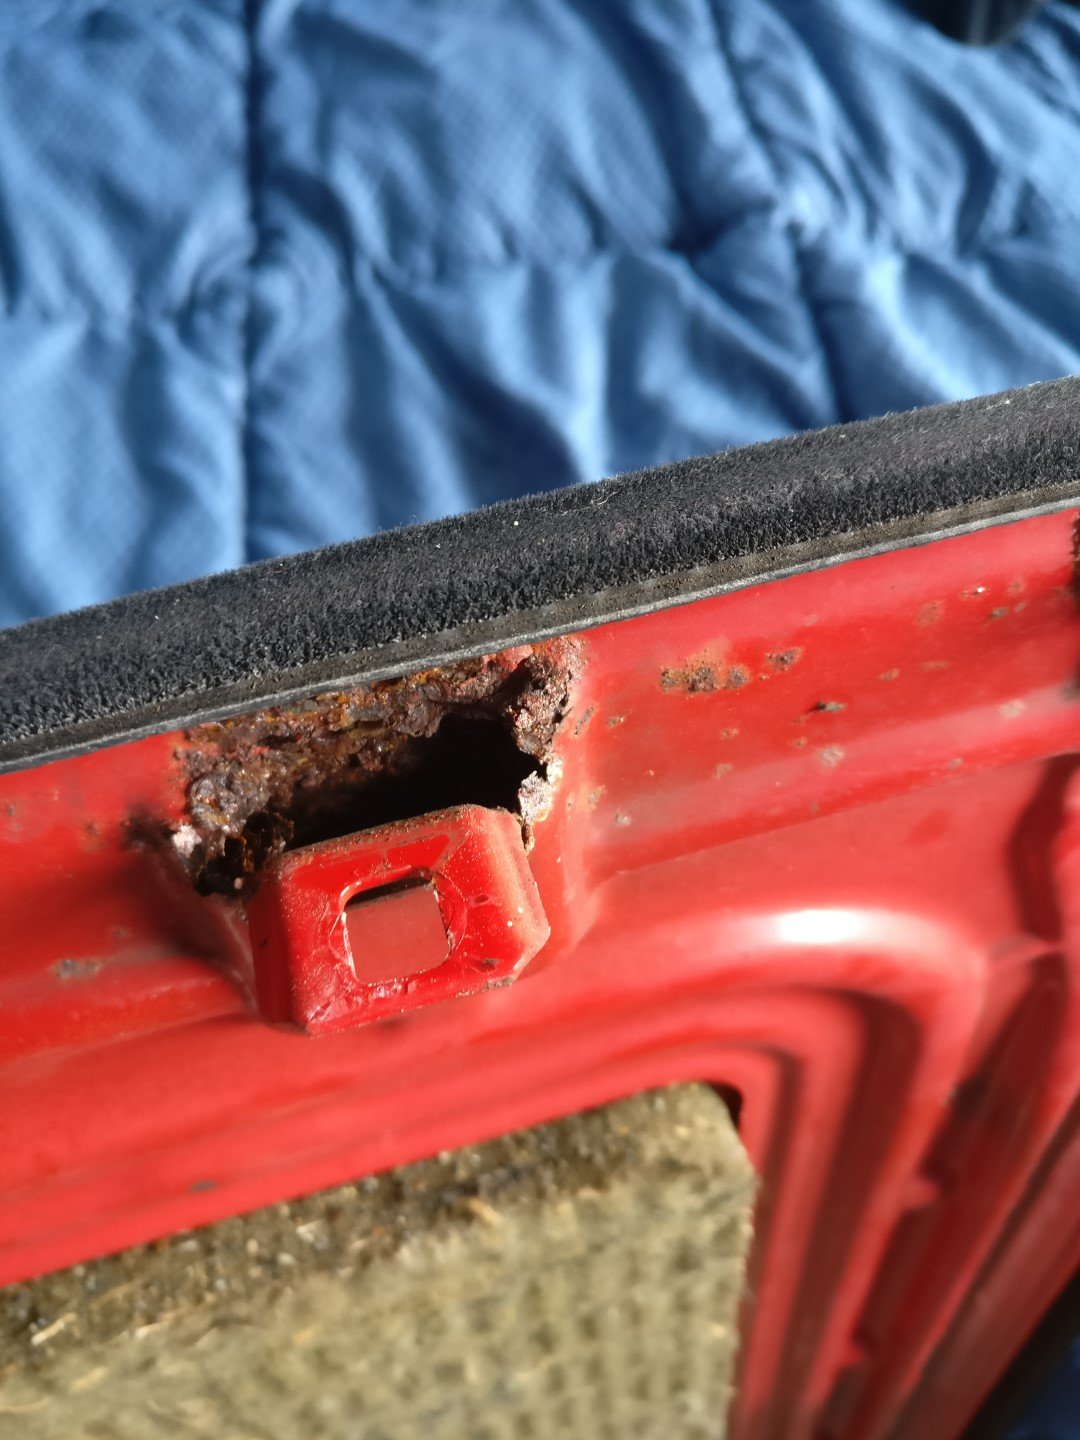
And of course some classic sunroof rust.

After this I just left the sunroof in place, and there is nothing connected to move it currently.
Will come back to this hopefully later this year.-
4
-
-
Since I had the car back together, there was no better time to take it apart pretty much the following weekend.
I figured coming into winter (2017), I should probably have a heater again.
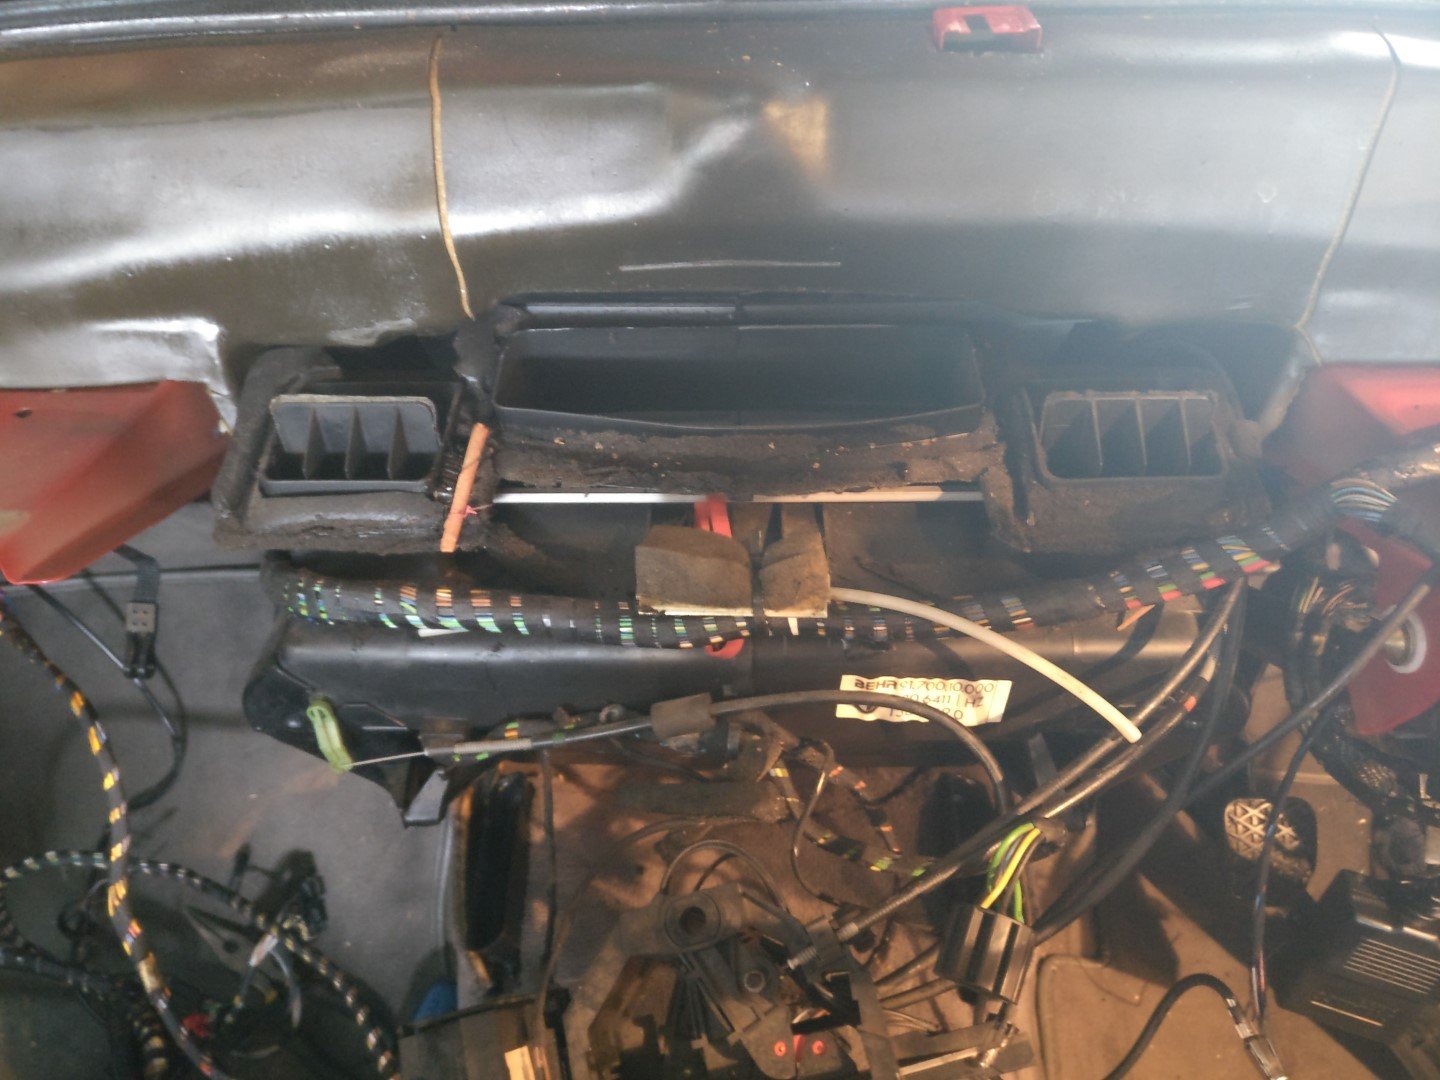
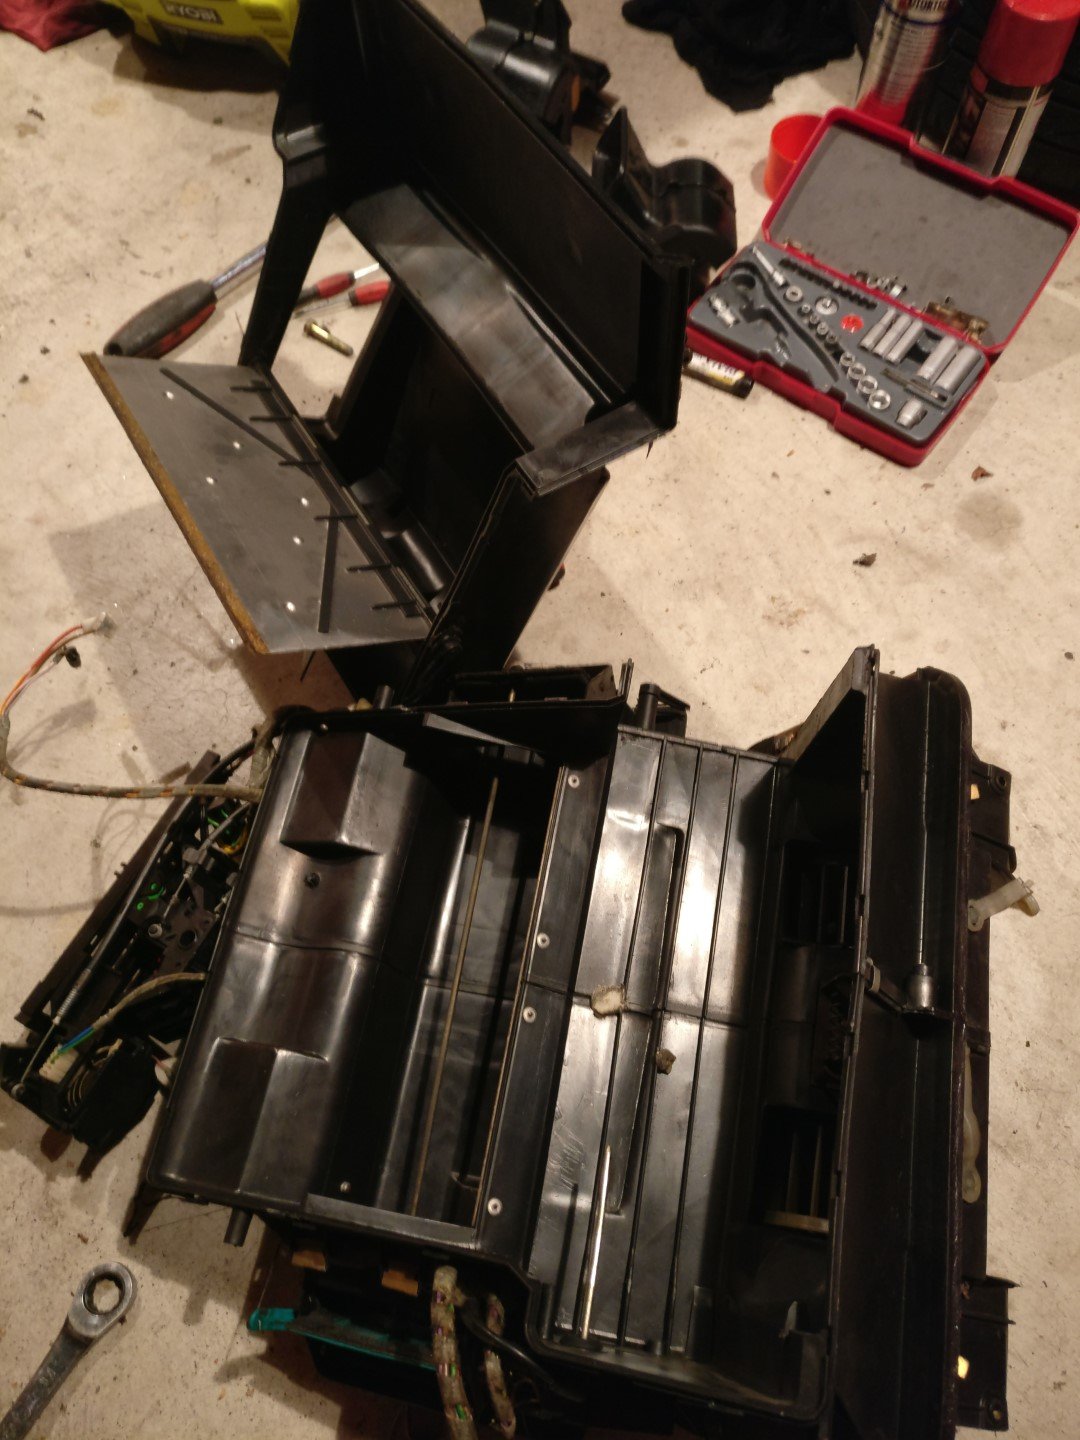
I pulled the dash, and swapped the HVAC system for an AC one in preparation for an AC retrofit, and replaced the heater core with a new unit.
I had a PFL and a FL AC HVAC cores. The PFL had a different connector loom, but I was able to use it for spares.Old system looking pretty grotty
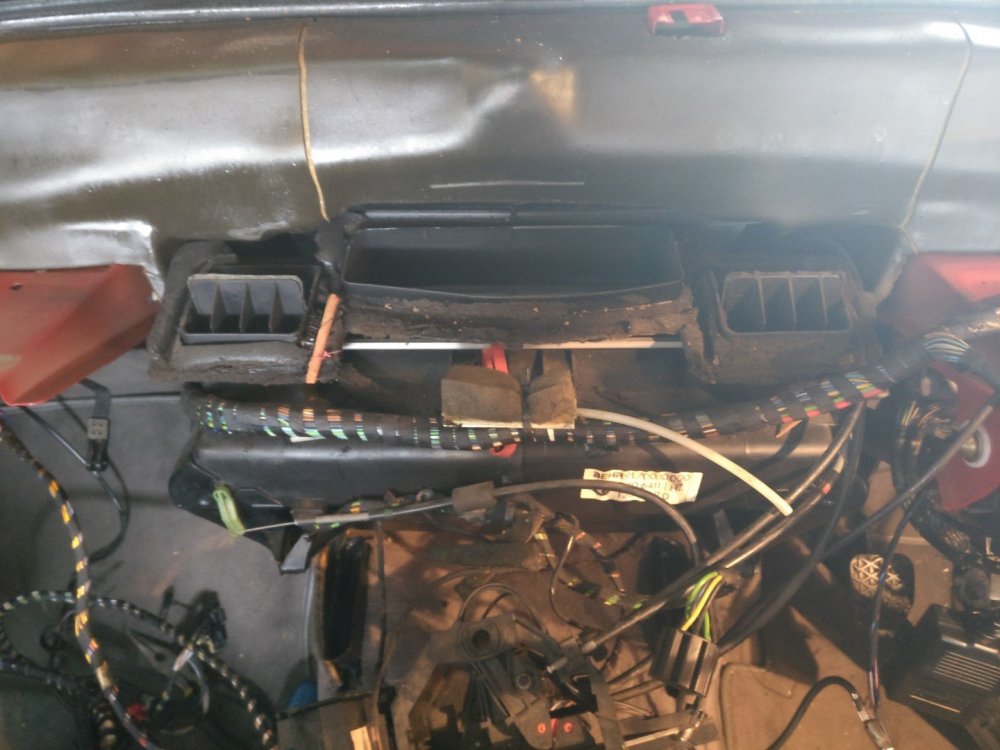
Took everything apart and gave it a clean

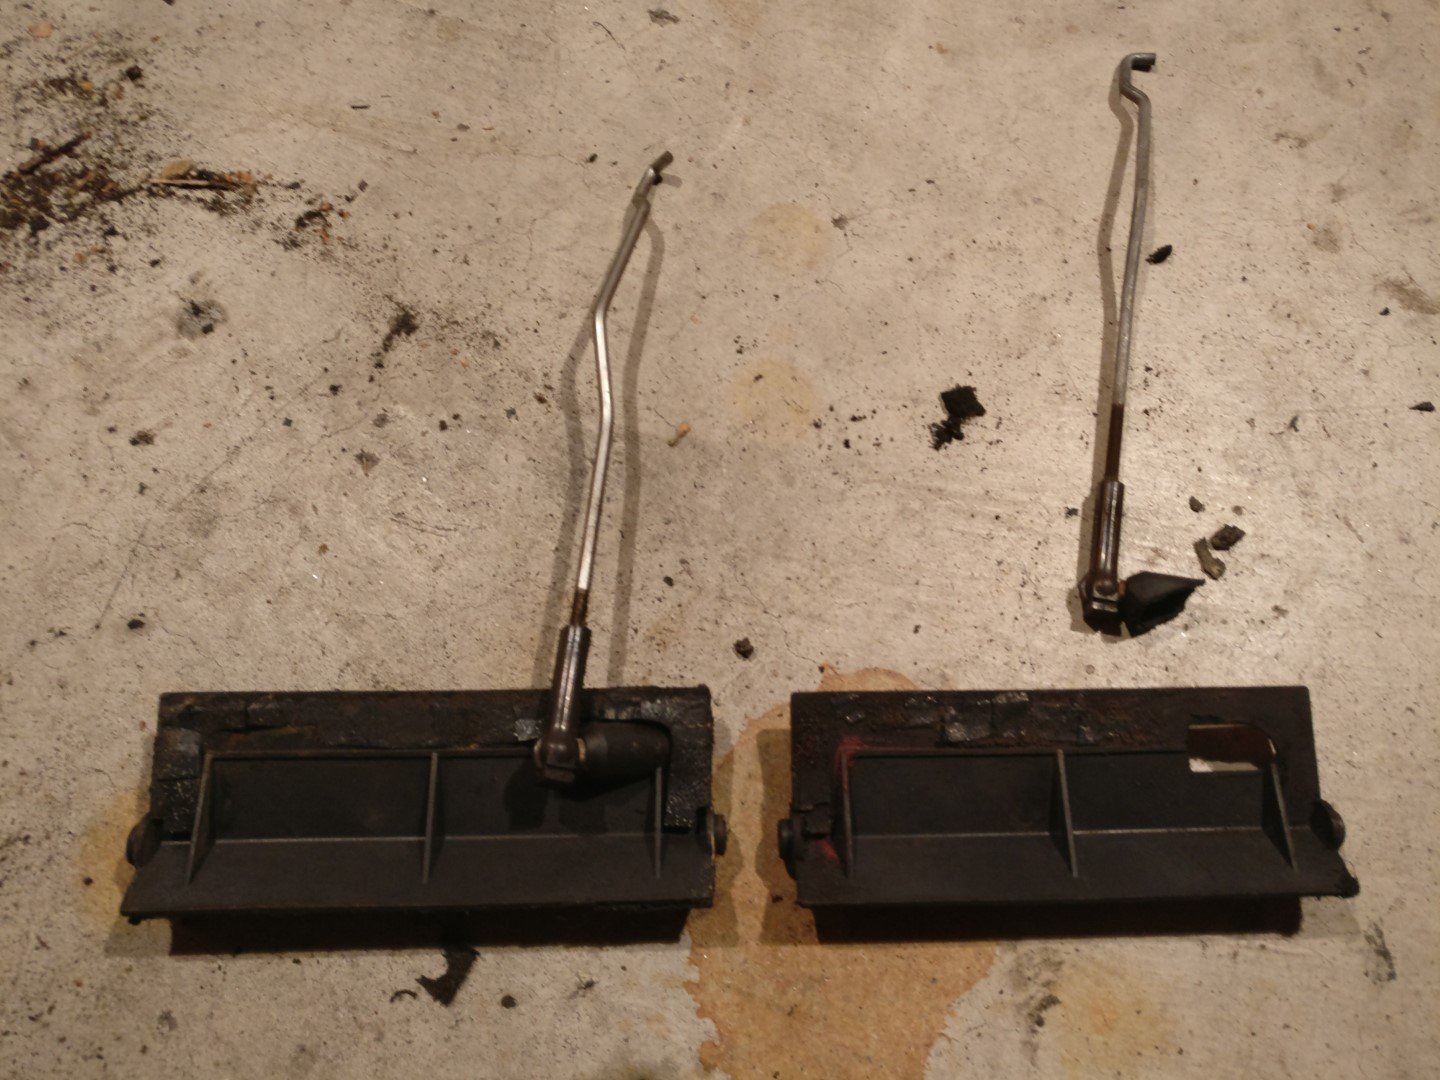
Found a few of the flaps had had their tabs broken off. Apparently this is rather common. But fortunately I had some spares

Used some draft stopper stuff to replace the old foam. This has actually held up very poorly, so if anyone has some recommendations that would be awesome.
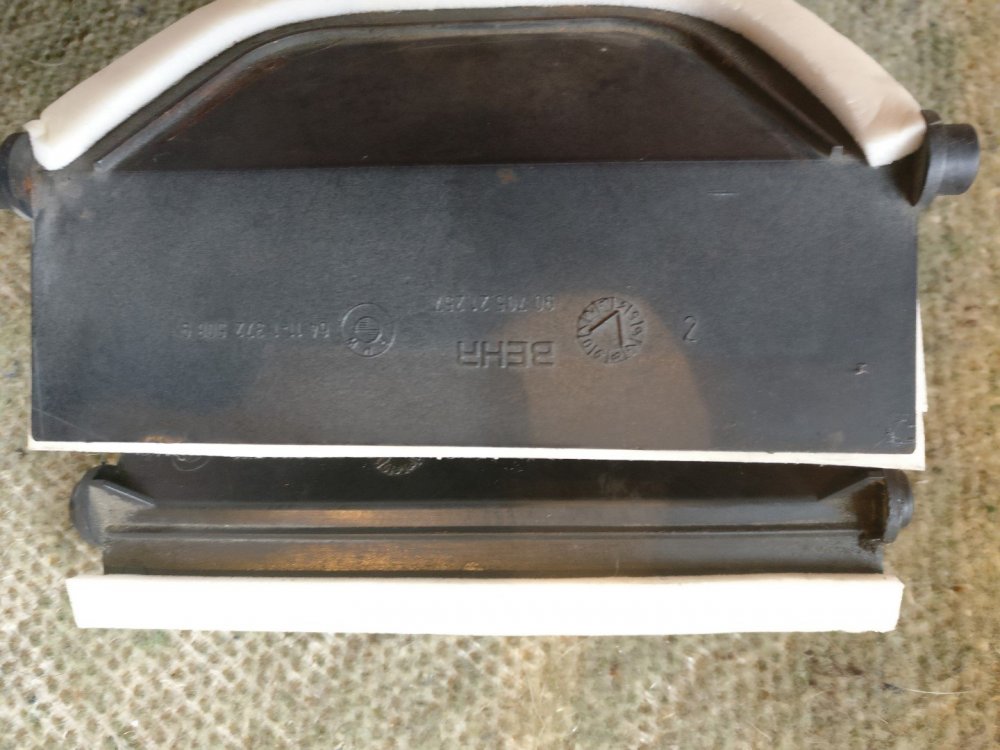
Looking nice and clean

And back in the car with a new seal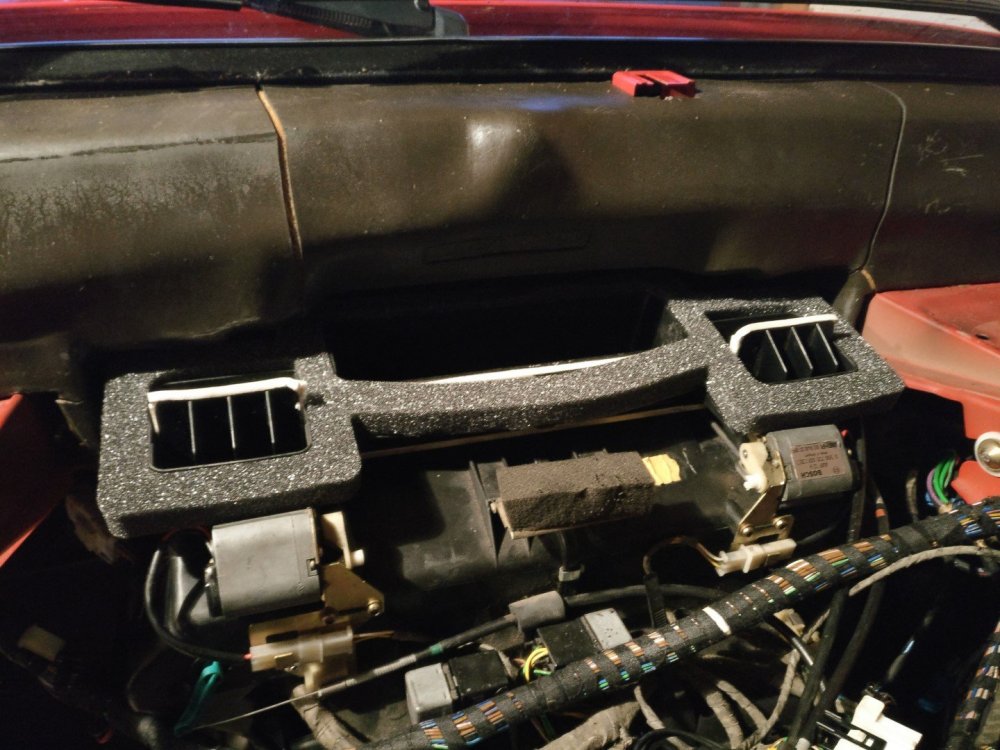
-
2
-
-
Gosh, it's been 2 years since I last updated this, so there will be a few updates coming in.
Since no one ever chimed in to my previous post, I ended up doing a lot of my own guesswork and have made some assumptions since, which will come through in updates over the rest of the year.
I finished swapping in the 2nd engine, and vanos was definitely not kicking in properly, as I felt I had lost low down torque, and when holding the accelerator steady, I could feel the car surging just while cruising at 50km/h
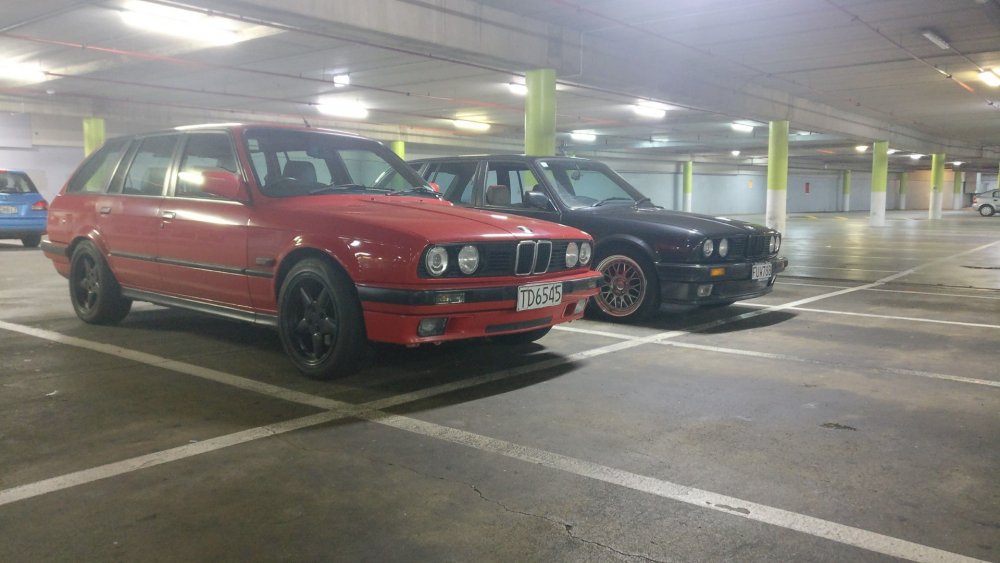
To celebrate the car being back together, I put some weaves on and took some photos.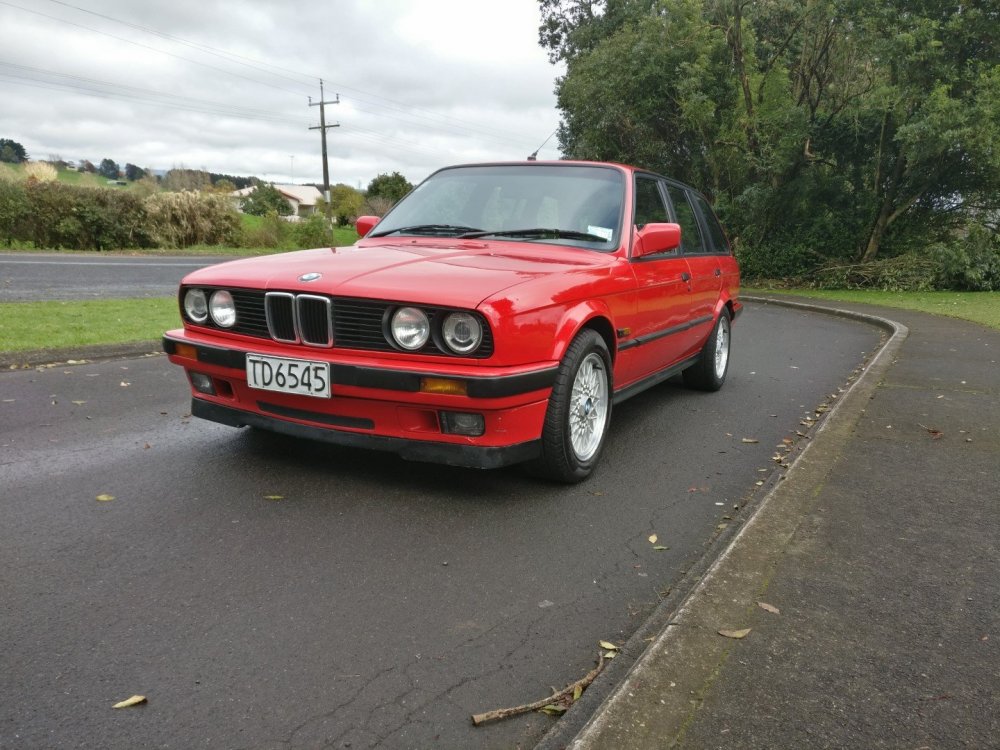

-
4
-
-
No, mine popped in directly into my chassis, and the rad sat nicely.
Maybe I don't have an E36 radiator (It's been a while).Hopefully the car will be in a more assembled state by the end of next weekend and I can get some photos.
-
I can confirm a second one of those is what you're after for an e36 radiator. I've done that in mine.


.jpg.63adb26efc6b44fcd7b1fe08fa593206.jpg)


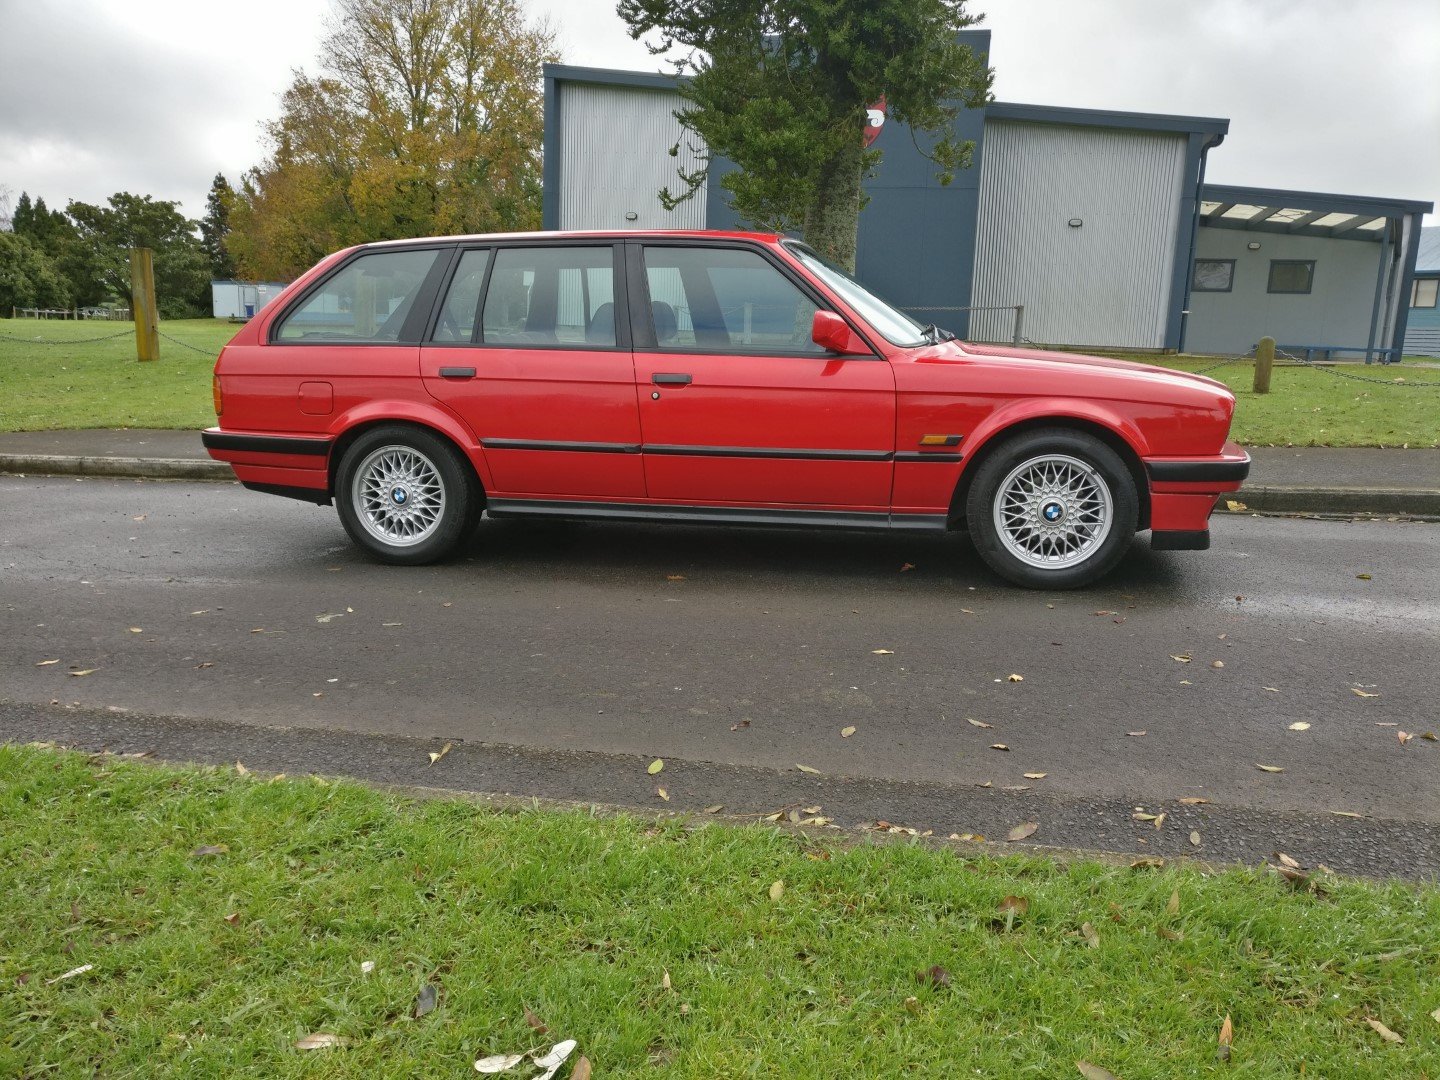
The Bimmersport Family E36 328i
in Projects
Posted · Edited by nick496 · Report reply
On a whim I checked pick a part's website on Saturday night.
There was a 318i manual over in Tauranga.
So a trip over there Sunday morning, arriving just after opening, was greeted with the whole thing still being there (even with the car being in the yard for a few days).
With some help from @alisterh (who I had picked the wheels off from in Auckland only the day before) managed to get the whole lot out in about 2 hours.
I know the Getrag 220's aren't quite as good as the ZF boxes, but for 1/6 the price of a conversion kit for one, I'll give this a go.
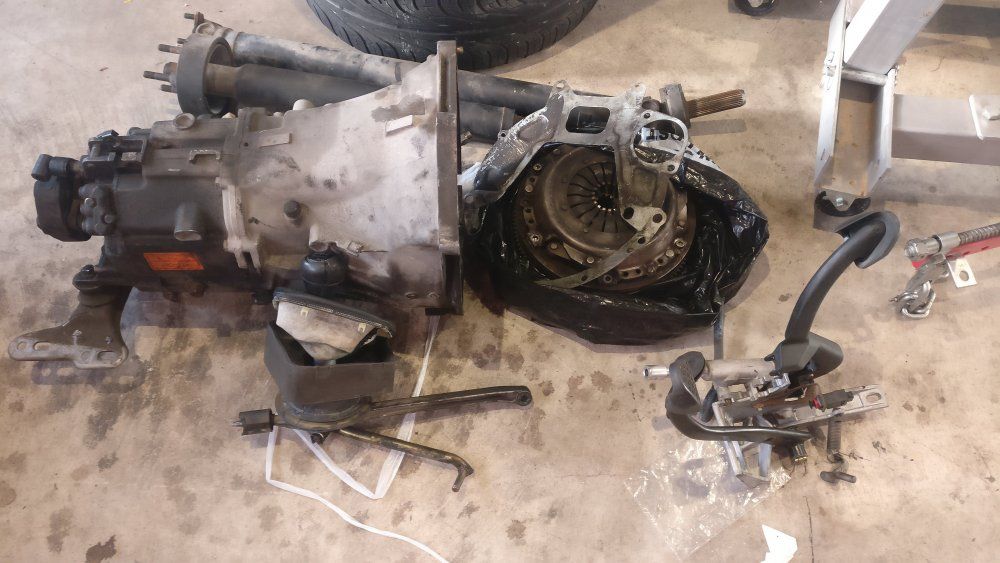
So that will go in once I've gotten rid of the 318ti.