

e46v12
-
Content Count
284 -
Joined
-
Last visited
-
Days Won
22
Posts posted by e46v12
-
-
Hi team
Long time no post, Just been a bit slack on the updates but still trucking along with the projects.
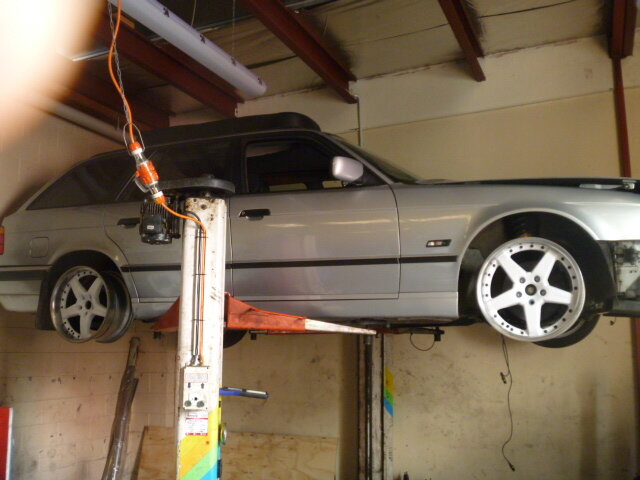
so the wagon is fully driving now, had a few hick ups but 3rd time lucky with the exhaust, getting the right tyre size and 5th gear detent to shift properly but all sorted now.
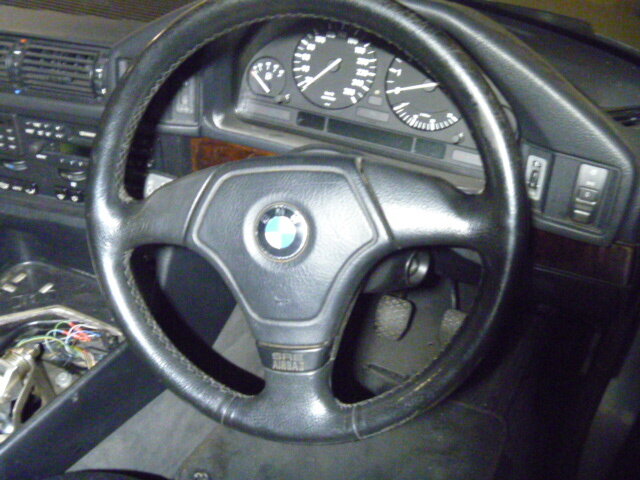
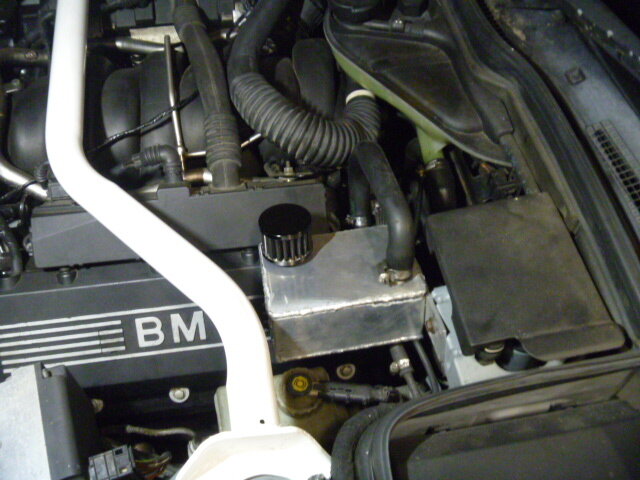
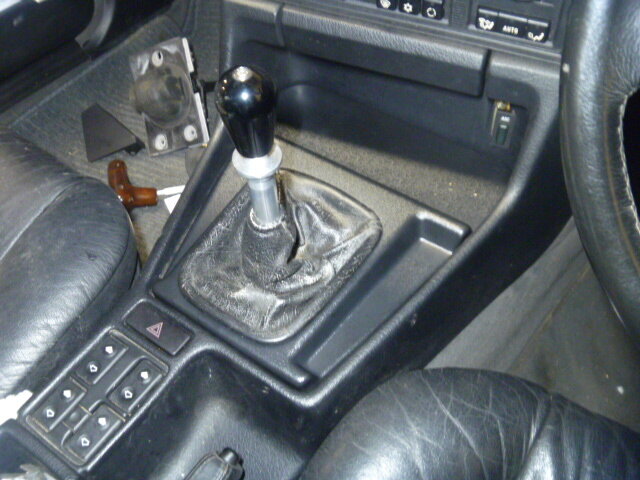
Also finished making a little catch can and swapped out the steering wheel for a smaller e36 one.

Now its fully tucked up and doesnt scrap the ground
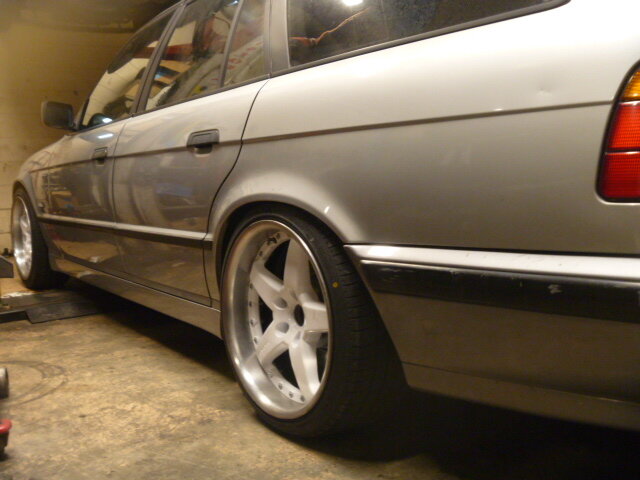
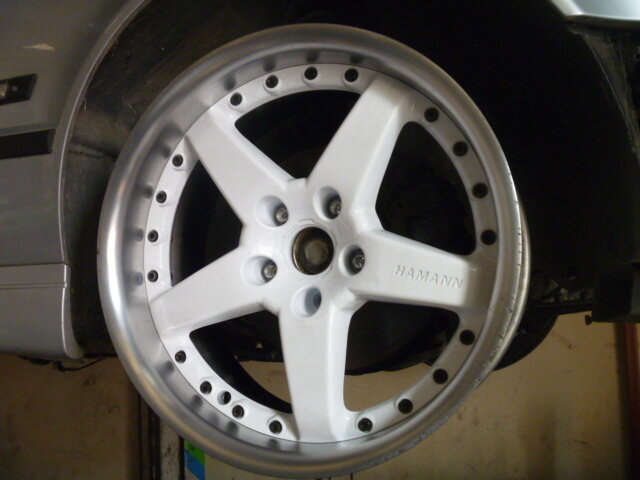
custom hamann 3 piece wheels 18x.8.5 fronts and 18x9.5 rears
Thanks team
-
 1
1
-
-
Thanks @Braydon yeah i'm pretty please on how they turned out. Hopefully be a master at them by the time i do the v12 ones. The most satisfying part is i didnt have to fork over 3-5k for someone else to make them.
-
2
-
-
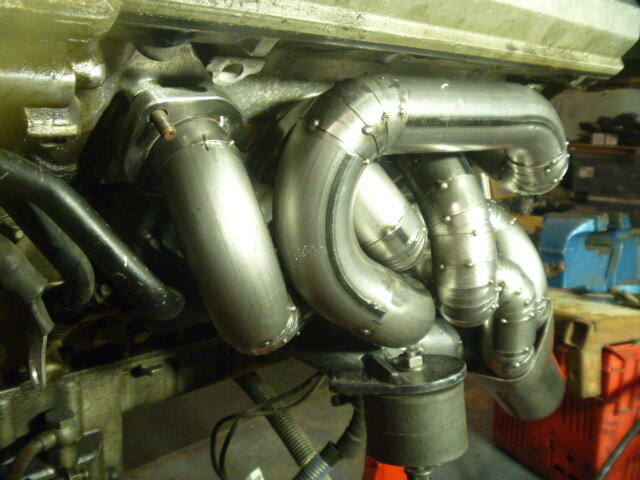
Hey everyone
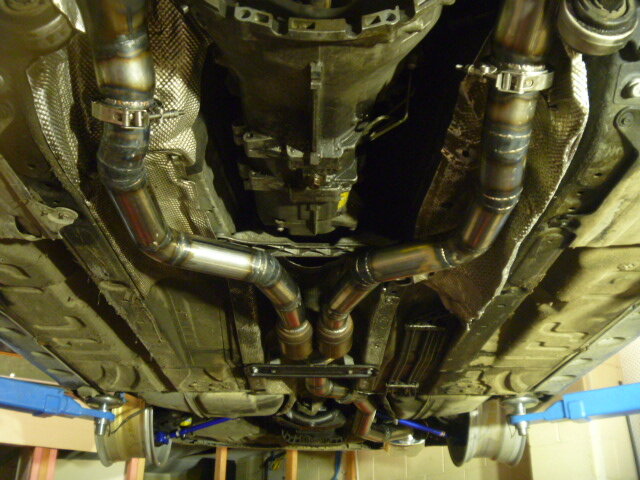
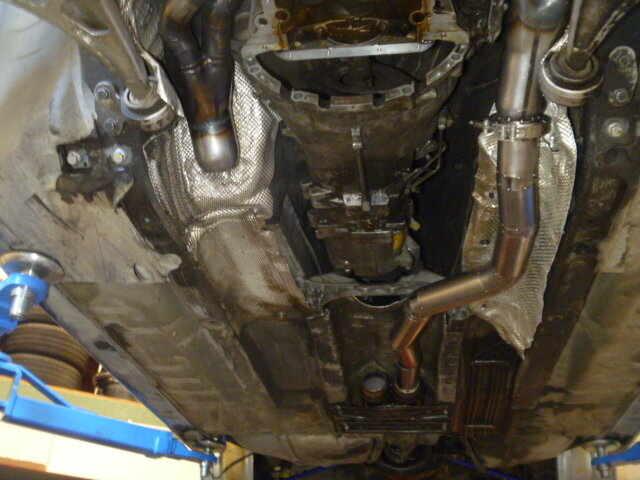
So managed to get the last of the exhaust done and driveshaft hoop bolting points welded in. Working on getting the hoops themselves made over the week. So not much left to do other than the sump pan and wiring then we should be good to go.
-
1
-
-
@Cement Hey David yeah there is something cool about a spaghetti designed set of headers.
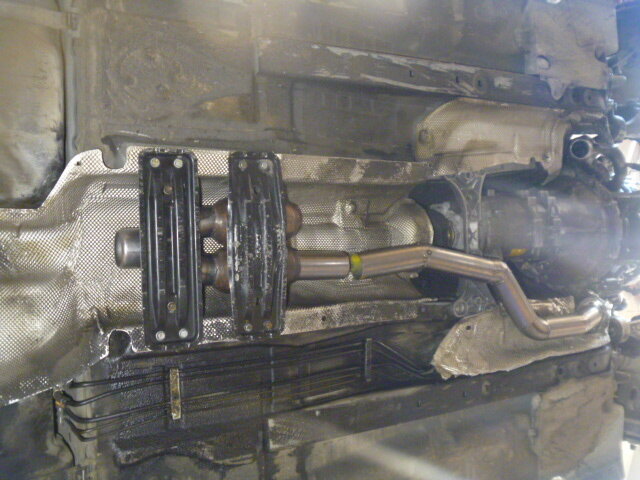
I just had a look at your hoop design and its looks very professional. I'd say you will have no issues with that design. I pretty much did the same thing with my X5 manual swap i bolted the 1st hoop ontop of the gearbox x member. My certifier just said as long as it meets the requirements of metal thickness, right bolt sized used and within 250mm of the the U joint it would pass. Im doing it my way so i also dont have to go through the floor.
-
1
-
-
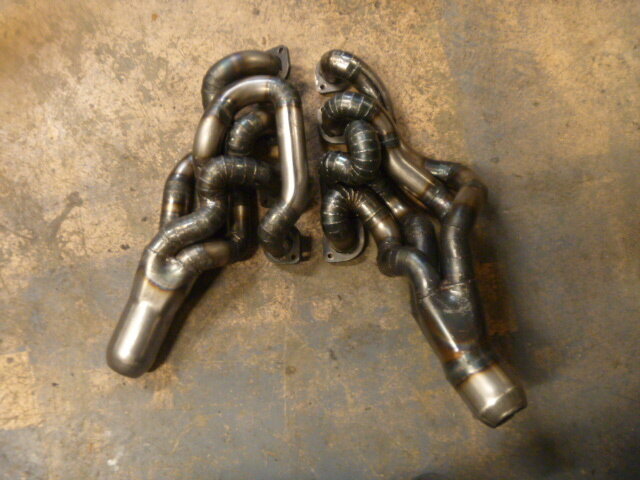
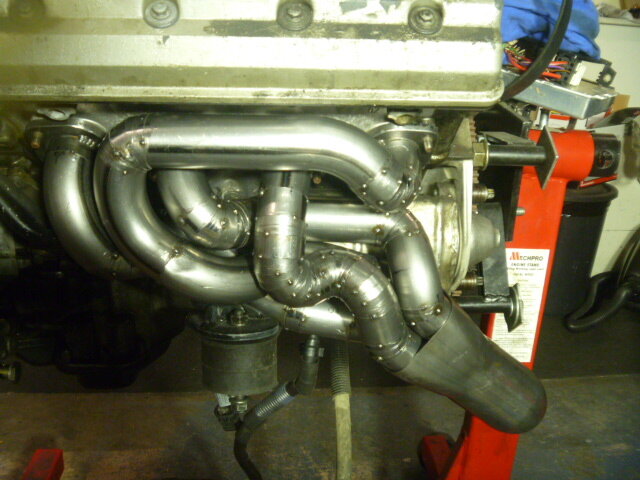
Hey Everyone
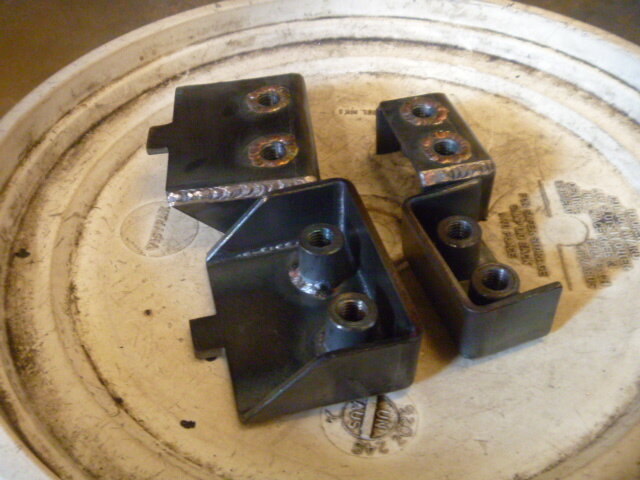
So managed to get the passenger side header all welded up, made a start on the exhaust back. Also picked up the box sections from the engineer that i will be welding in the car to be able to bolt the driveshaft hoops up to.
Thanks Team
-
1
-
-
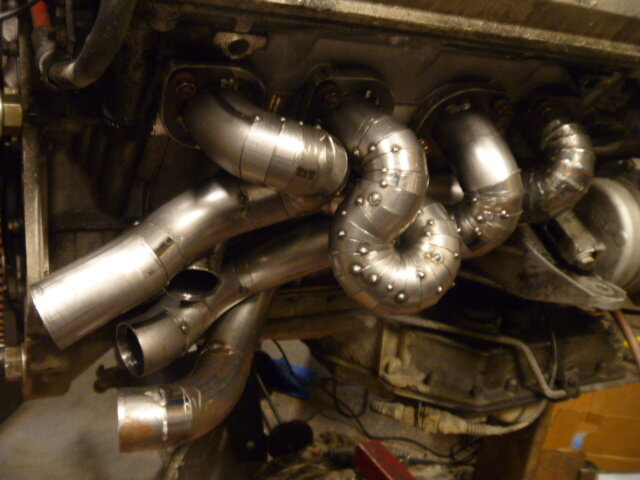
Hey Everyone
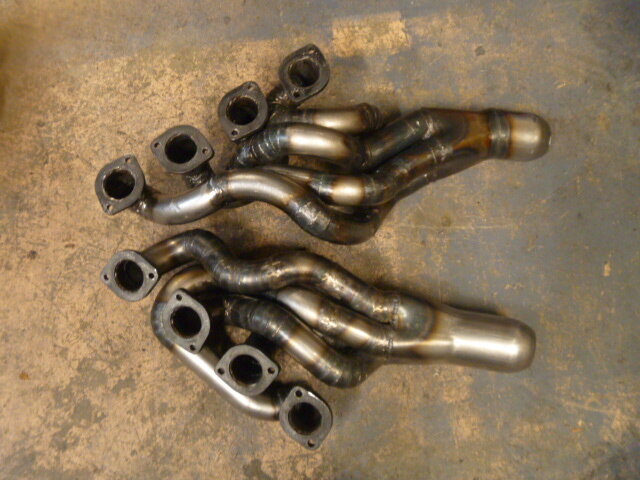
So I finally got the left hand side all tacked up and ready for full weld which ill do this coming long weekend.
Drivers side has been fully welded up, a little tip my engineer told me was to use stainless filler rod instead of mild and what a difference it made with the splatter and holes I was getting with the mild filler rod.
Im quite pleased with how they turned out, good pratice for when i do the V12 ones.
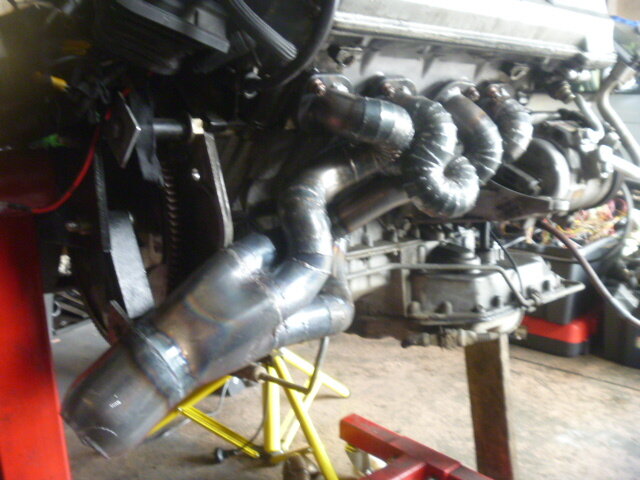
Thanks Team
-
4
-
-
@Cement @aja540i i plan to tig weld and i forgot to mention that i plan to sperate the 360 pie cut some where half way or in 3 sections and will weld it that way then just mark it with something so i can realign back up later and weld it fully together. Yeah theres no way i could weld the 3rd pipe as is.
-
@treone you could get a later model setup from a e39 m5. I normally order from FCP euro in the States. This will bolt up to your motor and box.
m60 and m62 share same flywheel bolt pattern and use the same gearbox too.
https://www.fcpeuro.com/products/bmw-clutch-flywheel-m5-21212229190#fitment
https://www.fcpeuro.com/products/bmw-clutch-kit-m5-z8-e39-e52-k70282-01
-
Thanks @wrs warren im quite enjoying the challenge and can;t wait to try and weld this thing up. Granted im sure ill blow a few holes through the thin areas.
-
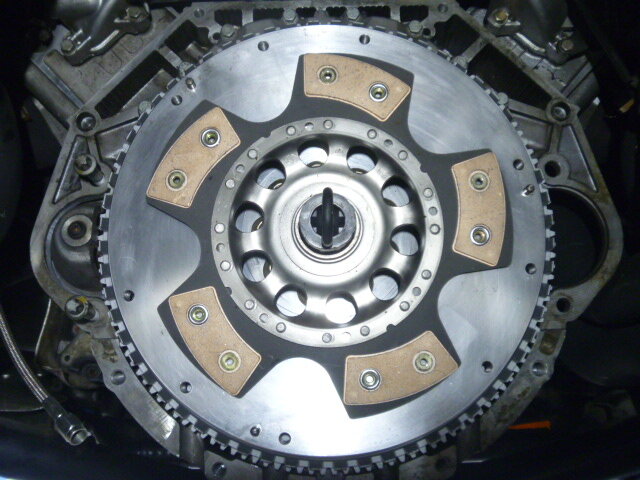
@treone I got a guy name Greg at MP Auto in Upper Hutt. We used a M62 auto ring gear, then a custom machined steel flywheel which he custom dowel to allow a nissan pressure and clutch to be able to be mated. The centre of the clutch disc had been swapped out for a bmw one. But Unfortunately the only way to get rid of your shudder would be to go back to duel mass again. You could minimise the amount by putting some thicker gearbox oil in. Get your clutch disc and pressure plate to have some sort of damping springs in them. But after all that you may still have shudder. Hope thats helps you or go in and talk to Greg, hes a real nice guy and really helpfull.
-
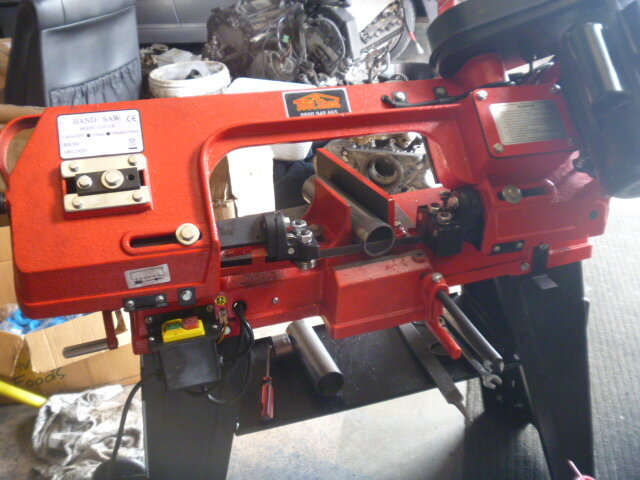
@Cement thanks david, it beats cuting it up with an angle grinder as i was doing. well worth the investment as im helping my mate do his exhaust too. But you live and learn, one thing i wish i knew earlier was i should have used my spare motor to help in aiding getting the tight bends sorted. It wasnt till i had the 3rd cylinder pipe to go that i put the whole thing on the spare block and made things 100 x easier to see and mock up.
-
Happy New Years to you all.
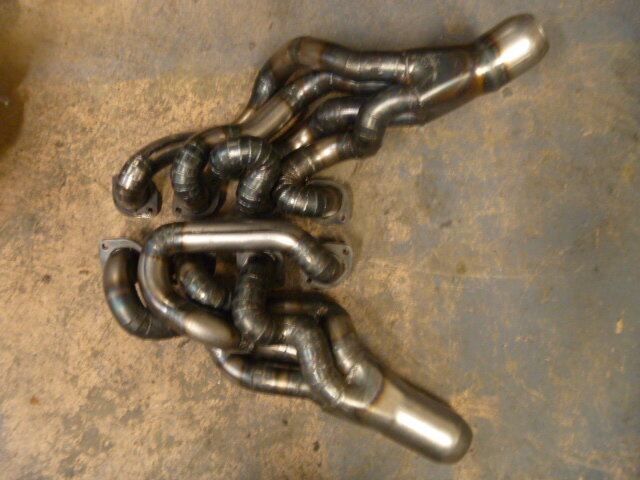
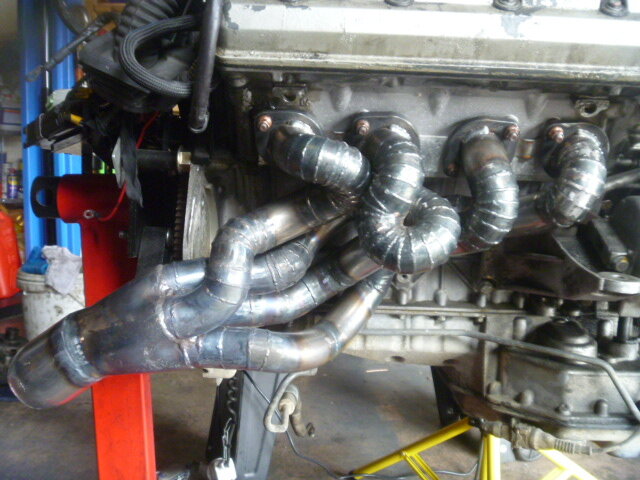
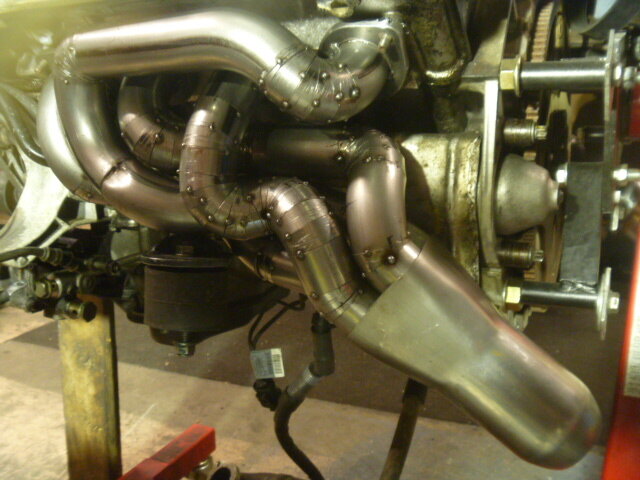
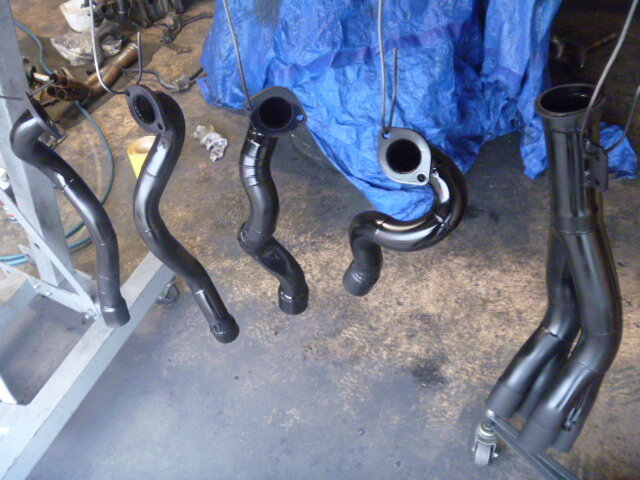
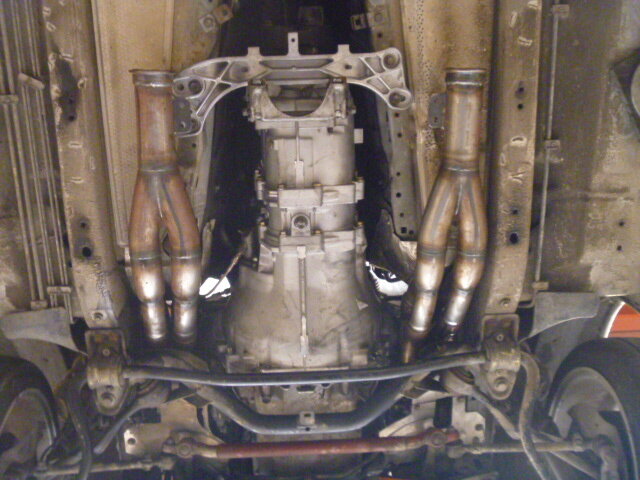
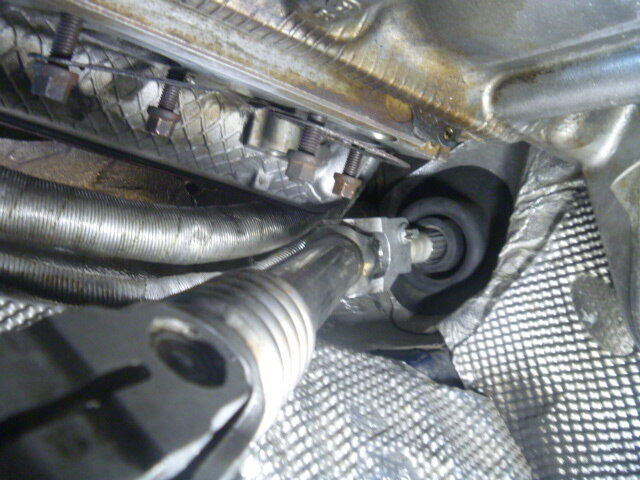
I dedicated myself the 4 stat days to crack on to the headers and man it took alot longer than i expected. 3 solid days and ive almost got the drivers side done. There were a few hiccups and requirements that i wanted. Nuts to be accessable by a socket which 7/8 of the nuts are and that all 4 pipes would go on the underside of the steering shaft. which meant it was going to be tight. Busted out the new band saw and what a life saver it was with straight cutting and the amount of pie cuts i needed to do. Also installed the slimmer steering shaft from a f series car, works a treat.
this was the first attempt to the 3rd and 4th pipes. i redid them as i wasn't happy with the design.
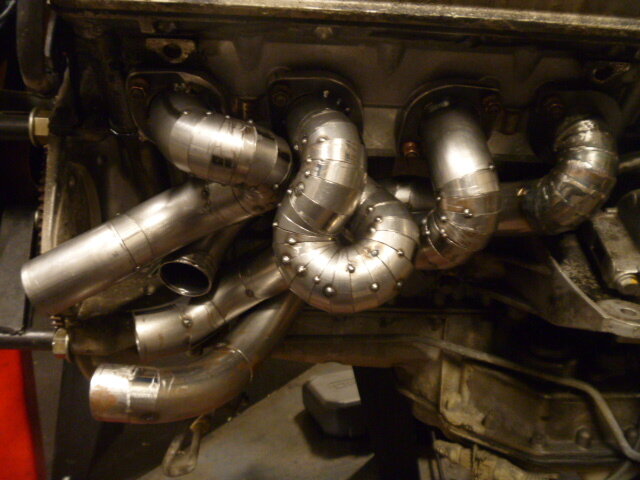
Thanks Team
-
4
-
-
Hey Team
happy news years to you all.
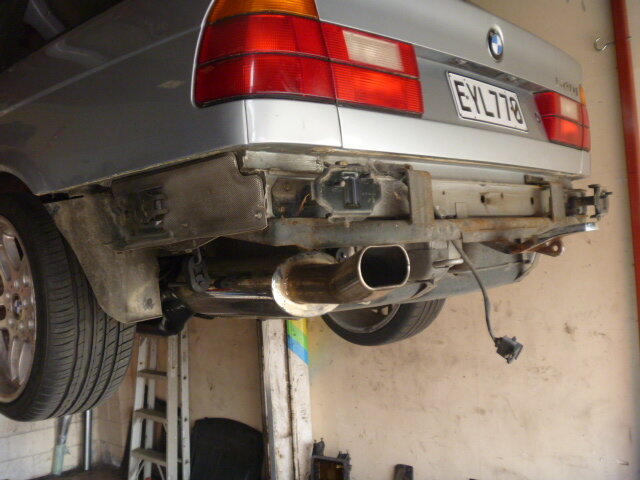
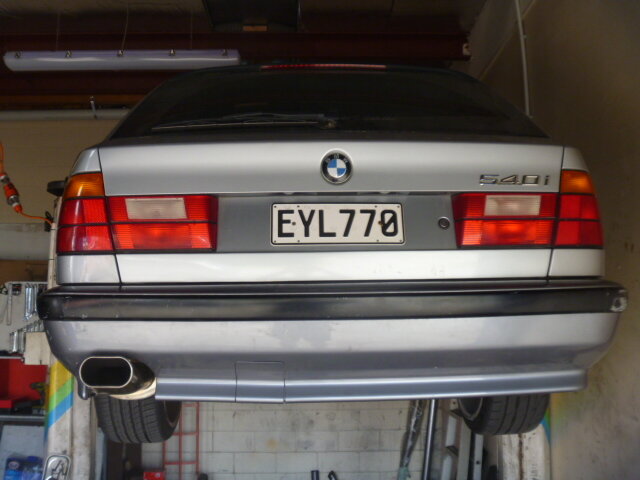
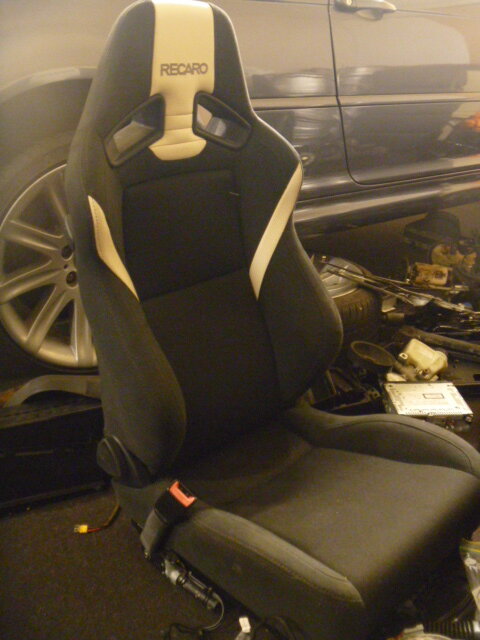
So managed to redo the exhaust to hang up abit higher under the body. Swapped the rear bumper to a m tech one, will do the front just need to get it repaired. Also scored some recaro SR7 seats currently need to sort the height on the base before i bolt them in and a sound clip of the car
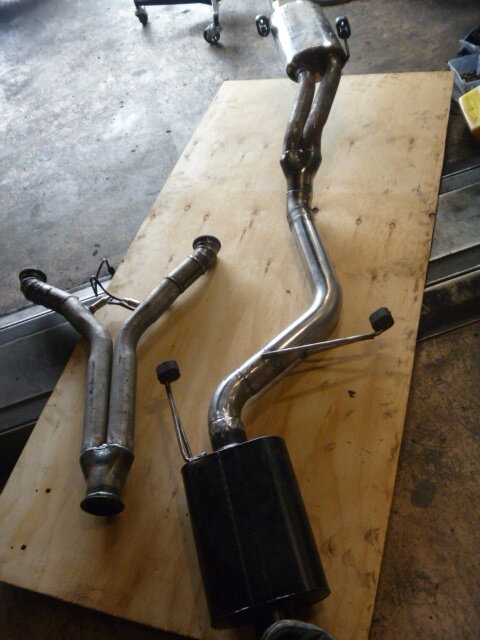


Thanks Team
-
2
-
-
@Cement hi David i just had a look at your build and mate a very nice job. its almost like we are doing the same thing. im the back yard garage diyer style and yours is professionally done way
") but thanks for the share, ill look upon your build for tips. But as you said key is to have heaps of time and patience.
but thanks for the share, ill look upon your build for tips. But as you said key is to have heaps of time and patience.
-
Hey Team
Hope every one is well and ready for the silly season.
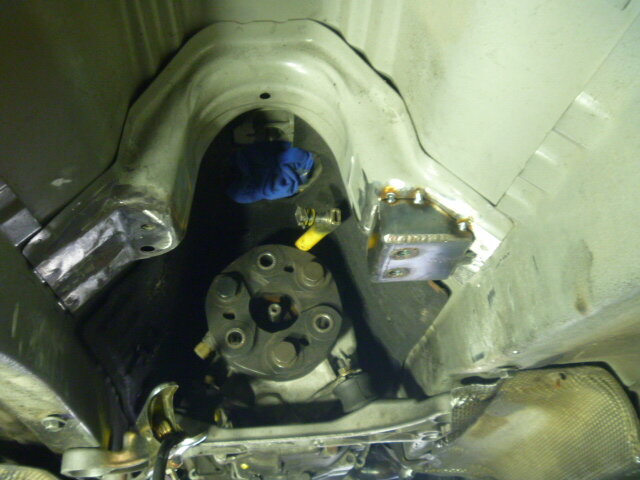
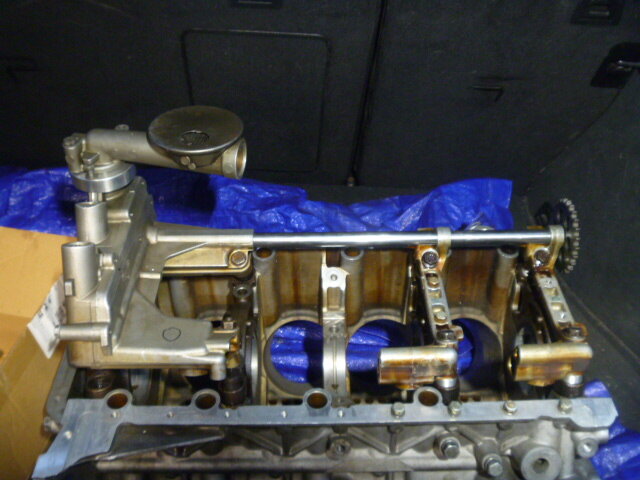
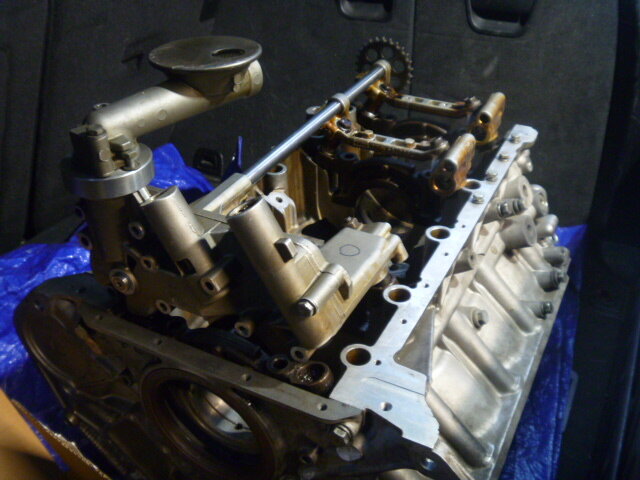
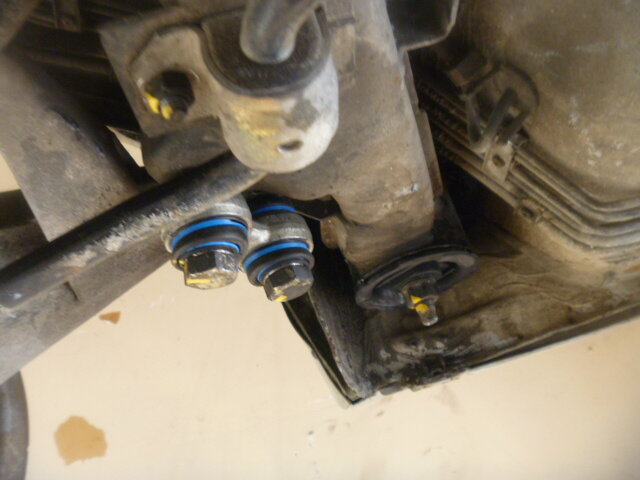
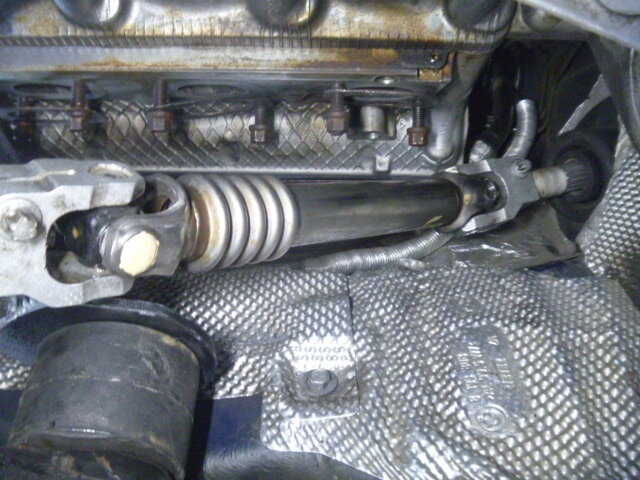
Small update but a good one. Finally got my oil pump setup back from the turning shop. I had to source two n62 front oil shaft supporters to hold the new longer shaft in place. the X5 pump now bolts right up the back. Also had to get a spacer made for the pick up to be able to rotate it inwards. Next step is to get my engineer to help fab up the new sump and oil feed lines.
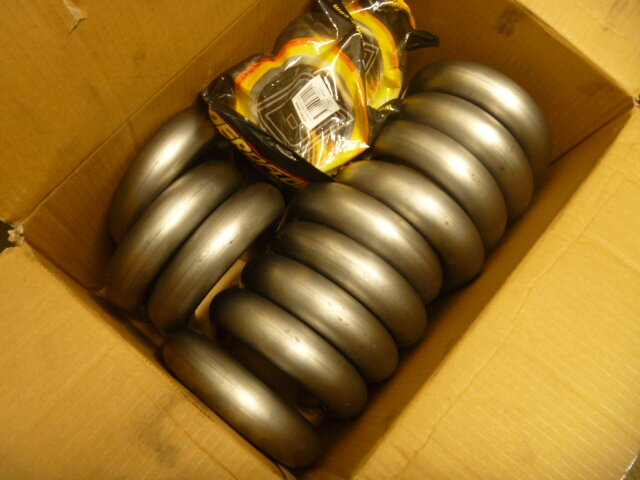
Also got my exhaust flanges cut, Brought a lego kit to help aid in making the headers myself and brought all the 180 bends ready to go for over the summer.
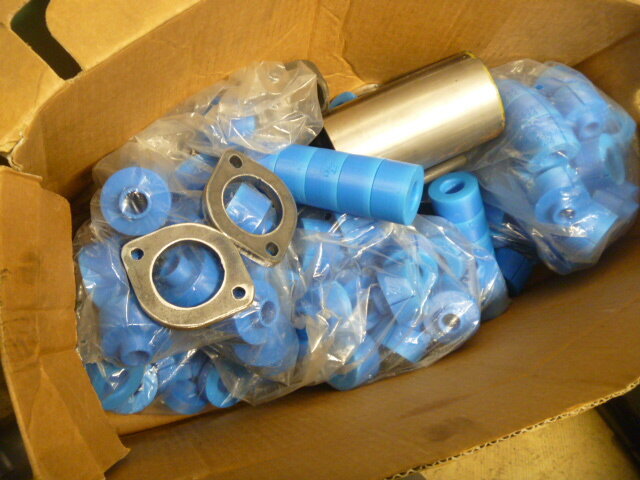
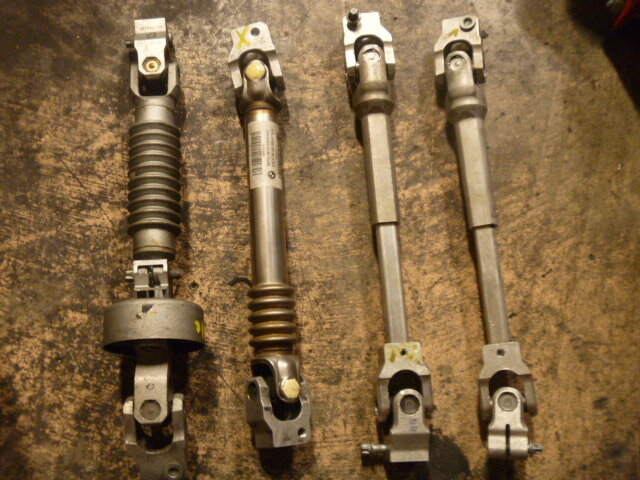
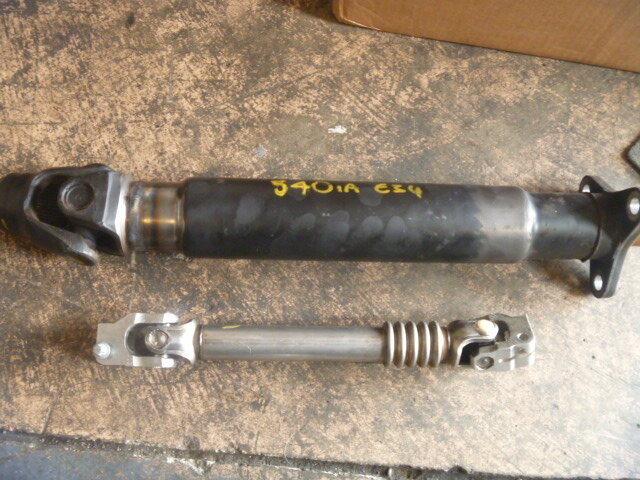
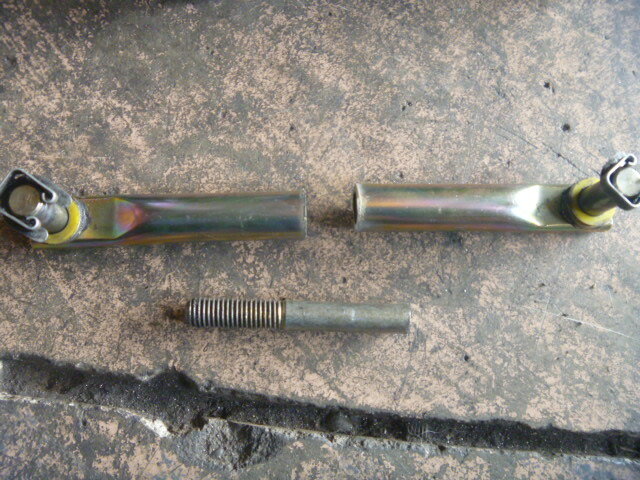
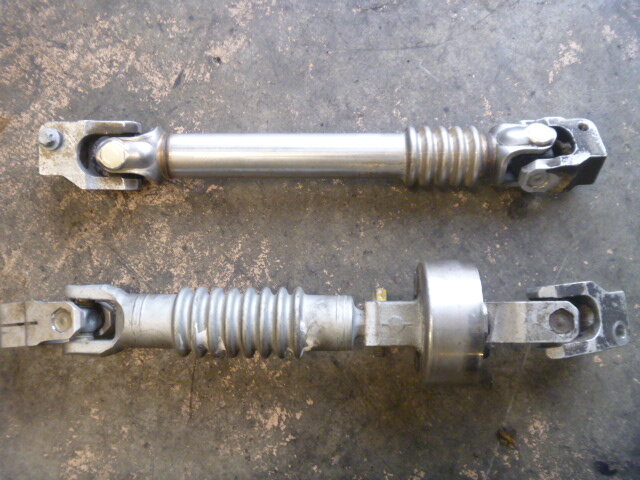
As i was originally was going to use a steering shaft from a e87/e90 when i was at the wreakers i noticed that the F series have even a slimmer one. so i took the plunge and brought two. After some test fitting the base U-joint are the same spline as the e46, the top needs to be swapped with the e46 one and the total length was shorten by 20-25mm which now matches the factory e46 length. I will use one for the v8 swap and one for the v12 swap.
Now the main part is back ( the oil pump) i can get the ball rolling again.
Thanks Team
-
6
-
-
Hey team hope every one is well and ready for the silly season.
So got a few more things done to the wagon. Car is finally up and running now
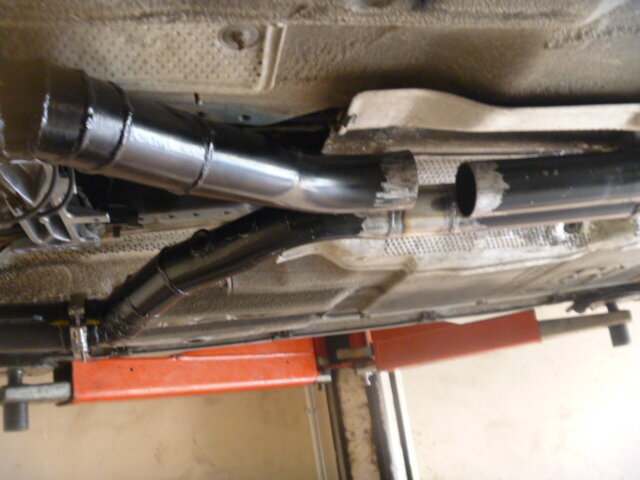
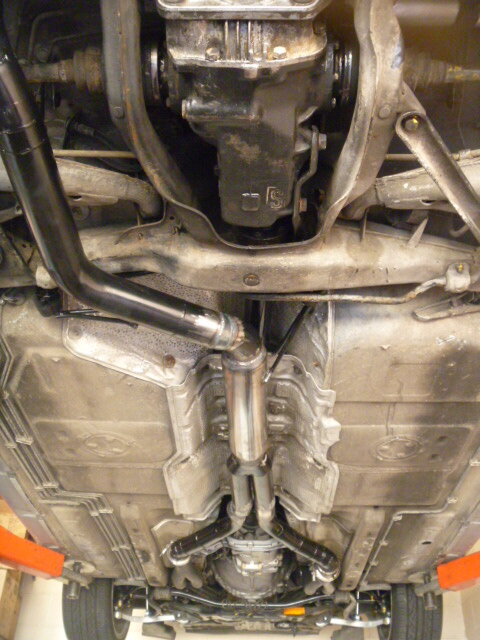
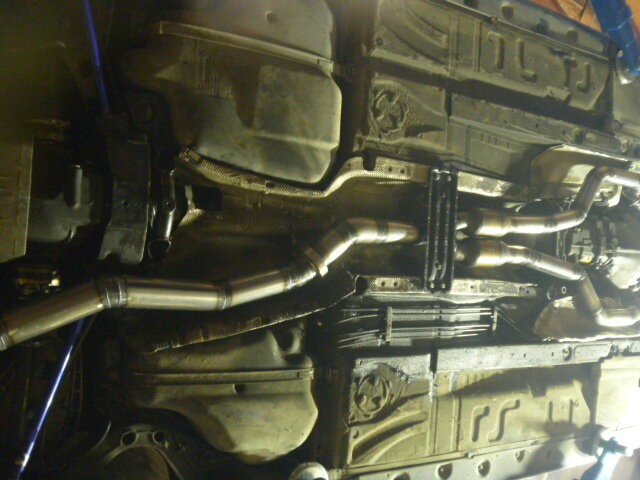
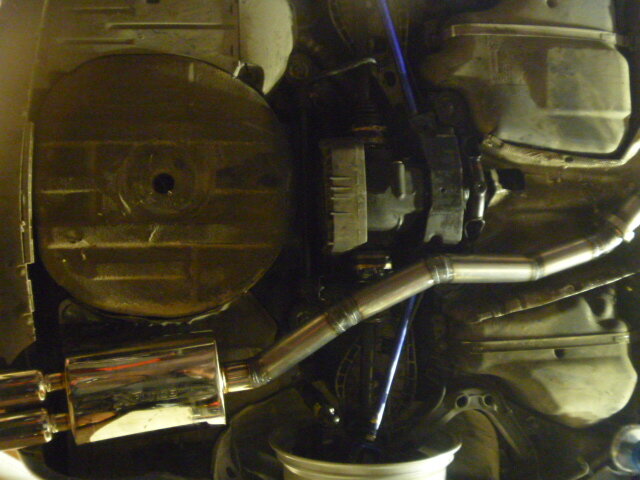
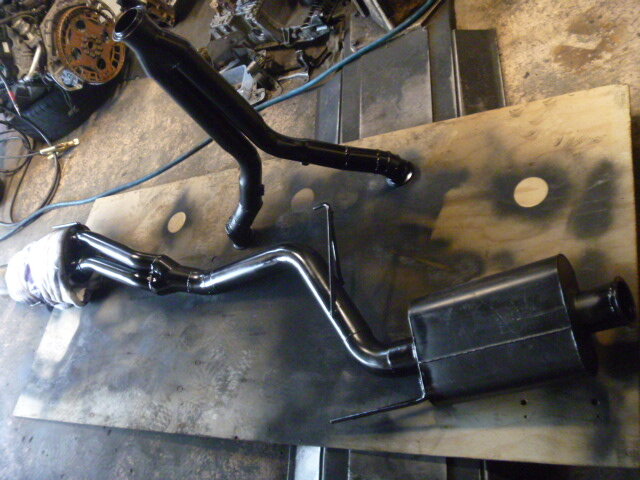
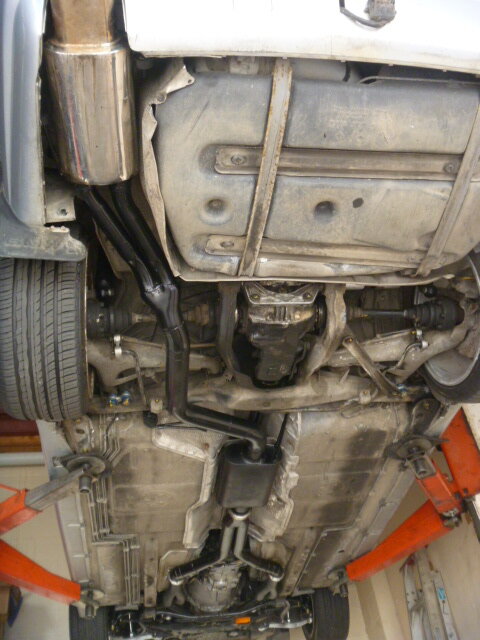
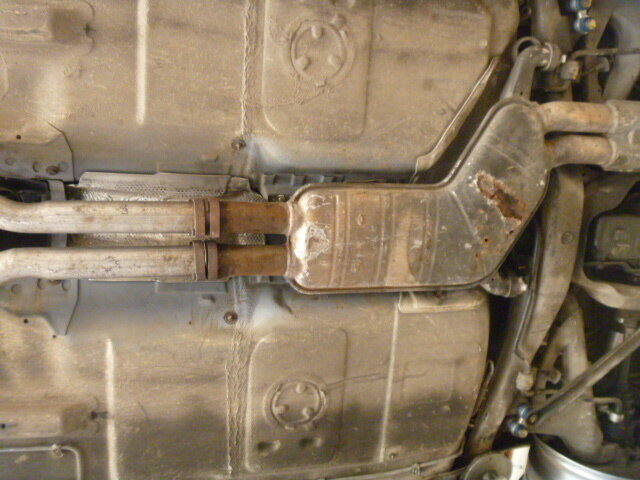
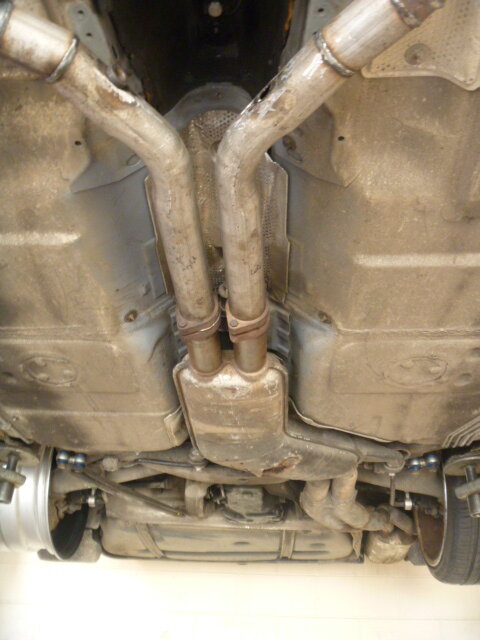
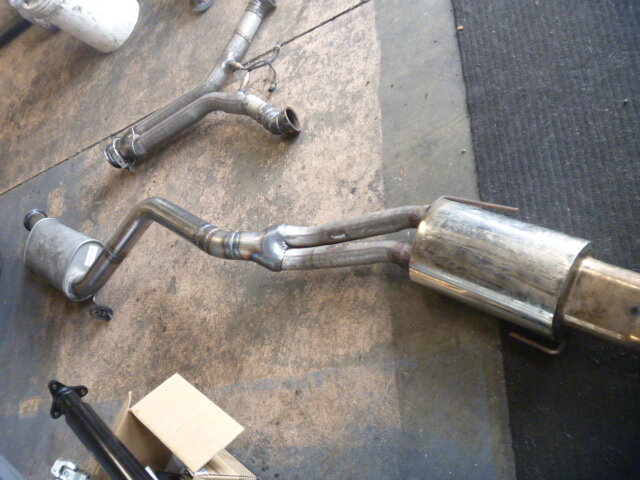
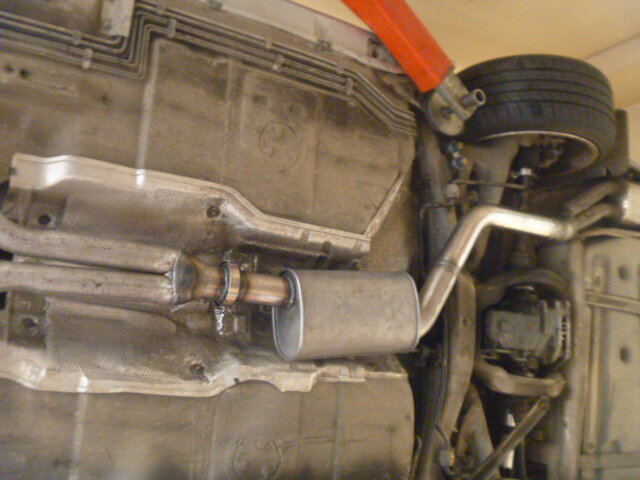
though not without a few little issues. Exhaust leak, rear adjustables rebound need to be wound up to make it stiffer, wheel alignment, smaller mid muffler to be welded in as current one is a tad low, change rear seal in the gearbox and get some tyres for the Hamman wheels.
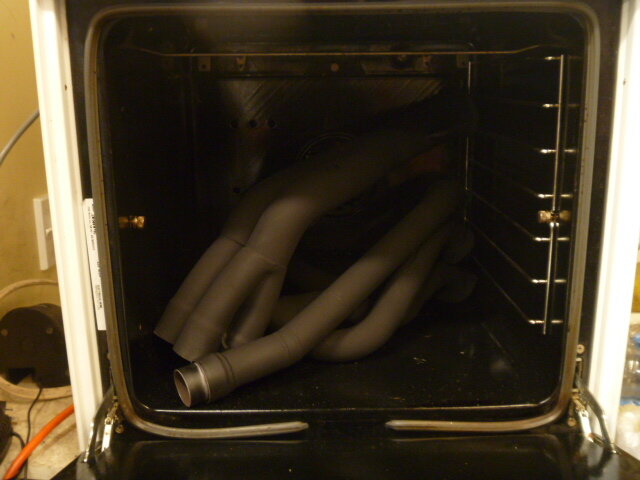
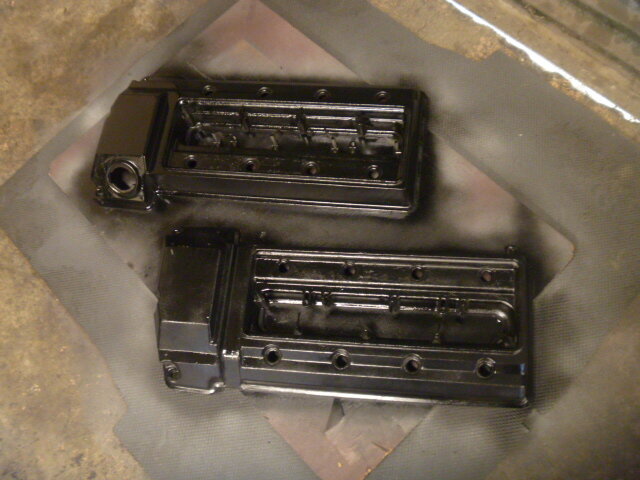
Painted the exhaust and baked it in the oven.

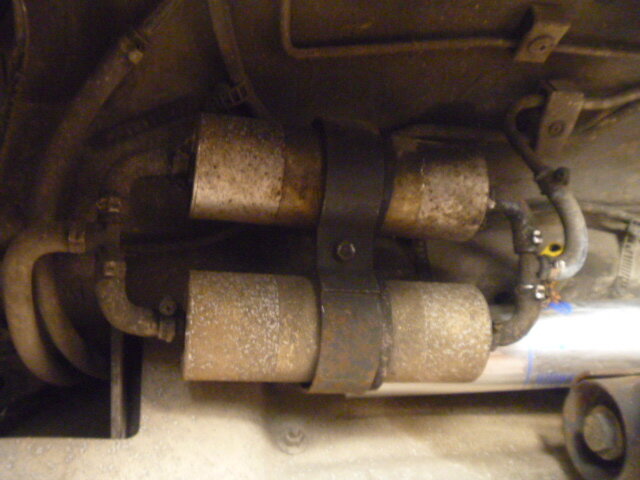
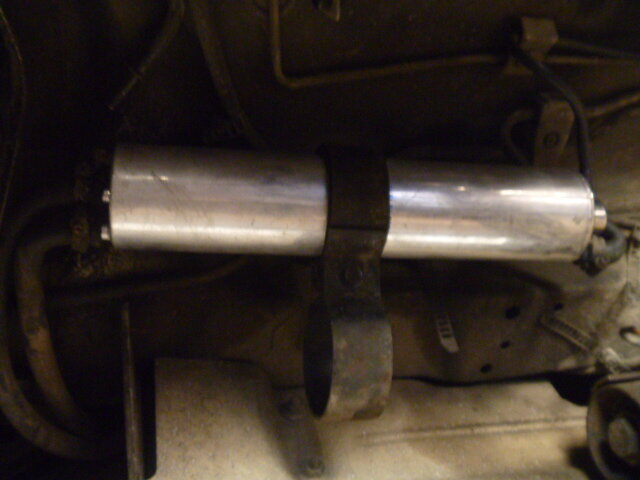
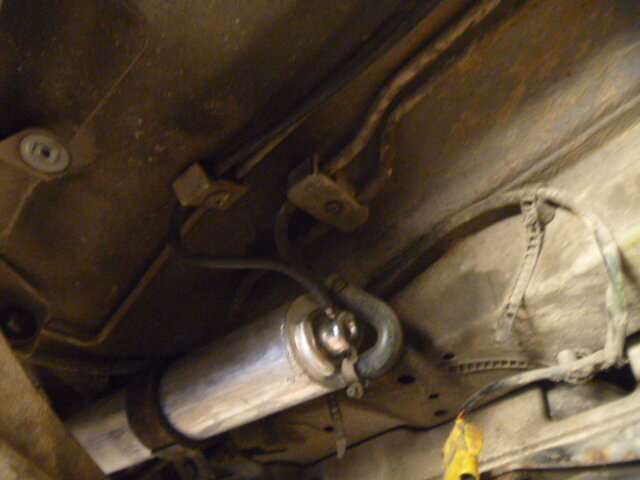
Changed out the factory twin fuel filters and put a single one in with a regulator and ran a vaccum line up to the manifold.
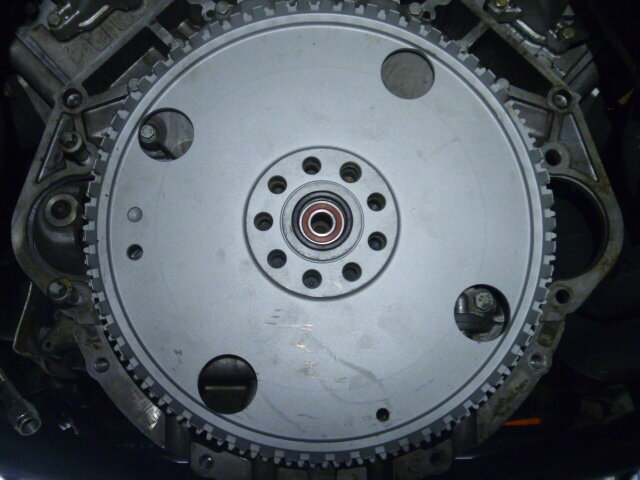
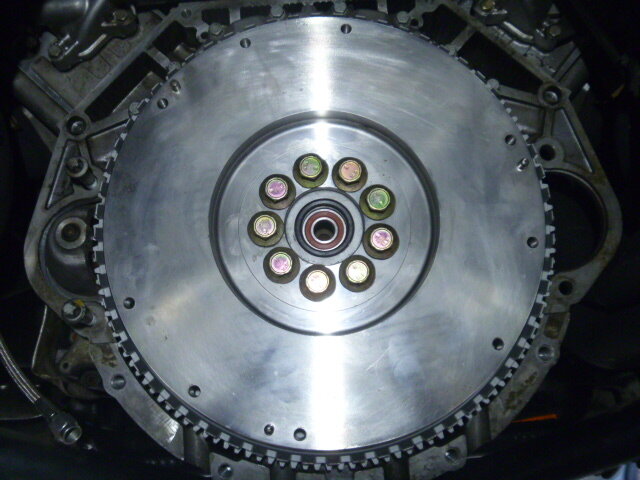
Custom clutch and flywheel installed. Exactly the same setup as the manual swapped X5.


Running my spare LSD 3.15 till my LSD 3.64 gets back from Kayne Barrie getting a rebuild.

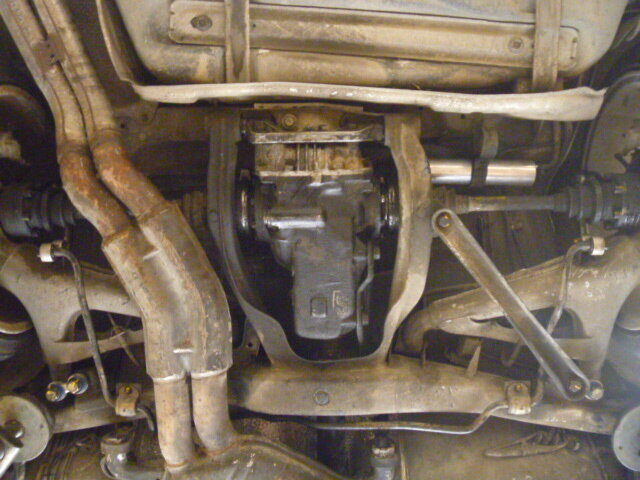
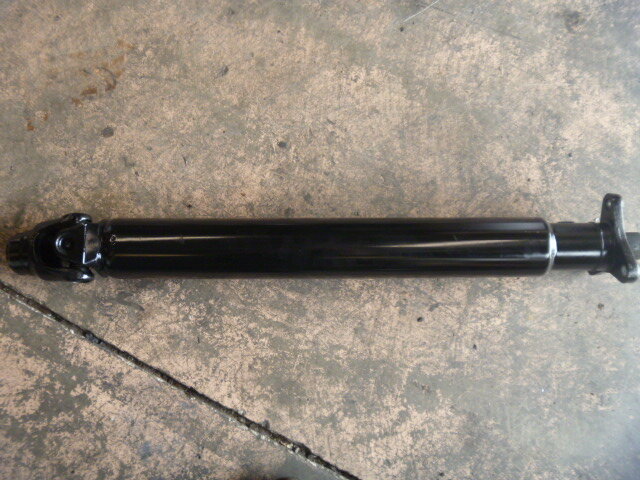
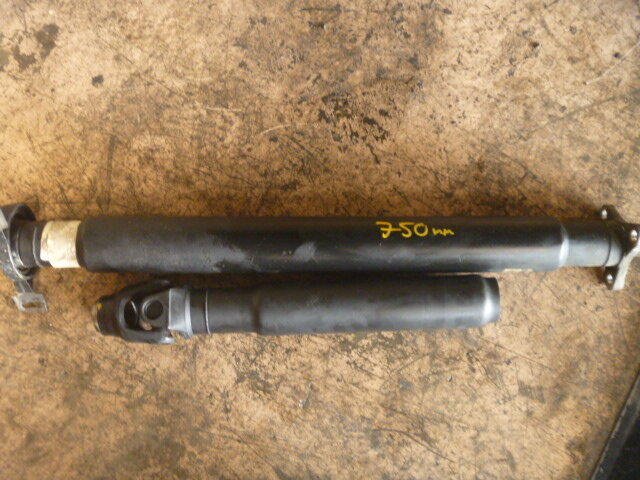
Driveshaft made to length.
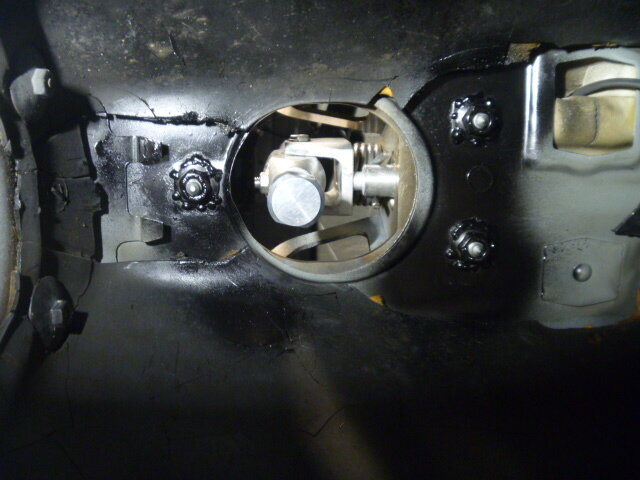
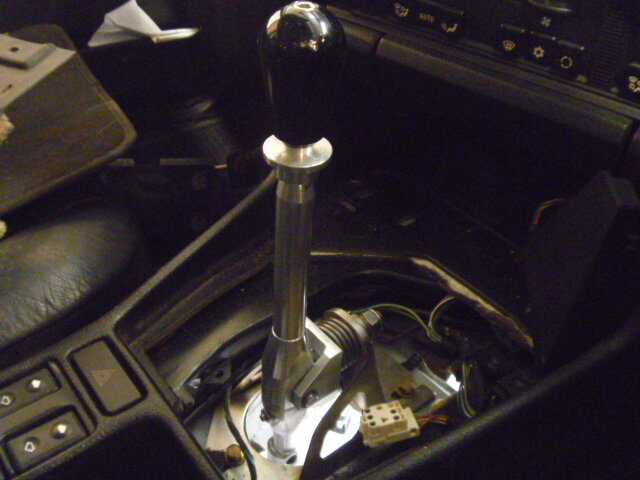
Tack welded the nuts in tunnel so i could bolt down the RTD shifter without needing someone to hold the nuts for me.
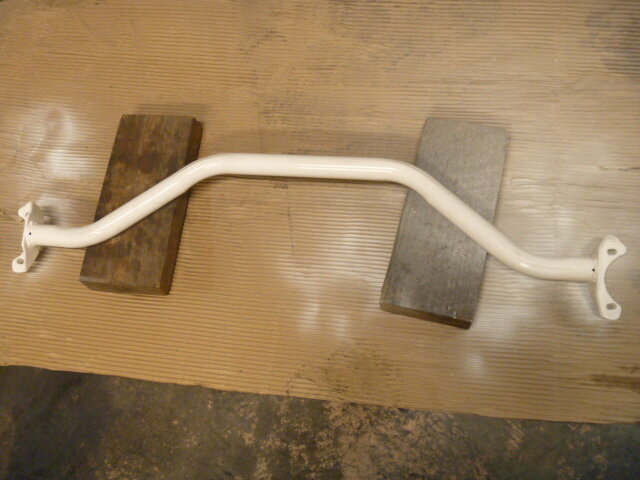
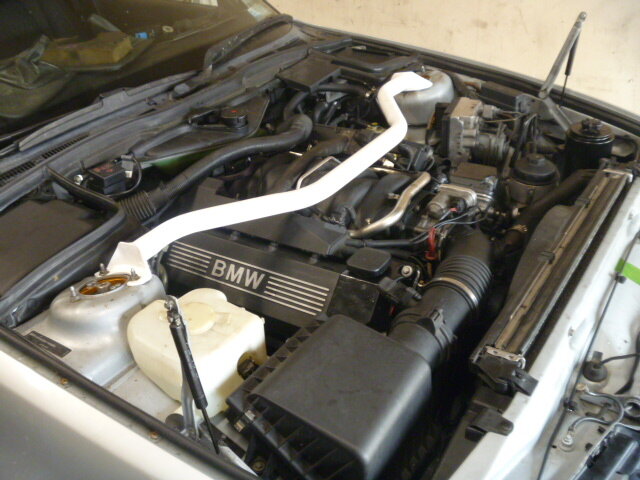
Brought this ultra racing Strut brace cheap, it was made for a 525i model. I cut the bar off the hinges and flipped it, rewelded it to make it work with the 540i
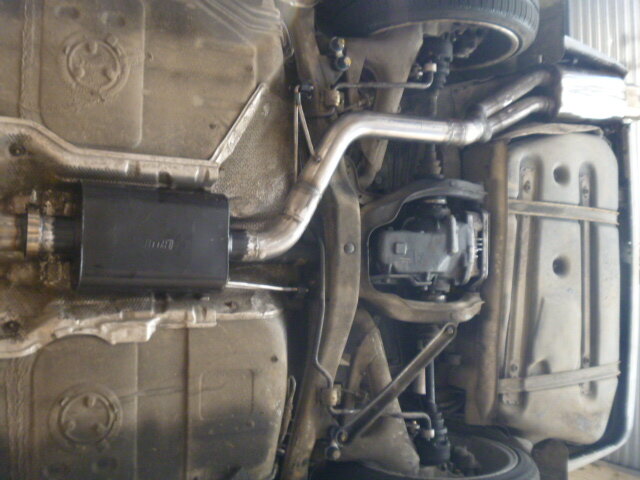
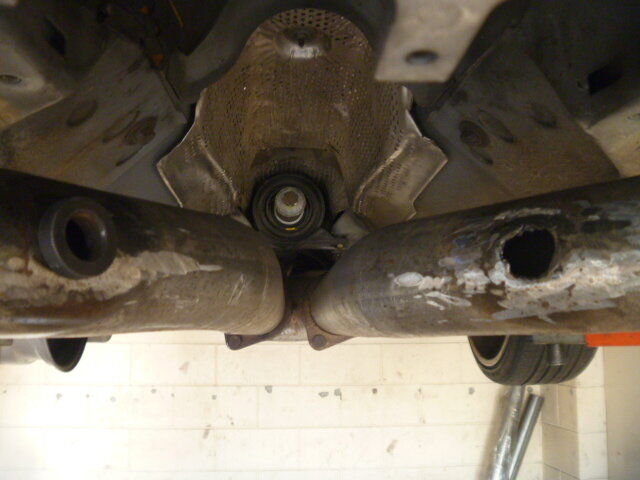
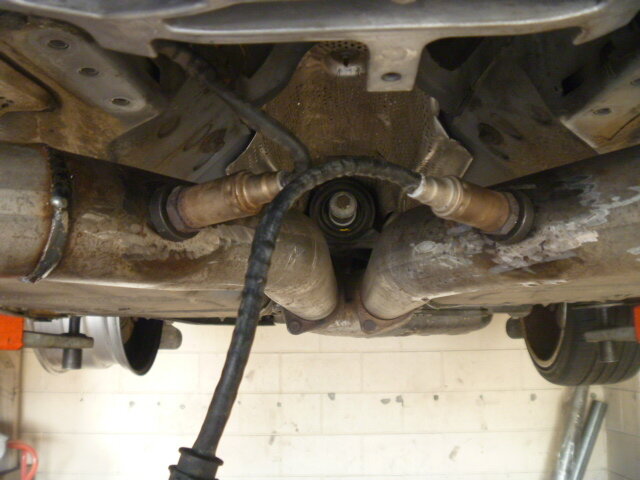
The Factory mid muffler was rusting and had a small hole, so decided to redo the whole exhaust from the new headers back. Redid the o2 sensor bungs too. But after lowering the car found the mid muffler sits too low so will change out for a smaller one.
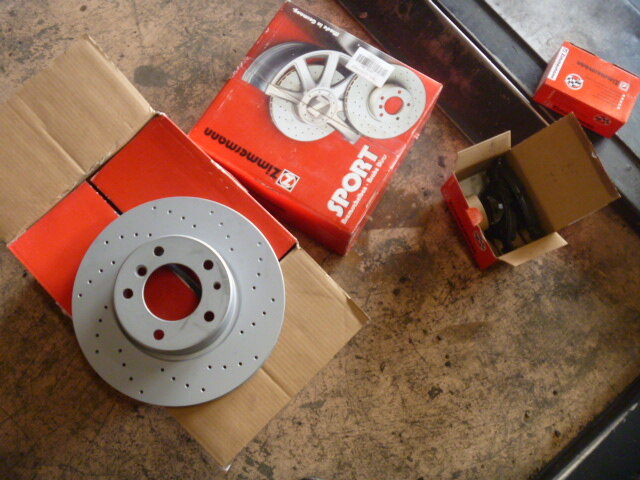
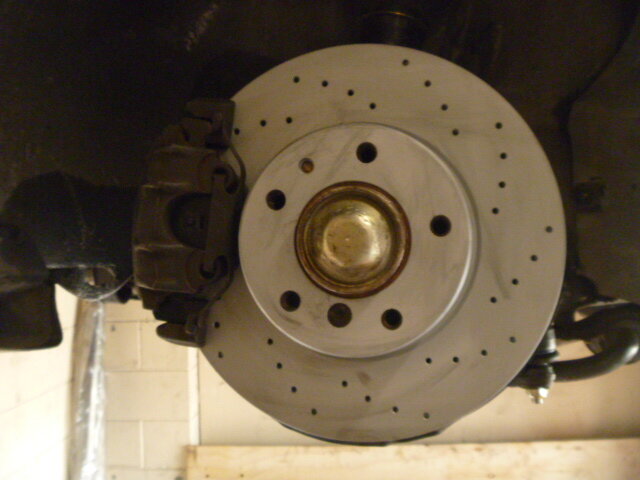
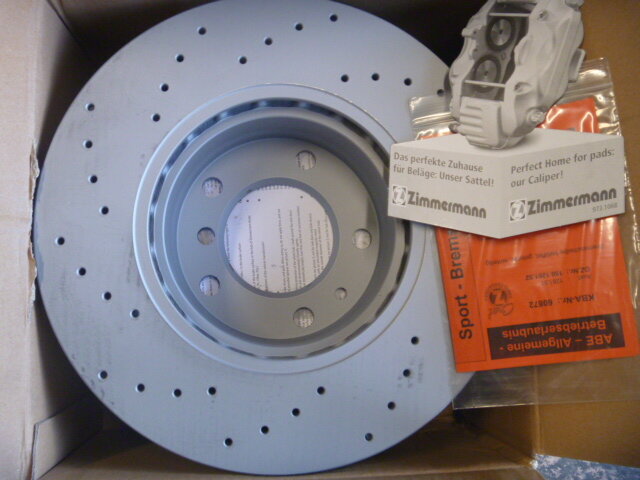
Fitted the new Zimmermann sports brakes and pads in and flushed the brake system with new fluid.
Just arrived a couple days ago this M5 rep center console surround.
.Will be running these wheels on the car. 18 x 8.5 fronts 18 x 9.5 rears
will get a exhaust clip onces its fully running good.
Thanks Team
-
4
-
-
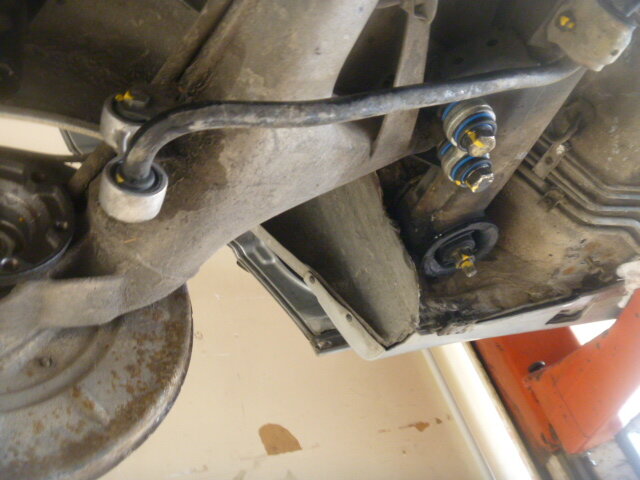
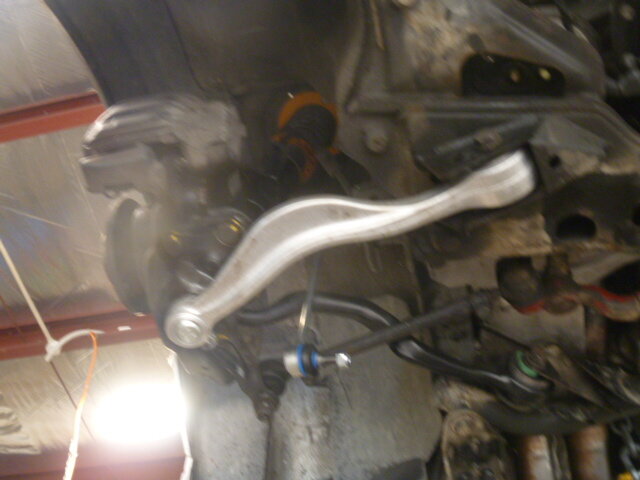
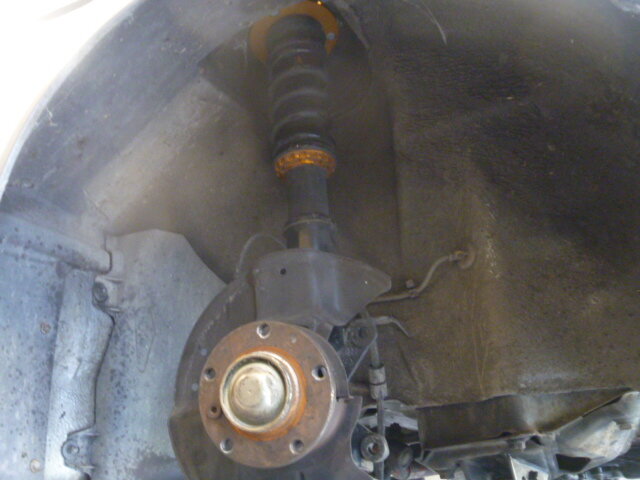
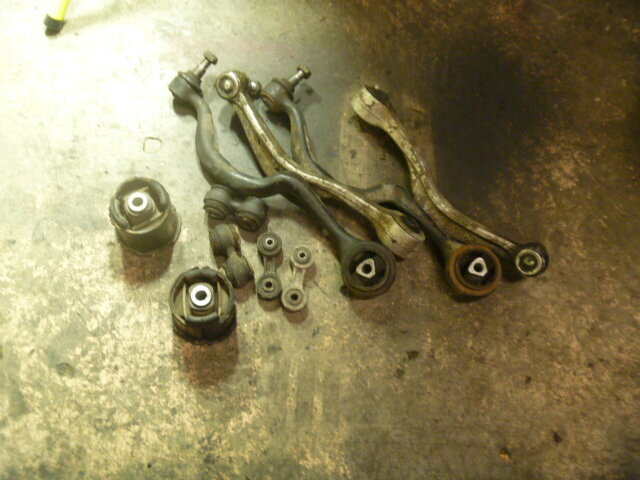
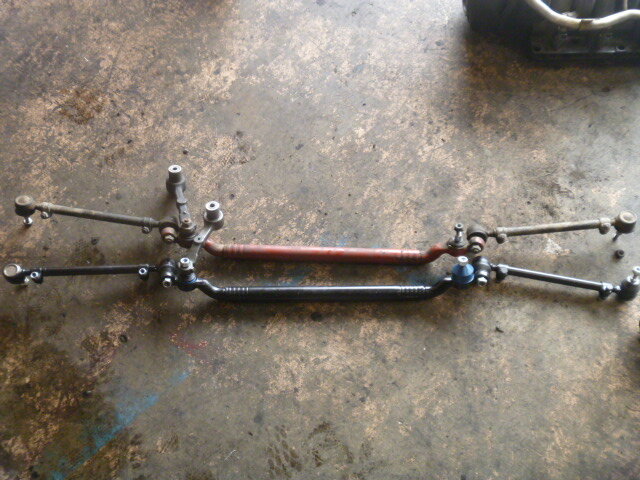
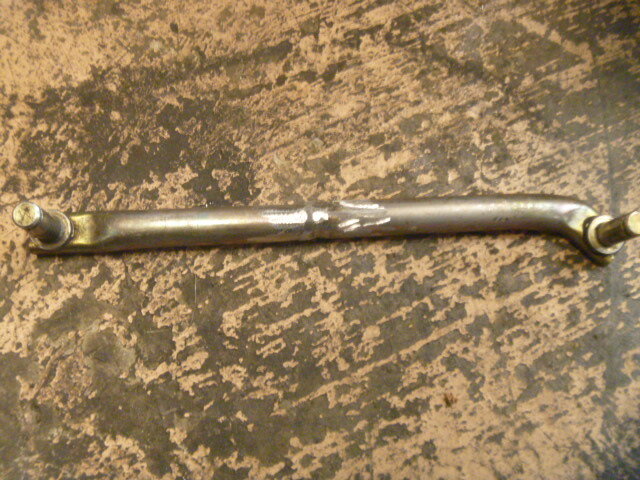
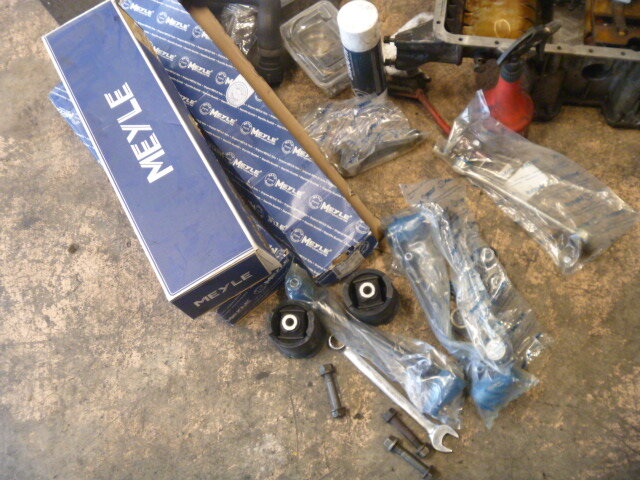
So managed to get the bushings and front arms swapped out on Monday. It doesnt look like much but man it took me all day. I had one of those moments of "what a dumb arse" where the 1st rear sub frame bushing took me about 2.5 hours to do. Once i realised that i needed to leave a gap between the subframe and body of the car in order to allow the new bushing to protude through to the top. Once i clicked on that the 2nd bushing too me 15mins.I also swaped my XYZ coilovers in while i was there. Just the steering rack, tie rod ends and rear coil overs left to put in.
-
1
-
-
Hi @Eagle i wasnt going to to be honest. Its completely factory other than the headers on it, it would be nice to know though. Maybe later down the track if i have funds available for it. thanks
-
2
-
-
Hey Team
So getting a fair bit done to this build.
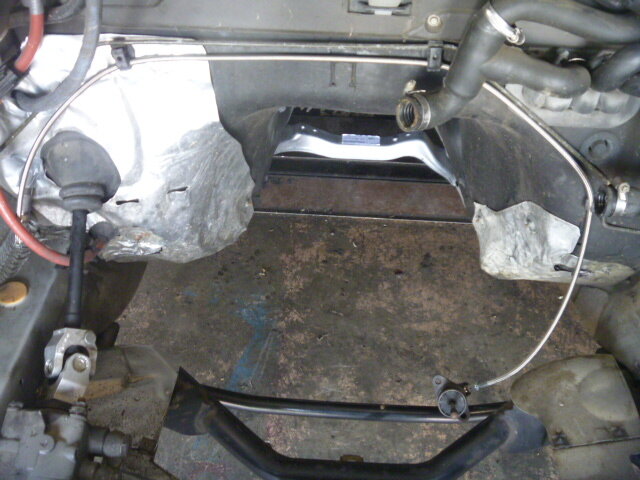
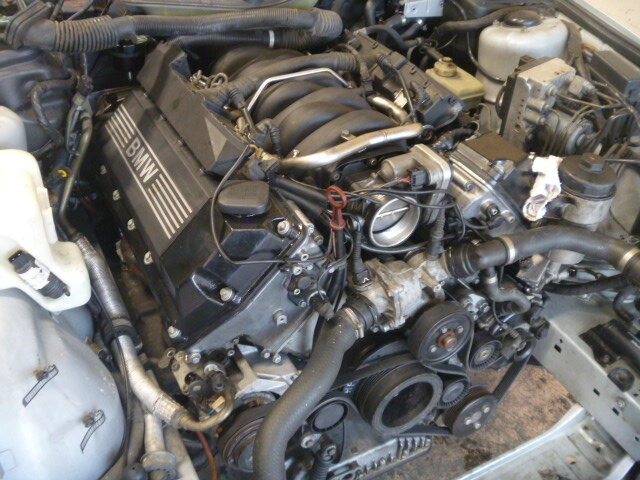
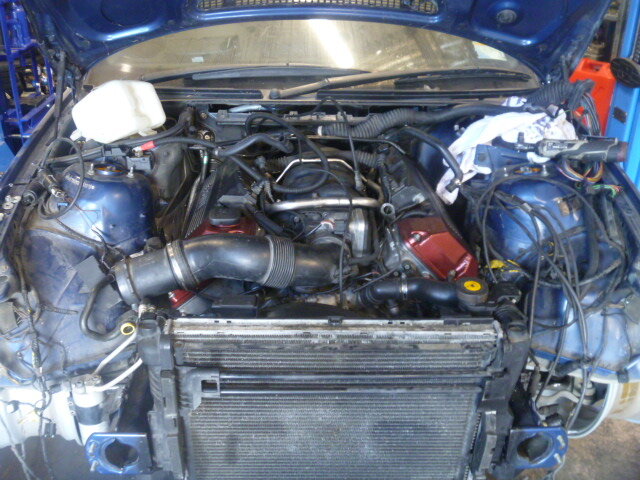
Cleaned the engine bay,
Fitted a custom braided clutch line,
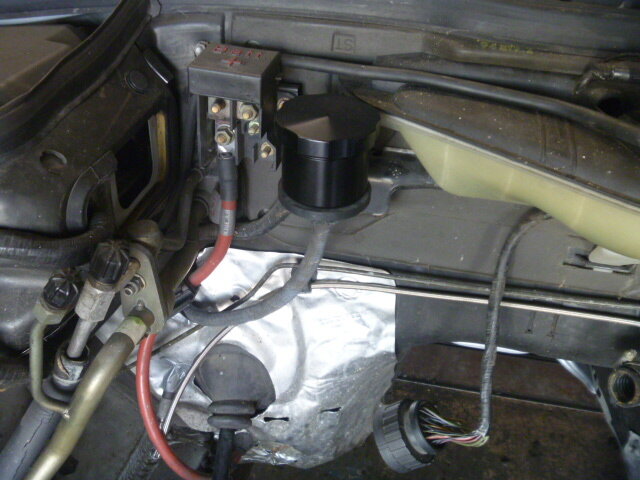
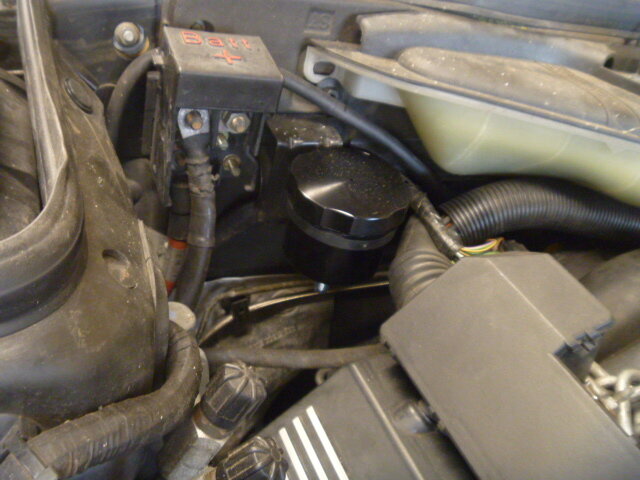
custom clutch fluid reservoir utilising the old c101 plug holder,
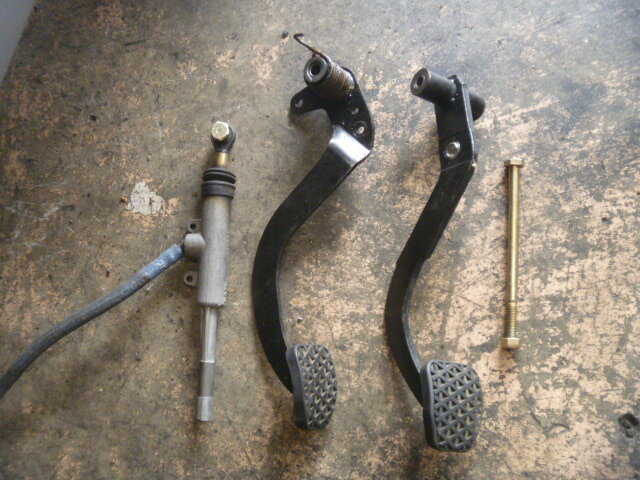
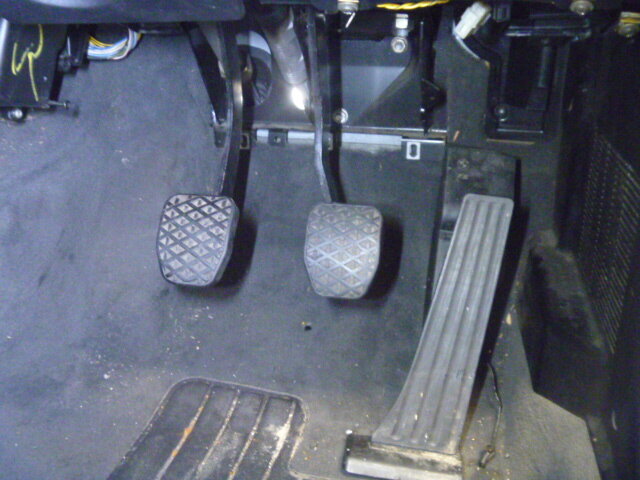
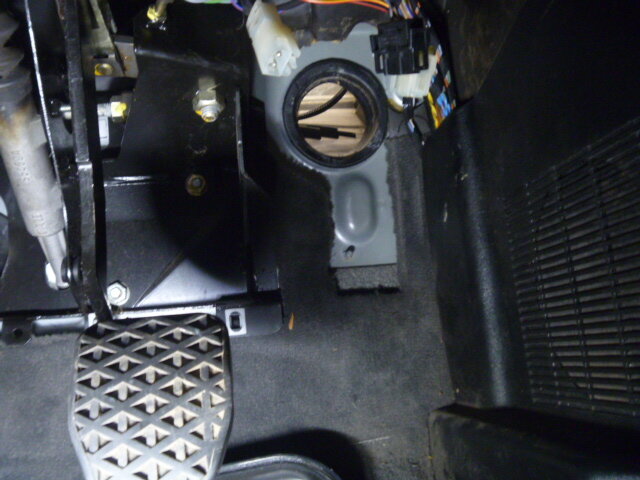
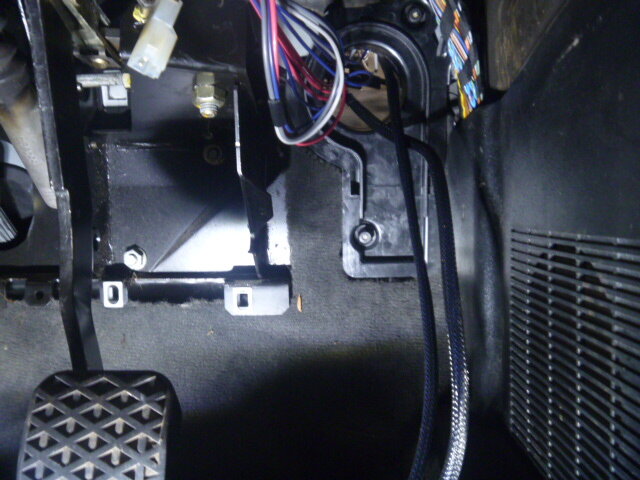
manual pedal swap Lucky enough my setup had a single spring on the clutch pedal. I didnt have to go through the whole dreaded steering column removal.
retro fitted e46 drive by wire pedal,
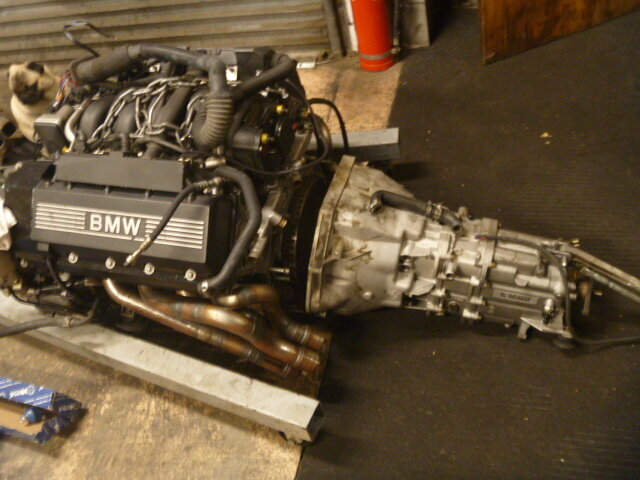
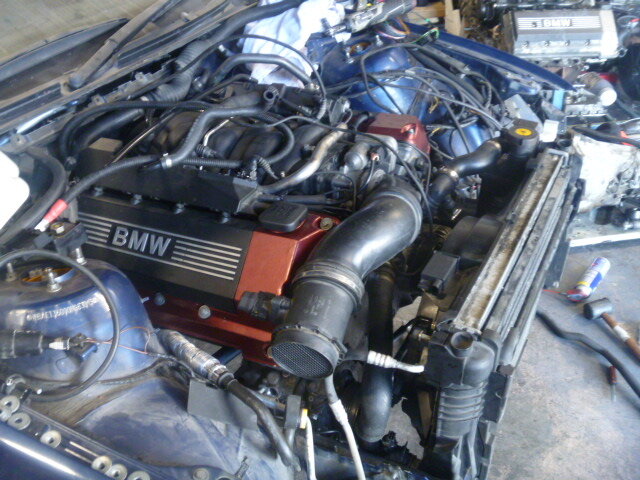
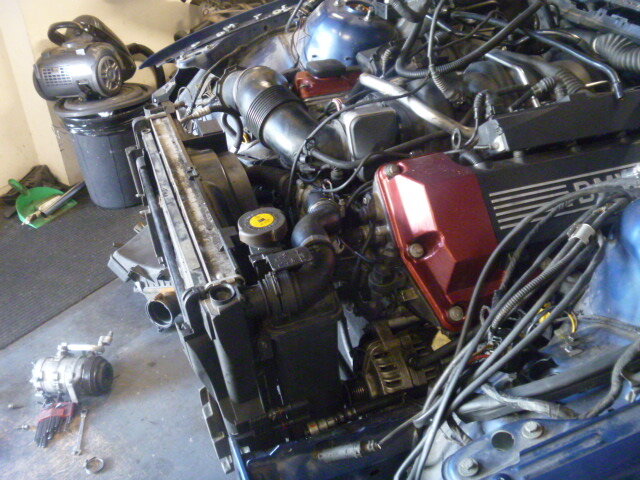
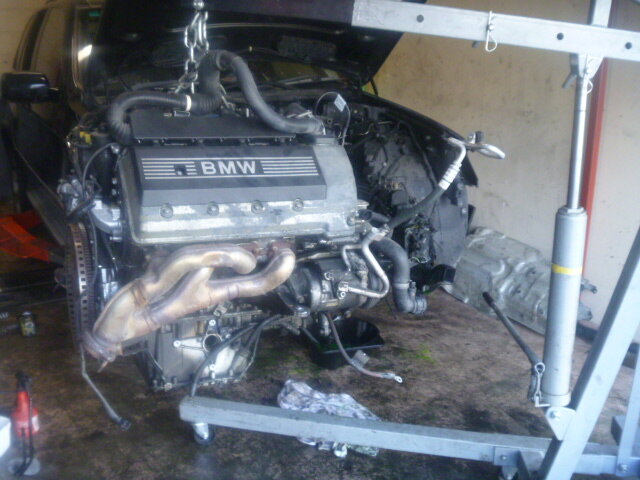
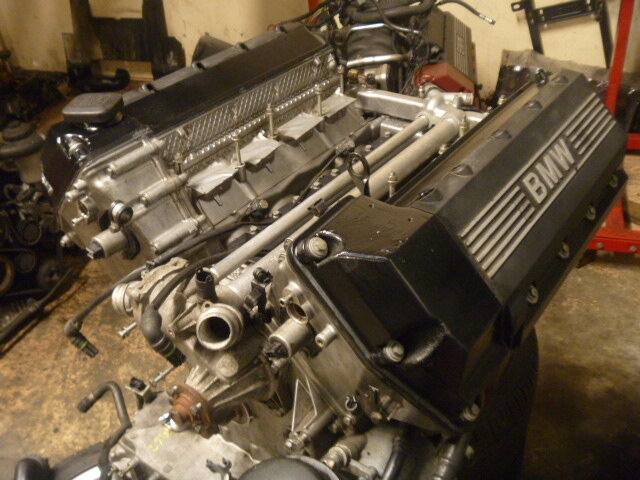
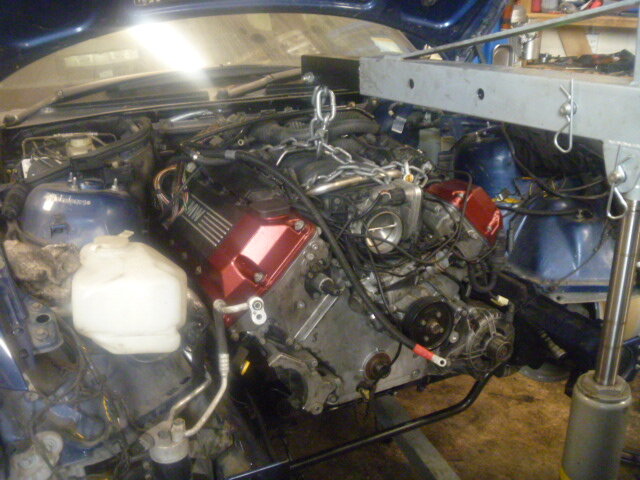
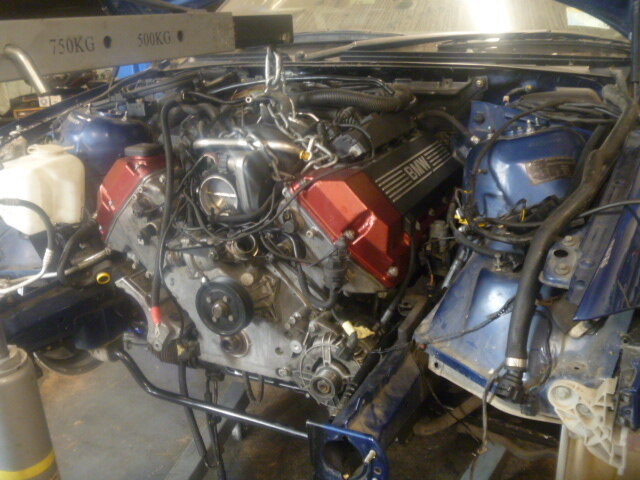
test fitted motor with trans and custom headers to check for clearances issues,
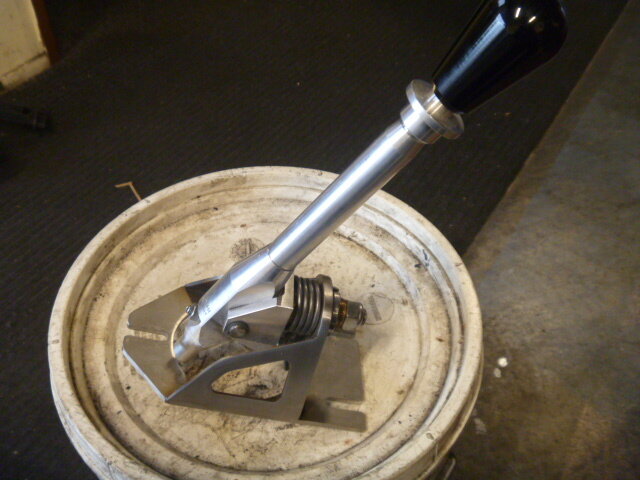
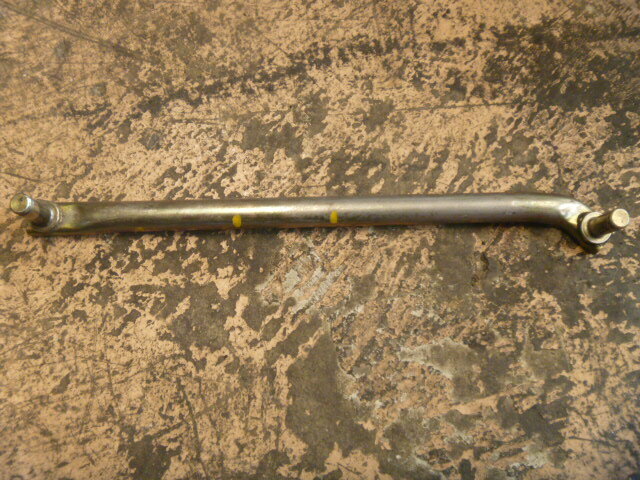
test fitted RTD shifter from my e46 build which fits perfectly so im going to keep it for this car and shorten the selector rod too.
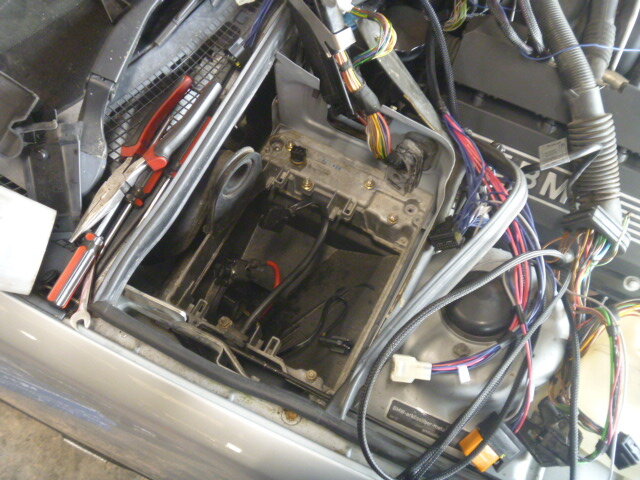
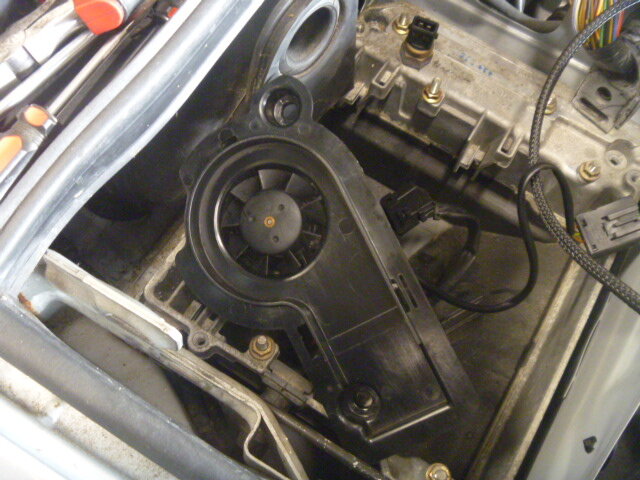
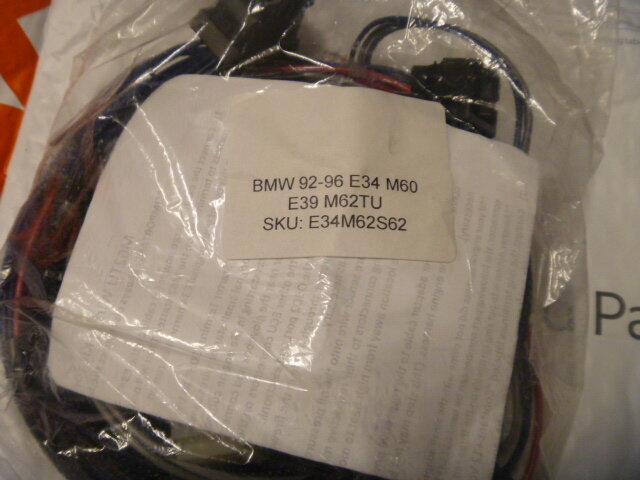
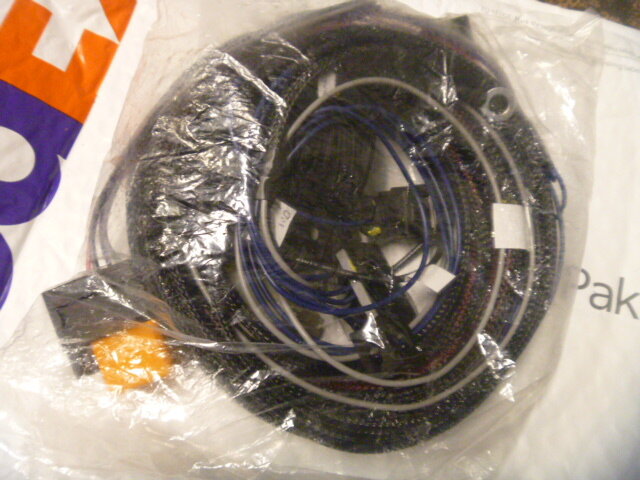
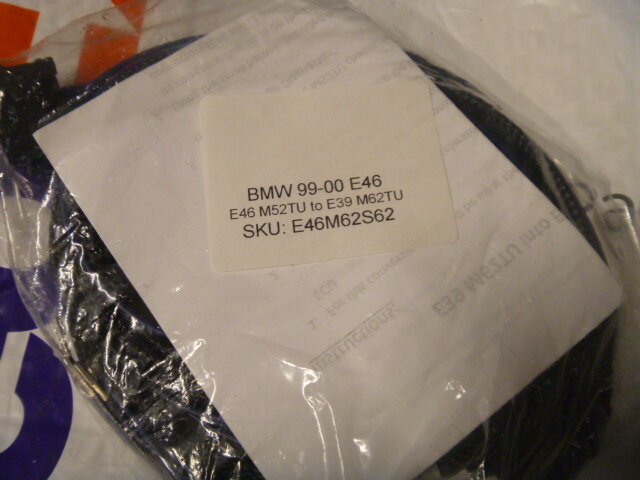
Started the wiring from Condor speed and it seems qute easy with good instructions. Feeding the wire throught the e-box and through a fan hole.
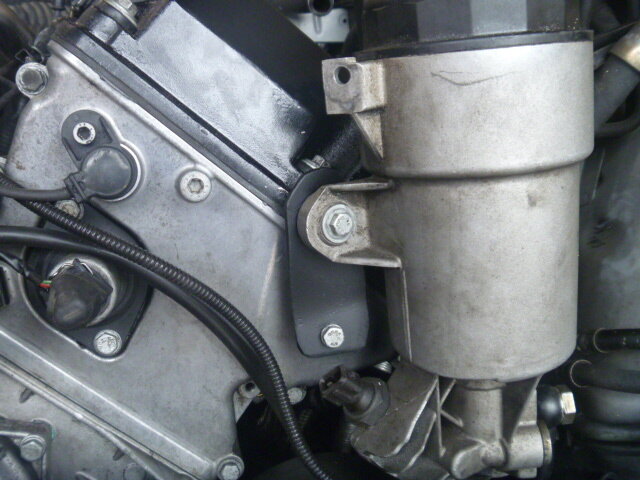
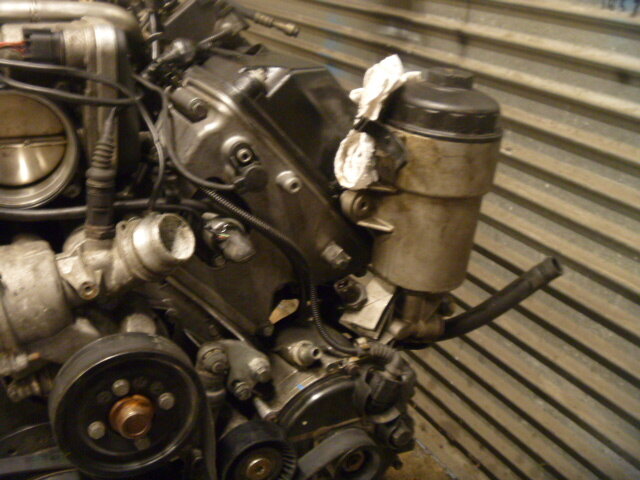
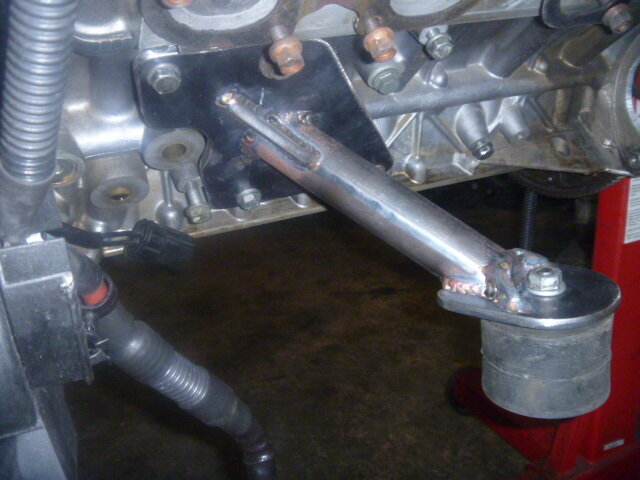
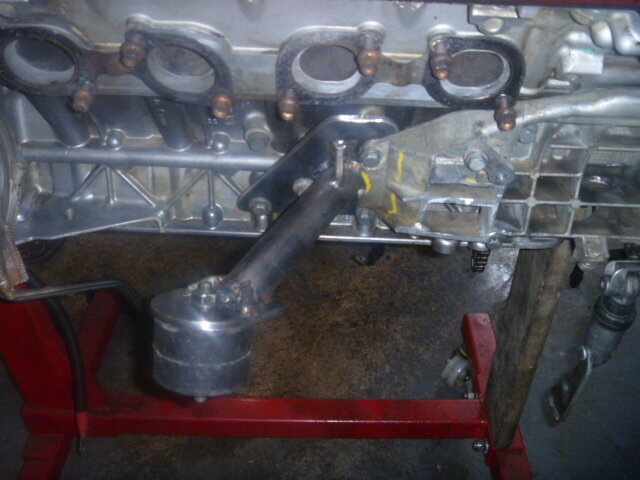
Little bracket made to hold oil filter housing,
New brake disc and pads to install
Will start on rear and front bushings tomorrow and send the driveshaft to get shorten.

Getting so close
-
4
-
-
Hey Team
So managed to get a few small items sorted.
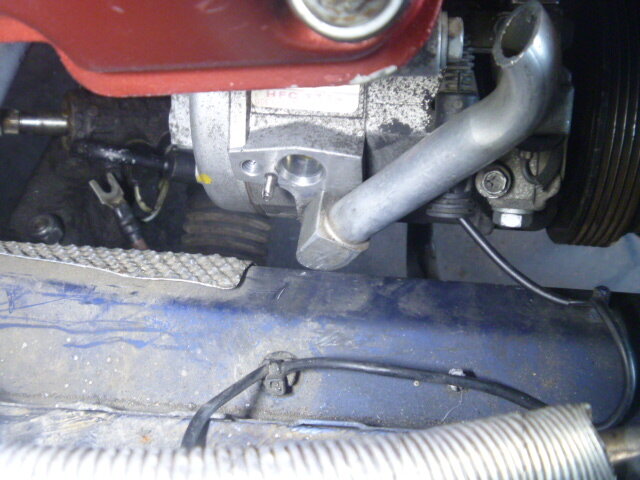
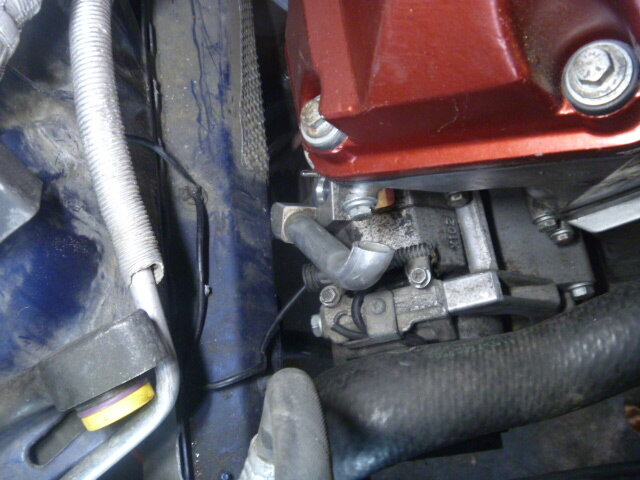
Refitting factory radiator so i can get the aircon and powersteering lines from the e46 to work. Had to customize the rad hoses abit to work with the motor.
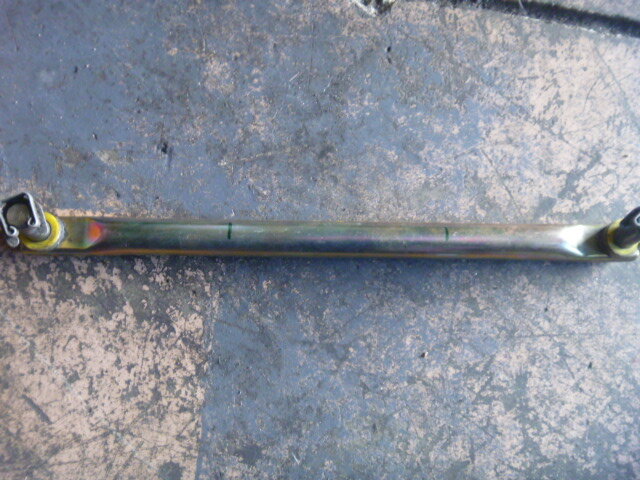
Got the drive shaft and steering shaft back, both fitted and working a treat. Shorten the selector rod too to work with the RTD shifter.
With a bit more room now, Im hoping to be able to make some decent headers for it.
Also have to get the aircon hoses custom made as the factory ones dont line up, she's pretty tight due to not allowed to cut into the chassis rail.
Spoke to the machine shop and hopefully not too long on the oil pump either.
-
3
-
-
@boyish Hi Brian i have a set with o.k tyres in sliver with a bit of curbing. Currently on trade me but happy to sell cheap if your keen on them.
Thanks Richard
-
1
-
-
i have a set of 4 wheels square set. 3 are good one has a slight bend to it but holds air. Happy to sell cheap if your keen on them. Currently on trade me
Thanks Richard
-
Hey Team
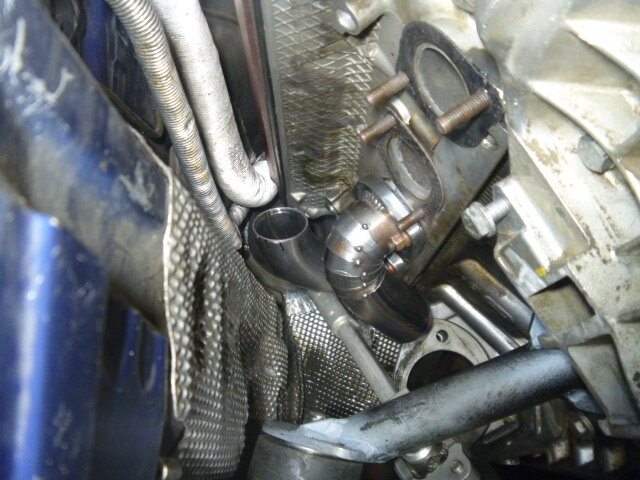
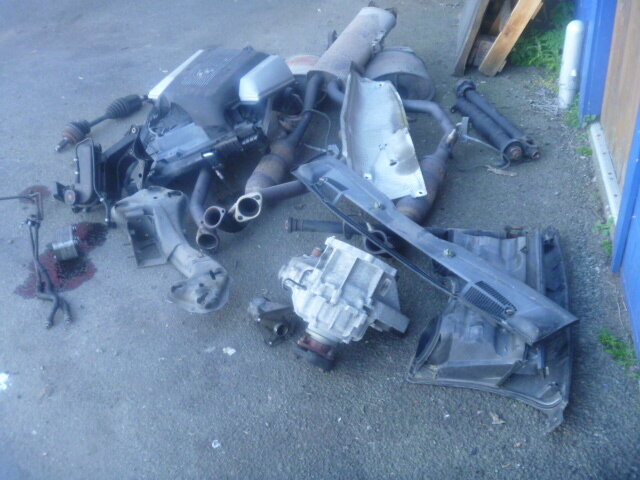
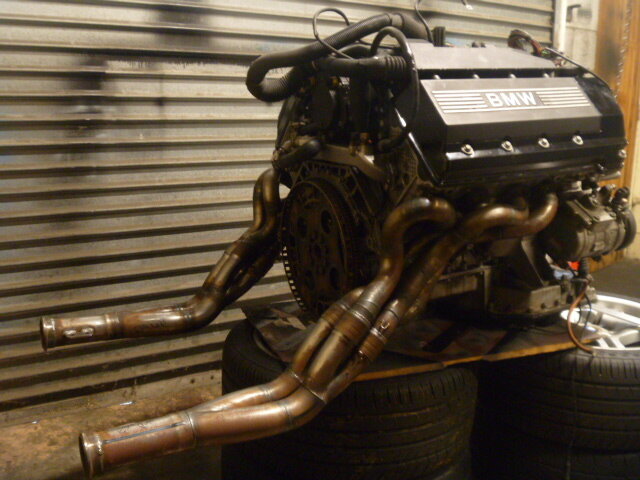
So finally cracked into the X5 4.6is parts car, stripped the motor out and refurbed in the past month. Swapped the oil pump to the front sump type and replaced timing chain guides and various gaskets. Pretty much got the motor 90% ready to go back in, just need to make a custom bracket for the oil filter housing. Also arrived was my wiring harness from Condor speed which im hopping will make my job easier. But most excitingly finally got to mock up my custom exhaust headers that i had made i think a year ago, I cant wait to get this thing in the car and running.
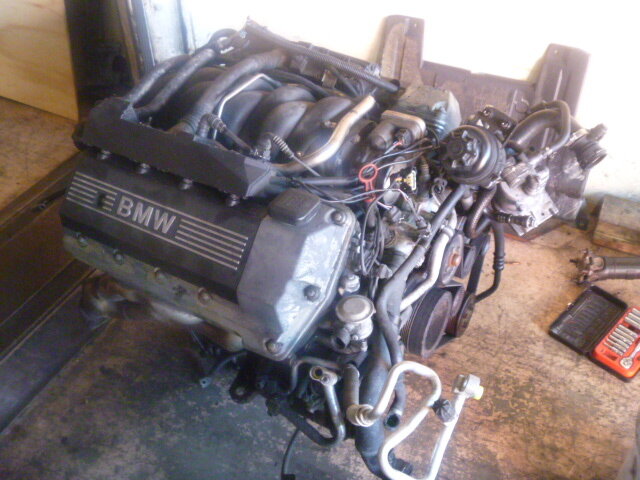
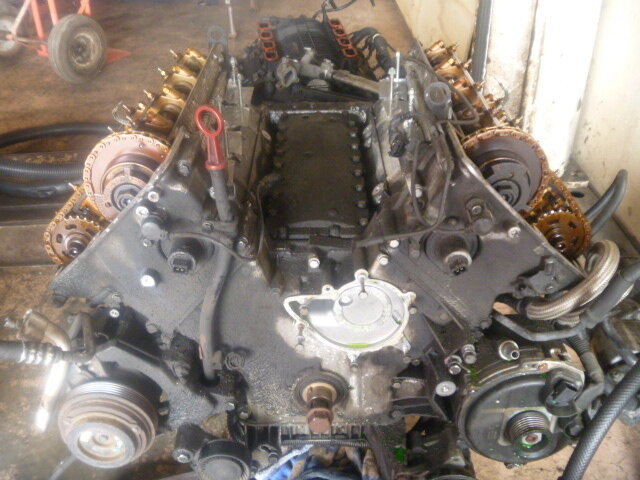
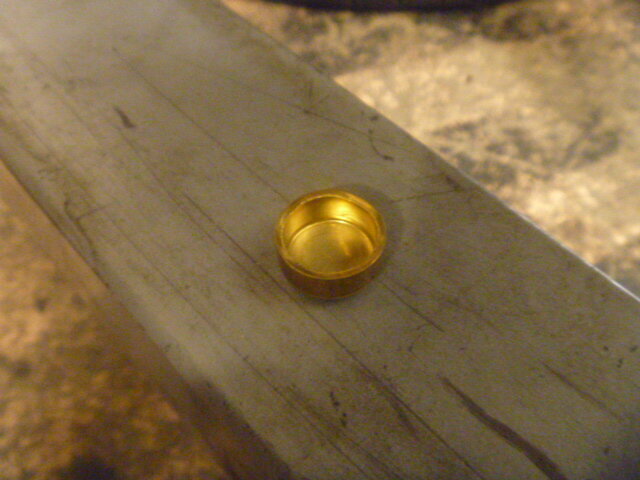
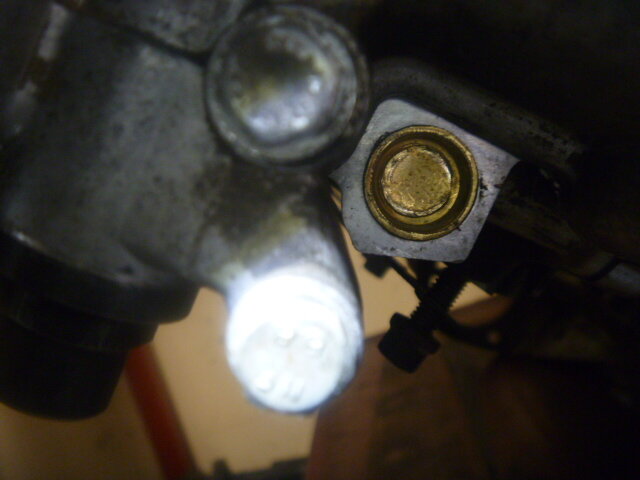
Drilled out the passger side starter hole.
Fiited some 18mm frost plugs into the secondary air pump holes.

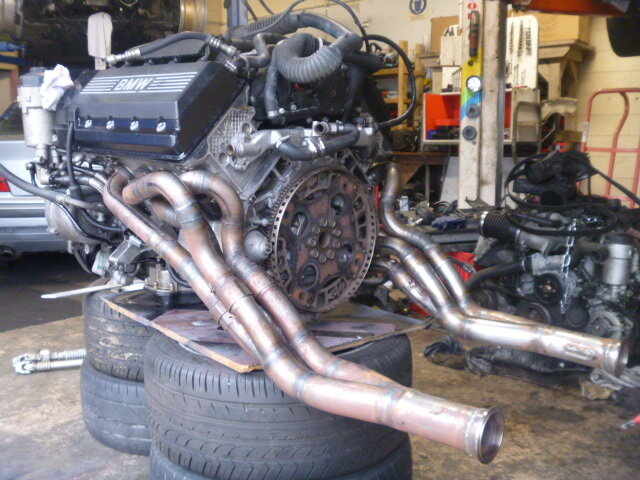
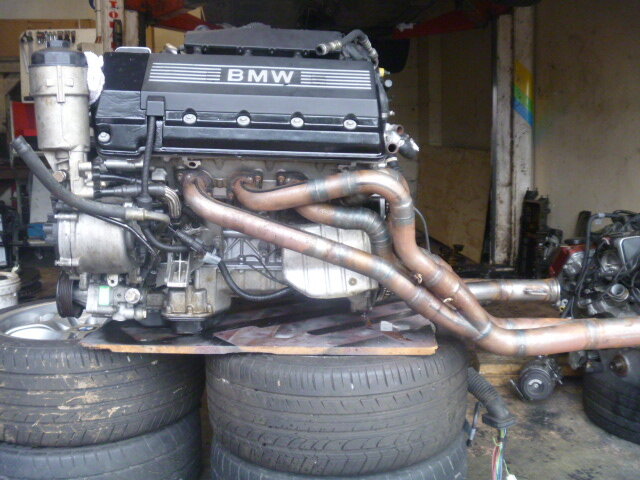
Getting closer team.
-
4
-
-
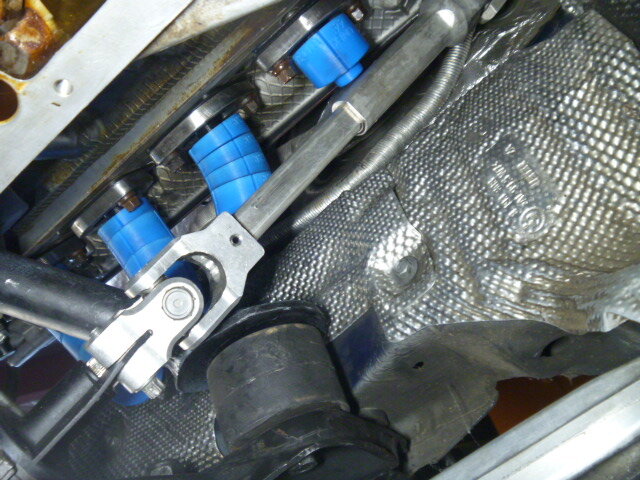
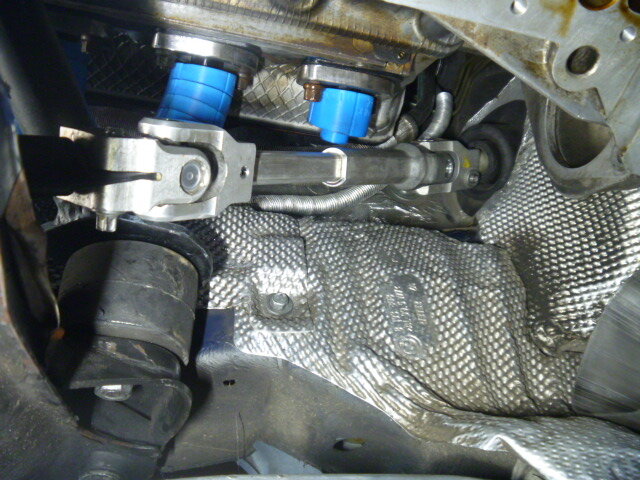
Hey Team
So have done a few more things to the project in the last few weeks. Installed the motor with new mounts to test postion, i had to slot the mounts slightly to get the engine to go back by 5mm. Shaved some of the material off the aircon bracket. Measured up front half of the drive shaft and needs to be shorten by 40mm. Fitted some 18mm frost plugs to the secondary air pump ports in the block. Sourced an e87 steering shaft and the piece that goes to the rack fits perfectly but the piece that connects to the steering column will need changing to the e46 one and Finally arrived my wiring harness from Condor speed, hope this makes the wiring up job alot easier.

Getting closer team
-
2
-
My E46 V12 6speed swap
in Projects
Posted · Report reply
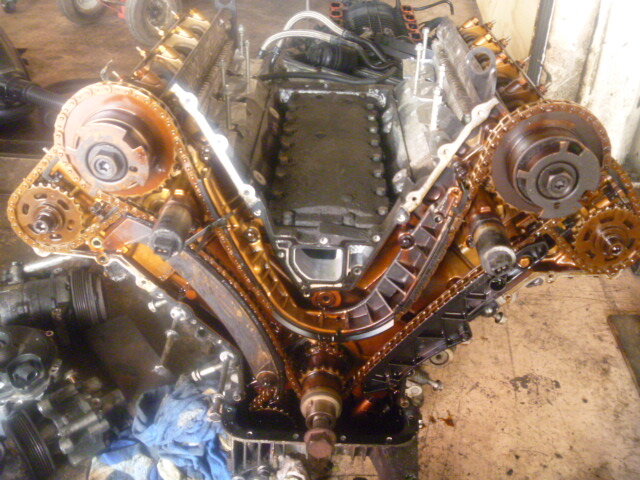
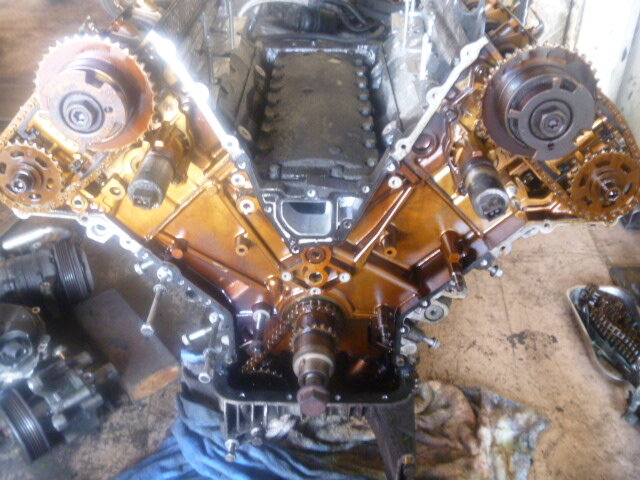
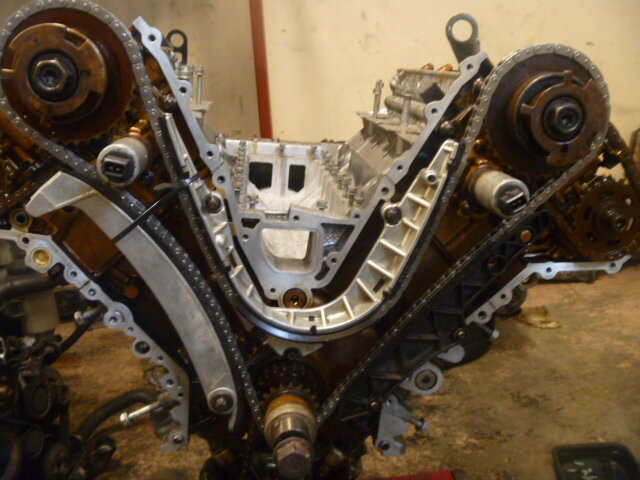
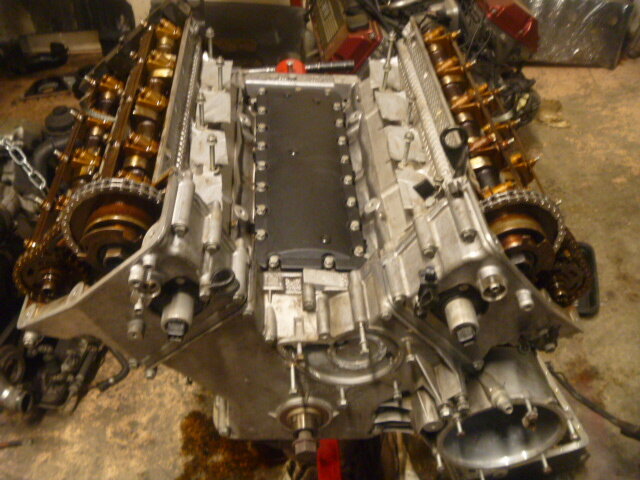
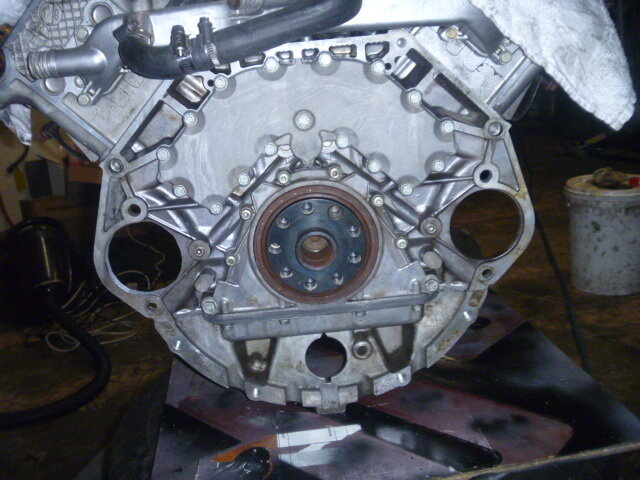
Hi Team
Long time no post, just been a bit slack with the updates but still trucking along with the projects.
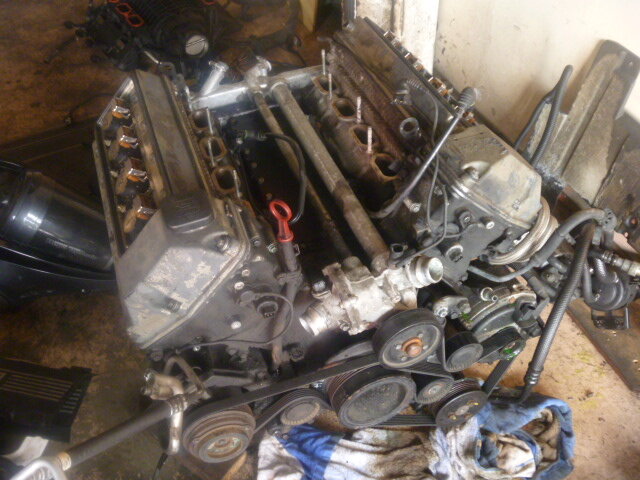
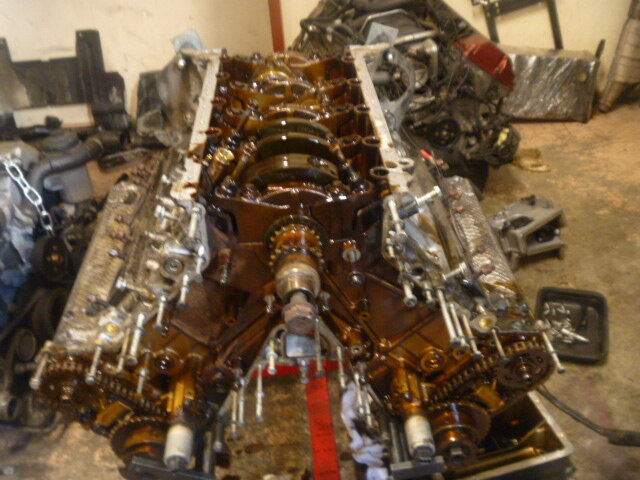
So bit of a big change in plans with the oil pump. When i bolted the X5 pump for a test fit the pick up was going to be way to low and clearance was going to be a massive issue.
So back to plan A which is to use the n62 pump which im pretty much 80% through.
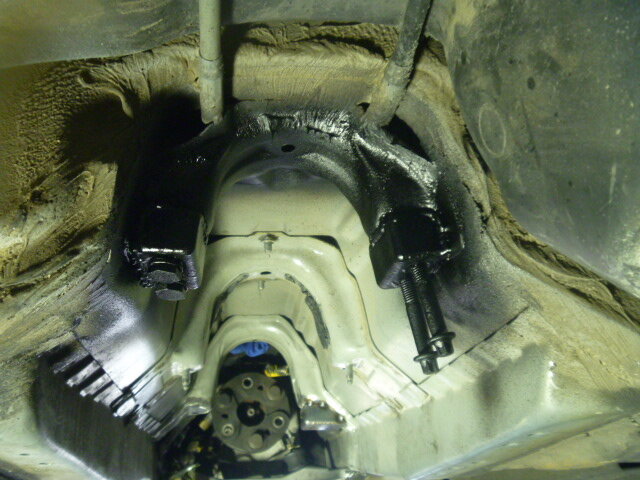
Lucky for me the headers just needed one runner slightly hammered in.
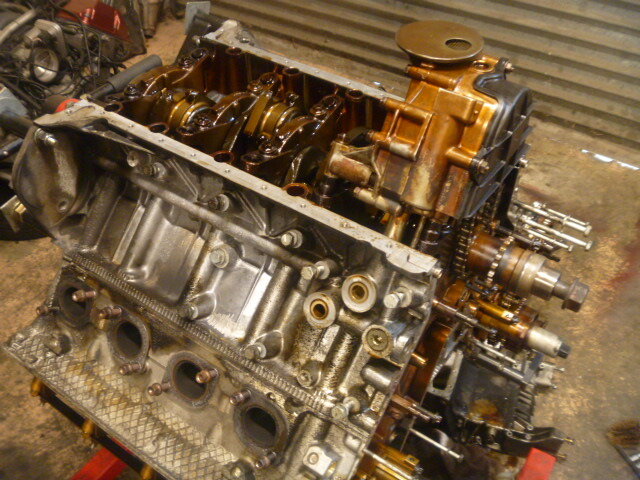
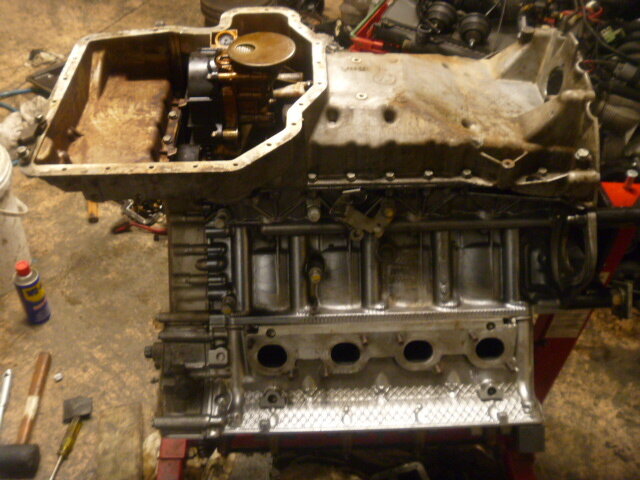
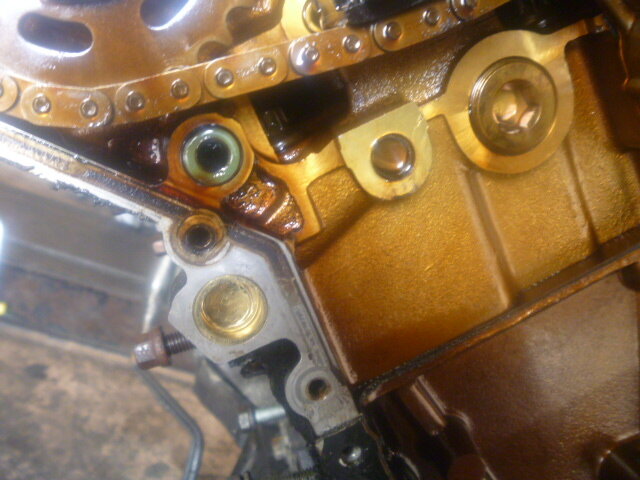
The sump itself had to be machined 3-4mm
Bolt hole had to be slotted 5mm inwards to line up the hole.
Found that 4 connecting rod bolts were fouling on the oil pump.
got the angle grinder out and took off about 2mm of material.
Exhaust painted
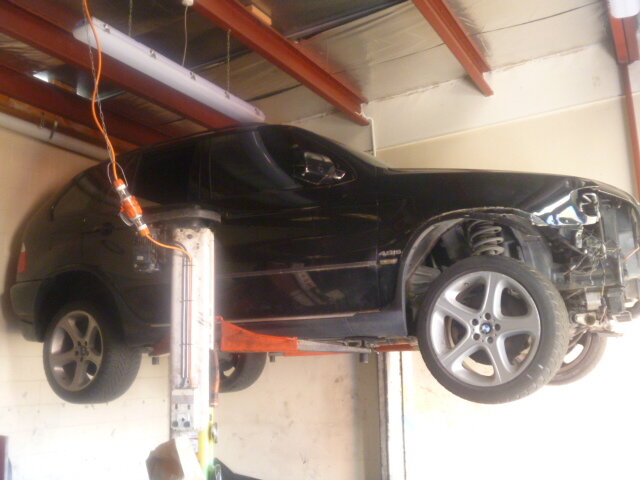
Rolled the guards to fit the 18x8.5 square set hamann wheels
Really can wait to get this car going.
Thanks Team