

325_driver
-
Content Count
1430 -
Joined
-
Last visited
-
Days Won
20
Posts posted by 325_driver
-
-
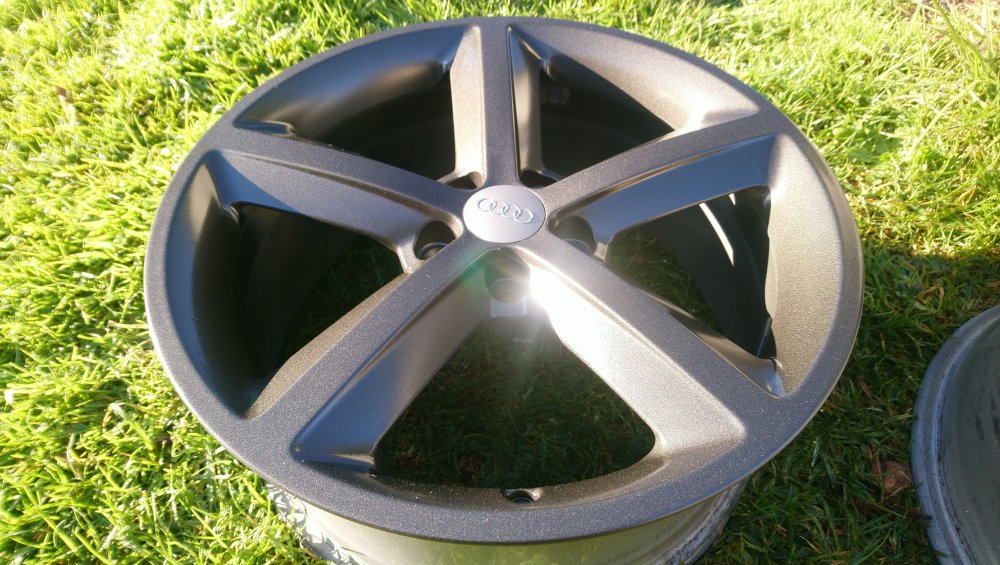
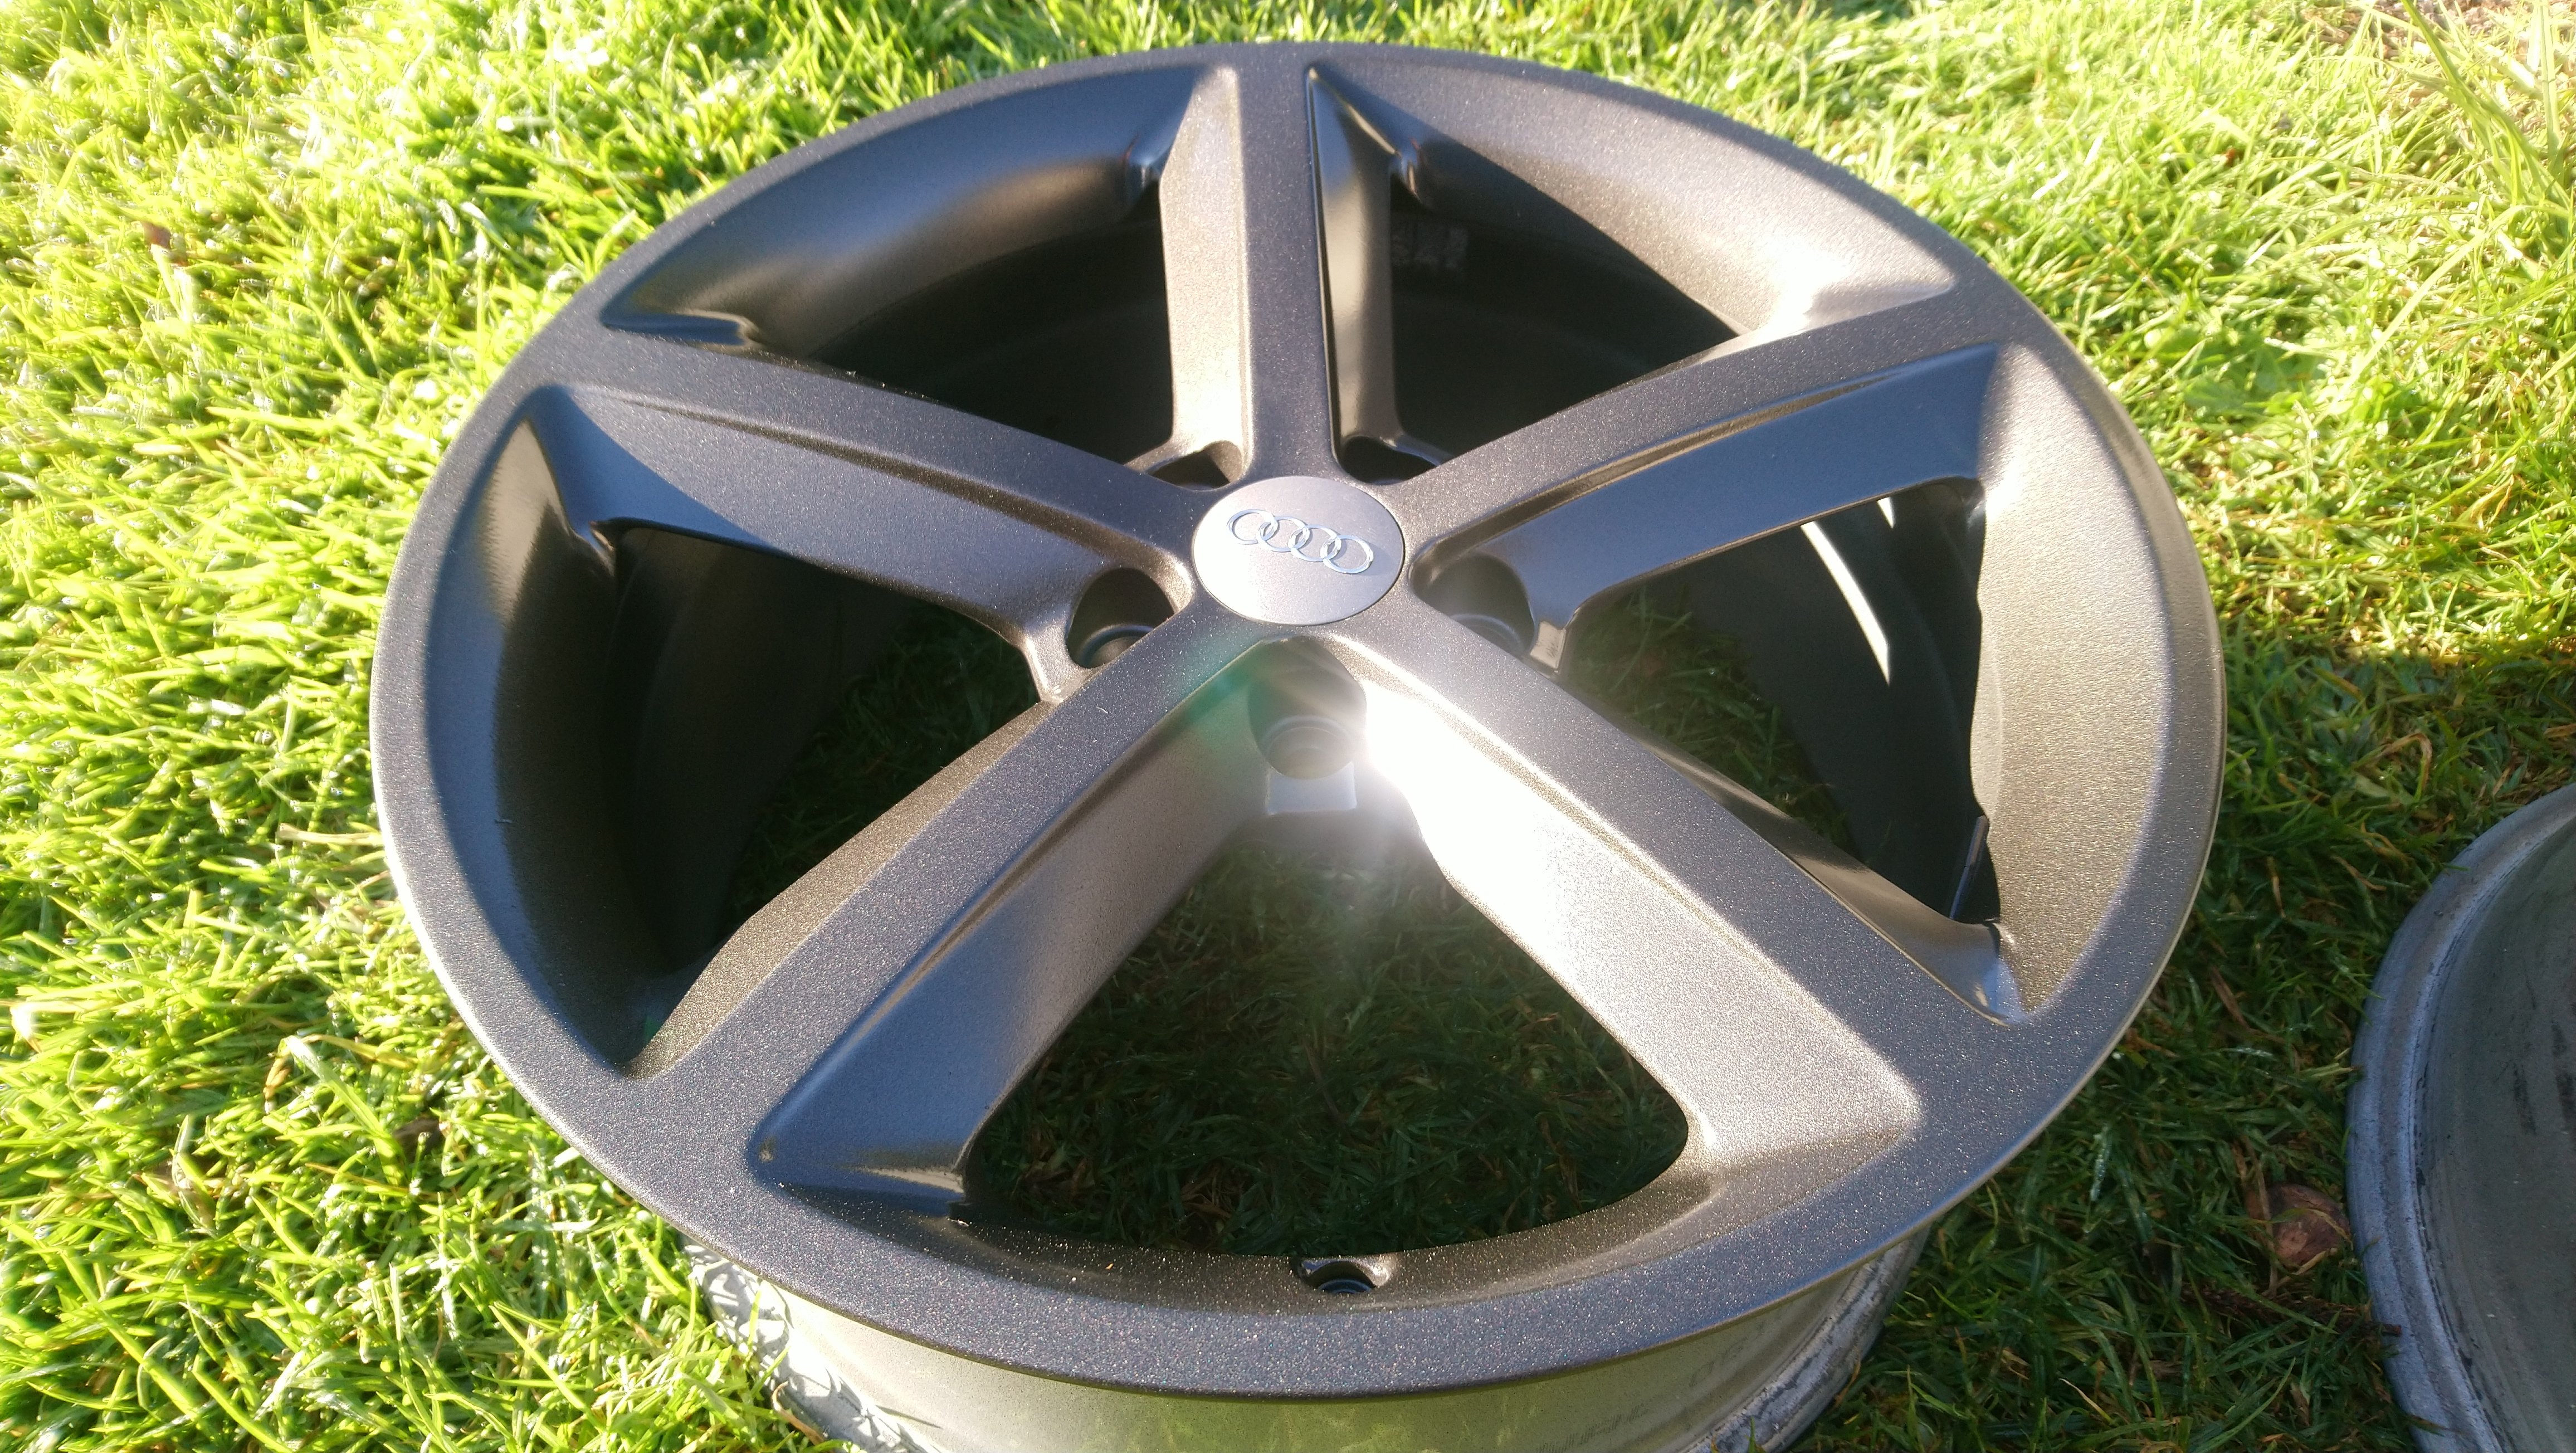
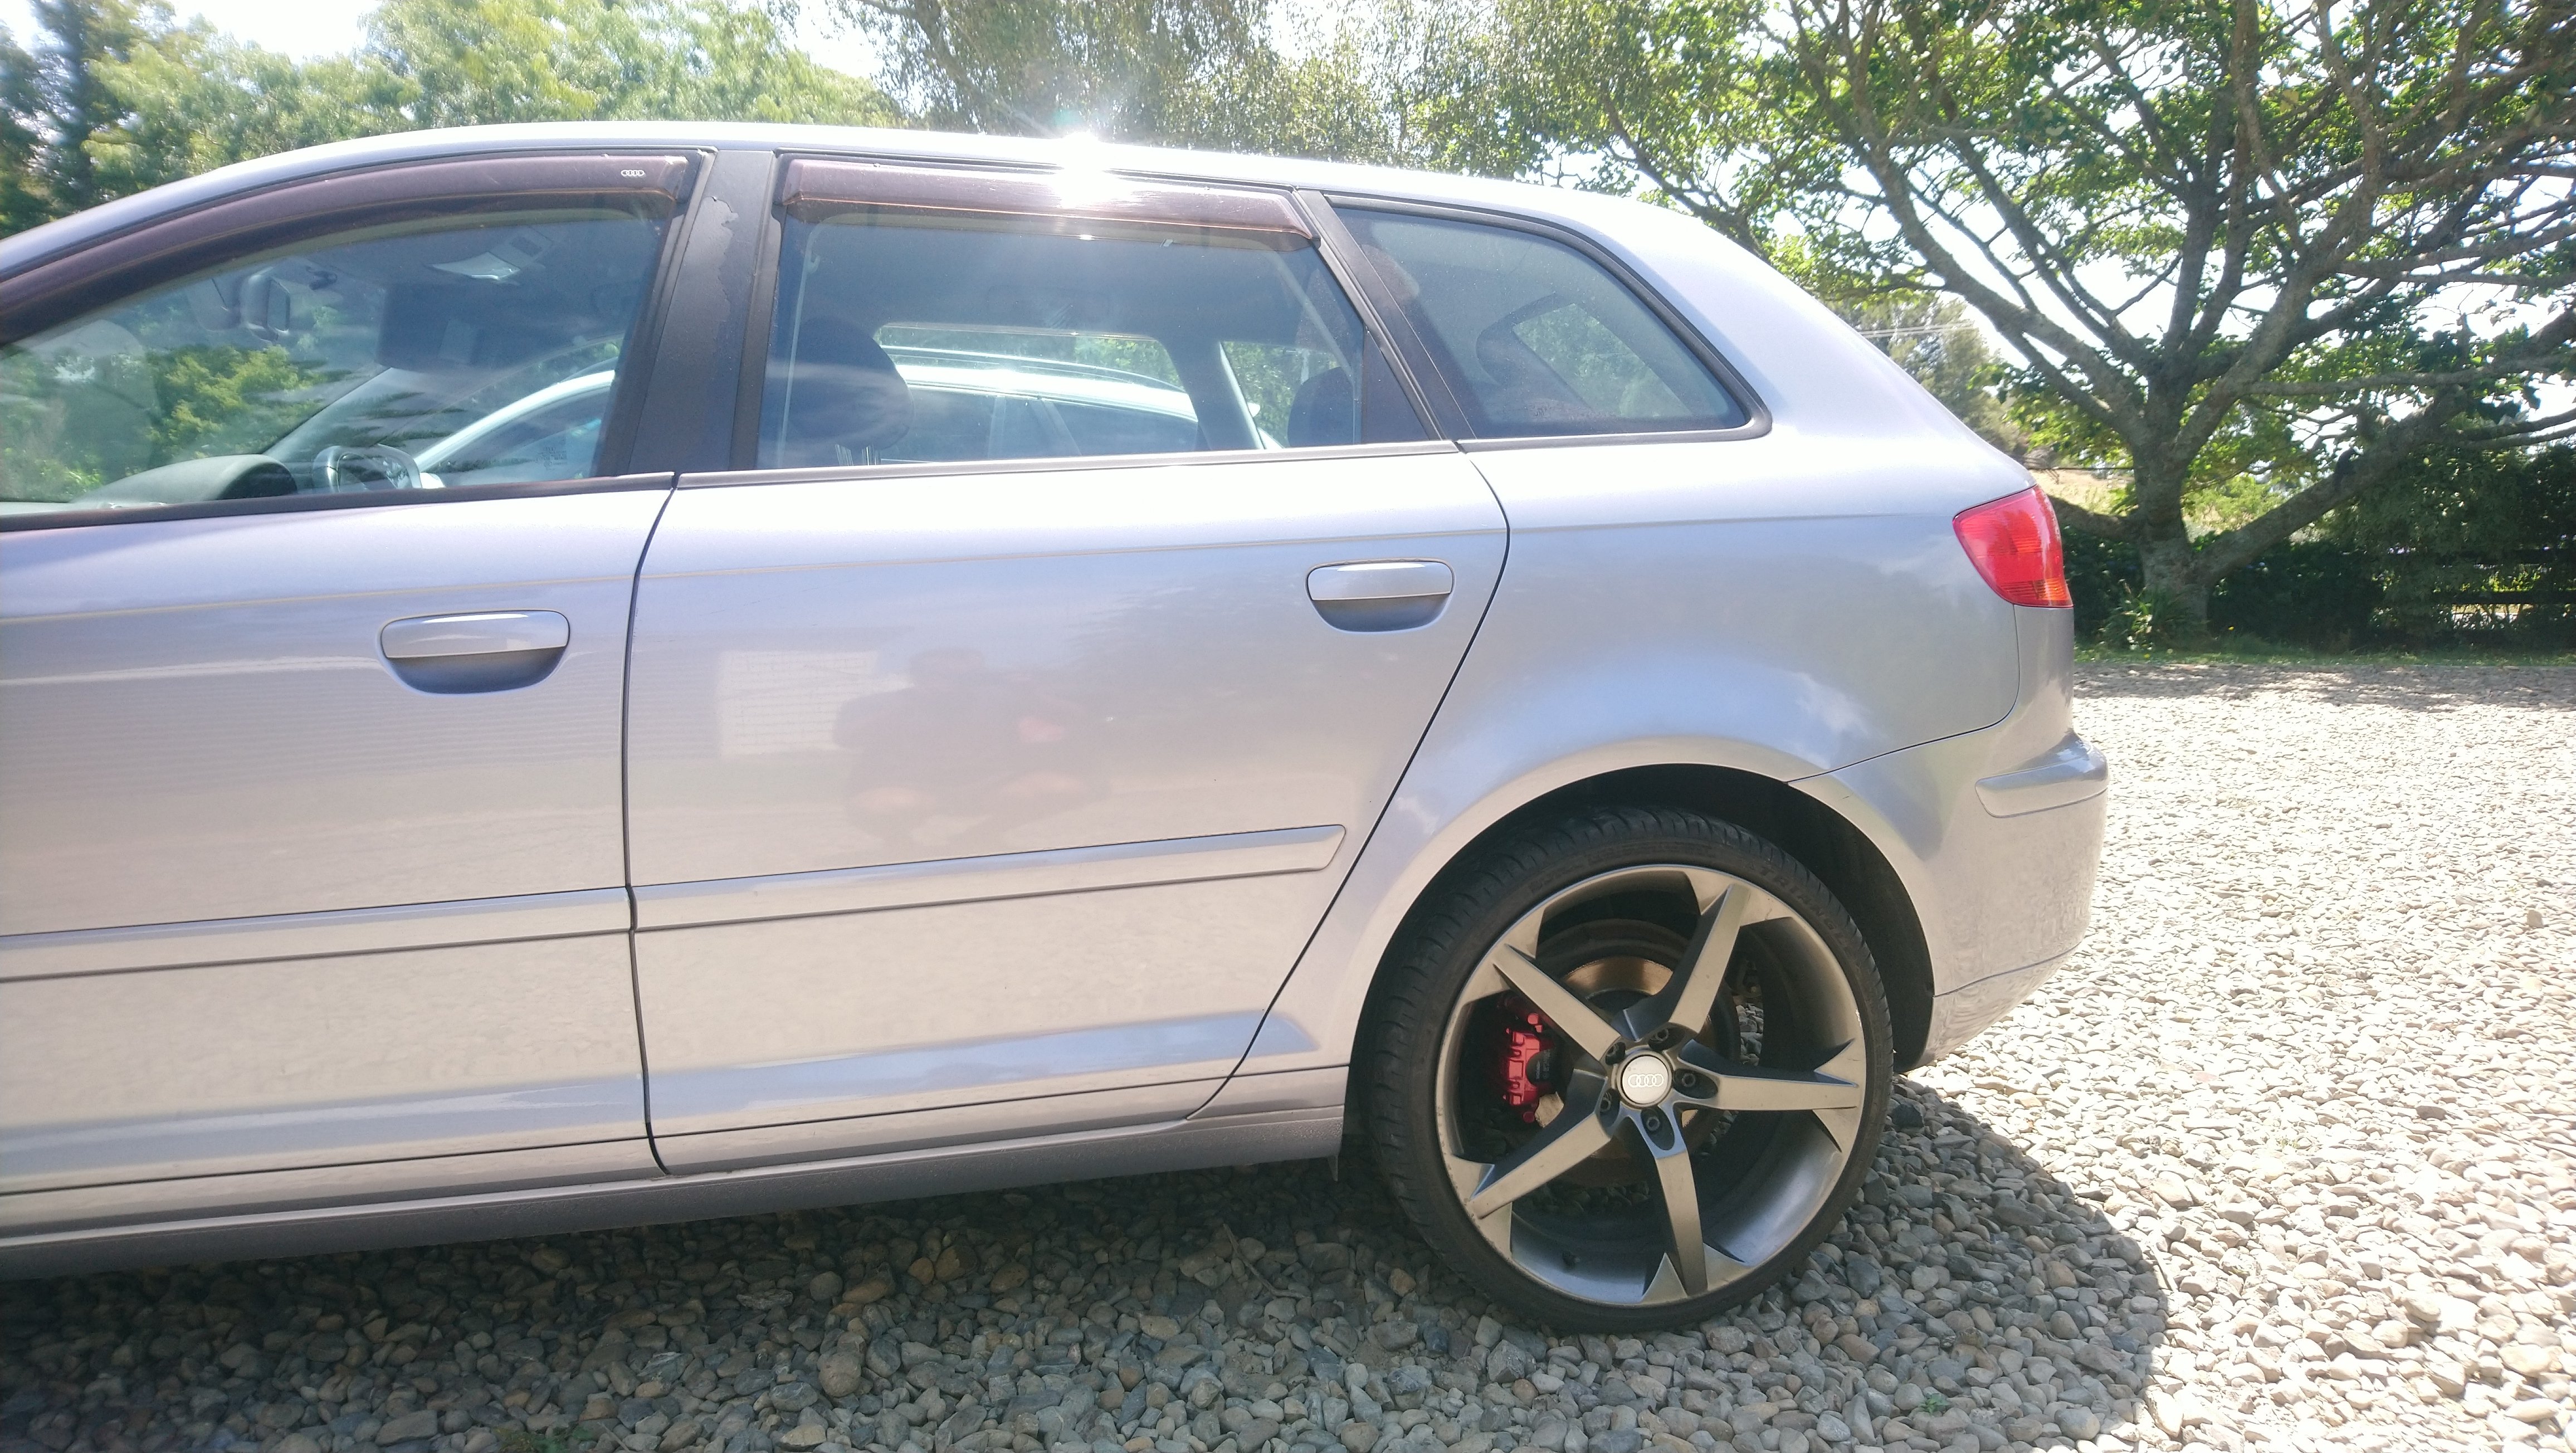
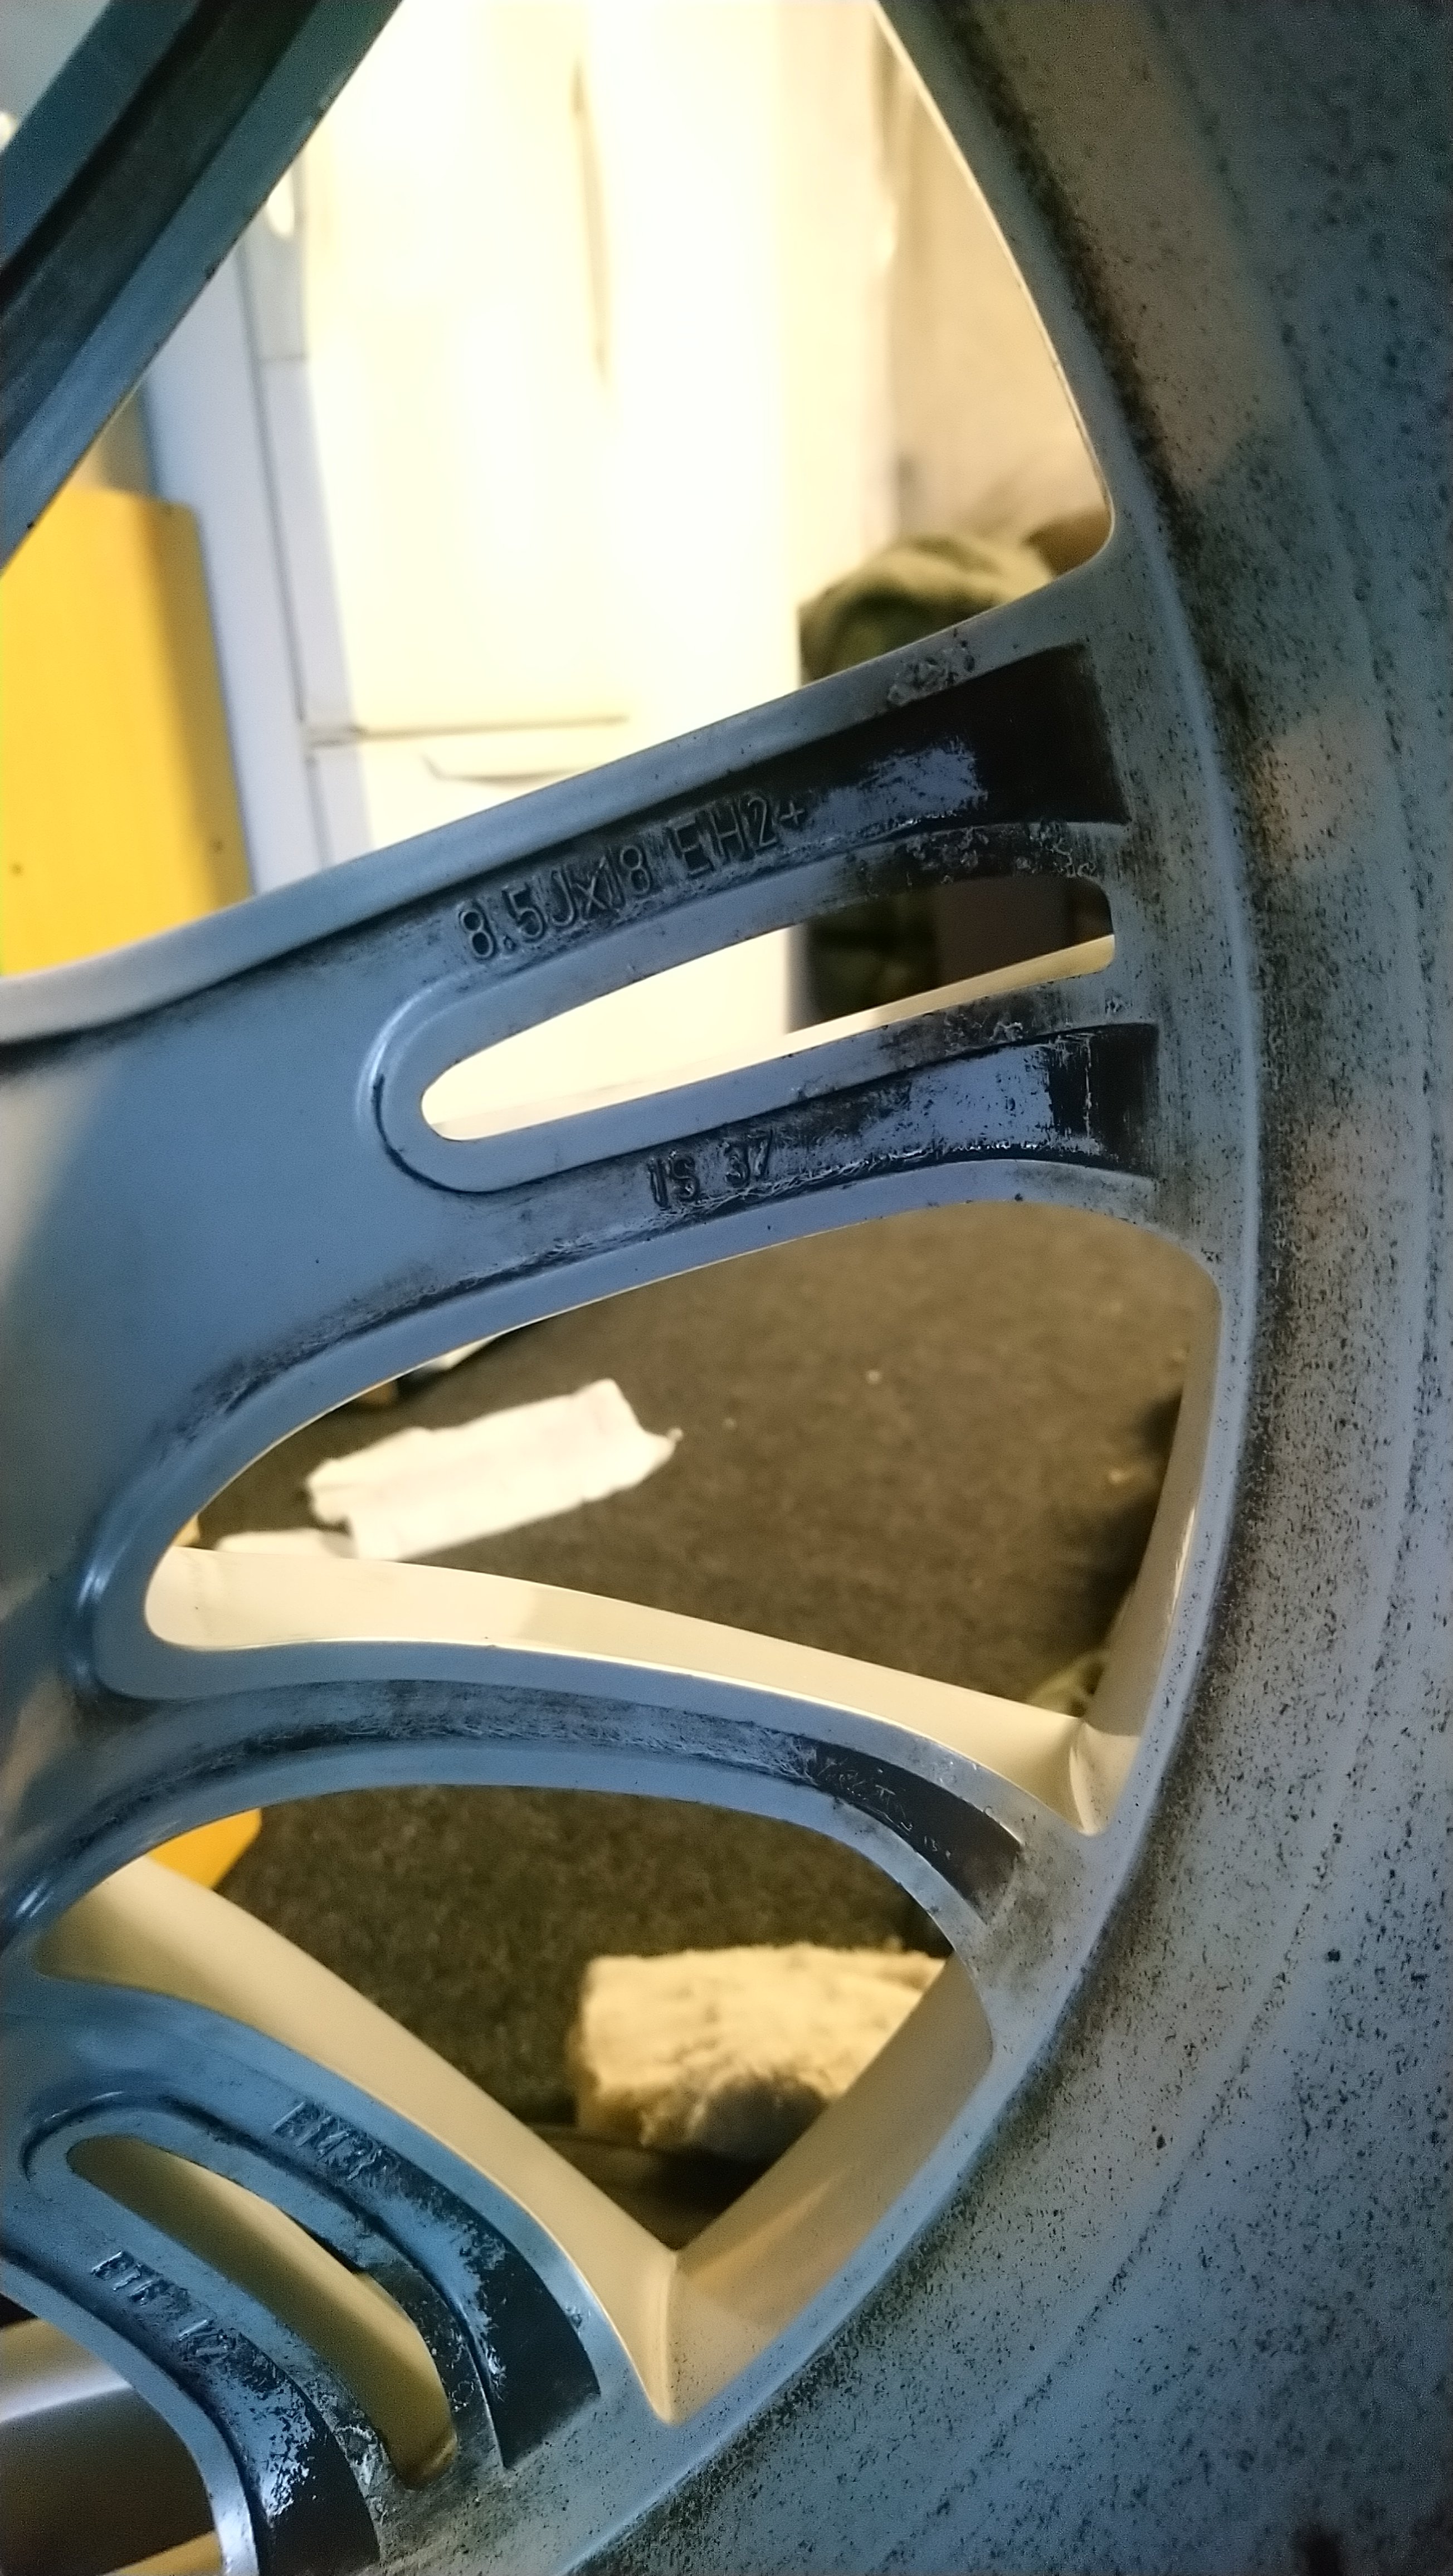
@Jacko I'll upload when I'm done on mine too, I'm going a light shade of gun metal colour on it. If you got a spray gun I would recommend this paint called CV AUTOTHANE it's 2pk paint and had some real nice finishes. Had it on some wheels that have done 10,000km+ and holds up to road conditions and stones no sweat.
Cheap too, 200ml will cover faces for all 4. (+50ml 4:1 hardener) <$50
These are all in CV AUTOTHANE, gunmetal colours are matte thunder, dark shade is called Terminator. Autolink group supplies the paint.

-
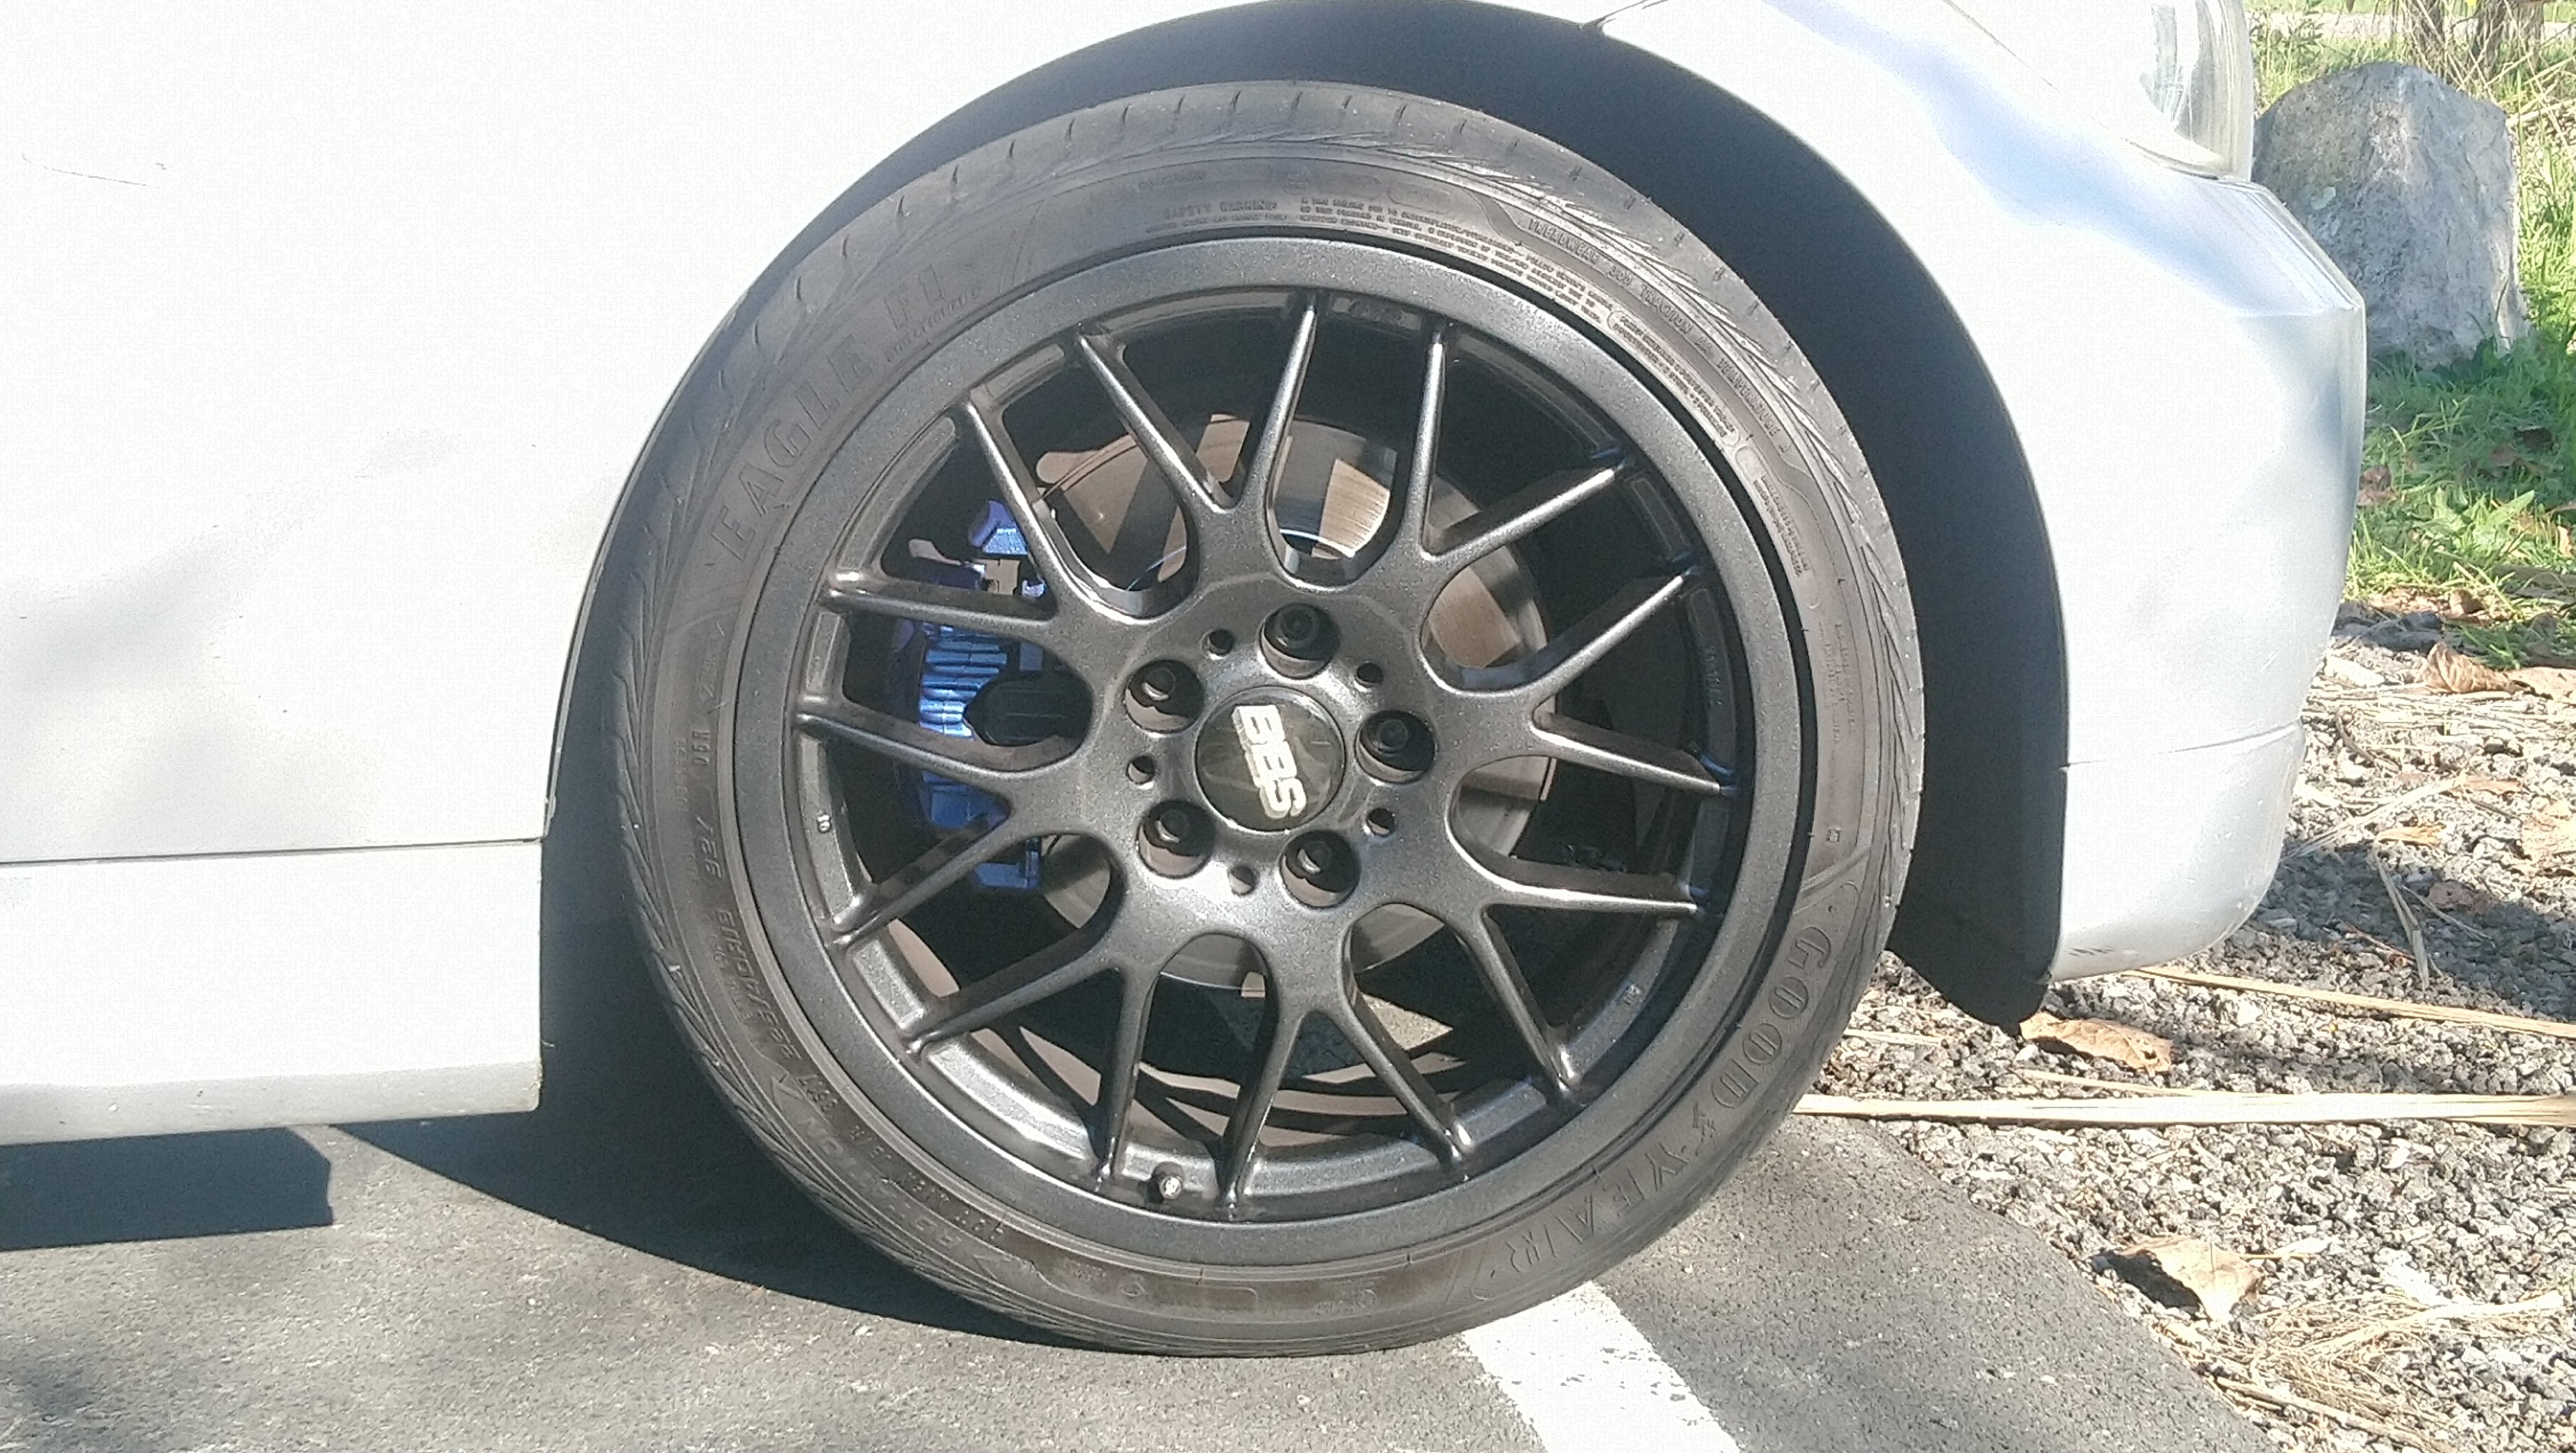
@qube no 8" have 255s and 8.5" have 255s too. I'm stripping tyres and painting them anyway. They are hifly on them, I'm using a spare set of potenzas or eagles
-
 1
1
-
-
-
-
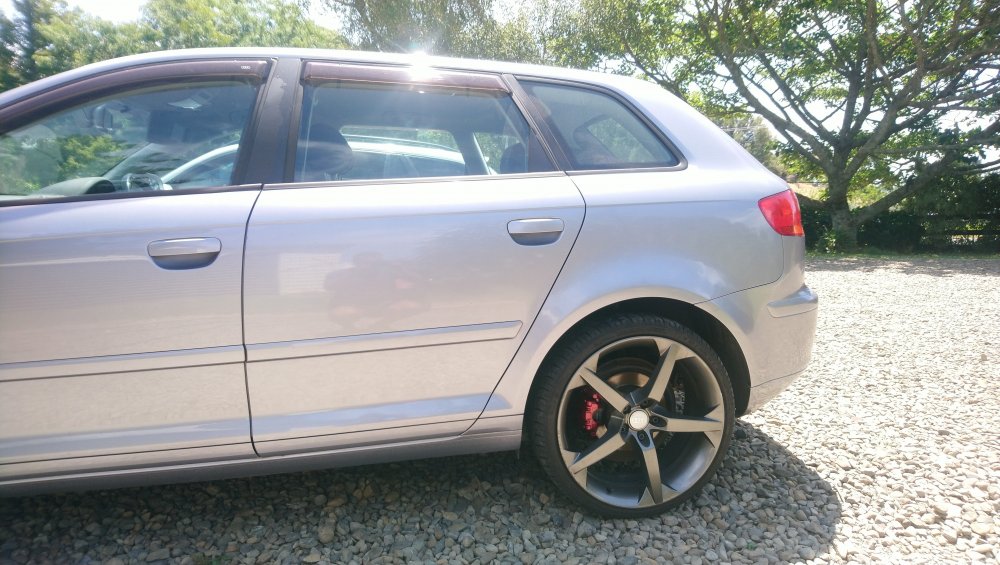
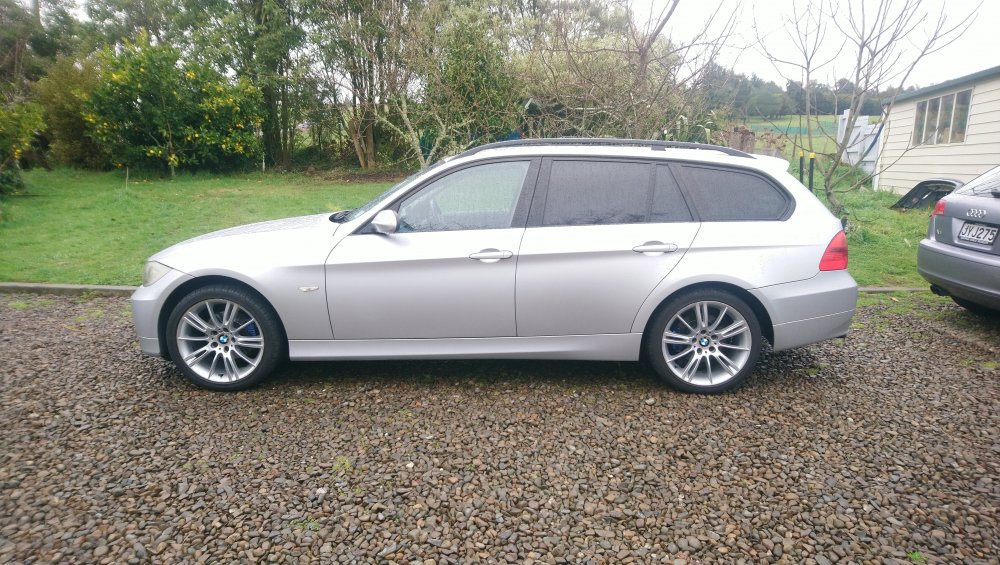
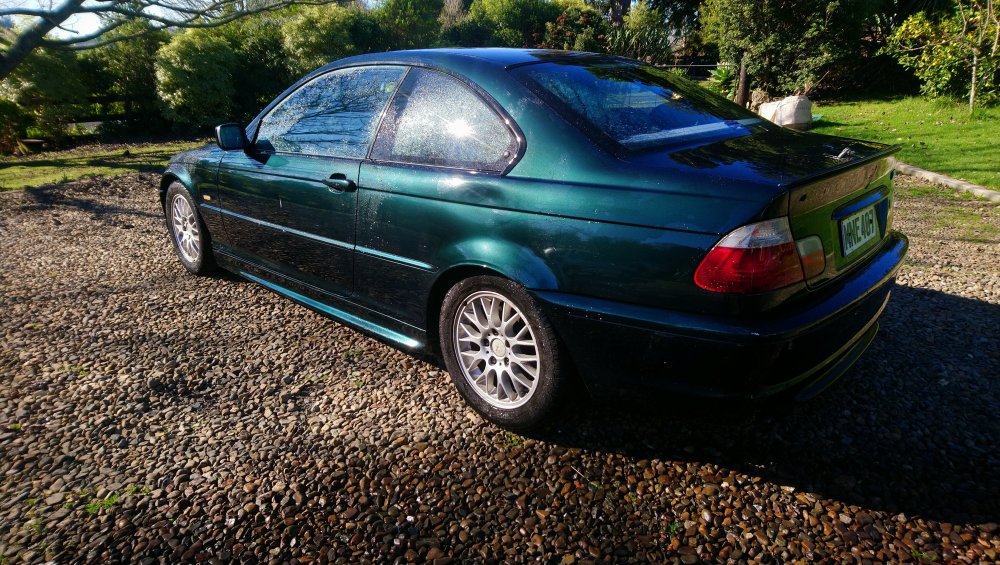
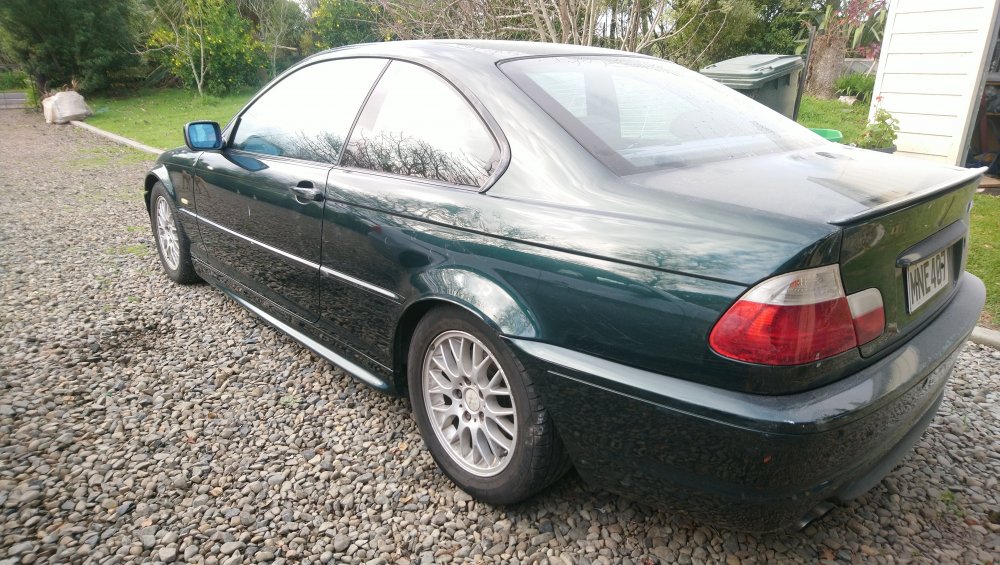
Picked up a pair of OEM style 193 for the e91 wagon. Been waiting for ages for them to pop up!
They have 255s all round which fits nice but a bit too wide for my liking, going 225/40 all round since I have a spare set of potenza re050a run flats
Will be going gunmetal after I deal to some light kurbage.

-
3
-
-
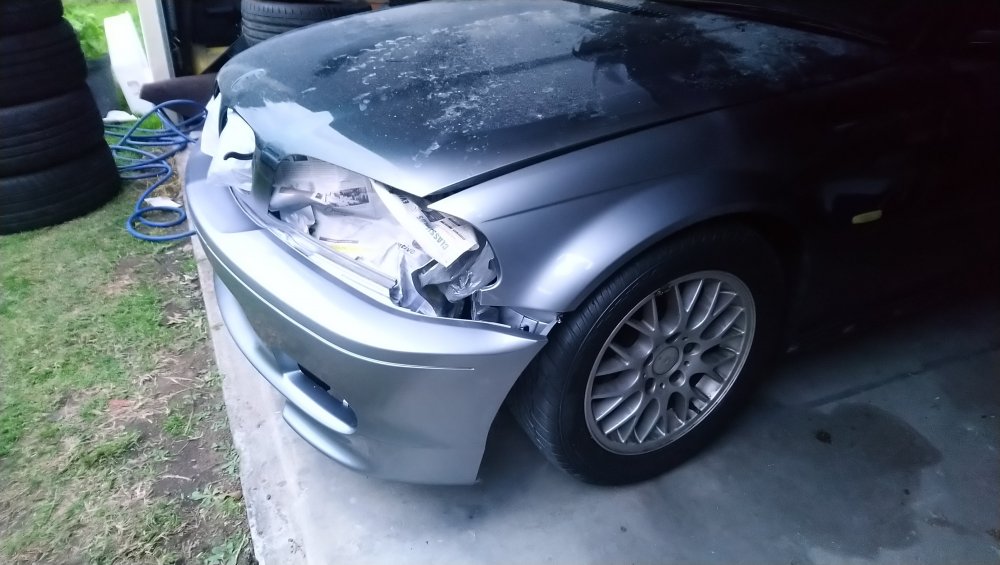
12 hours ago, Olaf said:left side dent under the hofmeister kink, as you've still a ways to go - how about the old-school slide hammer
Yeah had considered that. I have a heat gun now, pretty sure with heat gun plus suction cup I'll get it. I was making progress with the hair dryer and suction cup on it but very slowly.
Would be super happy if someone in Tauranga had a rivet gun / dent puller and an angle grinder haha. Oh well, hard road for me.
The rhs quarter panel is within micro meters of something I can live with, guide coats showing less and less low spots. Never thought I'd find it such a challenge!

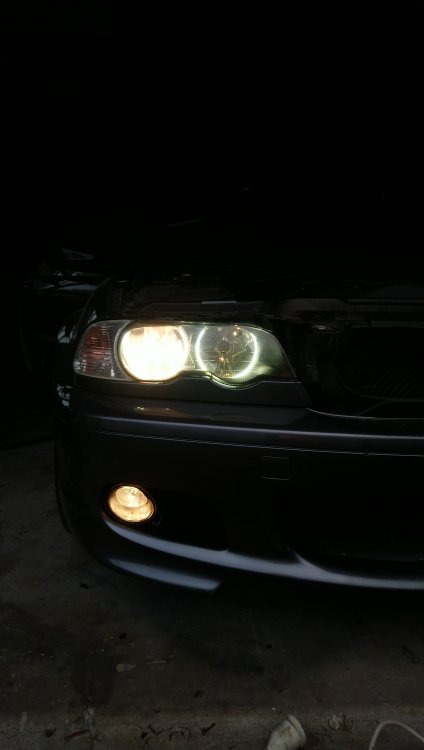
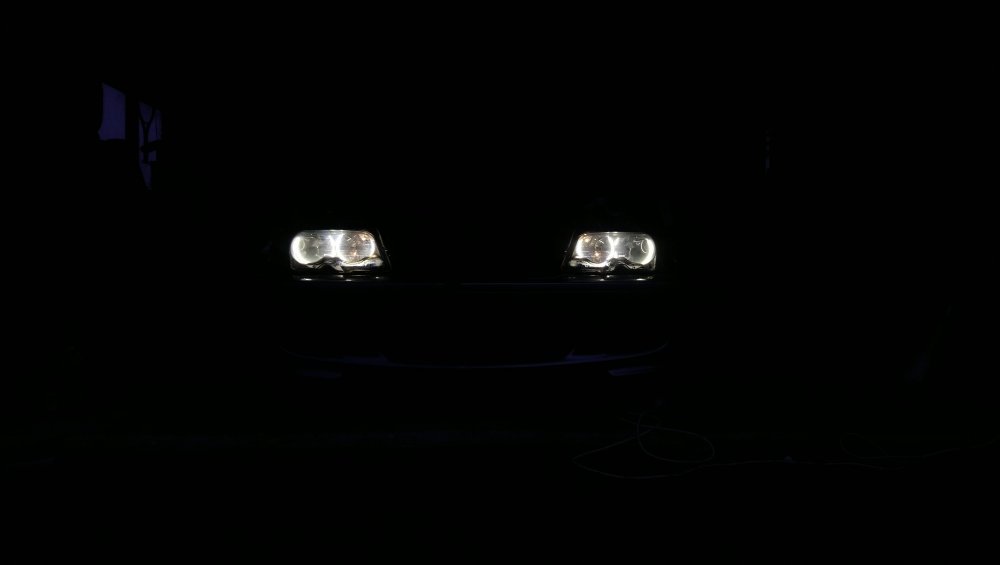
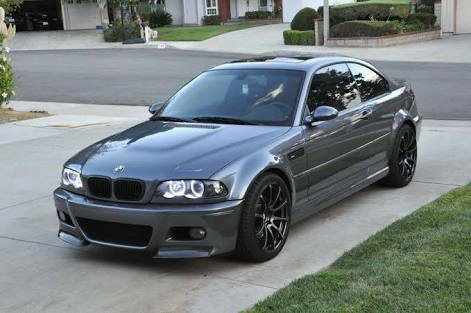
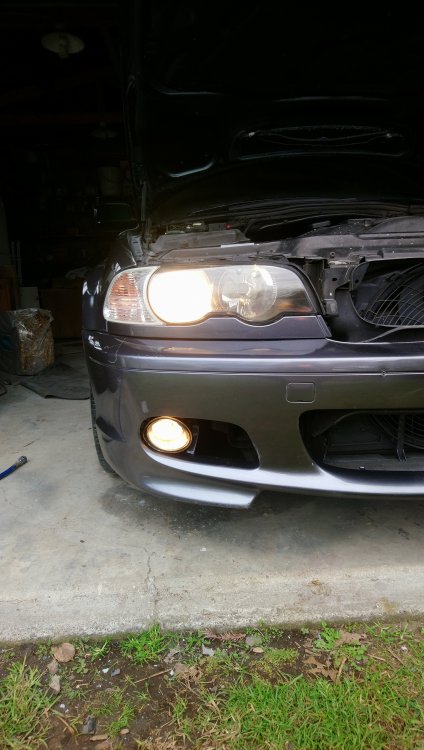
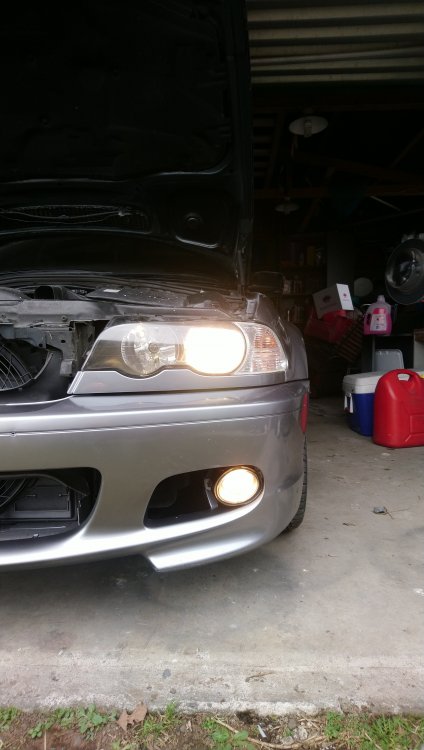
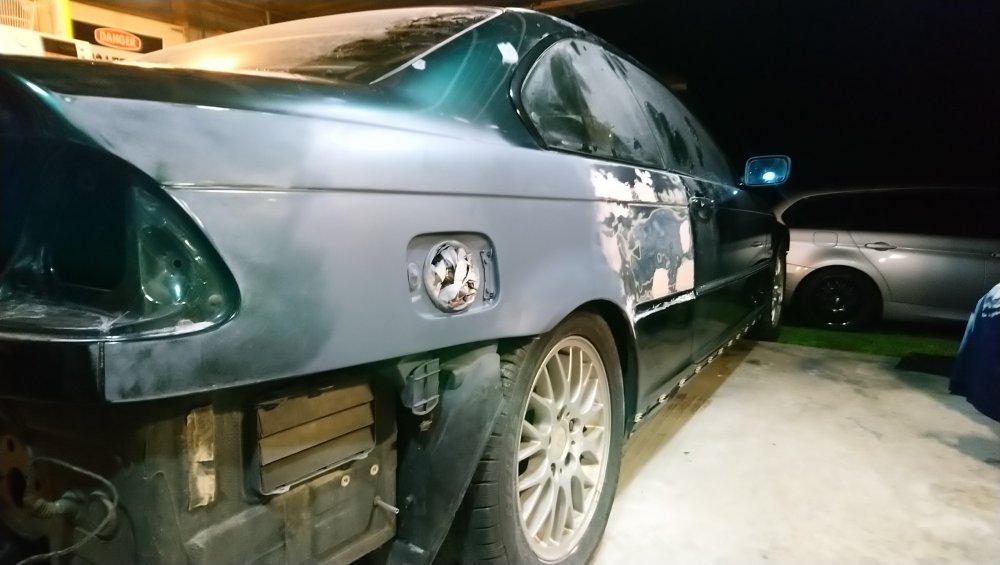
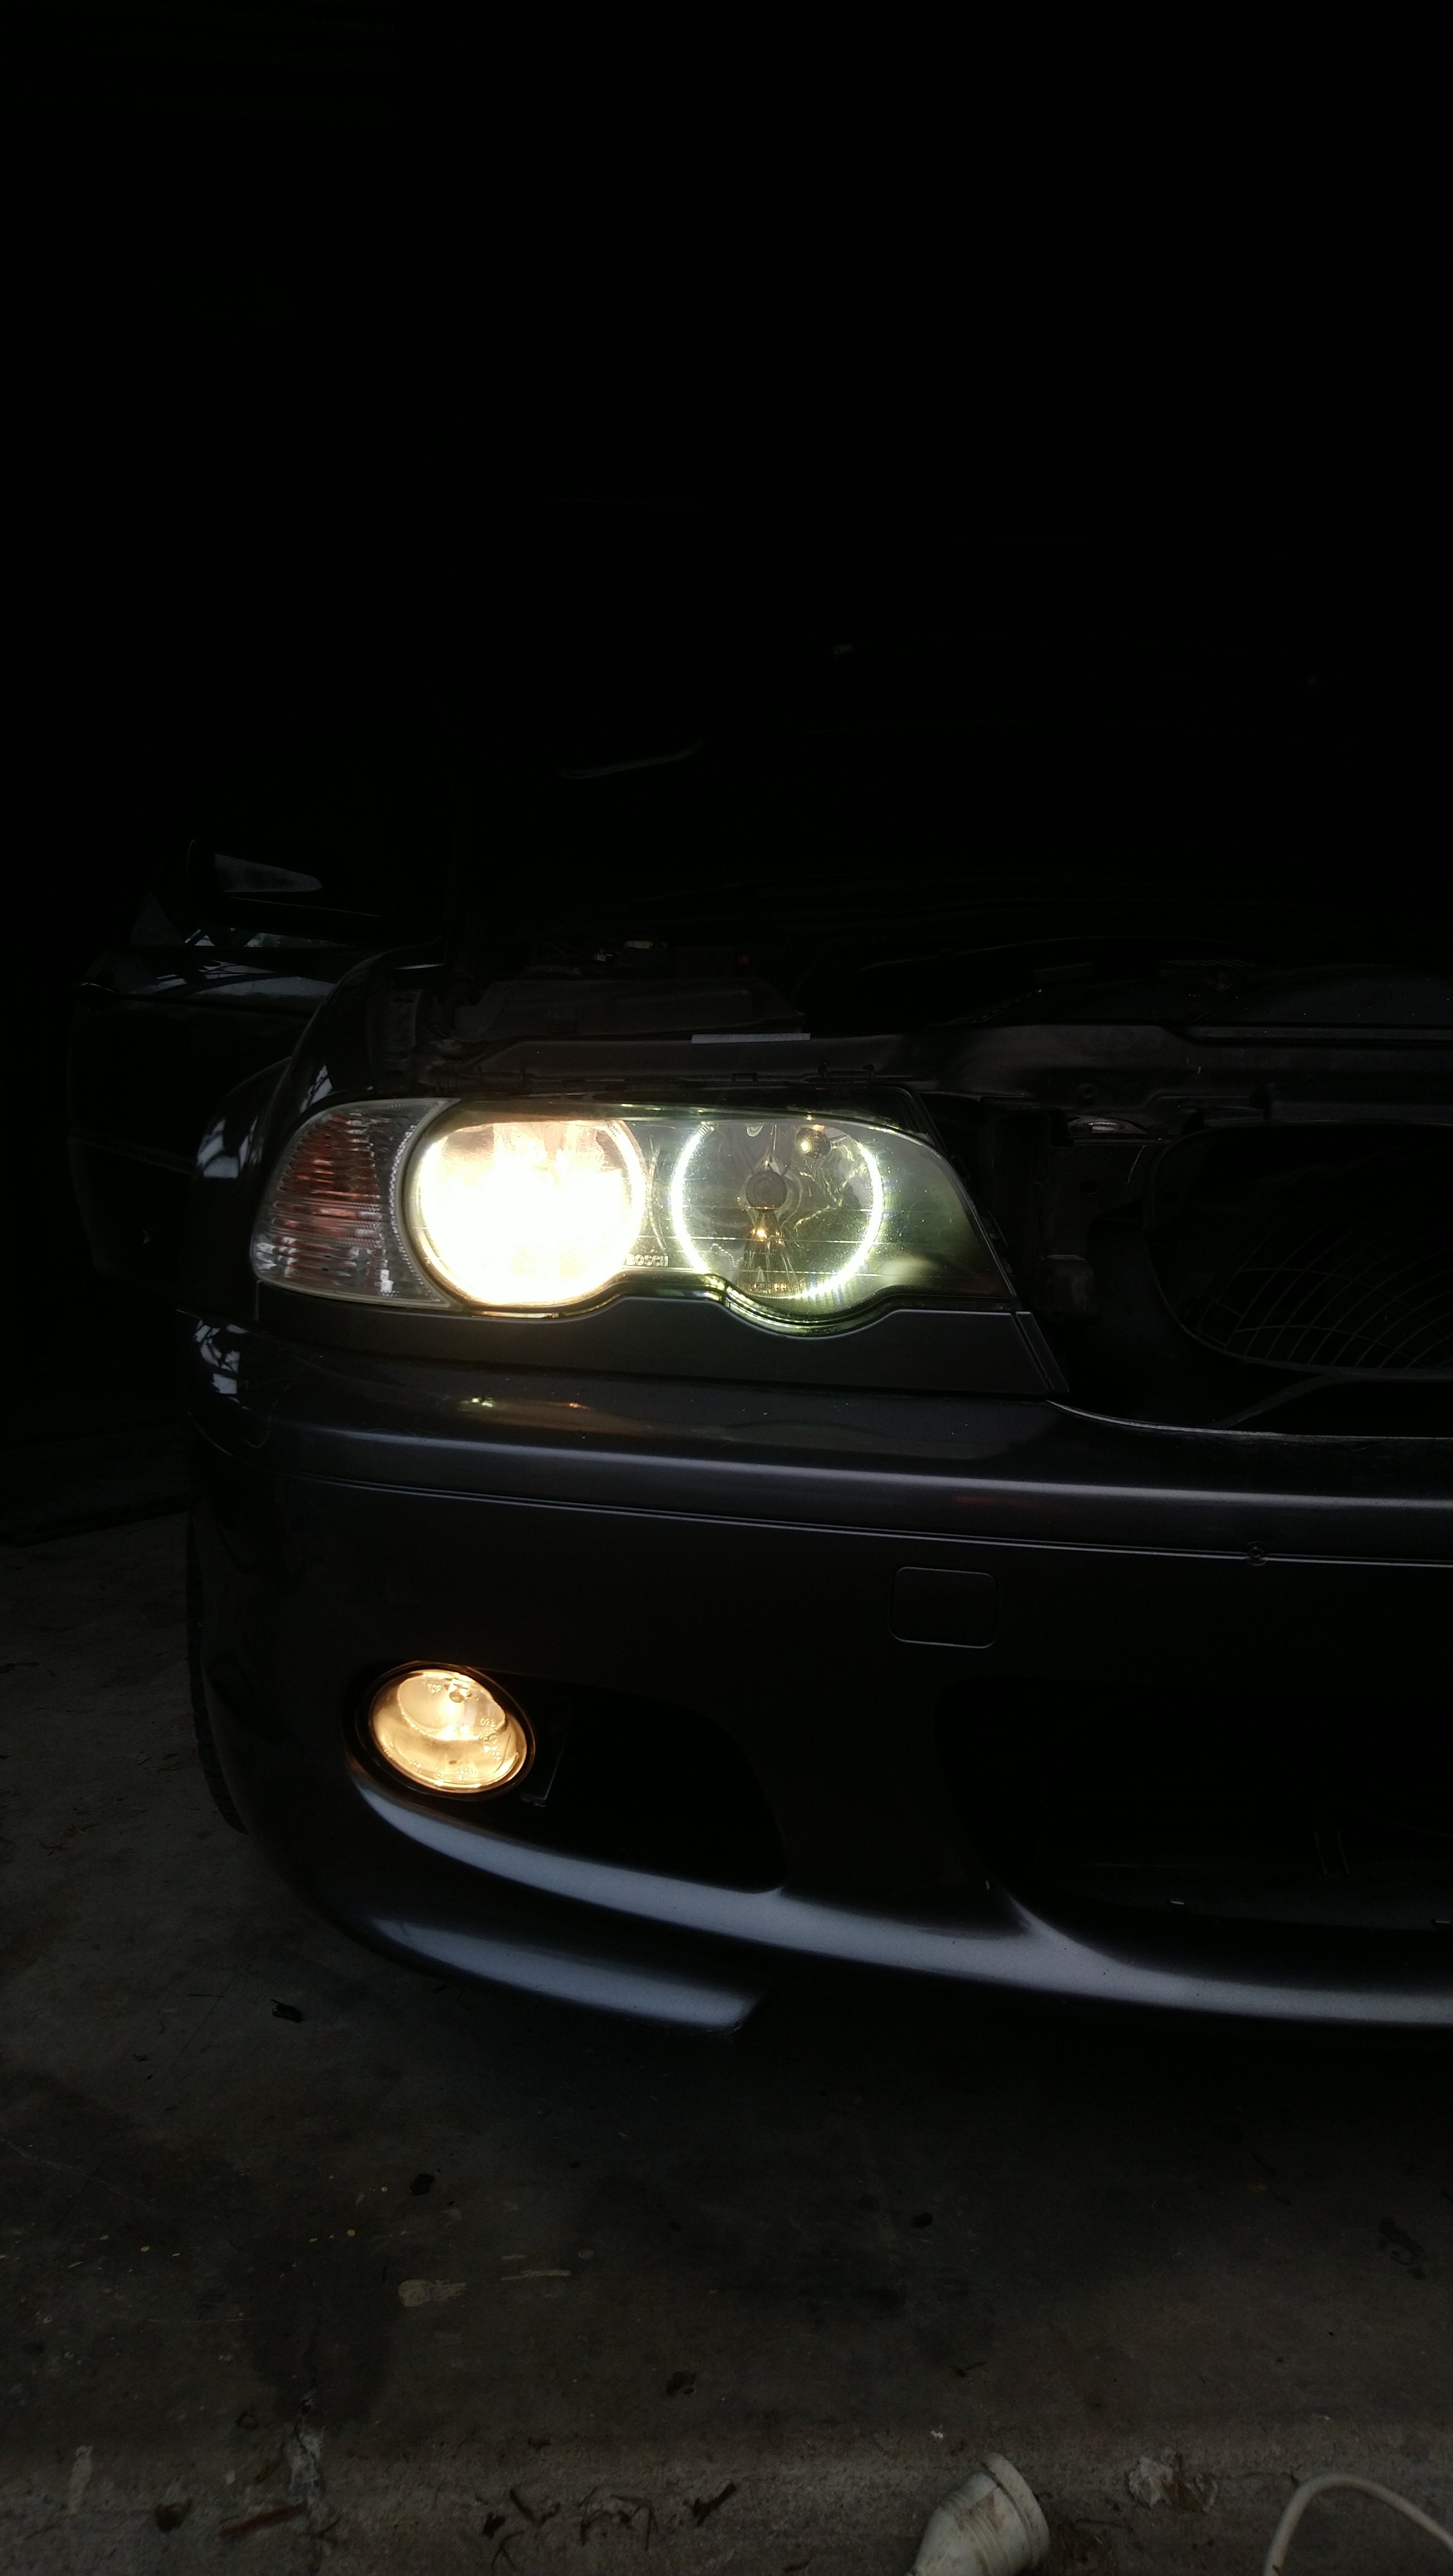
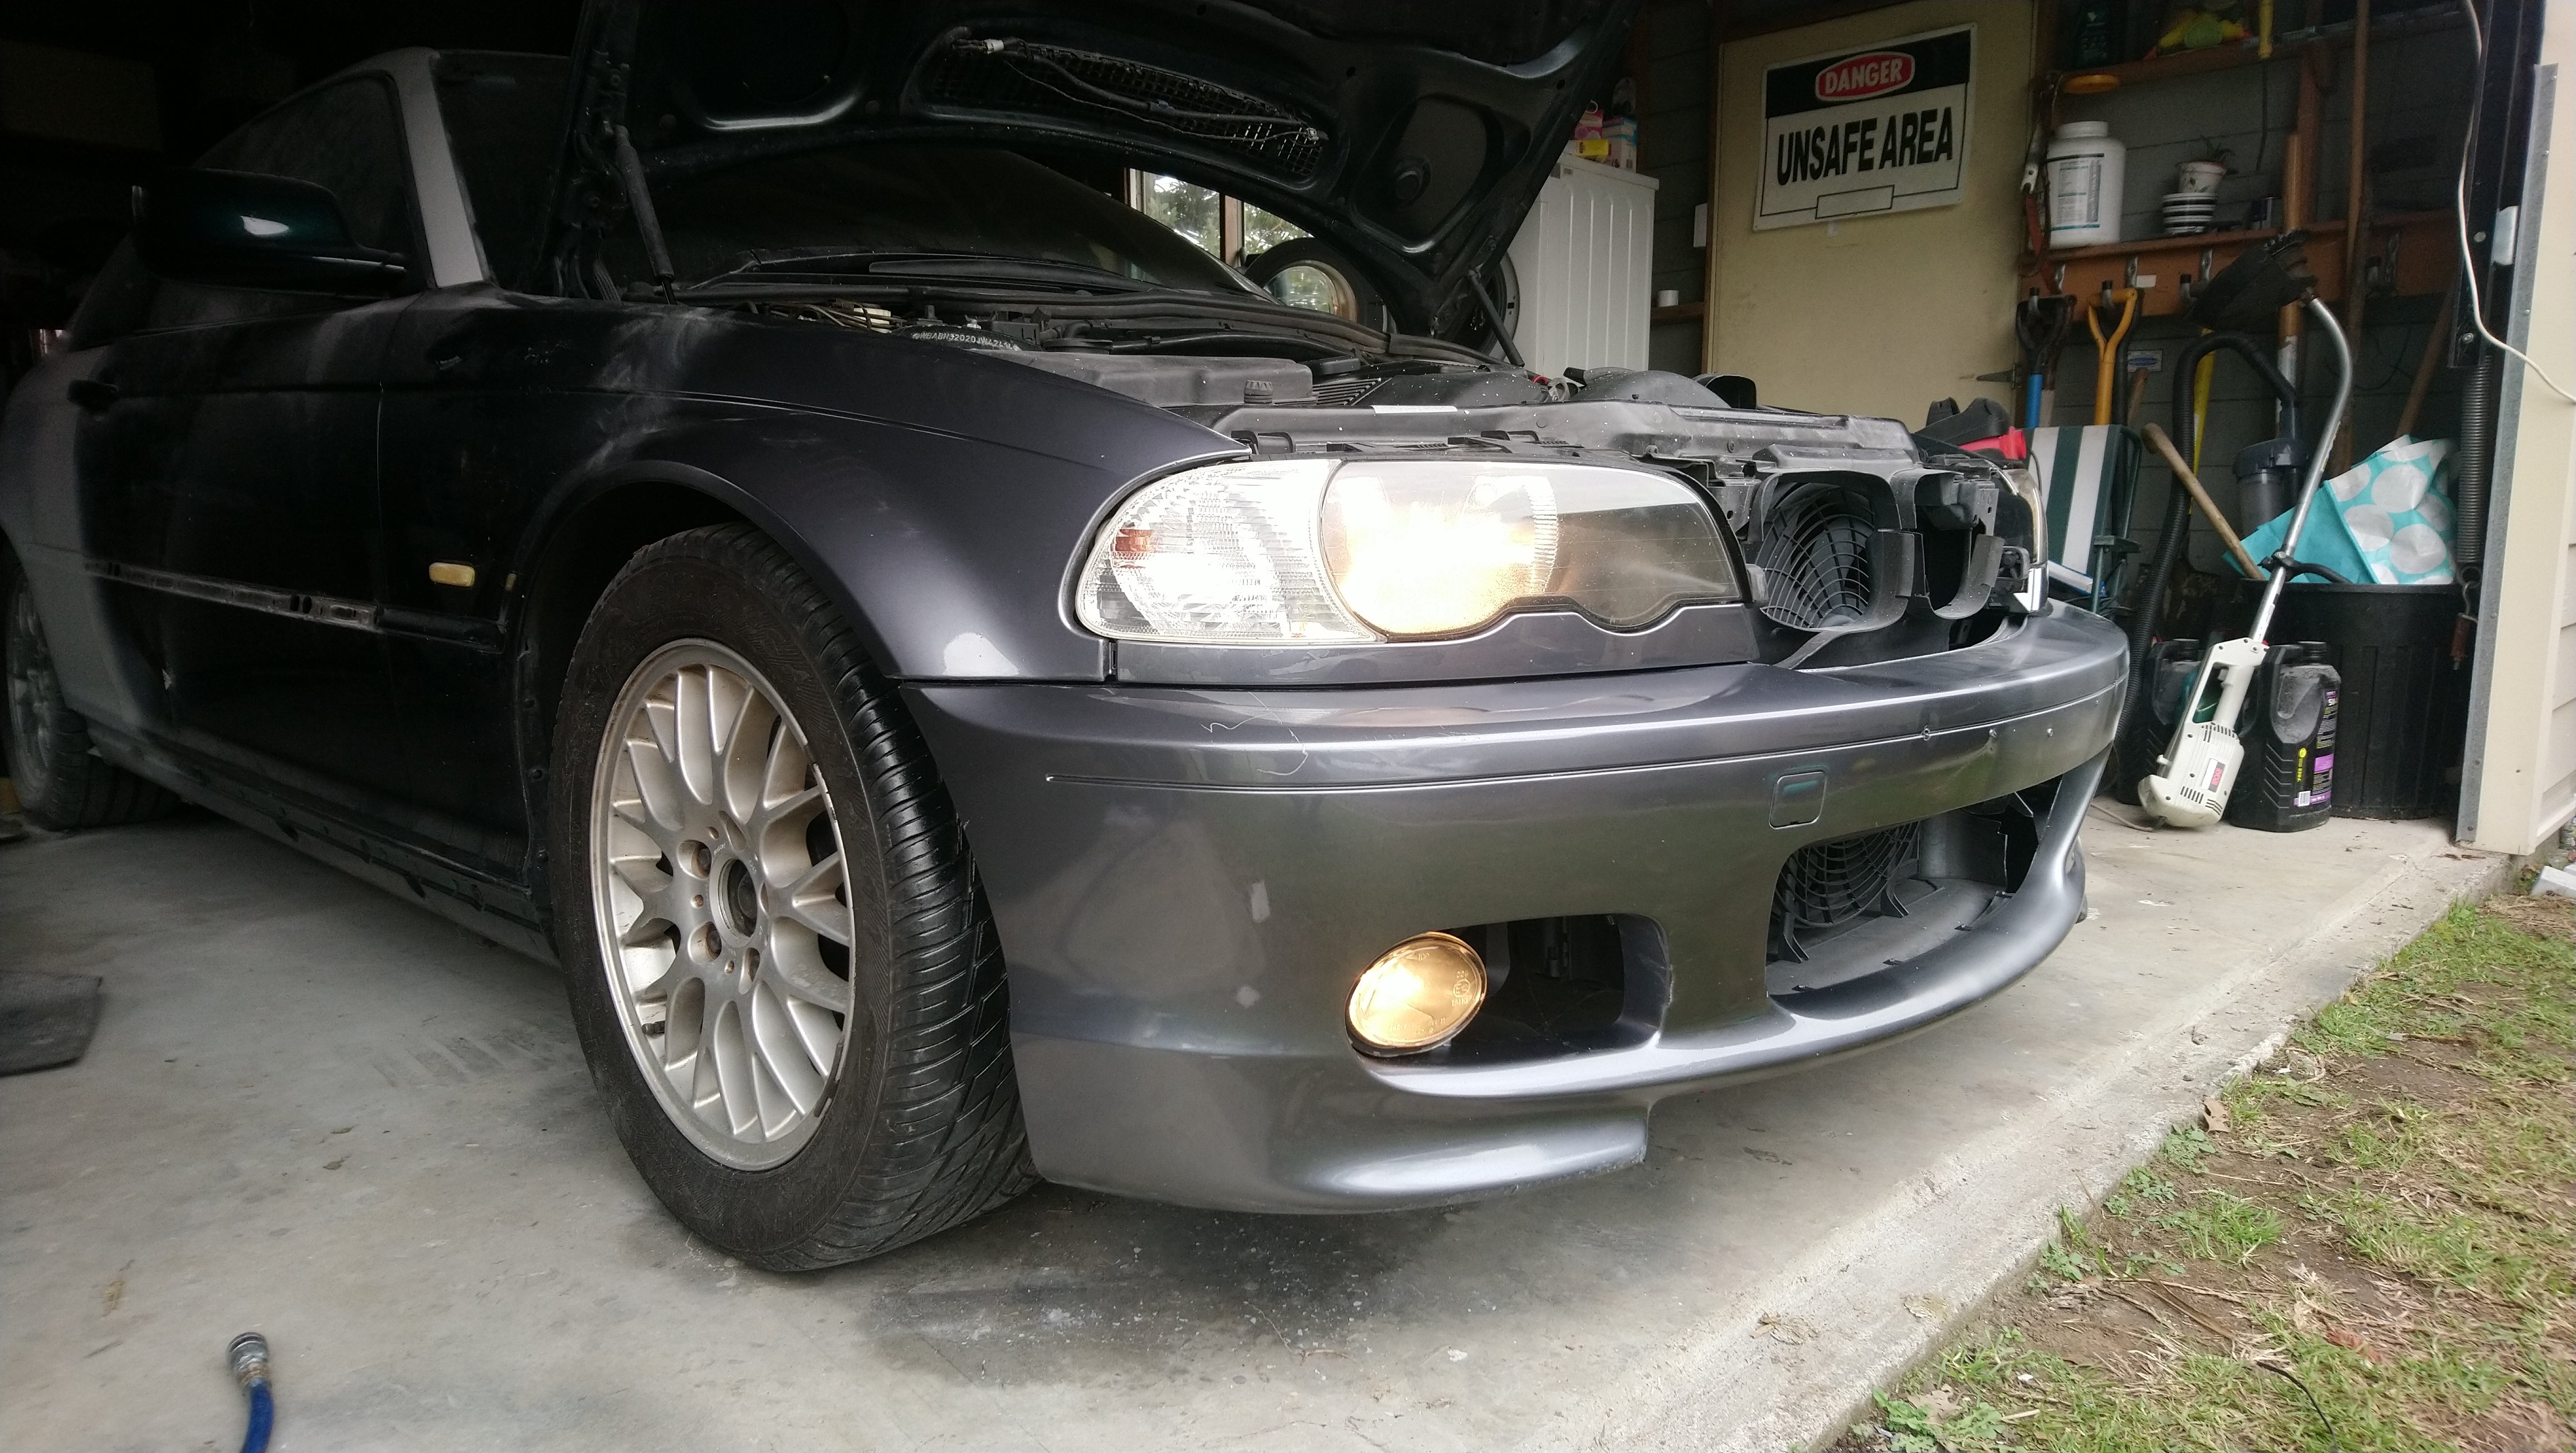
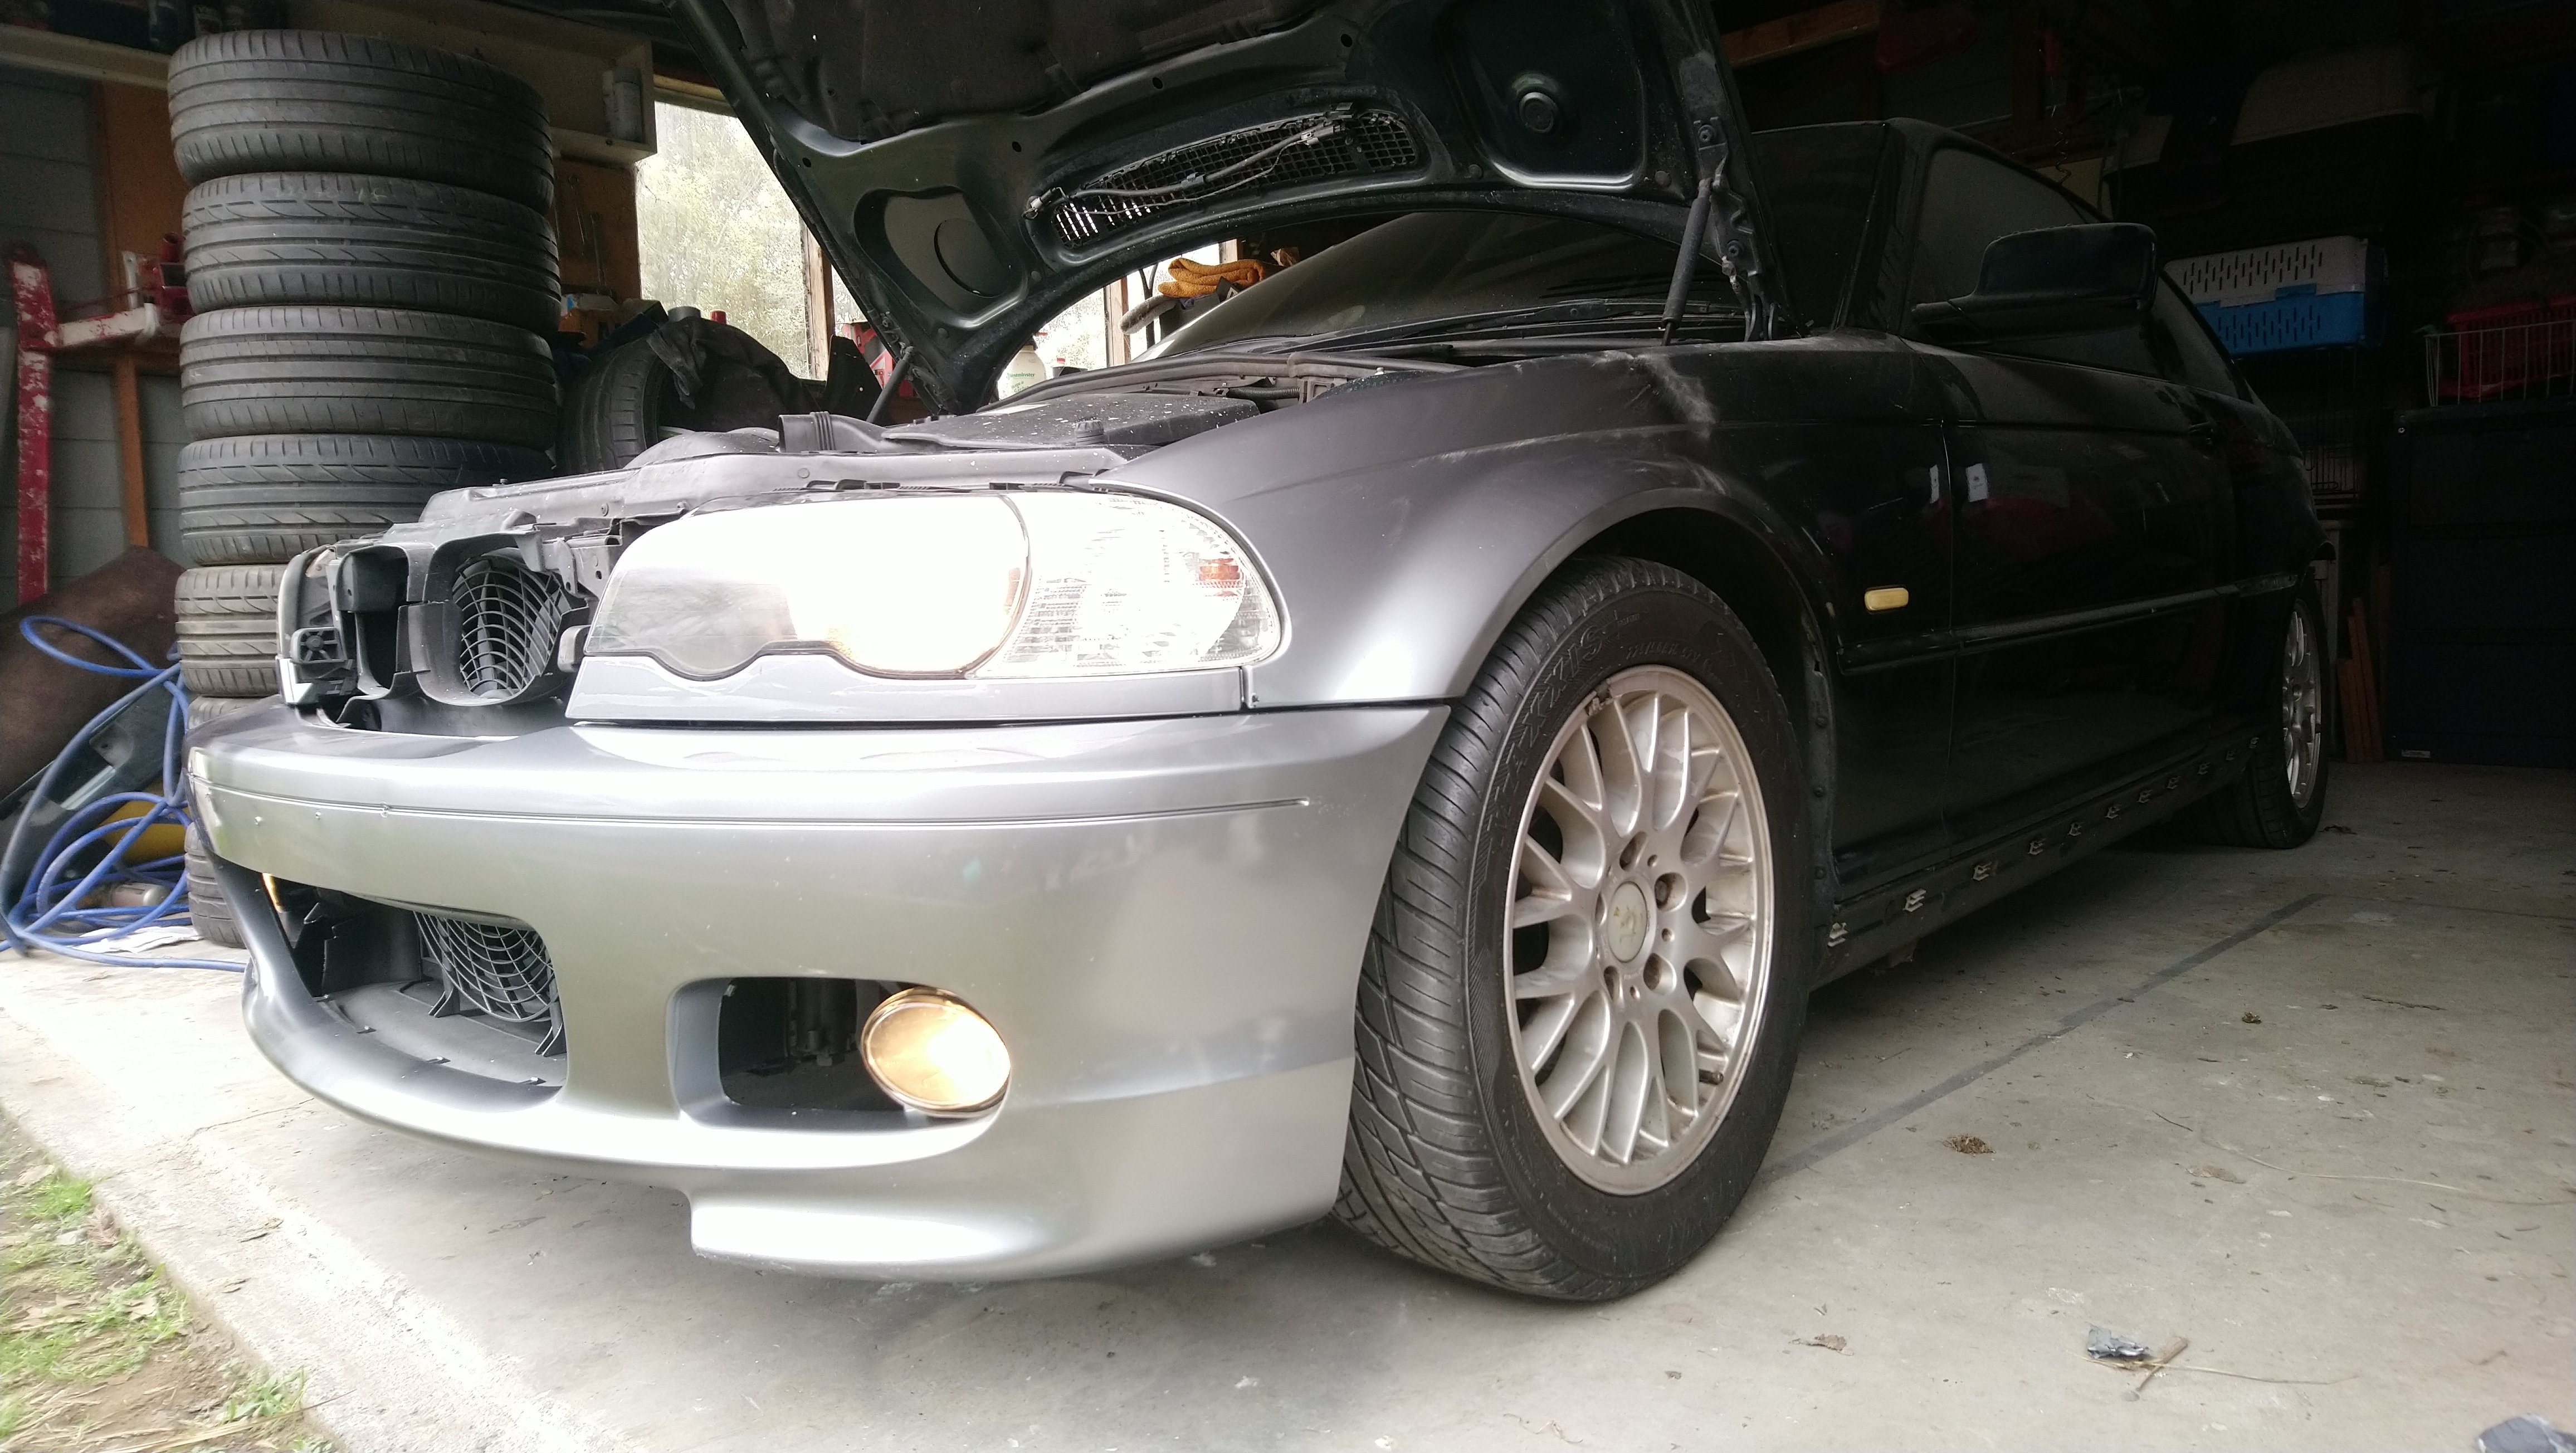
Also today something arrived, couldn't resist. You can't have an e46 without halos.
Did my best to keep the wiring neat with bullet connectors, soldering and heat shrink tubing. Plan on putting a relay in eventually so I can have halos linked to the interior lighting / unlock mechanism too.
-
2
-
-
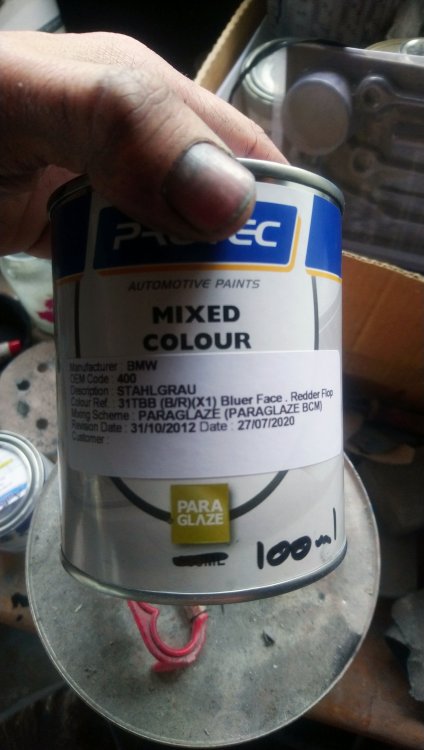
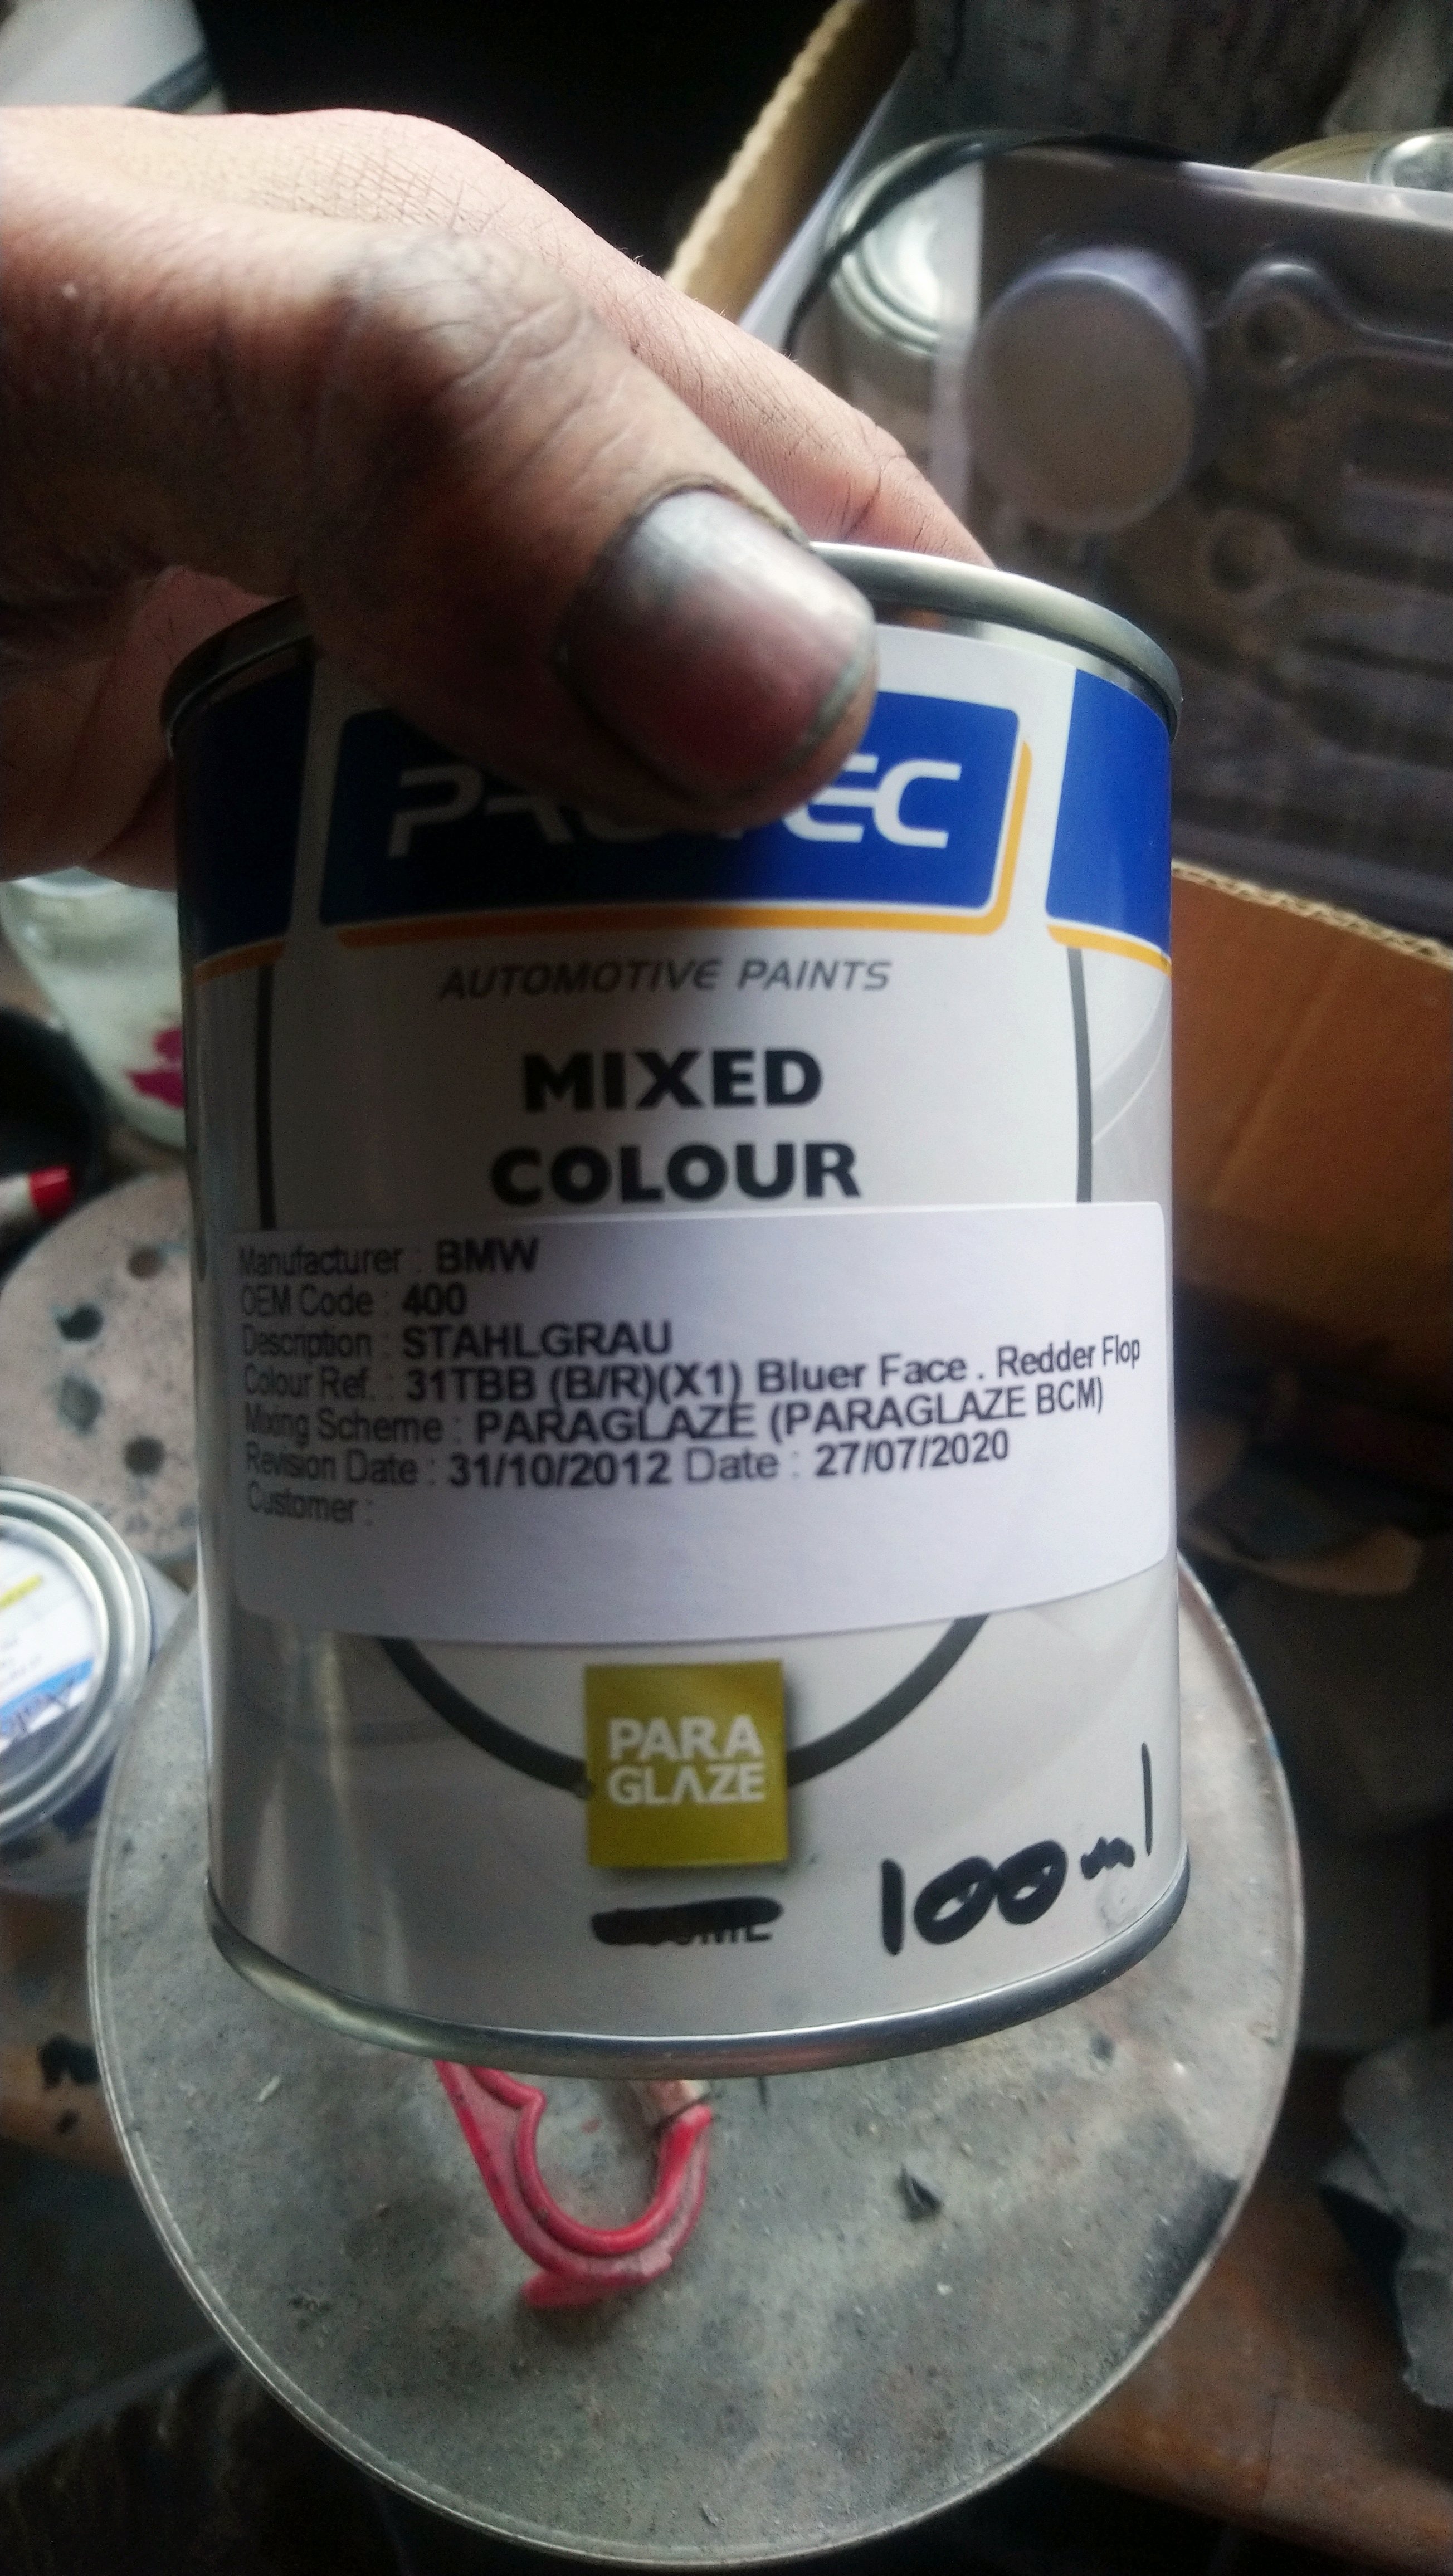
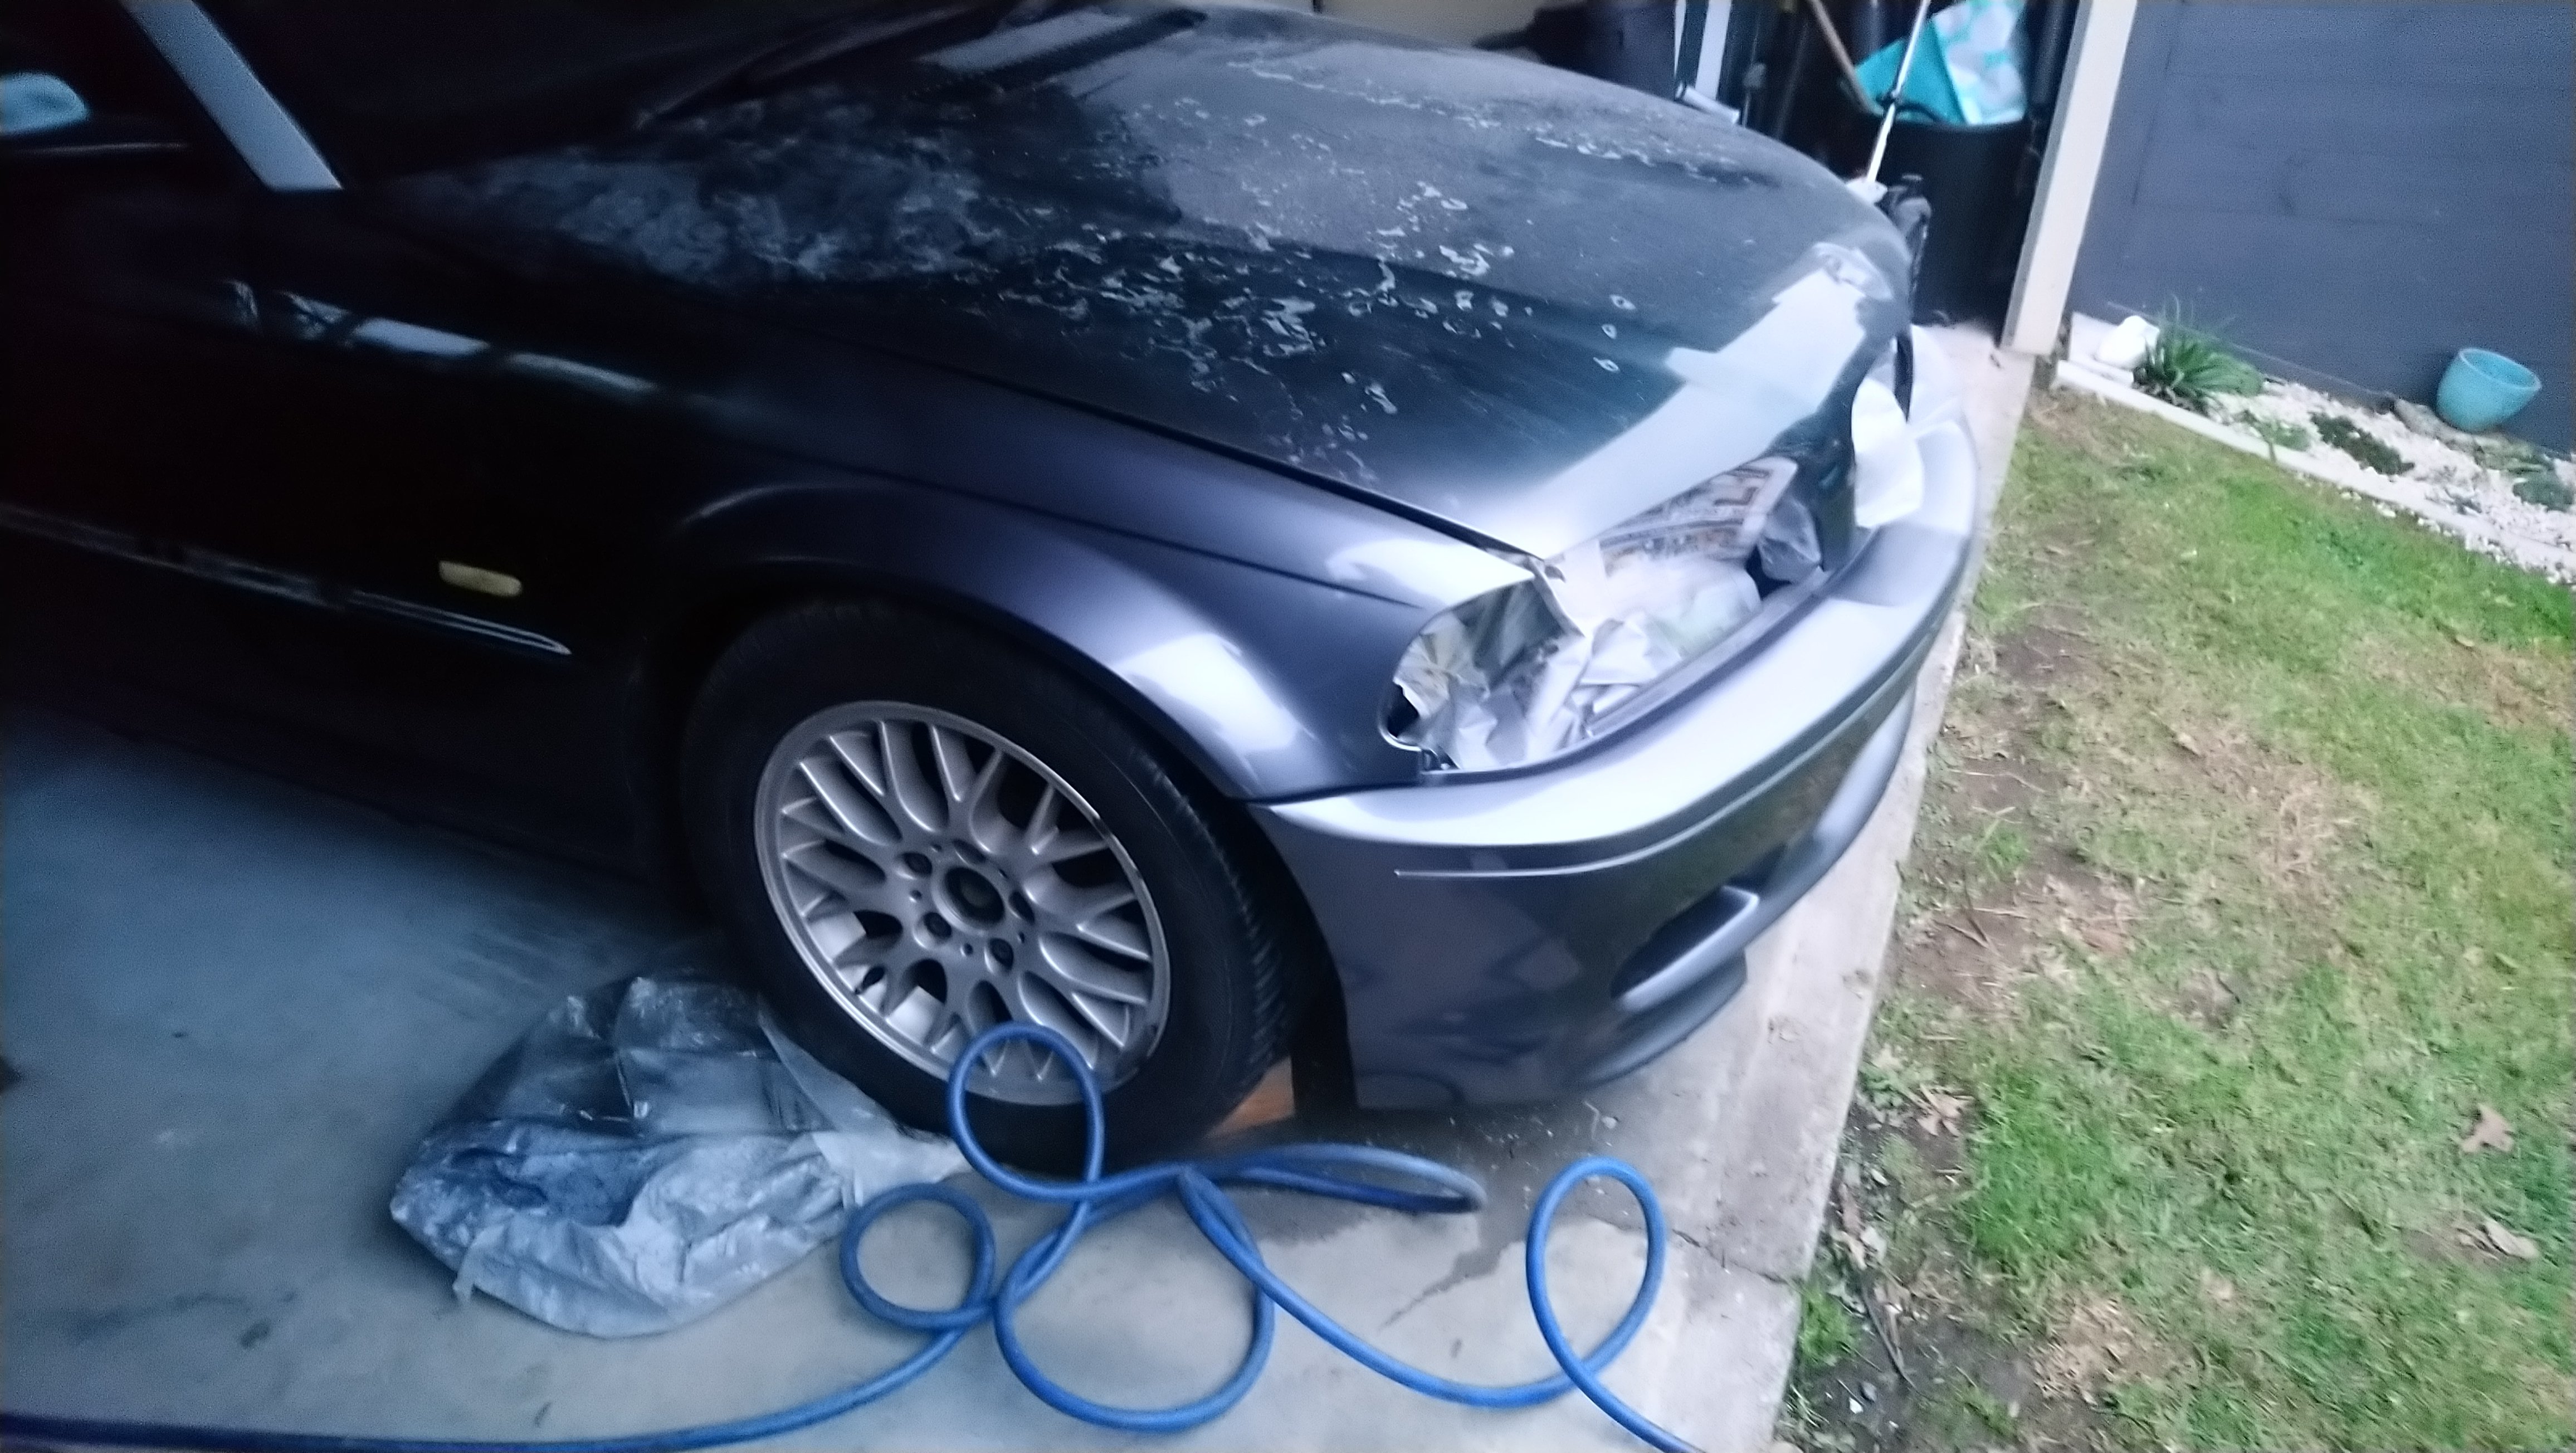
@qube yeah I'm pretty sure im going with steel grey, not sure what pearls go in it but it's pimp.
Found lots of photos on BMWs steel grey but it's such an interesting colour that looks so different in lighting I really wanted to do a test spray first.
Silver grey looked real sleek to me and wanted to try it, but the steel grey definitely has more character.
I think it's BMW colour code 400.
Bluer face redder flop? Lol
Closest I've found end result in that lighting will be this for steel grey
And for silver grey
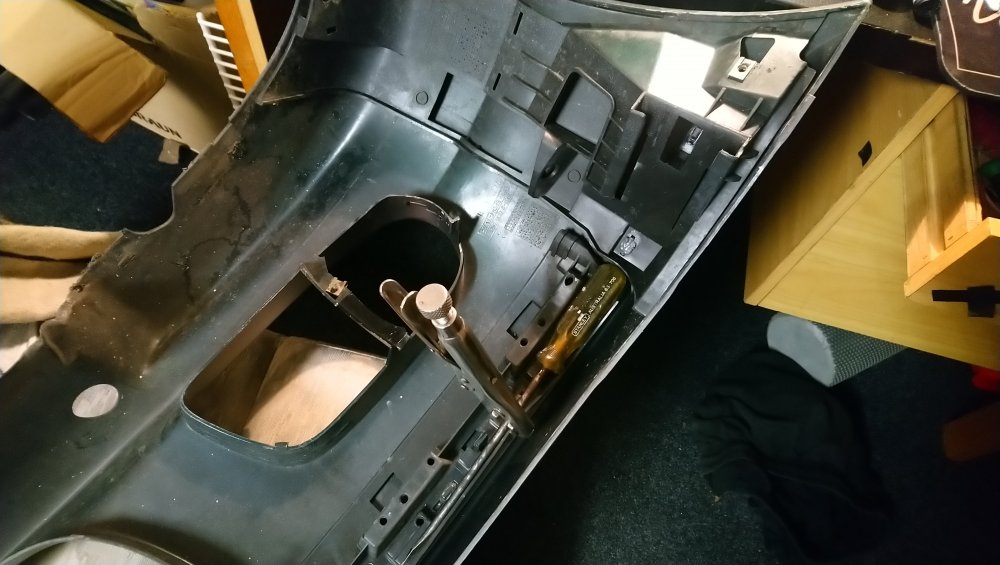
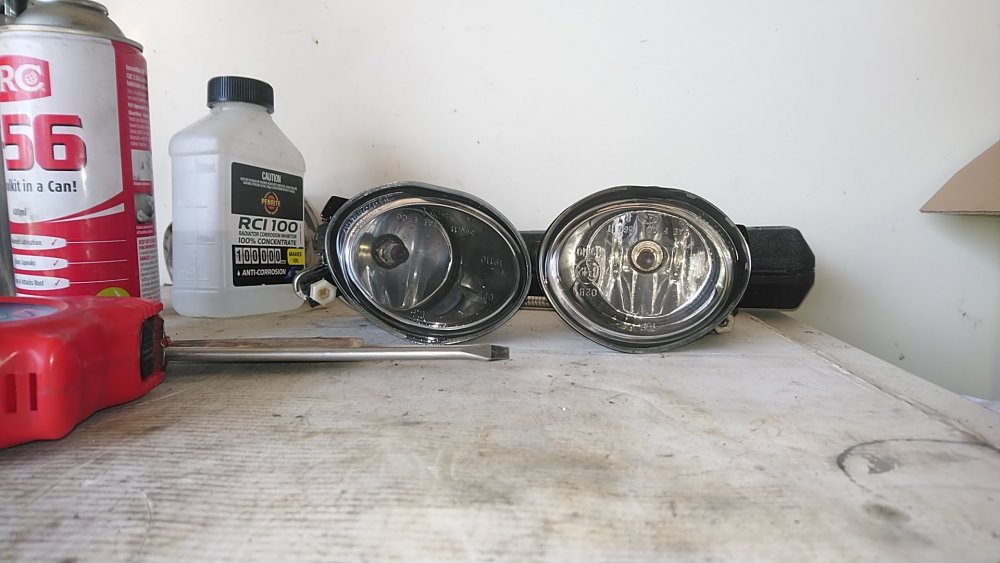
Polished up those fogs too, and JB welded the bumber guide.


-
4
-
-
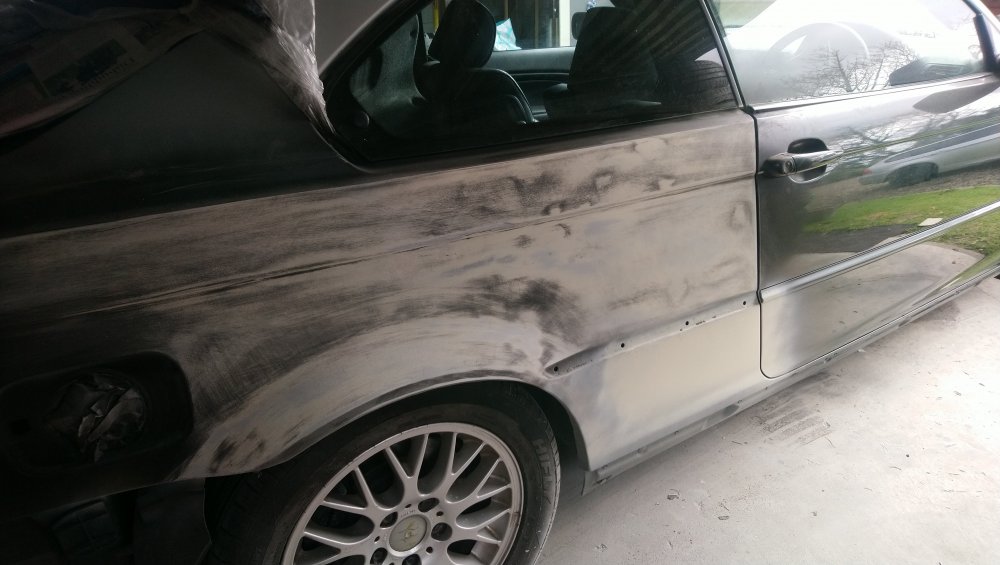
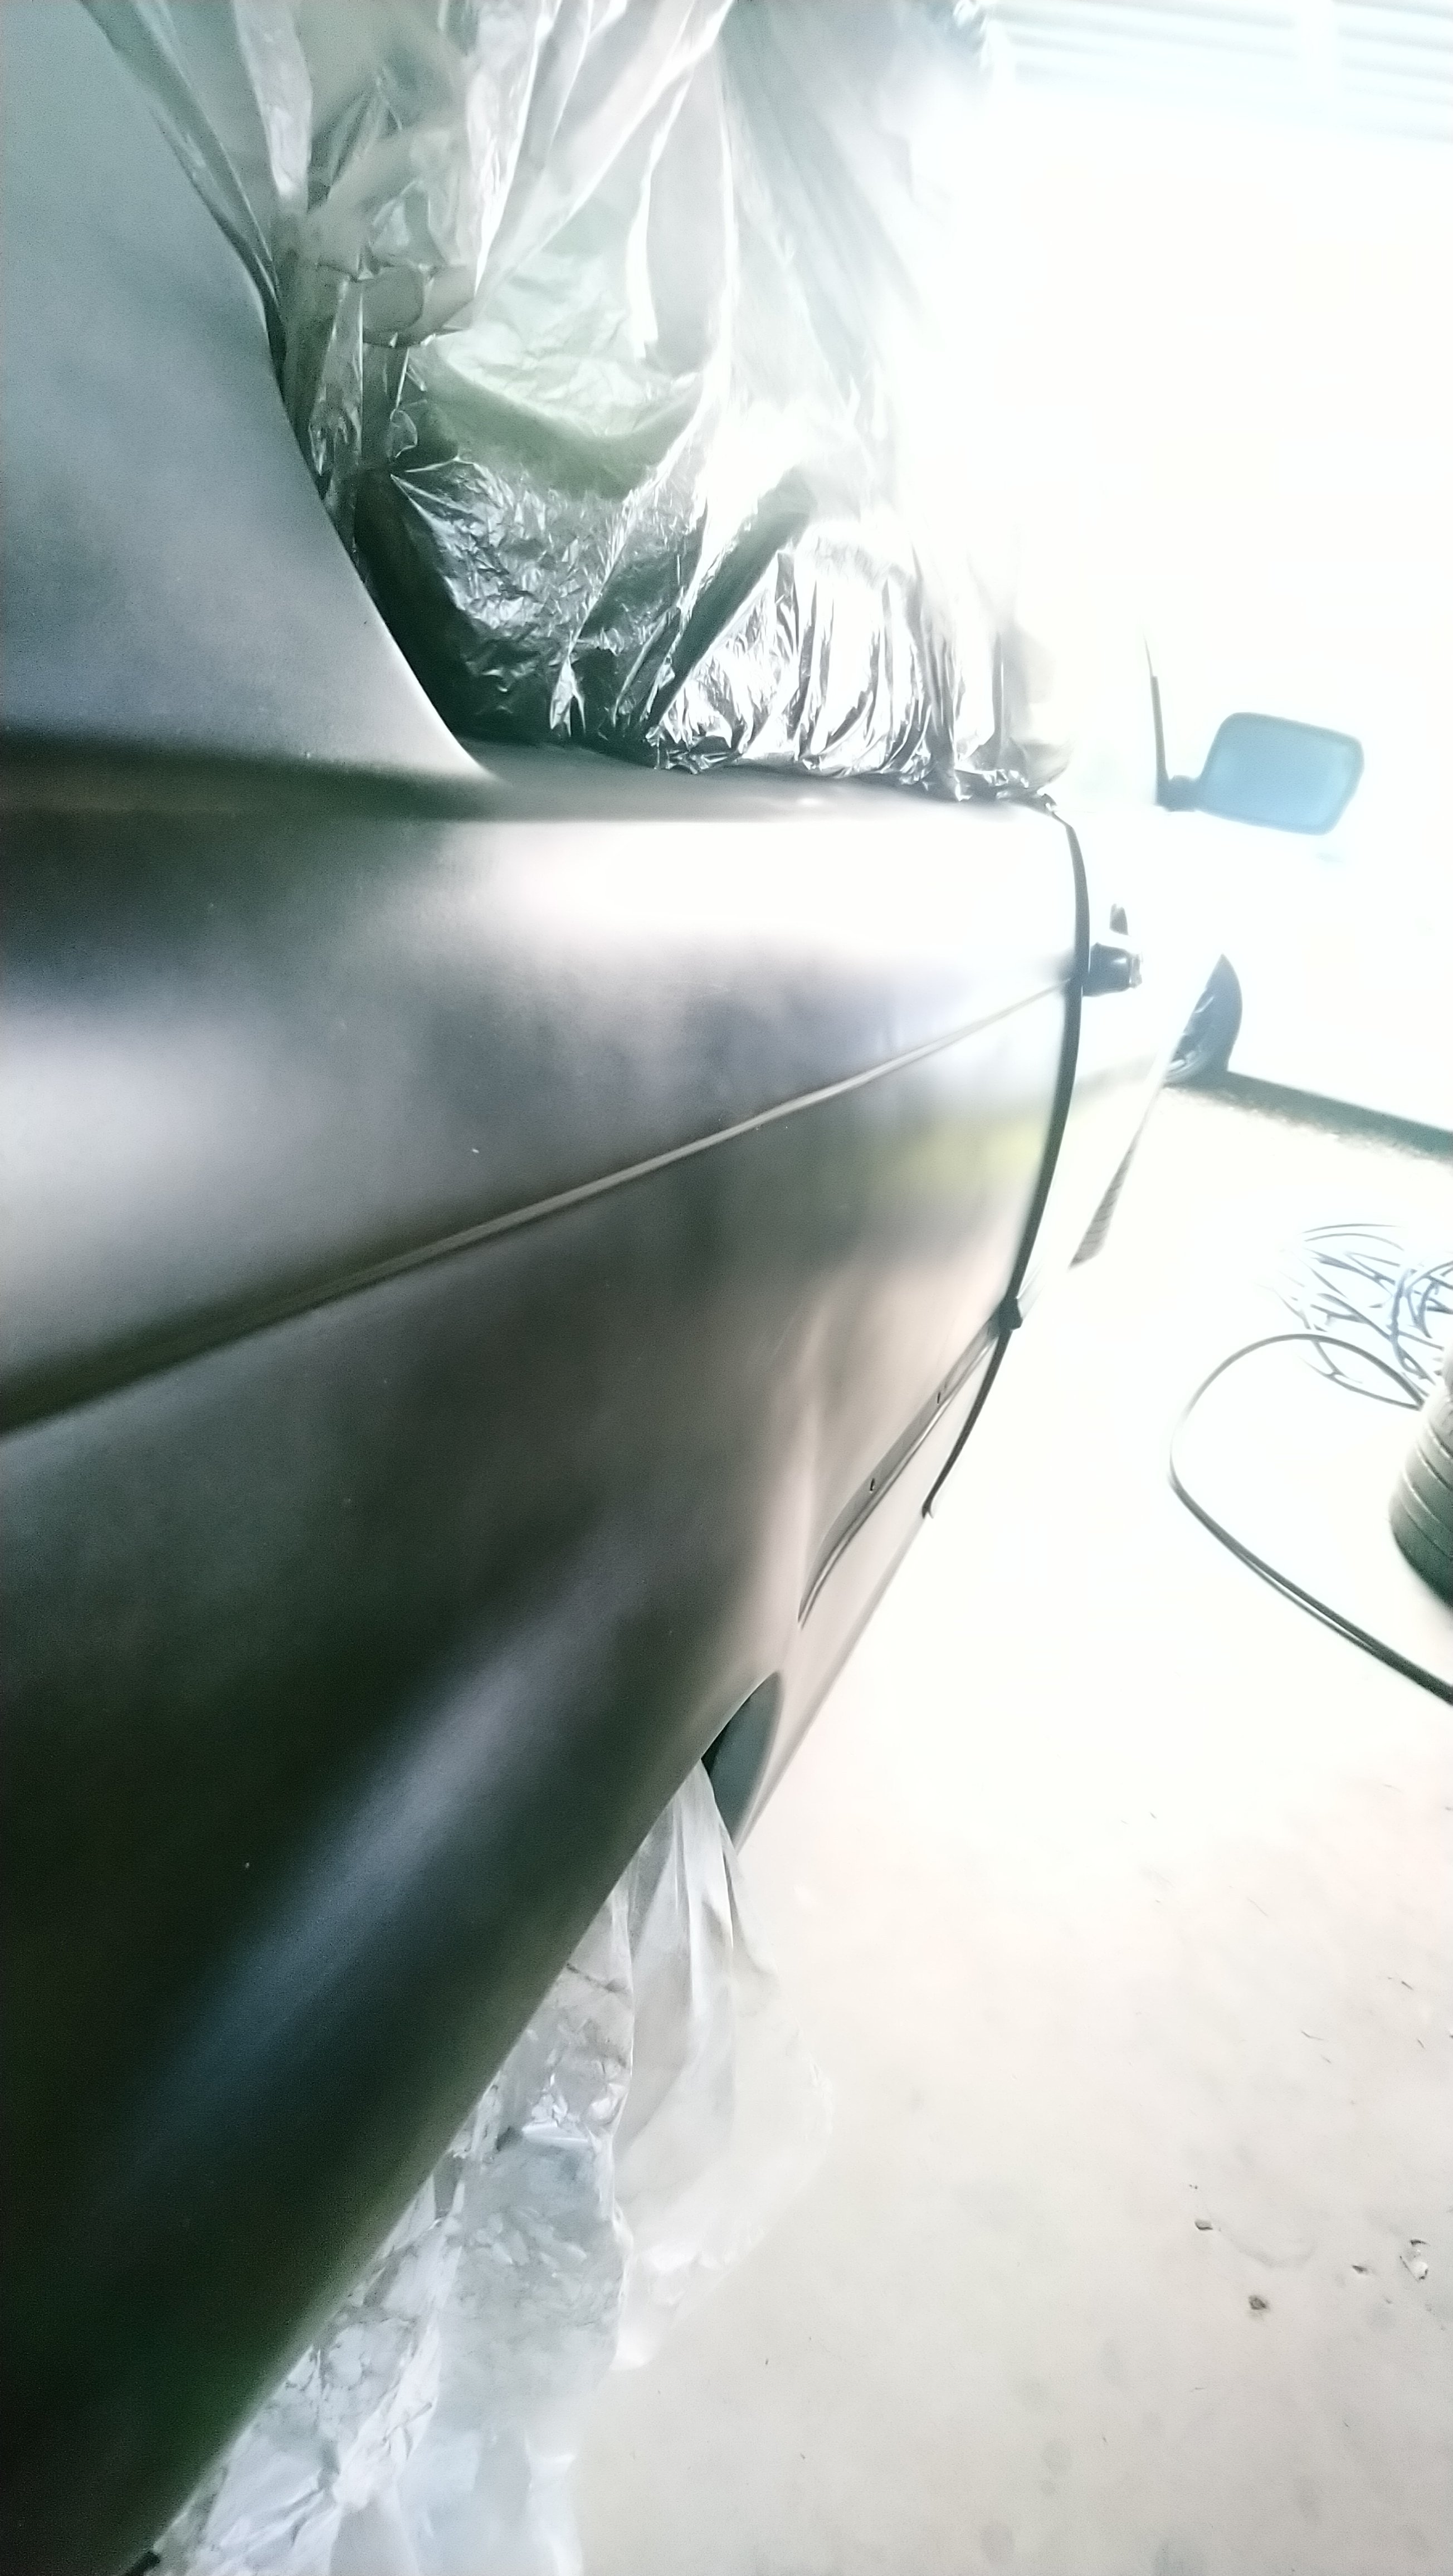
So the colors I was contemplating over were
Steel grey and silver grey.
The paint shop doesn't do test spray swatches, so got 100ml of each. Wanted to use up the 100ml of clear coat I had lying round too.
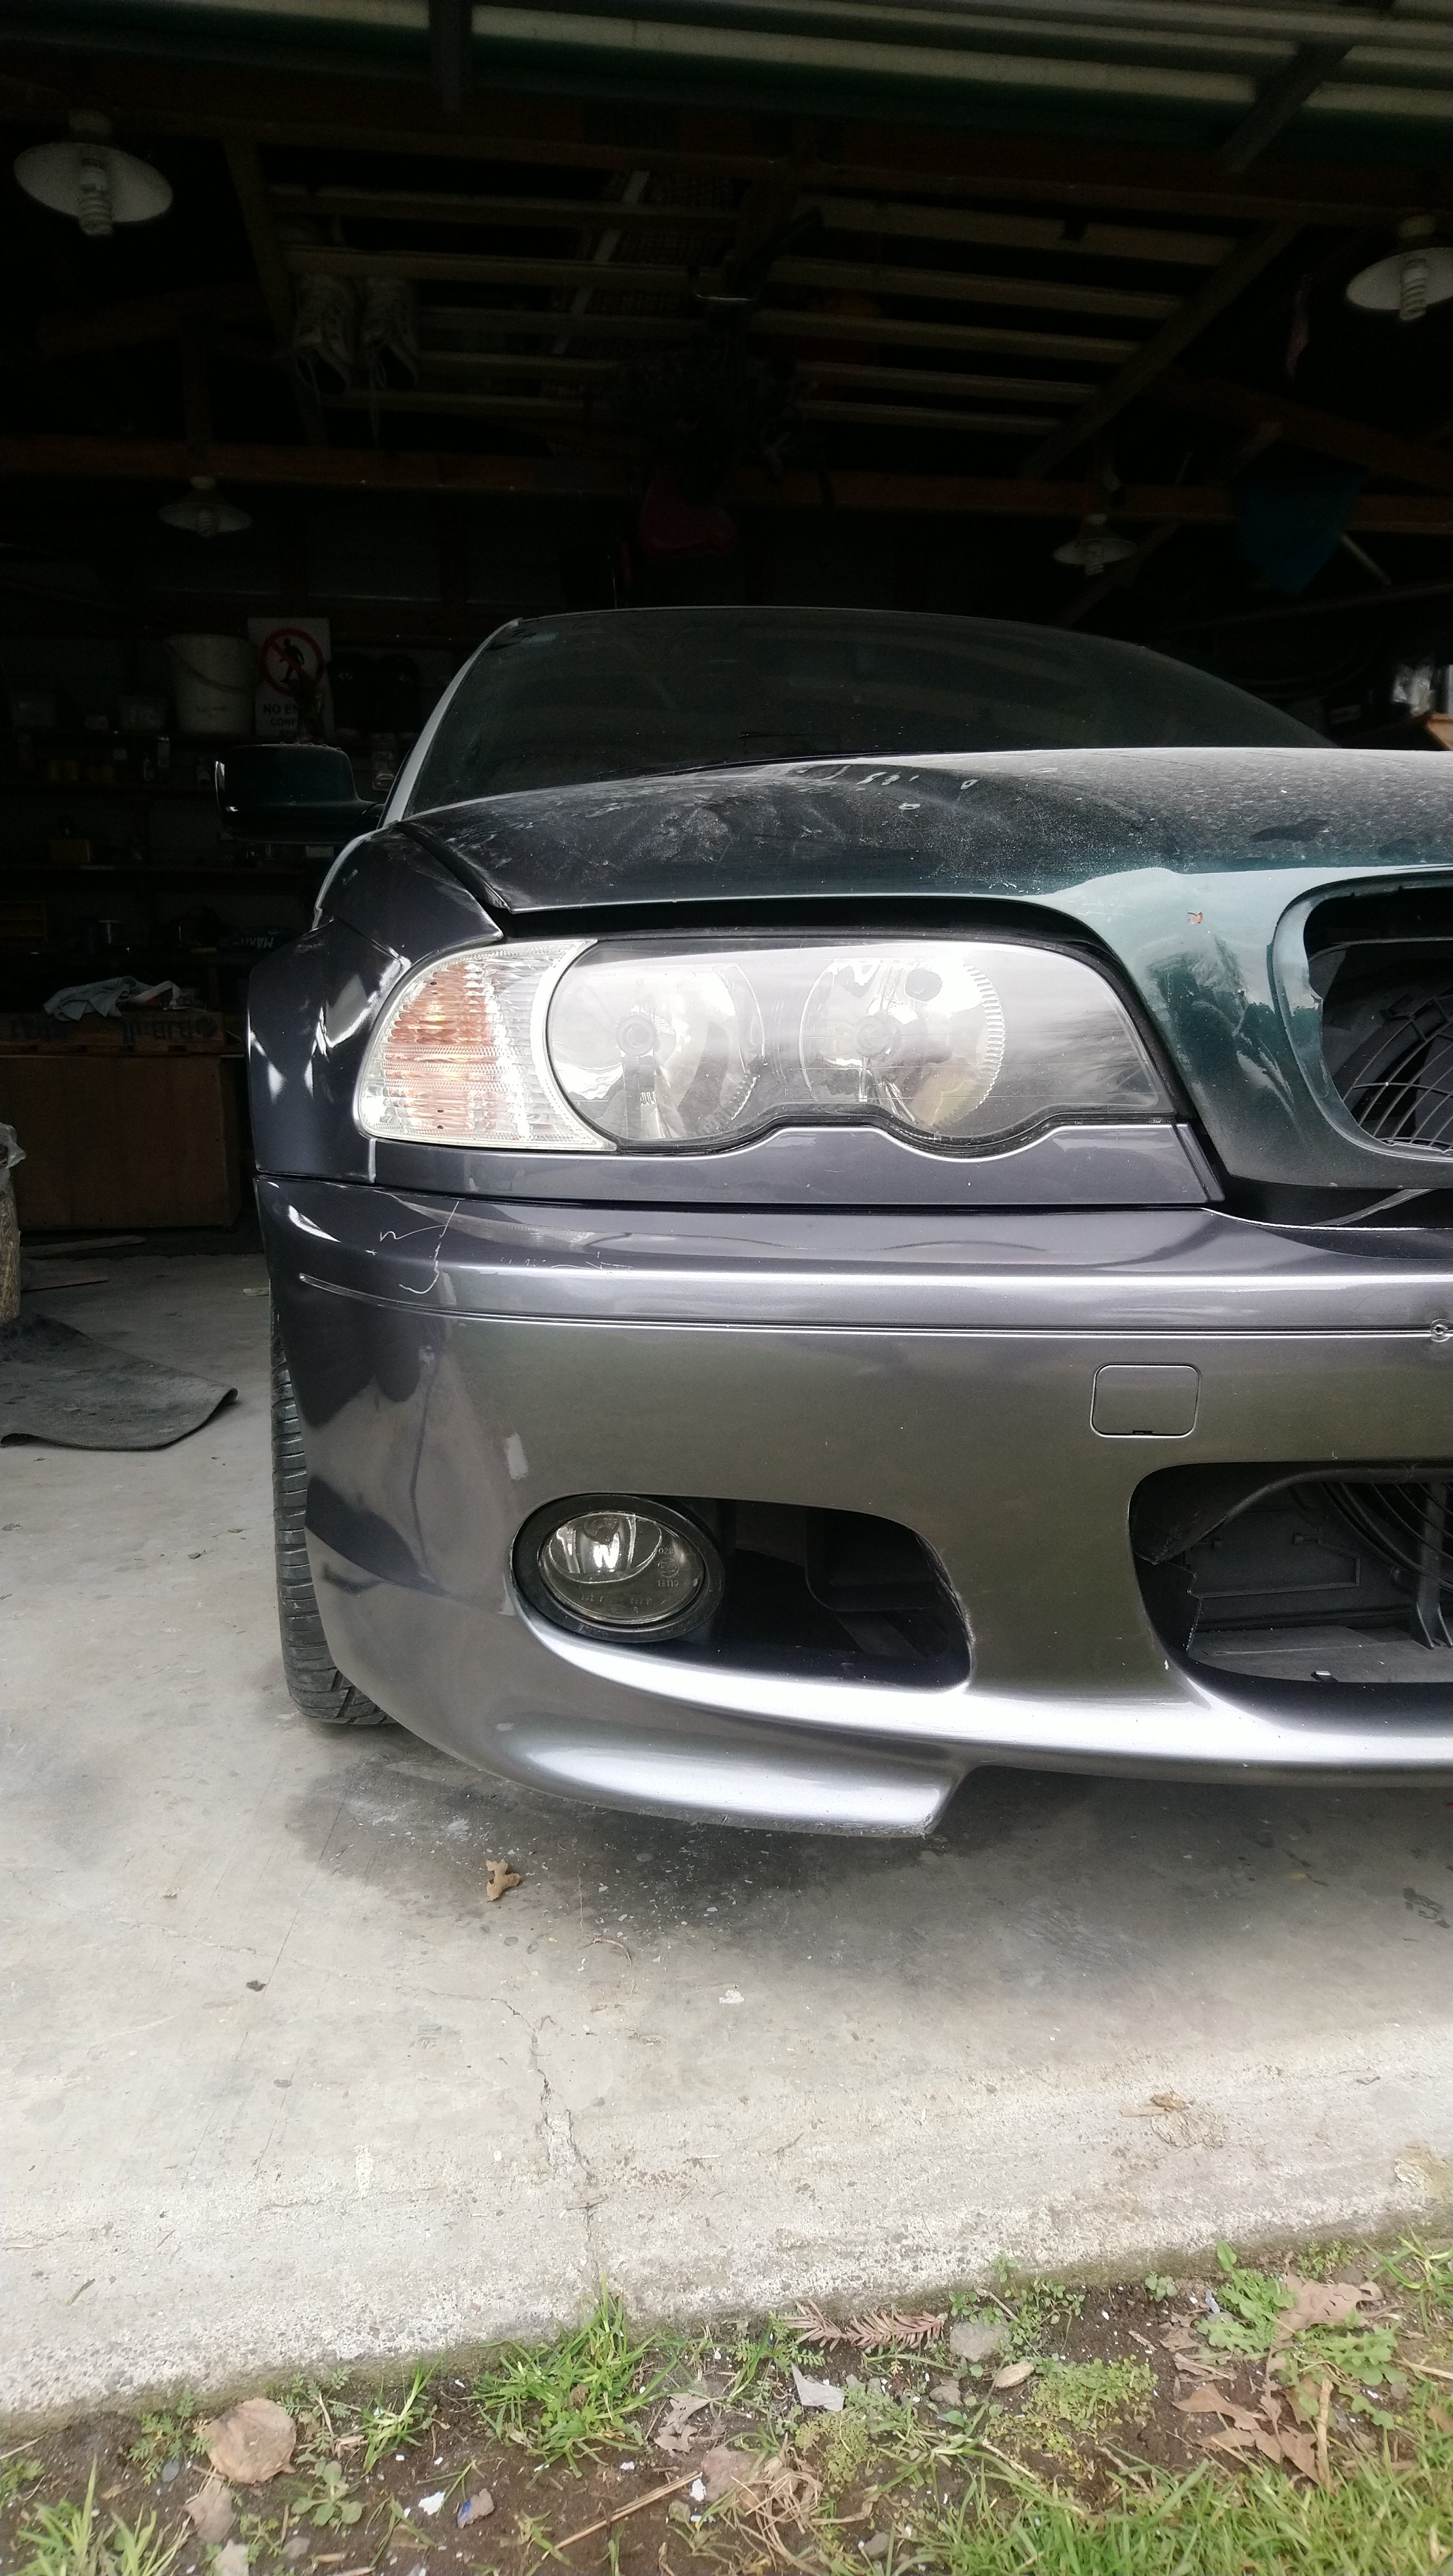
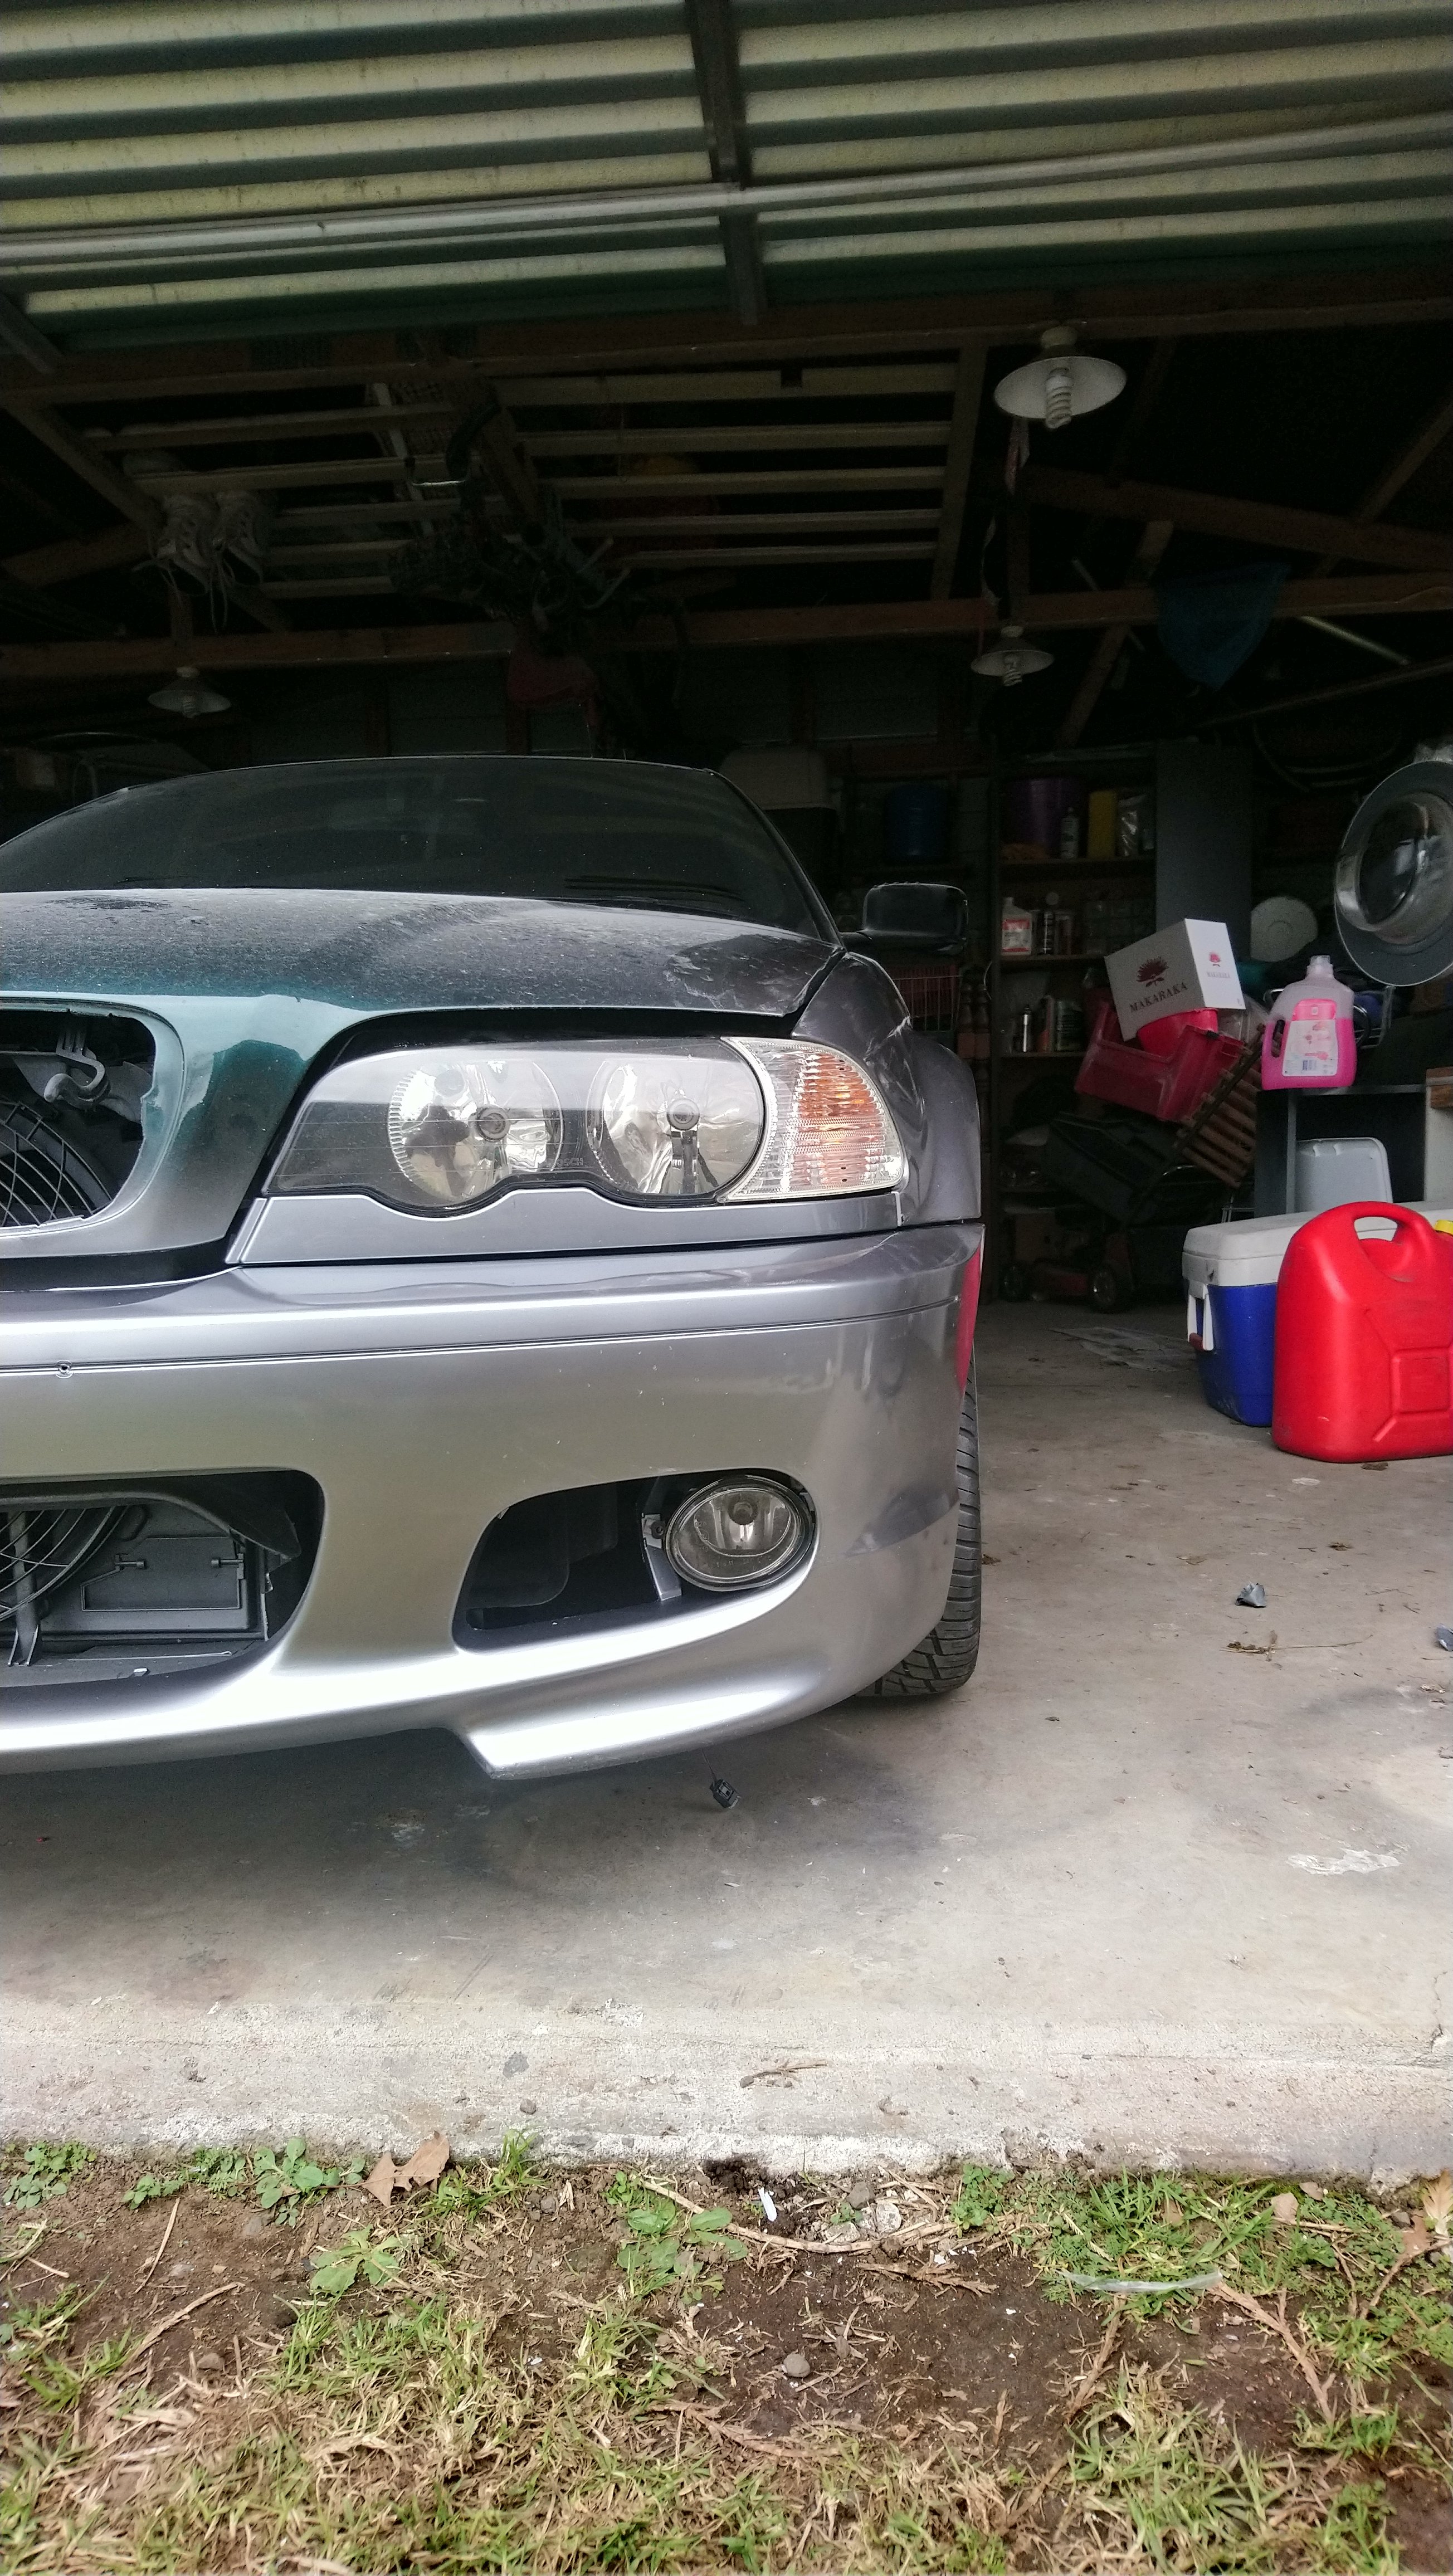
I was pretty sure steel grey was going to be the preference, but I thought I might slap some color on each side as a test spray to be sure.
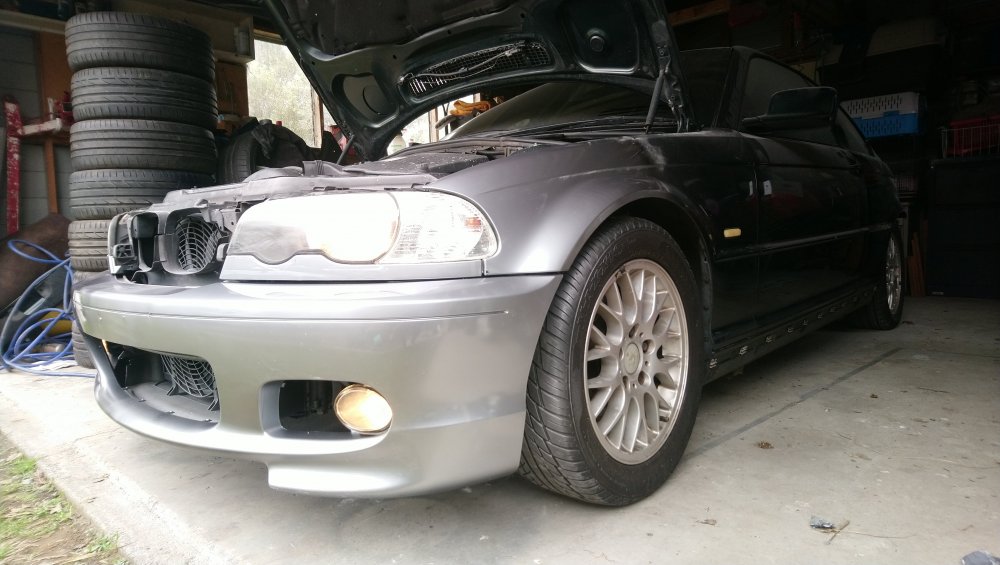
Man that steel grey colour is Incredible in real life, photos of it just don't do it justice.
Driver's side steel grey

Passenger silver grey
And btw that base coat is a group 4, $170 for a litre (in Paraglaze) and even more in Deltron ... Wowsa. (Cheaper when you get 4l) but at that price and doing a full respray I wanted to atleast see both options.
Will Chuck the lights in tomorrow and take some more photos.
-
1
-
-
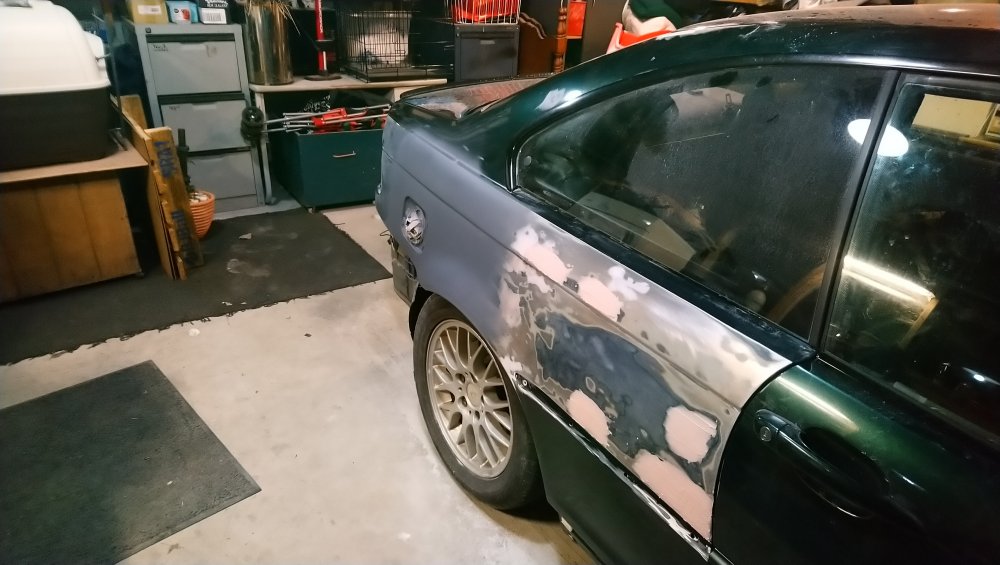
I now know why panel beaters charge so much,
challenging is probably an understatement, body work isn't my strong point, but i'm not going to be accepting a not perfect finish.
The more i get into it trying to rebuild curves on it, it becomes more apparent that this vehicle was probably drifted into a bush of sorts in an accident, all sorts of ripples in inconvenient places and low spots.
rebuilding that edge is probably the most difficult part, it's slightly dipped in a spot, and a curved lip, so very hard to even have a guide coat as the method of making it flat
Lost count of how many rounds of guide coat -> sand -> filler -> guide coat -> filler, and cold weather not making it easy for curing time!
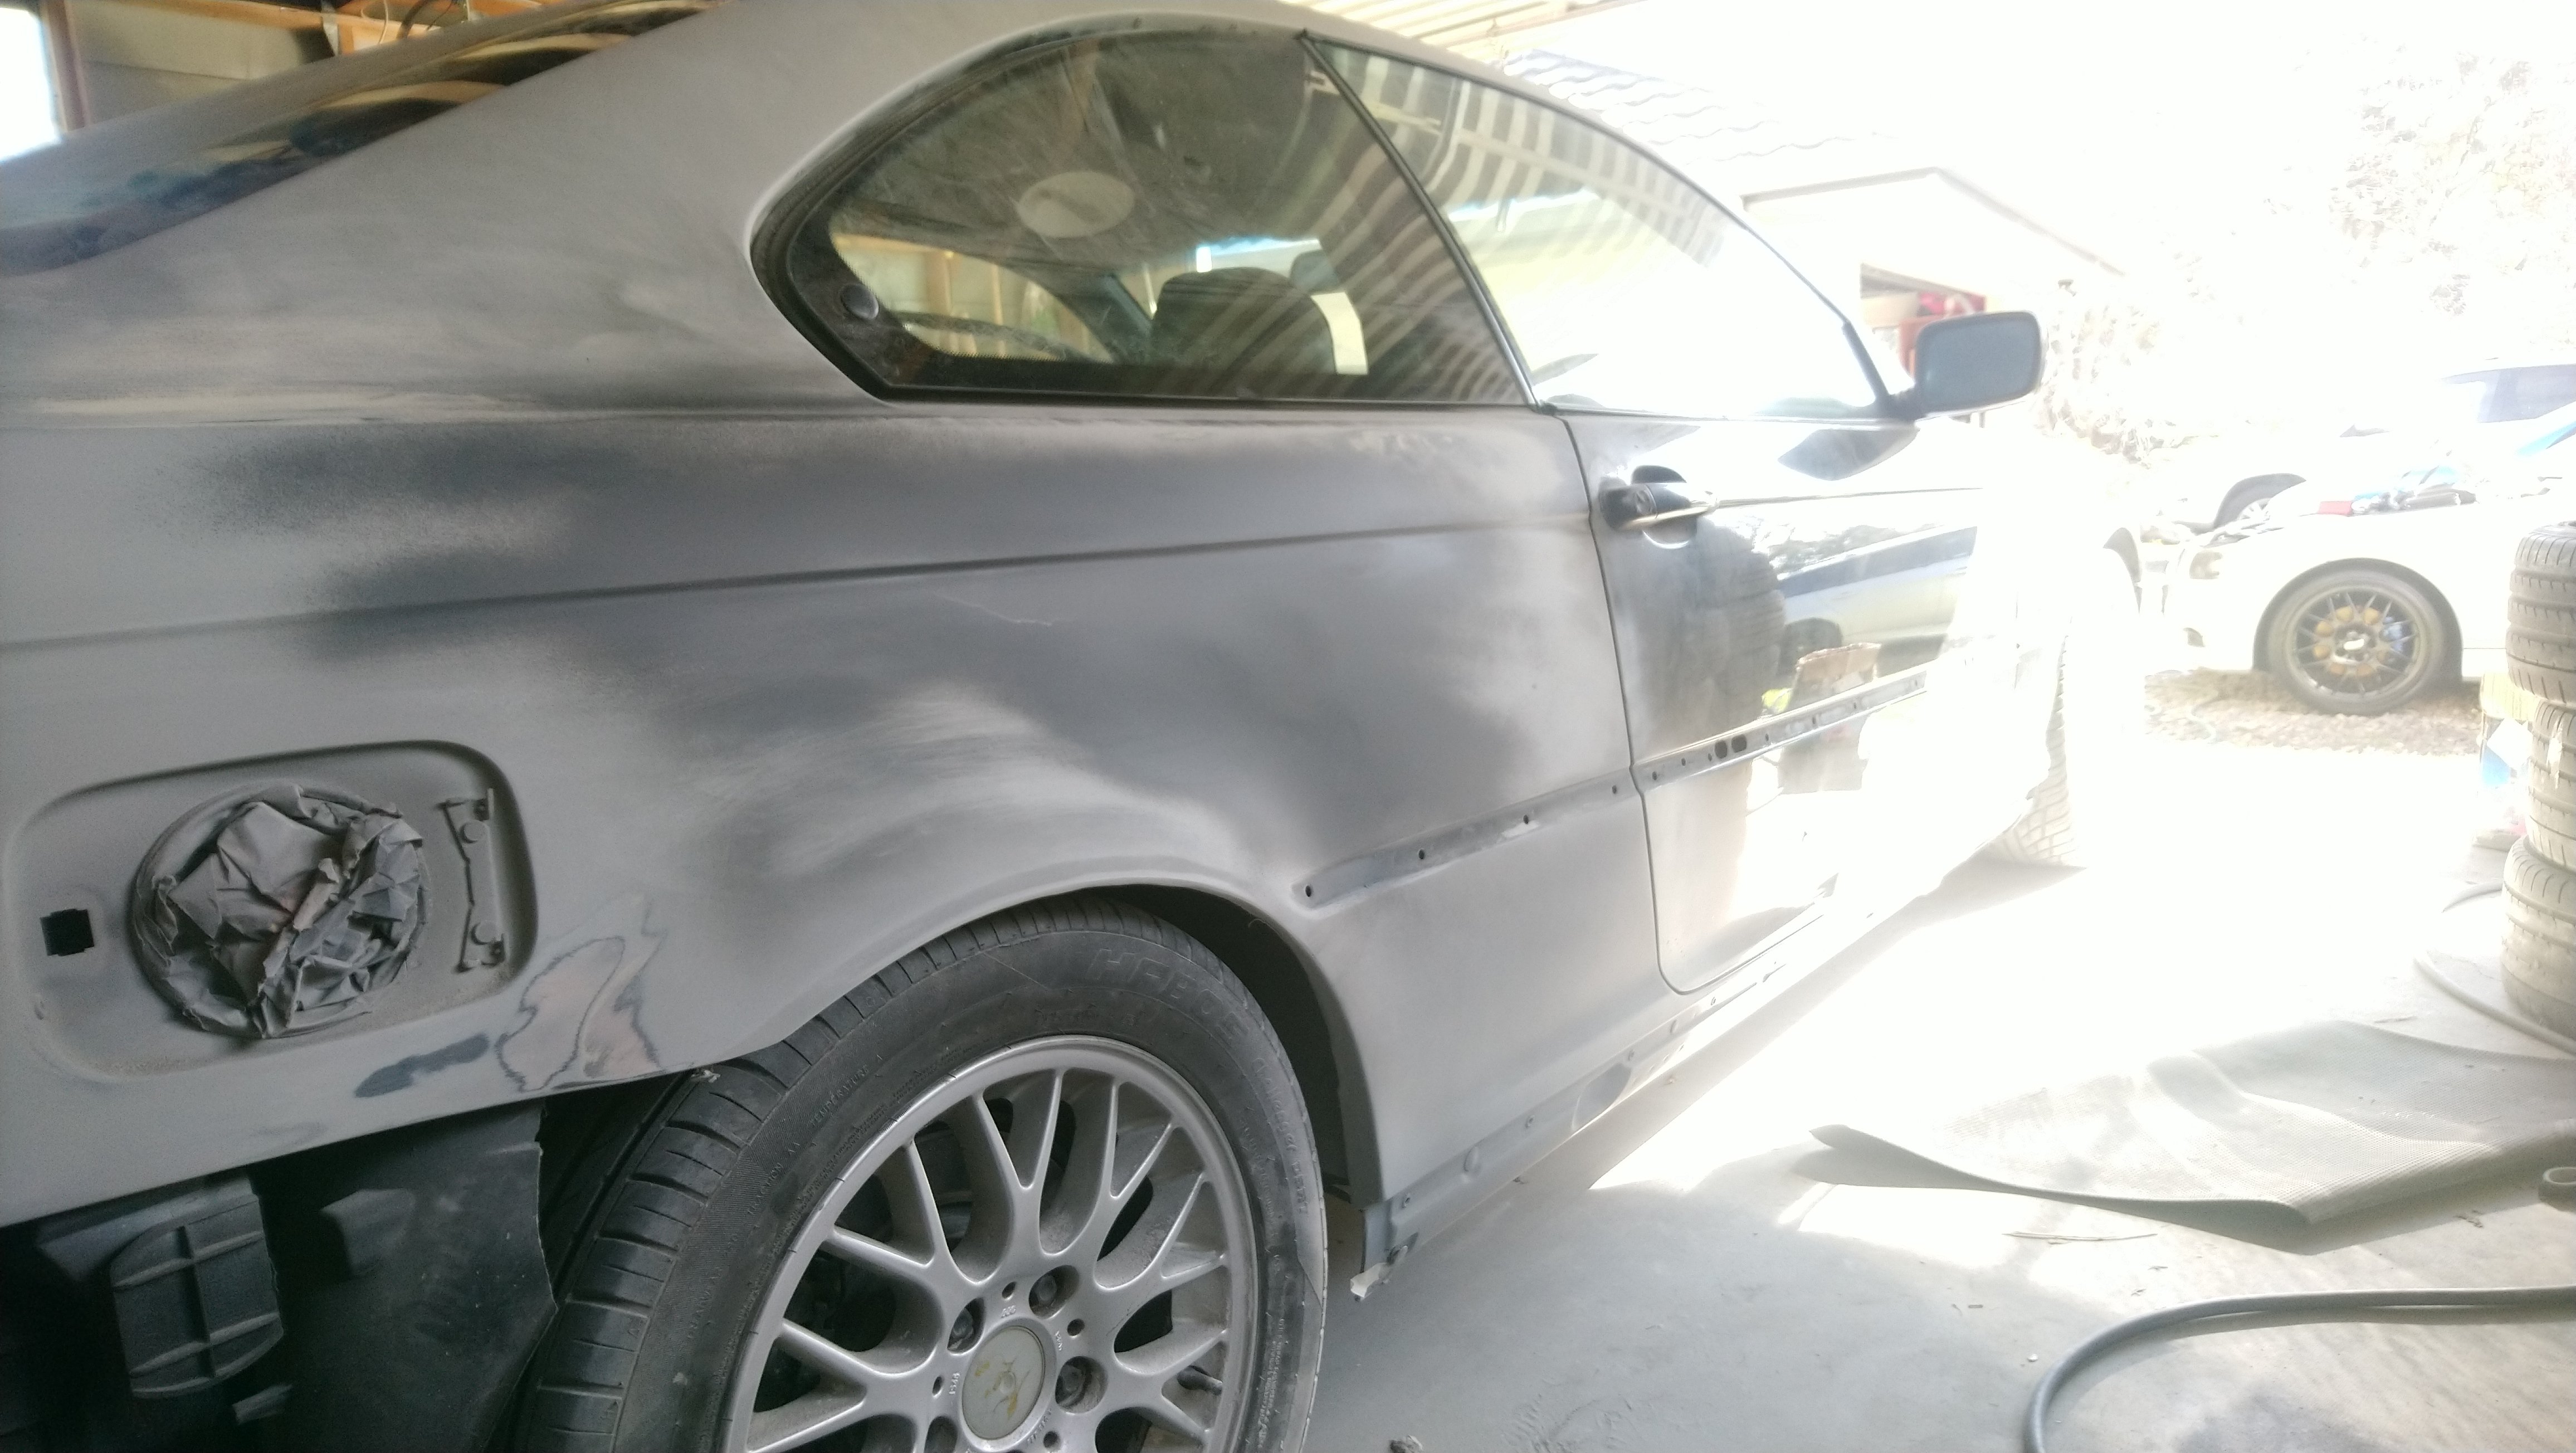
Onto another layer of high build primer now, going to have another guide coat over it, see where i'm at tomorrow

Also having trouble deciding between 2 colours on the car, so i've got some base coat, and going to do a test spray on the front in the next few days, instead of spraying a swatch.
-
1
-
-
^^ @Driftit yeah FCP has now become my go to, used to use RM euro and ECS, but their shipping rates through FEDEX have come down considerably recently. like $20-$30 USD compared to I was usually paying $50-$80USD on small orders, even when you would think the volume wouldn't warrant such a fee.
In fact, just today, I put a large volumetric item like a windscreen cowl in the basket just to see what the shipping was, only $20 USD ... usually that was $80 USD from memory through USPS shipping option on RM Euro.
-
1
-
-
The missus Audi FSI going very nicely, agree on the cam follower, and cam chain being the only real worrying engine bits to keep an eye on. Nothing to worry about if your spanner handy.
The issues with the gearboxes whether it be automatic or dsg from my reading all come down to not frequent enough fluid servicing more times than not.
So I guess if you have access to service history, or it has low kms. Less to worry about.
I did manually clean my valves, they were gunked up with a few mm of Solid carbon. Only 120,000 on the clock when I did that.
So obviously no one used GDI cleaner regularly as specified with direct Injection engines. They were all seating fine, just cosmetically horrible.
After my experience with the FSI engine, I'm definitely a concert. Great motor. And plenty of places to get vag parts from overseas where I get my BMW parts from too anyway.
-
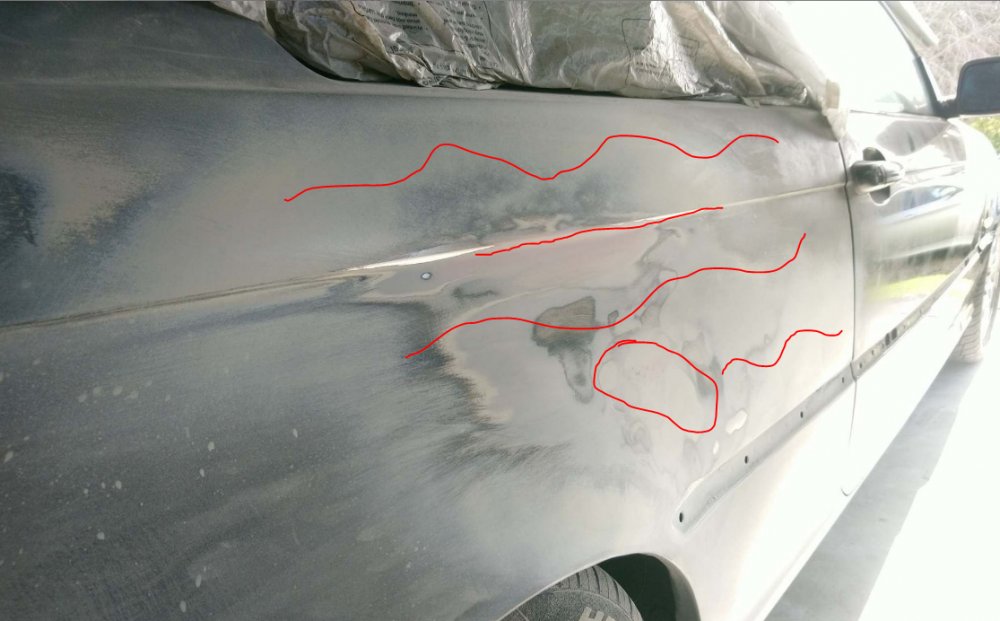
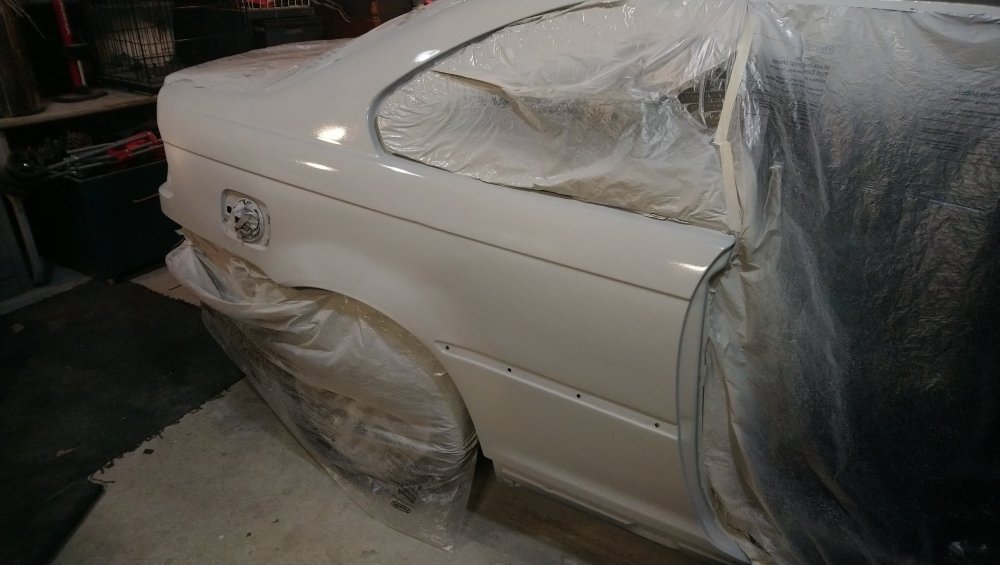
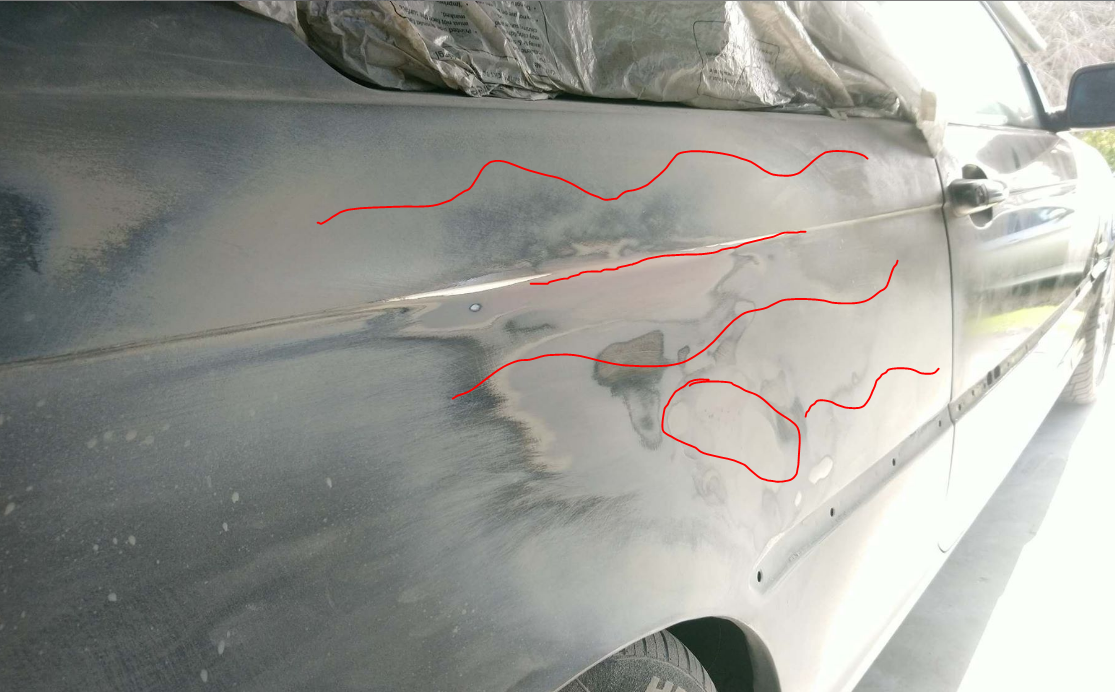
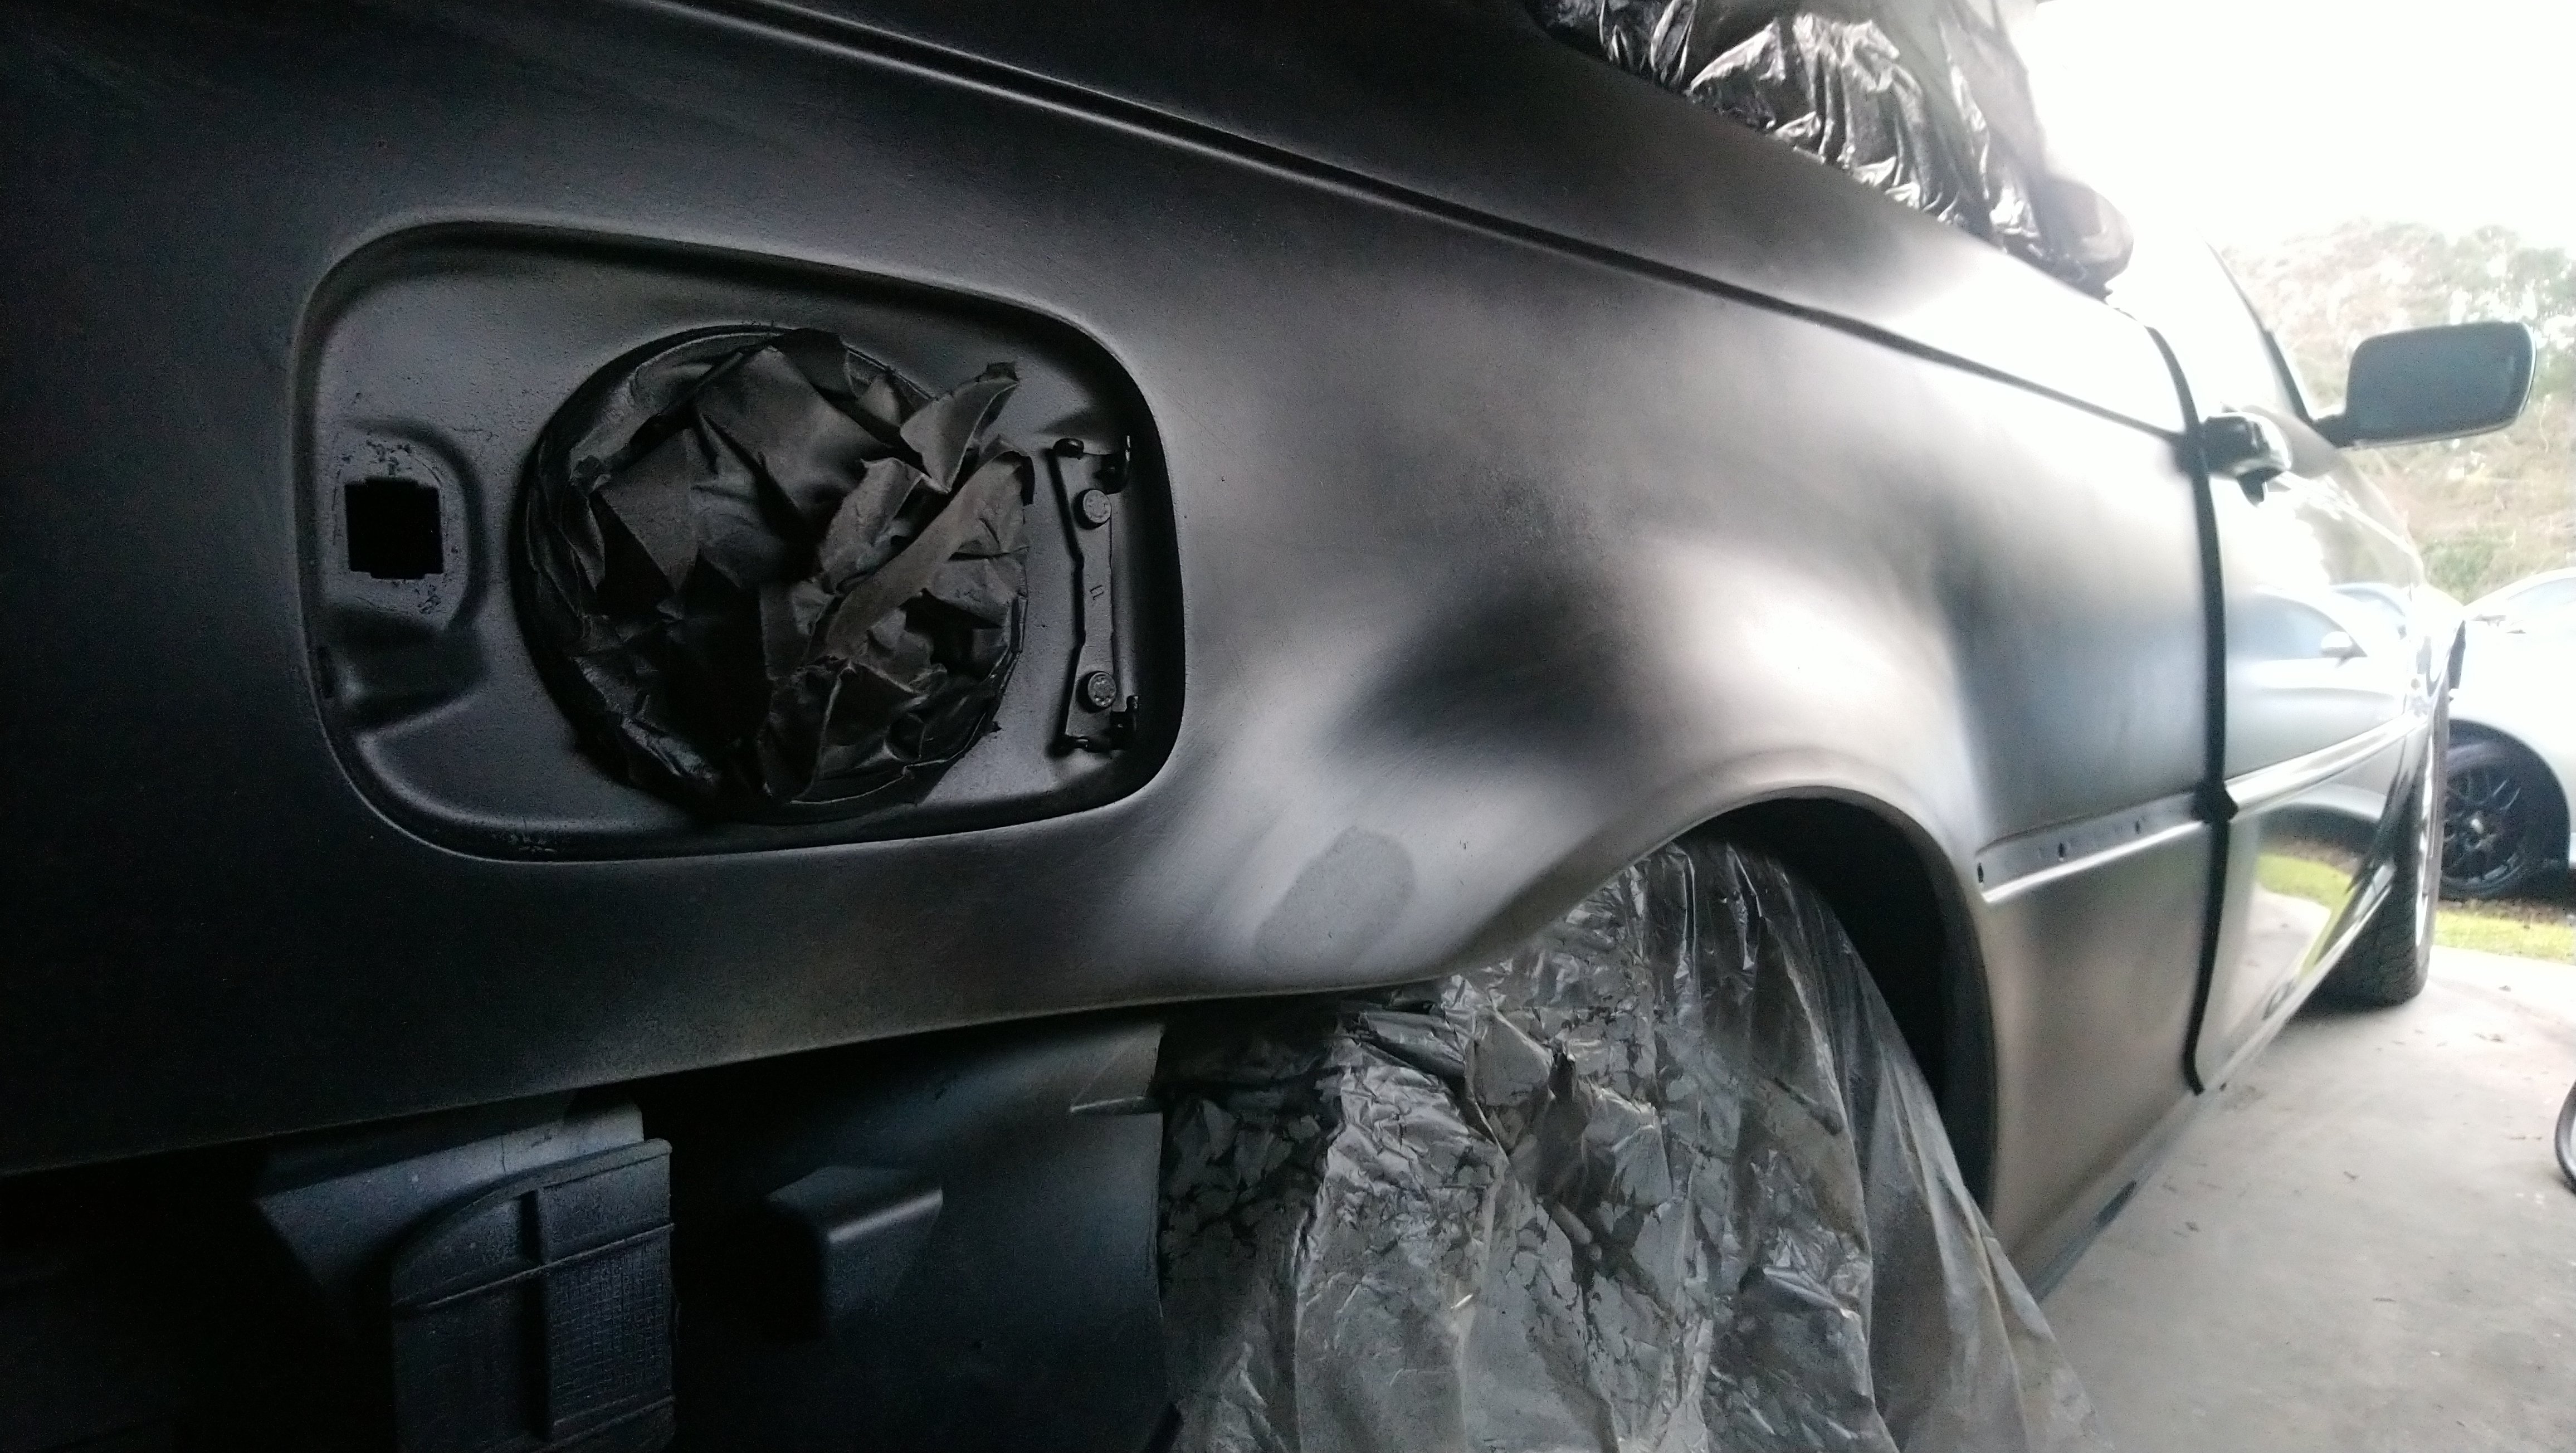
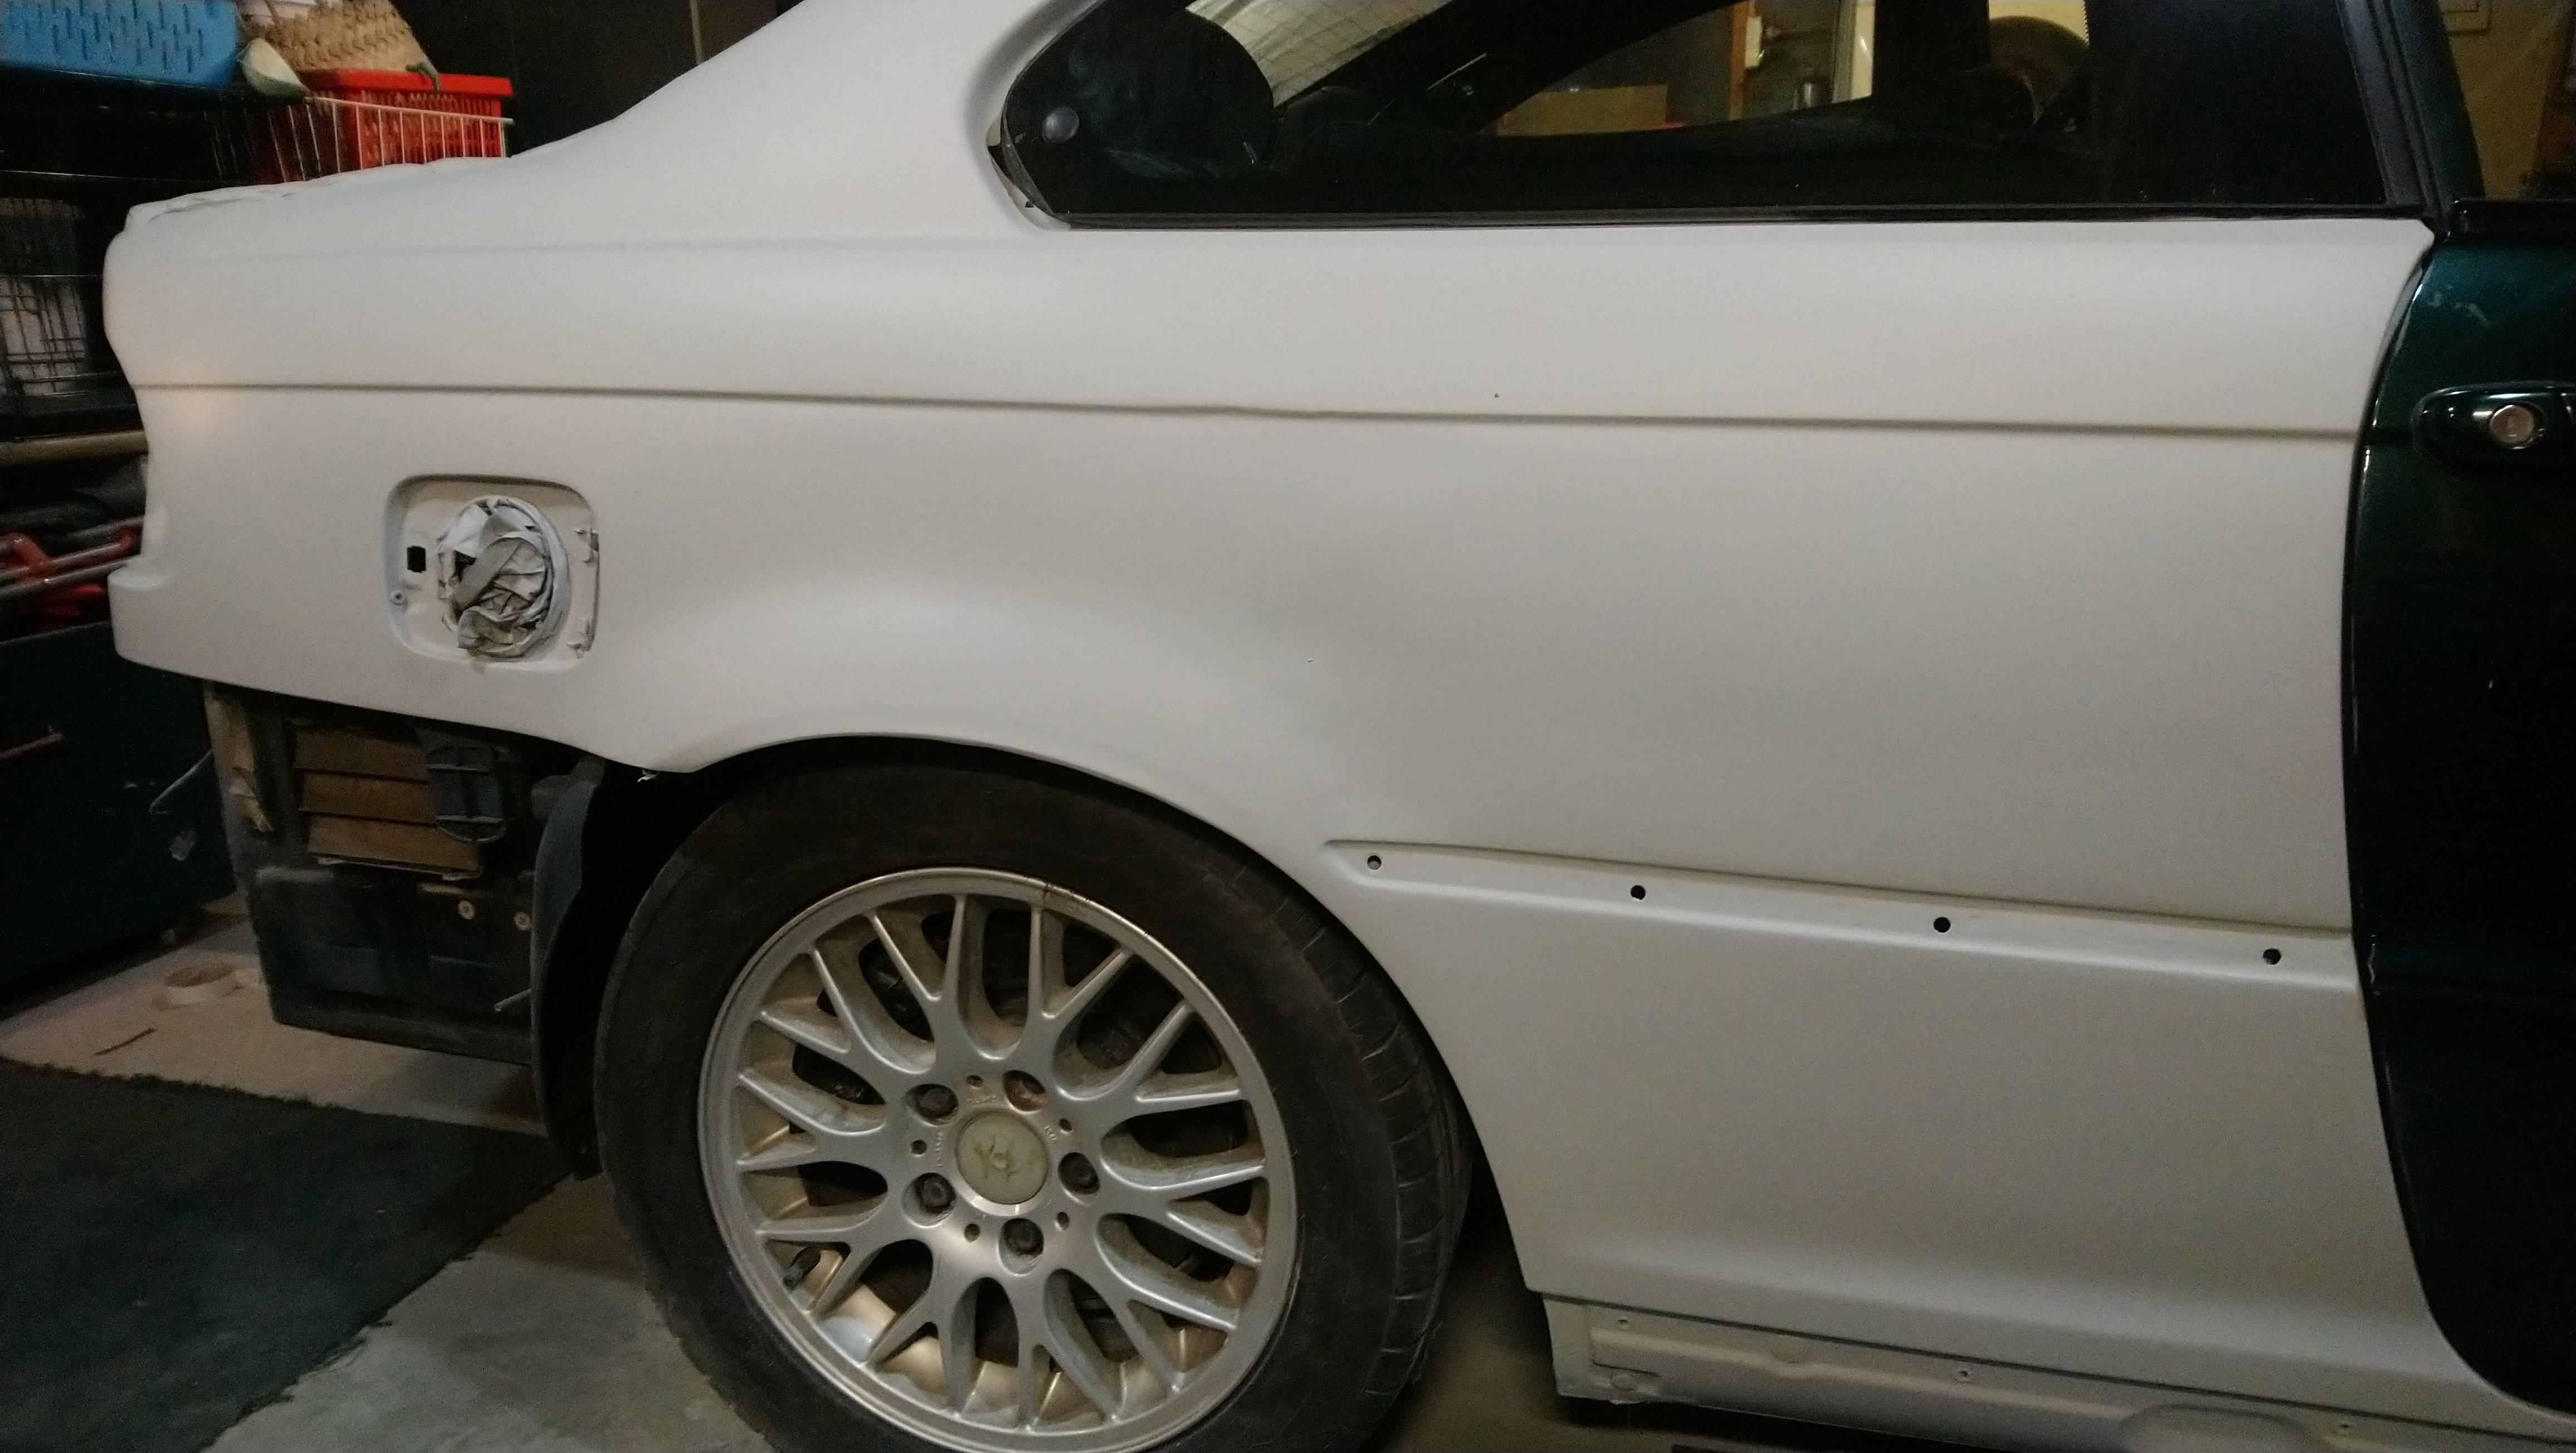
This panel section has really got my work cut out for me.
Don't know what happened to this side but very subtle ripples and dents all over the show.
Done several runs over with guide cost, block sanding and filler.

They looked straight in many places, but far from it.
And it's obvious now someone has also done a hack job Rollin the rear guards.
I know it would been a lot quicker if I didn't take the entire panel back. But not knowing the condition of the repair would have eaten away at me after I finished painting.
-
3
-
-
-
On 7/2/2020 at 4:19 PM, E30 325i Rag-Top said:For road-noise, the noisiest tyres would have to be the PSS4 on the M3
Big thanks right there ^ you've essentially answered my question, I've driven on Pilot sport 4's before in the 225/40/18's and did think they were also noisey, so I wondered just how bad could run flats be.
I think i'm going to use RFTs on the e90, they will obviously be noisy'er, but they can't be that bad
-
So i'm trying to enable tyre pressure monitoring to my 2002 E46 (I want the option to have run flats)
And i'm having an issue getting INPA to enable the RPA button (deflation detection system) which is F7 for me, the button is disabled.
The steps i've gone through
adding $251 to FA/VO
-> FA_WRITE to AKMB
-> FA_WRITE to ALSZ
Then the coding / changing the values to the following files in (values on the video)
AKMB -> LESSEN -> FSW_PSW.TRC -> MAN -> SG_CODEREN the two RDKS
^ this part codes no problem, car resets with the tyre pressure light showing as red, then orange, then off when ignition is turn on
MK60 -> LESSEN -> FSW_PSW.TRC -> MAN -> SG_CODEREN
^ this part code issue
And the DSC / ABS light remains on, plus when i take the hand brake off it goes orange
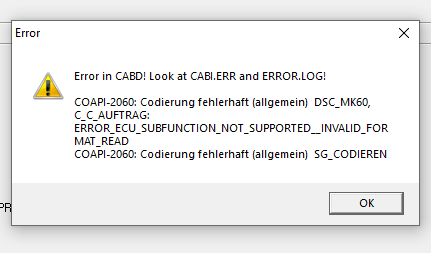
ASC / ABS lights return to normal when i return
REIFENDRUCKWARNSYSTEM
nicht_aktivin MK60
-
11 hours ago, zero said:No mixing
I think I might actually get some, over the years mixing up a small amount of filler has really started to get to me for the tiny bits.
Been meaning to get some but keep forgetting every time I order panel and prep stuff haha.
-
** EDIT **
For the sake of safety I have updated my original post on it, I don't want people getting the wrong idea about what I was posting up, since I am talking about components of the SRS system.
-
While the weather's been crap, and the OBD is now reading the car, I thought i would dig into the final warning light on the dash, the ABS
Thought this might be a helpful write up if anyone else comes across this problem, because I would say wiring / connection issues are probably more common than the actual pre-tensioner failing.
** Edit **
I'm writing this because I don't want anyone else reading this to get the wrong idea or bad information, as I am aware pretensioners and air bags have pyro charges in them.
If you're planning on doing your own testing, seek advice from an electrician about this and follow correct procedures before commencing.
The battery had been disconnected for atleast 15 minutes prior to me unplugging or inspecting any harnesses / plugs.
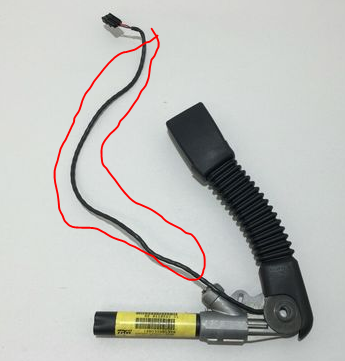
The pretensioner was removed from the seat and placed in a vice when I tested for ohms.
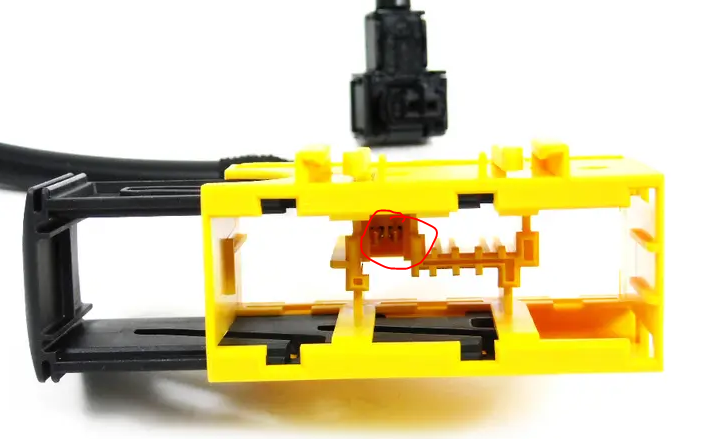
To measure resistance of the pre-tensioner the short tabs need to be dis-engaged, i'm aware why these are there, to prevent the device accidentally being set off outside of it's intended purpose in a crash.
I am aware that a multi meter sends a small amount of current in order to measure resistance, from what I've always been told on a 200 ohm scale a maximum of 3 volts will be used, which I am told is not enough to set off a pyro charge but seek your own advice on this.
I am also aware that static electricity carries enough voltage to set off a pyro charge
The purpose in why I posted this up in the first place was more to show where the failure for me occurred, as I couldn't find much about it specifically online about "Low resistance" fault, and the small adjustment I made to ensure the shorts are dis engaged when plugged in, doesn't compromise the safety circuit of the pre-tensioner, when the plug comes out, the shorts engage again anyway.
** Edit **
So the 2 codes it pull was
- resistance too high passenger, I pulled the pre tensioner plug out, cleaned it put it back in, and that code went away
- resistance too low driver side, pulled the plug out cleaned it, put it back in and code persisted.
From my research that code of low resistance is usually a sign of either a failed pre-tensioner, or one that has been deployed.
Found a spare one with wiring at pickapart for $12, so swapped both tensioners onto both sets of wiring, no avail
Took the driver seat out again, measured the ohms on the pre-tensioner, seemed to be Ok about between 1-2 ohm ish (not sure my leads on the multimeter are still 100% accurate anymore)
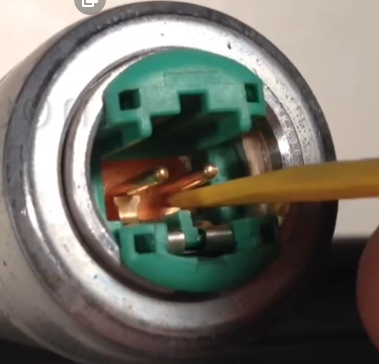
Plugged it in, and measured from the larger plug, you have to dis-engage the metal tab from the pin in there too, which is a pain, And measured 0 ohm.
So still suggesting a short circuit some where.
Cut the wiring insulation from the main plug to look for a break in the connection, found nothing.
So thought that's strange, which left me with something at the plug in the pre-tensioner end
I thought maybe when it was plugged in, the tabs weren't disengaging from the pins, thus creating a 0 ohm curcuit,
tried adjusting the tabs a bit so it would push back easier with the plug engaged to no avail,
so I adjusted the end of the plug by adding a tiny bit of a lip to push back those tabs when I inserted it
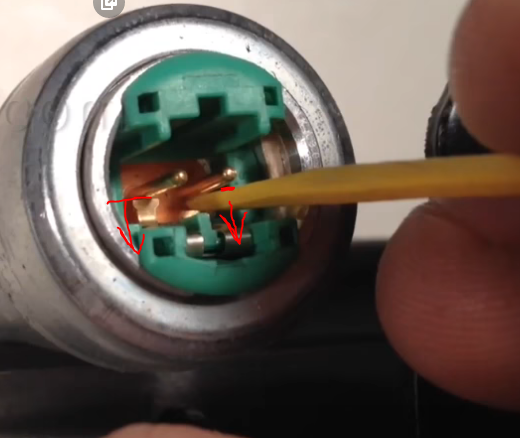
Measured it from the larger connector and sure enough, showing correct ohms again
------------------------------------
Installed tensioner back on the seat, plugged it back in, then connected the battery.
Loaded up ISTA, reset the Errors, and warning light finally gone!
Hope this helps, wrote it up because I was struggling to find a description of this specific issue, about the plug not disengaging the metal tabs (that act as a fail safe) when performing service work
Onto more body work tomorrow, got to get rid of some final low spots.
-
5
-
-
On 7/7/2020 at 11:46 AM, Andrew said:It's been a while since I posted here! I realised it's been 18 years since Ollie & I started the site. (I wish I was still 17)
Far out I realized I joined 15 years ago, you know ironically Bimmersport is quite possibly one of the most contributing factors to why I can never escape BMW's, I went back to toyota for 6 months or so, and then realised I needed to get a BMW again to get back into the Bimmersport action ?
-
1
-
-
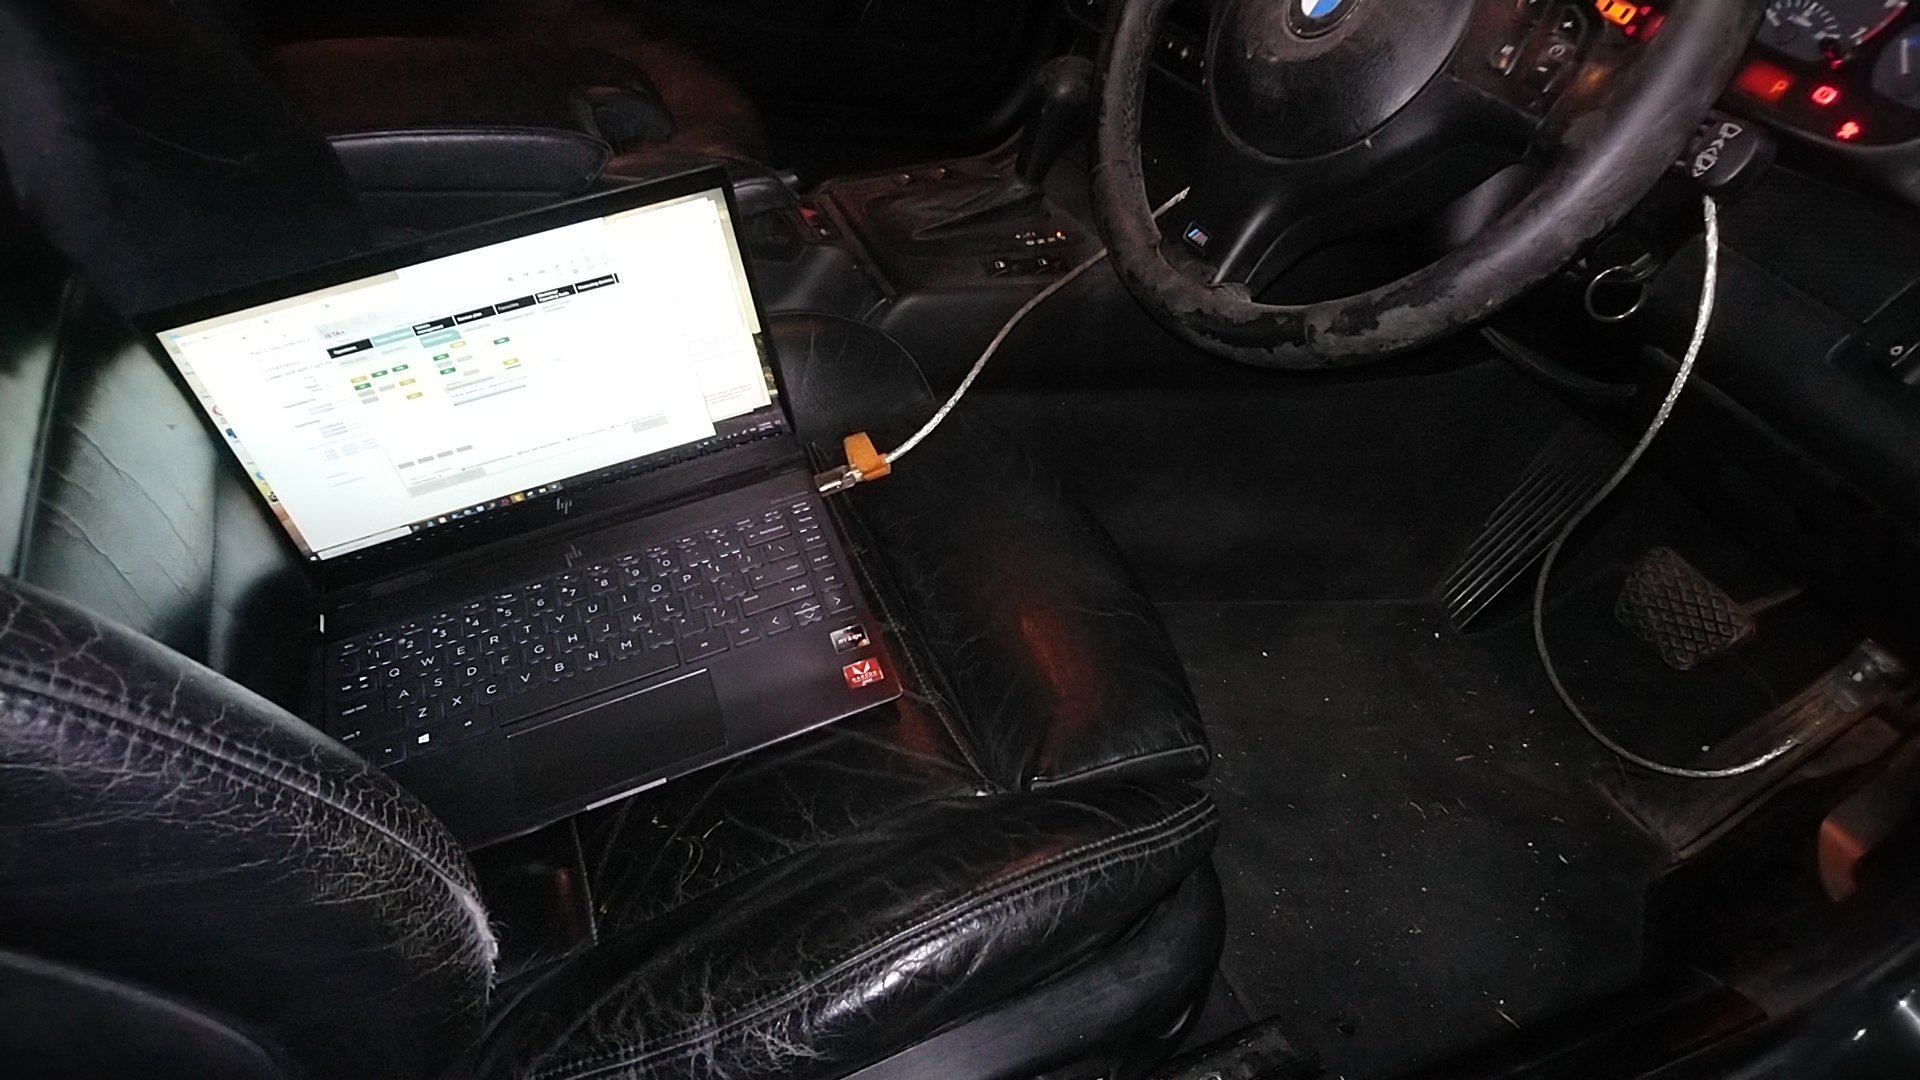
Just answered my own quesiton, bridged plug 7/8 with some tin foil just to see if it worked, and it did ... lol
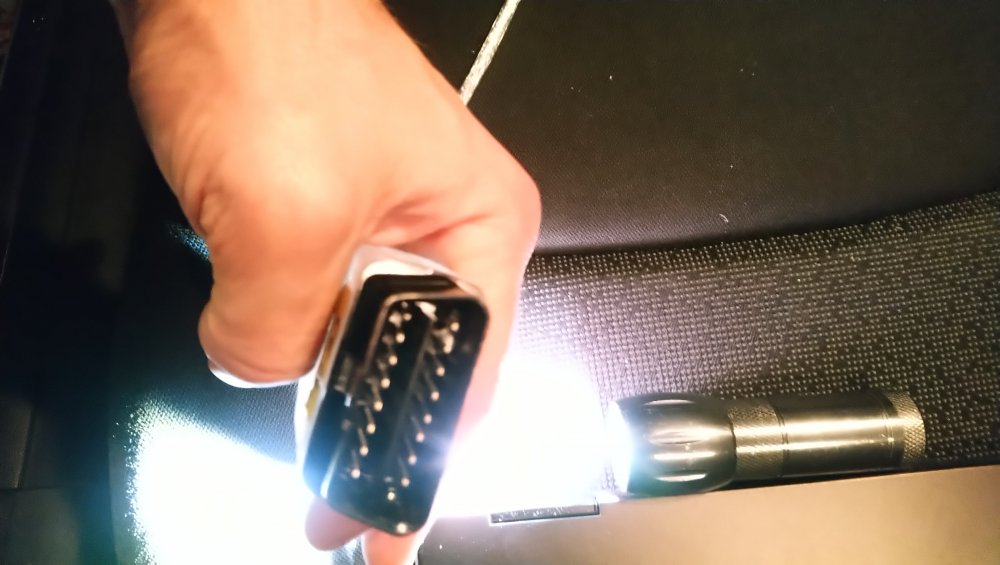
I'll get the soldering iron out when i can find it and wire a tidy toggle switch ...
Make sure you buy the cable with the switch, save your self the hassle

-
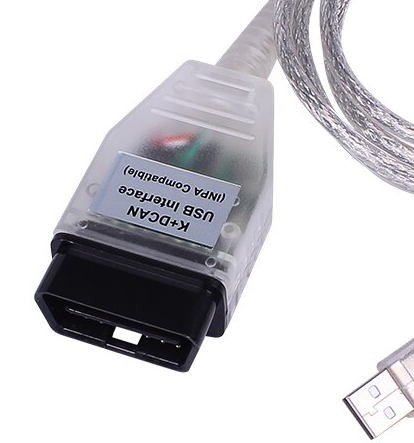
So i'm having trouble communicating the the modules on the e46
I have the OBD-II port near the driver side knee, there is no 20 pin connector under the hood.
ISTA Operations VIN read out doesn't pull any vehicle information
I've loaded up INPA and the cable is reading the battery ON/OFF and Ignition ON/OFF correctly.
The cable & ista works perfect on my E90, vin reads out, access to all modules.
Anyone had any experience with something like this?
Is this linked to the switch on some of the cables, or bridging pins 7/8?
Cheers
-
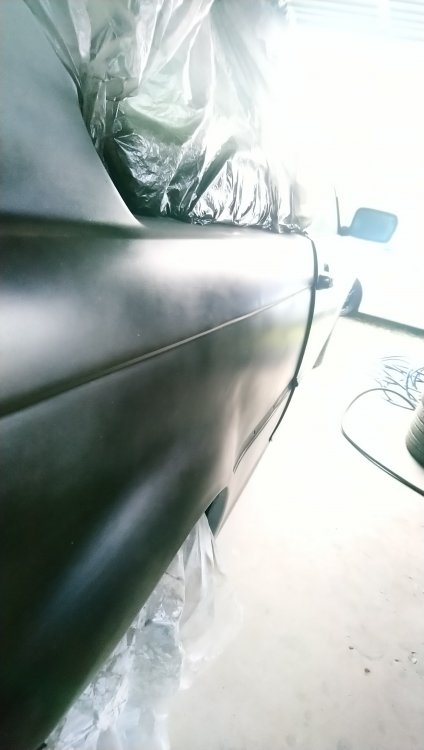
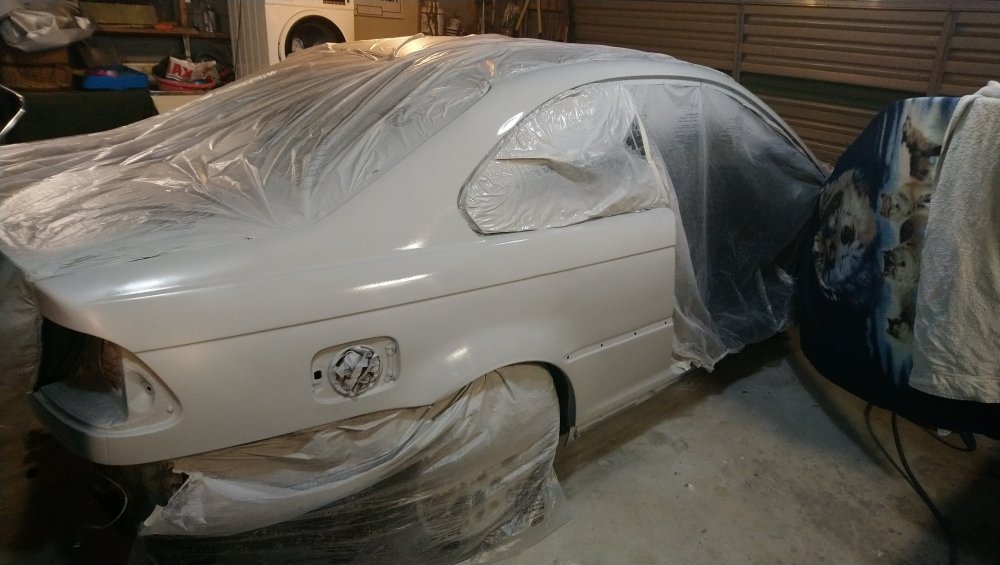
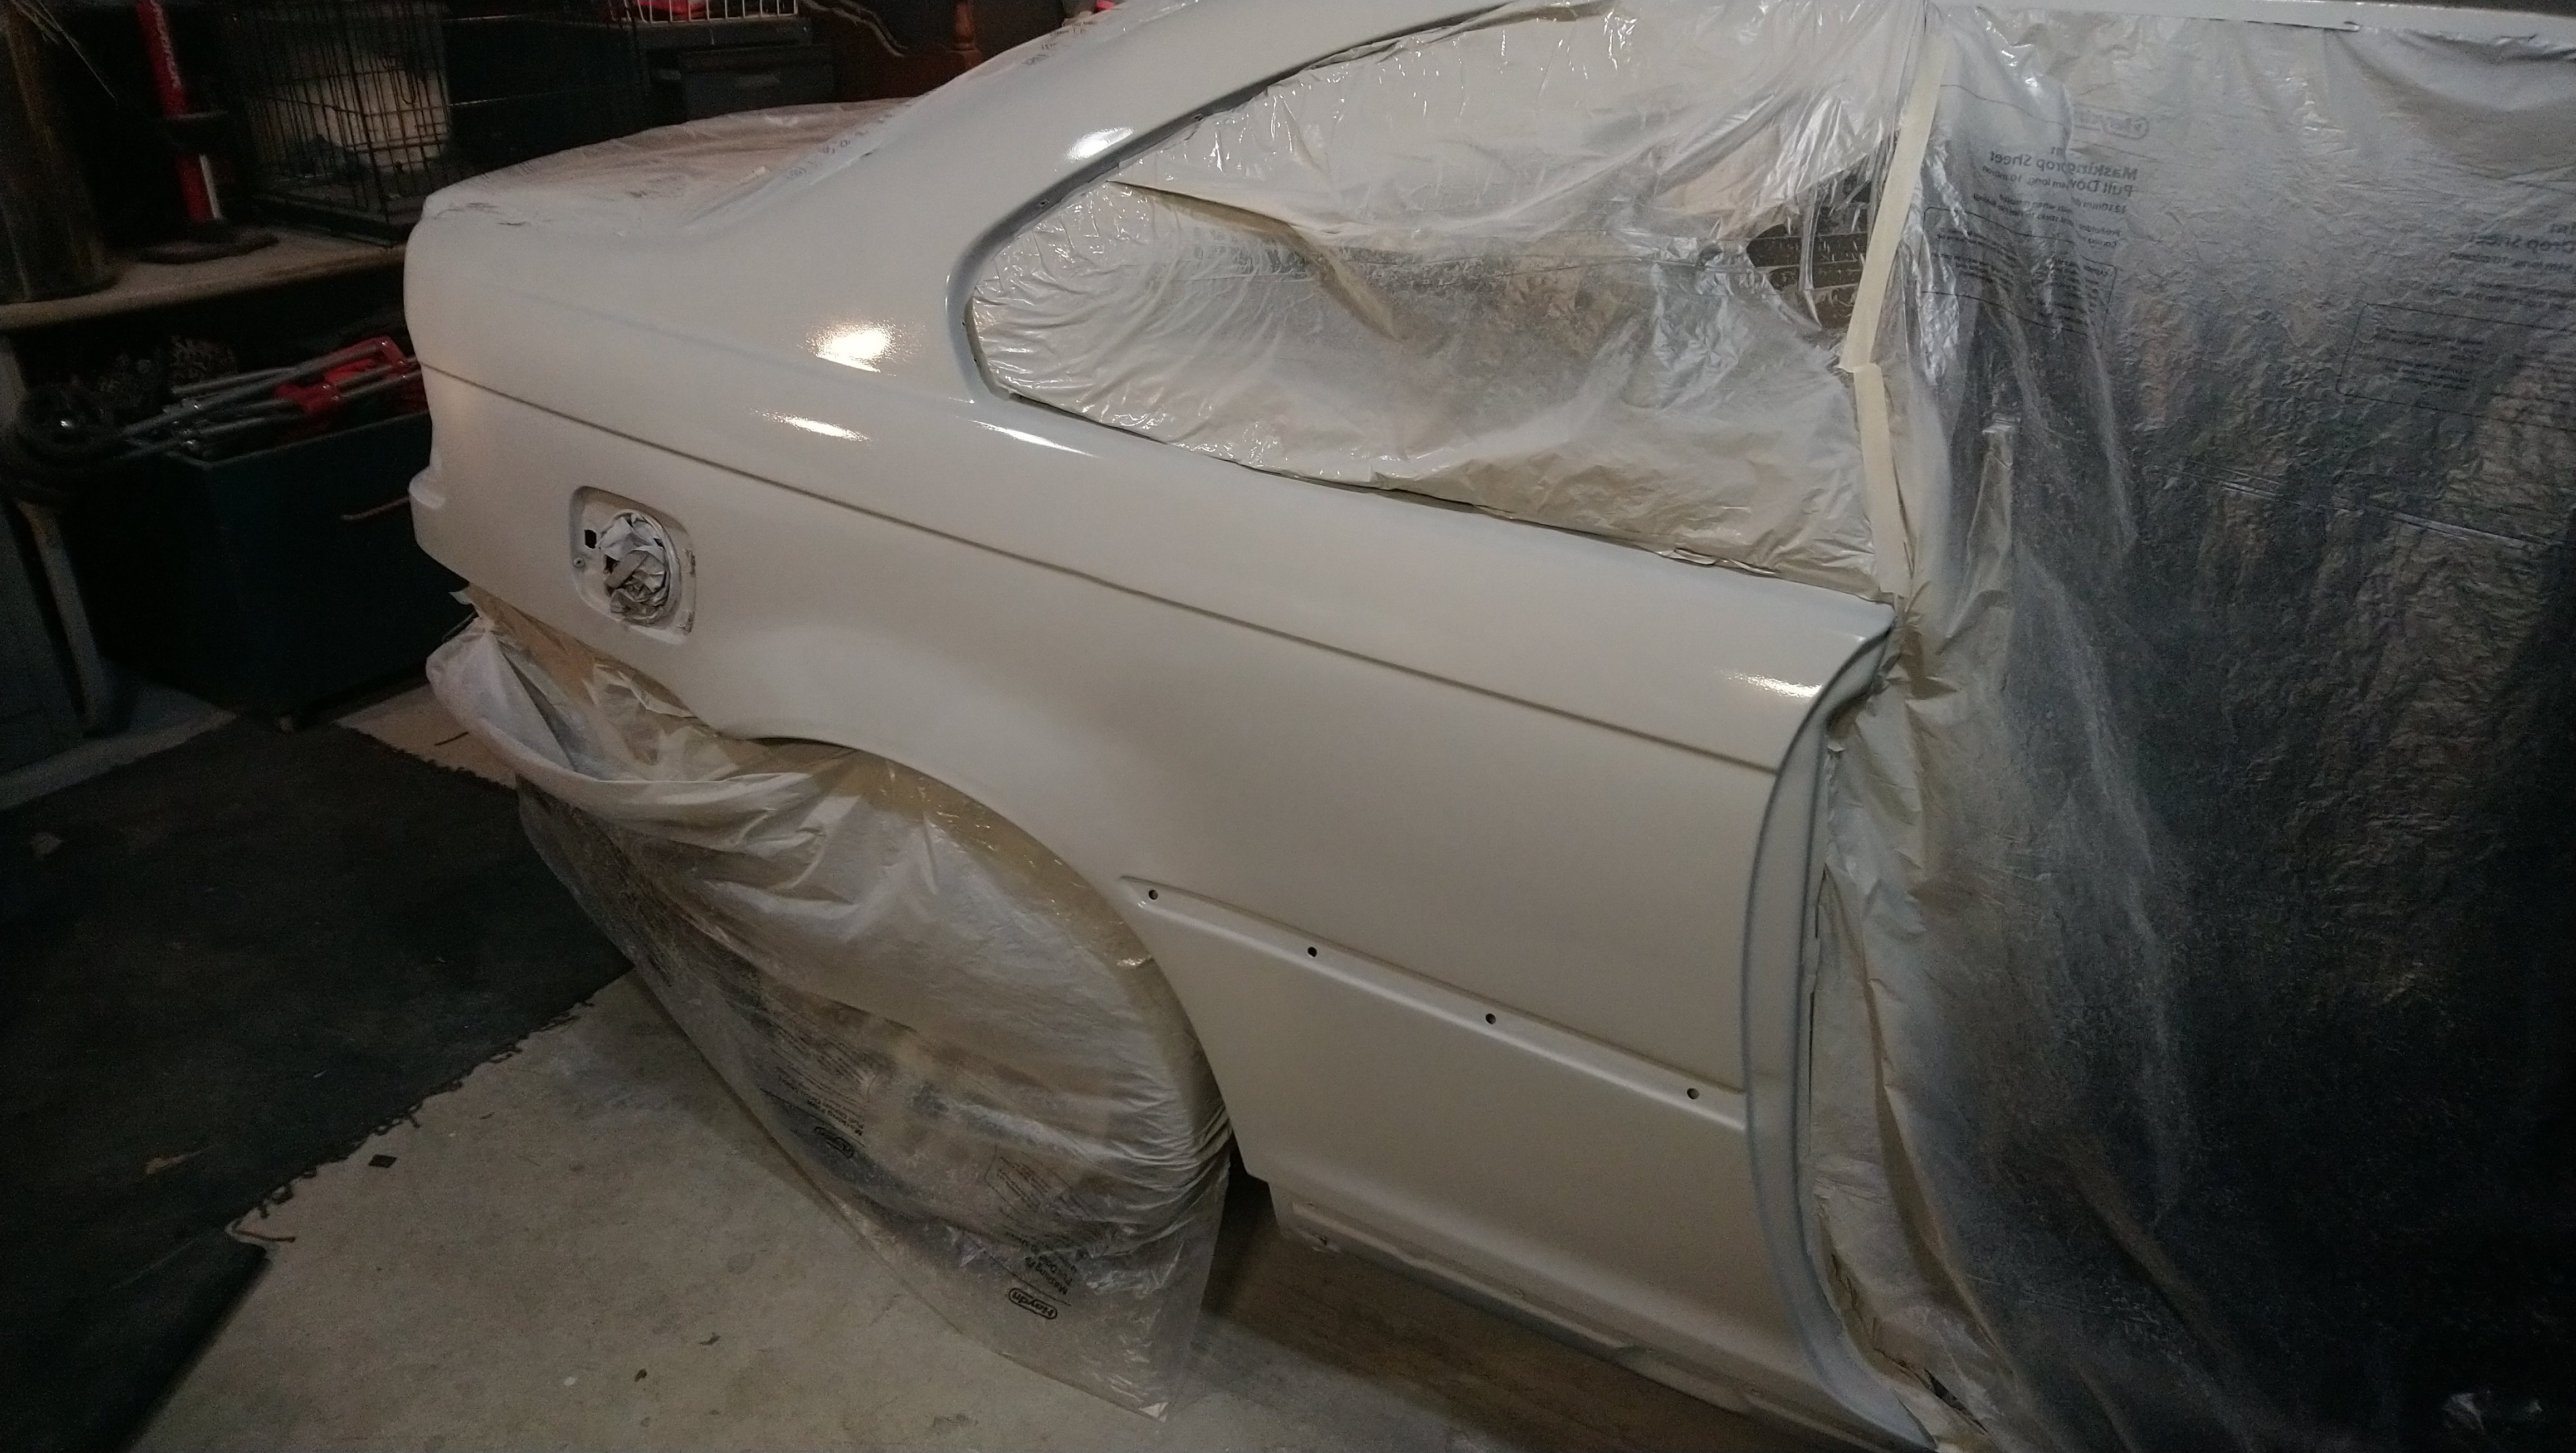
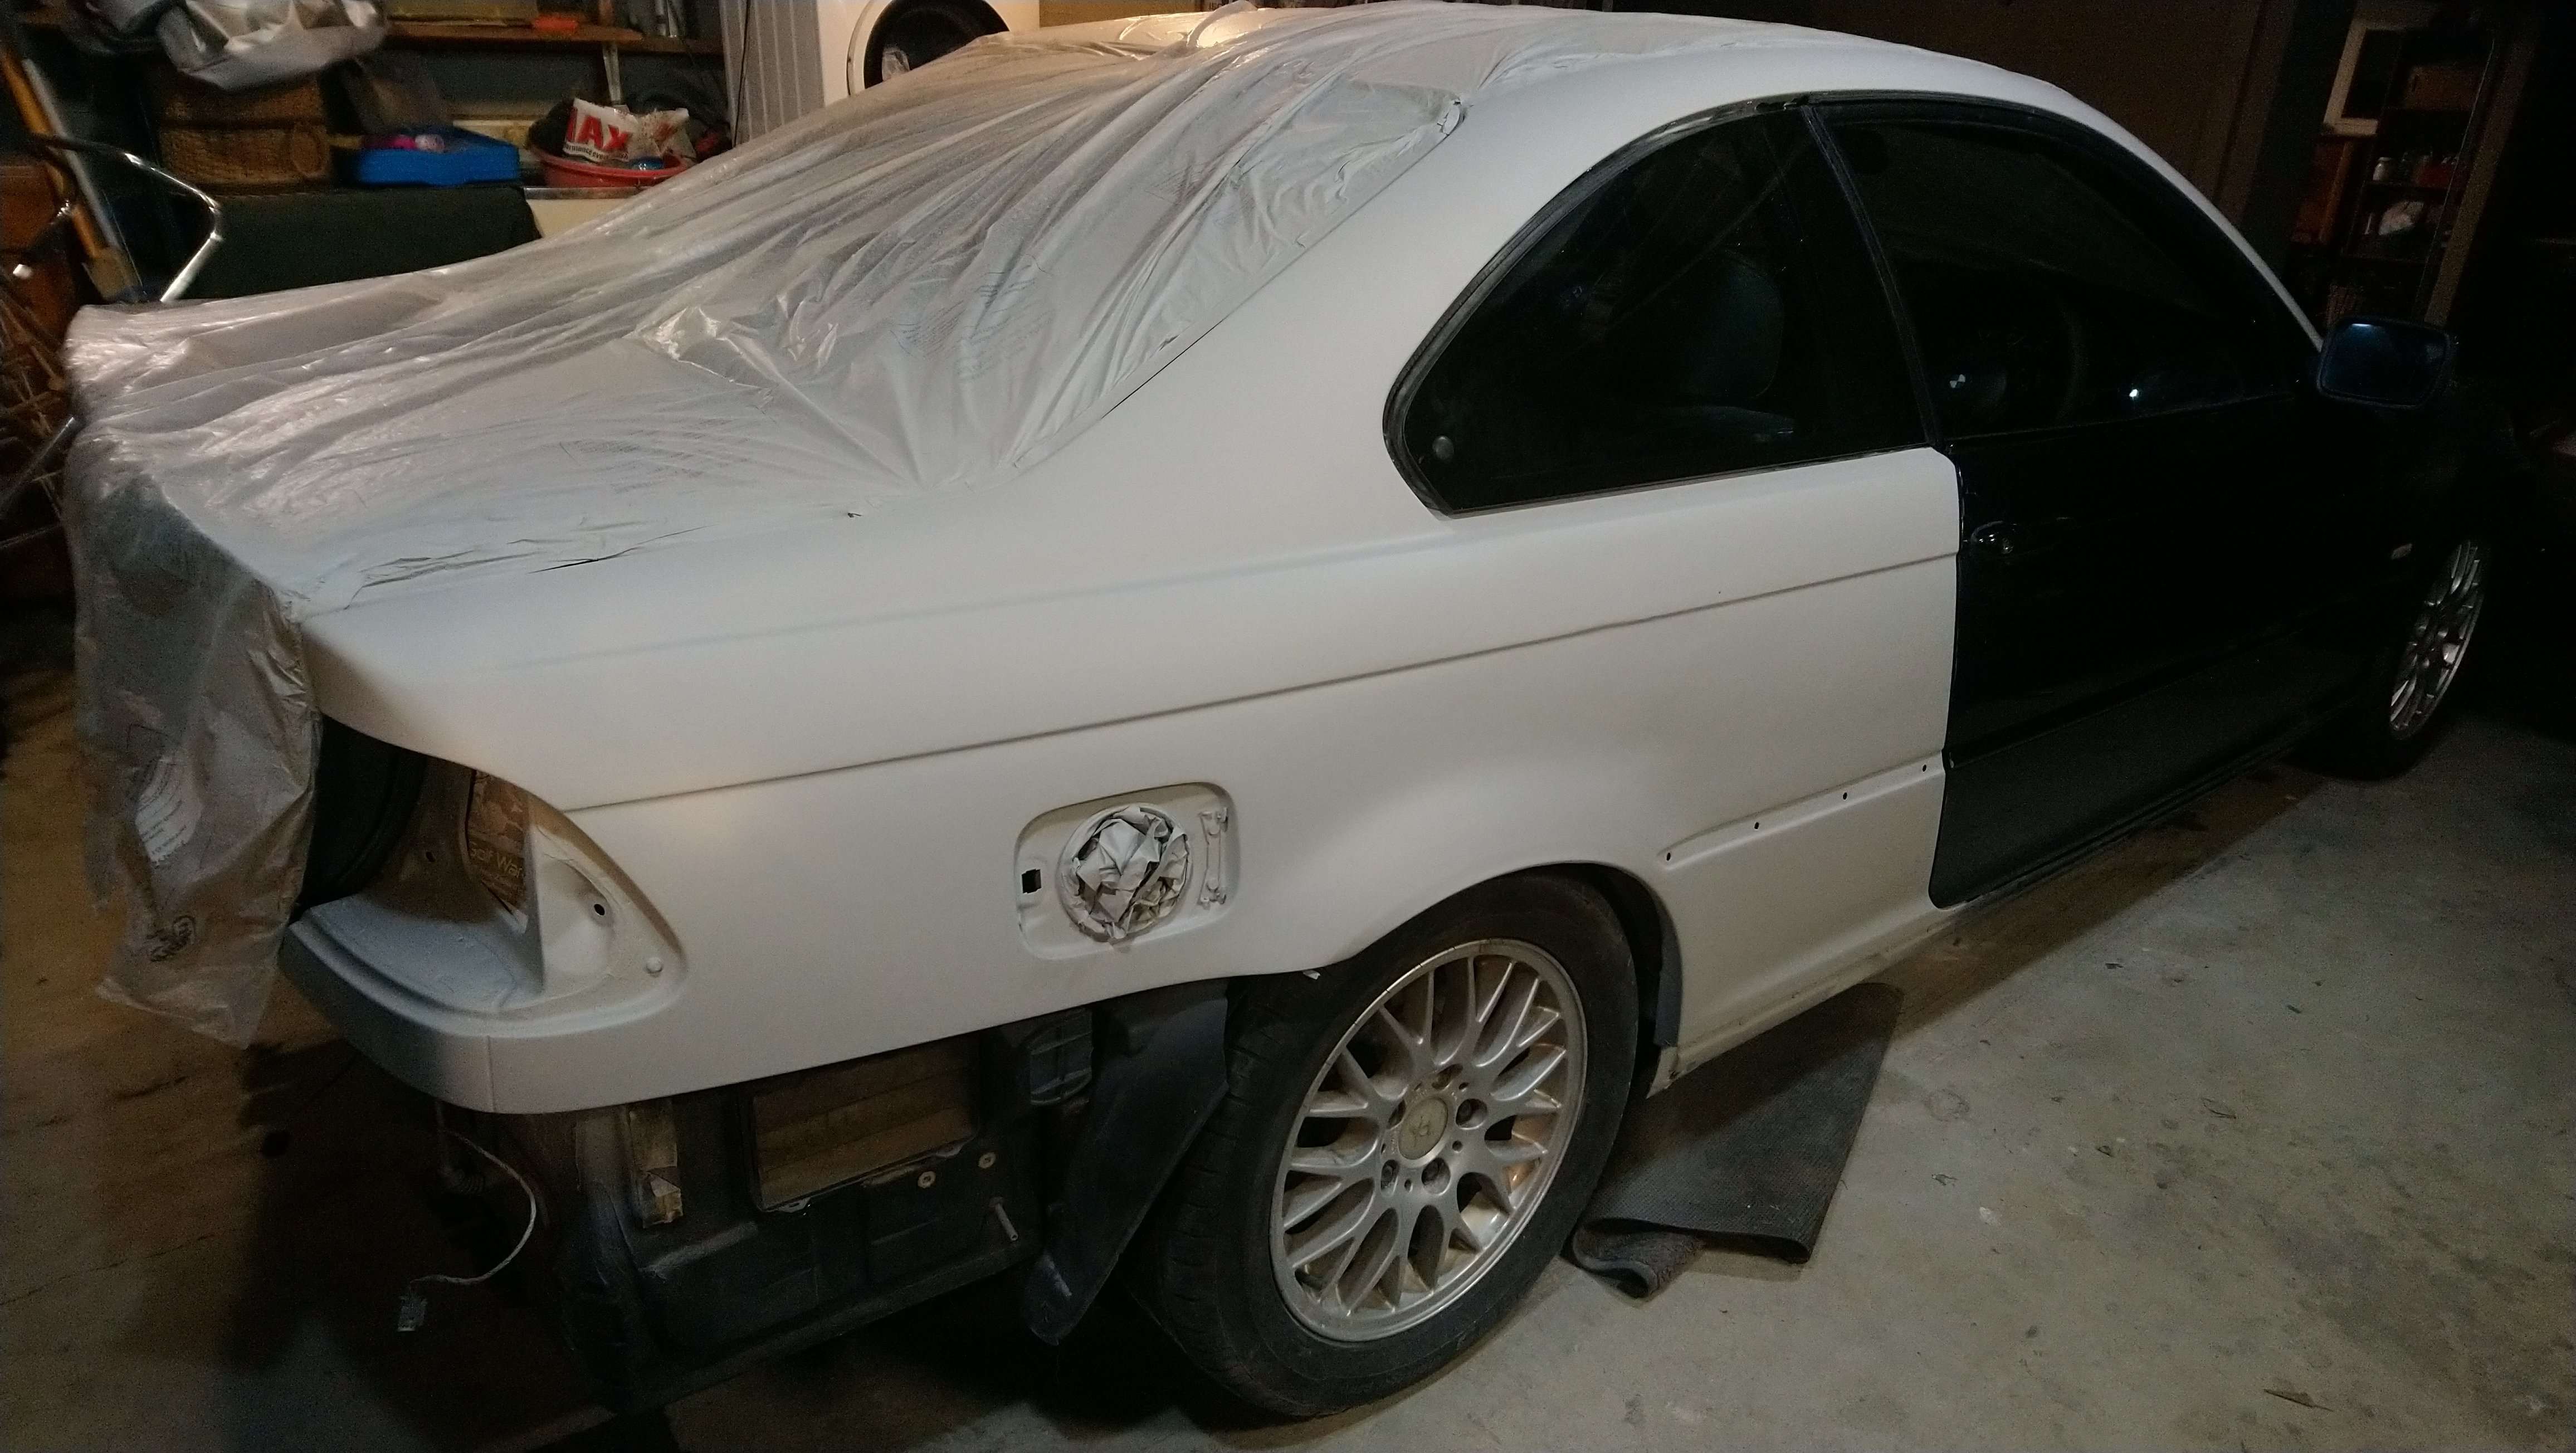
Looking a hell of alot better
Can see a few tiny grooves with the primer on.
Not long to sign off on this side


-
4
-
-
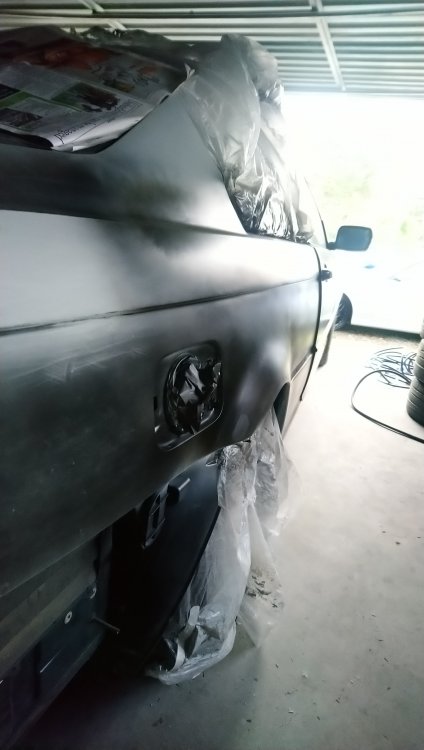
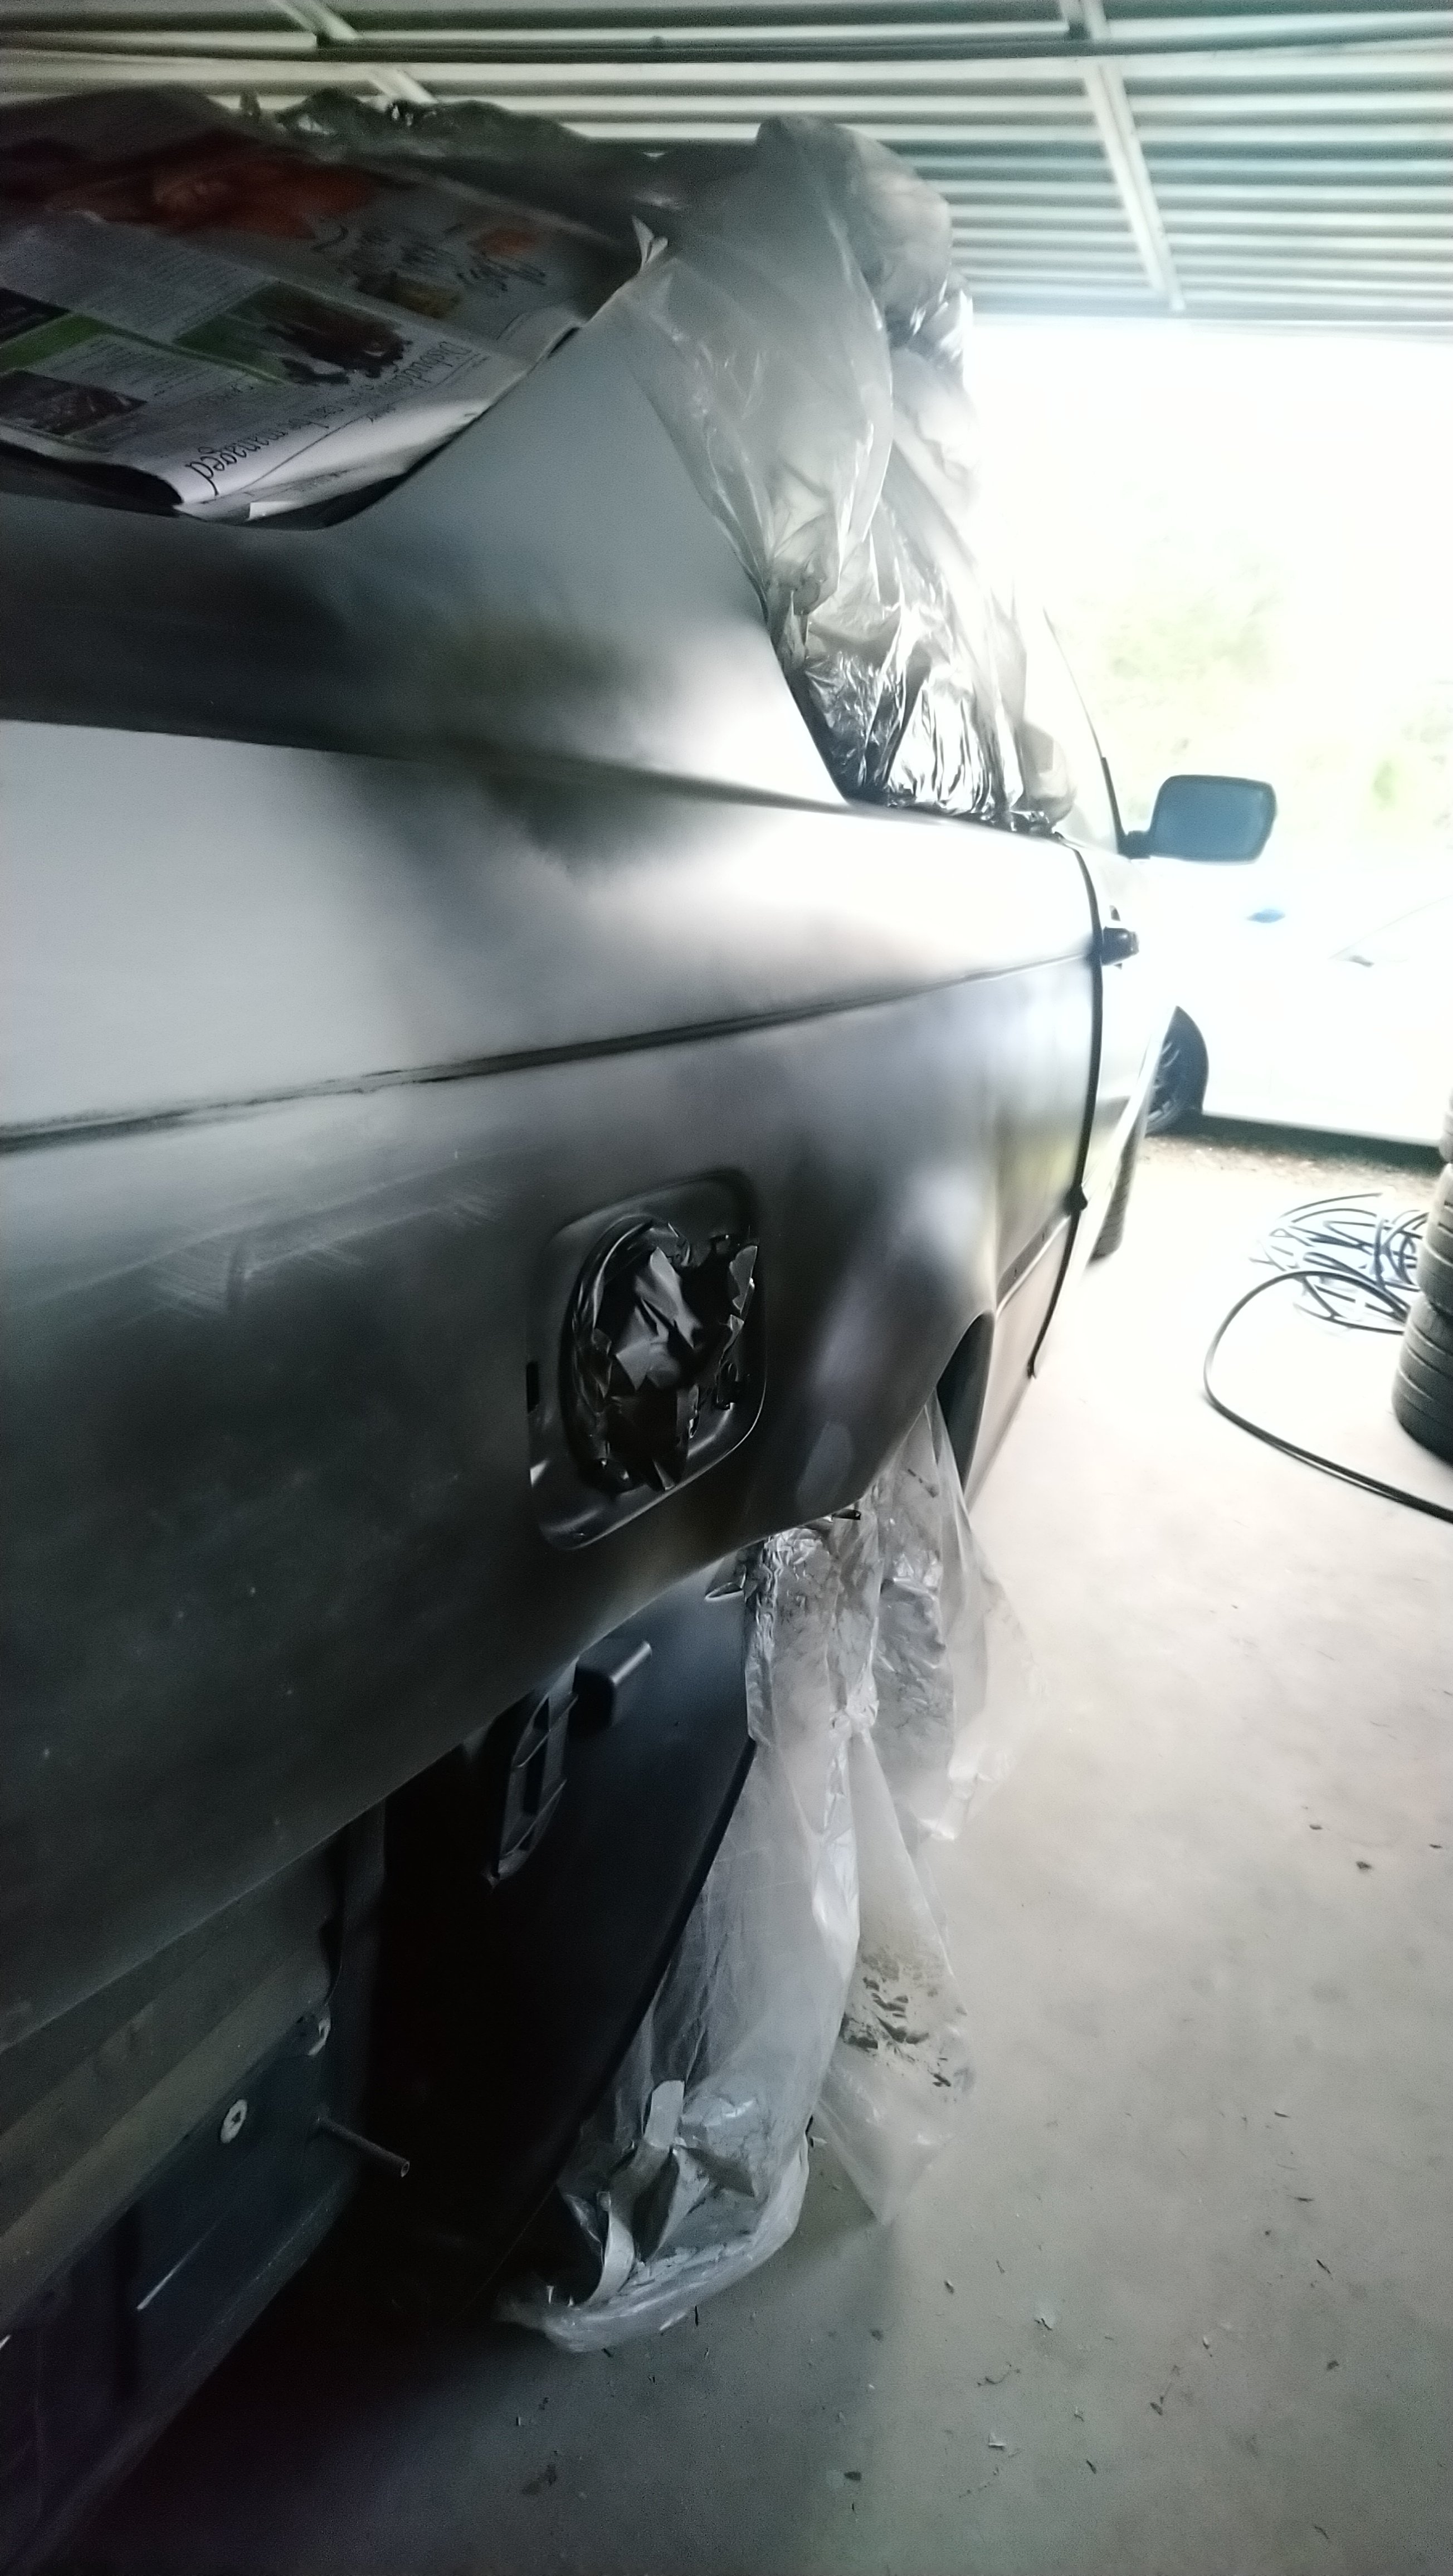
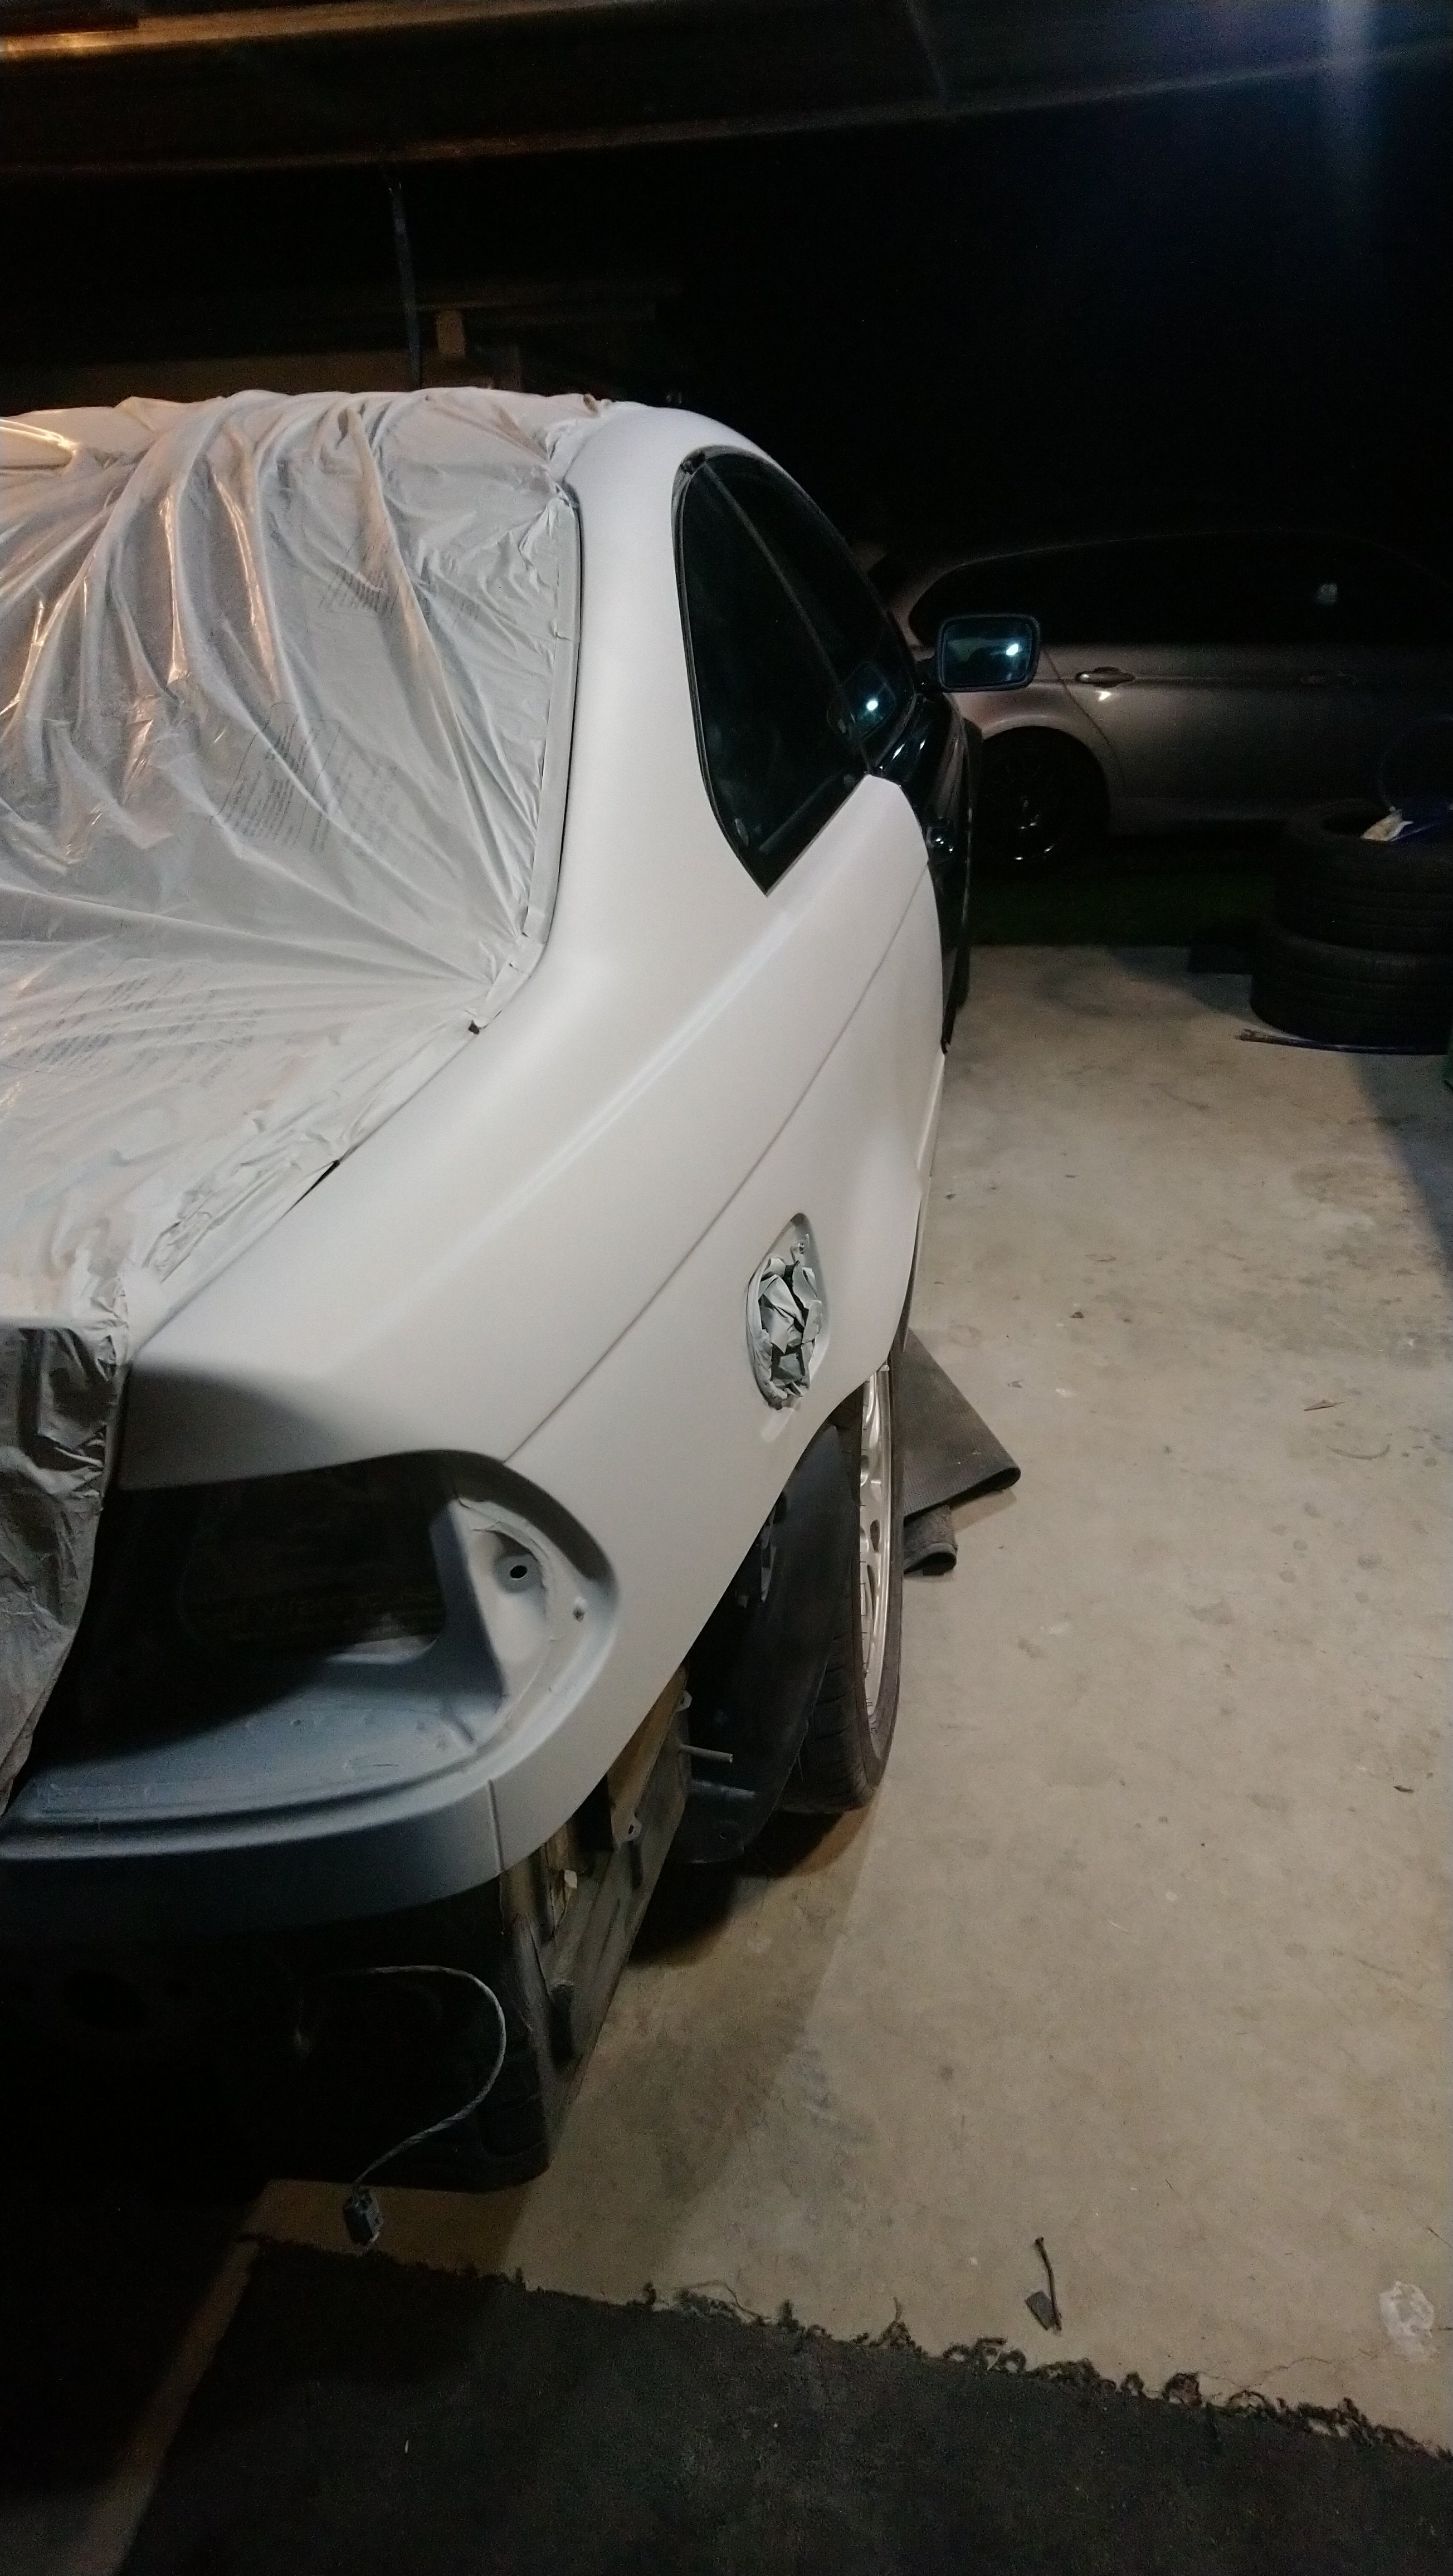
Signing off for the day. Wanted to get some of it sealed off before I leave it over night.l. Looking pretty darn straight. It's the second half of the the panel that needs some work.
-
2
-
-
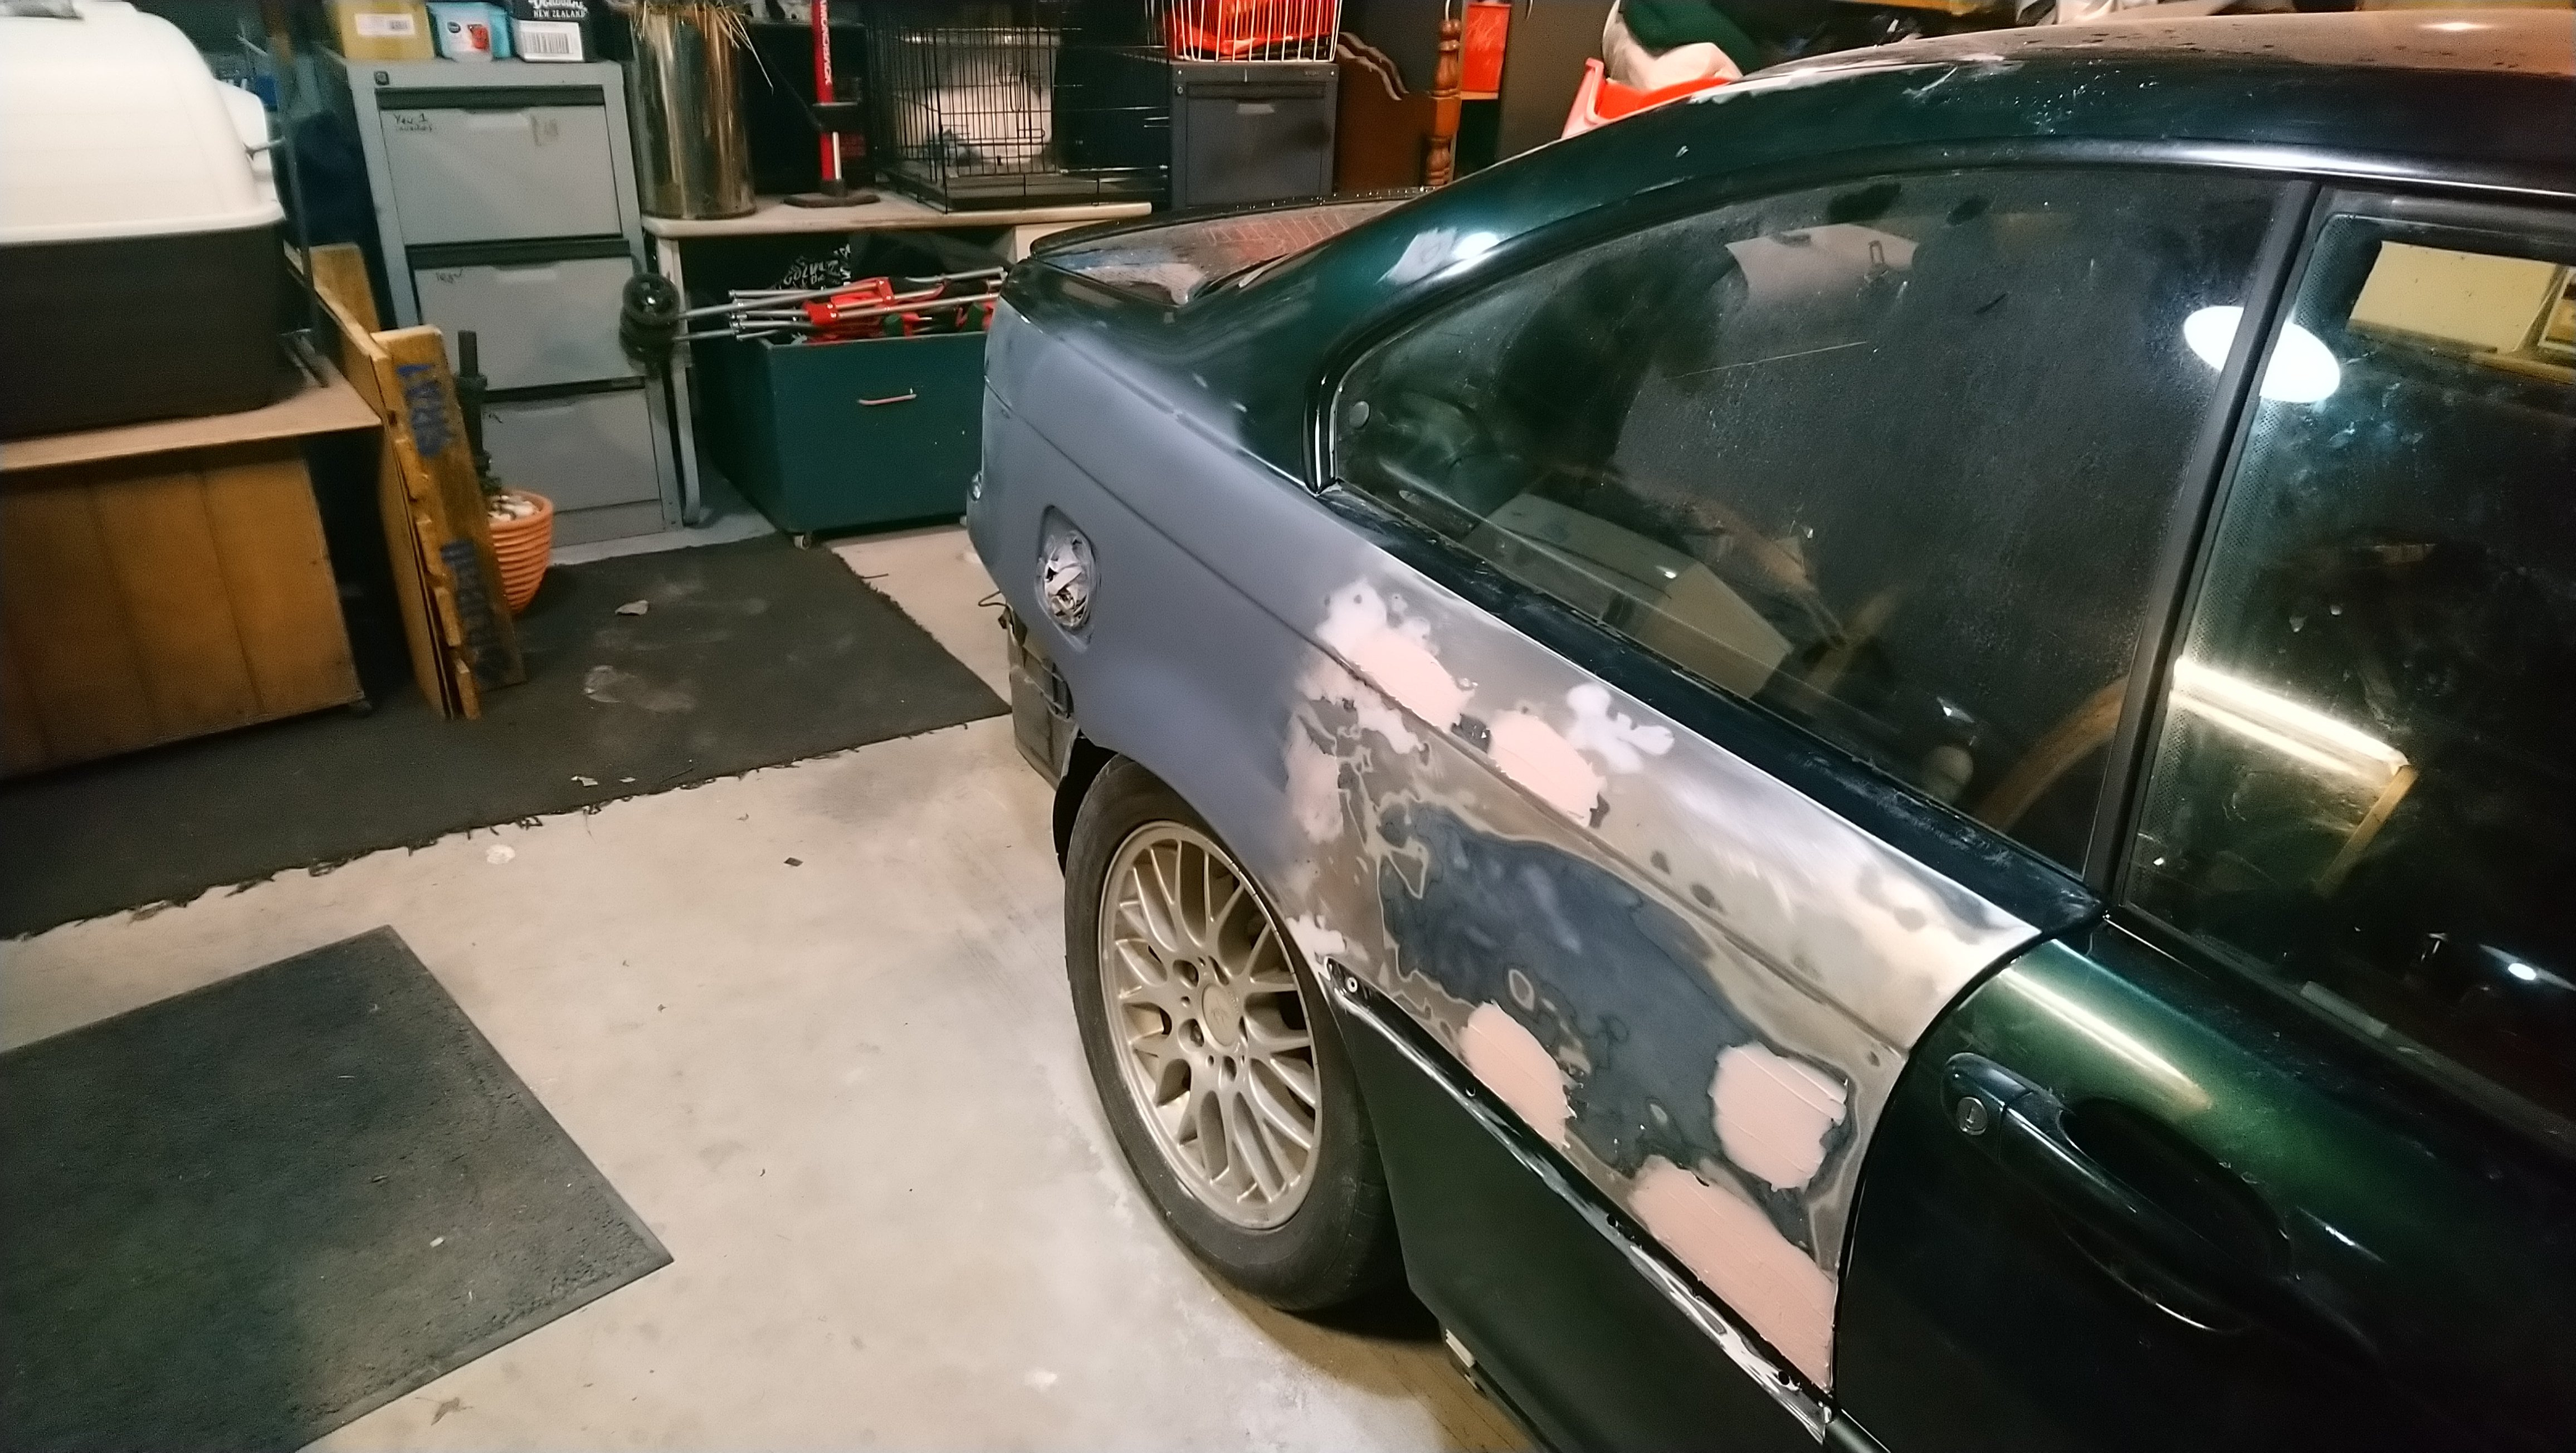
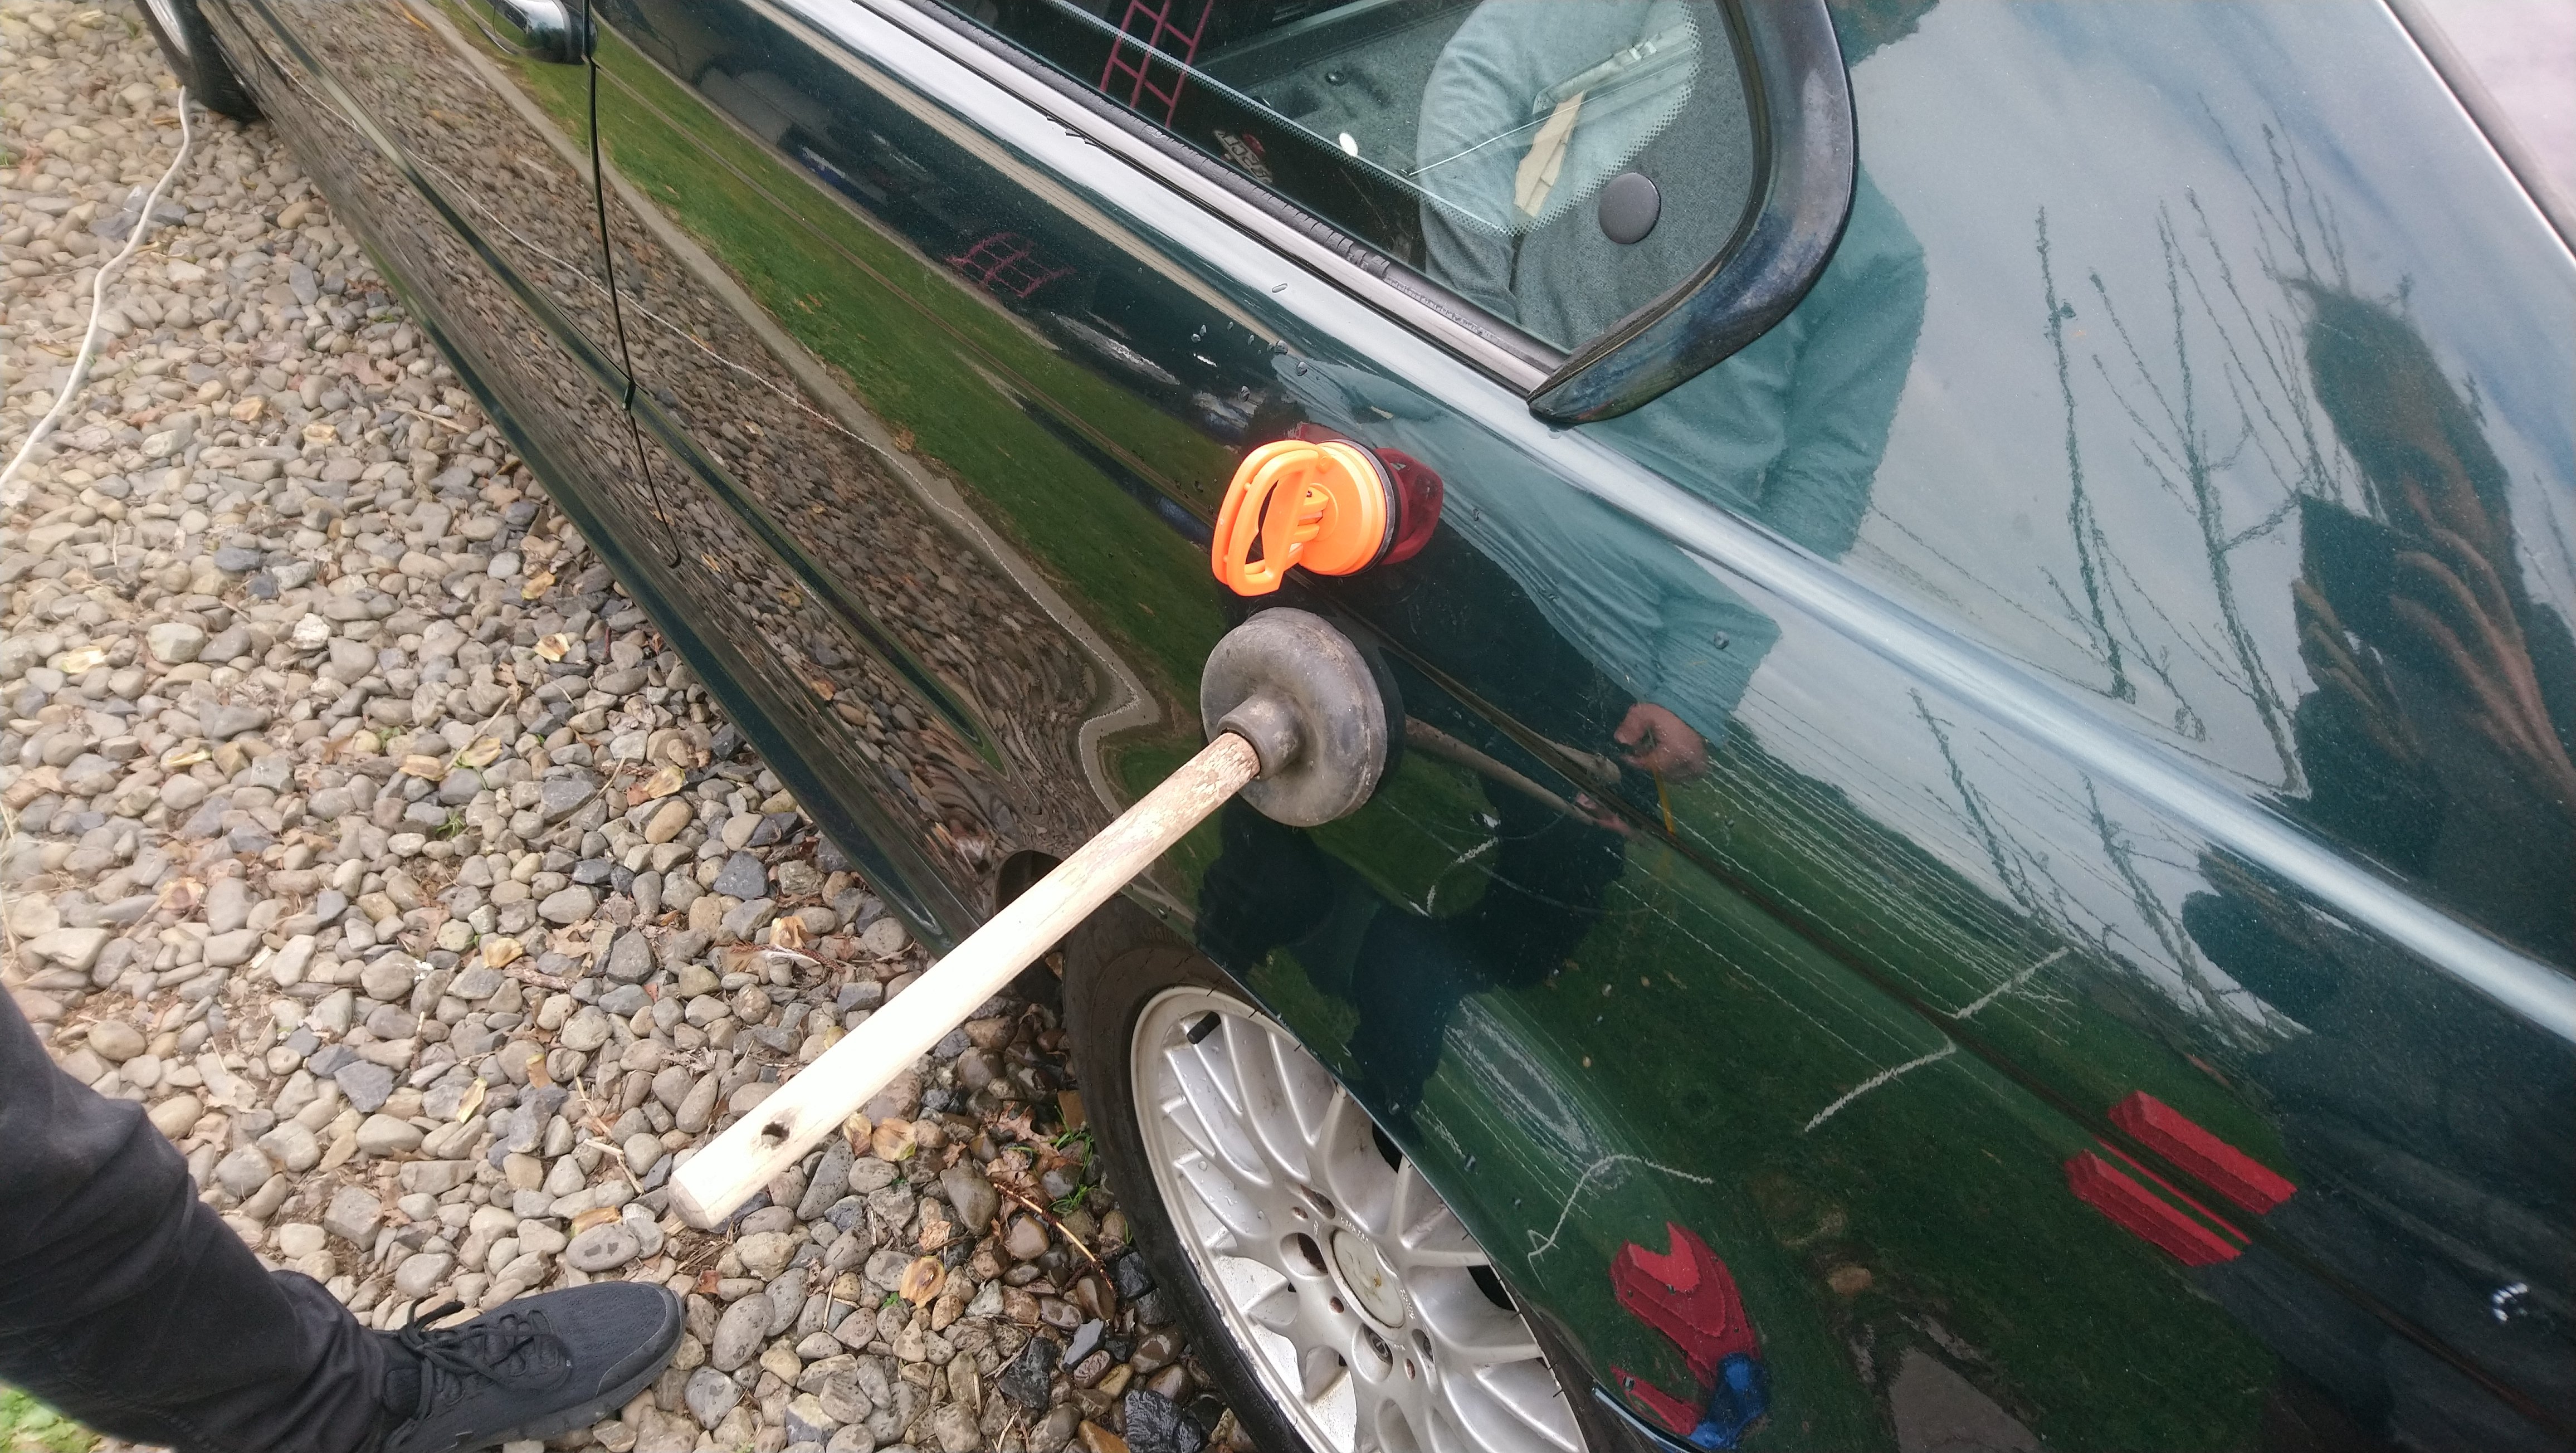
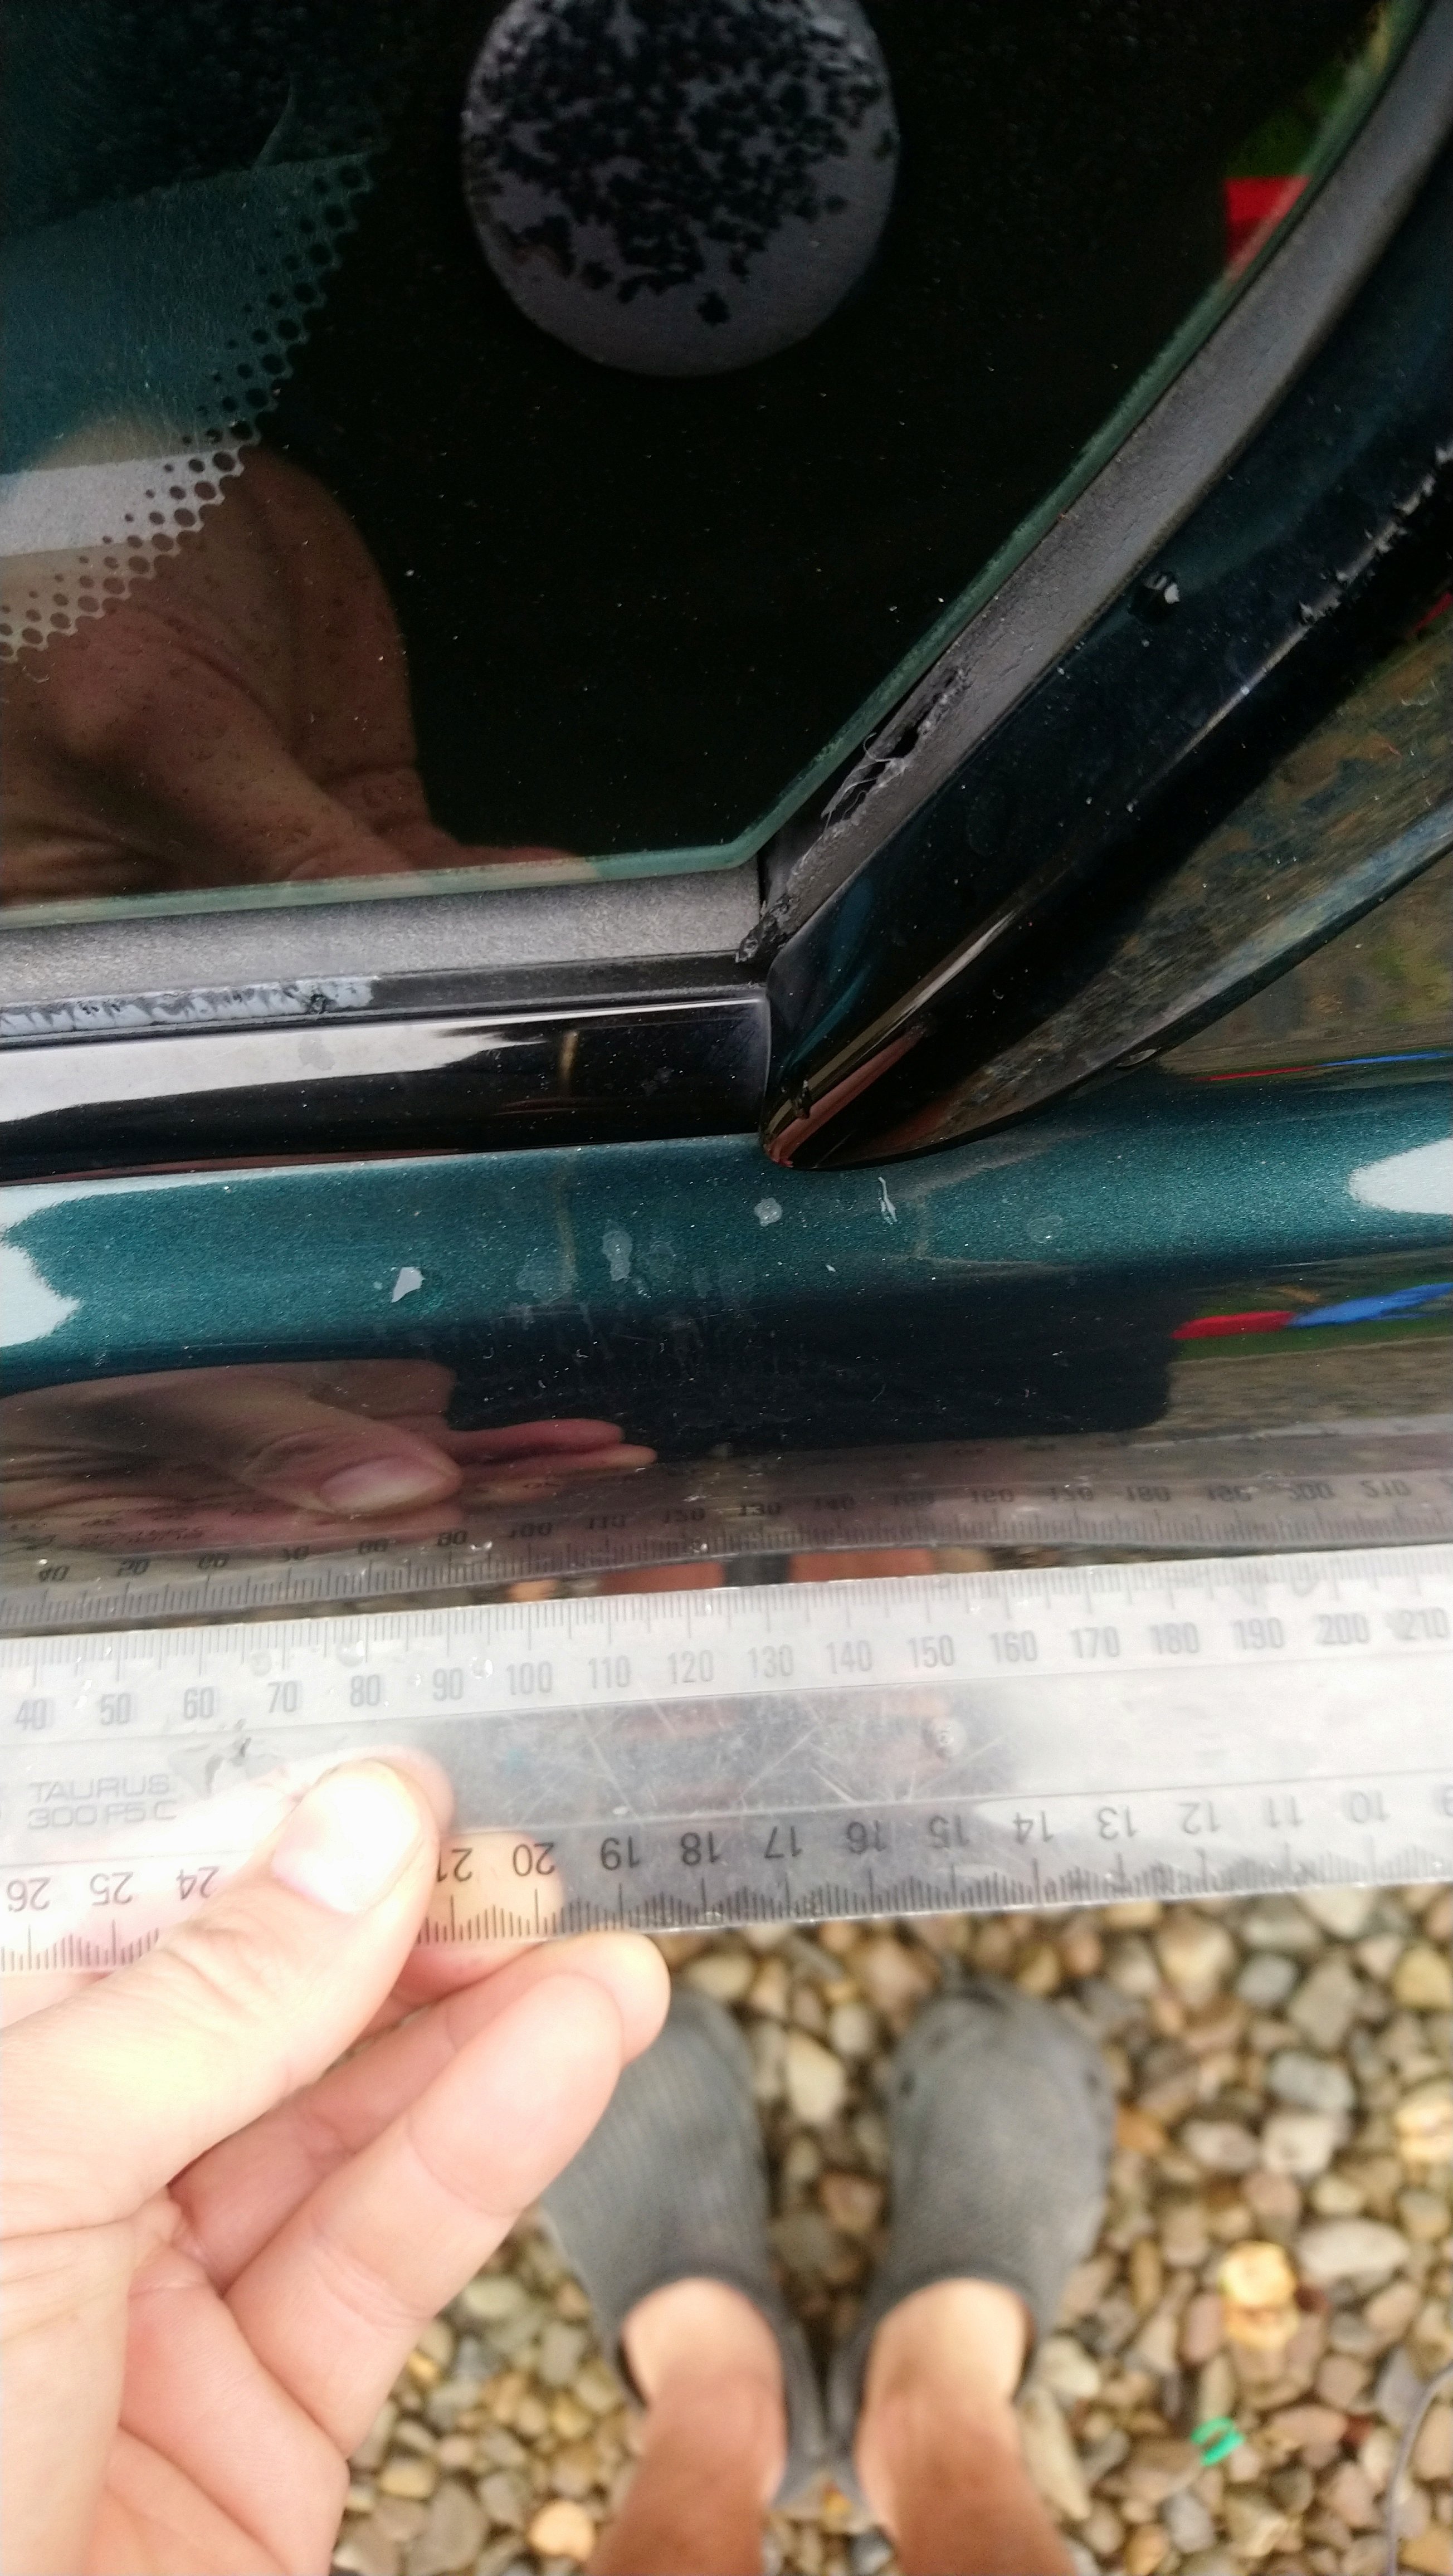
Tried to get a very annoying dent out since it doesn't look like you can get in from the inside and push it out.
Only had one of those SCA suction cups. So the toilet plunger made a special appearance. Actually worked pretty good, until the suction cup broke, toilet plunger is staying strong ?
Hot water, hair dryer was making It nice and maluable, don't have my heat gun yet, which might help bring it out more.

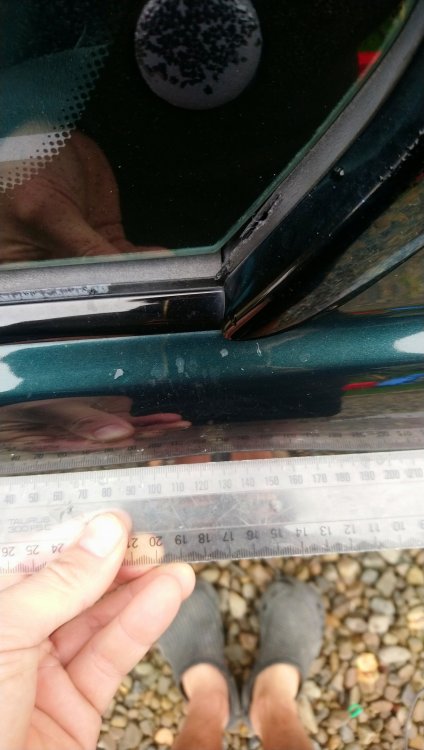
From
To
It's going it need filler. But it would have been 8mm+ with out pulling it out a bit.
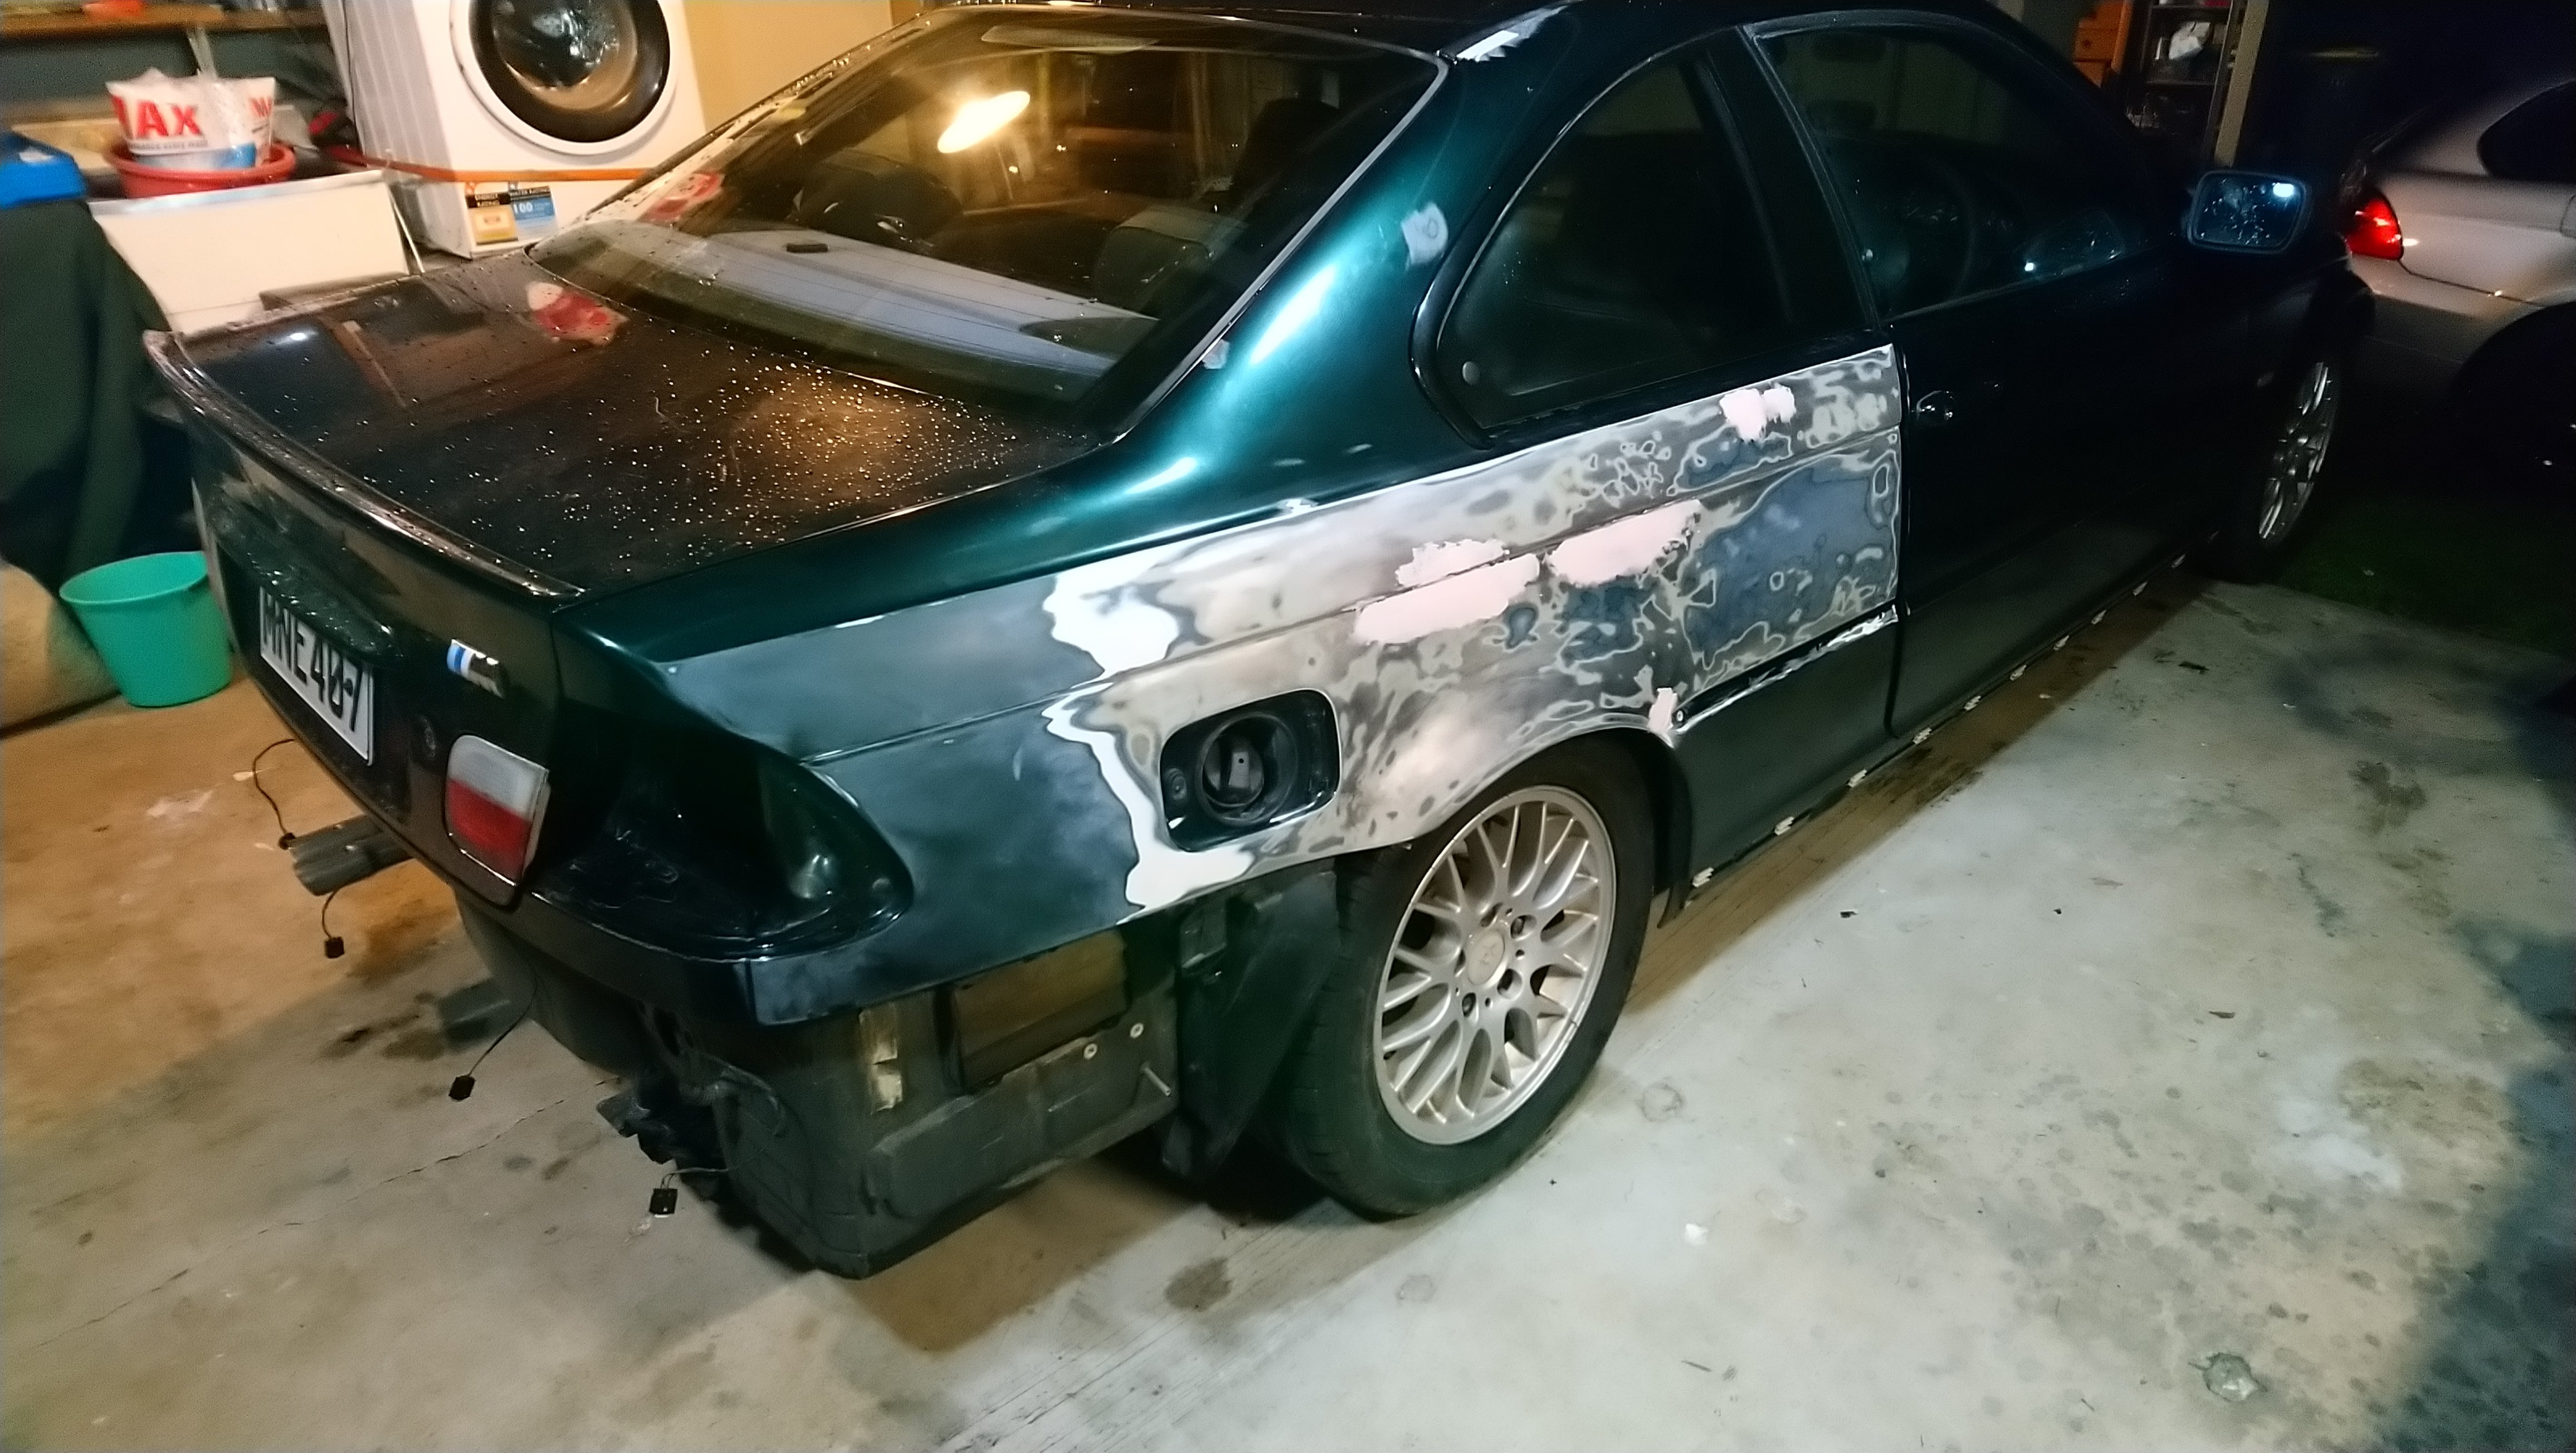
Begun body work on the other side. Going to do just the obvious deep stuff before I seat it off with etch and 2k primer. But will probably have to do more Bondo over top. But it will be 1000% better than the chur bro repair it was before.

Kept raining on and off so put it in the garage. Had the tail lights off so water started bucketing into the boot trays. Got about 1l out with the trusty Bissell.
-
3
-


225/40 front 245/40 rear
in Wheels & Tyres
Posted · Report reply
Wondering if running staggered setup on a standard rear wheel drive will cause issues.
Ideally I wanted 255/35 on the rear but it wasn't available in the rft.
So anyone know whether having 225/40 front 245/40 rear. Rear wheel drive e91 will have any issues with DSC / ABS due to about 2% diameter difference.
Or only just speedo difference